Probably every master in the garage or the workshop has a bunch of nuts, bolts, tools and other pieces of iron that are too lazy to clean from rust, so they are not used. This homemade help you solve a similar problem, the article will focus on the tumbling machine. This device automatically cleans parts from rust, dirt and other deposits.
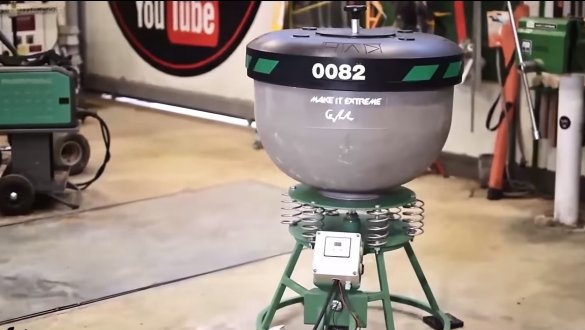
The machine considered below is vibrational, its design is simple and reliable. It is a metal vibrating barrel, into which an abrasive is poured in the form of pebbles or sand. So, during operation, nuts, bolts and other parts rub against pebbles and are thereby ground. You only need to fill up the rusty parts and then get clean and shiny.
So, if the project interests you, consider it in more detail!
Materials and tools used by the author:
Material List:
- capacity (piece of cylinder, metal tank, piece of pipe of large diameter or the like);
- engine (the author has 900 watts / 4800 rpm);
- reduction belt transmission (ratio unknown);
- square shaped pipes;
- Sheet steel;
- round timber and other pieces of iron (for turning);
- springs;
- bearings;
- pipes;
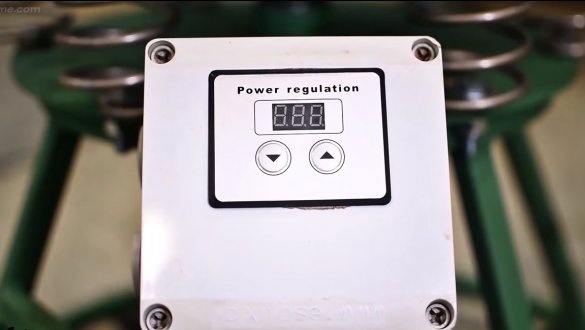
- engine speed regulator, junction box, cable;
- bolts, nuts, washers, etc .;
- a piece of the bottom of the barrel or a similar part (to make a lid);
- pieces of rubber from tires (or similar for legs).
Tool List:
- lathe;
- press;
- drilling machine;
- grinder;
- welding machine;
- pipe bending machine;
- wrenches, hammers and so on.
In fact, such a machine can be built with simpler tools.
Homemade manufacturing process:
Step one. Capacity preparation
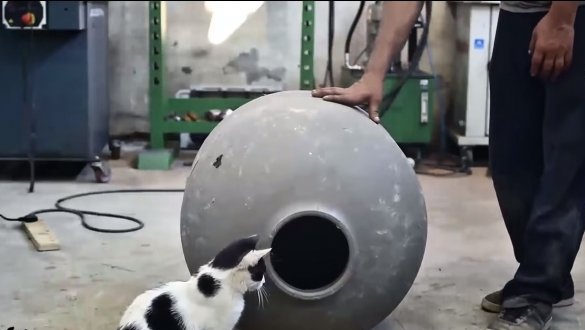
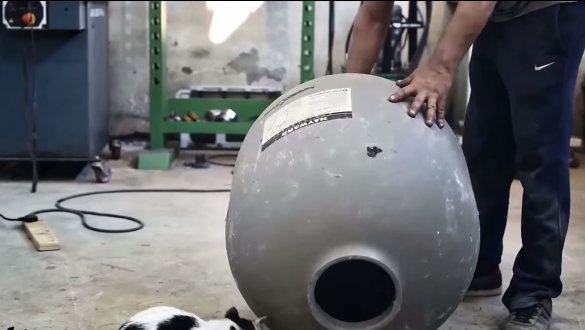
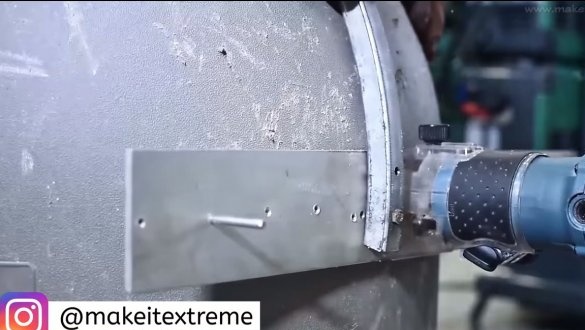
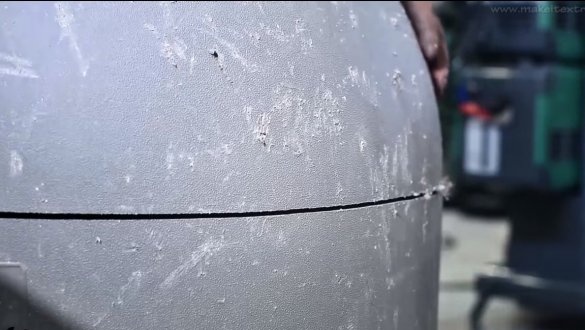
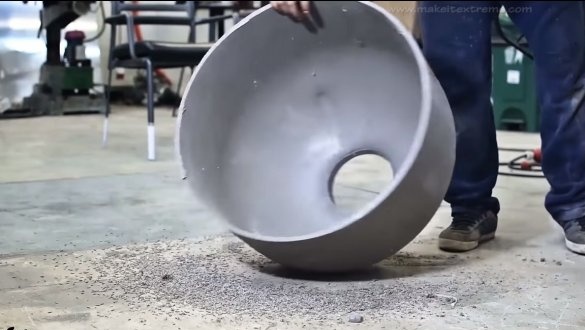
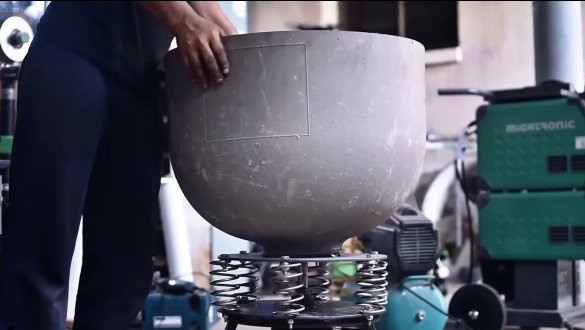
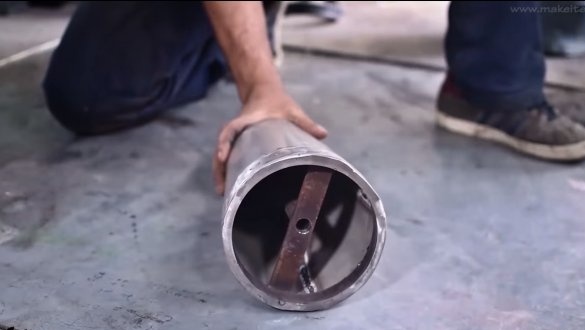
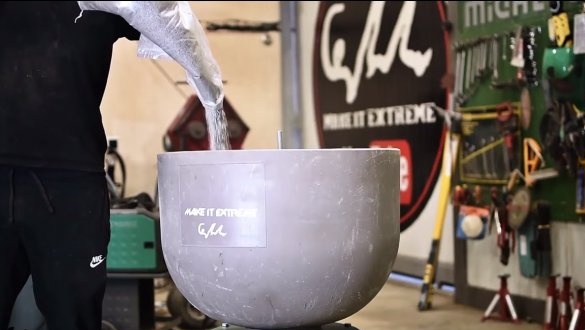
First of all, we will find a suitable container. The author found some balloon; it was cut. The result was a capacity of about 100 liters. If you will use gas cylinders, do not forget about safety measures and all measures that are necessary for safe cutting of the cylinder!
Step Two The foundation
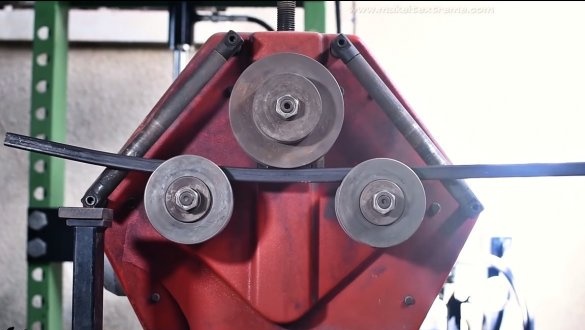
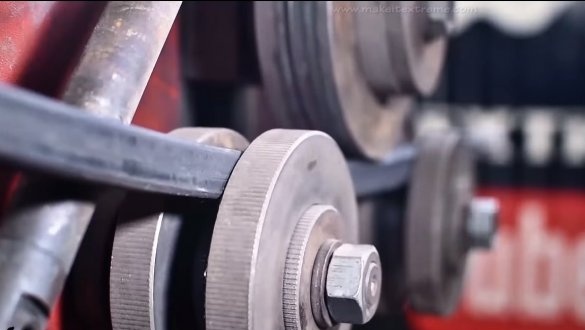
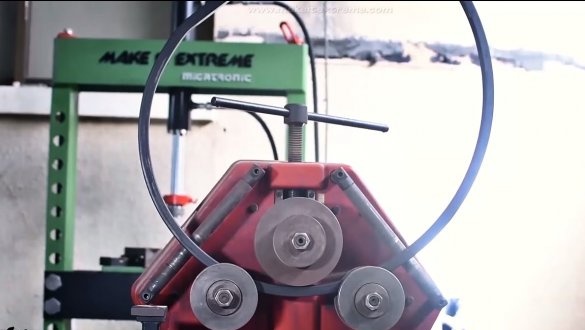
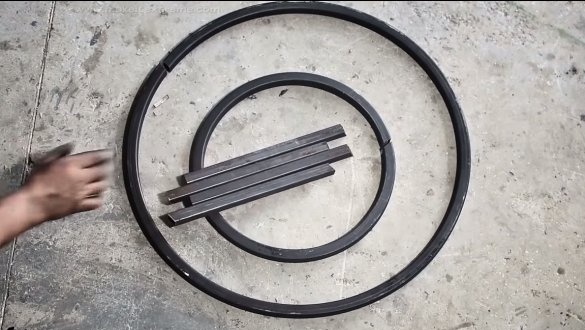
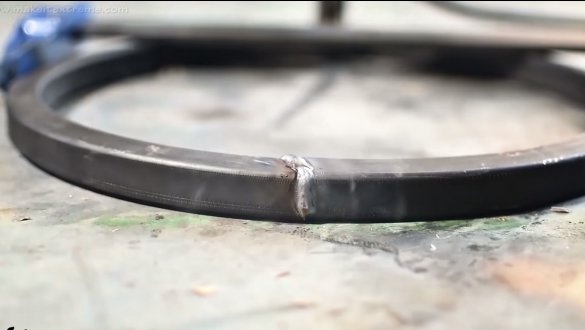
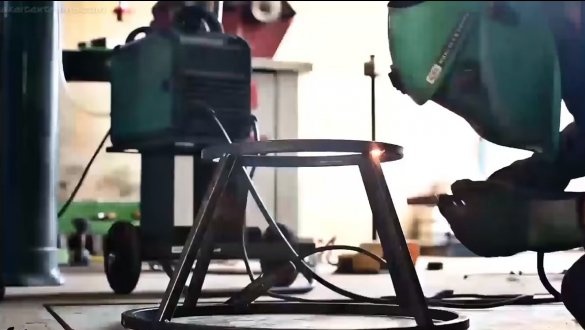
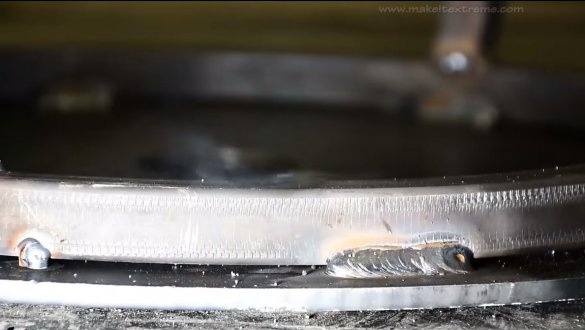
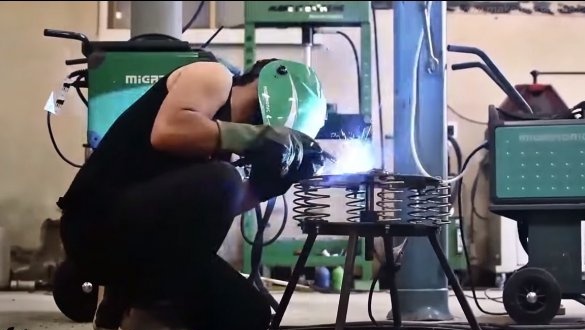
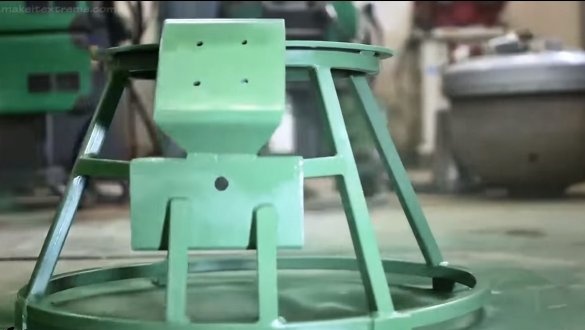
We make the basis for the machine, its author made of profile pipes. Then the author used a pipe bender to make two rings, but it doesn’t have to be just rings, you can completely weld squares as well.
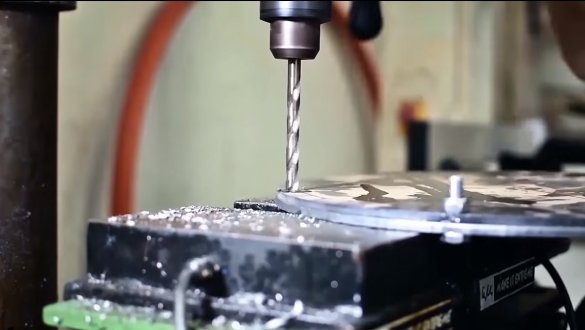
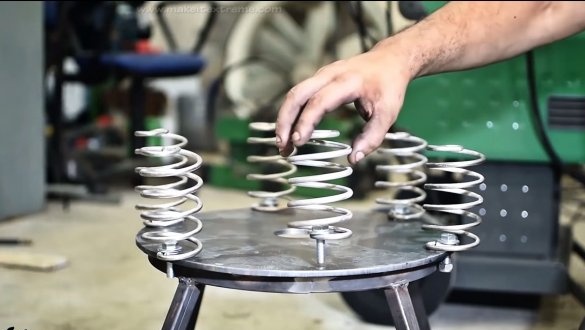
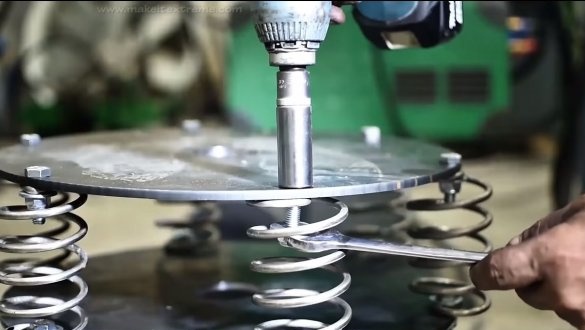
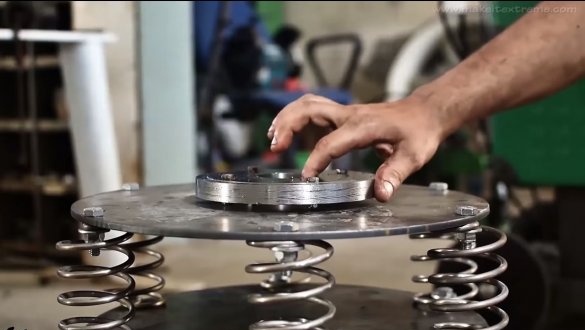
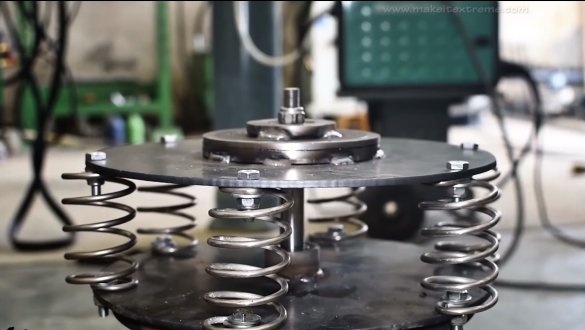
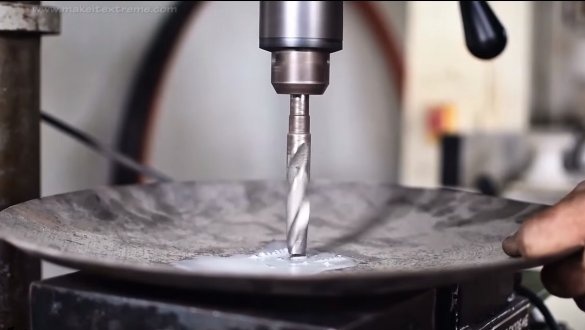
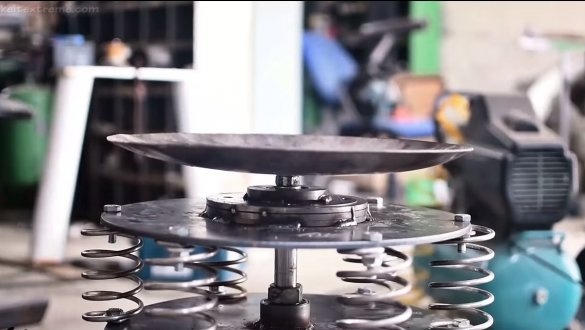
We weld a steel plate to the top, in which we drill holes.Here you need to install the springs on which the container will "vibrate". The springs are somewhat reminiscent of those used in classic seats for of bicycles. We fasten them with bolts and nuts, not forgetting the washers. Nuts are needed self-locking (with plastic inserts), or we use Grover washers, since vibration will “untwist” everything.
Step Three Top and vibration assembly
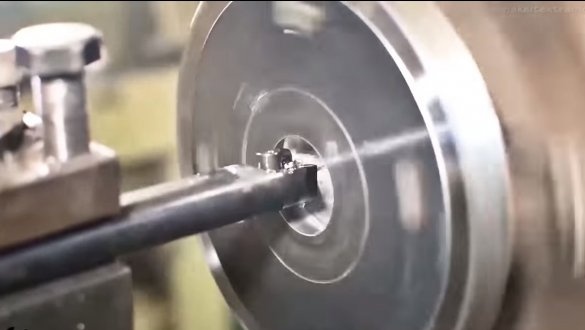
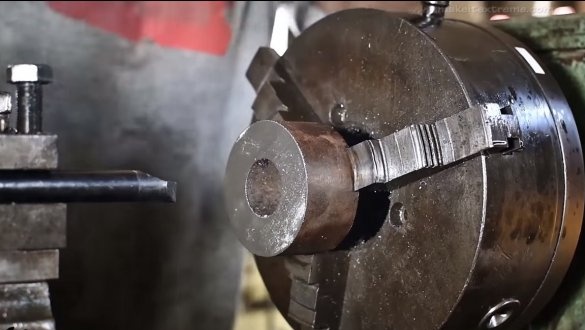
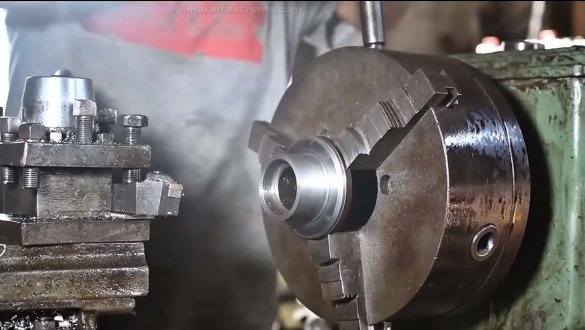
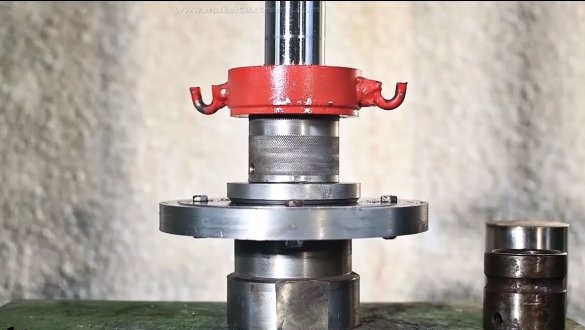
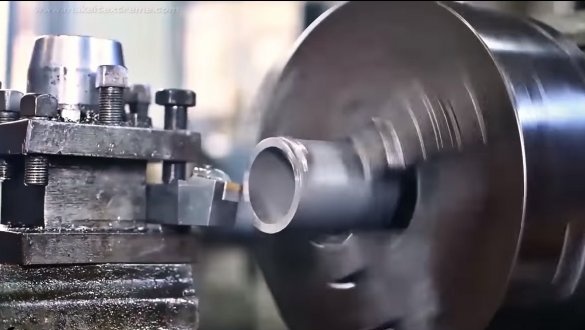
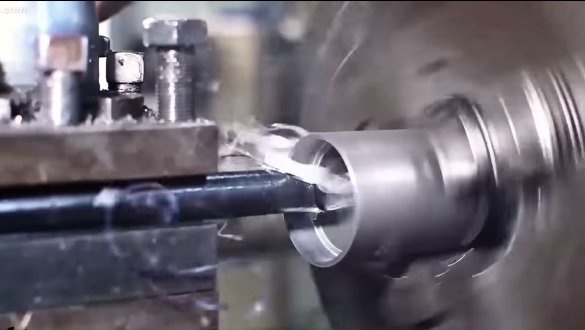
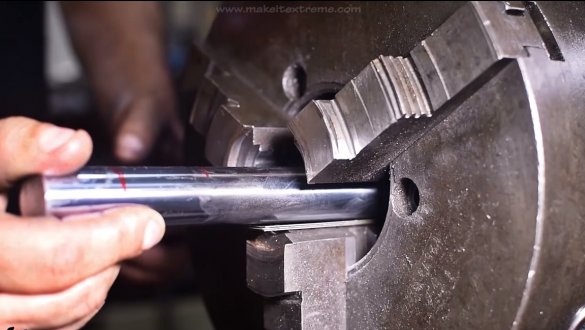
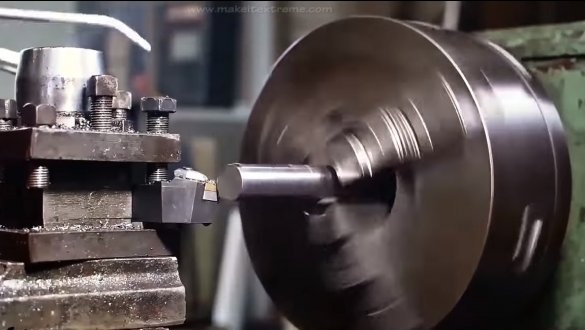
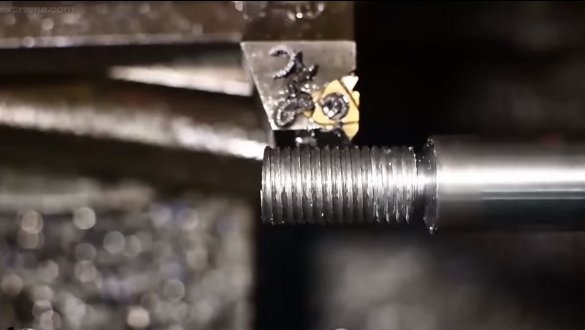
The upper platform is also made of sheet steel, a container will be installed here. As for the vibration unit, it is quite simple, despite the complex manufacturing process. The author grinds all the details on a lathe.
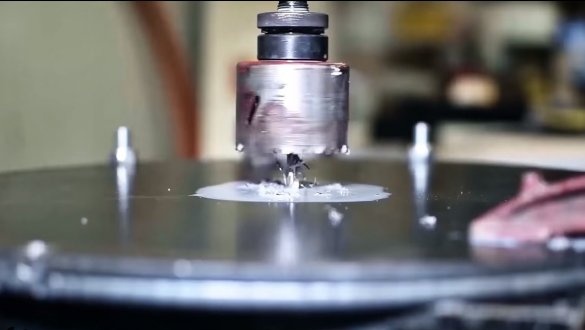
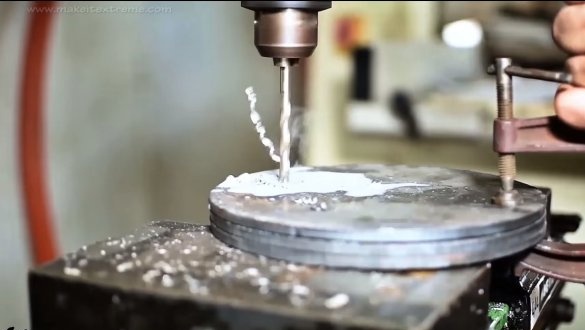
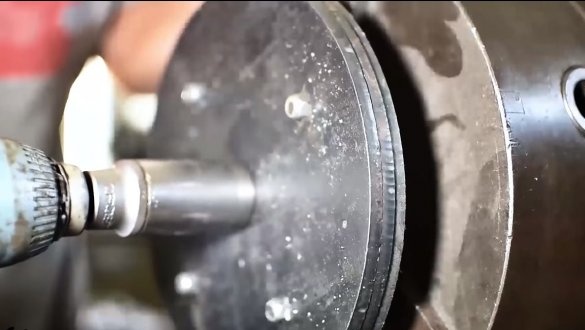
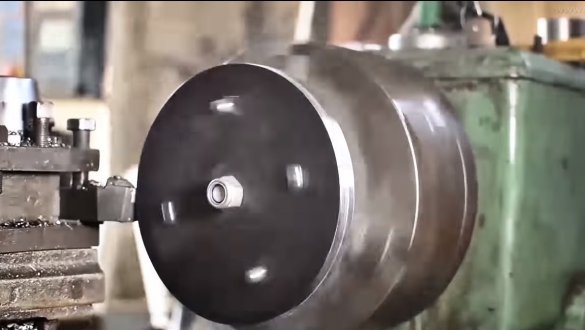
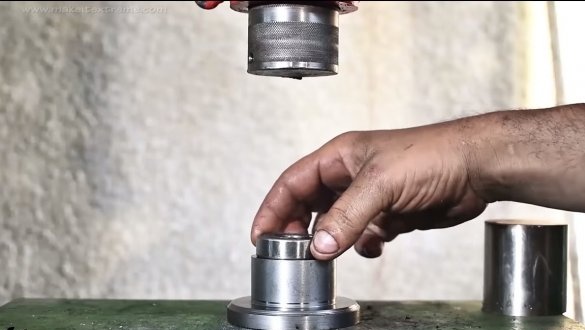
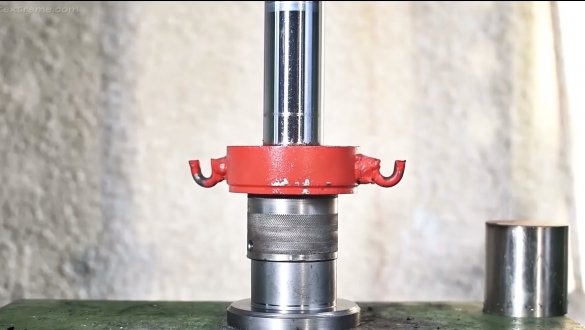
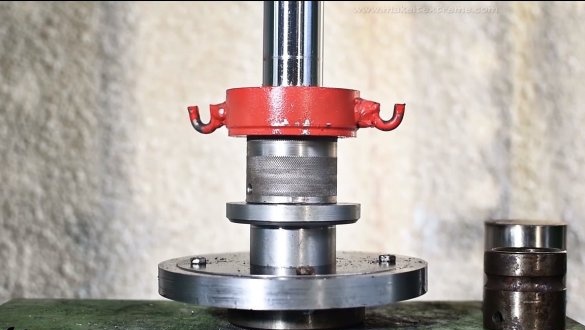
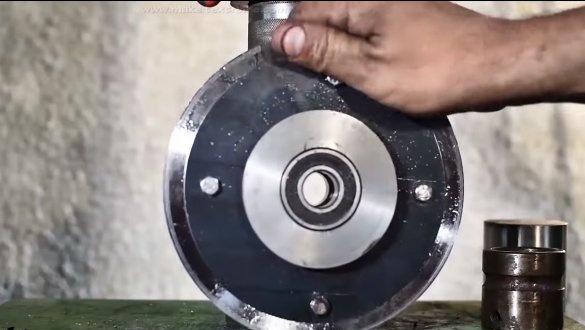
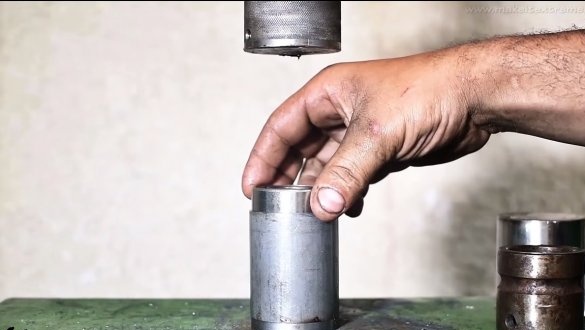
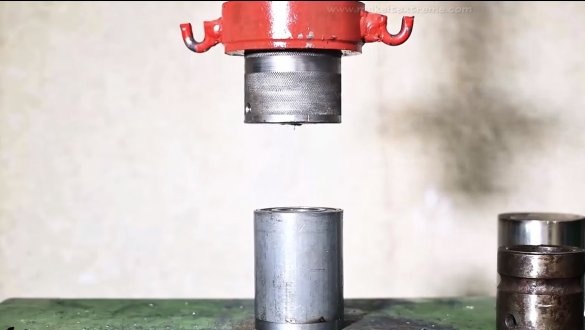
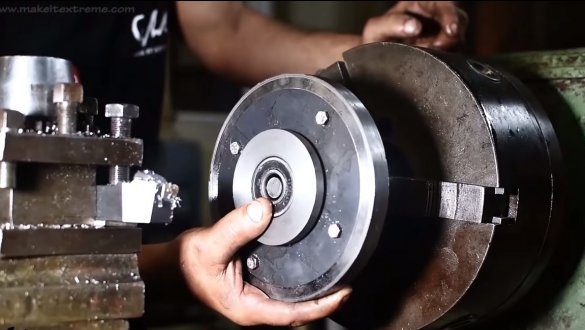
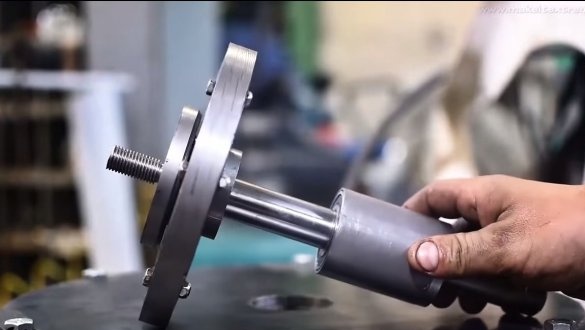
A flange is attached to the upper platform - a large steel plate with a bearing located in the center. To make the flange, the author connected three steel plates at once, and then processed them on a lathe. An axis that has a displaced center enters the flange, this axis is also made on a lathe. When the axis rotates, it “throws” the flange in different directions, thereby creating vibrations.
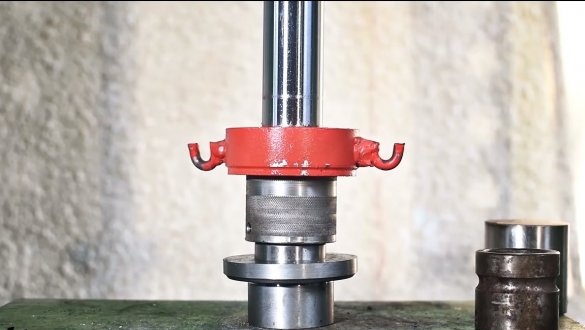
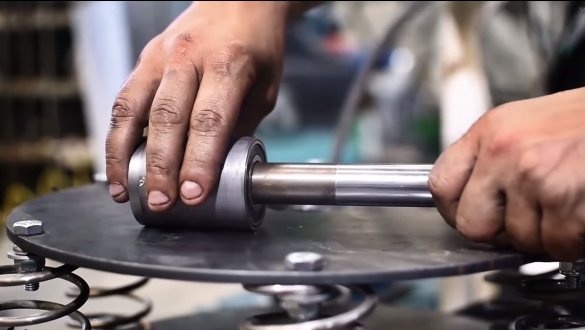
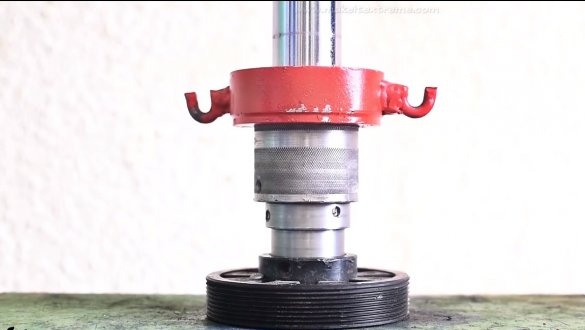
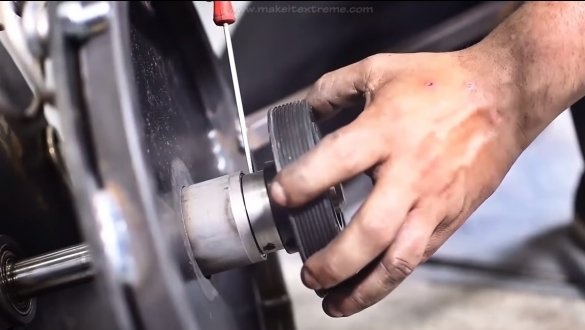
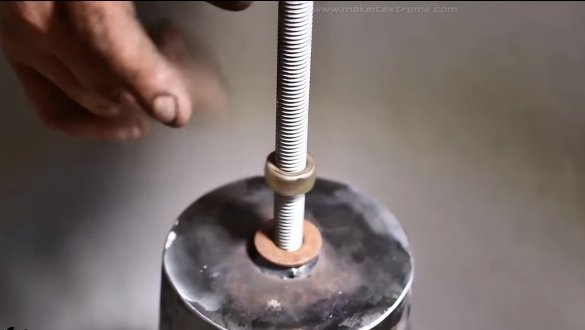
For the axis, you need to make a reliable sleeve, it is a piece of pipe in which ball bearings are pressed.
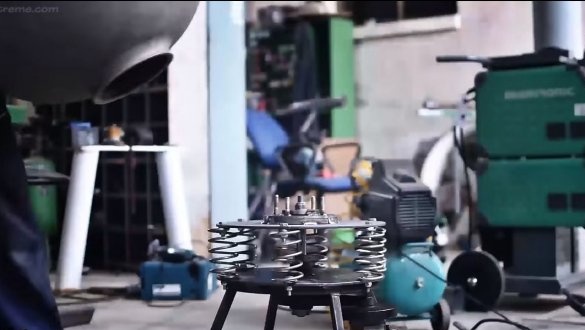
Well, then we collect everything, the sleeve with bearings is welded to the lower support, and the flange is welded or screwed securely to the upper platform. In the upper part, a nut is screwed onto the axis. That's all, after that the vibration unit is ready.
Step Four Engine and tank installation
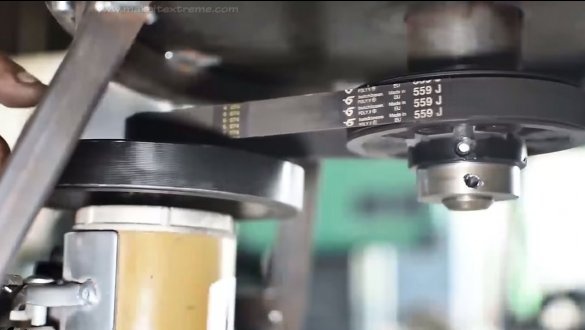
We install the engine, fasten it to the frame, the author did not show this moment. The drive is carried out through a belt drive, and it is lowering here. But what coefficient the author did not show. The heavier the tank, the more effort is needed to “swing” it.
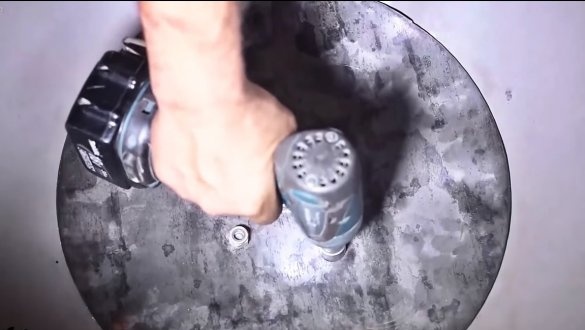
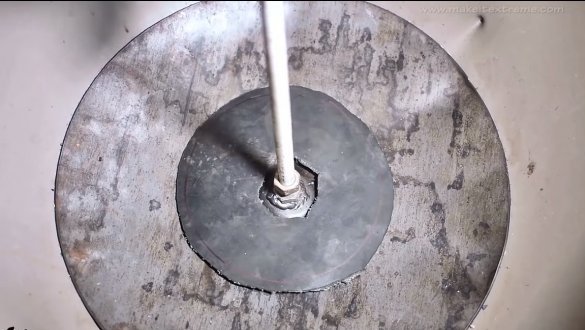
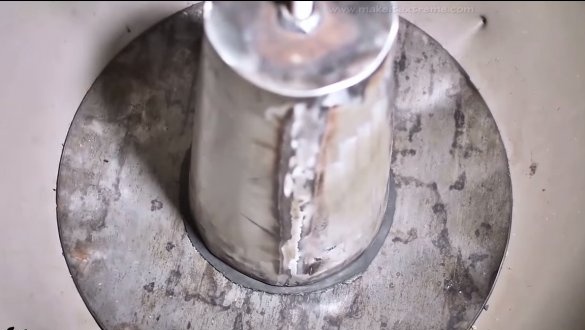
We establish the capacity, the author secures it with a neck. The container is fixed from the inside with a plate of a larger diameter than the neck. The plate is attracted by nuts and studs welded to the platform.
Step Five Cone
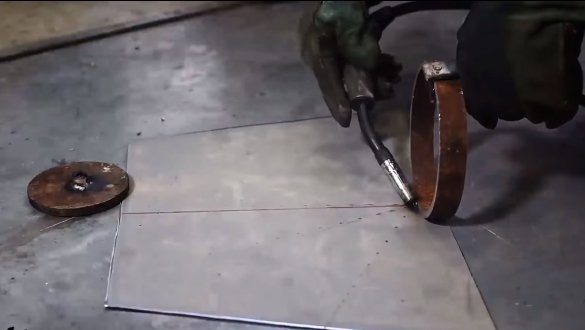
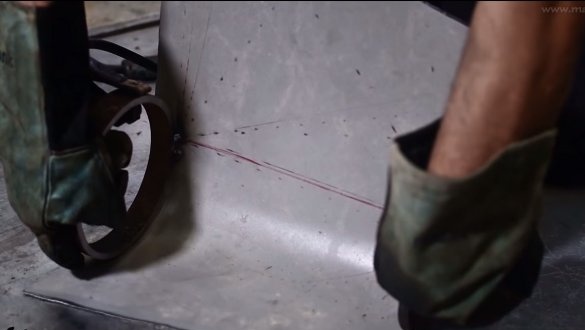
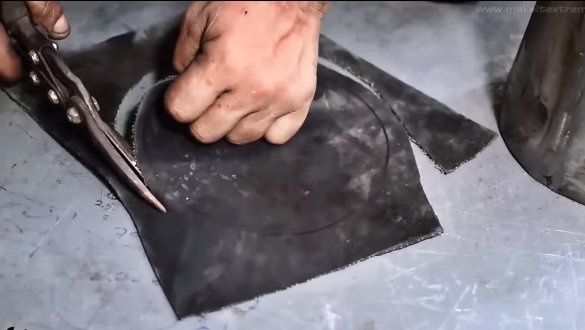
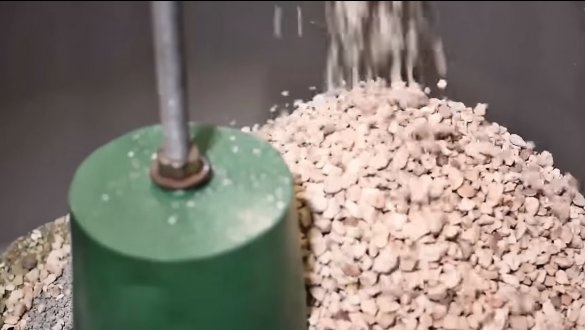
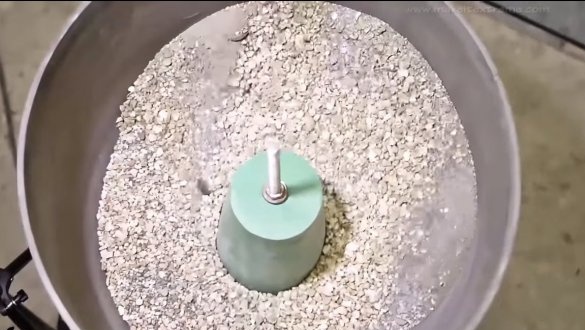
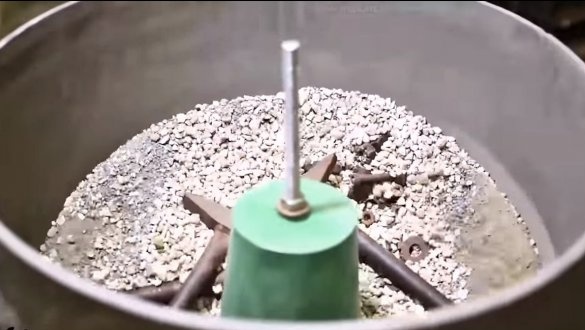
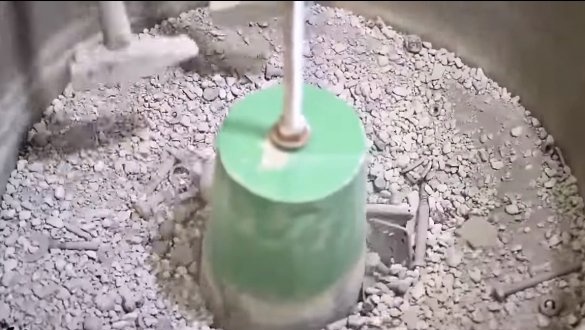
A cone is installed inside the container, which is made of sheet metal. It is needed for better mixing of abrasive and parts. When you turn on the machine, the abrasive starts plying through the tank, mixing well with the parts and thereby grinding them.
Step Six Finishing touches
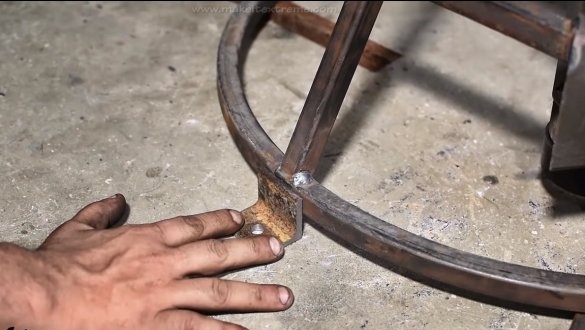
At the end, we weld the legs to the base, which are used as steel corners. Then you can attach or attach pieces of car tires or other rubber to the corners.
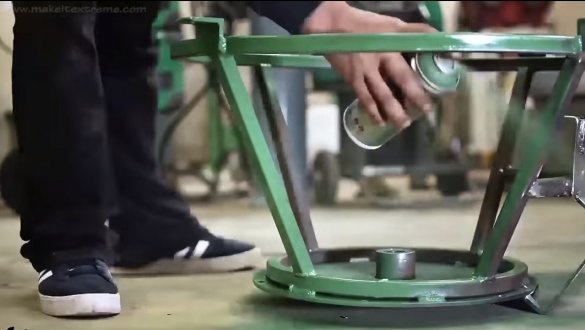
That's all, now the machine will only have to paint. It looks respectable, and now it will not rust.
Seventh step. Test
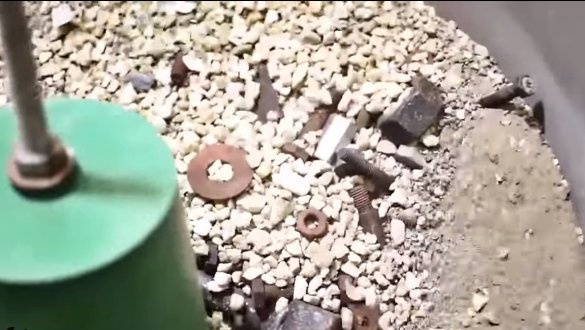
We put abrasive into the container, the author has crushed stone. Well, then we immerse the workpieces, the author fell asleep nuts, bolts, and also left the old rusty hammers. The capacity has a fairly large volume of as much as 100 liters, so you can fill up a lot here, the question is only in engine power.
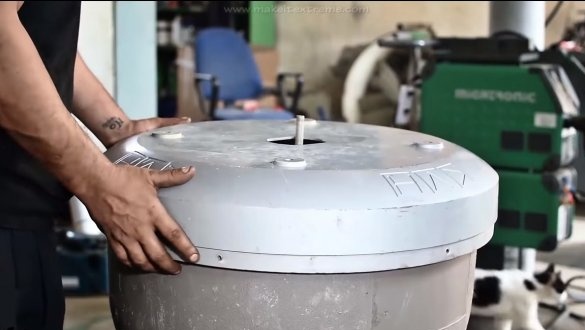
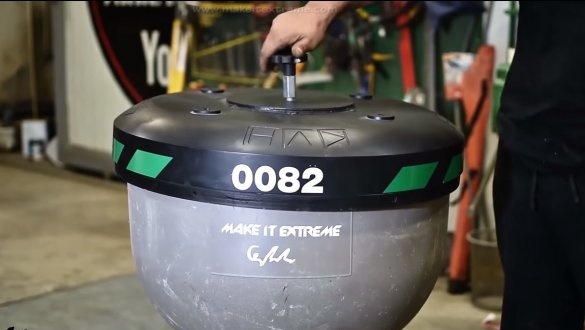
We turn on the car, set the desired speed and go do our own thing. To prevent dust, the author has provided a plastic cover, which is fixed with a nut on top. Such a lid can be made from the bottom of the barrel and so on.
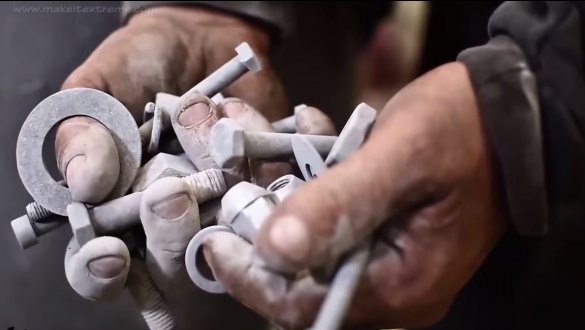
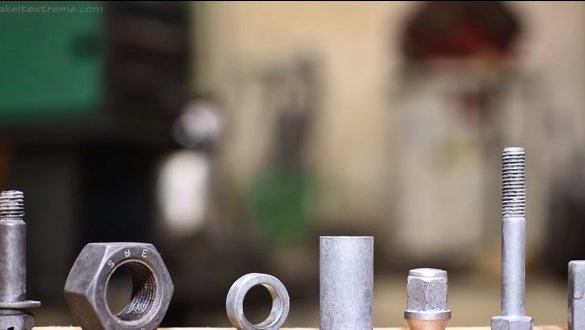
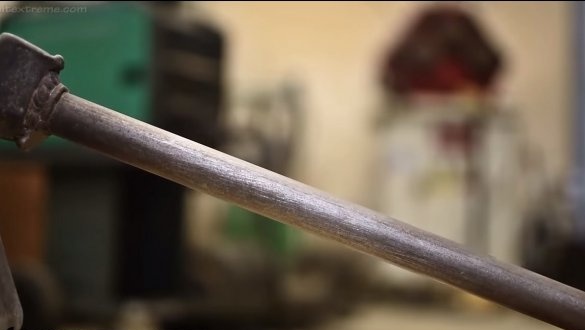
After a while, parts can be pulled out. After washing from dust, they will begin to sparkle, not only nuts and bolts, but also hammers were perfectly ground. However, for every detail you need to use different abrasives, well, or you can try to use a mixture of large and small pebbles.
That's all, the project is over, I hope you liked the home-made. Good luck and creative inspiration, if you decide to repeat this. Do not forget to share your ideas and homemade things with us!

