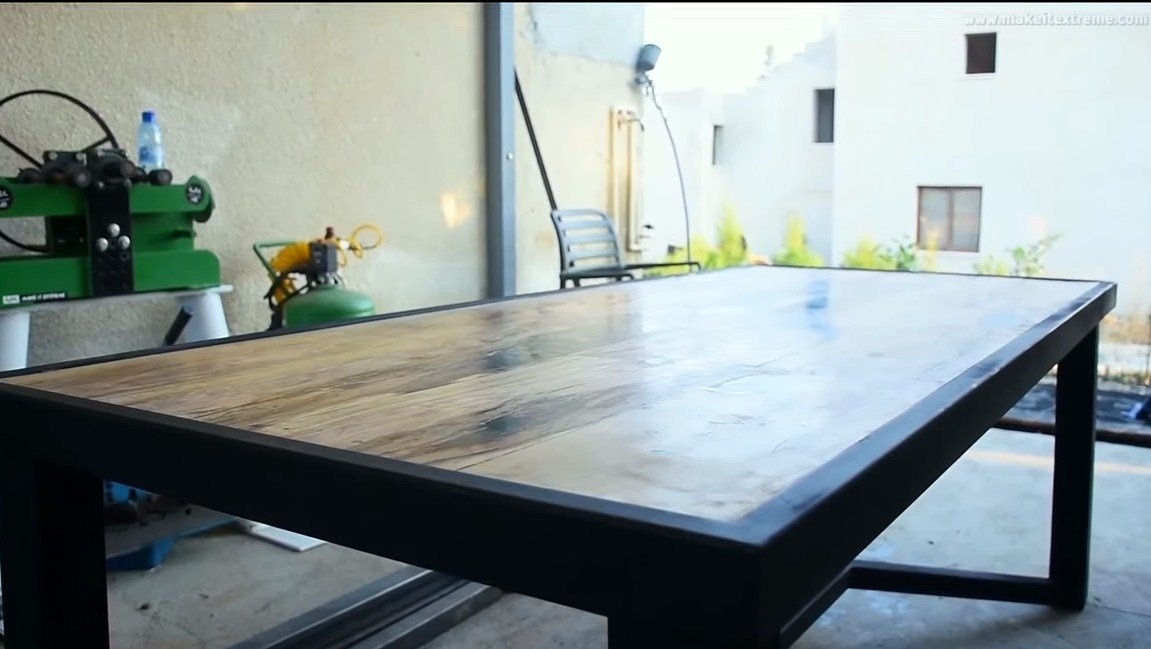
Hello everyone, in this instruction we will look at how to make a large, beautiful and strong dining table. Of course, the author used the equipment for its manufacture quite seriously, but the material contains a lot of useful information on the manufacture and you, for example, can easily make such a table, only smaller.
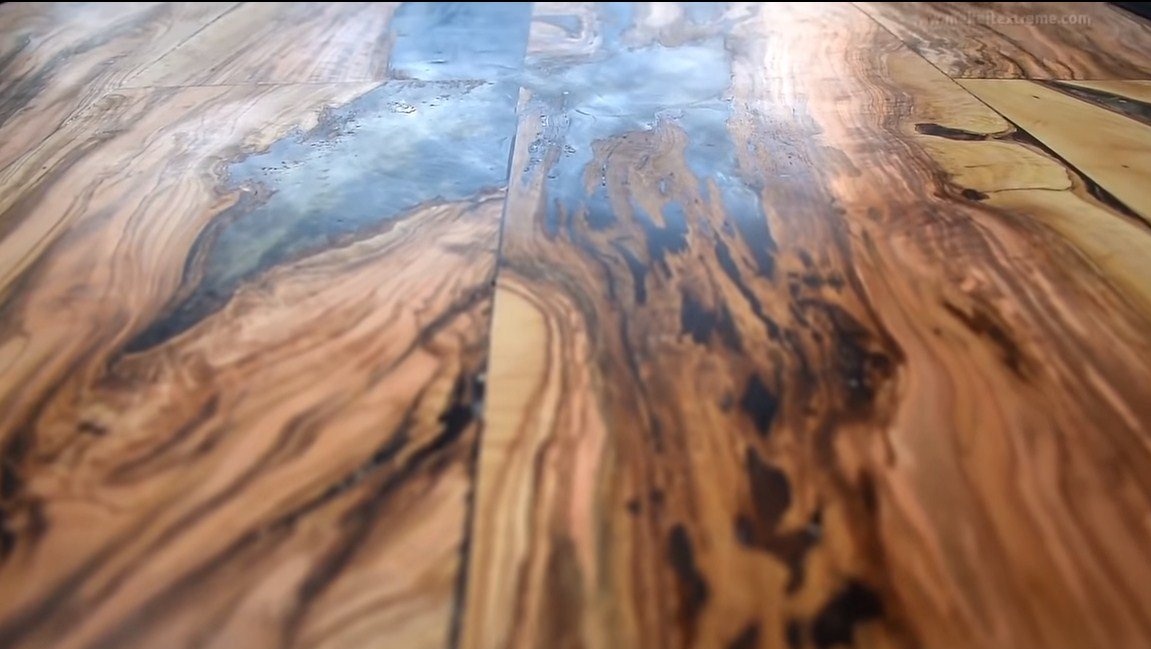
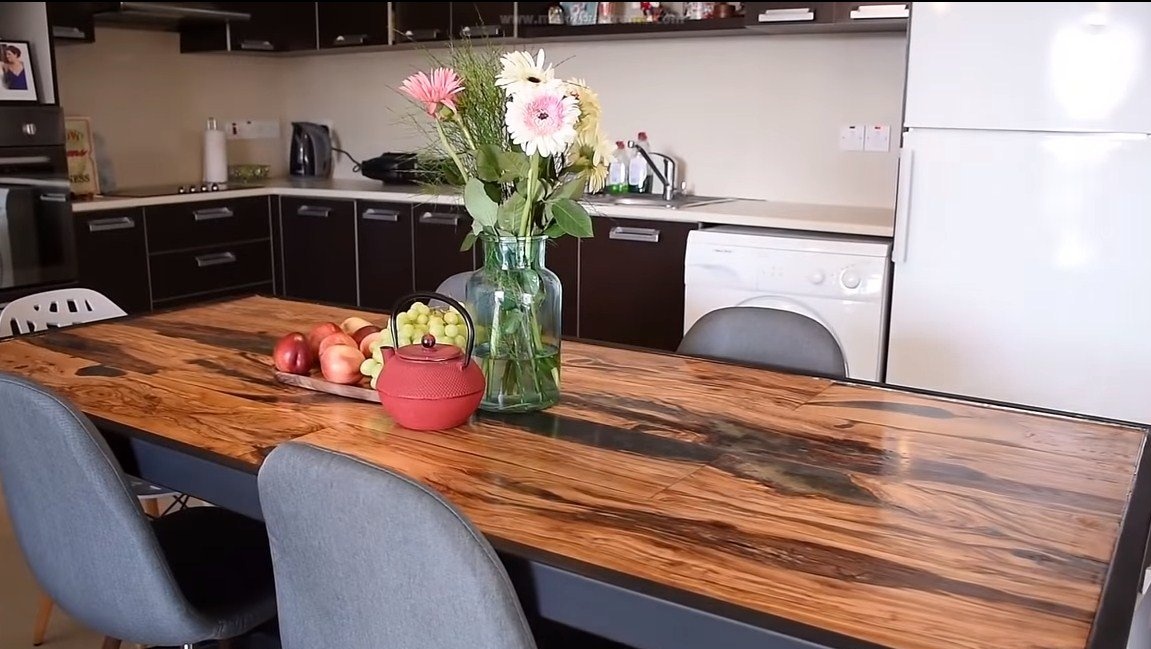
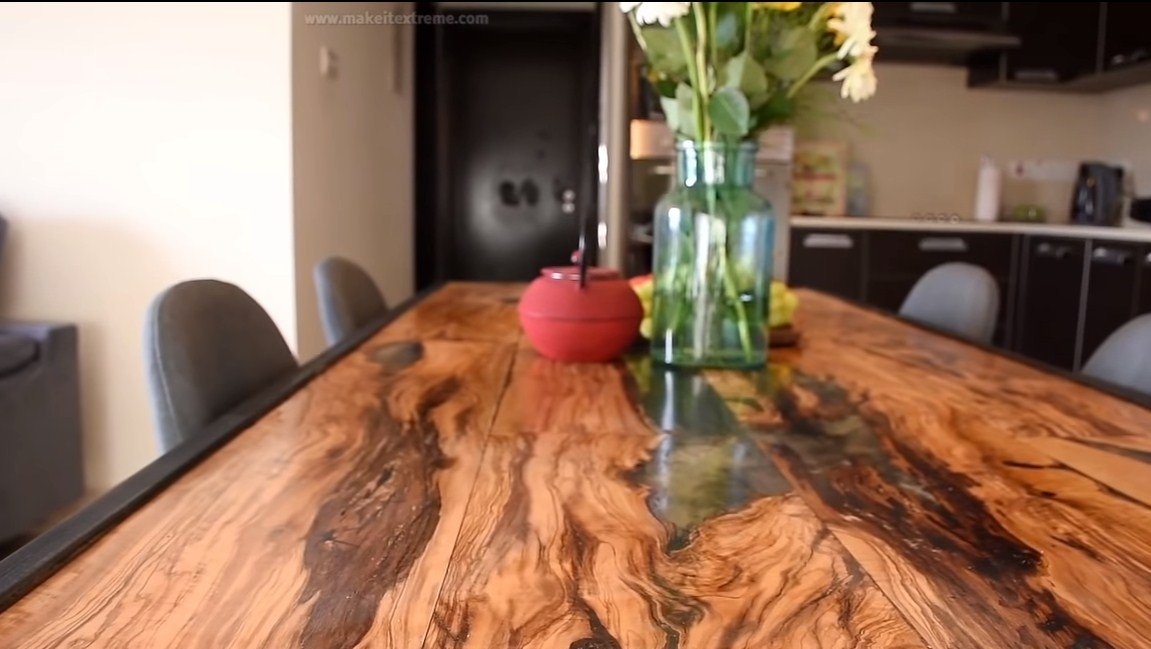
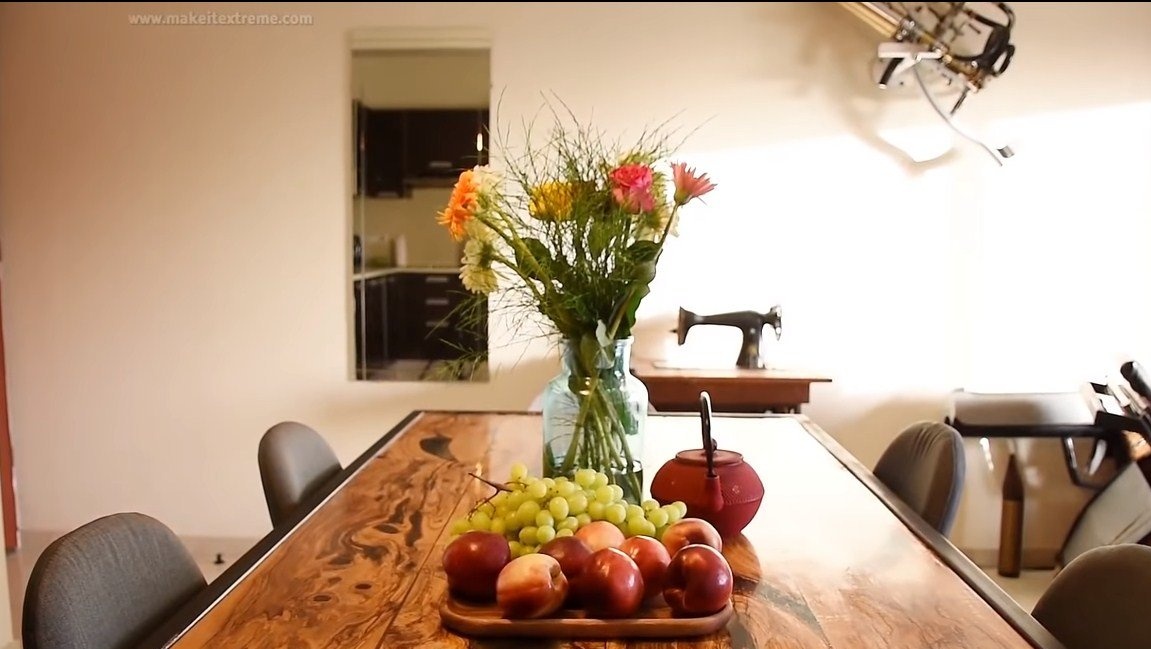
The frame and legs of the table are made of metal, profile pipes were used here, the material is common and can be found in almost any construction supermarket. As for the countertop, everything is more complicated, it is cast from epoxy. The main material was an old olive tree, which the author cut into boards with a beautiful texture. Epoxy resin is needed in order to glue and preserve all these boards, as well as to form similarities of rivers and lakes on the countertop. The design of the countertop is such that it can easily be done here and backlighting. If you are interested in the project, I propose to study it in more detail.
Materials and tools used by the author:
Material List:
- plywood (the basis of the countertop);
- wood with a beautiful texture;
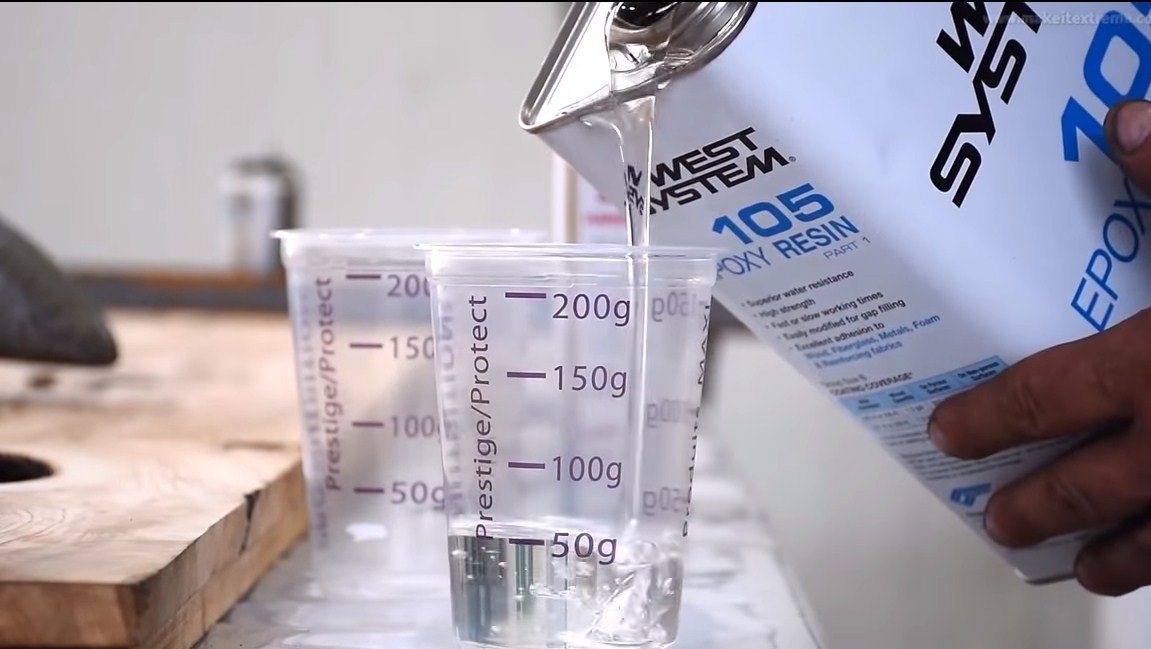
- epoxy resin;
- dye for resin (optional);
- carpentry glue;
- profile pipes;
- self-tapping screws;
- varnish.
Tool List:
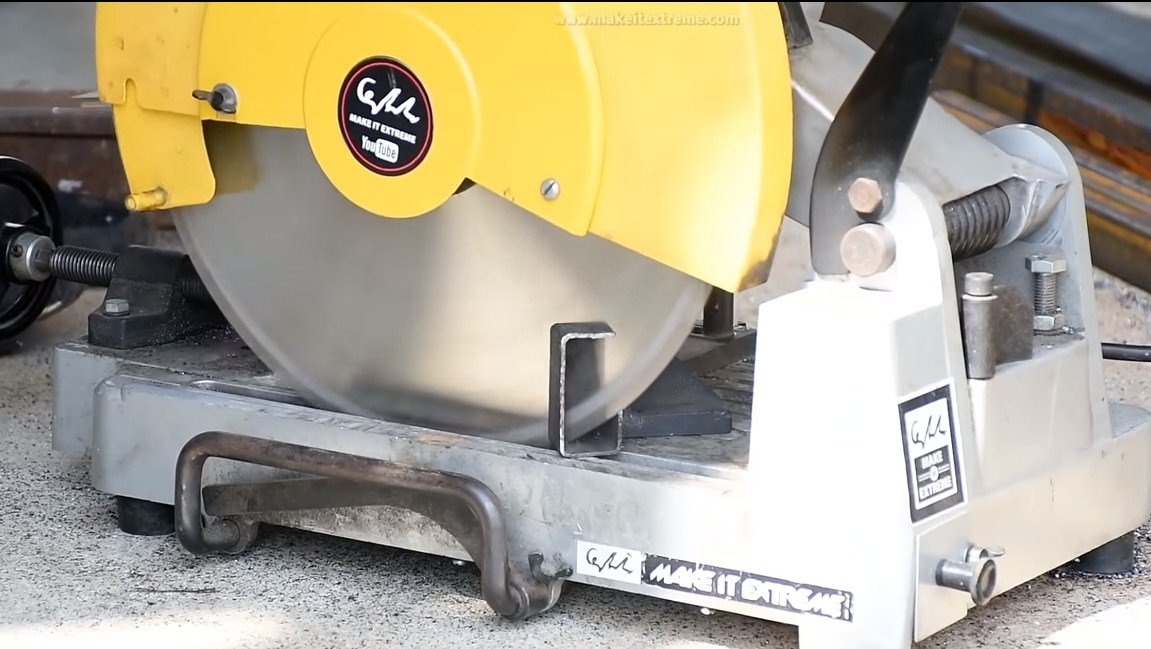
- tape cutting saw;
- Miter saw;
- drill;
- jigsaw;
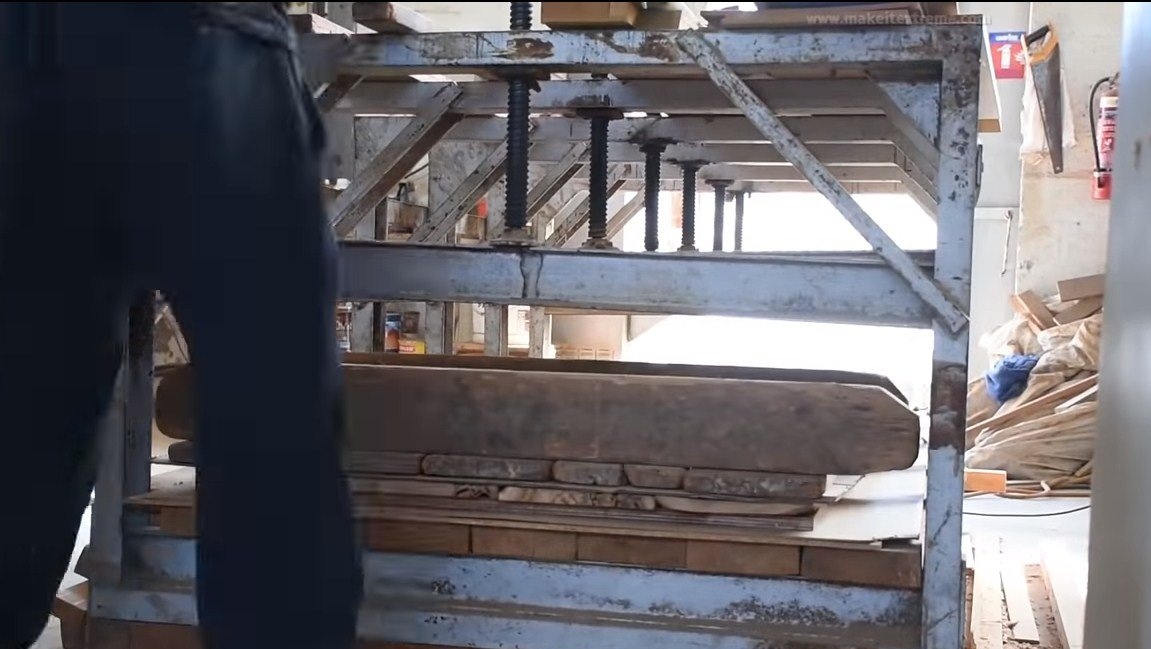
- a press for drying boards;
- gas-burner;
- welding machine;
- Bulgarian.
Table making process:
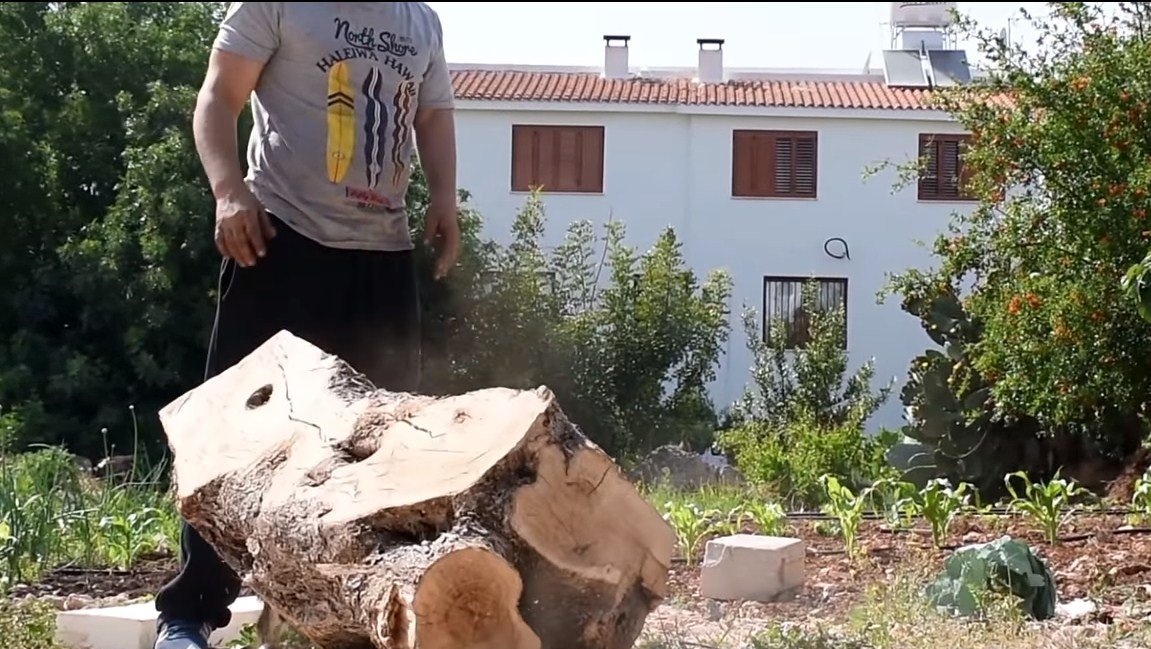
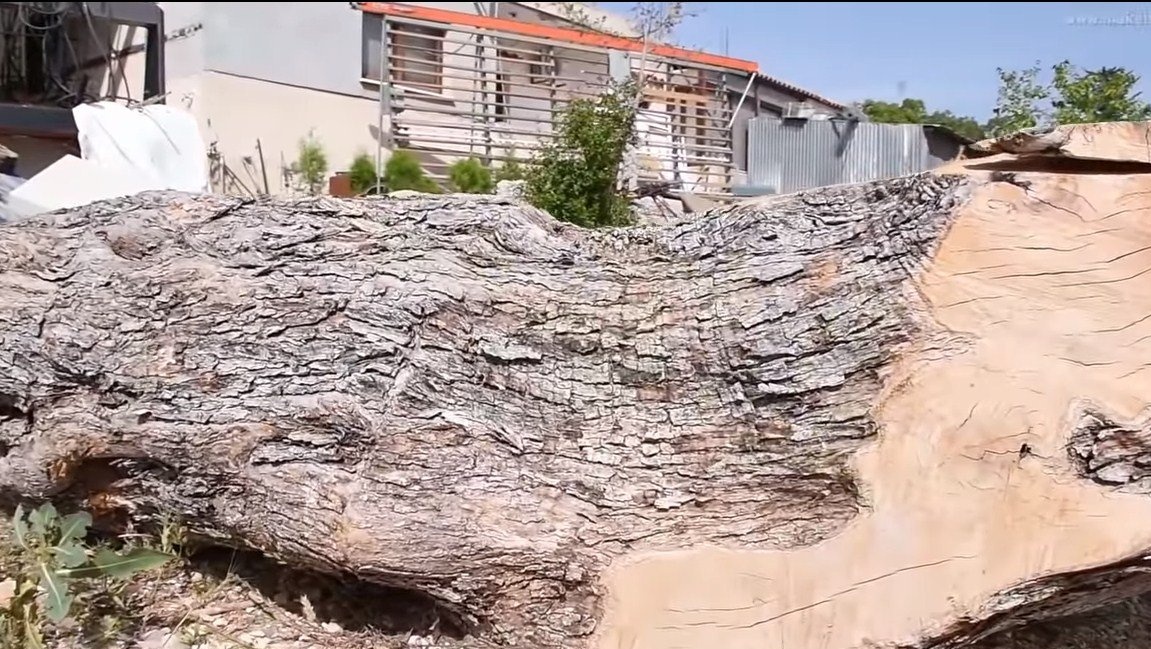
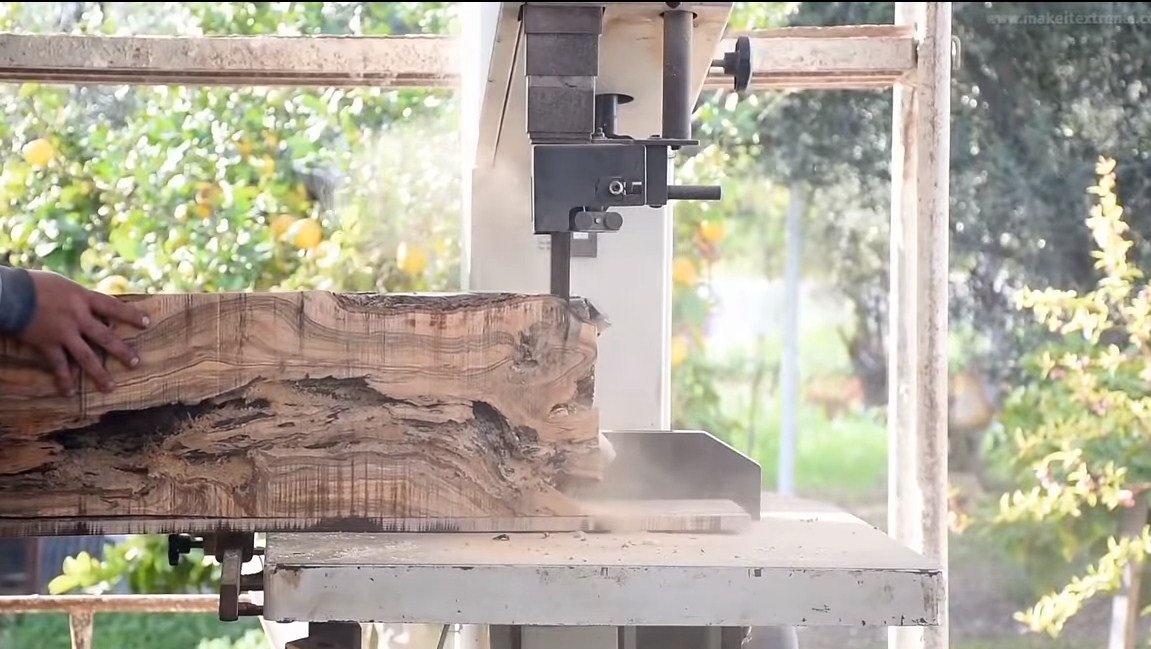
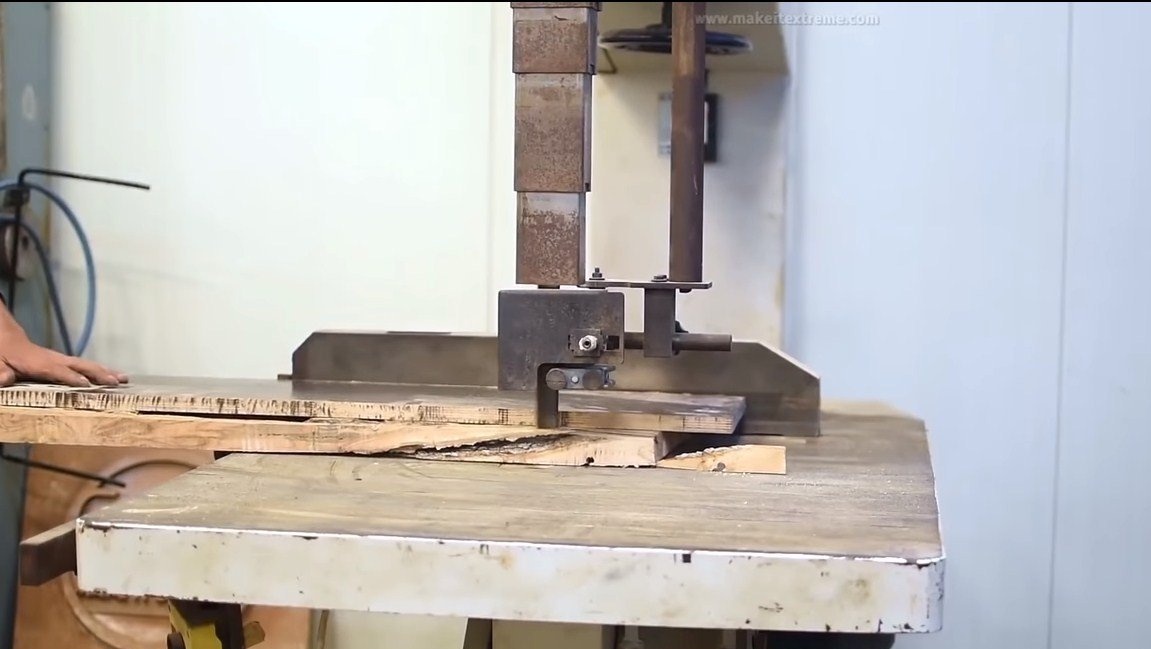
Step one. We cut boards
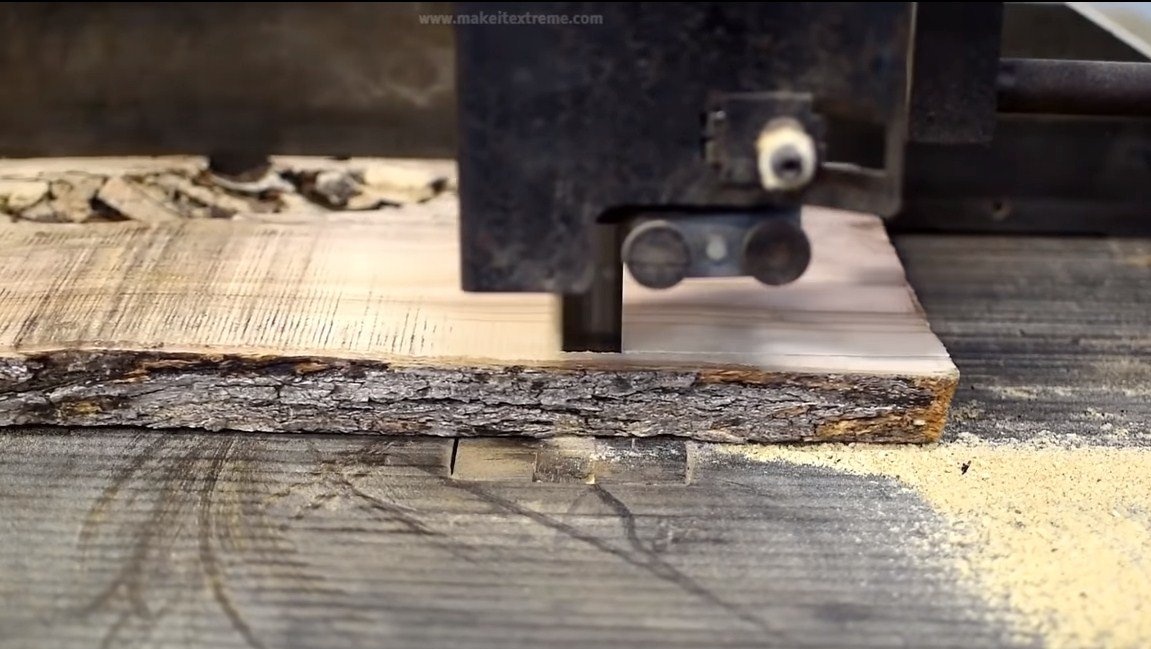
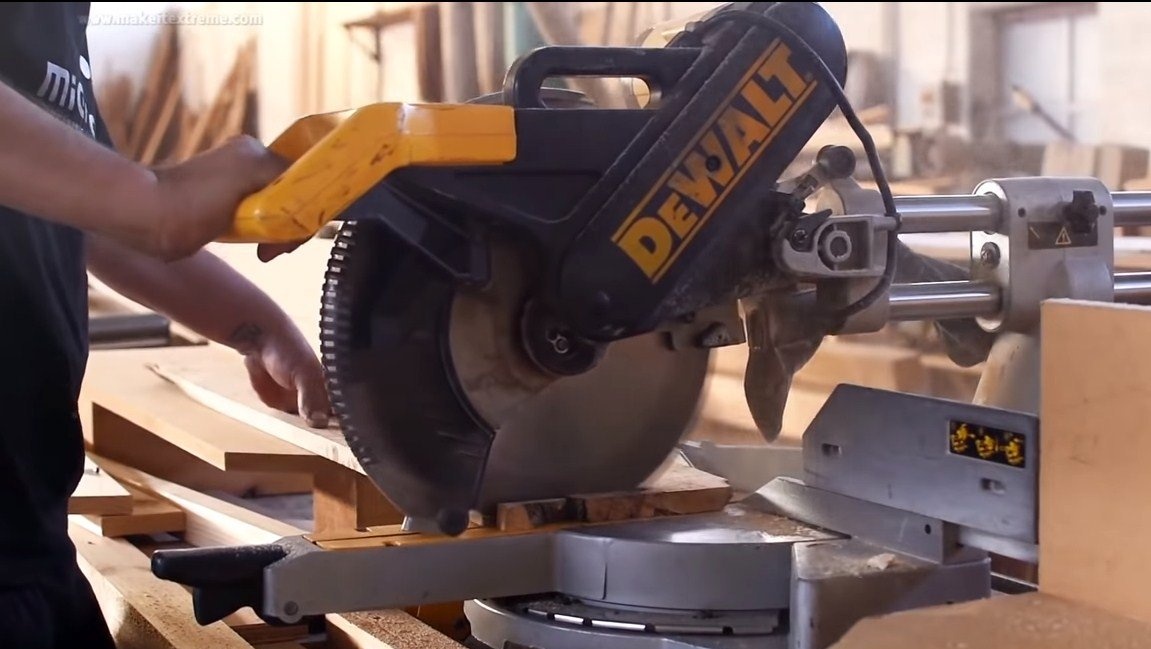
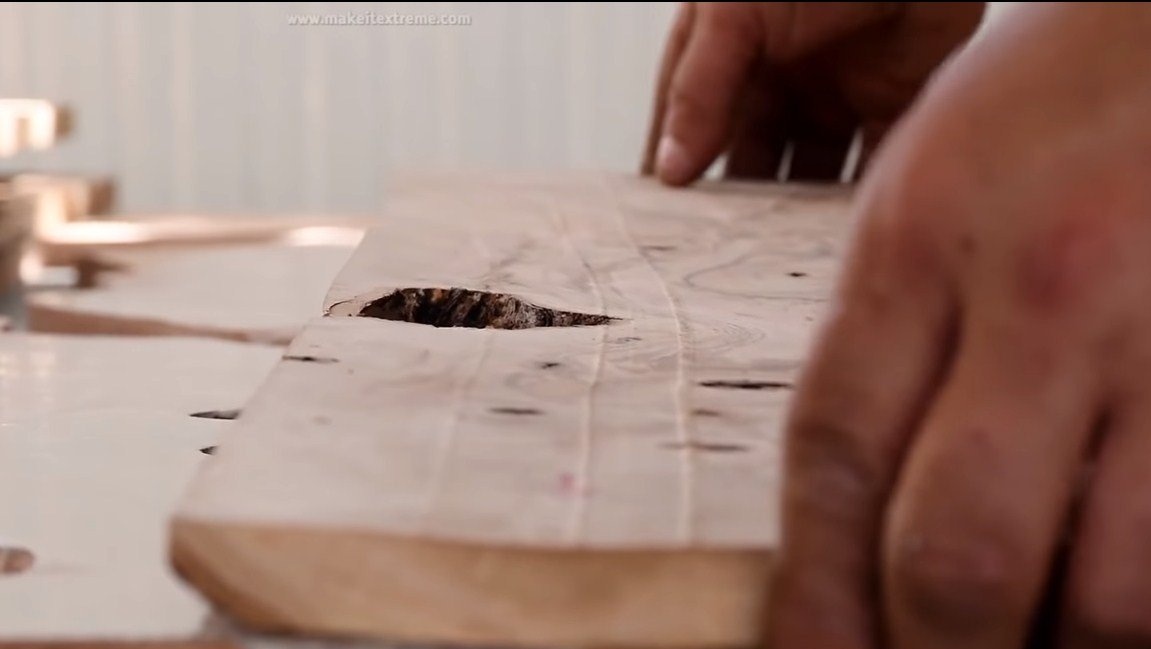
First, we need to dissolve the trunk of a tree or branches to get boards. For cutting, the author used a tape cutting machine. Note that the boards must be flat, as for filling there must be tightness between the base and the boards. Adjust the length of the boards with a miter saw.
Step Two: Preparing the Basics
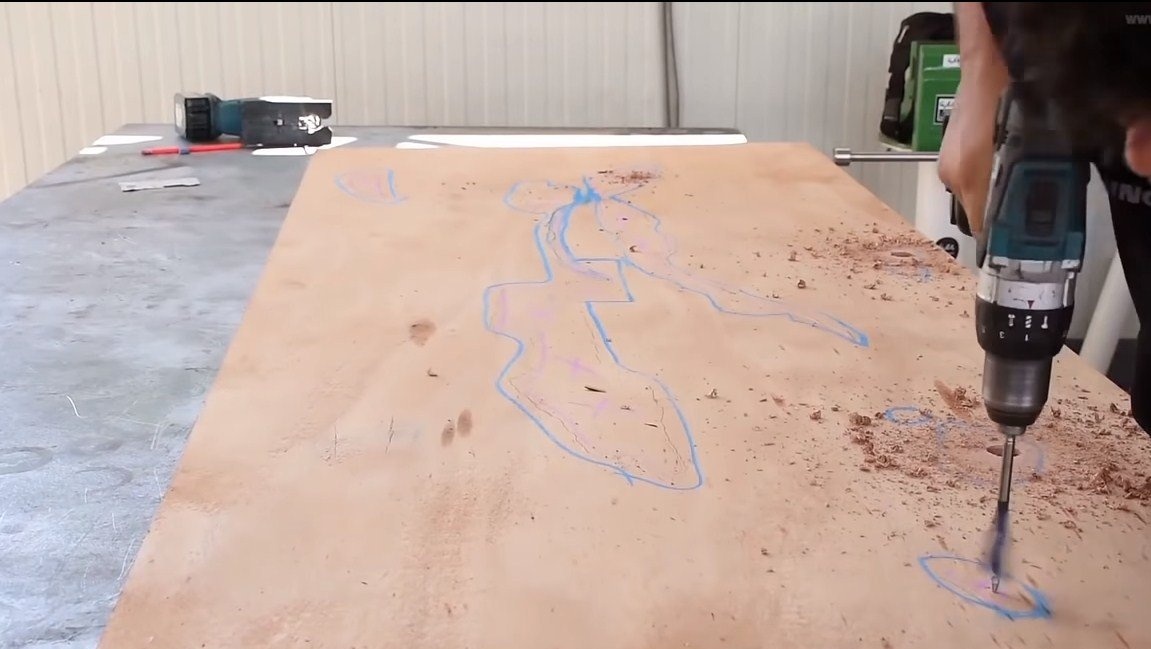
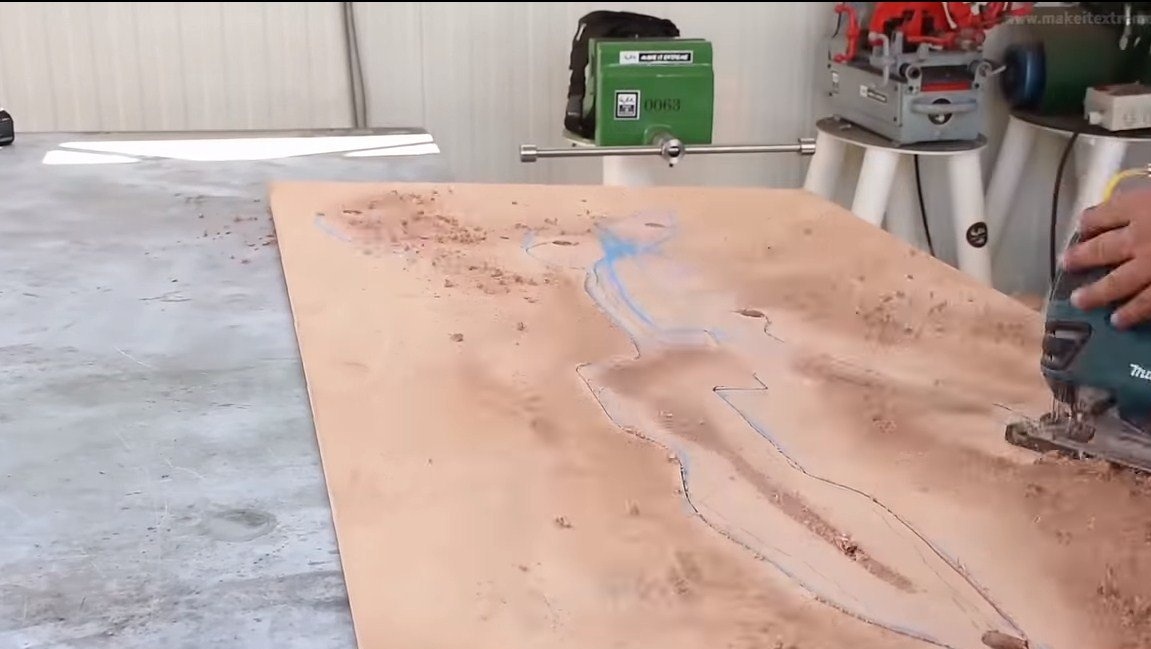
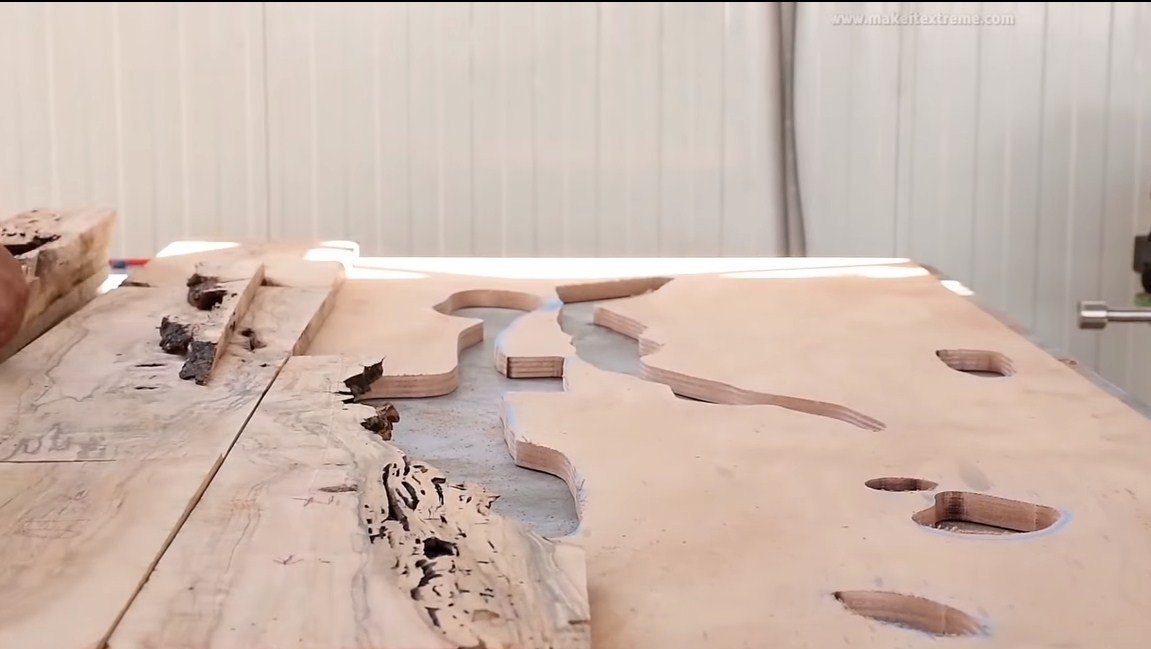
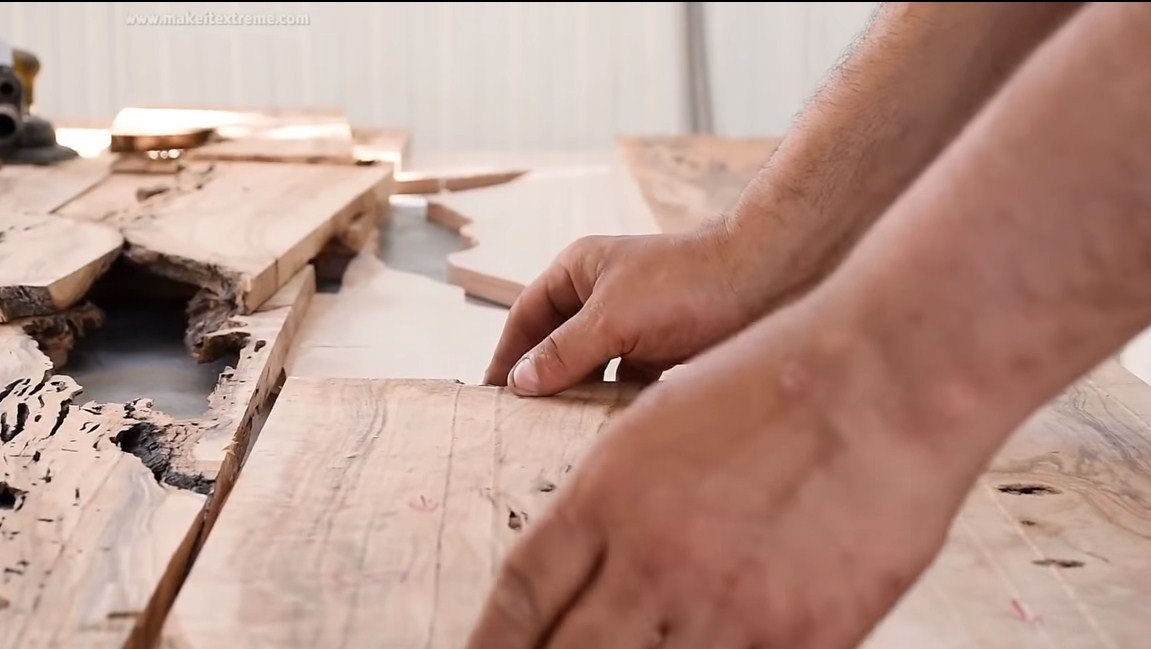
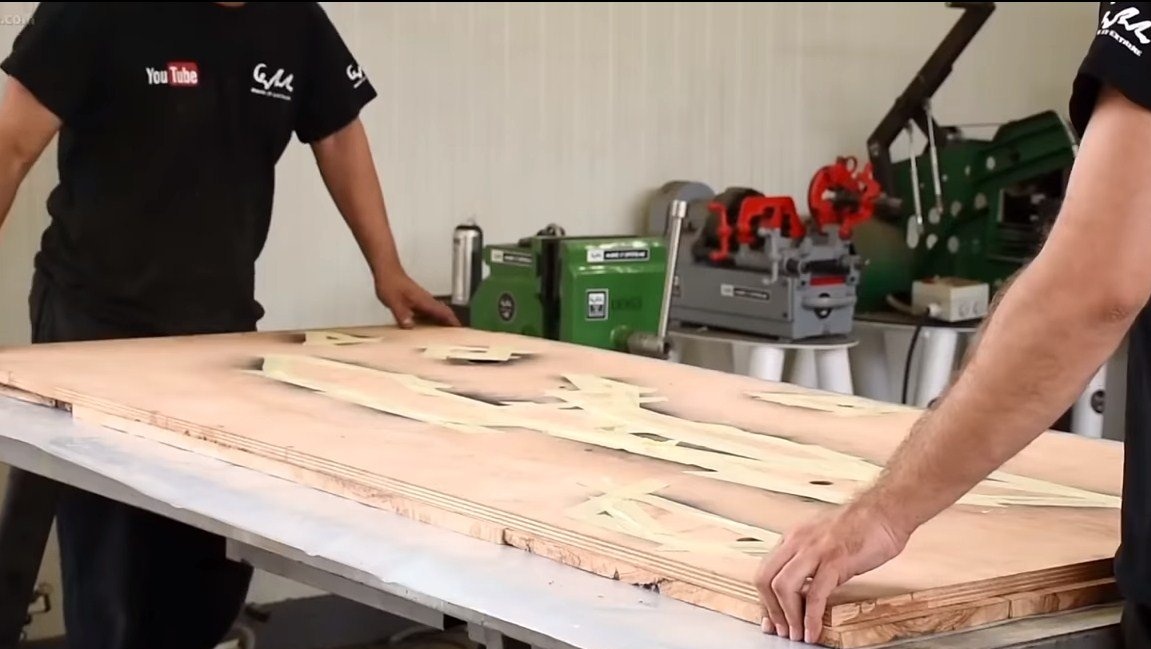
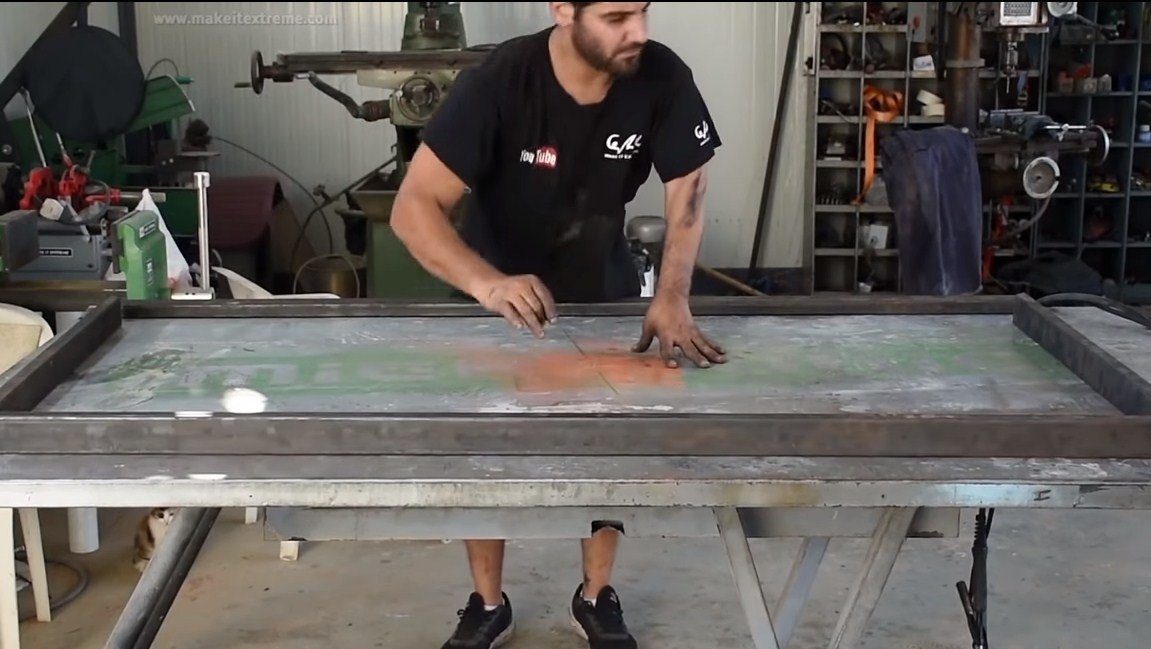
Plywood is used as a base, on it we draw a pattern of future rivers and lakes, and then we drill holes and cut out these parts. It is not necessary to throw out the cut out details, we will need them in the future.
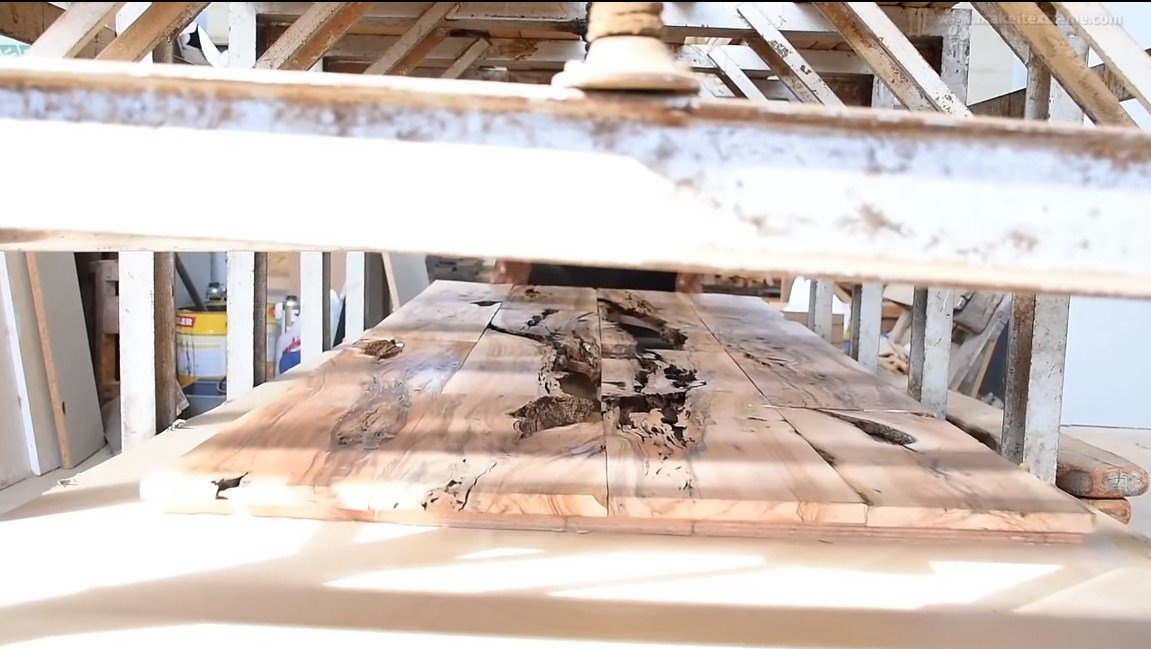
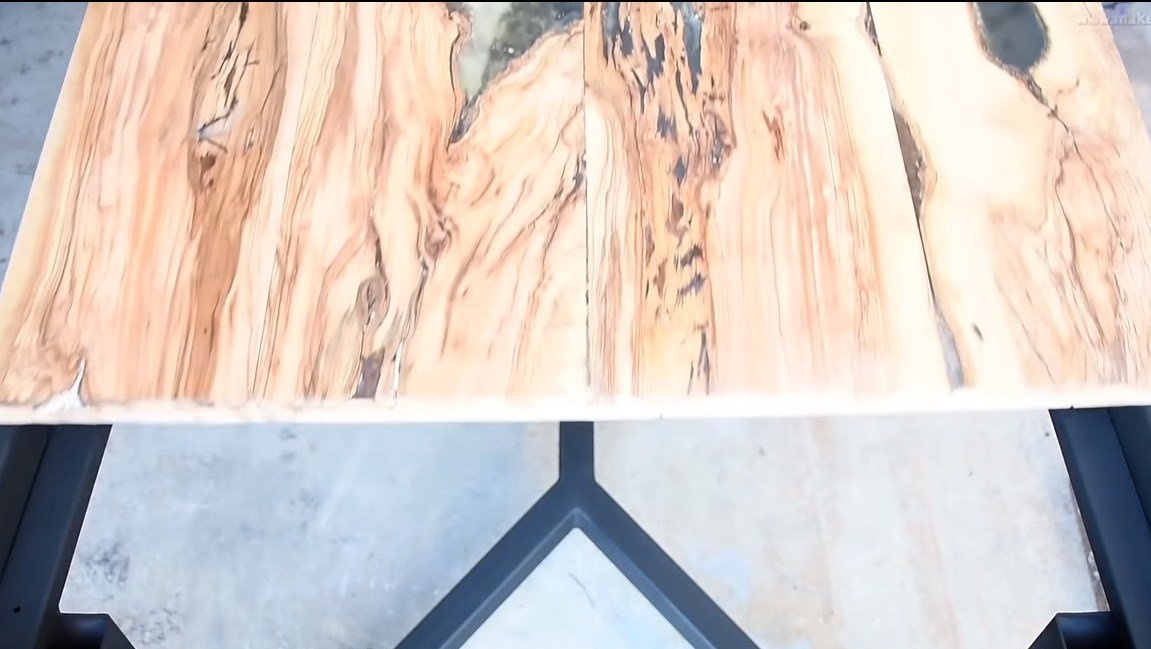
Next, lay out prepared boards on the base, in our case they are made of olive wood. We select an interesting pattern in accordance with cutouts on plywood. Once this is done, the boards need to be glued well to the plywood with wood or other glue. For drying and high-quality gluing, the author sends the future countertop to dry under a press. Here tightness between the planes is important, otherwise the epoxy will leak.
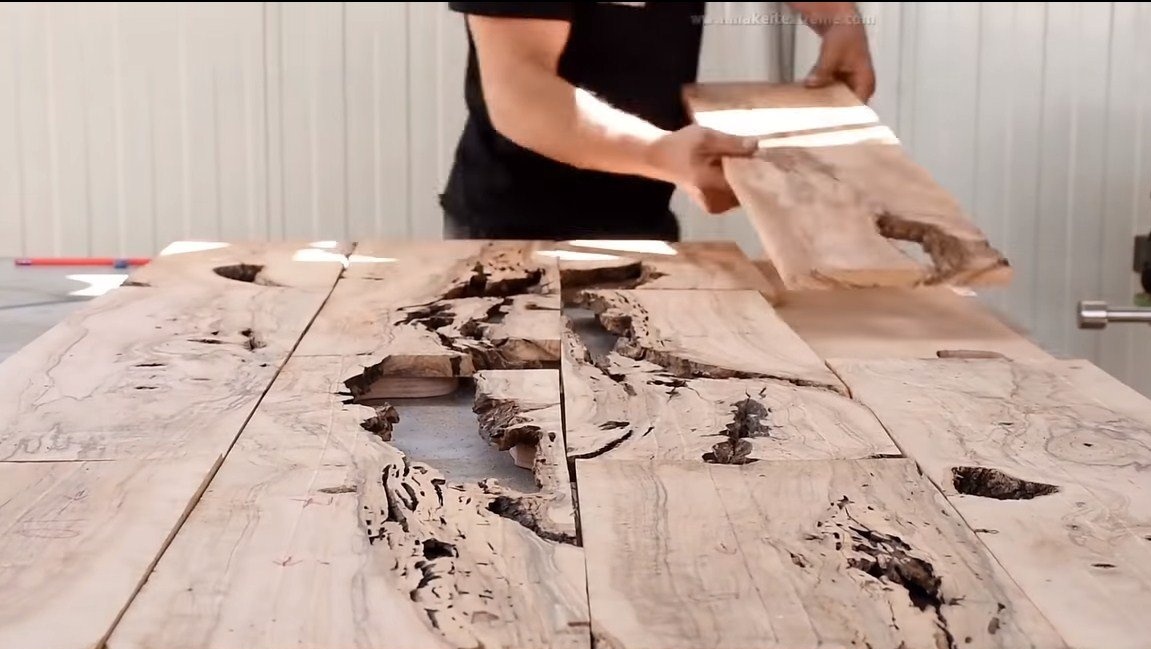
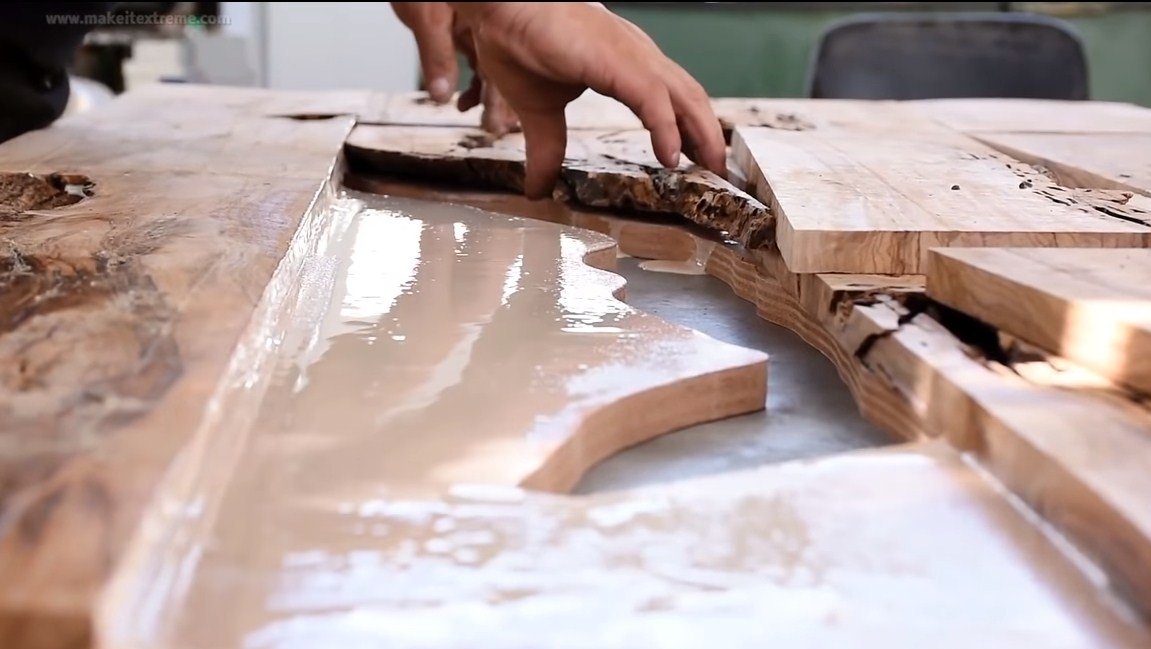
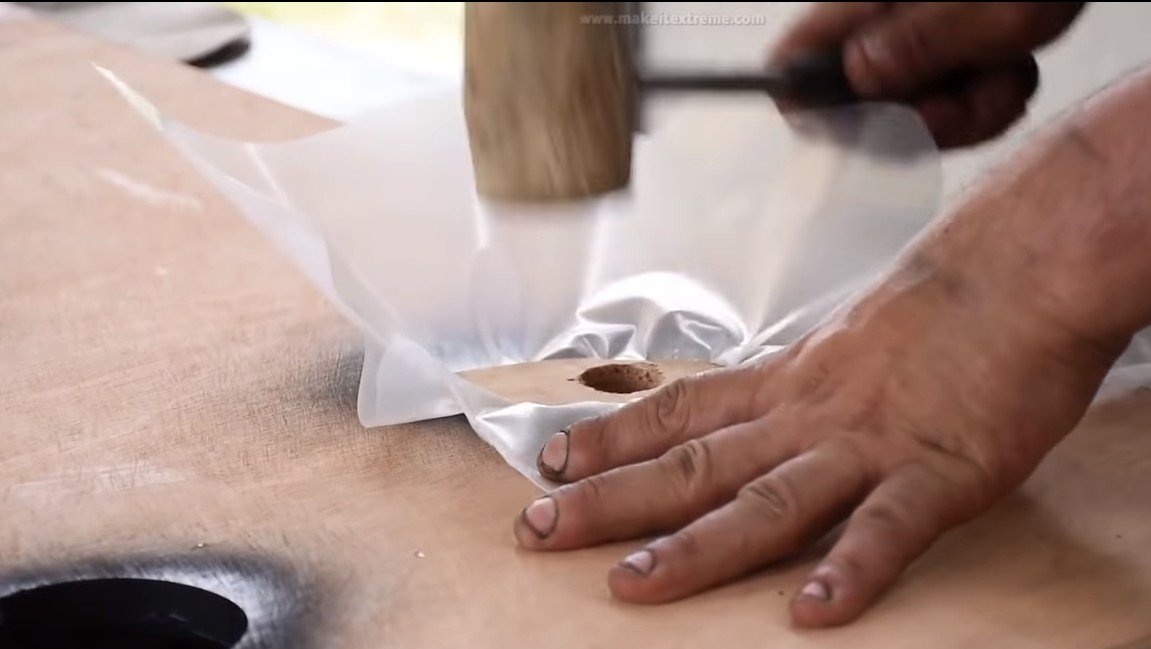
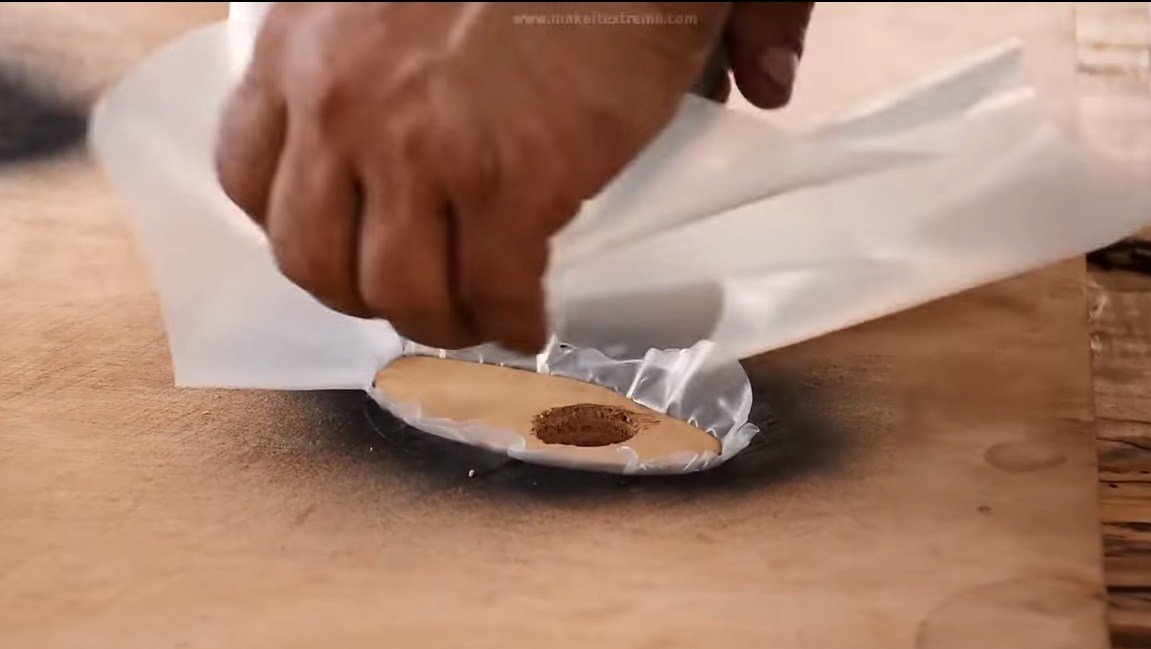
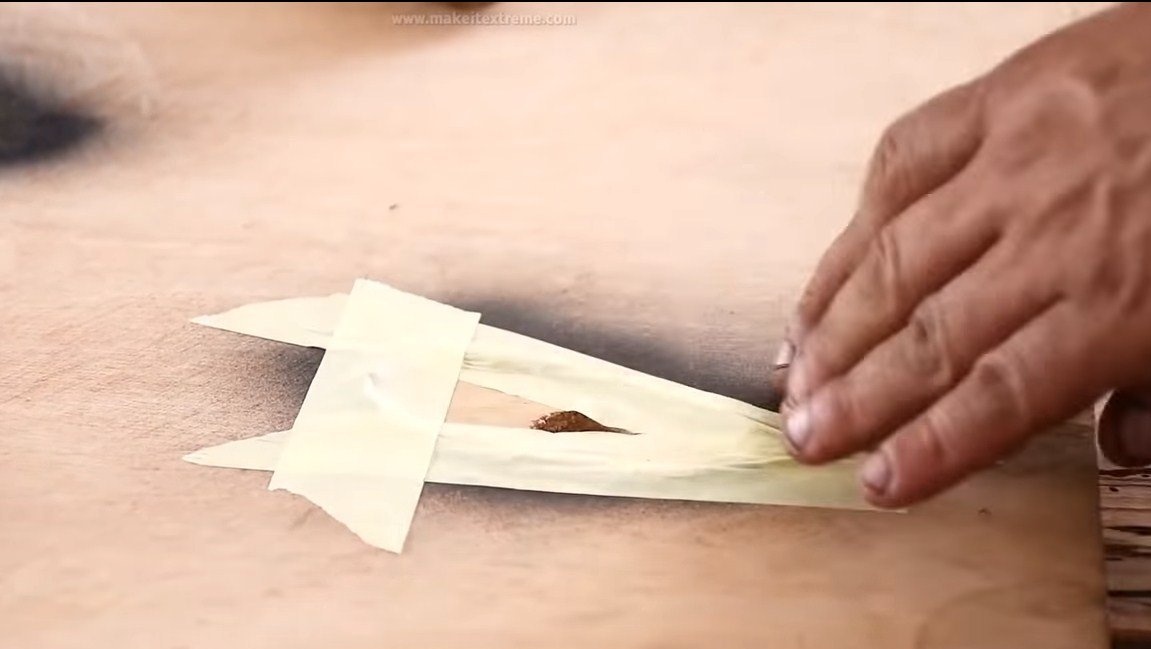
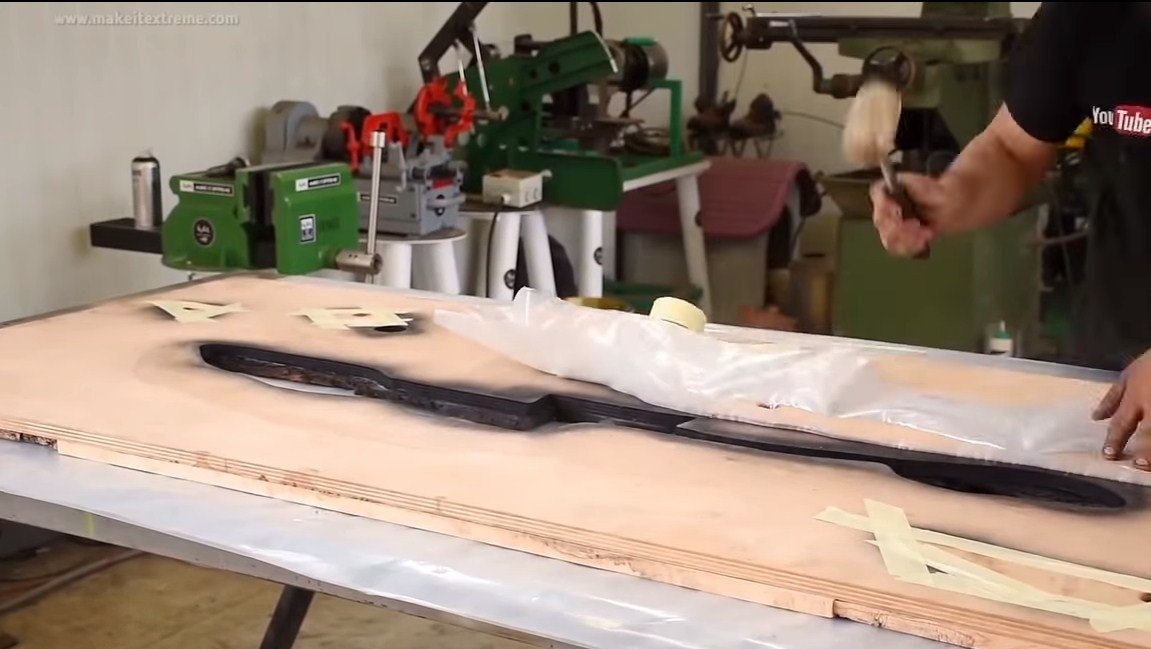
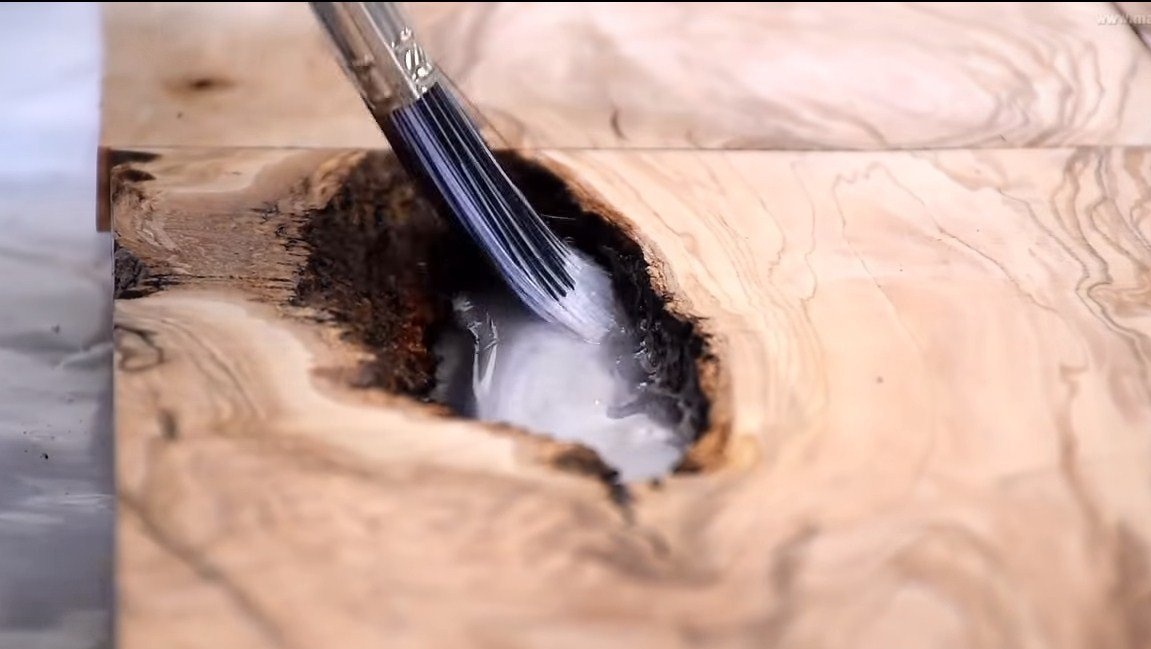
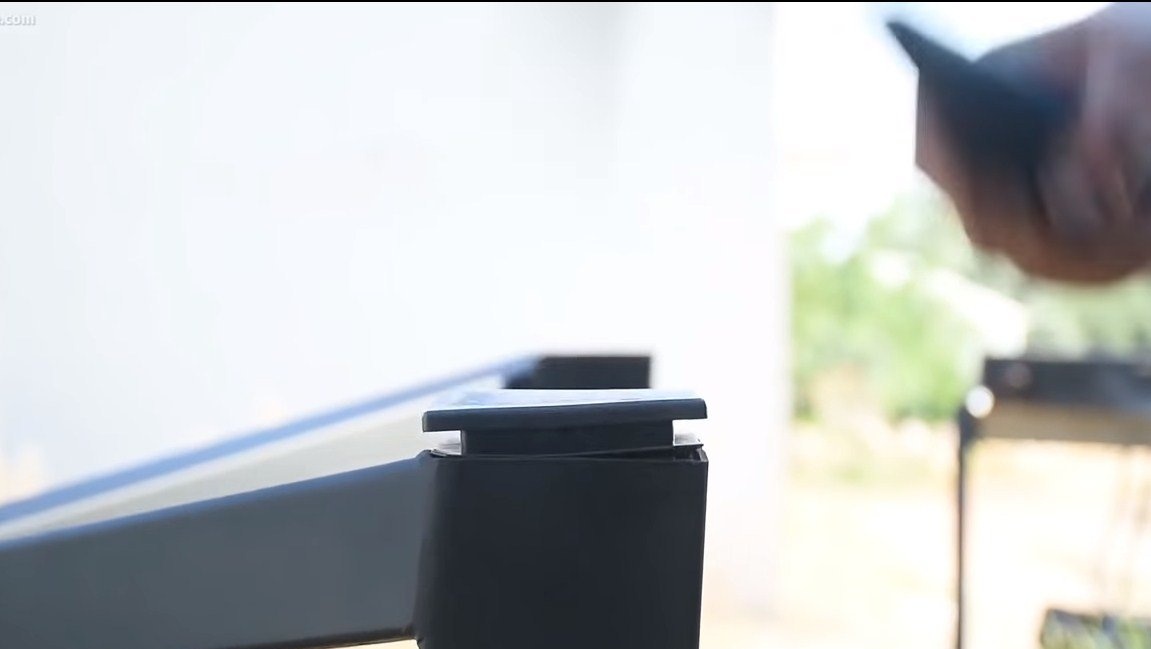
When the glue dries, turn the countertop over and install the plugs in the plywood - these are the parts that were cut earlier. They must be hammered tightly by placing an acrylic film or other similar material to which epoxy glue does not stick. Then, when the resin dries, we can pull out the plugs and we will see transparent windows in the countertop. We glue the top of the stub with masking tape so that the resin does not leak anywhere.
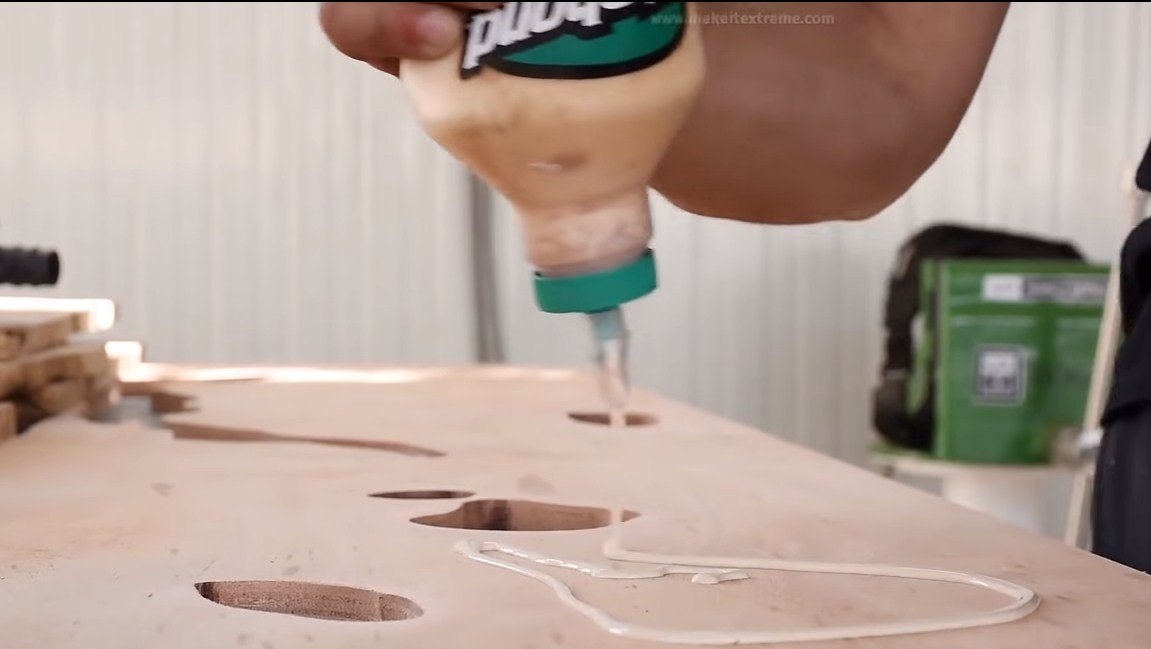
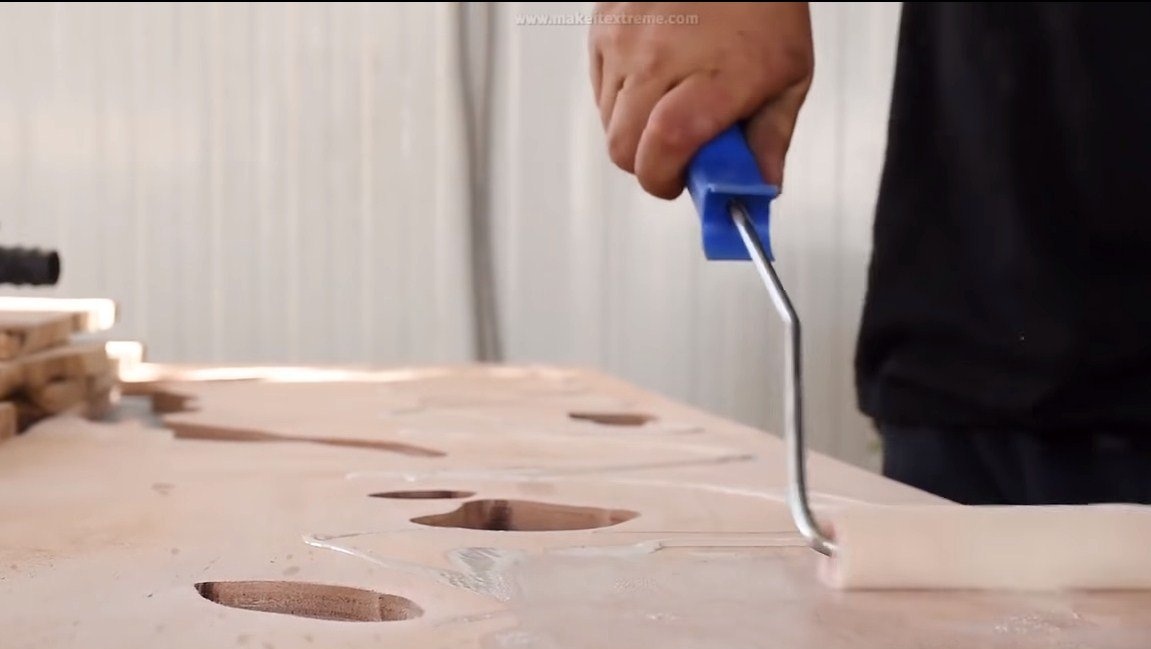
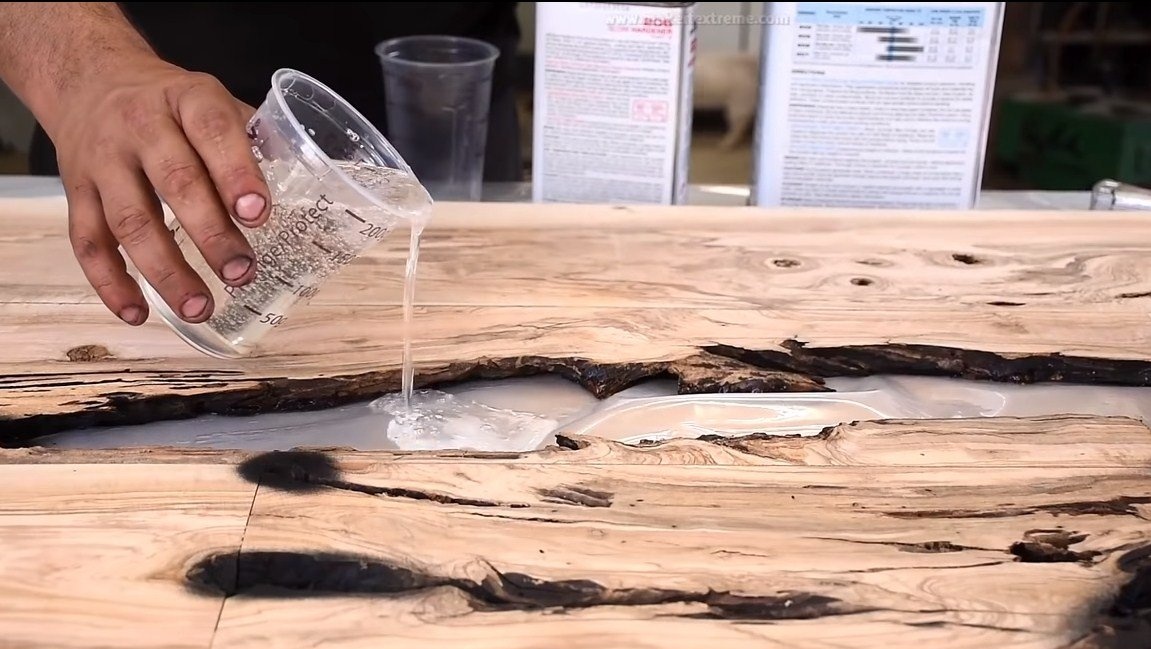
Step Three Pouring
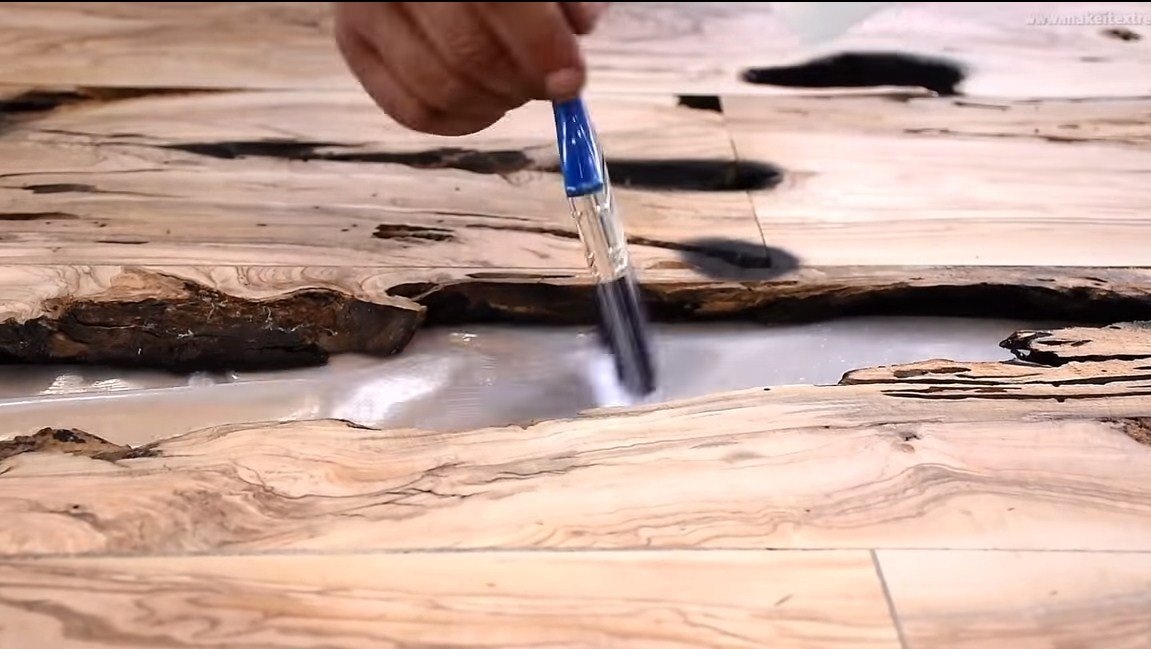
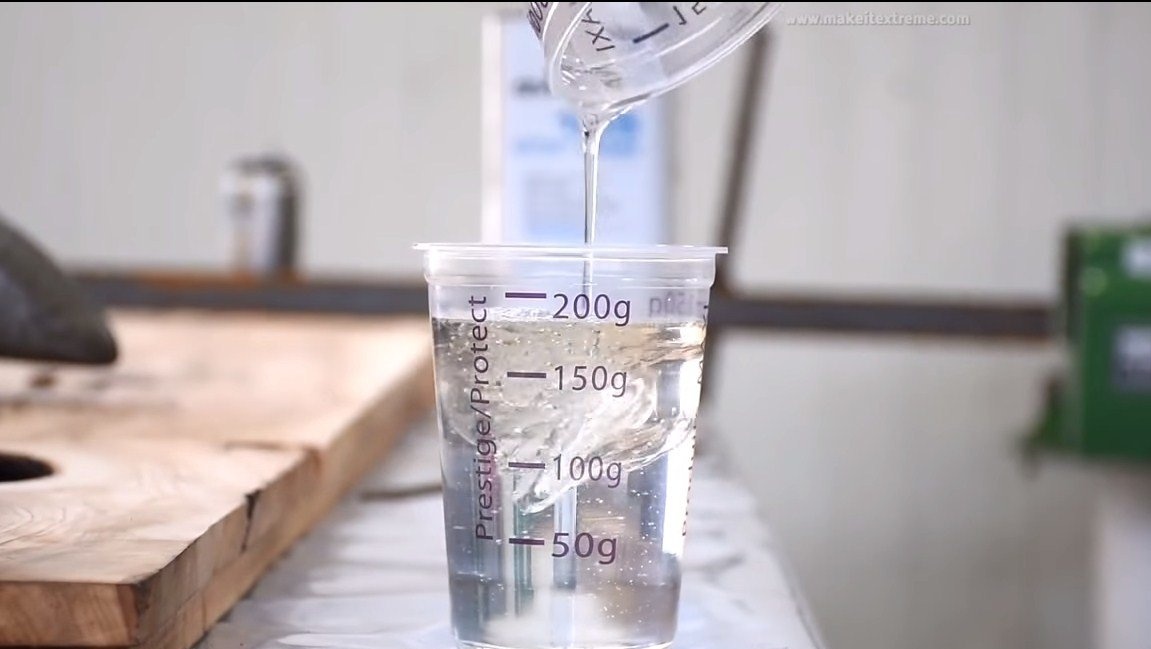
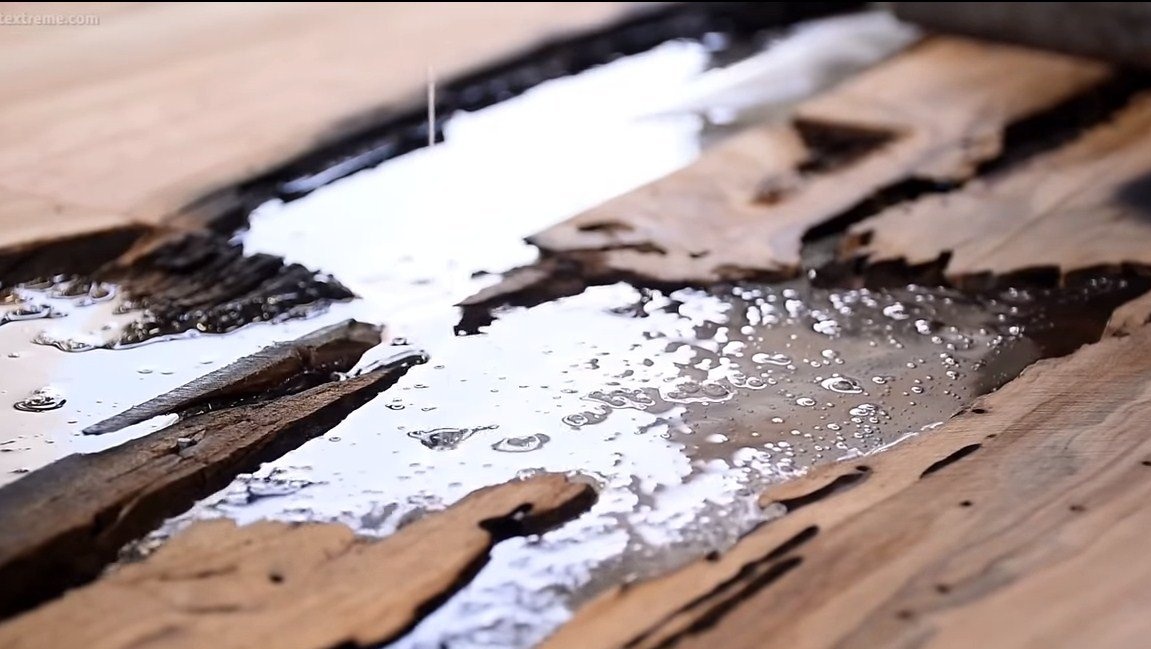
That's all, let's start pouring, to begin with, the author passes a brush with resin through the future “windows” to additionally seal all joints. After this, it is advisable to wait until the glue has dried or seized. Well, then you can do a full fill, if desired, dyes can be added to the epoxy.
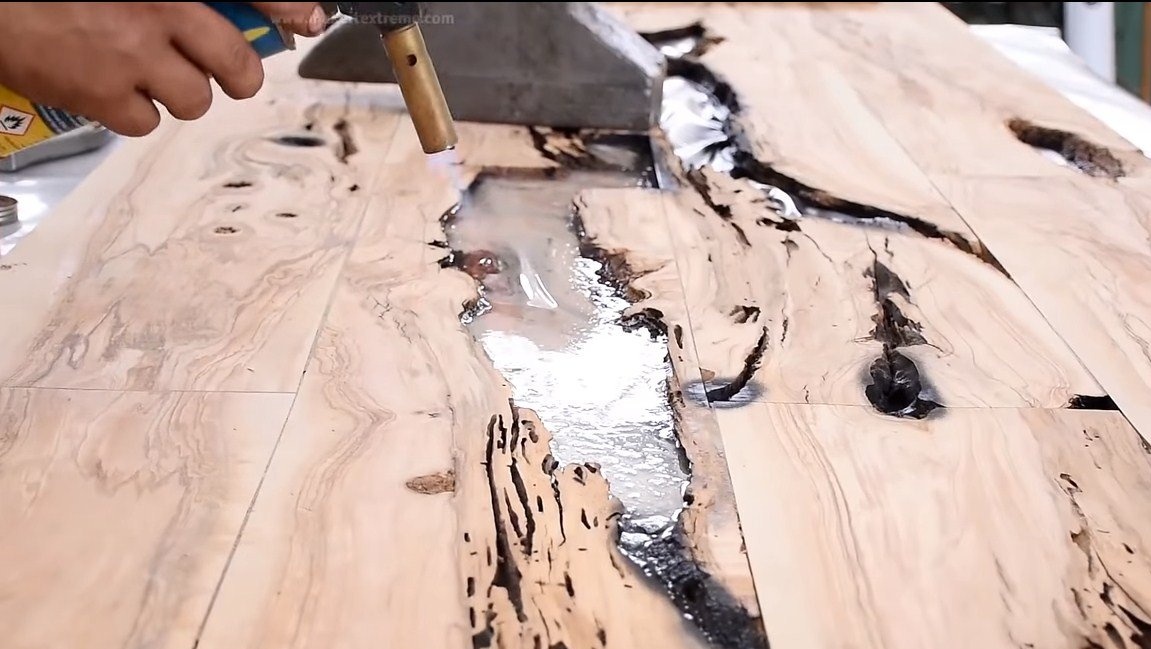
To expel air bubbles, we pass through a gas burner, when heated, air immediately leaves the resin.


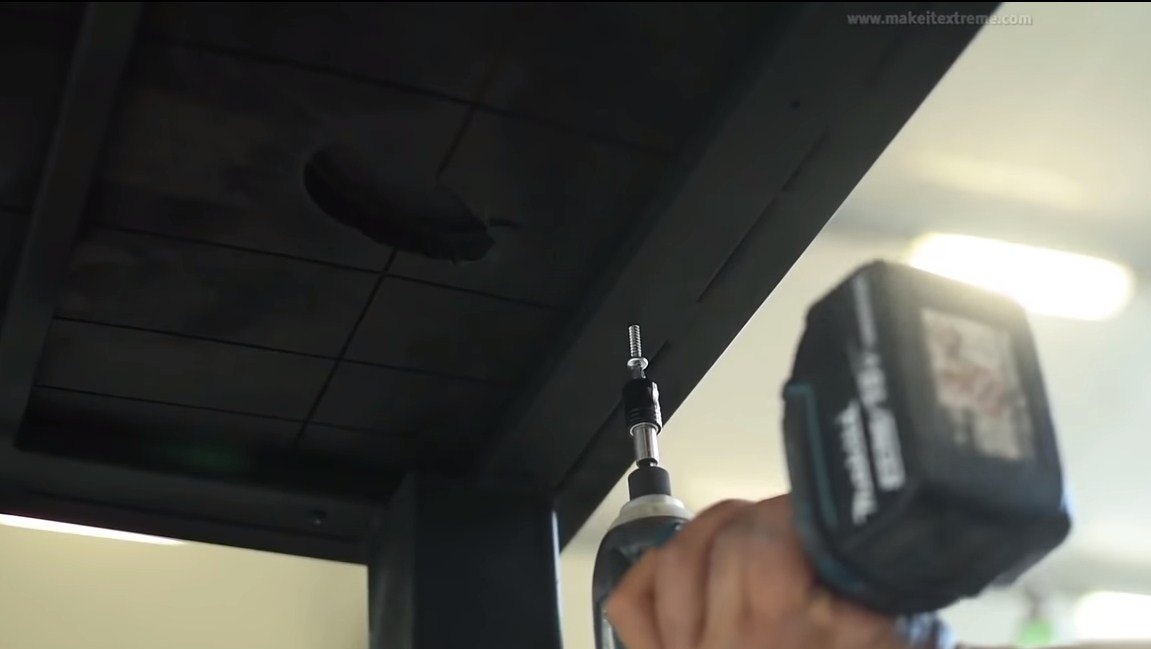
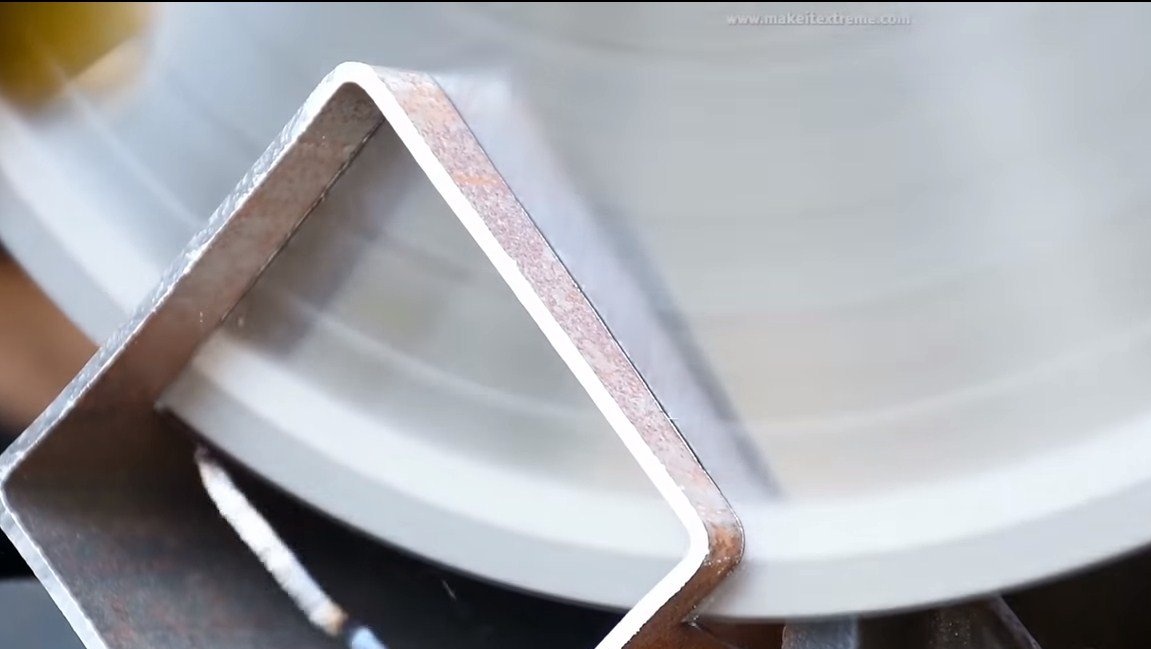
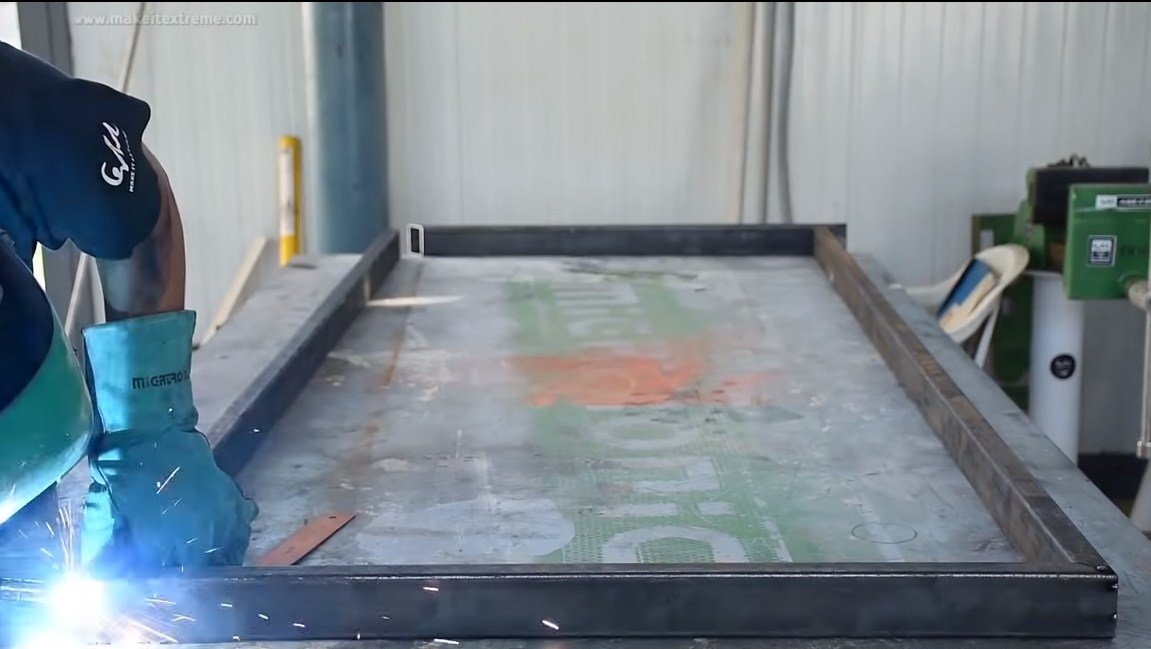
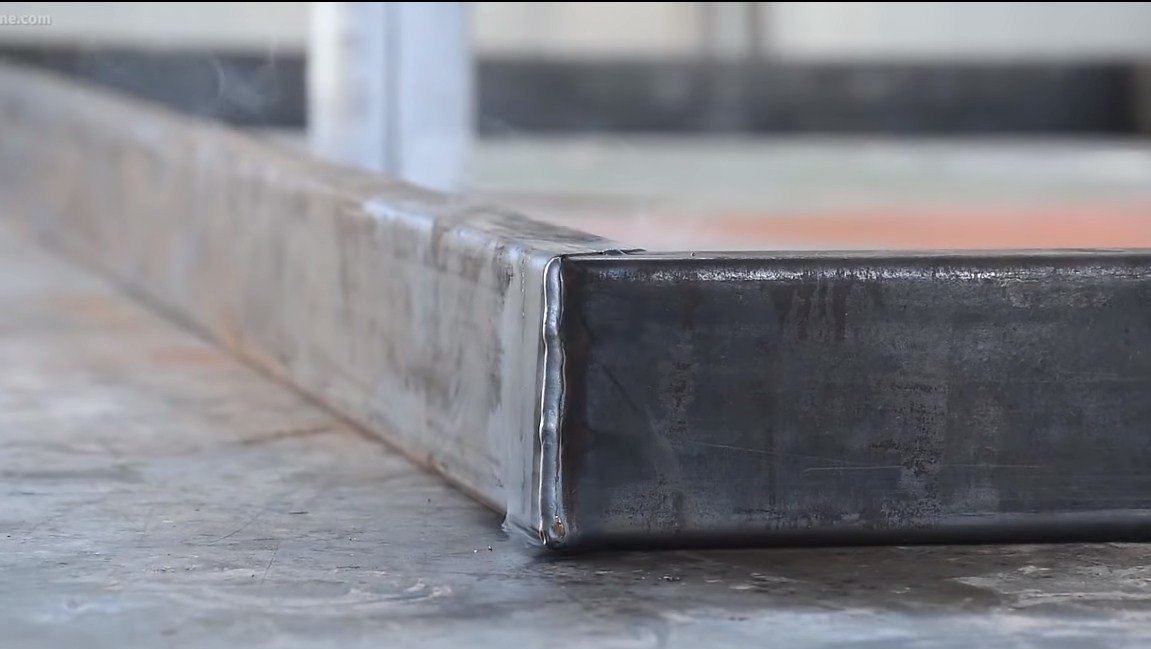
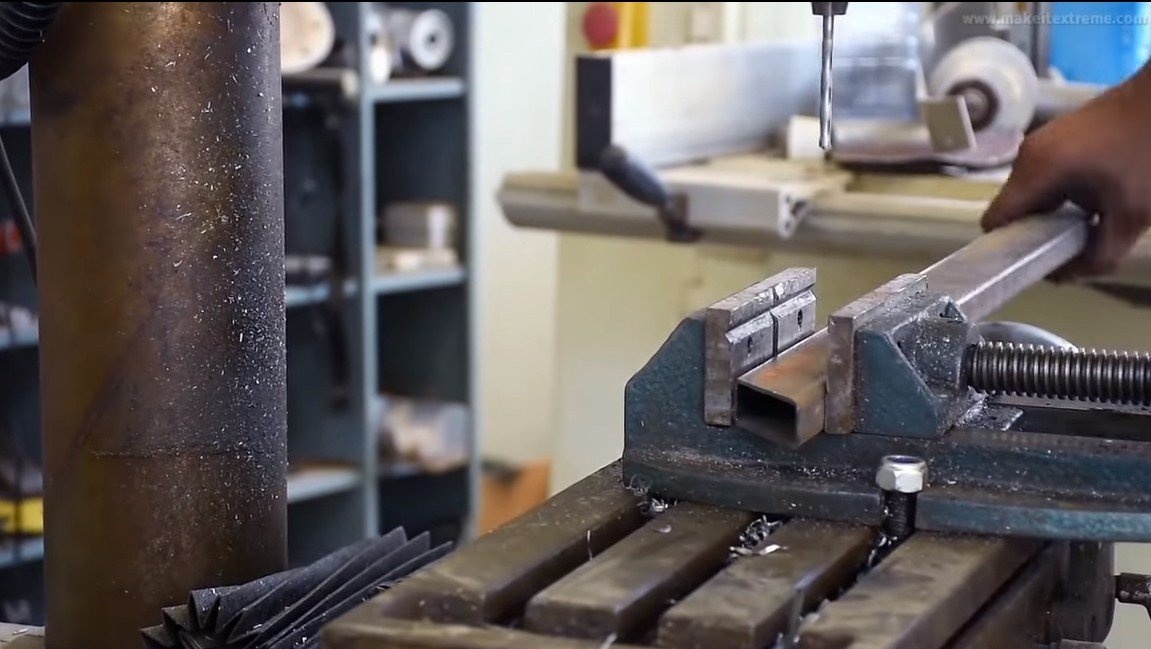
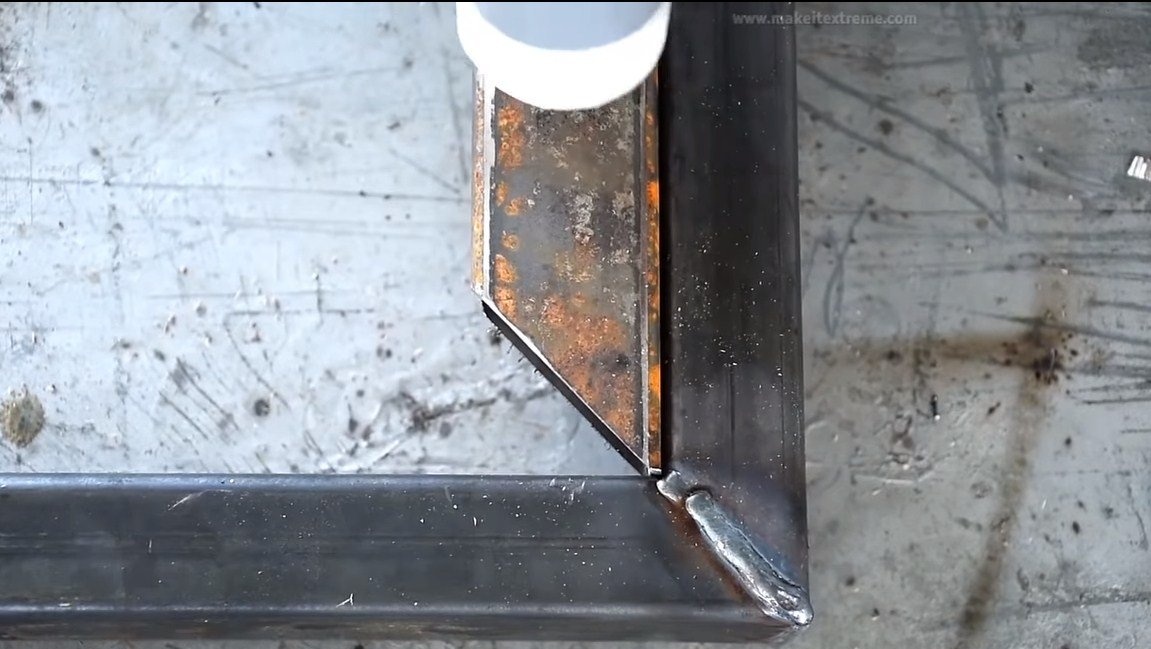
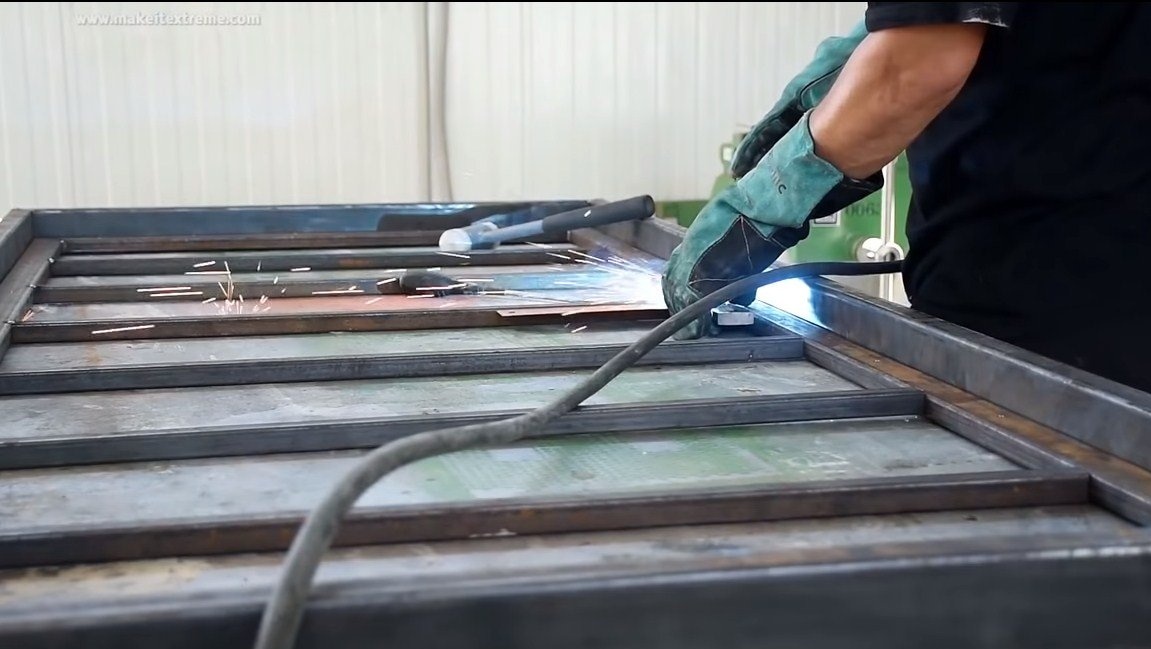
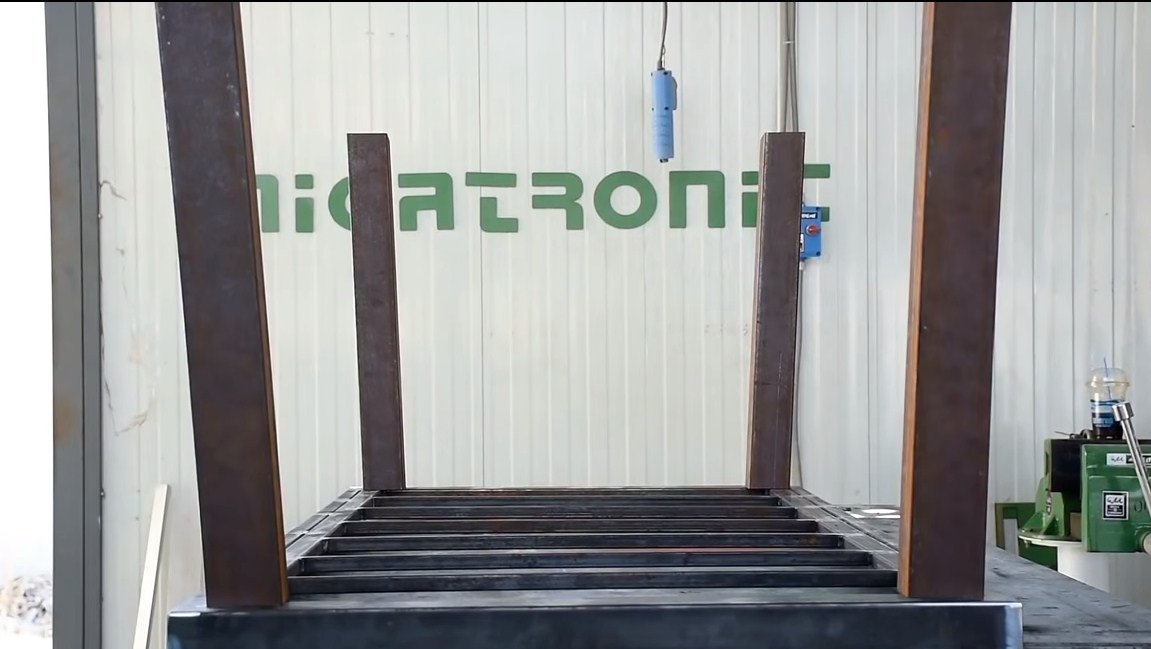
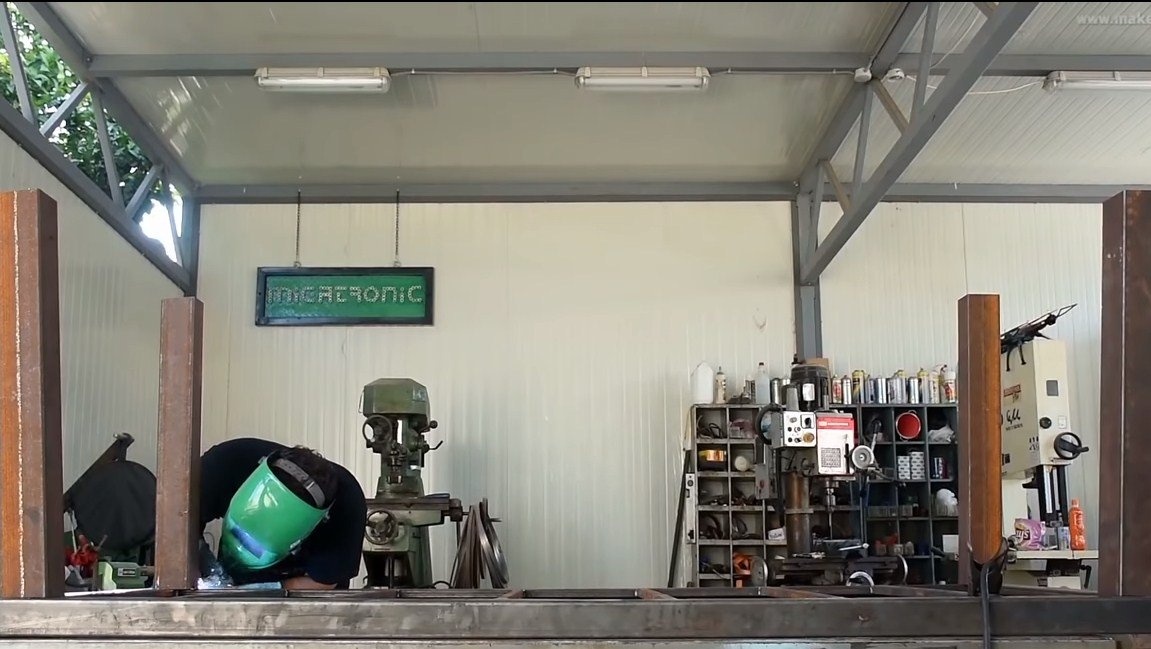
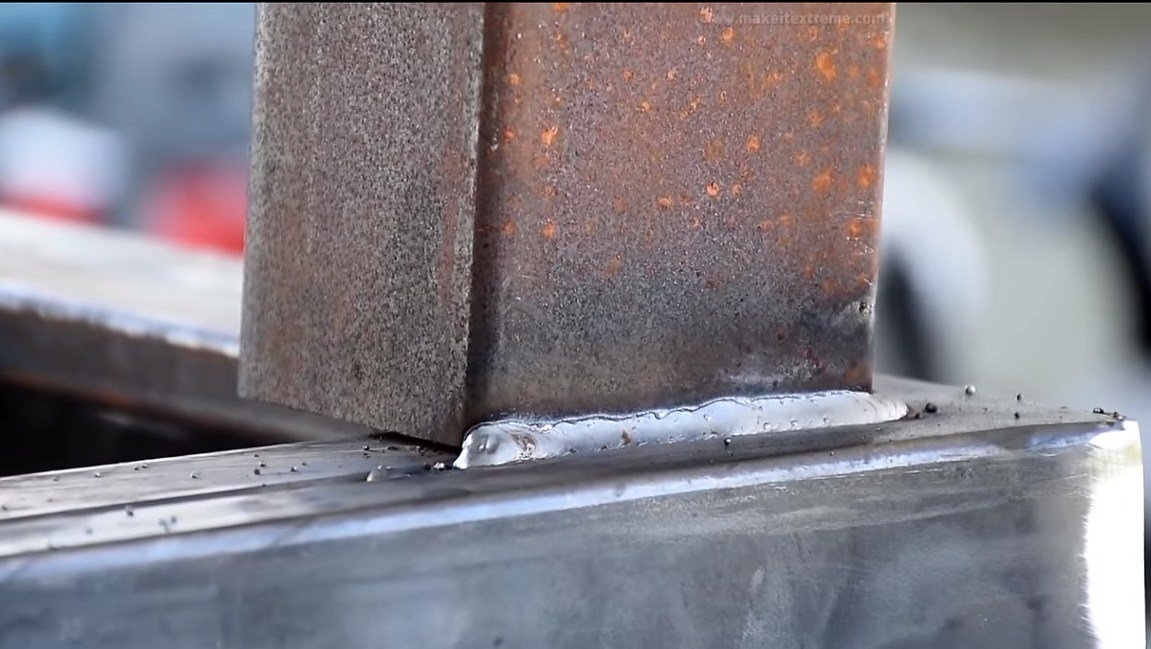
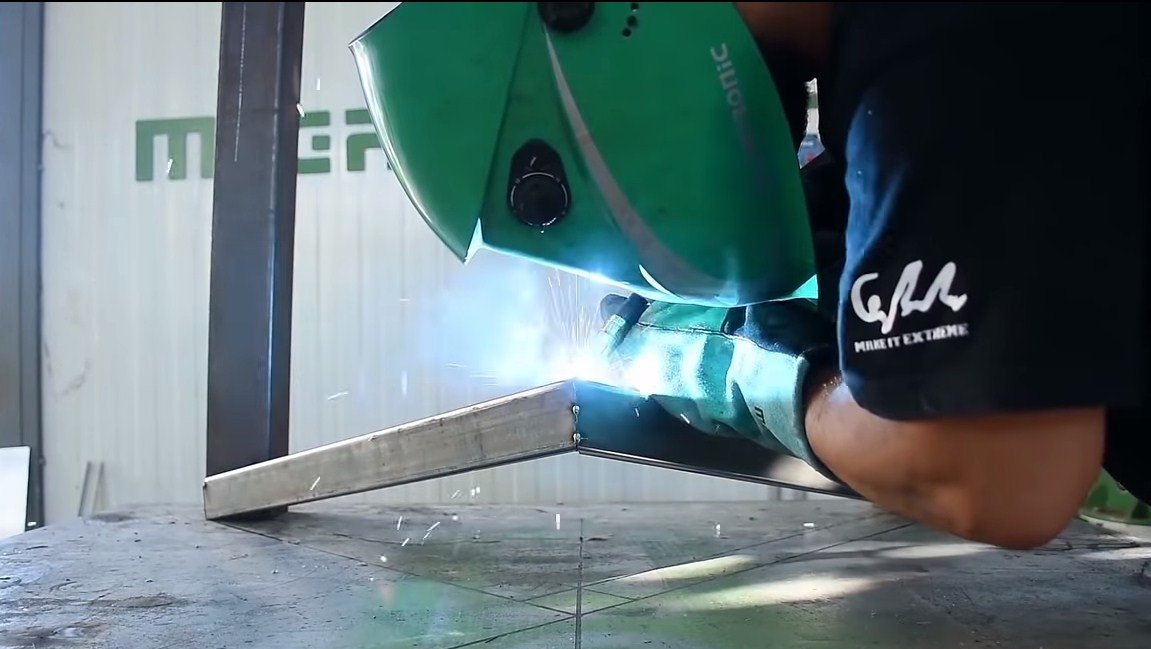
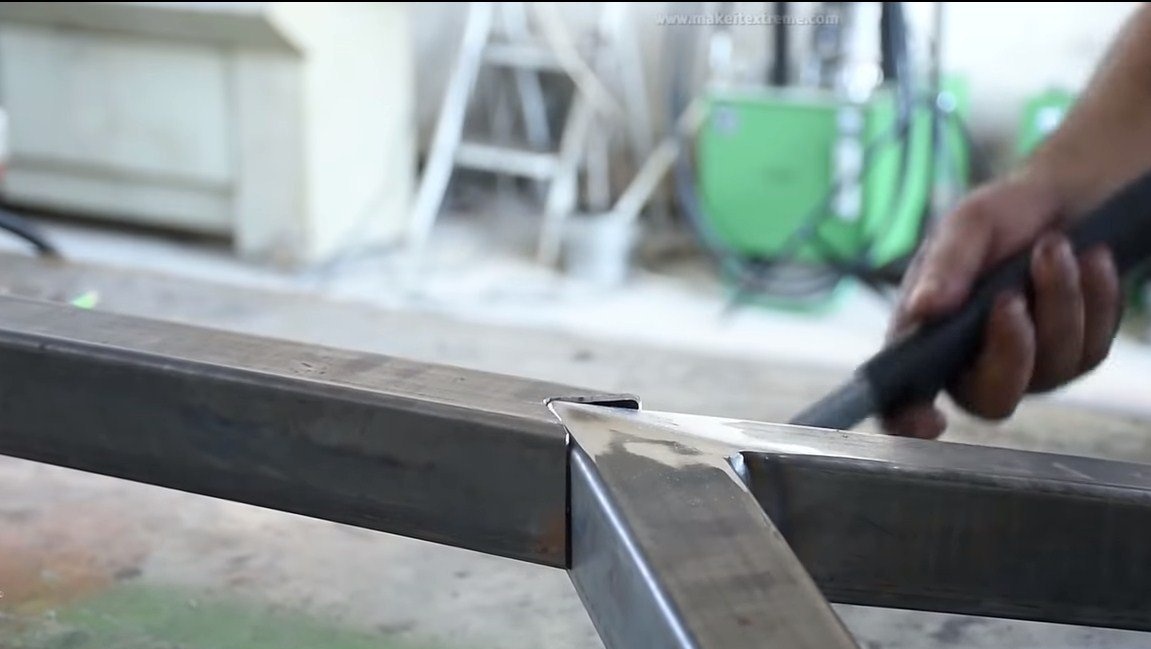
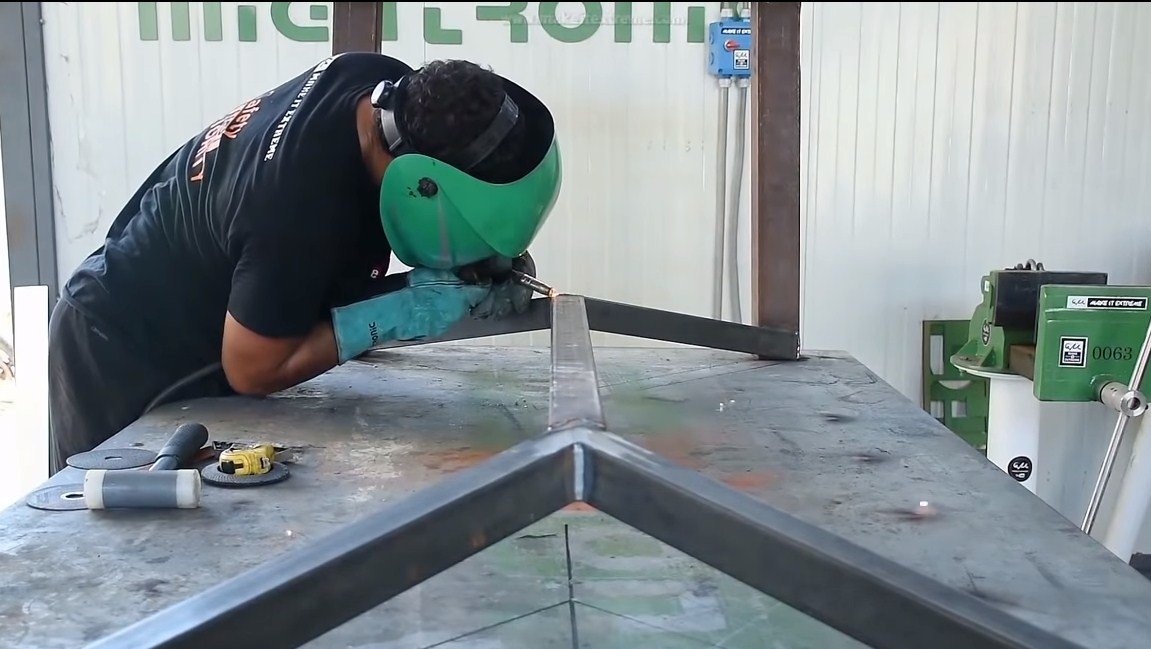
Step Four Frame
We cut the components and weld the frame, it is made of profile pipes. Under the countertop we make transverse partitions to evenly support the countertop across the entire plane. Although it is strong in itself, these elements will allow the table to withstand heavy loads.
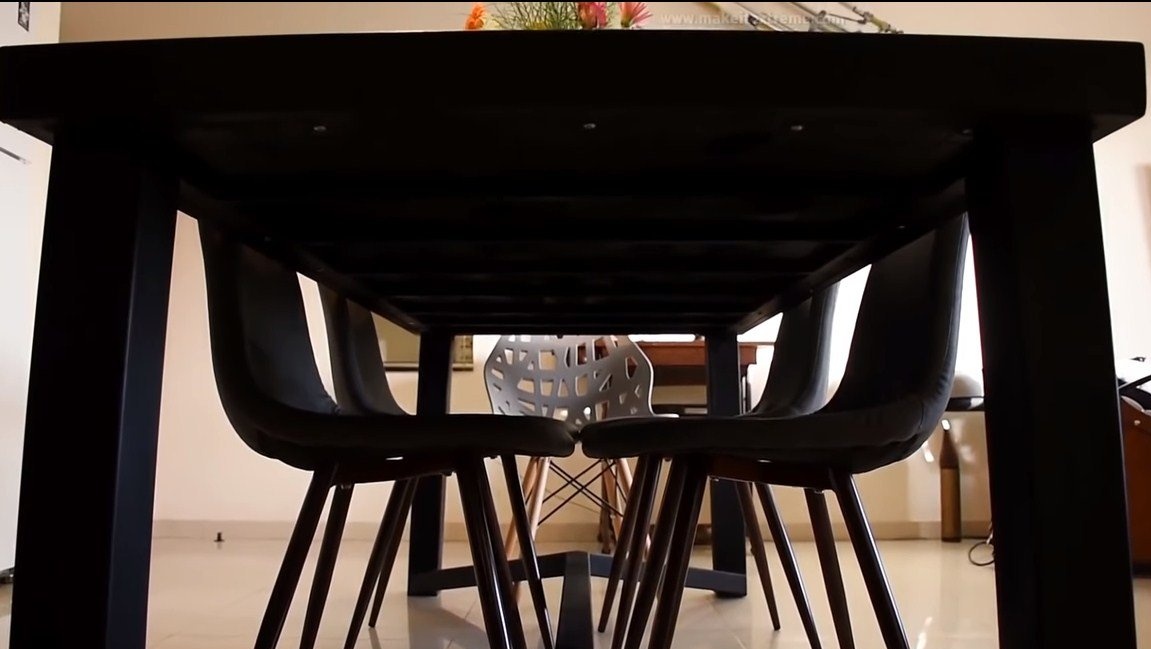
We also weld the legs of profile pipes, the author sets them in a slightly extended position. At the bottom of the legs are combined with an additional frame, which makes the whole structure very strong. Now the legs will be able to withstand heavy weight and will not corrode in different directions.


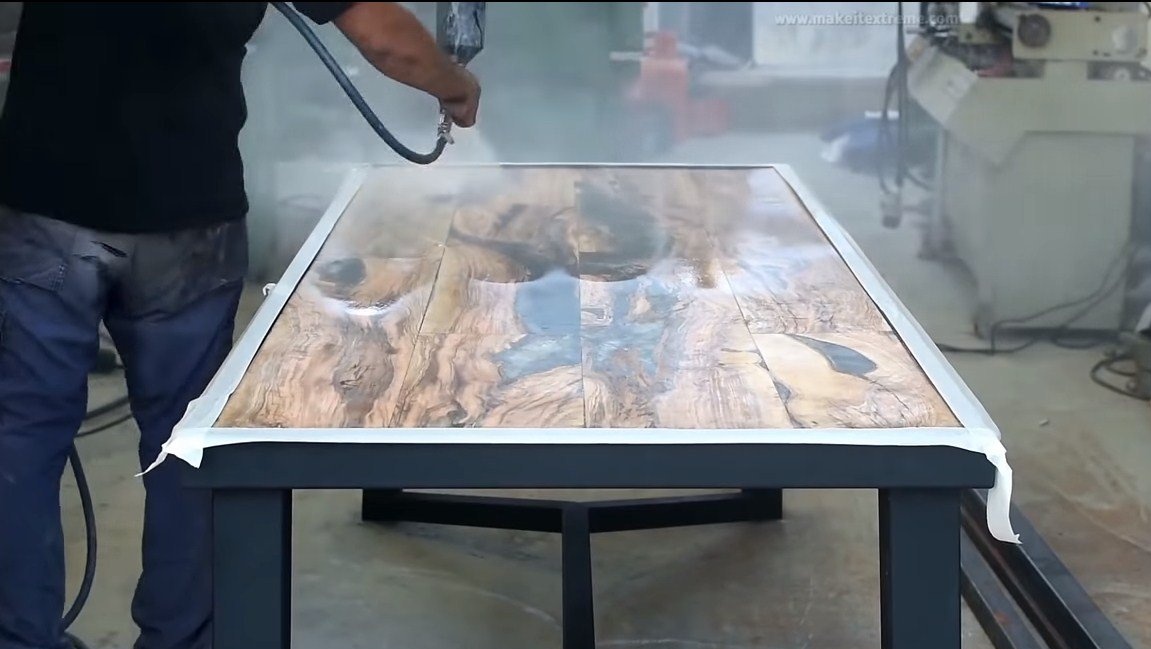
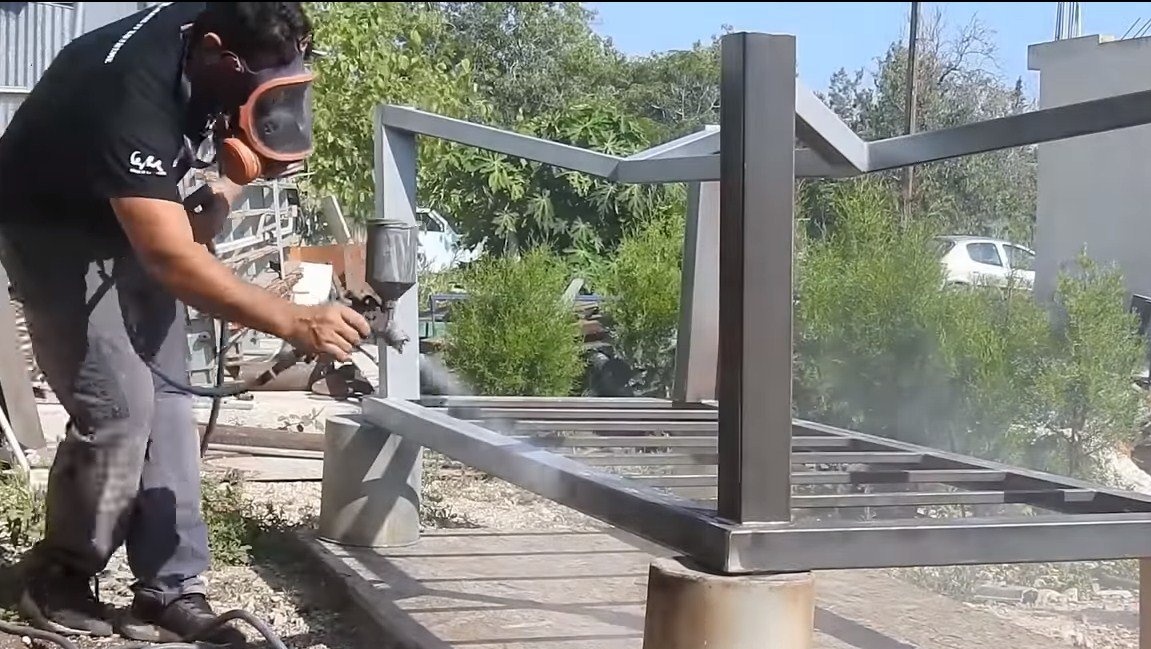
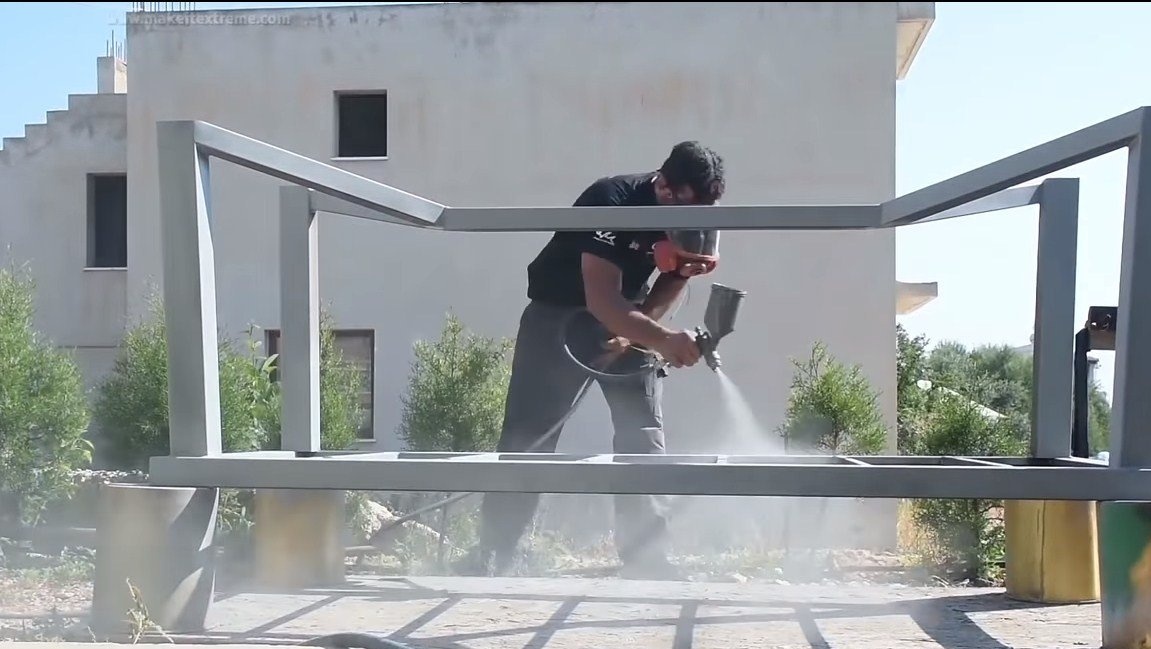
Step Five Painting
We go outside and paint the frame, here the paint compressor will help us. First, apply a layer of soil so that the paint holds firmly, and then paint. The author chose a black paint. Everything looks great, and most importantly, reliable.
Step Six Assembly
We install the countertop on the frame, fasten it with screws. The tabletop is varnished so that the epoxy becomes completely transparent. The author did not show us all the stages of the manufacture of countertops; theoretically, the plane had to be ground and polished for a long time.
That's all, the table is ready, with beautiful dark chairs, it looks amazing. Hope you homemade I liked it, and you found useful information for yourself. Good luck and creative inspiration if you decide to bring such a project to life. Do not forget to share with us your ideas and homemade products.