
In this article, the author of the YouTube channel "Gökmen ALTUNTAŞ" will tell you how he made a very useful machine for his workshop.
This "ordinary" pendulum saw will be made from scraps of plywood and boards. Special tools for its manufacture are not required - you can do with a hacksaw and a screwdriver. Materials are also the simplest.
Materials
- sheet plywood
- spring
- Wing nuts, bolts
- Boards
- Steel stud
- Wood screws
- steel strip
- PVA glue
- Bearings.
Instruments, used by the author.
- Screwdriver
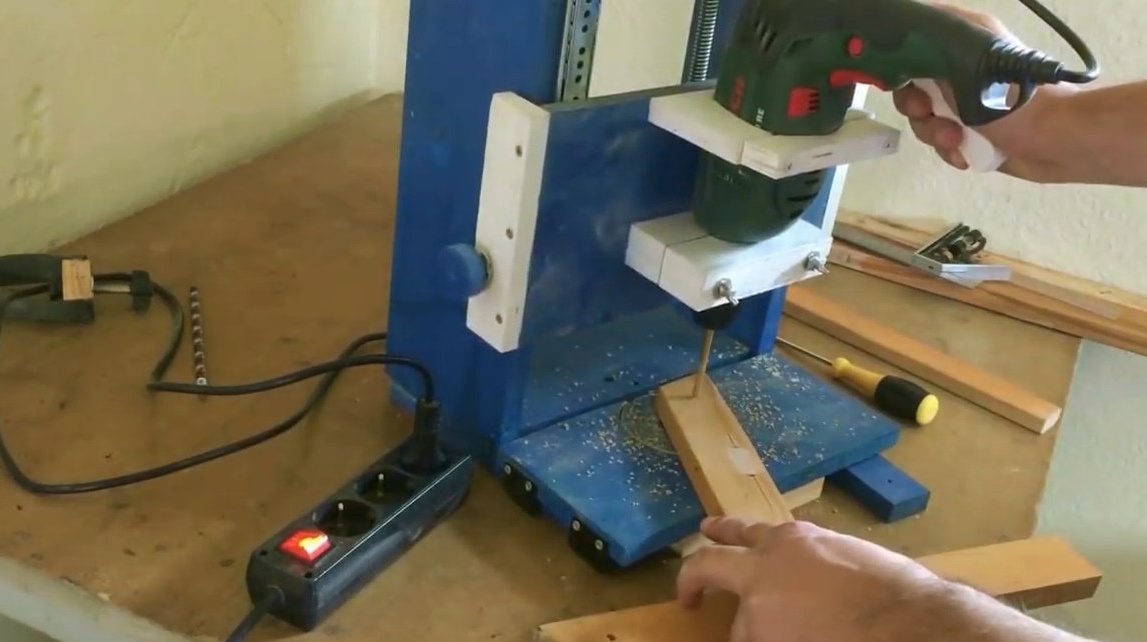
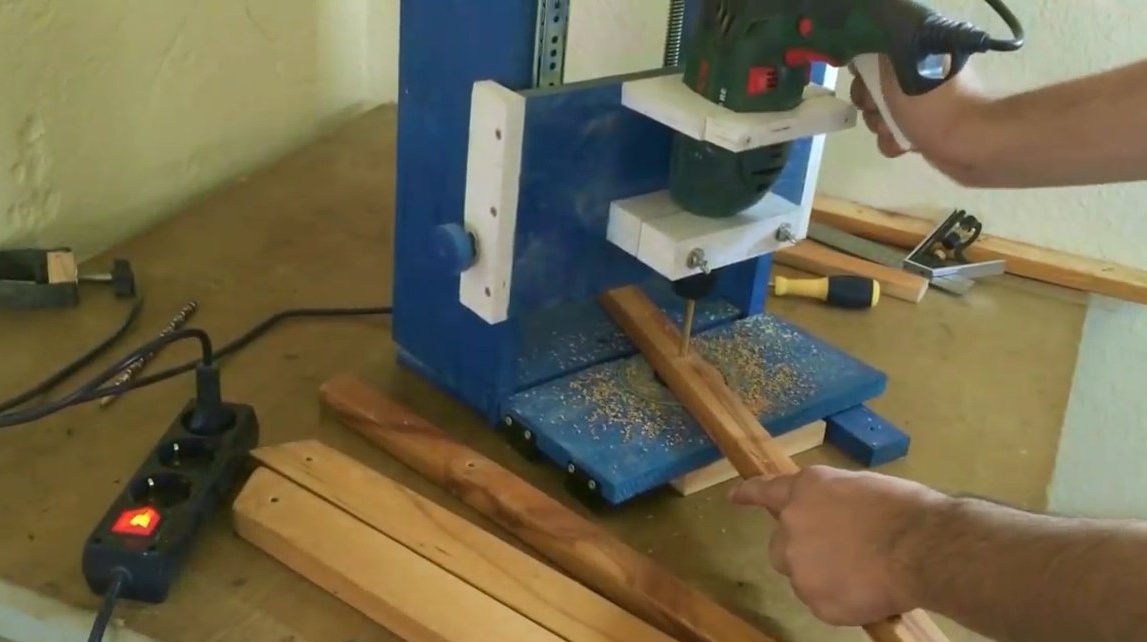
- Drilling machine
- Spanners
- clamps
- Crowns for wood
- Hammer, screwdriver
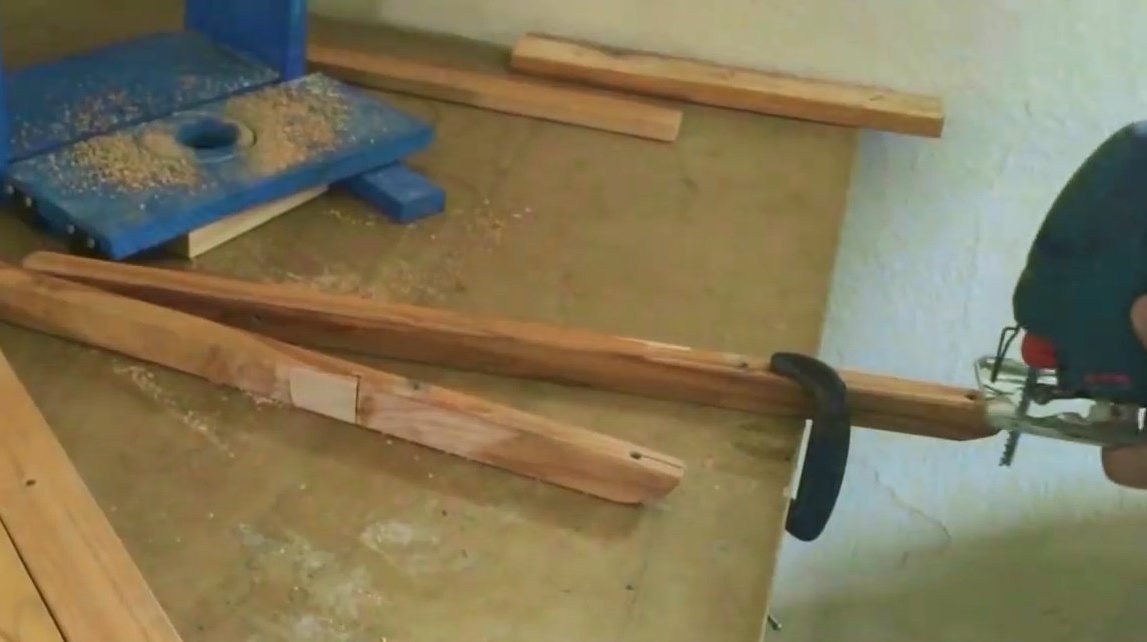
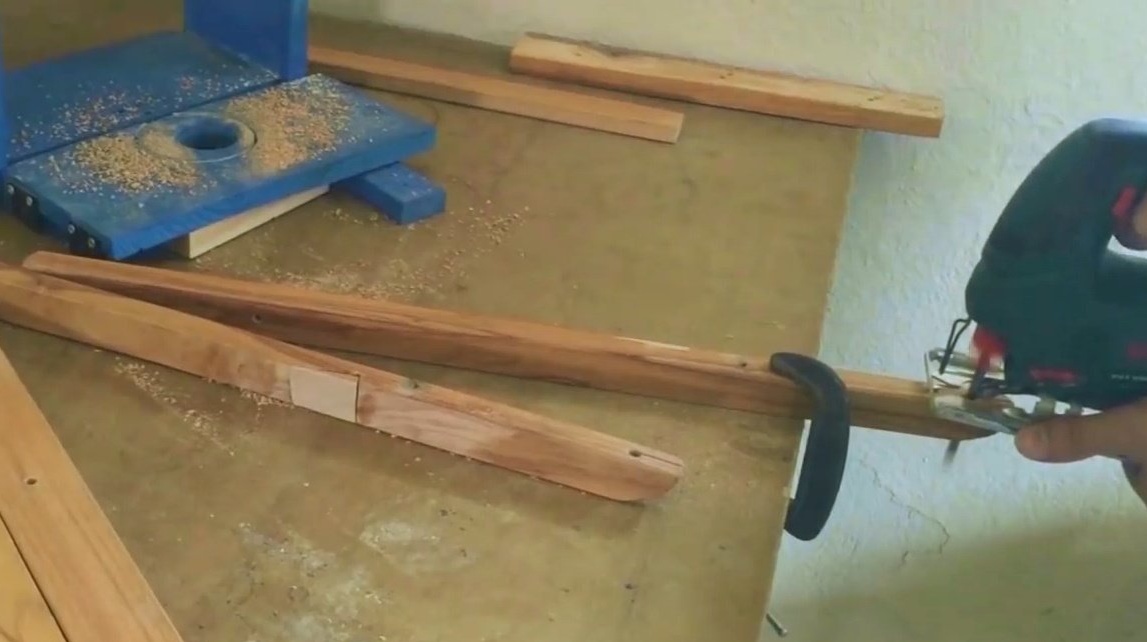
- Electric jigsaw or hacksaw for wood.
Manufacturing process.
The author begins with the manufacture of the base of the machine, bolts the side support to the sole.
Then installs two spacers.
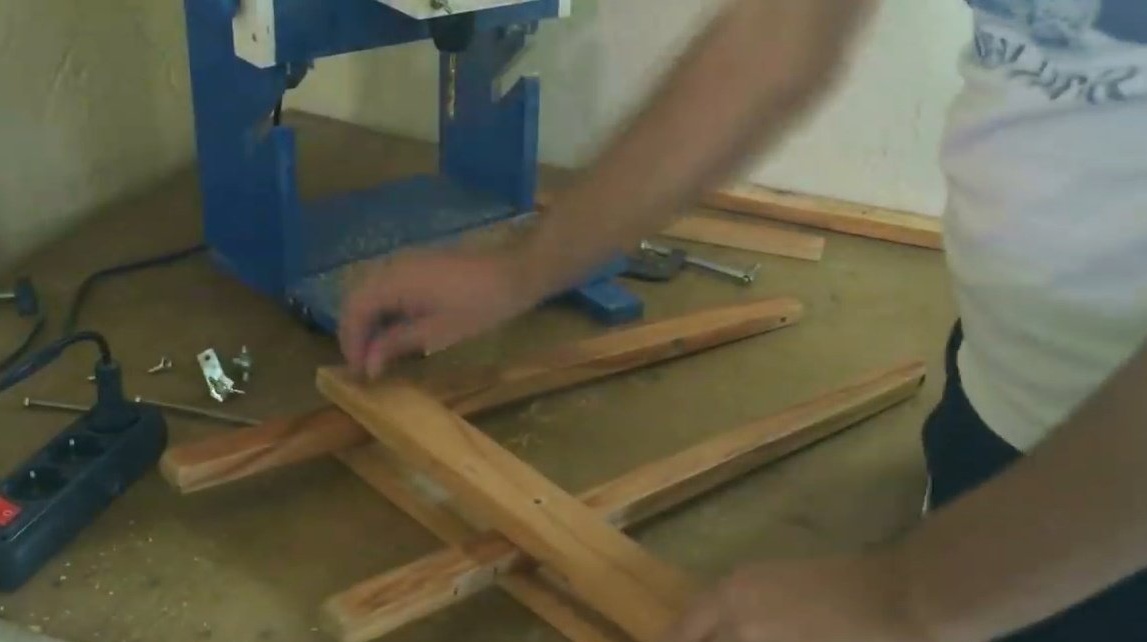
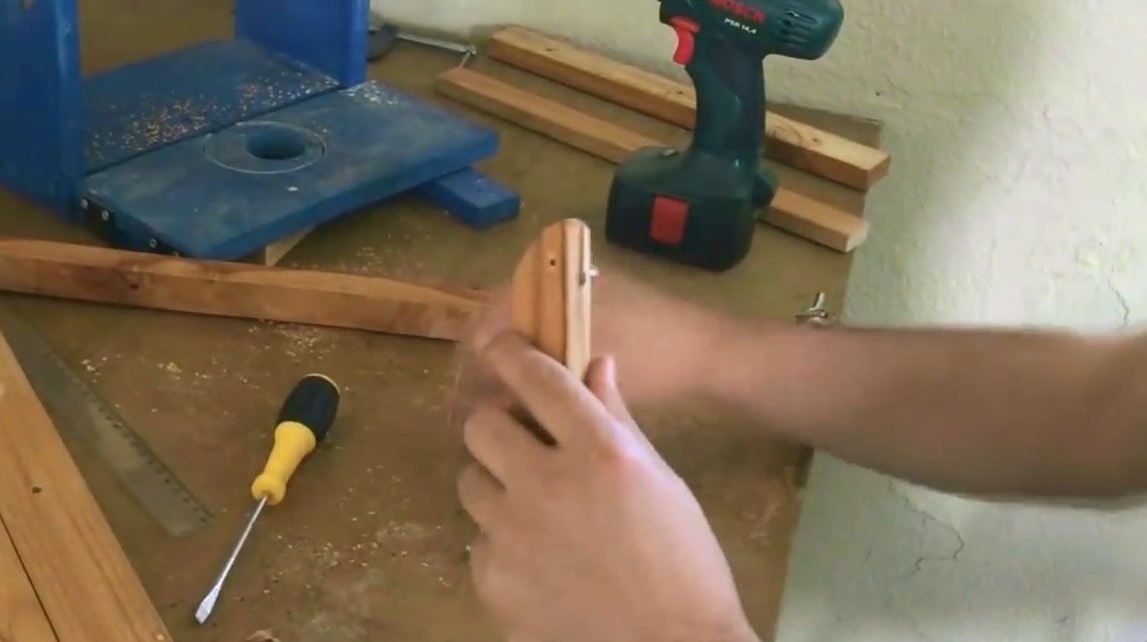
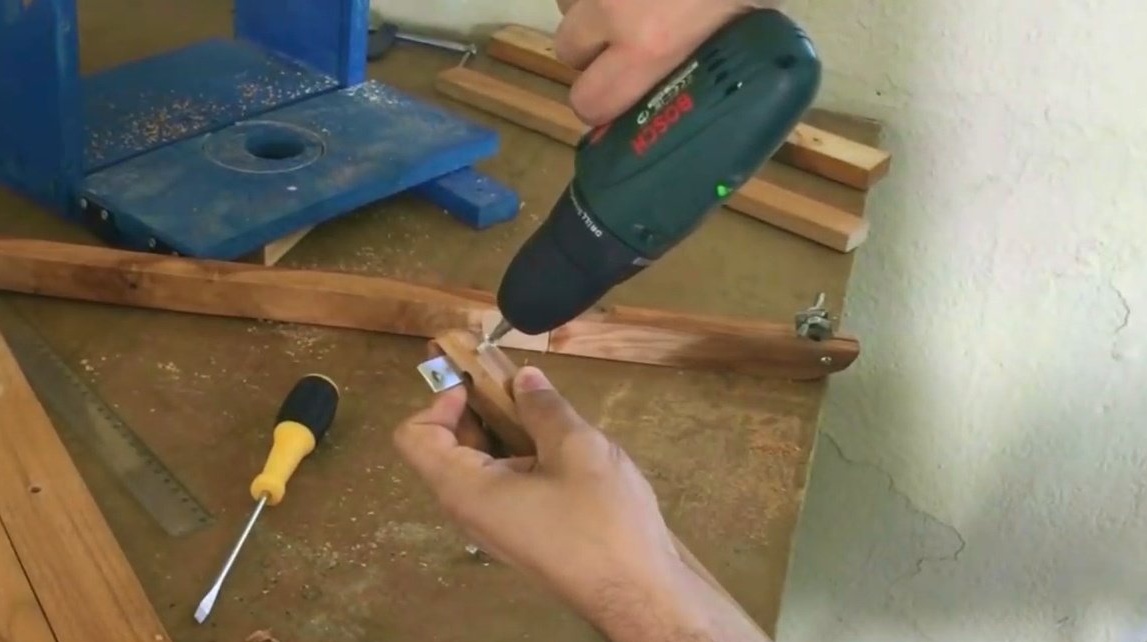
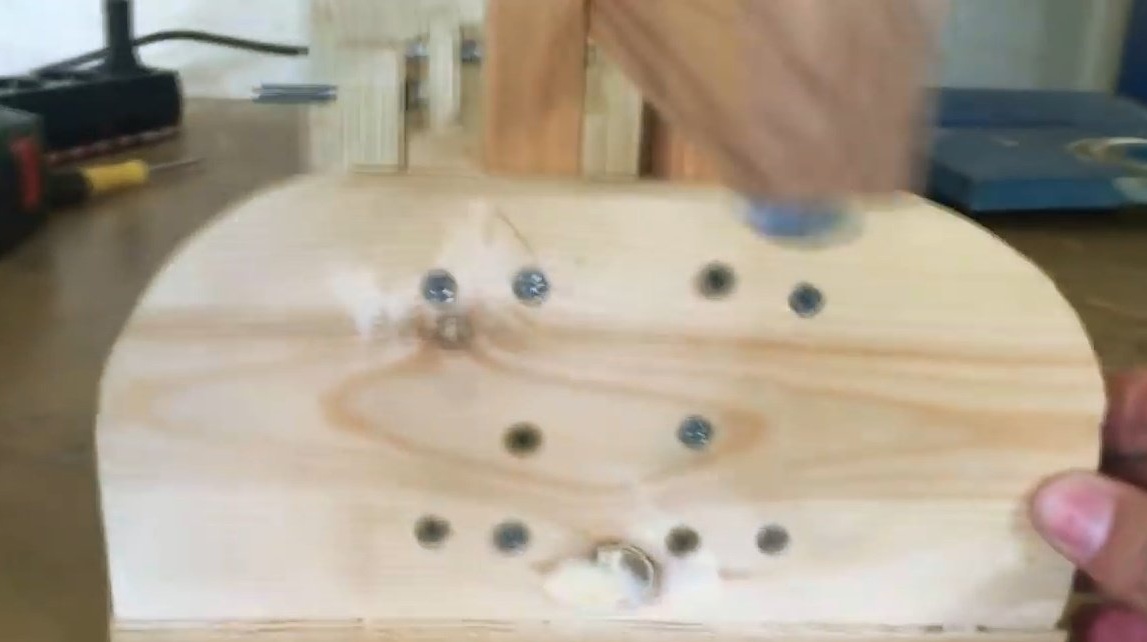
In the rocker arms and racks of the future machine, he drills the necessary mounting holes.
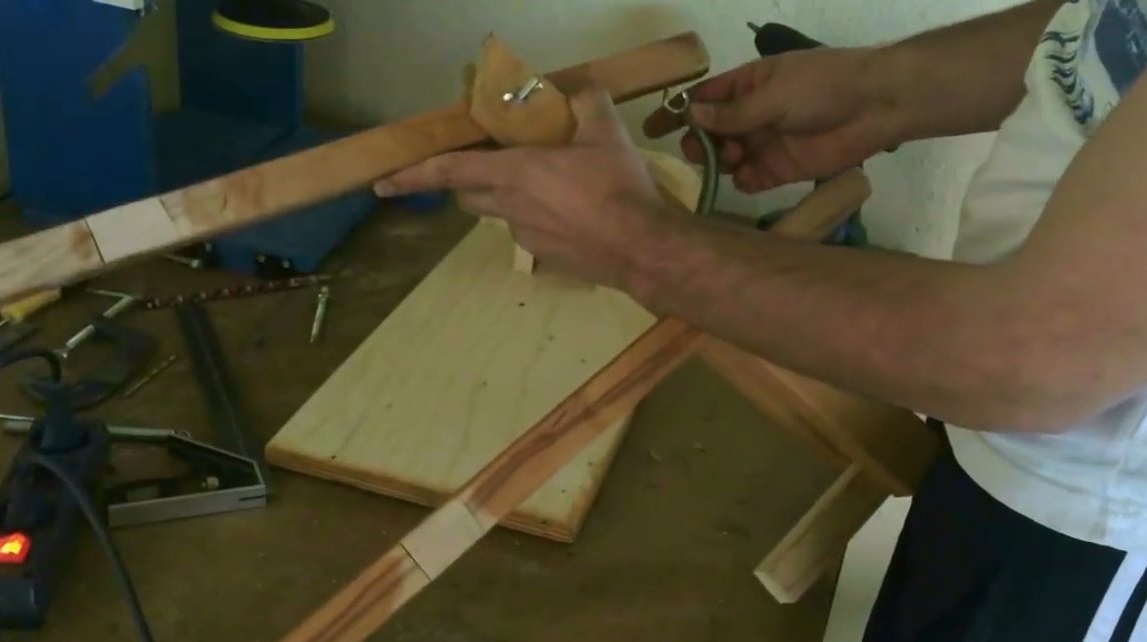
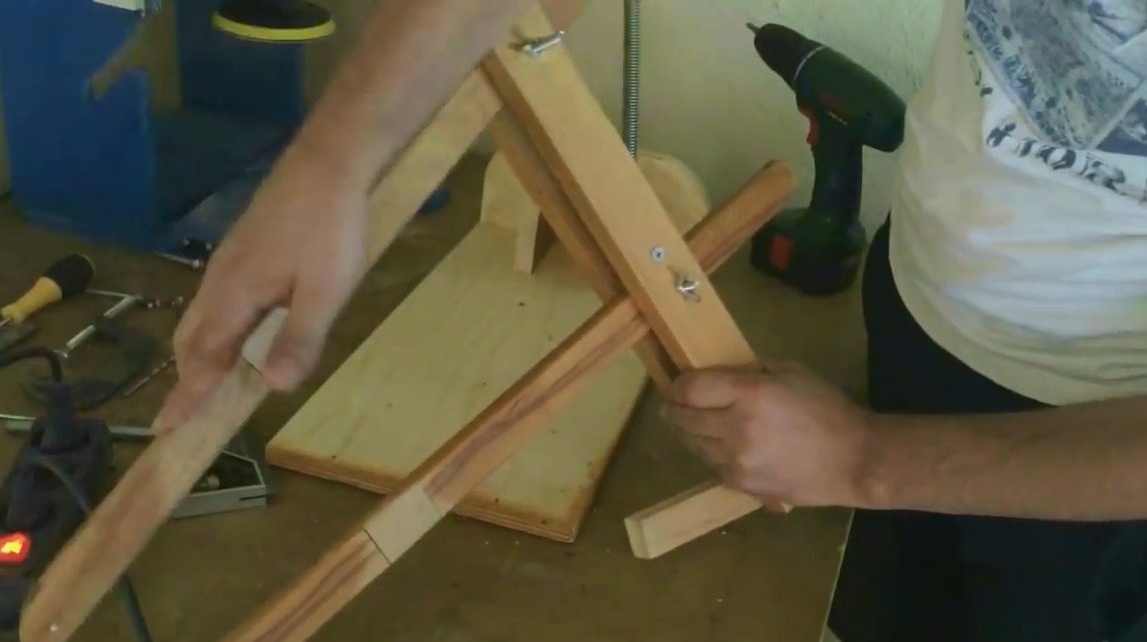
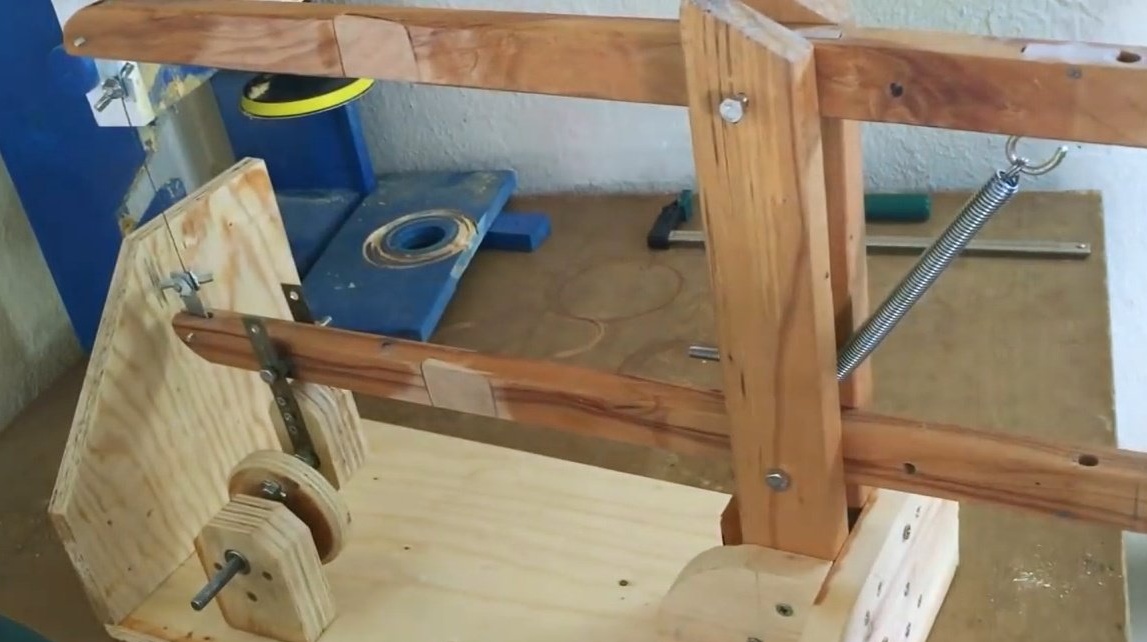
Pre-assembled frame.
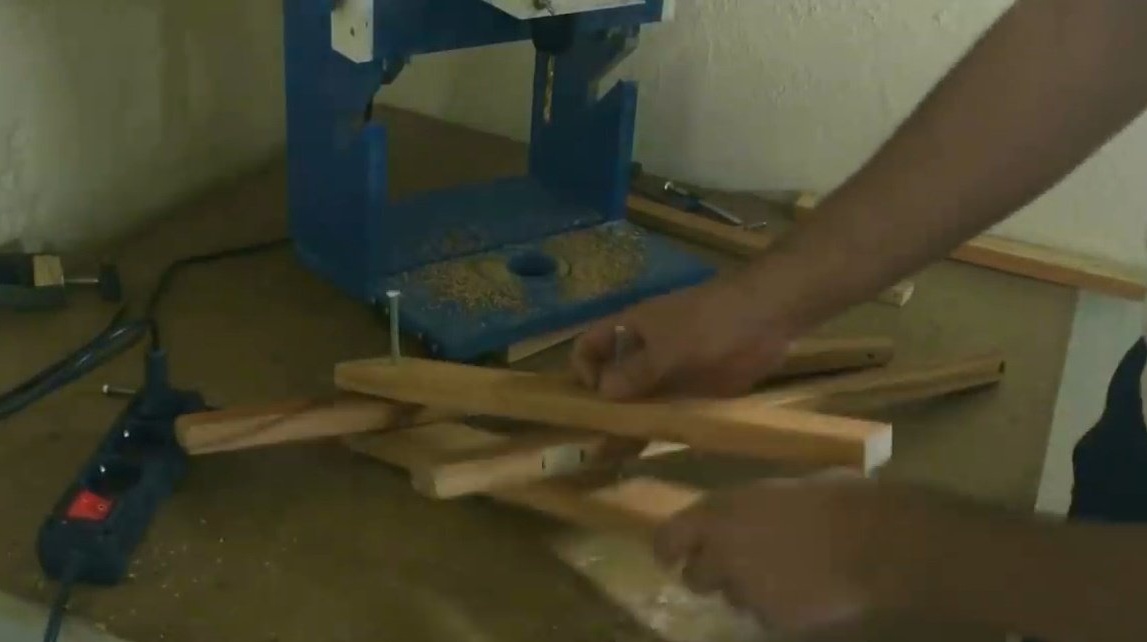
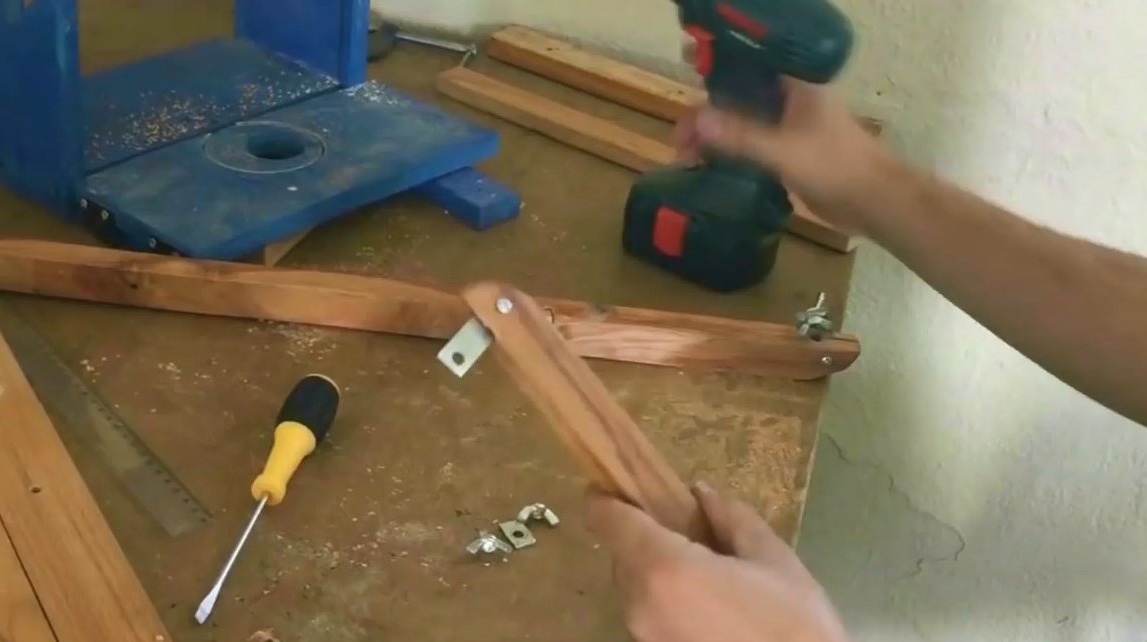
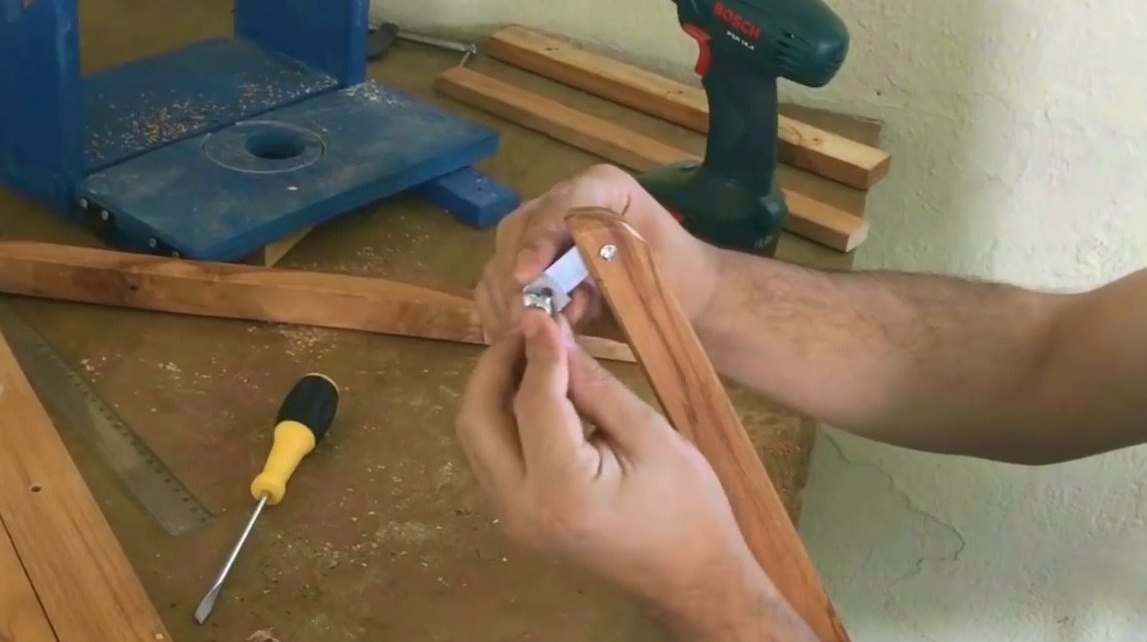
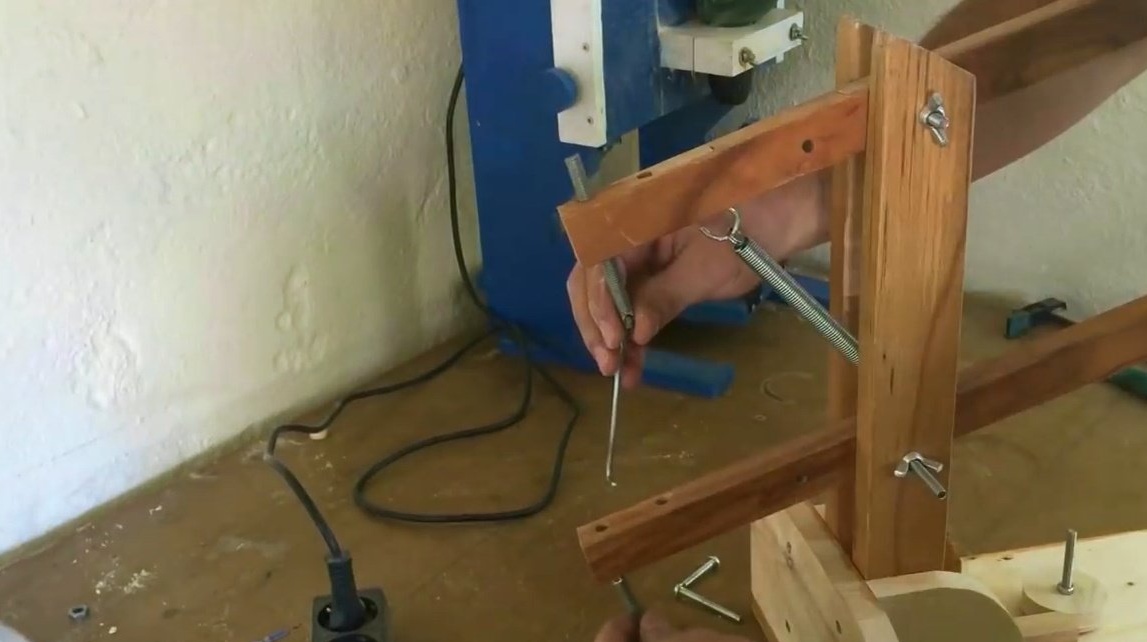
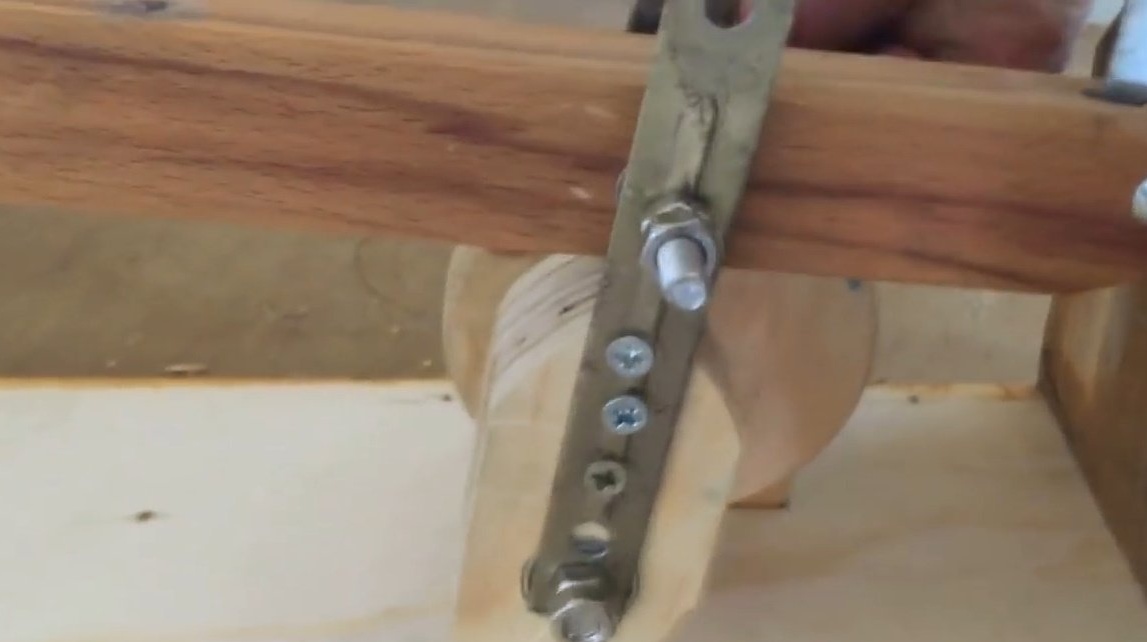
At the front edge, the rocker arm makes a cut, inserts a steel plate with two pressure washers and wing nuts.
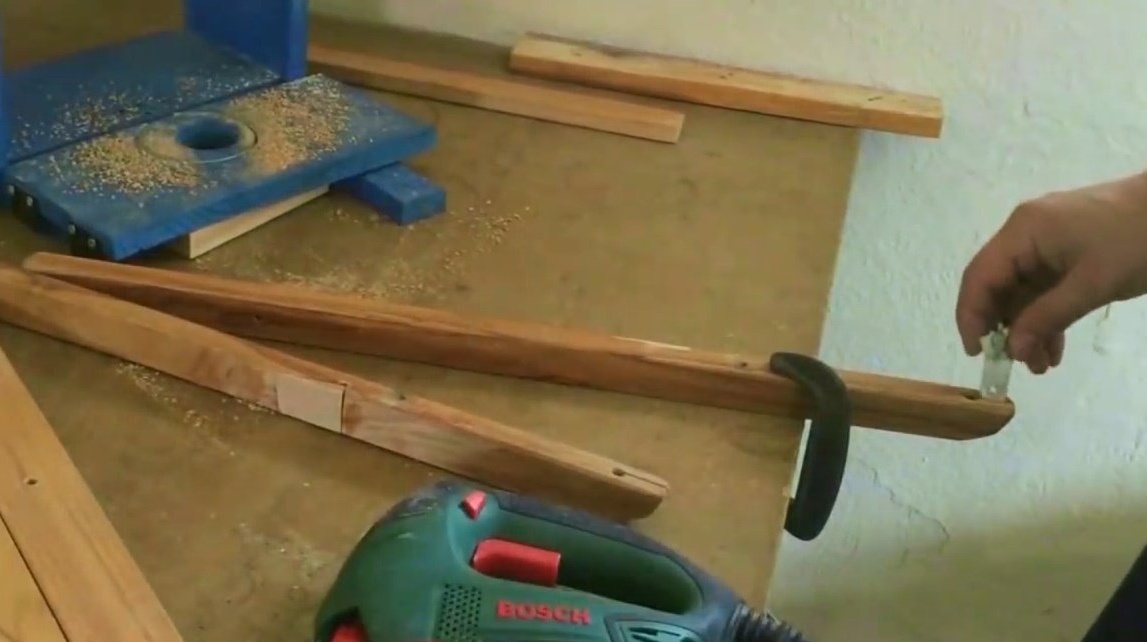
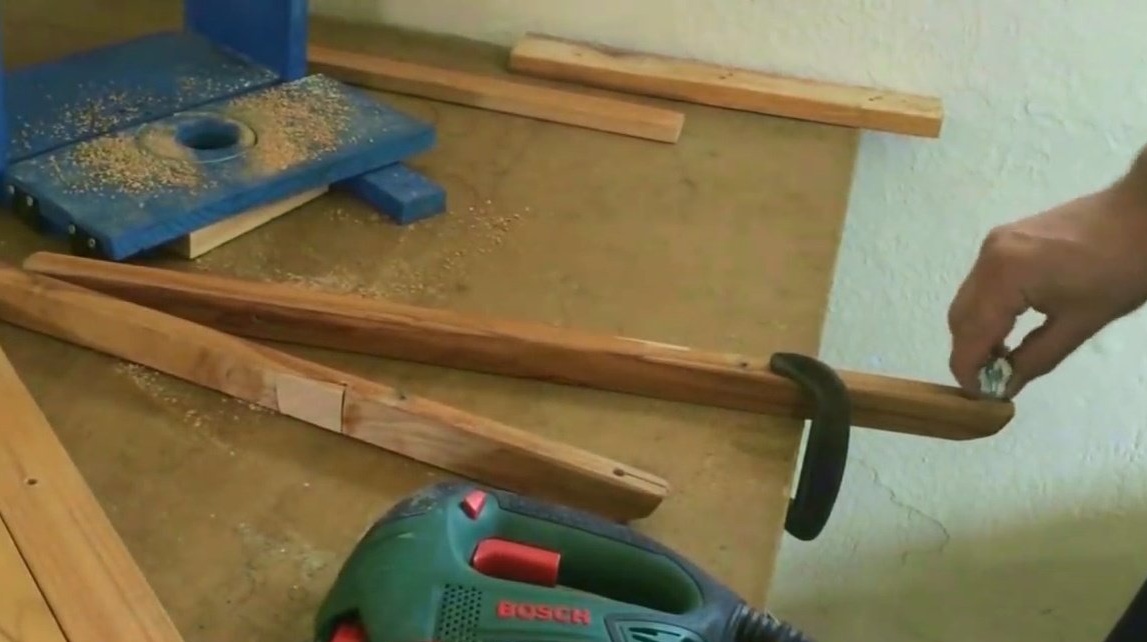
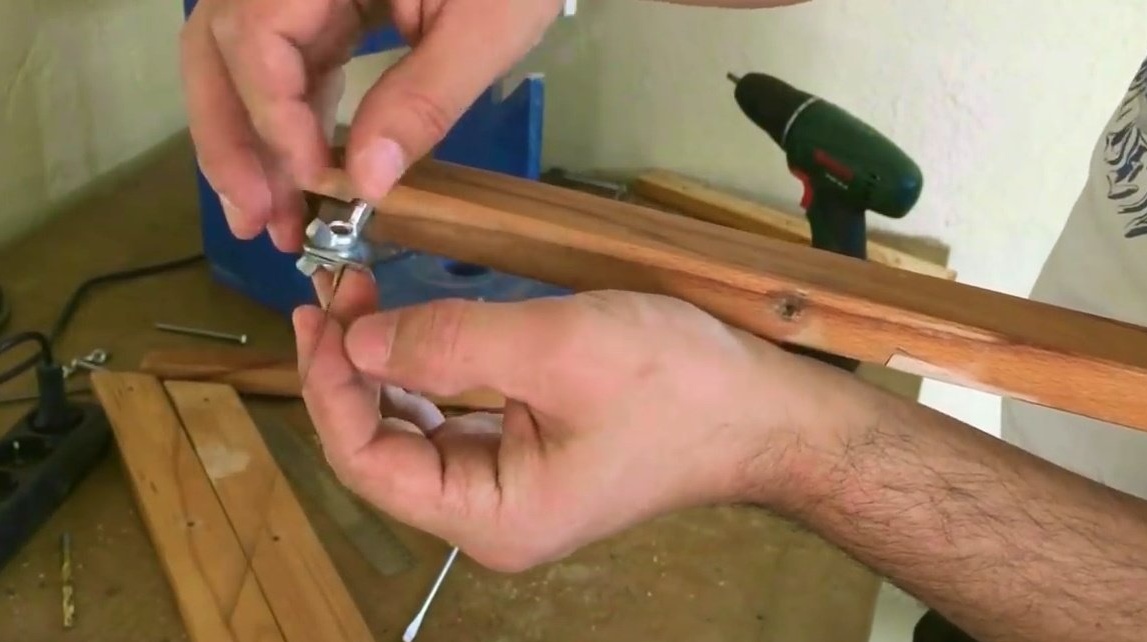
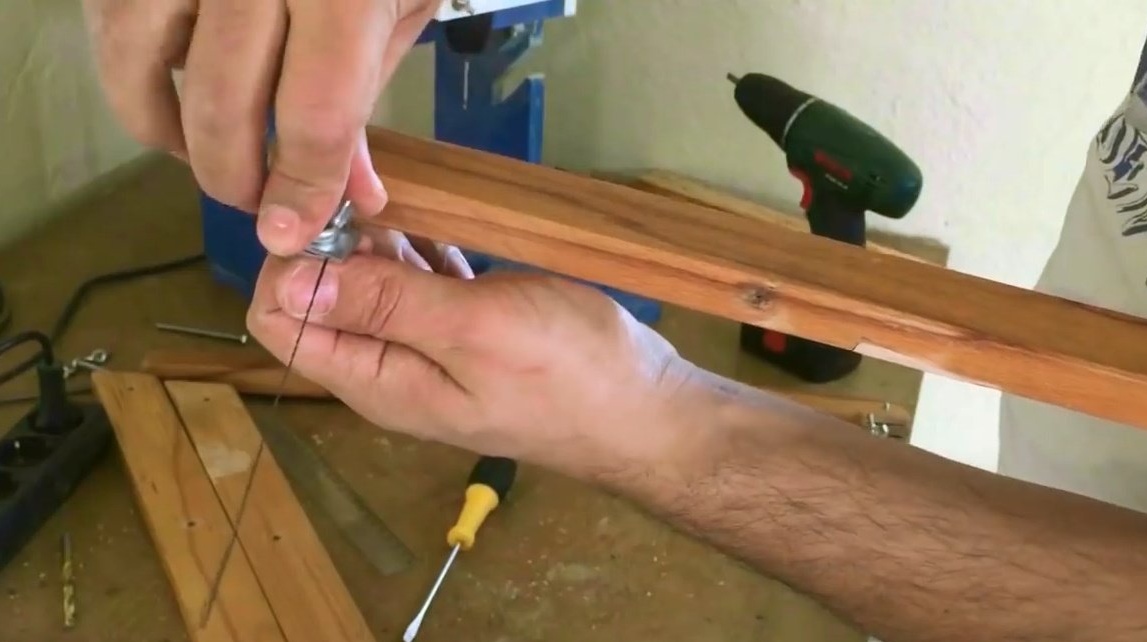
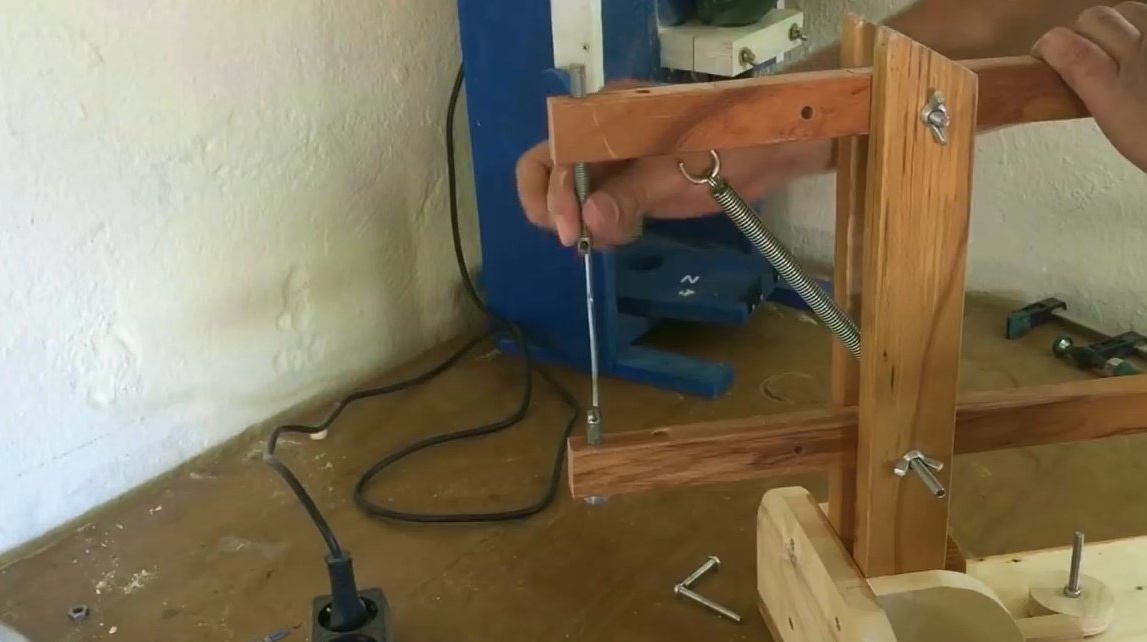
It does the same operation with the lower beam, clamps the web between the washers.
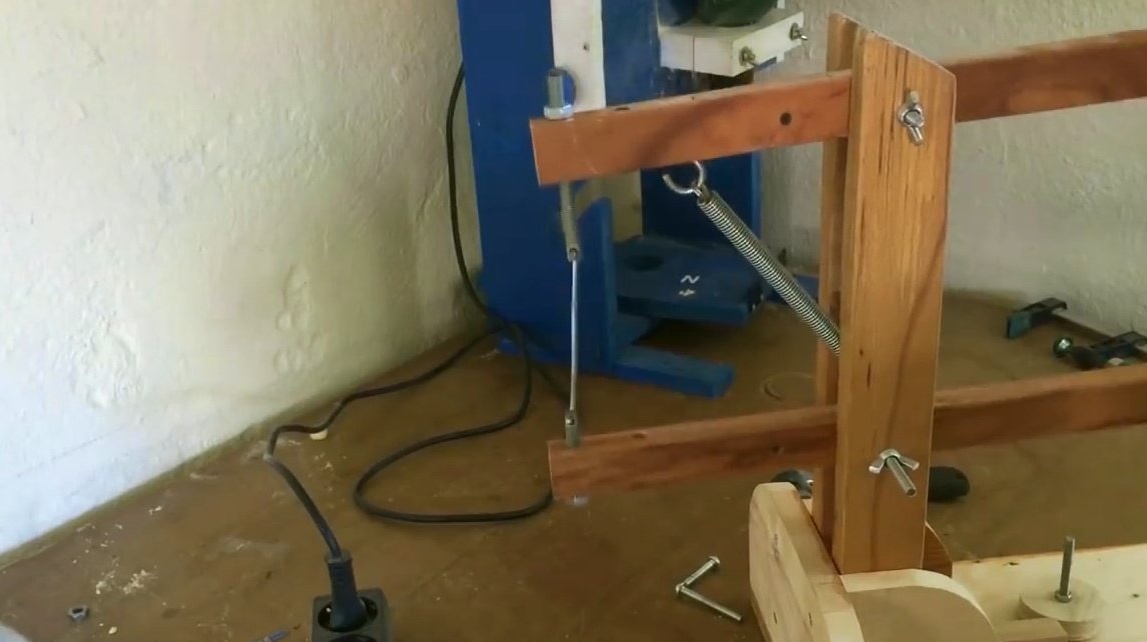
Between the rear edge and the stand establishes a tension spring.
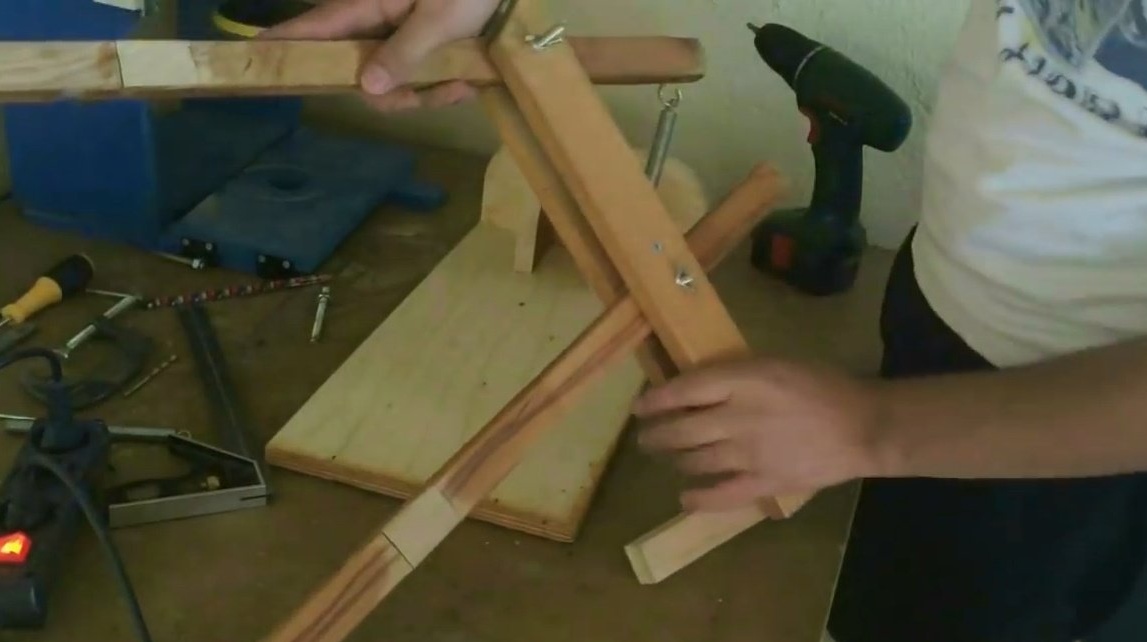
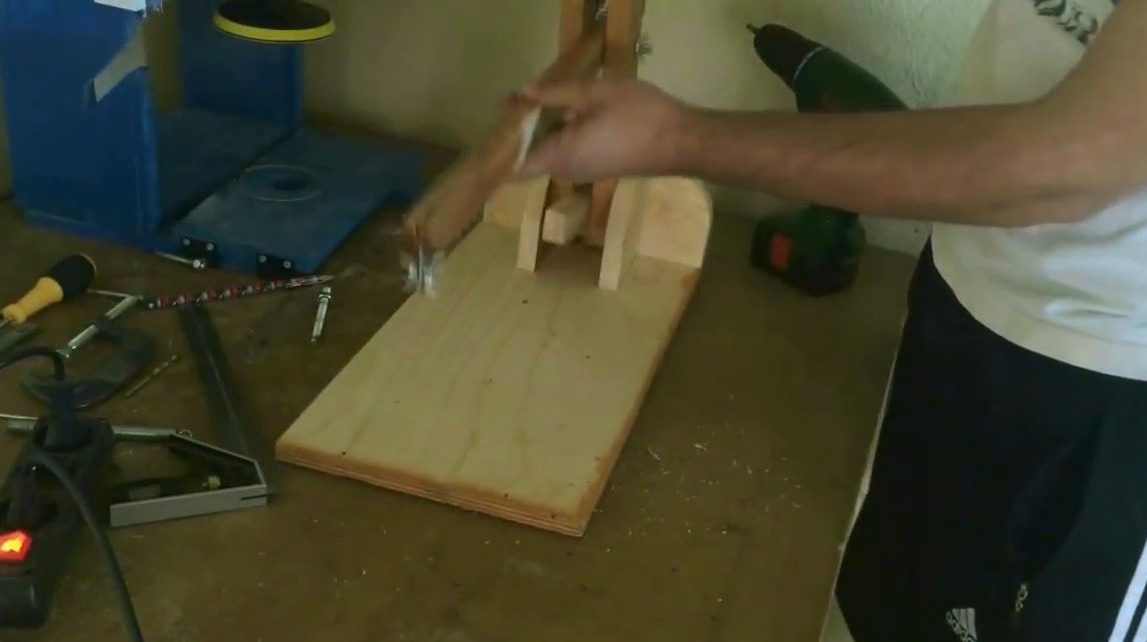
Trying on a rack with rockers to the base.
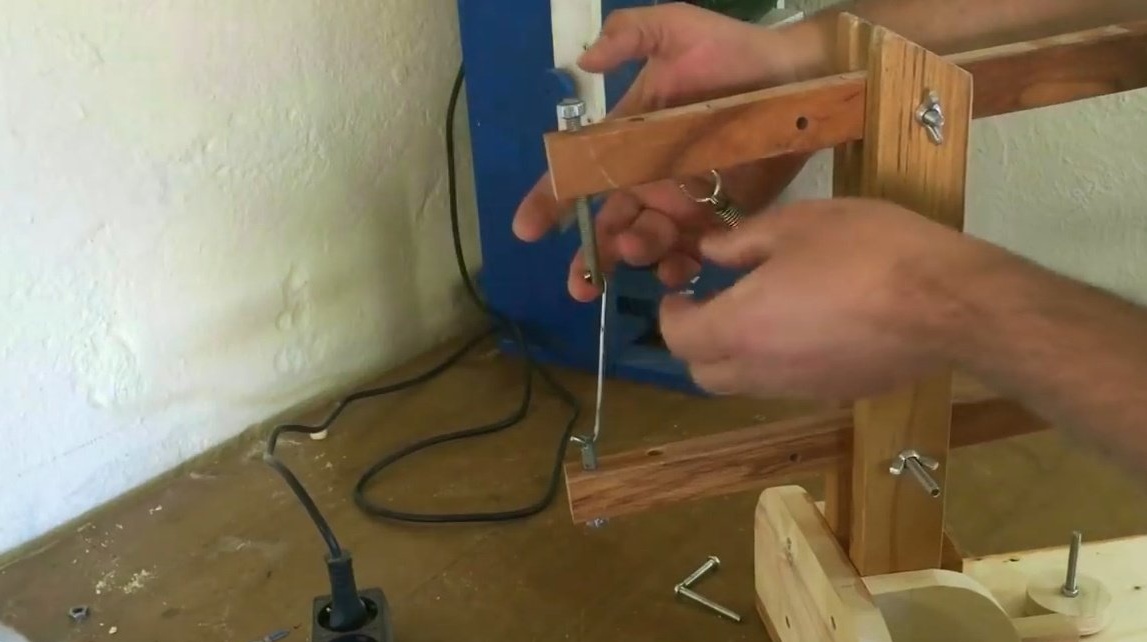
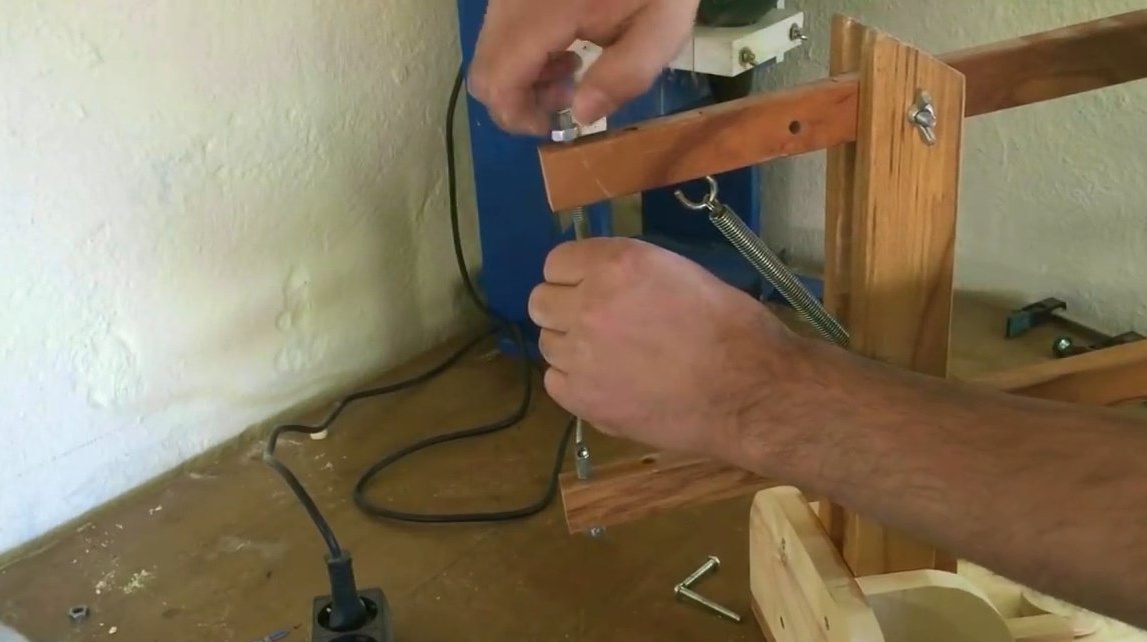
Additionally installs a tensioning mechanism, it is designed to push the front parts of the rocker arm to stretch the canvas.
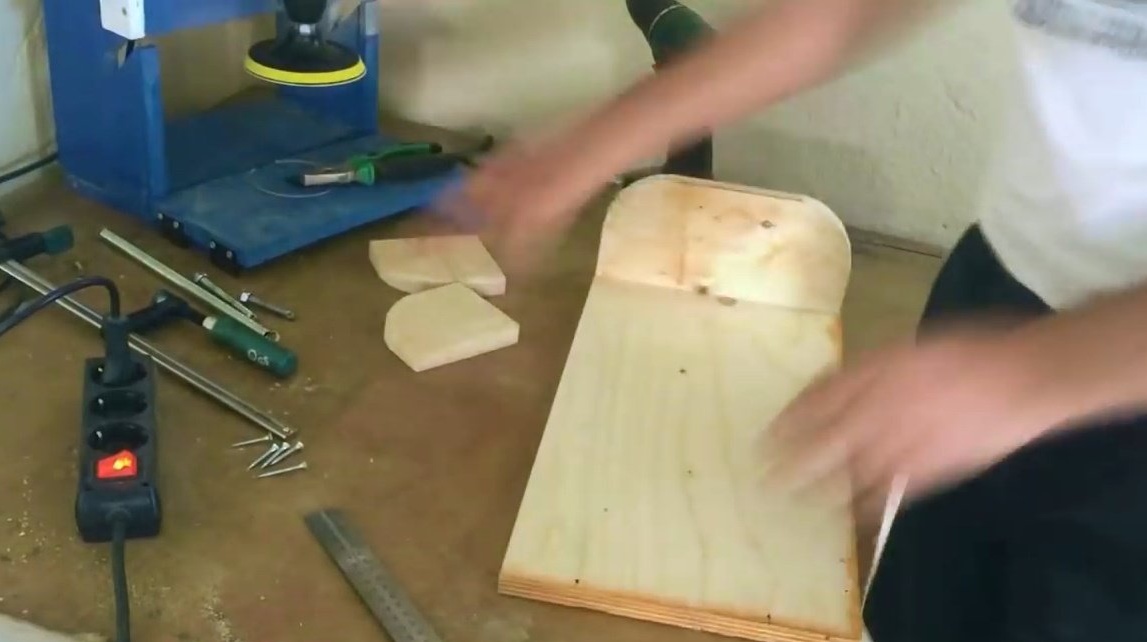
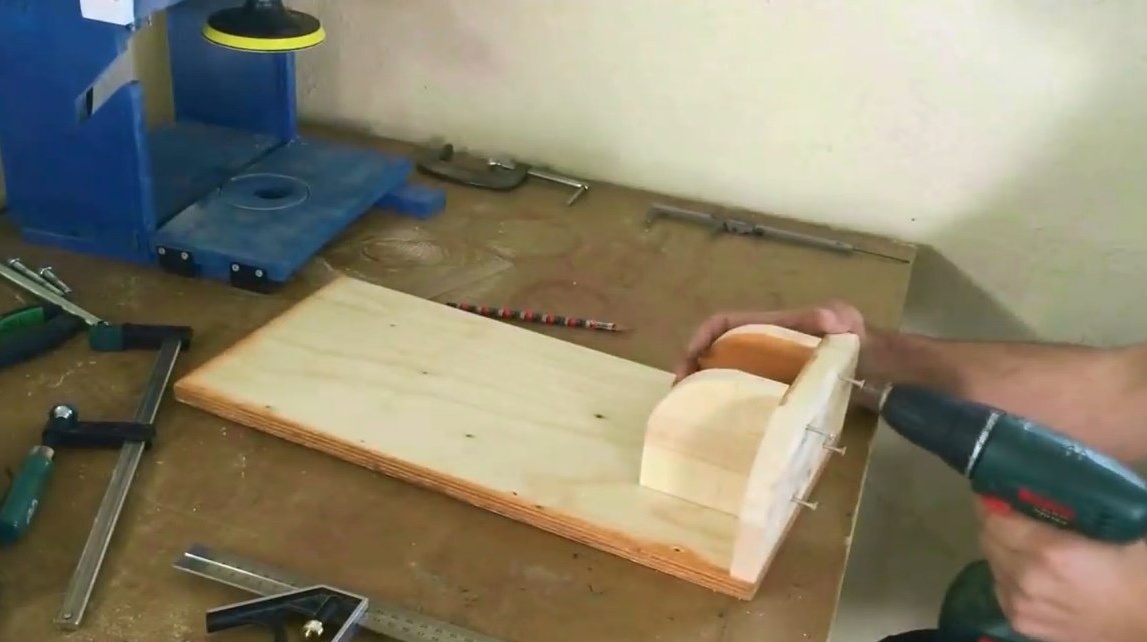
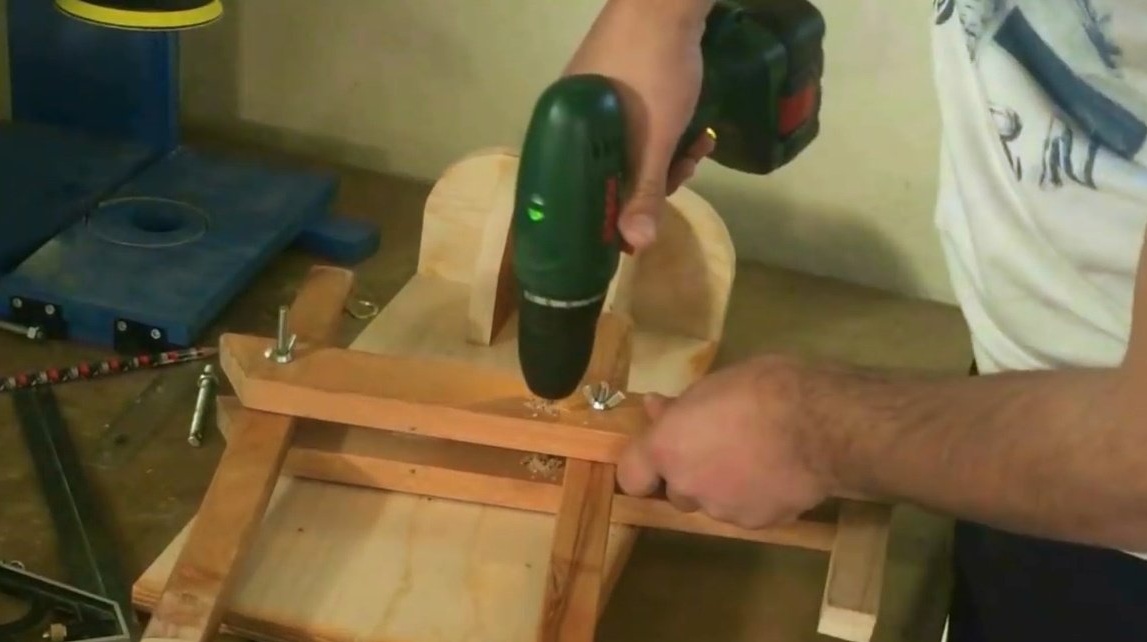
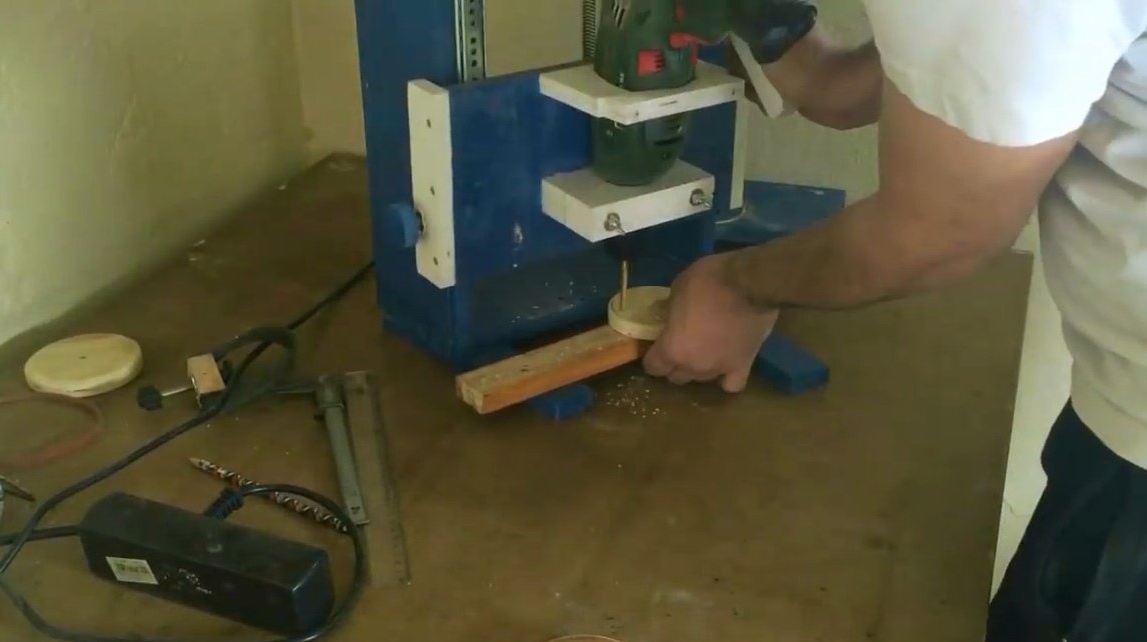
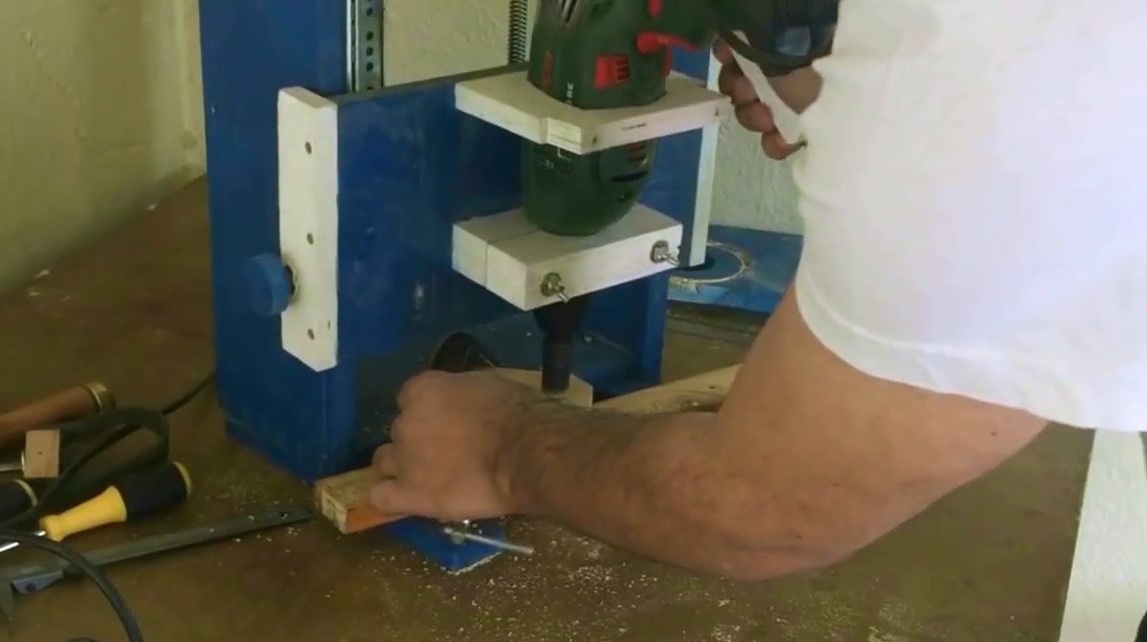
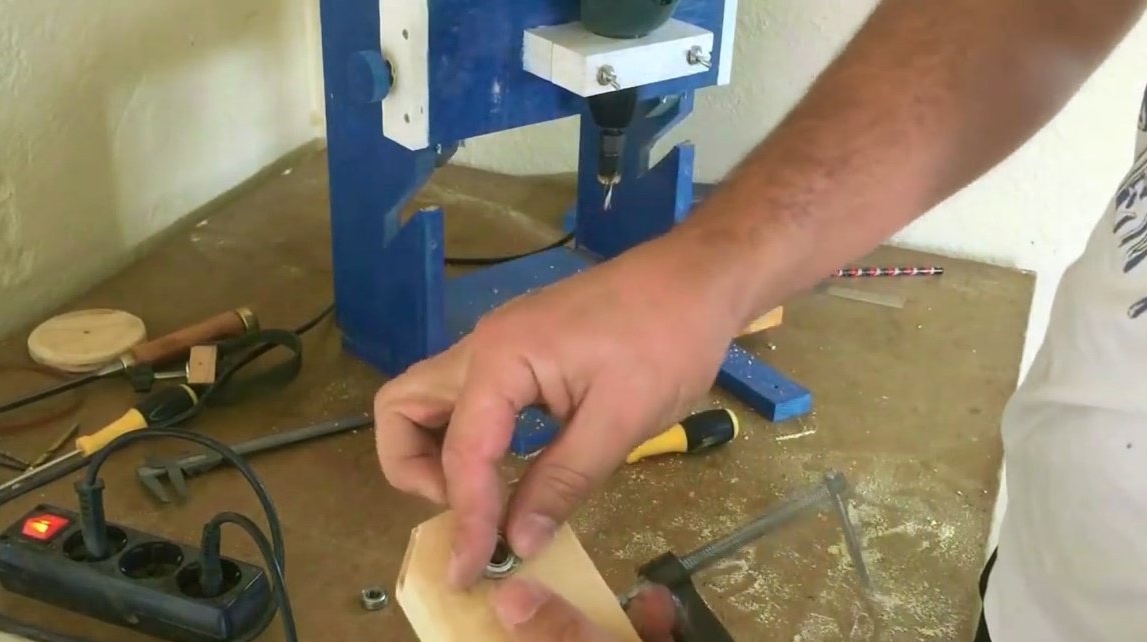
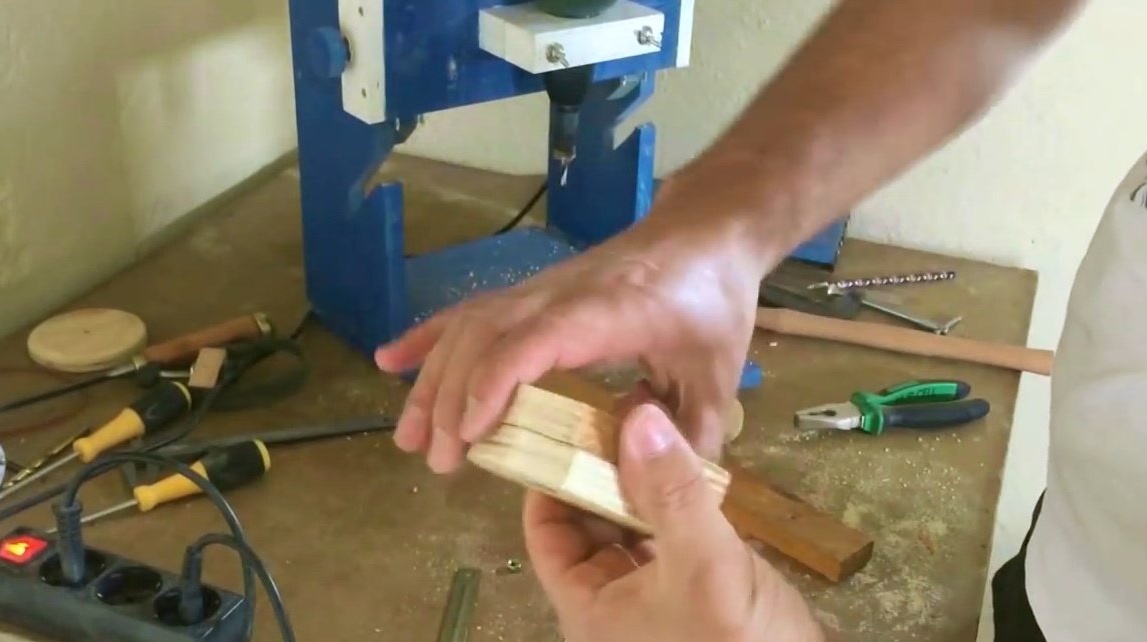
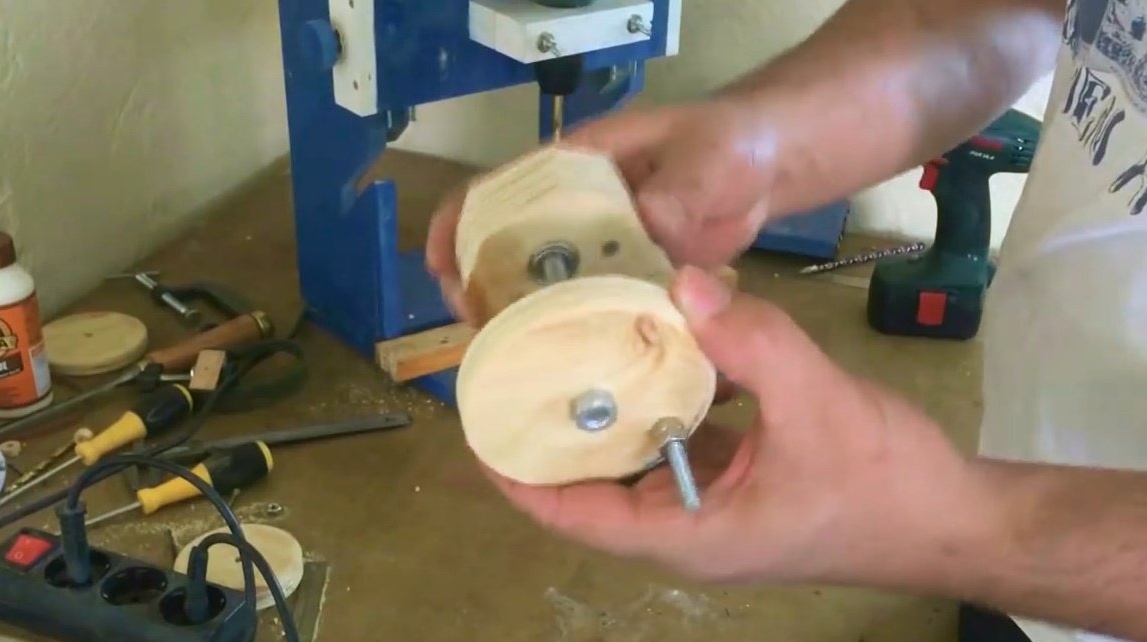
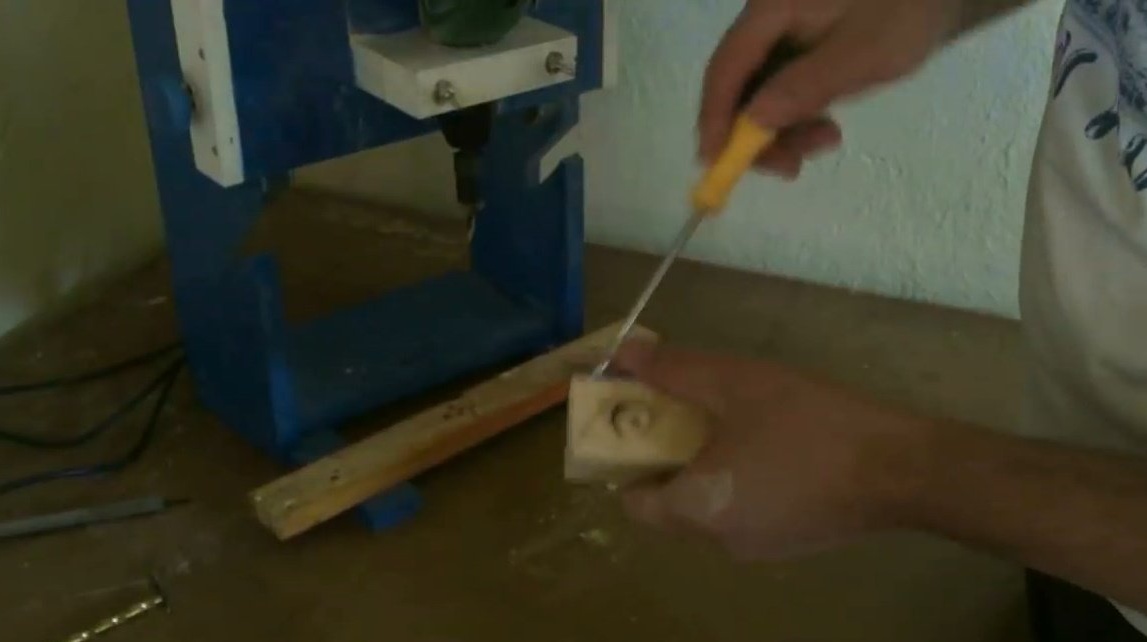
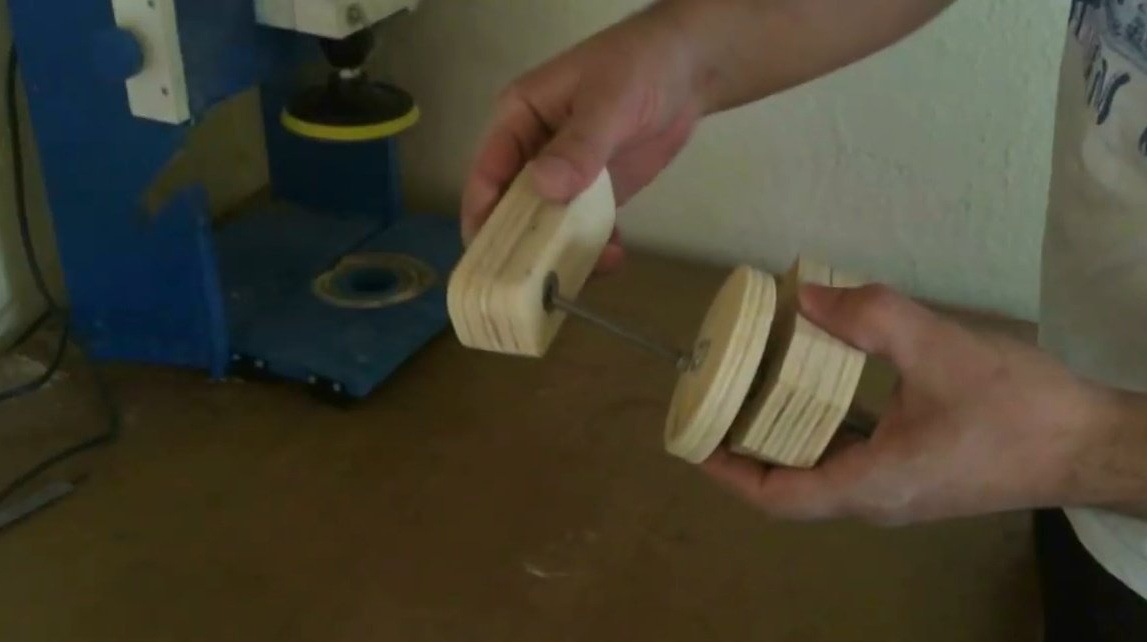
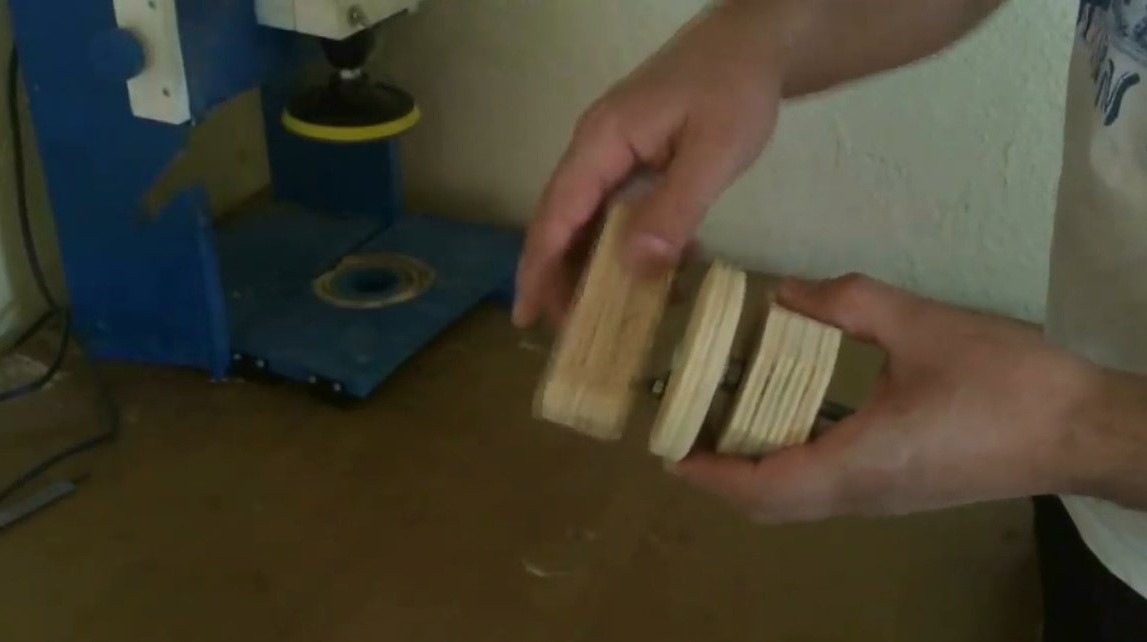
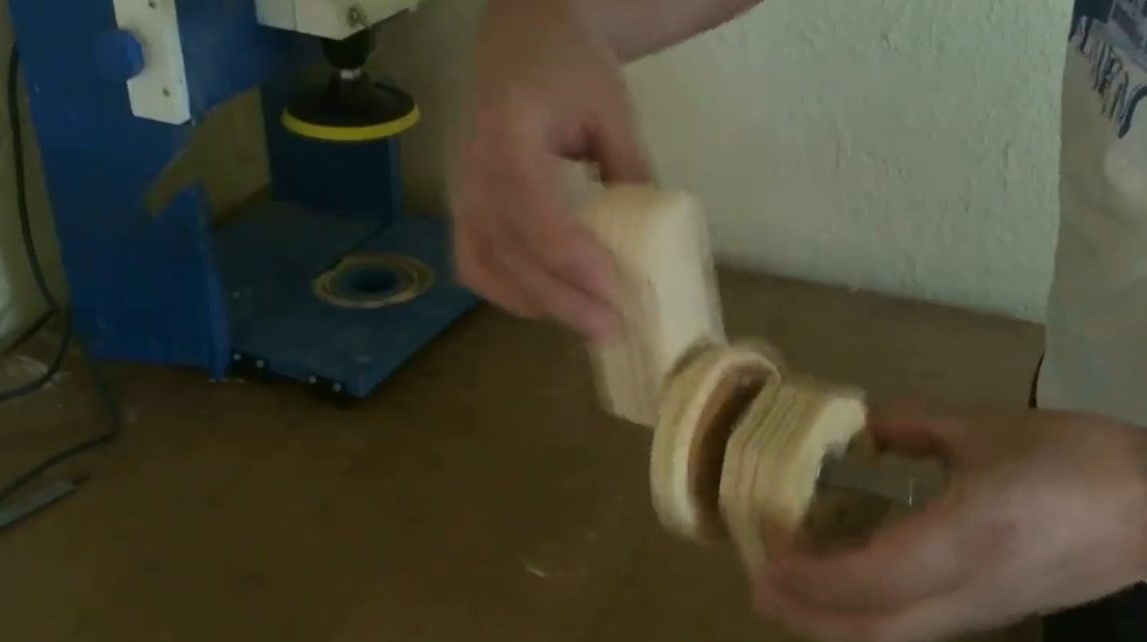
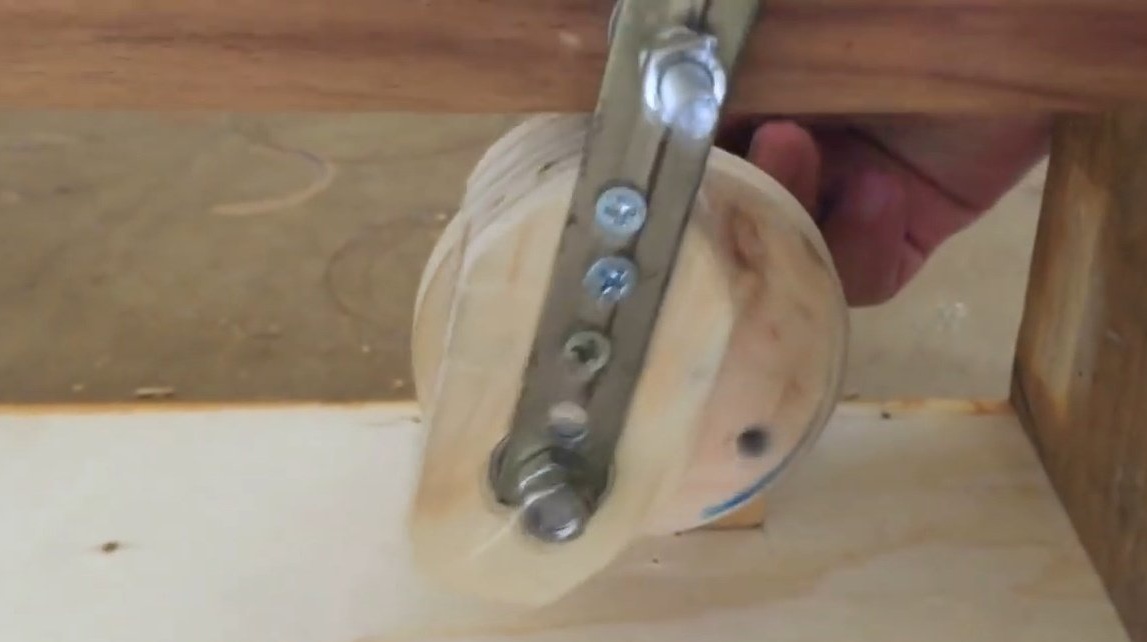
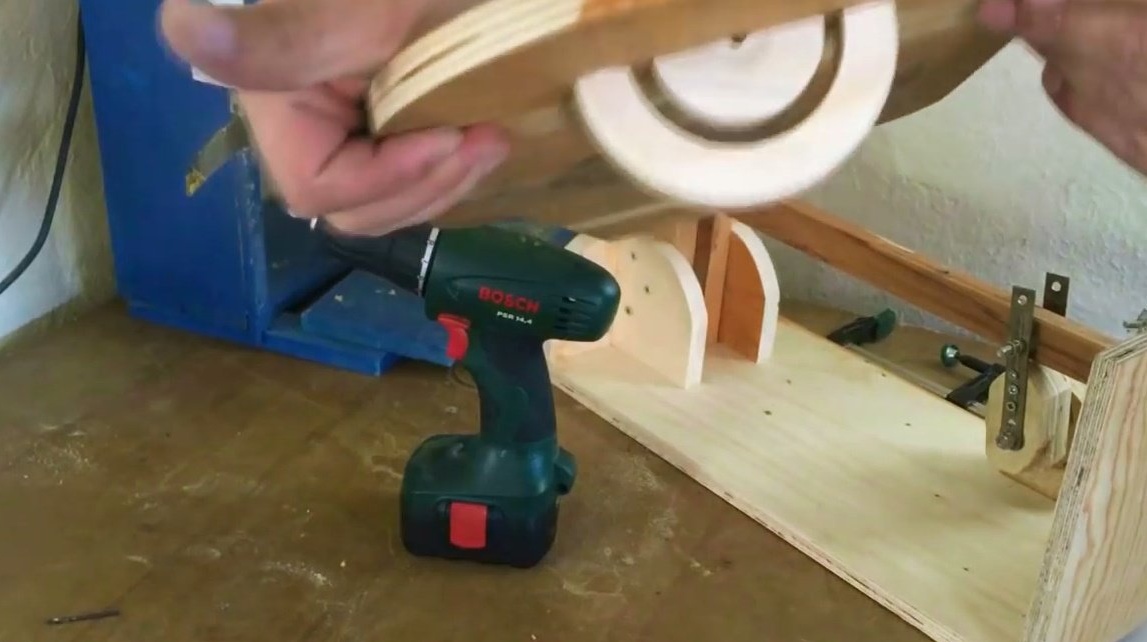
Now the author proceeds to manufacture an eccentric, cuts a pair of round logs with a crown.
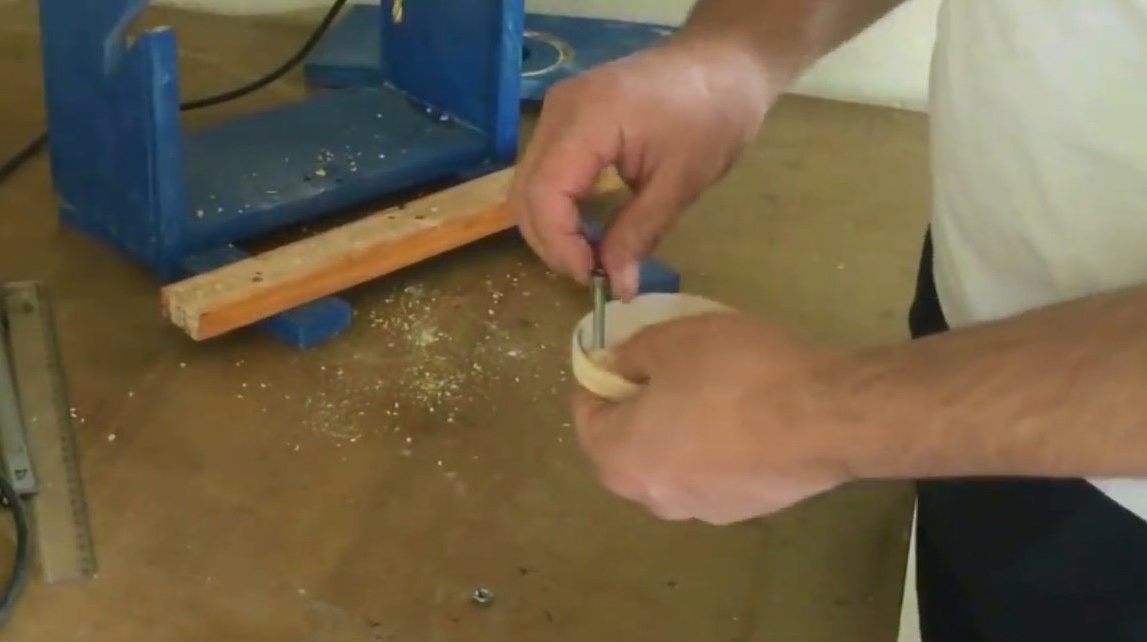
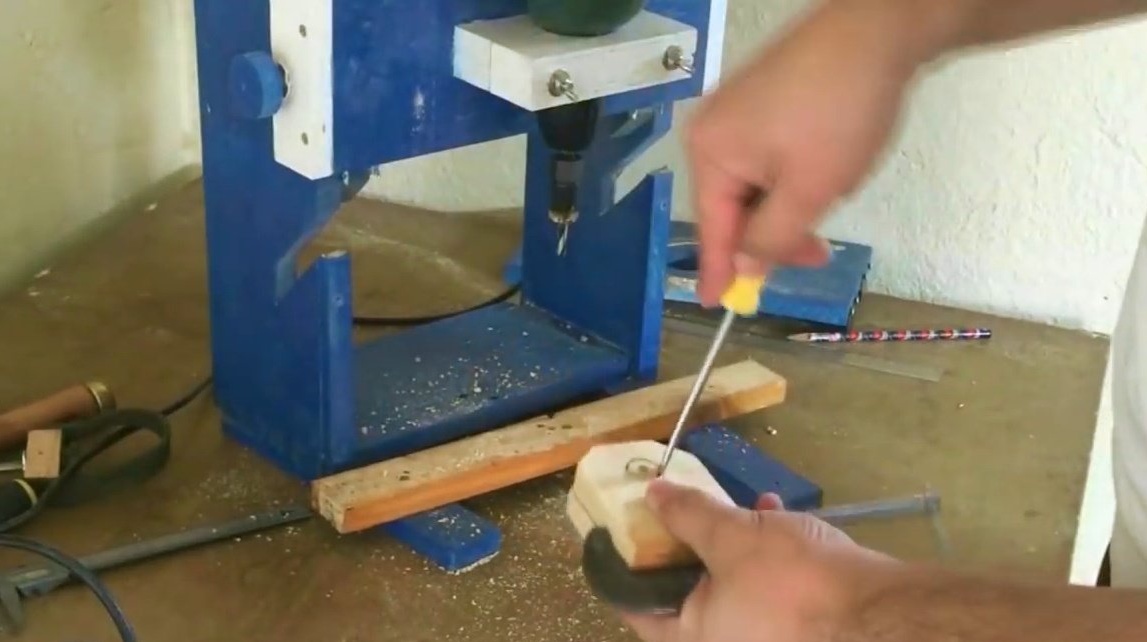
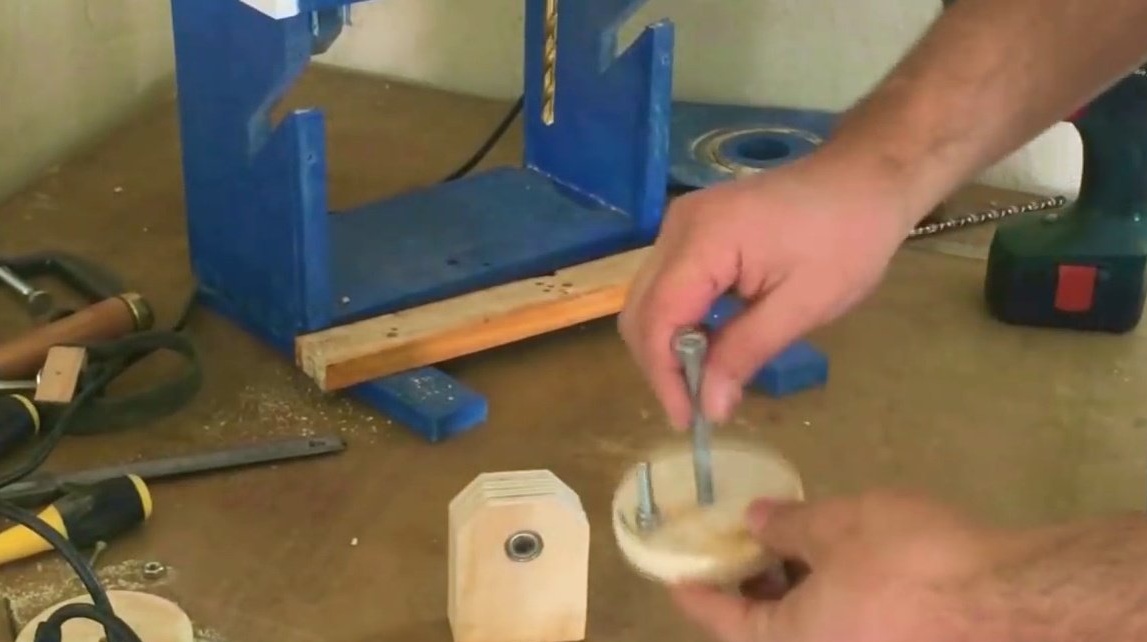
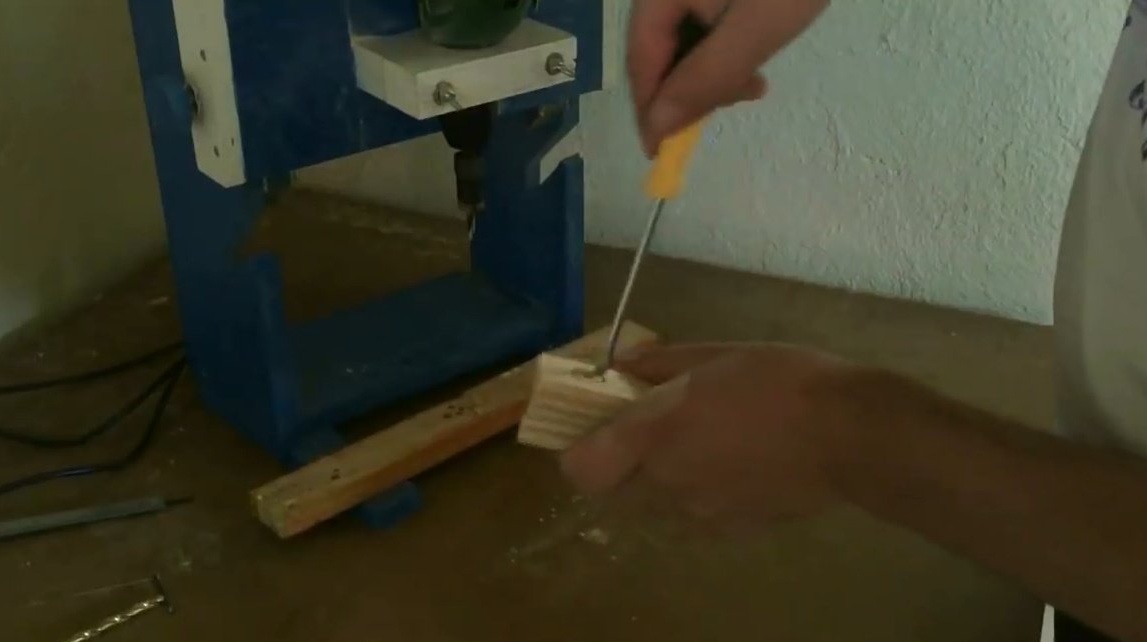
At the edge of one round log, he drills a hole and inserts a bolt into it.
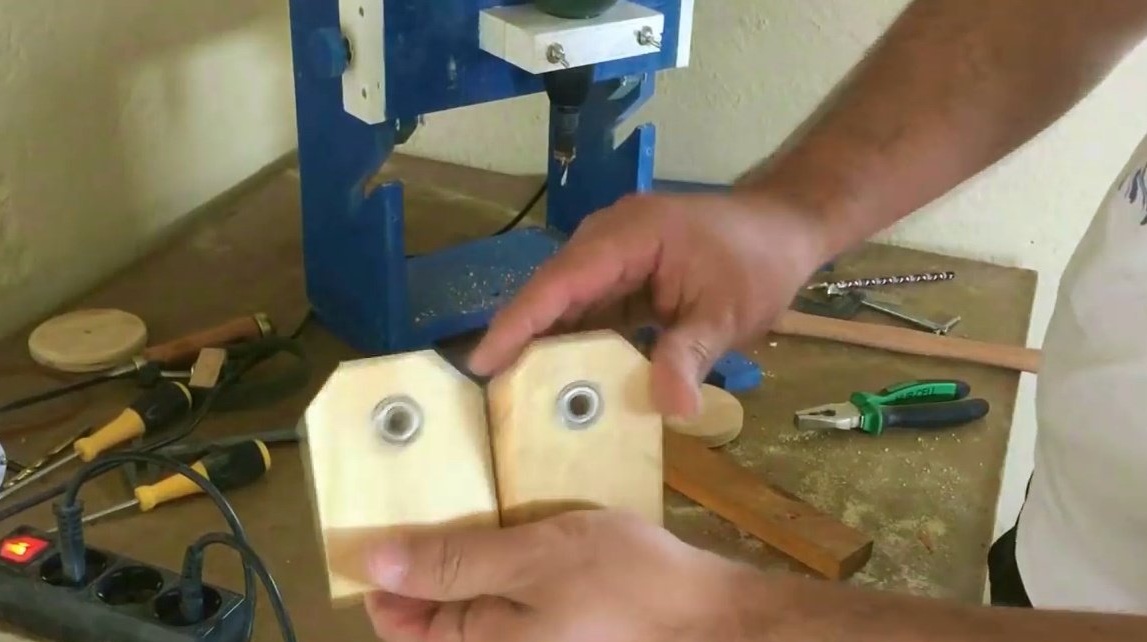
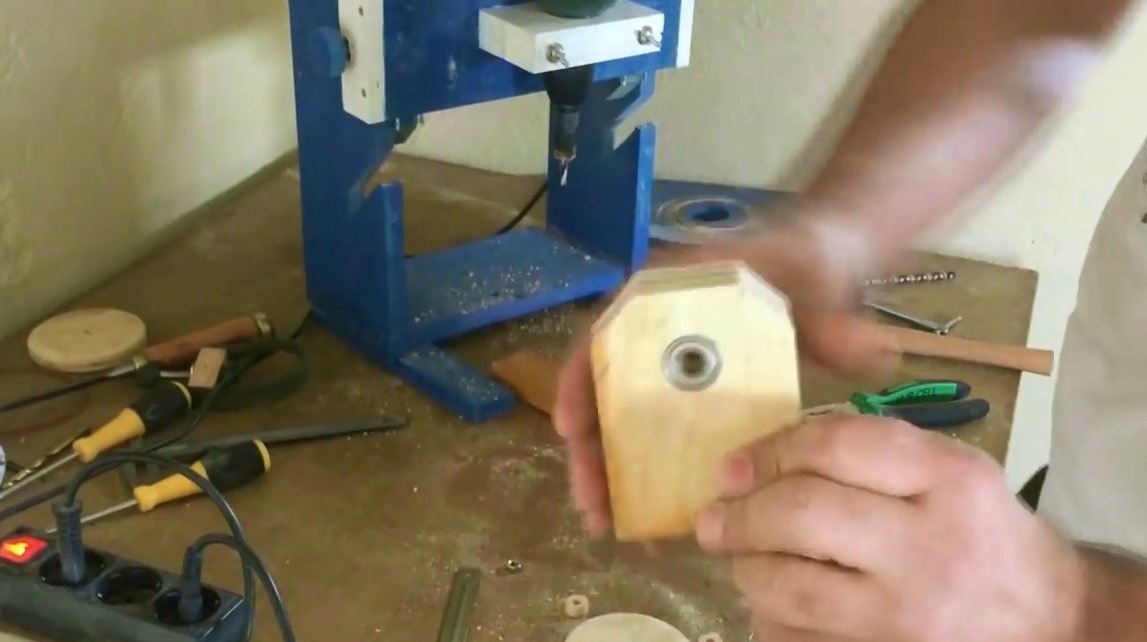
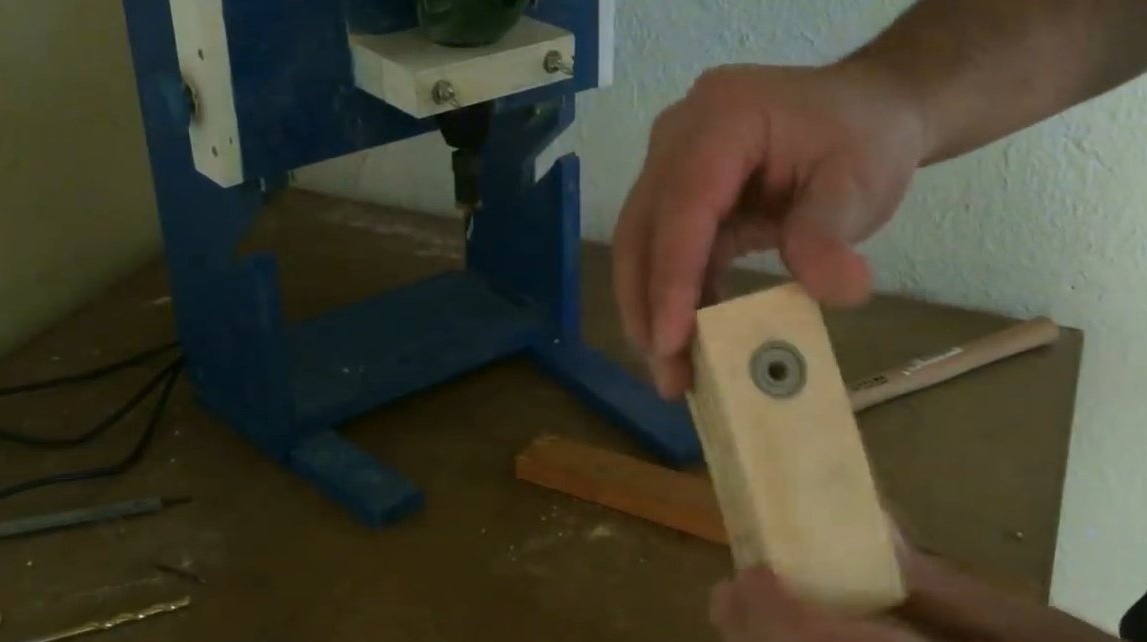
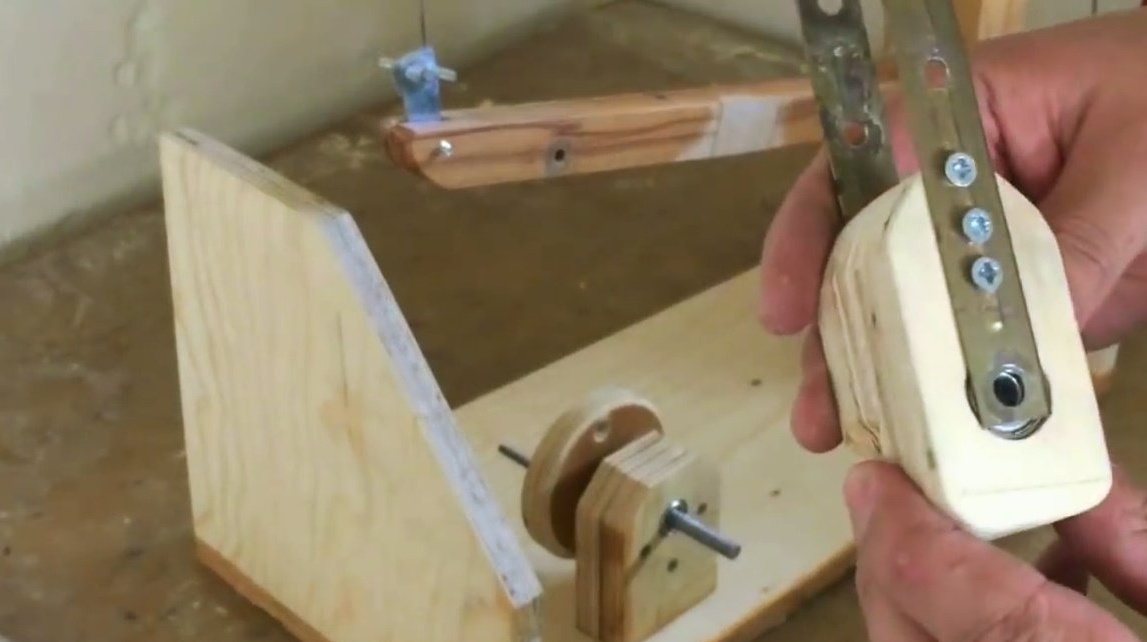
Now makes two supports for the clown. In the upper part it makes grooves for bearings.
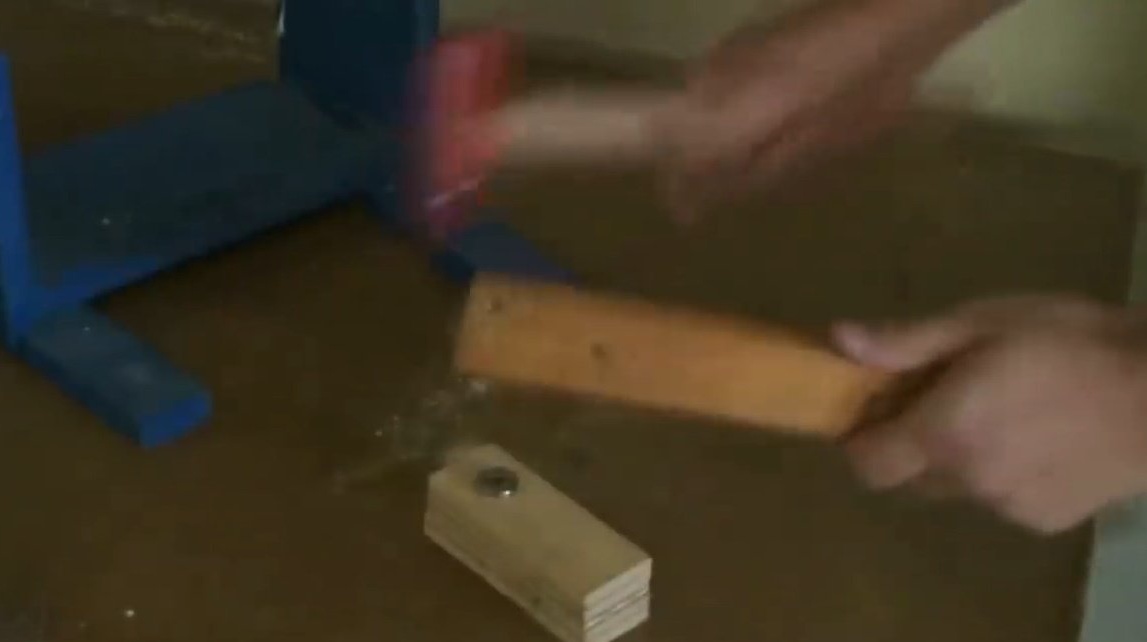
Installs bearings, and presses them in.
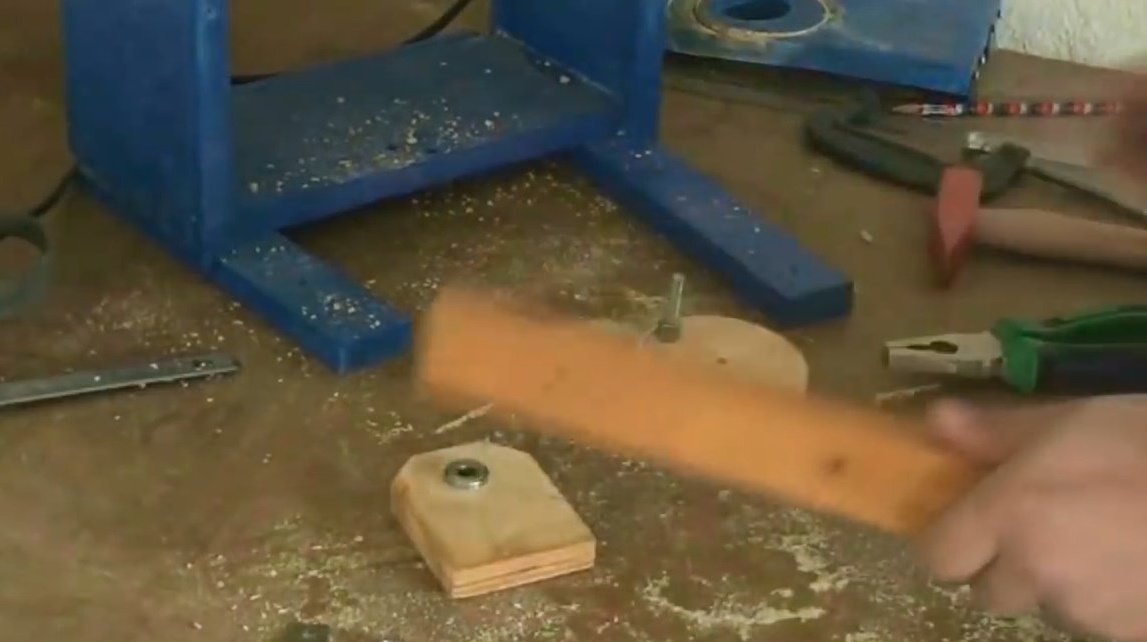
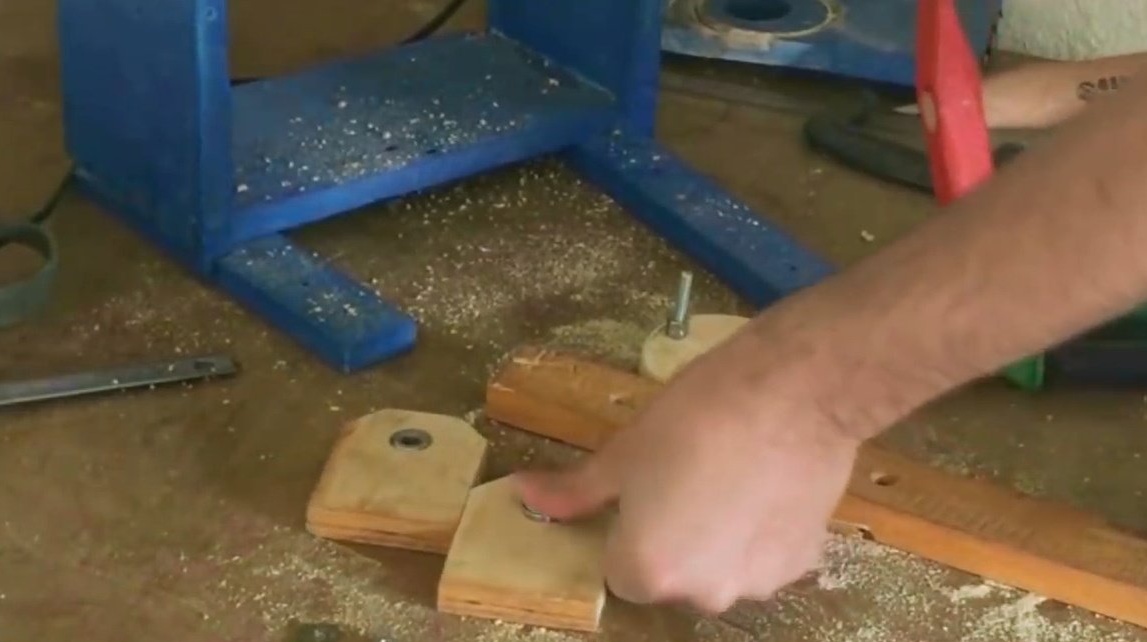
These are the supports obtained by the author.
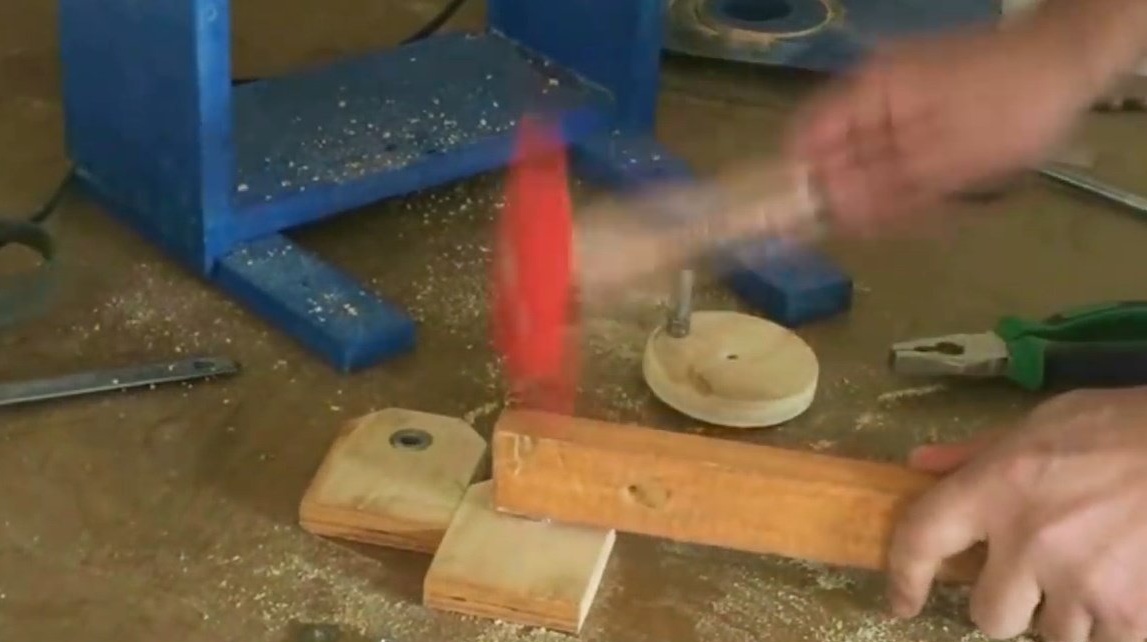
Then connects the supports to the eccentric using a bolt with nuts.
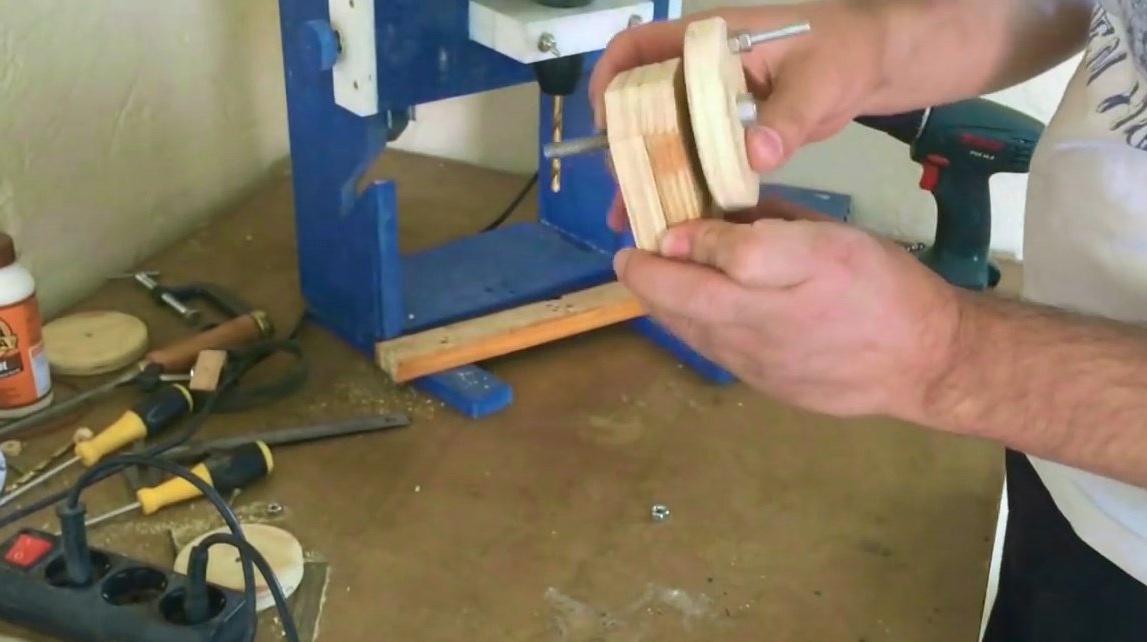
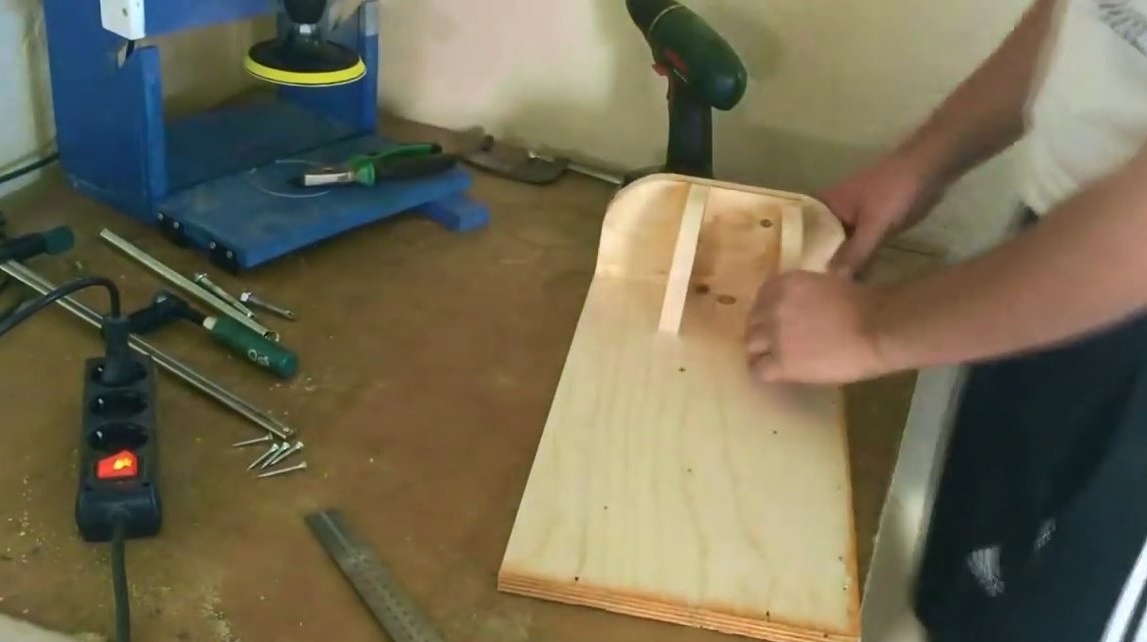
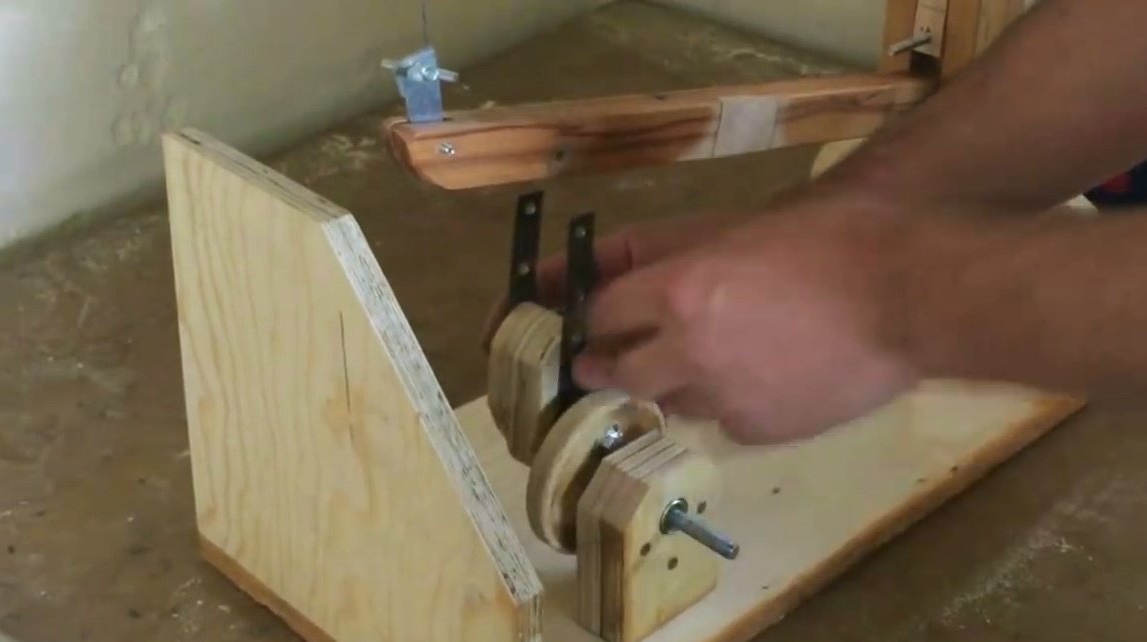
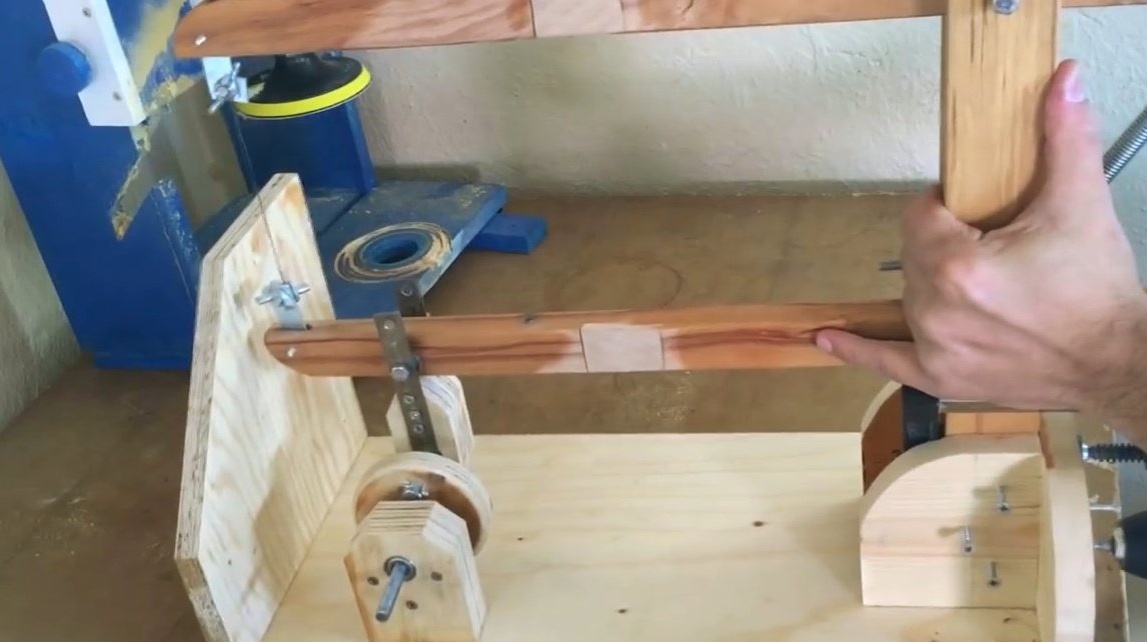
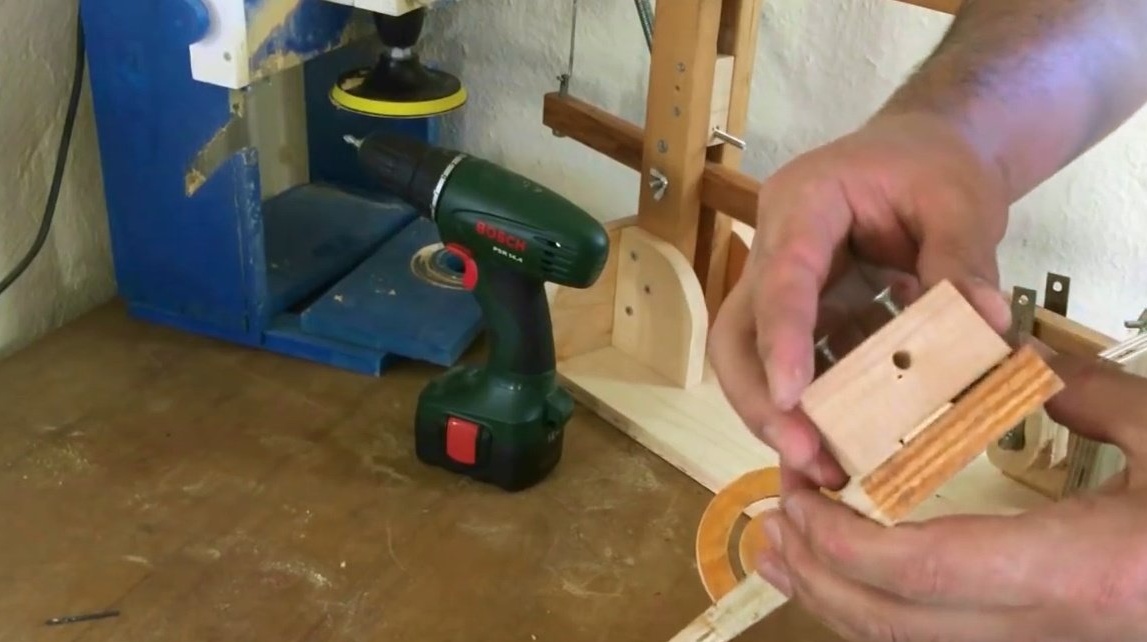
Now makes a movable part of the mechanism, which will be attached to the lower beam.
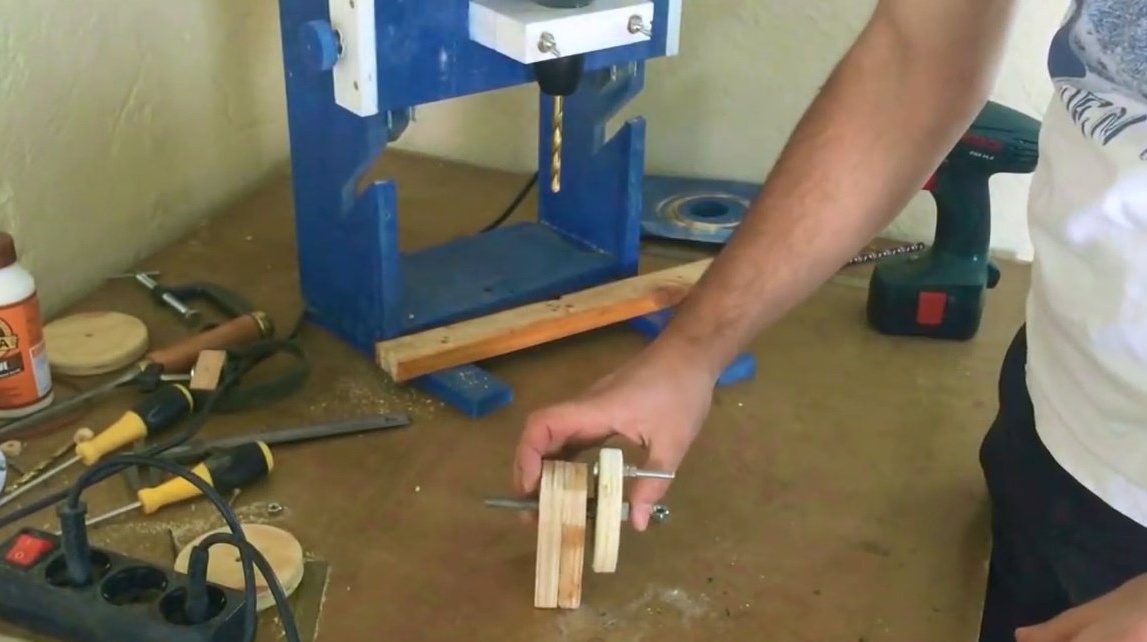
Assembles an eccentric and a moving part together.
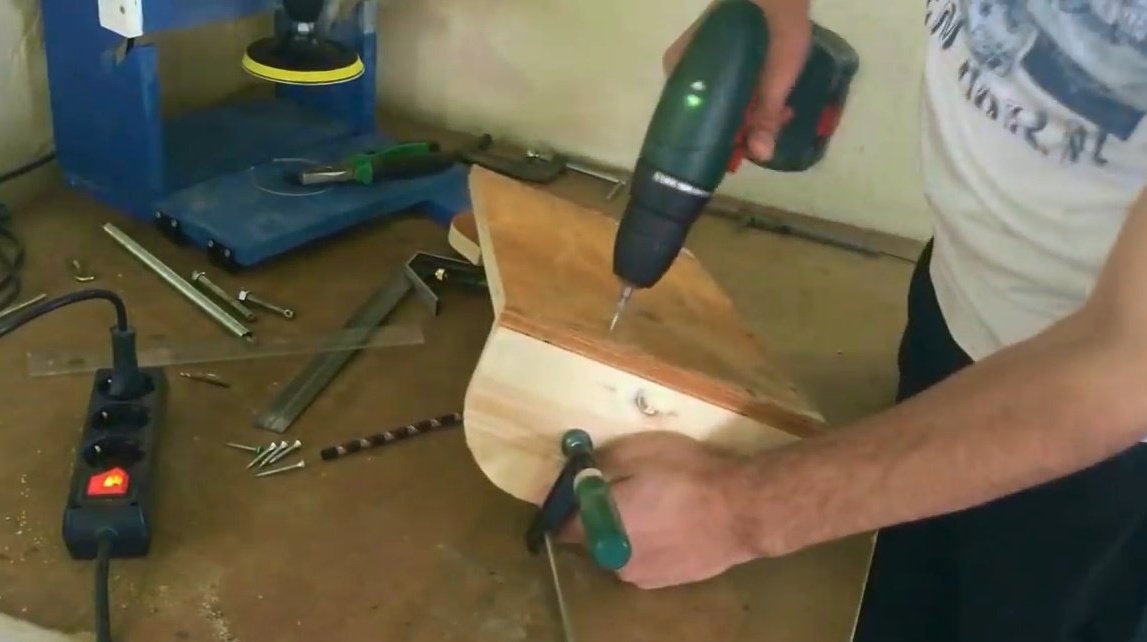
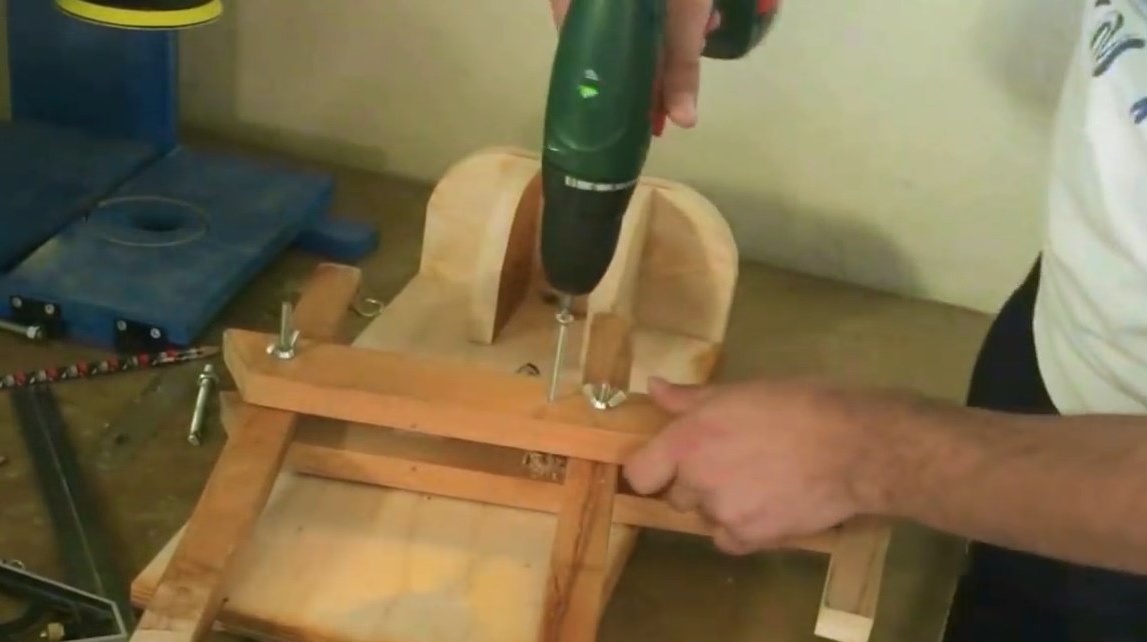
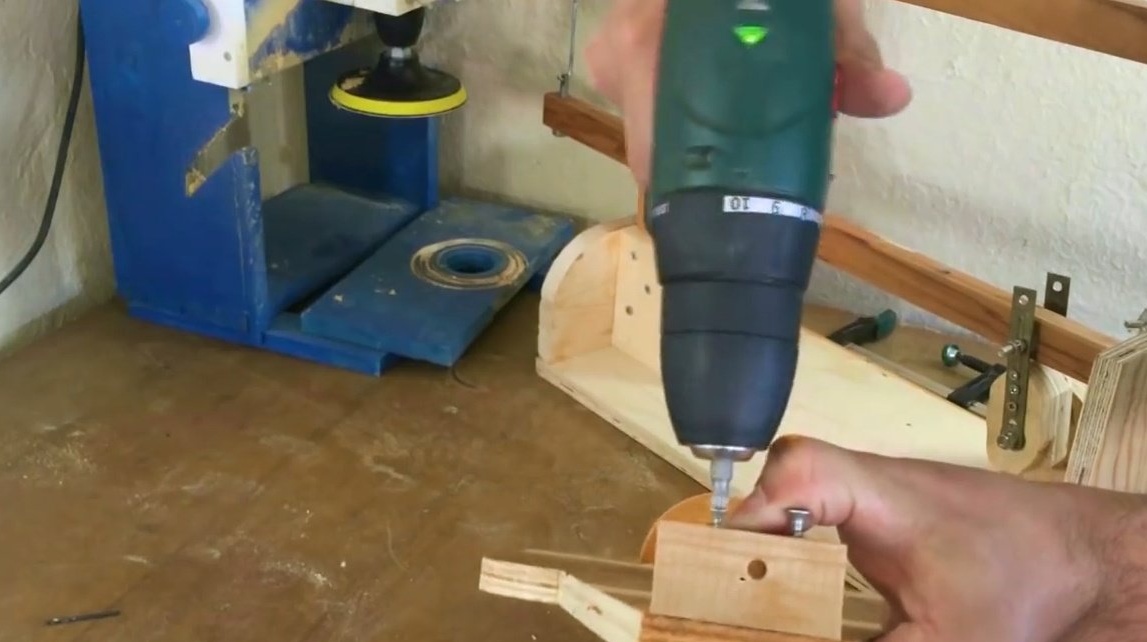
Screws the support to the base.

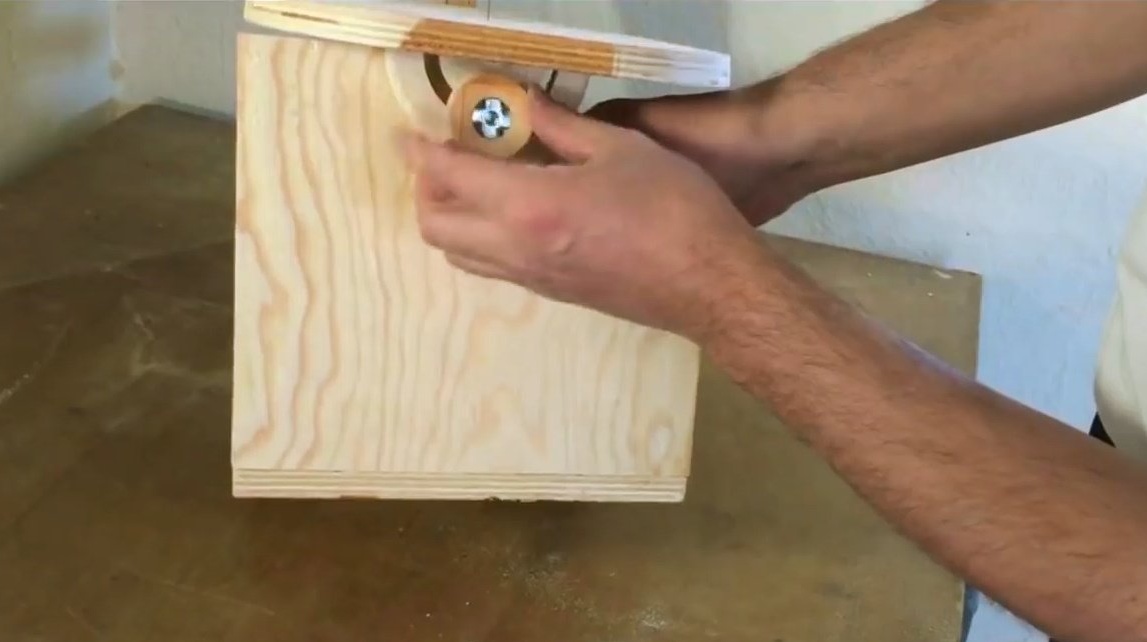
Sets the cam.
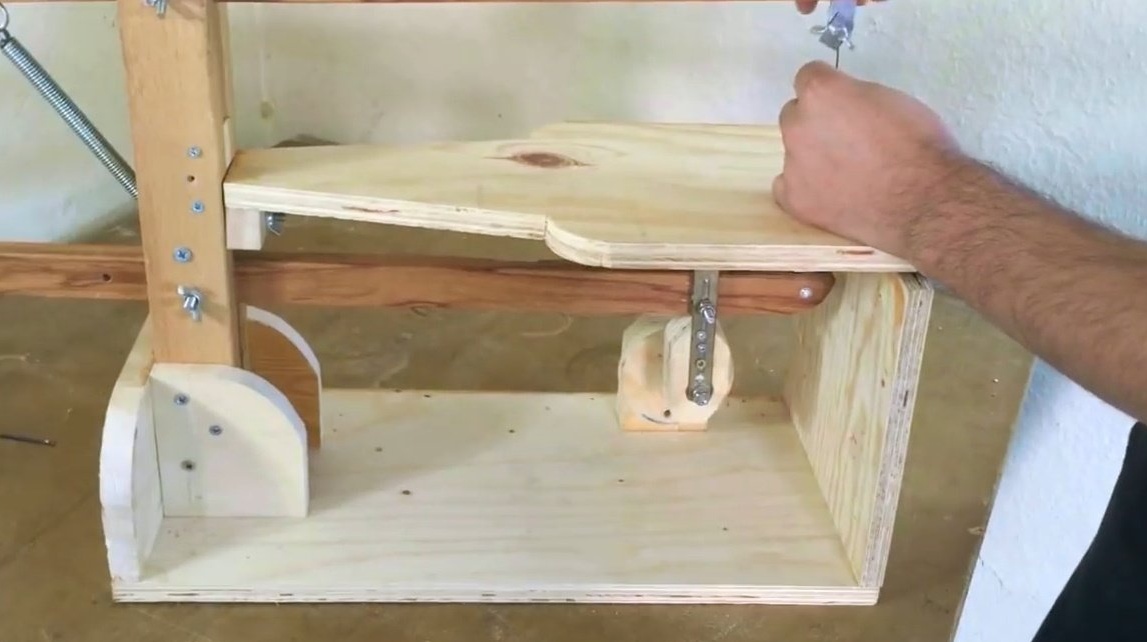
The master screwed steel strips to the moving part, and installed it on the cam.
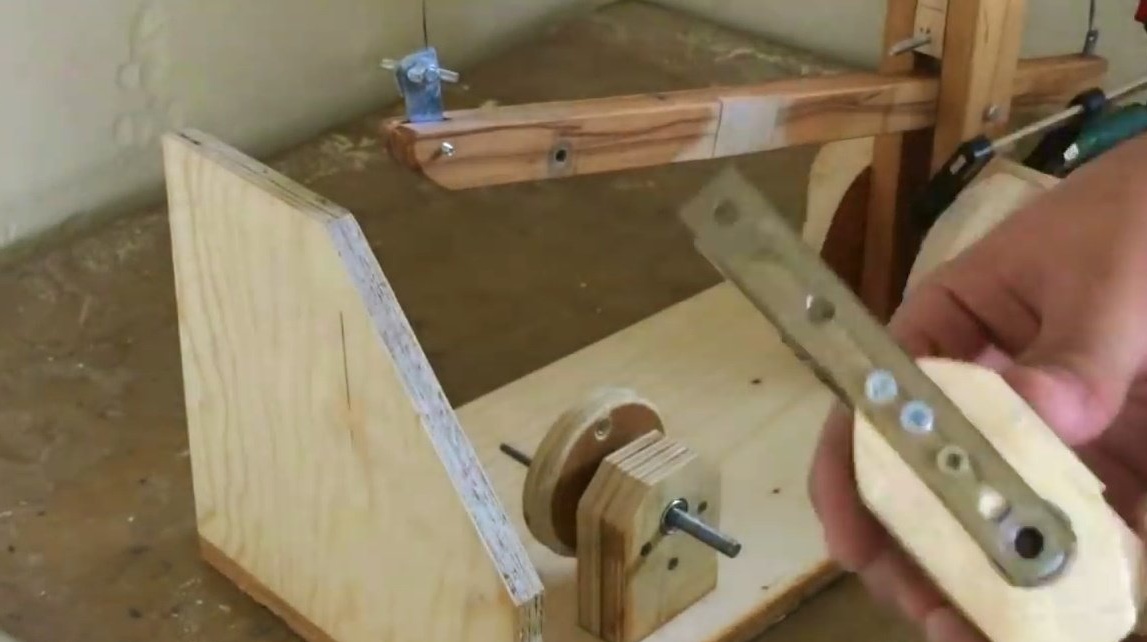
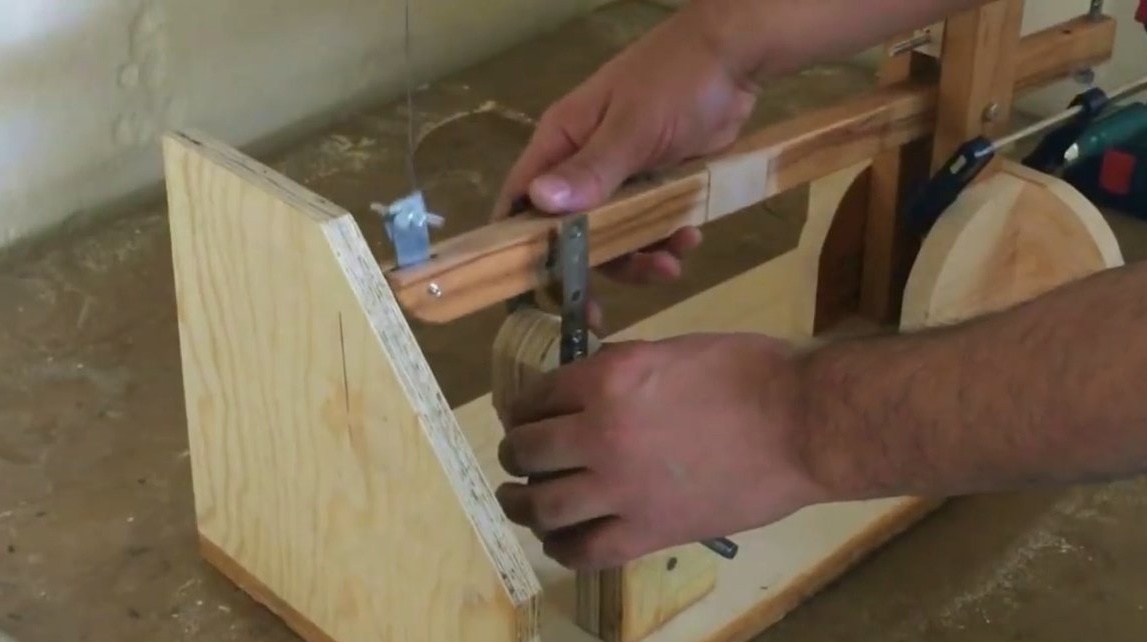
Then connected to the lower beam.

Now it fastens the rack to the base, and to the side struts, and to the side support.
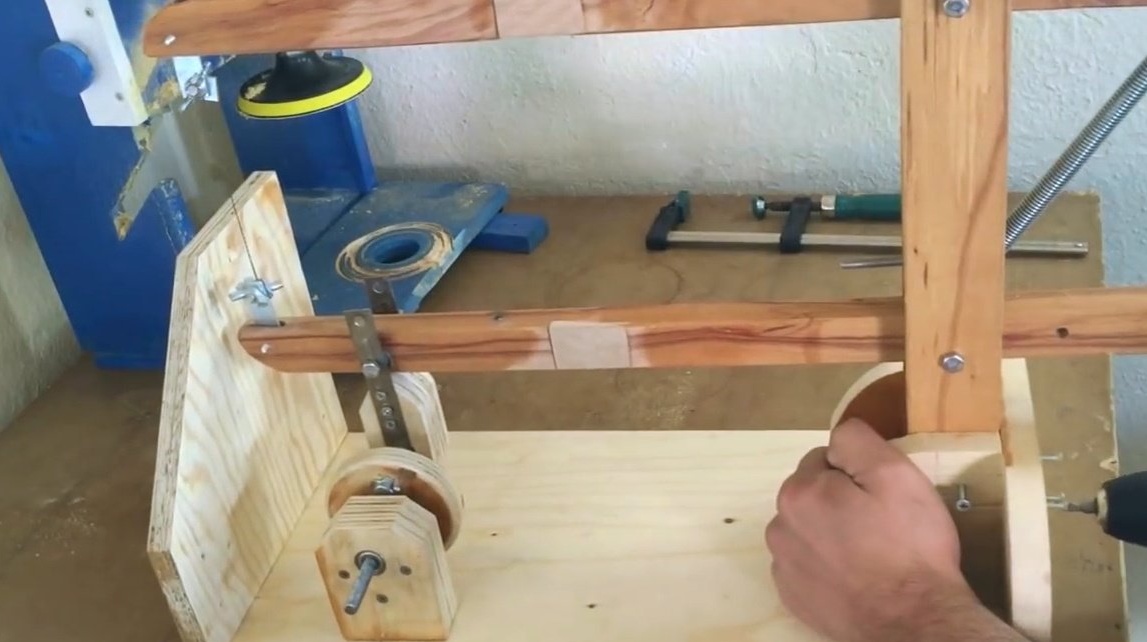
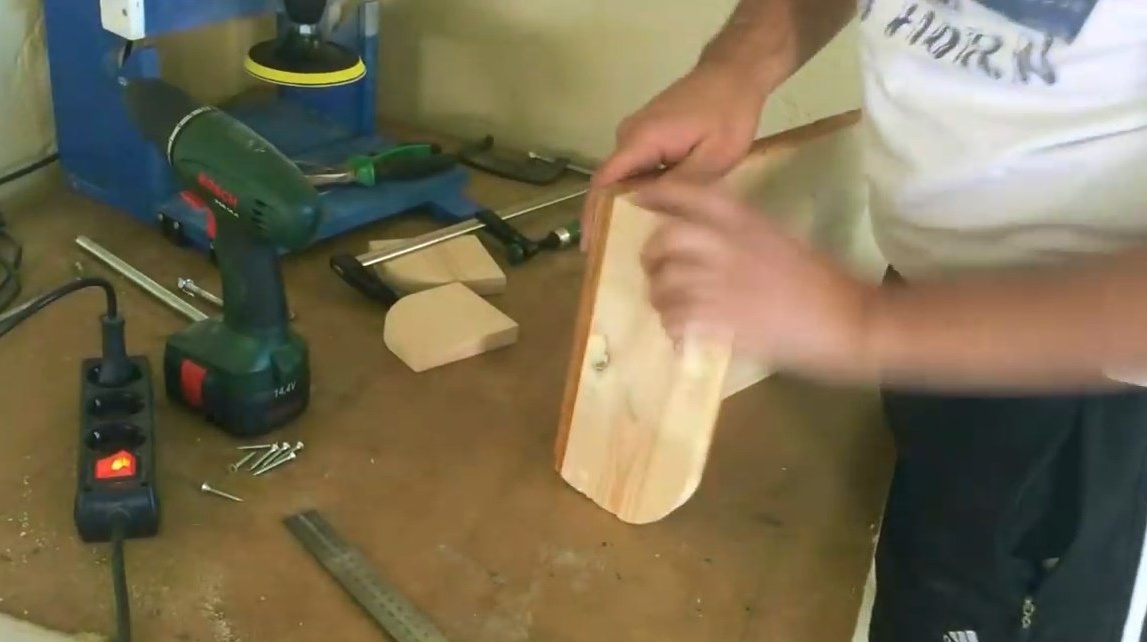
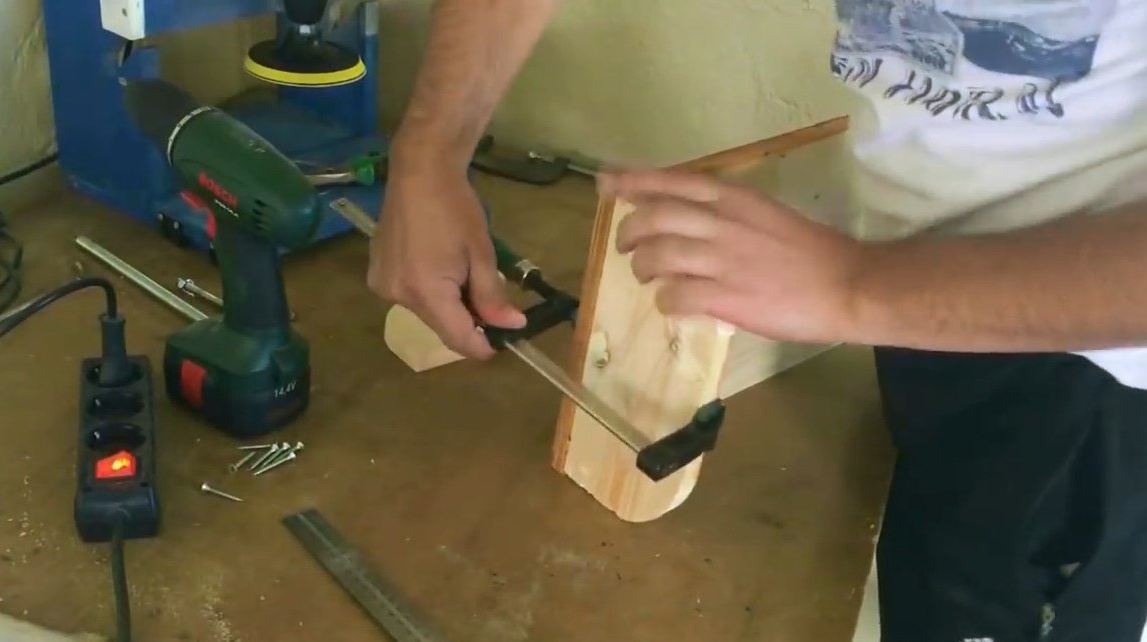
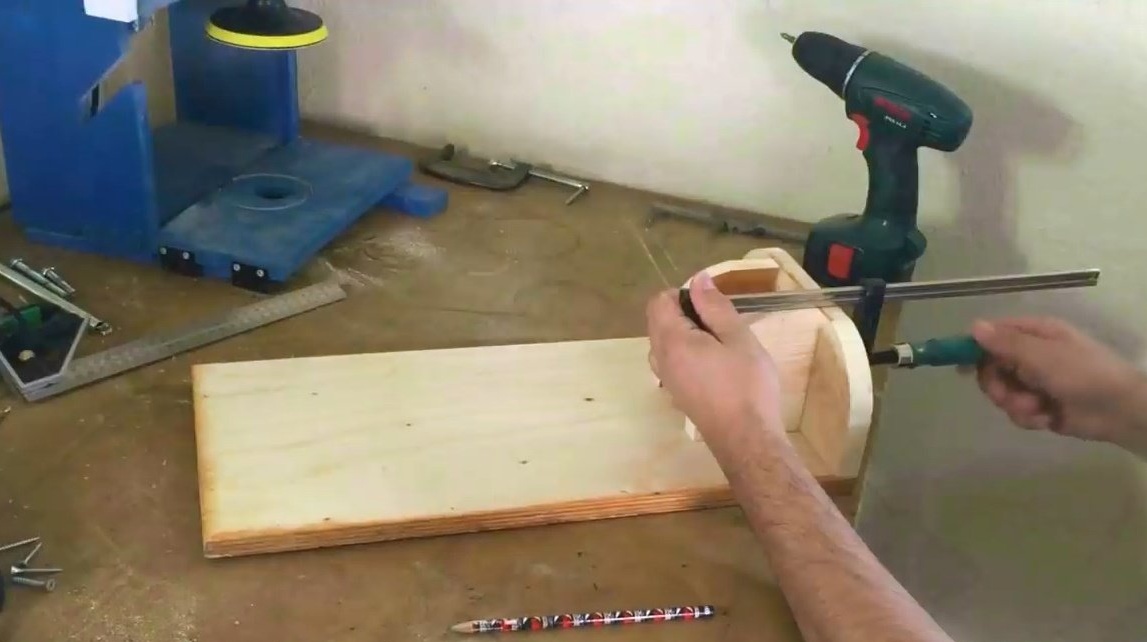
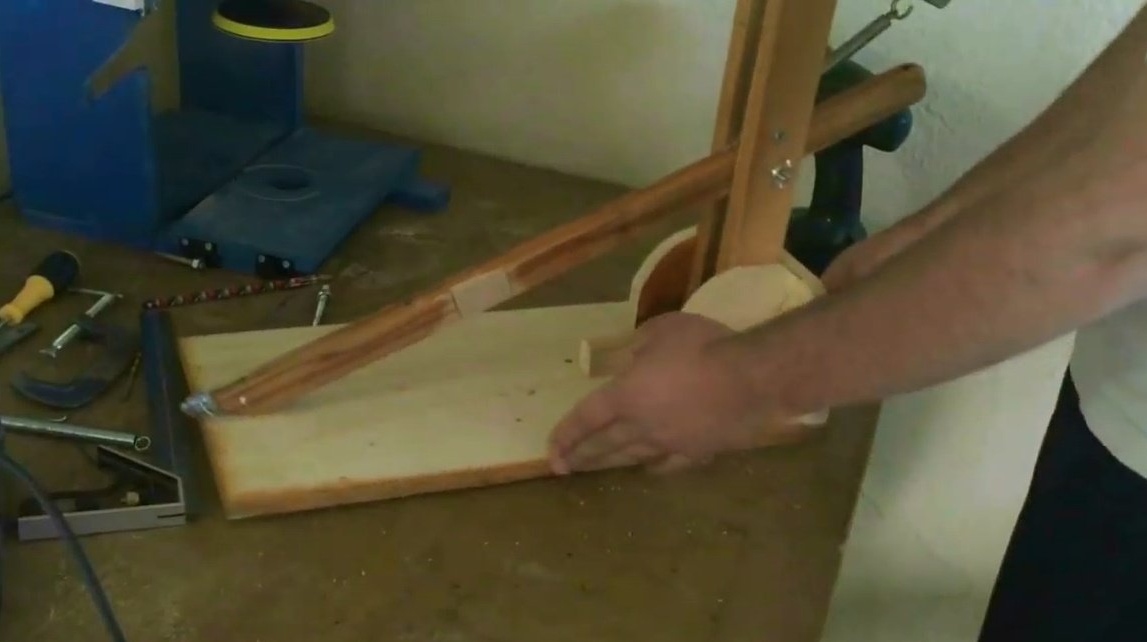
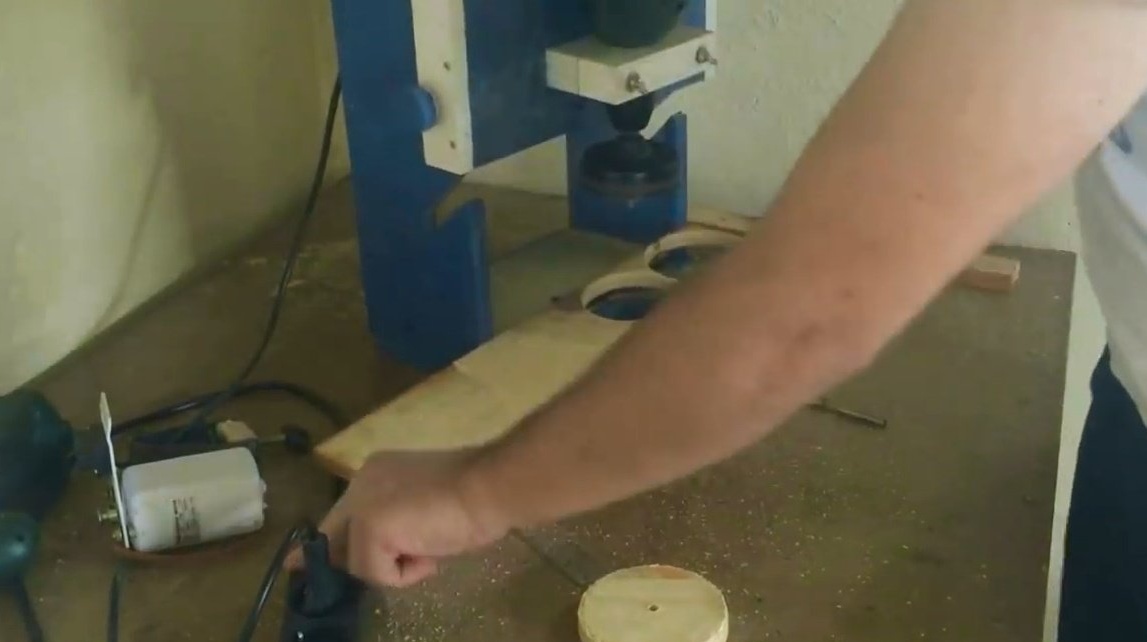
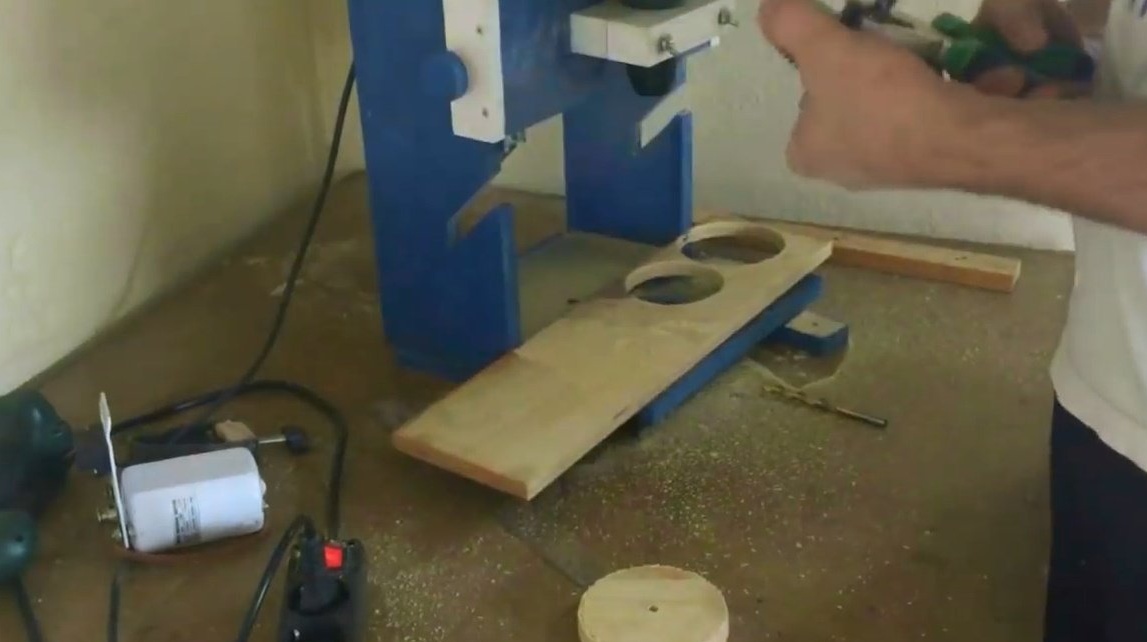
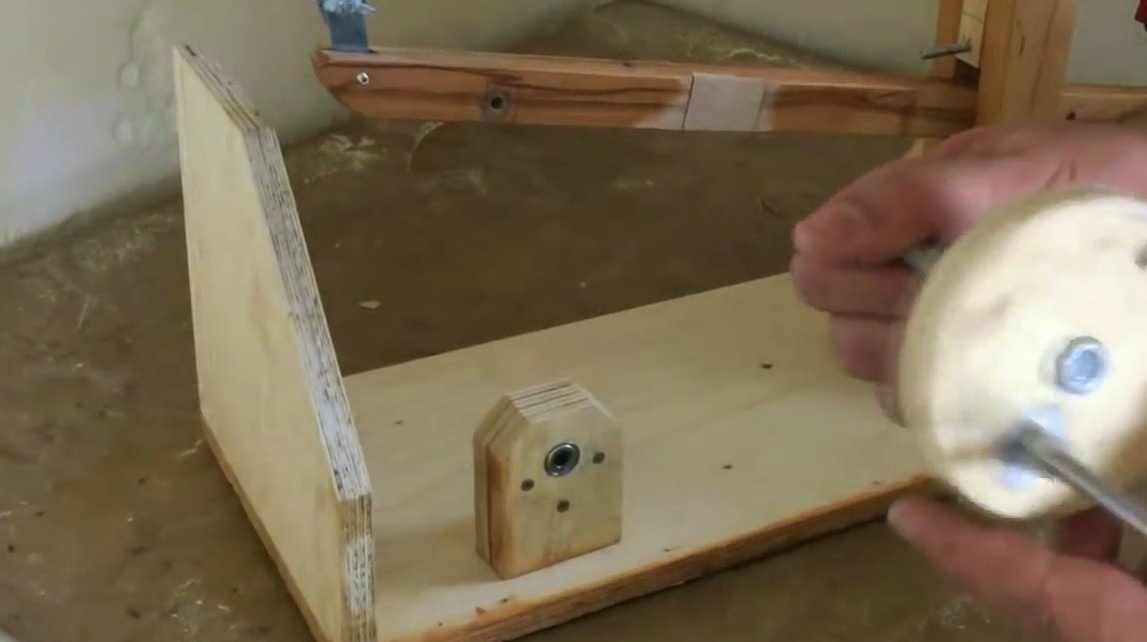
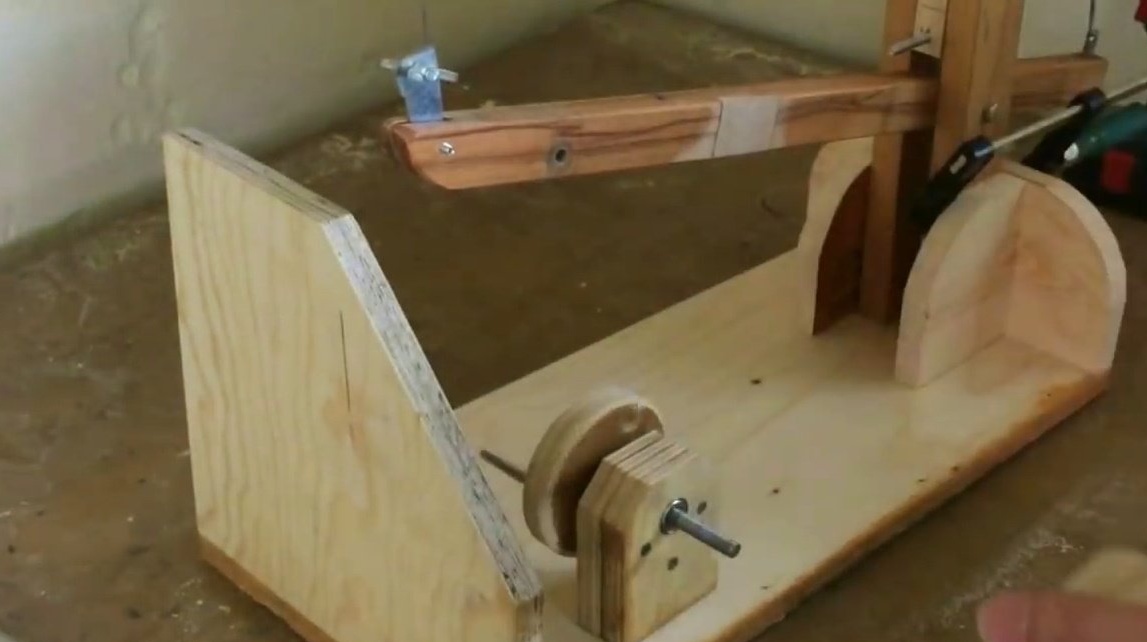
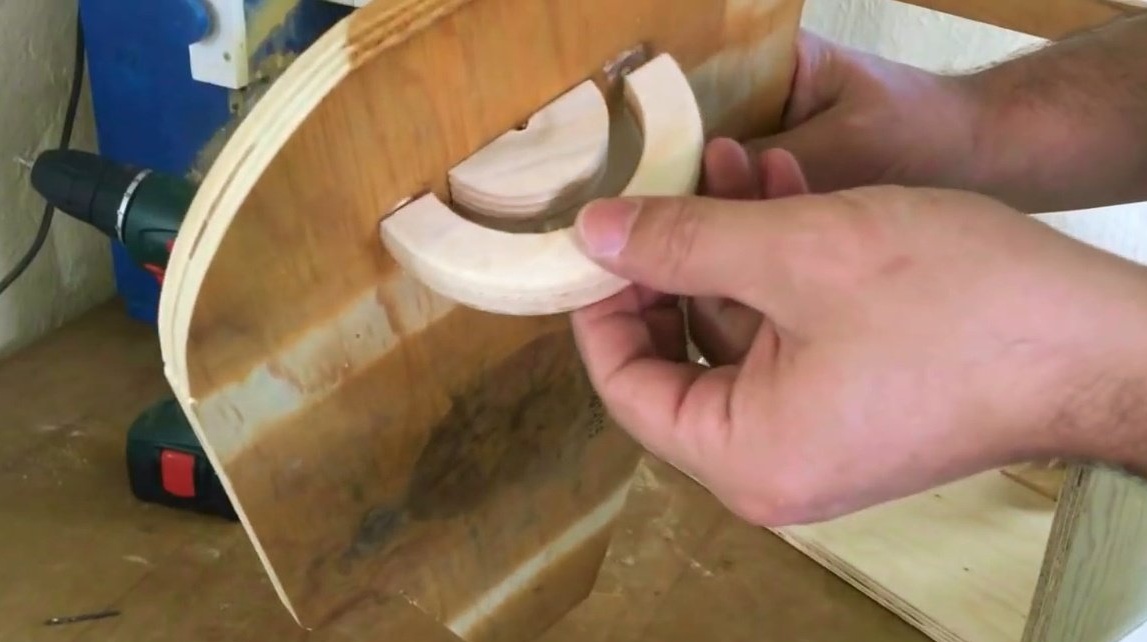
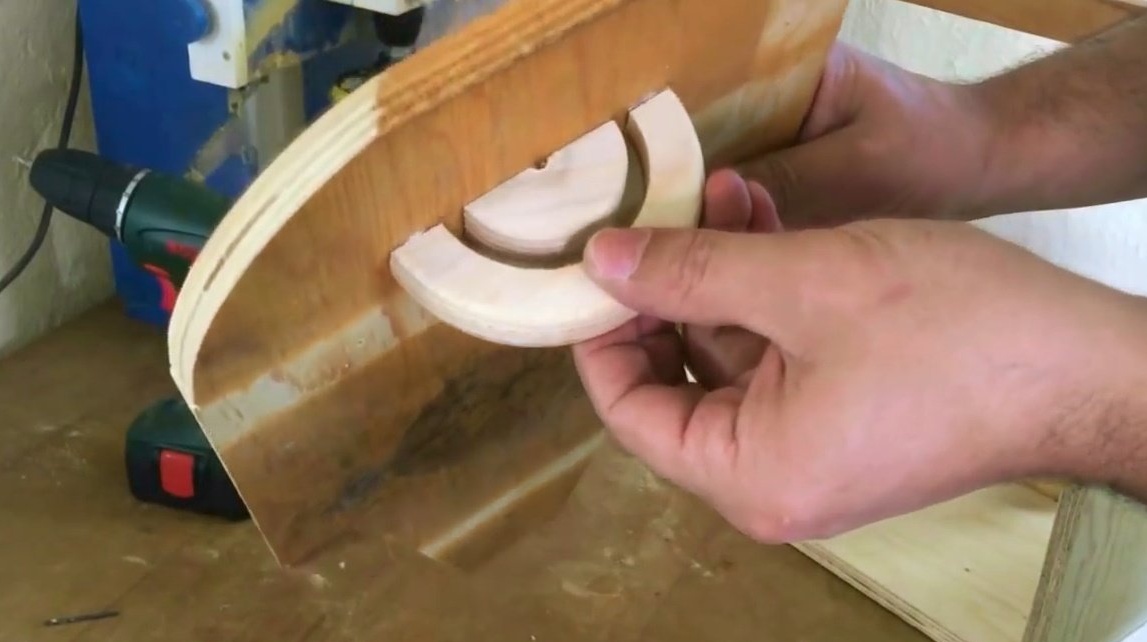
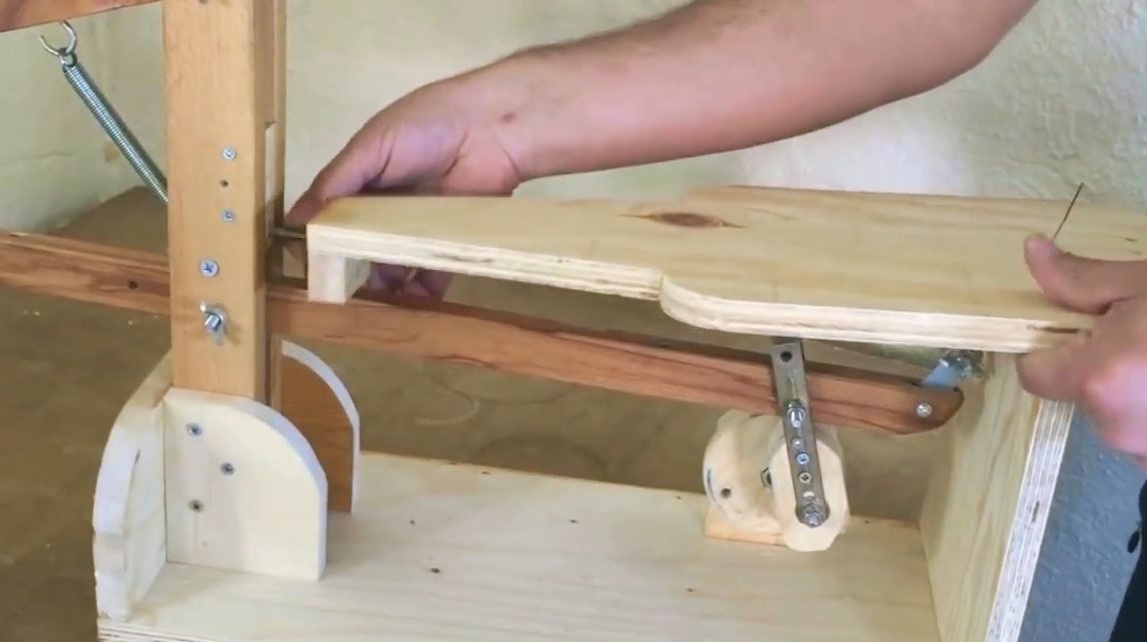
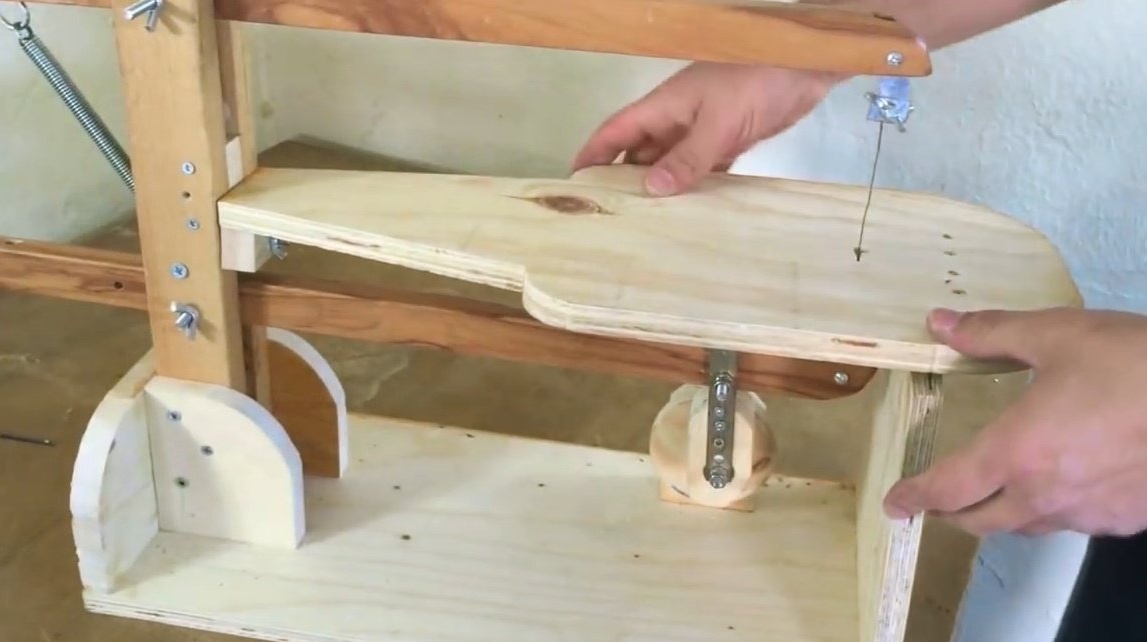
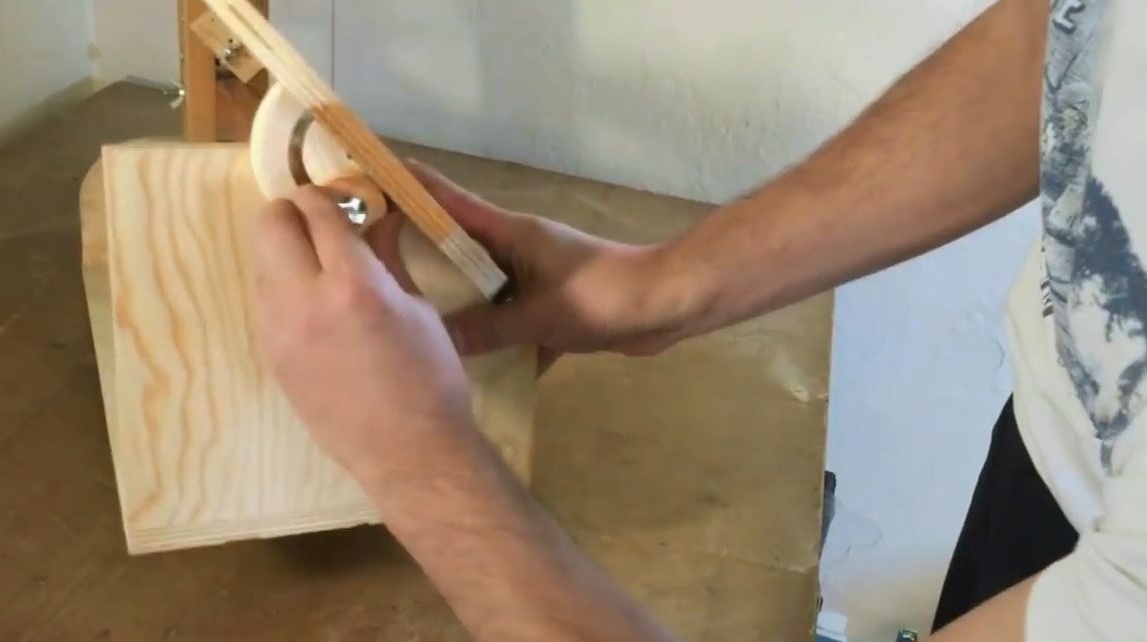
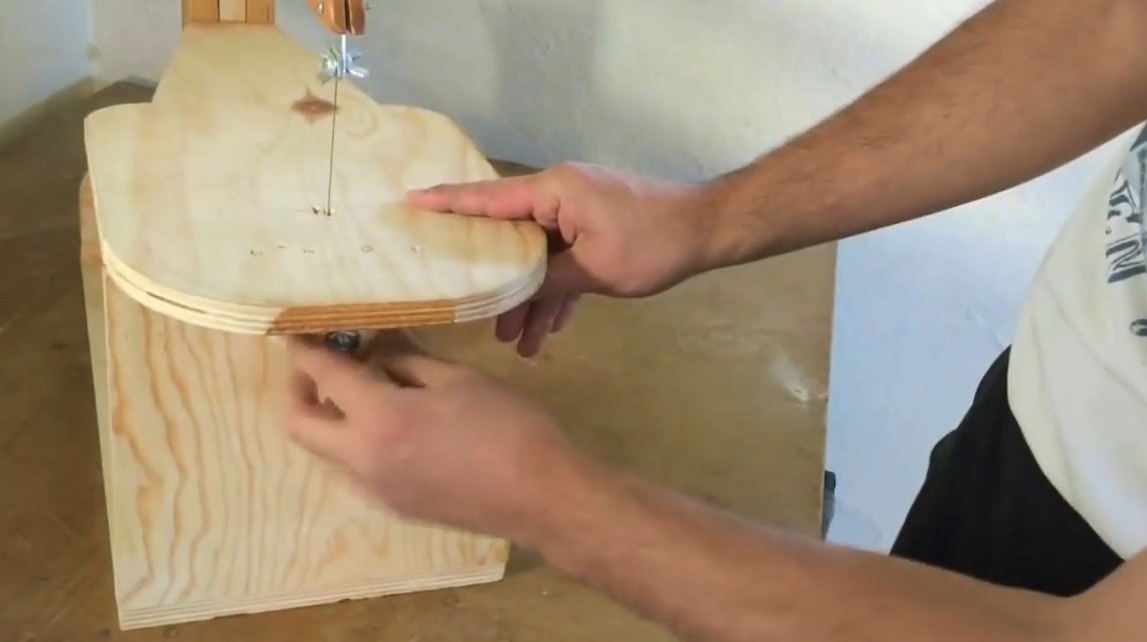
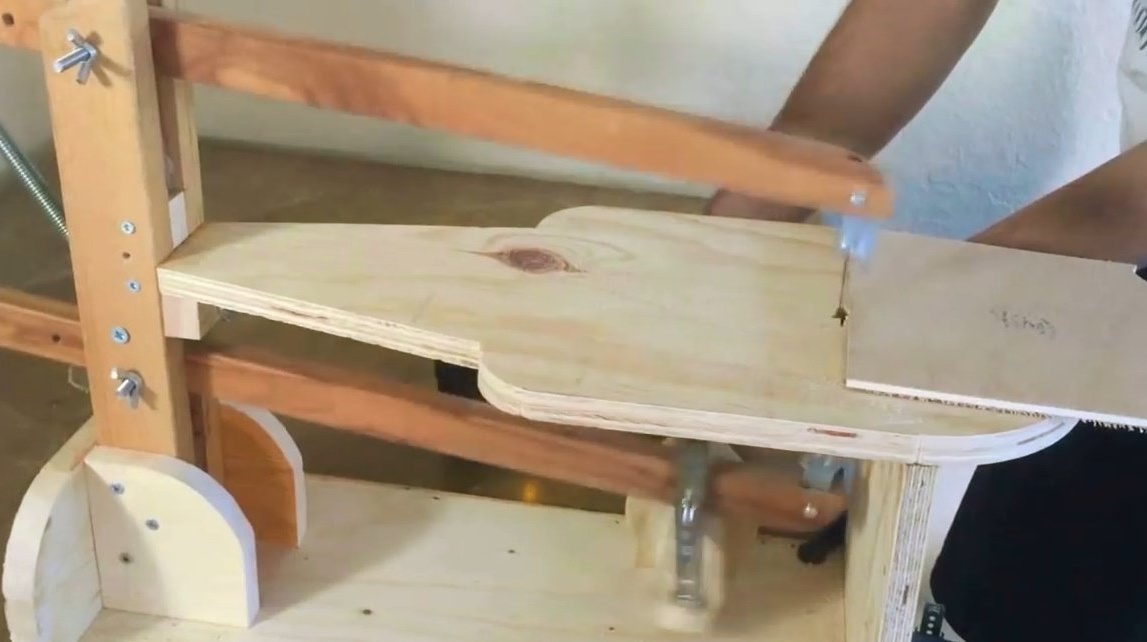
Then the master carved an arc and a semicircle of plywood, and screwed them to the bottom of the table, pre-lubricating the joints with glue. This will be part of the table tilt adjustment system.
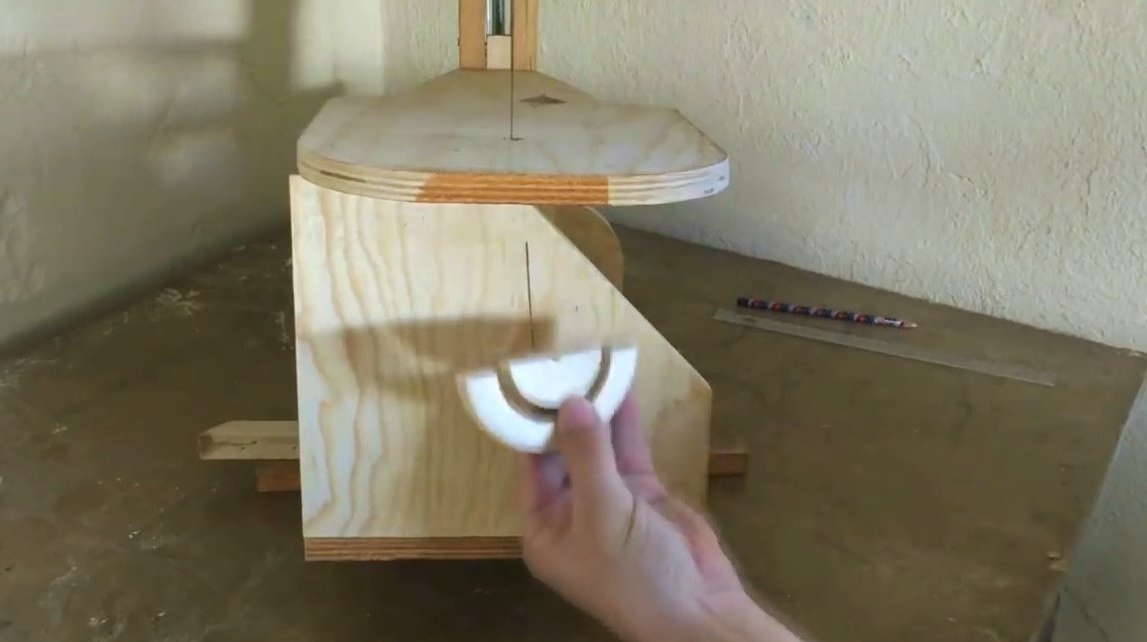
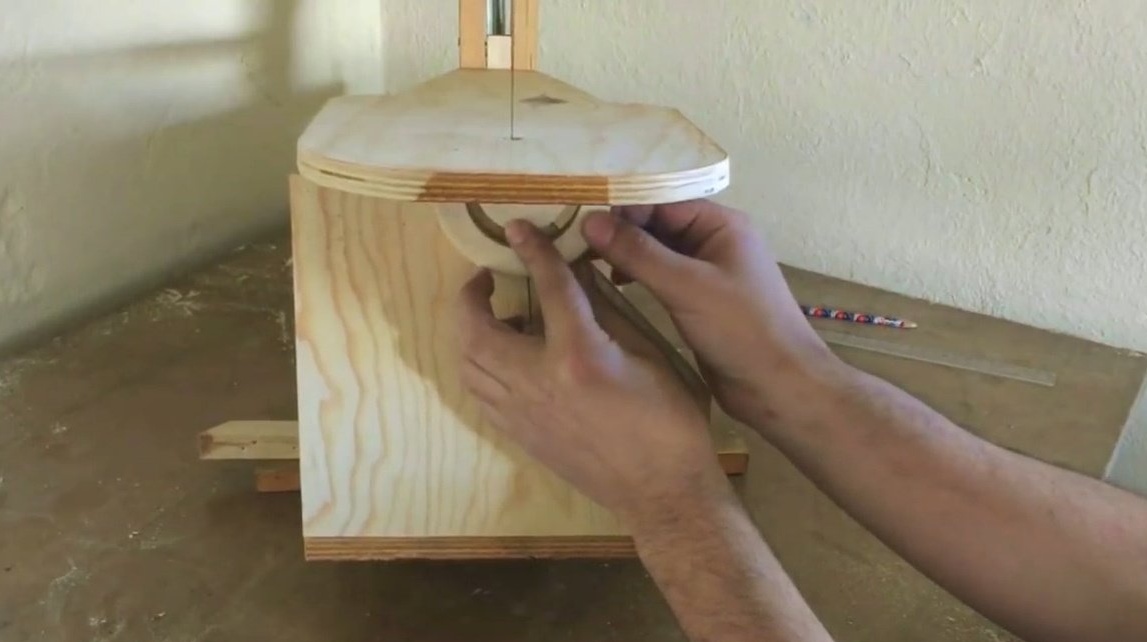
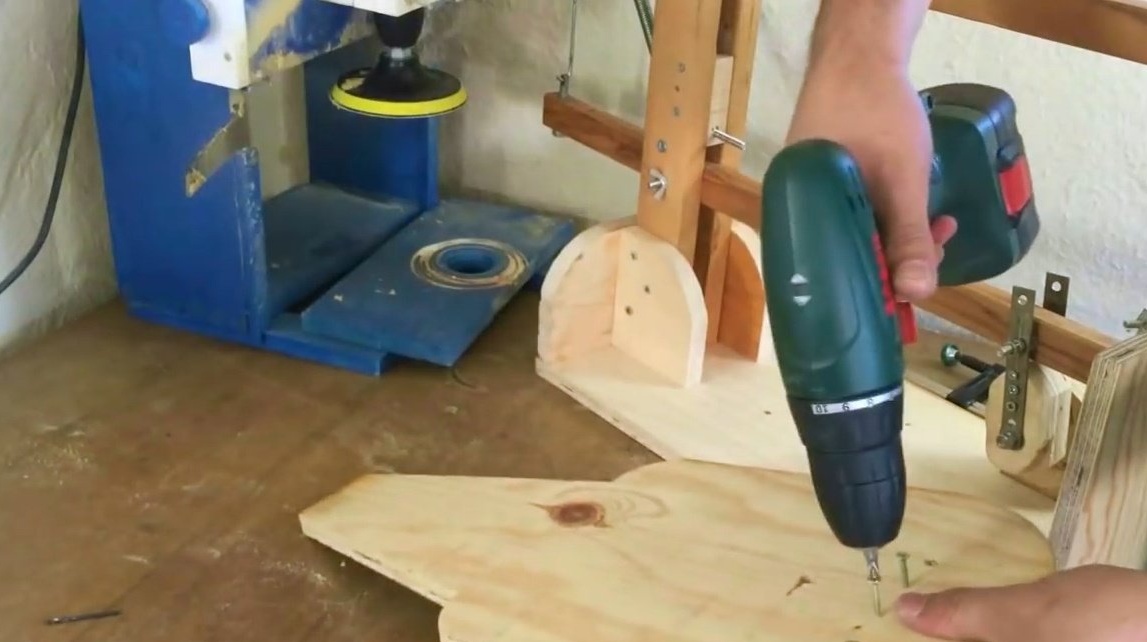
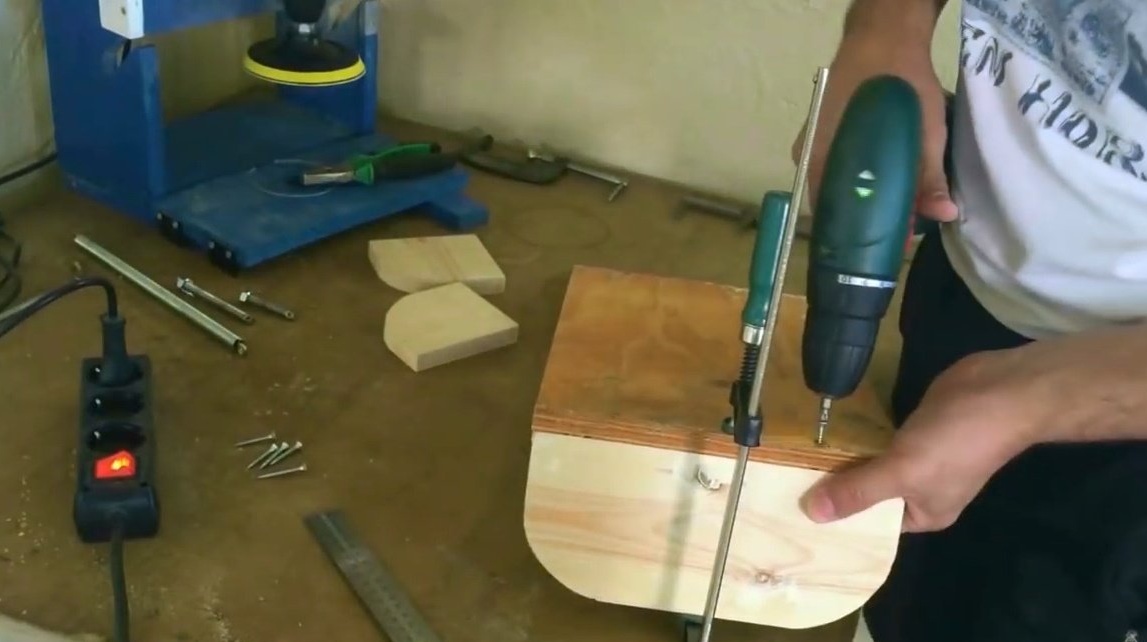
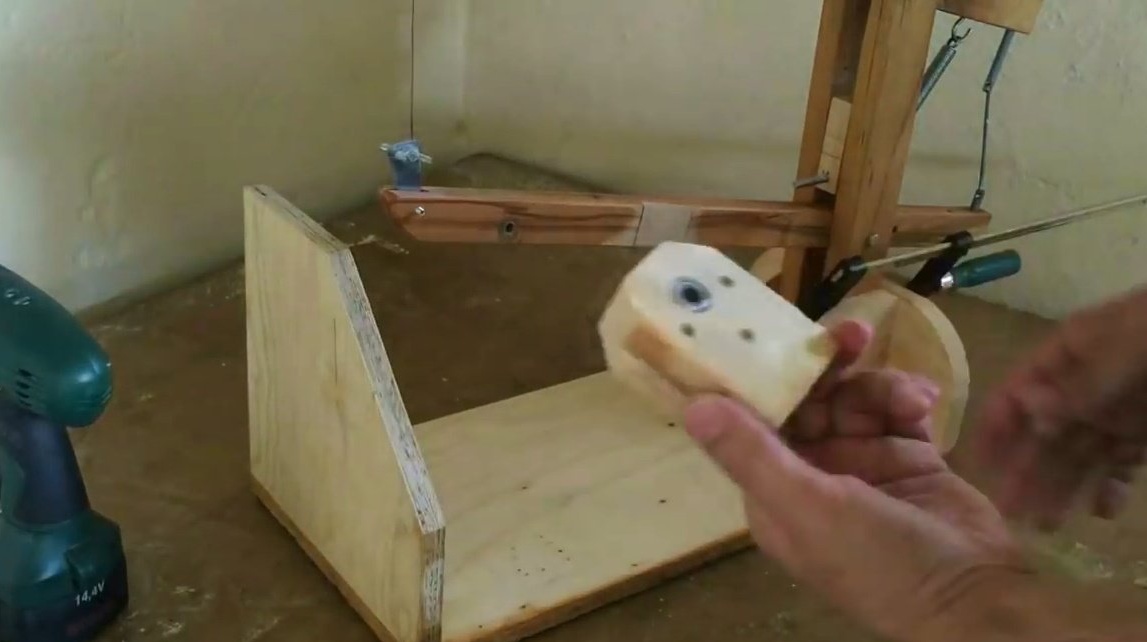
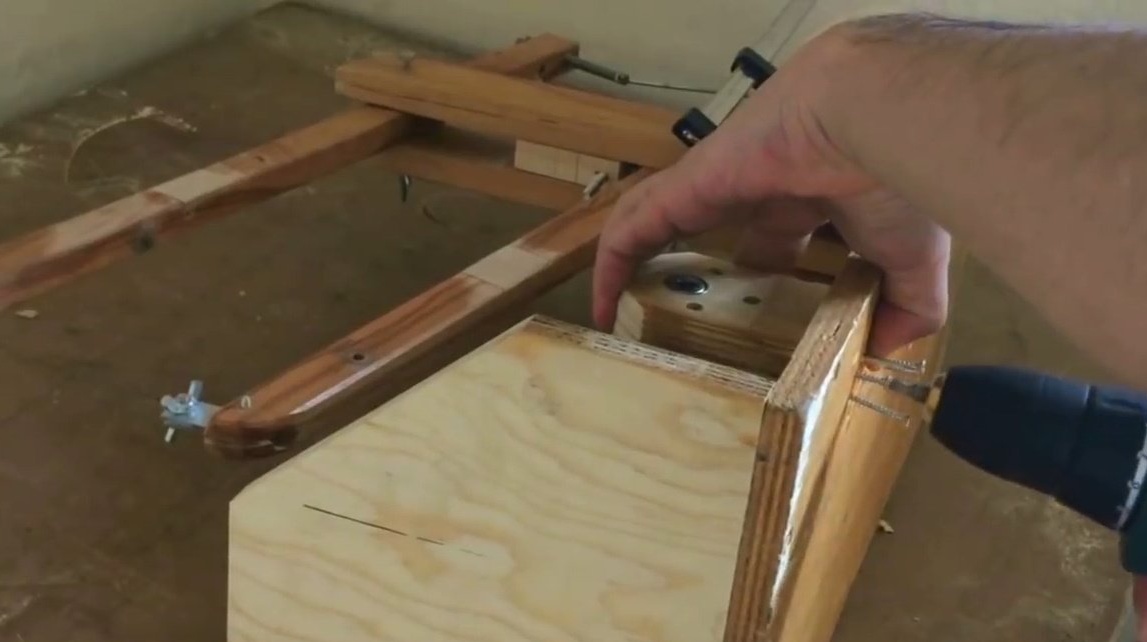
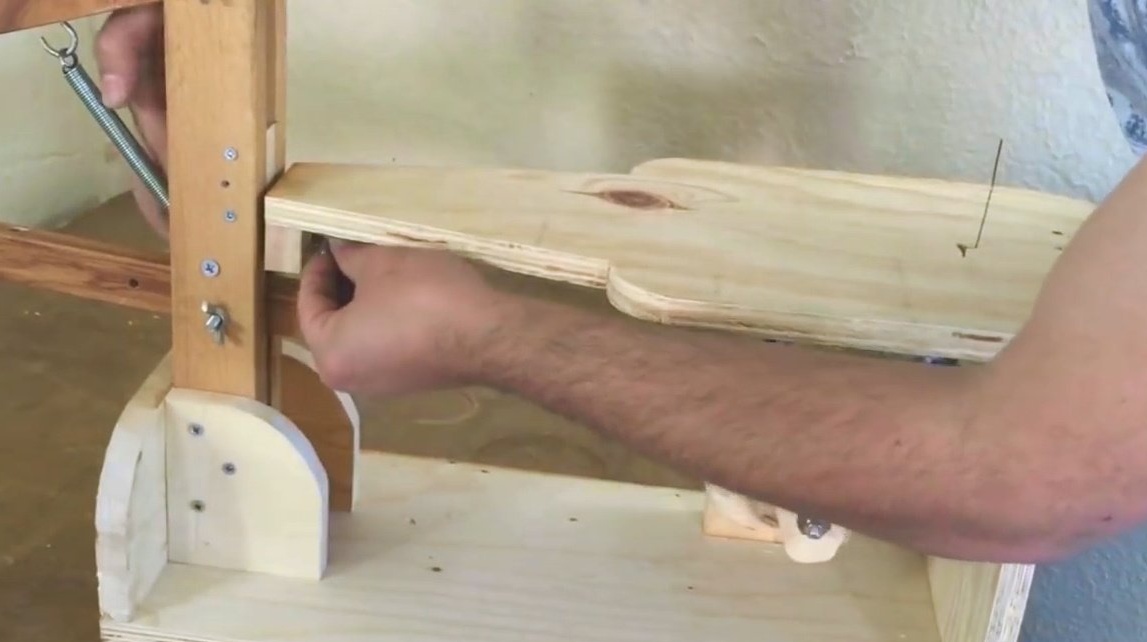
I screwed a block with a hole in the center to the back of the table.
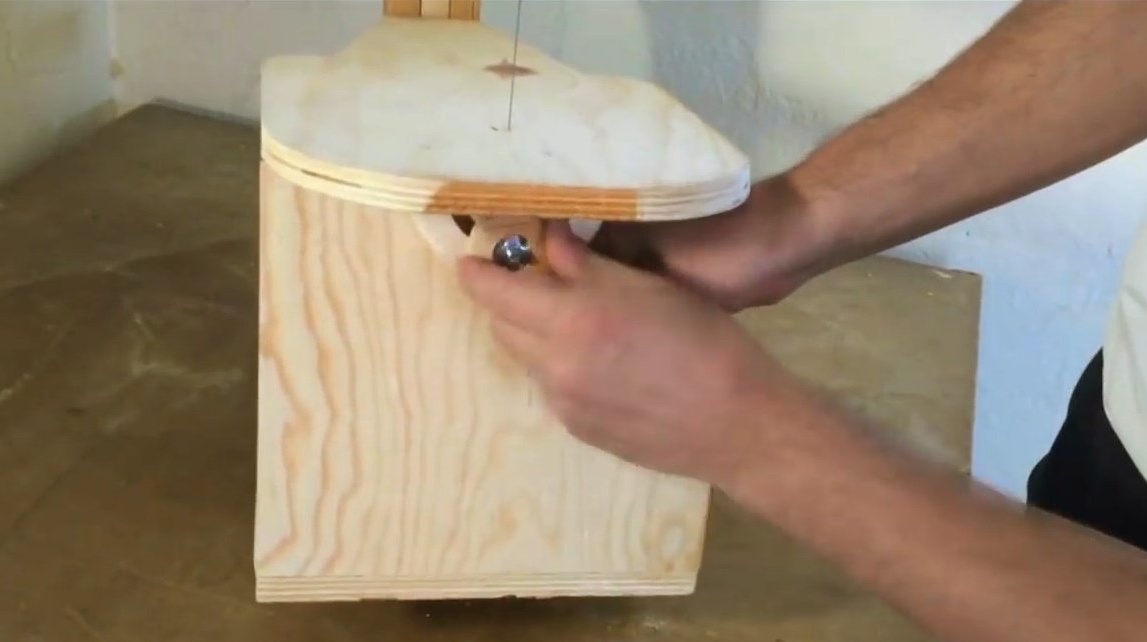
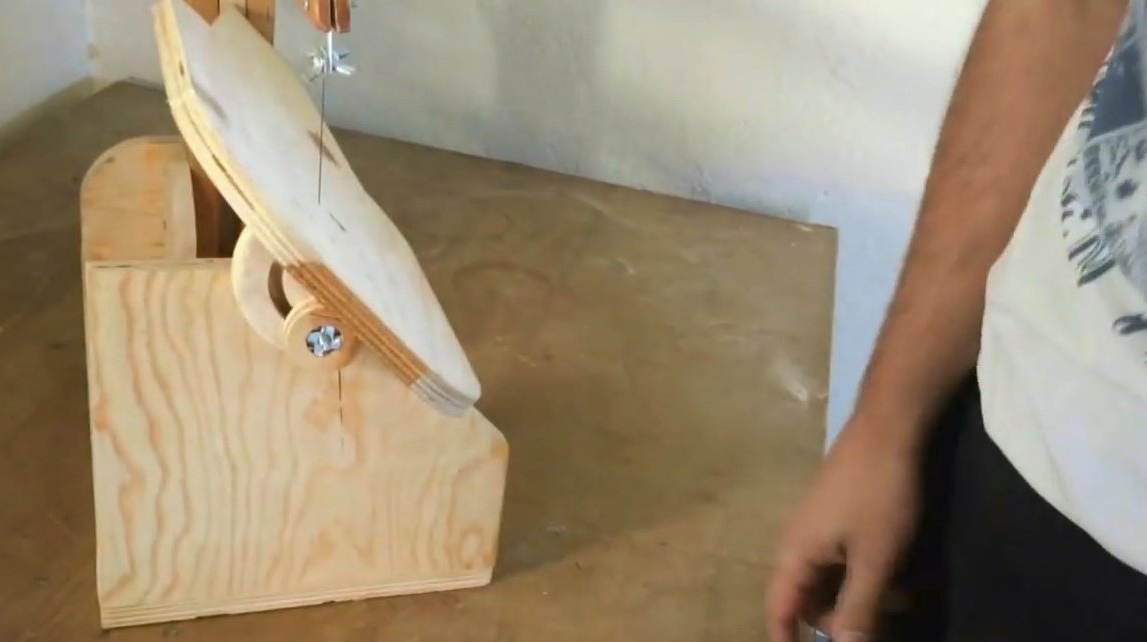
I installed a block with a bolt on the counter, put a table on it, then pulled the canvas.
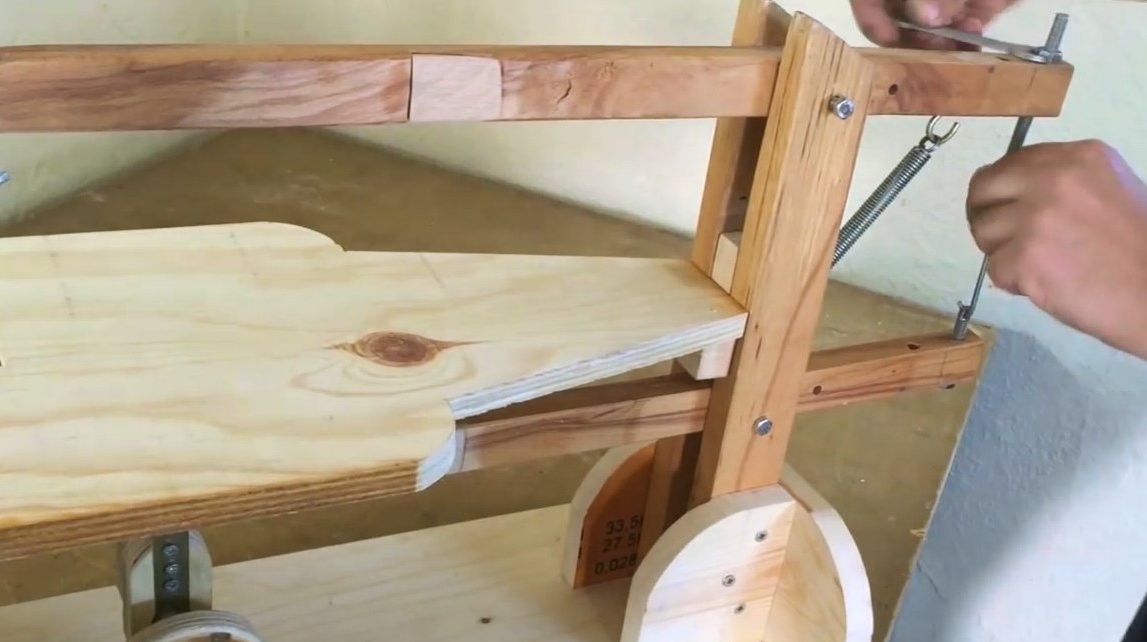
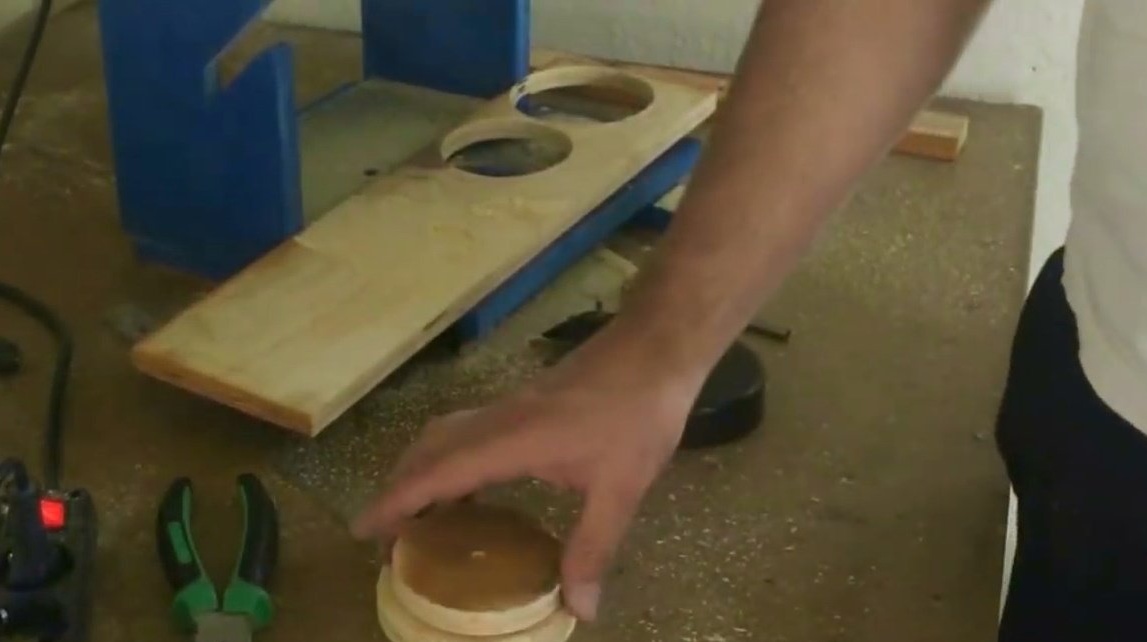
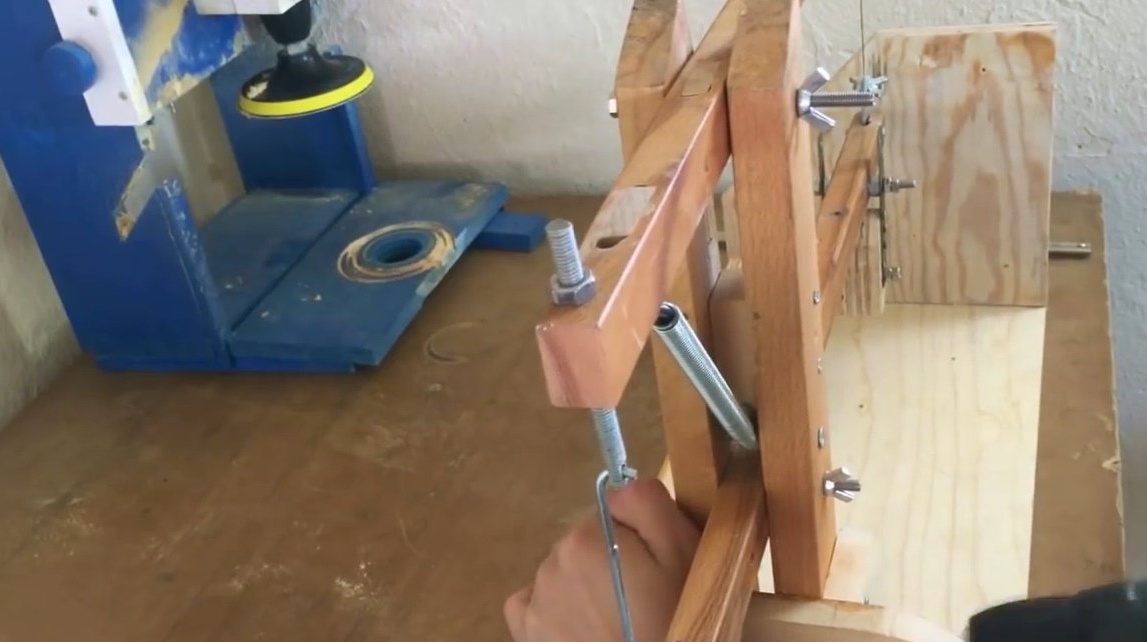
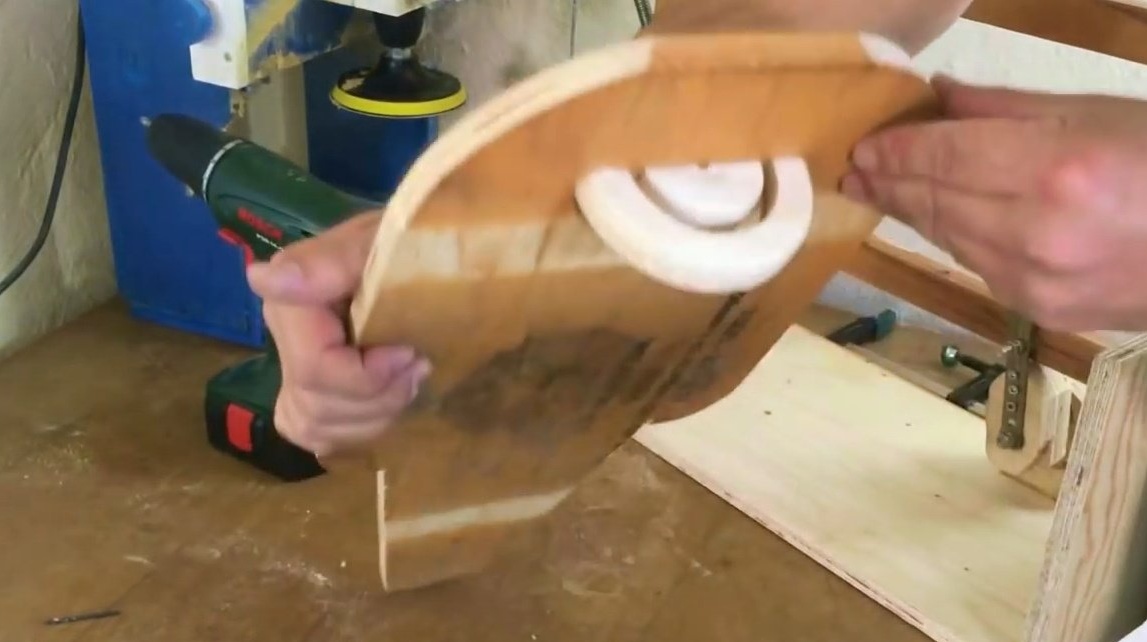
He made a clamping nut from a furniture nut with teeth and a round plywood. This is how the tilt of the table will be adjusted.
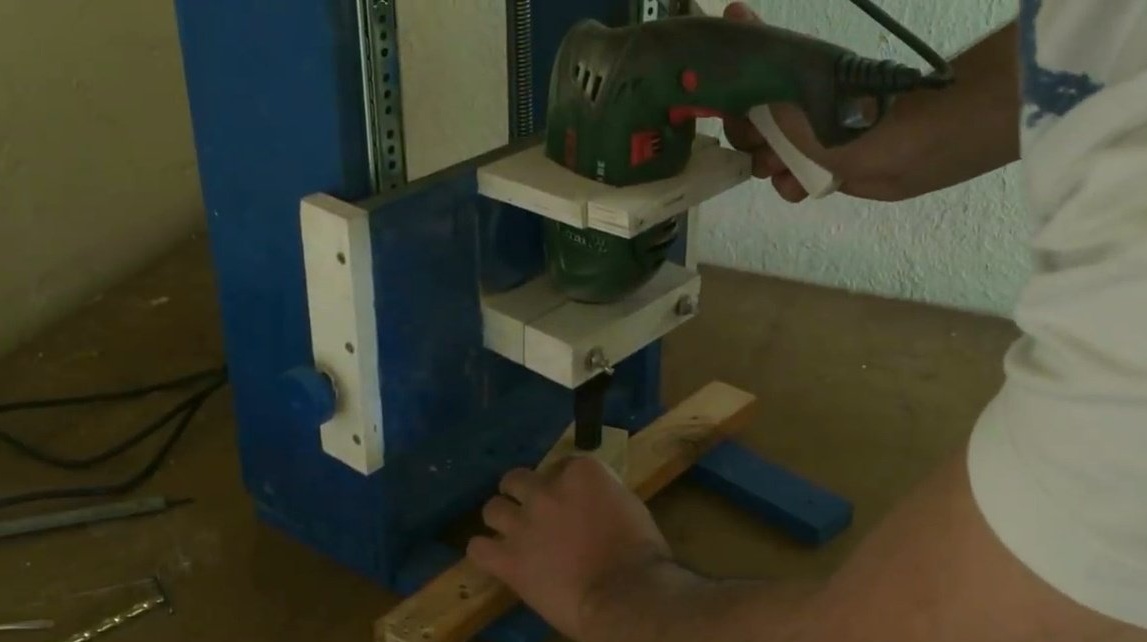
From trimming rubber and a block with a wing bolt, I made a system for clamping a screwdriver button. As the screw is screwed, you can adjust the engine speed by pressing the button with a different force.

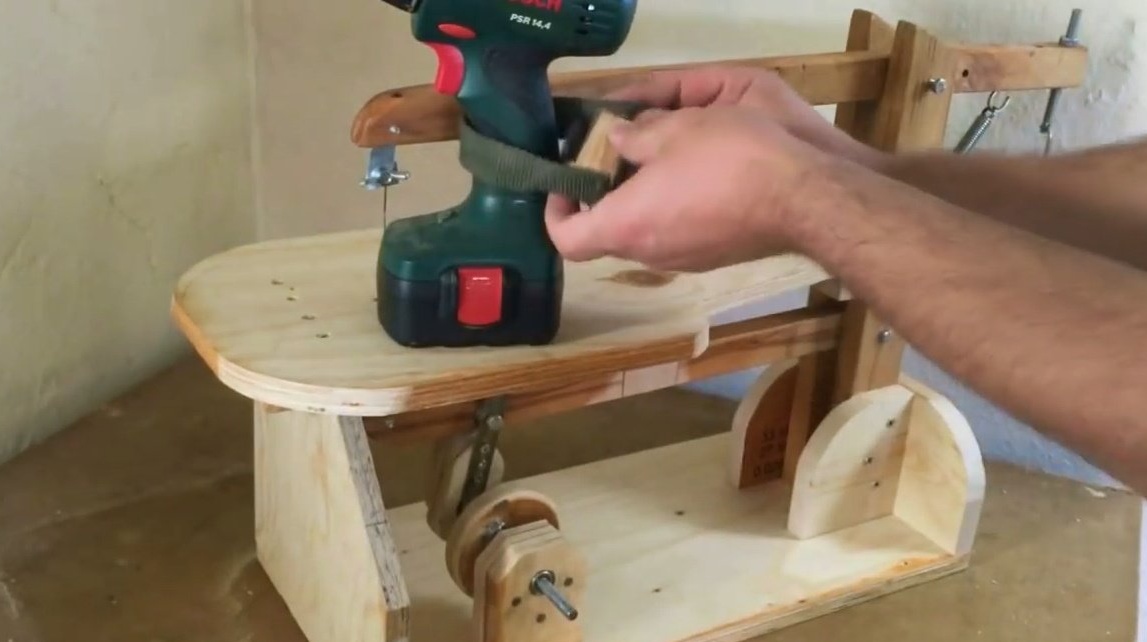
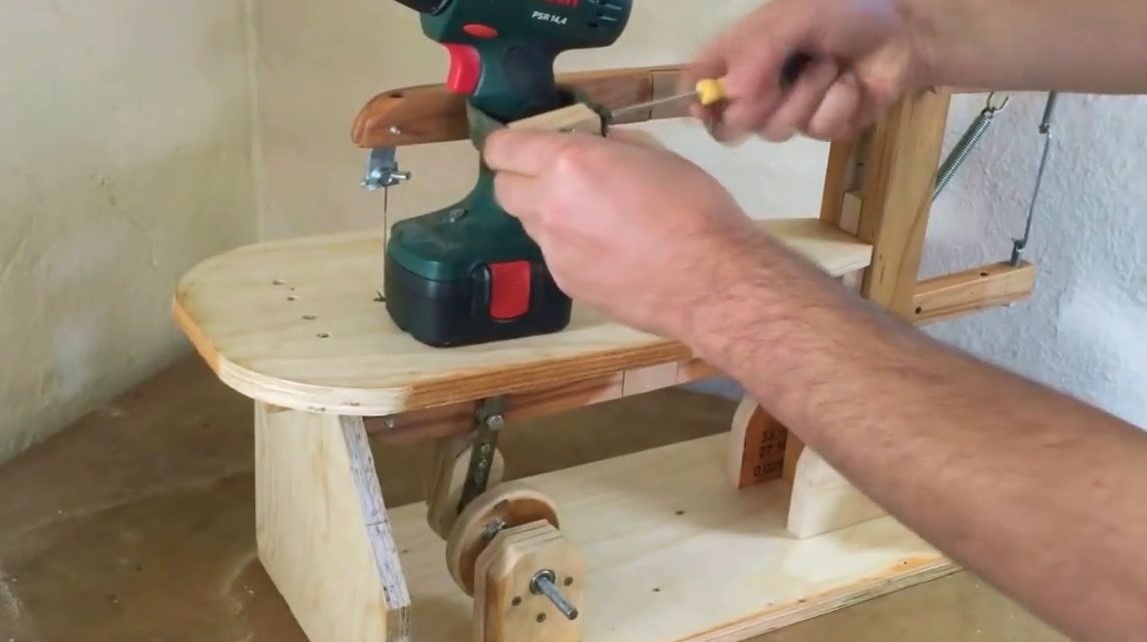
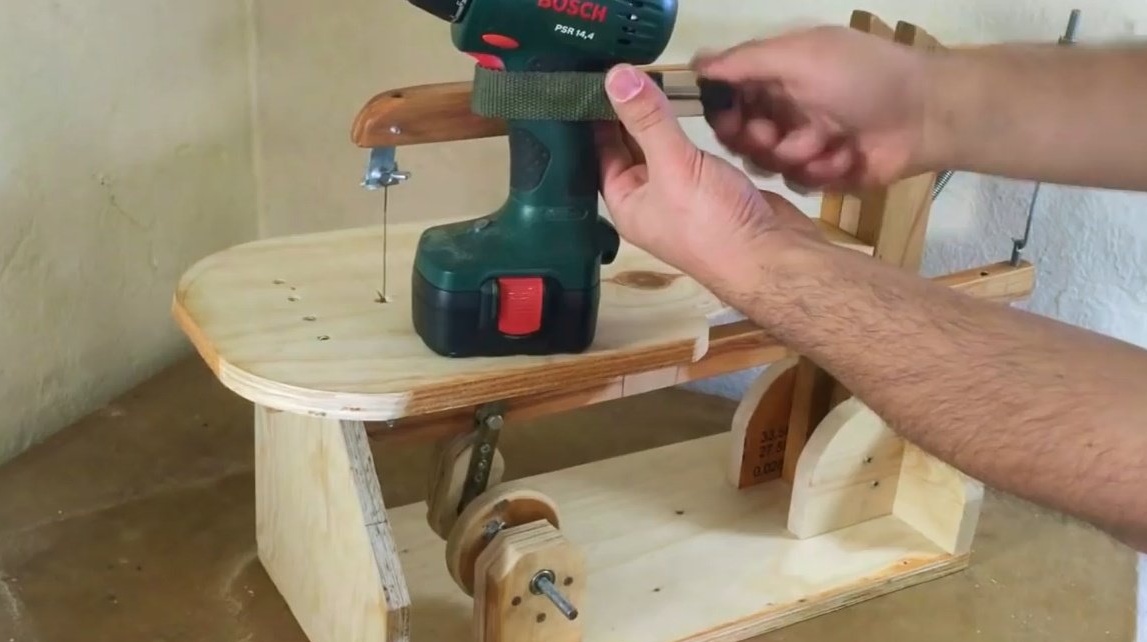
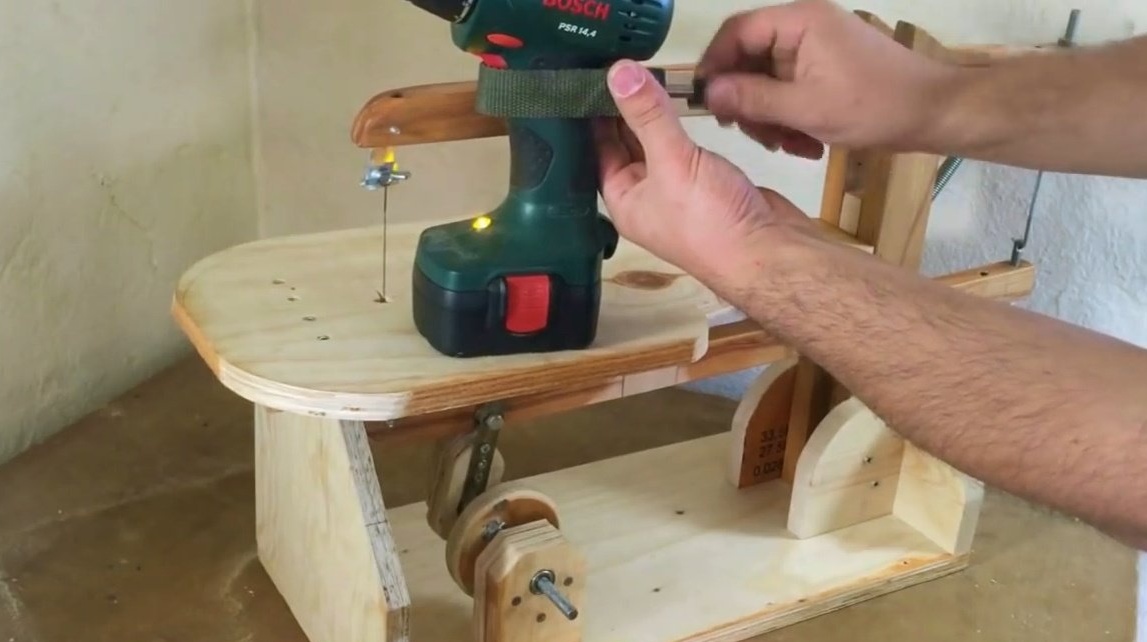
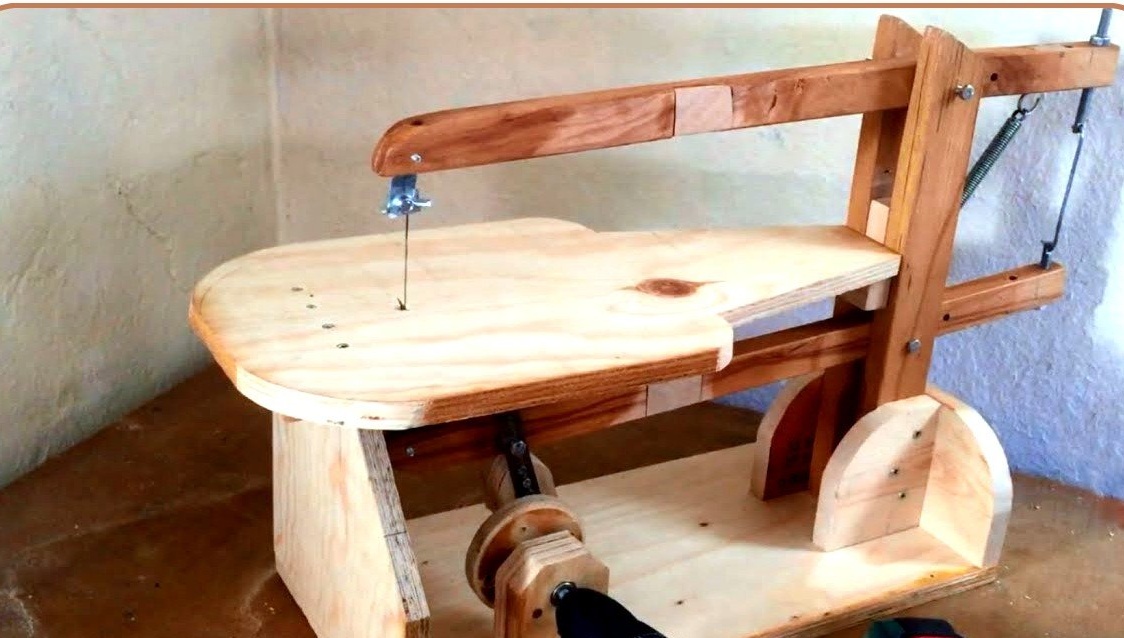
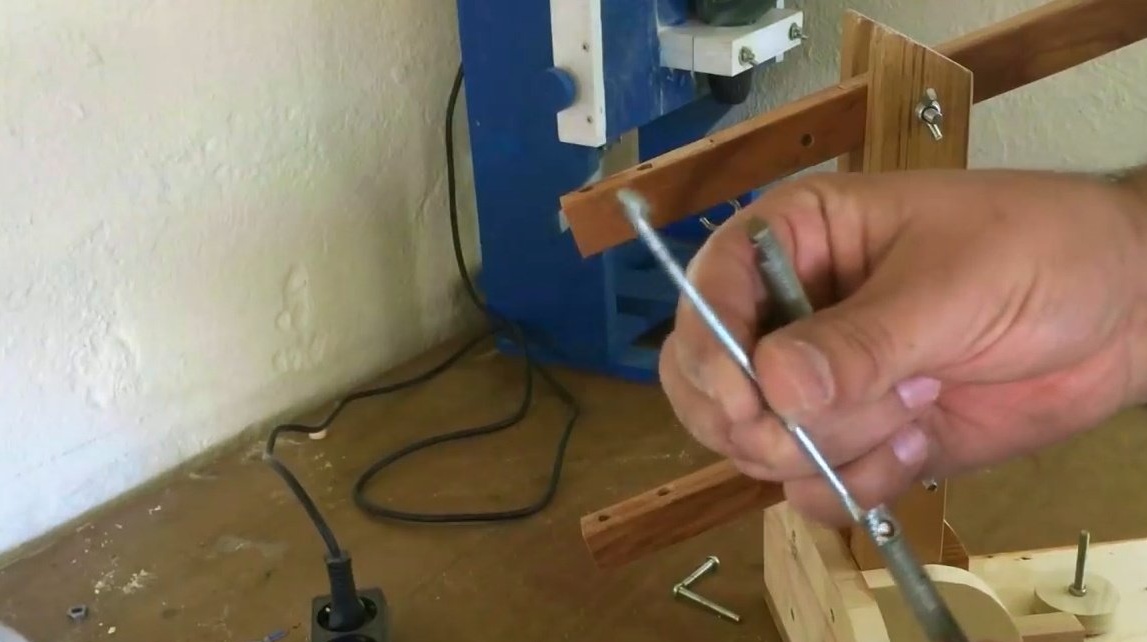
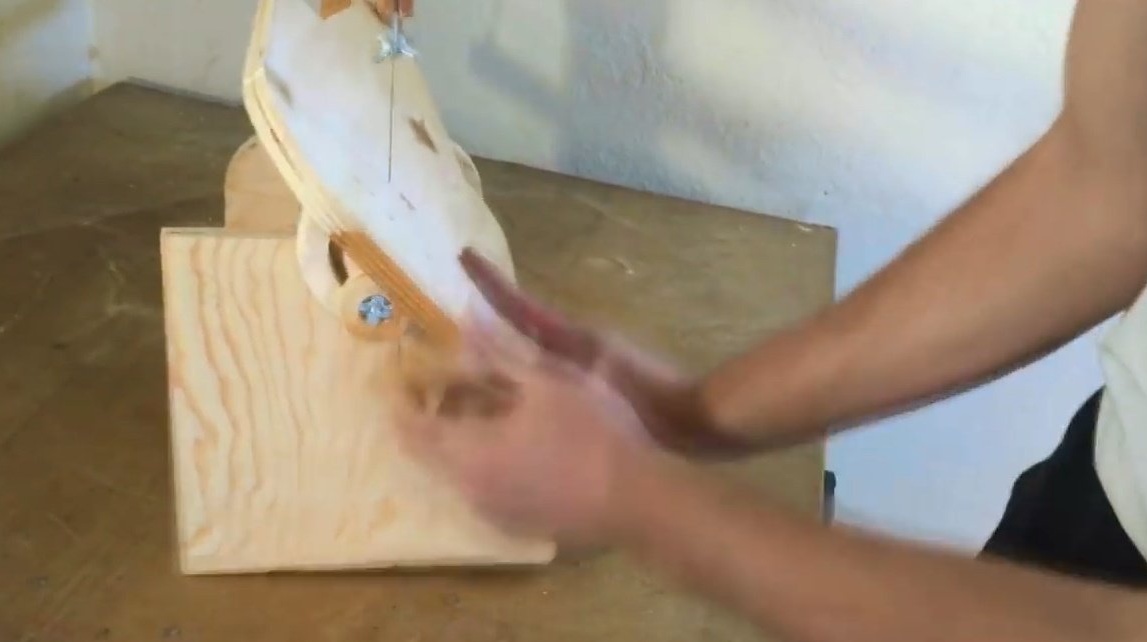
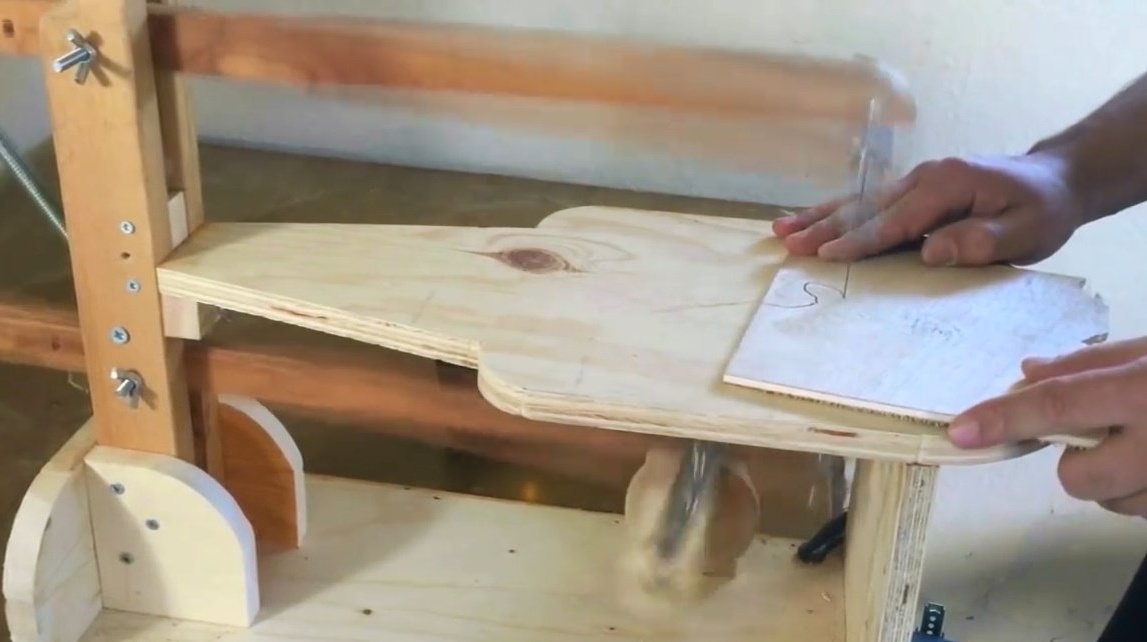
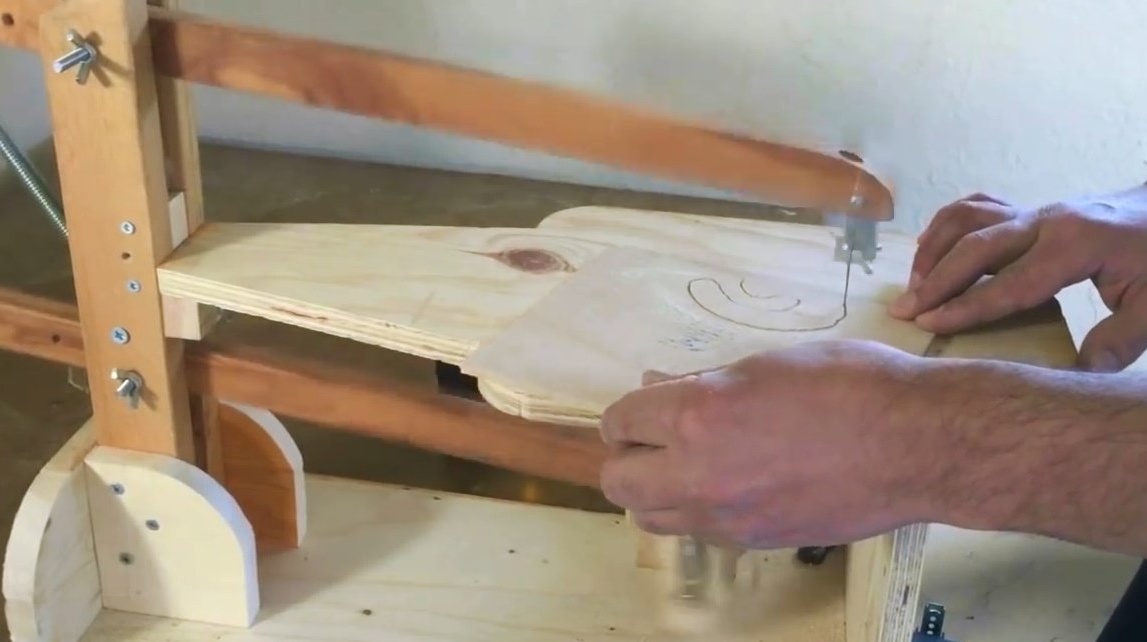
The author clamps the shaft in the cartridge, and the machine is ready for work.
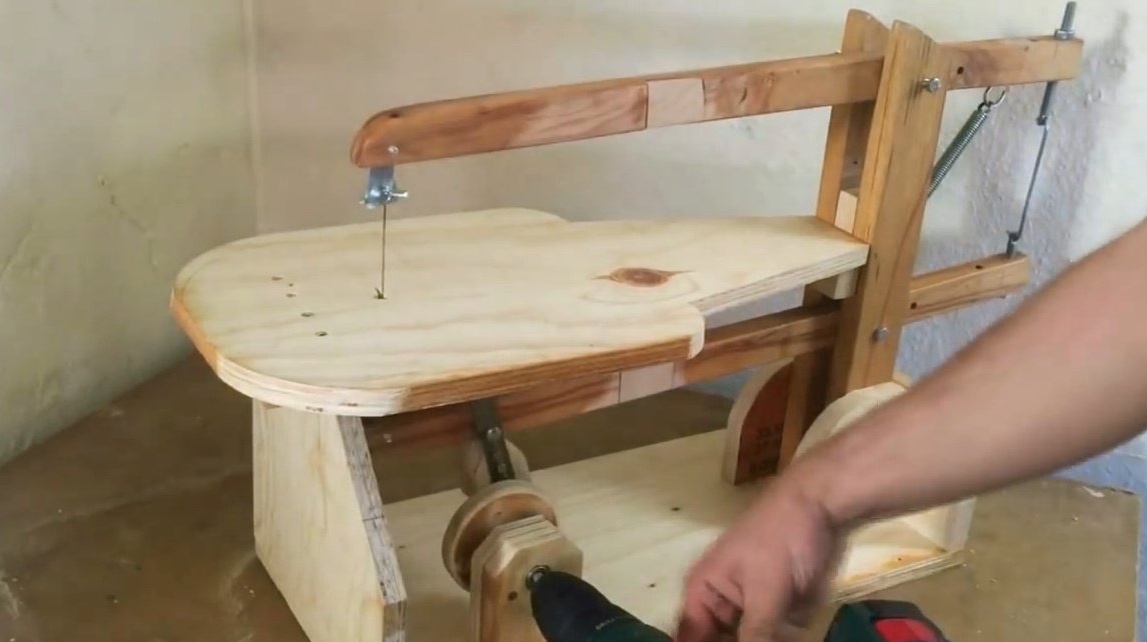
Now you can cut various figures from plywood, or wood.

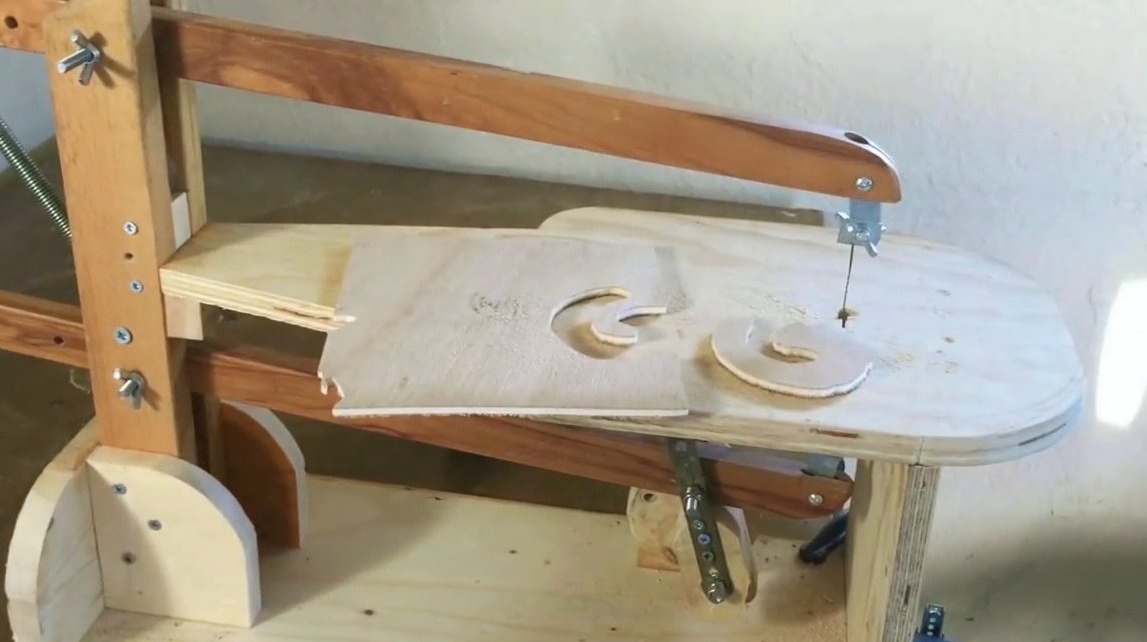
Thanks to the author for a simple and useful workshop machine!
All good mood, good luck, and interesting ideas!