
In this article, Jack, the author of the YouTube channel "Jack Houweling", will tell you about another version of the marking planer.
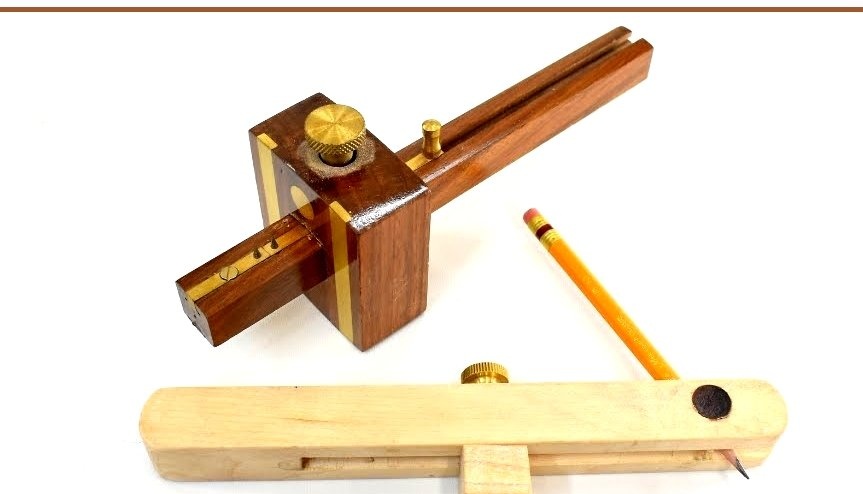
This option is interesting for ease of manufacture, and two methods of adjusting the distance. The first setting is coarse, the second is accurate. Jack is very fond of making tools on his own, about some of them I already wrote earlier.
Materials
- Attributes
- Round mahogany
- pencil
- Screw, knurled nut
- Impregnation for wood.
Instruments, used by the author.
- Screwdriver
- Drilling machine
- Band-saw
- A circular saw
- Belt sander
- Band-saw
- Hammer, vise.
Manufacturing process.
Jack picked up a suitable block of wood, and cut it to the desired length.
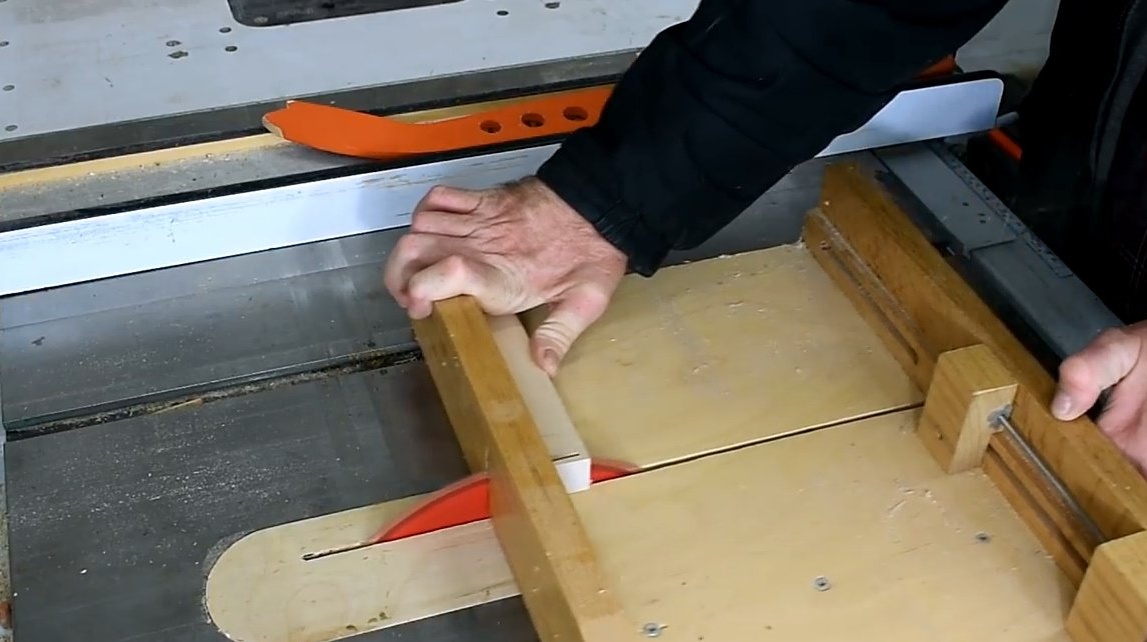
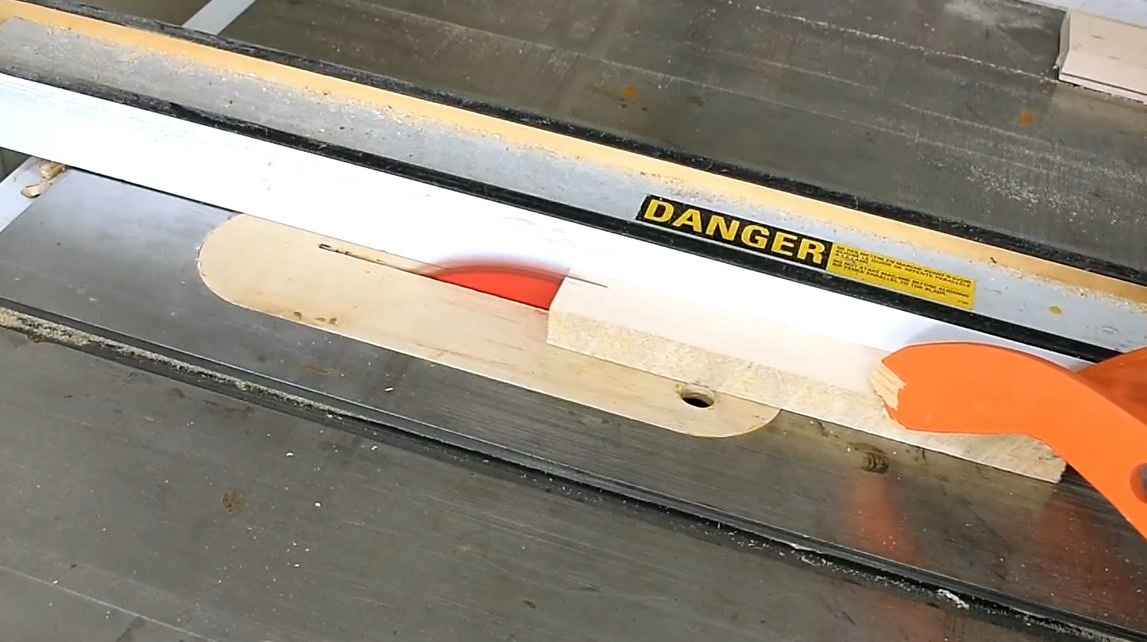
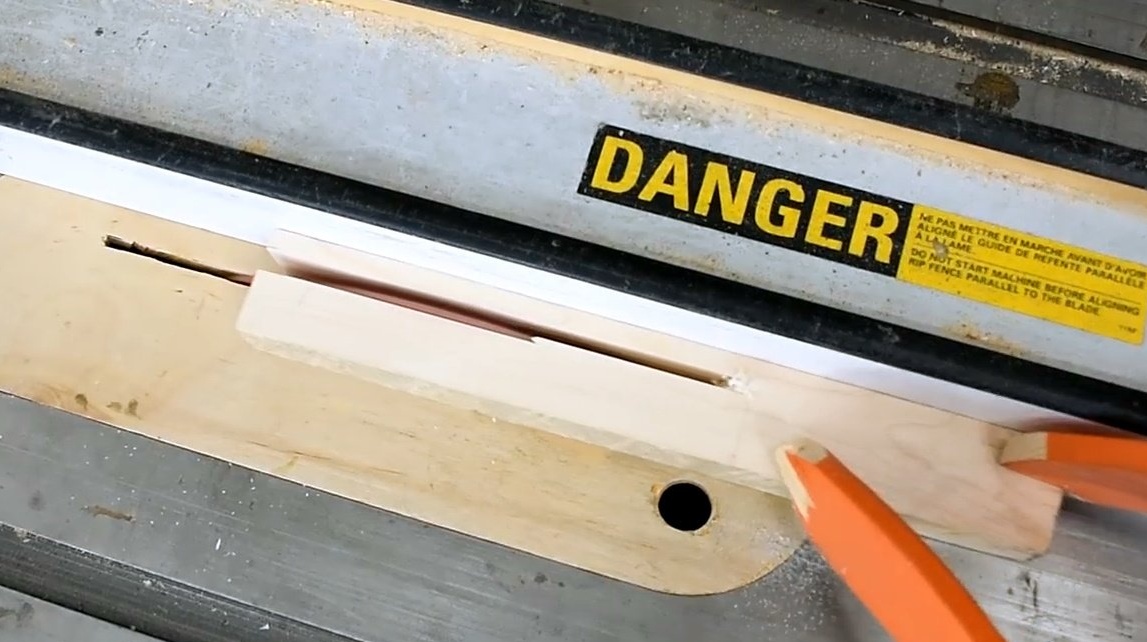
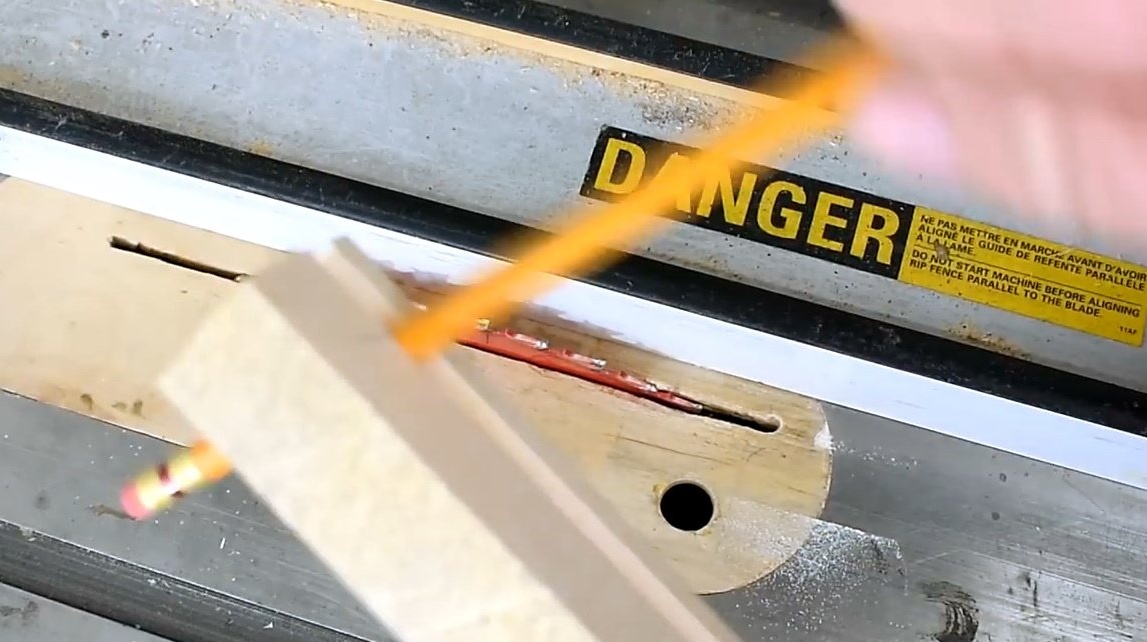
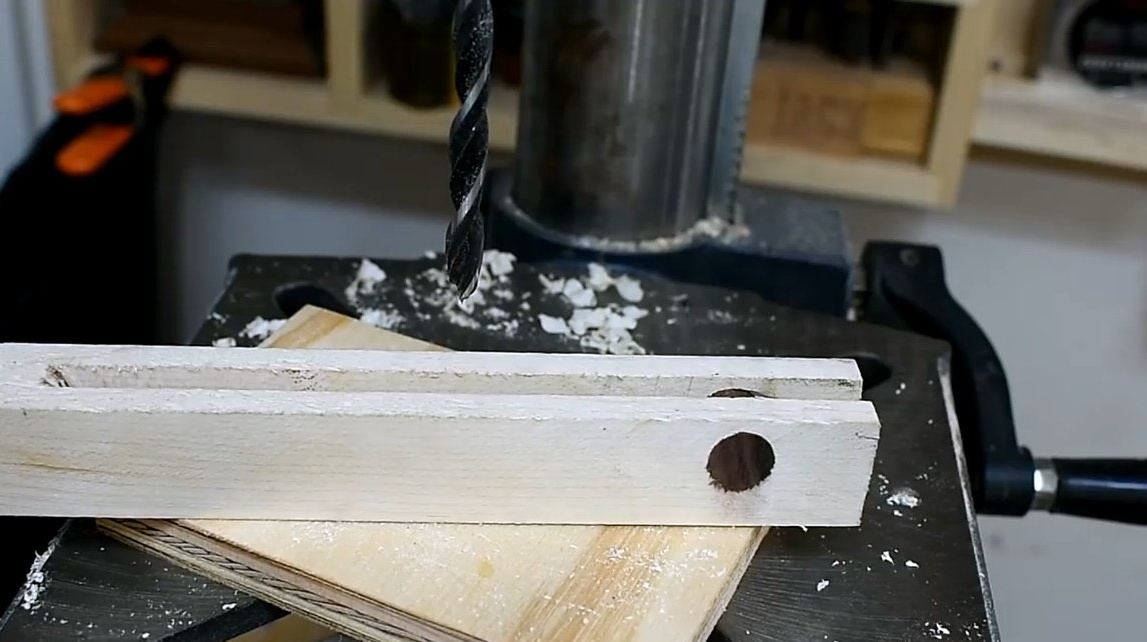
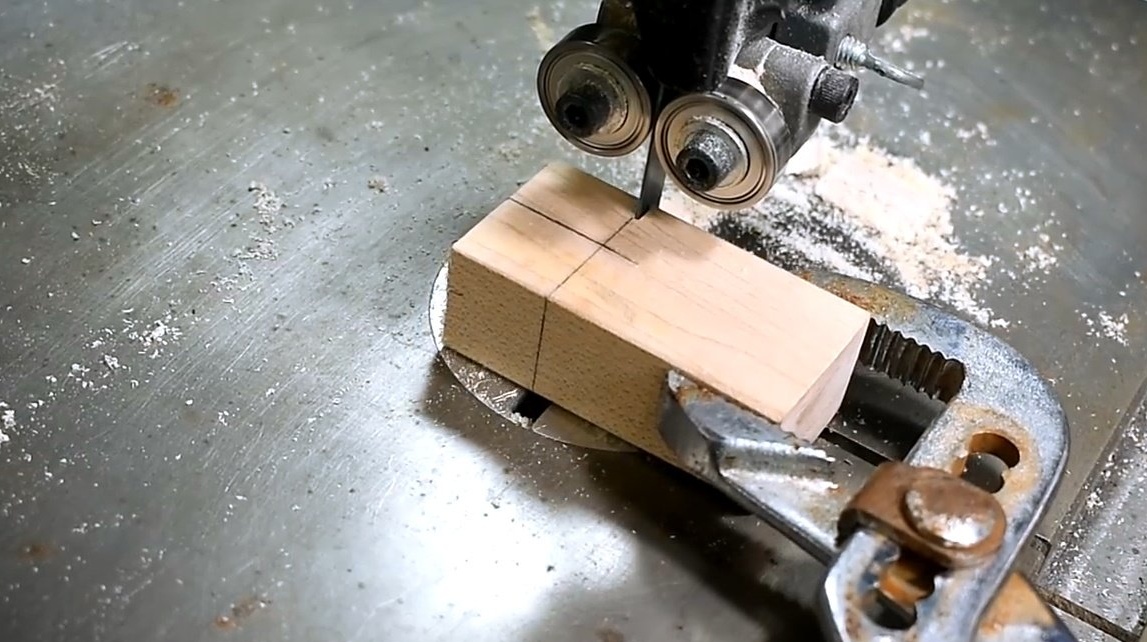
Then he makes a longitudinal slot in the bar along the thickness of the pencil. To do this, he makes several passes on the circular saw, gradually shifting the emphasis.
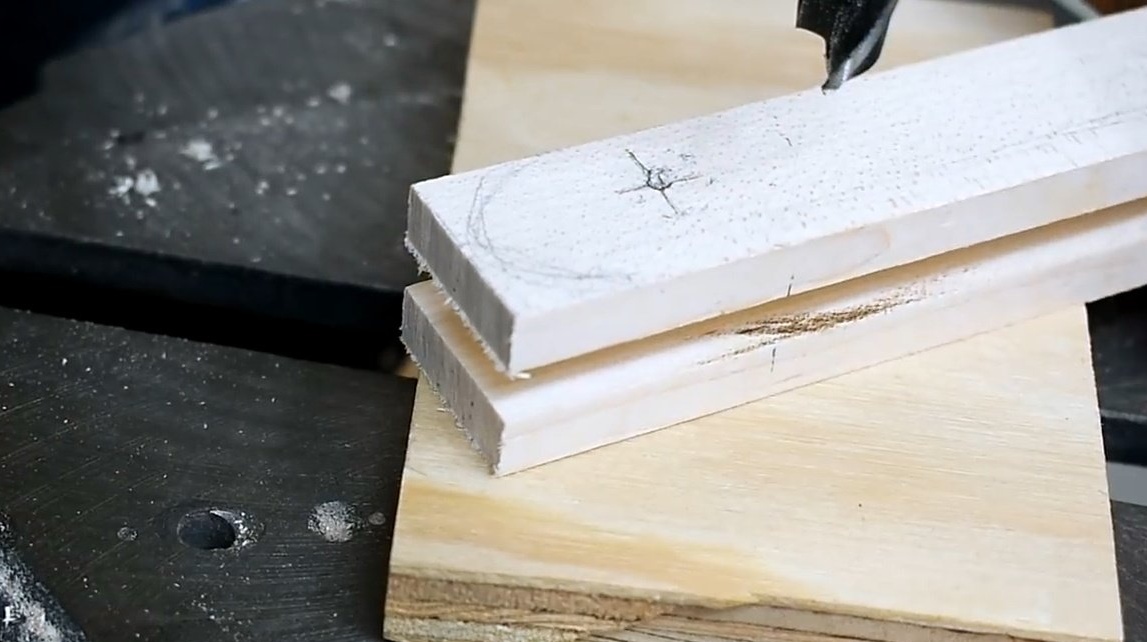
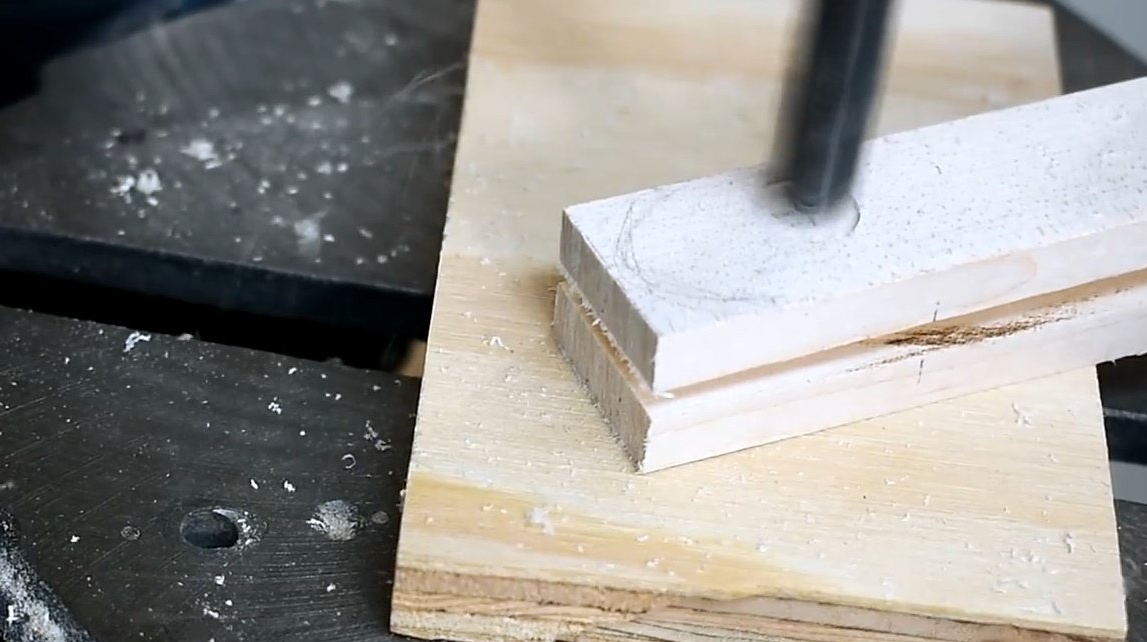
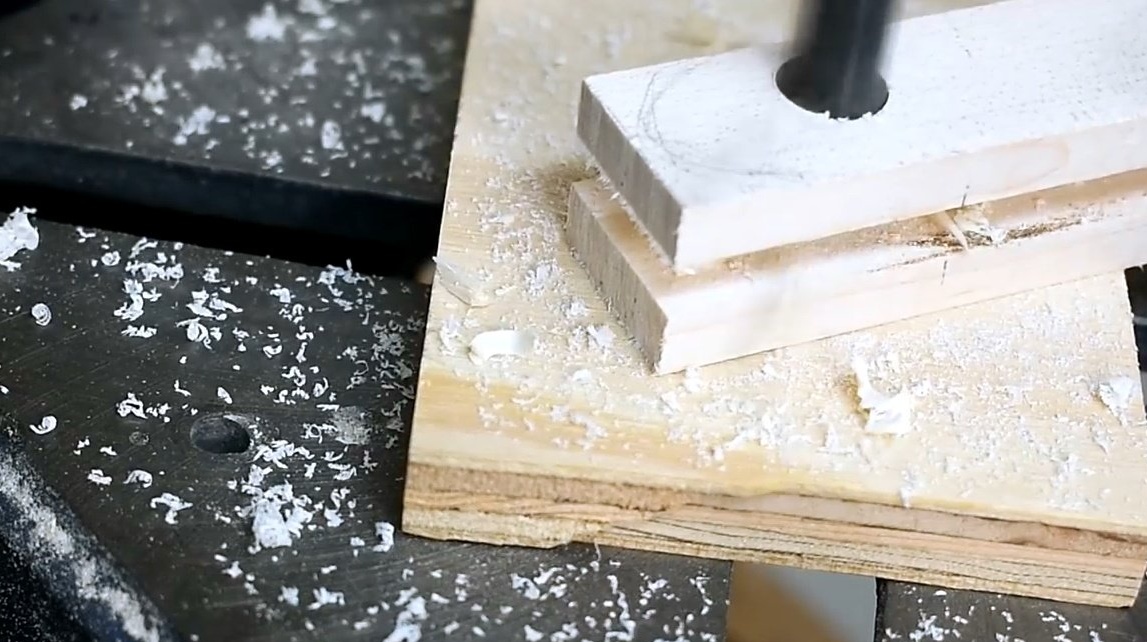
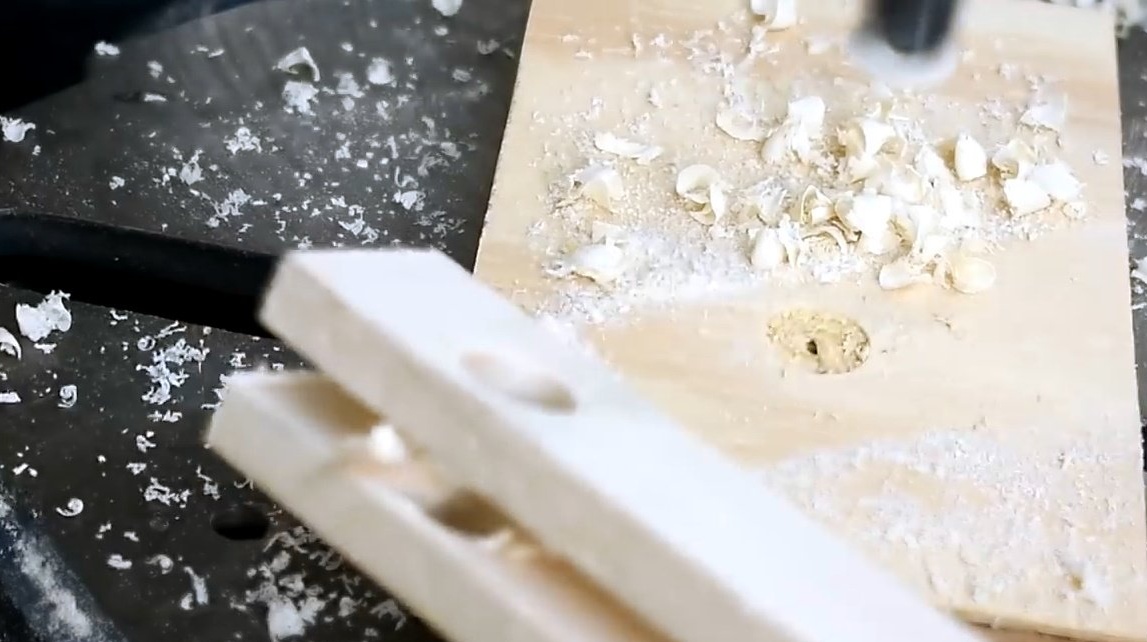
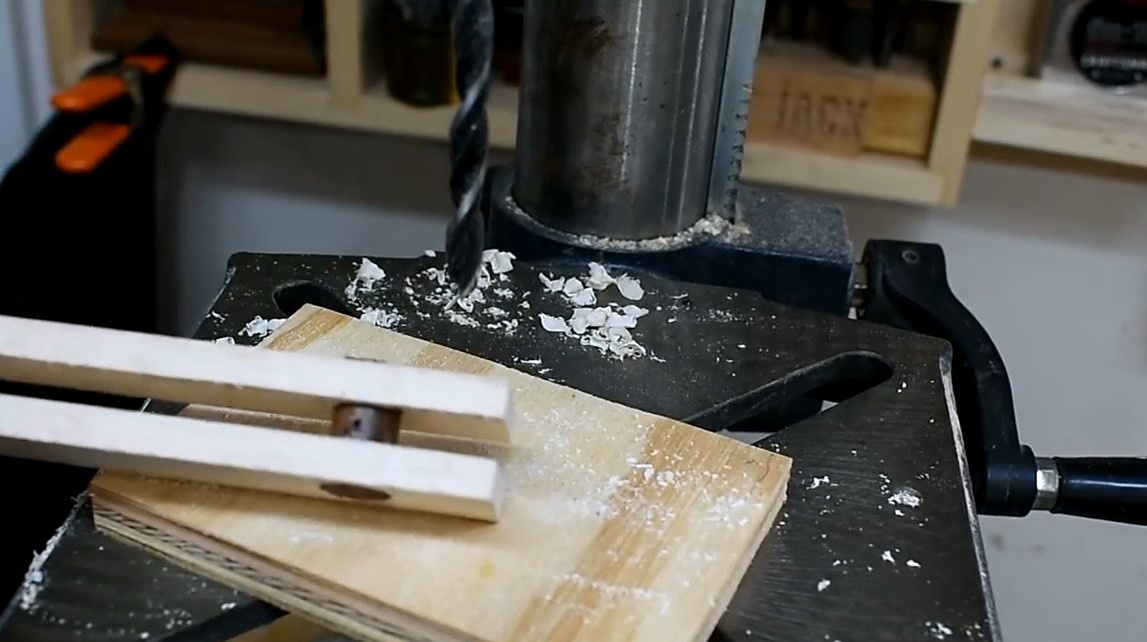
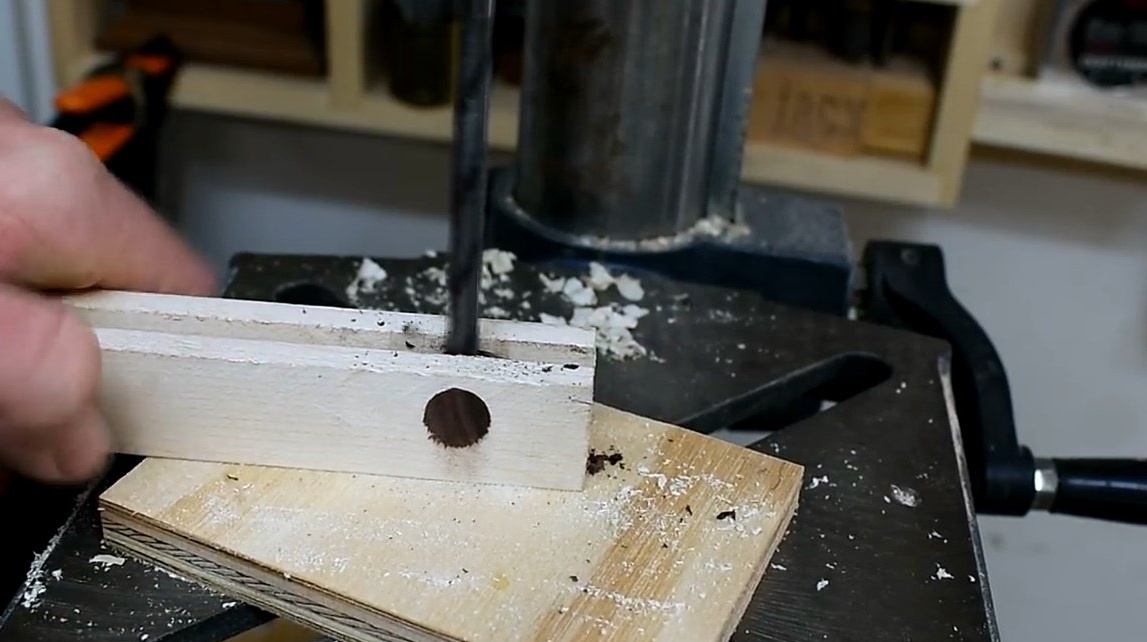
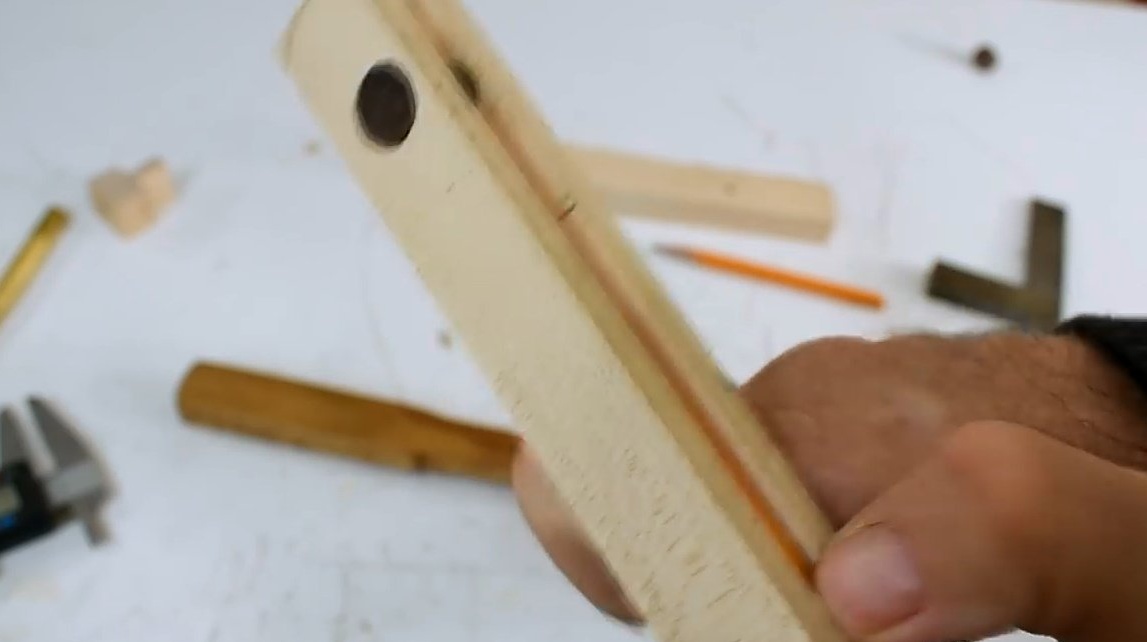
Now you need to drill a hole for the rotary sleeve in both parts of the workpiece.
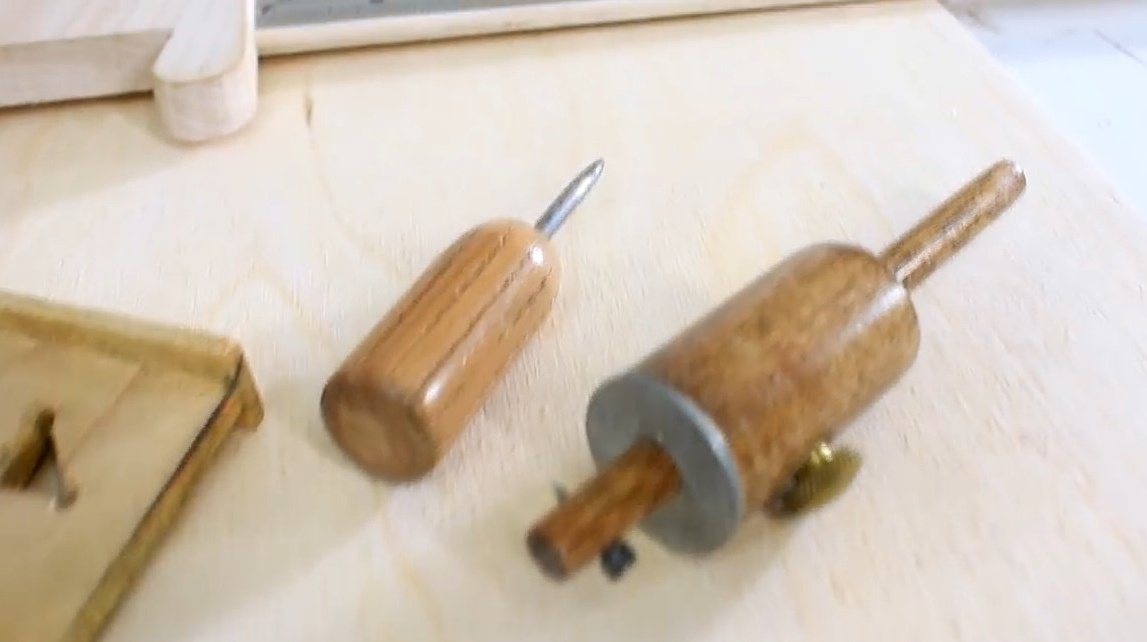
Next, Jack picked up a mahogany round timber exactly in diameter of the hole. I cut a piece a little longer than the width of the bar.
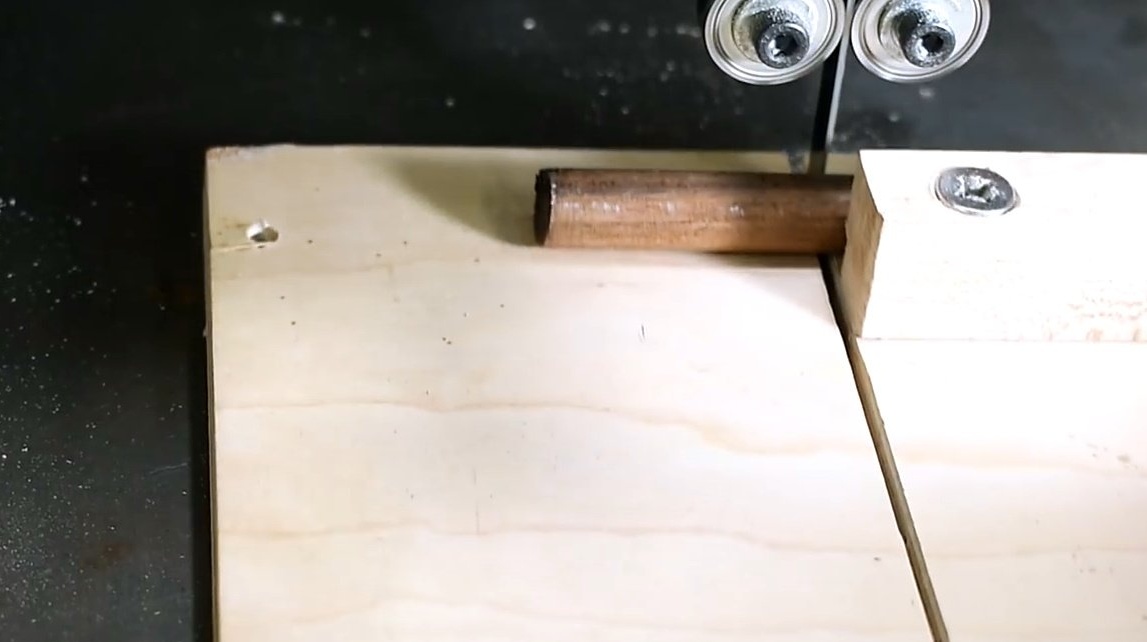
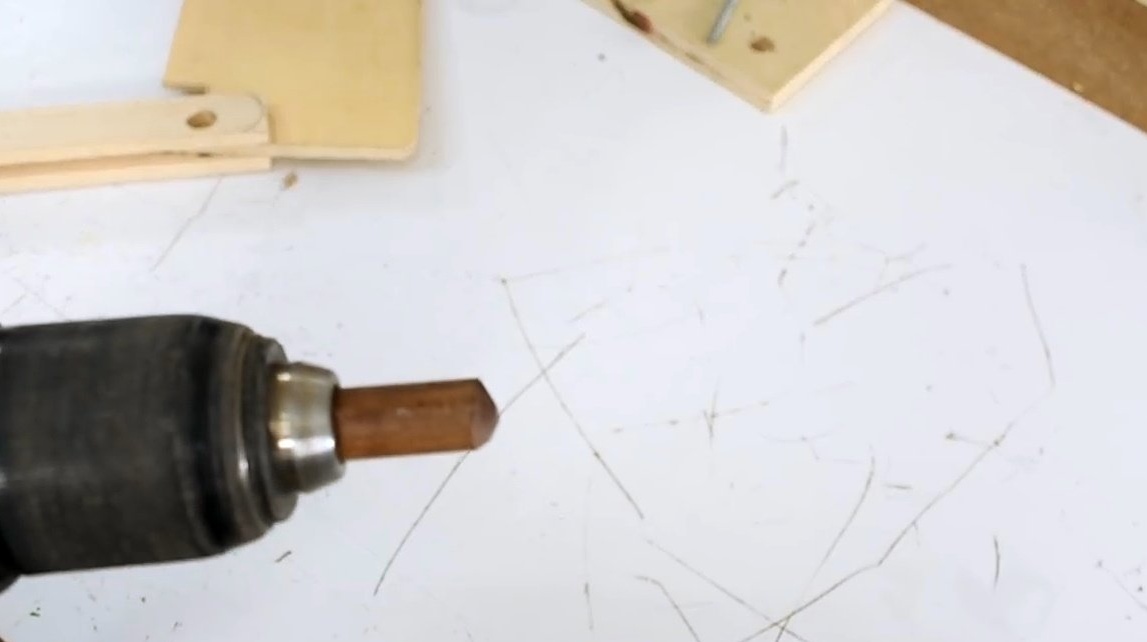
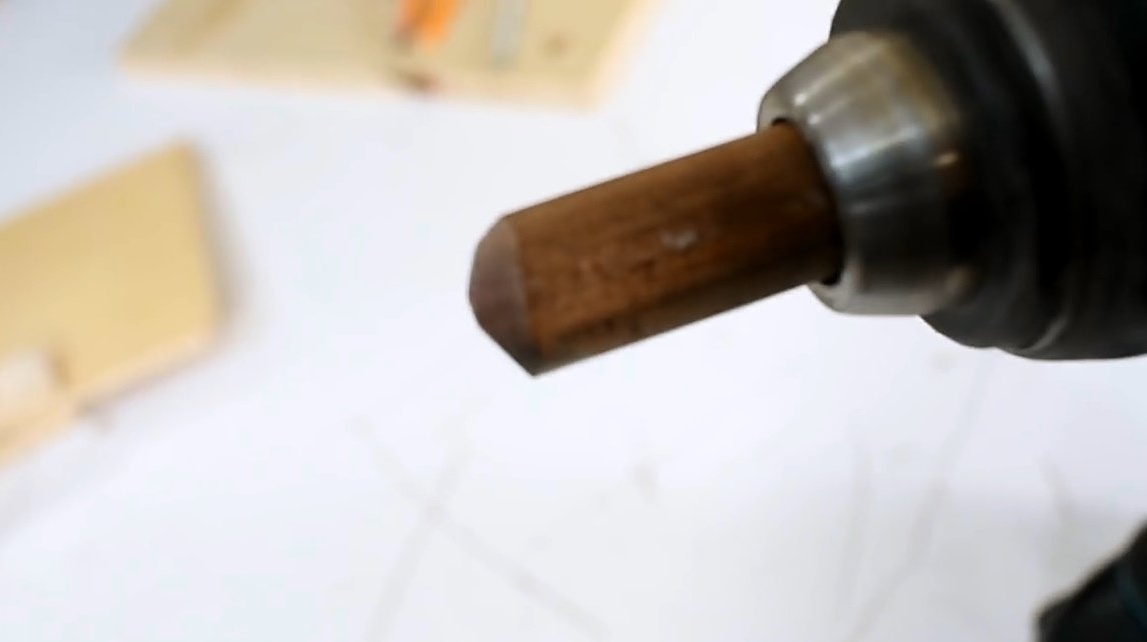
Clamping the workpiece in the cartridge, the master rounded one side. This is to make it easier to hammer it in the hole.

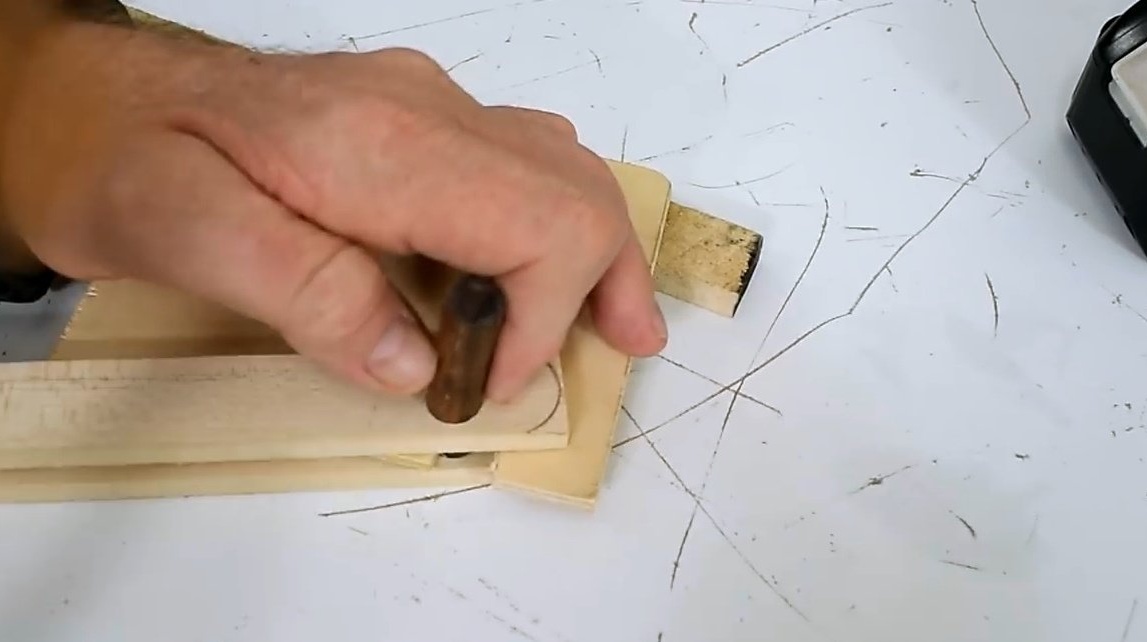
Now he puts a stitch, suitable in thickness in the fork, and clogs the workpiece in both holes. This part should sit very tight.

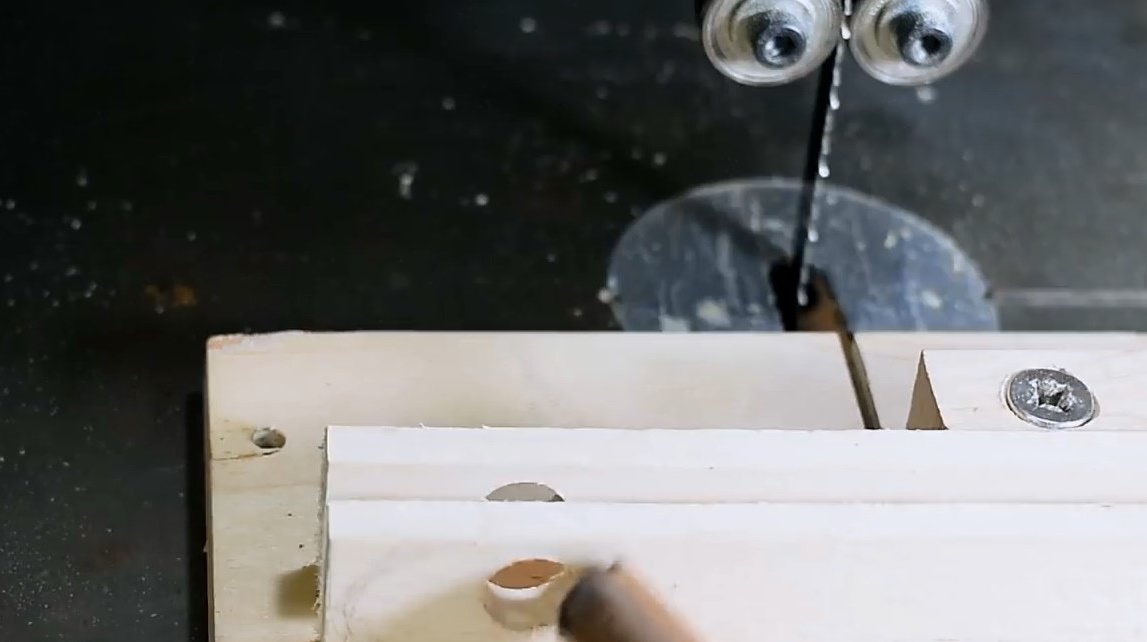
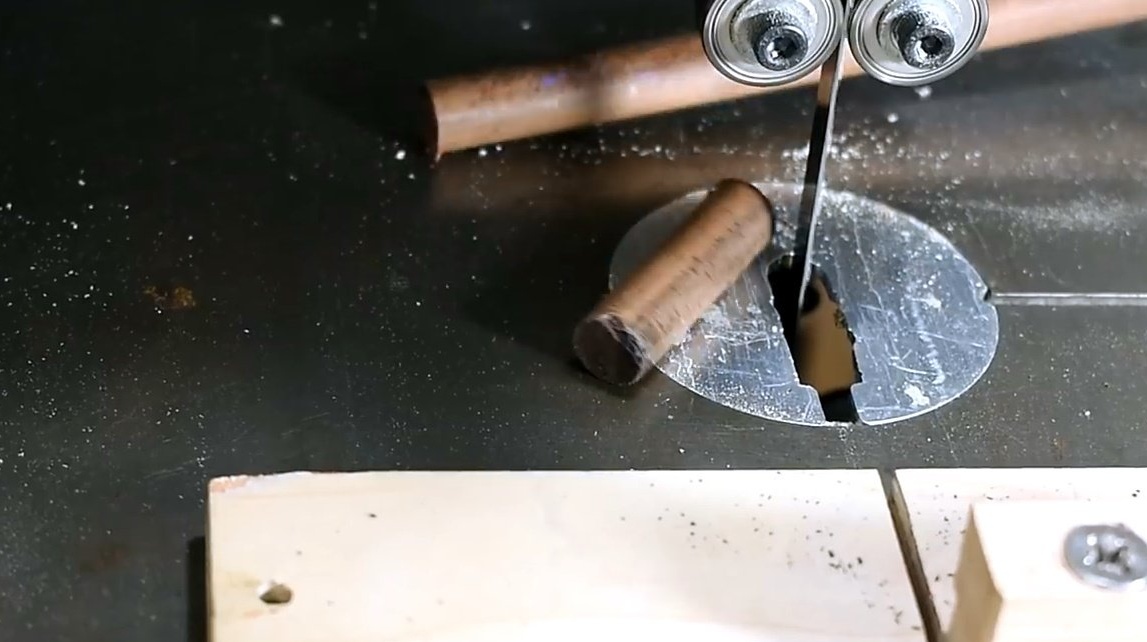
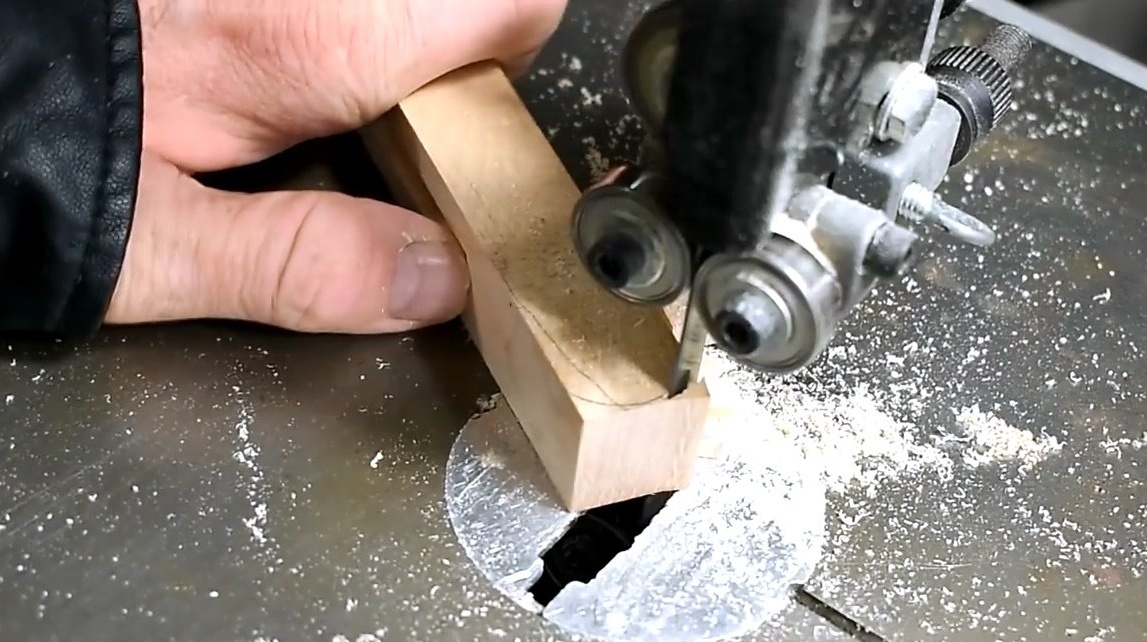
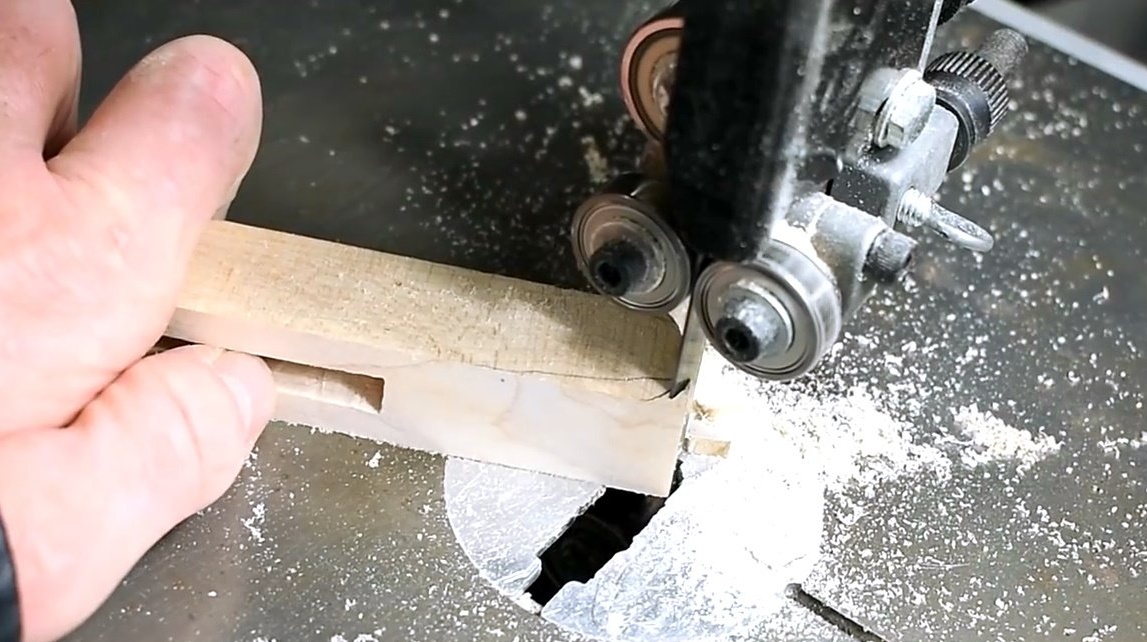
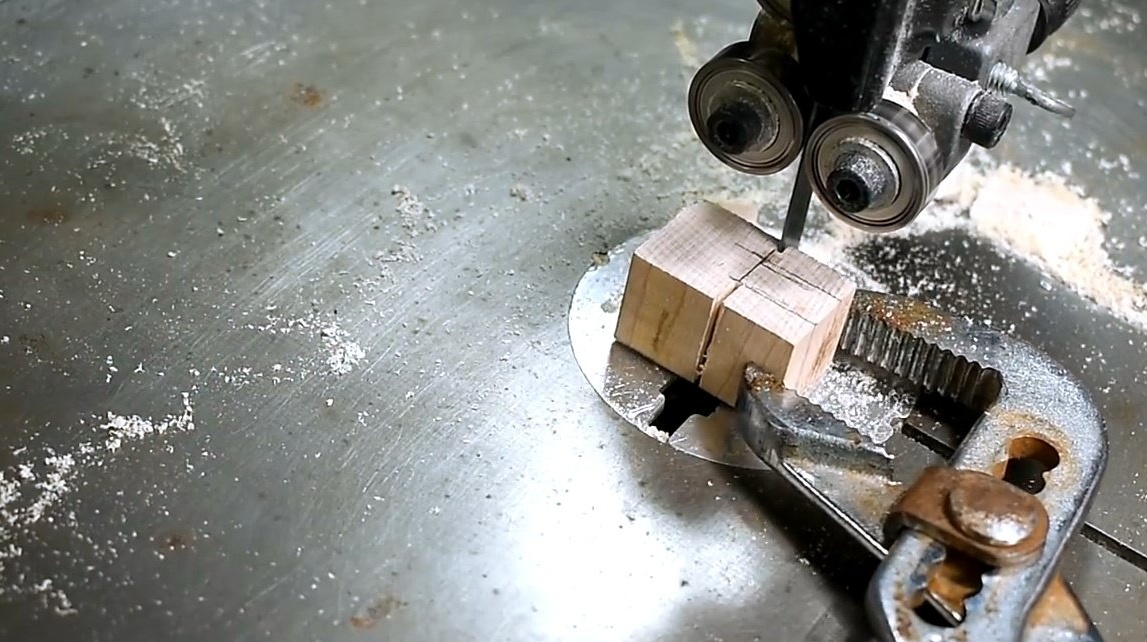
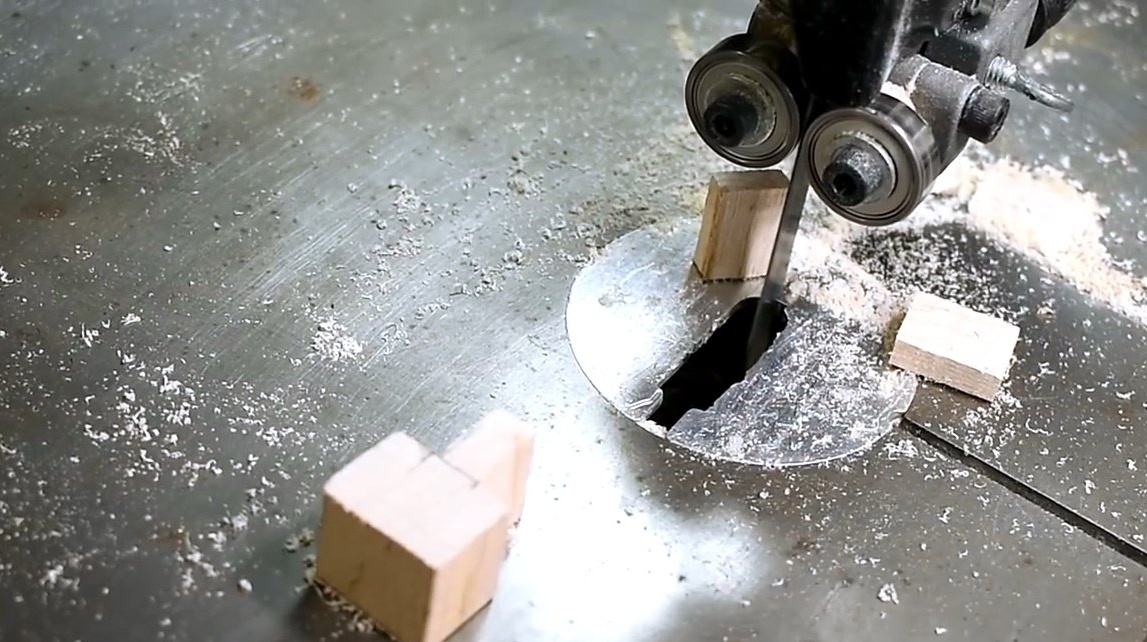
Cut off excess on a band saw.
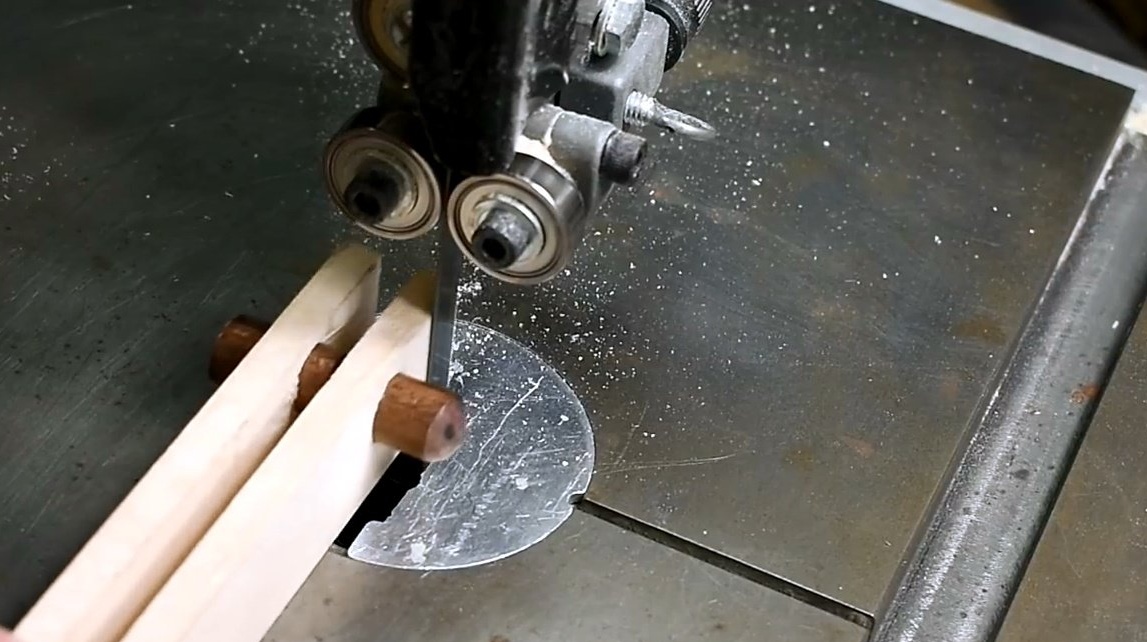
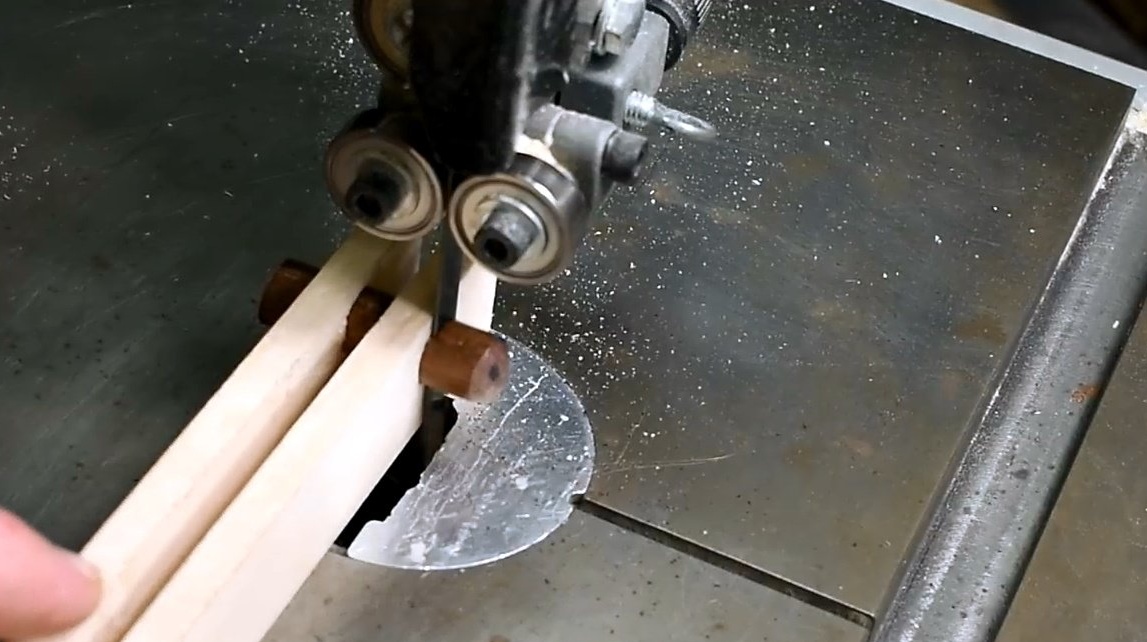
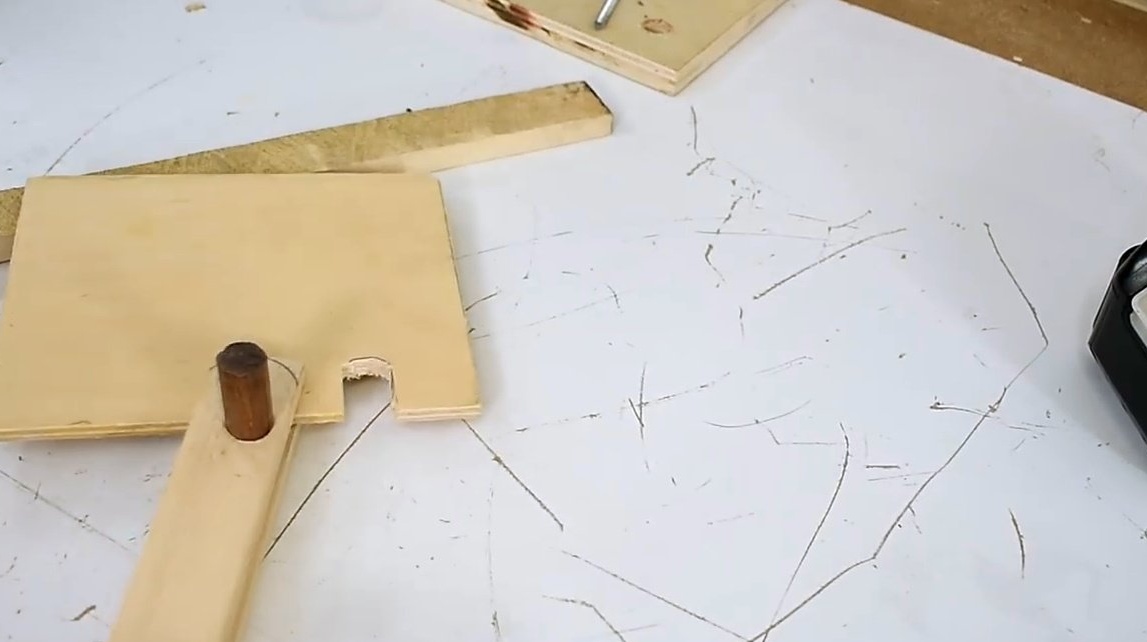
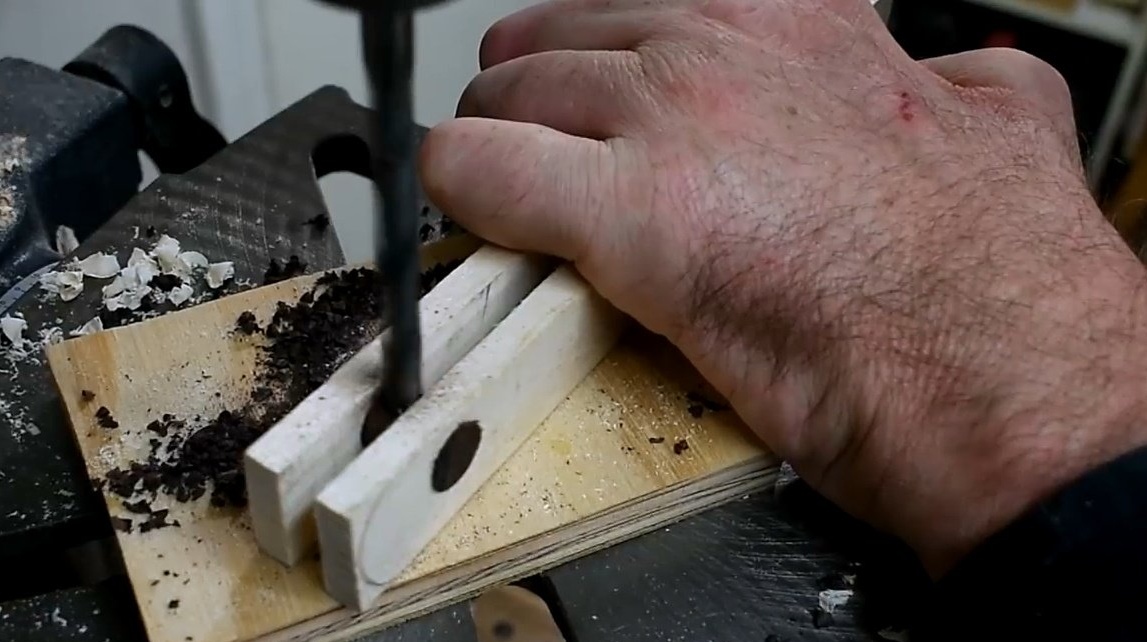
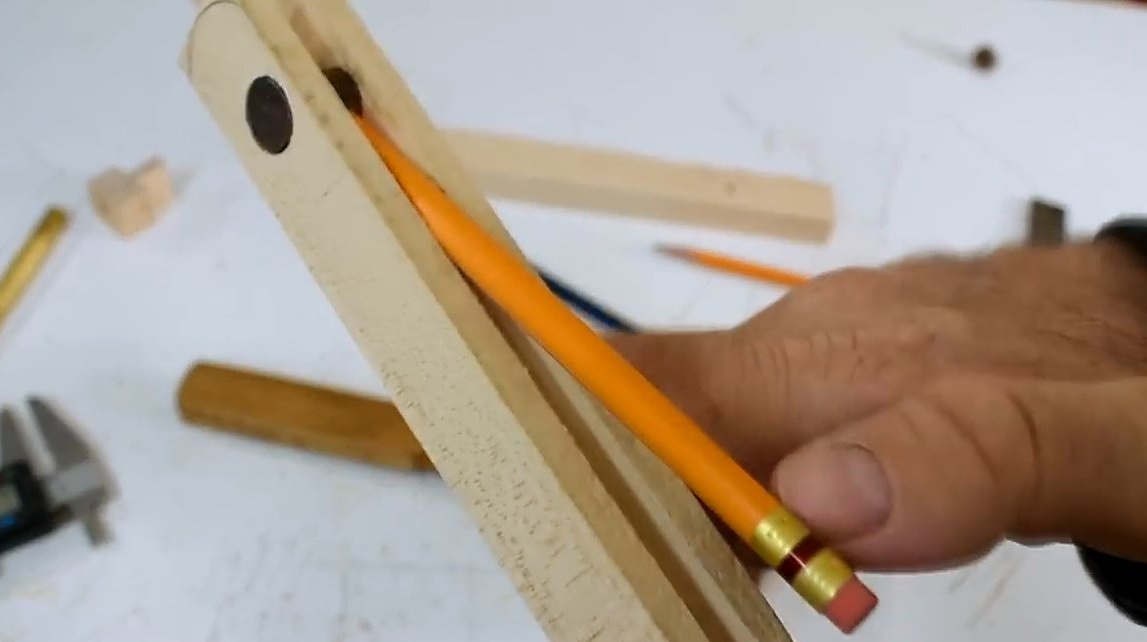
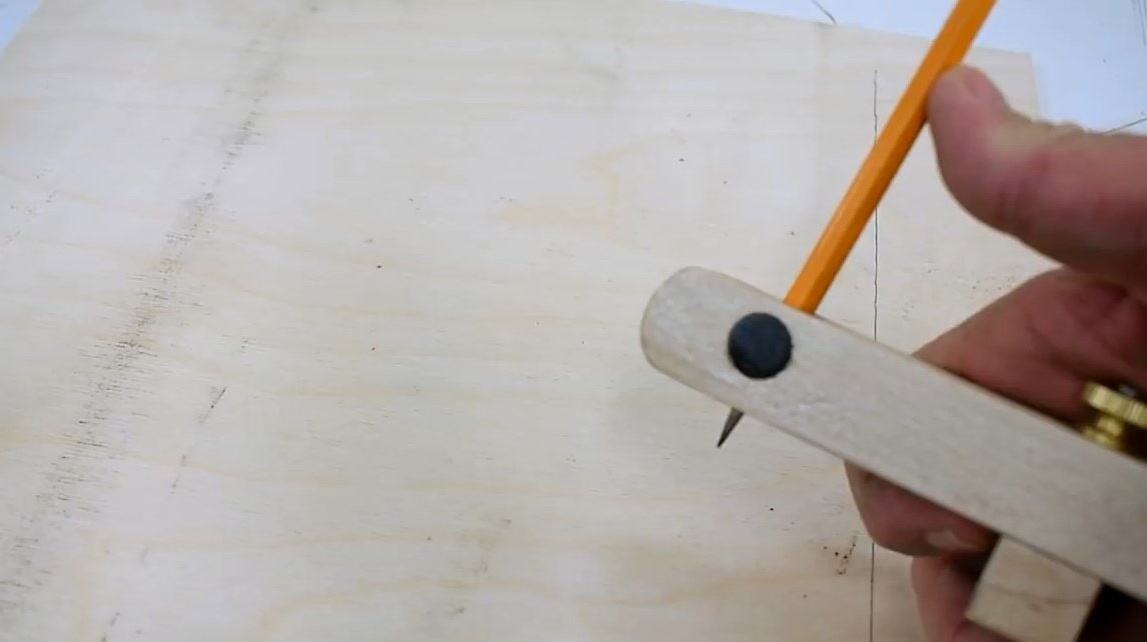
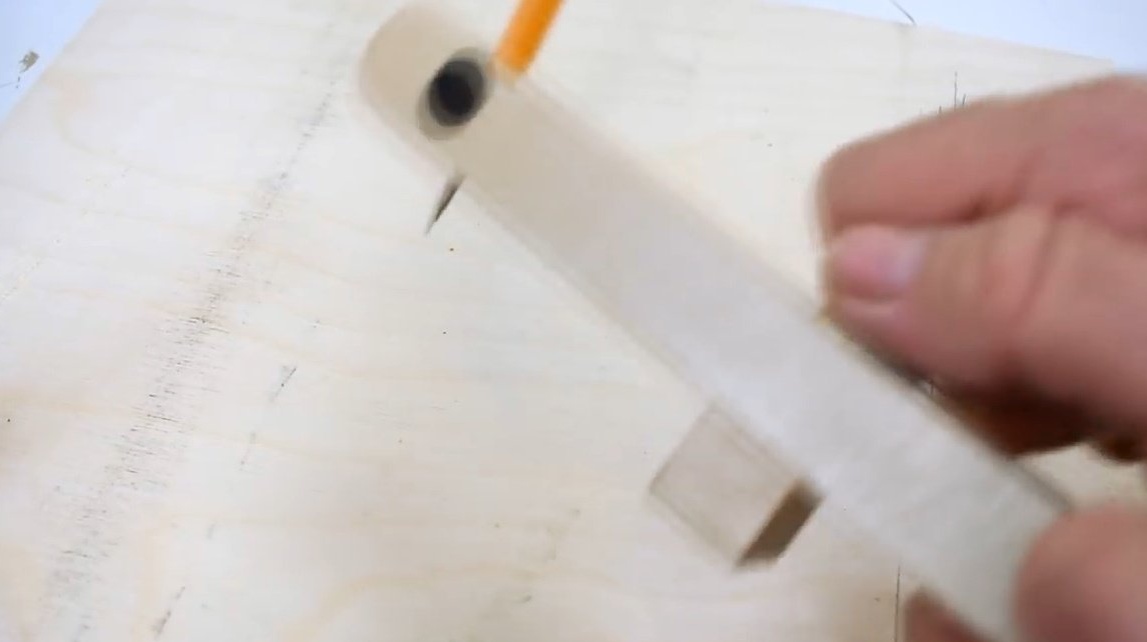
Having picked up a drill of a slightly smaller diameter than a pencil, Jack drills a transverse hole in the sleeve.
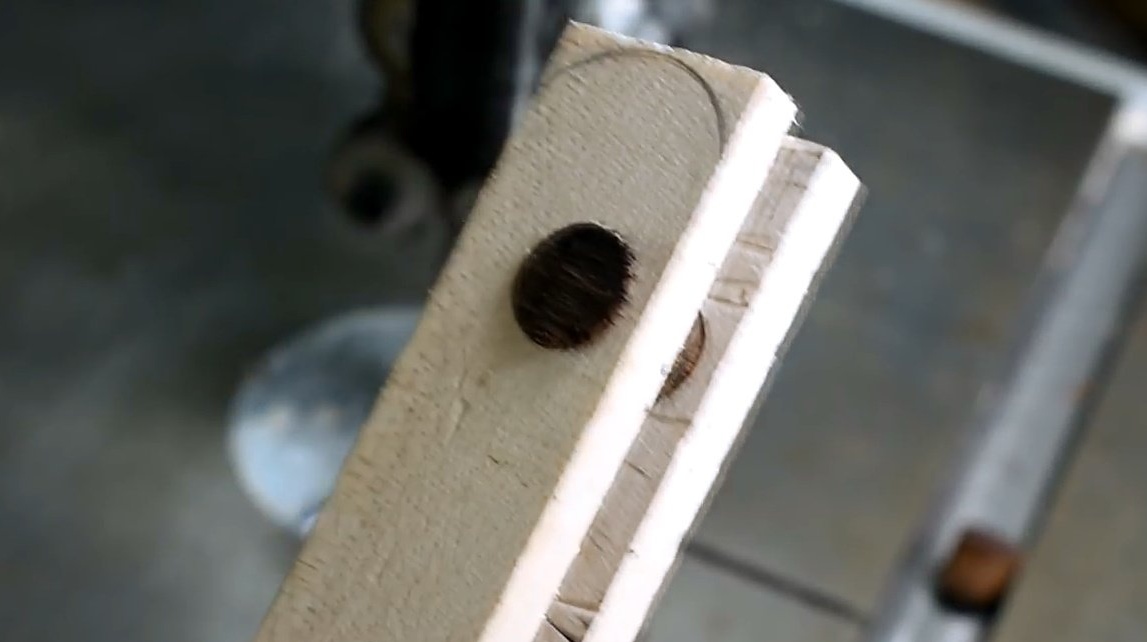
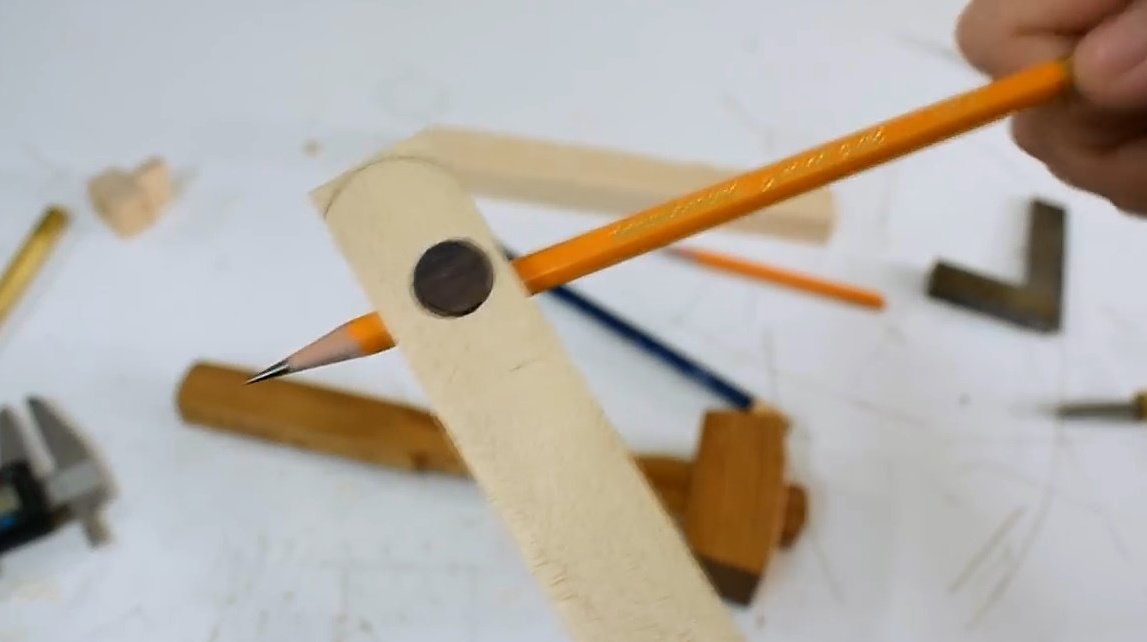
The pencil also sat very firmly, and the sleeve turns with a little effort, allowing you to fold the pencil.
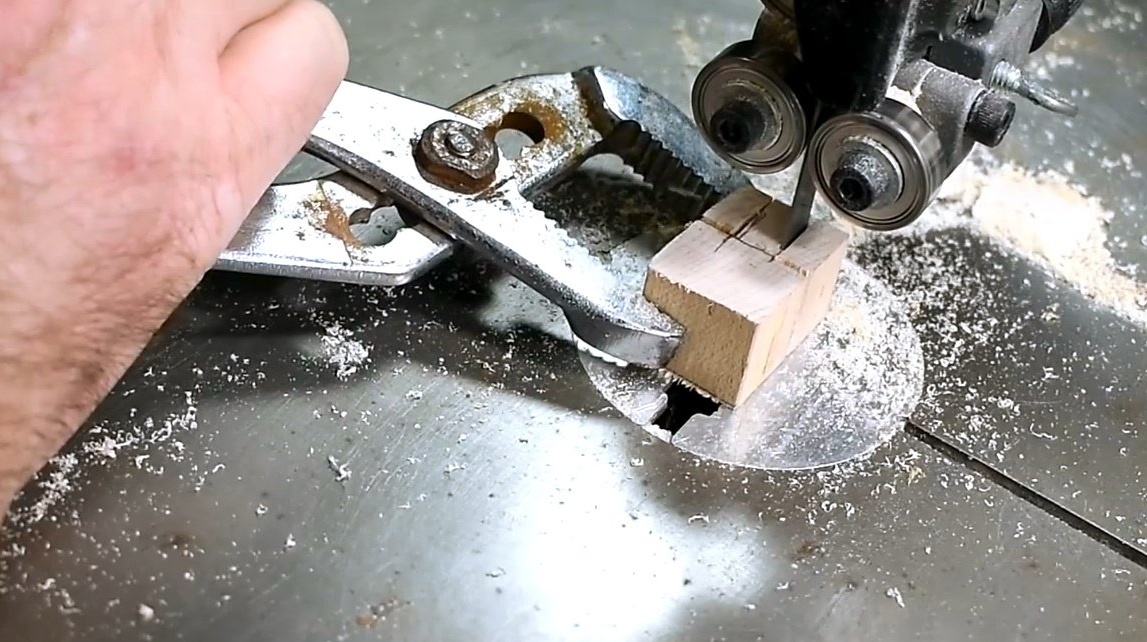
Cuts off excess on the body, rounding the edge.
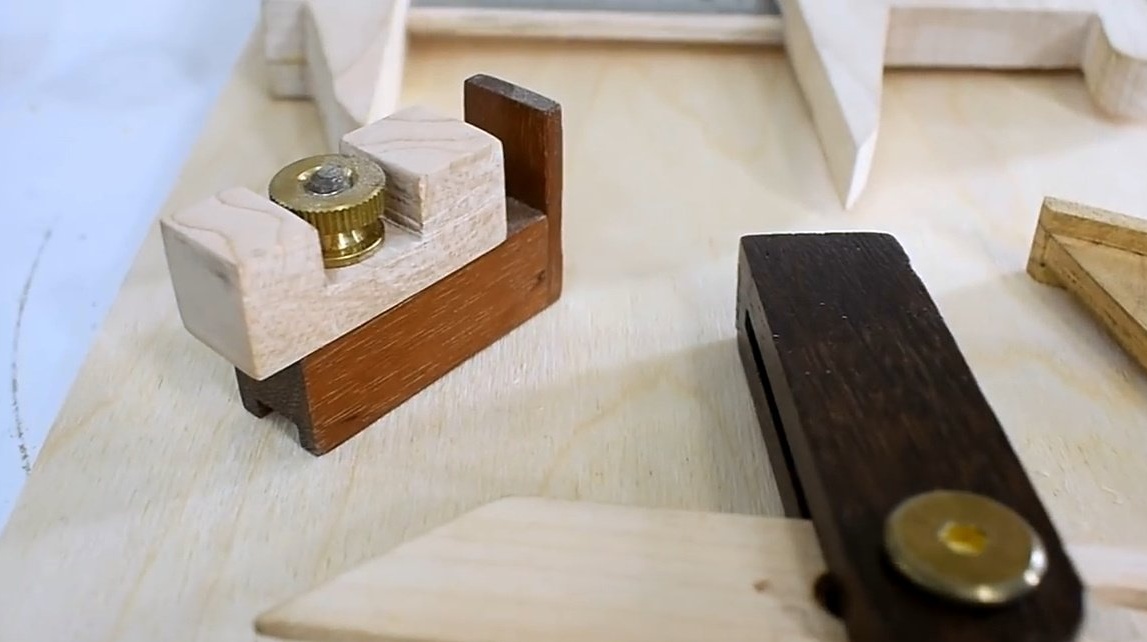
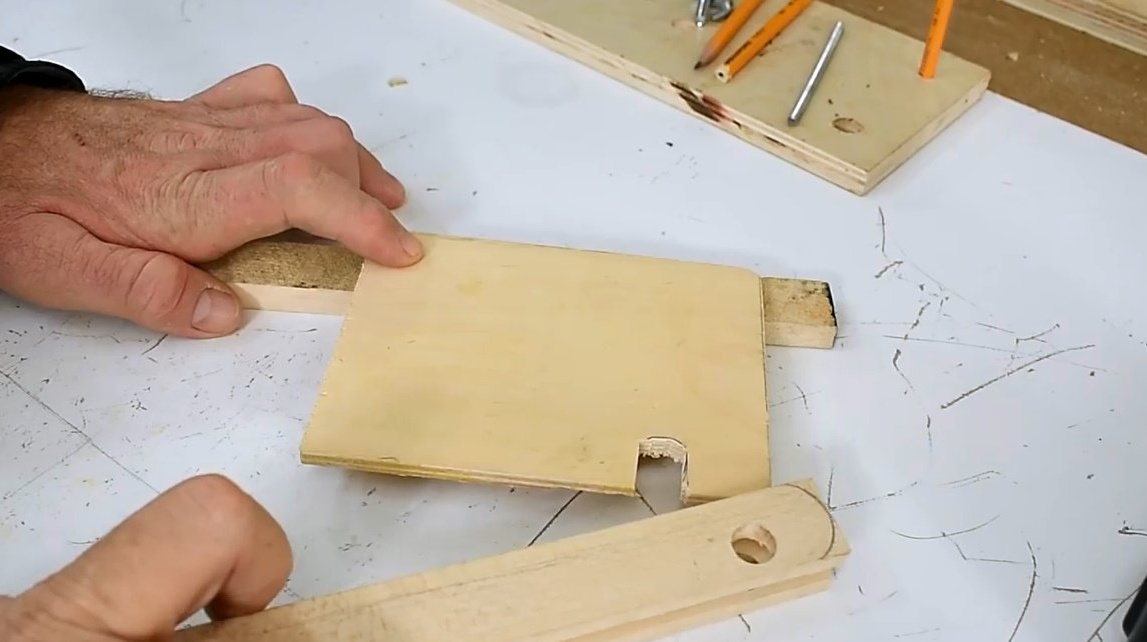
The master makes a thrust block out of a wooden block.
Clamping the block in a vice, drills a hole for the screw.
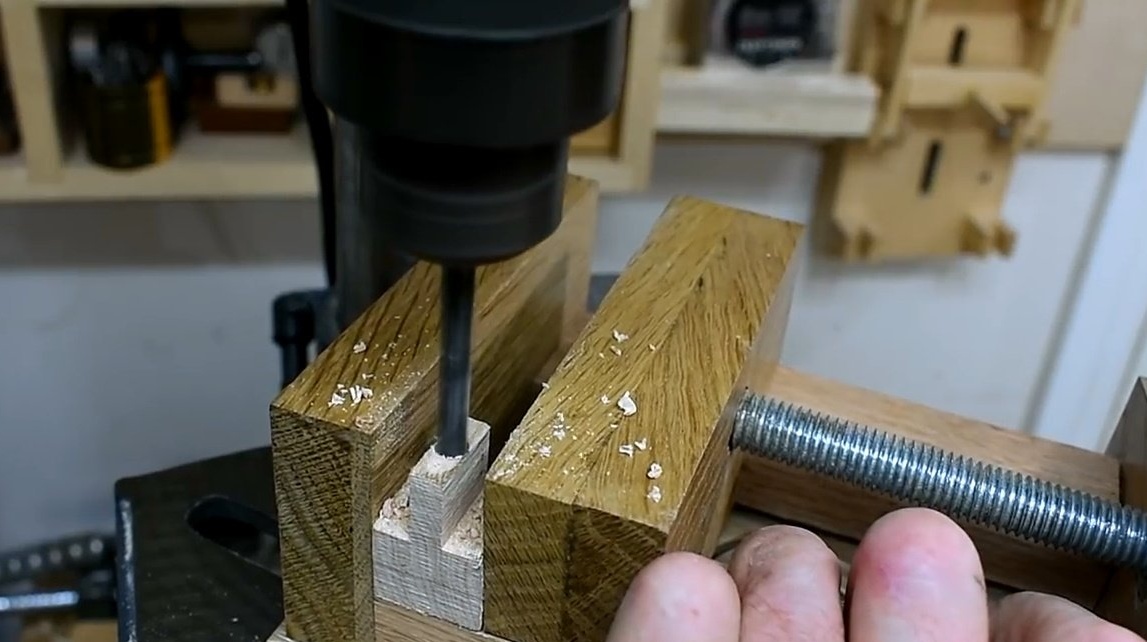
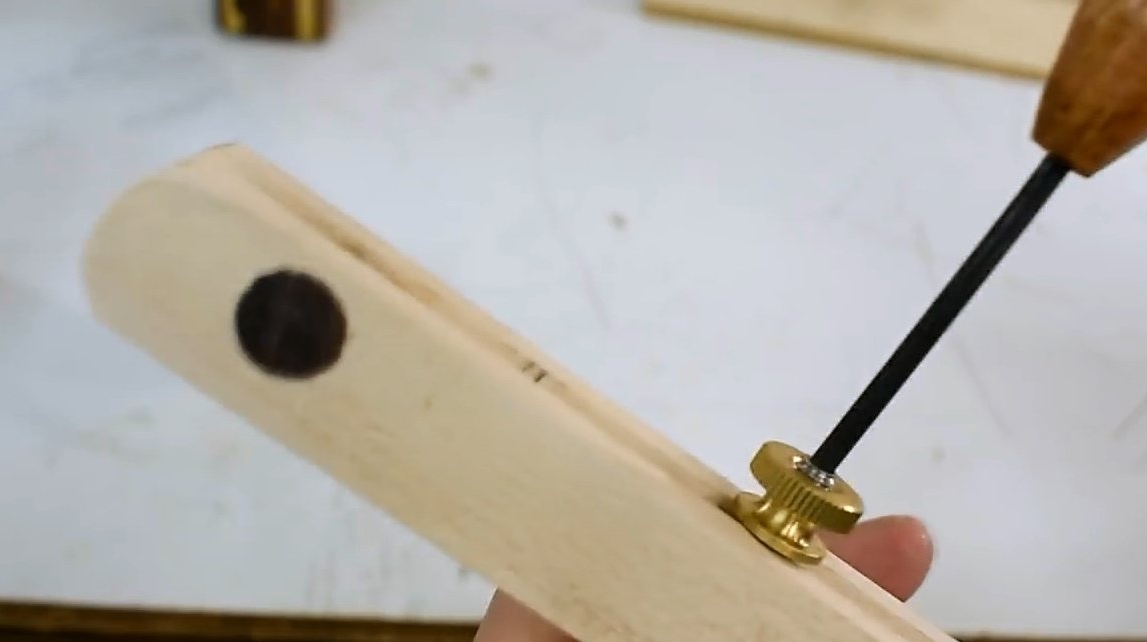
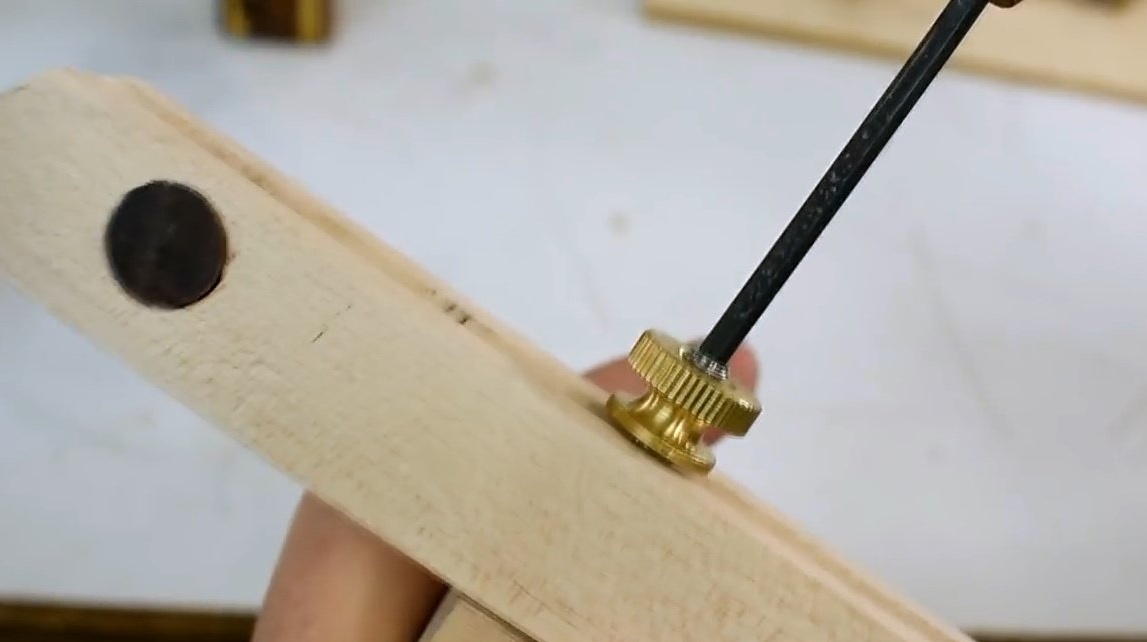
Screws in a screw with a secret notch for a hex key.
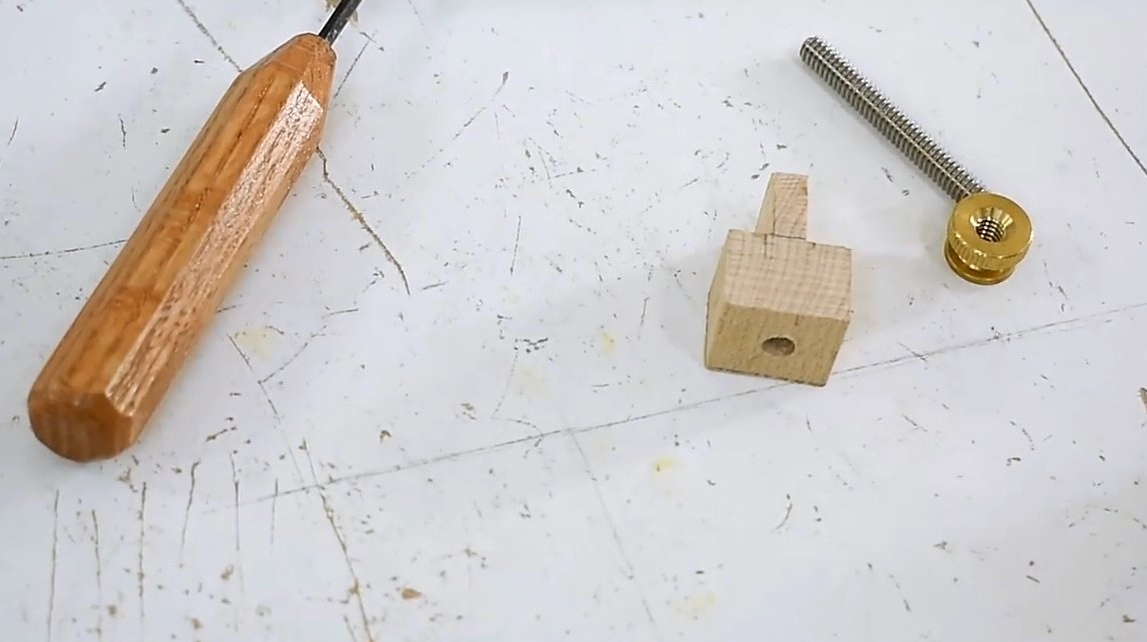
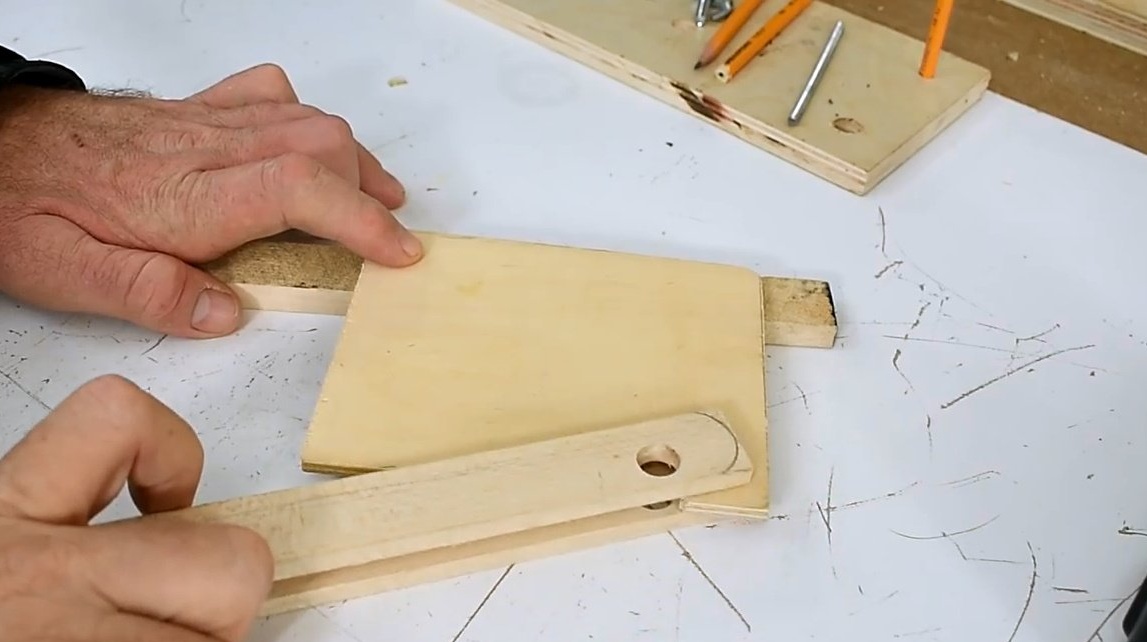
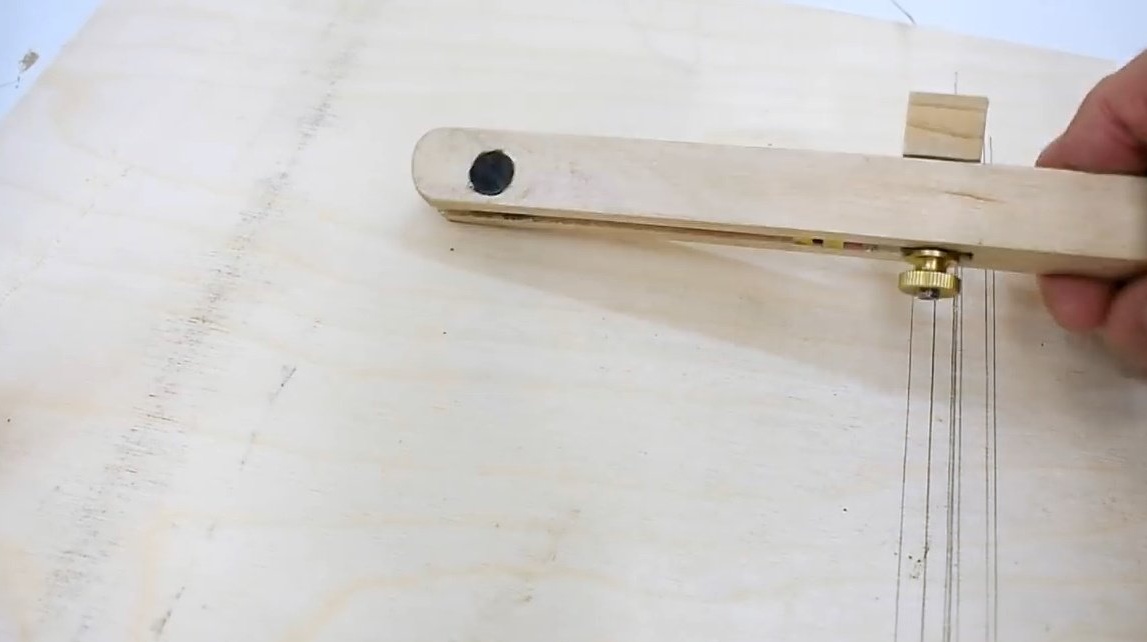
Inserts the block into the main structure, screws the nut.
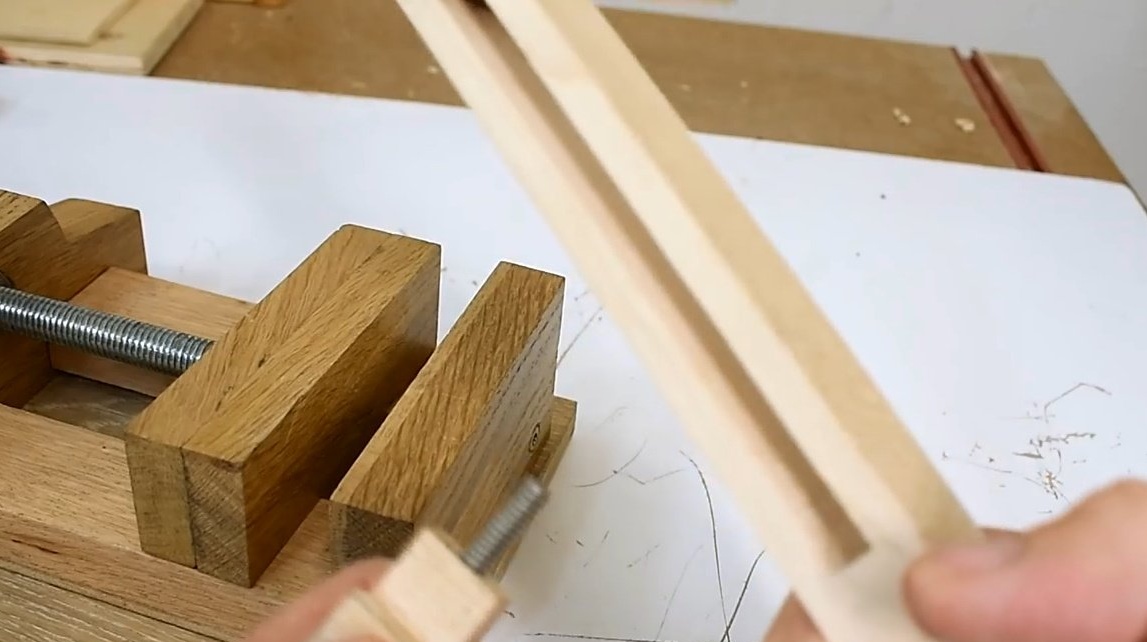
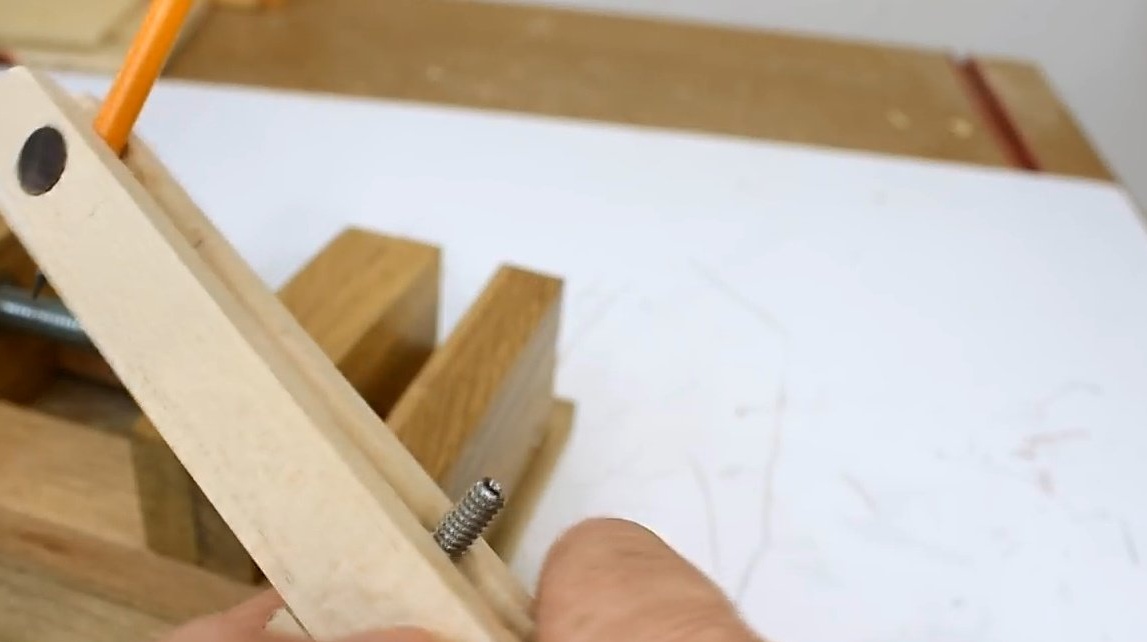
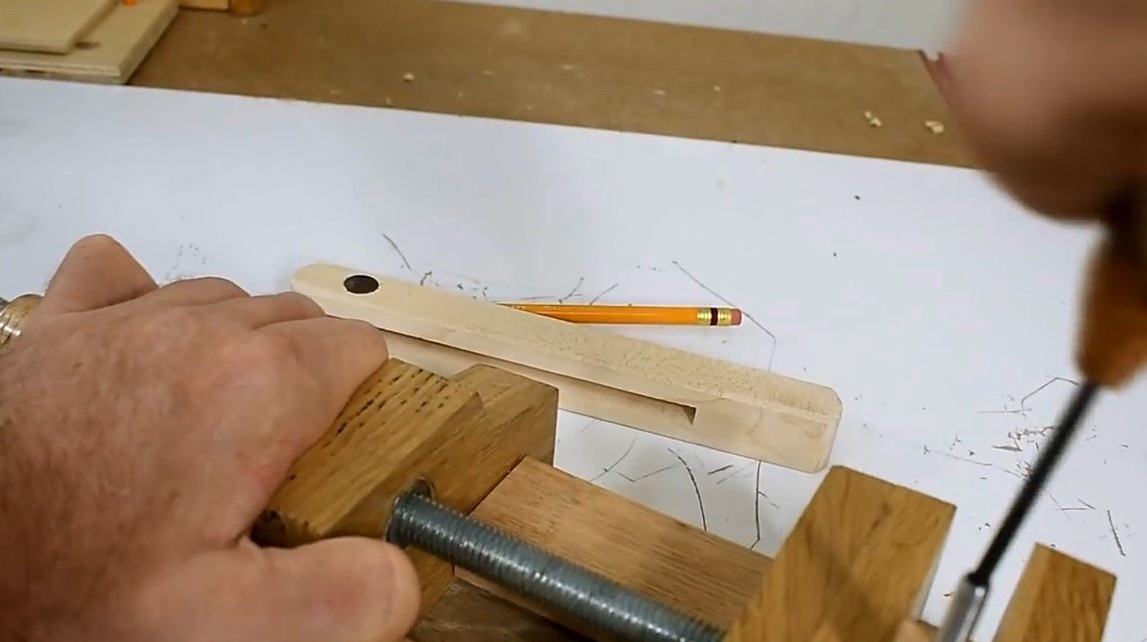
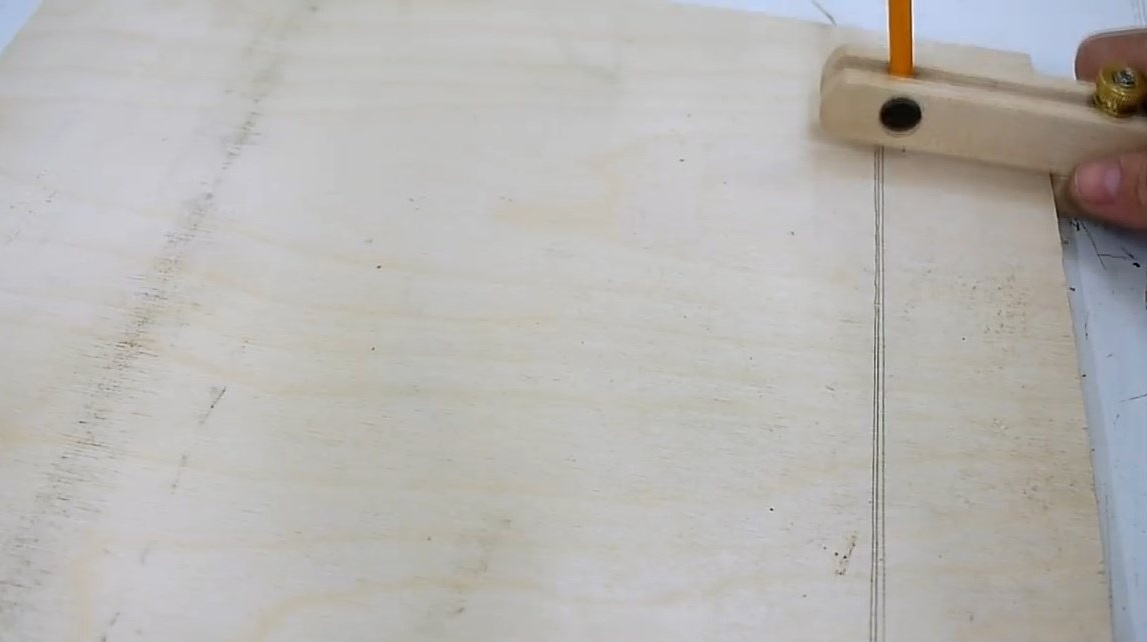
Now roughly sets the distance using the stop block.


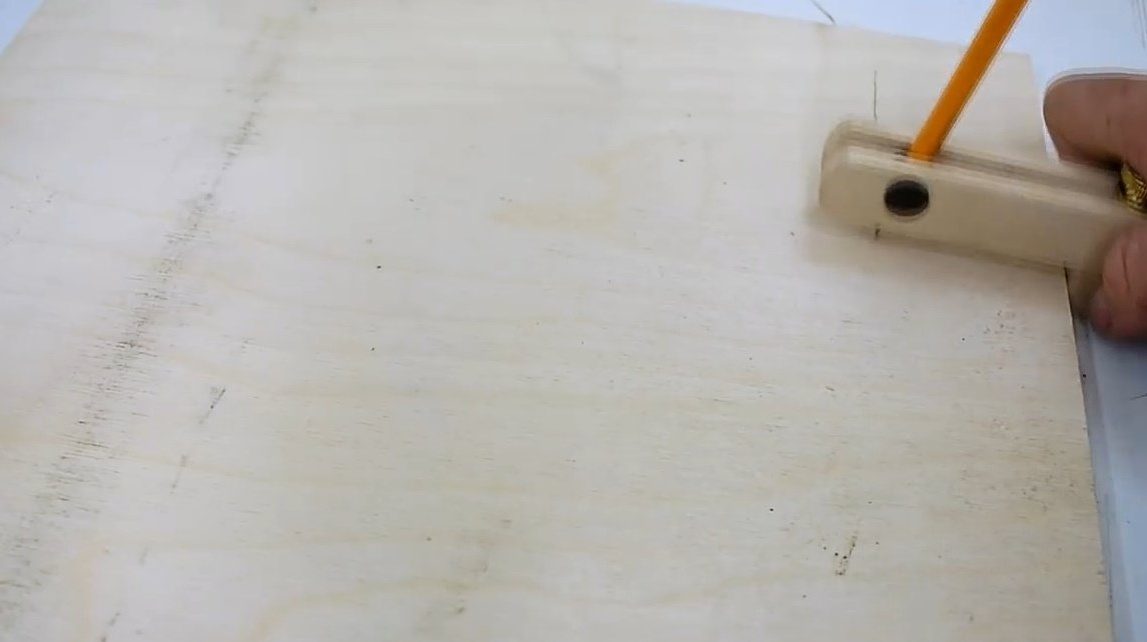
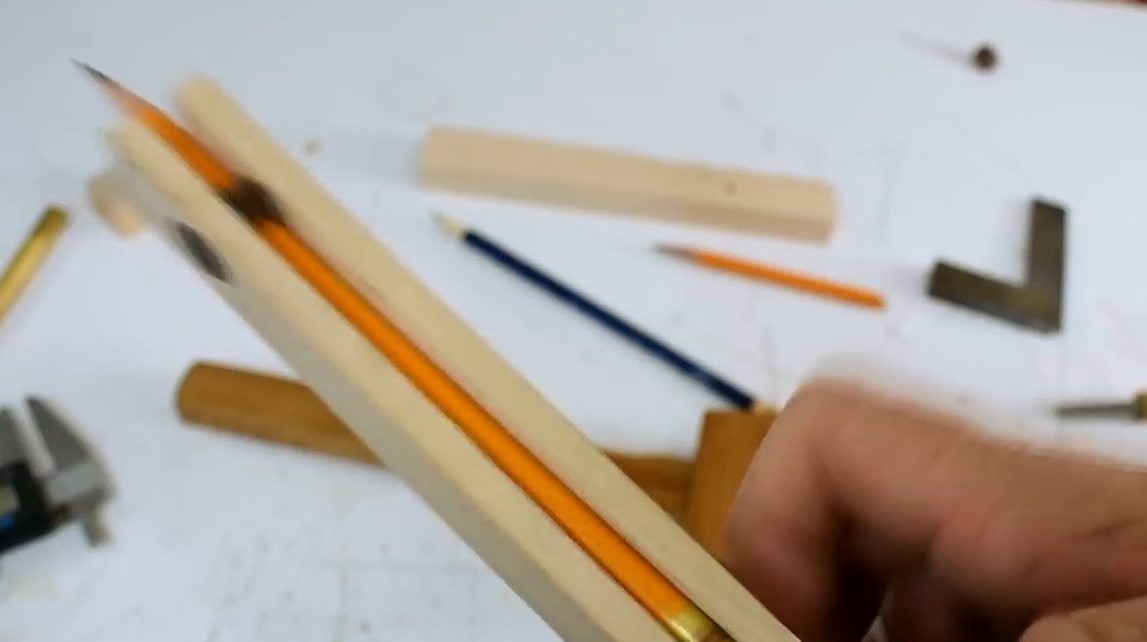
And here is the fine tuning - by changing the angle of the pencil, you can adjust the distance in fractions of a millimeter.
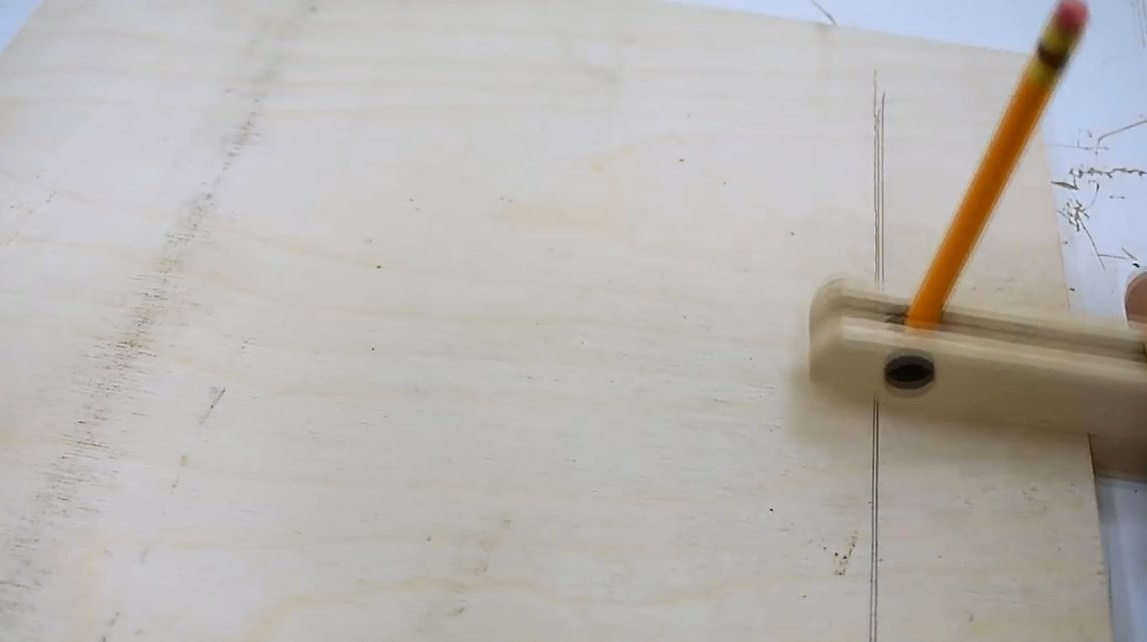
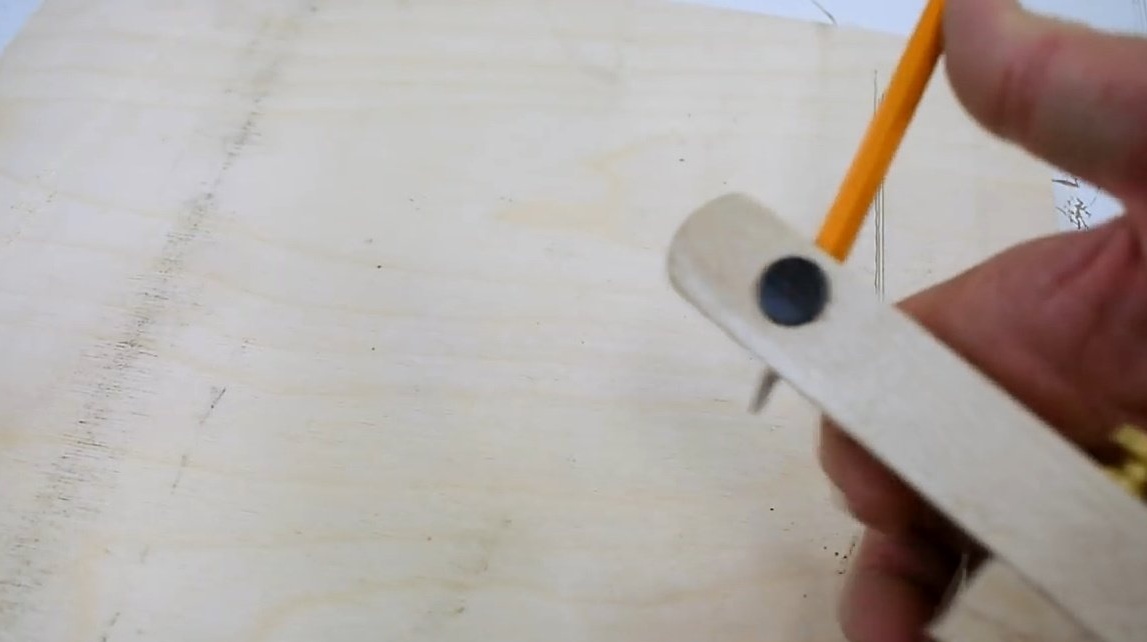
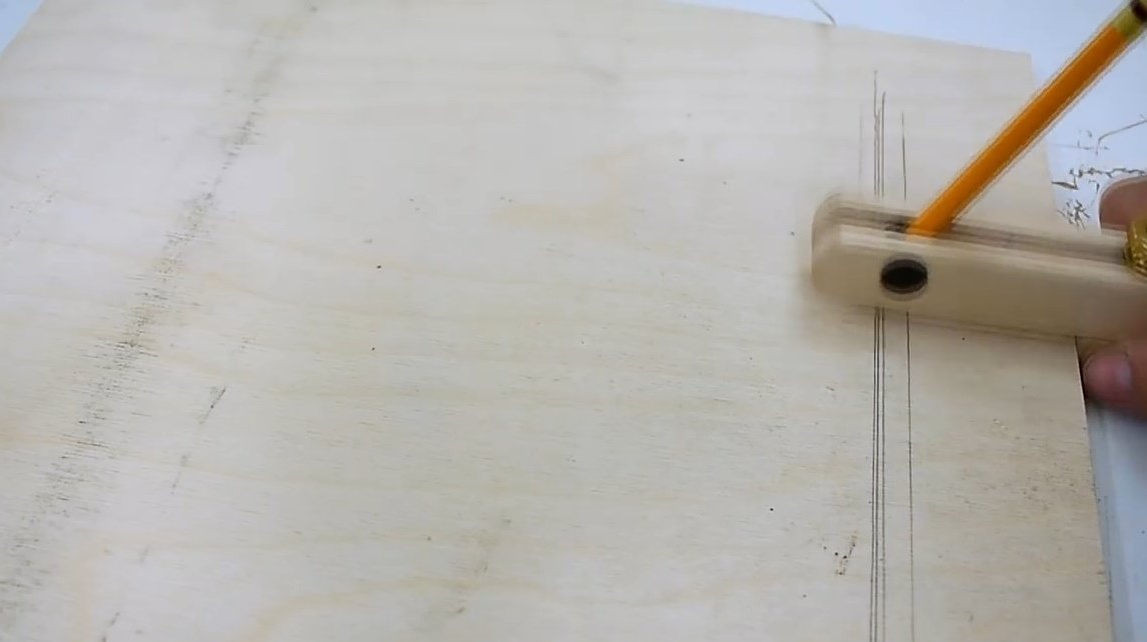
Upon completion of the work, the master removes the block to the extreme position, and folds the pencil. Very comfortably!


Thanks to the author for the simple but useful device for the workshop!
All good mood, good luck, and interesting ideas!