Good day to you, readers and the inhabitants of our site.
The author of the following homemade, very often a chimney is clogged in his garage stove. Therefore, he decided to make a homemade brush to clean the chimney. Of course, such brushes can be purchased at a hardware store or purchased via the Internet, but why buy something that can be relatively easily done do it yourself. And the price tag of such a homemade product will be ten times less than device bought in a store.
After some use of his homemade product, having identified all the pros and cons, he came up with a device for more convenient cleaning of the chimney.
I propose to read about manufacturing in this article.
Necessary materials and tools.
The manufacturing process is part one.
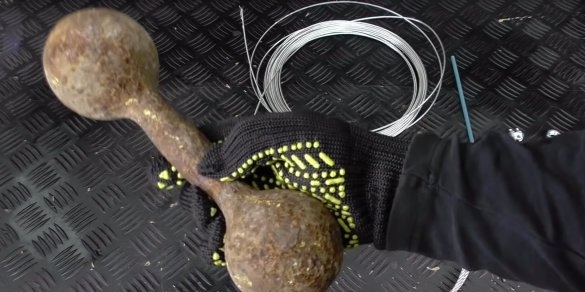
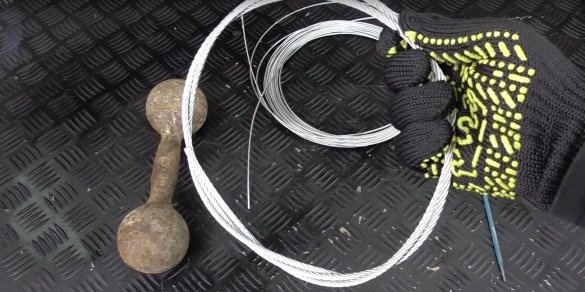
The brush device itself will be based on the base of an old rusty dumbbell, which was purchased at the nearest scrap metal collection point, at a very reasonable price. The author uses a dumbbell with a total weight of 5 kg, the diameter of the balls of the dumbbell should be less than the diameter of the pipe being cleaned. To adapt, you need only one half of the dumbbell, so that from one dumbbell you can make two brushes at once.
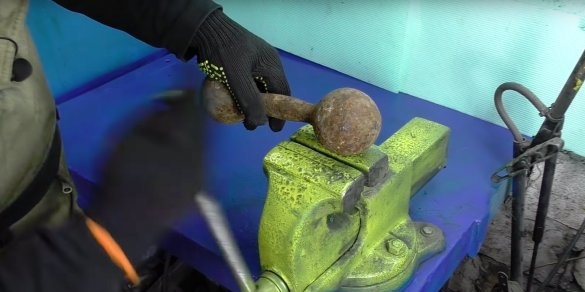
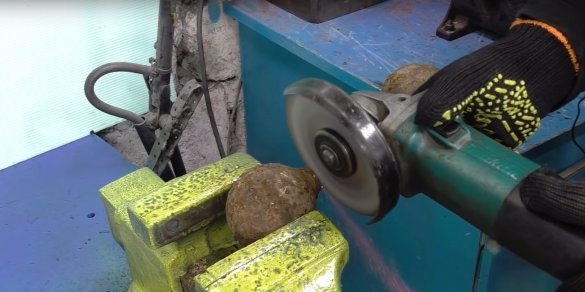
First of all, it clamps the dumbbell in a vise and cuts off with a grinder one ball of a dumbbell.
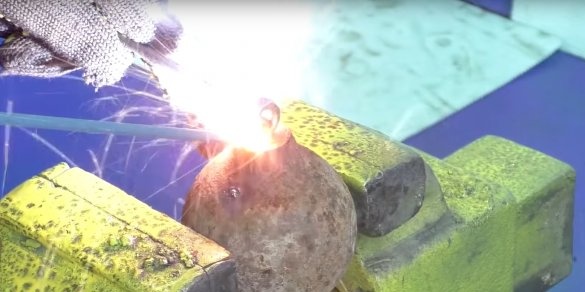
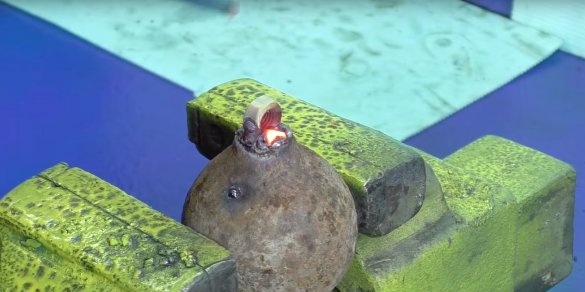
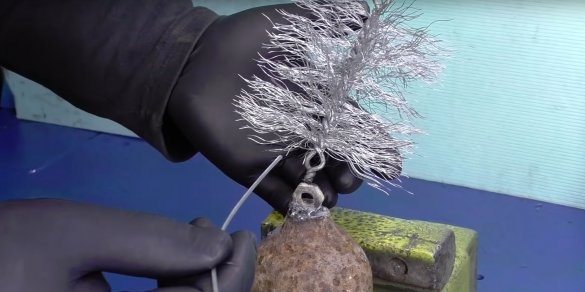
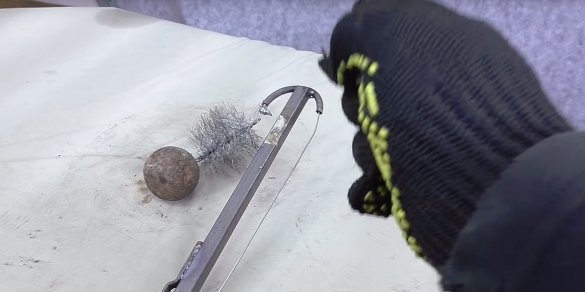
An M10 nut is welded to the cut part of the dumbbell, the load of the brush is ready for this, is it easy?
Now you should start making the brush itself.
To do this, he will use a piece of cable with a diameter of 5mm. You can use a cable with a larger diameter, as the thicker the cable, the thicker and stronger the veins in it.
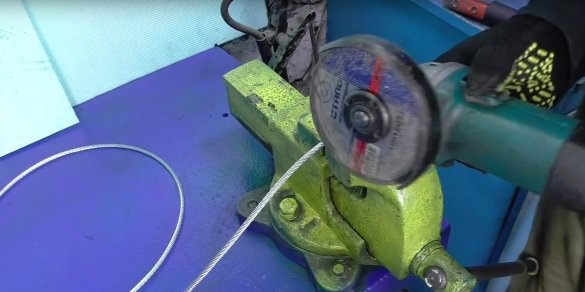
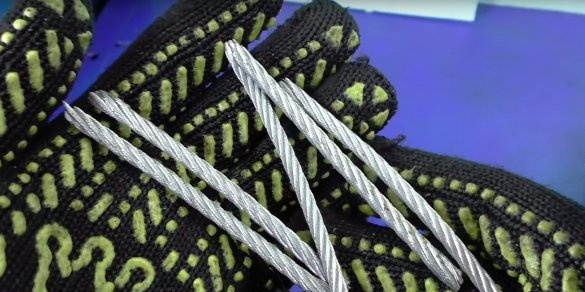
The author cuts the cable in 10cm segments. The length of the segments must match the diameter of the chimney.
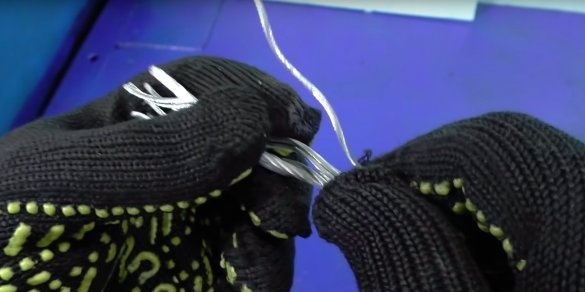
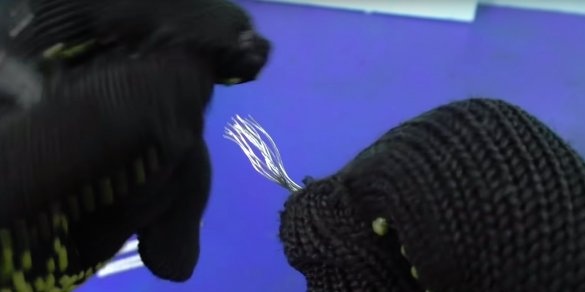
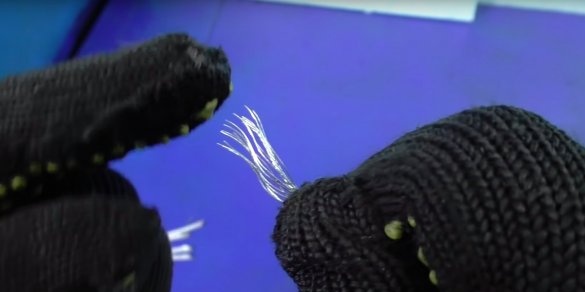
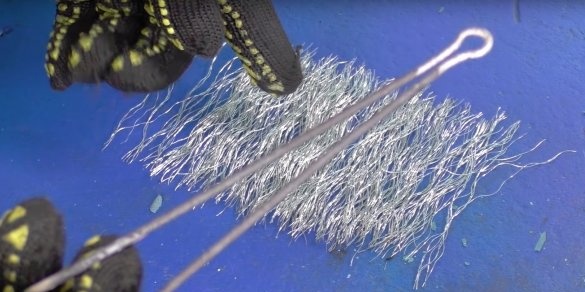
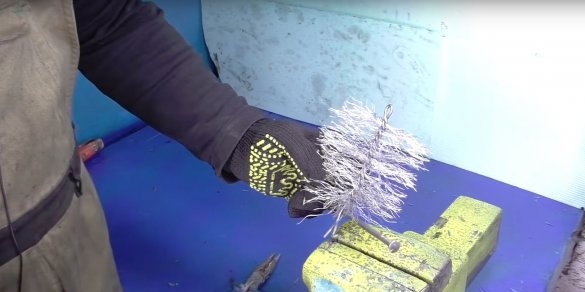
Now the sliced pieces need to be dissolved into separate fibers. This procedure is best carried out with gloves, since the probability of injuring your hands is very high.
The cable is loose, now you need to make a frame for a brush.
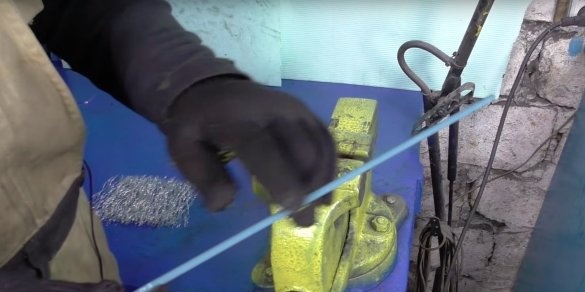
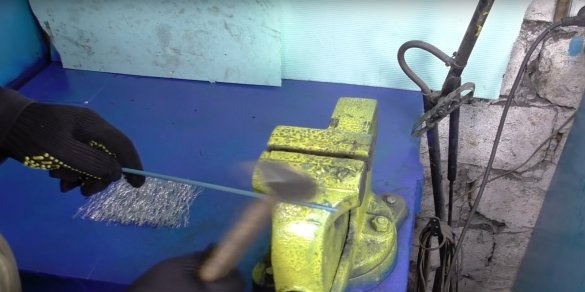
For the frame will use a 3mm electrode.
The electrode is coated with a hammer.
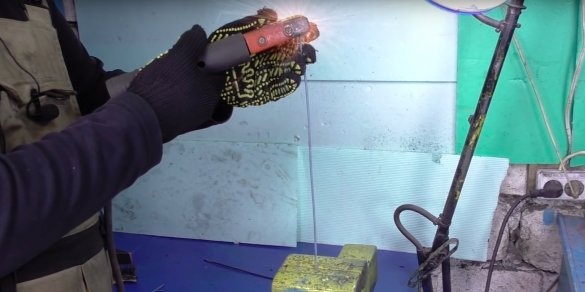
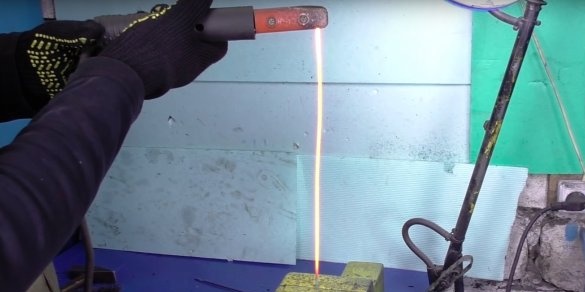
Since the electrode core is made of a rather stiff wire, it bends badly and breaks. To soften the wire, it must be heated to red and allowed to cool, in other words, let go. You can warm it in coals by a gas burner, but the author will warm it with a welding machine.
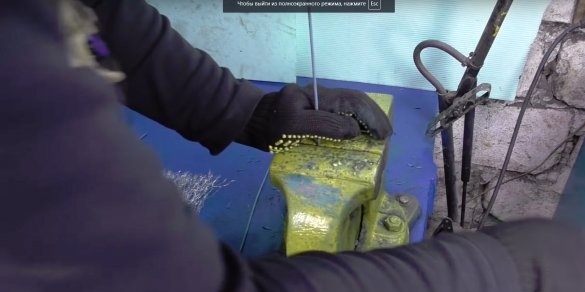
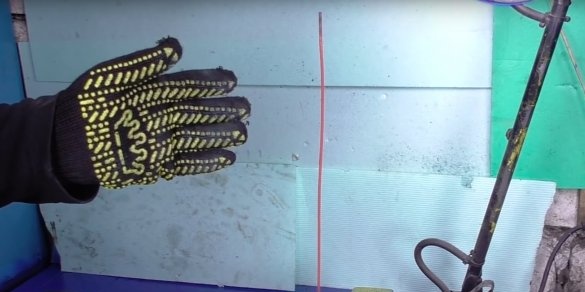
We clamp the electrode in a vice, to which the mass of the welding machine is connected. We connect the clamp from the welding machine to the free end of the electrode and heat the wire to red. The heating procedure lasts about 15-20 seconds. Now let the wire cool by itself.
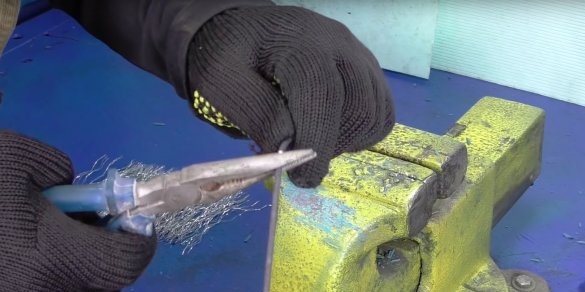
After cooling, the wire became soft, now you can continue to work with it. The author bends the wire in the center, at the place of the bend a small ear should be obtained.
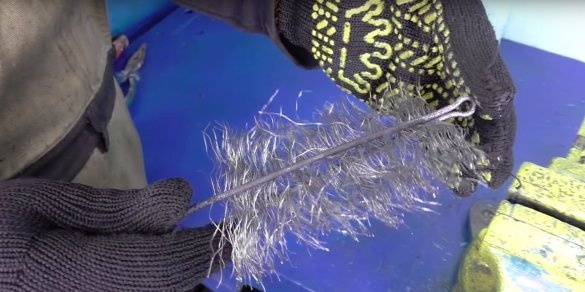
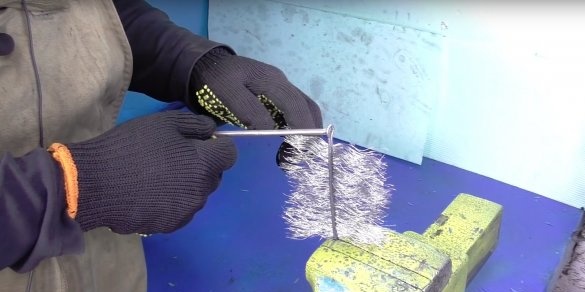
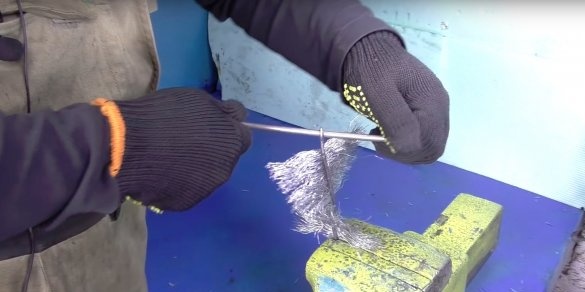
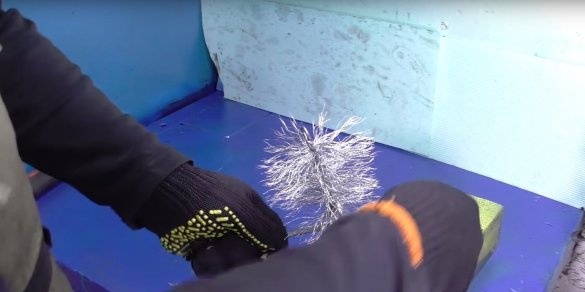
Now in this bracket you need to place the previously prepared fiber of the cable. You should get a similar design, the edge of which must then be clamped in a vice, stepping back from the edge 2cm.
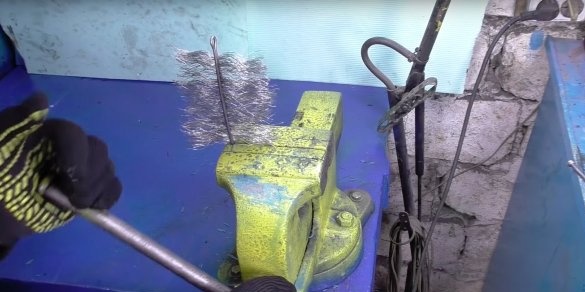
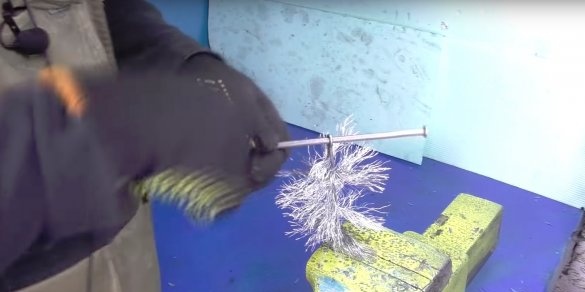
Then, inserting a large nail or screwdriver into the eye, you need to twist this design.
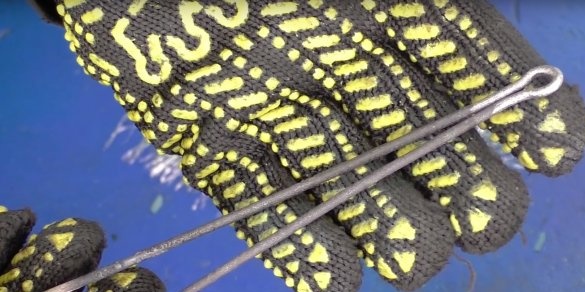
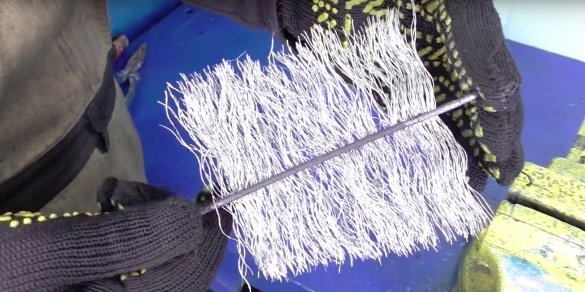
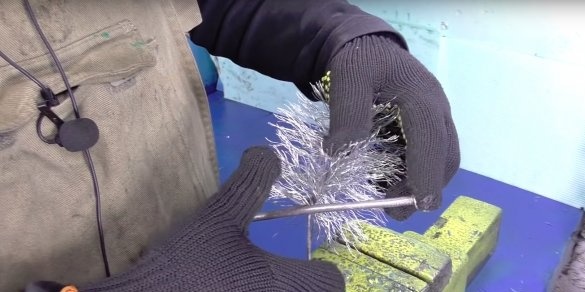
Then you need to make another eye, on the opposite side of the brush. To do this, grip the nail between the two ends of the wire, grip the ends in a vise and screw the structure with the inserted nail.
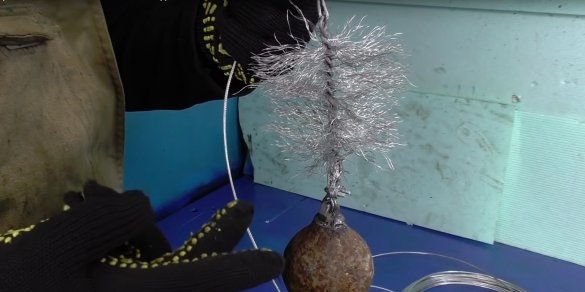
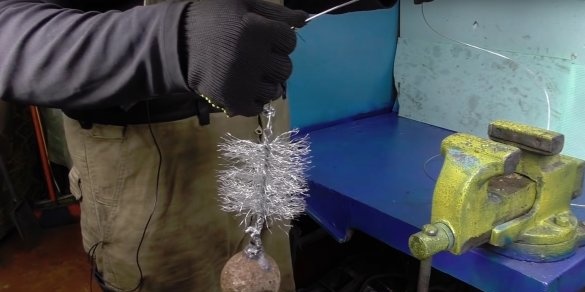
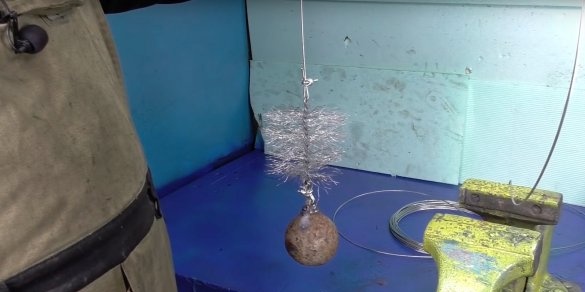
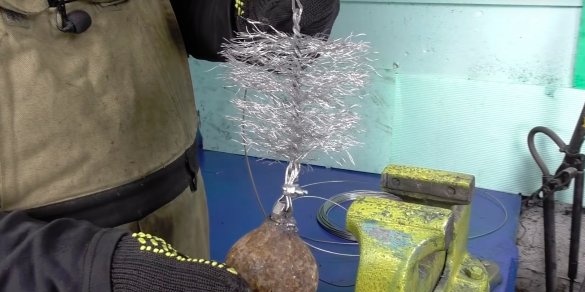
The result was a pretty decent brush with a diameter of 100mm with two rings at the ends.
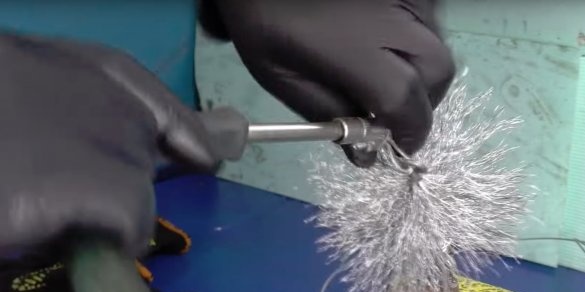
Now you need to connect the brush with the load. It connects them using a small length of cable (diameter 2mm). The ends of the cable are clamped with a screw clamp.
To the second ear of the brush, you also need to attach the cable. The length of the cable should be 2-2.5 times longer than the height of the chimney.
Here is such a brush turned out by the author and he ran to the joys rather to test his product.
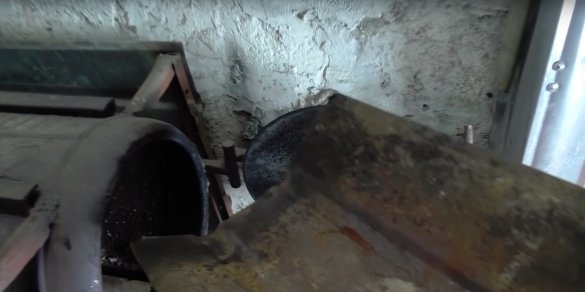
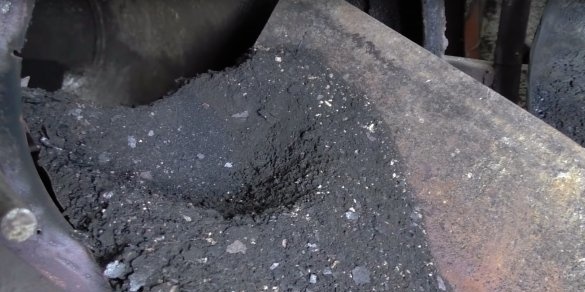
Here is such a furnace in the author’s workshop, by the way, also homemade, and you can familiarize yourself with the process of its production in this article. I placed a piece of a tin in the stove so that it would be visible how much soot would be cleaned with a brush.
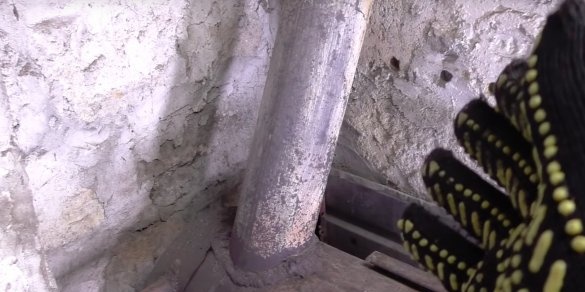
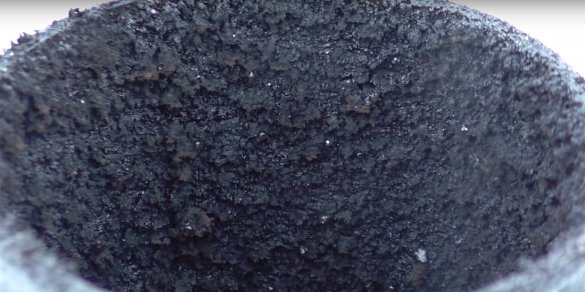
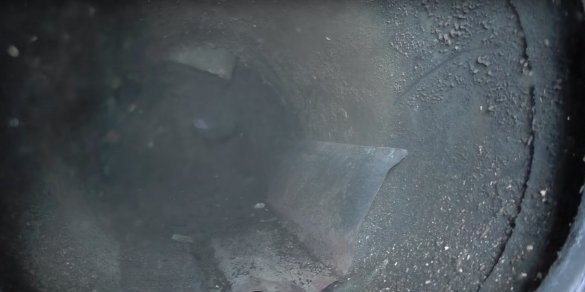
And here comes a soot coating in the chimney pipe.
Now you need to install the ladder, climb it to the top of the chimney and start this laborious, uncomfortable and dangerous hazardous cleaning process. Heavy? Heavy.
Realizing that using this method to clean the chimney is mildly uncomfortable, he came up with another device. This is a device for immersing a brush in the chimney.
The manufacturing process is part two.
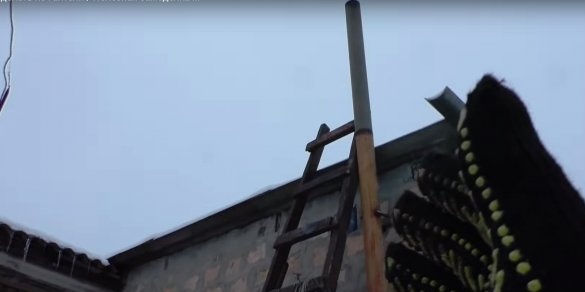
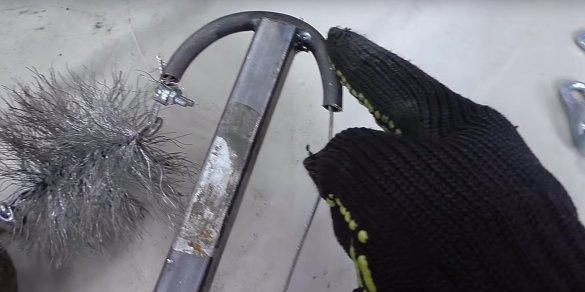
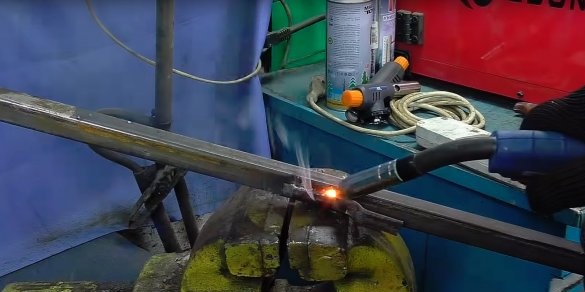
This is a very difficult process to call it, but still. To make the fixture, the author bought a profile pipe 20x20mm, 3.5 m long. Of course, the length of the pipe should depend on the height and location of your chimney.
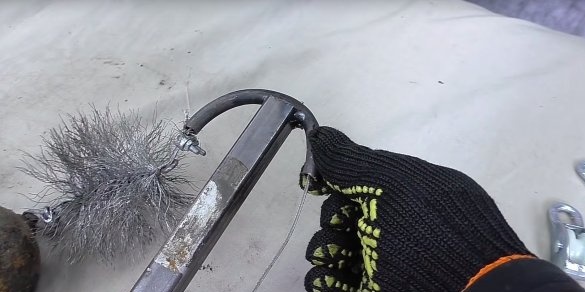
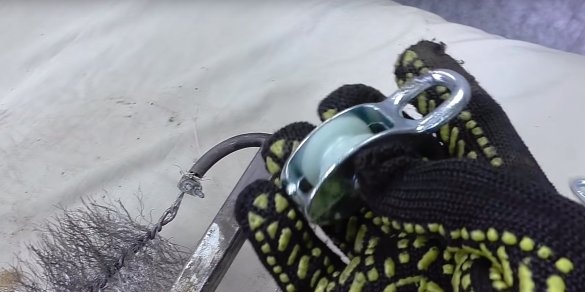
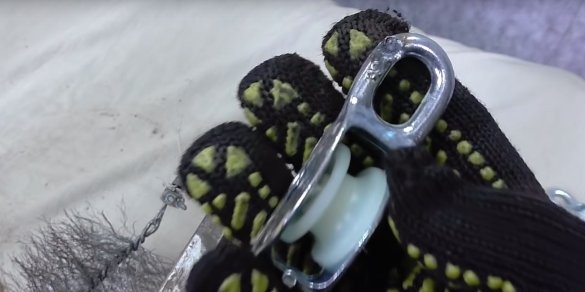
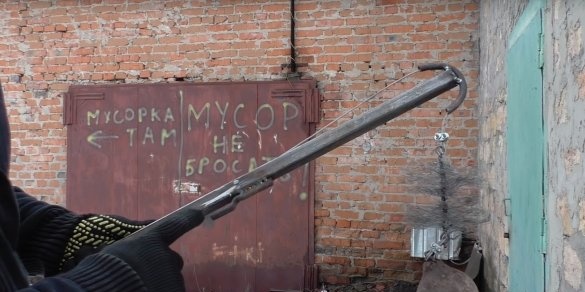
A piece of pipe bent in a half-ring was welded to the edge of the pipe, the pipe has a diameter of 10 mm. Inside the pipe I missed a cable with a connected brush.
At first, the author wanted to make a descent mechanism using rollers, but he could not weld them. And the design itself would turn out to be too complex and unreliable.
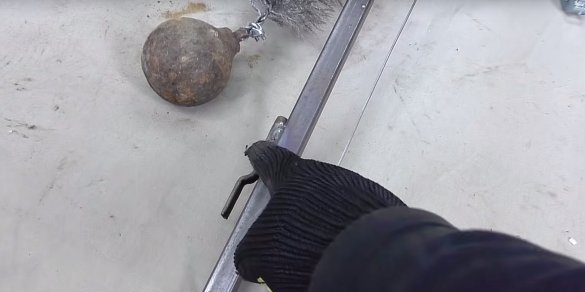
Even lower, a peculiar hook was welded onto the pipe. The hook should be welded lower than the lower part of the brush in the raised state.
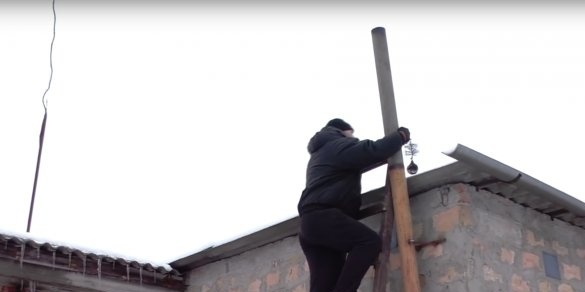
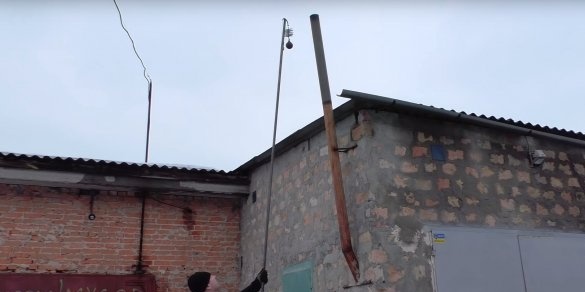
That's the whole design of the device. The author again hurries to test his brush, but now without a ladder.
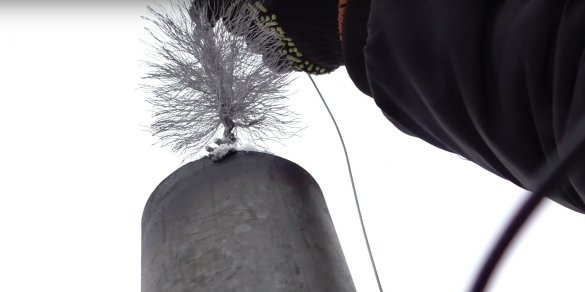
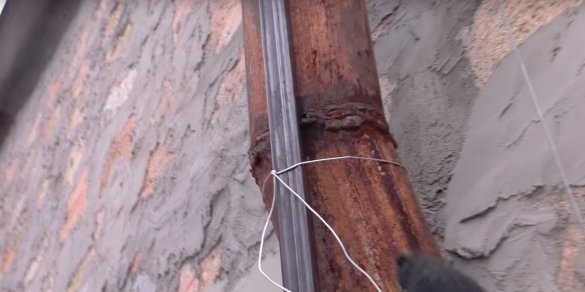
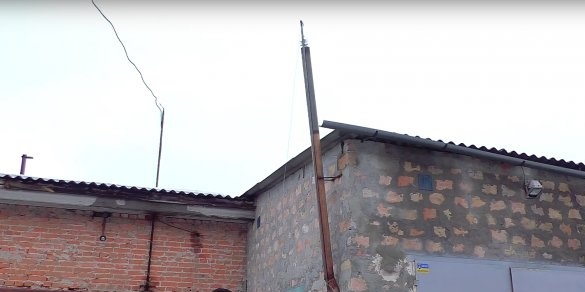
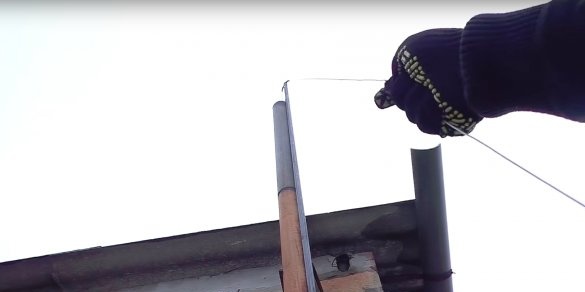
It has become much easier and more convenient to work with such a device. The device hooks onto the top of the chimney, the bottom of the device is fixed to the ubiquitous wire. If it weren’t for the temperature of the pipe, adhesive tape would be used
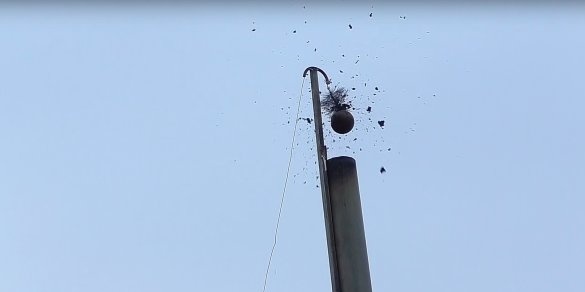
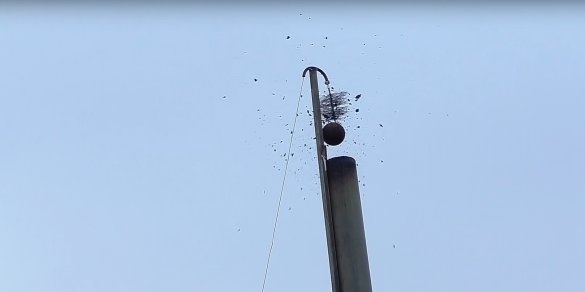
Secured, wonderful, now lower the brush into the pipe and get rid of soot in reciprocal movements. Soot is poured into the pipe, and even part of it flies out, with very intense body movements. Now the modified device works perfectly.
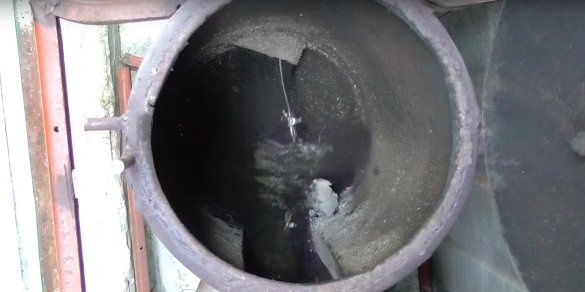
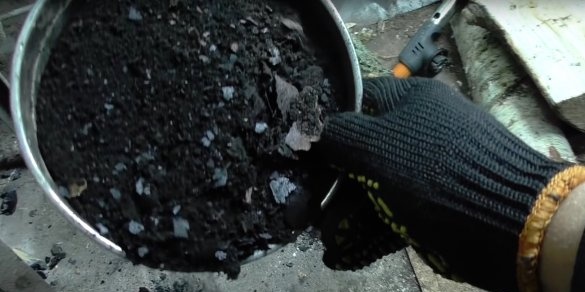
So much of the soot was managed to be cleaned with the help of his home-made, impressive, isn't it?
On this, I say goodbye to you, thank you for reading, good luck to everyone and good mood !!!

