
Good day to all. In this article, today the author of the SL Sanda channel will show us how and from what such a clip can be made.
For such homemade the author took it.
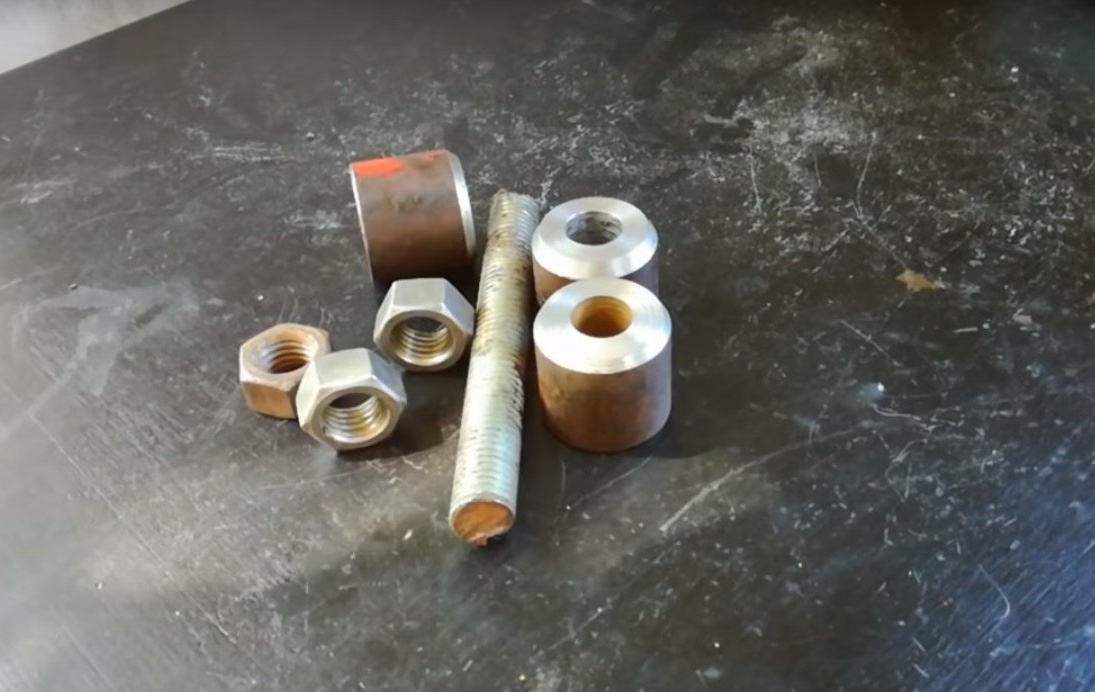
Materials: Steel round log.

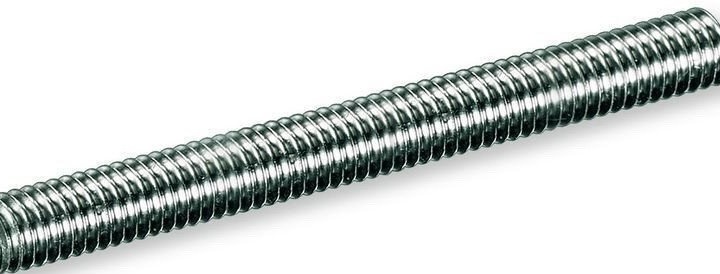
Hairpin M 12.
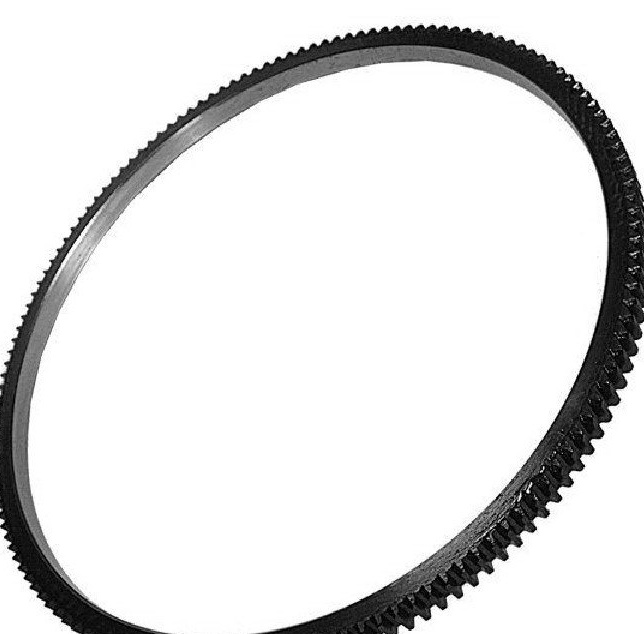
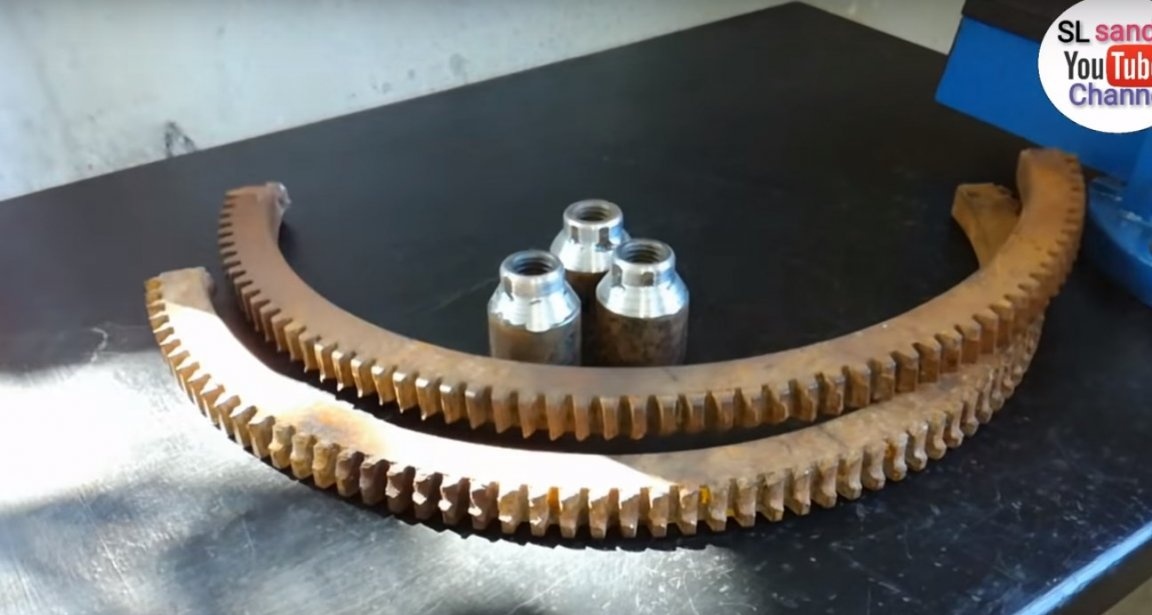
Flywheel Crown (looks like from a tractor.)
Steel bar approximately 10 mm.

6 nuts M 12
Instruments:
Metal lathe
Angle grinder
Cutting wheel
Grinding wheel
Welding machine
Electrodes
Vise
Hammer
Marker
The square.
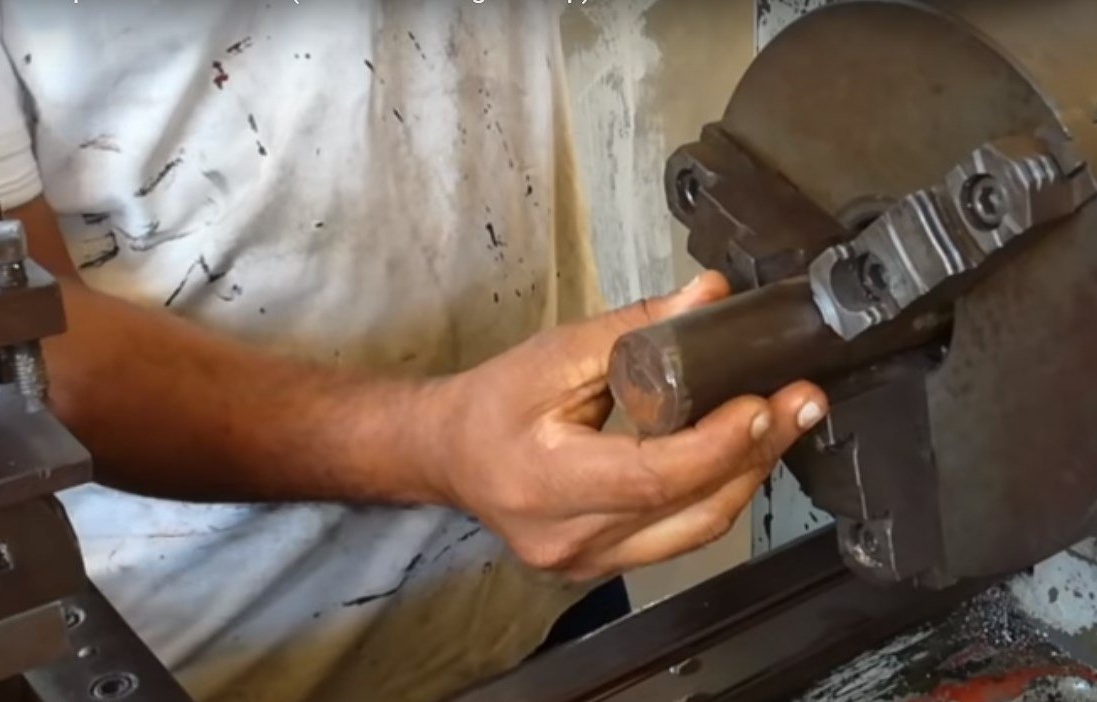
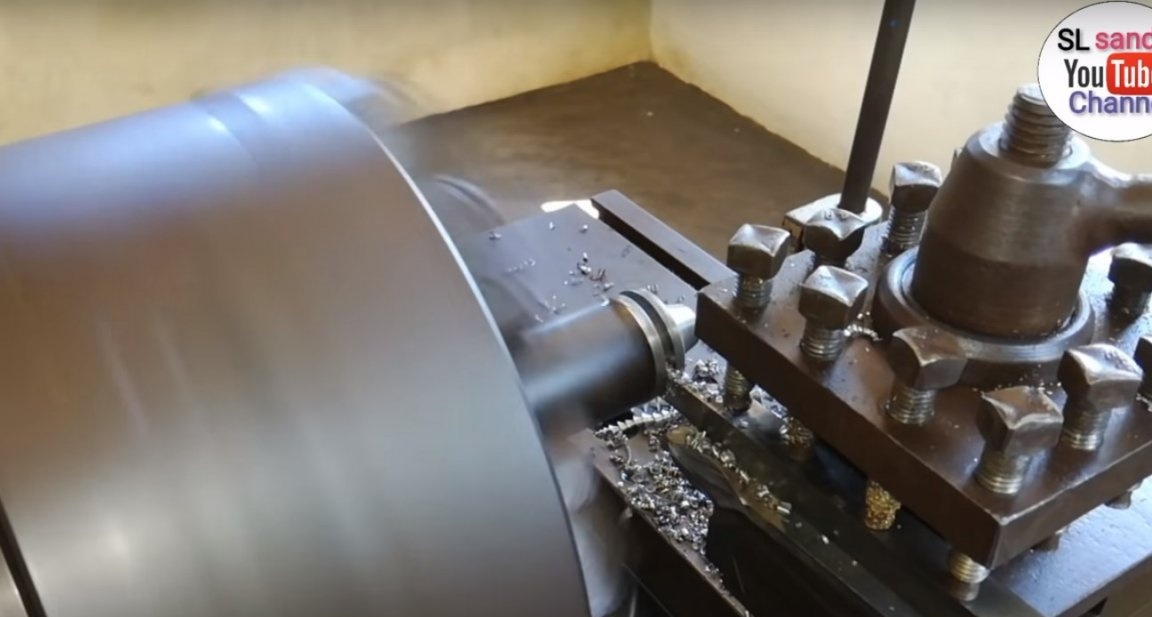
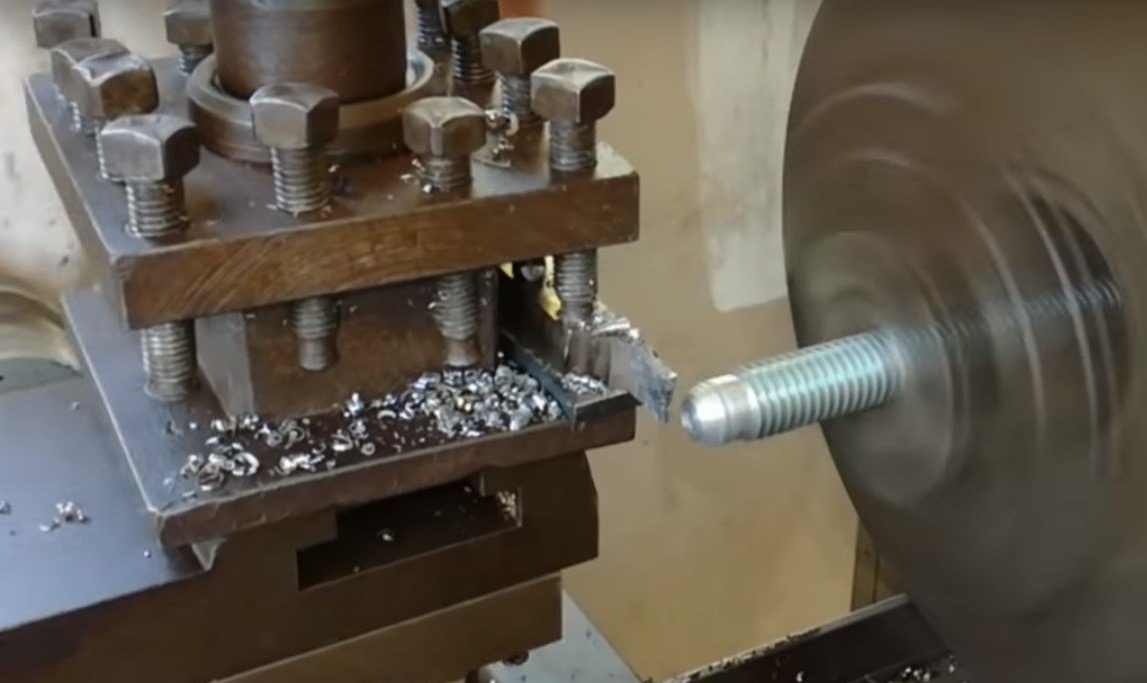
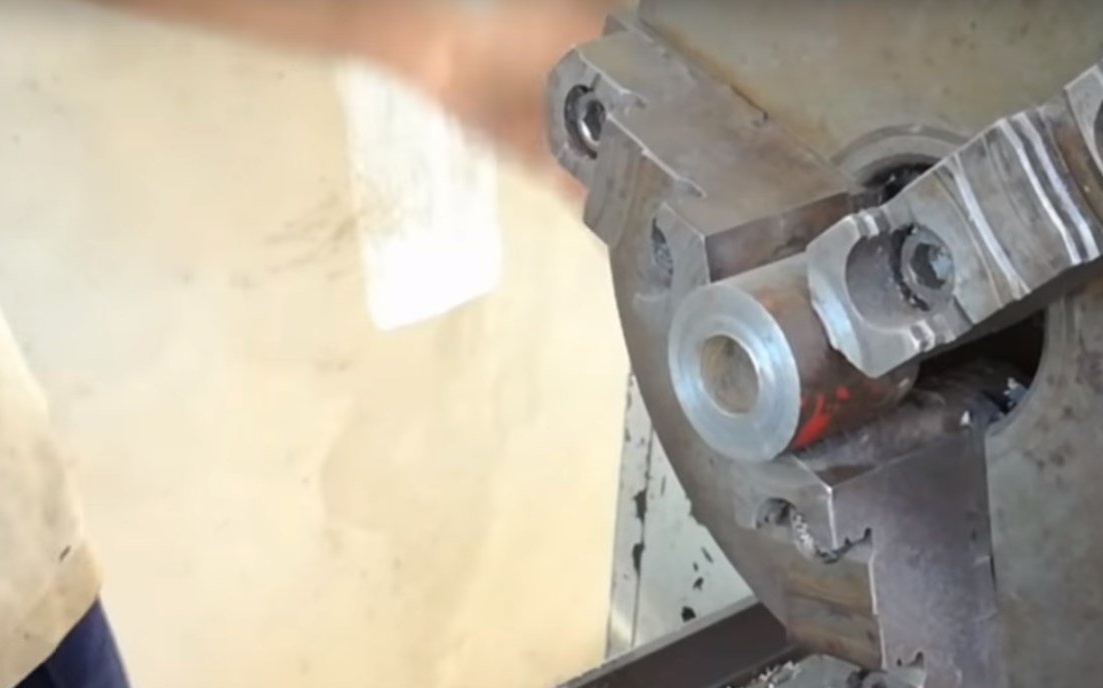
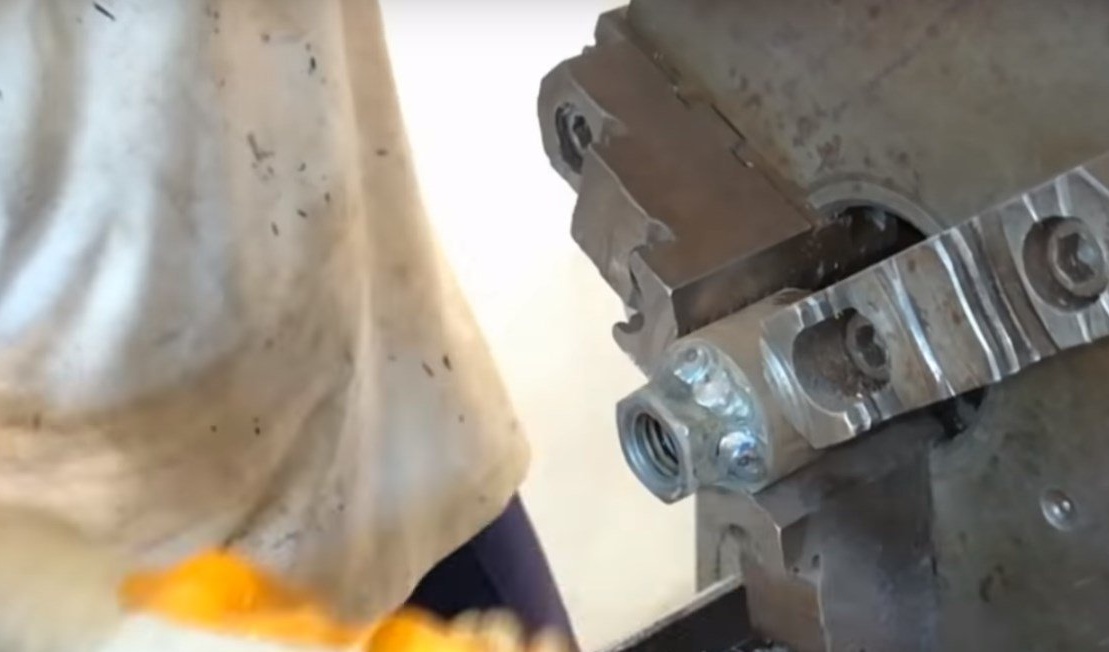
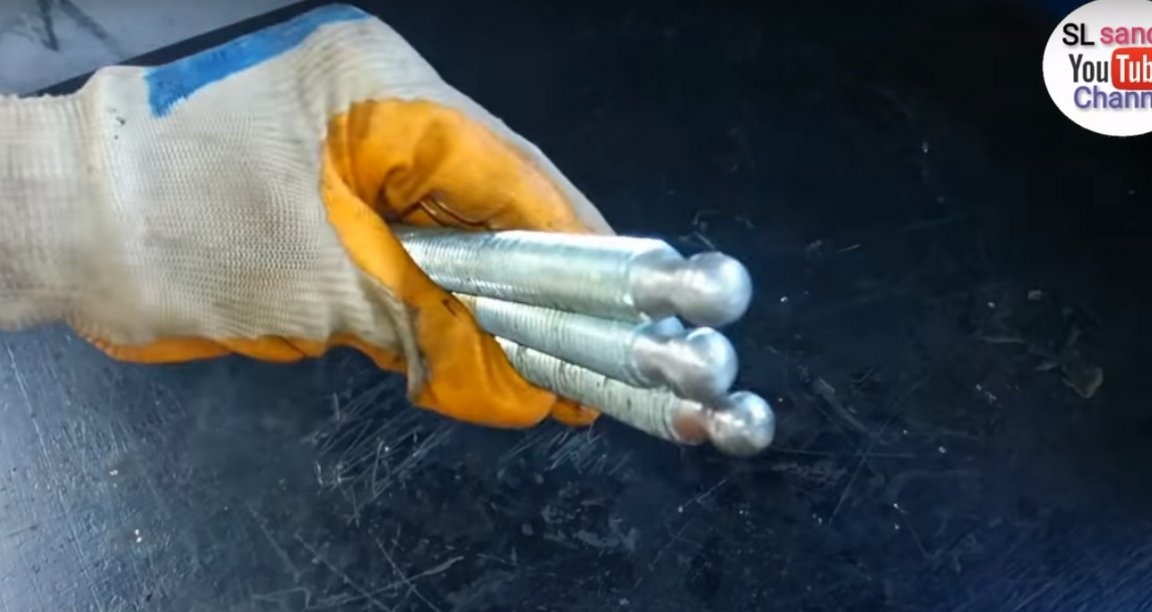
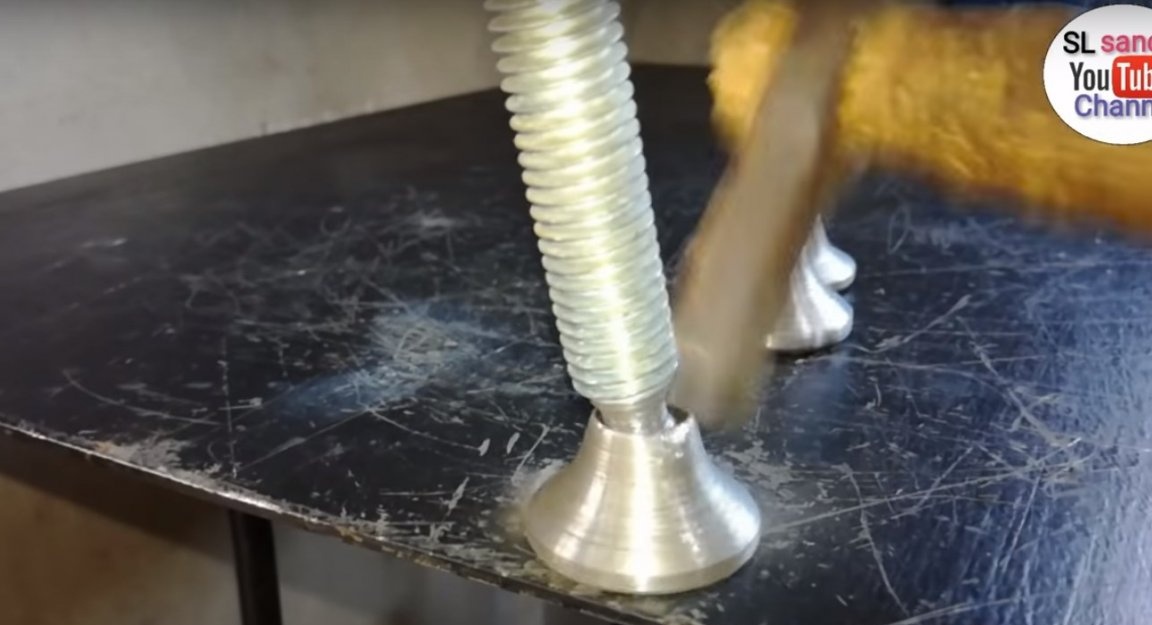
At first on a lathe from round timber, the author made three such parts.
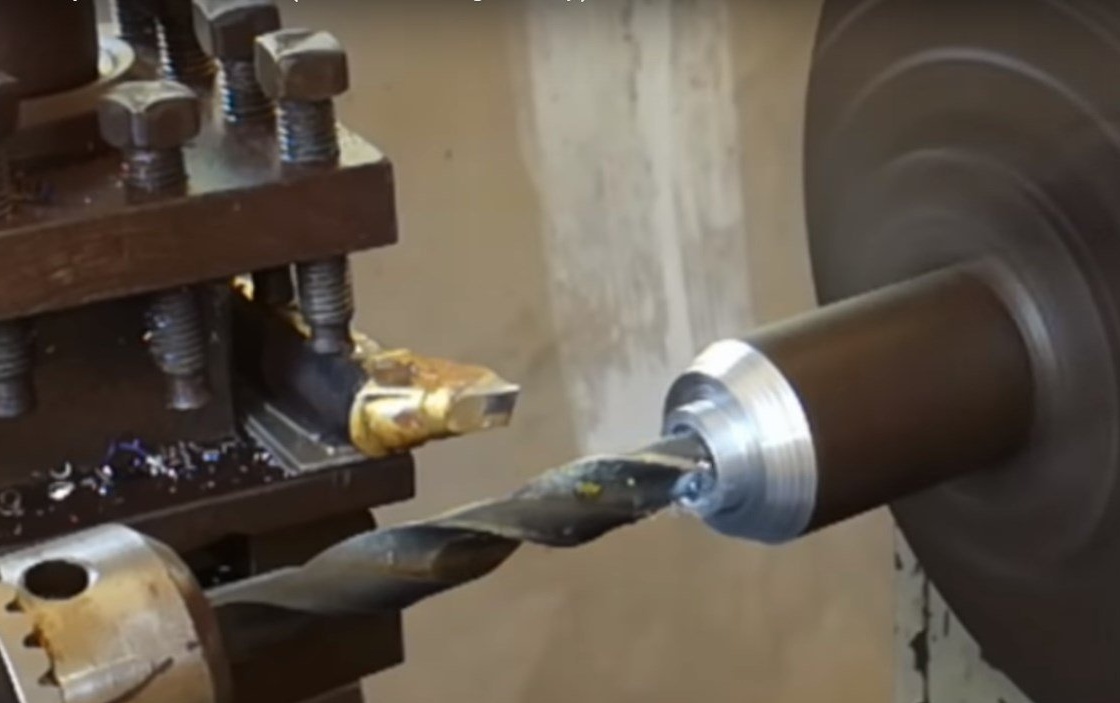
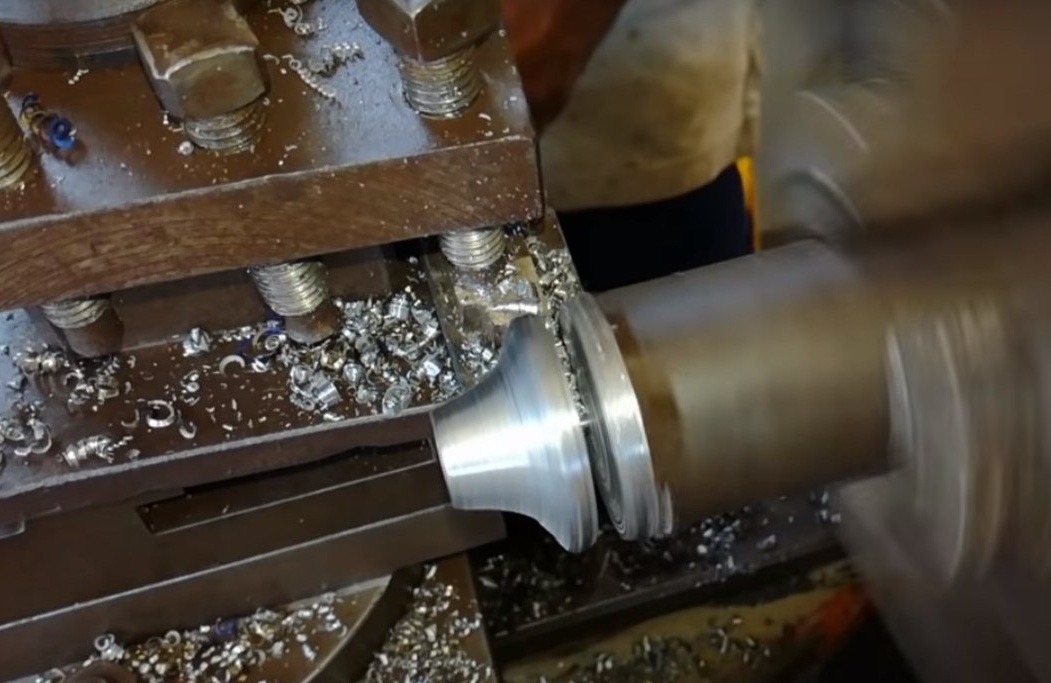
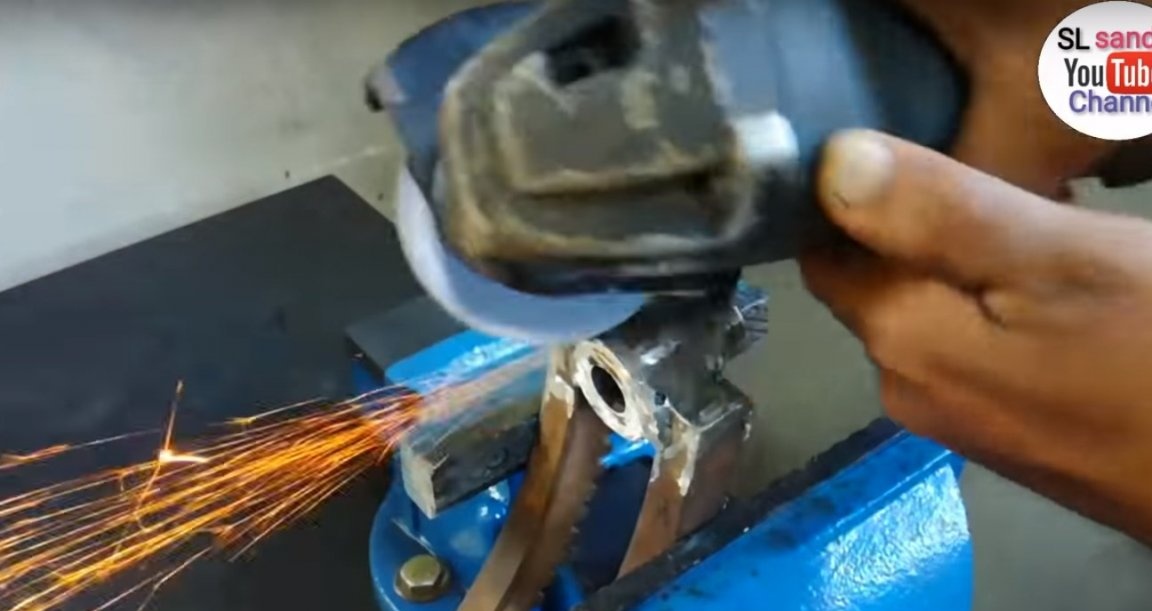
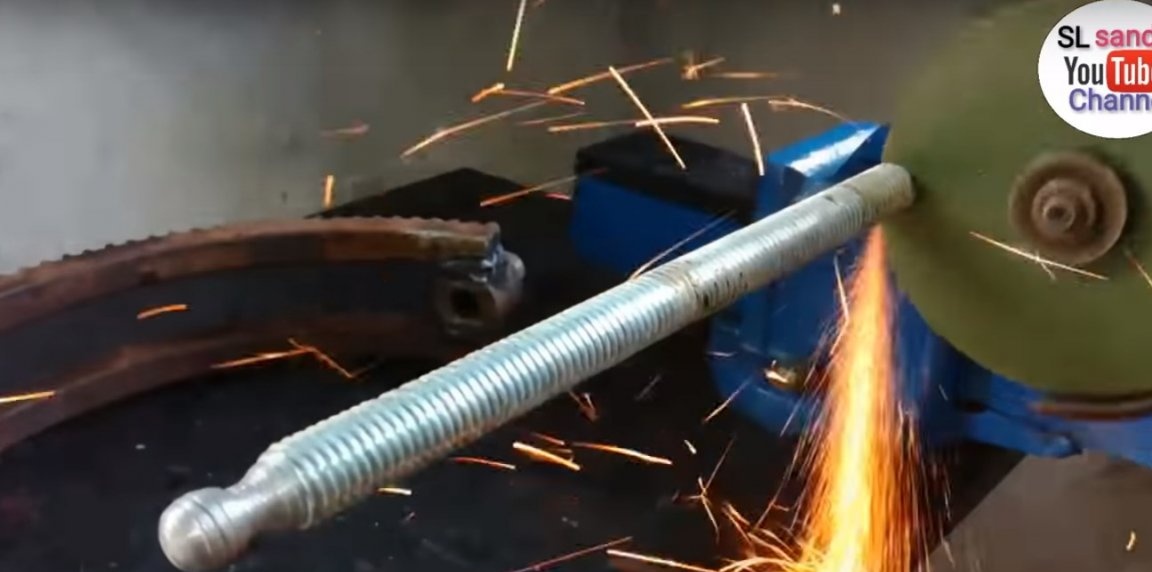
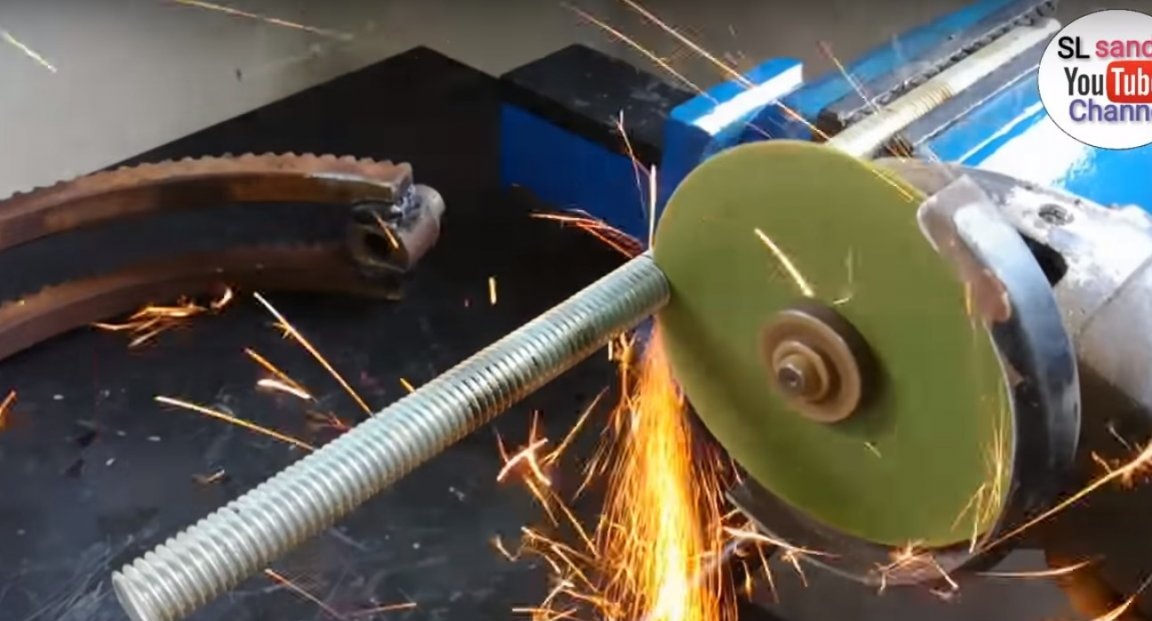
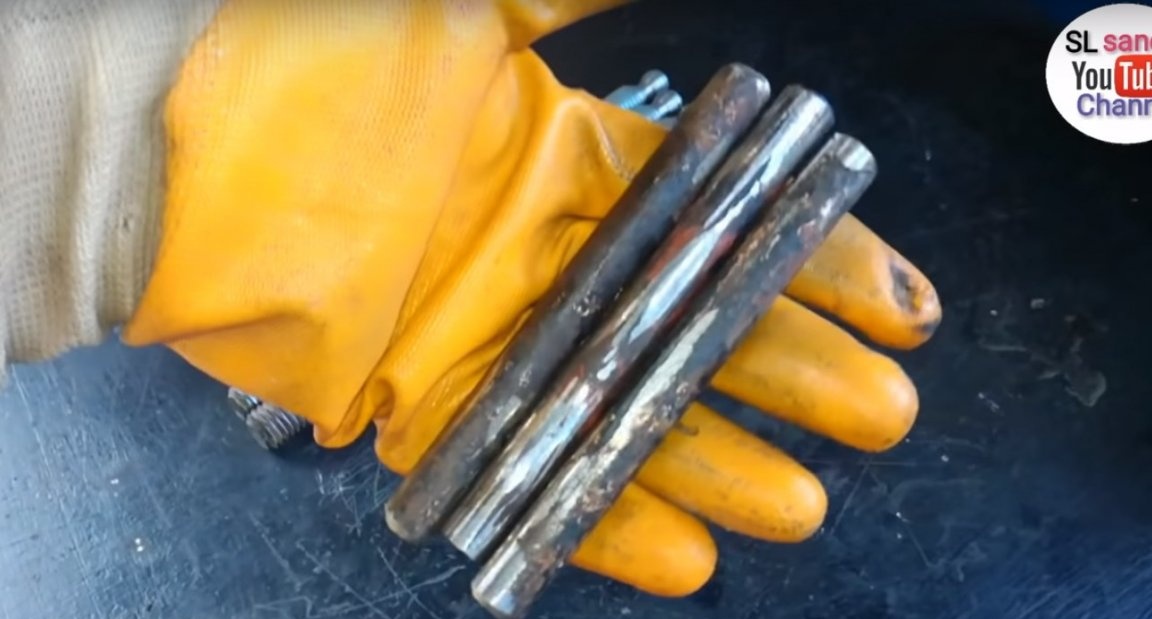
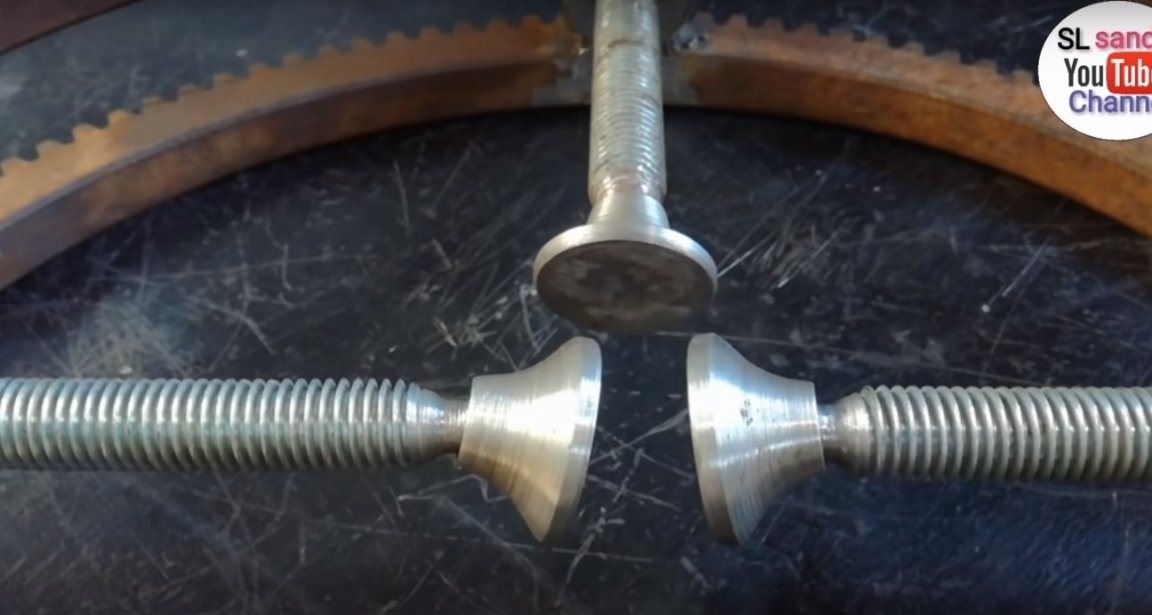
After processed the edges of the studs, giving such a shape.

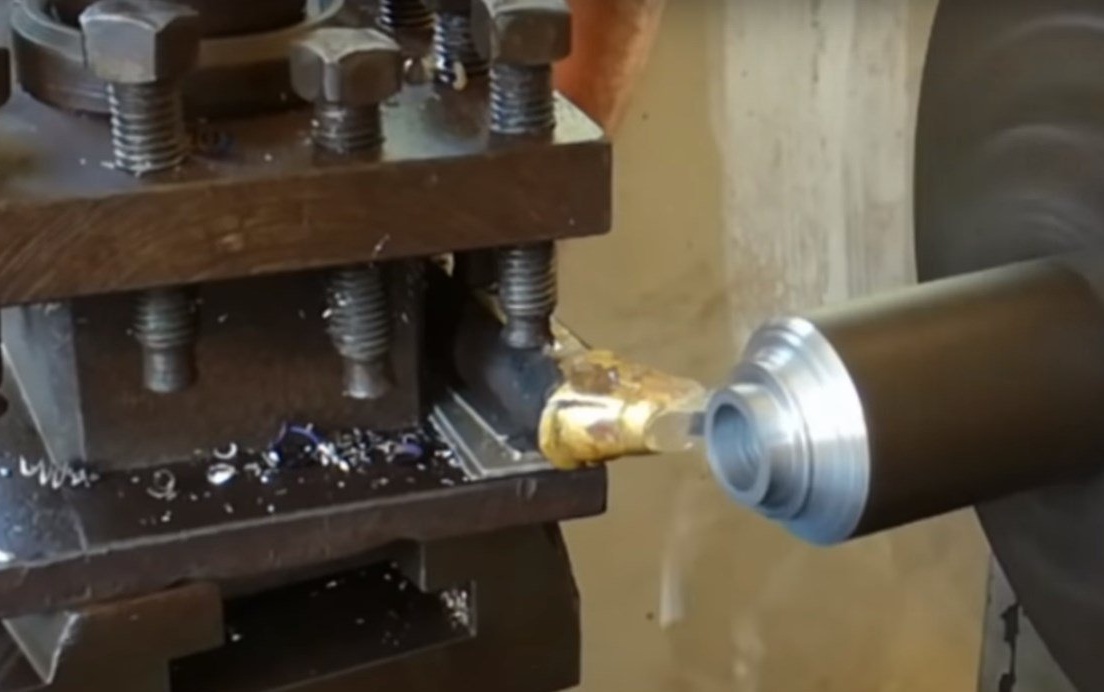
Processing the hairpin, the author constantly controlled the size of the previous details.

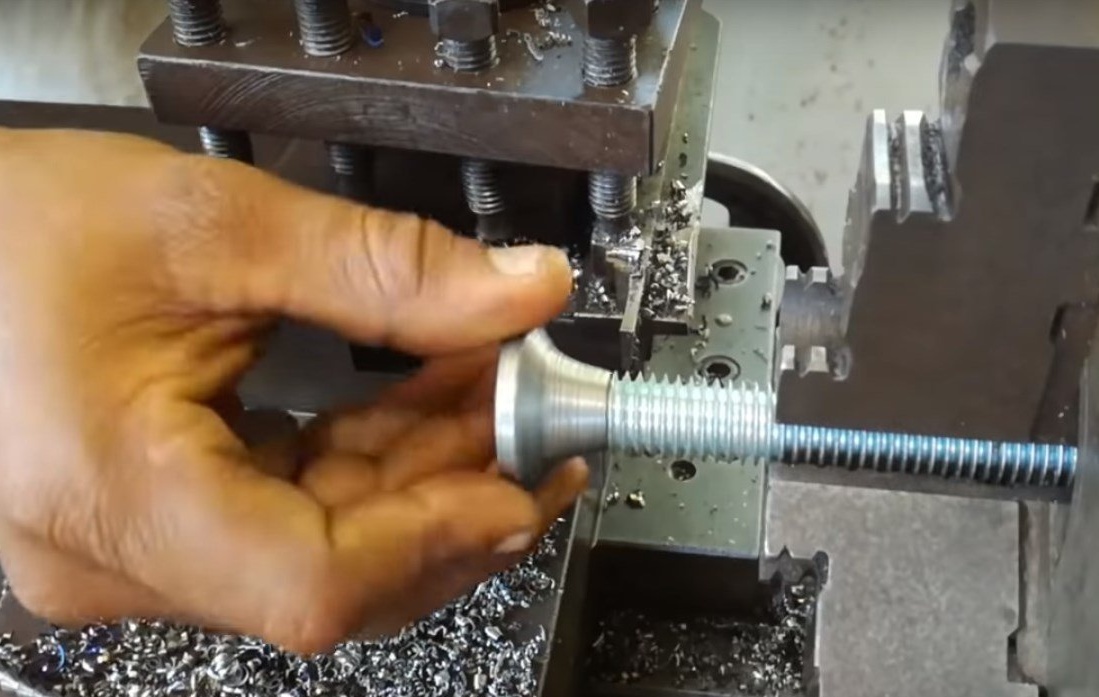
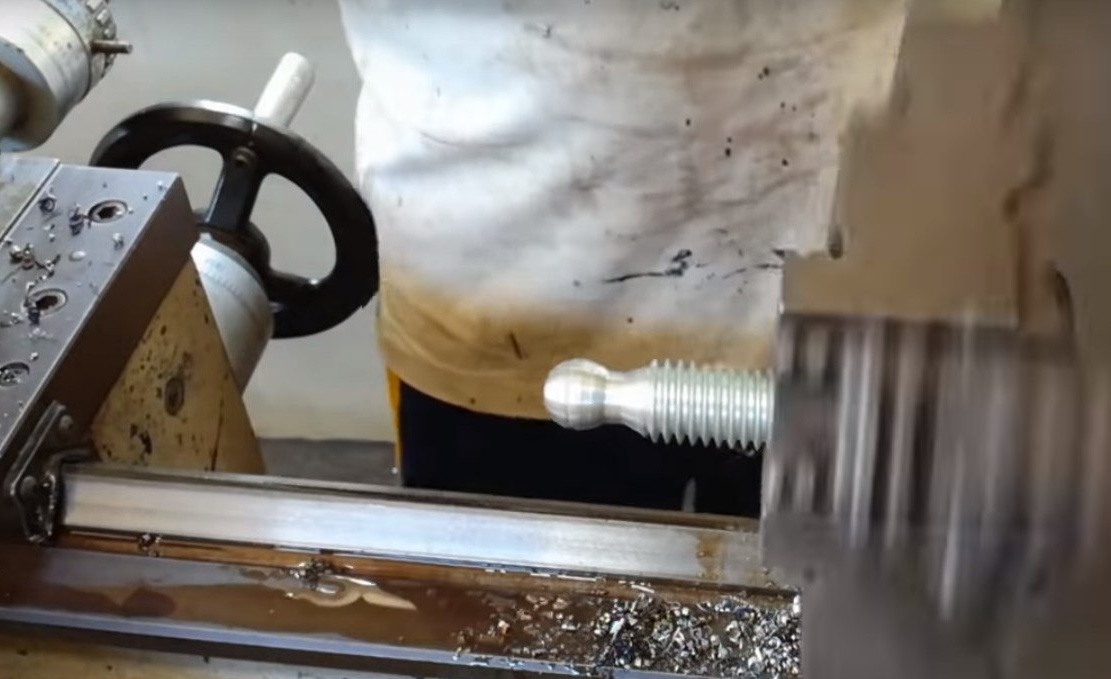
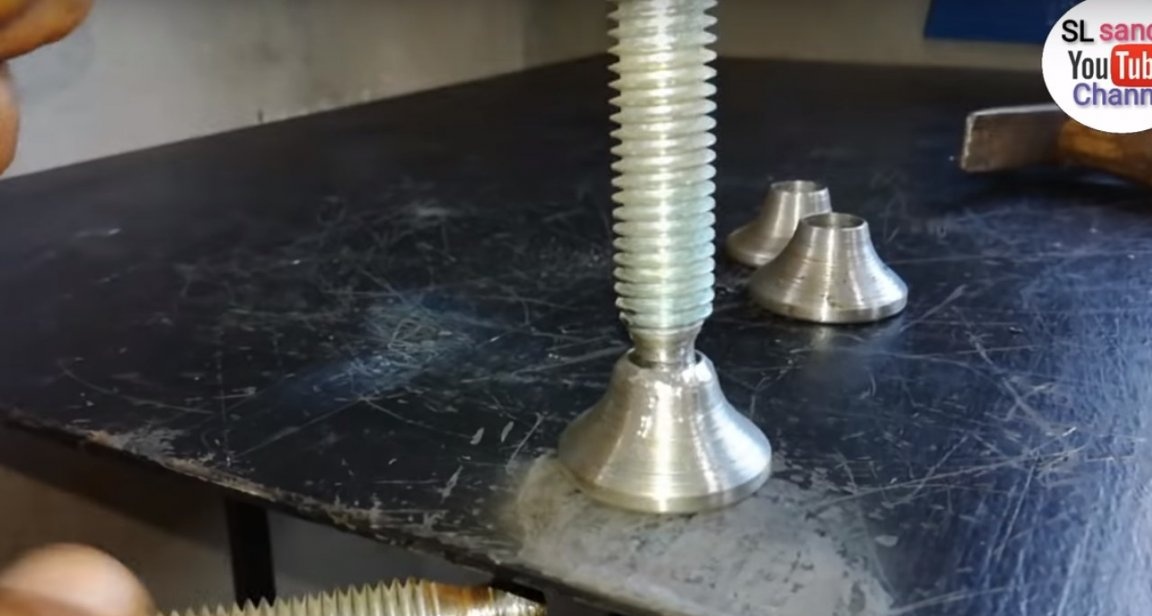
As a result, the edges of the studs had this form.
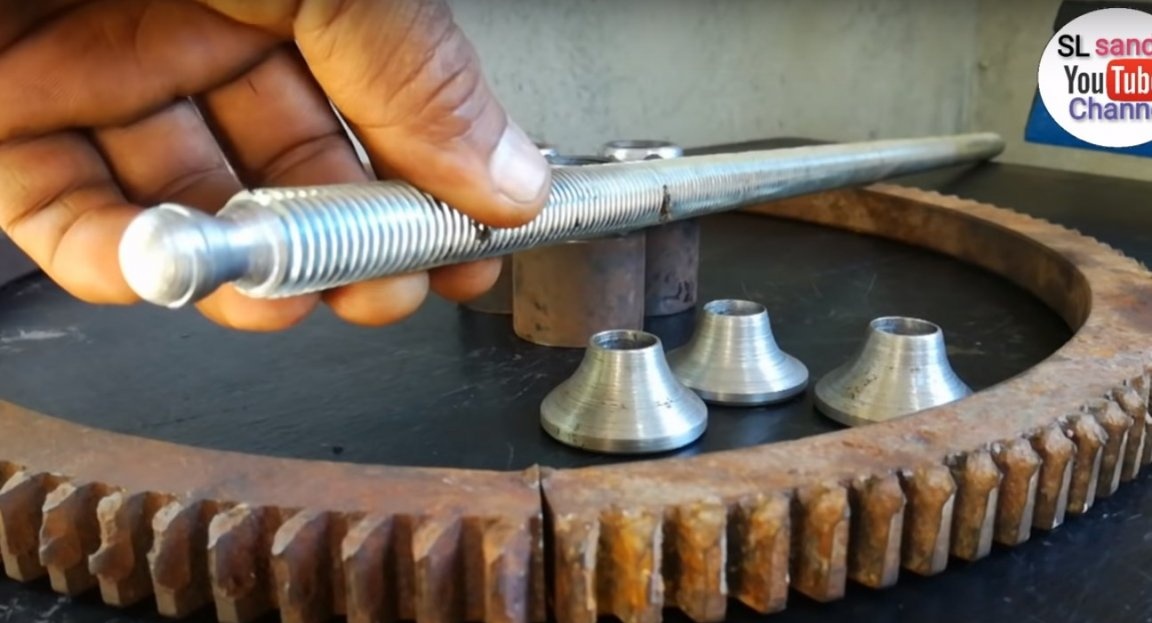
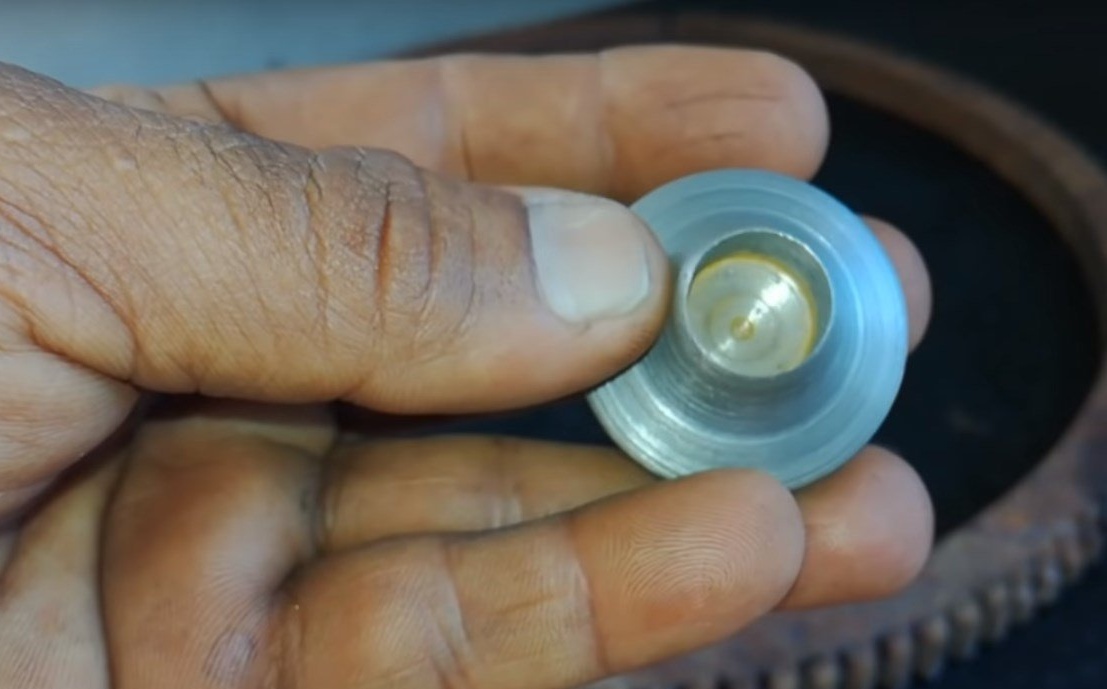
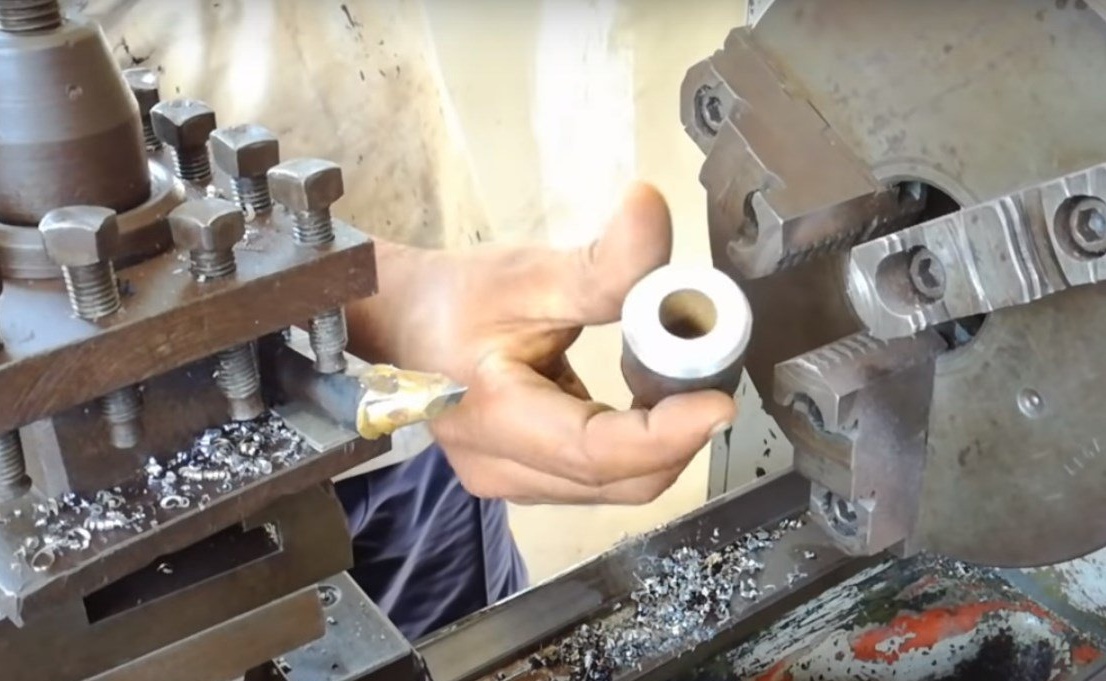
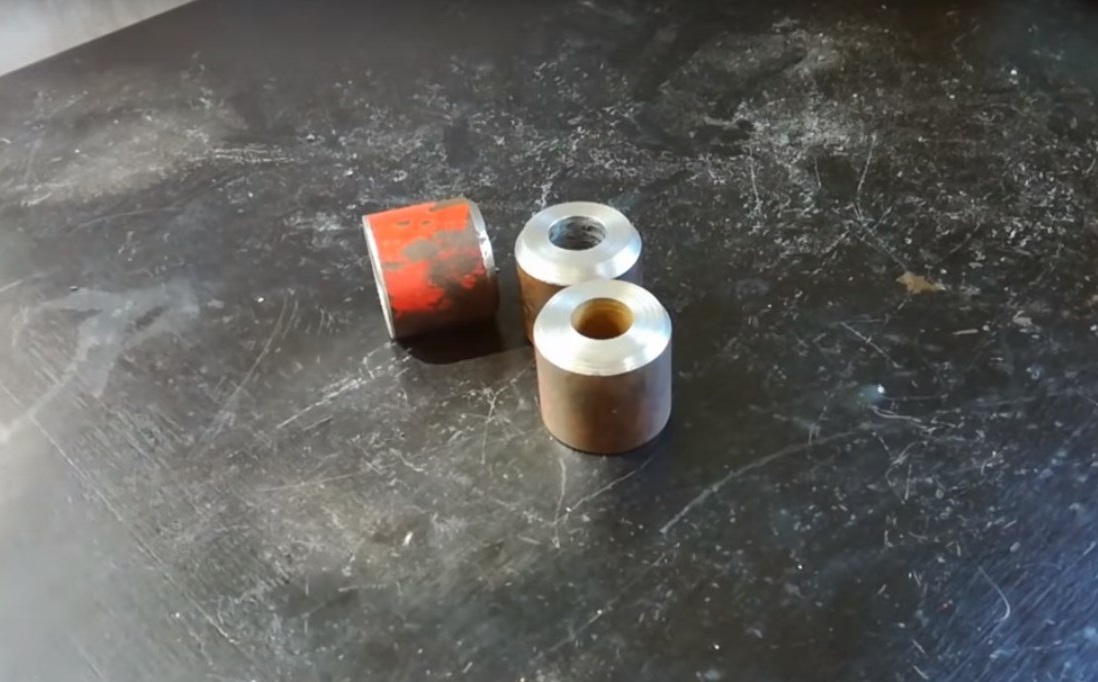
Then all from the same round, he made three more details. (Bushings.)
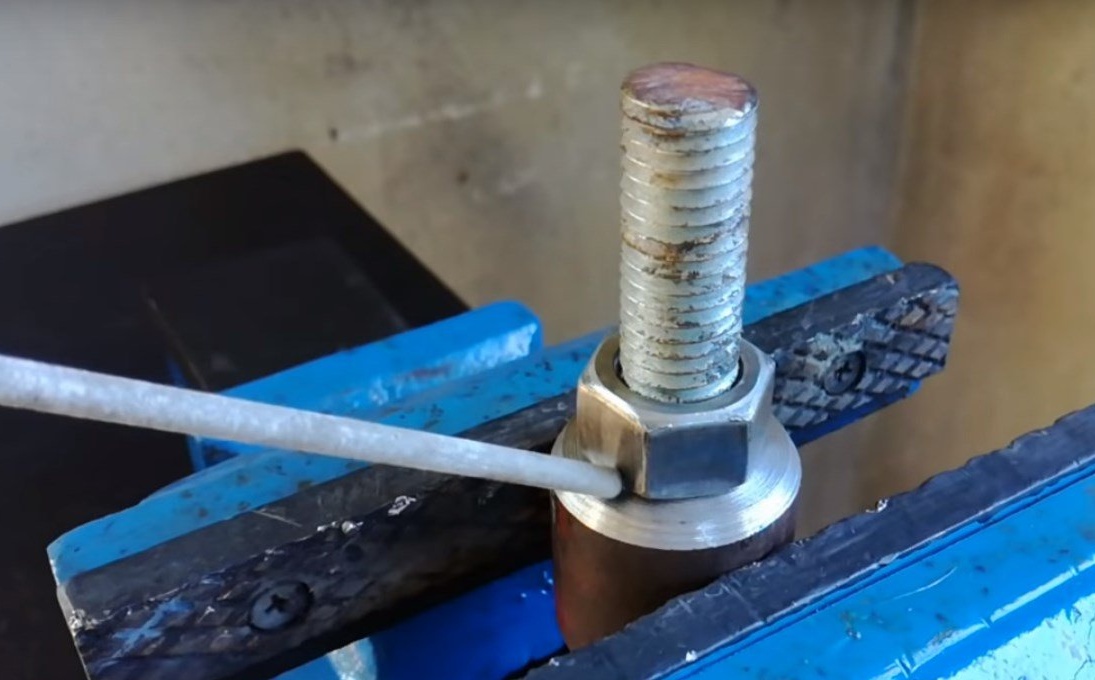
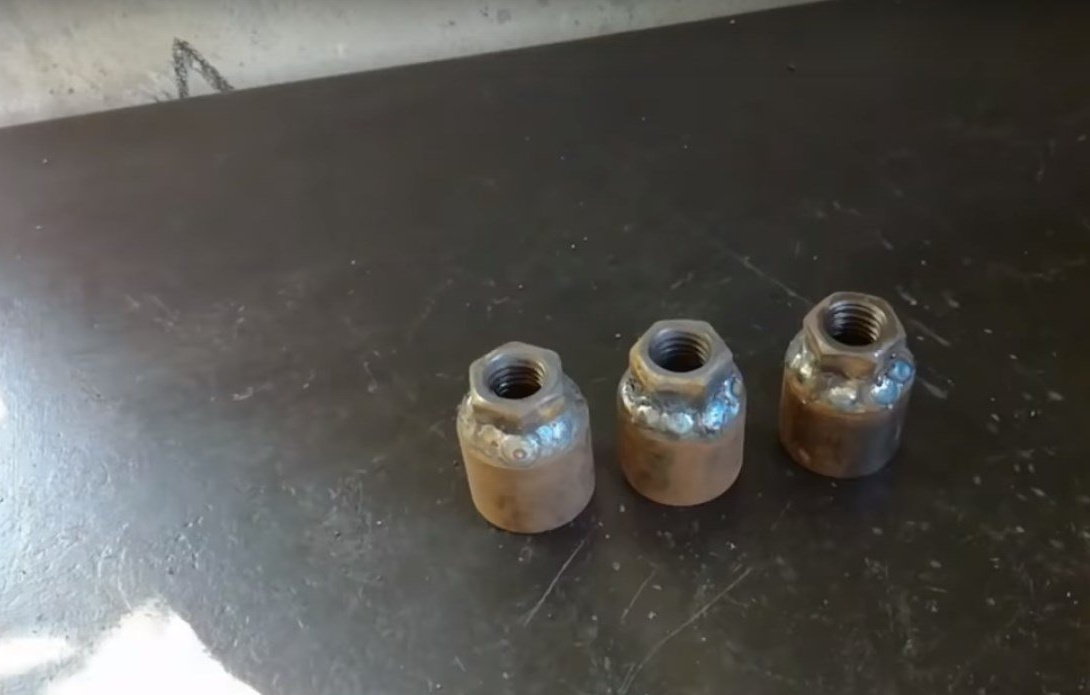
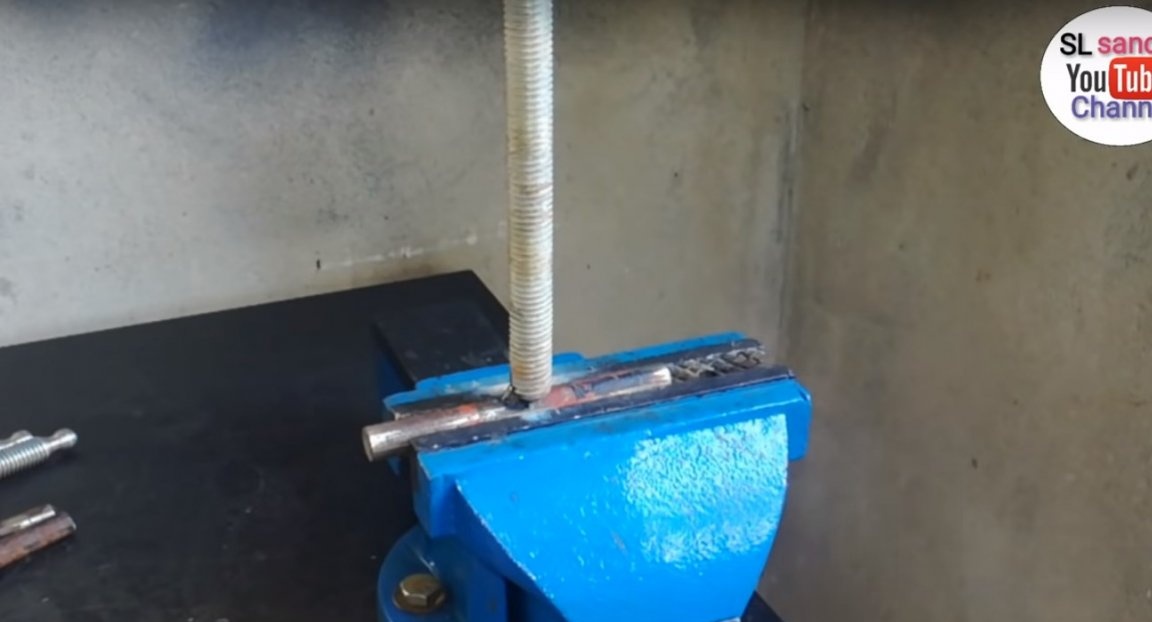
After that, I installed a nut and a sleeve on a piece of an unnecessary stud.
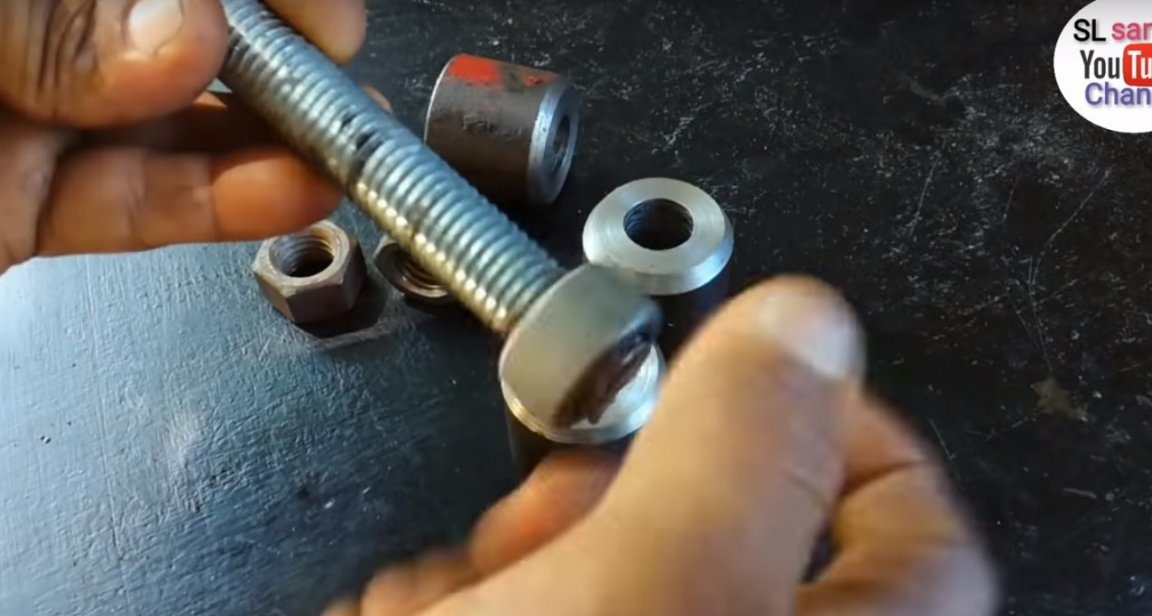
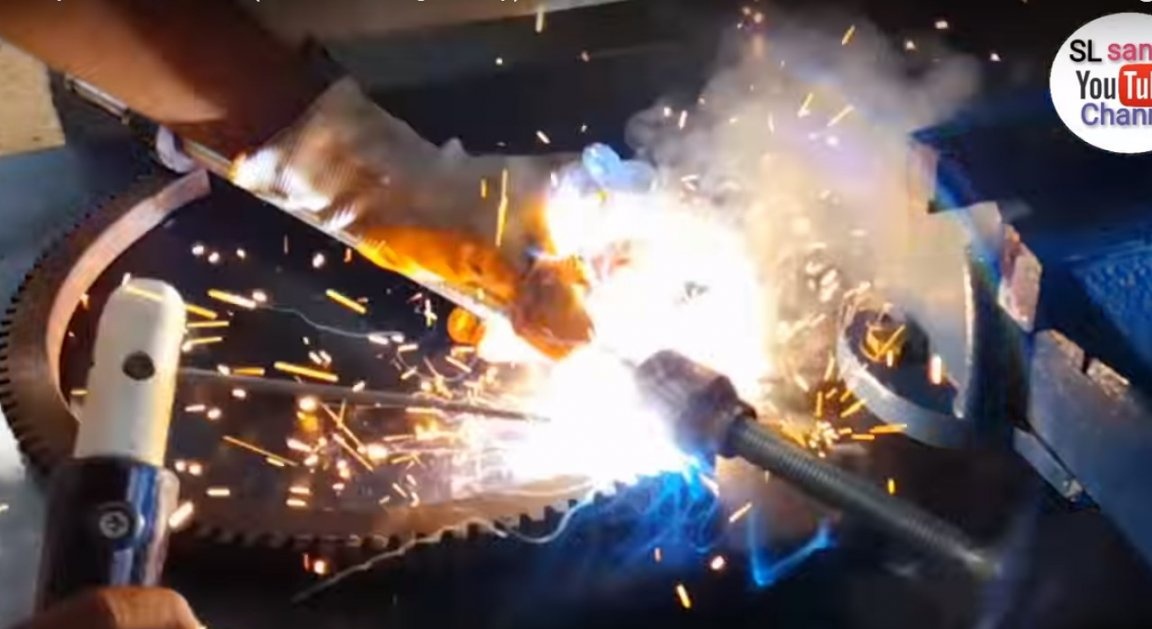
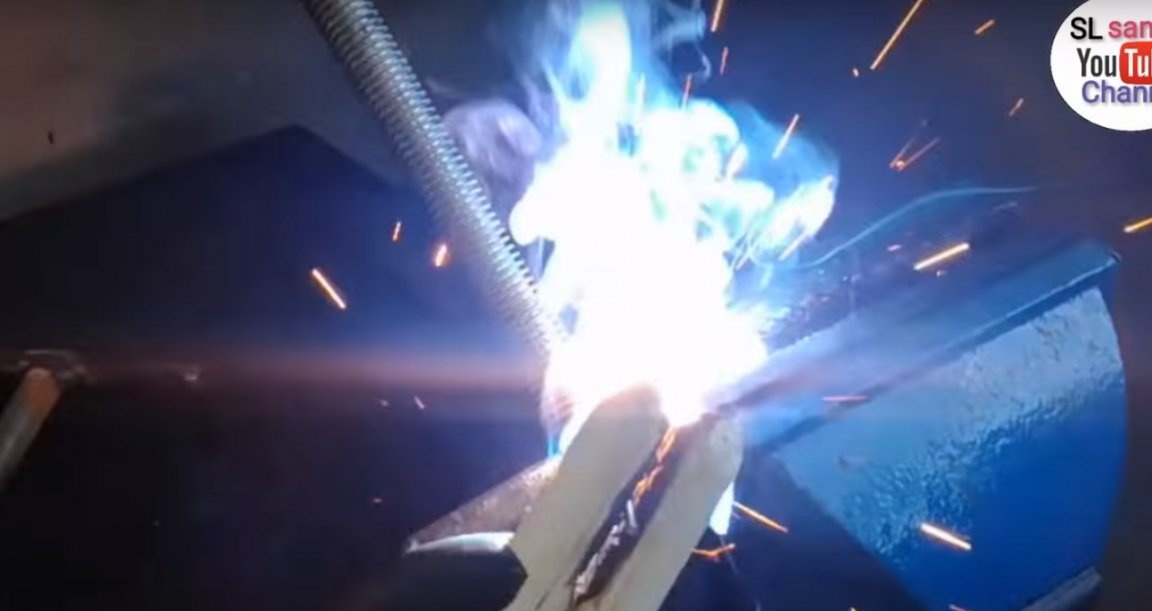
And welded the nut to the sleeve.
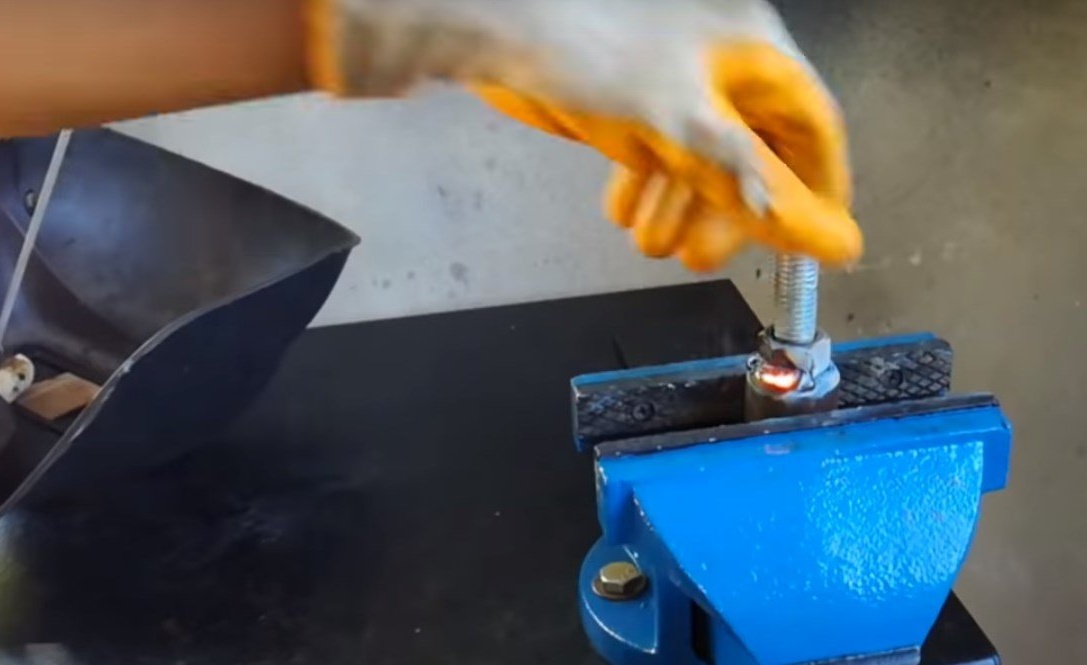
He did the same with the rest of the bushings.
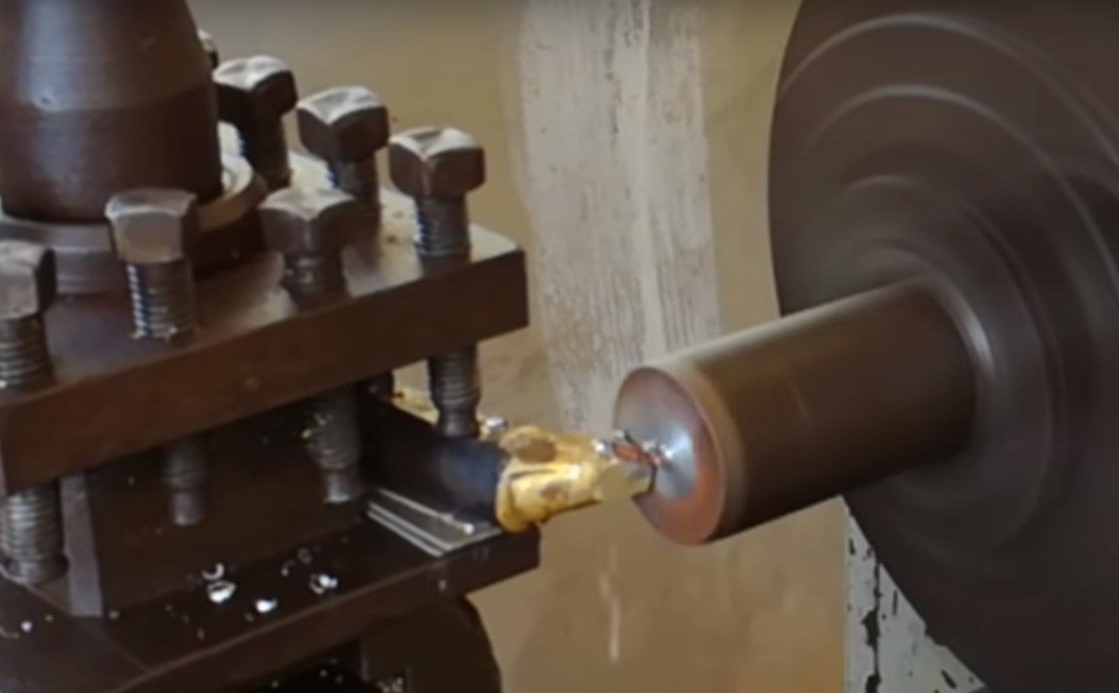
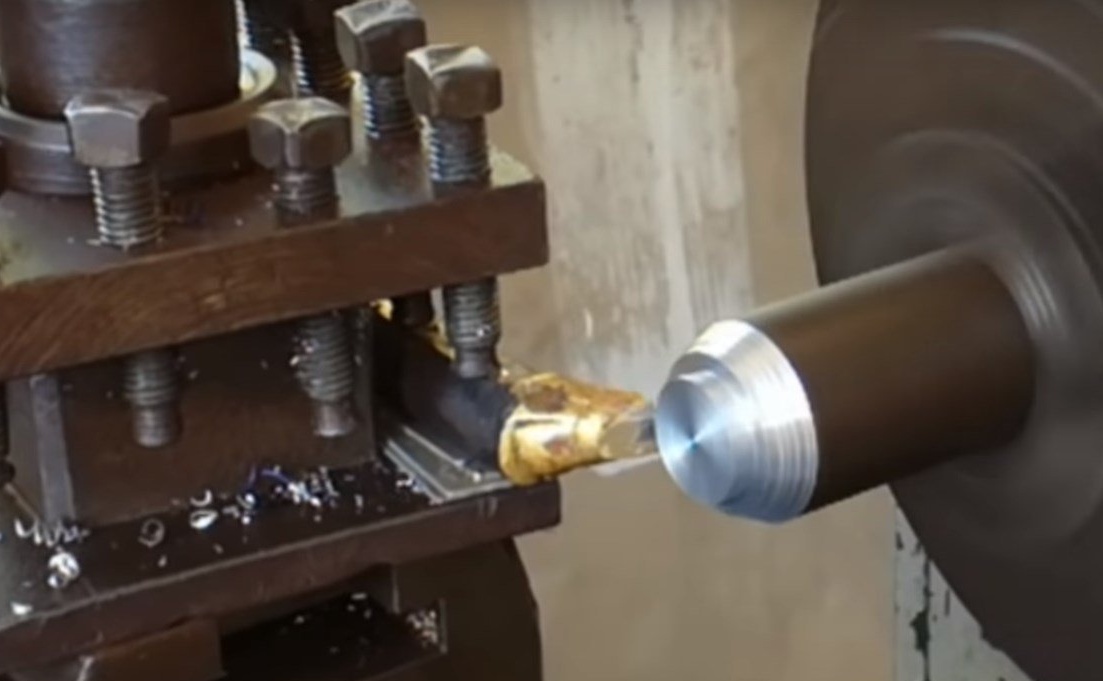
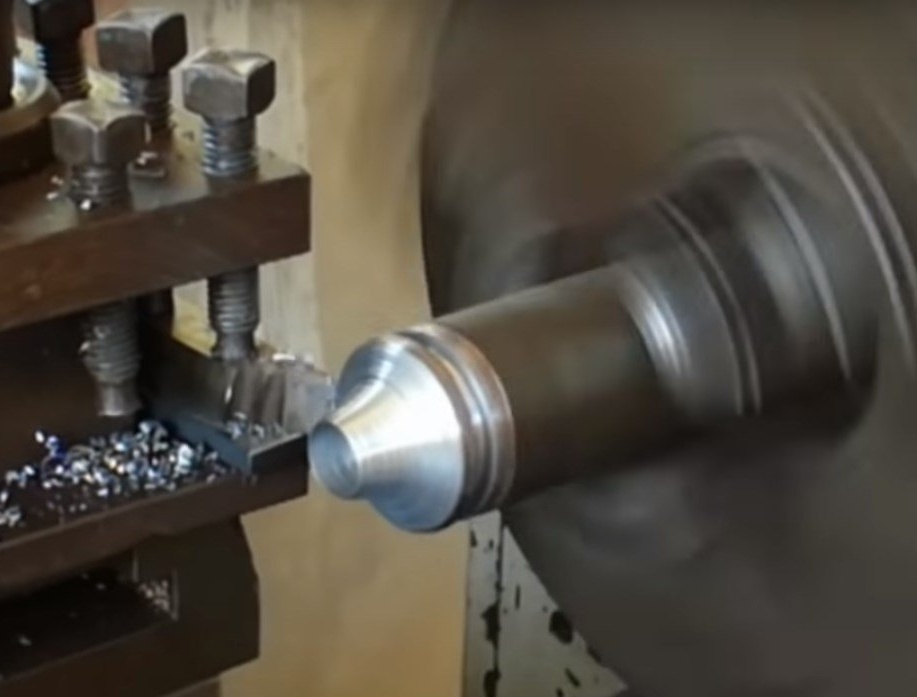
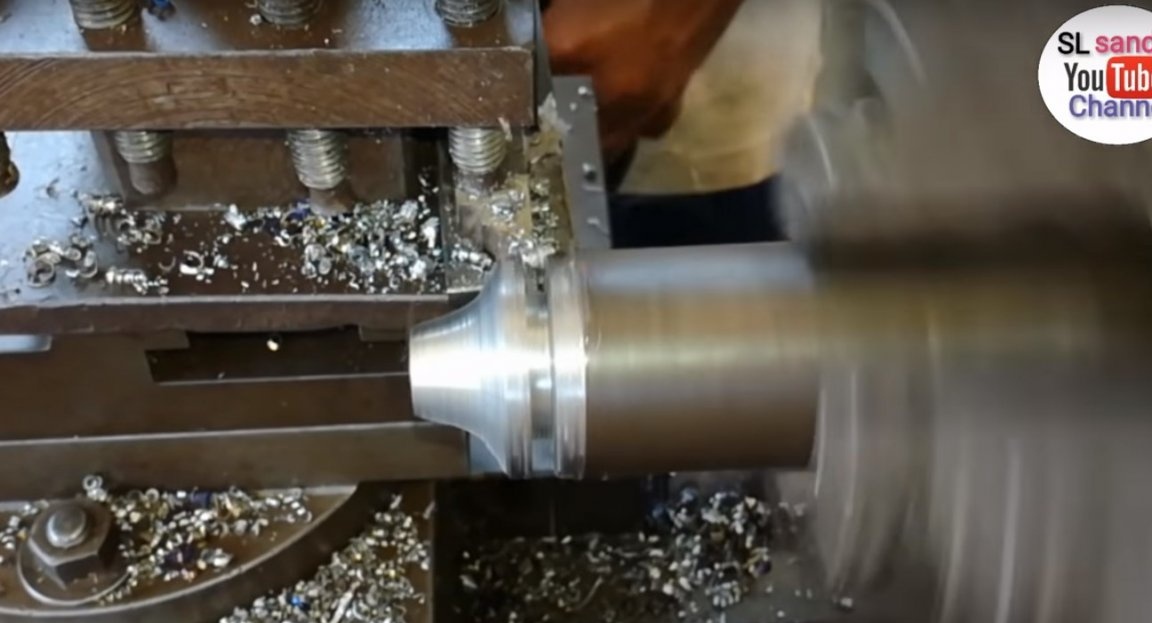
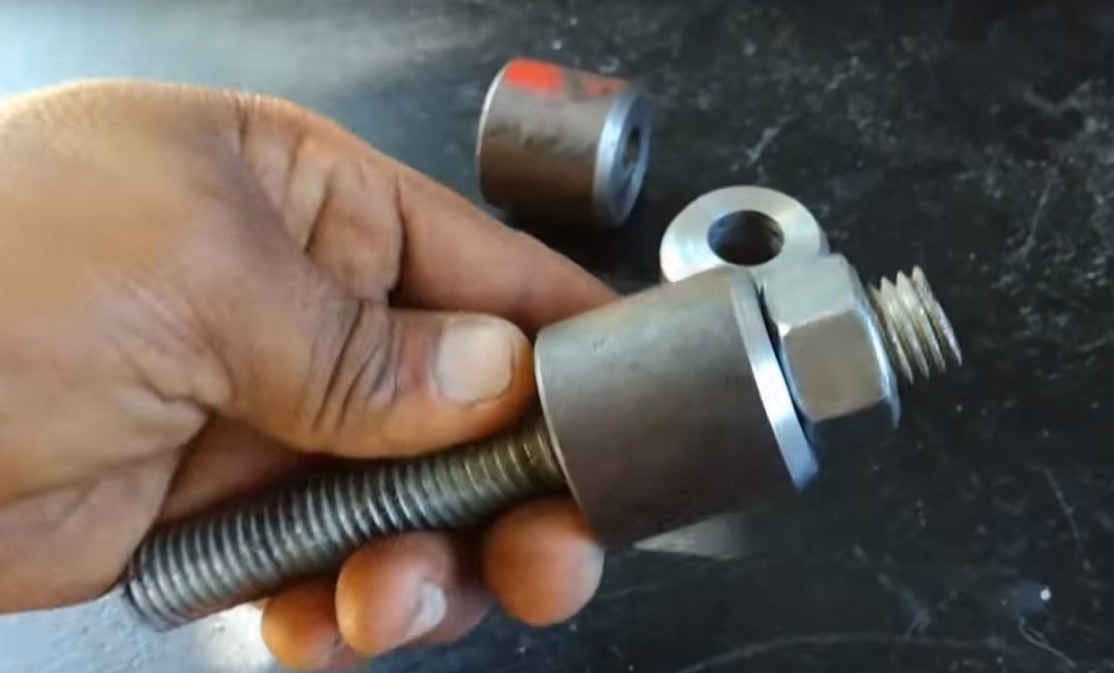
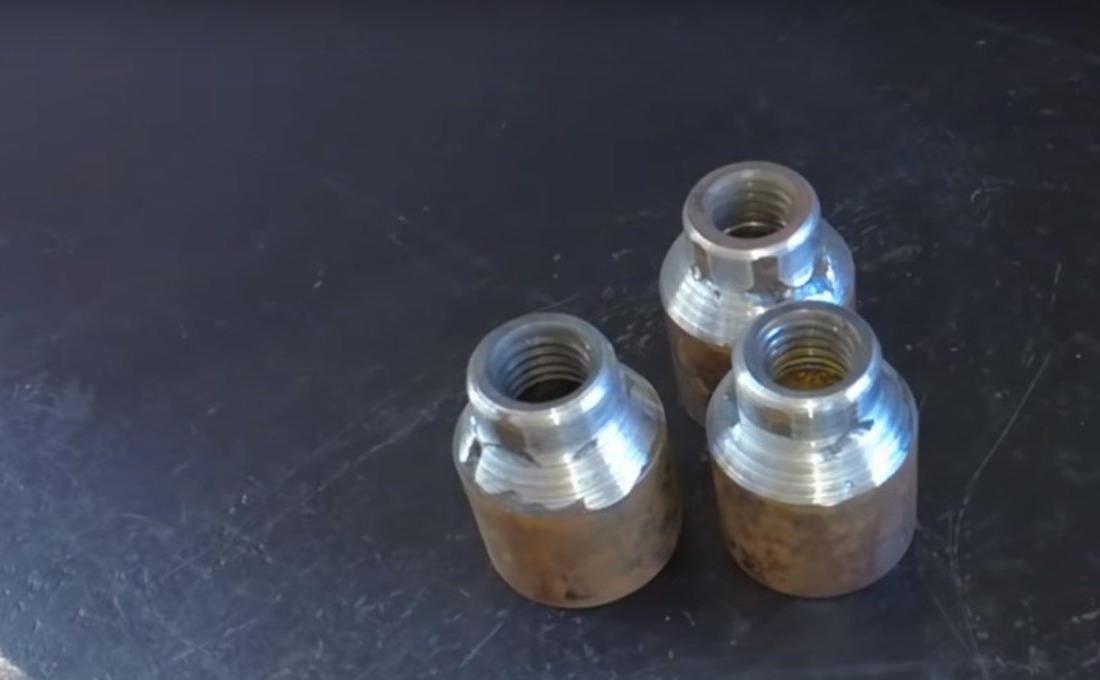
Then he turned these parts on a lathe.
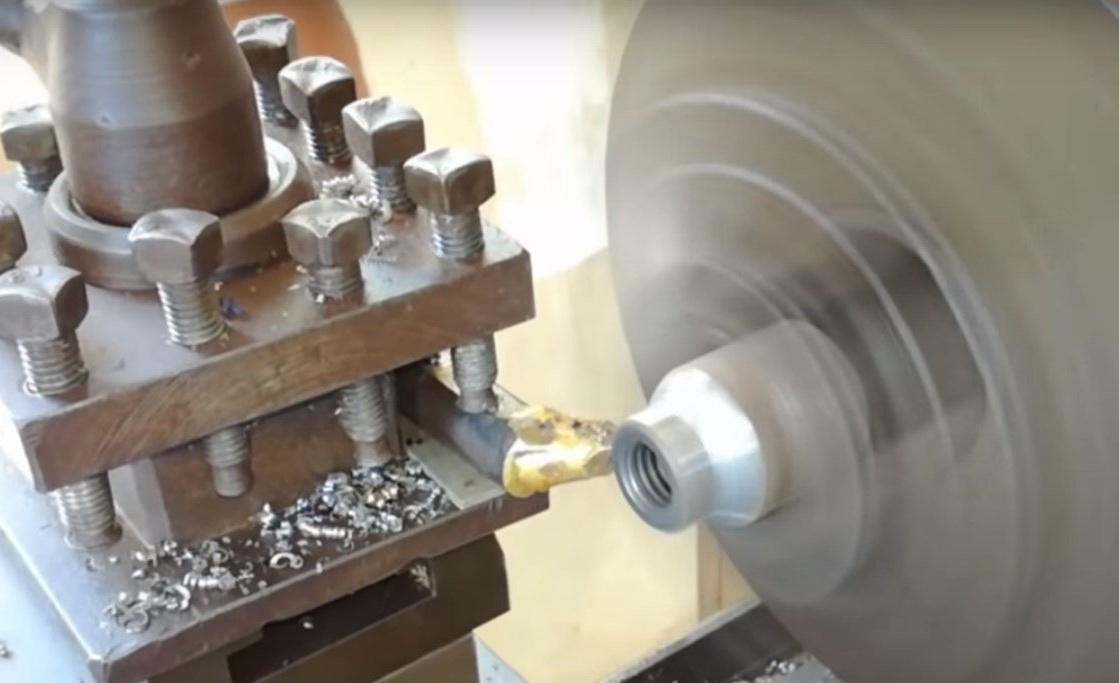
It turned out like this.
The author cut the crown in half.
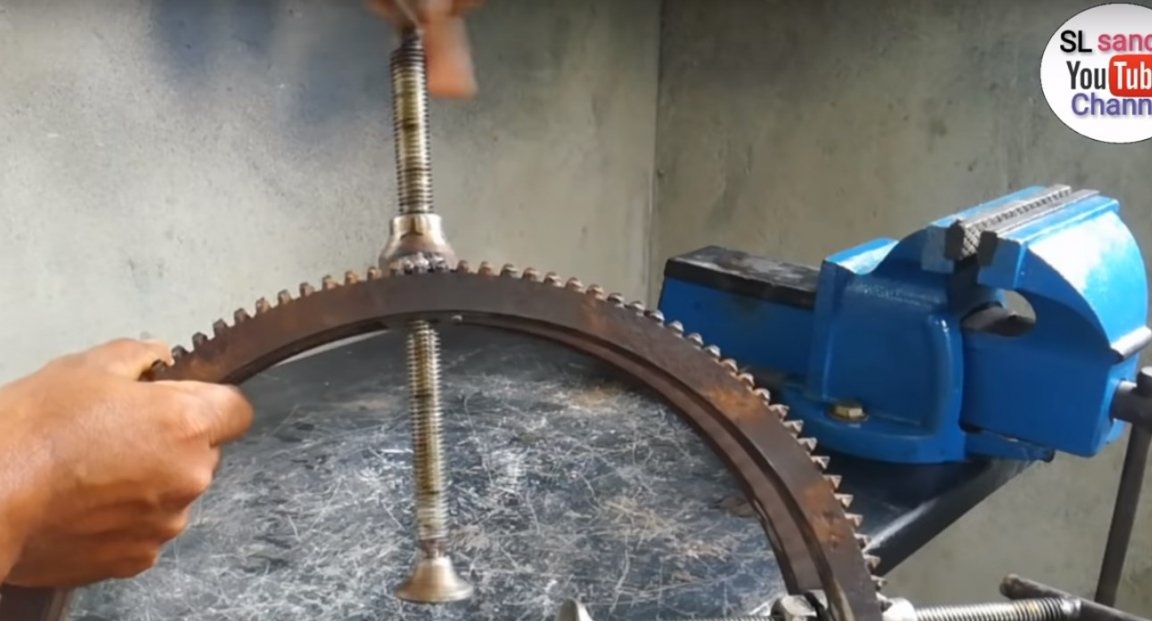
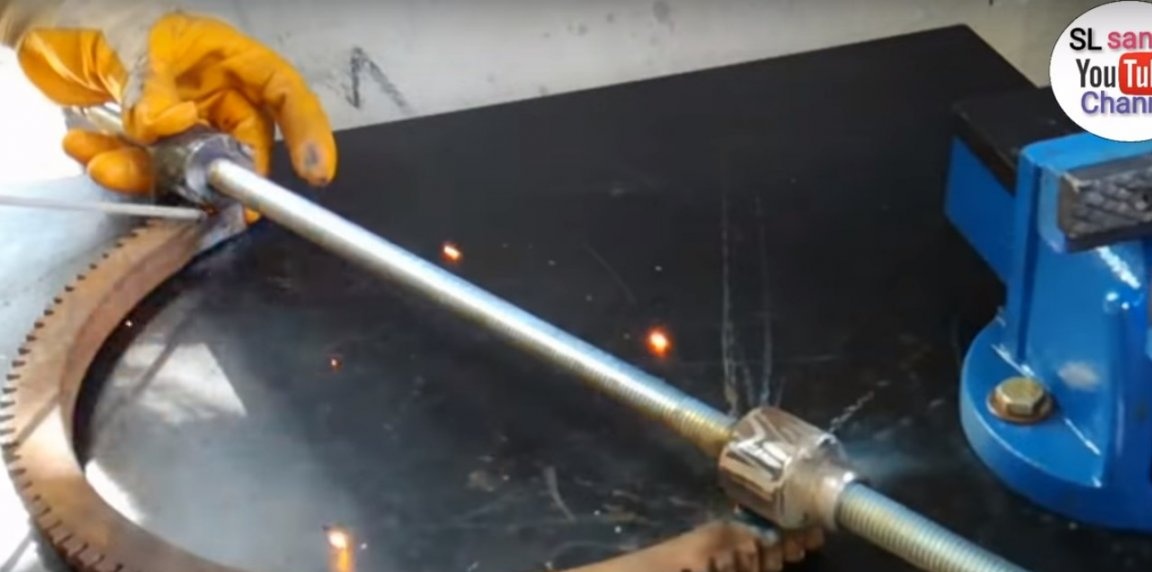
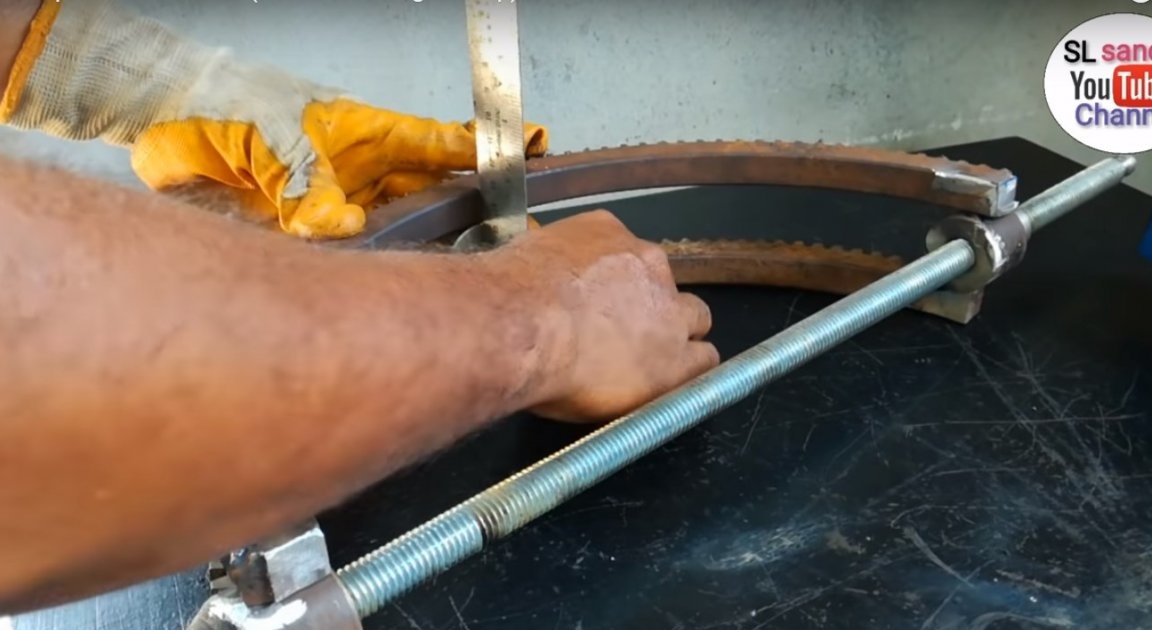
Further on the hairpin, the author installed two bushings.

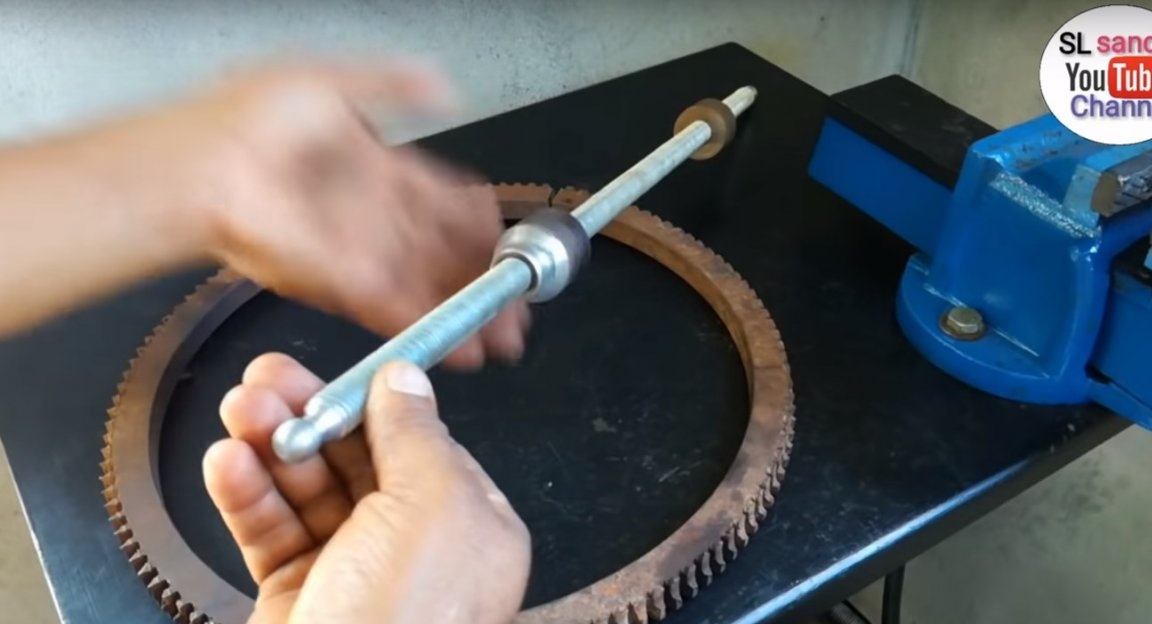
Fit them in such a way that they are on the edges of the crown opposite each other.
Also tried on the third sleeve.
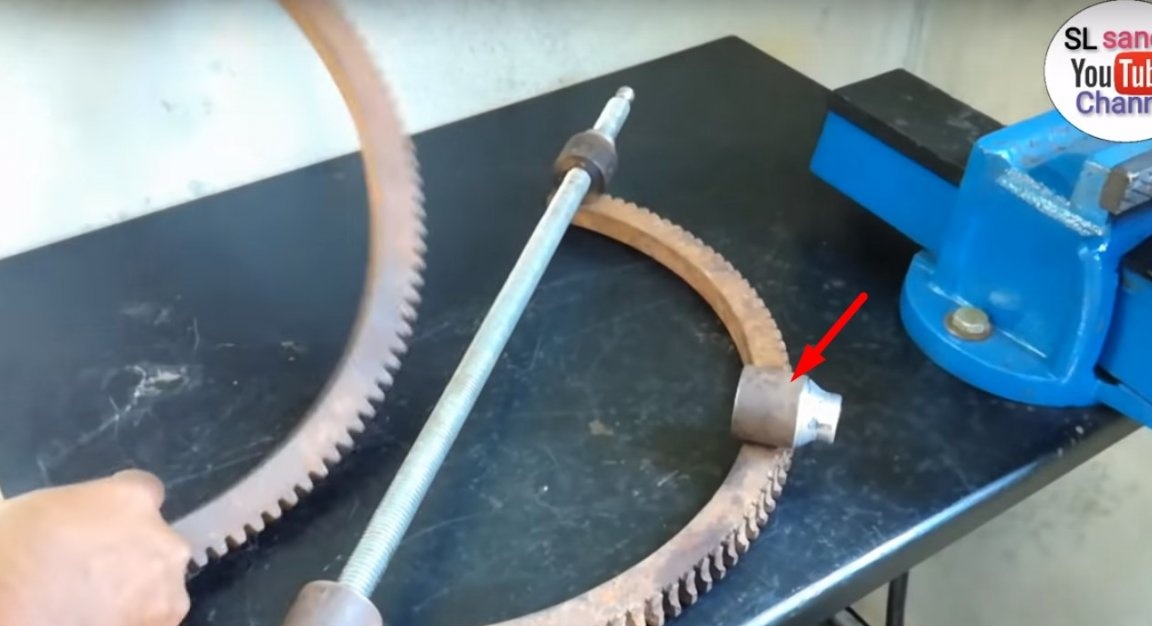
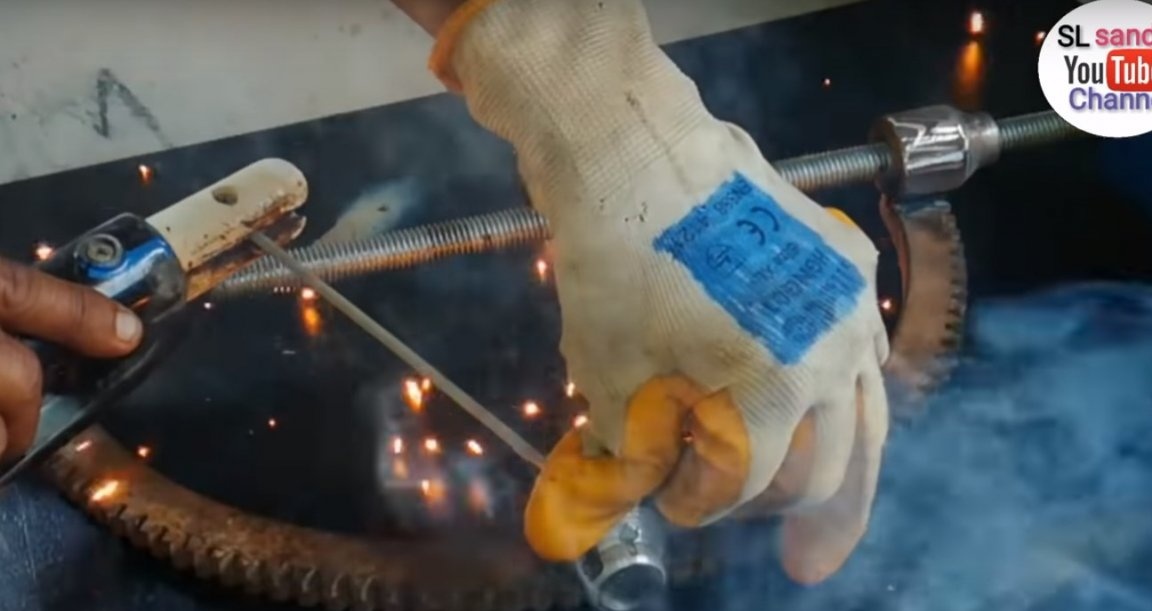
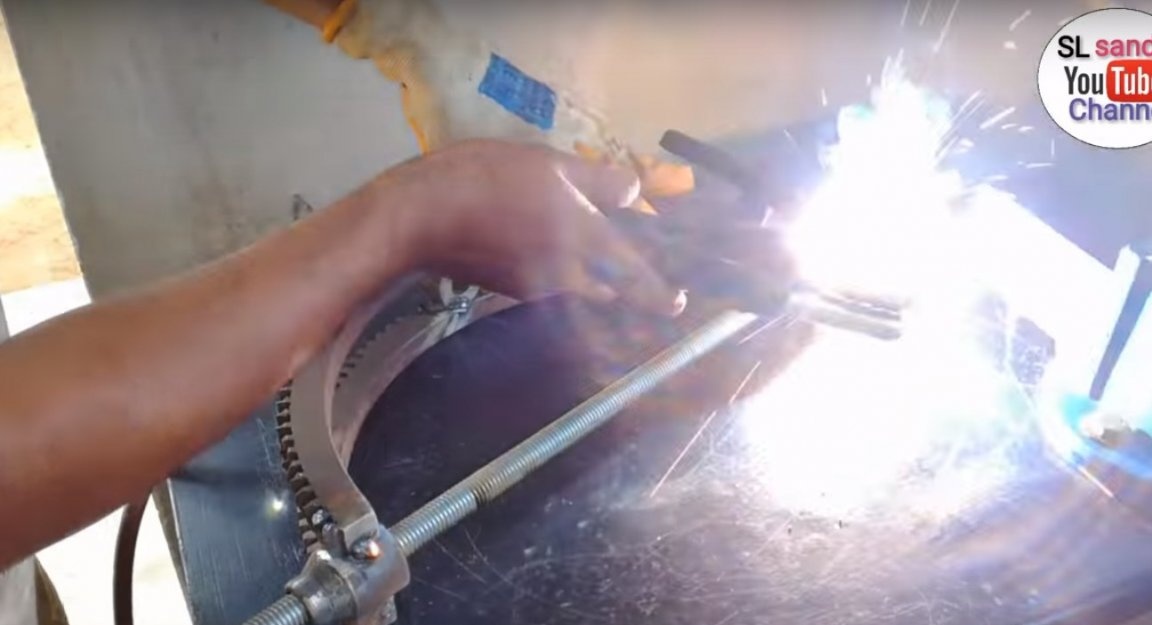
Then the first two were welded to one and a half of the crown.
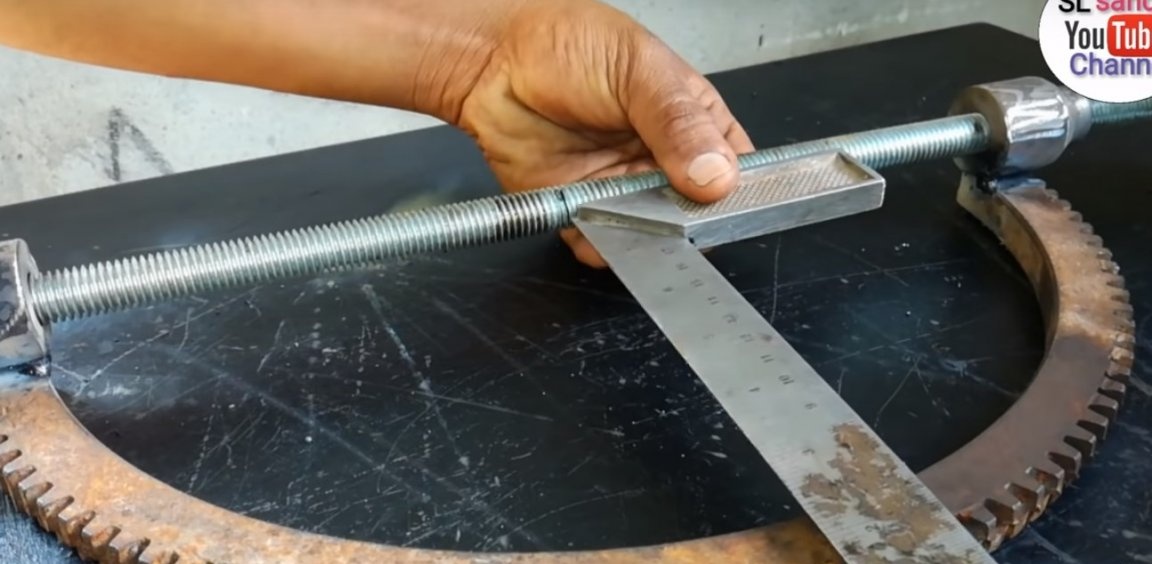
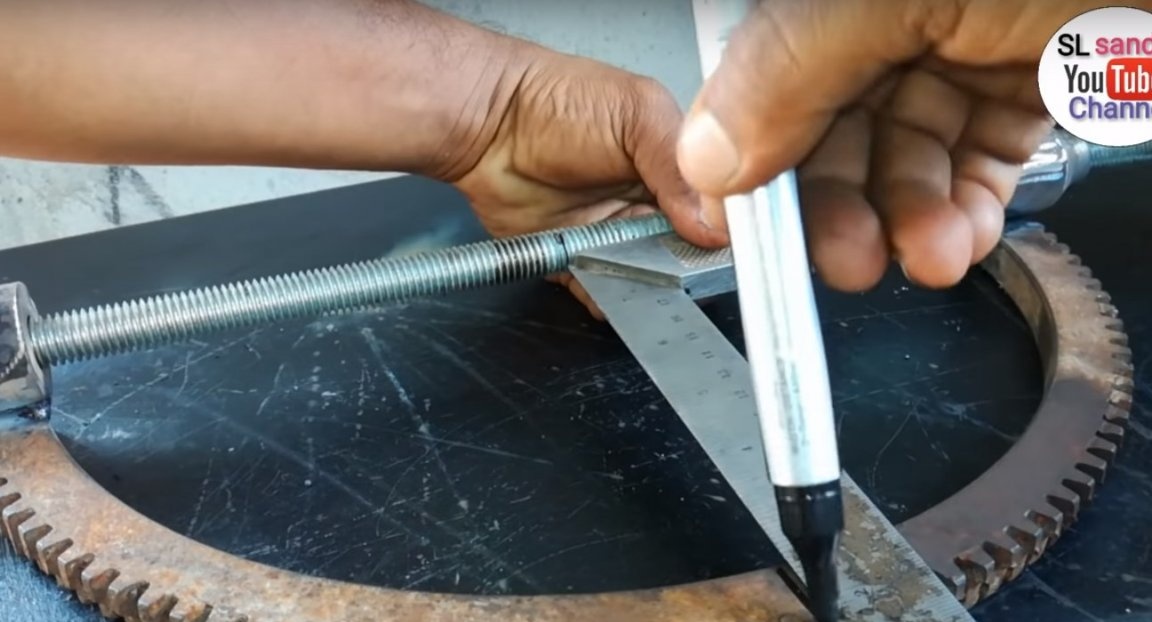
After measuring, the distance between the first two bushings and finding the center.
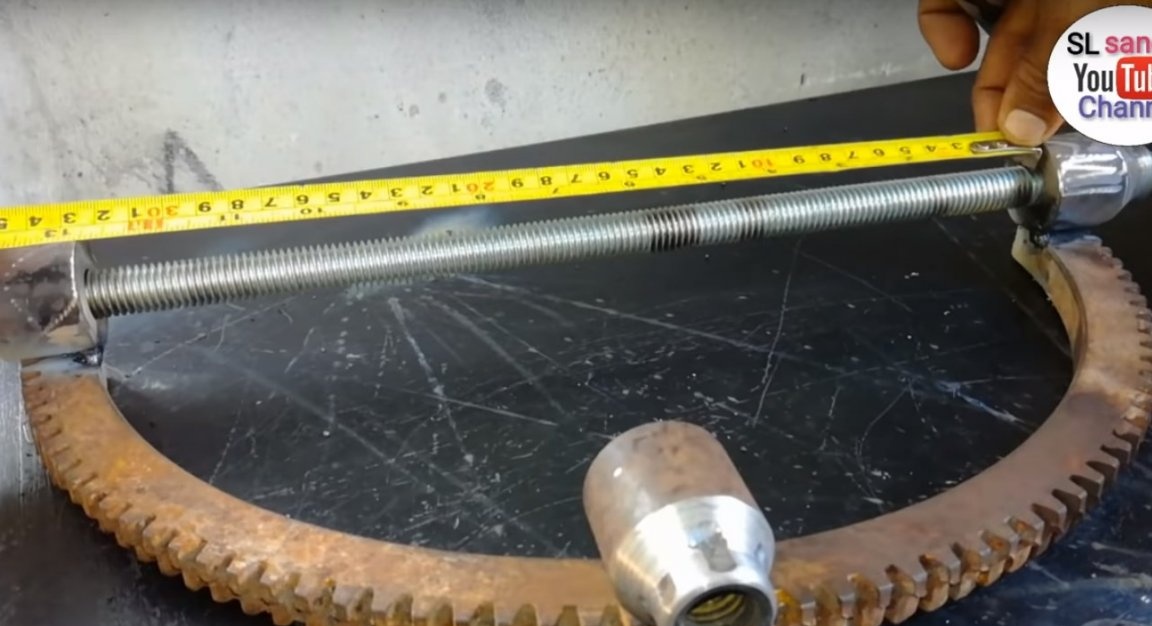
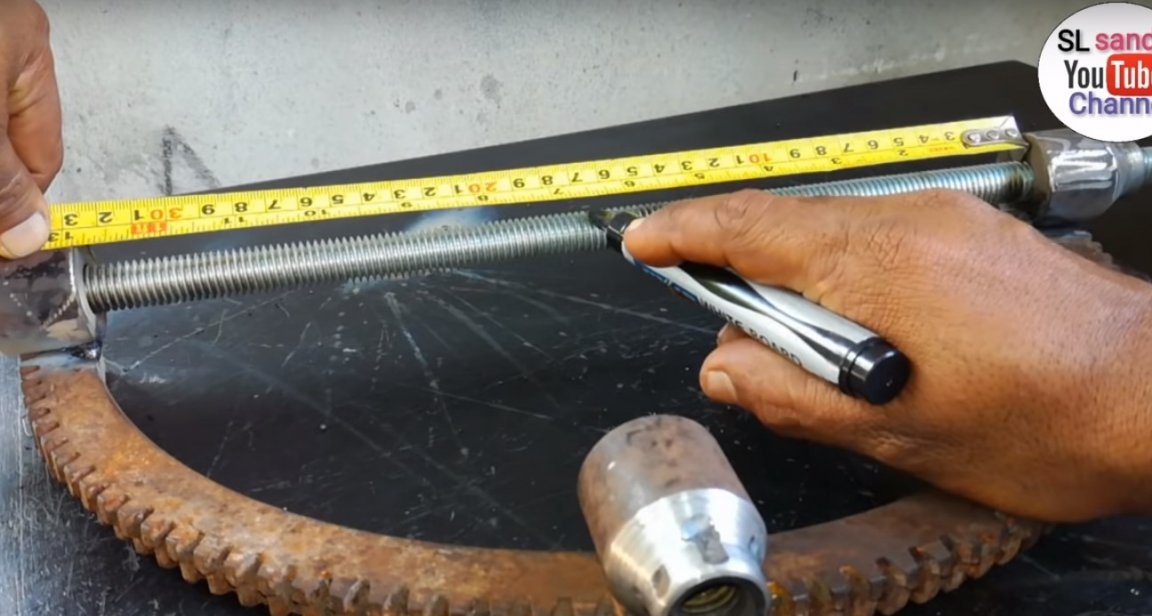
Right-angled spot for the third sleeve.
After welded and the third sleeve.
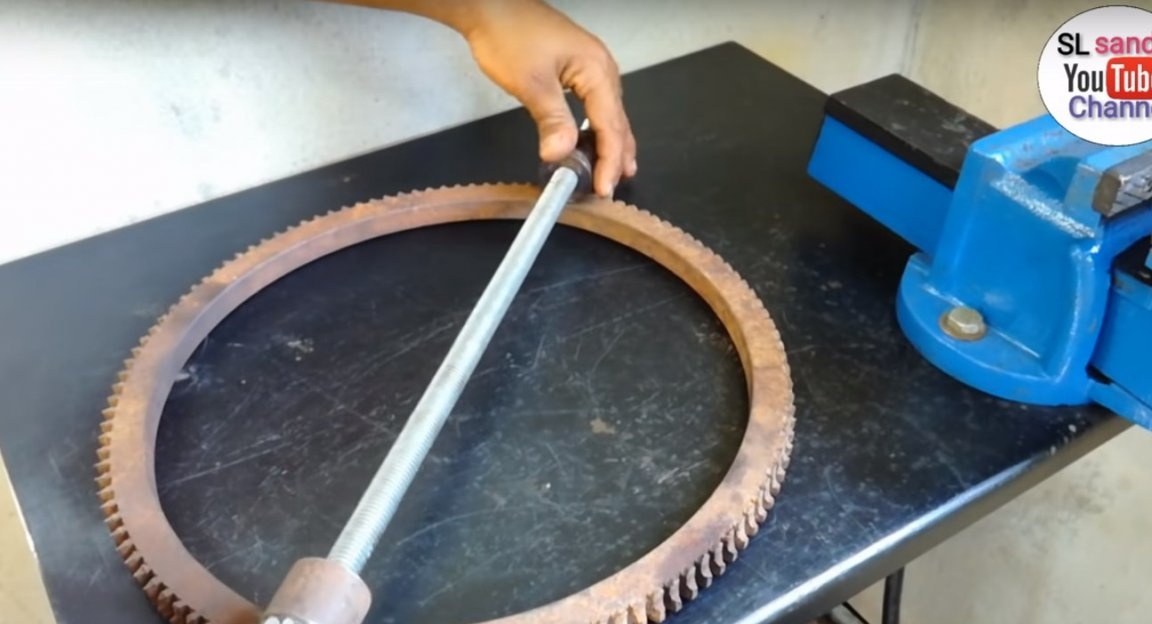
Then he set the second half of the crown on top.
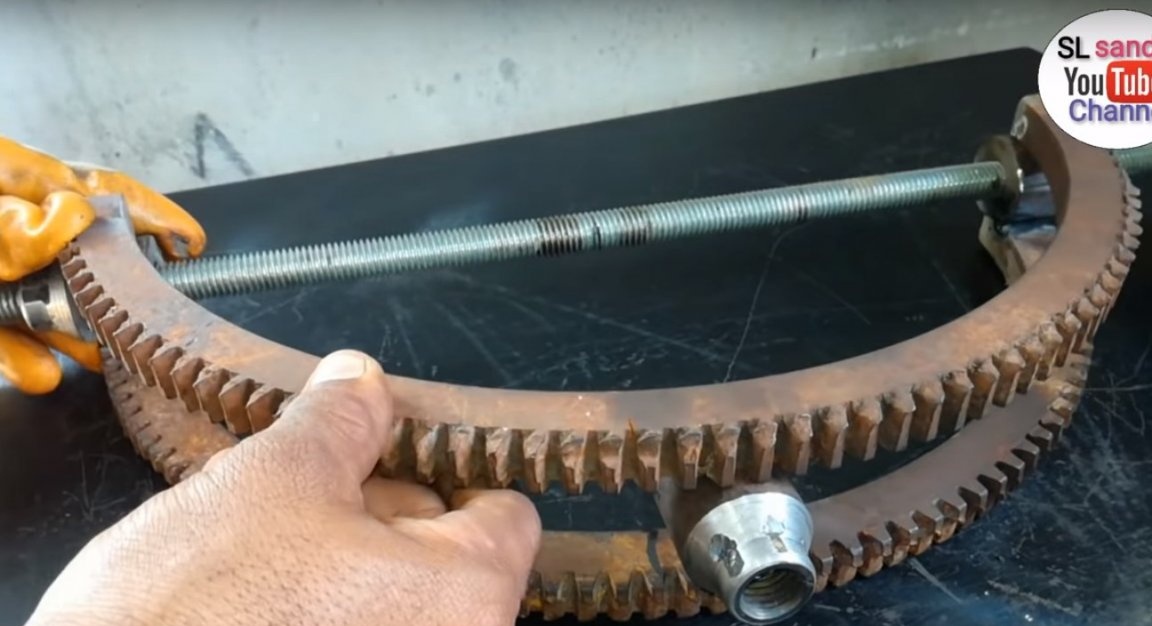
And welded it to the bushings.
Next, unscrew the pin.
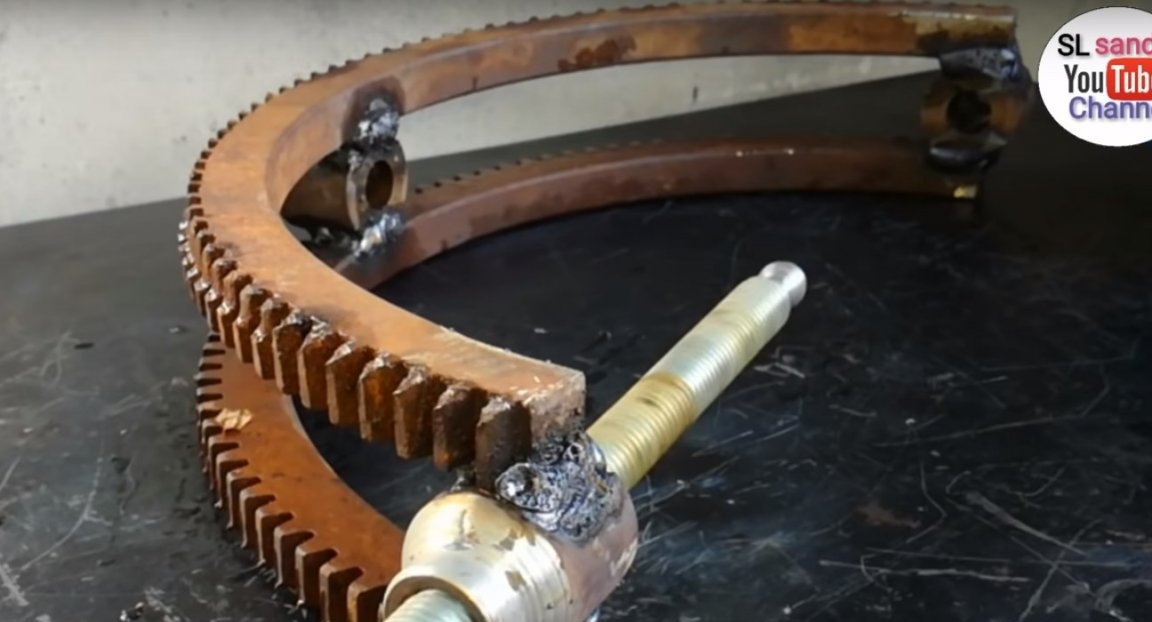
And he worked the welds well.
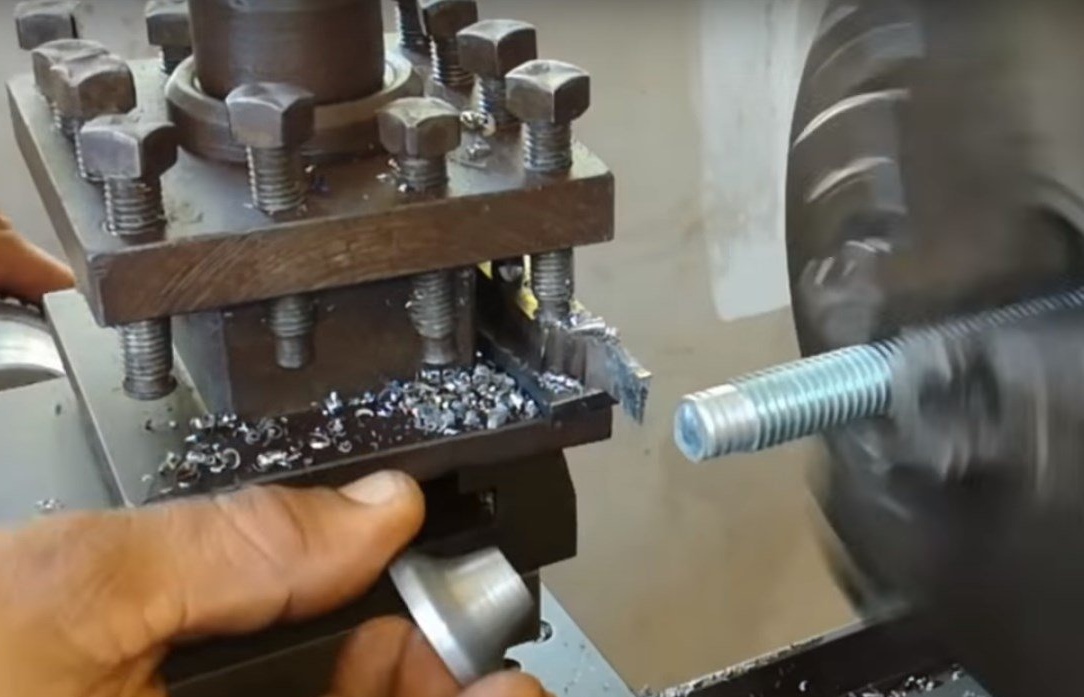
Then he divided the hairpin into three equal pieces and cut it.

One edge of all pieces of the stud should be of this shape.
The author cut three pieces from a steel bar, approximately 110 mm to 120 mm long.
After, welded studs to them.
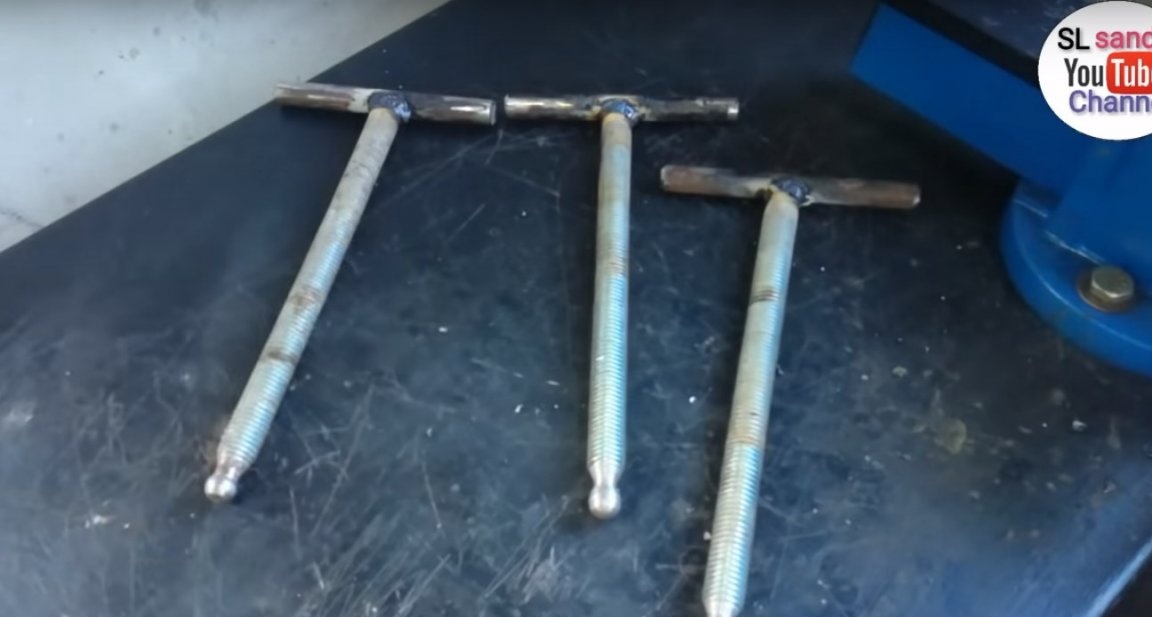
Then set the studs in place.
And he screwed a nut on each of them.
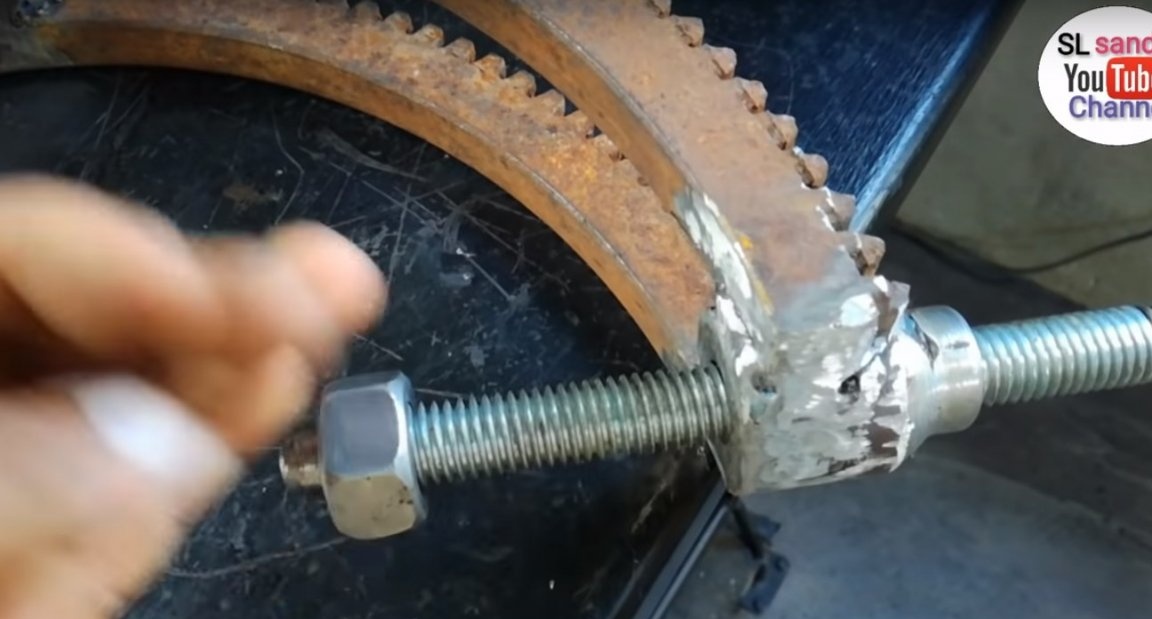
After welded the nuts to the bushings.
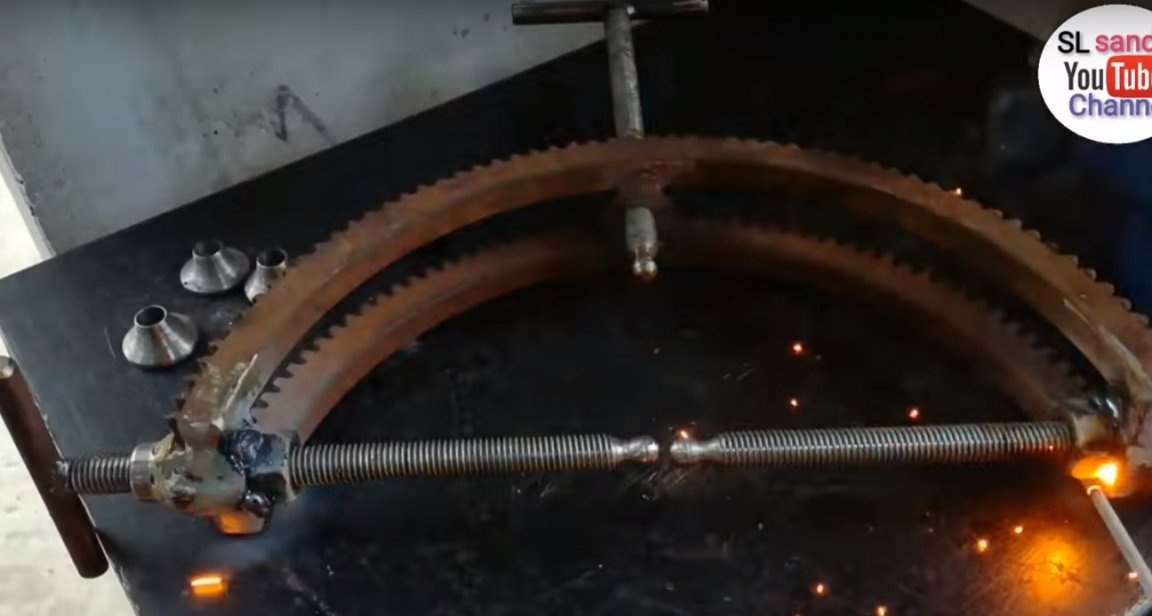
Then installed the last details.
And he knocked them with a hammer so that they would not be removed from the studs, but at the same time and freely rotated on them.
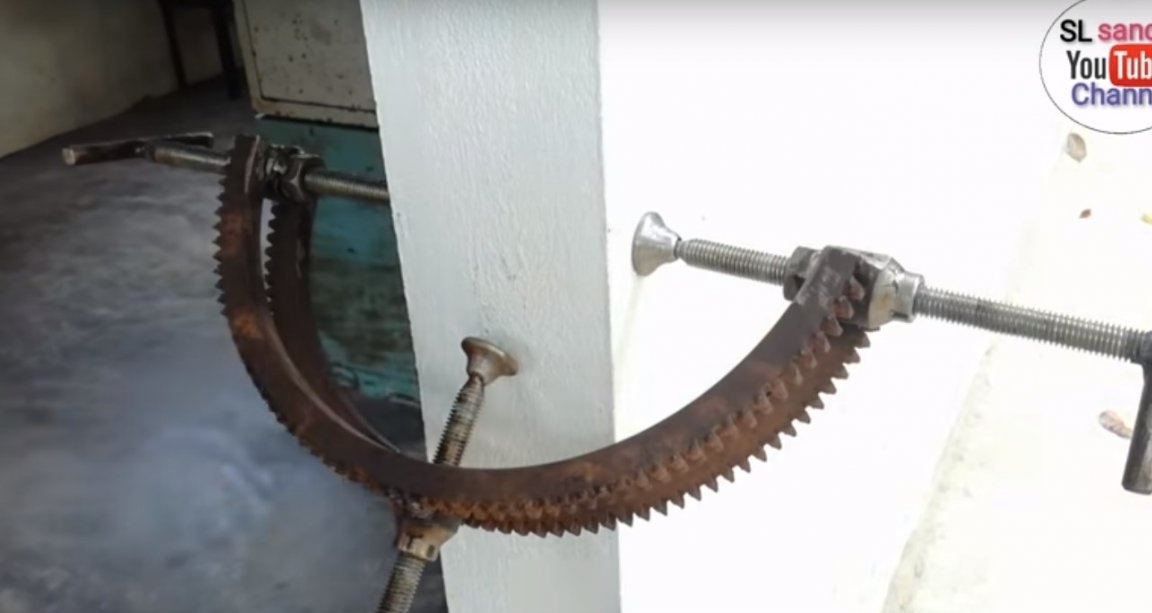
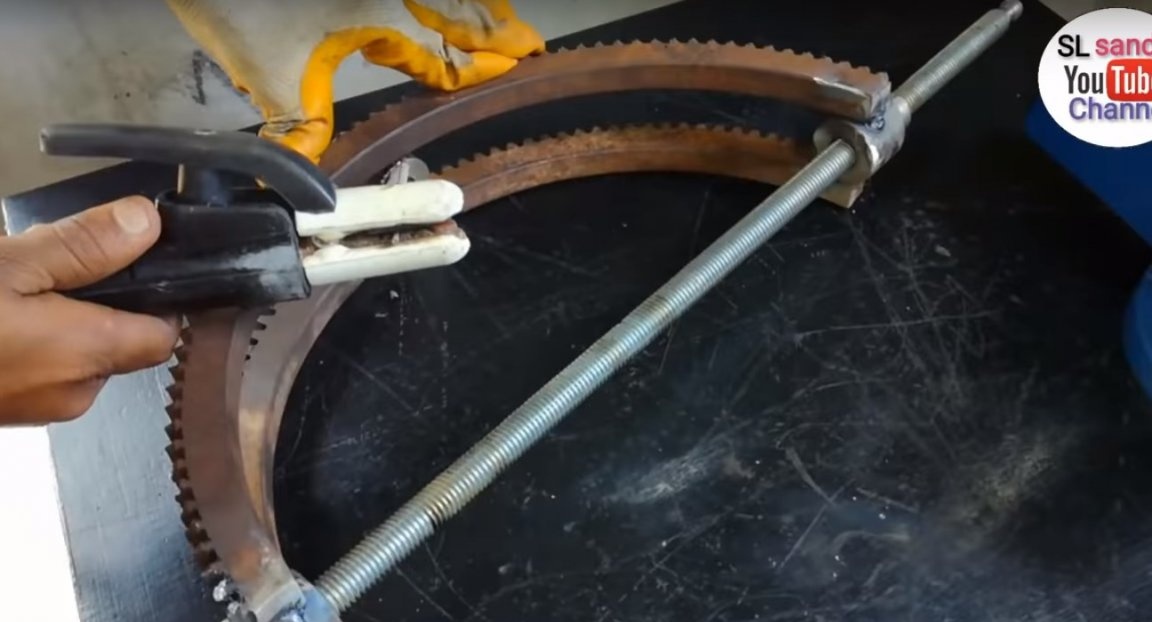
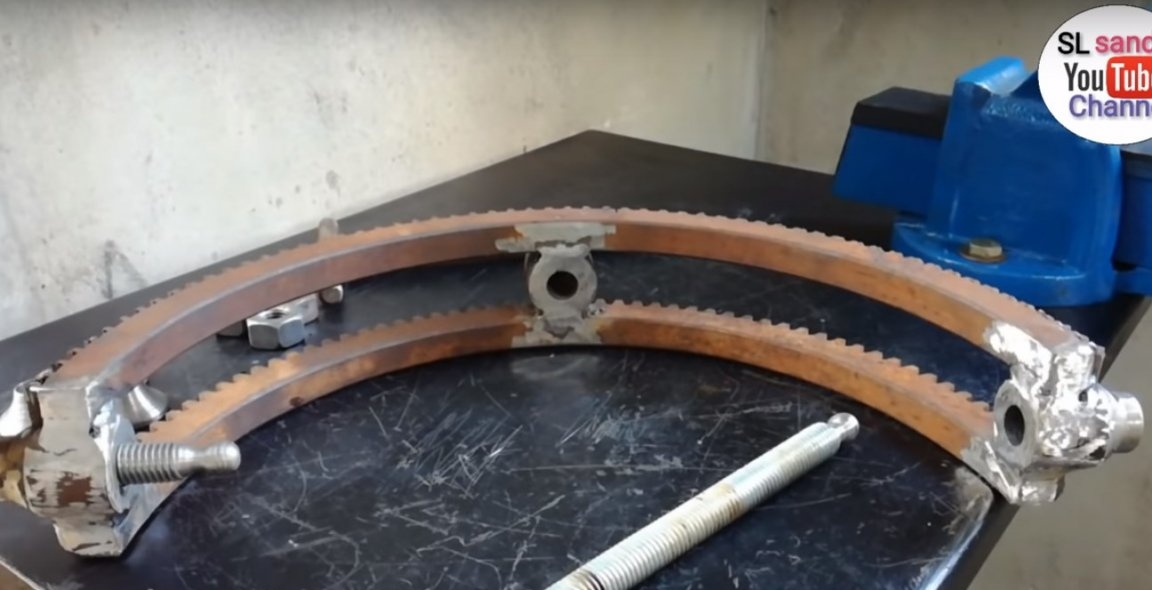
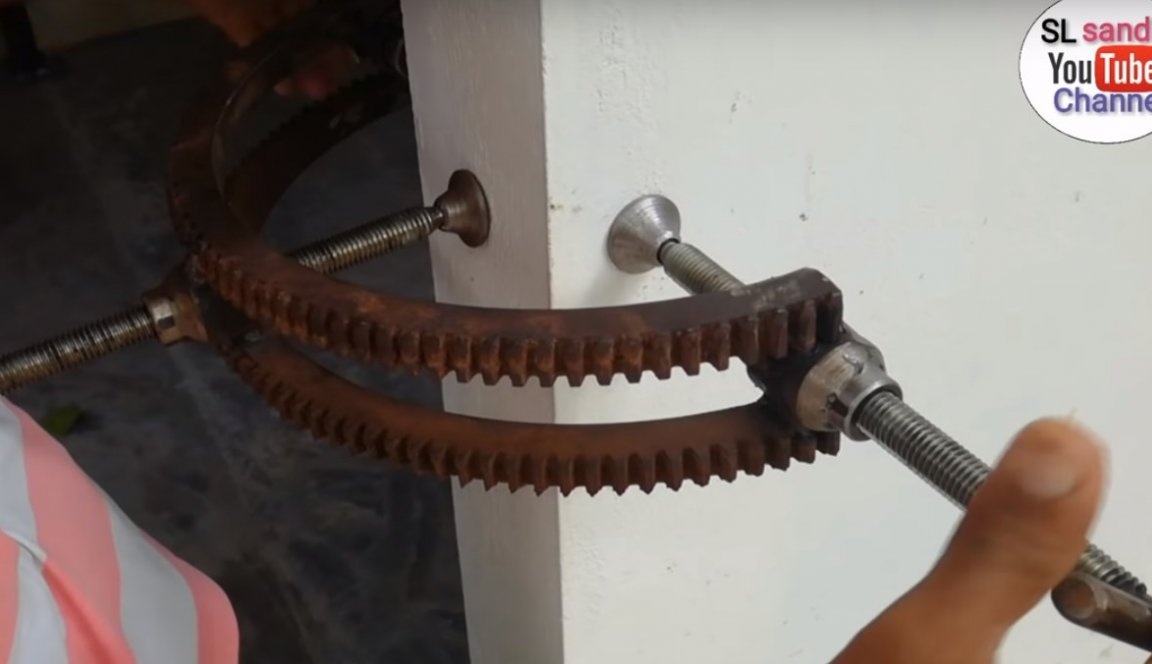
Such a clamp turned out in the end.
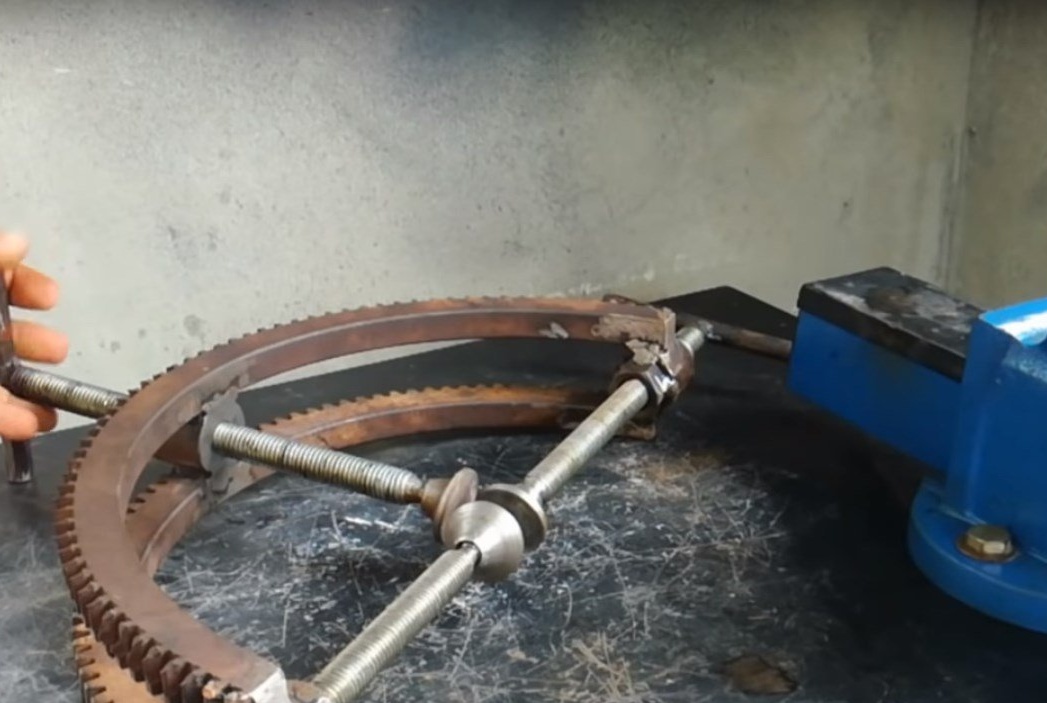
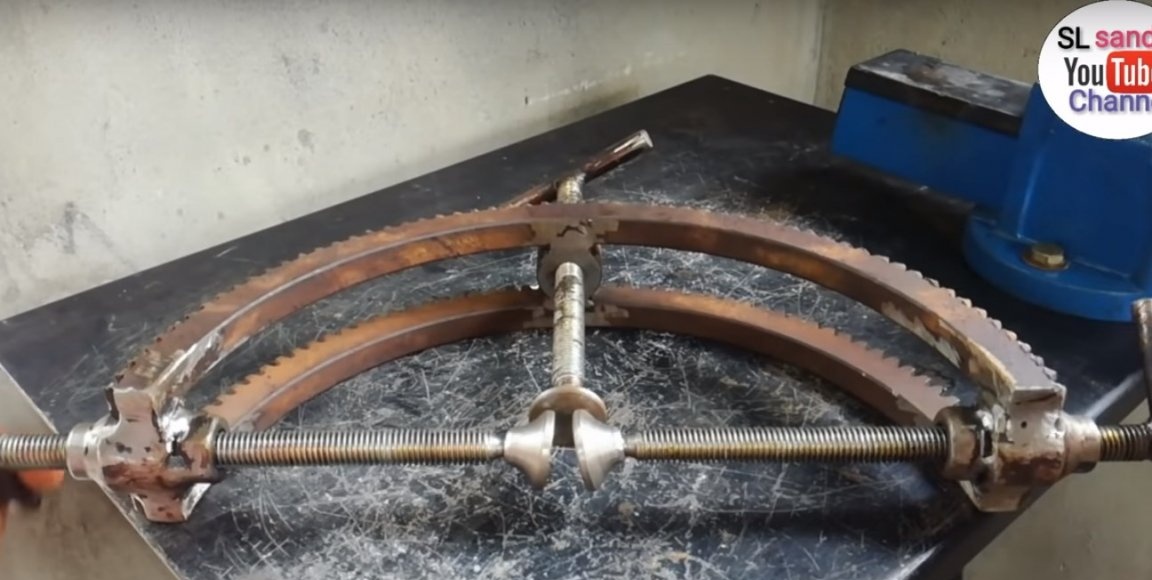
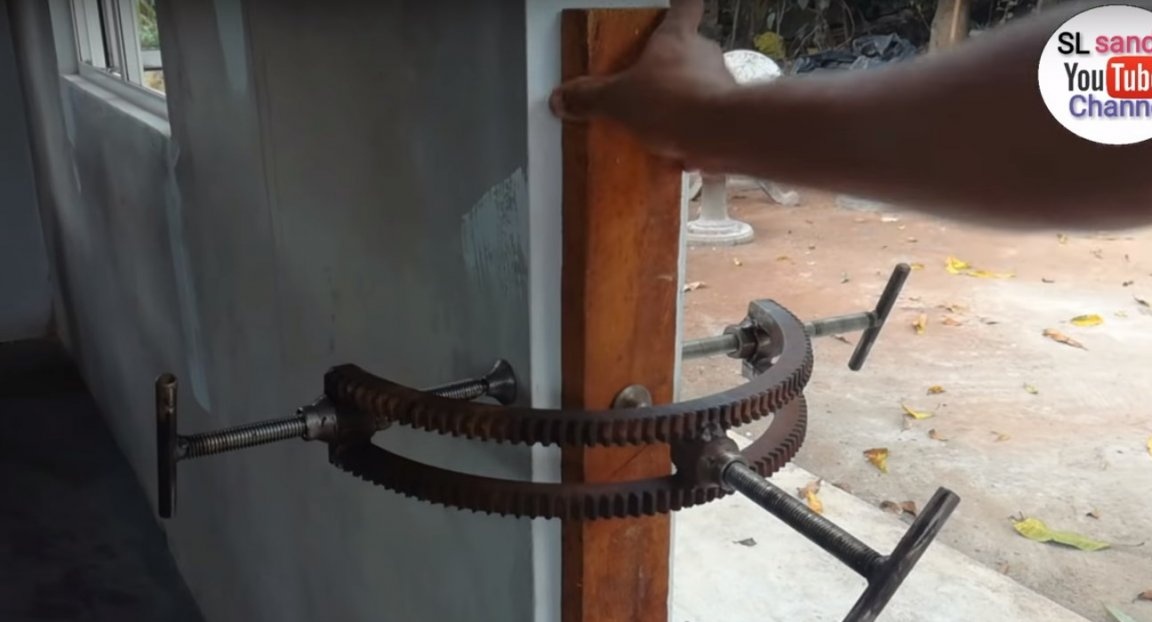
And now the author is testing his homemade product.
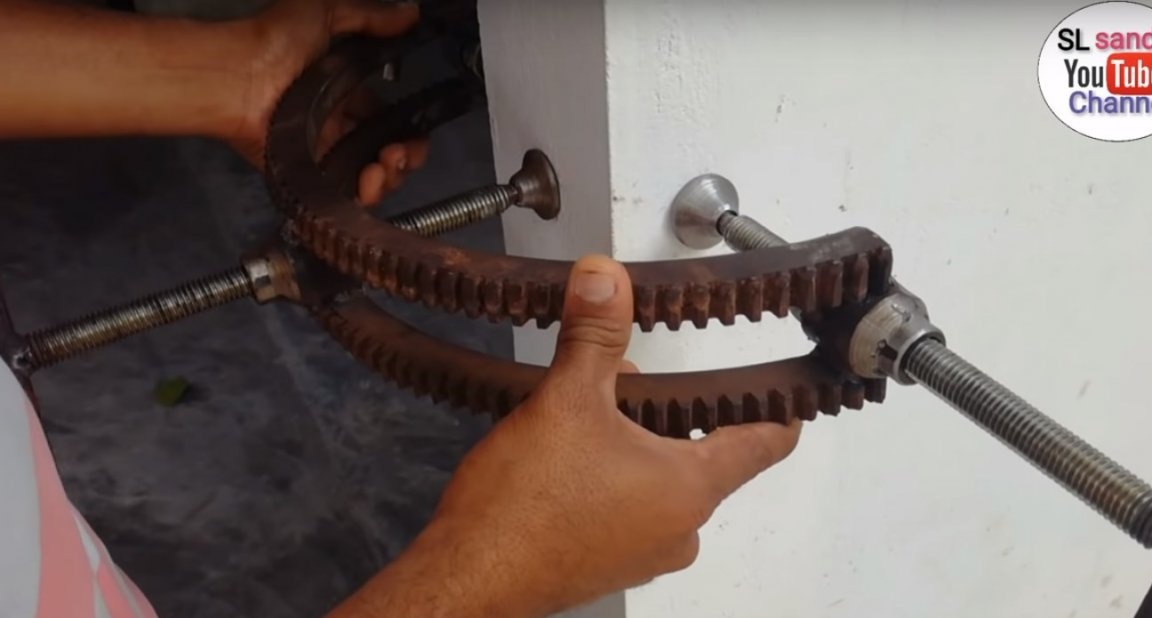
As you can see in the photo, the clamp copes with the task.
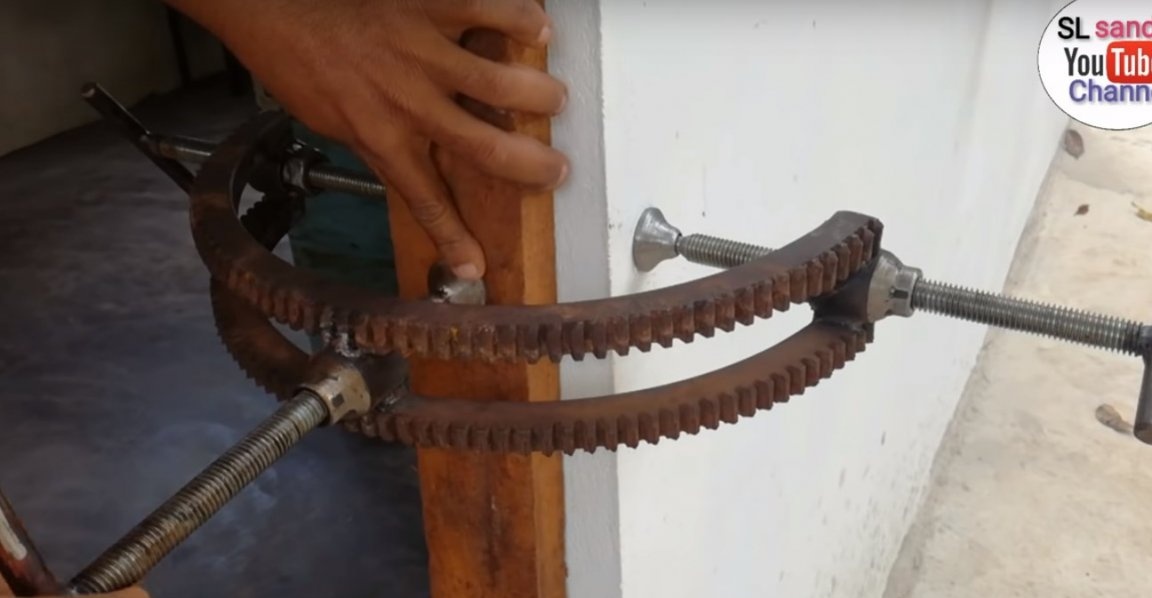
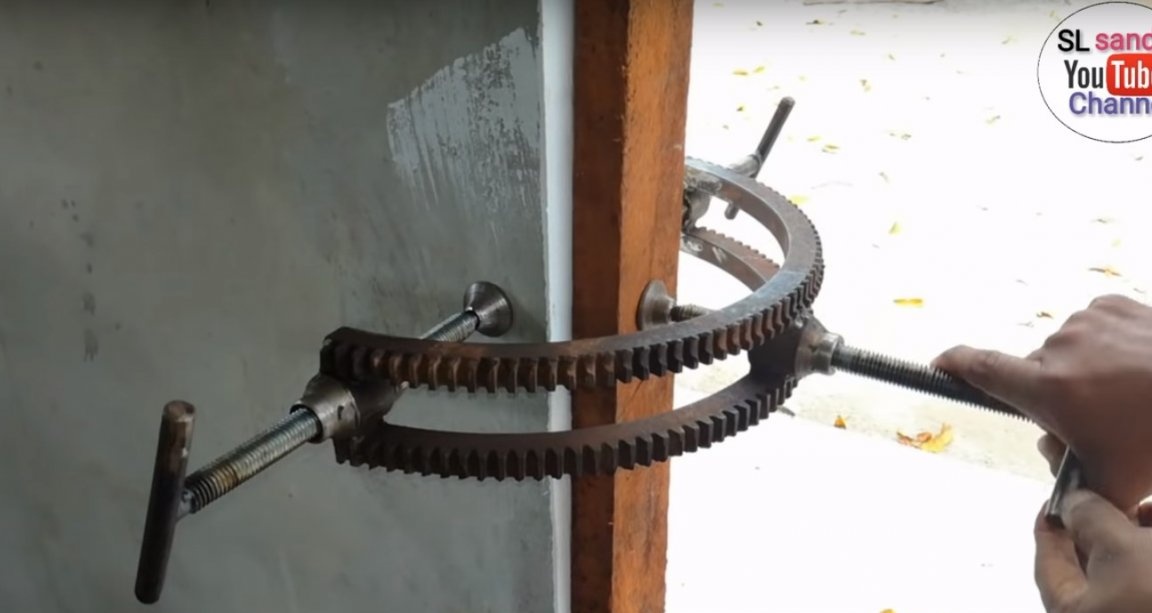
The board holds firmly.
Thanks to the author for useful homemade work.

And that’s all for me. Thank you all and see you soon!