Spotlight the right thing! It is useful in various fields of activity, for example: repair, shooting, etc.
Training
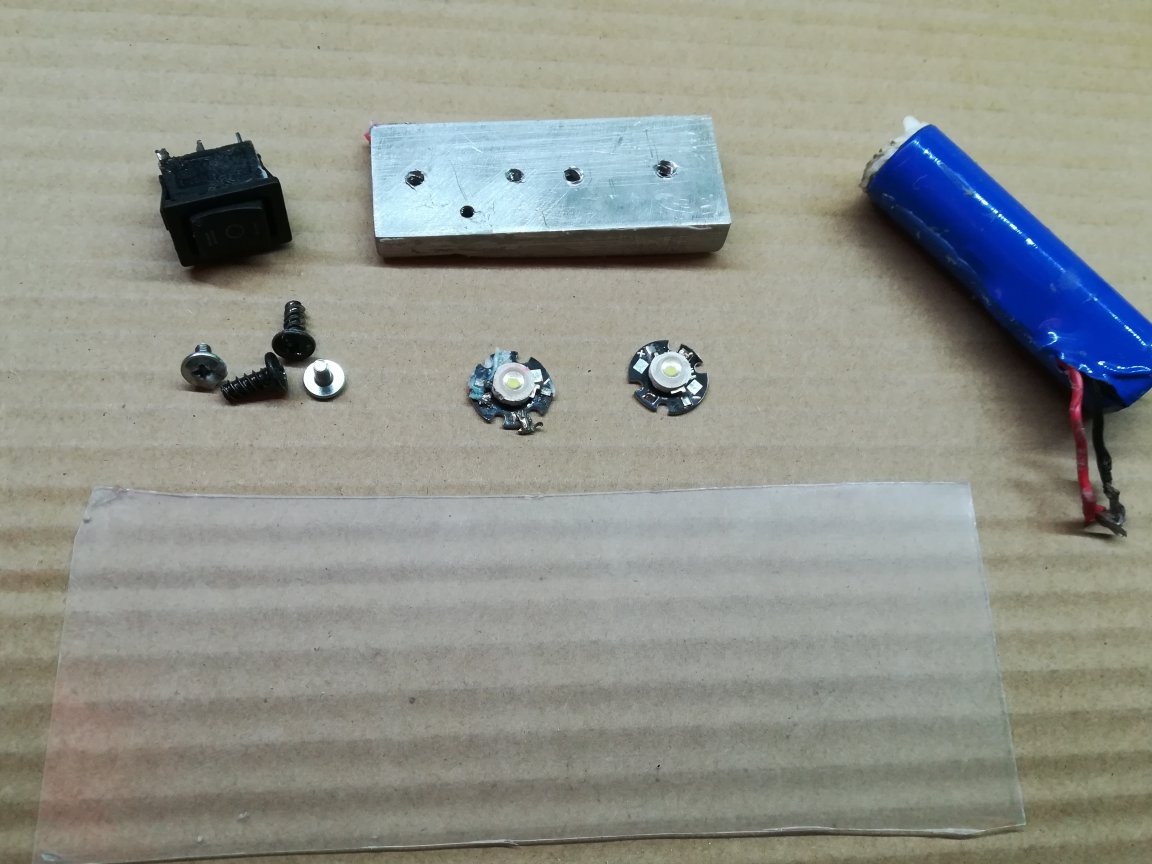
To build a homemade spotlight, we need:
- Cardboard
- Switch
- 3.7v battery
- Aluminum heatsink
- LEDs
- Wires
- Charge controller (you can just plug)
- Foil tape (you can take foil)
- Bolts (4pcs)
From the tool we need:
- Soldering iron (tin, rosin)
- Hacksaw
- Glue gun (rods)
- Stationery knife
- Ruler
- Marker (no difference)
- Silicone sealant
- Screwdriver
- Screwdriver (drill)
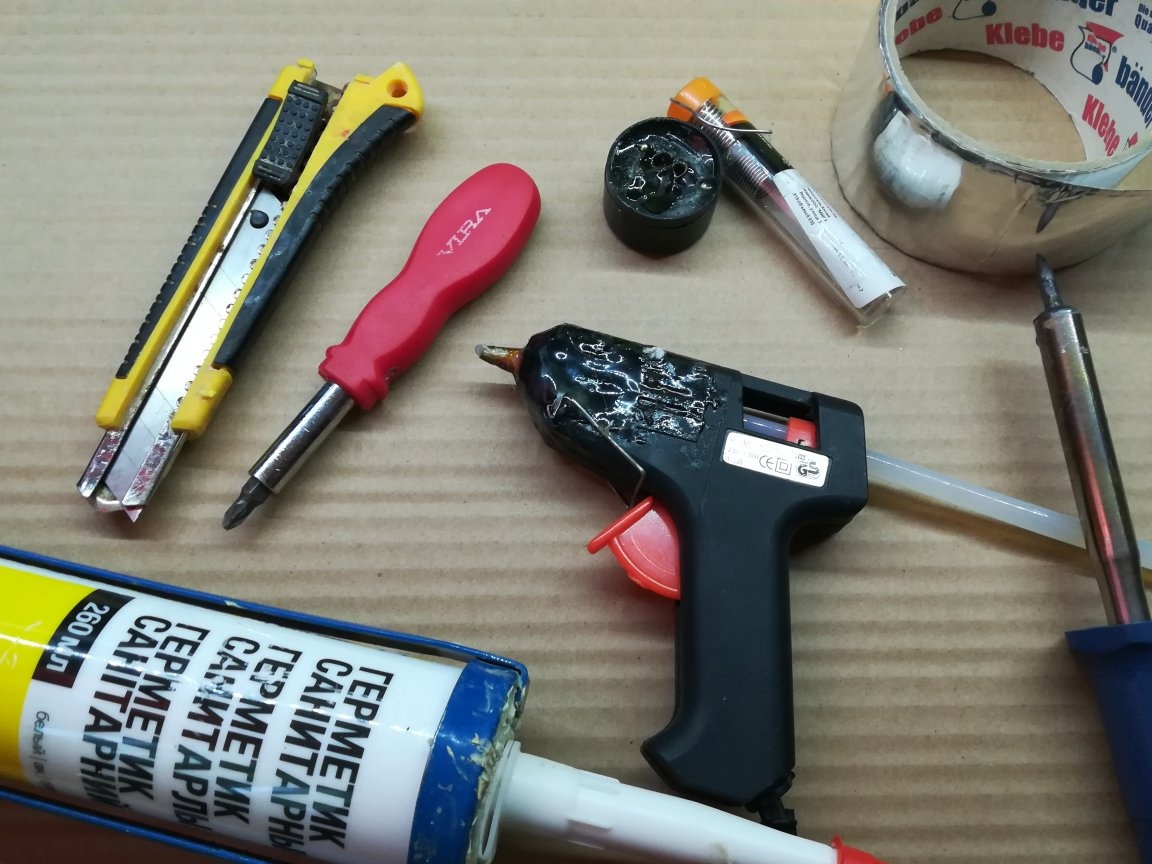
If anything, the photo does not show all the materials and tools!
LED panel assembly
Since the LEDs become very hot (if you do not use a resistor), they must be attached to the radiator.
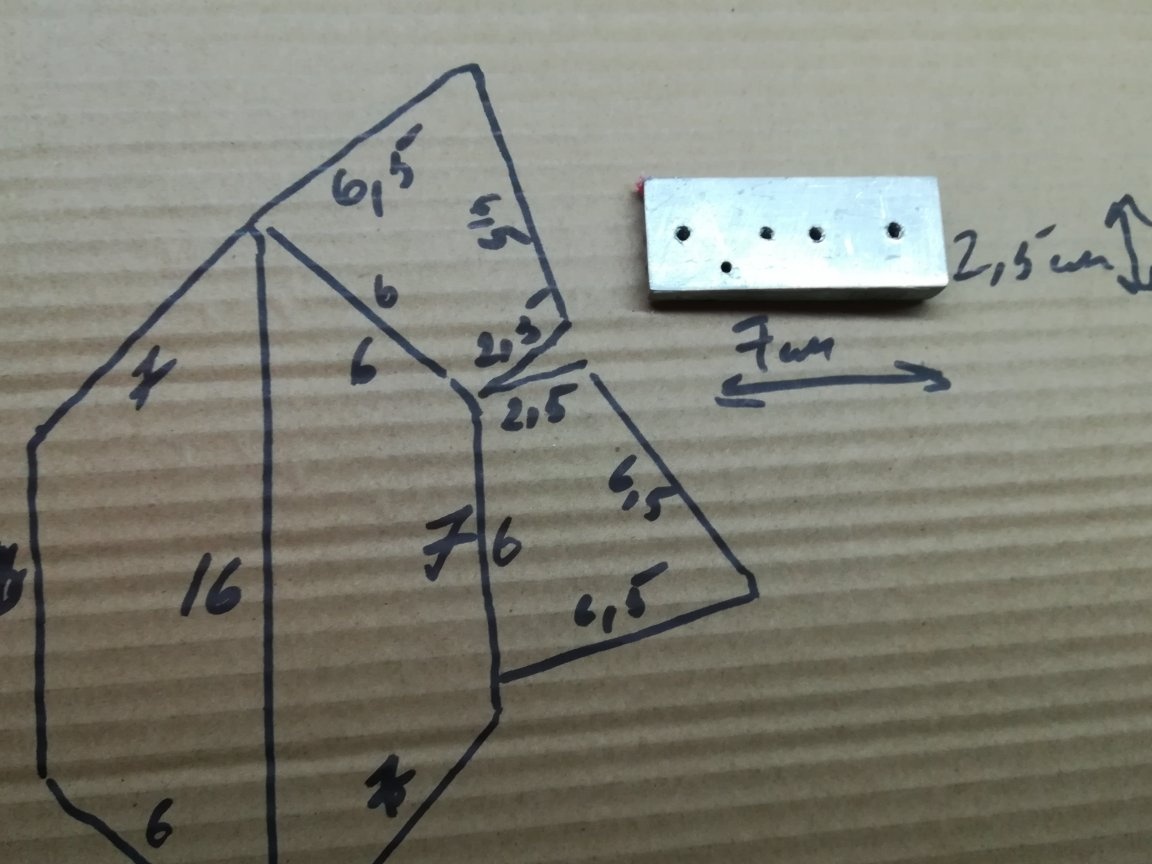
We make a radiator 7 cm wide and 2.5 cm long.
After the radiator is ready you need to take (buy) the LEDs, I took them from two lights.
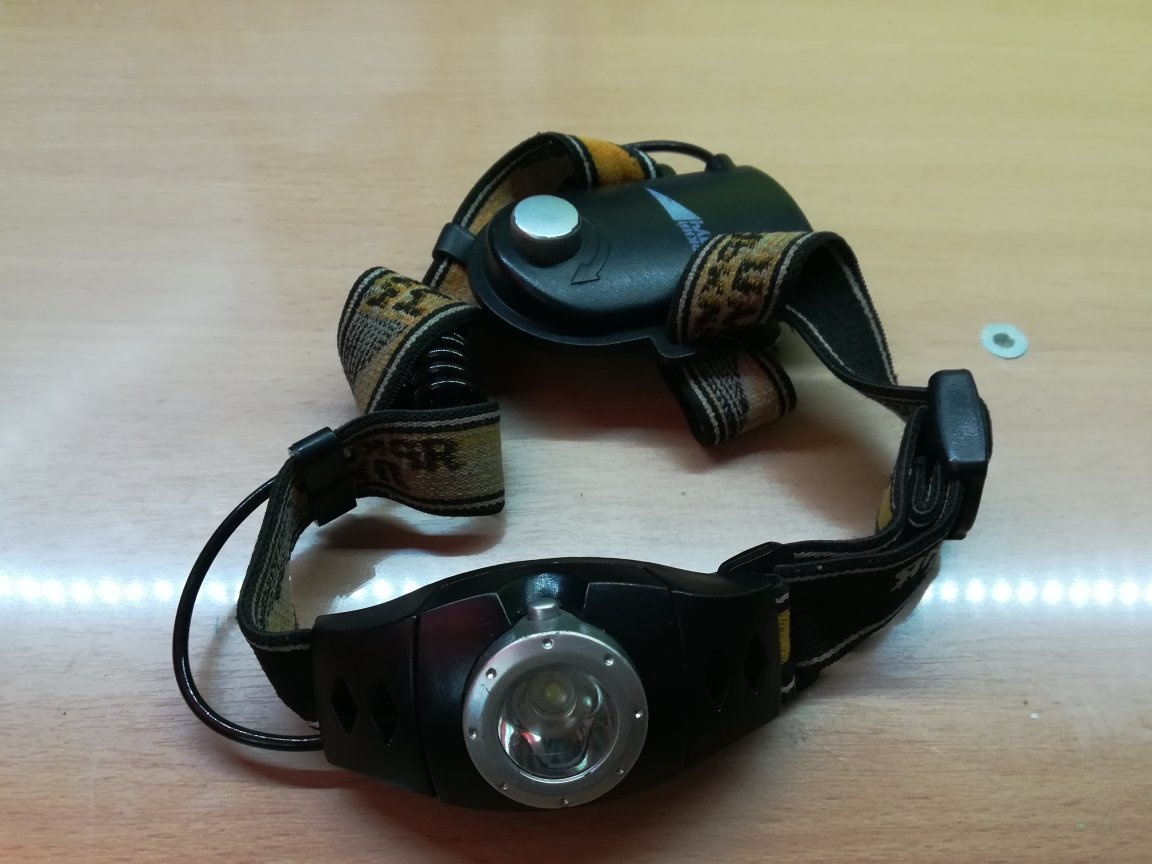
Having disassembled the lights, I pulled out two fairly powerful LEDs.
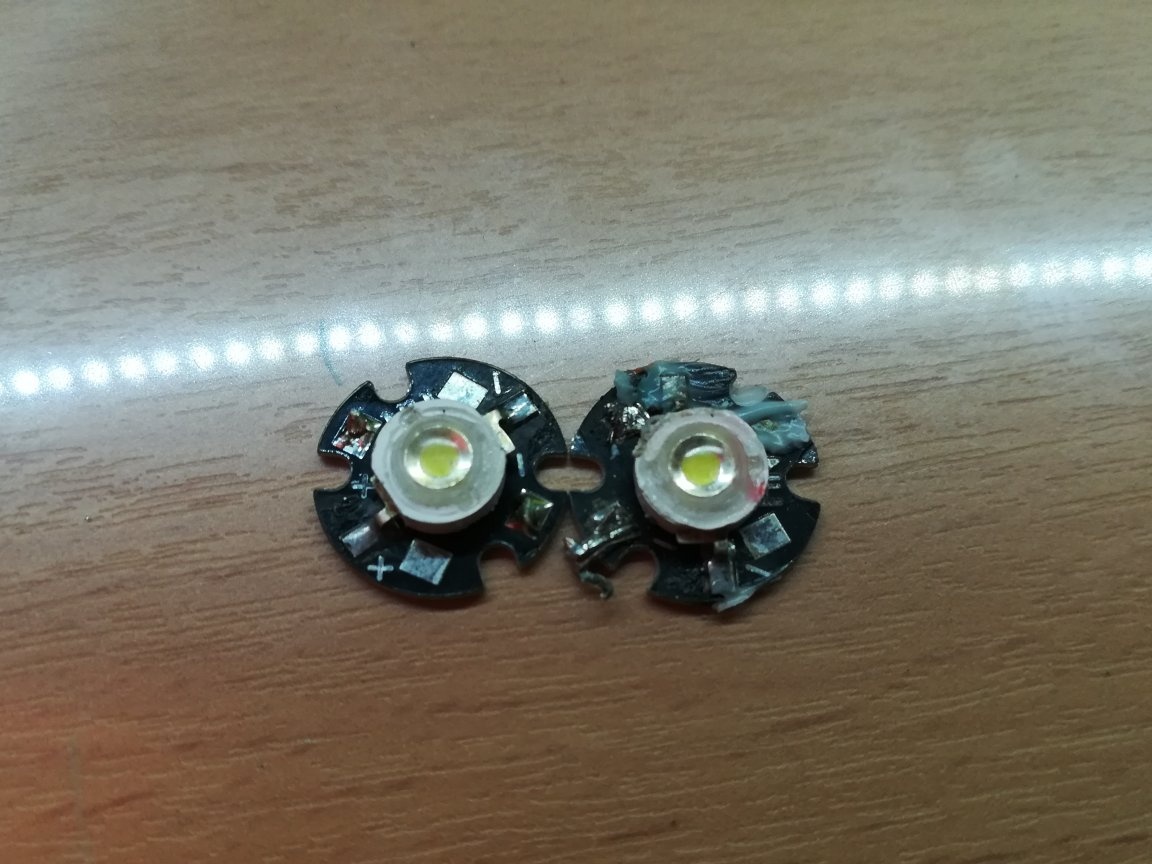
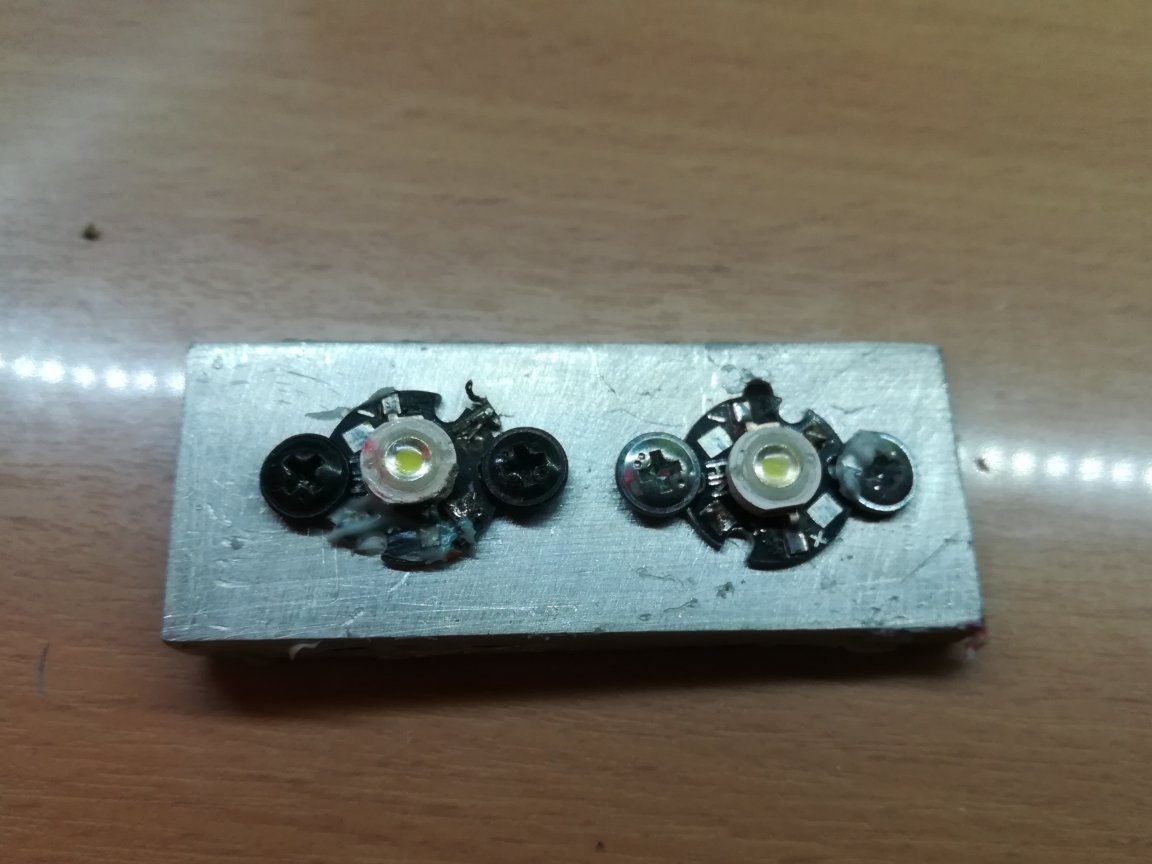
After that, you need to attach the LEDs to the radiator and put dots with a marker near them.
At these points we drill holes for the bolts (LED fastening).
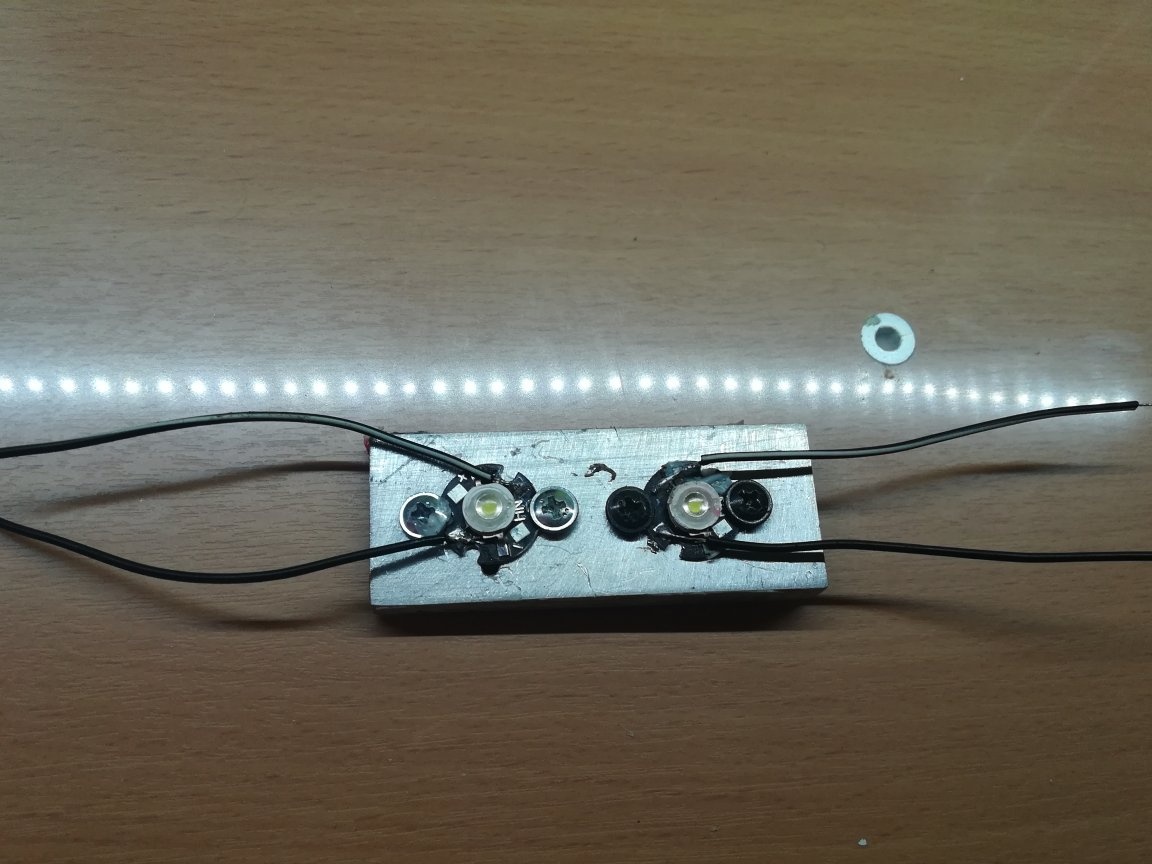
Firmly tighten the LEDs with bolts.
It remains only to solder the wires with a soldering iron.
Body building
On a cardboard panel, draw approximately as shown in the picture. If all values are expressed in centimeters!
All this is carefully cut with a clerical knife, and it should turn out something like this:
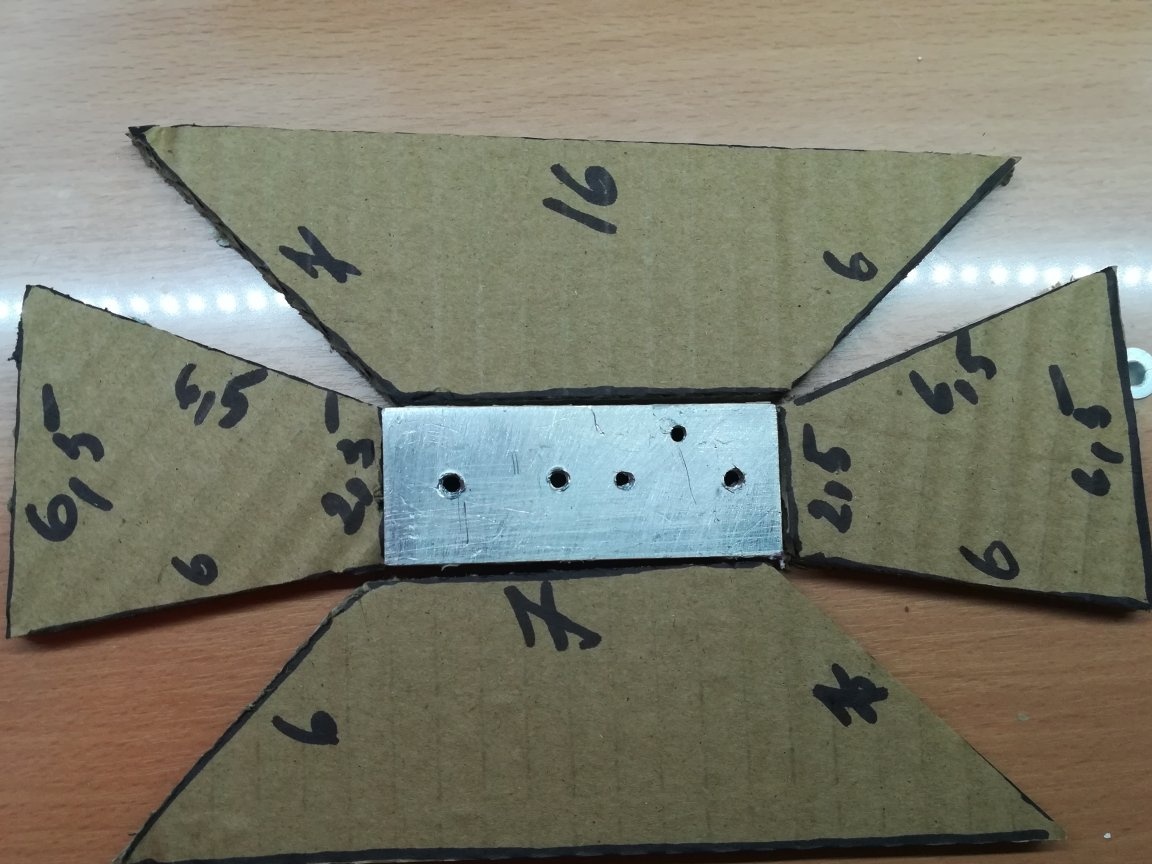
All this must be carefully glued together with a glue gun.
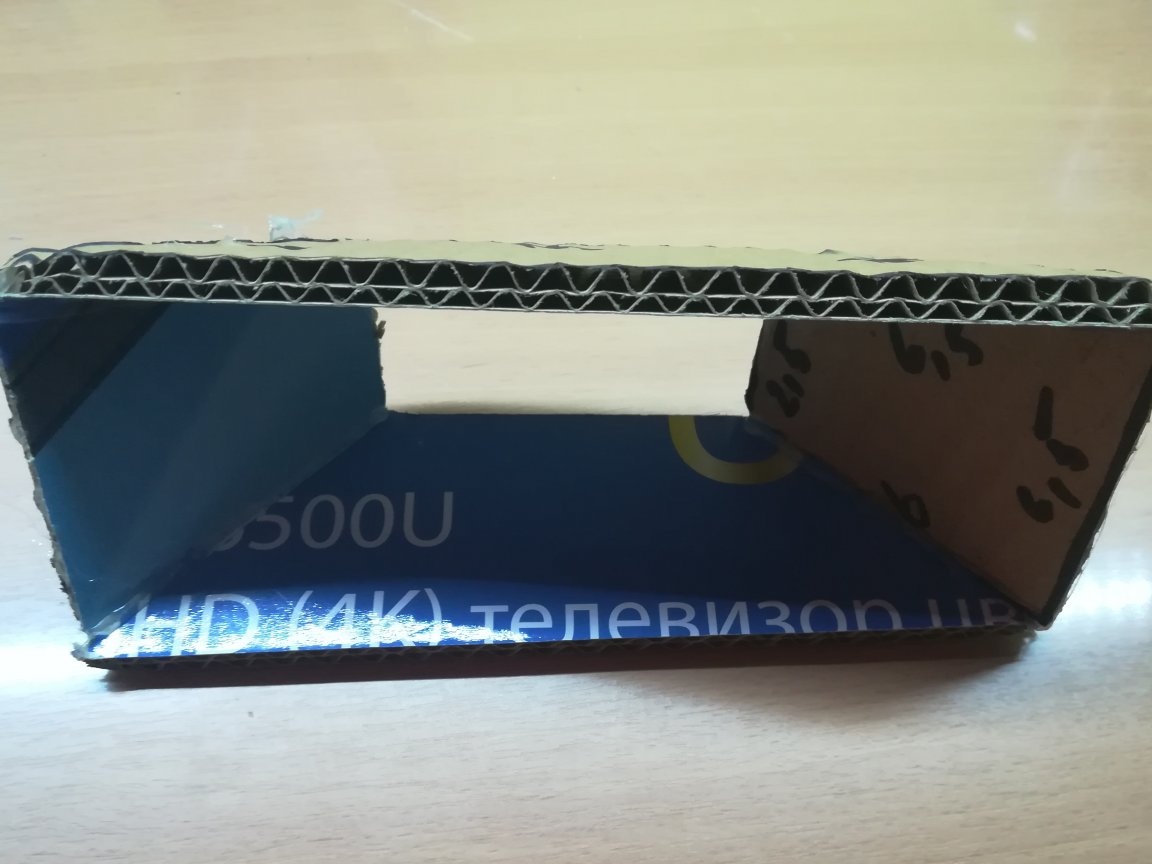
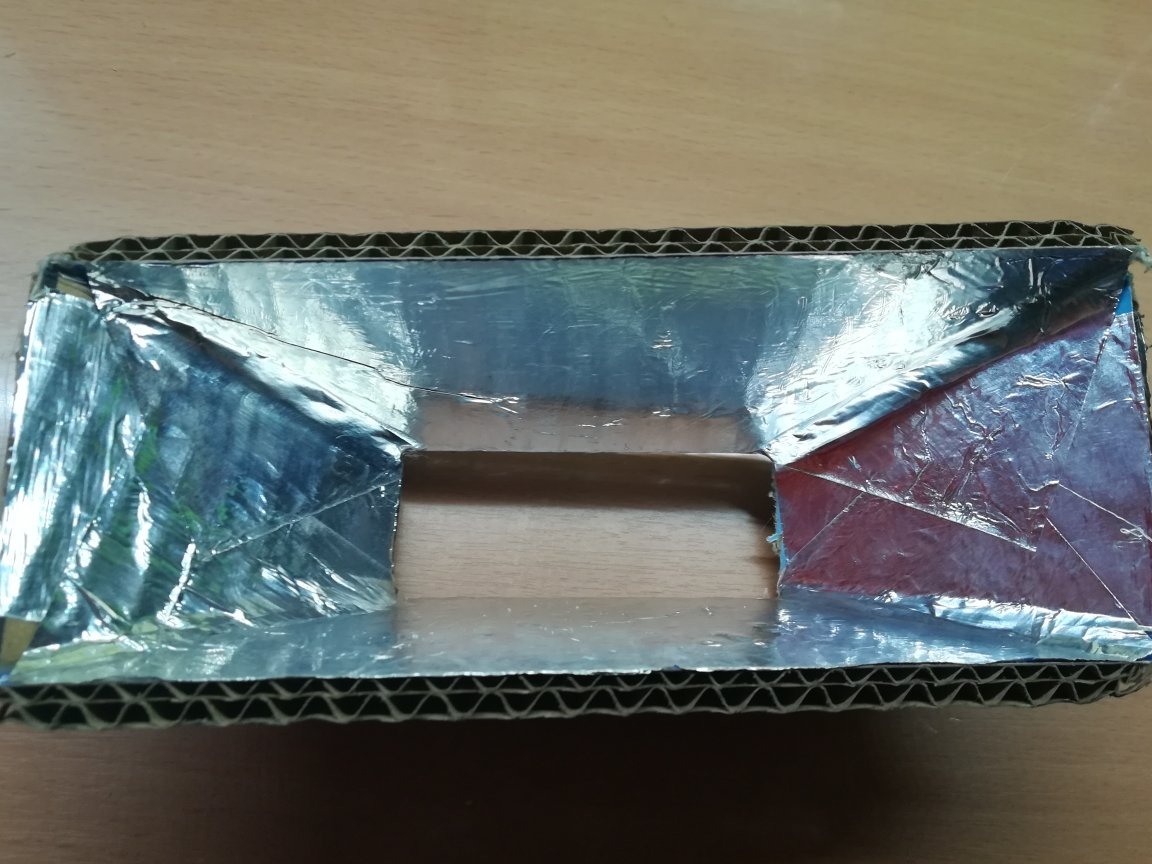
From the inside of our future searchlight, it is necessary to paste over with foil tape or foil. The foil will act as a kind of reflector!
Putting it all together
We insert the finished LED panel into the hole in the housing, bringing the wires from the LEDs out. After the edges of the panel glue with sealant. DO NOT Glue THE ADHESIVE GUN, FROM HEATING THE RADIATOR THE ADHESIVE MELT FUSE !!!
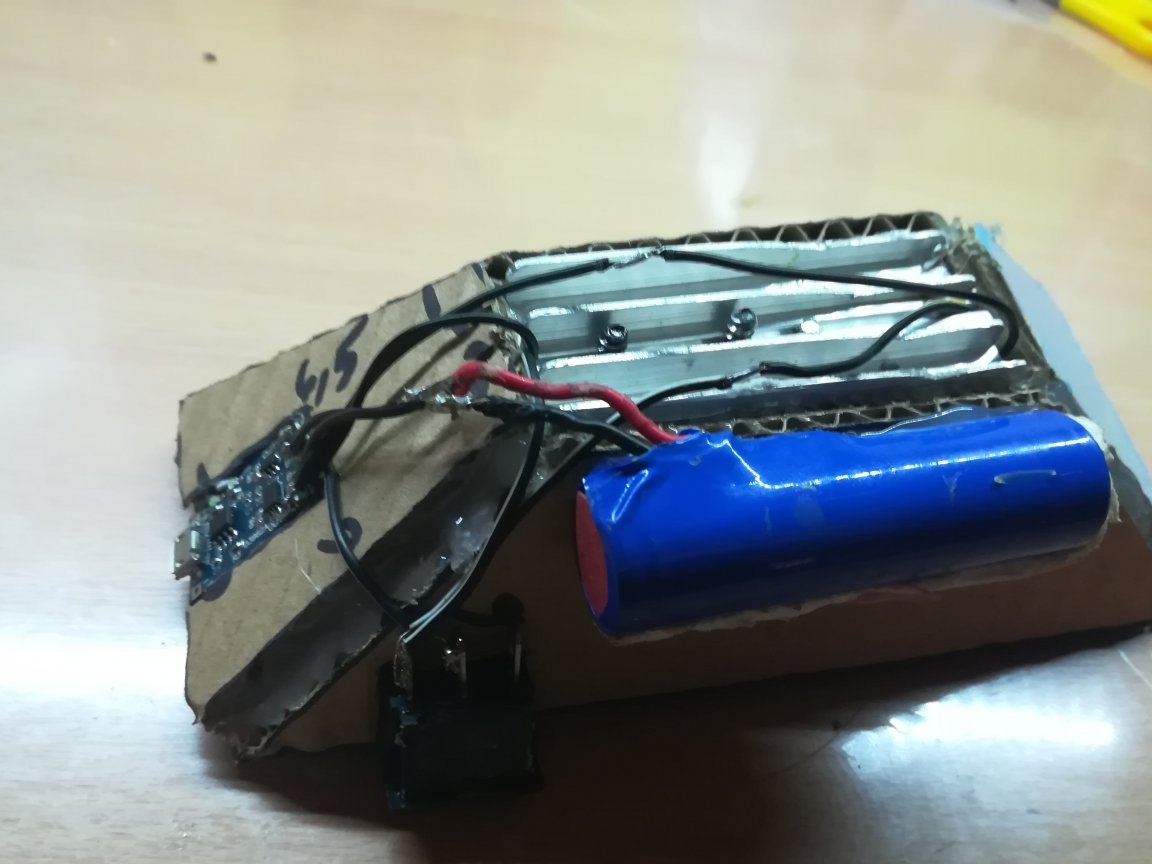
Now you need to attach the battery, switch and charge controller to the back of the spotlight.
The last part remains - to solder everything together! How to solder can be seen in the photo below.
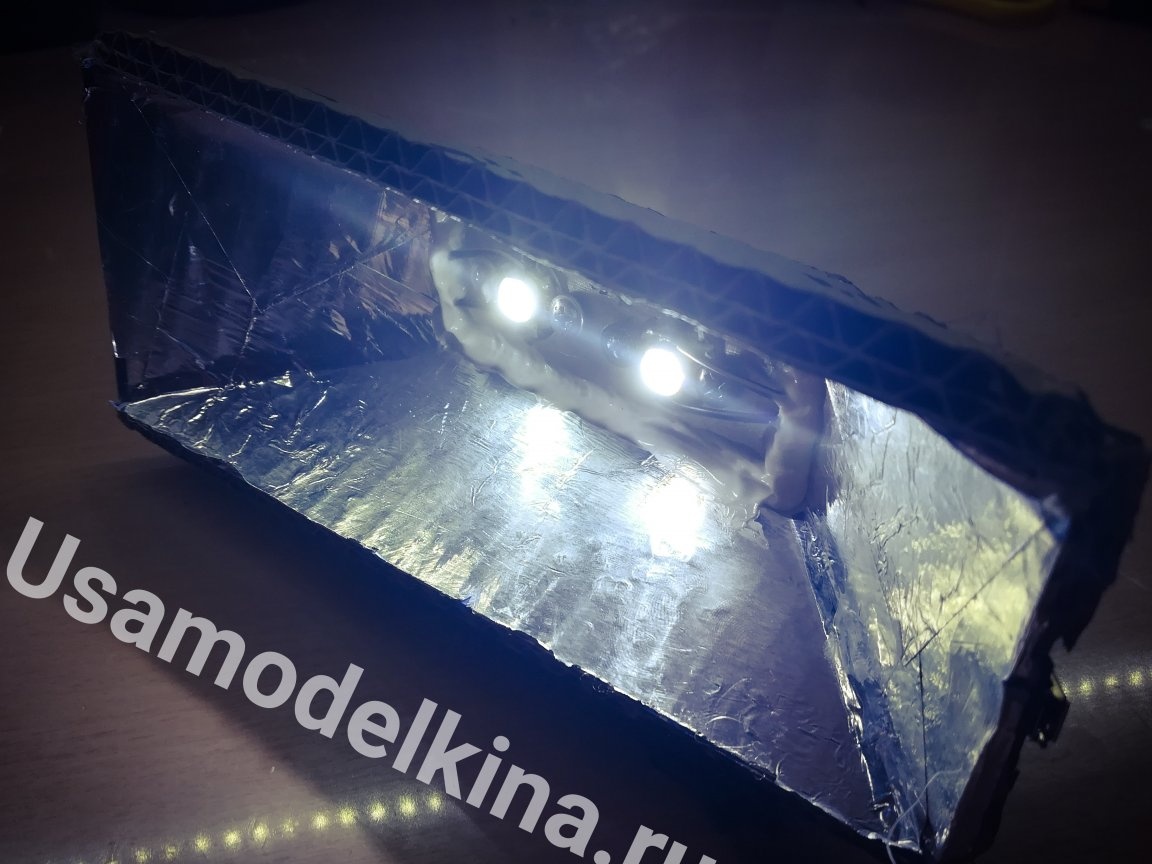
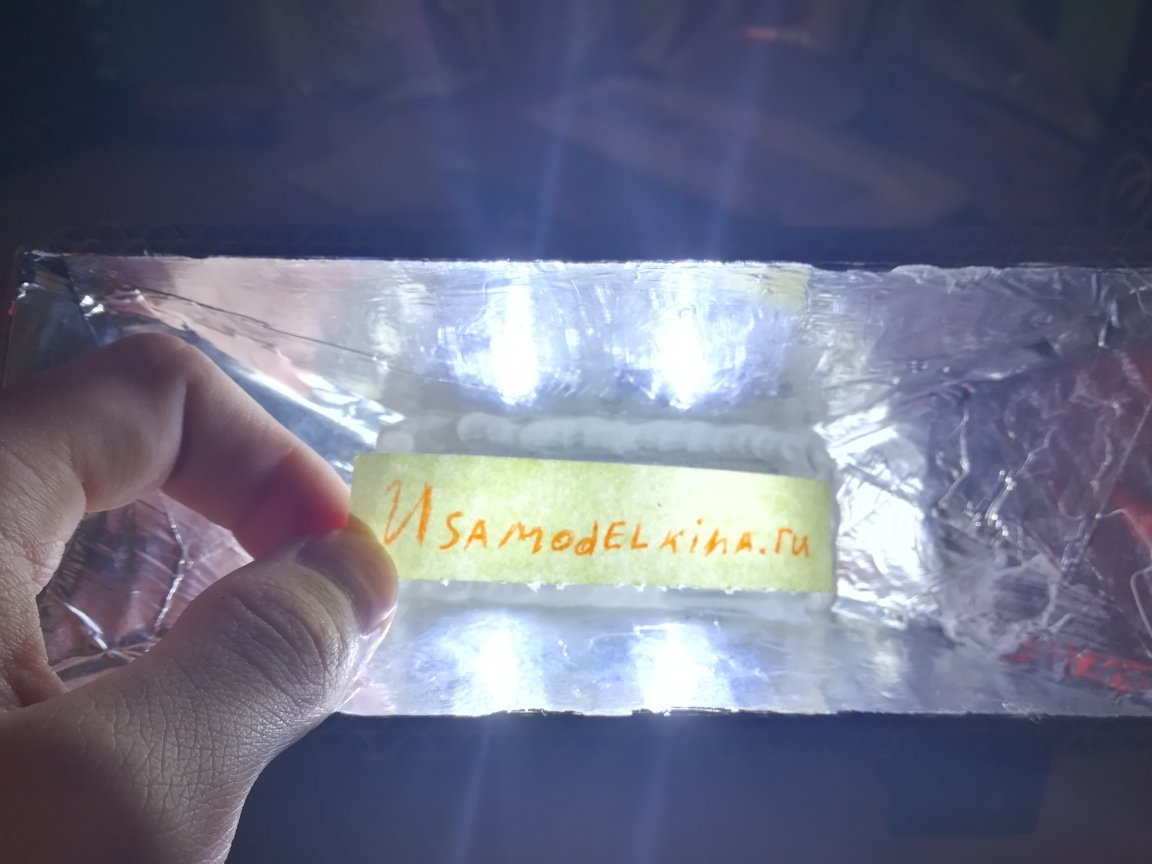
If you did everything correctly, then the spotlight should shine.
From my own experience of use, such a spotlight perfectly illuminates the entire room!