
This cutter for polystyrene, the author made using only waste. Specially, he did not buy anything.
Step 1: Materials and Tools


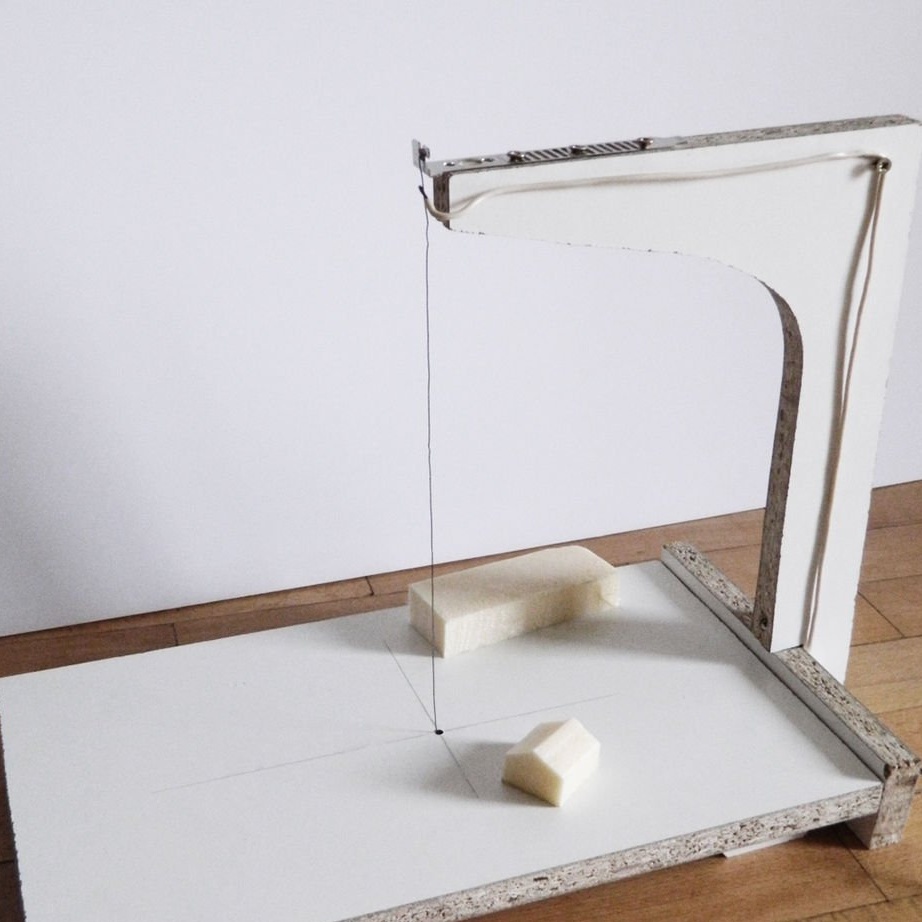
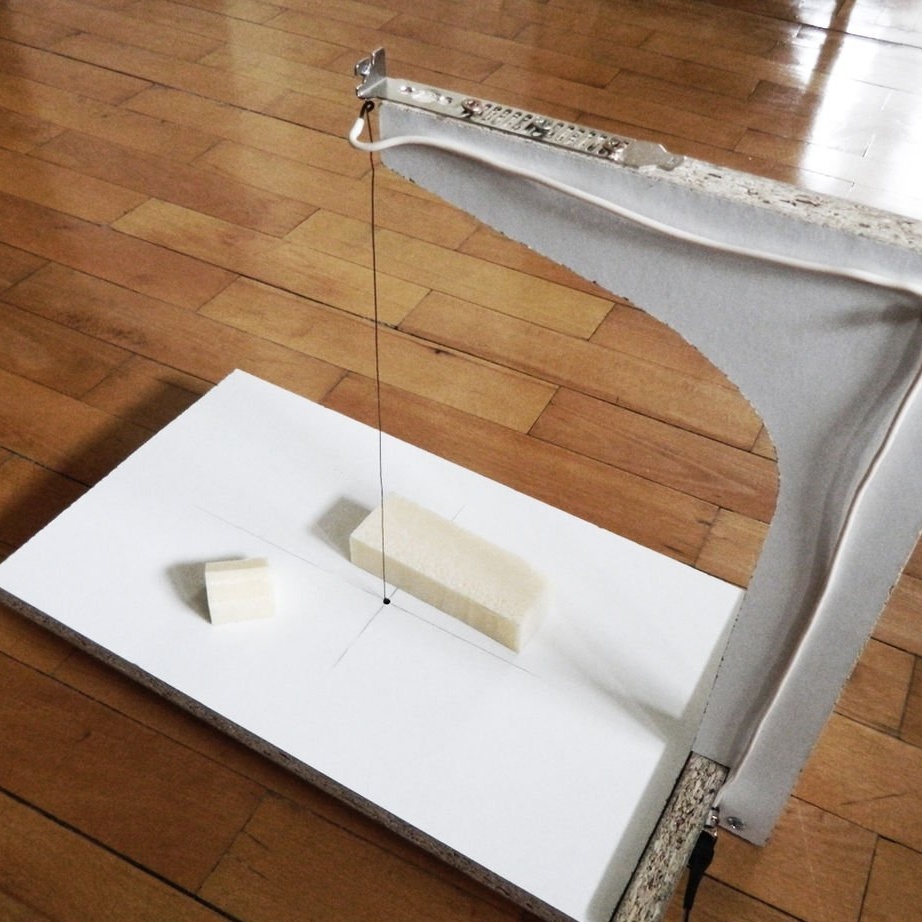
Basically, you will need to make a solid frame that will hold the stretched piece of metal wire. This wire must be connected to a power source.
instruments:
- ruler;
- a pencil;
- rubber eraser;
- roulette;
- marker;
- screwdriver;
- drill;
- pliers
Materials required for the frame:
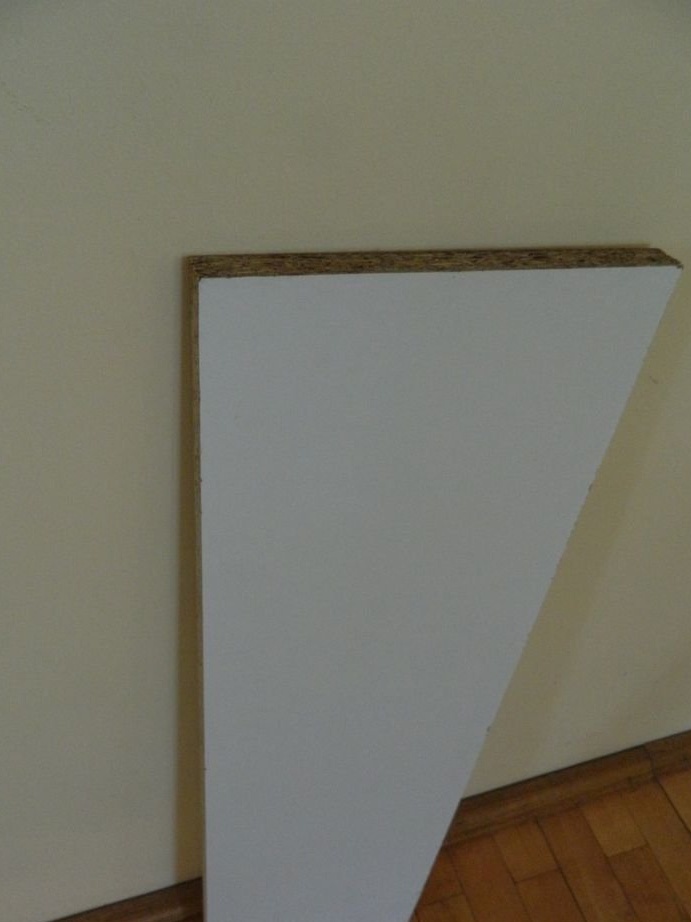
- one sheet of particleboard 80 cm x 25 cm (MDF, plywood, metal, everything that has a flat surface and decent strength and durability can also be used).
The torch lever must be able to withstand significant tension, so look for a sufficiently strong material.
- screws. Two types of screws are needed. Some are shorter than the thickness of the chipboard (1.5 mm), while others are twice as long as the thickness of the plate or more (the author had about 45 mm).
- glue
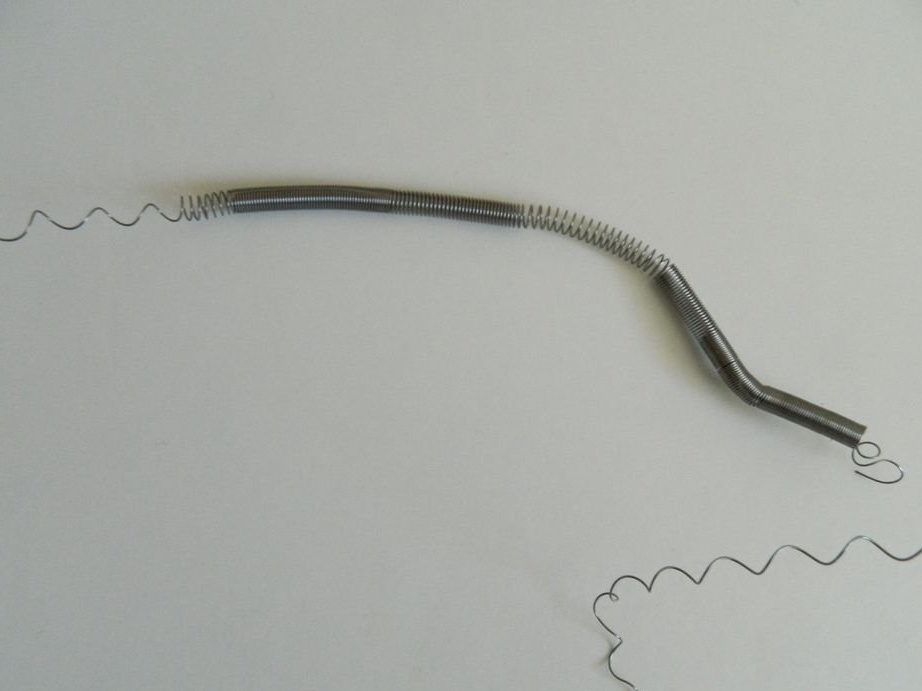
- spring to hold the cable taut. Bicycle brakes have a spring that is very good for our work.
You can use a conventional coil spring if it is strong enough.
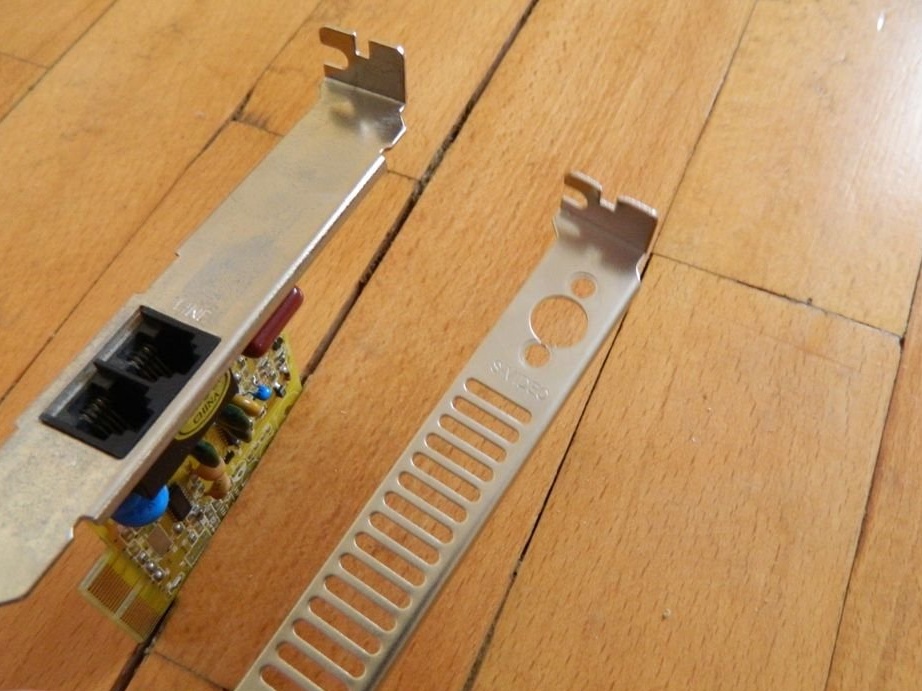
- metal corner and flat plates
- nichrome wire
Nichrome has a very high resistance, so it warms up more. It also has a higher melting point than steel.
Do not try to use copper or aluminum wire, as they have a very low resistance. They can also cause overheating of other conductors, as well as damage the power source!
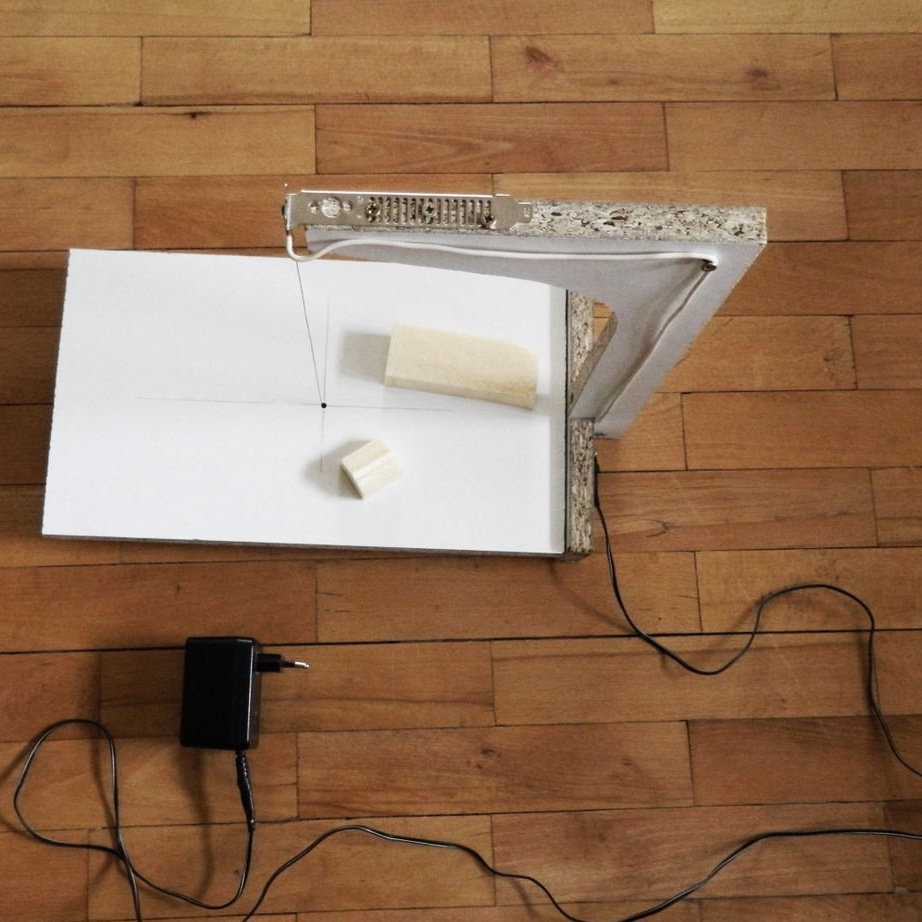
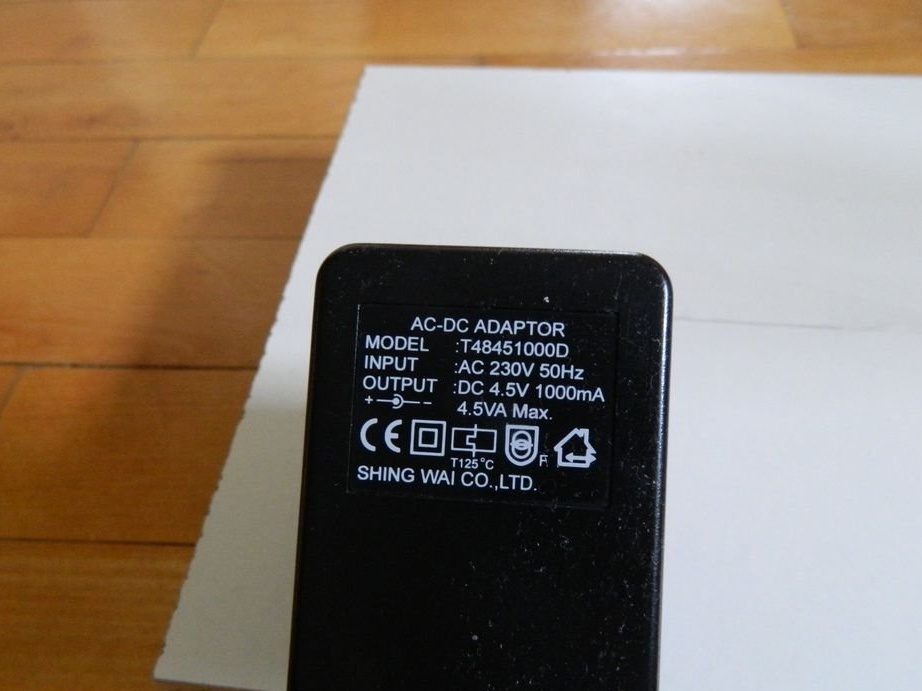
- source of power
You will need an AC / DC adapter capable of delivering at least 1 A (1000 mA), preferably 2 or more Amps. Voltage doesn't matter much. Phone chargers are usually not strong enough for this purpose. You will need to read the specifications of your adapter. A laptop charger should work, but you may need to use a longer piece of wire or add a few resistors to the circuit. Otherwise, the wire may overheat.
A variable power supply offers the advantage of adjusting the current and therefore the temperature of the wire. They also have fuses and protective circuits that will make the torch safer to use.
- electric cables for connection
Thick wires are required to connect the power source to the wire.Very thin wires become very hot and can burn out.
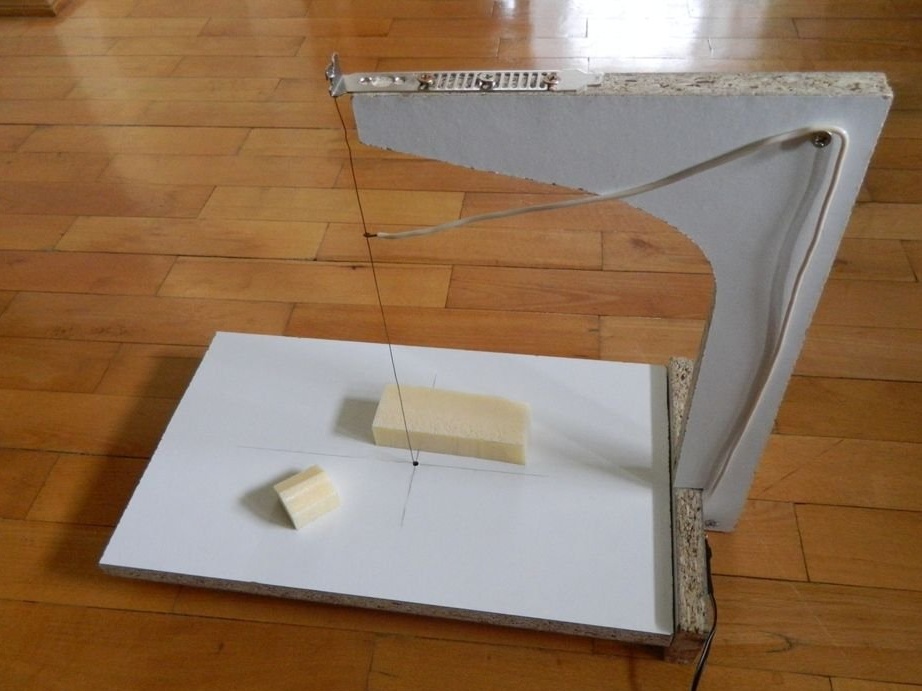
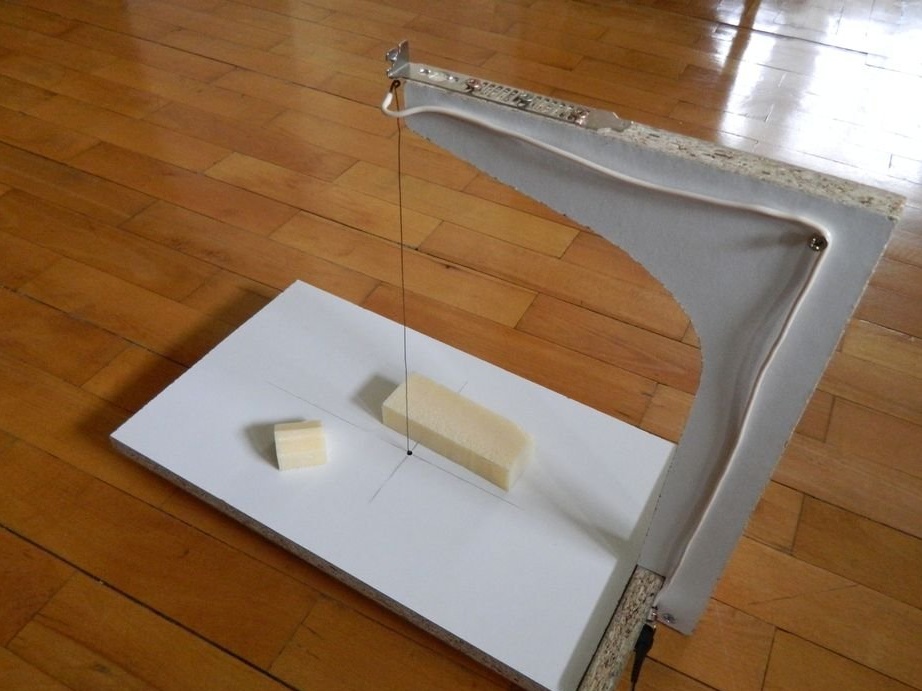
Step 2: Making Frame Parts

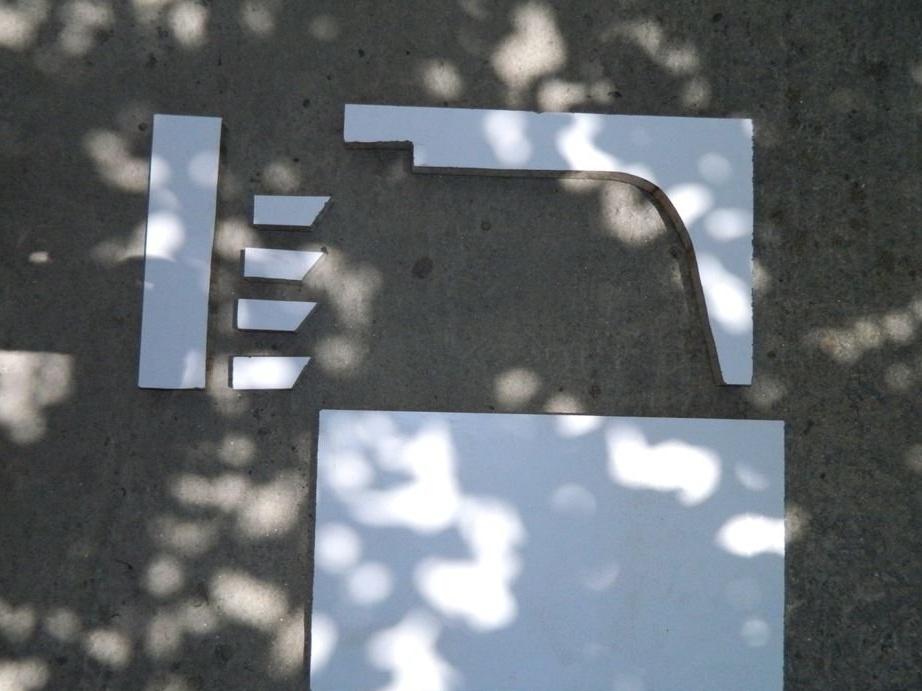
Mark and cut the chipboard sheet into four arbitrary parts. Dimensions depend on your desires and capabilities, as well as the width of the expanded polystyrene. One board will be the base platform. Another L-shaped figure will serve to secure the bracket to the base. A narrow strip should be cut into four small pieces. They will serve as legs for the base plate. Another strip should be the same width as the width of the base platform.
Step 3: Assembling Wood Parts
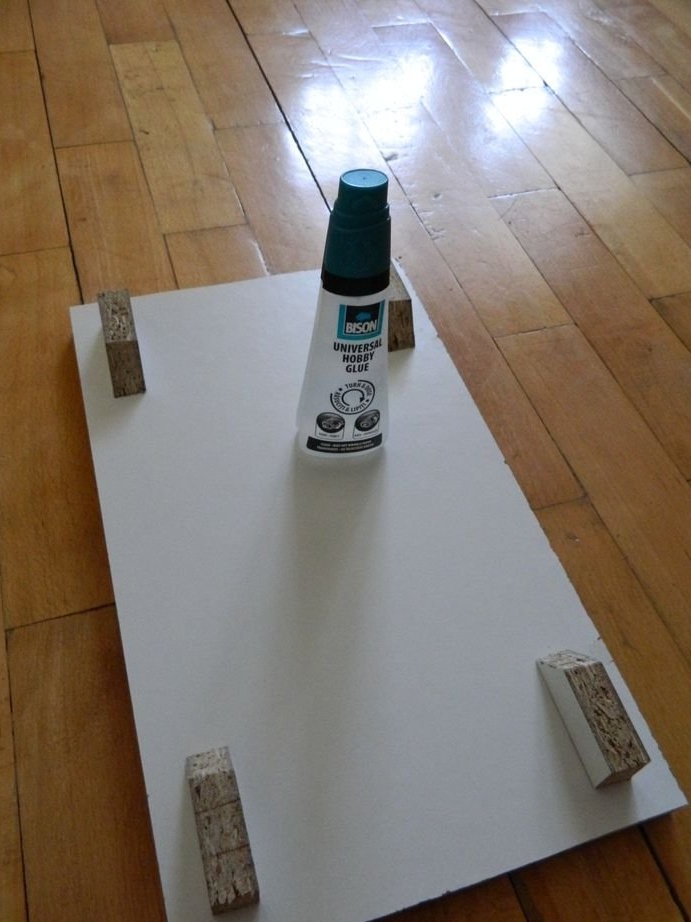
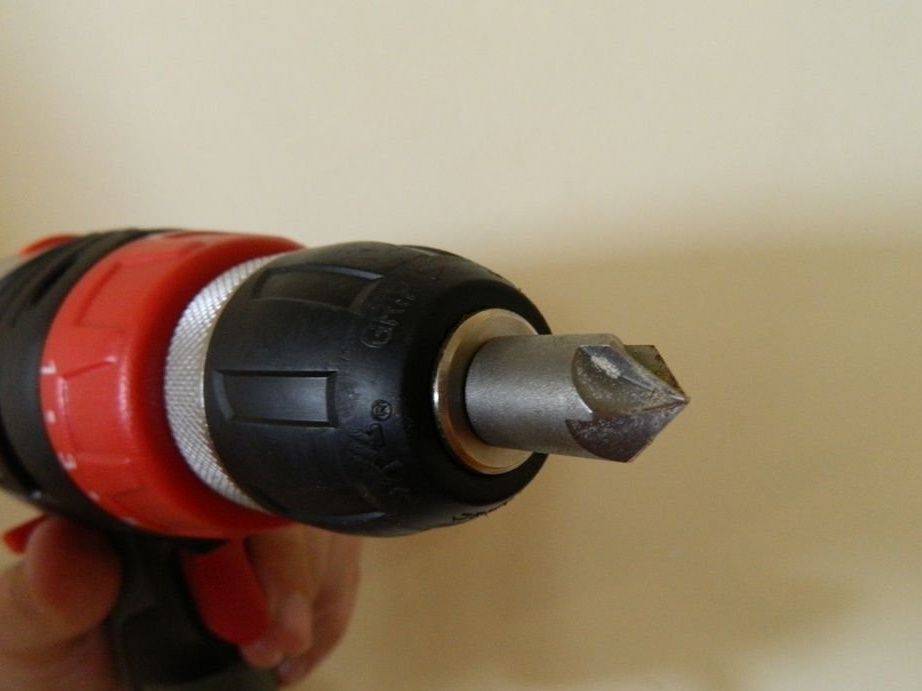
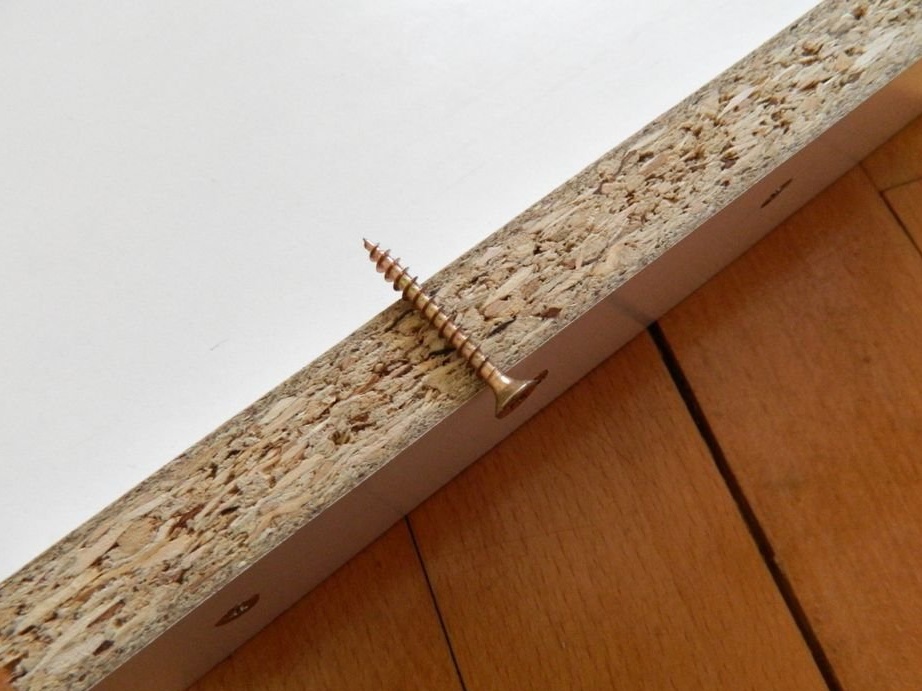
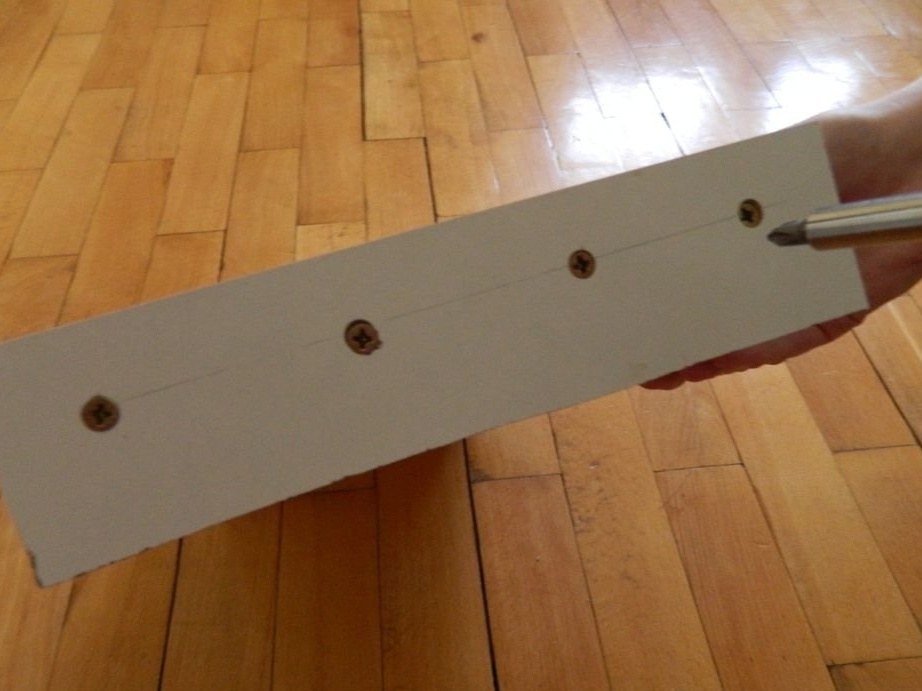
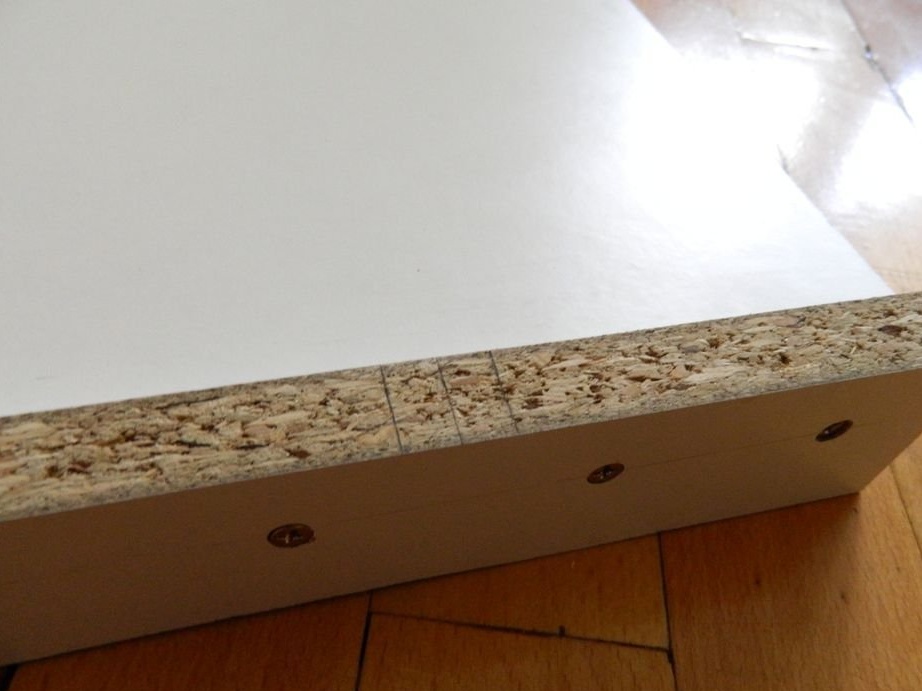
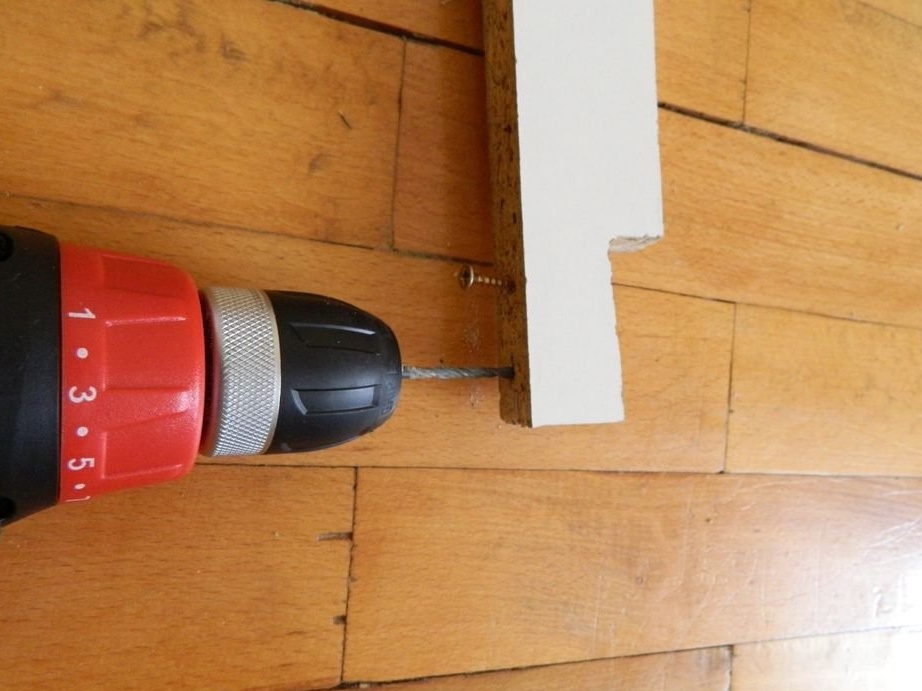

The legs to the base plate are glued to the glue, and a narrow piece of chipboard is attached to the base plate using screws. For this, holes are pre-drilled and then countersinked.
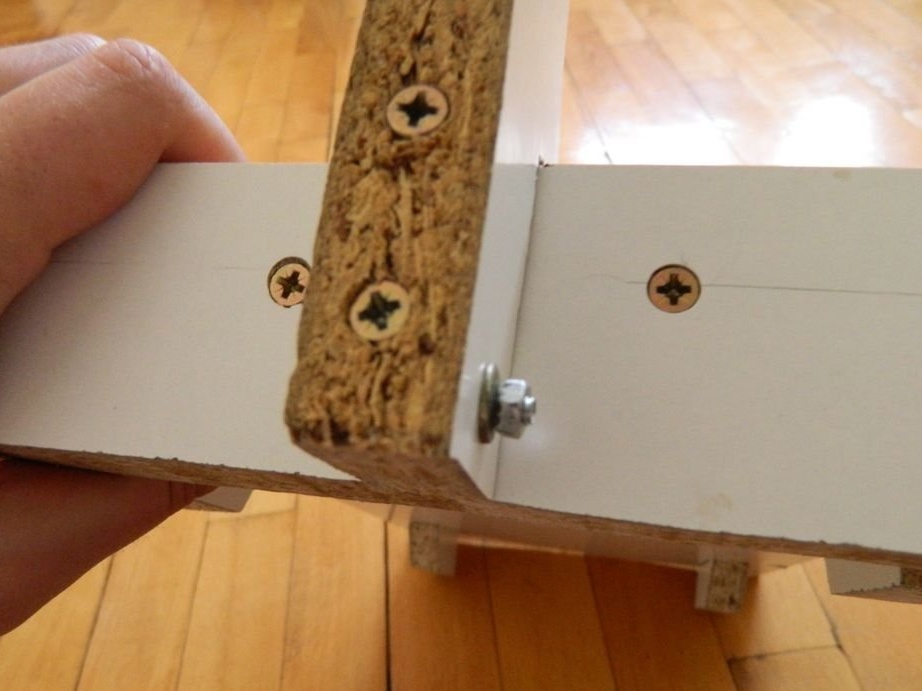
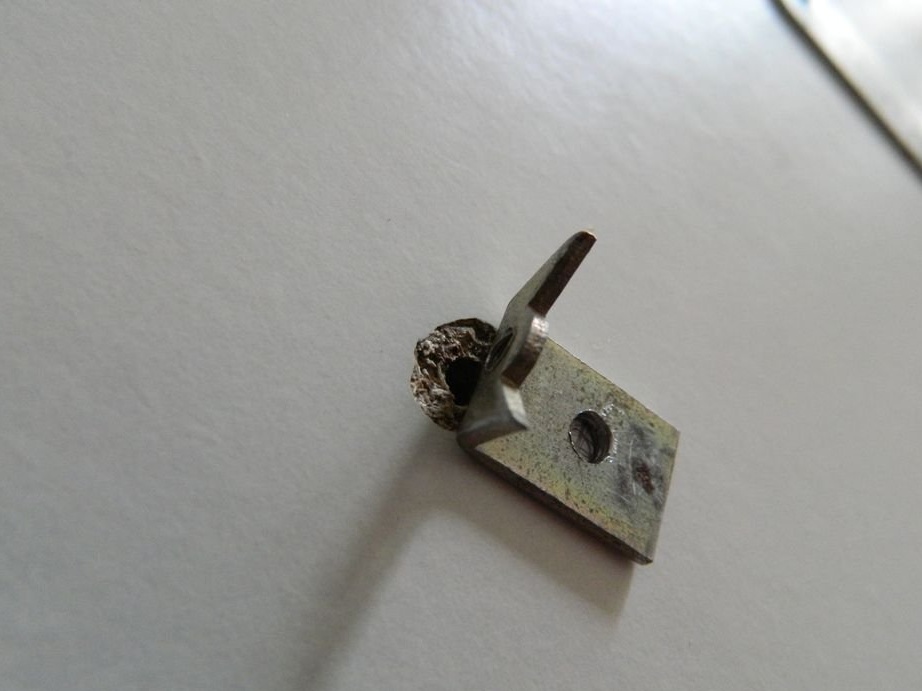
Step 4: Fasten the metal plate at the top edge of the L-shaped part
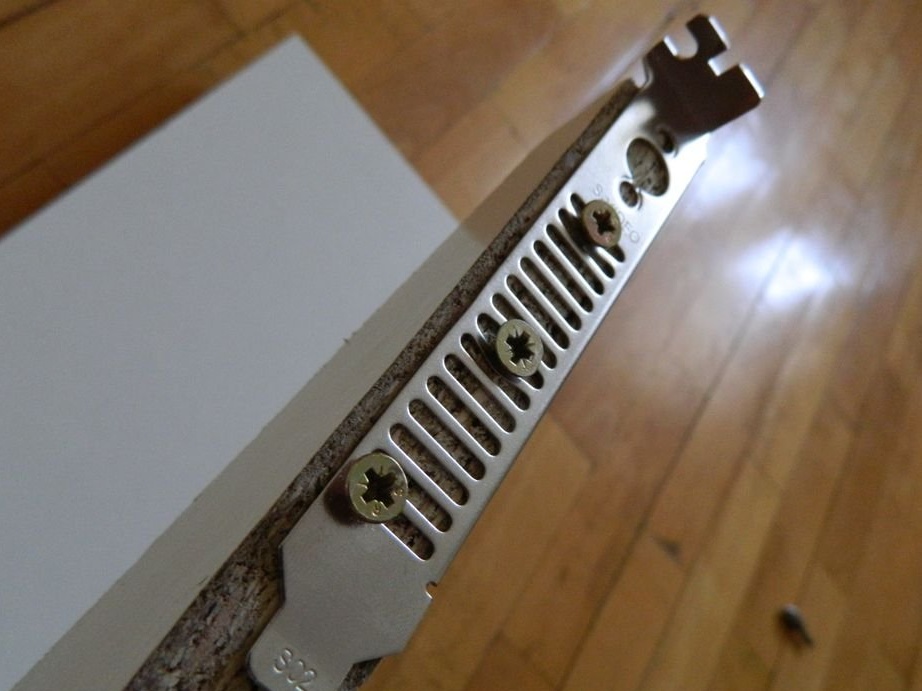
Use short screws and pre-drill holes for them. Make sure the tip of the plate protrudes slightly.
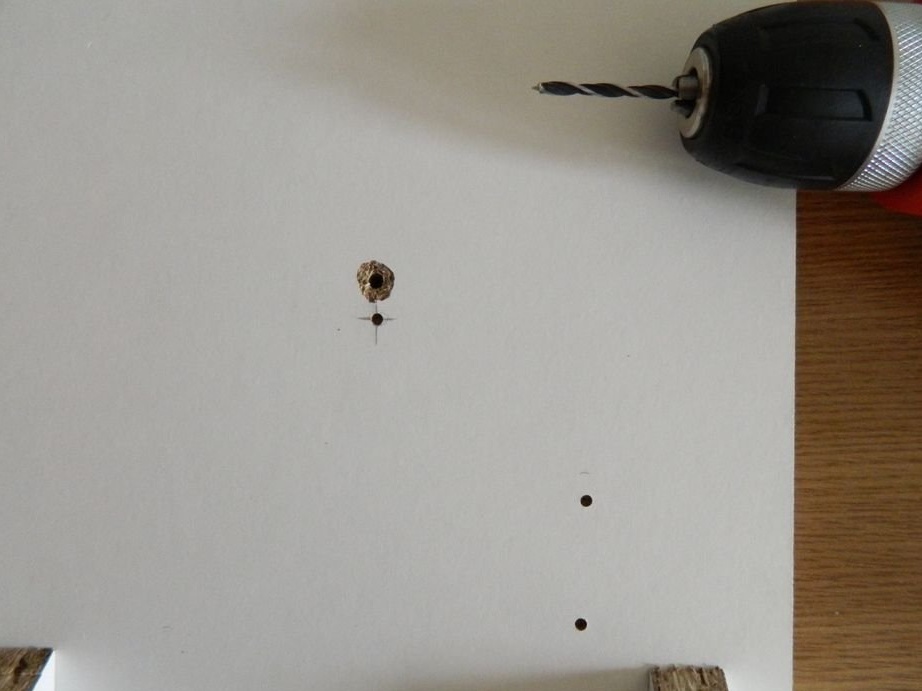
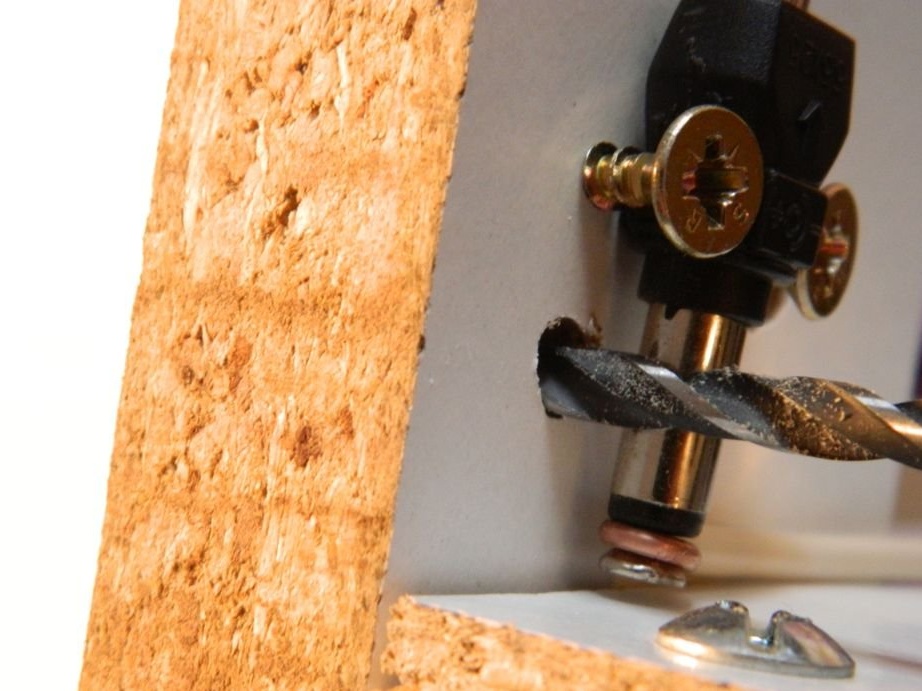
Step 5: Base Hole
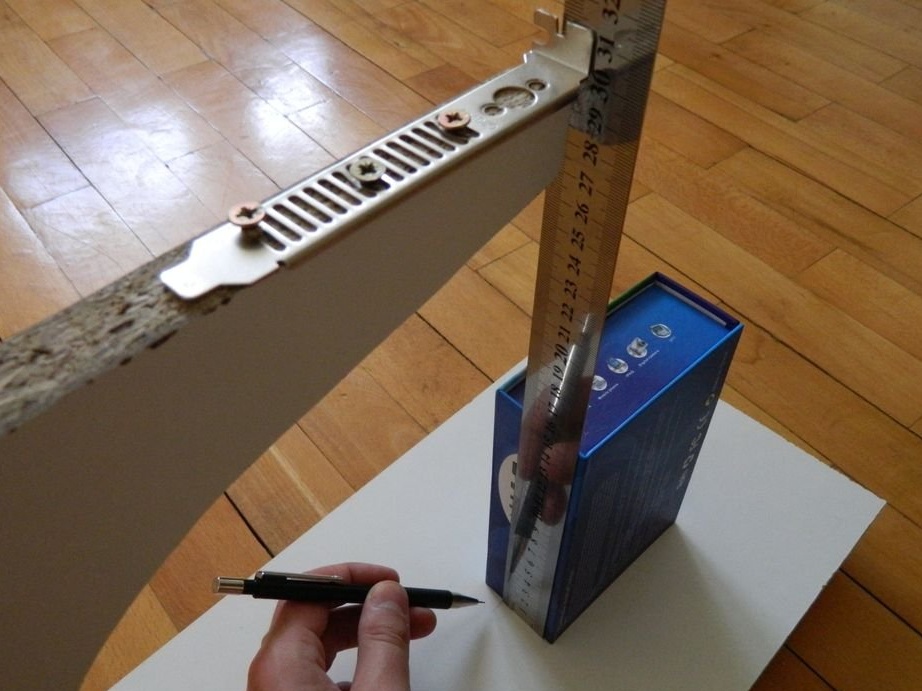
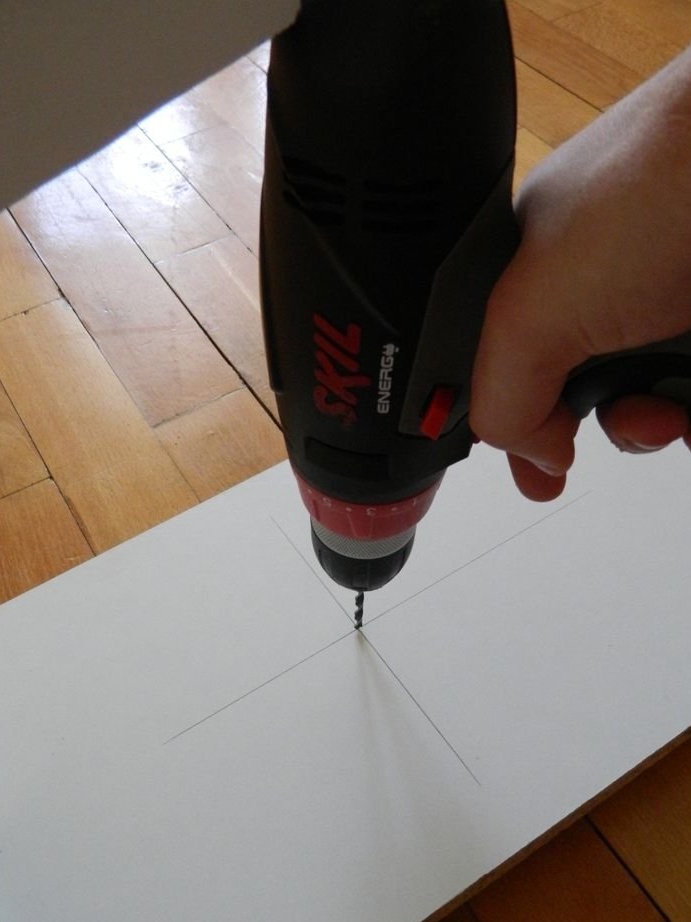
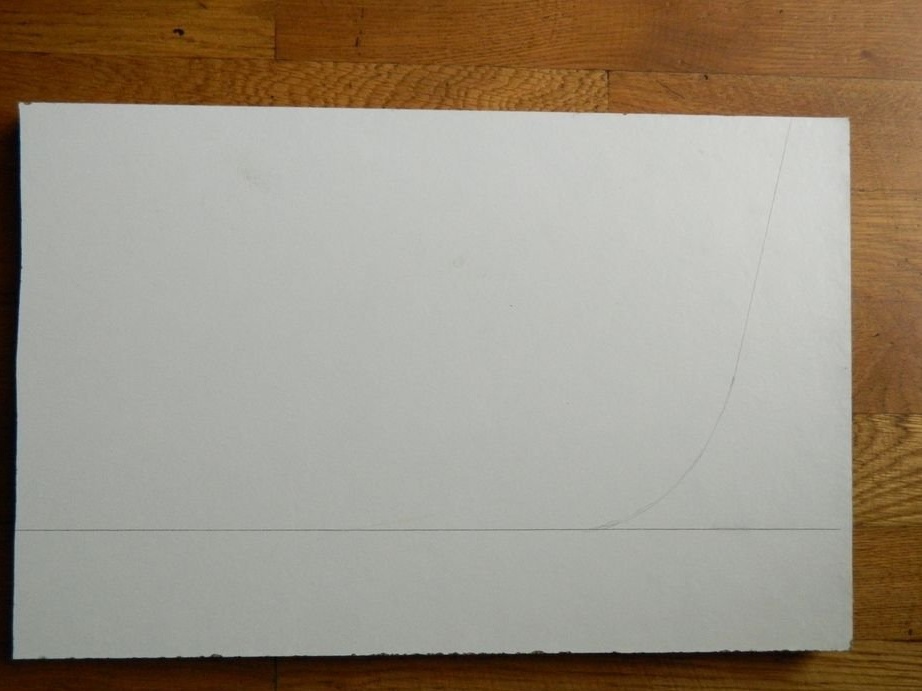
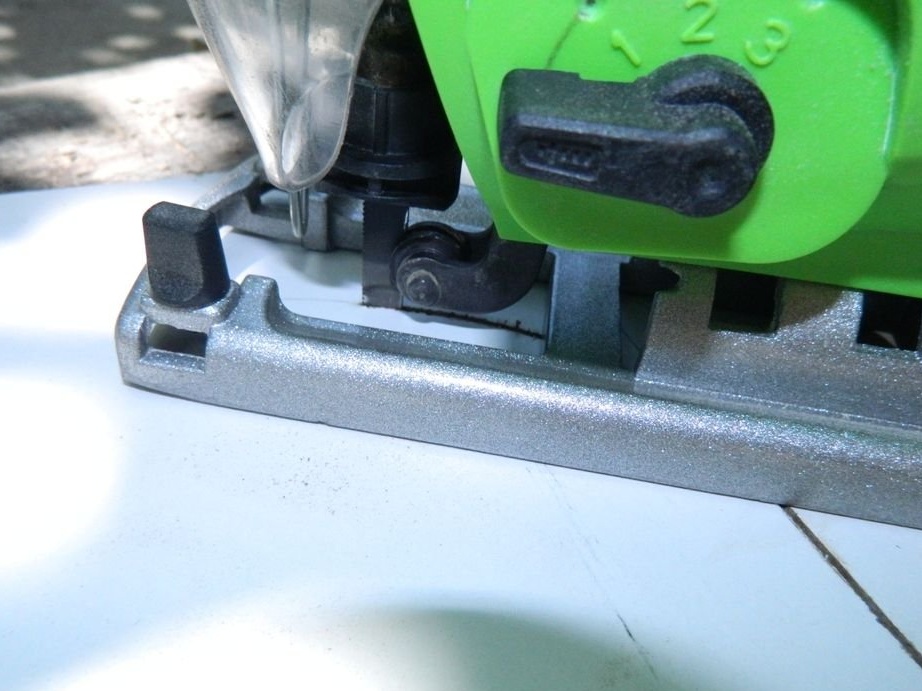
Using a square, mark the point in the base plate where the wire will pass. If there is no square, then you can do as the author of this homemade - use a ruler. Make sure the ruler is upright. At this point, it is necessary to drill a hole with a diameter of 4 mm.
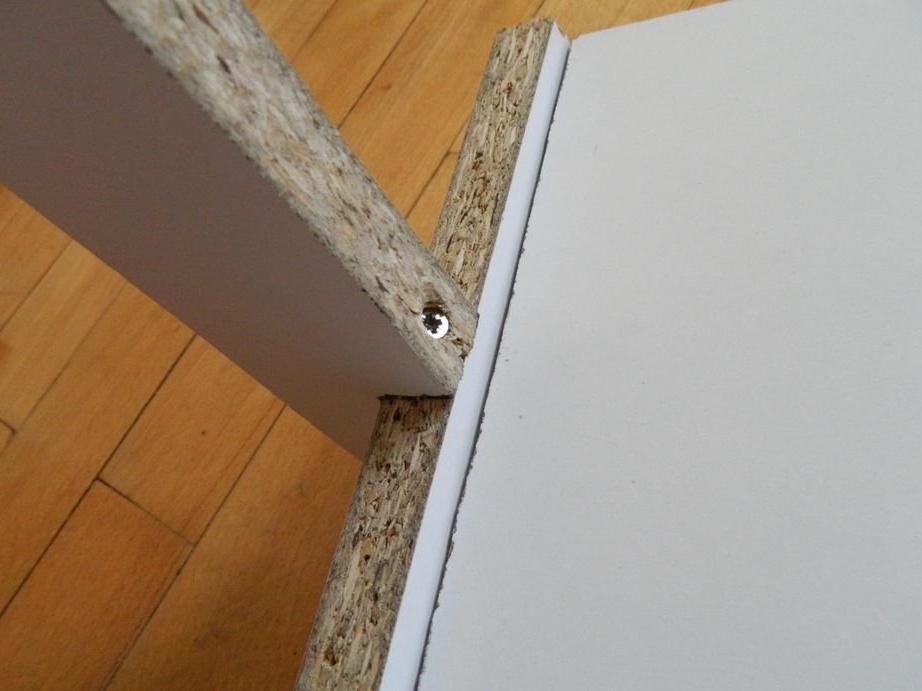
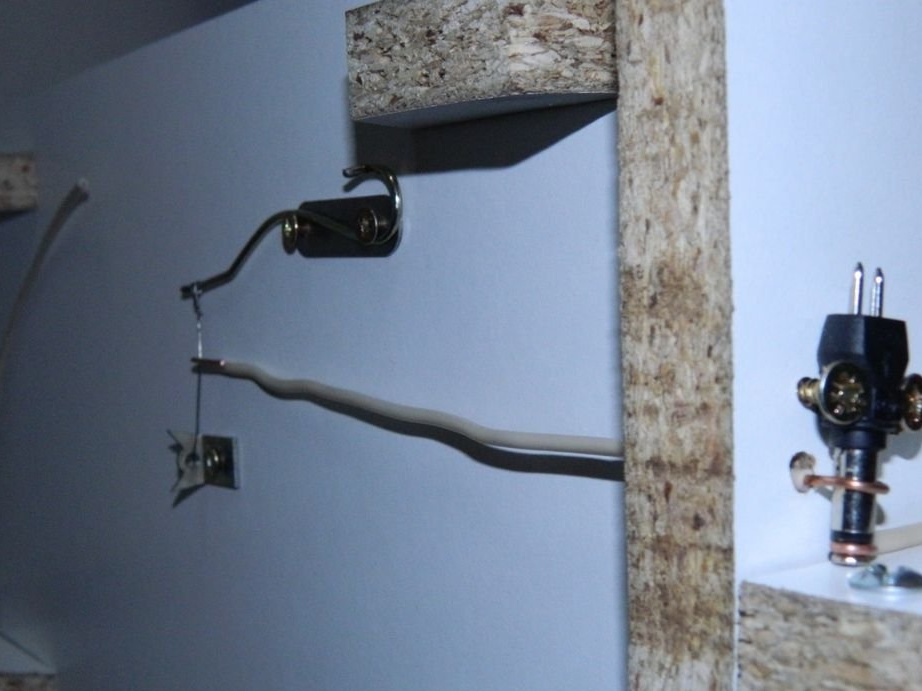
Step 6: Attach the spring and lower parts to the wire
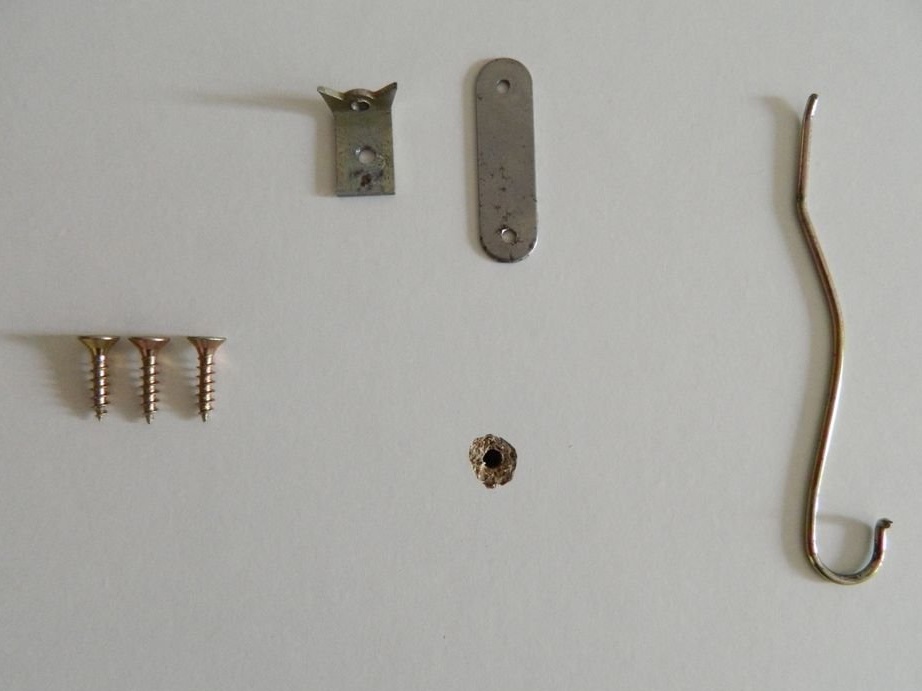
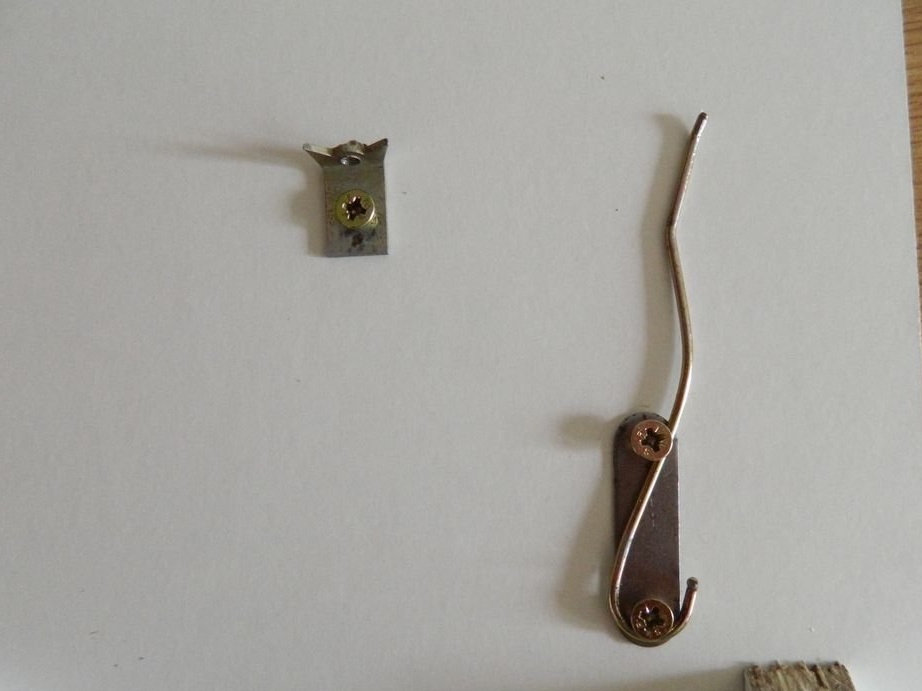
Turn the base plate upside down and place the corner plate over the hole. The wire will go through the hole in the corner plate, so try to position the plate so that the wire runs in the center of the hole.
Mark the position of the holes for the metal plates.
As a spring tension clamp, the author used a flat metal plate. This plate is also necessary so that the spring does not rub against the surface of the plate. But you can fix the spring directly on the plate.
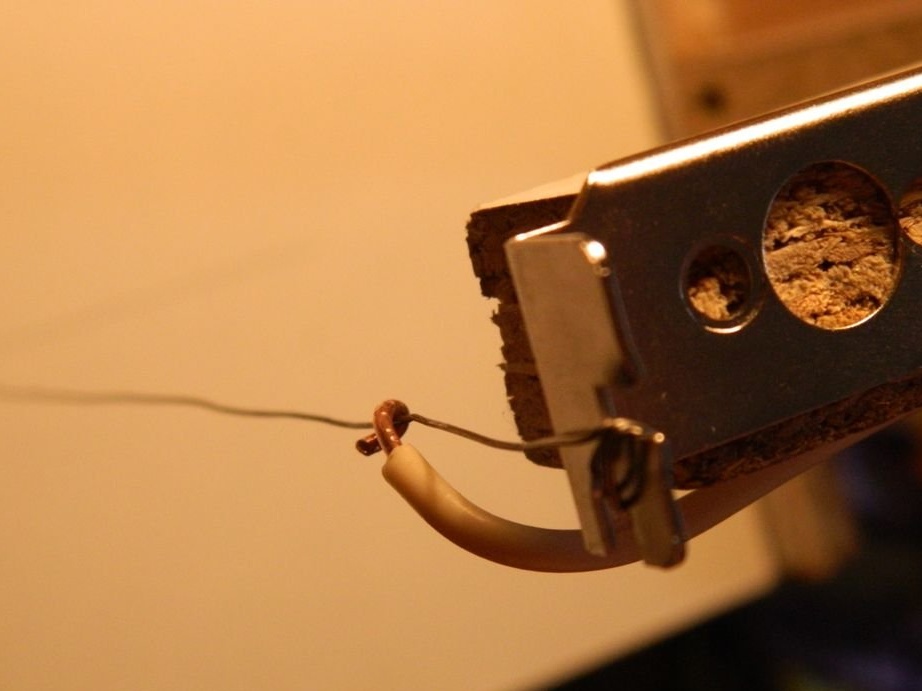
The nichrome string is attached to the plate with screws. In tension, the string will be held by a spring.
Step 7: Attaching the String

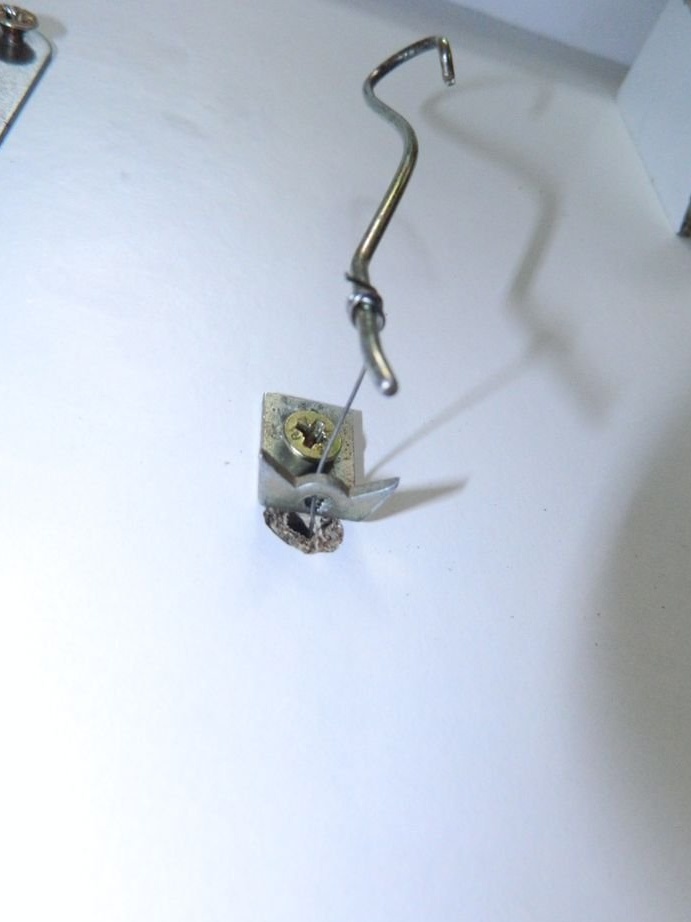
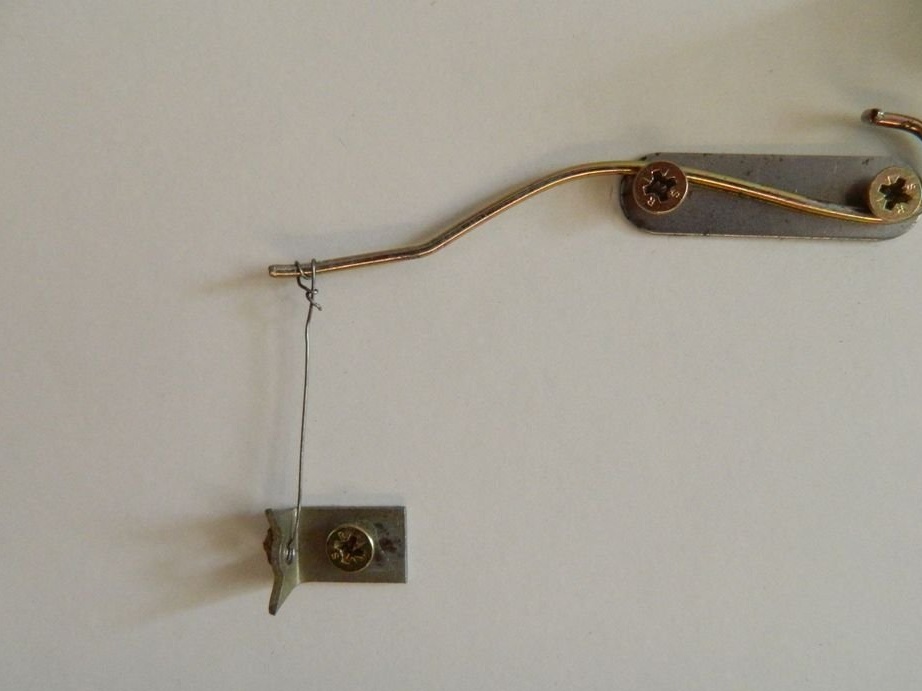
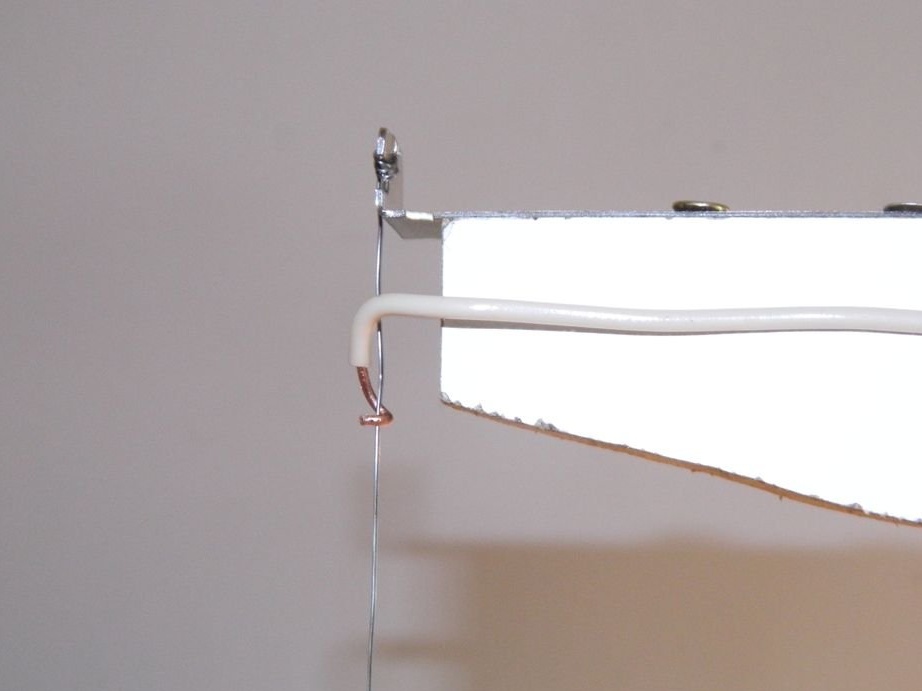
First tie the wire on top. Pass the wire through the base plate and the metal corner plate. Then tie it to the spring, leaving enough length on the wire so that the spring always remains tense. Then you can return the spring to its place.
The nichrome wire, in the places of fastening, is simply tied in a knot.
Step 8: Checking the electrical circuit
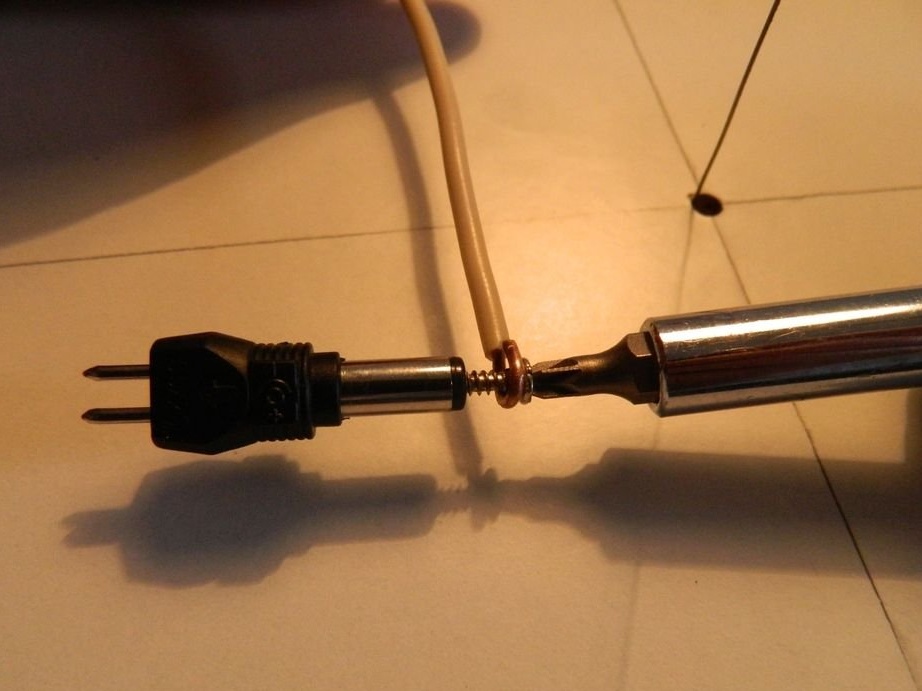

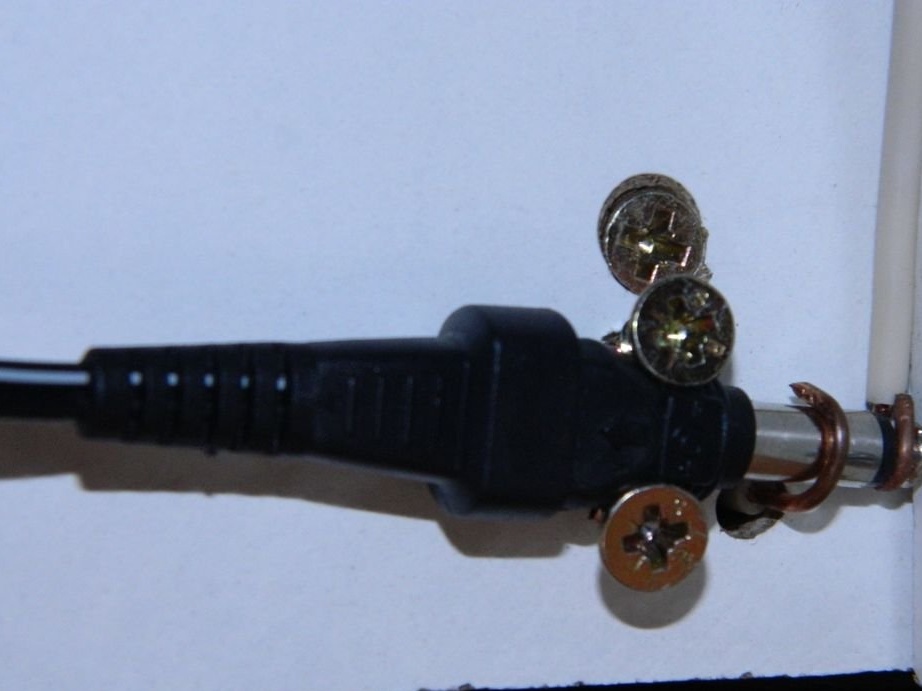
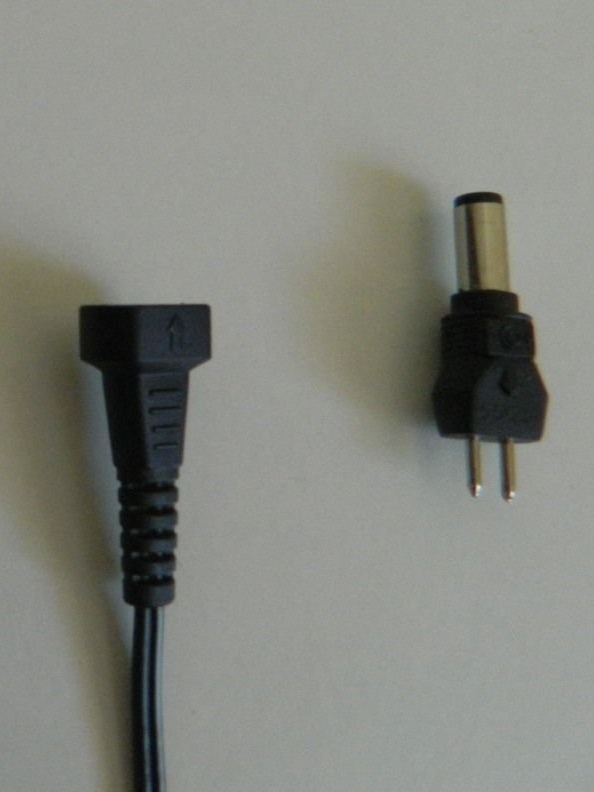
The author has a universal adapter for the charger. He picked up a tip that can be attached to the frame with a small screw inside the tip. This way, you can easily remove the adapter when the torch is not in use. It also makes it easy to switch to another power source.
Power connections can be improved slightly with a more elegant solution. For example, cables can be connected to banana plugs.
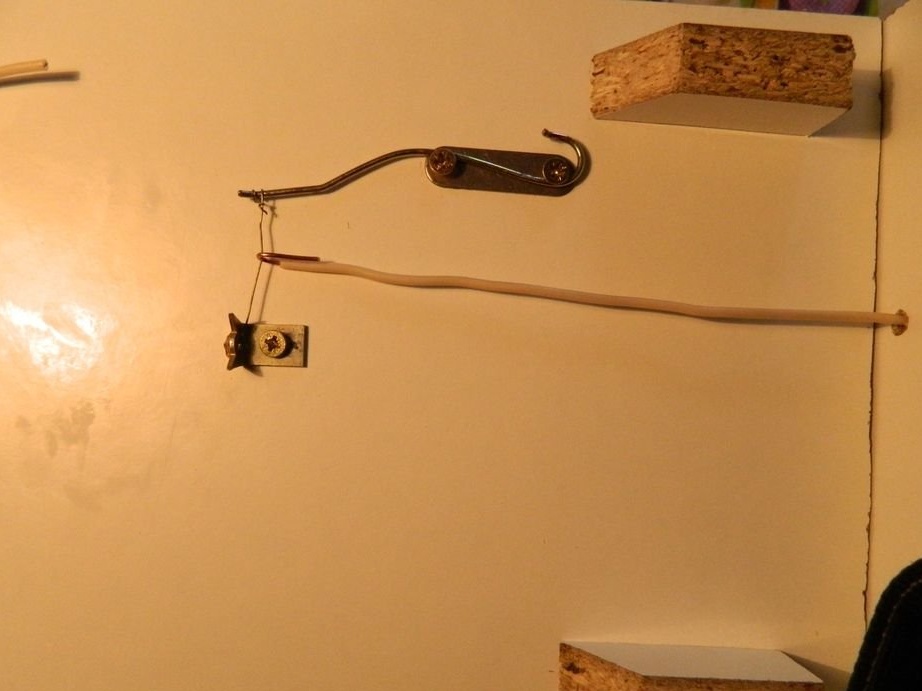
Step 9: Make sure the connections are reliable and do a verification test
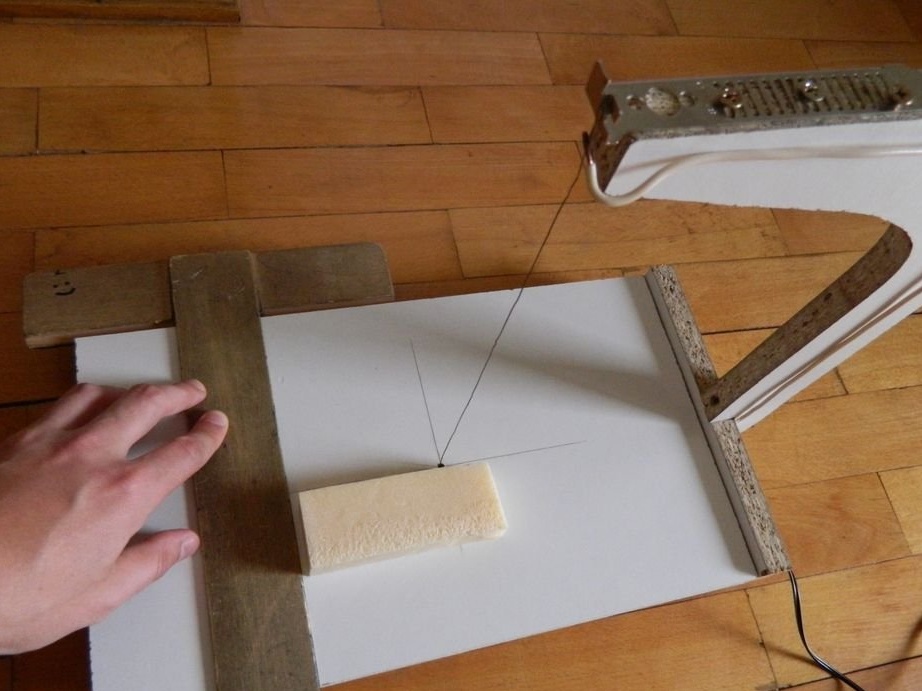
It is recommended to leave some extra length at the top cable so that it can slide up and down along the nichrome wire. This changes the resistance of the cutting wire by adjusting the temperature. The shorter the wire, the higher the current and, therefore, the heat. If high-quality cutting requires a very short wire to melt the foam, this means that the power source is not powerful enough, and you risk burning it, because too short a wire makes the current really high.
If you are an electrician, you can add a potentiometer to the circuit to adjust the current. If you use a variable power supply, it is still simpler.
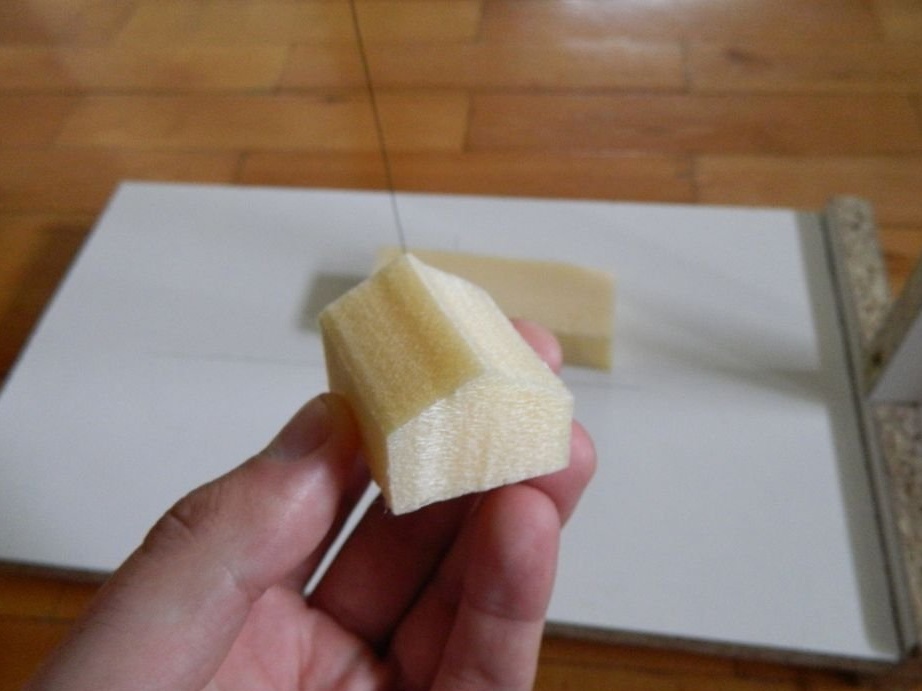
Now you can start cutting pieces of polystyrene foam and experimenting with temperature.
Step 10: About Security
Do not leave the torch on when you are not around.
If you use less than 2A and 12V, then you will not feel the electric current if you touch the wire, but be careful, as it can get very hot. Metal parts that are out of the circuit (metal plate on the lever and spring) will not be live, so they will not heat up.
Expanded polystyrene cutting produces toxic gases. They can cause a headache, and with regular exposure can cause cancer.It is best to use a cutter outdoors or near an open window. If you cut polystyrene foam indoors, the smell will be persistent for several hours. Using a mask is also highly recommended.