

Spring is coming, which we look forward to. So you want to come to your garden plot, "dig deeper" in the ground and after that, sit in the gazebo and relax. Admire the reviving nature, estimate future work. But not everyone has a gazebo. Today it is a relatively expensive pleasure.
I bring to your attention, so to speak, a budget version of the gazebo.
It all started with the fact that there really was nowhere to sit down to rest. More precisely, but everyone wanted a gazebo.
That was in 2013. Then the price of the finished gazebo fluctuated within 40 000 rubles. So I decided to make my "budget" version of the gazebo. I suggest this option.
I want to immediately make a reservation that I am trying to submit several ideas and an approximate (approximate) consumption of some materials. And to tell how I built it and what I proceeded from. Initially, I will make a reservation that the gazebo is and pleases us to this day.
I immediately abandoned the wooden floor in the gazebo, because of the unnecessary consumption of material - this is the first. The second - a recreation area with a barbecue was conceived, so the option with homemade tiles was chosen. I took measurements, estimated the design and counted the materials. Draw a sketch. The gazebo was planned like this (preserved sketch).
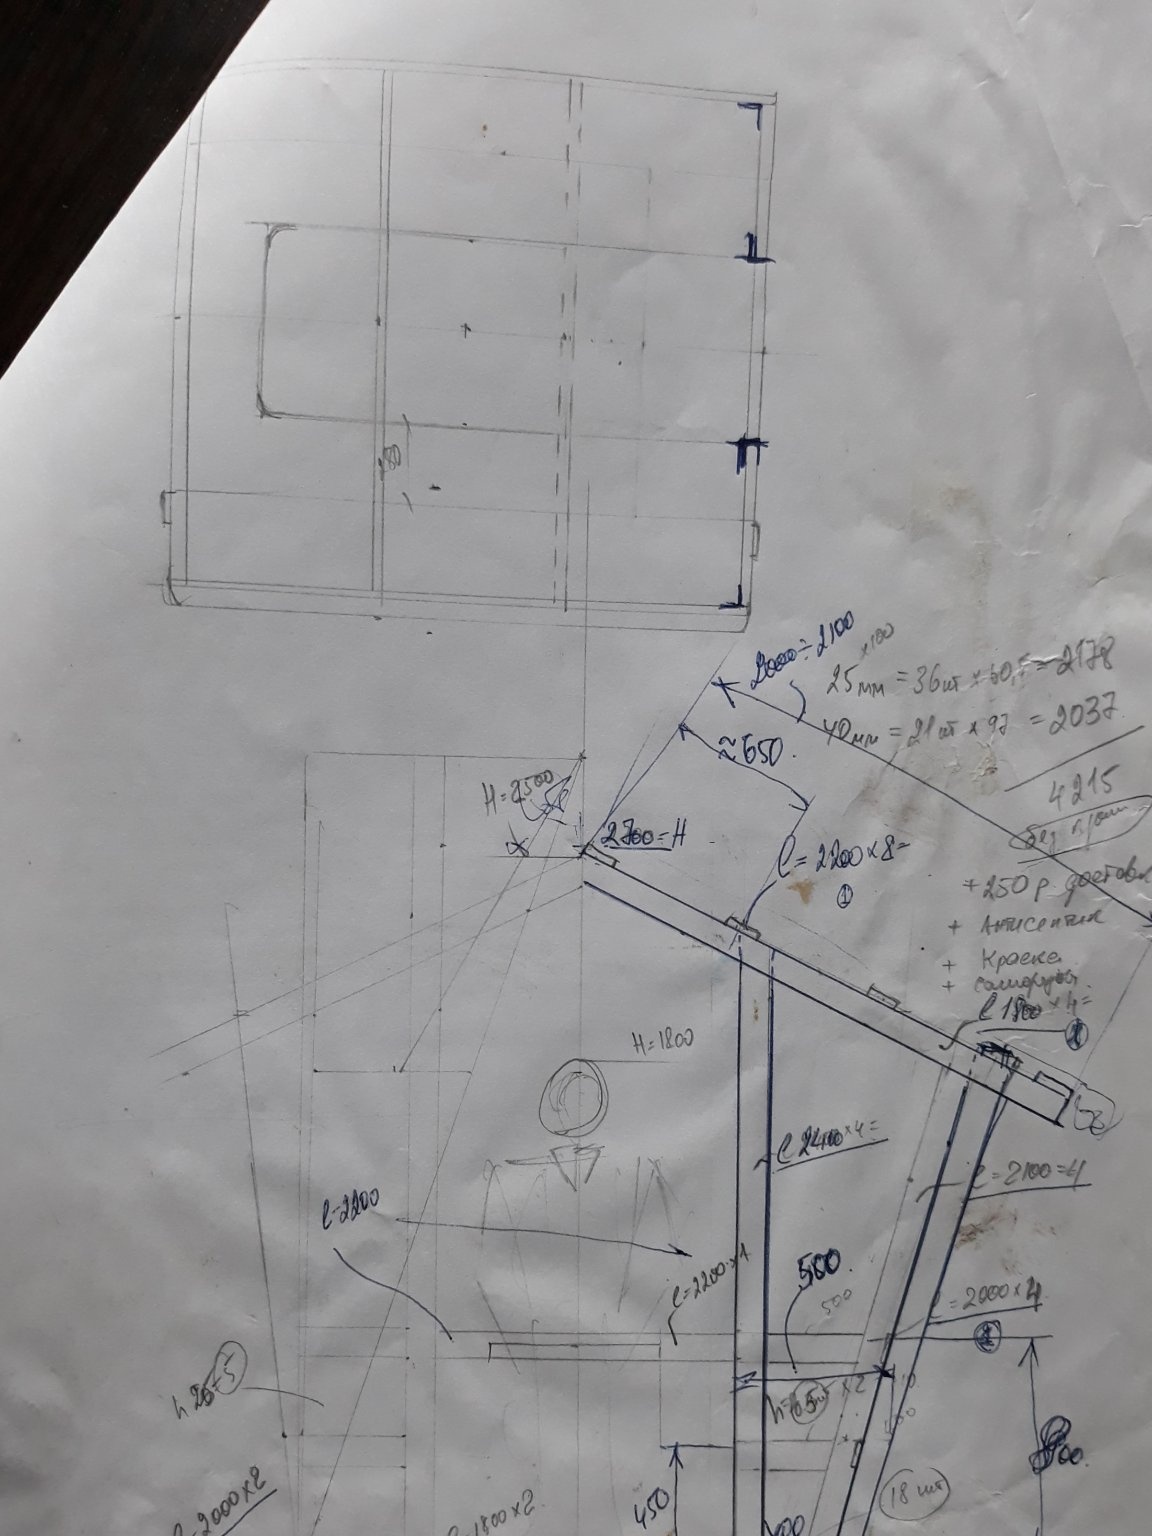
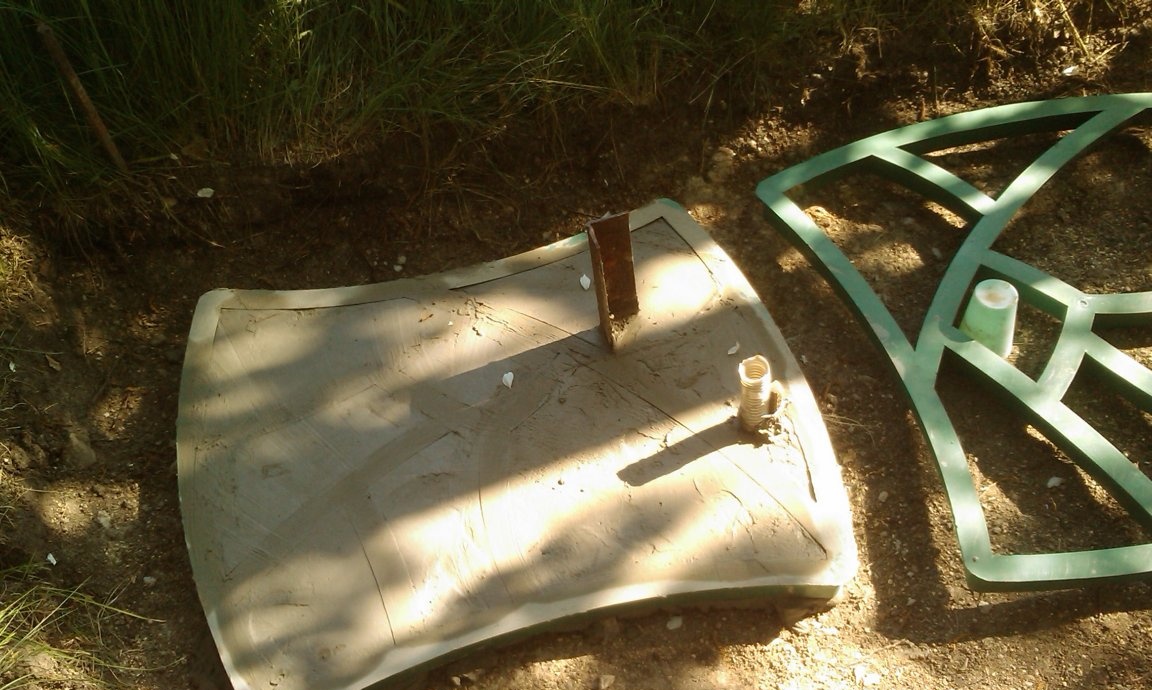
The base decided to make a point of 50 angles at six reference points.
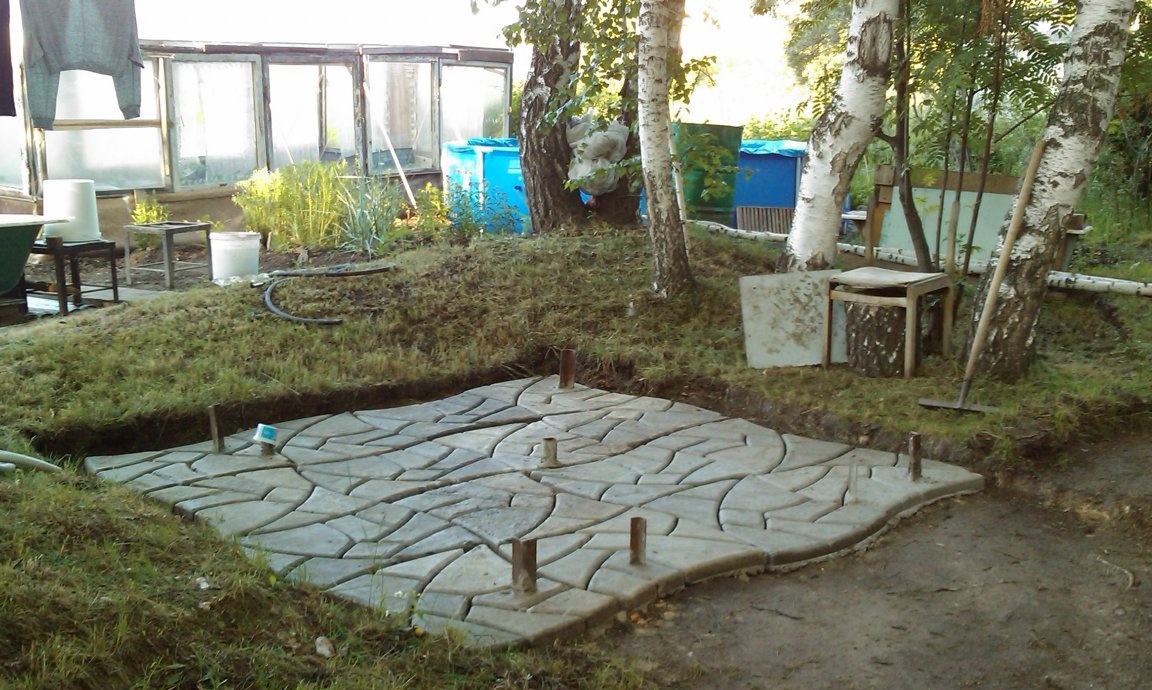
He made the layout of the site, marked out the supports. I drilled 6 holes with a hand drill and set up support corners. And poured concrete. He laid corrugation for conducting lighting wires and poured the first section of the tile.
He did it slowly with his assistant - grandson Zhenya. Four days later, we got a platform, approximately 2400 X 2200 mm. Since the gazebo was planned 2000 X 2000 mm. In the middle left a pipe from the previous table, as the basis of the future.
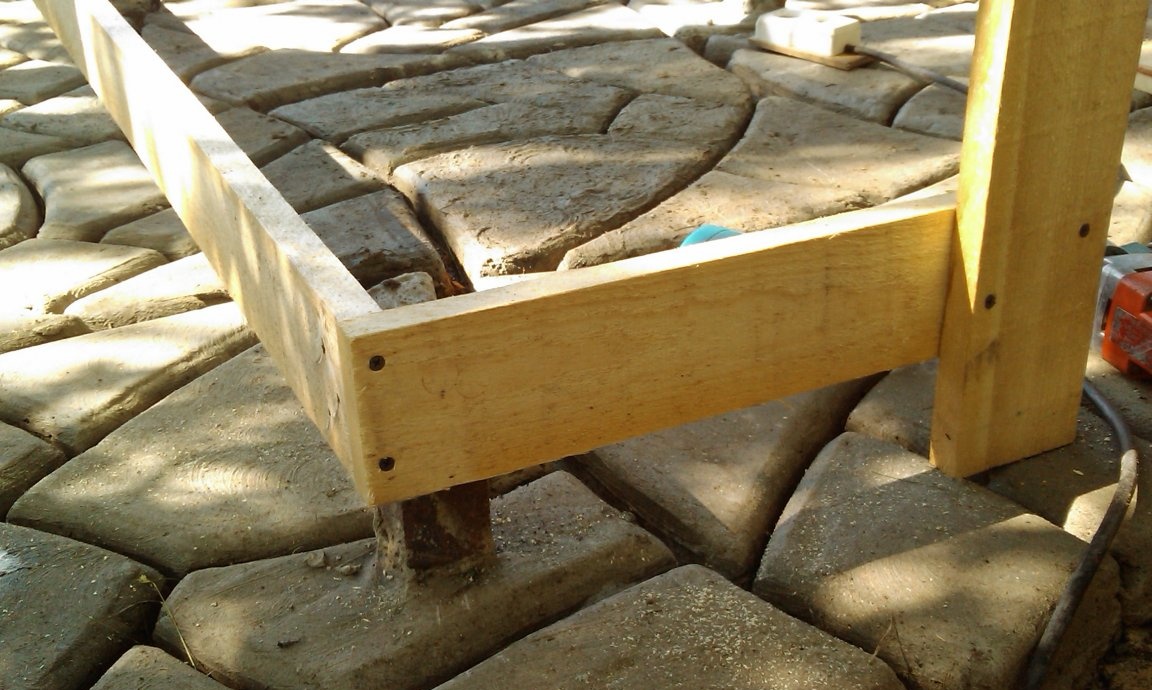
Then he put the boards of the base in level and fastened them together on self-tapping screws, in the future they will be extended additionally with bolts and nuts to the corners.
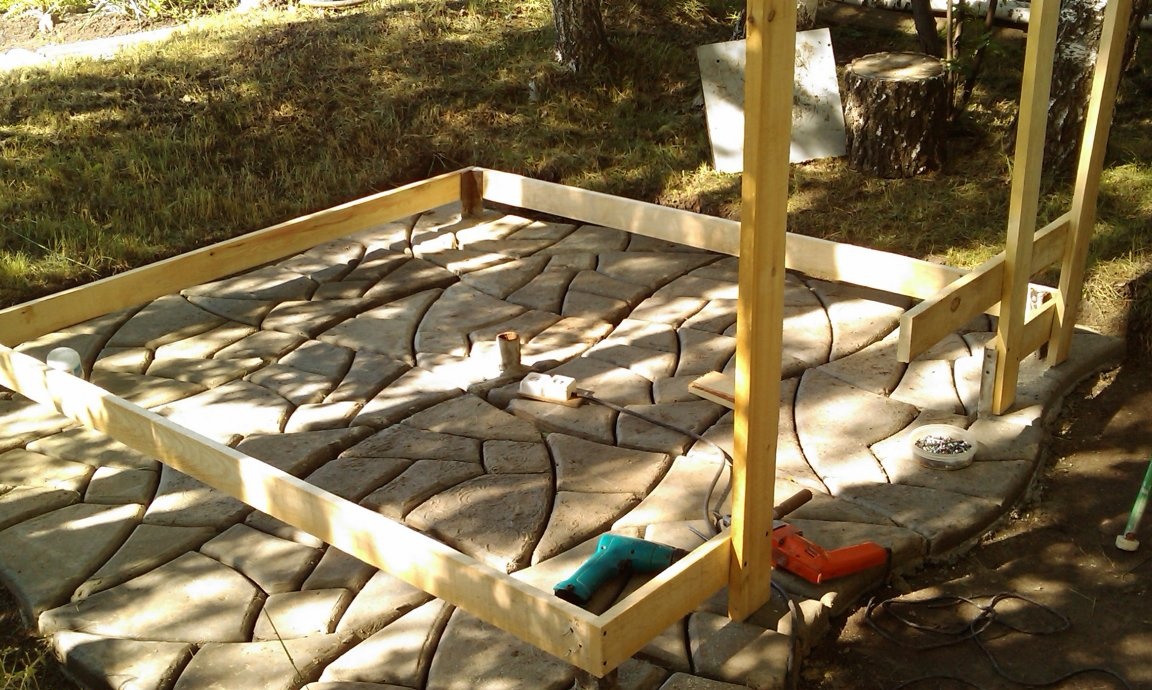
Then put upright, also in level. And he estimated the slope of the roof.
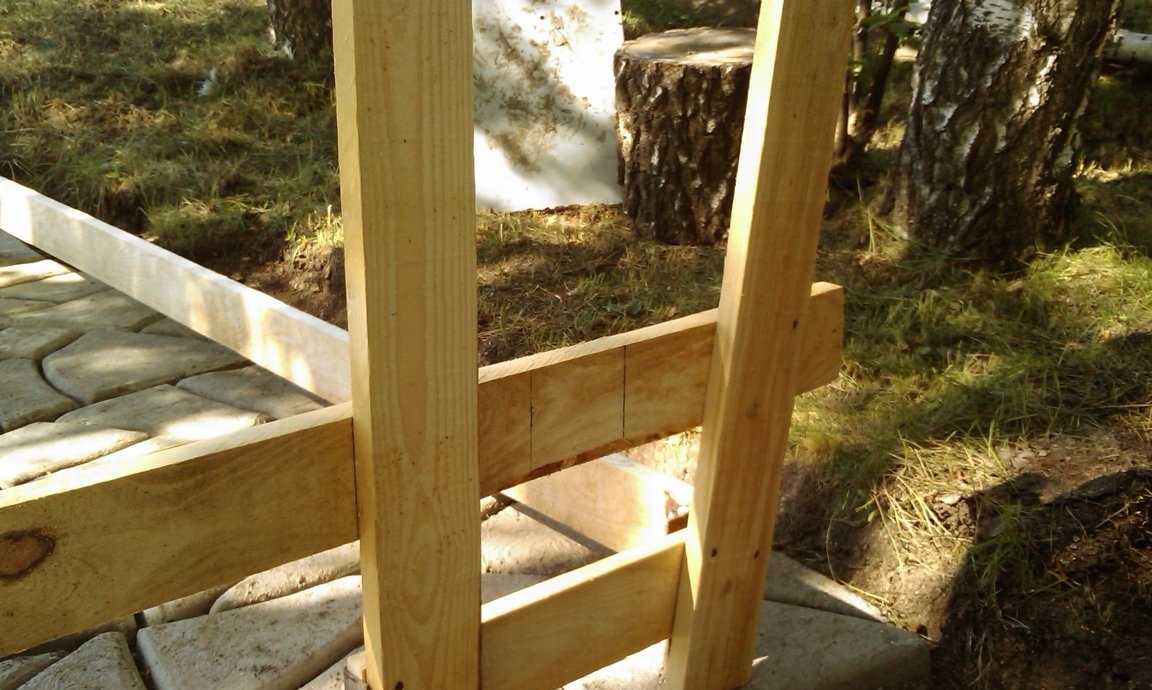
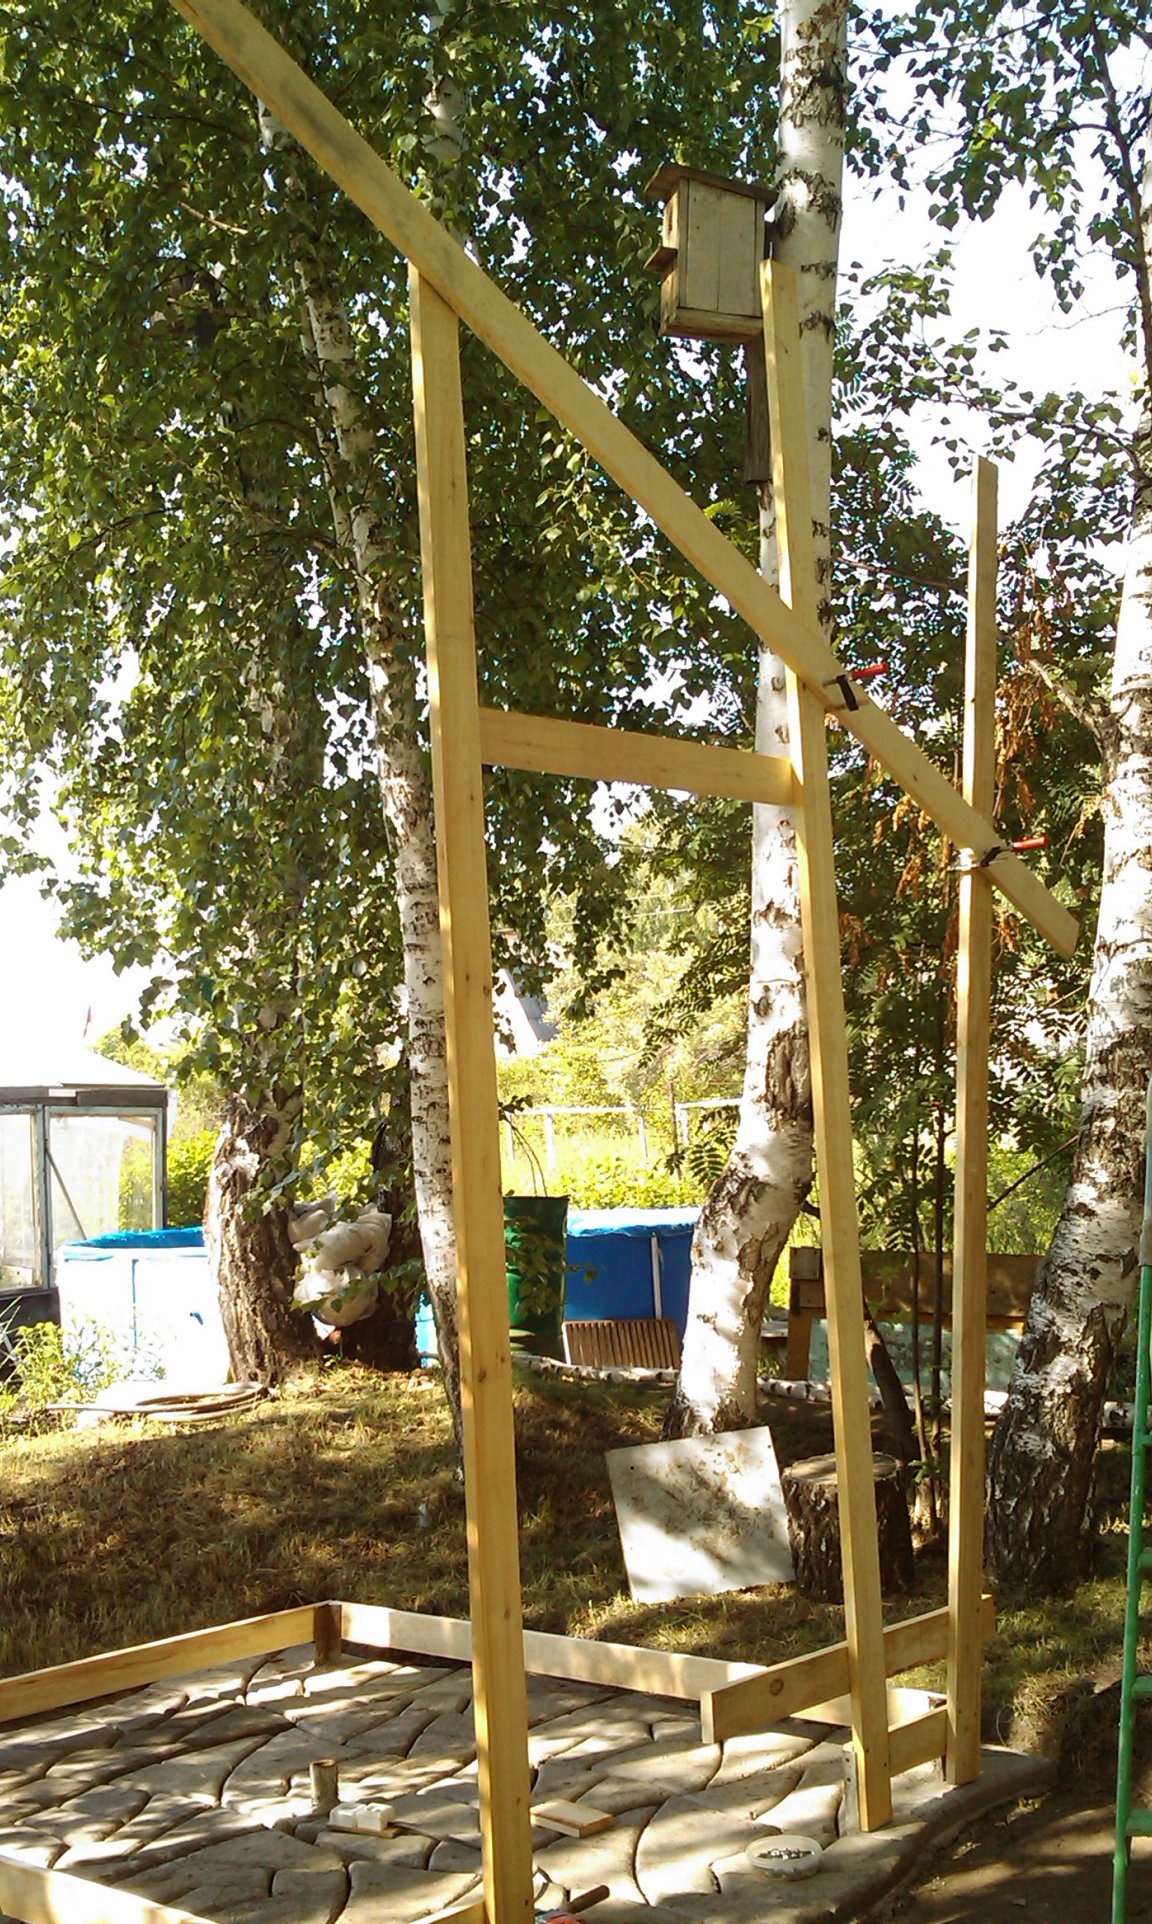
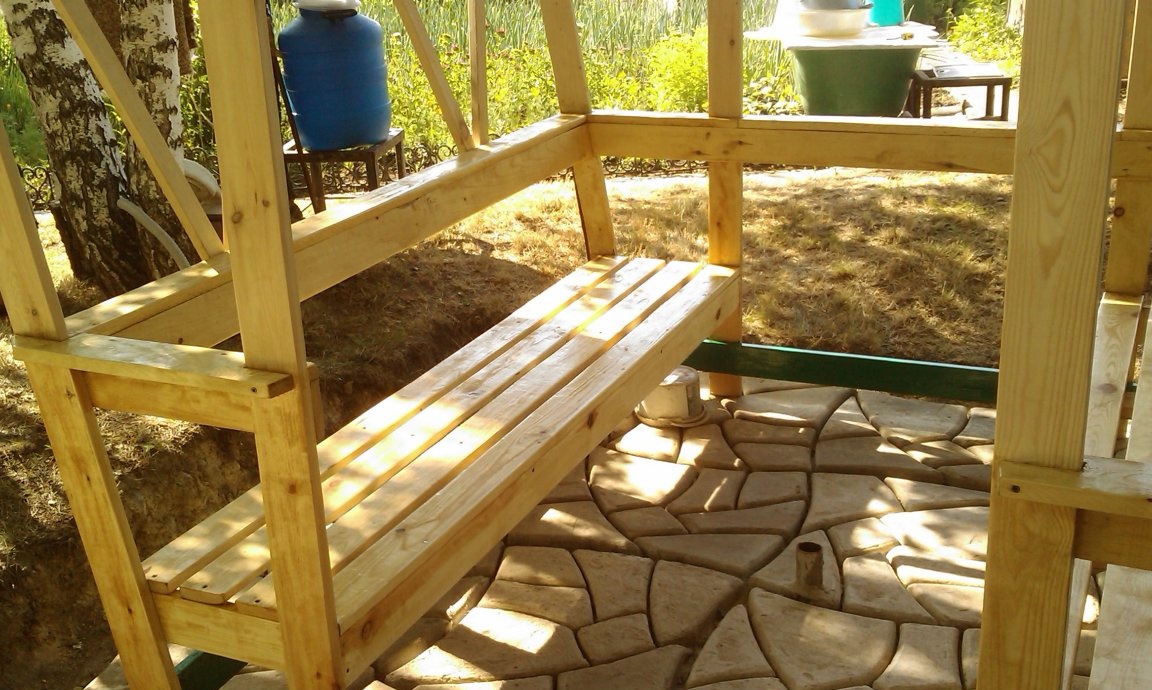
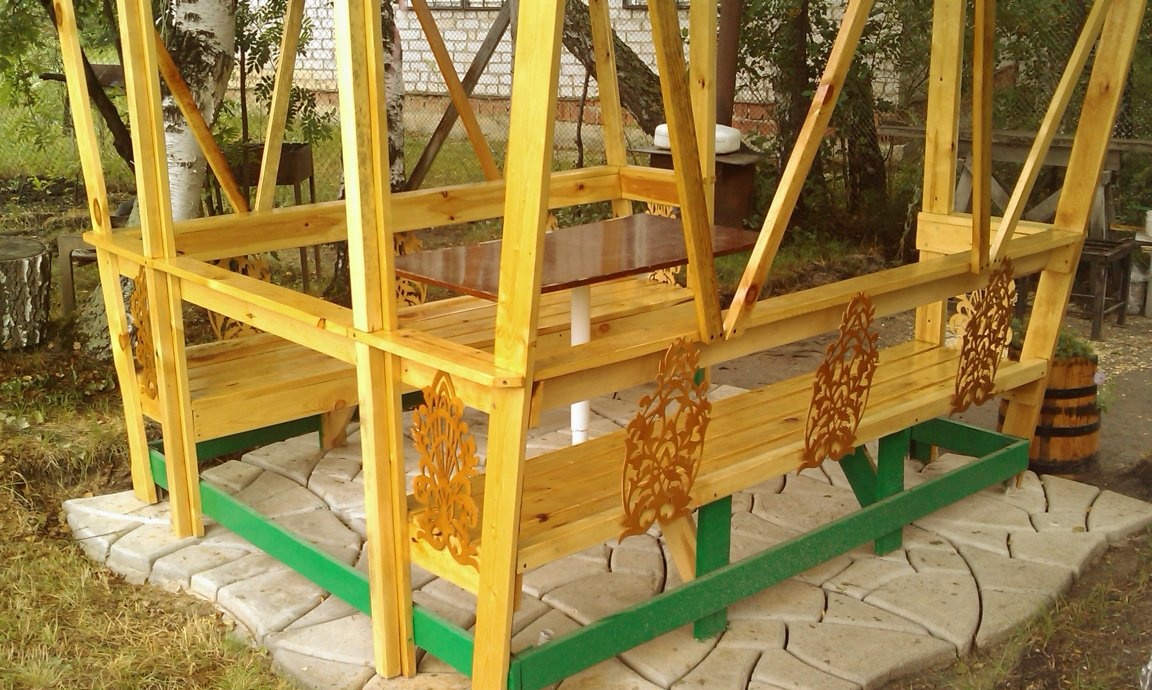
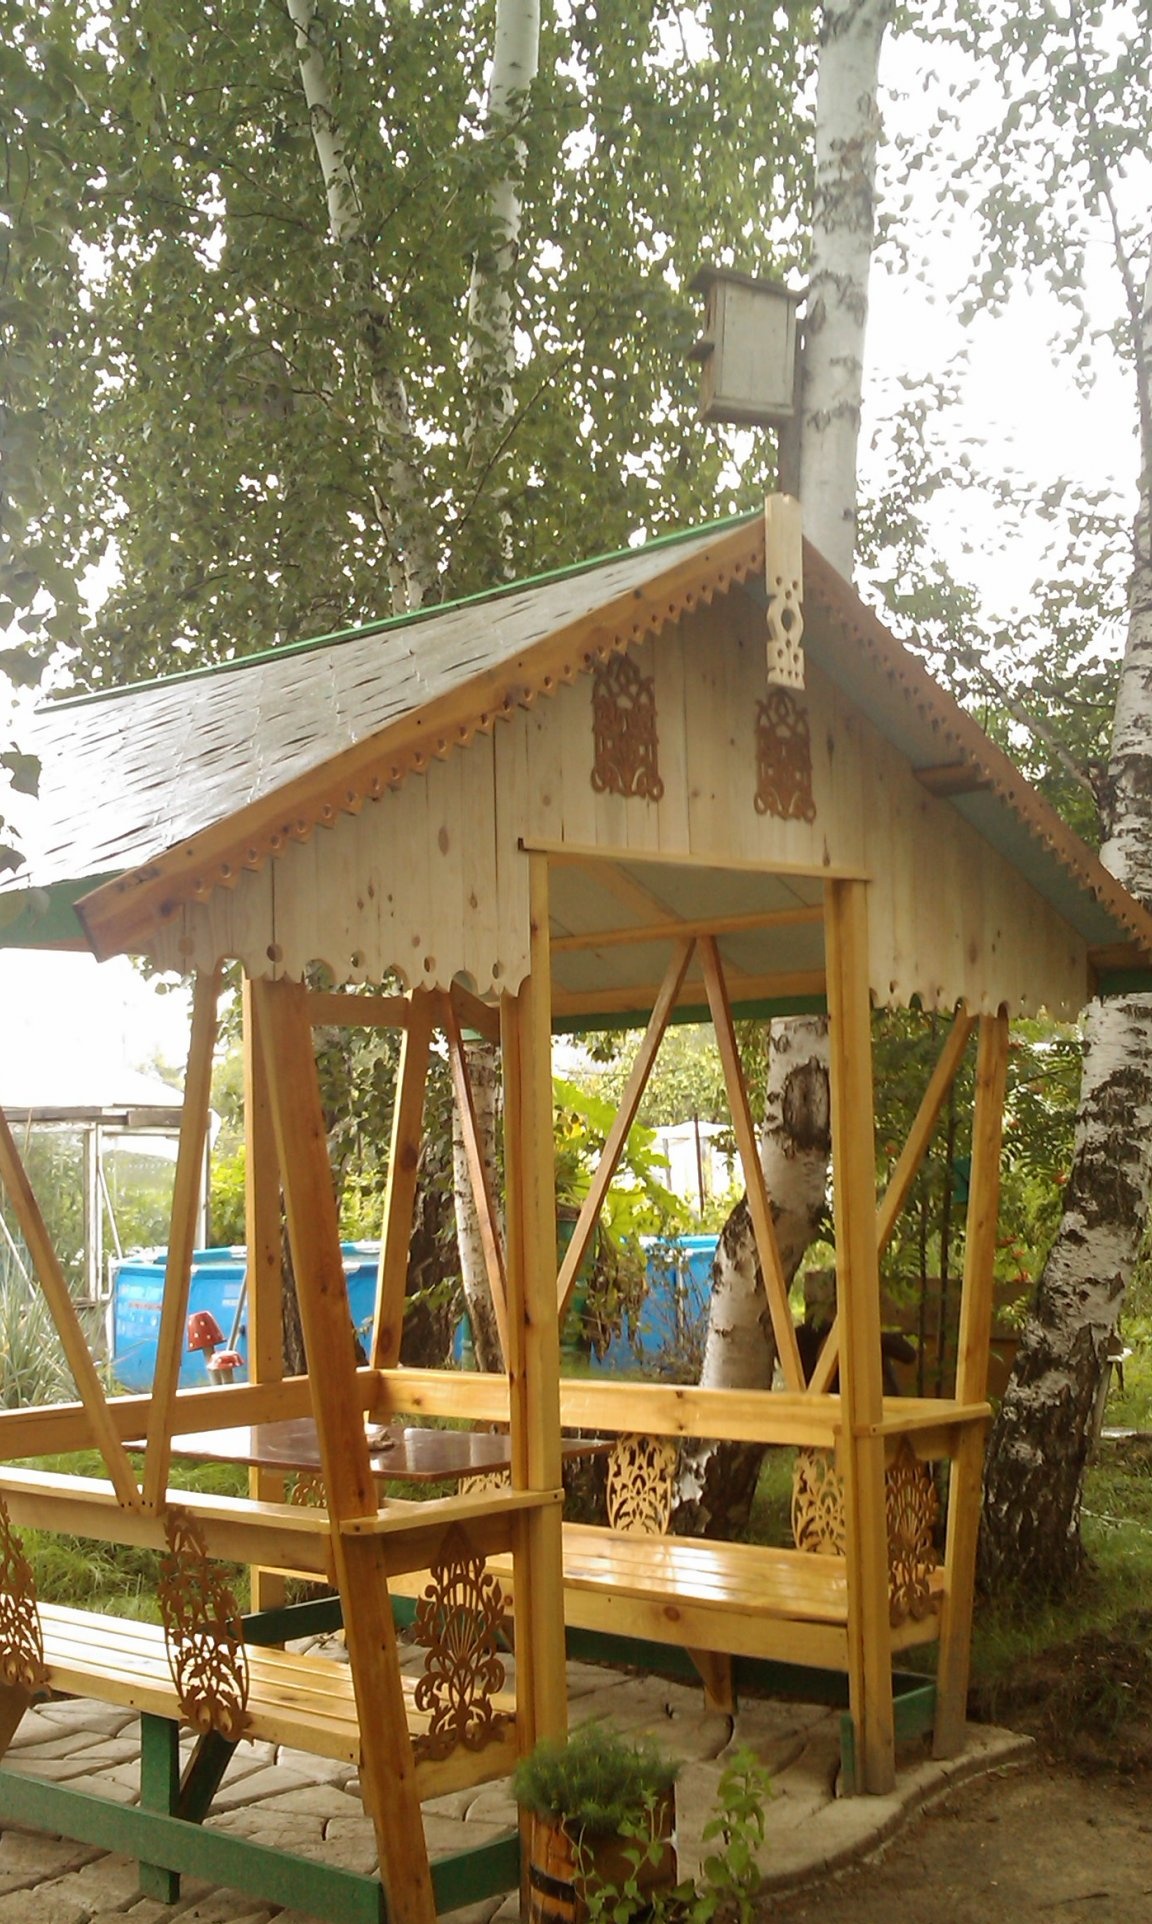
He designed the bottom of the gazebo - the railing, and the benches themselves
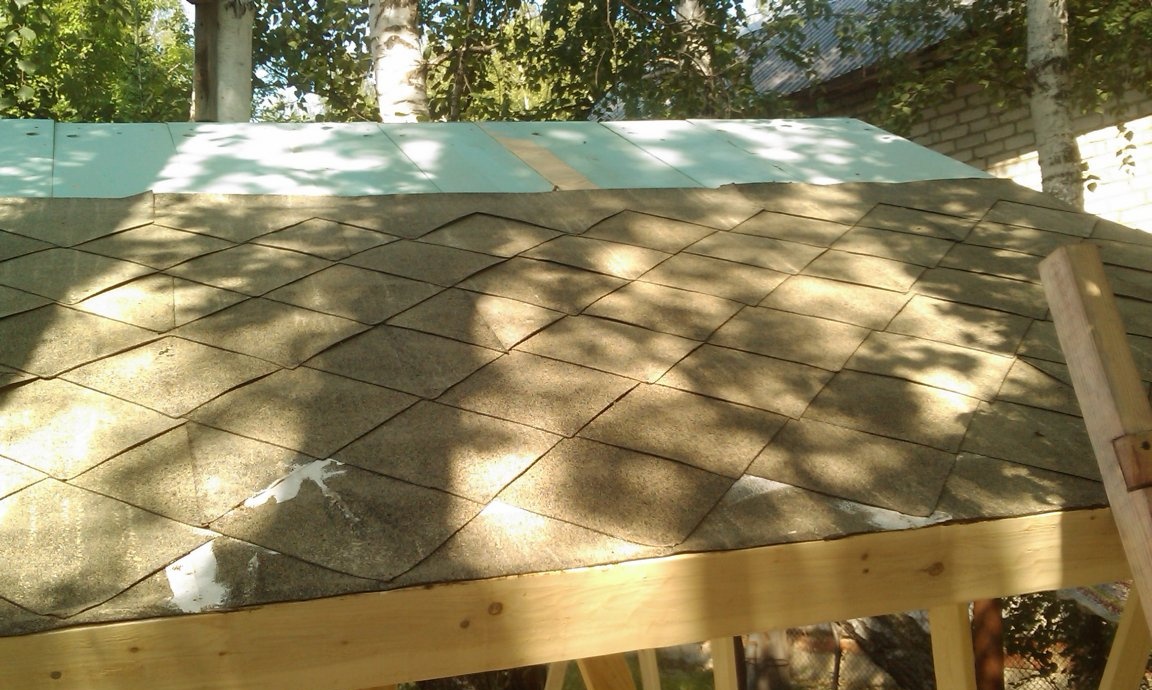
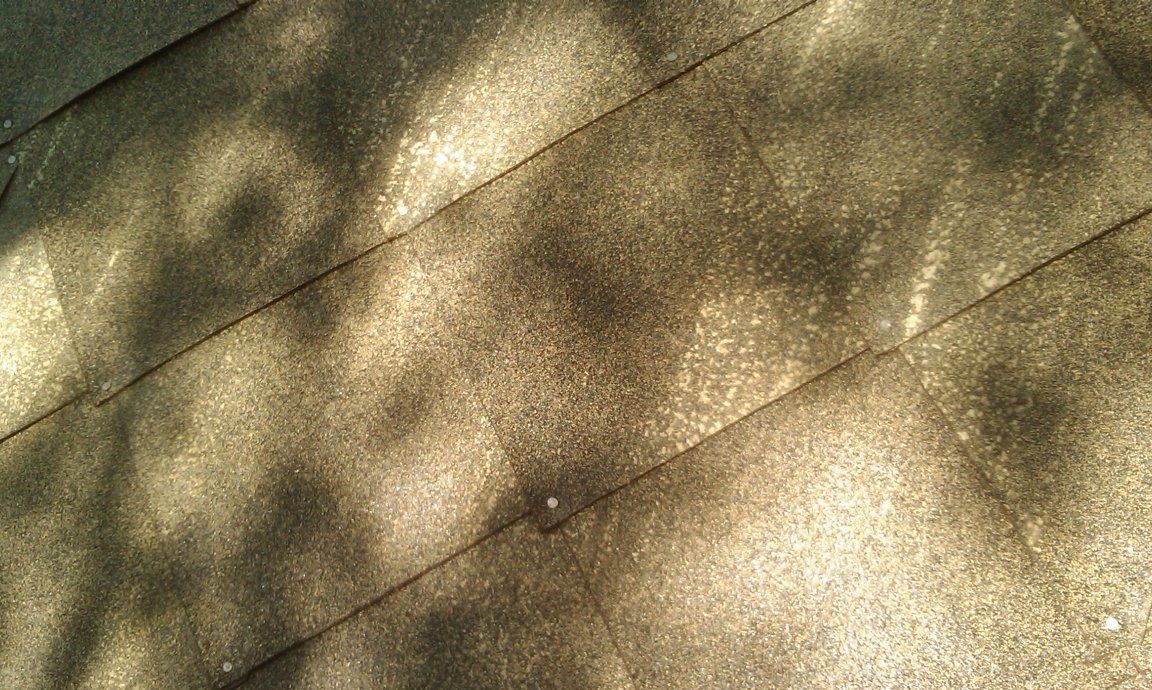
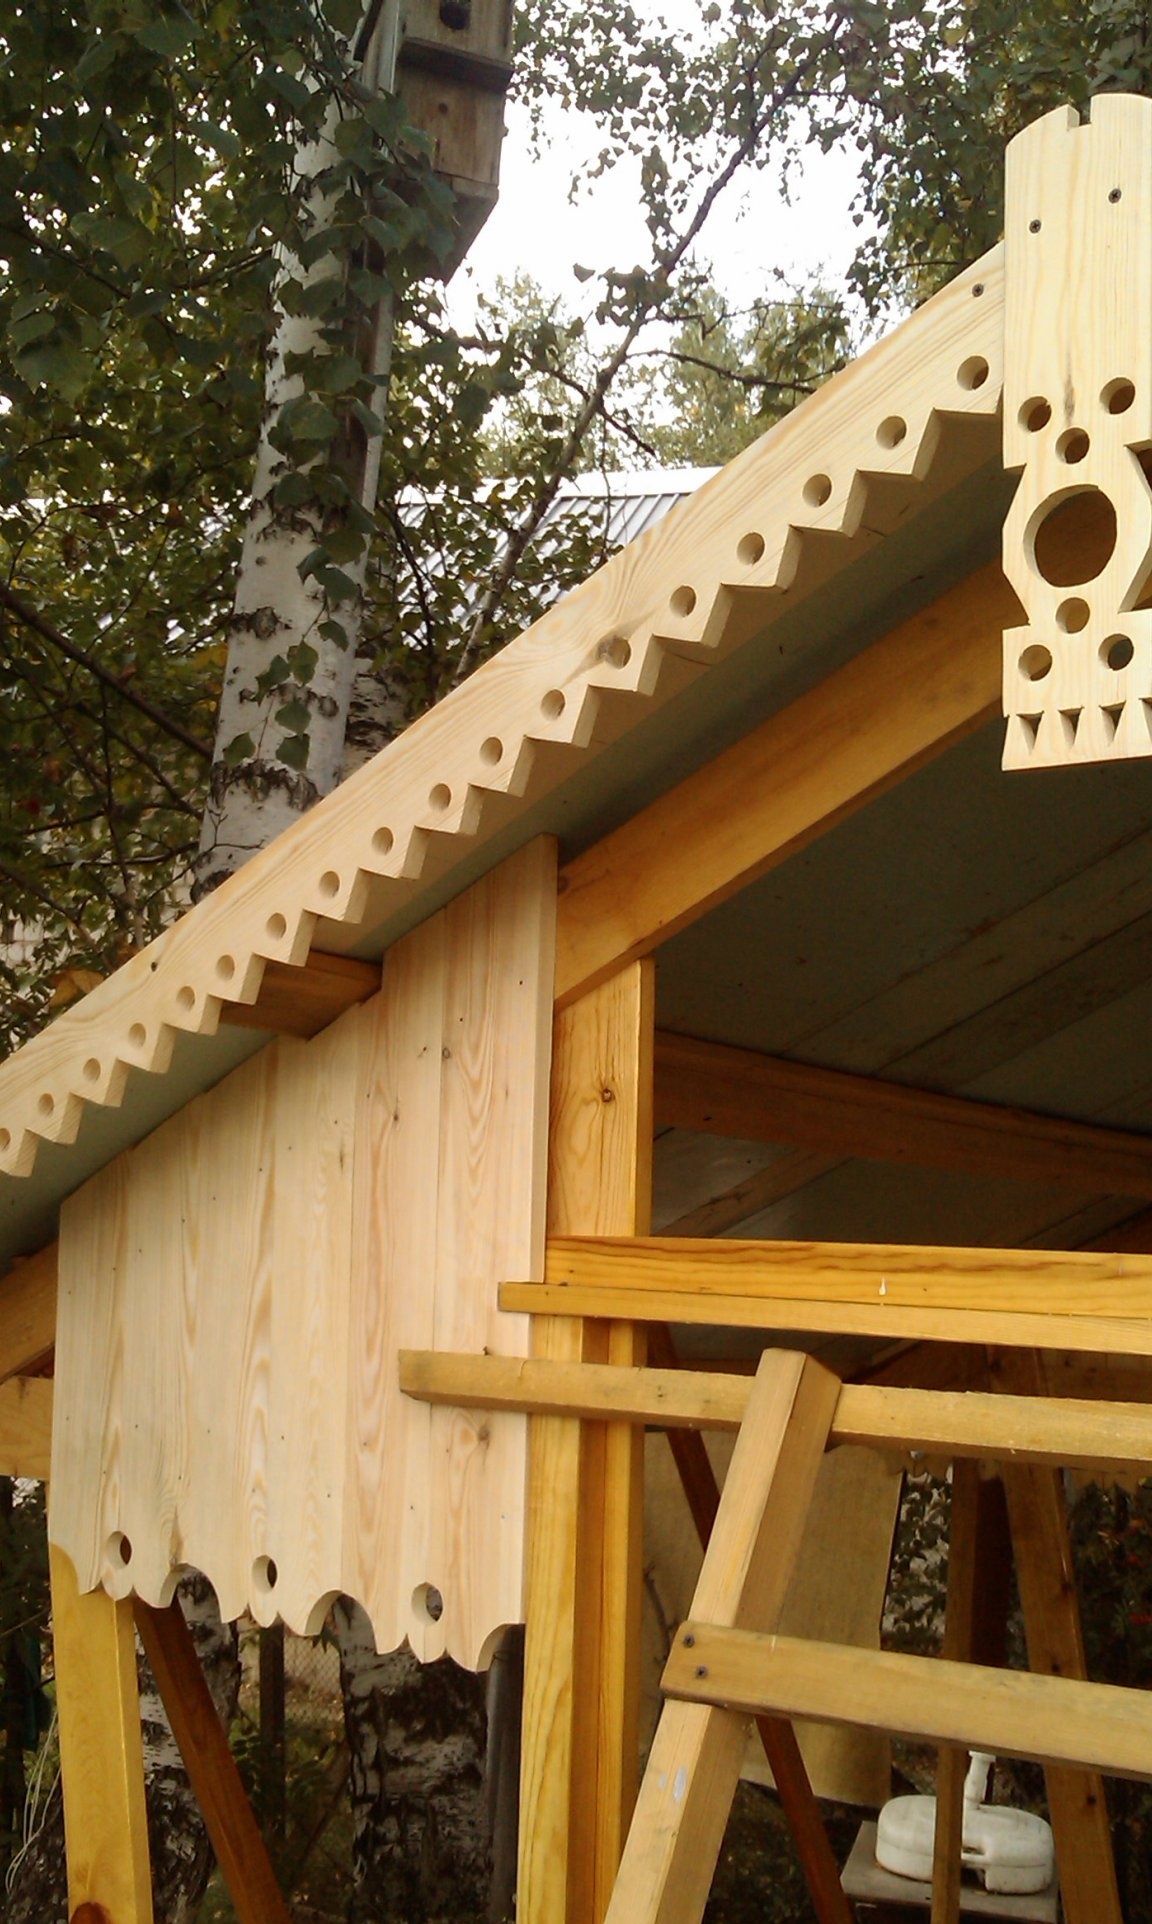
Next, I decided on the roof. The farm had several shields from of furniture. I used them to create a hard roof base.
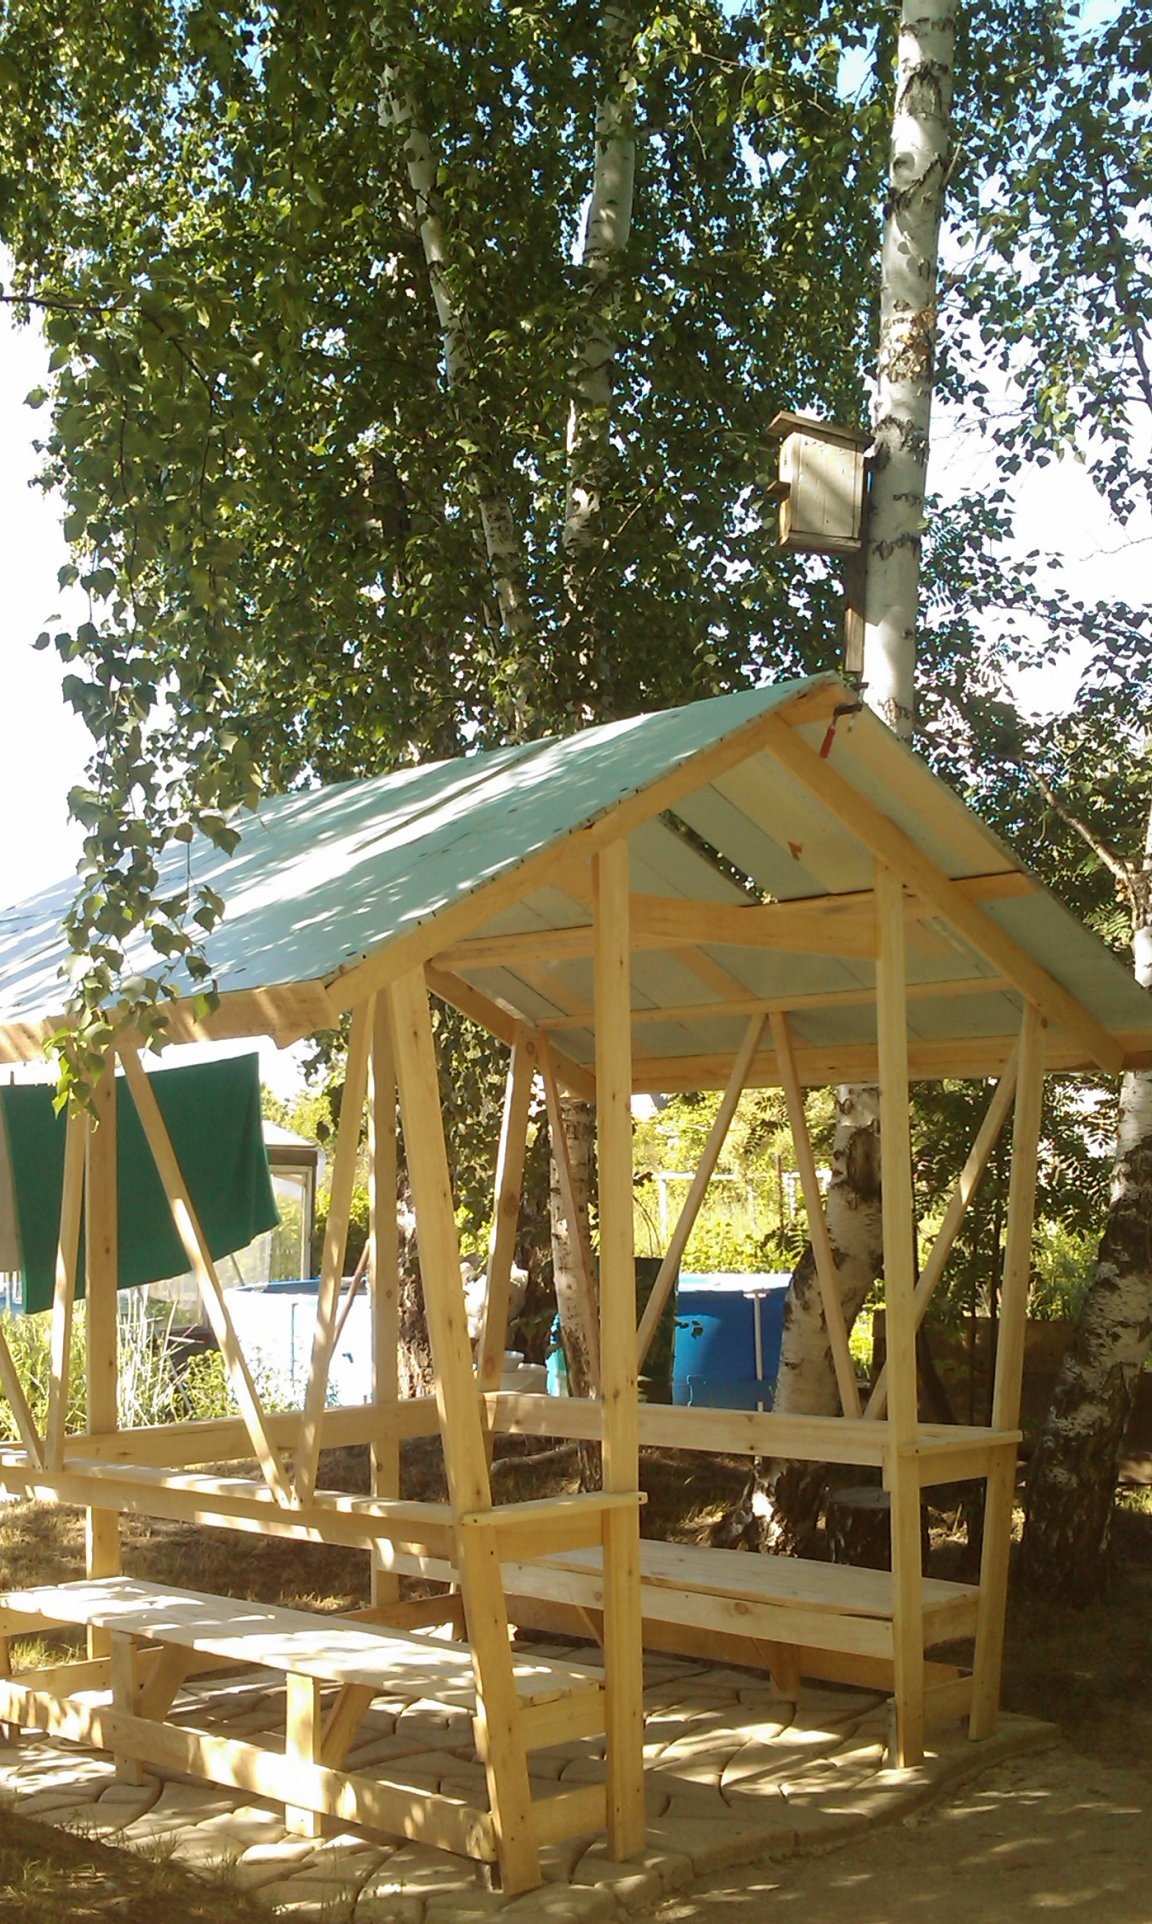
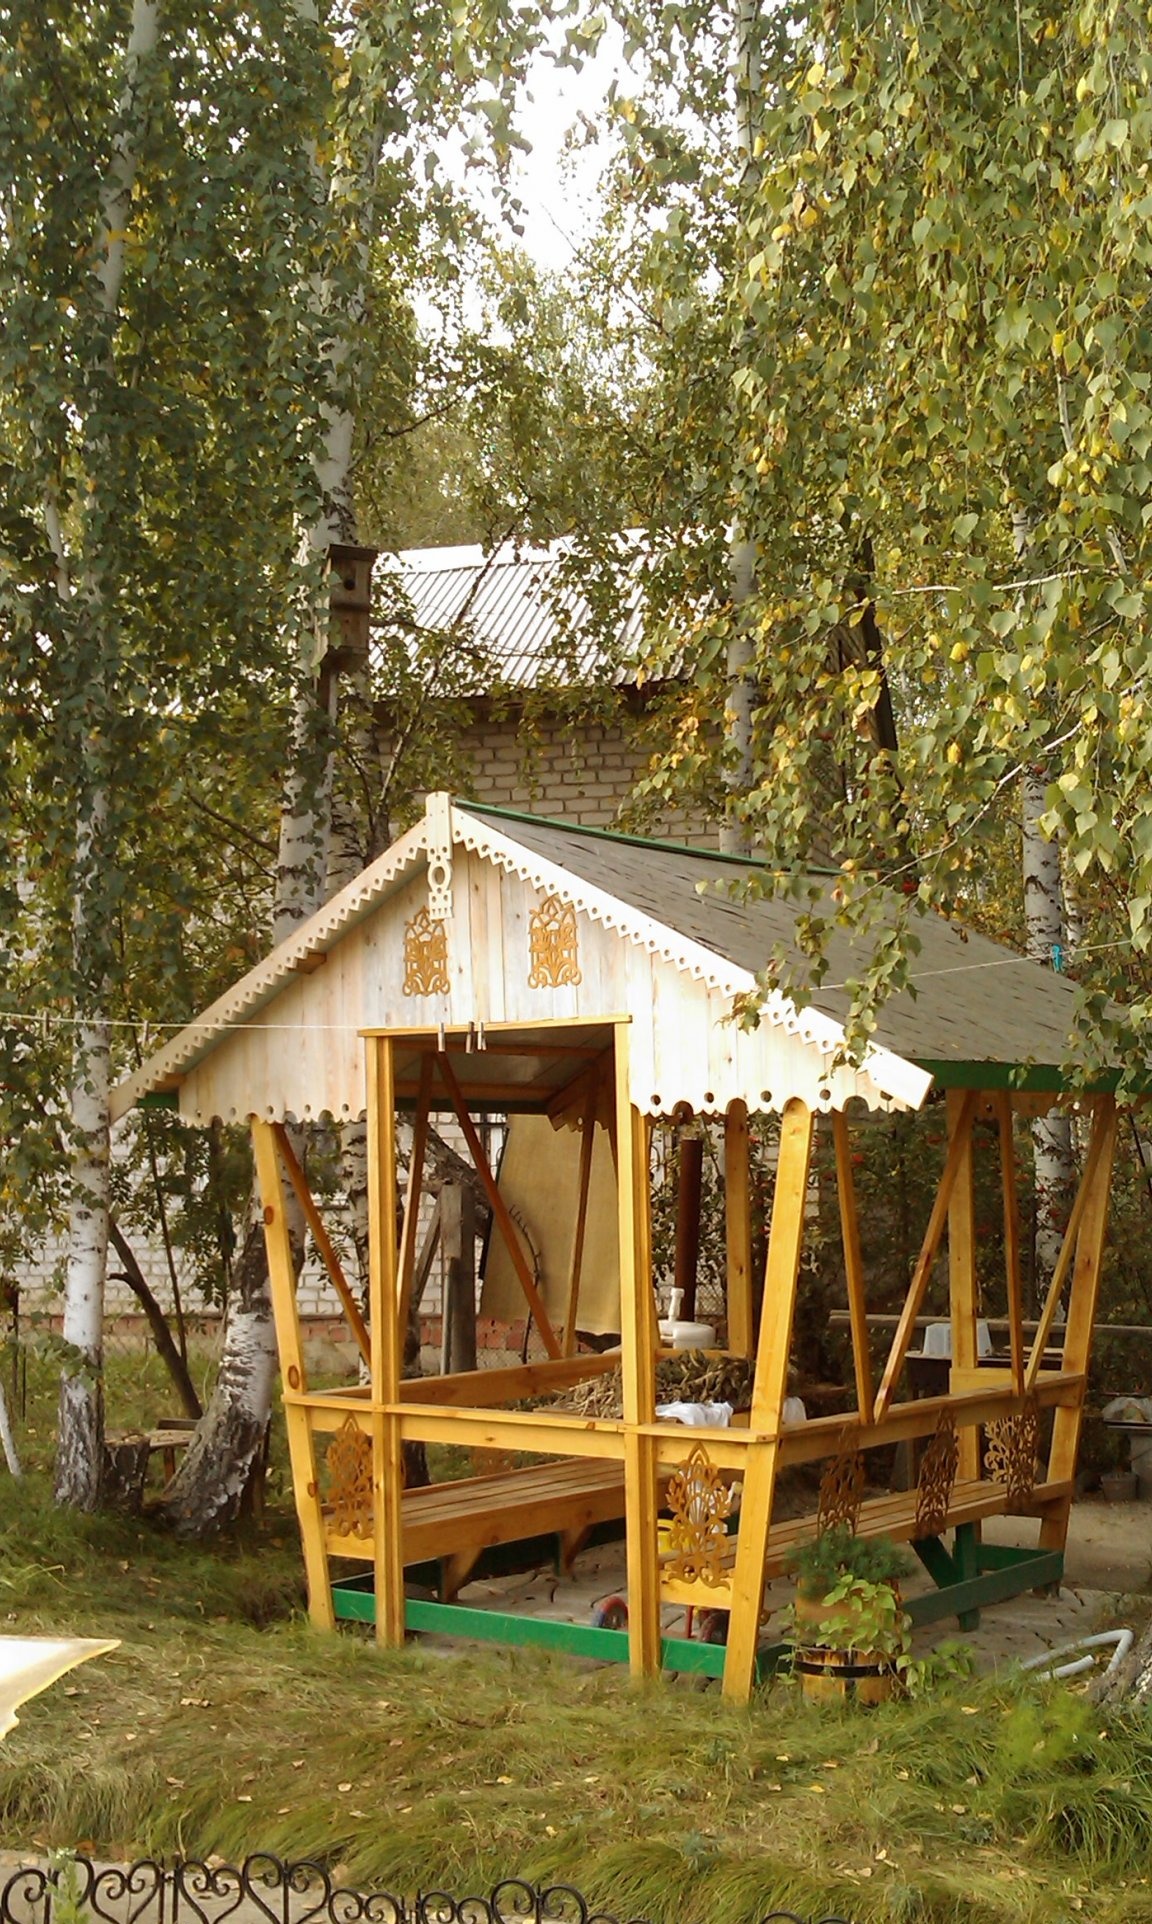
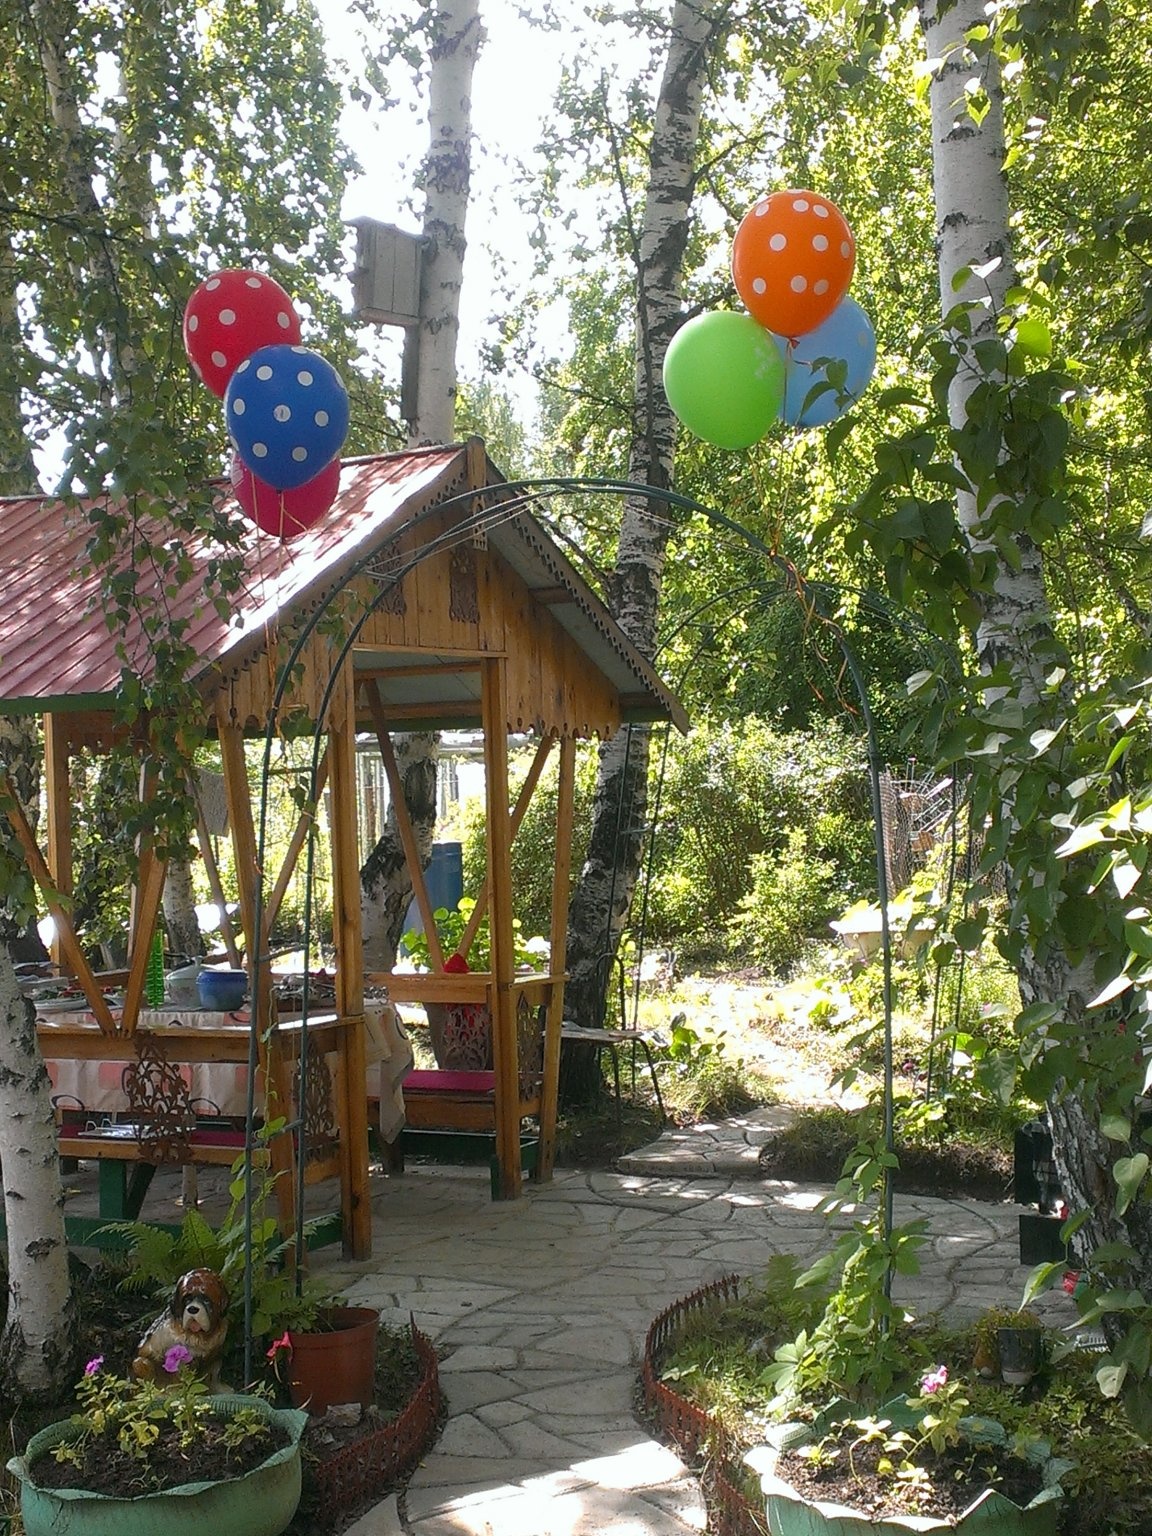
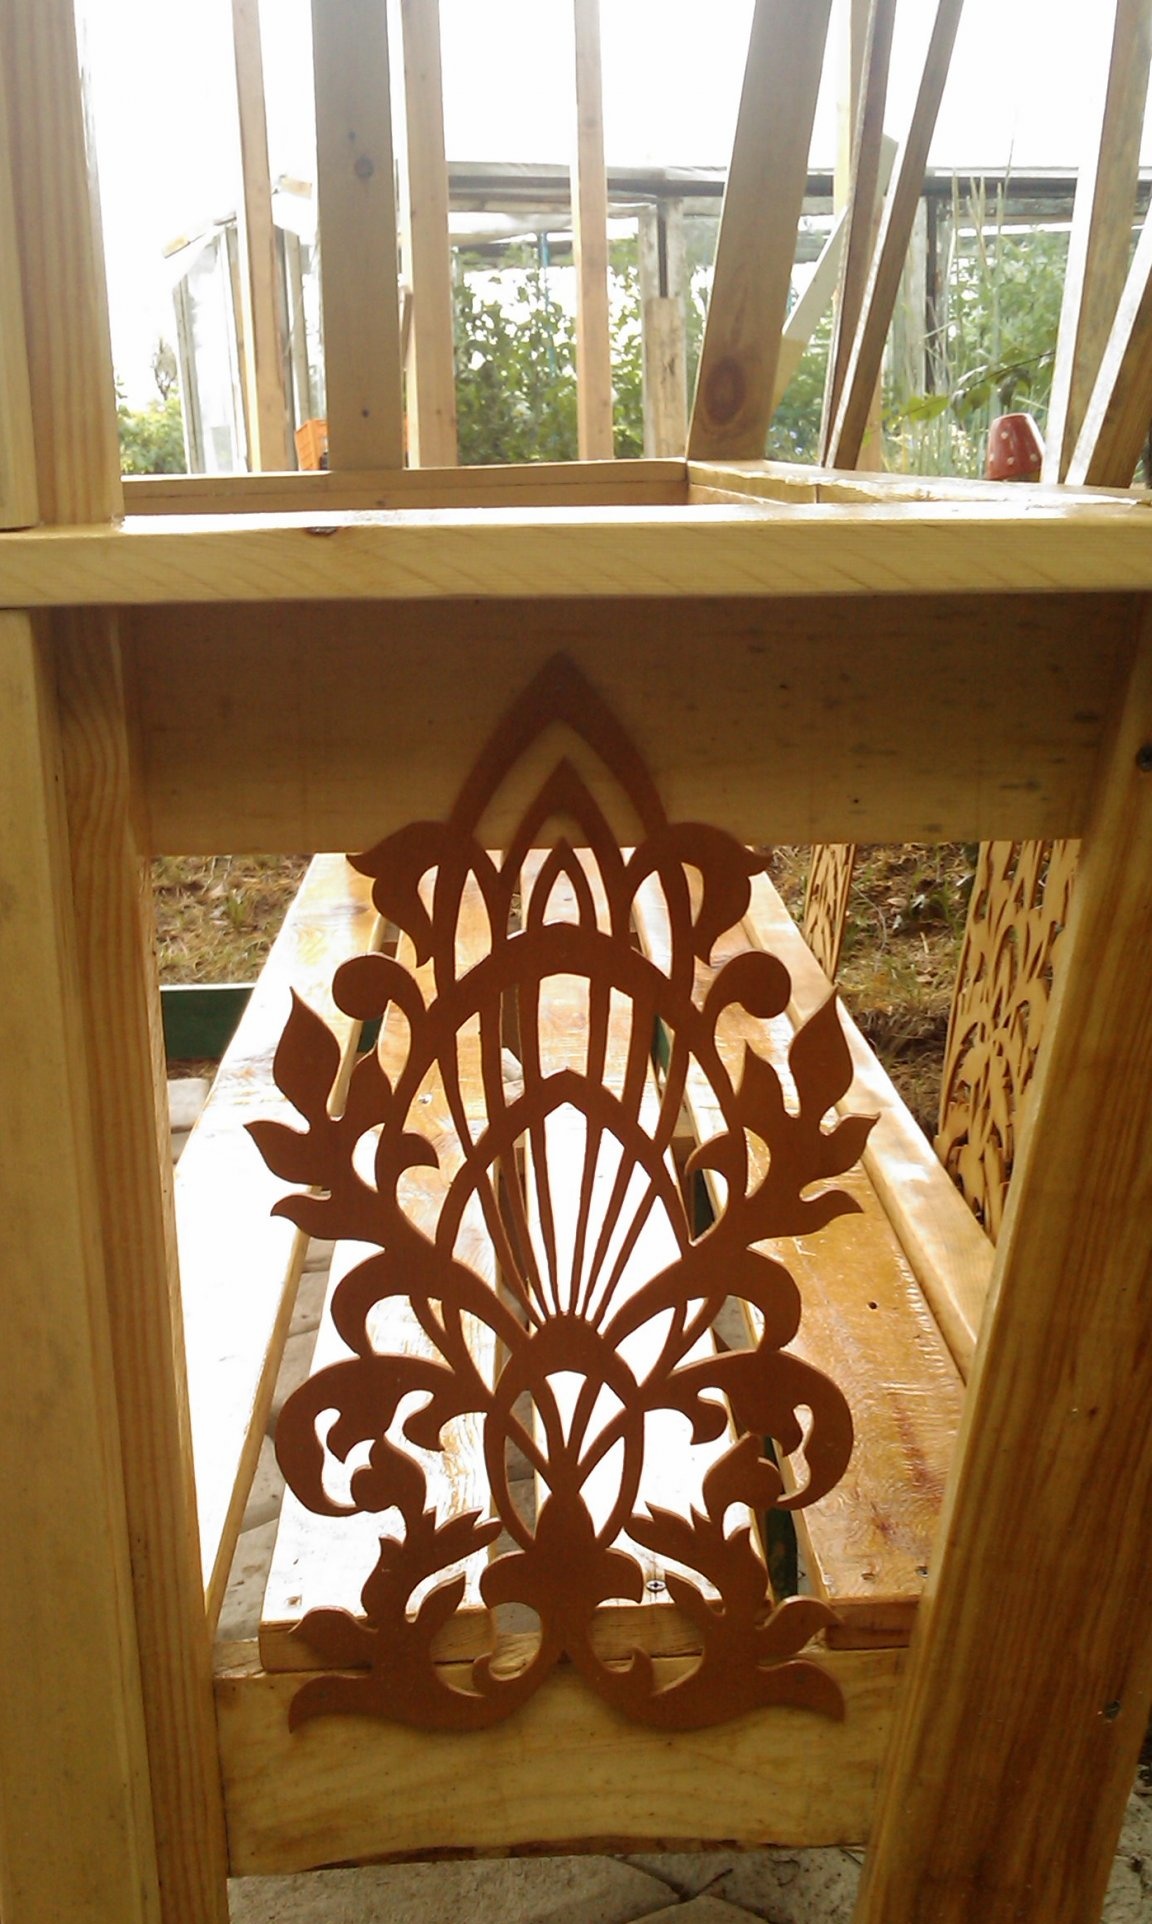
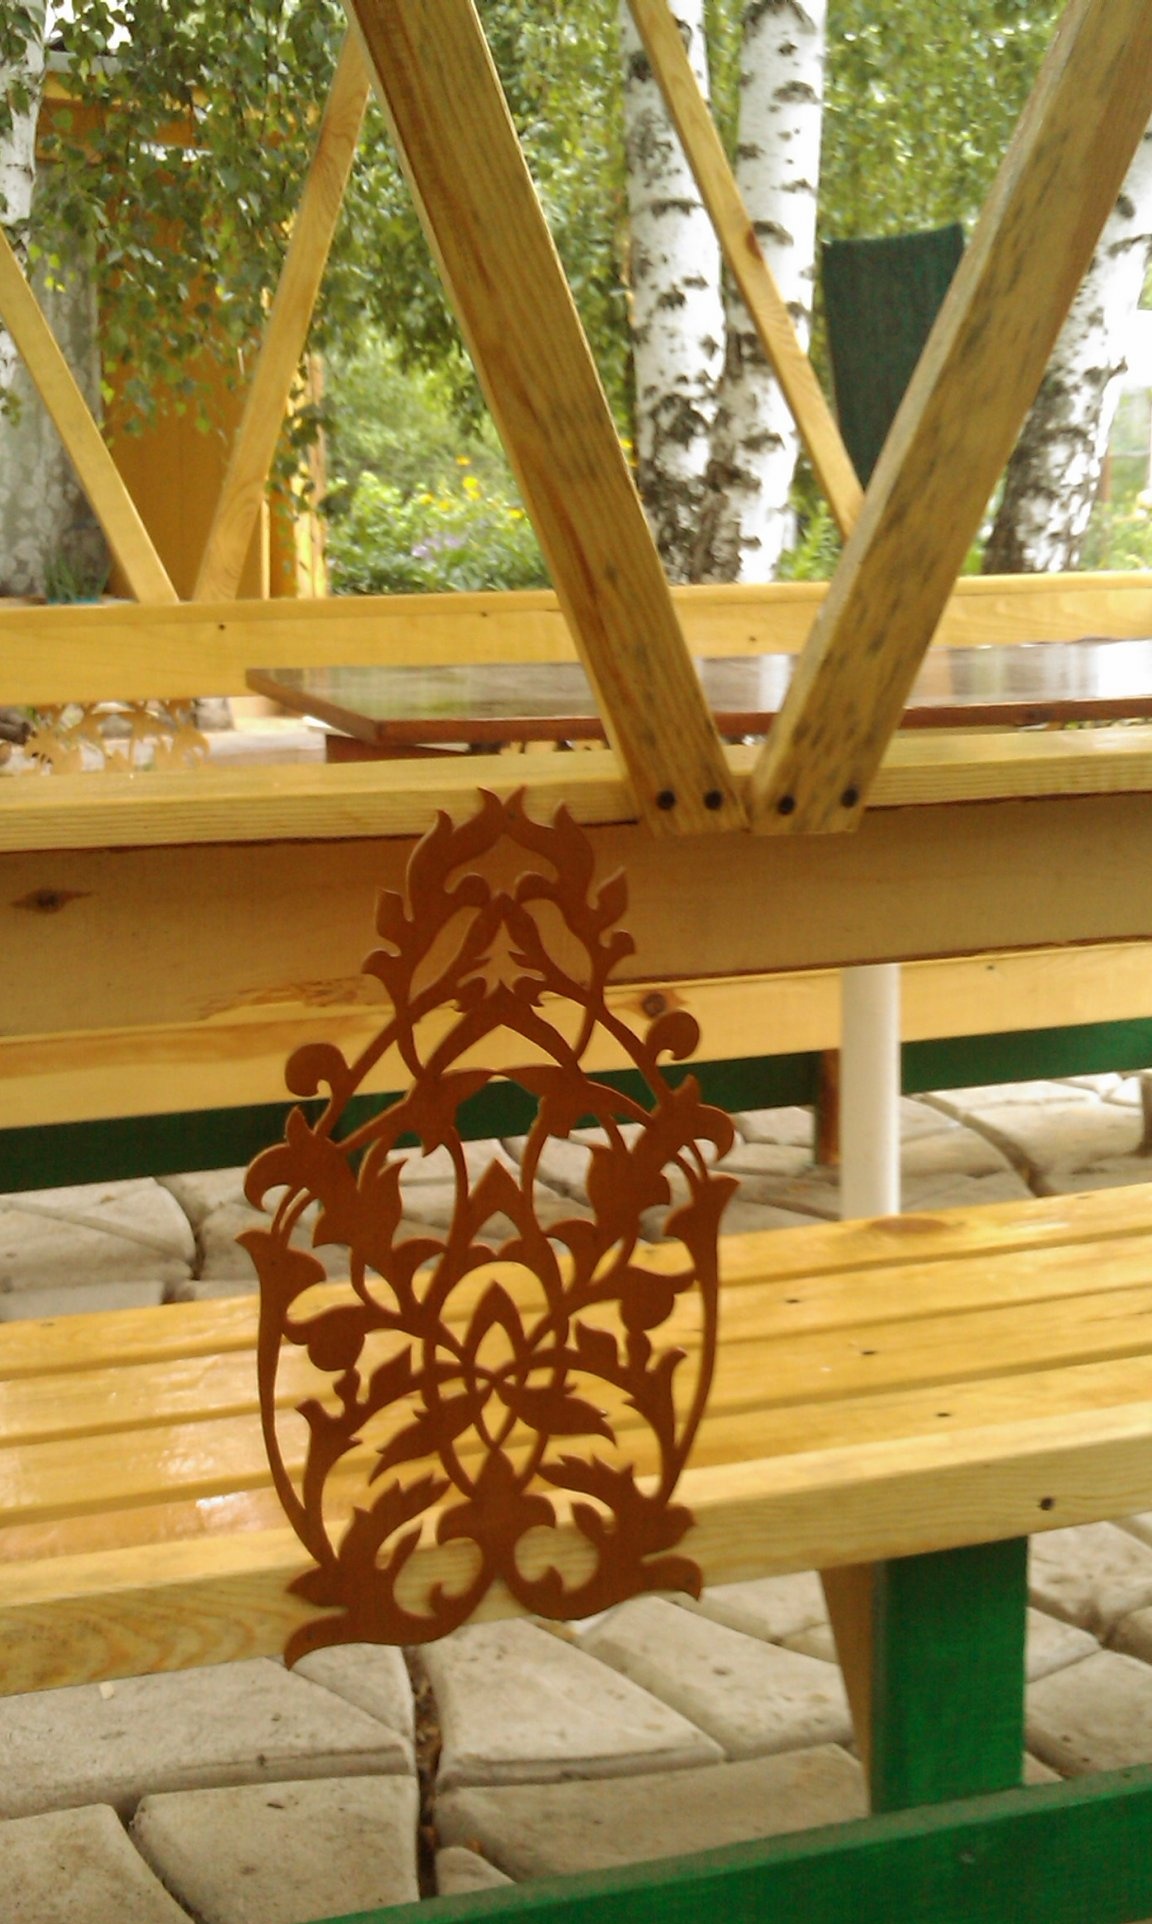
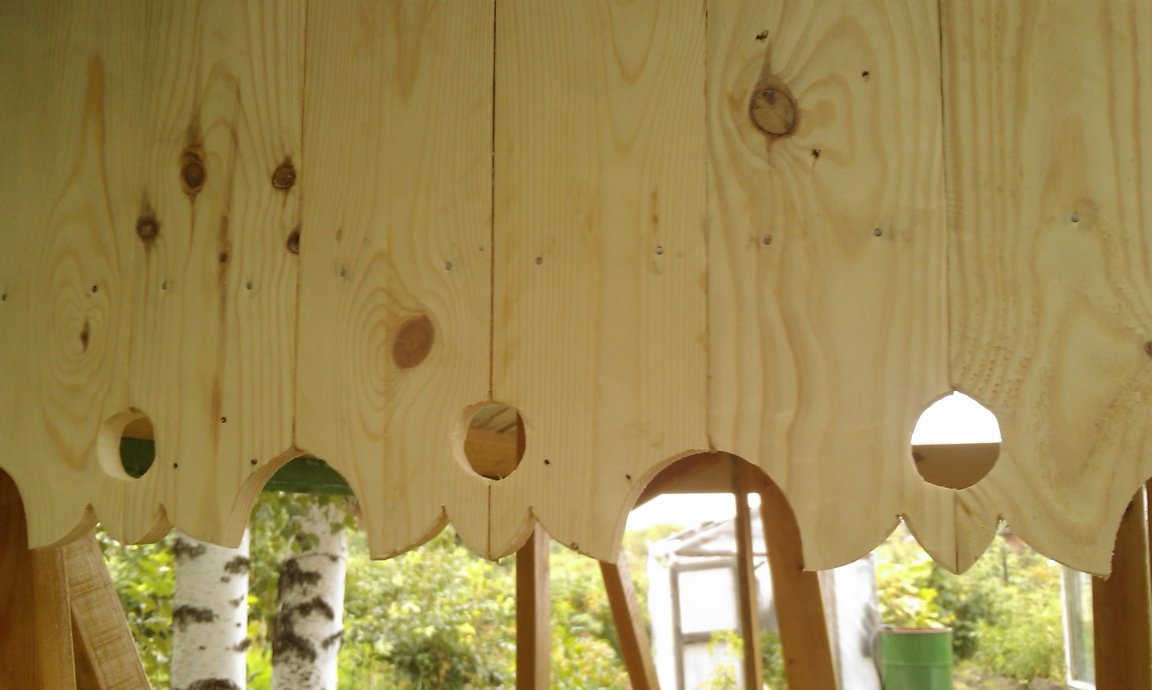
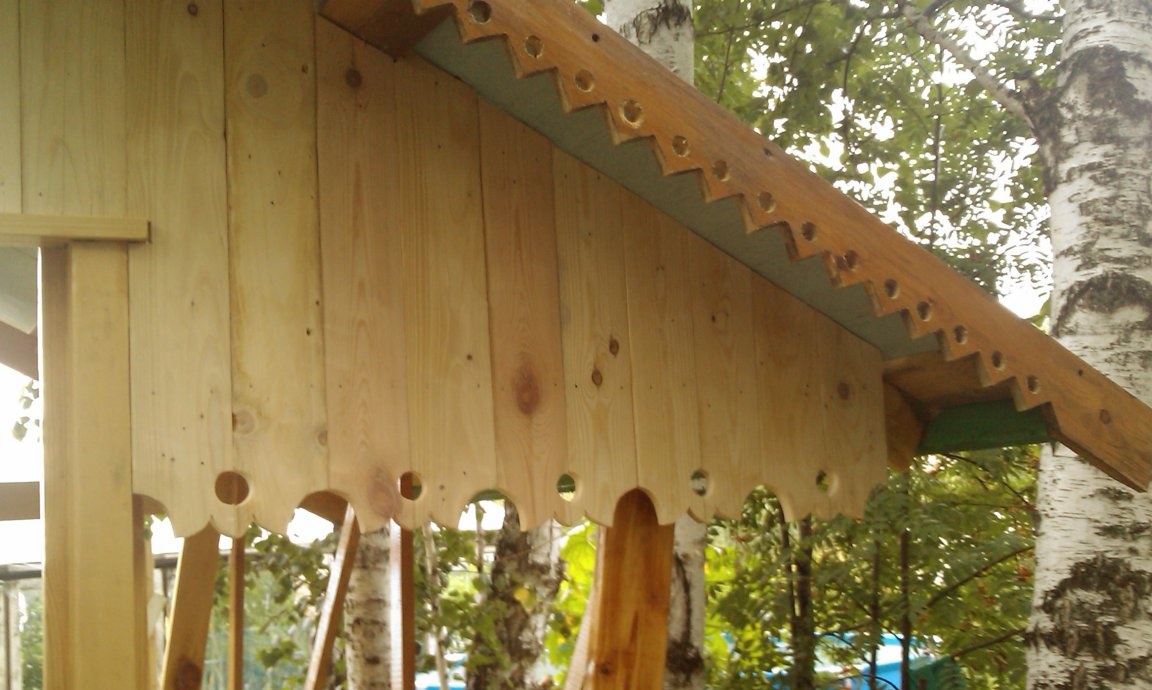
Then he cut out strips of roof tile from roofing material and fixed them on the roof to heated resin and cloves. Well, that was at hand. You can use adhesives and mastics. There are a lot of materials now. Further, the roof was painted with bitumen varnish with powder “silver” diluted in it. The roof became silver. The roof device can be seen from the photographs. On the sides made additional jibs to give rigidity to the structure. Then he slightly decorated the bench area with vignettes cut from plywood.

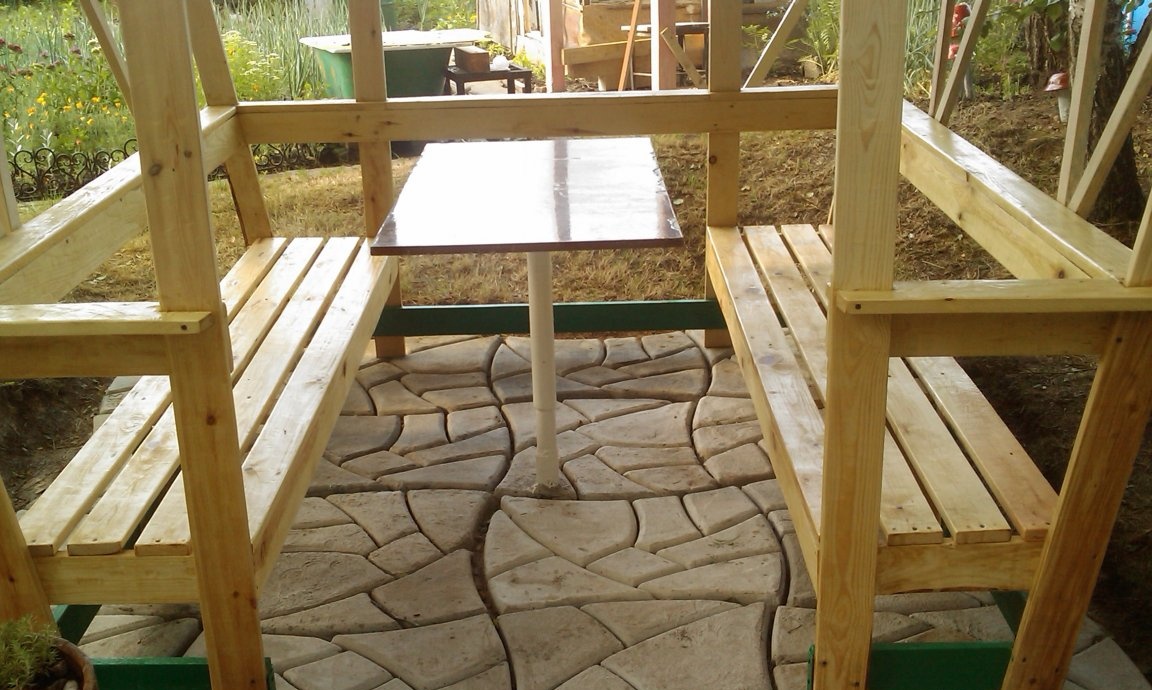

I installed a table in the center of the gazebo, I’ll immediately make a reservation in the future it will be significantly increased, from the blank wall of the gazebo (opposite the entrance), almost to the entrance, and here it has a rounding.
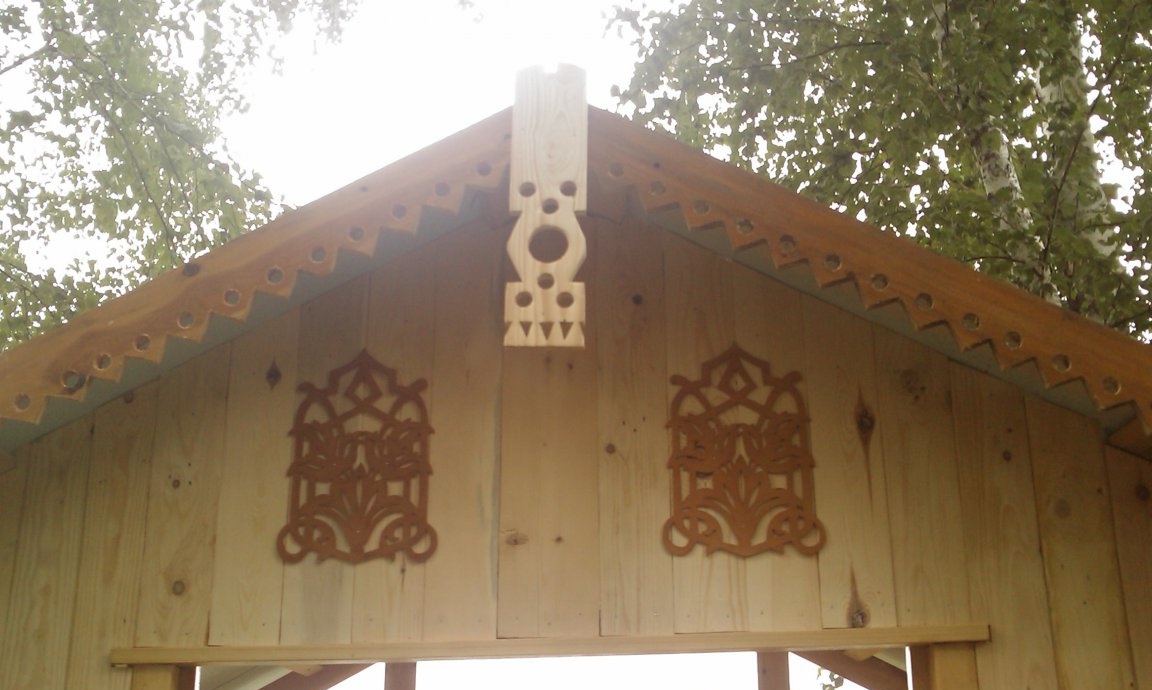
Next, it remains to sew up the pediments and slightly decorate the top of the gazebo.
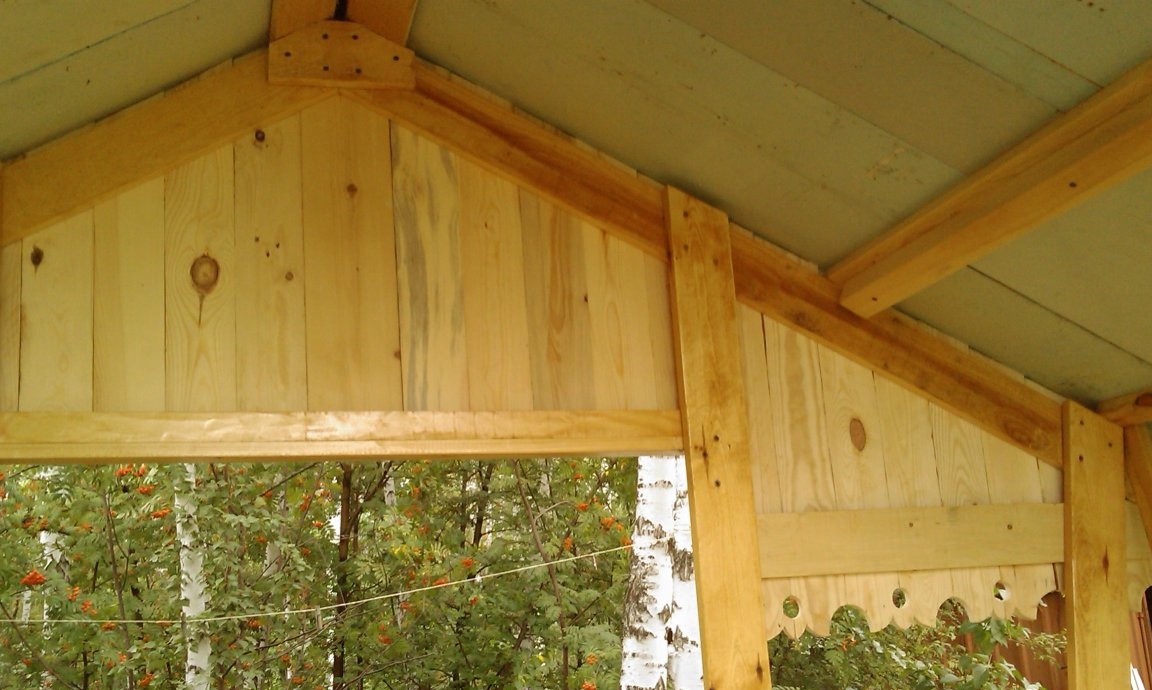
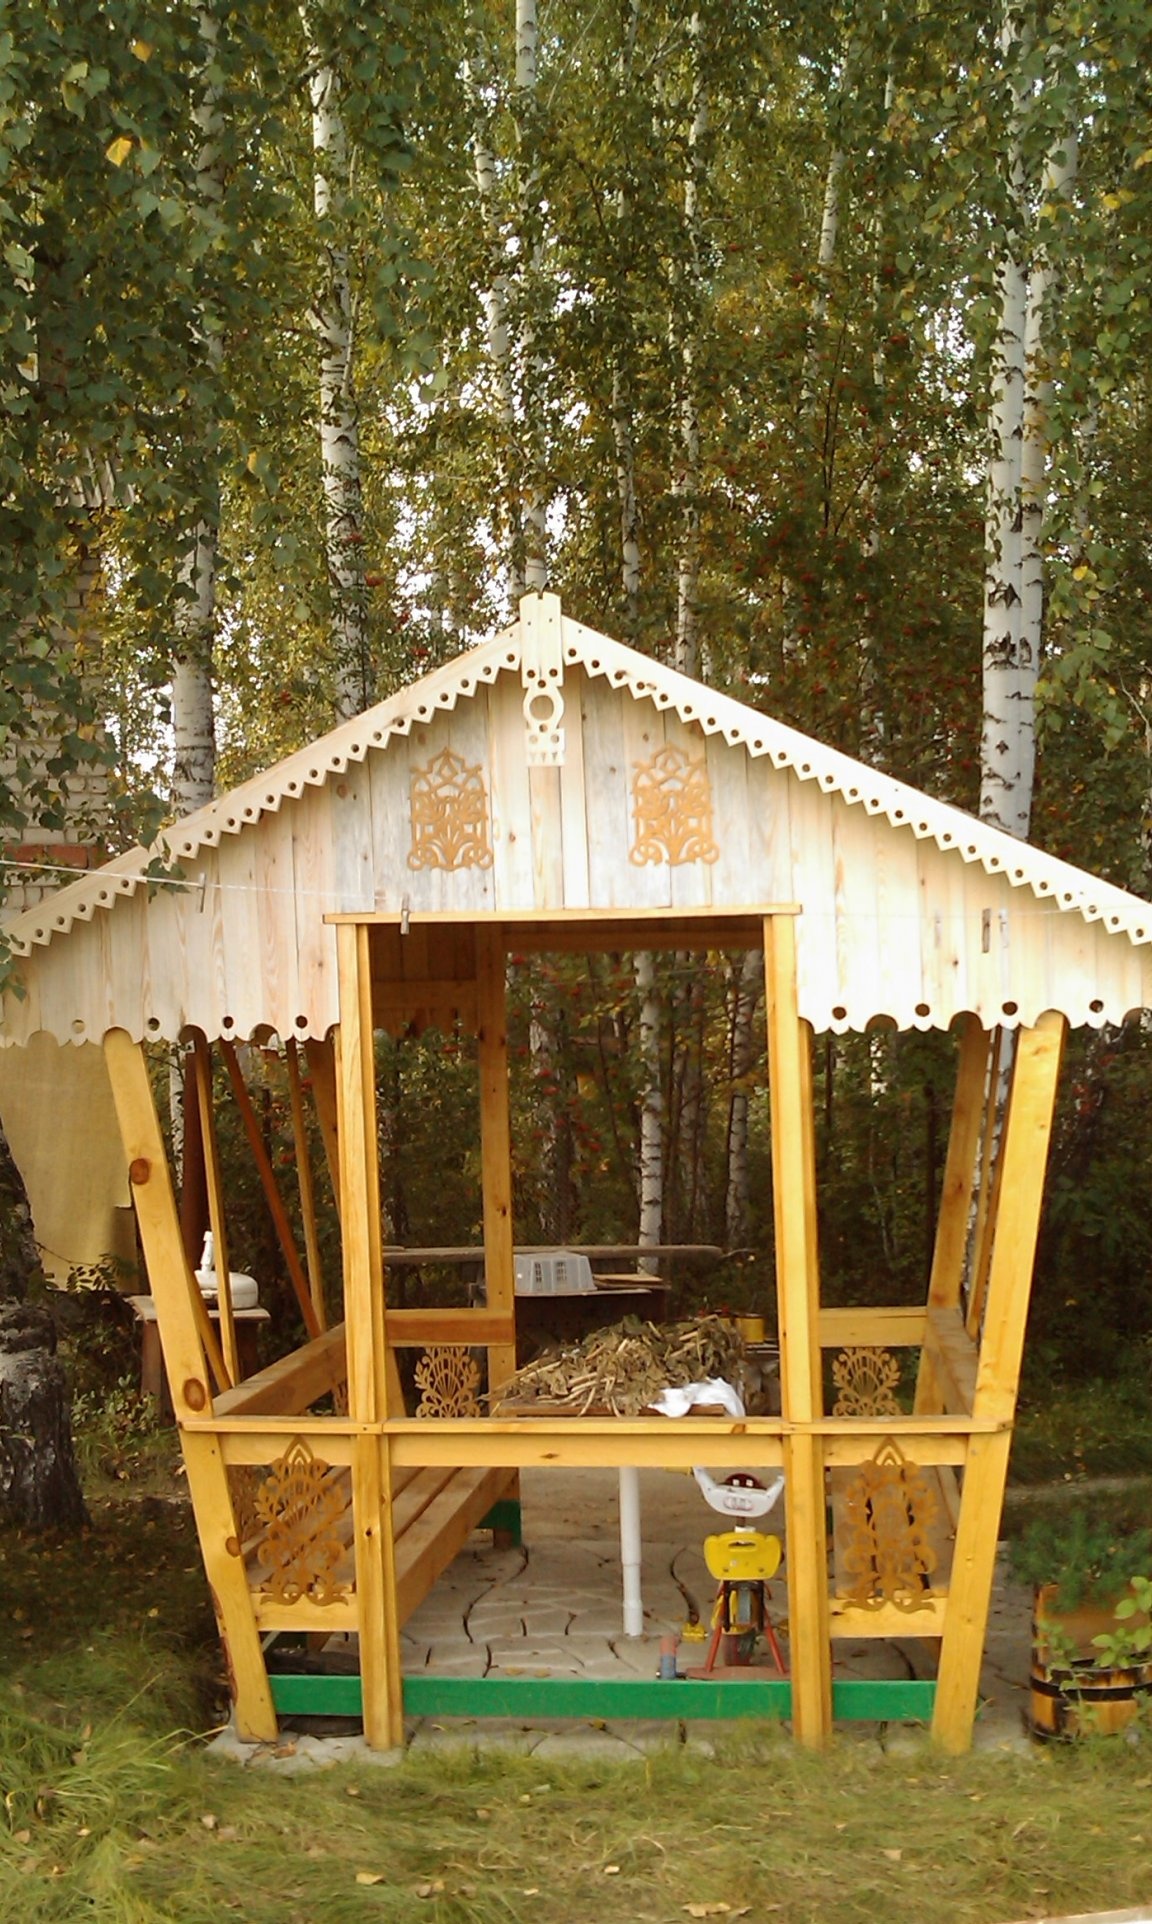
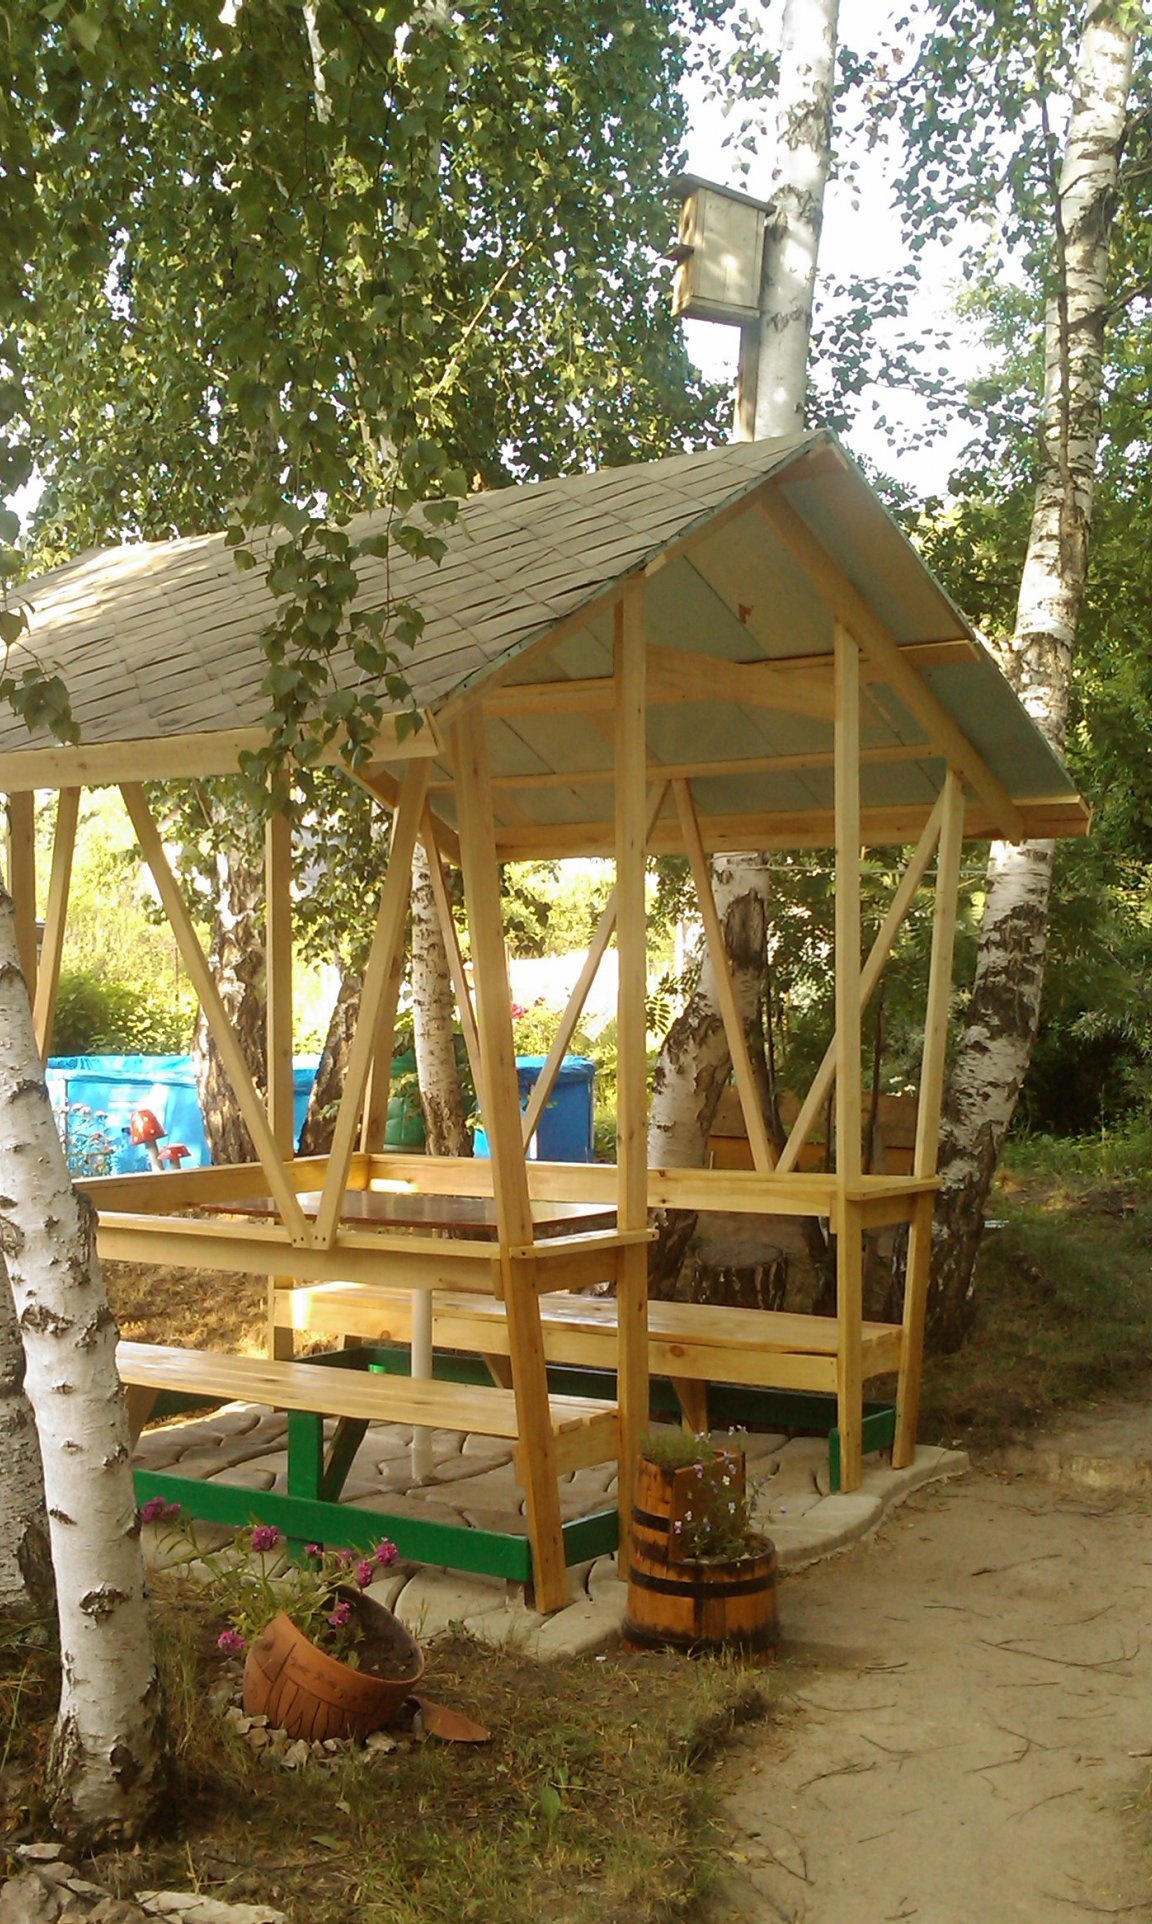
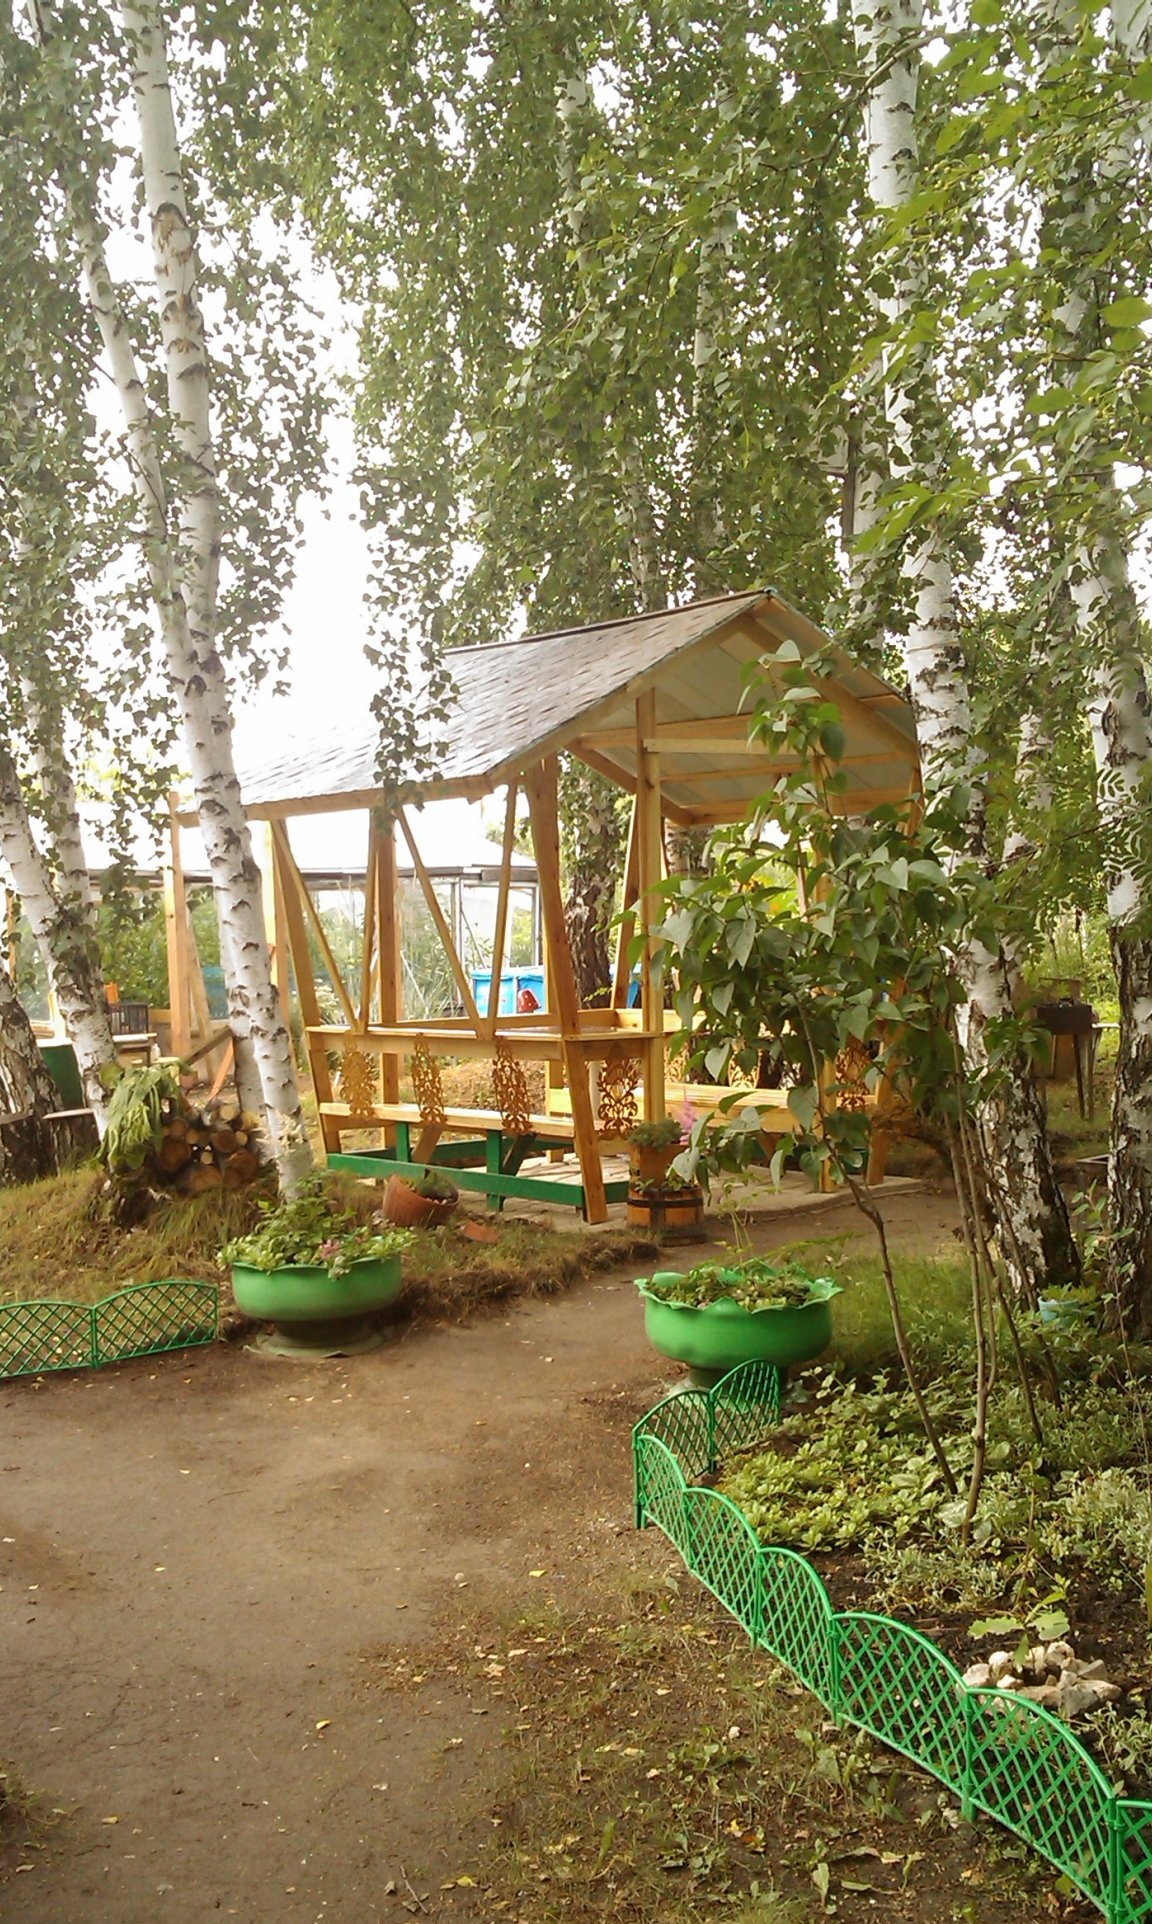
This is how the gazebo looks after completion of construction.
That's just a pity, the roosters did not cut out the skates. Although grooves are provided for them.
Based on the materials, this alignment is approximately everything that was found in the old records:
- board 25x100x3000 36 pcs,
- beam 50x50x3000 8 pcs.,
- roofing material one roll (will remain),
- antiseptic 1 can (for bottom),
- parquet varnish 2 cans,
- bitumen varnish 1, 5 l,
- silverfish 3 packets.
Self-tapping screws:
- 3.5x40 mm 150 sheets,
- 4.5x50 mm 300 pcs
- 4.5x70 mm 300 pcs.
I think that if someone decides to build himself he reads the materials necessary for this.
Regards, Starp.