Hello dear readers.
Perhaps everyone knows that water consists of hydrogen and oxygen, and in this state, these elements cannot burn. But if you separate these elements and transfer them to a gaseous state, then one of these gases will be able to burn, and with a very high temperature.
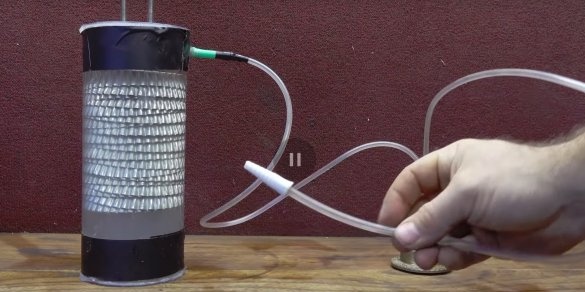
Today's author homemade made a small apparatus for extracting hydrogen from water by electrolysis, from ordinary baking tins, and connected a home-made gas burner to it. With the manufacturing process and the result of the work, I suggest that you familiarize yourself in this article or by watching a video.
Materials and tools used by the author.
Manufacturing process.
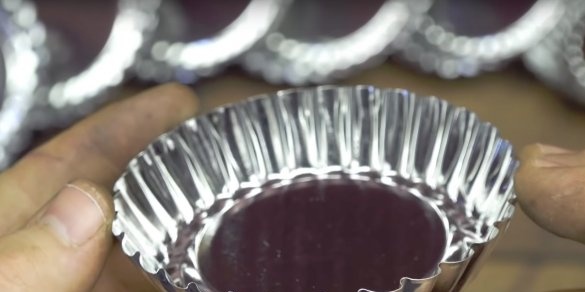
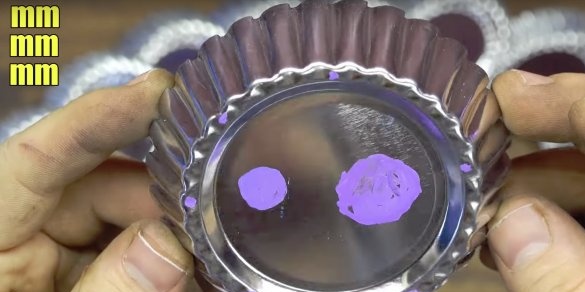
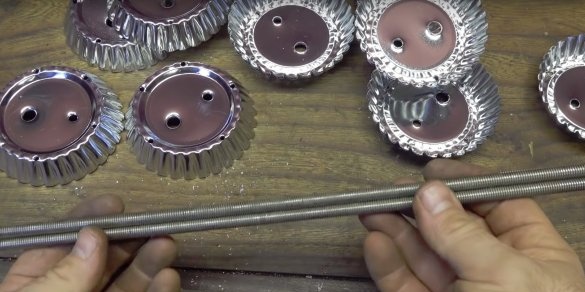
For starters, the author purchased in Chinese from stainless steel, they are excellent for the extraction of hydrogen from water. You can use ordinary stainless steel plates, you can even use another metal, but they will quickly oxidize and become worthless. And with such forms for cupcakes, you don’t need to do anything already, just drill a few holes and that's it.
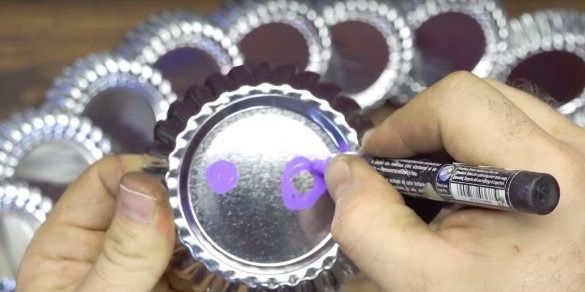
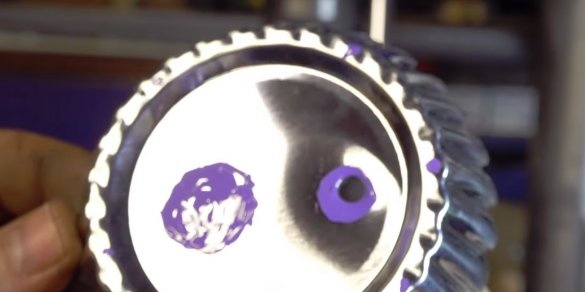
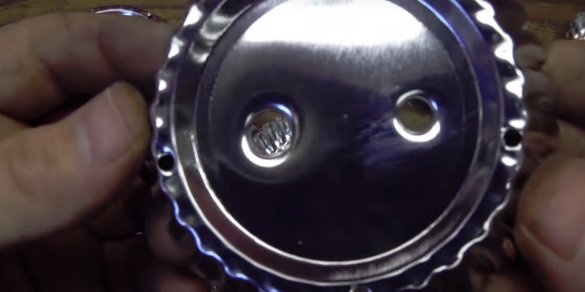
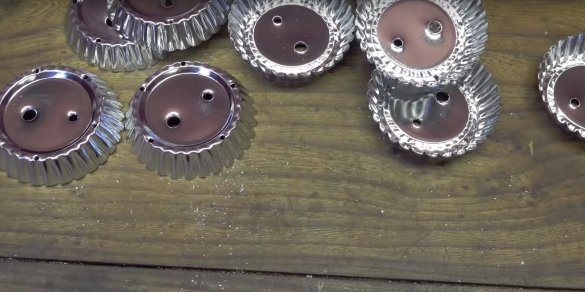
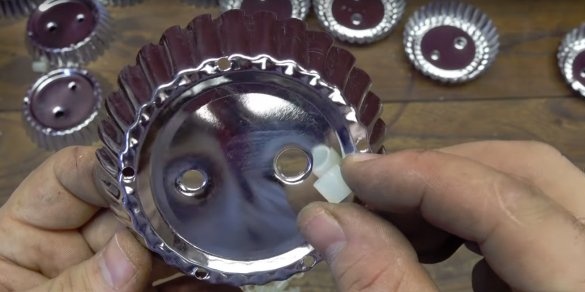
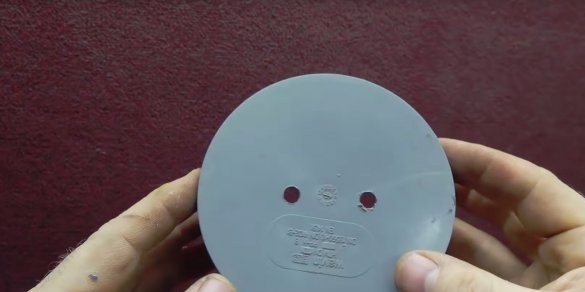
The author makes notes for future holes. In the bottom of the mold there are two openings 10mm and 8mm, and around the perimeter of 5-6 openings with a diameter of 3mm, small openings are needed for unhindered passage of gas through them, in order to avoid the formation of air pockets, so that you can drill more.
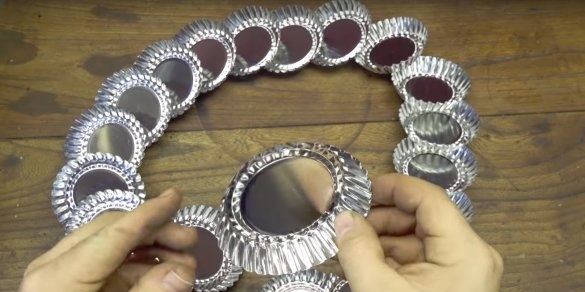
In total, the author drilled holes in 20 molds.
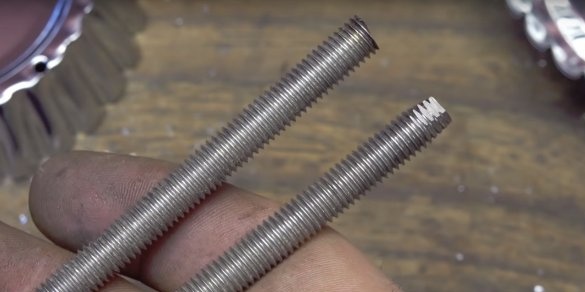
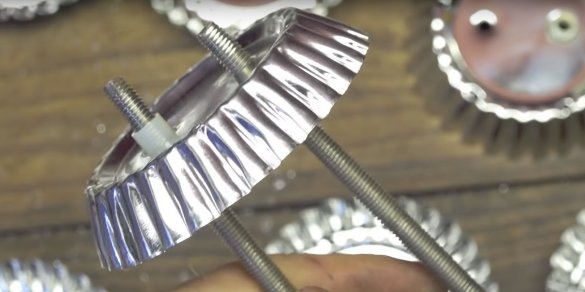
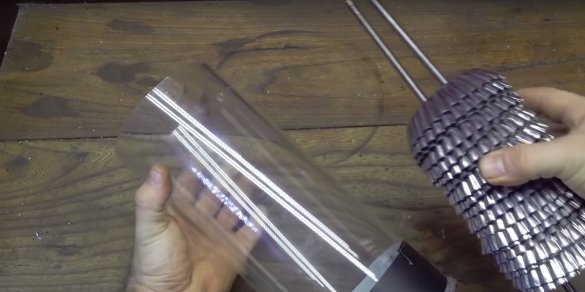
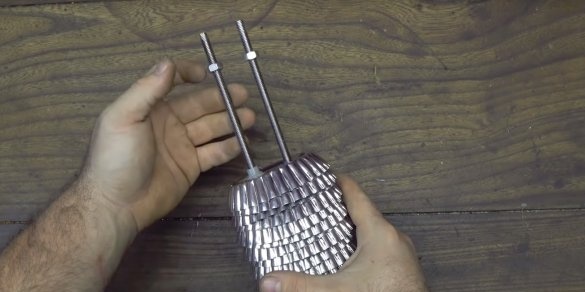
Now these molds will need to be put on two M8 hairpins with a length of about 40 cm each. The author slightly sharpened the ends of the hairpins to simplify the process of inserting forms.
These studs will serve as current conductors, one will be the positive terminal of the other negative.
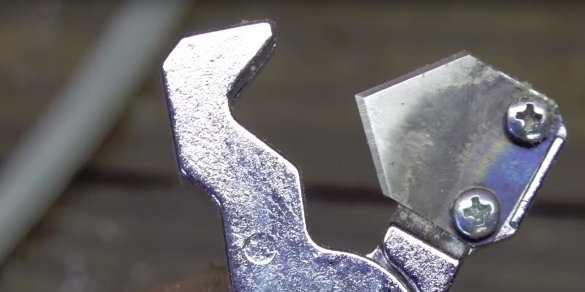
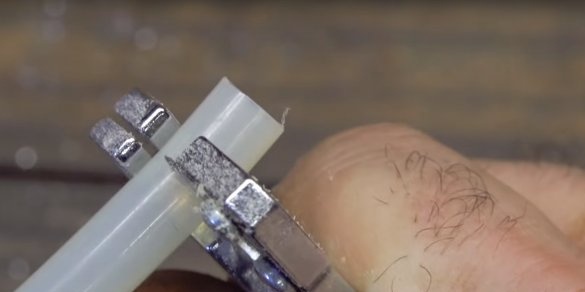
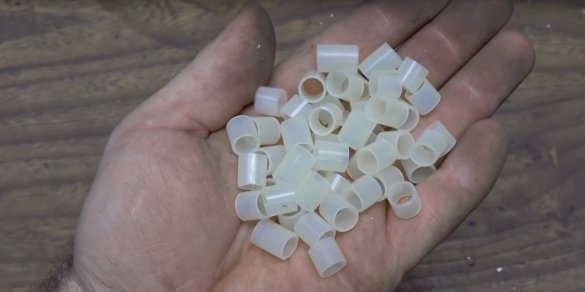
But the point is that each form will have to touch only one hairpin, the second should go through it without closing the contact. Also, the forms should not touch each other. To do this, the author takes a piece of nylon tube and cuts 20 pieces of 10-12 mm. By the way, the author cuts the pipe with the help of such a cool pipe cutter.
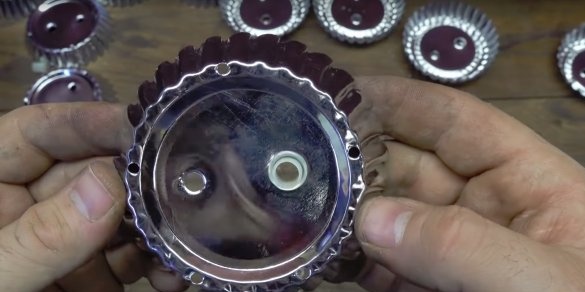
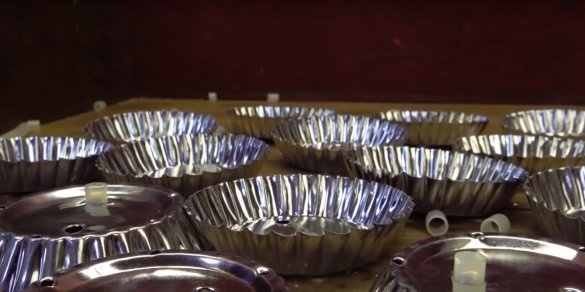
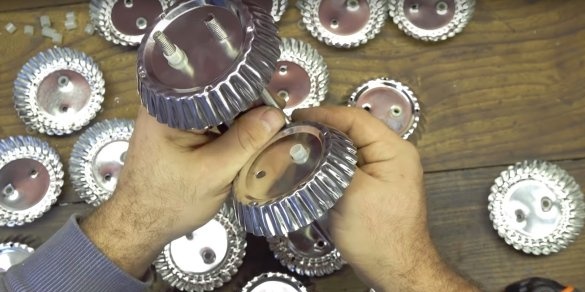
We continue, the author inserts a piece of tube into the 10mm hole, the second hole remains free. Such an operation is done with all forms.
Next, insert the studs into the holes of the first form.
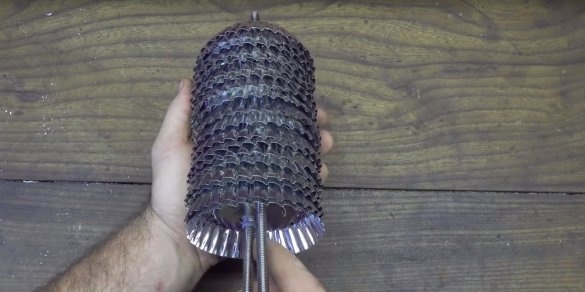
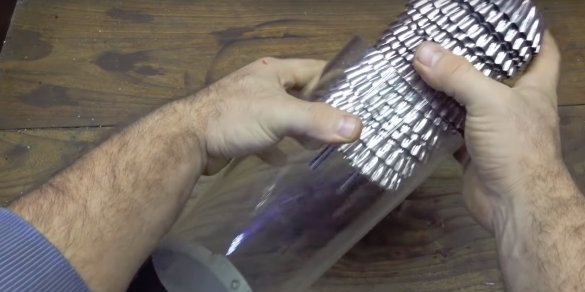
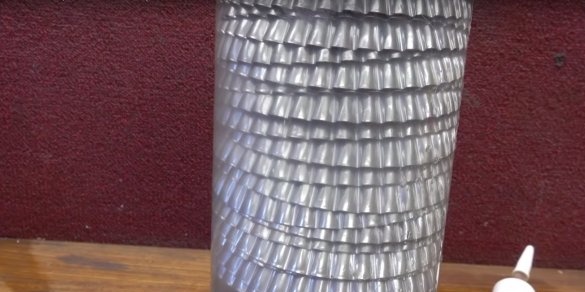
The following form must be worn on the studs, turning it 180 ° along the horizontal axis, relative to the first form. In other words, the holes with the plastic tube inside should alternate, dressing on the right or left. Thus, it turns out that one form relates to a positive contact and the next negative, then the next again to plus and so on. I hope you understand)) In this case, the surfaces of adjacent forms should not be in contact with each other.
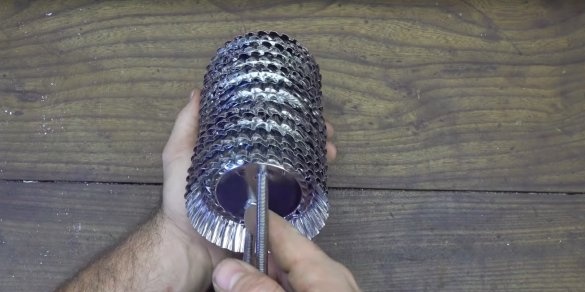
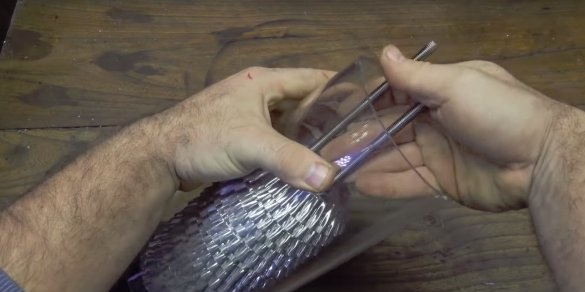
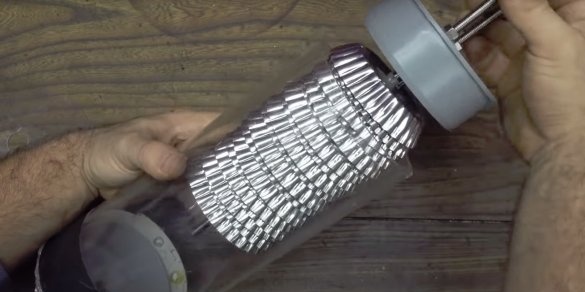
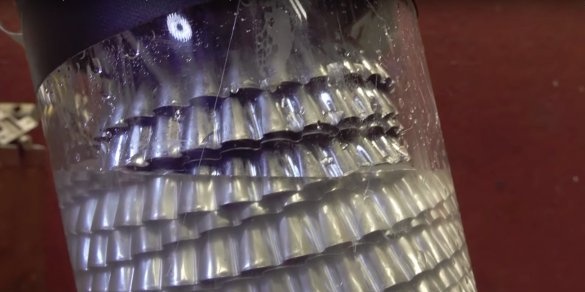
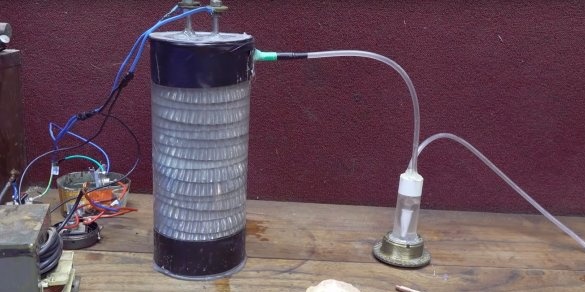
Here is such an interesting design. The whole structure must be placed in an airtight container. The author found a Plexiglas flask in himself, excellent, and it will be interesting to observe the electrolysis process.
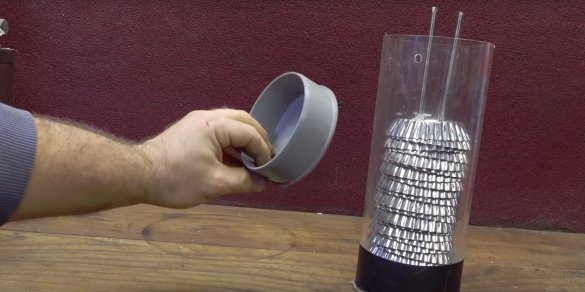
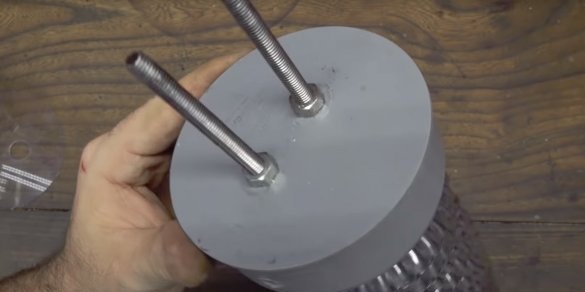
The author places the molds in the flask, and in the lid makes two holes for the electrodes, with a diameter of 8 mm.
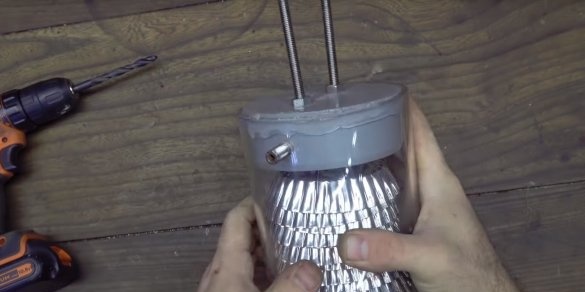
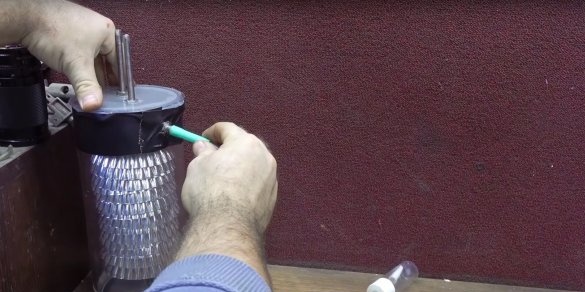
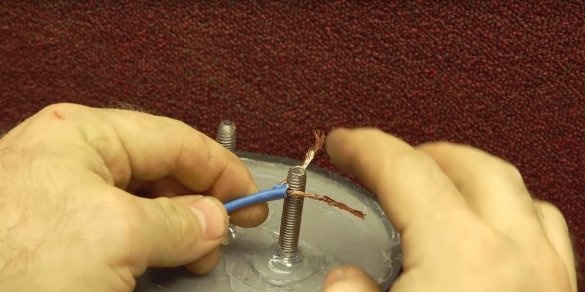
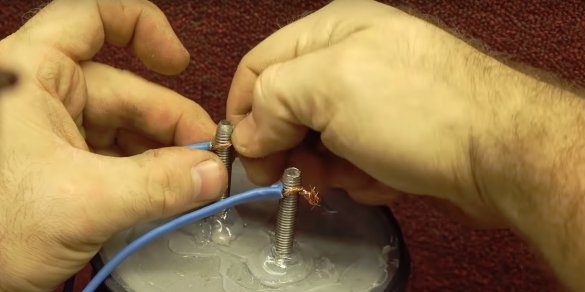
Screws the nuts onto the studs, puts on the cover, lubricates the holes with silicone and twists two more nuts on top of the cover, thereby securing the cover to the studs.
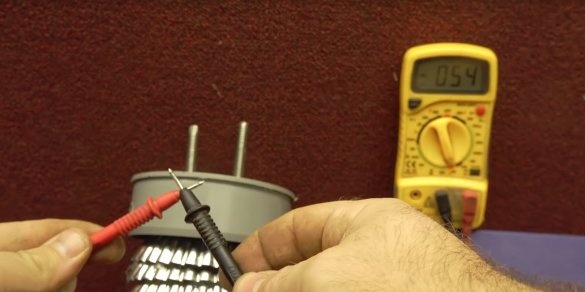
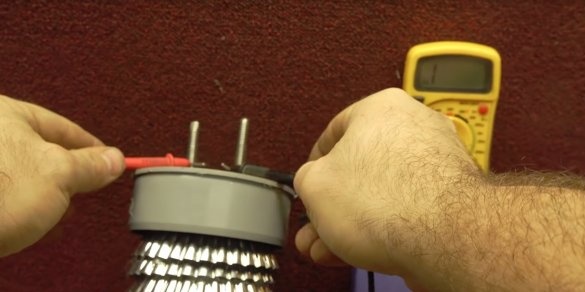
Before assembling the flask, you need to check the contacts for a short circuit, the author checks with a tester, there is no short circuit. Remarkably, then all the molds sat down as they should not touch each other.
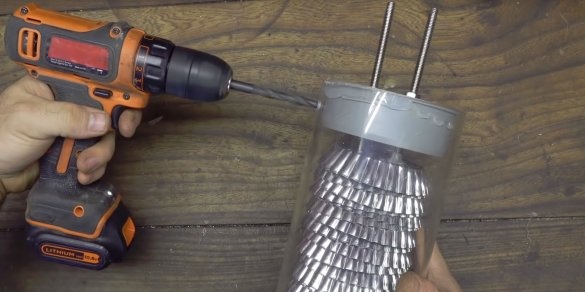
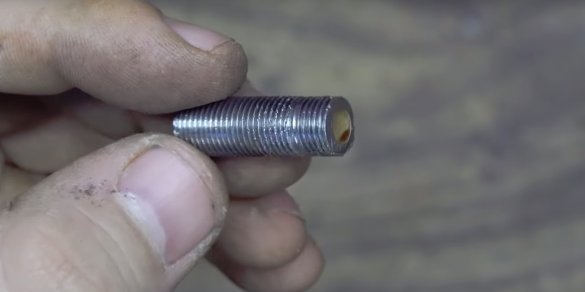
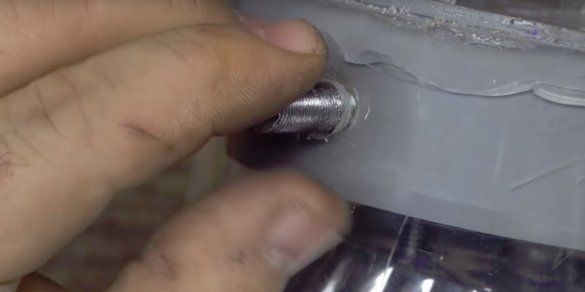
The author places the electrodes in a flask. But wait, where will the gas go? The author makes a hole at the top of the flask. A piece of a threaded sleeve inserts into the hole, although the thread here will only interfere (apparently the other was not on the farm). The sleeve sits on silicone.
Now you can close the lid, of course, having previously smeared it with silicone.
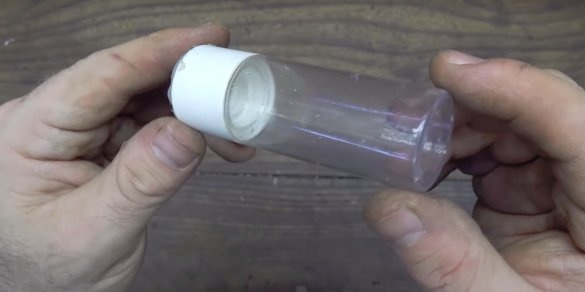
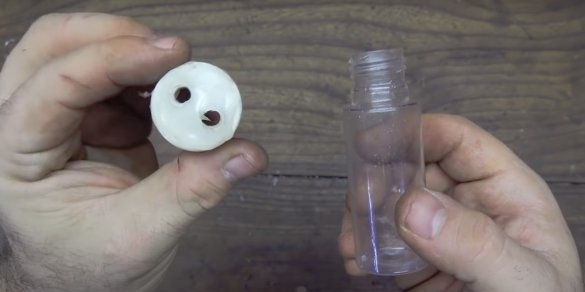
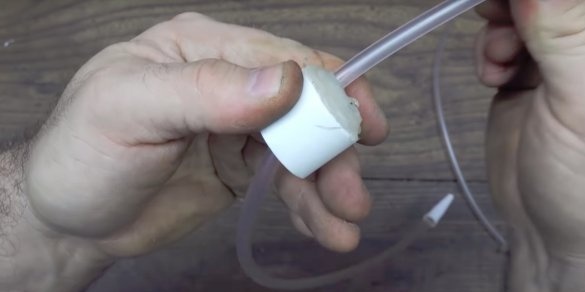
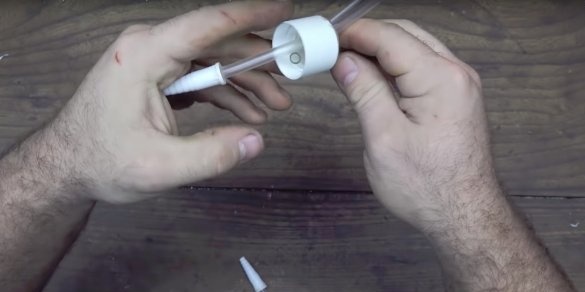
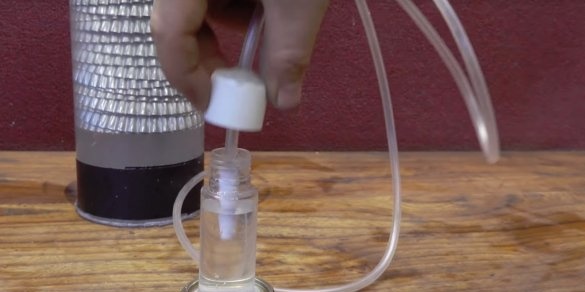
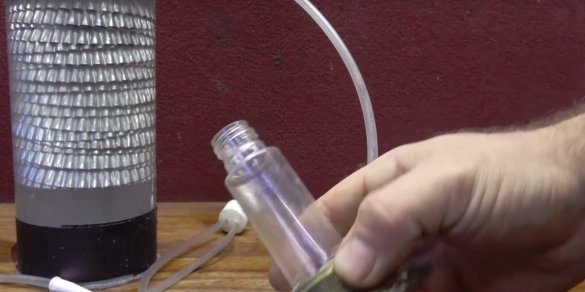
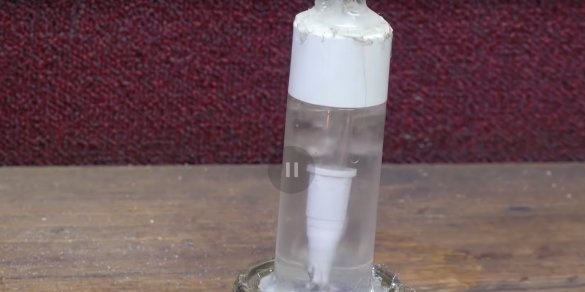
Now the author begins to manufacture a kind of security system to prevent the ingress of flame into the flask with the produced gas. To do this, he takes a small plastic flask and makes two 8mm holes in its lid.
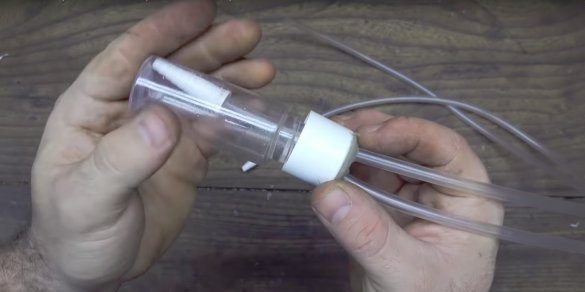
It inserts oxygen tubes into the holes.
It inserts one tube so that it reaches almost to the bottom of the tank, this tube will be connected to the fitting on the main flask.
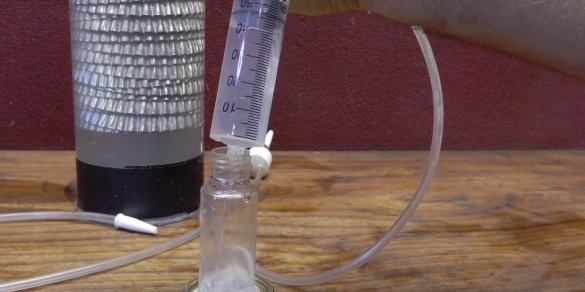
The second tube should be at the very top, from this tube the gas will go to the burner. In this jar you need to pour water, somewhere on но, but so that the water does not reach the top tube a few centimeters, and when bubbles form on the surface of the water, it does not fall into the upper tube.
The result was a safety system in the form of a hydraulic lock. If the flame gets through the tubes to the main flask, there will be no fun.
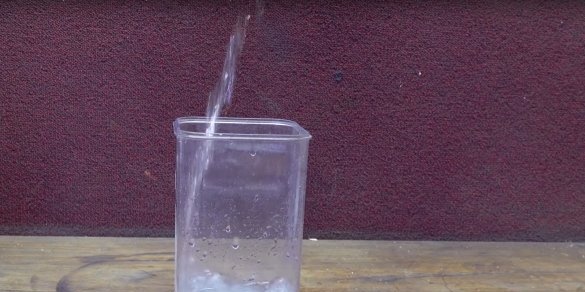
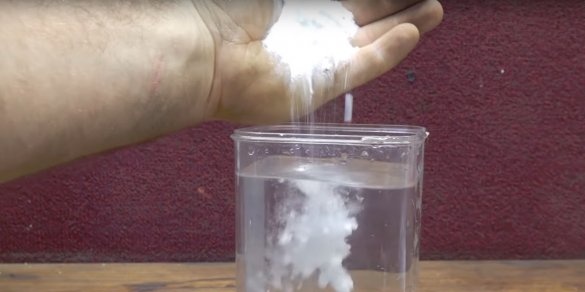
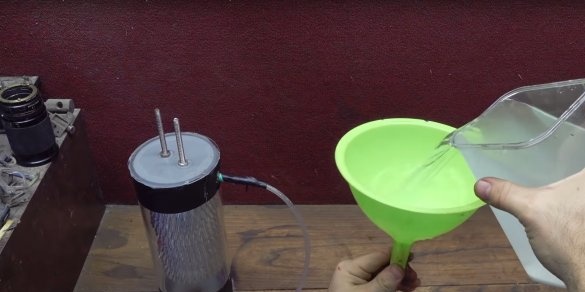
Now the author prepare water for hydrogen evolution. For the best hydrolysis effect, it adds table soda to the water. The prepared electrolyte is poured into the flask through a funnel.
Well, all that remains is to connect all the tubes, by the way, the author glued the jar-security system onto a heavy stand so that it would not accidentally turn over. Although it would be better to attach it to the generator itself.
The hydrogen generator is almost ready, but you need to make another burner.
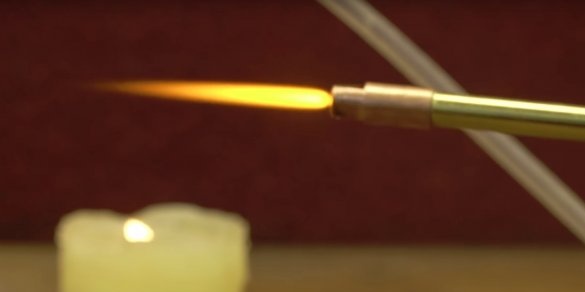
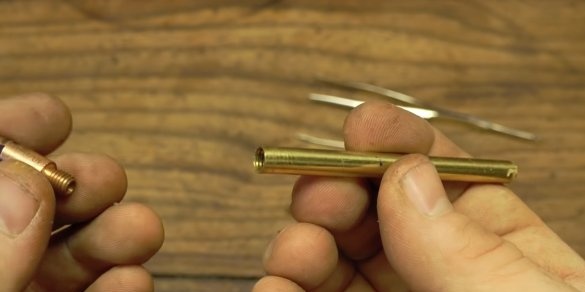
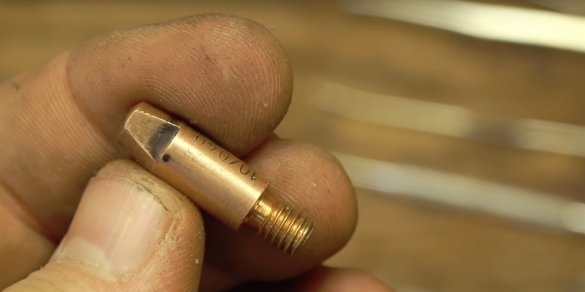
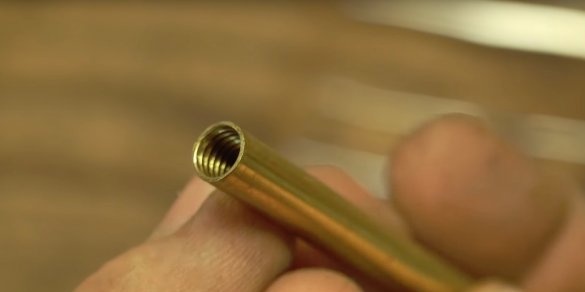
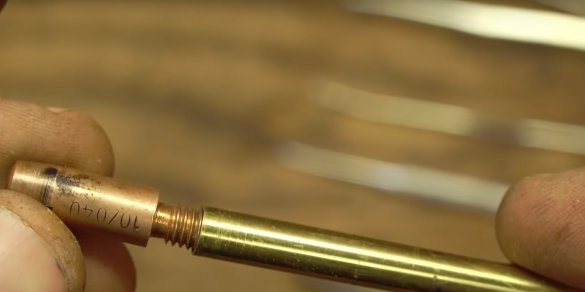
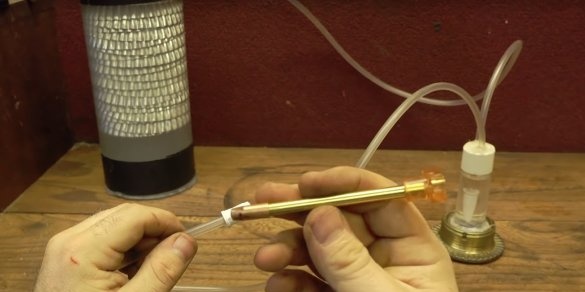
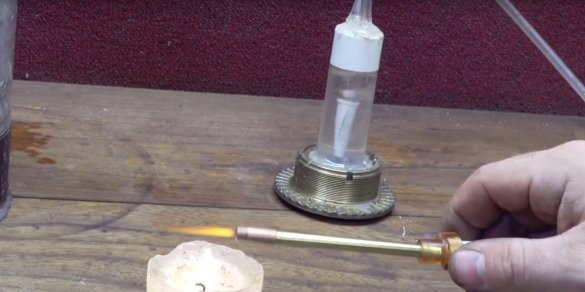
Some make burners from a syringe, some from copper tubes, flattening their one end. But the author already has a metal nozzle, it is not clear from what, it is then suitable for the manufacture of a burner. It is only necessary to slightly modify.
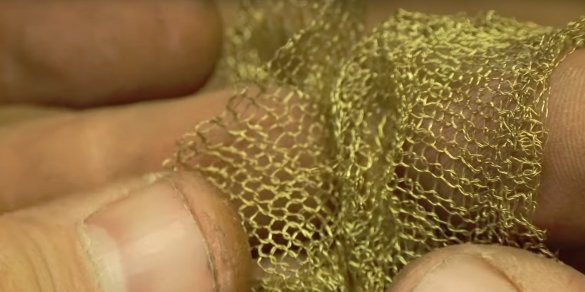
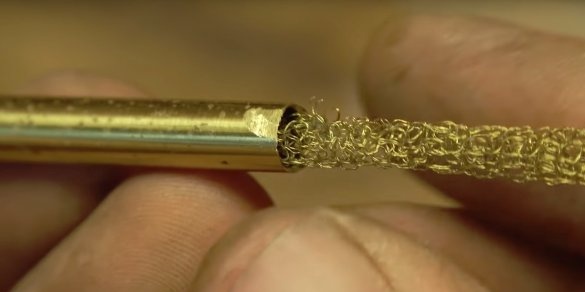
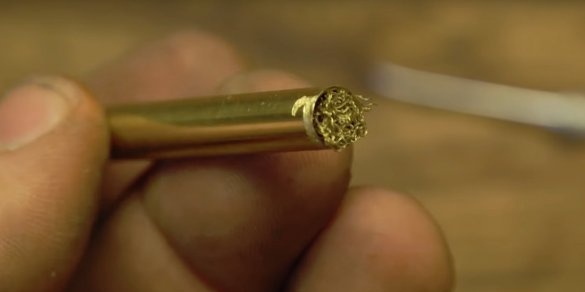
In order to create additional protection against reverse thrust, the author makes a flame arrester. To do this, he cuts a small piece of a metal sponge (for dishes), folds it into a tube and places it inside the burner tube. That's all the arrester is ready. Also, this arrester will compensate for the unevenness of the supplied gas. Which will certainly be present due to the established first stage of protection, a water lock.
Now you can connect the burner, and begin the process of hydrogen production.
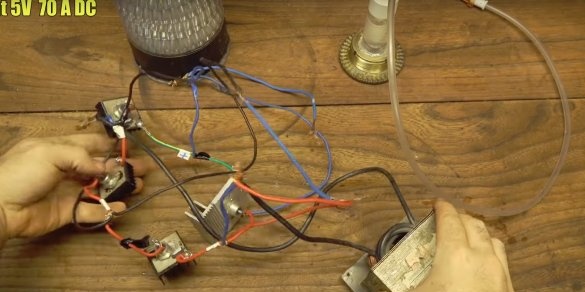
For power, a direct current source, say a car battery, or a charger, is suitable. But the power of the source must be high.
The author has an old transformer with rectifier diodes, with a power of as much as 70 A, at a voltage of 5 V, he will use it.
Connects the terminals, the polarity does not matter here.
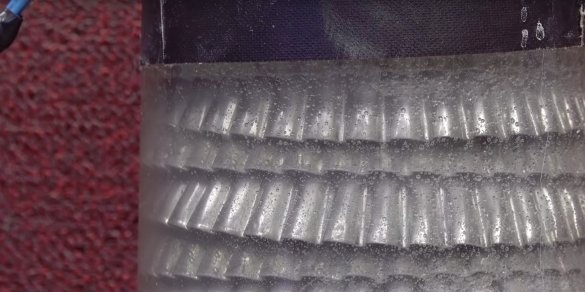
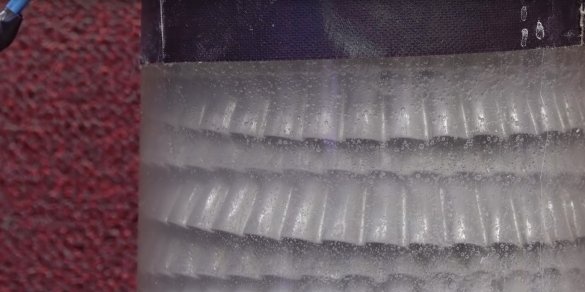
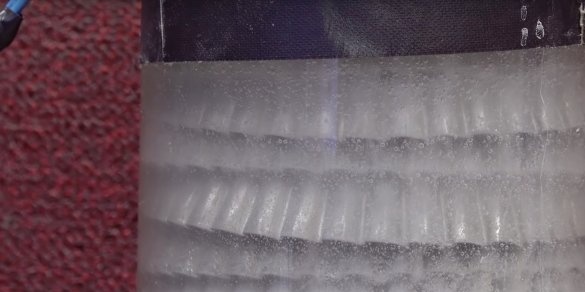
When you turn on the transformer in the network, hydrogen bubbles instantly form on the surface of the molds.
Also, the amount of hydrogen released can be observed by the water trap bubbles.
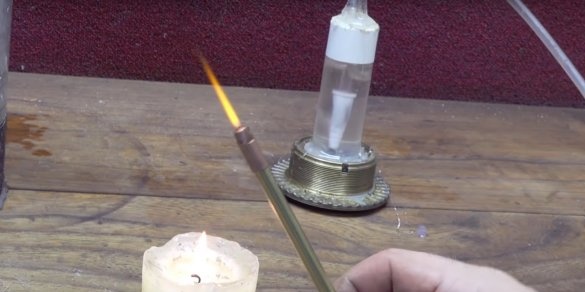
It's time to set the burner on fire.
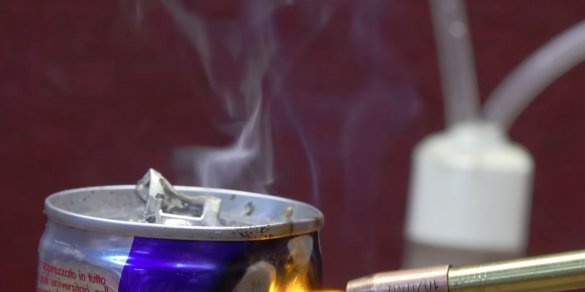
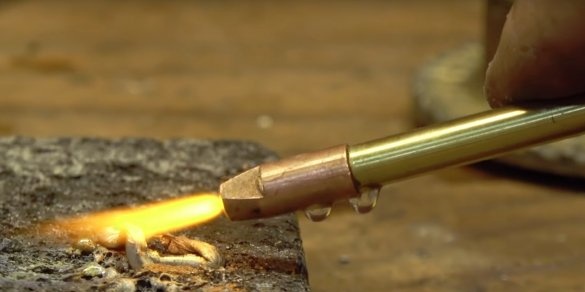
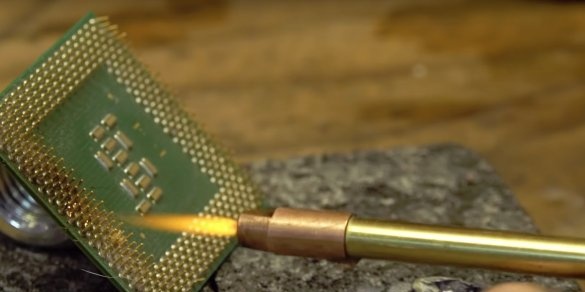
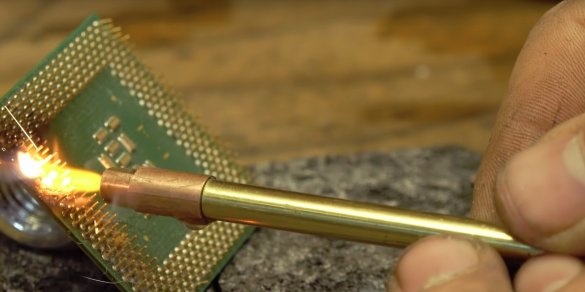
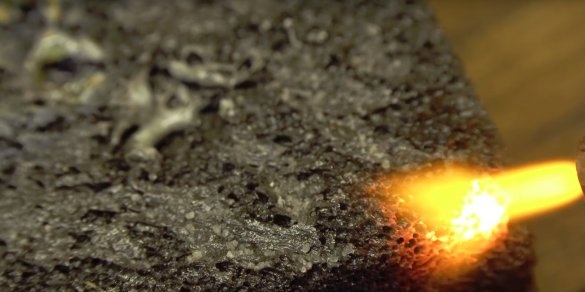
The flame temperature is enough to burn through an aluminum can.
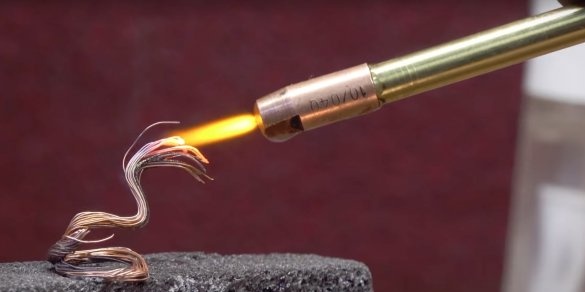
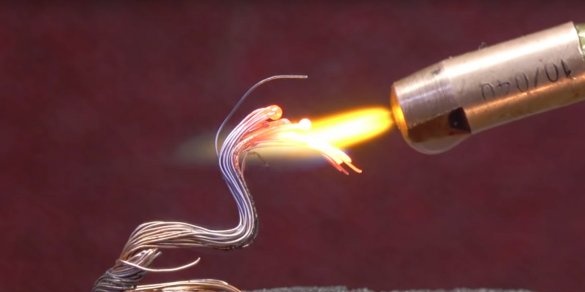
The veins of the copper cable also melt the flame.
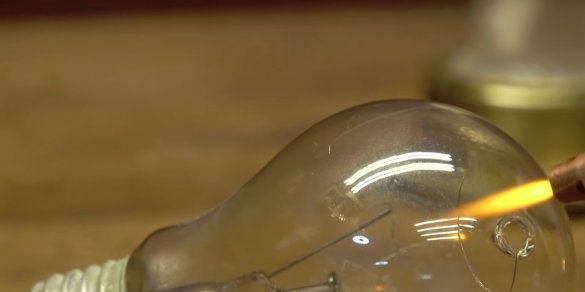
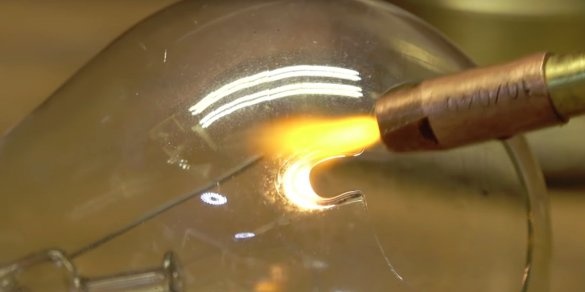
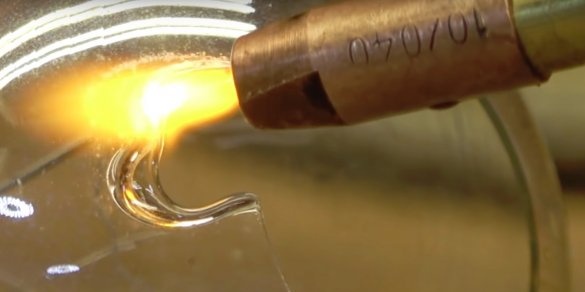
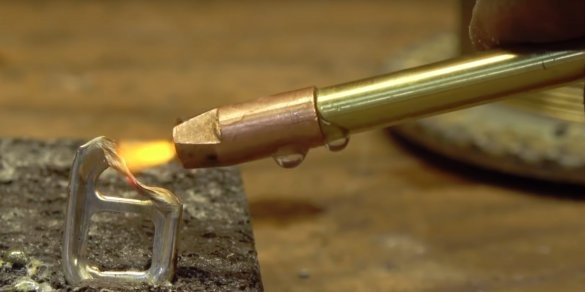
Glass also does not stand.
Well, in general, the author went into a frenzy, and began to melt everything that couldn’t come to hand)))
On this, I say goodbye to you, thank you for reading.
All the best, see you soon.

