

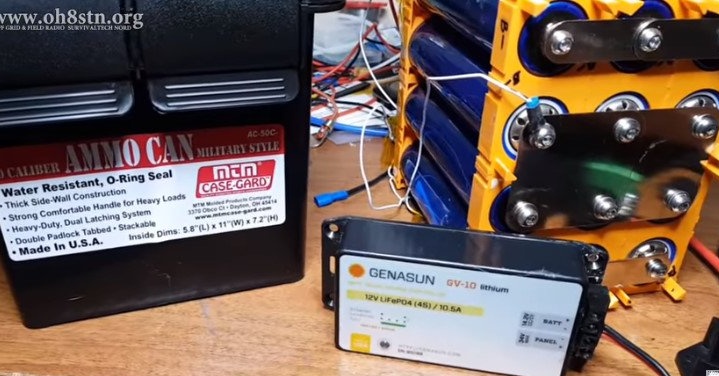
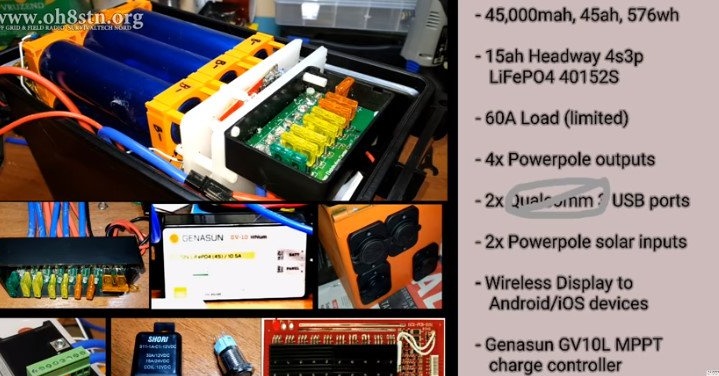
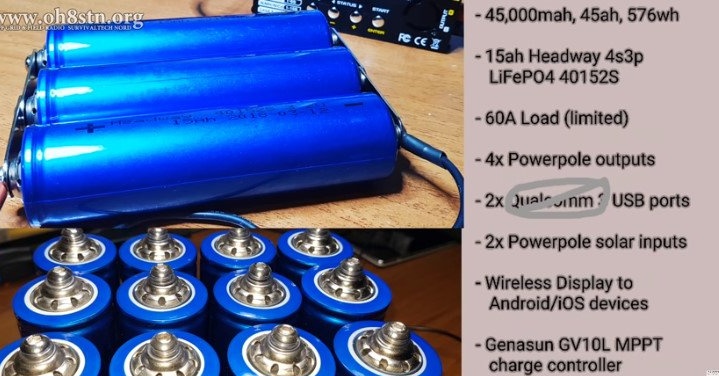
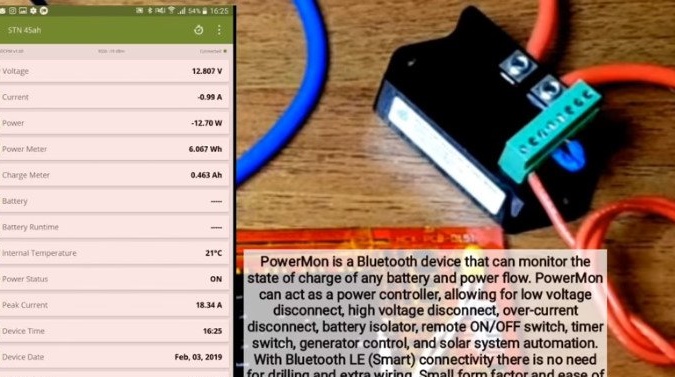
In this article, the author will tell us how to make a fairly capacious battery pack. The master plans to charge such a unit from solar panels. The author came up with the idea to make such an autonomous emergency power supply after Hurricane Maria, when many people in Puerto Rico were left without electricity, and therefore no connection. In his homemade The master uses lithium-iron-phosphate batteries, currently the most suitable batteries for this purpose. The device’s specifications are as follows: 45 ampere hours - 2000 charge cycles - 2 USB ports - a battery monitor with Bluetooth data transfer - 4 DC Powerpole ports - each port has individual protection - a charge controller - the ability to charge from a solar battery - weight 18 pounds ( 8.3 kg) - ease of maintenance - replaceable components - ease of assembly.
So let's get started.
Tools and materials:
-Charger;
- Cells for battery assembly;
- Jumpers;
-Screwdriver;
-Scotch;
-Plastic container;
-Porolon;


Step One: Batteries
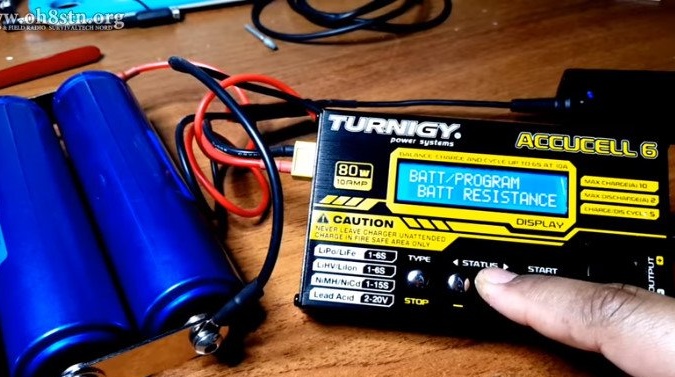
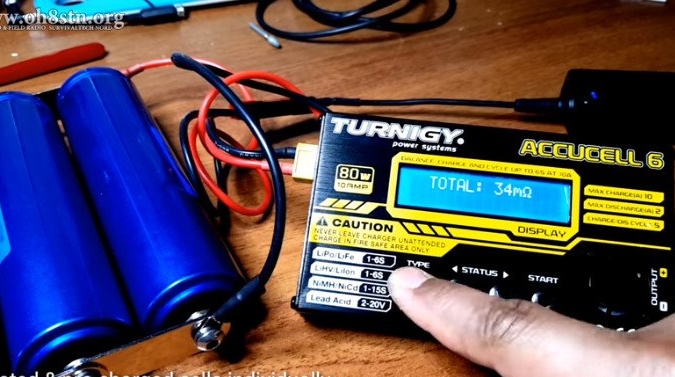
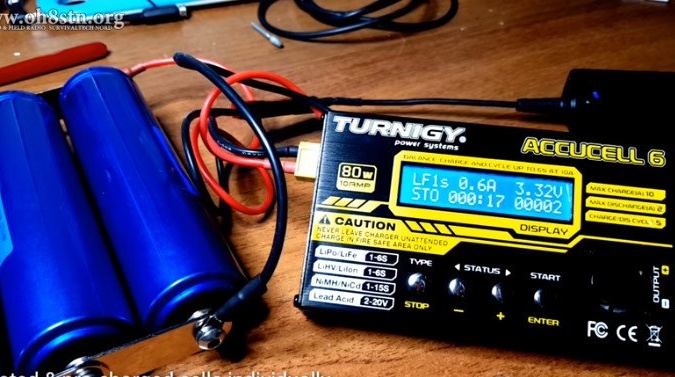
Before you put the batteries in one cell, you need to balance them by voltage. Using the charger, the master charges the batteries up to 3.2 V.
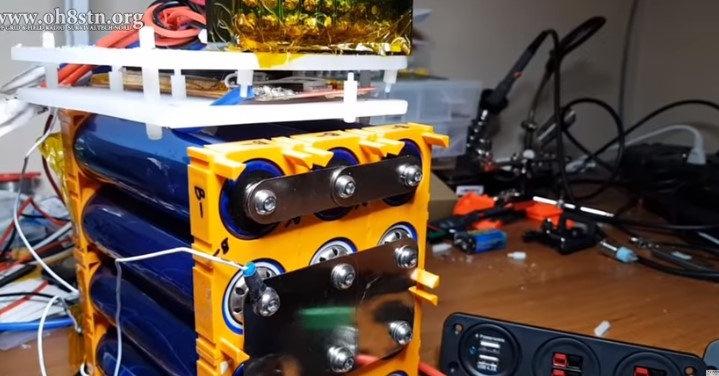
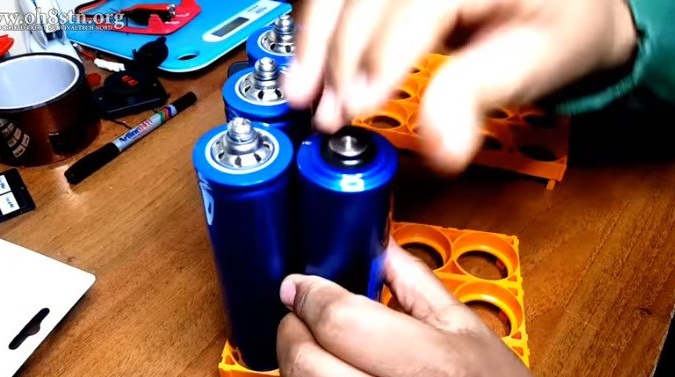
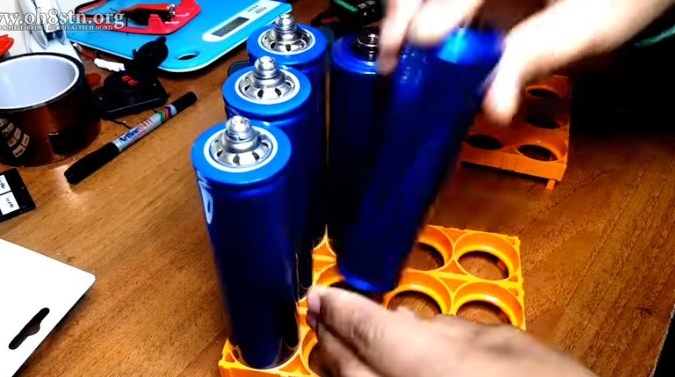
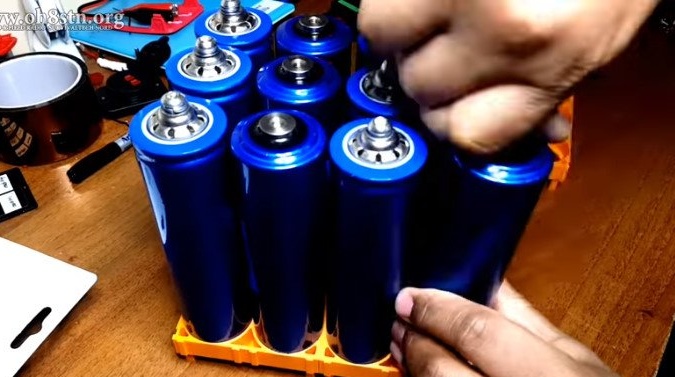
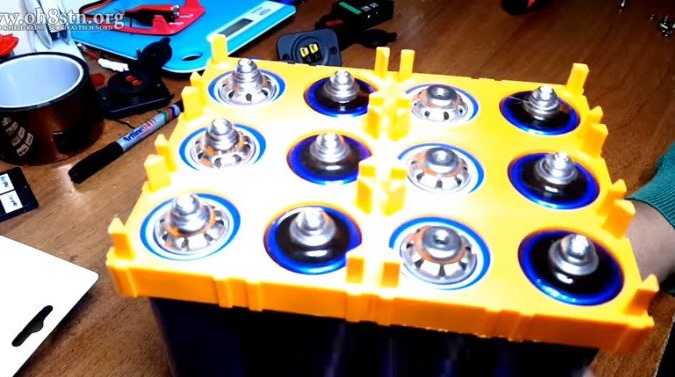
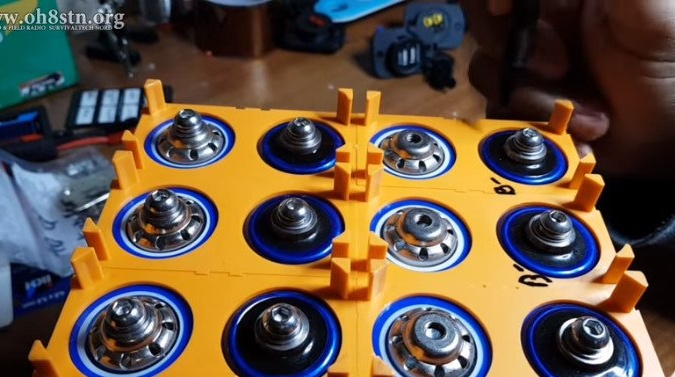
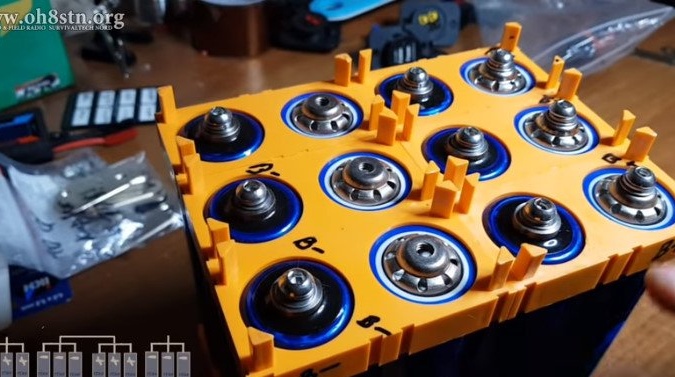
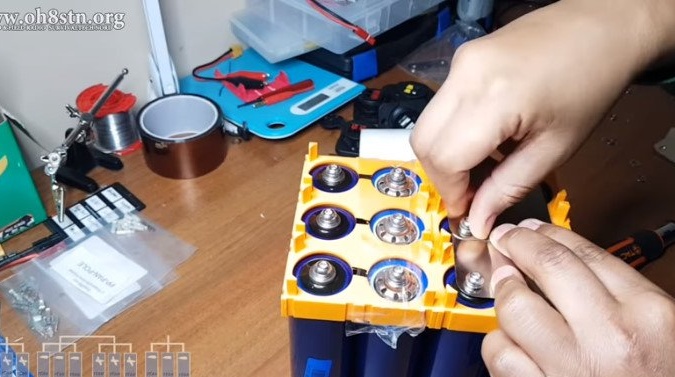
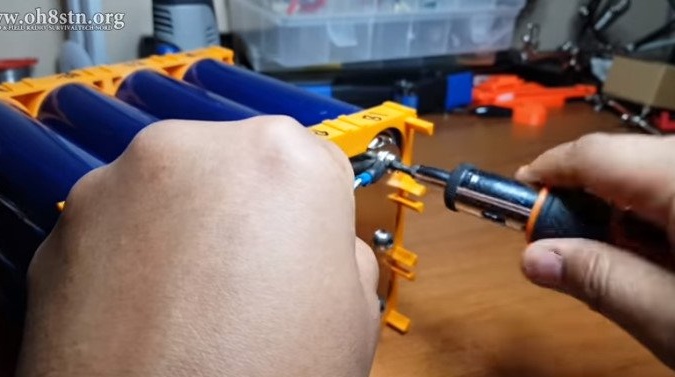
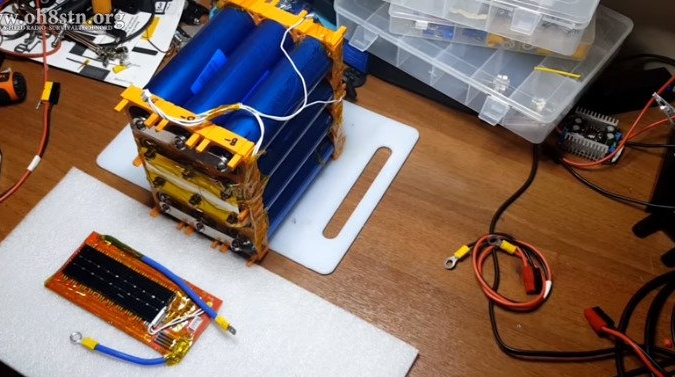
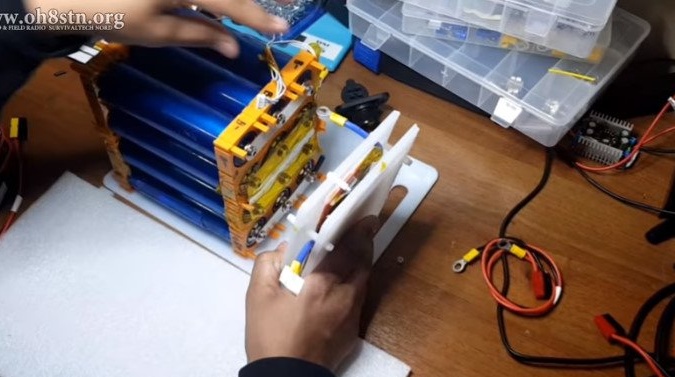
Step Two: Cell Assembly
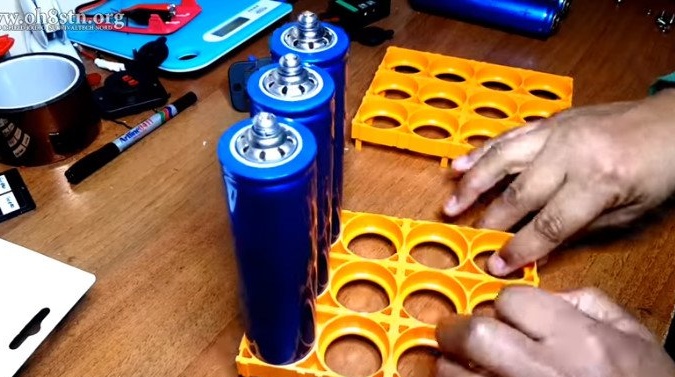
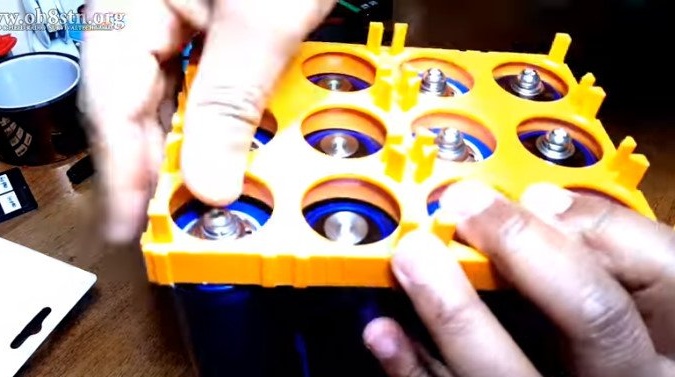
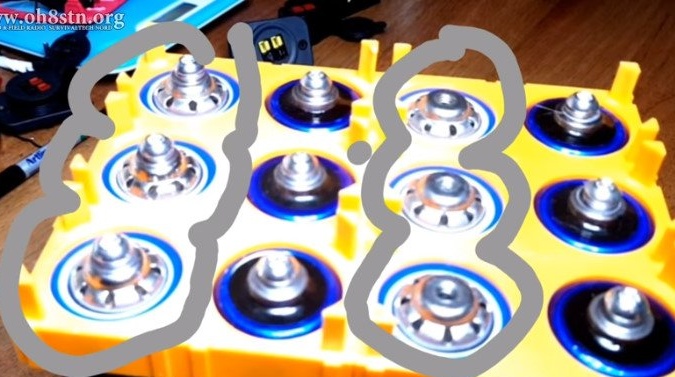
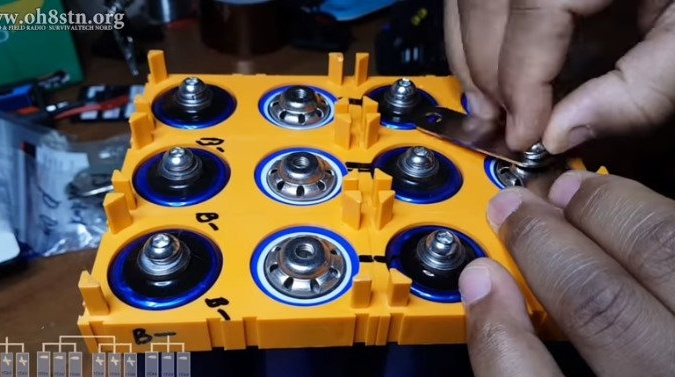
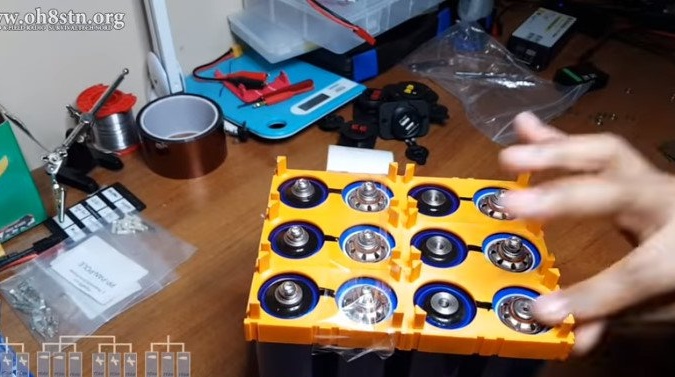
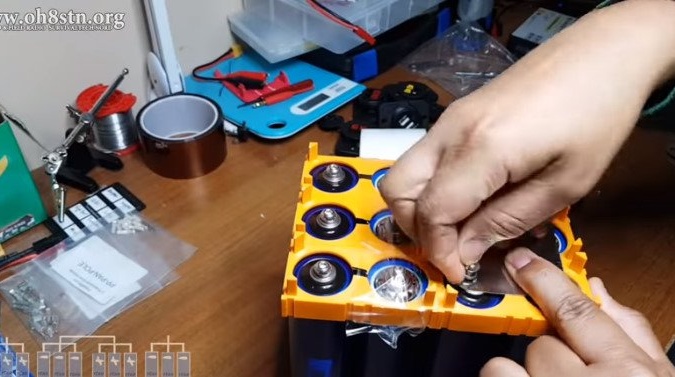
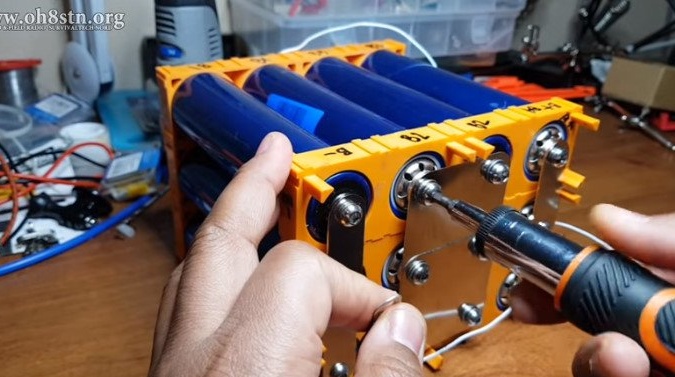
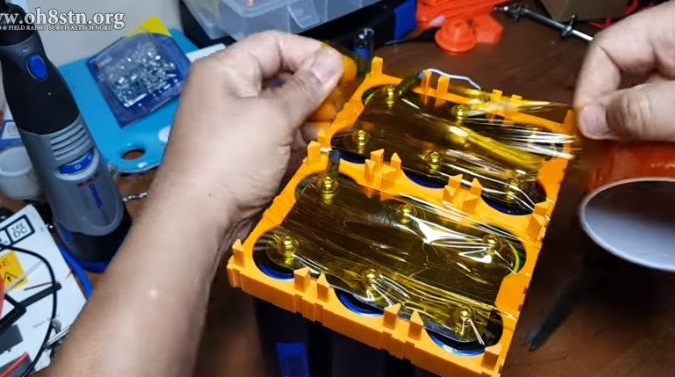
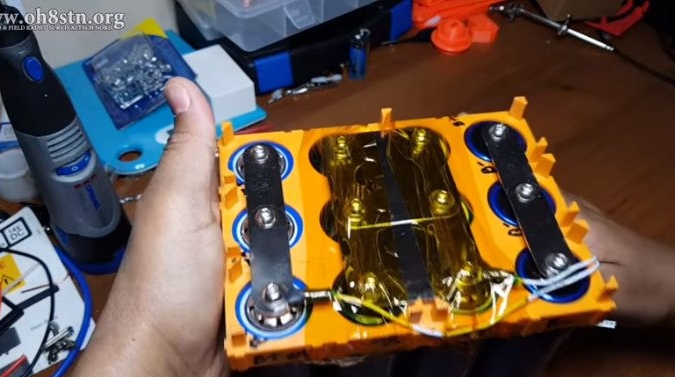
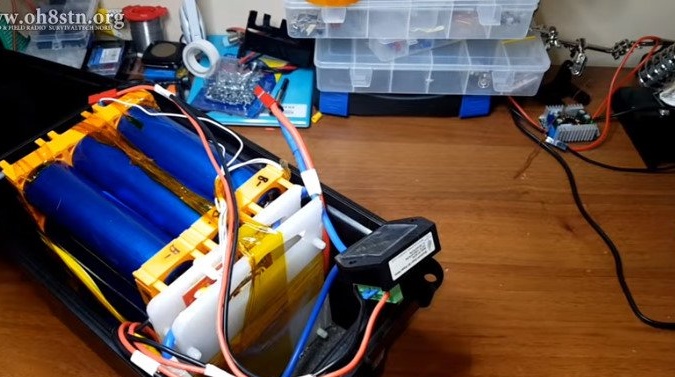
The master has 12 batteries. There are special cells for assembling them into one block. Installs batteries in cells. The installation procedure is as follows: 3 battery plus * 3 battery minus * 3 battery plus * 3 battery minus. The assembly order was noted by the master with a marker. Top sets the second half of the plastic cell.

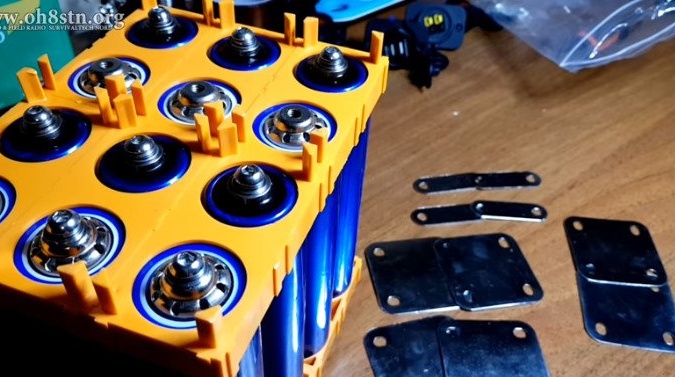
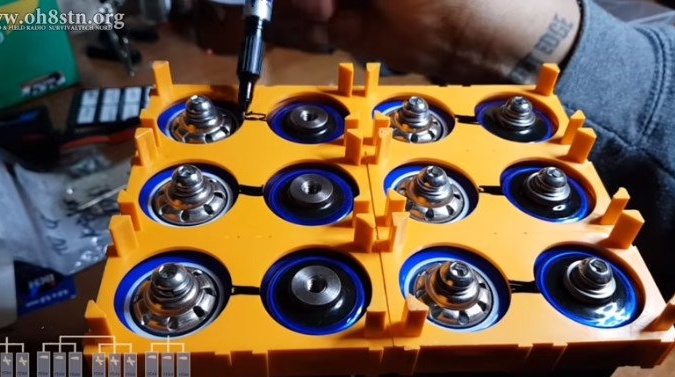
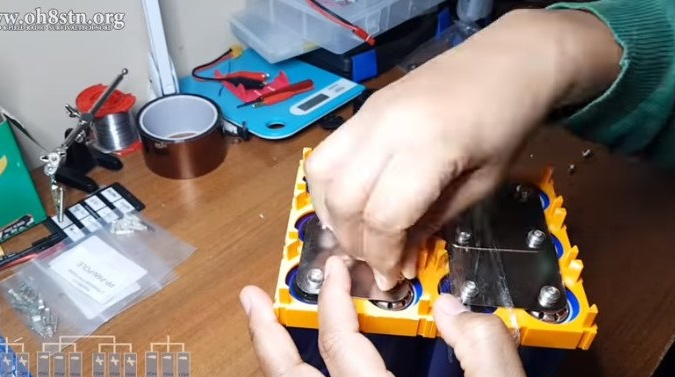
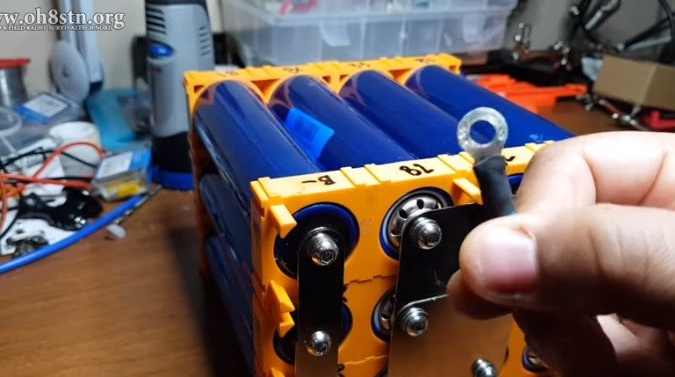
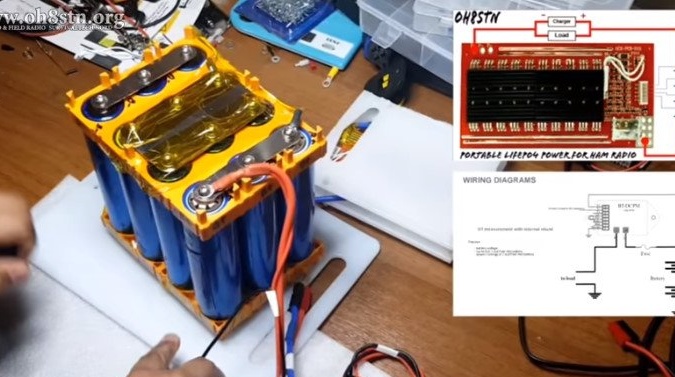
Step Three: Connect Battery
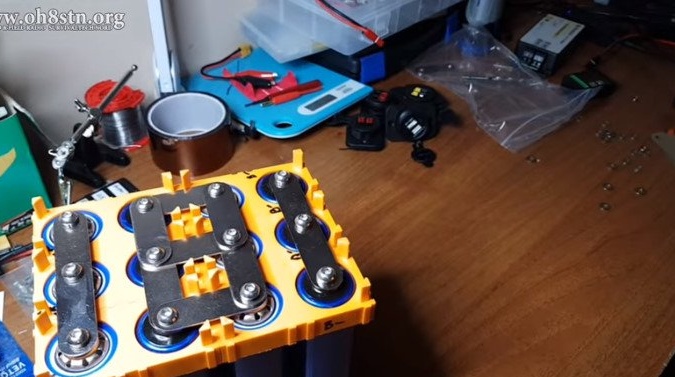
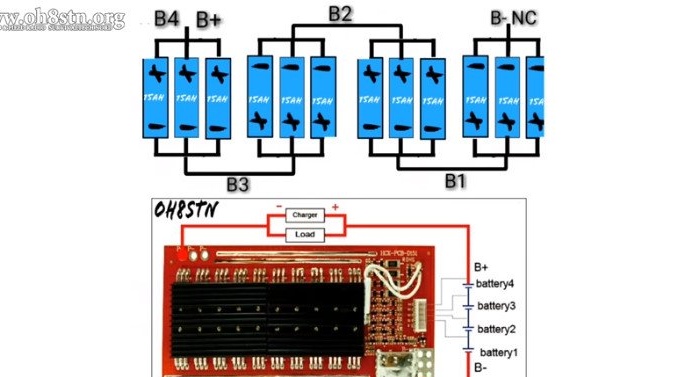
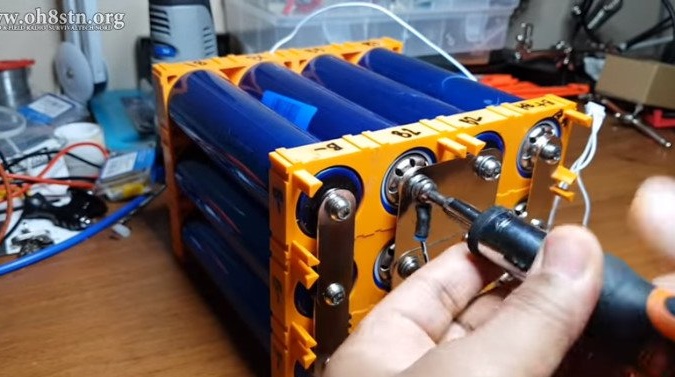
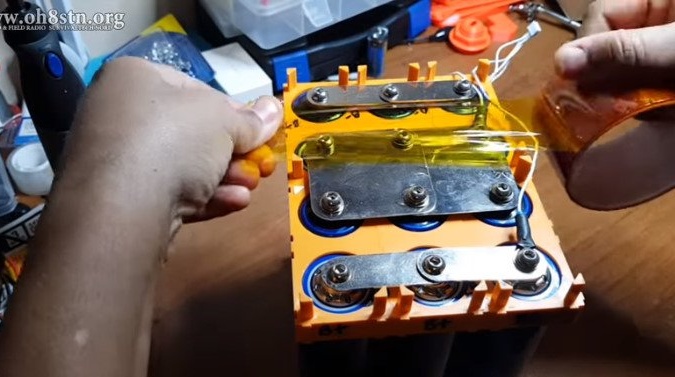
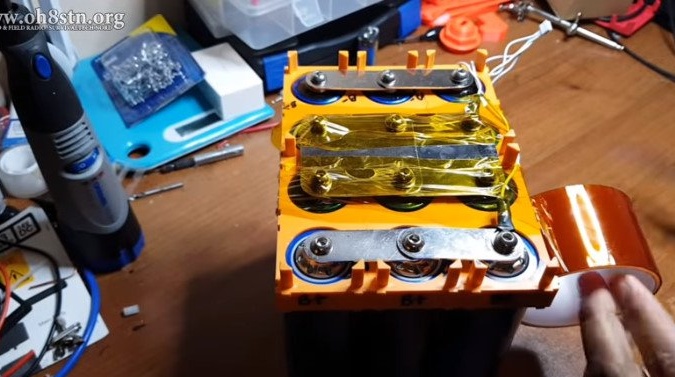
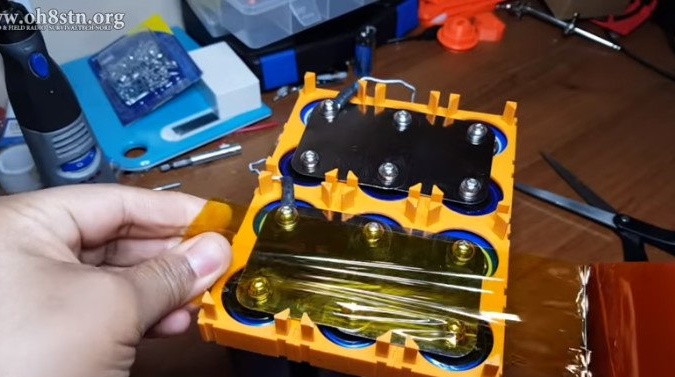
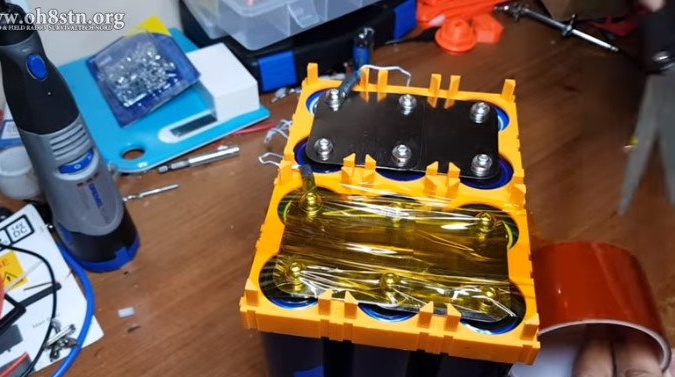
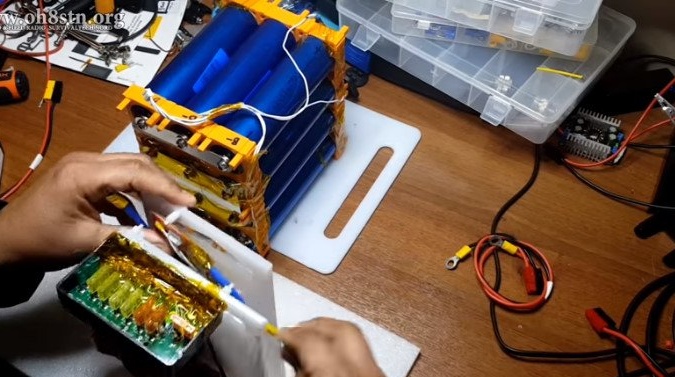
Now you need to make battery connections. The batteries are connected according to the 4S 3P scheme, i.e. we connect the batteries in parallel in three, then these 4 to 3 battery blocks are connected in series. Connecting plates master uses copper with a nickel coating. In order not to confuse with a marker, it marks the connection order. Cells with installed tires are insulated (just in case, suddenly during assembly, the connecting plate will fall) with adhesive tape.
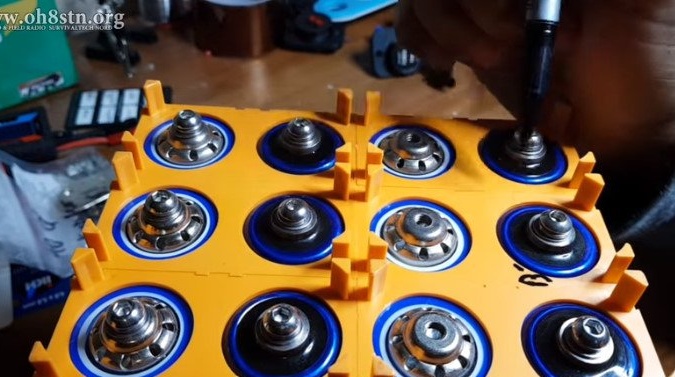
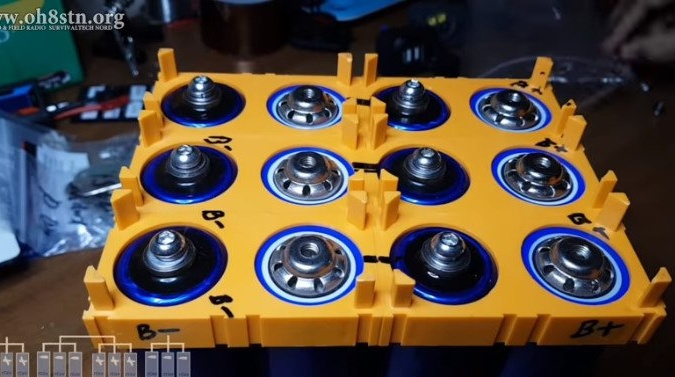
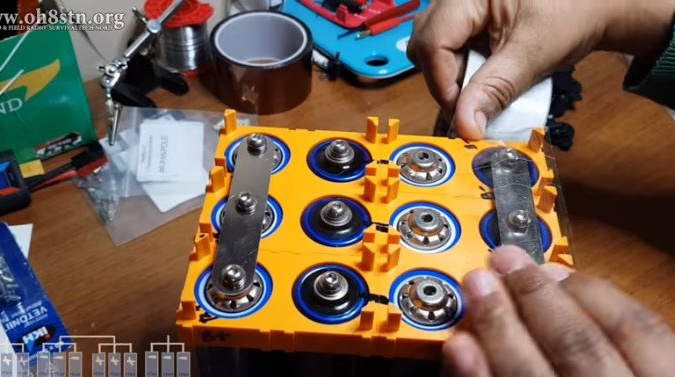
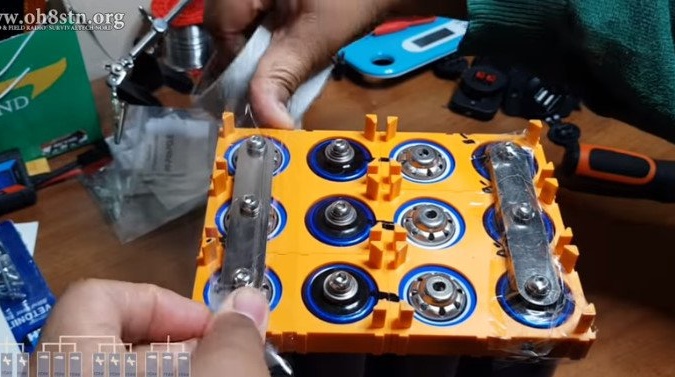
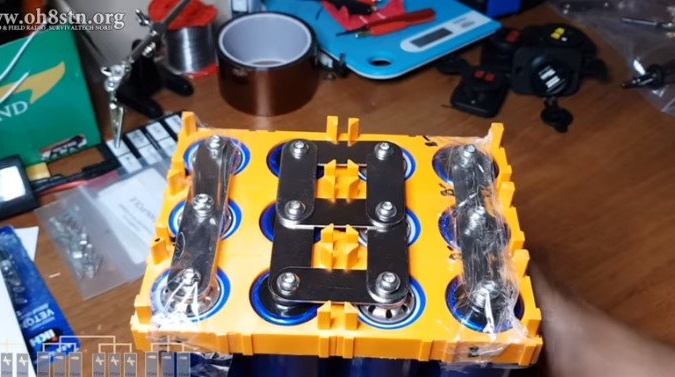
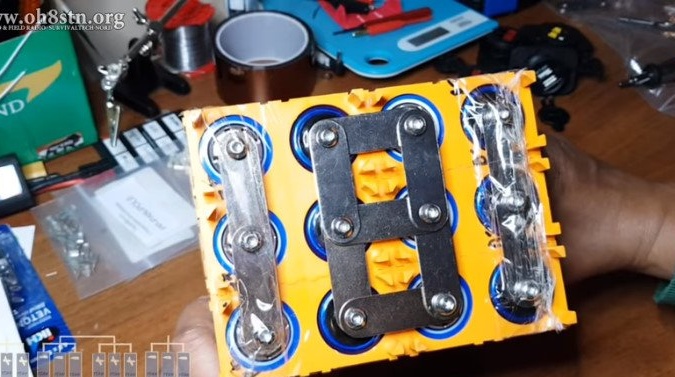
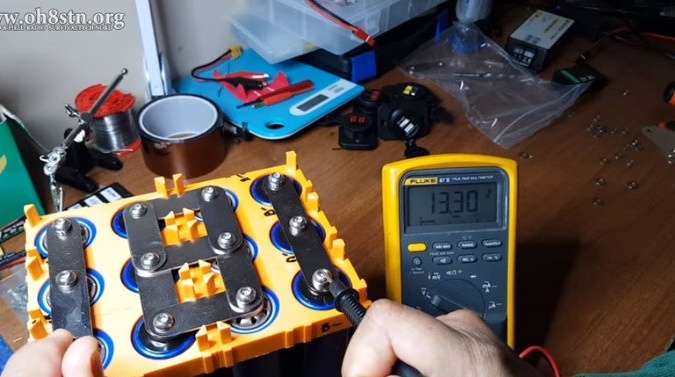
After installation, it checks the voltage.

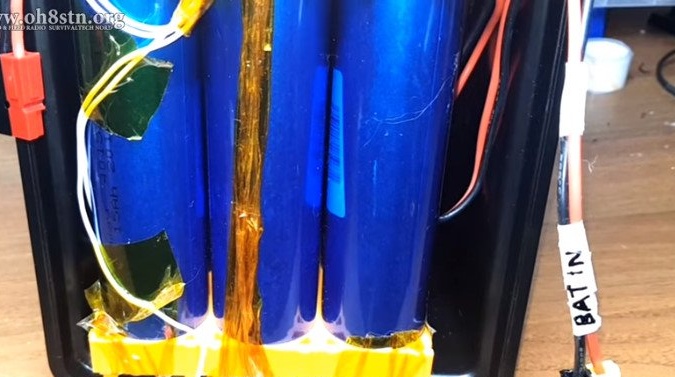
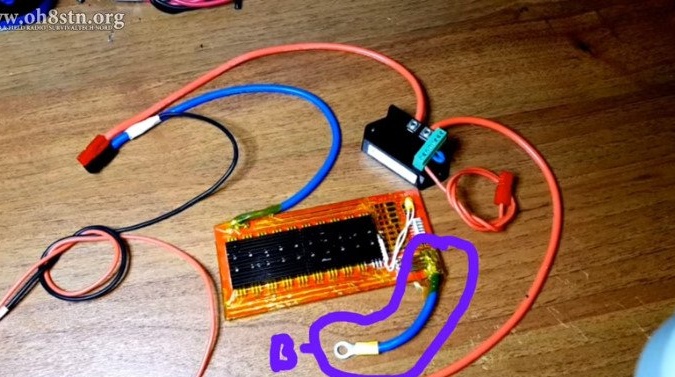
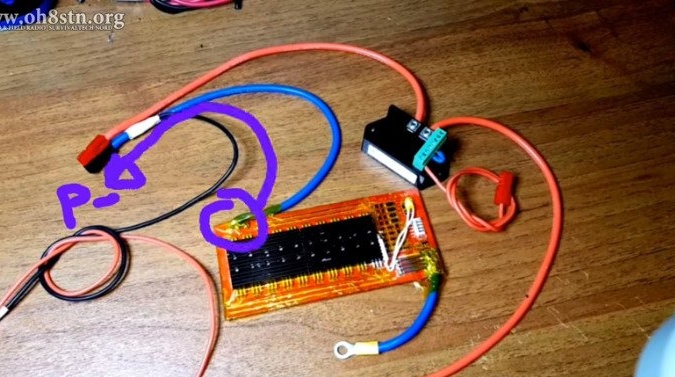
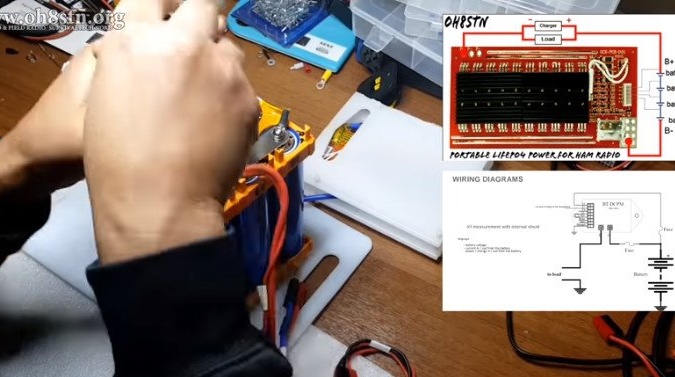
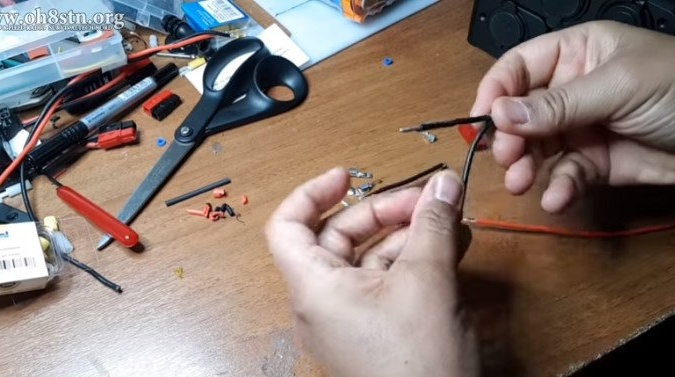
Step Four: Connecting the BMS Board Wire
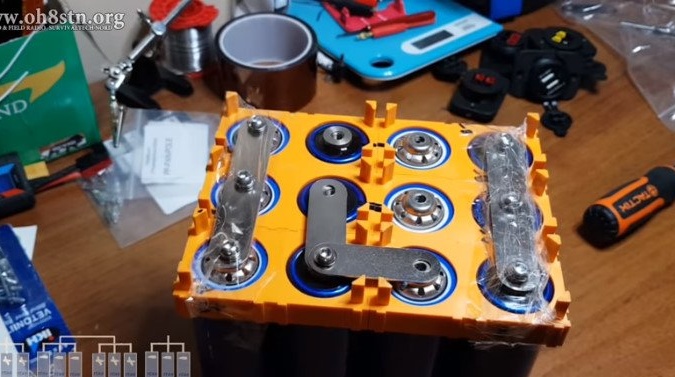
Mounts the wire that connects to the BMS board. The wire has four cores. Connects to the battery contacts in the following order: B1-B2-B3-B +.
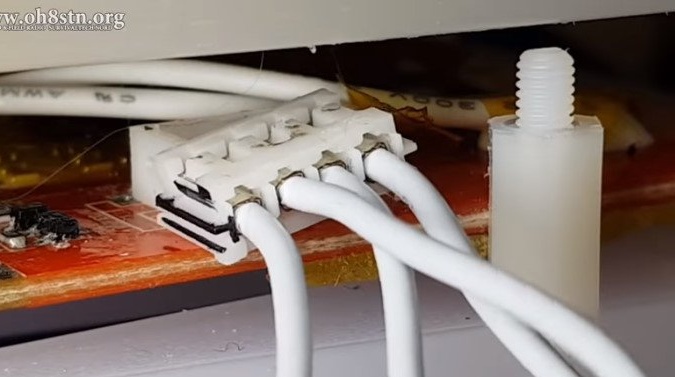
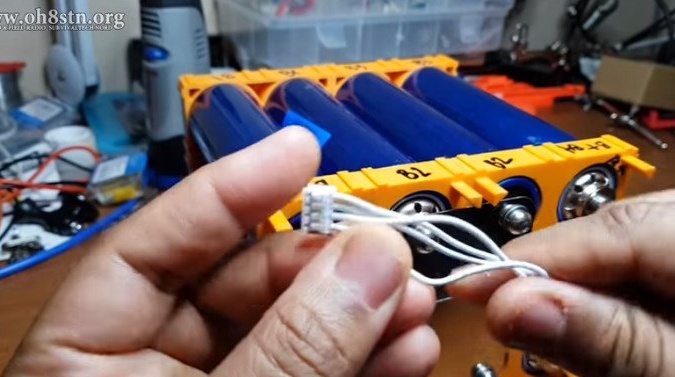


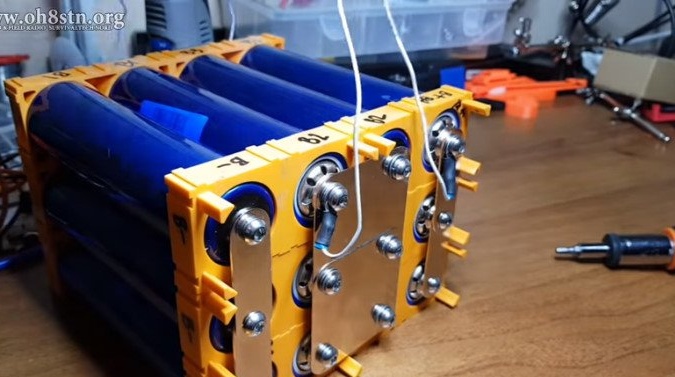
After installation, isolates the contacts.
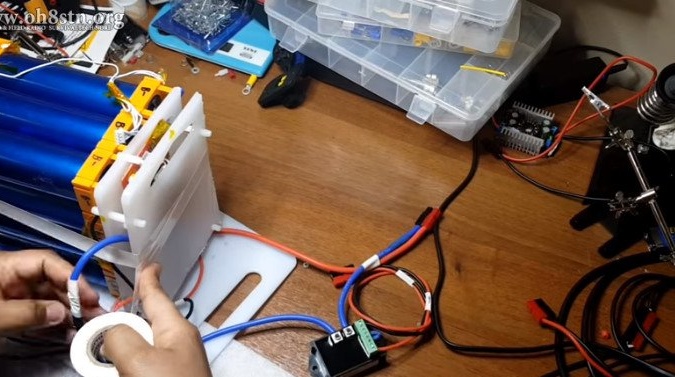
Step Five: Electronics Installation
Now you need to mount electronics.
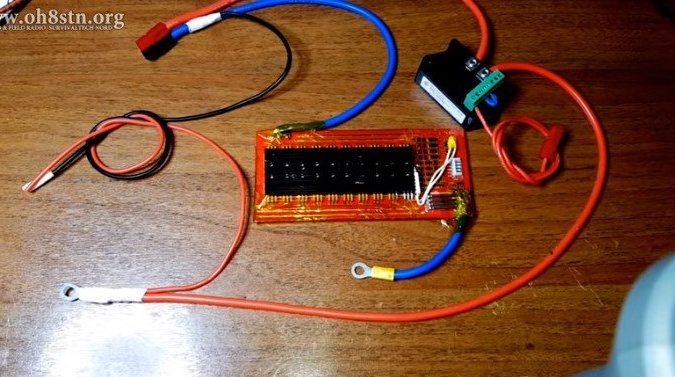
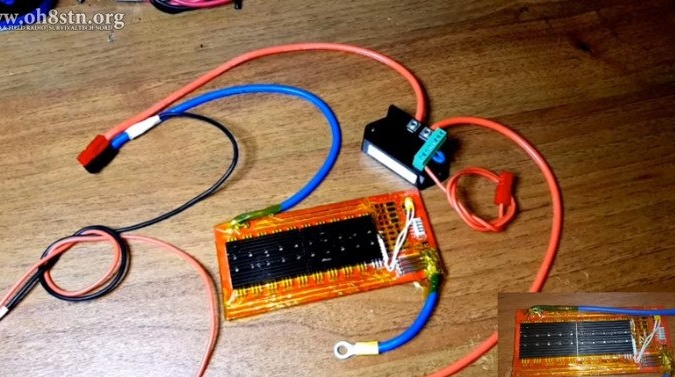
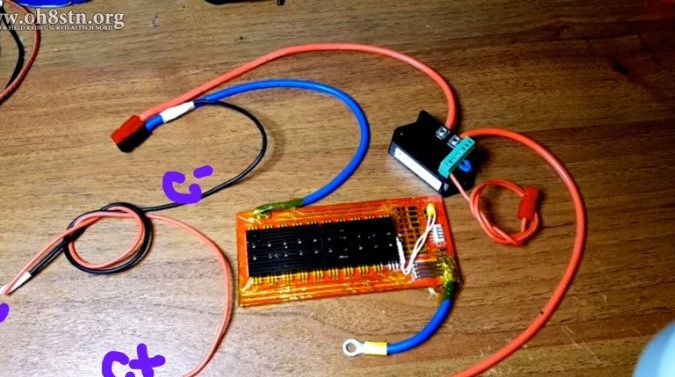
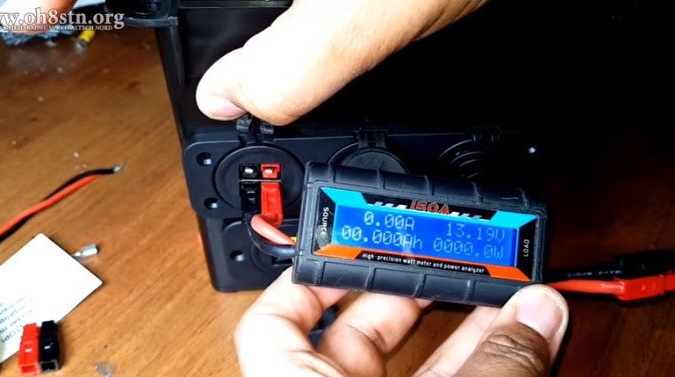
Pre-checks battery operation.
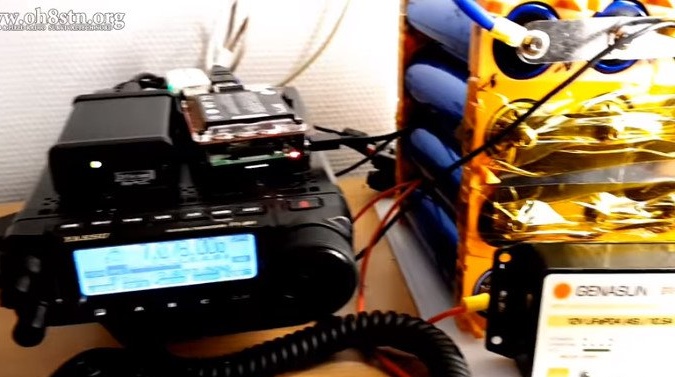
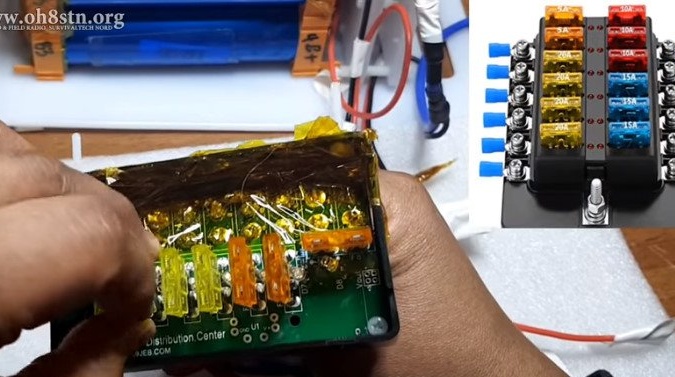
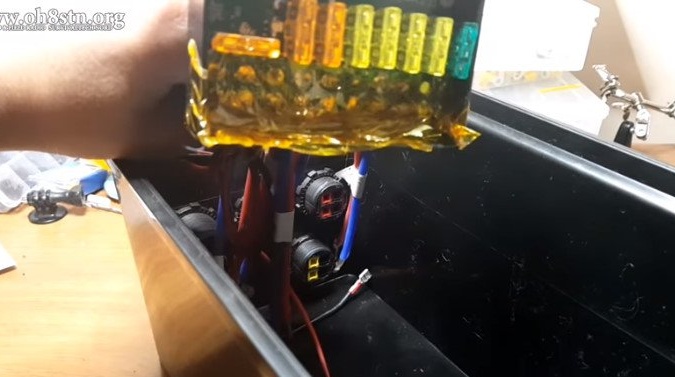
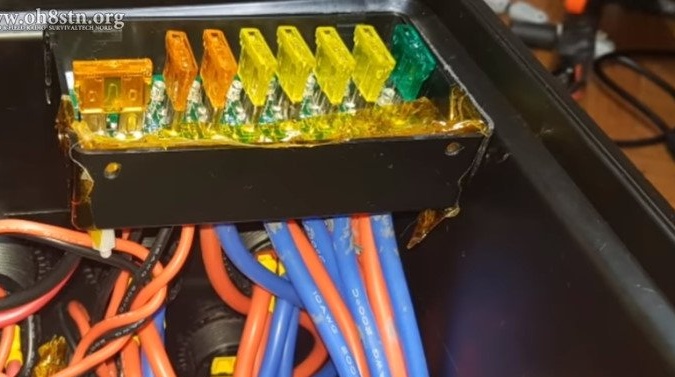
Everything works, and the wizard assembles the device. Connects the BMS module, parameter control module, fuse board.
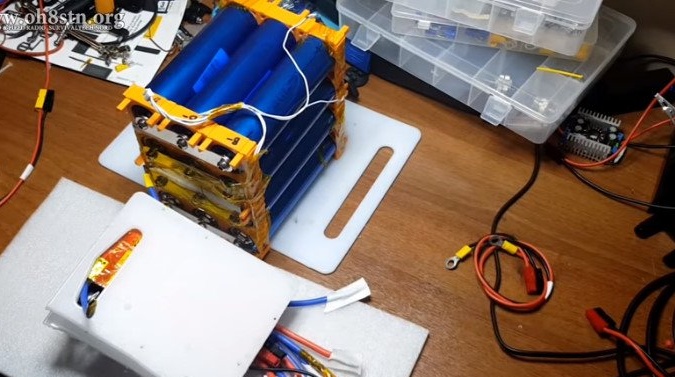


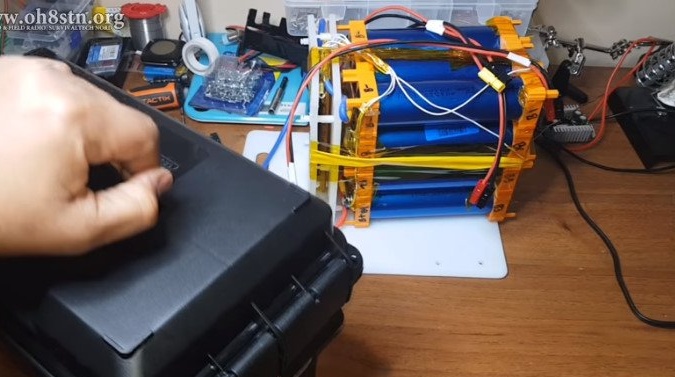
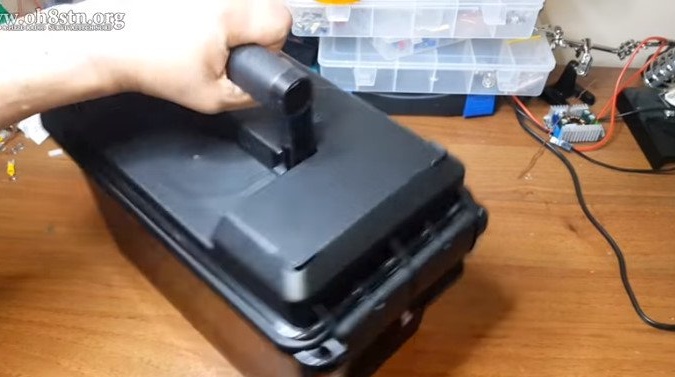
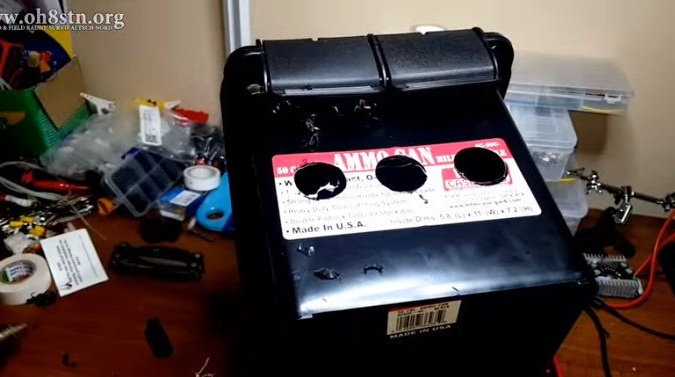
Step Six: The Case
Now you need to install the battery in the case. It will fit into a plastic case or not, the master installs empirically.
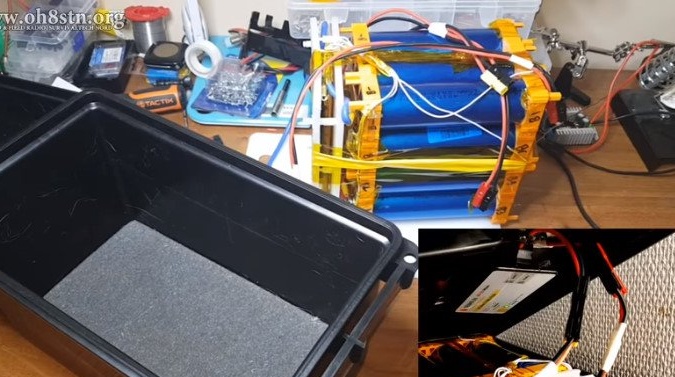

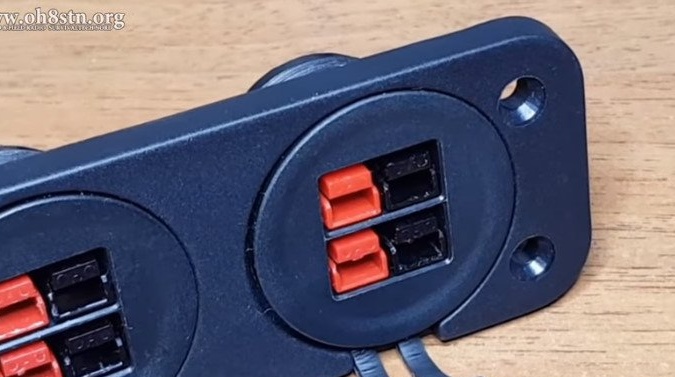
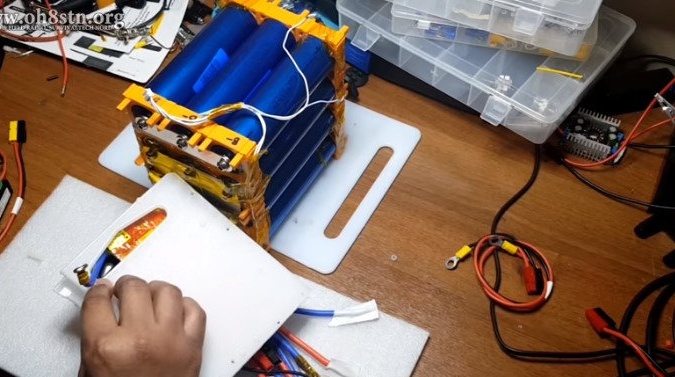
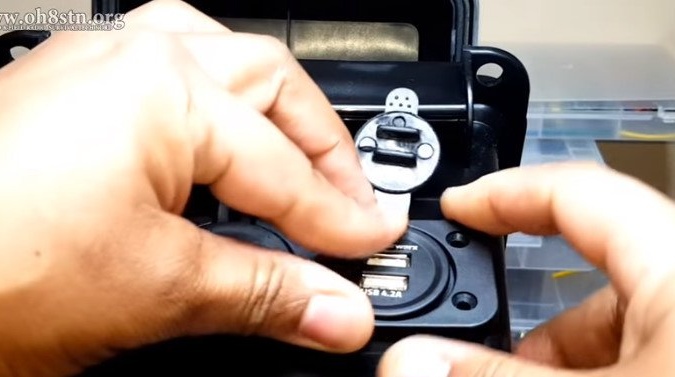
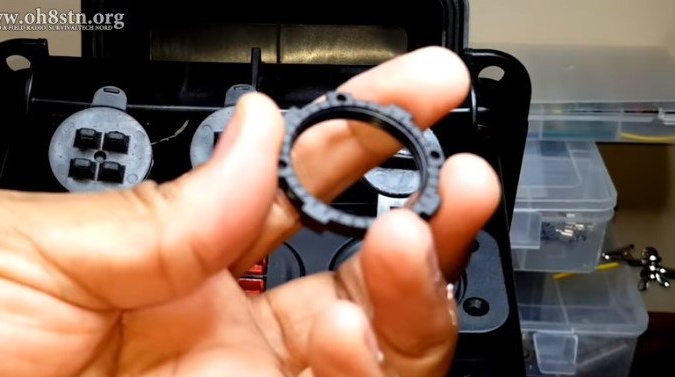
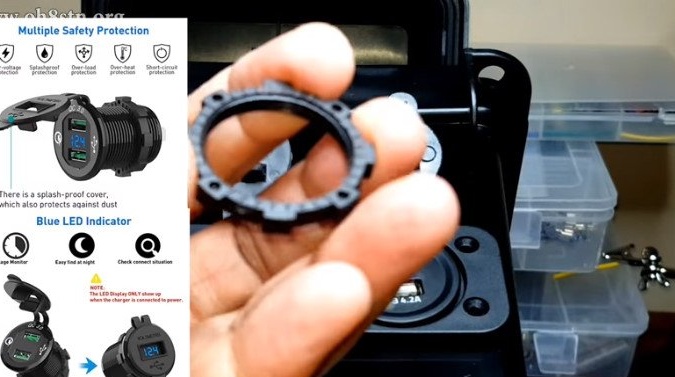
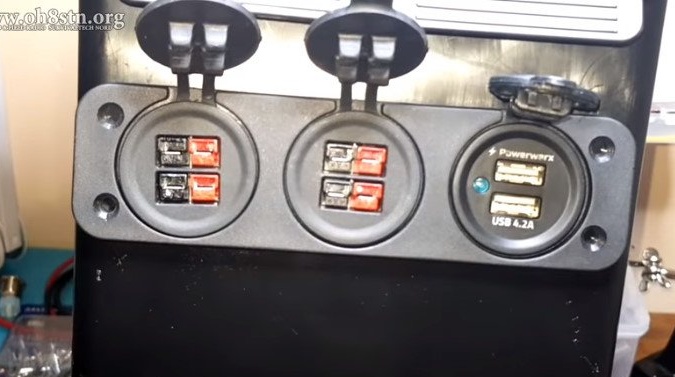
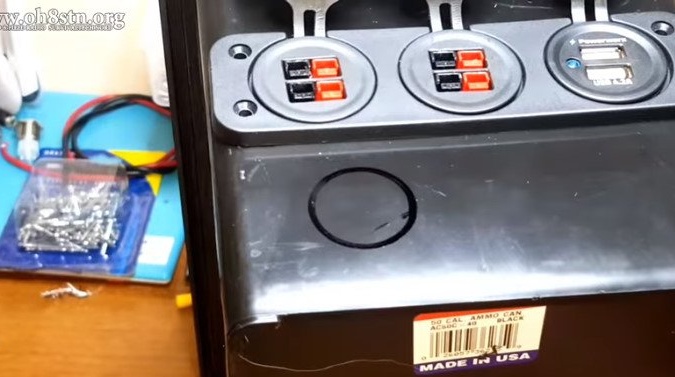
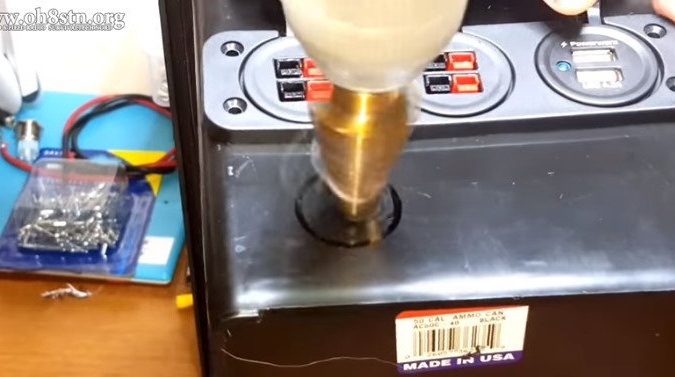
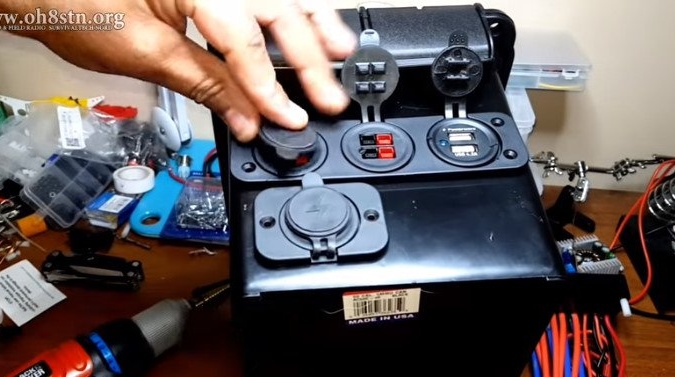
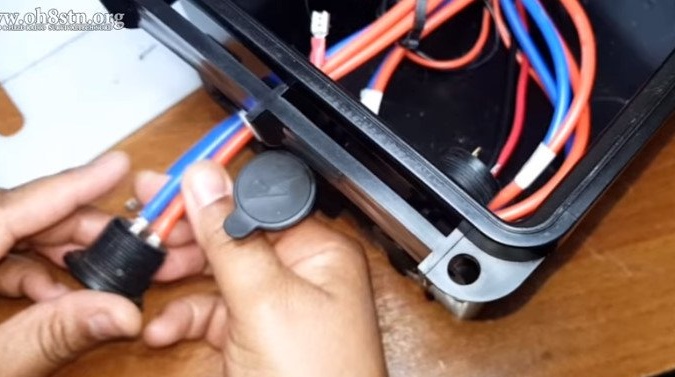
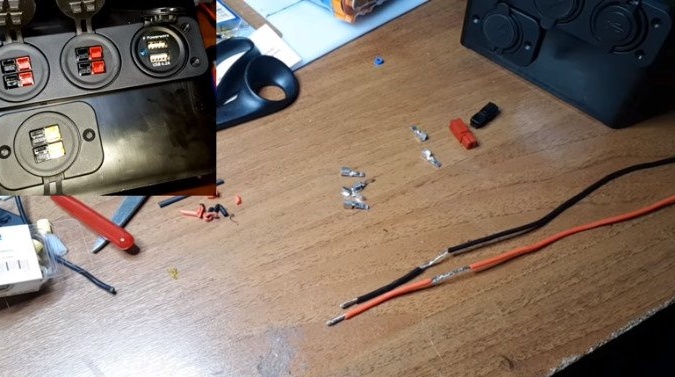
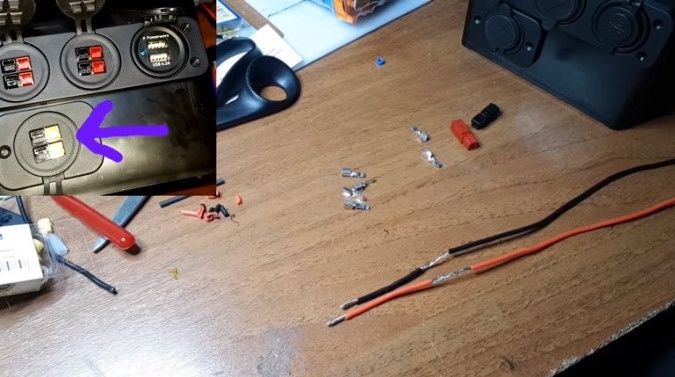
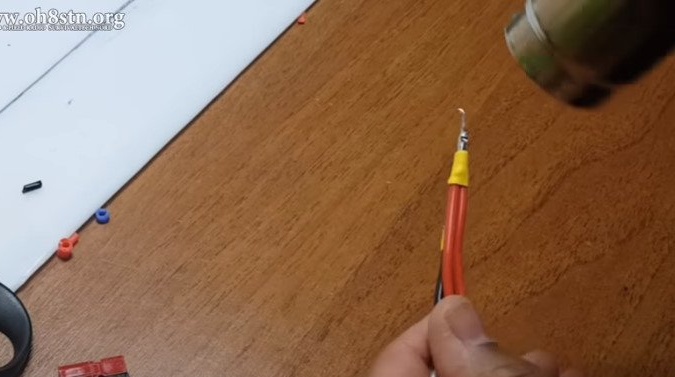
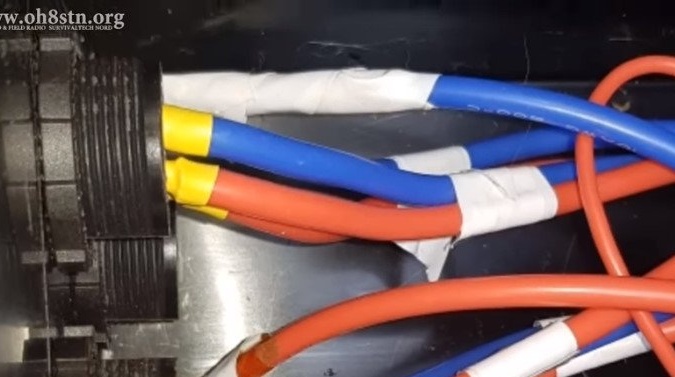
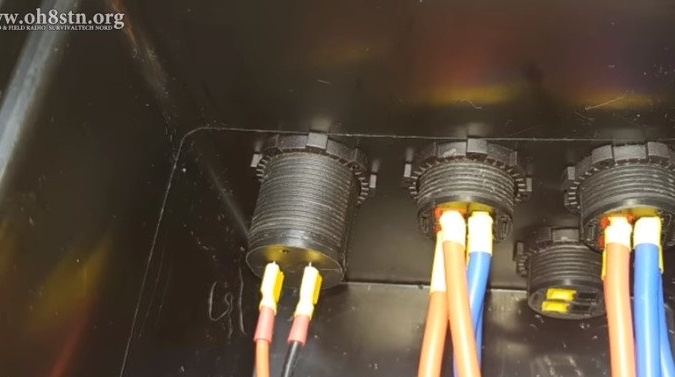
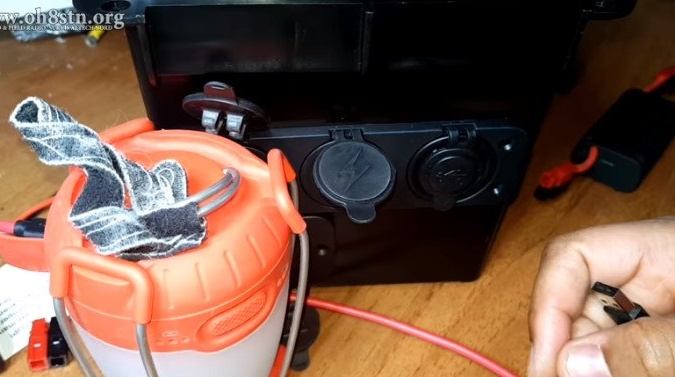
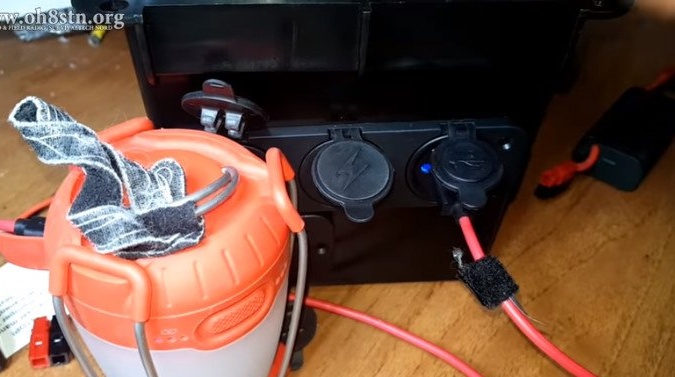
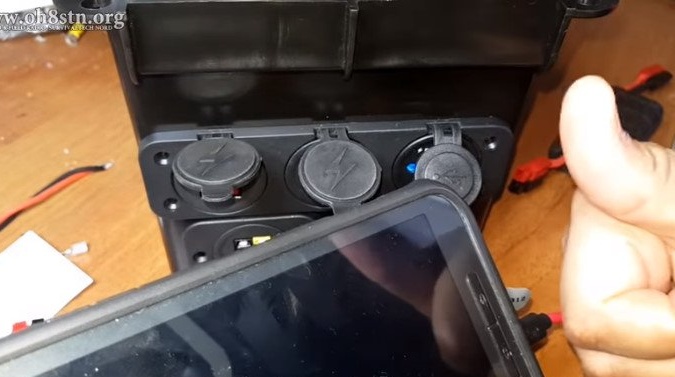
Everything fits and now you need to install the sockets. Marks and drills holes.
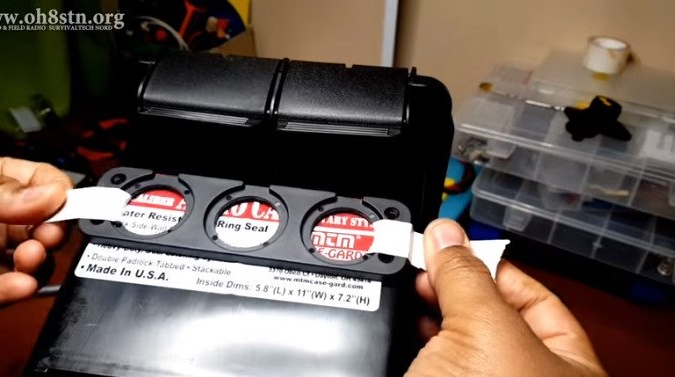
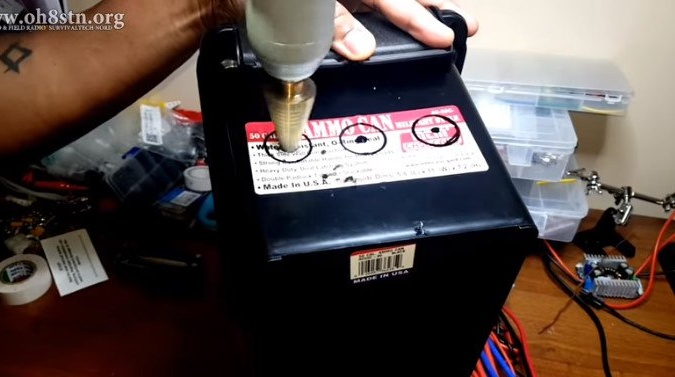
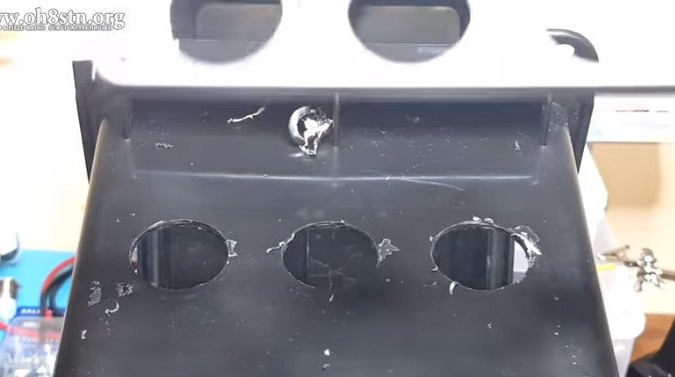
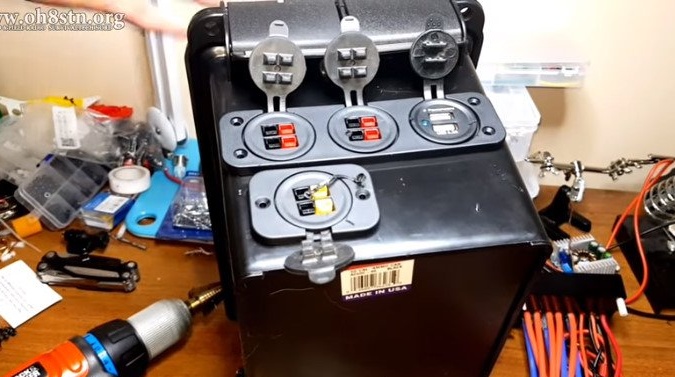
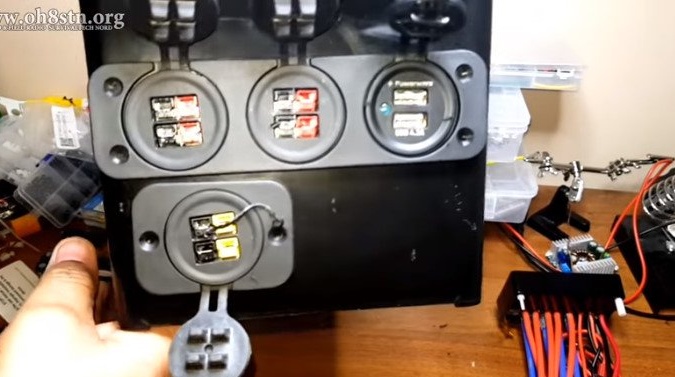
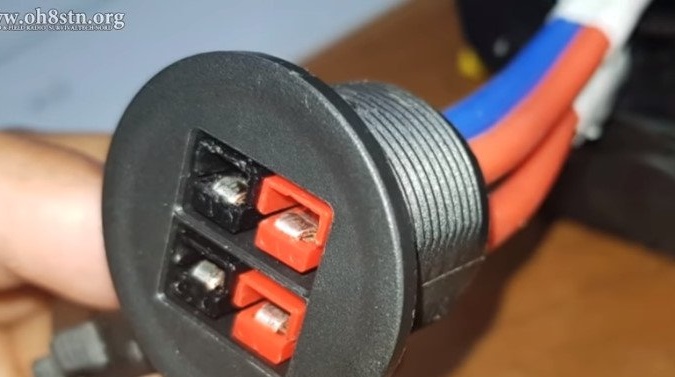
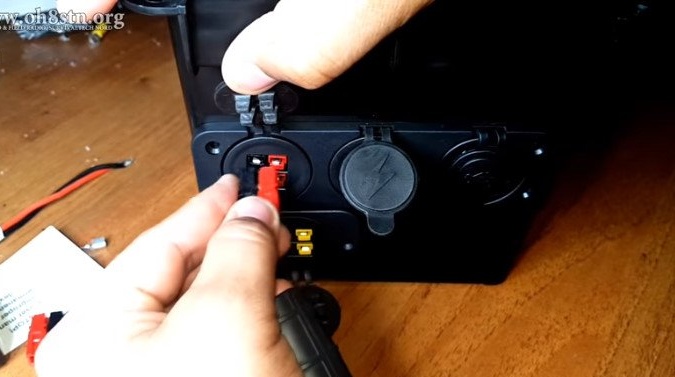
Inserts into sockets and fixes sockets.
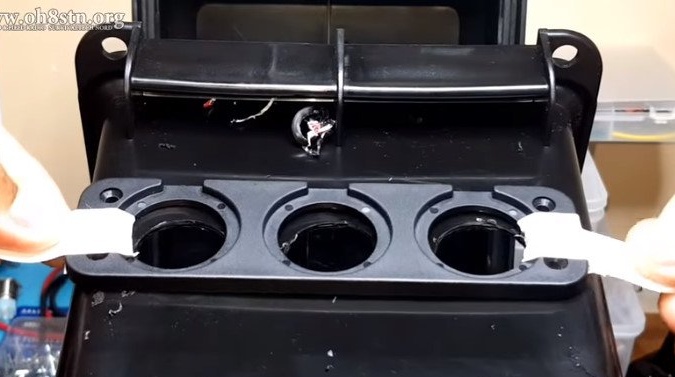
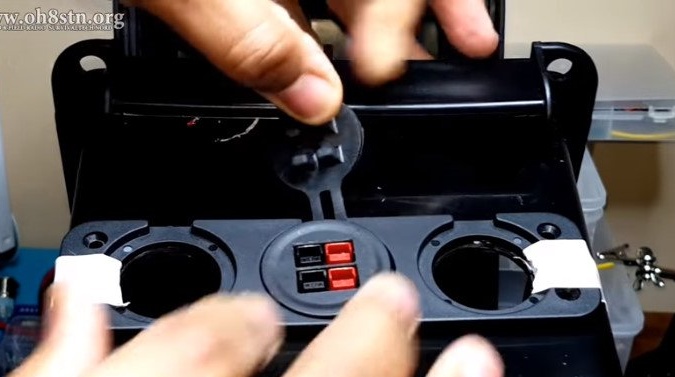
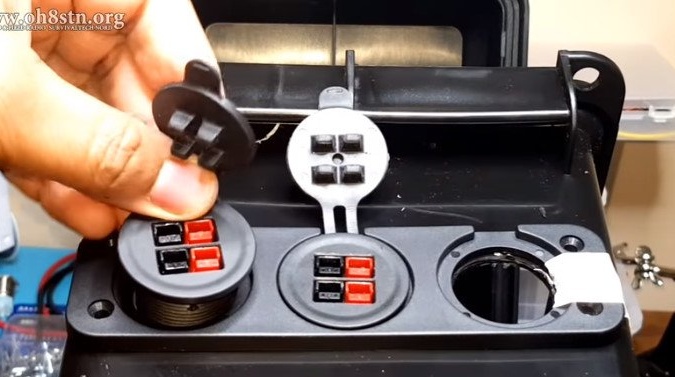
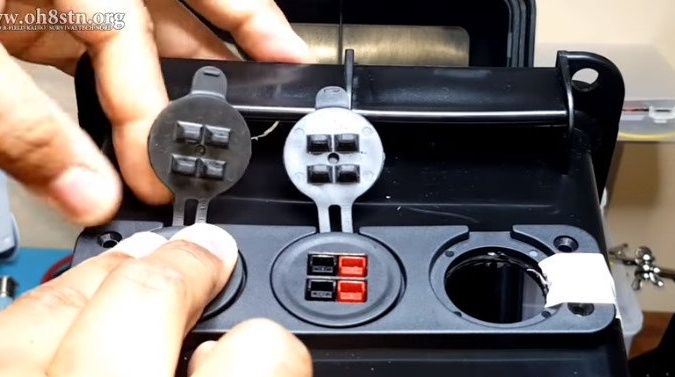
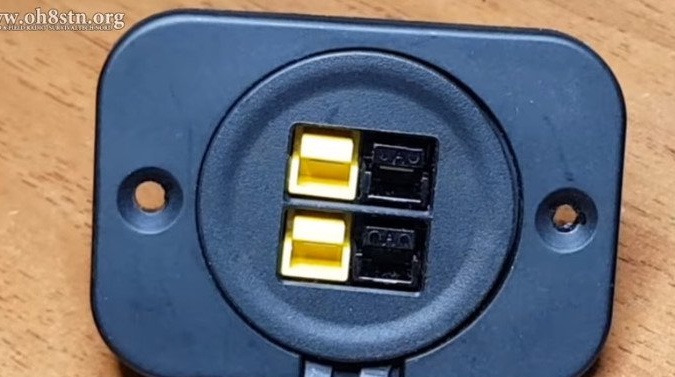
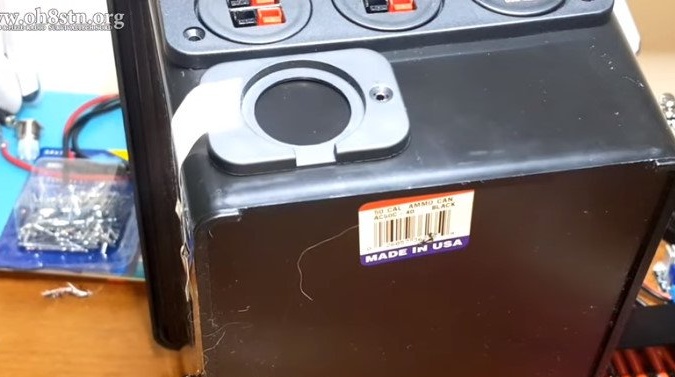
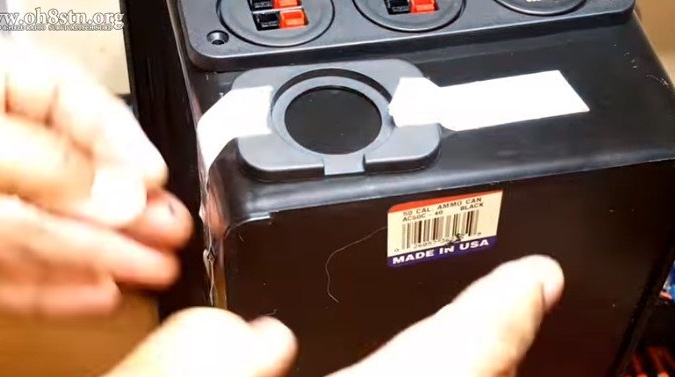
Sets the input jack. The battery will be charged through it.


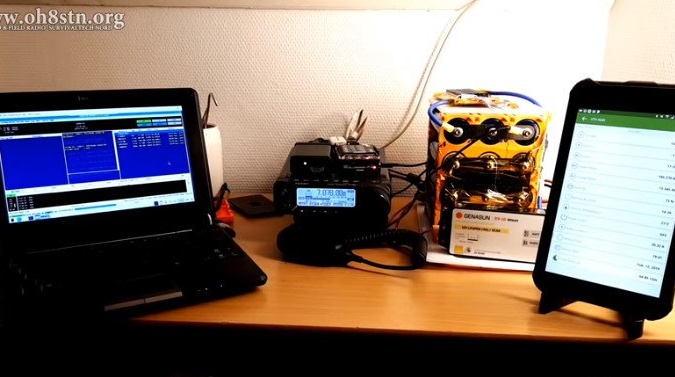
Seventh step: assembly
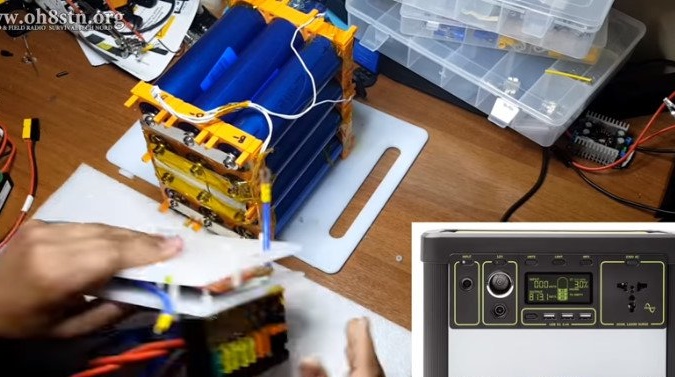
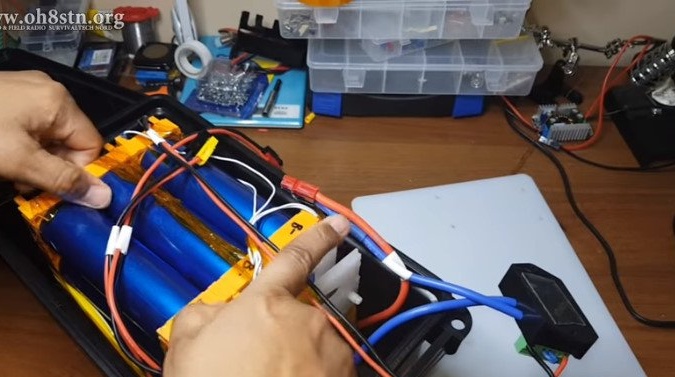
Now you need to install the battery in the housing.
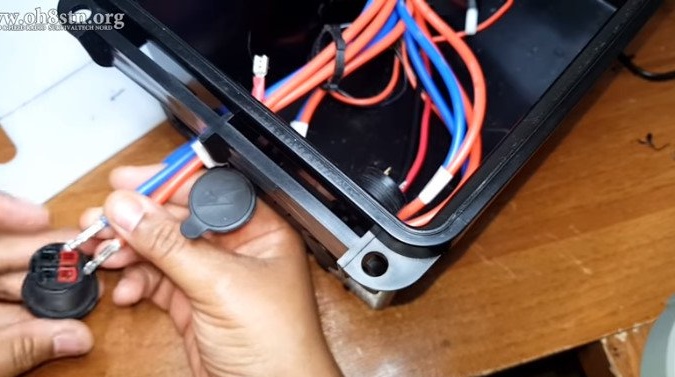


Checks the battery.
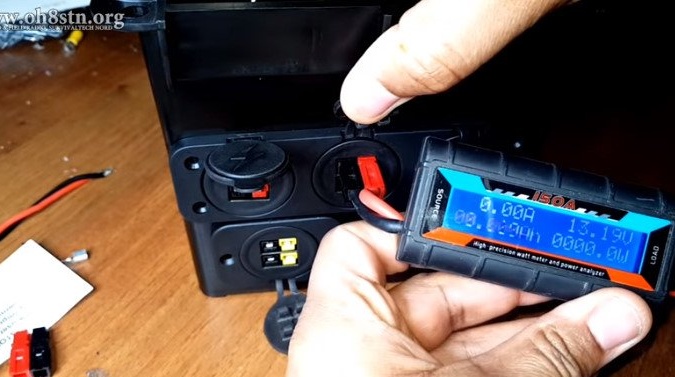
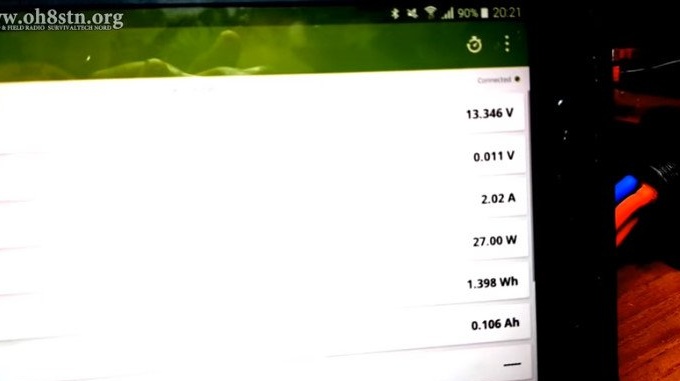
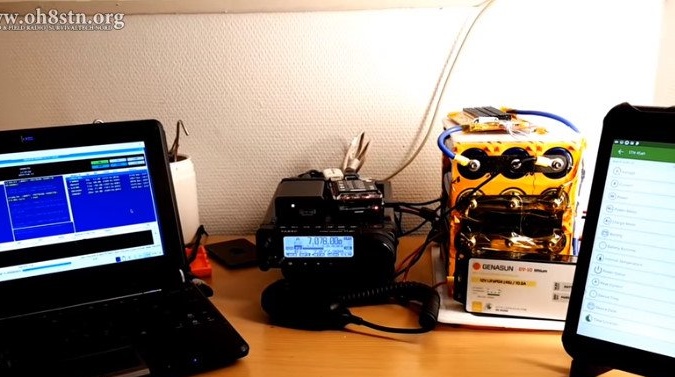
Connects a lamp, then a smartphone.
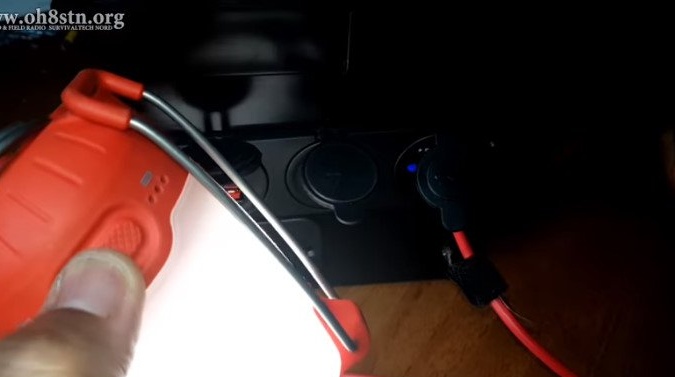

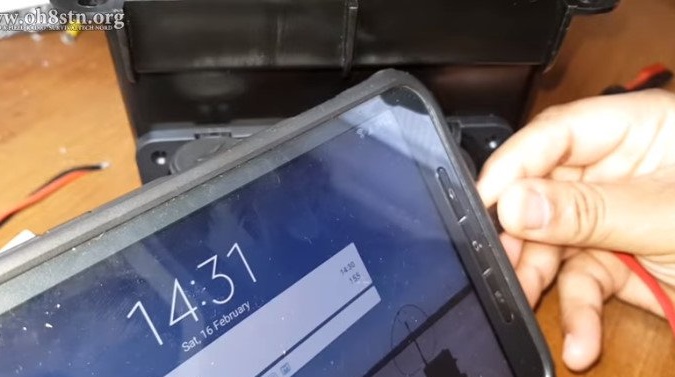
Everything works. The build process can be seen in the video.