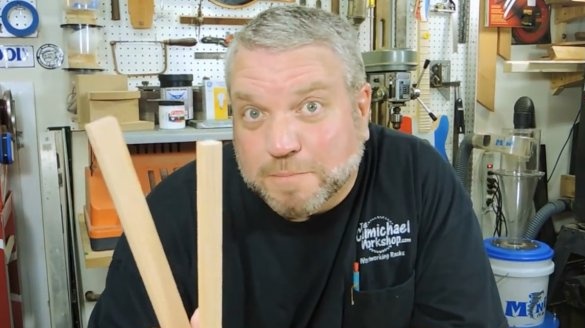
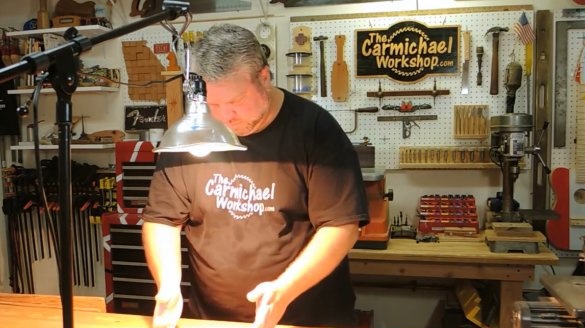
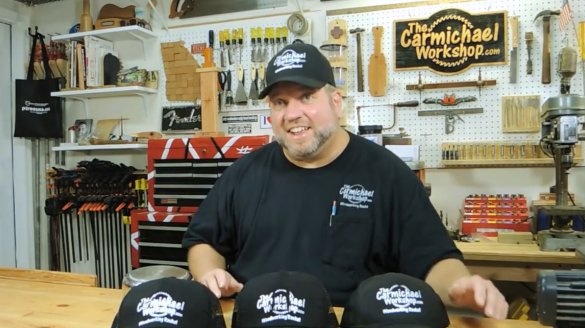
In this article, Steve, the author of YouTube channel "Steve Carmichael" will tell you about the silk screen printing technique.
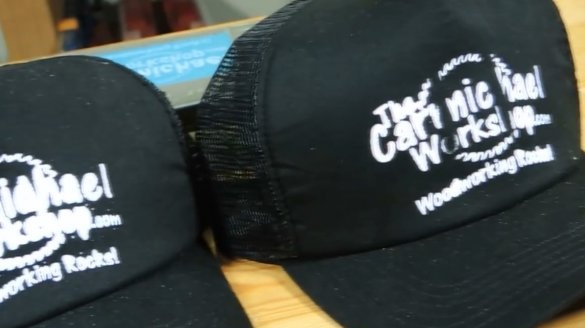
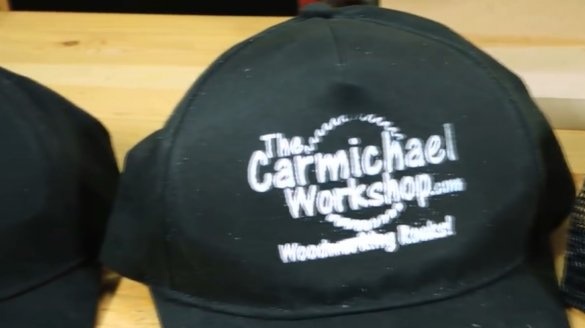
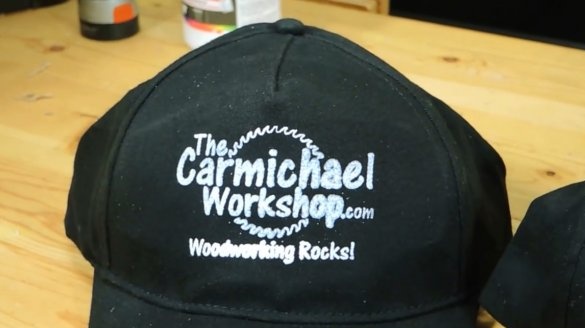
So, today we take up screen printing. Very exciting thing! Steve is ready to share his know-how with you. He will try to put the logo of his channel on the cap. By going through this, you can get more detailed information about the technical process, as well as a list of the necessary materials and tools.
Materials
- Nylon fabric
- Wooden block
- Film for printing
- Acrylic paint
- PVA glue
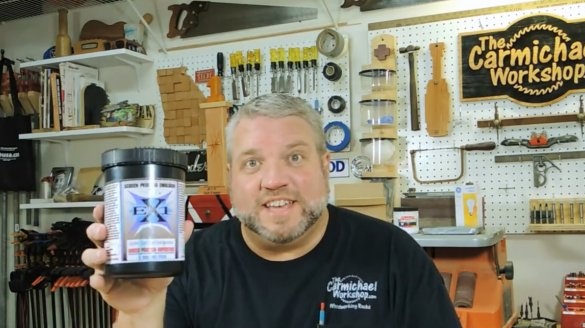
- Photosensitive emulsion for silk-screen printing EX1.
Instruments, used by the author.
- clamps
- A circular saw
- Furniture stapler
- Screwdriver
- scissors
- Rubber spatula
- Lamp 150 watts
- Hair dryer.
Manufacturing process.
Step number 1:
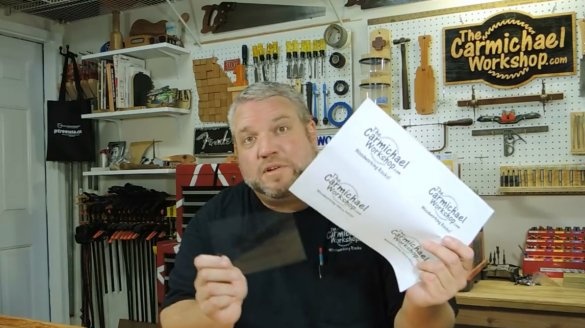
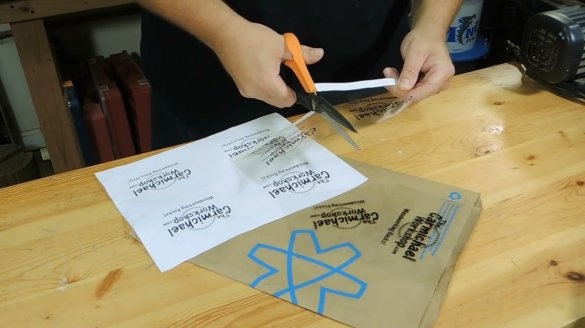
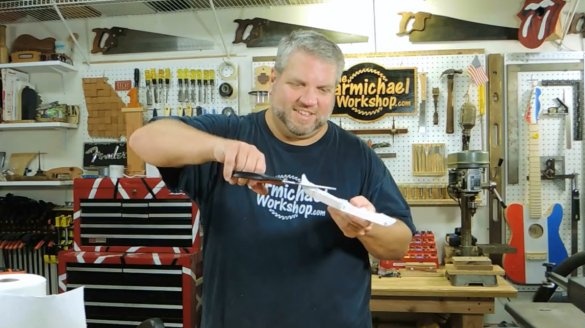
We print the logo and order a stencil. The author places and prints 4 versions of the logo on the page, which allows you to use the entire sheet and save on material.
Step number 2:
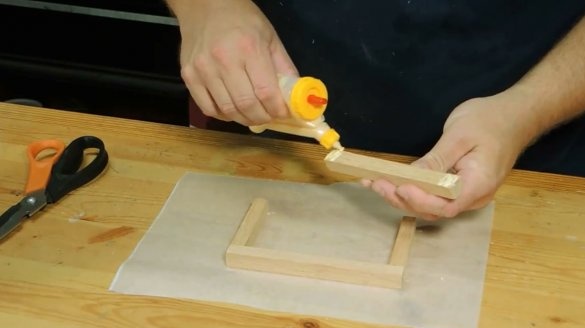
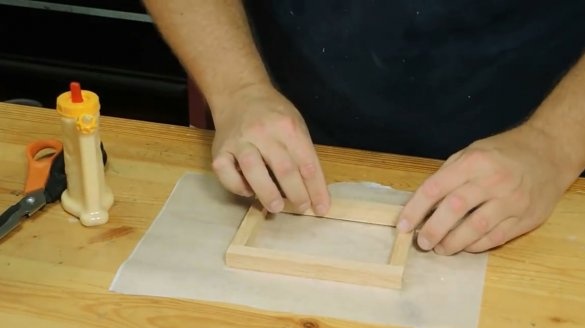
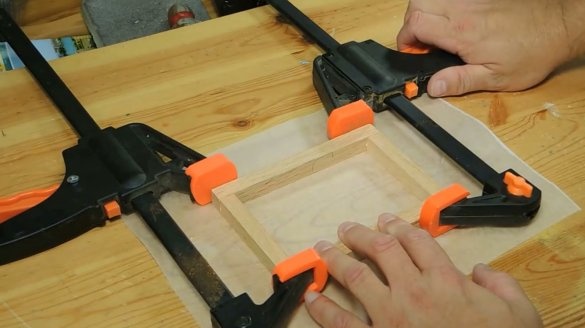
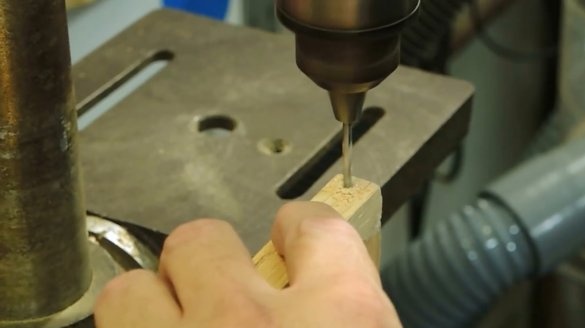
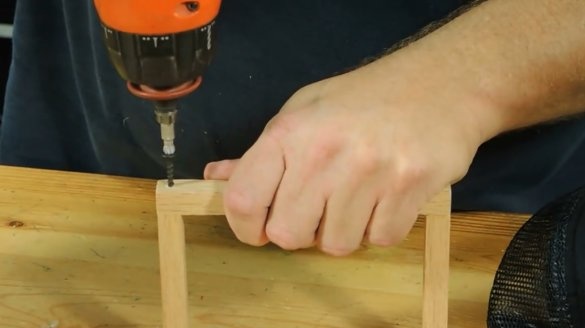
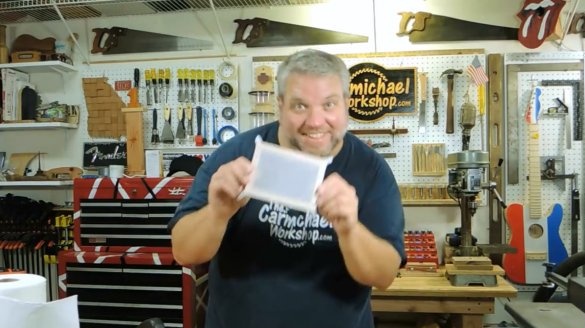
The wizard uses narrow stripes of wood to make a frame for the screen. If you can’t make a frame yourself, you can always buy a wooden frame for paintings or photographs.
Step number 3:
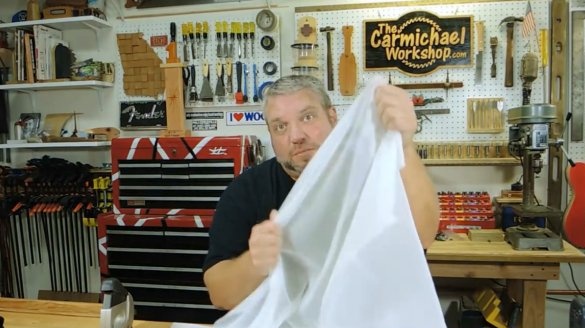
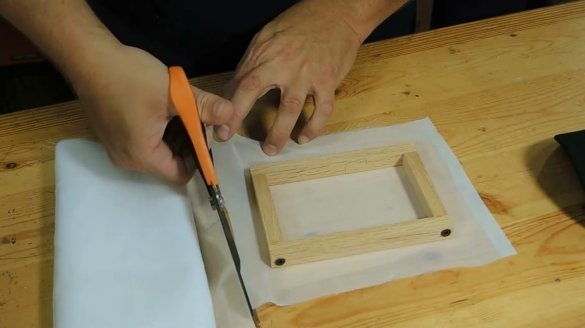
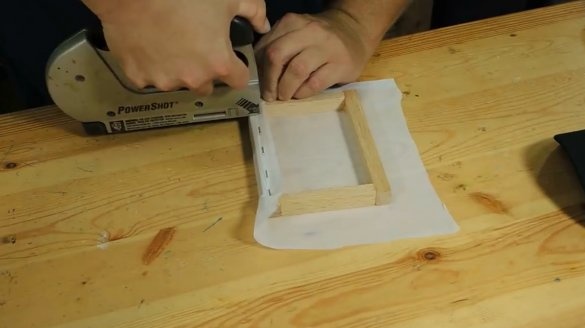
You will need nylon fabric for curtains. Pull it tightly onto the frame and secure it with a furniture stapler. All excess tissue is removed.
Step 4:
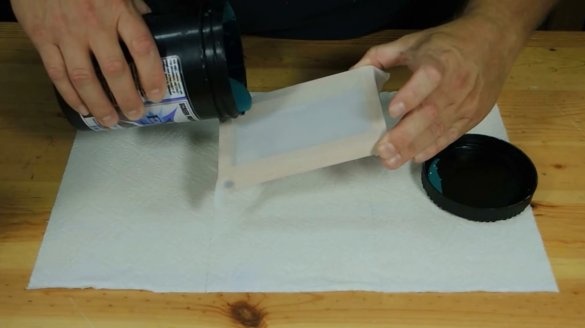
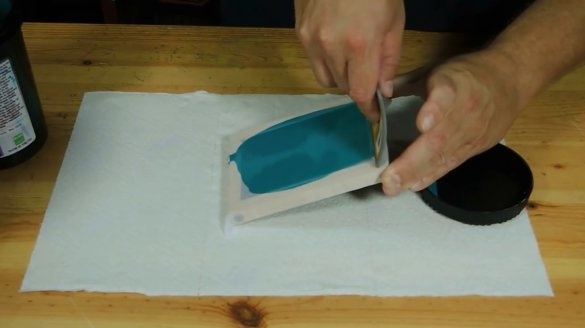
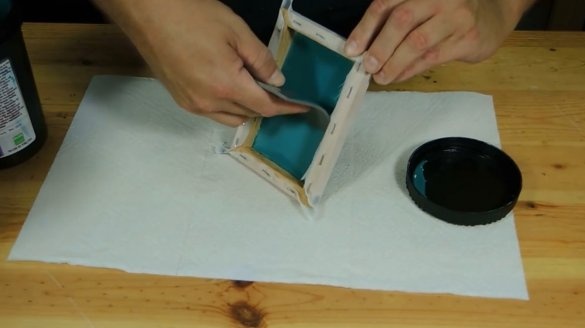
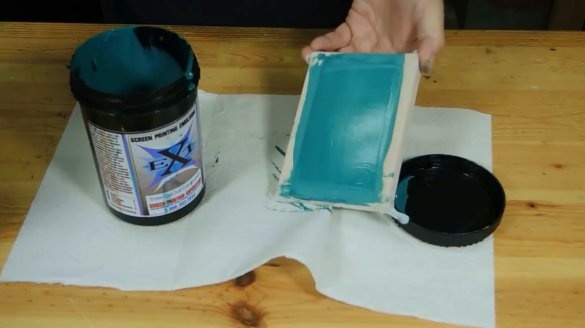
Purchase an EX1 emulsion from a silk screen store. Usually it comes with a white photosensitive powder, which must be thoroughly mixed in a container, and then put a thin layer on your woven screen with a rubber spatula. Leave the frame to dry in a dark place.
Step number 5:
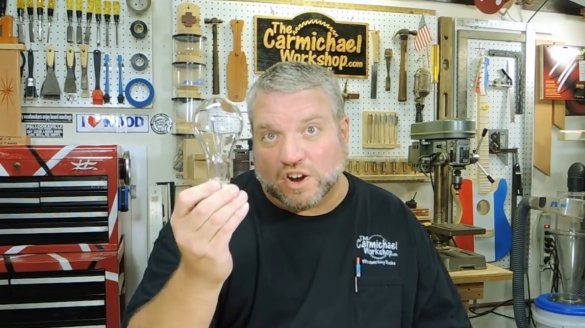
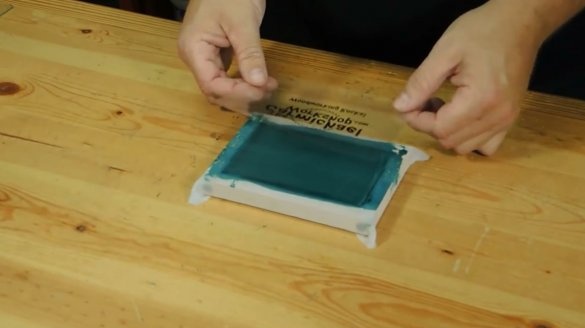
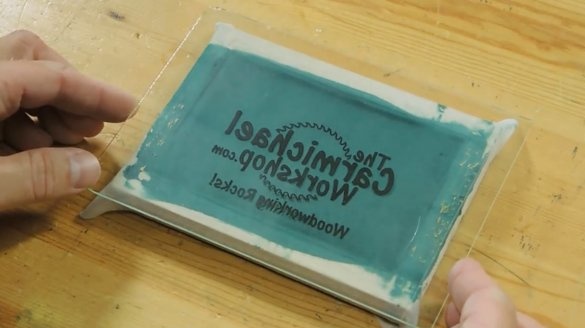
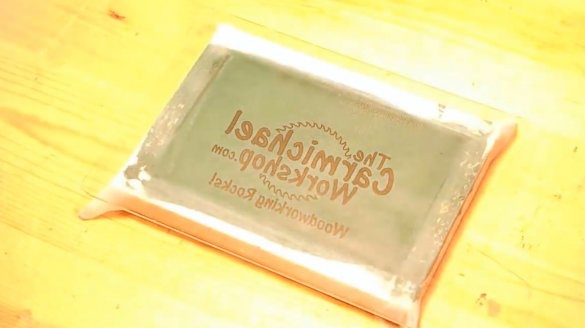
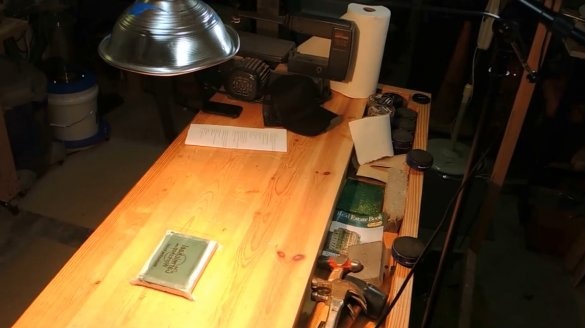
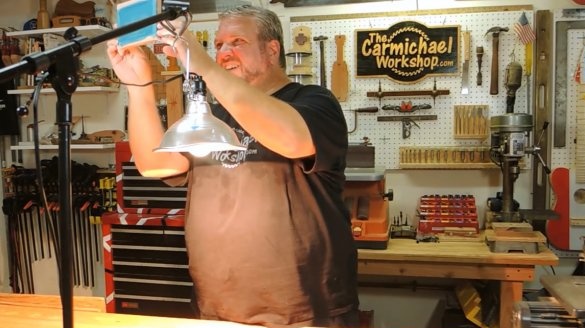
When the composition on the fabric is completely dry, put the frame face up, and above it, at a distance of 50 cm, install a 150-watt light bulb. Lay the stencil on top of the fabric and press it down with a clean piece of glass. Turn on the light and irradiate the workpiece with it for about 25 minutes.
Step 6:
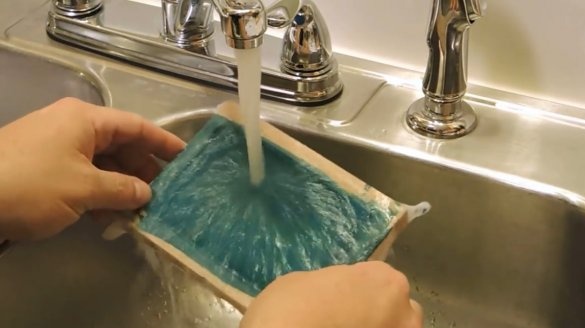
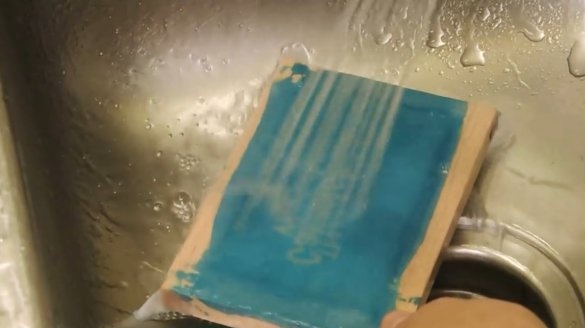
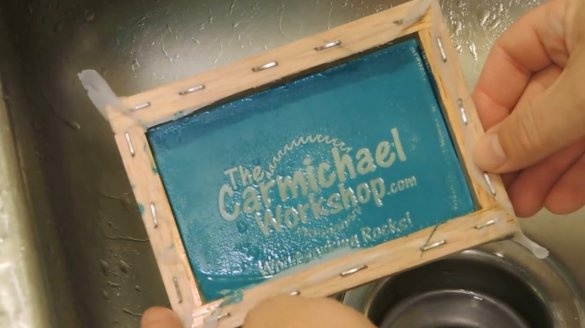
Turn off the light and take the screen into the sink. Rinse both sides of it under a stream of cold water until the emulsion in the logo area softens. The fabric at this point will become transparent. Next, take a shower, and additionally rinse the area of the logo, while trying not to wash the emulsion from the surrounding logo fabric.
Step number 7:
Look through the screen at the light, take a closer look, if there are any empty cells around the logo area.If any, ink can leak through them and smudge the outline of the logo. In this case, you will need a small brush. Apply a little emulsion to her problem areas and again set the screen under the light, allowing it to dry completely.
Step number 8:
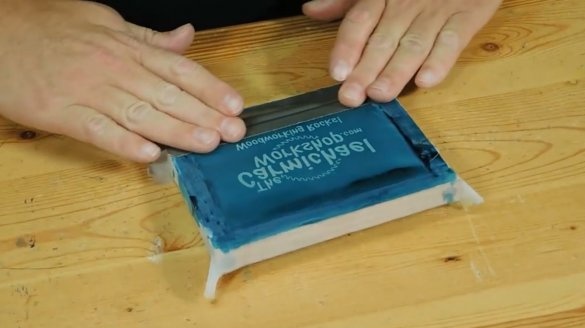
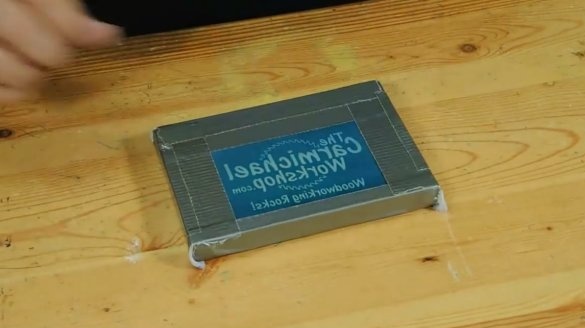
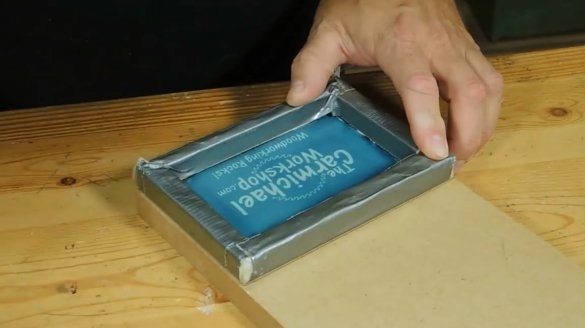
Cover the sides with old, good adhesive tape, which will prevent the emulsion from leaking through the corners or edges around.
Step 9:
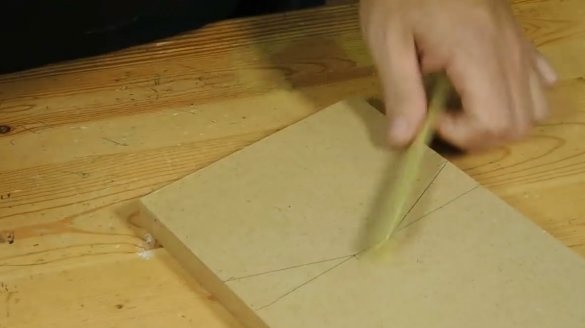
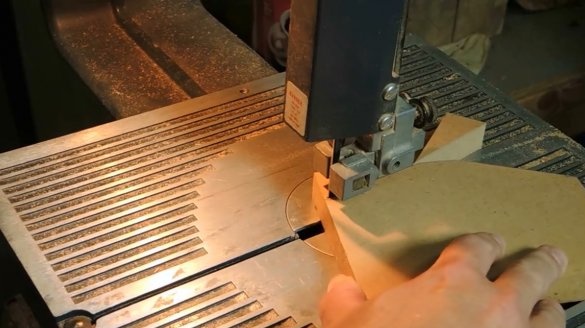
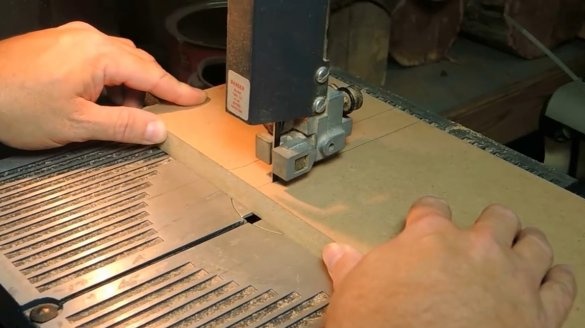
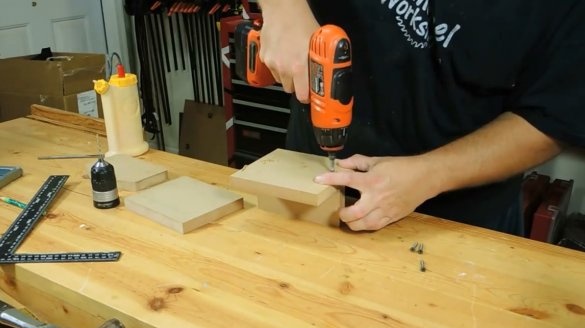
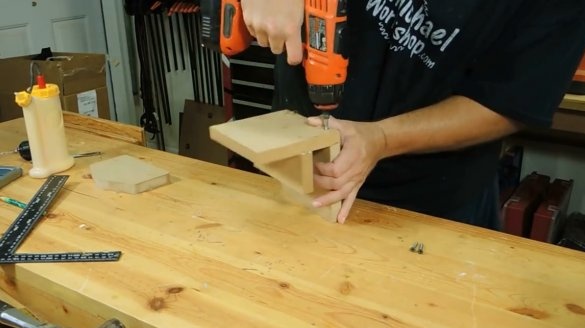
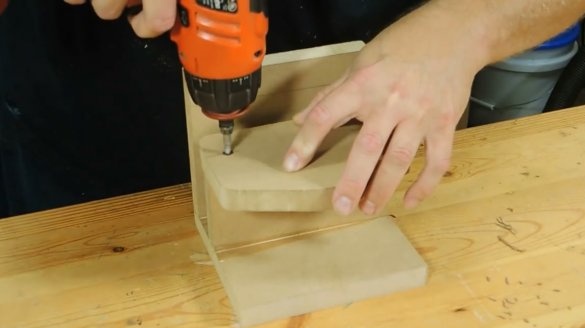
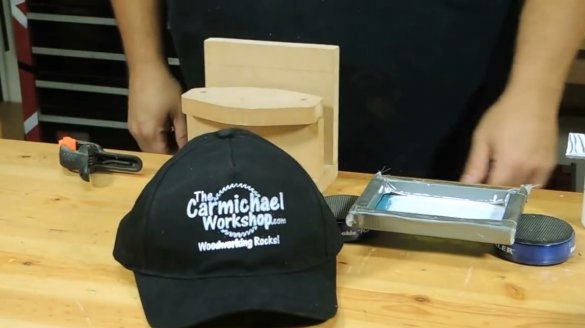
We make a stand table to support the canvas. It can be ordered online. But the author makes it from a piece of MDF.
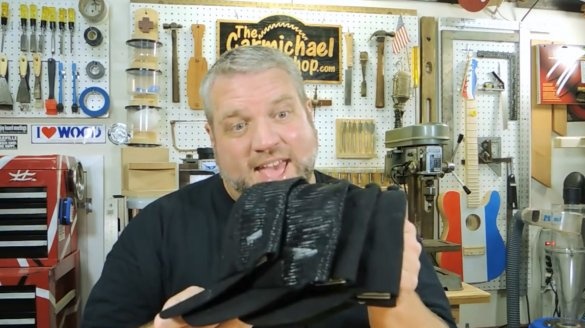
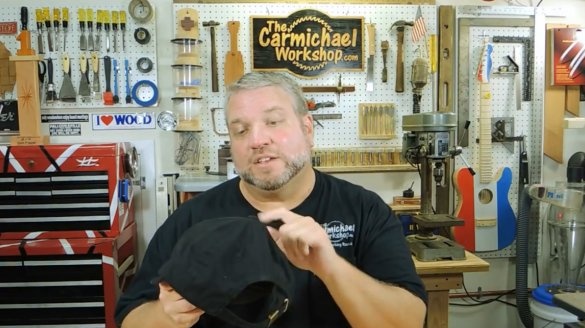
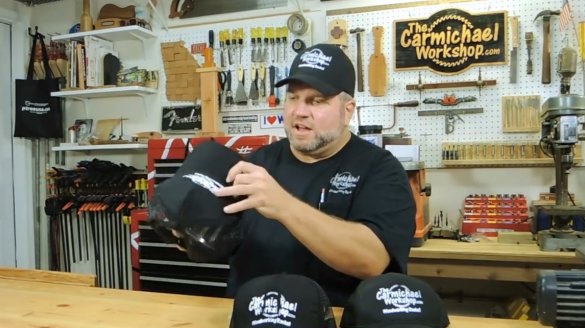
So, we got to the 10th step! Now the most interesting part is printing the logo on the cap. For this procedure, it is better to choose panel caps, and those with about 5 panels passing above and the front panel does not have a seam in the middle.
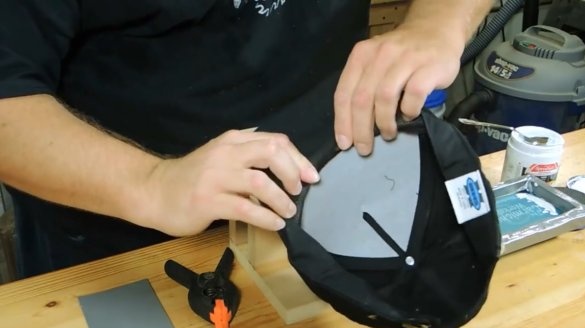
We turn off the strip of the lining, which runs along the perimeter of the cap. We place the cap on the supply so that its front end is flat.
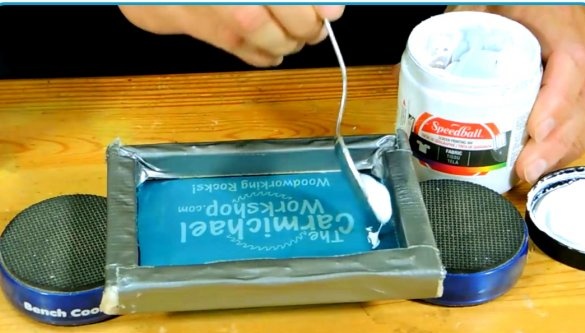
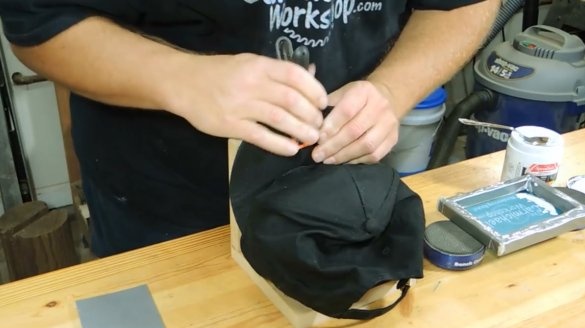
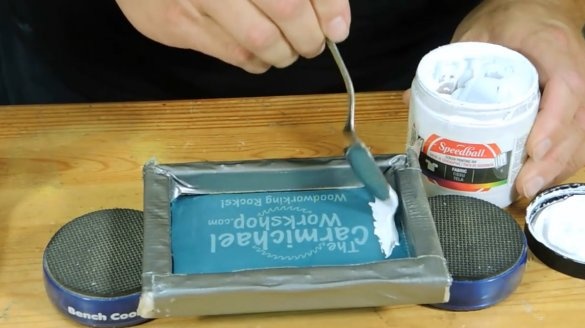
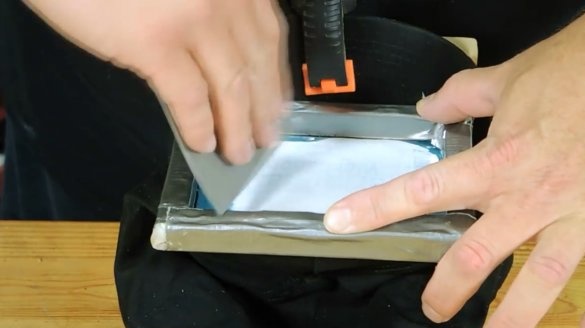
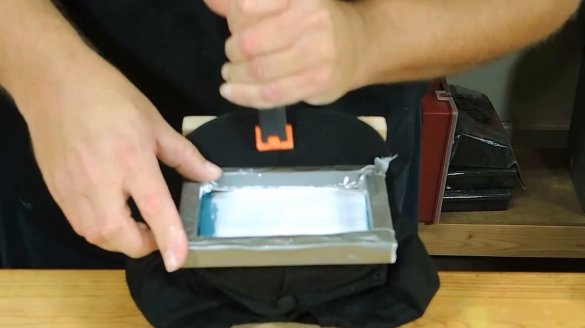
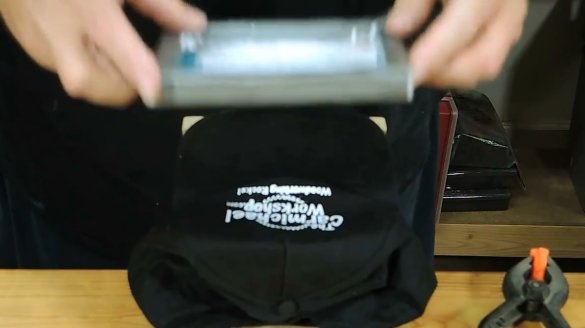
To the cap does not move, you can use spring clips. Put a small amount of paint on the inside of the screen with a spoon, and place it in the center of the front of the cap. We spend a couple of times with a rubber spatula to push the emblem onto the fabric of the cap, and then carefully remove the screen.
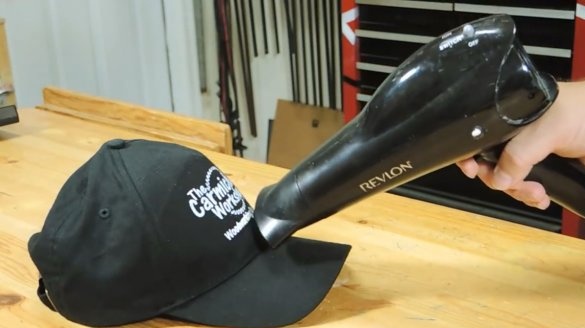
After you can slightly dry the paint with a hairdryer, but the main thing is not to overheat!
And here he is the result! You can experiment with the process, because screen printing is a kind of art. Materials are inexpensive, and the unique design delivers a lot of pleasure.
Impressions can be done on T-shirts, caps, linen jackets, thereby turning an industrial, faceless thing into an individual, "native". Isn't it a wonderful gift for relatives and friends ?! The same technology can be applied not only for drawing patterns on fabric, but also on any other surface.
Thanks to the author for an interesting classic drawing technique!
All good mood, good luck, and interesting ideas!

