
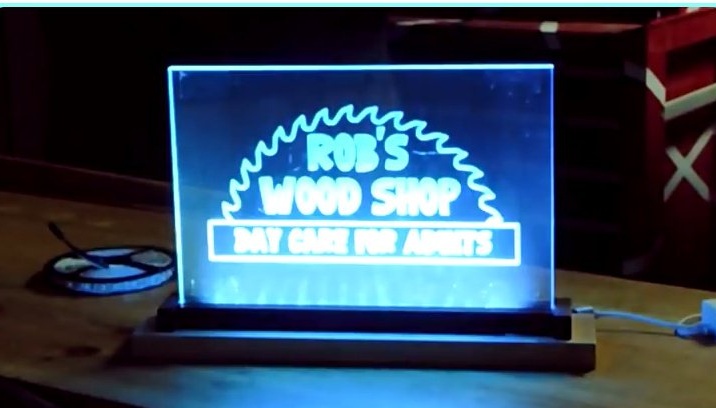
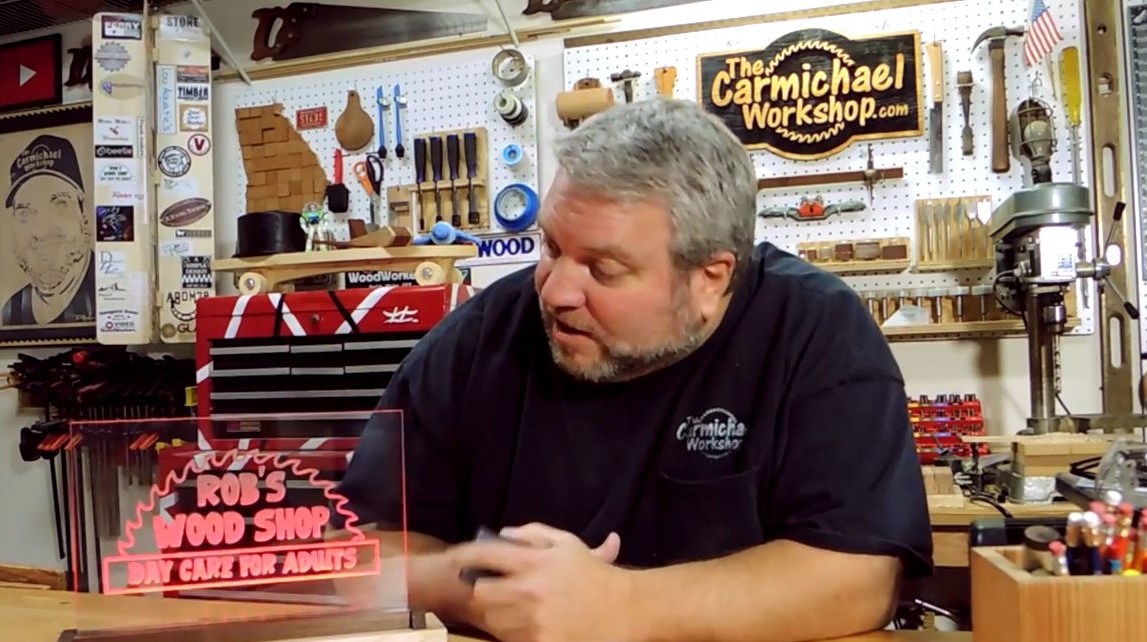
In this article, the author of YouTube channel "Steve Carmichael" will tell you about the process of creating an LED acrylic sign on the remote control. How impressive it looks, you will see for yourself.
Materials
- Plexiglass or plexiglass
- Walnut and maple boards
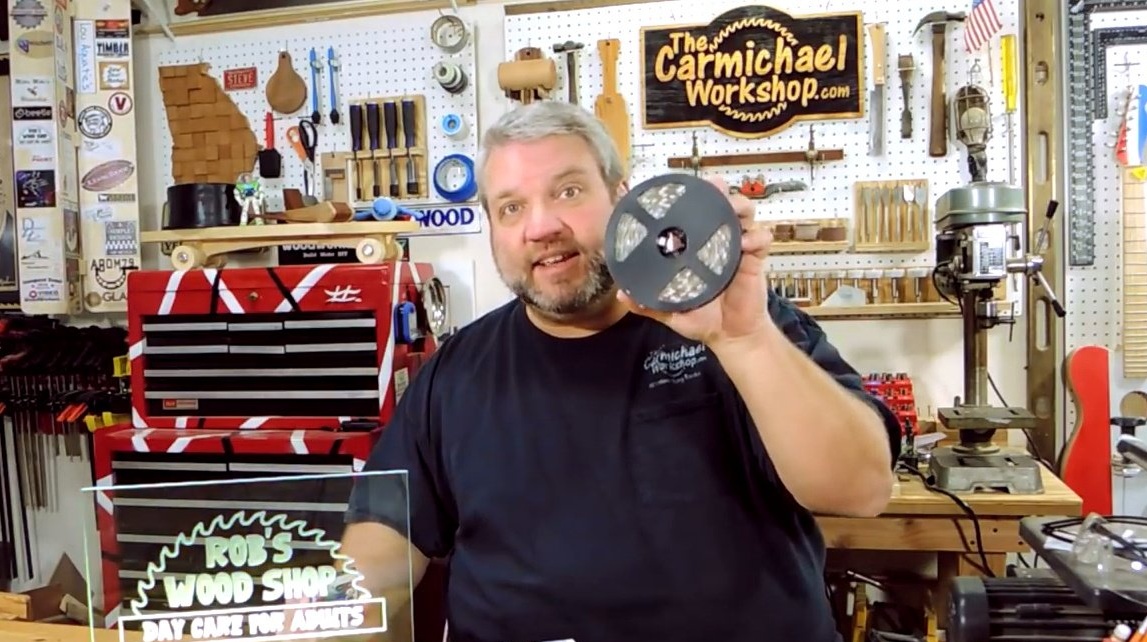
- Set of LED strip and control unit link to
- PVA glue
Instruments, used by the author.
- CNC engraving machine
- A circular saw
Manufacturing process.
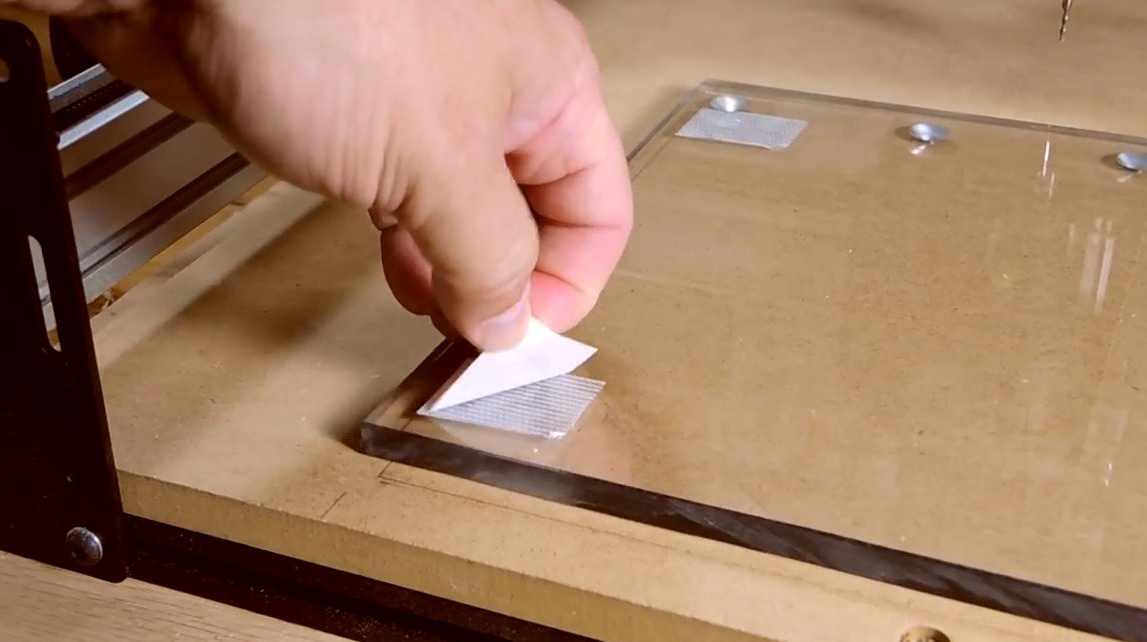
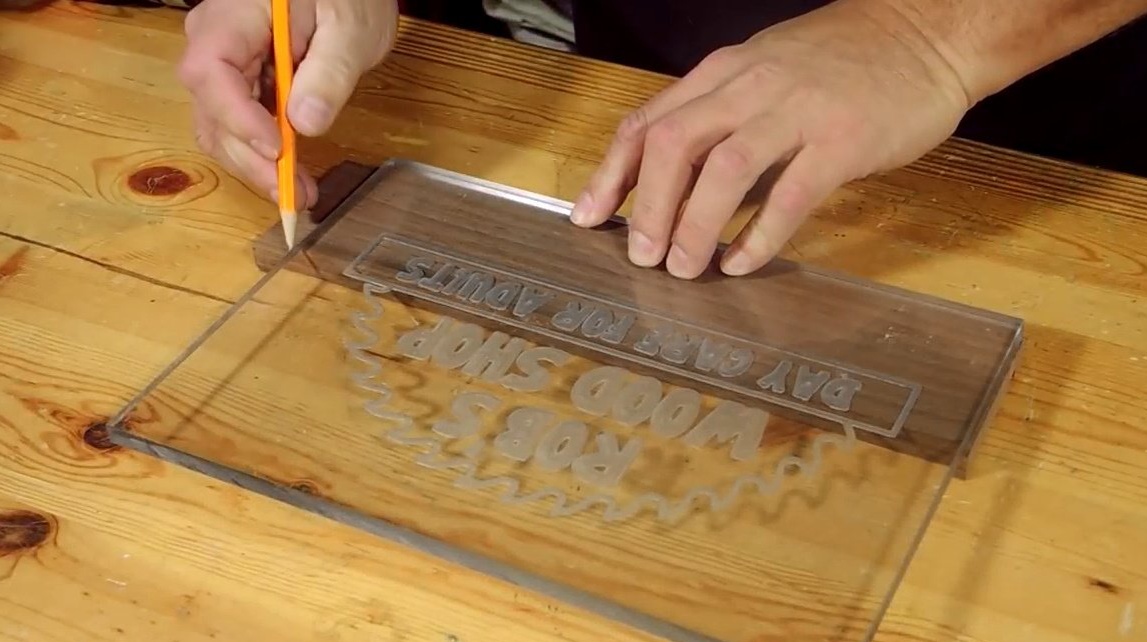
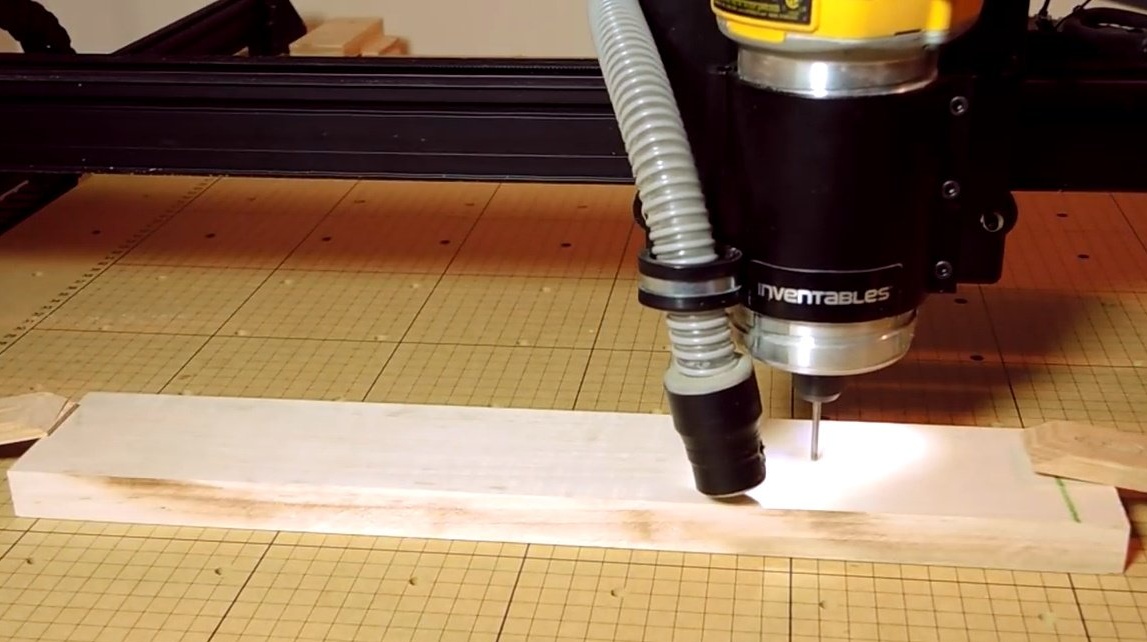
The author begins by gluing a blue adhesive tape between a double-sided adhesive tape and a MDF machine base onto a clean acrylic panel measuring 220X300 mm. This is necessary so that the workpiece does not spoil the base of the machine. Earlier, Steve prepared a sketch of the emblem, which will be cut out on the blank.

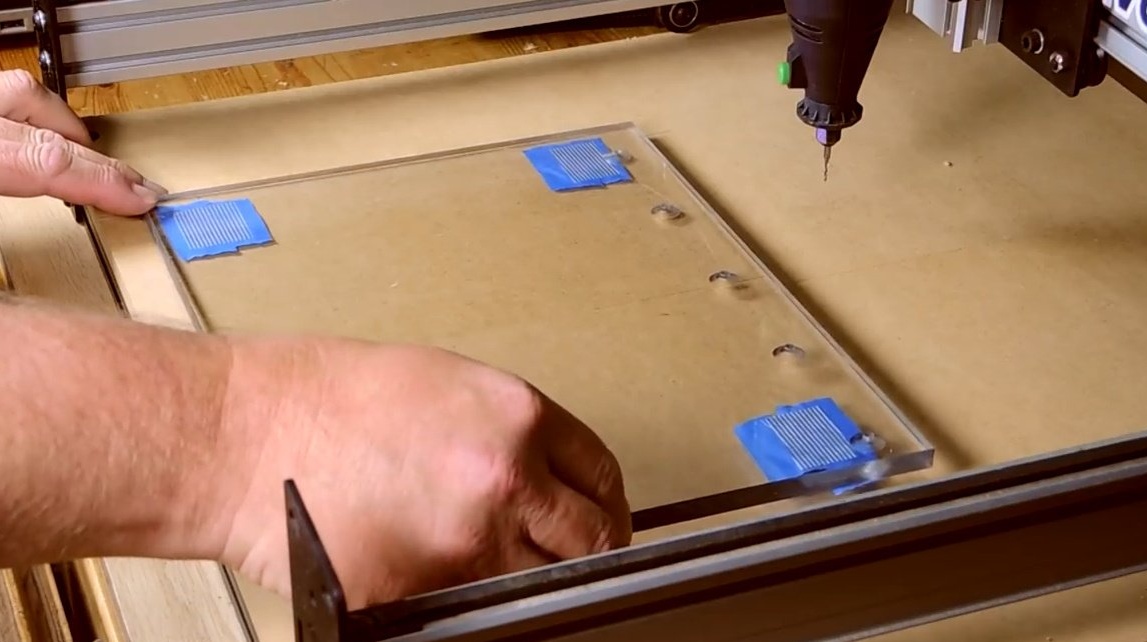
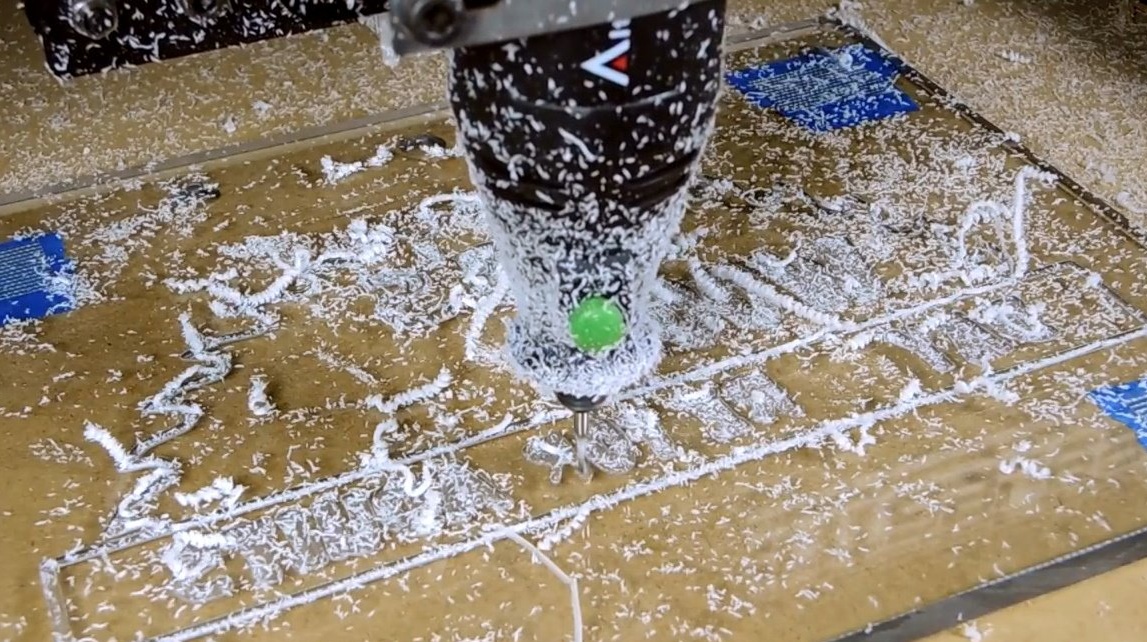
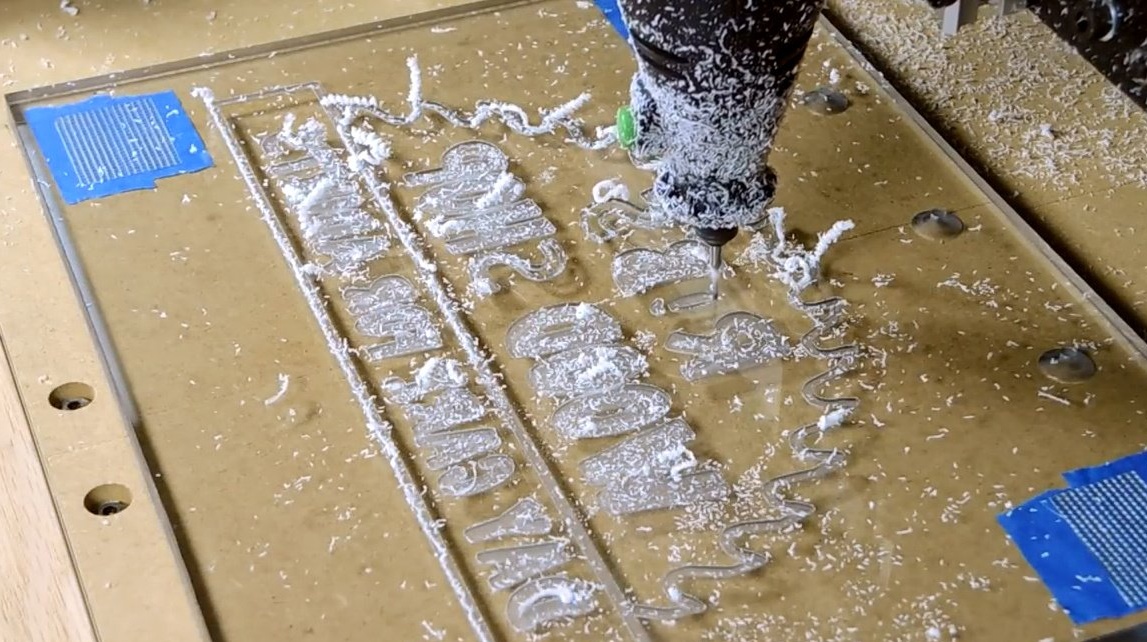
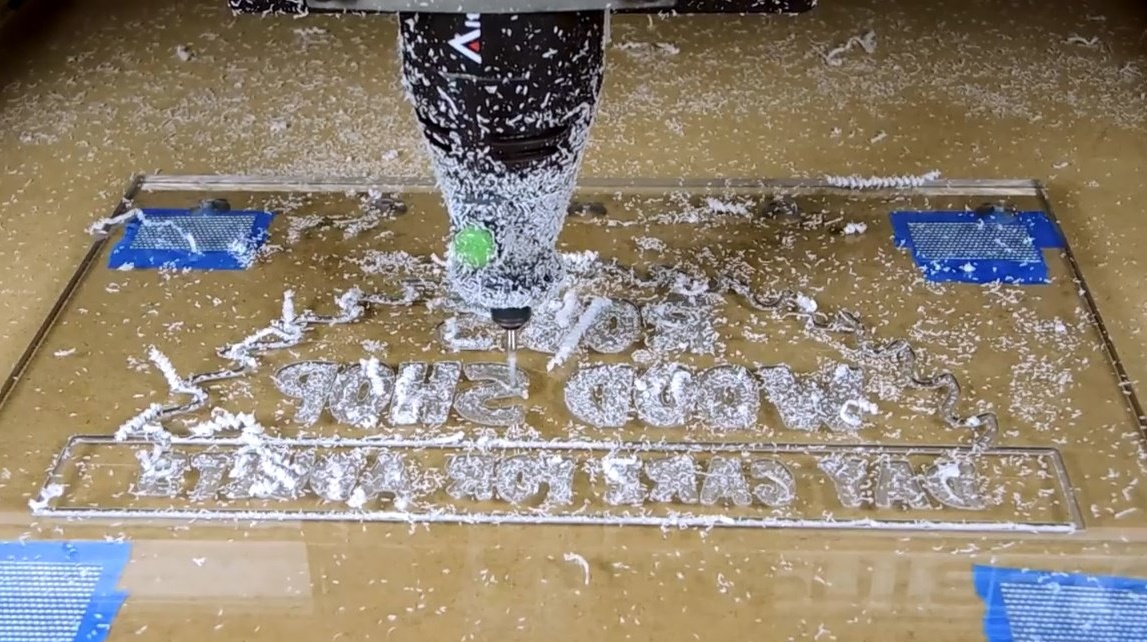
Using an engraving machine (CNC), he applies a drawing to an acrylic panel.
If you do not have a CNC machine, contact any advertising agency for this service.


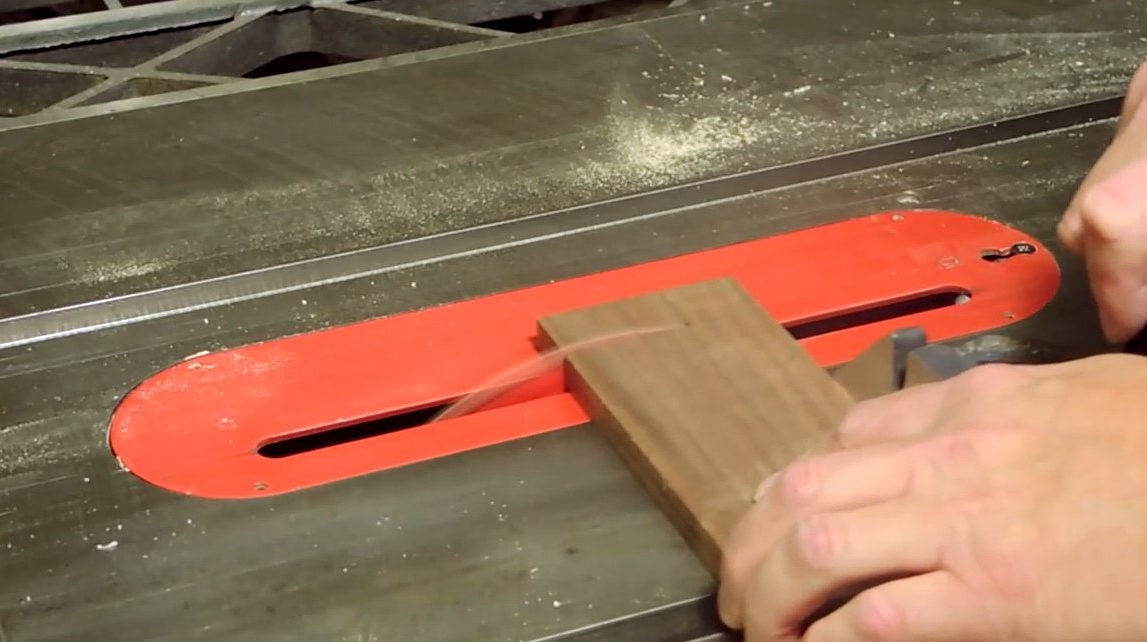
The author measures a piece of hazel wood so that it is the same width as
future sign. Cuts it in length. And then cuts from it several strips 20 mm wide.
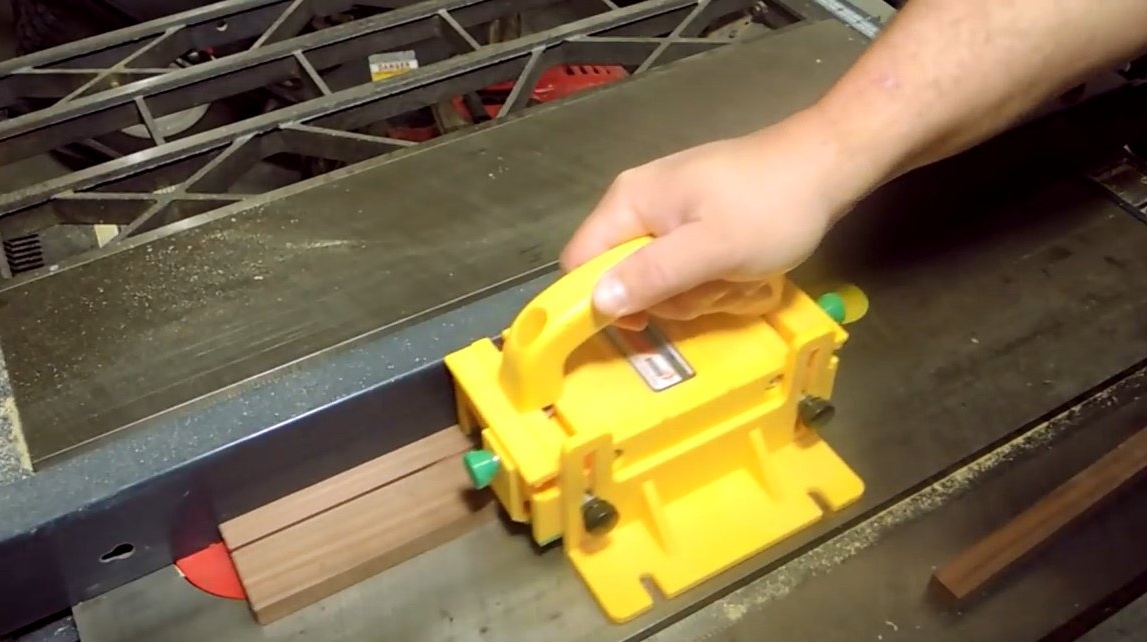
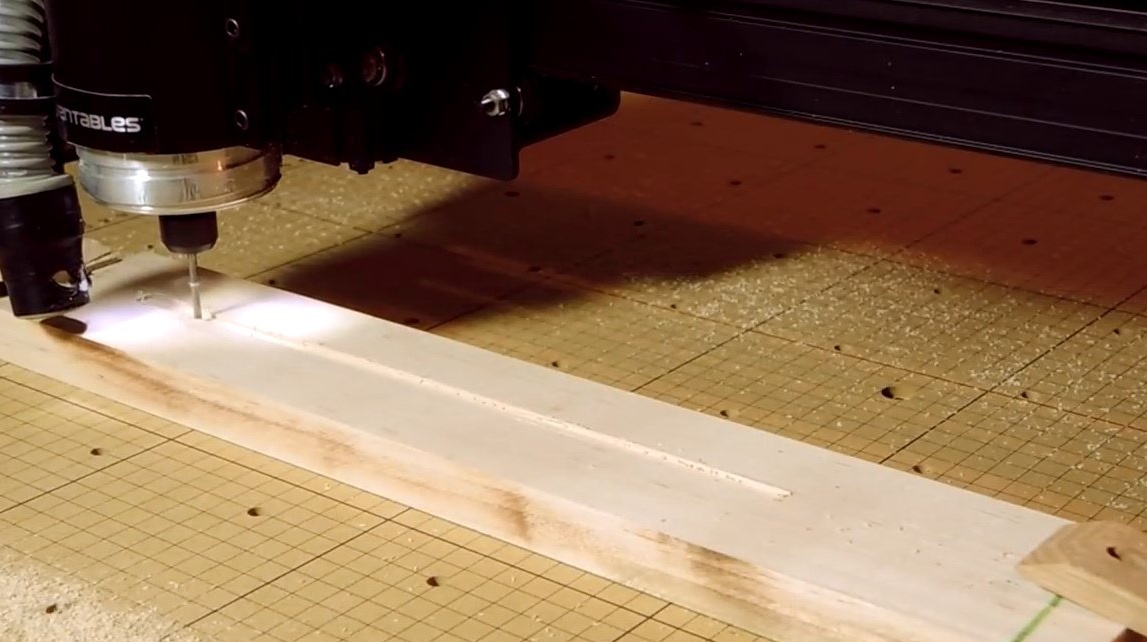
Next, the master cuts a piece of maple wood 3 inches wide. This will be the basis for the sign.
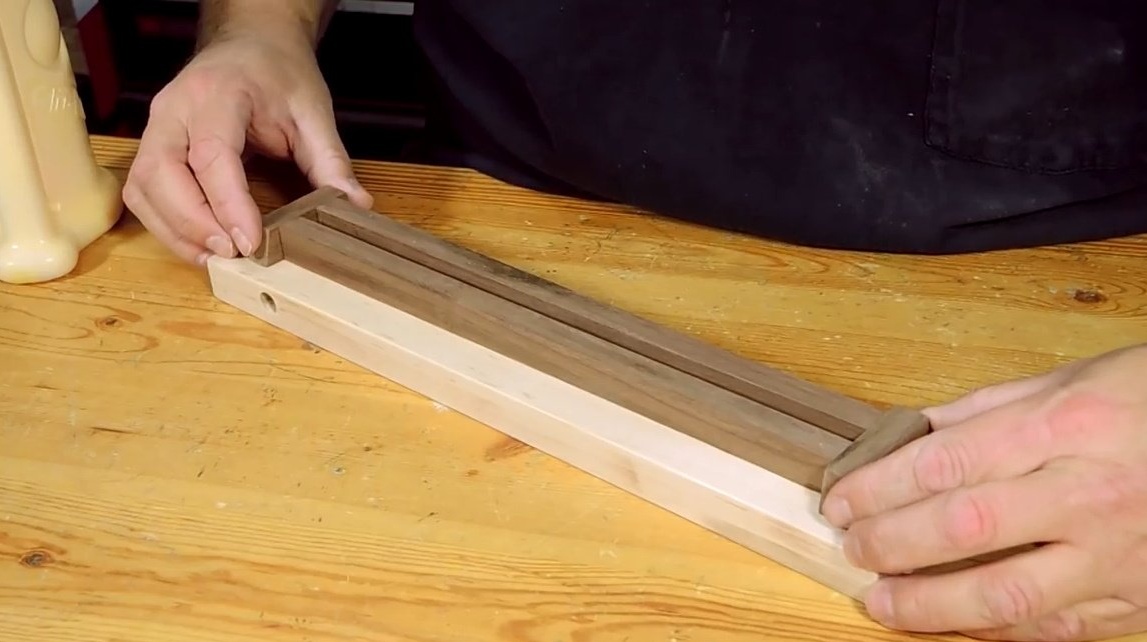
Then it processes it on CNC, which cuts a deep groove 4 mm deep in the center of the board. This is a recess for LED strip.

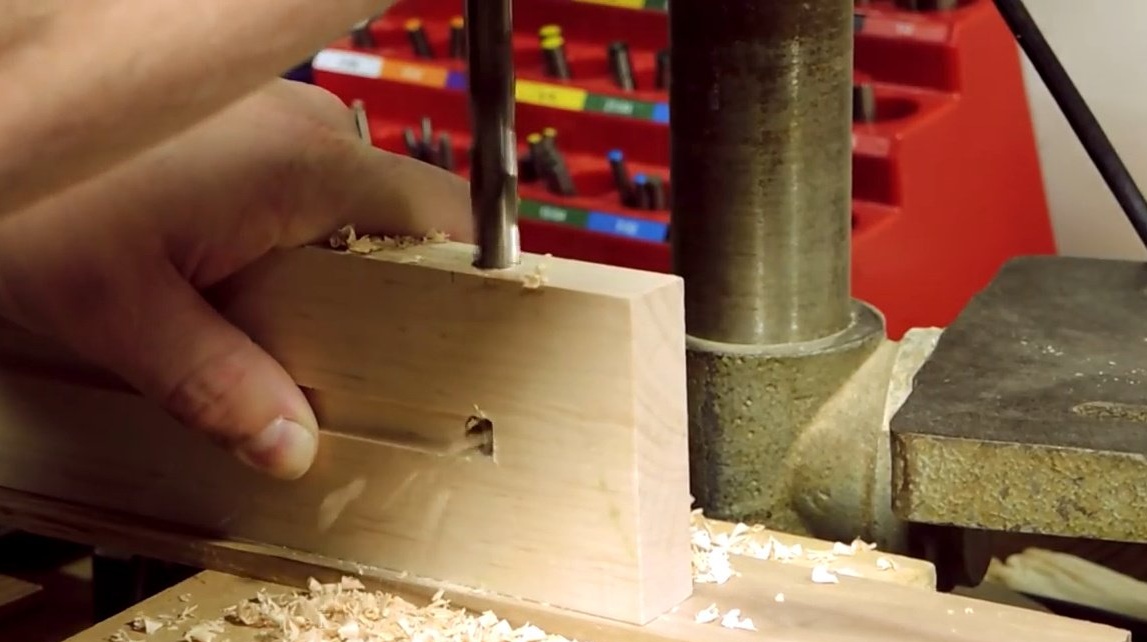
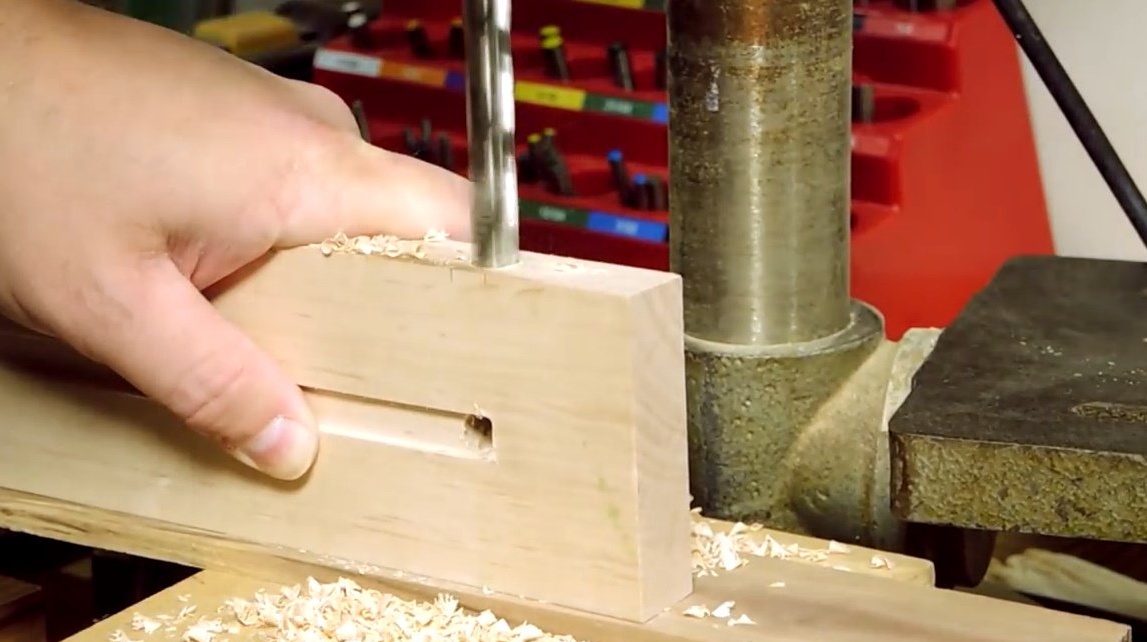
Steve then drills the electronics holes half the depth of the board.

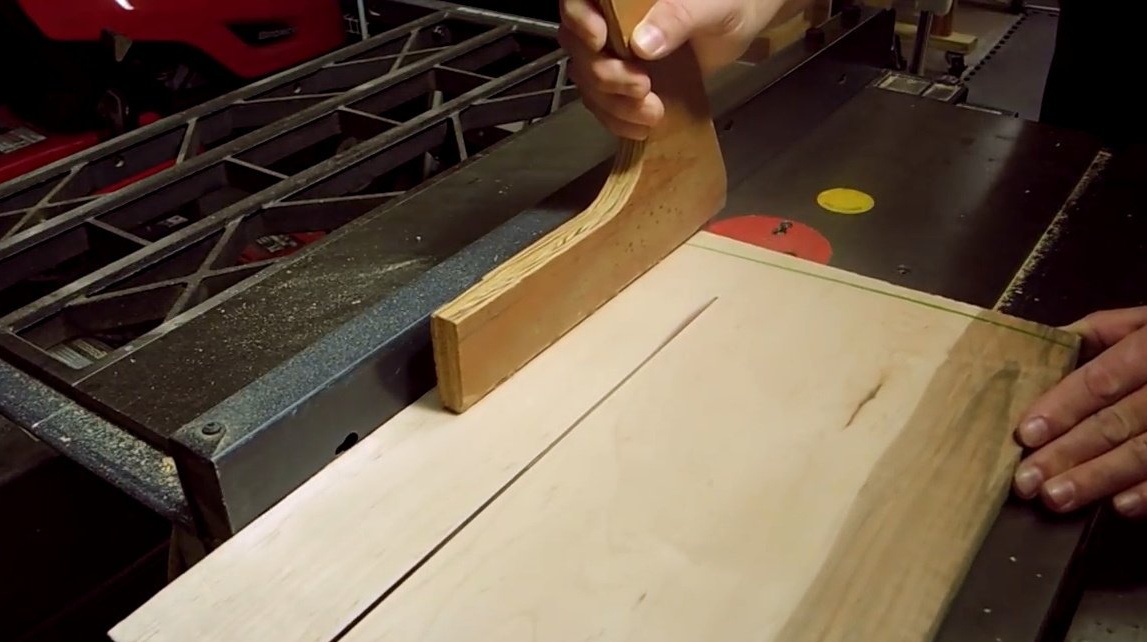
He cuts the maple board along the length so that the groove is in the center.

The wizard drills a hole from the side edge that meets the hole made earlier. This will be the passage for the electrical wire.
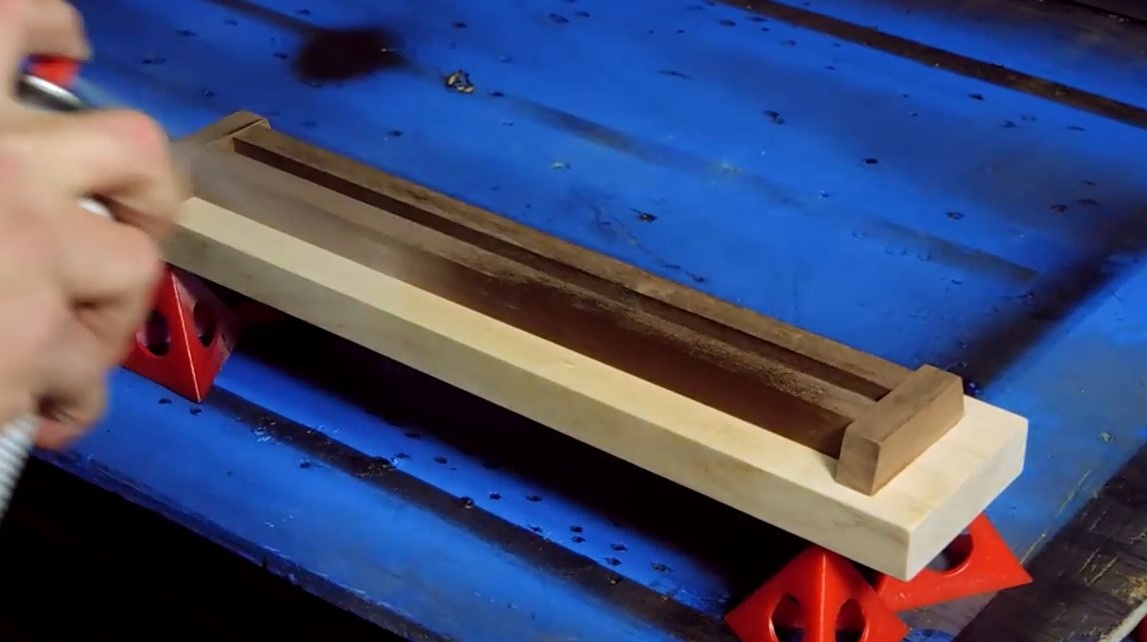
Steve glues the hazel strips on the sides of the groove so that the sign can enter between them. By the way, the gutter is about a centimeter shorter than the sign itself, so the acrylic panel actually rests on the surface of the maple board.
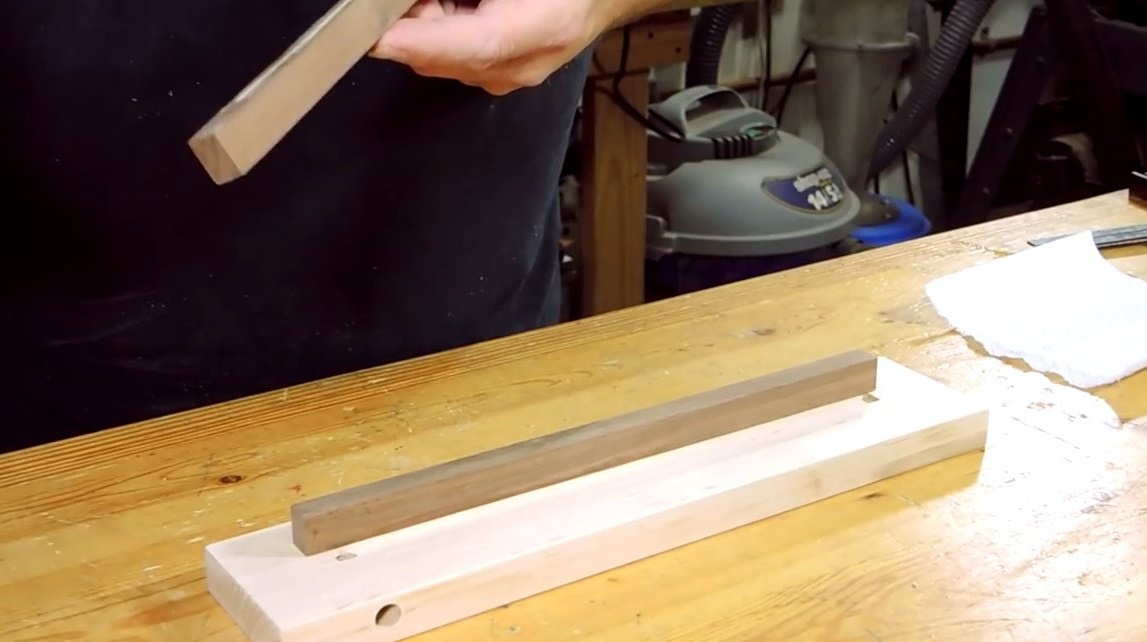
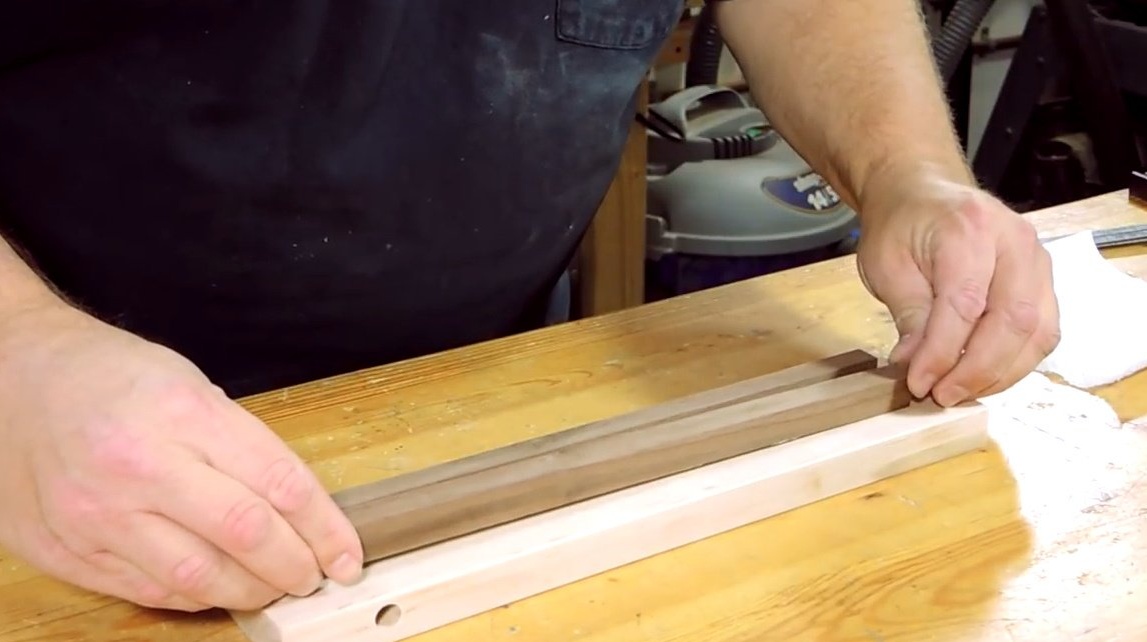

In this case, it is not very convenient to press the strips with clamps, so the author holds them by hand until the glue dries on them.

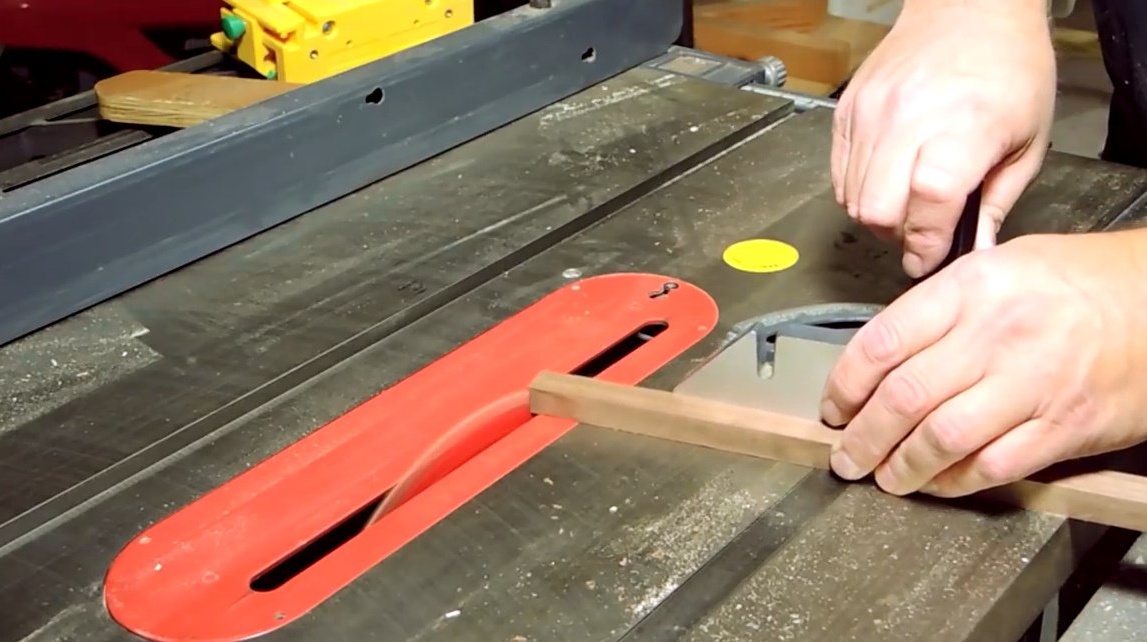
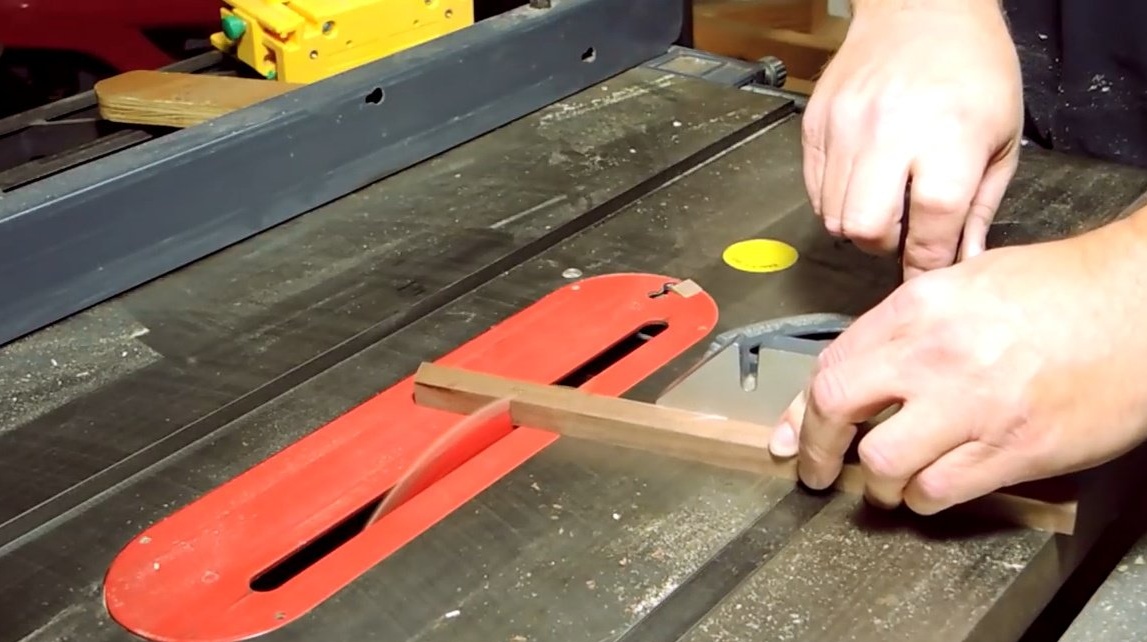
Steve sets the angle saw of the circular saw 15 degrees and cuts out two more small planks to complete the frame. After spreading with glue, they also had to be held by hand.

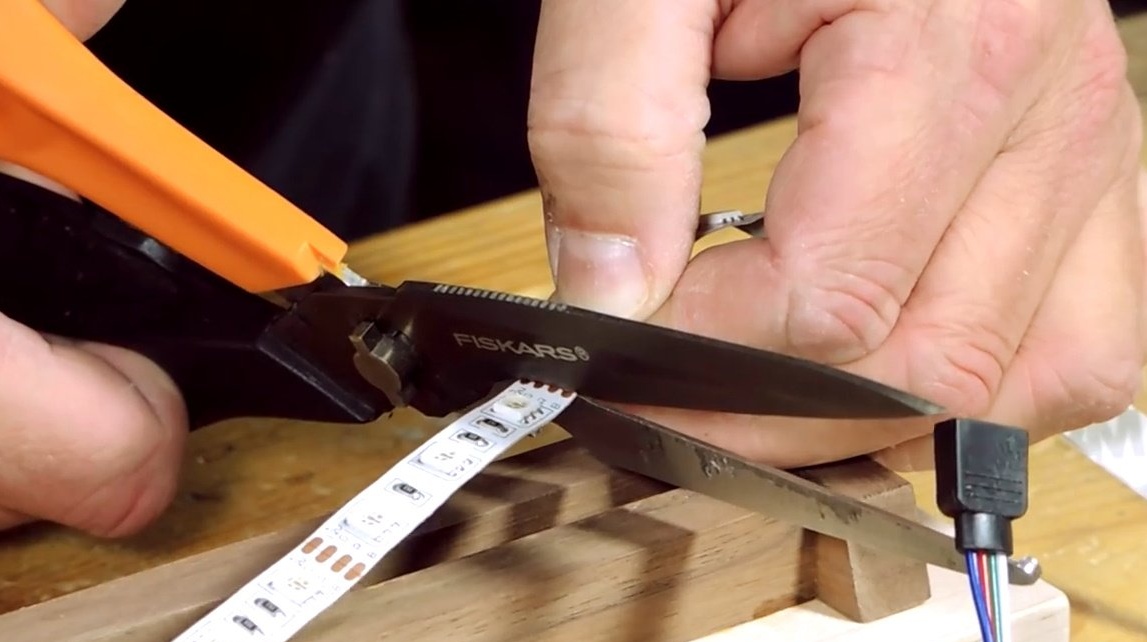
The author cuts the LED strip to the desired length. But before installing it, he covers the base of the sign with two layers of varnish.
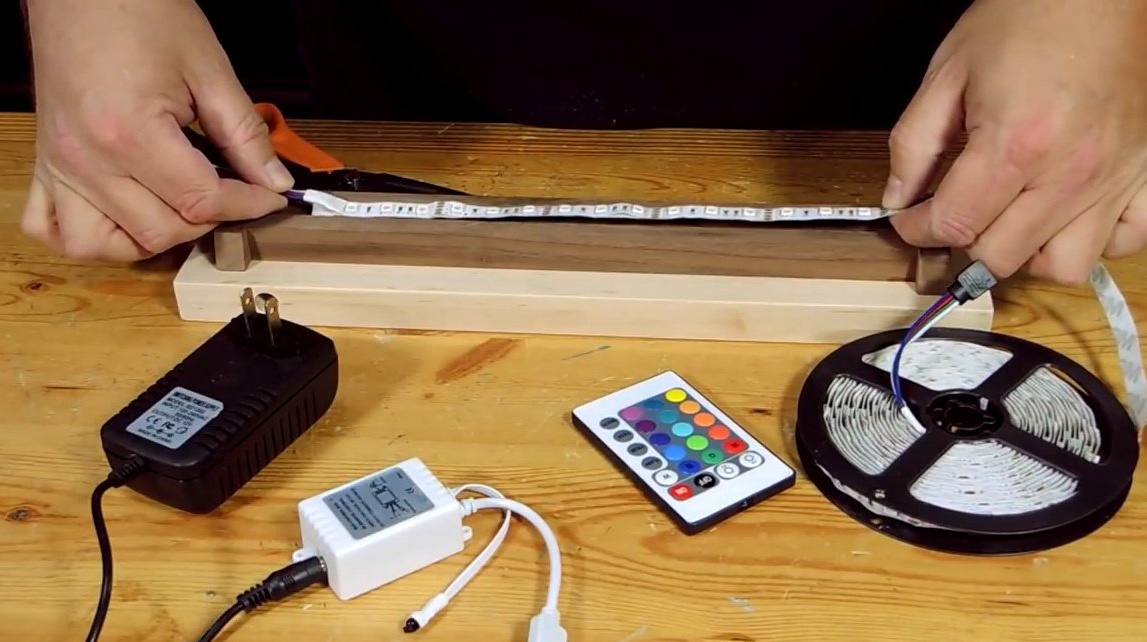

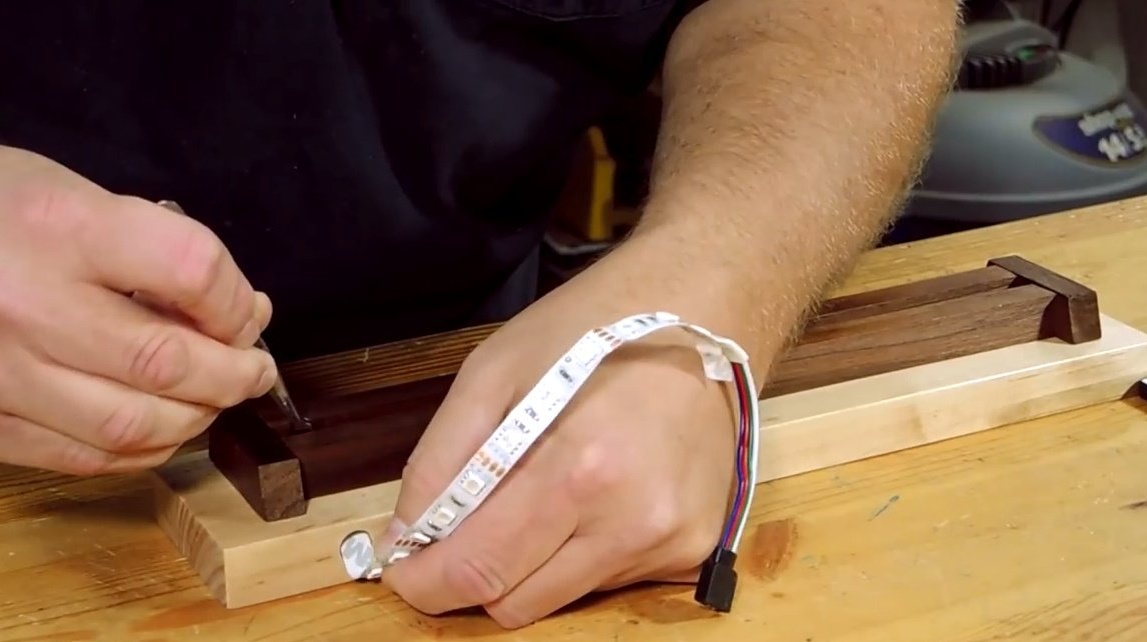
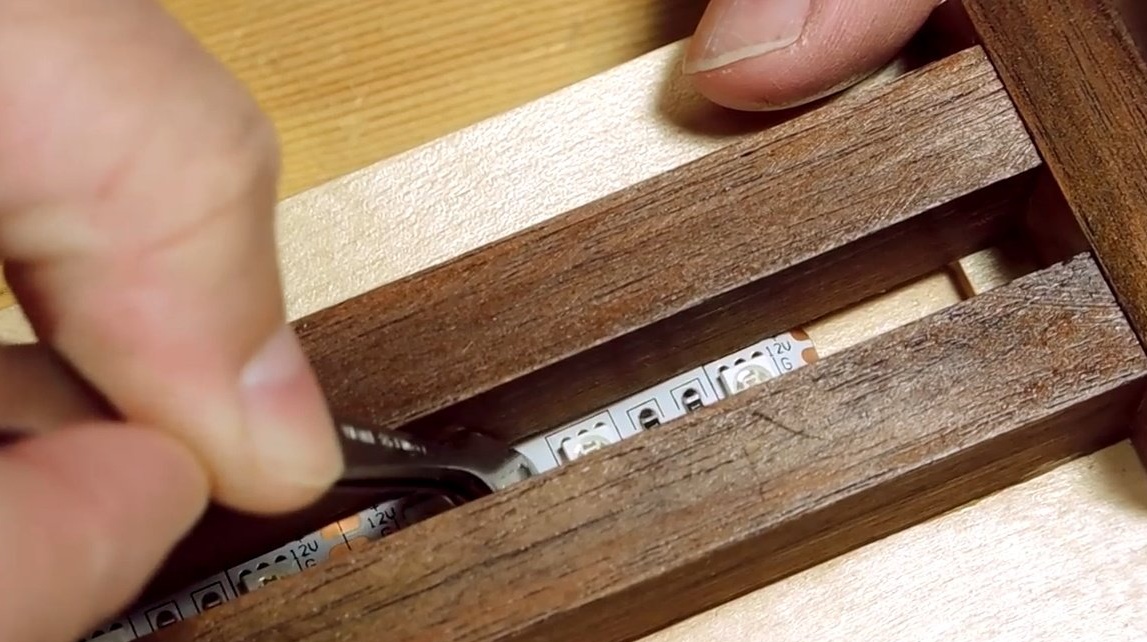
When the varnish is dry, Steve passes the LED strip through the hole for the power cord and puts it in the groove, after removing the protective film from it to release the self-adhesive surface.
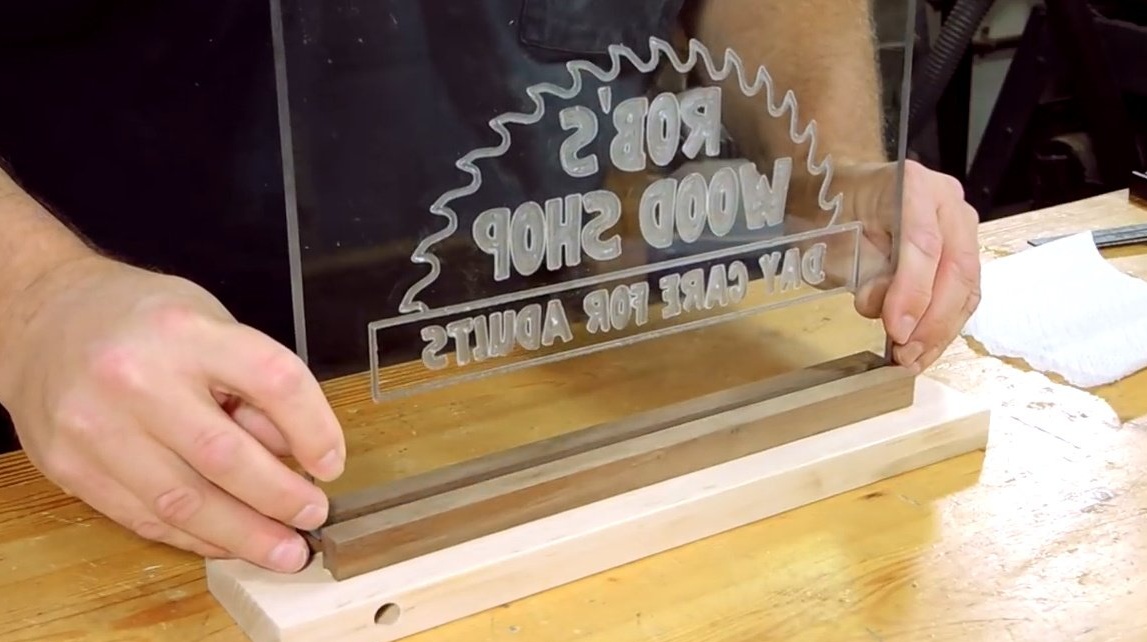
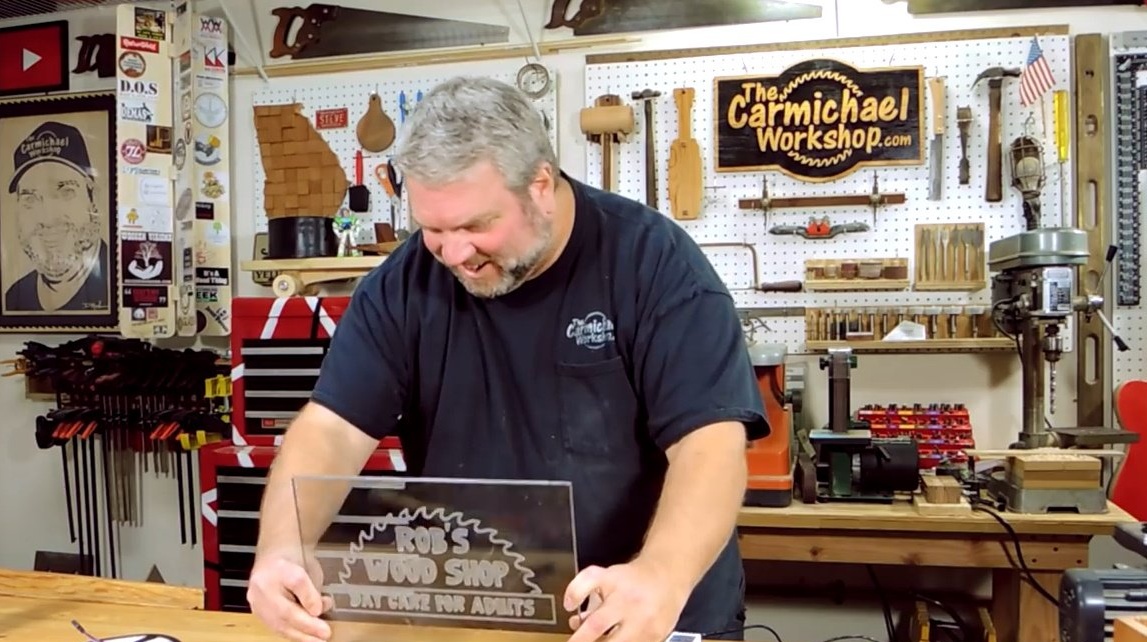
With tweezers, he gently presses the tape to the surface of the groove. Next, the author connects the entire electronics, puts the acrylic panel in the place intended for it and connects the power supply to the outlet.

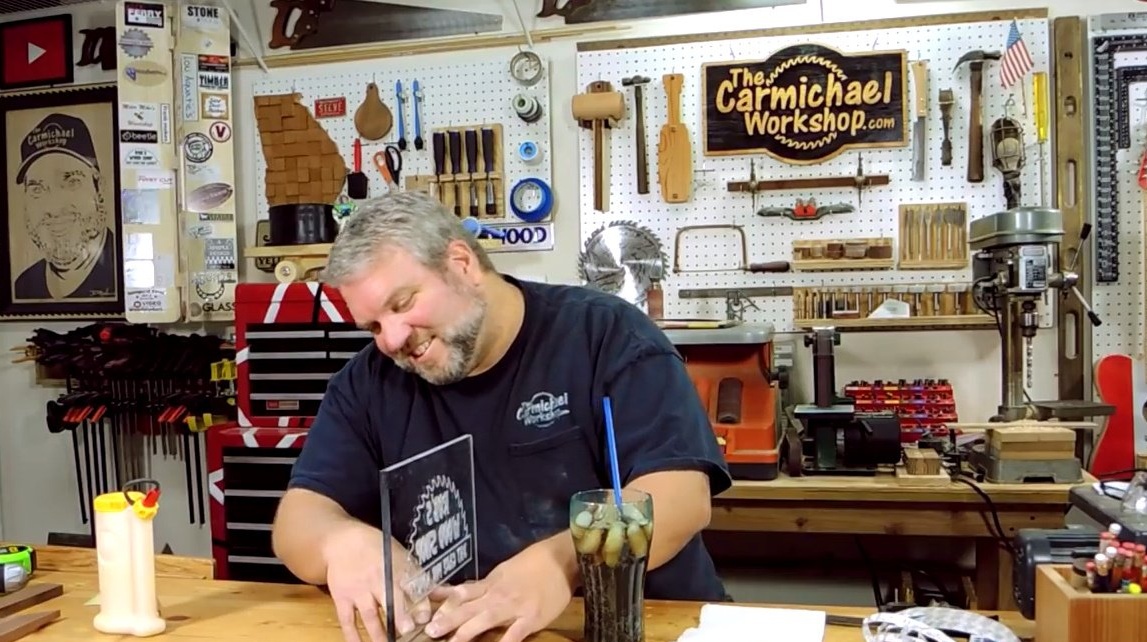
The light goes out ... and instead the LED lighting mysteriously flickers.
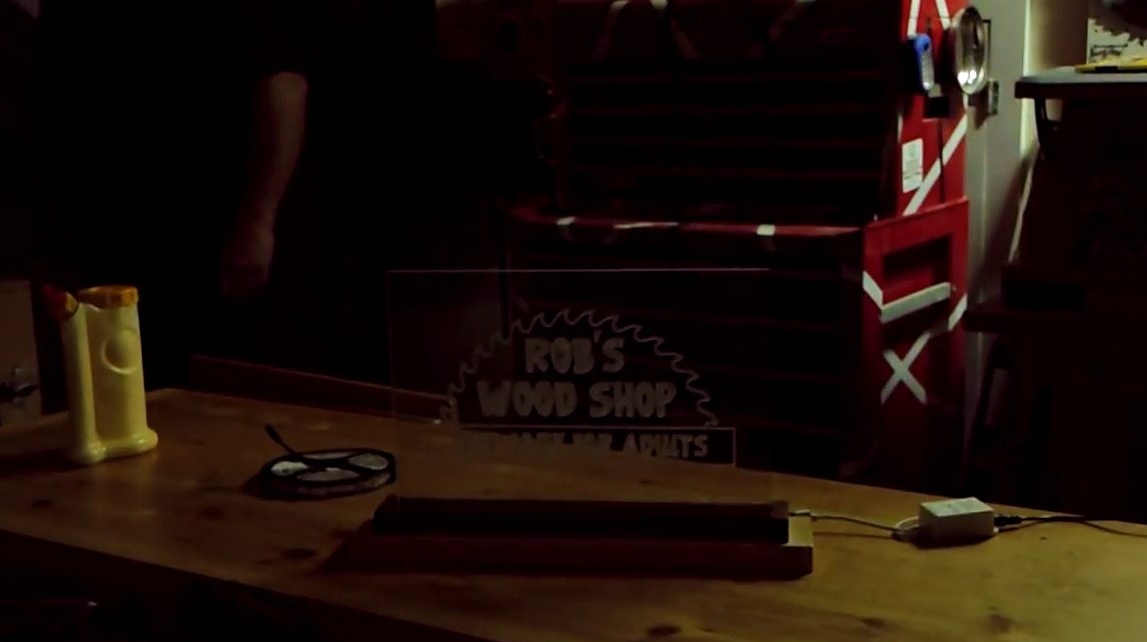
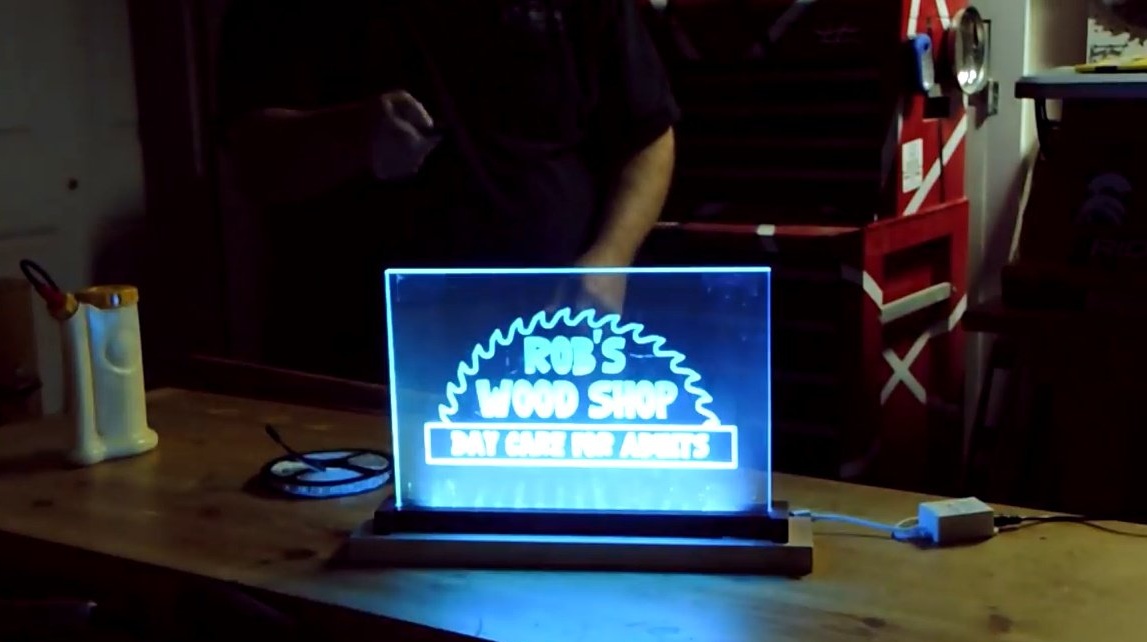
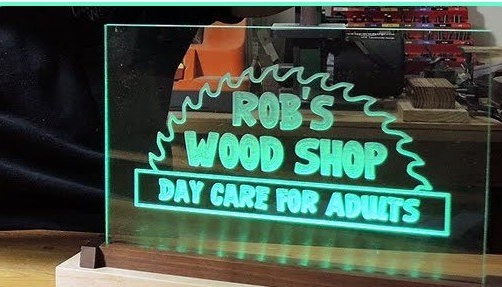
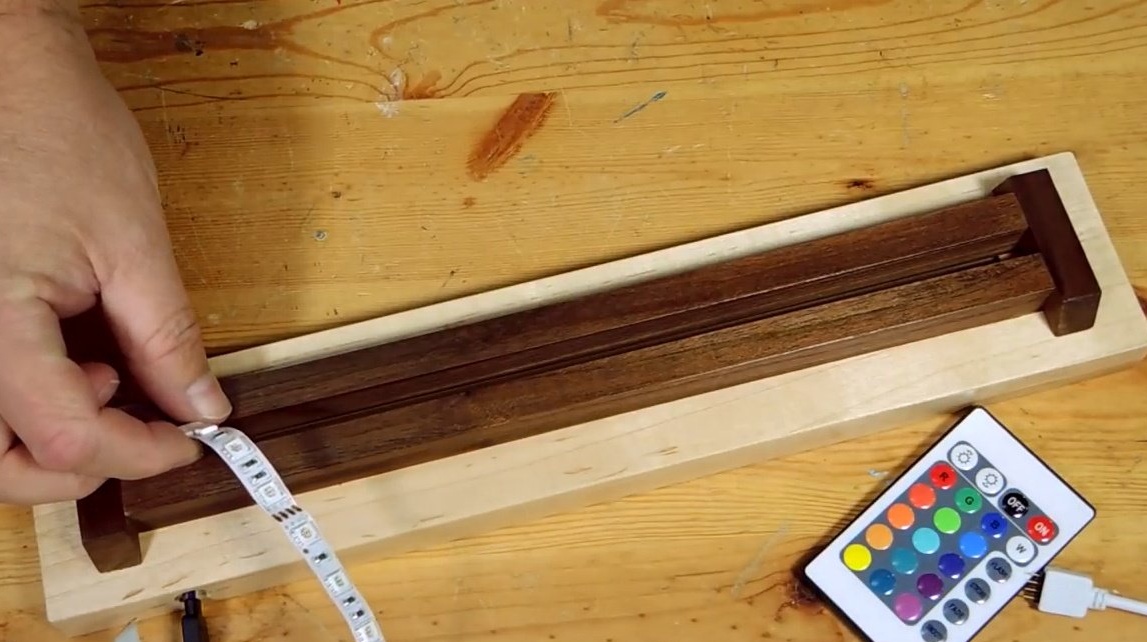
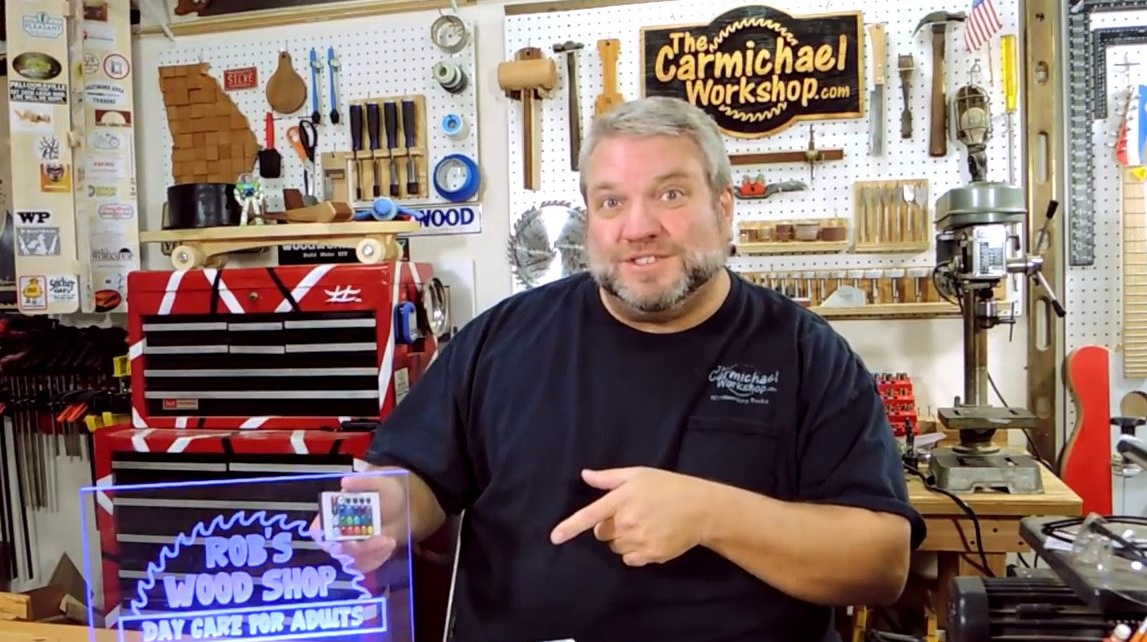
Steve is very pleased with the RGB LED kit, which has the ability to remotely switch colors, and select different modes. This variety of lighting gives the product an additional charm.

Thanks to the author for a simple but very interesting lighting technique!
All good mood, good luck, and interesting ideas!