
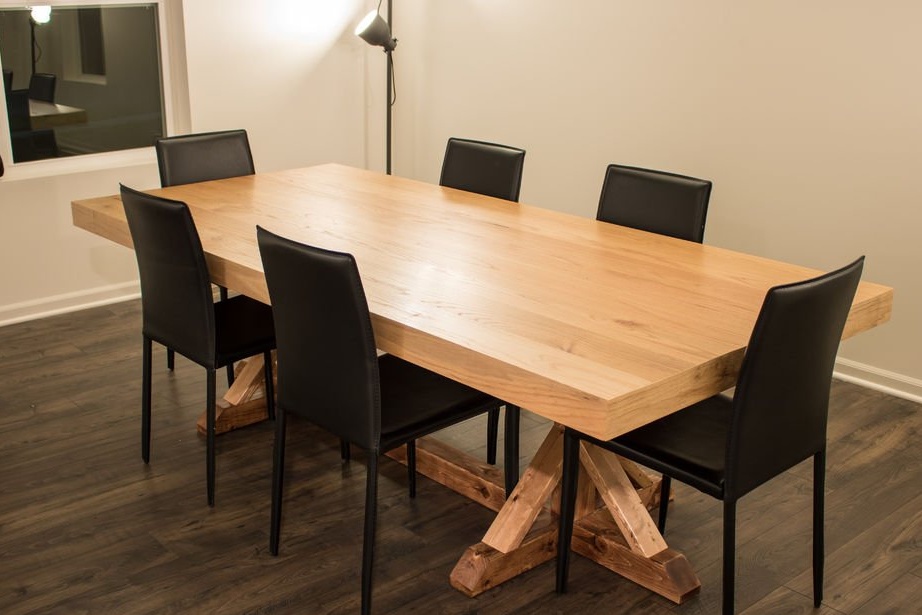
Hello everyone, today I will tell you how the master did do it yourself dinner table.
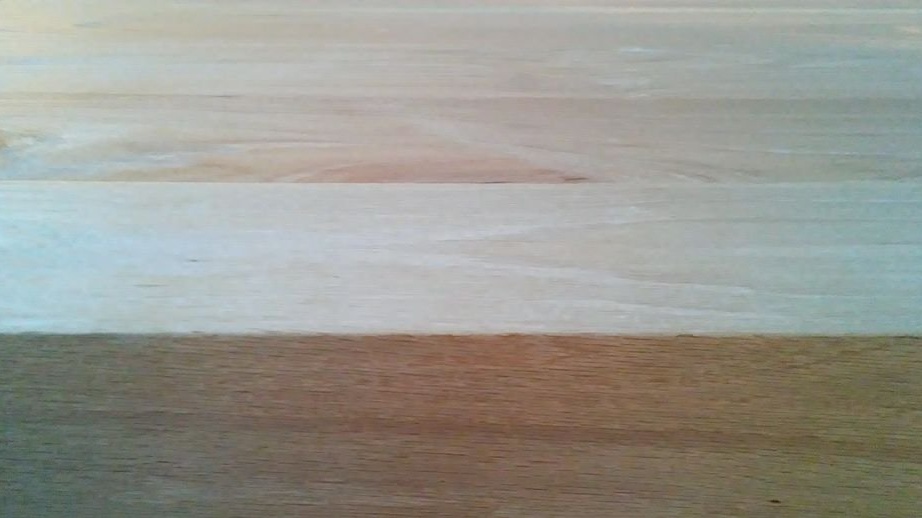
The master wanted to get a good and thick countertop. Therefore, I thought about buying large oak planks and gluing them together to make a large board. The problem is that these boards are hard to find, and they are sold at a very high price, unprocessed boards.
Therefore, he decided to buy a smaller one, and make a 45-degree connection or “oblique butt connection” on the sides. The master is very pleased with the result, and the cost of the countertop was much lower.
Material Required:
1. wood glue
2. screws or table mounts
3. boards
4. dowels
Tools required:
1. miter saw
2. table saw
3. drill
4. grinding machine
5. Planer

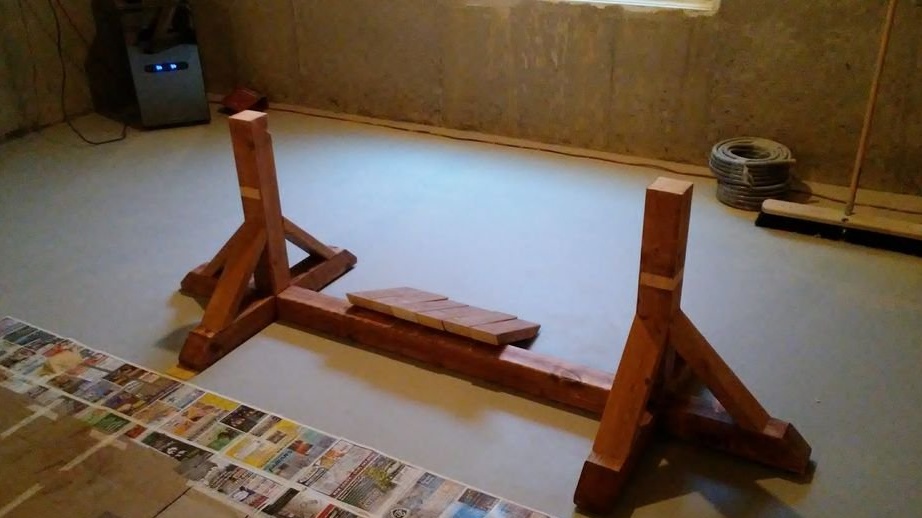
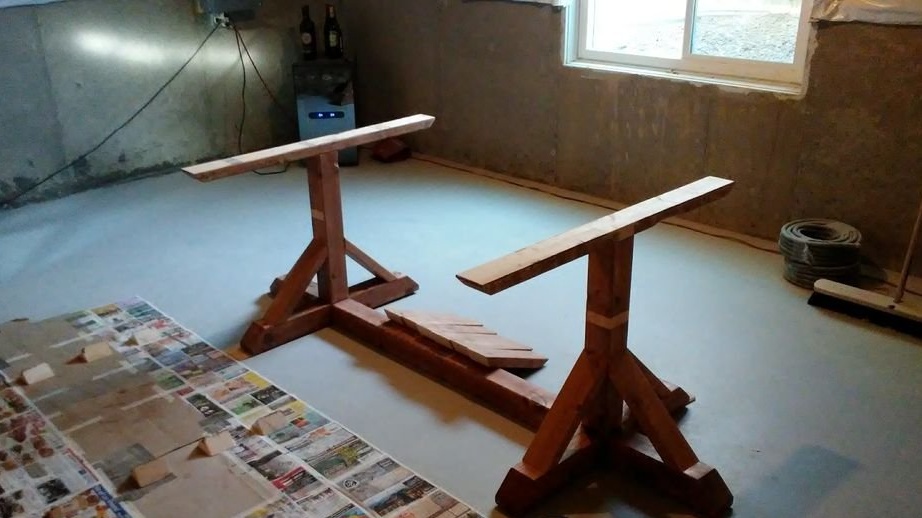
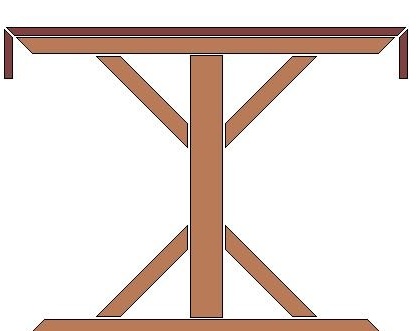
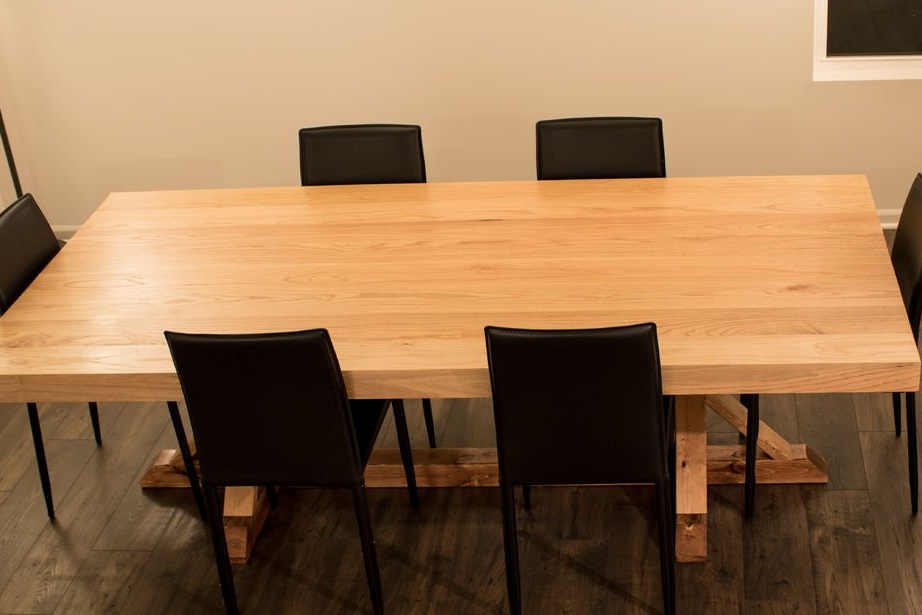
1. The master applied the "rural house" style to the foundation. Used boards and bars.
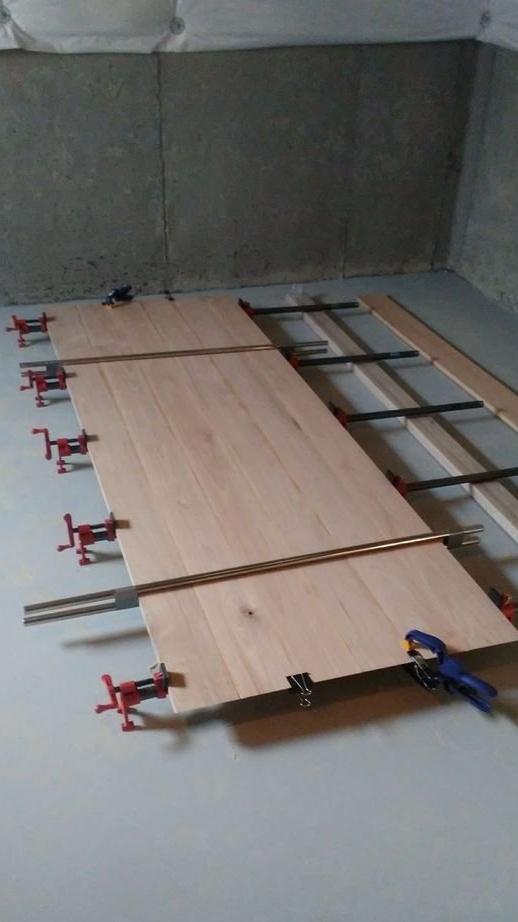
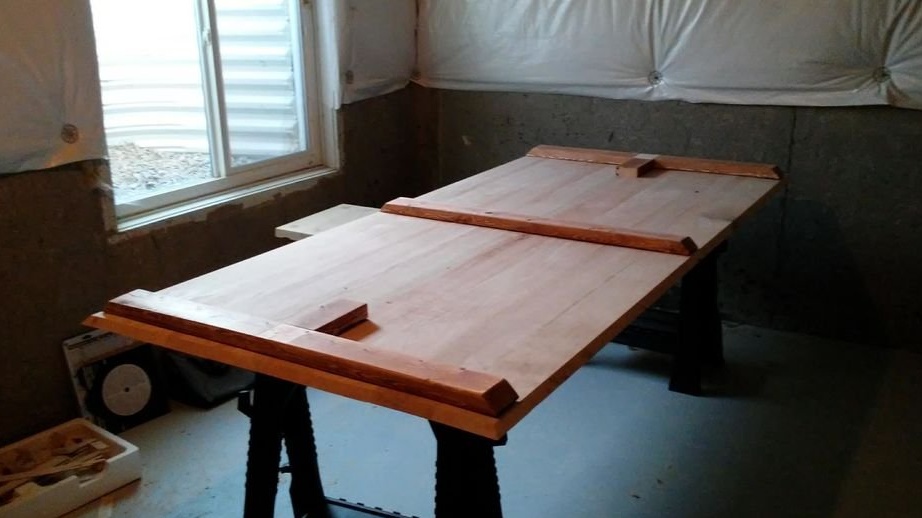
2. For the countertop glued 8 oak boards. A good idea is not to glue all the boards at once, but in small groups. The craftsman used steel tubes on each side of the table to keep the countertop flat while the glue dries.
Each short end of these boards must be cut to the same length with an exact angle of 45 degrees using a miter saw.
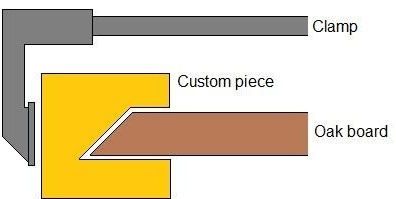
On the boards at the ends of the table, it is necessary to cut the outer border at an angle of 45 degrees using a table saw. All this is done before the countertop is glued (which seems easier). Otherwise, all the clamping pressure will be applied to the thin edge at an angle of 45 degrees and will destroy it. The master made several pieces of wood, shown in yellow in the picture above.
I placed 5 dowels between each board so that the boards remained flat when clamped.
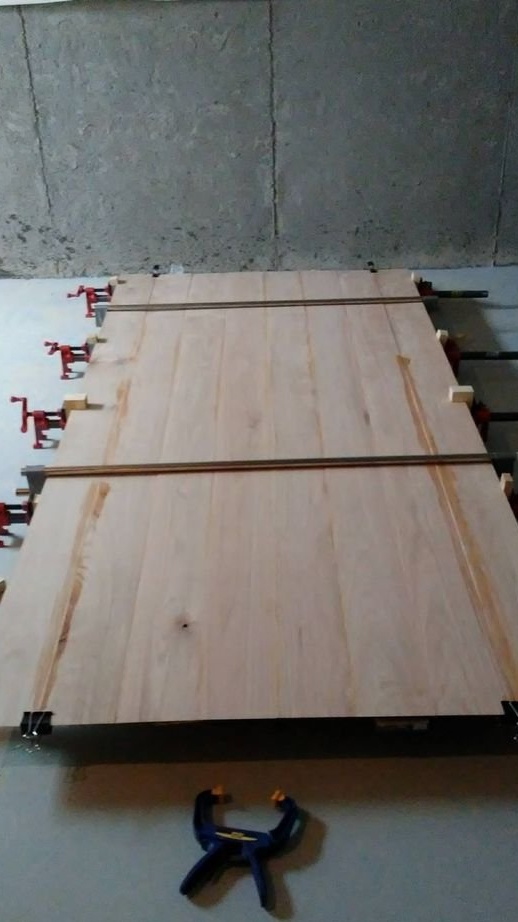
When the countertop dried, I used a hand planer to make it flat and sanded it.
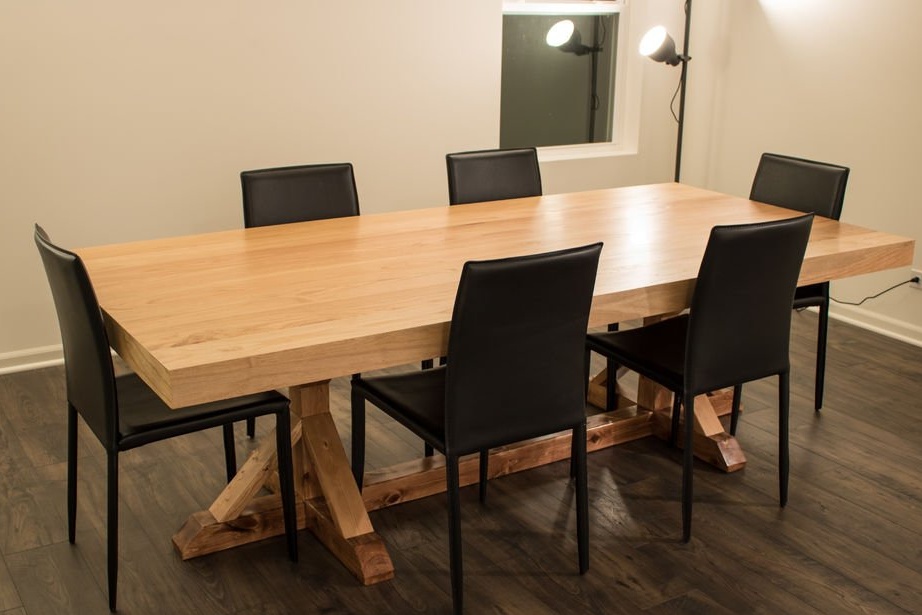
3. The worktop is then reinforced with small boards.
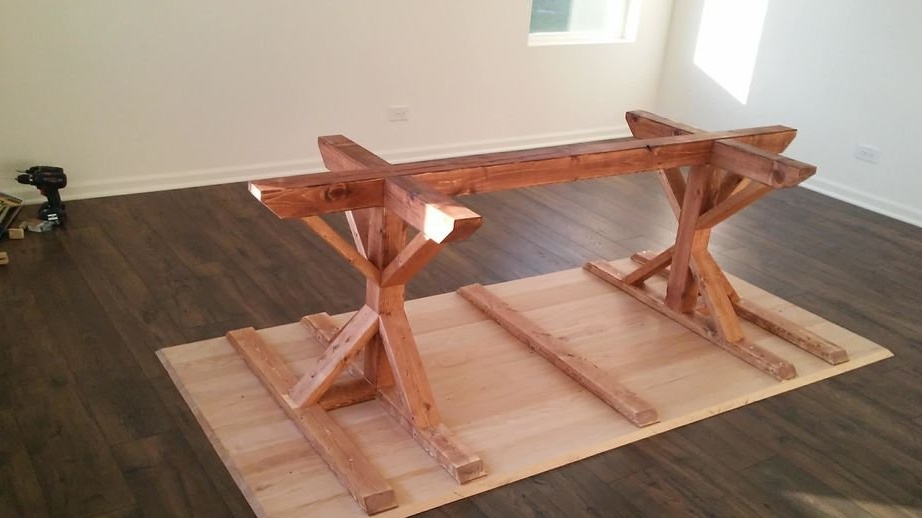
4. The base and top are connected. If you built your table in the basement and you will use it on the 1st floor, this is when you have to raise it, otherwise it will not go through the basement door :)
The master glued and screwed the top to the base.
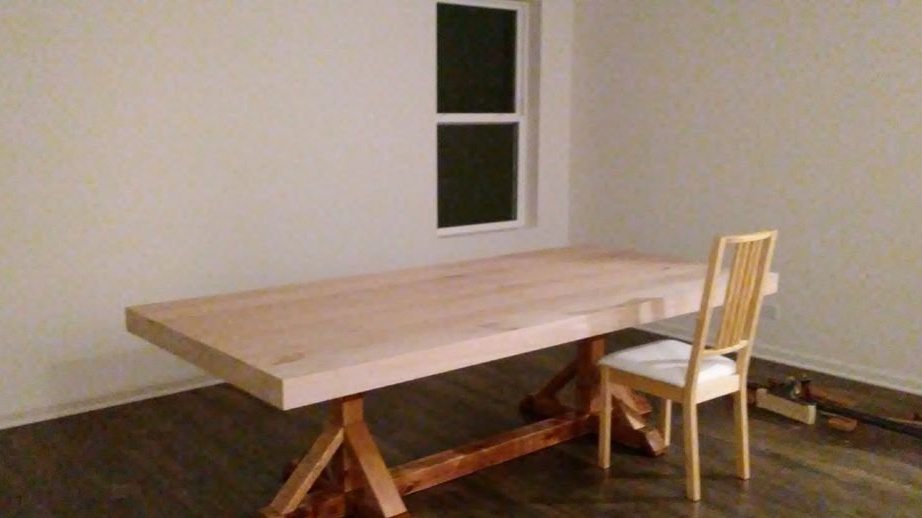
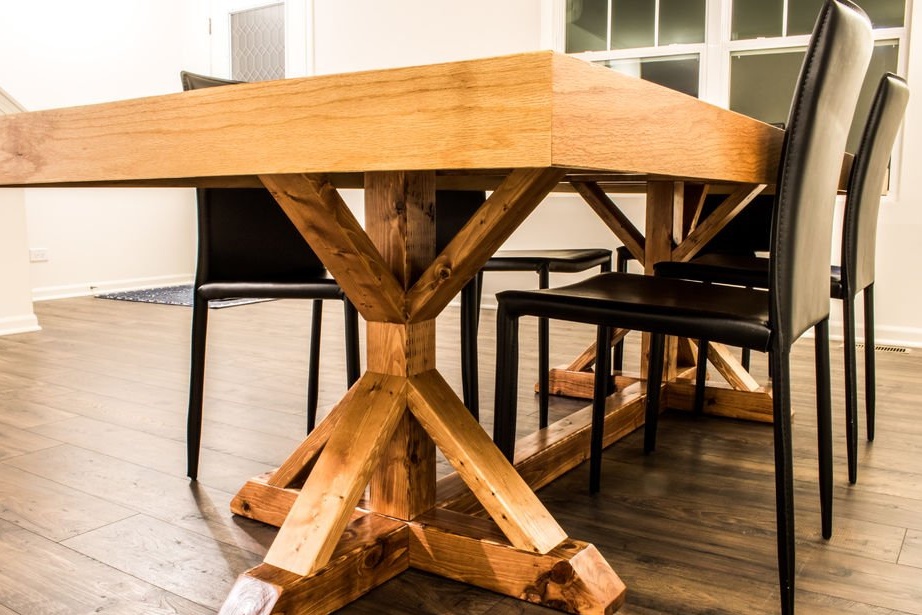
5. Then the legs are connected to the countertop. Like the ends of the countertops, the edges must be cut at an angle of 45 degrees using a miter saw. It is important that the glued edges are flat and exactly at 45 degrees. Apply a sufficient amount of glue and hold the side on top. The master found that using horizontal and vertical clamps worked well to squeeze the edges together.
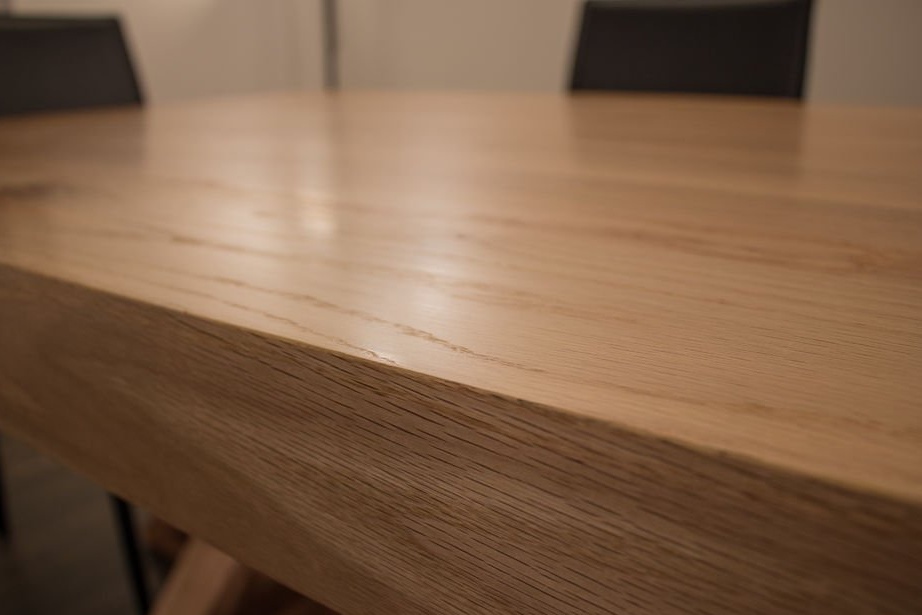
Then he gently polished the edge so that it was not too sharp.
If done correctly, the edge should look seamless. If this is not the case, wood filler can be used. Since it is a solvent based filler, it dries very quickly and becomes solid.
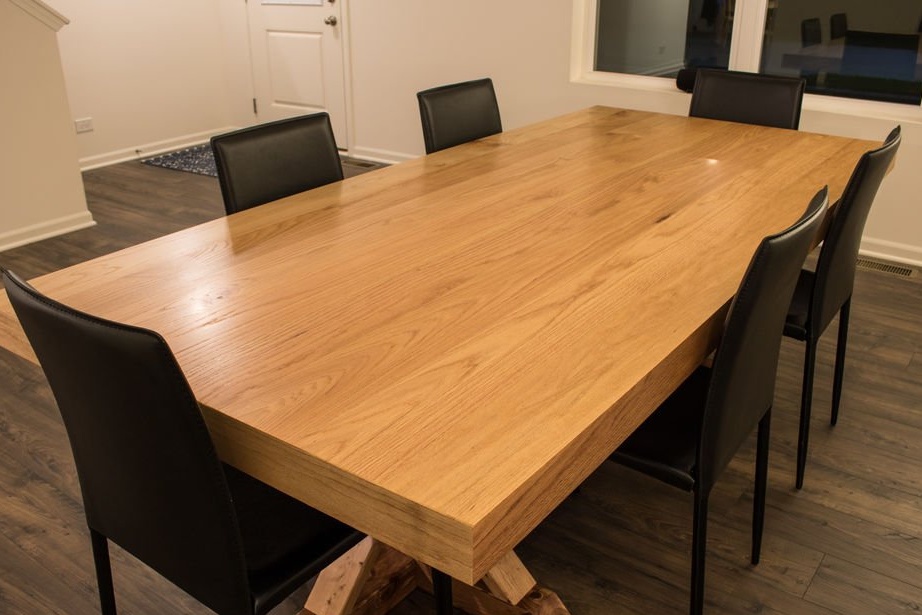
The master covered in 3 layers of a transparent polyurethane coating and sanded.