
Good afternoon, in this instruction the author will tell you how to independently produce perfectly straight arrows in a forest without special machines and equipment, using almost one knife.
You have probably seen American films in which the main character enters the forest with one knife and makes himself a bow and arrows during the day, so this is Hollywood bullshit, the arrows made by the Hollywood hero will fly anywhere just not to the target. Making quality arrows takes time from four to five days.
Materials and tools that the author used:
Material List:
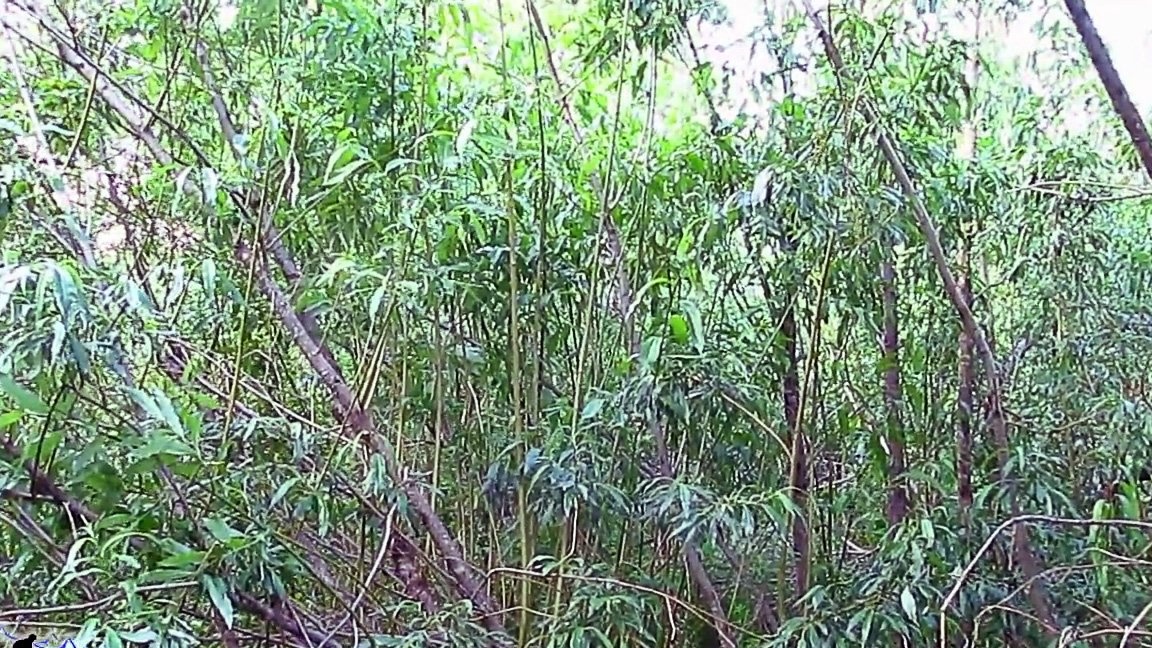
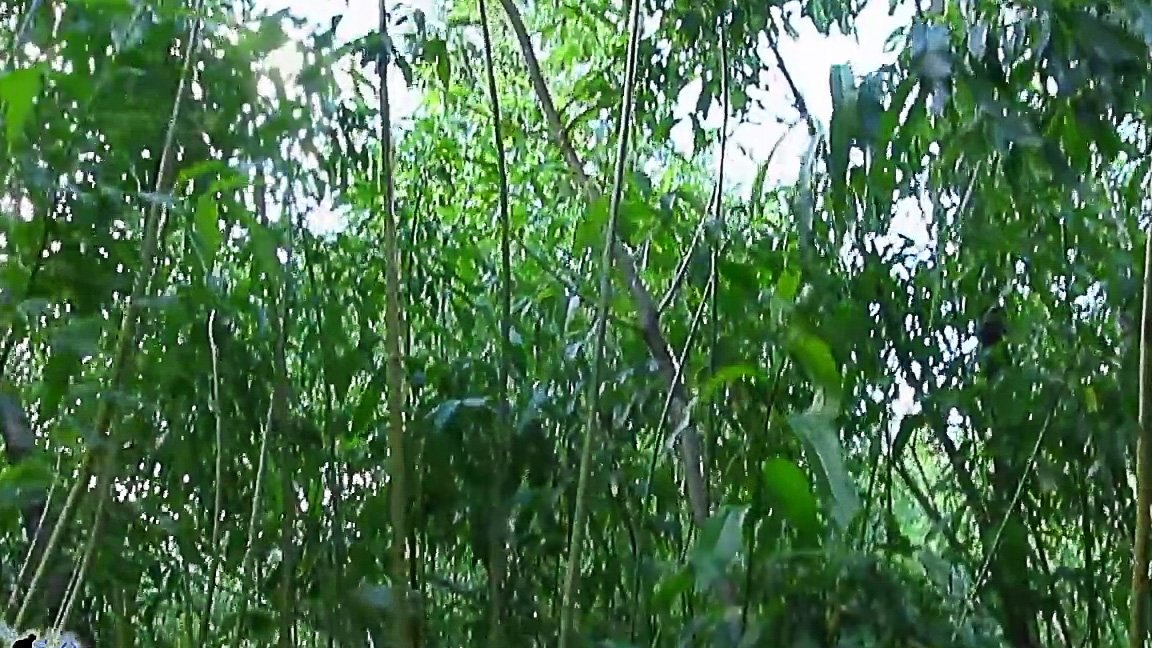
1. Bush willow in the second year of life.
2. The nail is 100x5;
3. The rope;
4. Thick kapron thread;
5. Little bitches ate;
Tool List:
1. The knife;
2. The hammer;
3. File;
4. A stump;
5. Two nails 40x2;
6. A bent nail 100x5 sharpened in the form of a screwdriver;
7. Stone or turf weighing 15-18 kg in the summer or 20-25 in the winter.
Arrow manufacturing process:
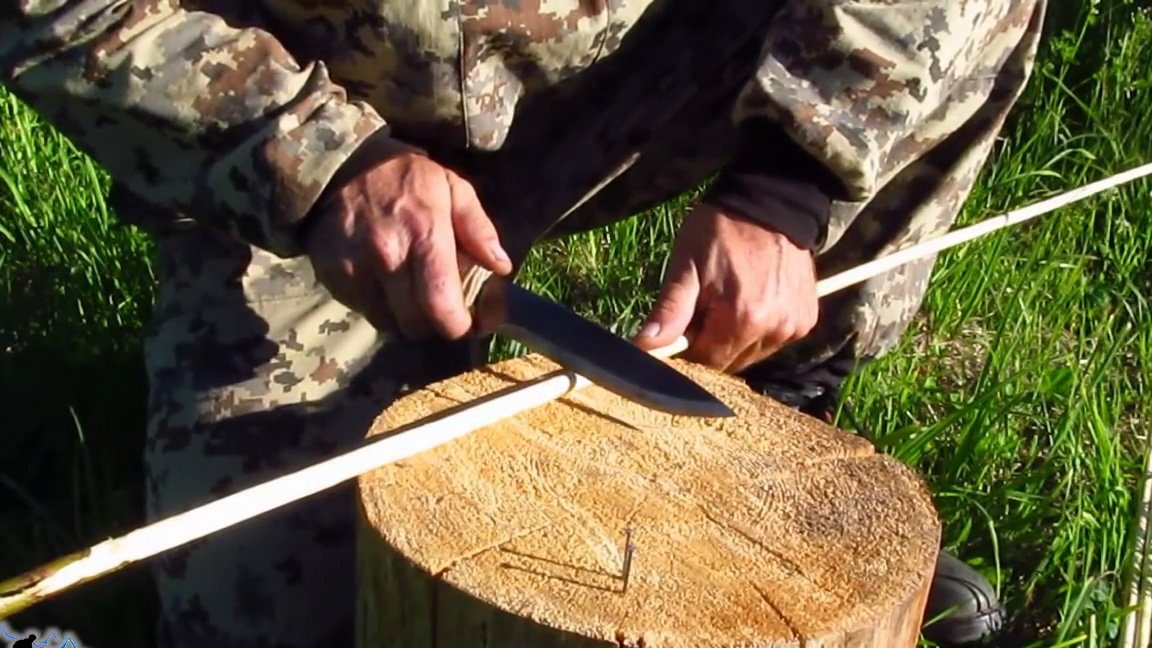
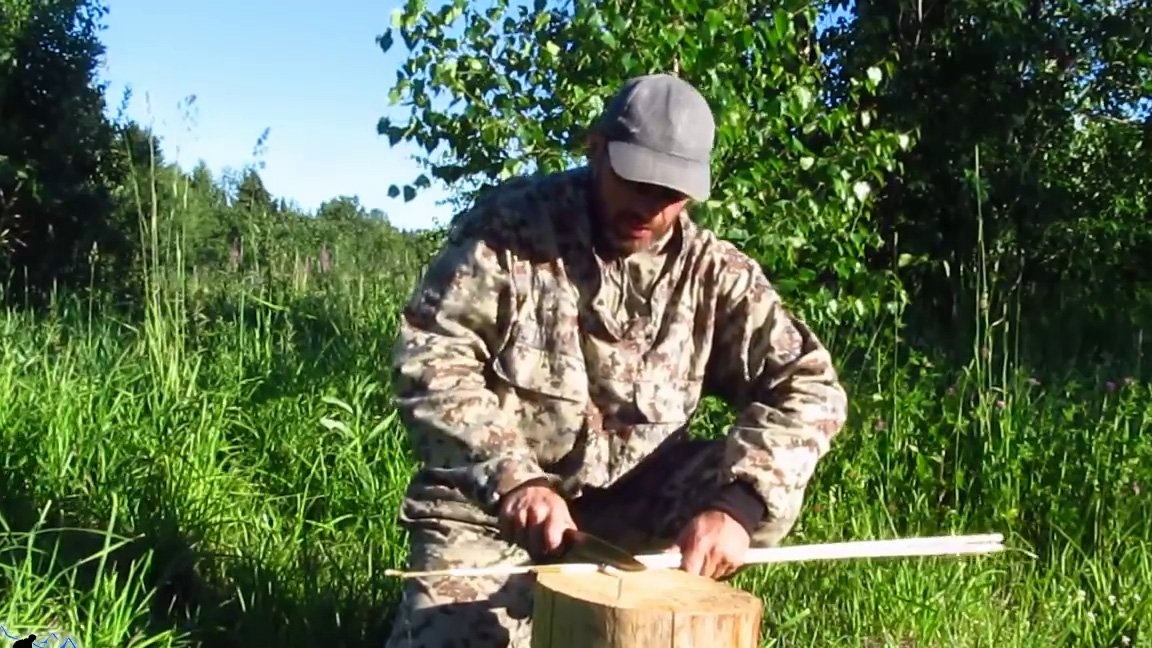
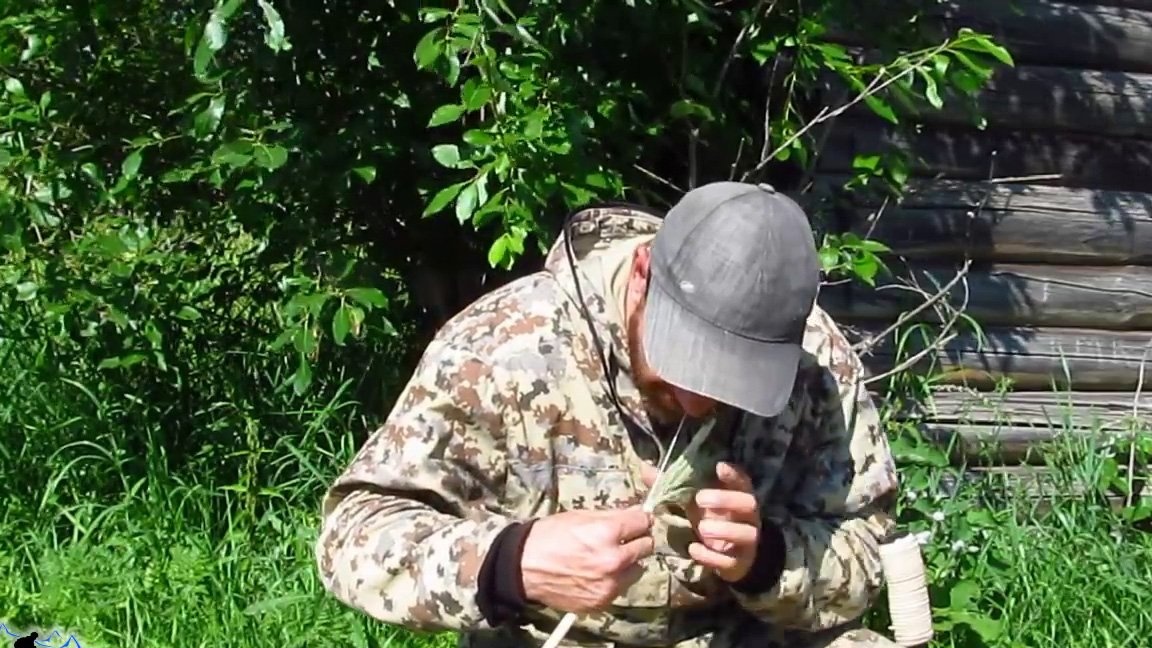
Step one: Making blanks for arrows, straighten the willow and remove the skin.
1. To make a perfectly straight arrow, we need a blank from willow bush in the second year of life, this is necessary to get a high-quality, rather rigid arrow, if you take a bush willow for less than two years, the arrow will be soft, if more than two years, there will be solid processes on the willow and additional workpiece processing is required.
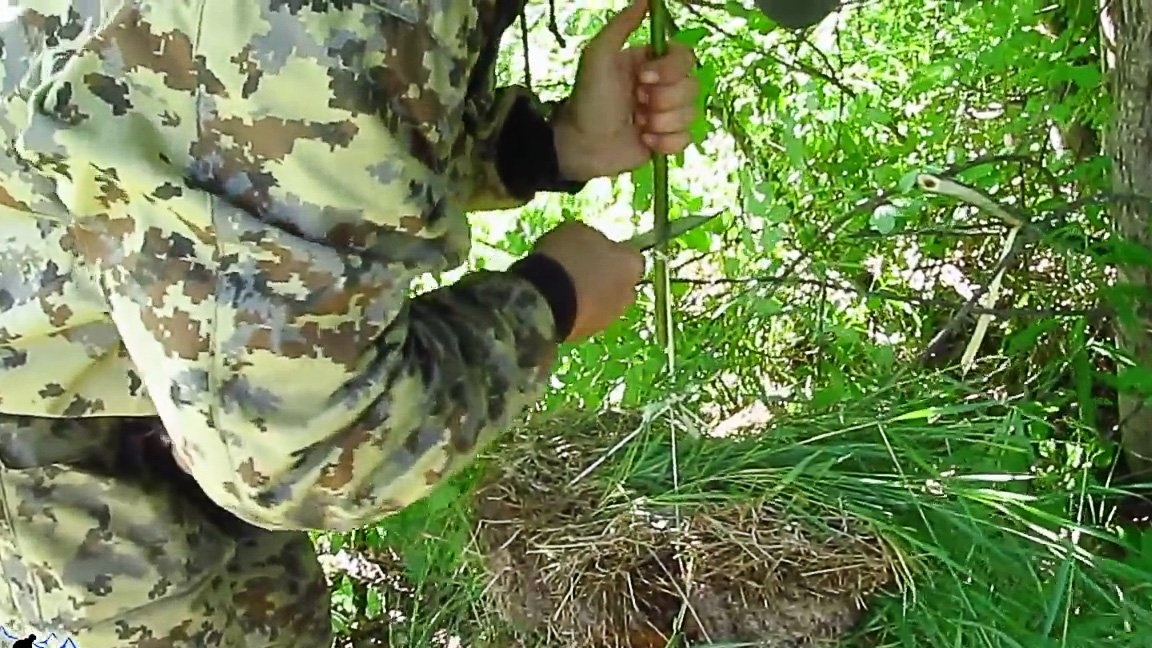
2. We attach a rope loop to the thin end of the willow, we attach a stone or turf weighing 15-18 kg in the summer or 20-25 kg in the winter to the thick end.

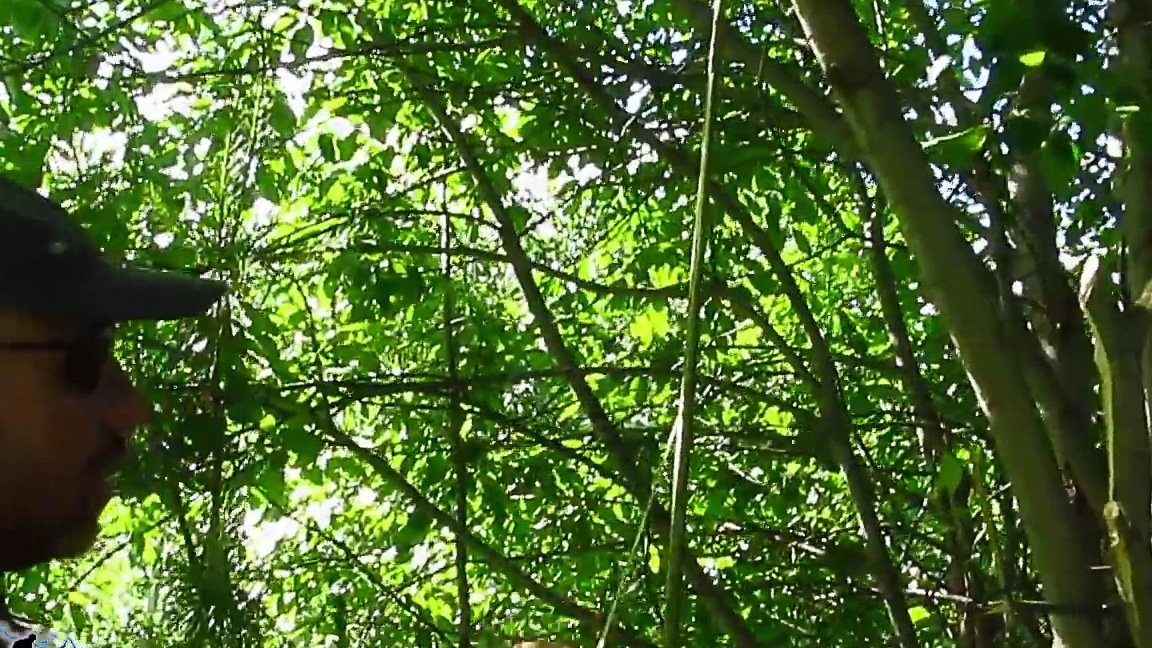
3. While the willow is moist and soft, we hang it on a branch for drying, the load will stretch the workpiece to perfect condition, after drying the willow workpiece will become completely straight.
4. On the fourth day, we make ring cuts on the blank with a knife. Incisions are made in front of the rope loop from above and below.
[center]
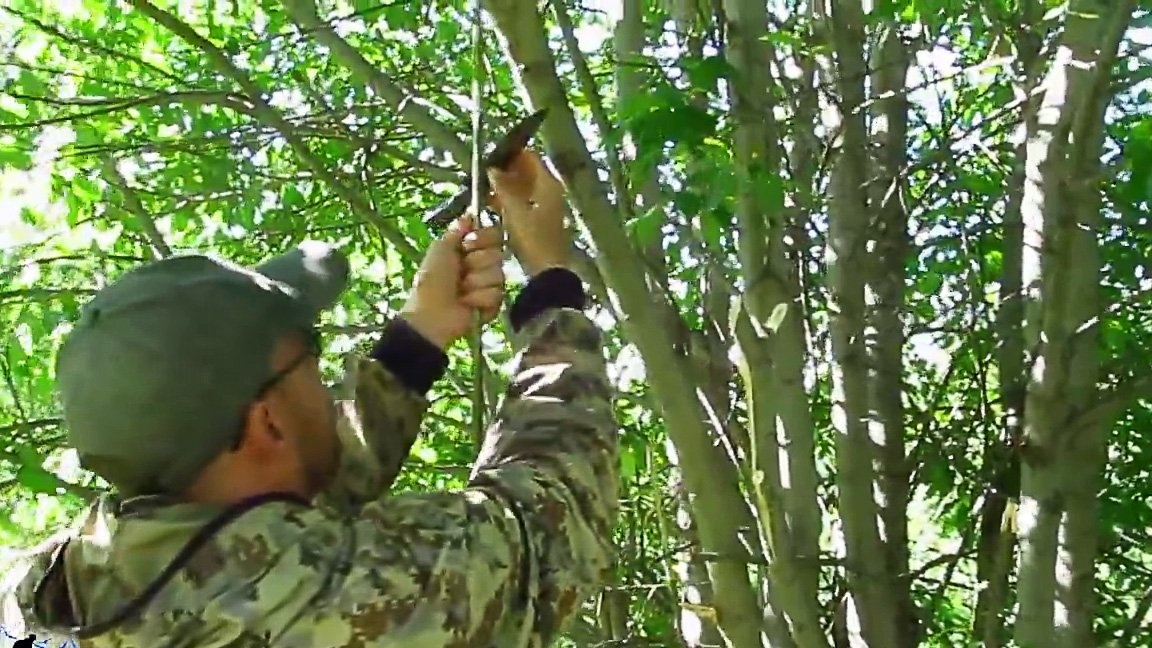
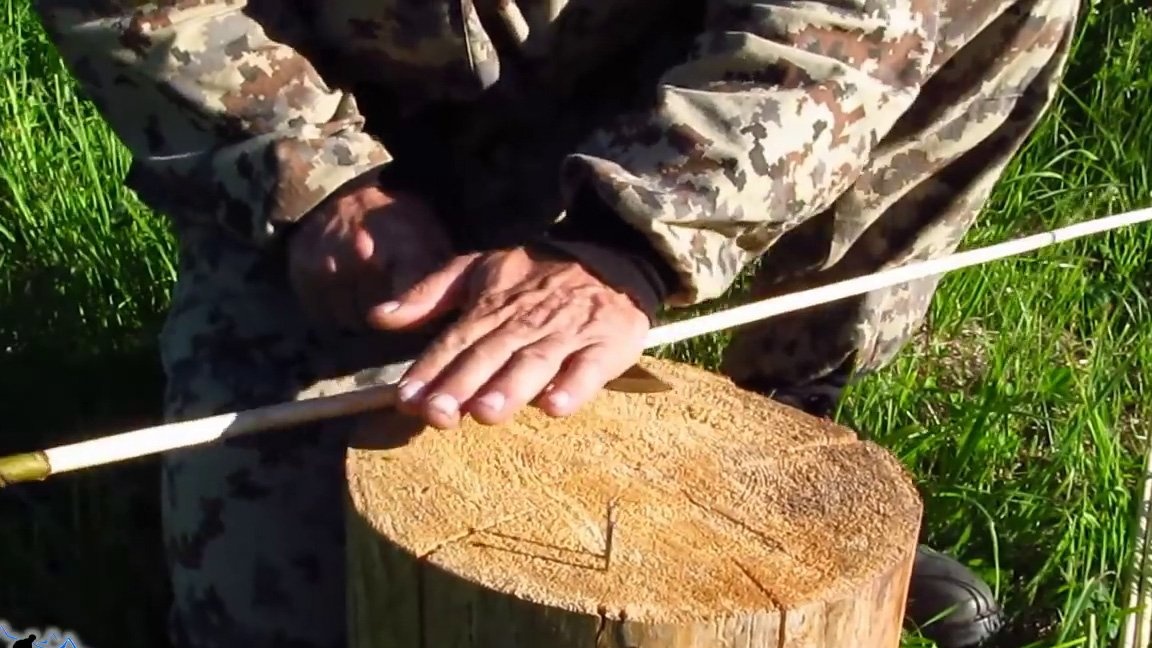
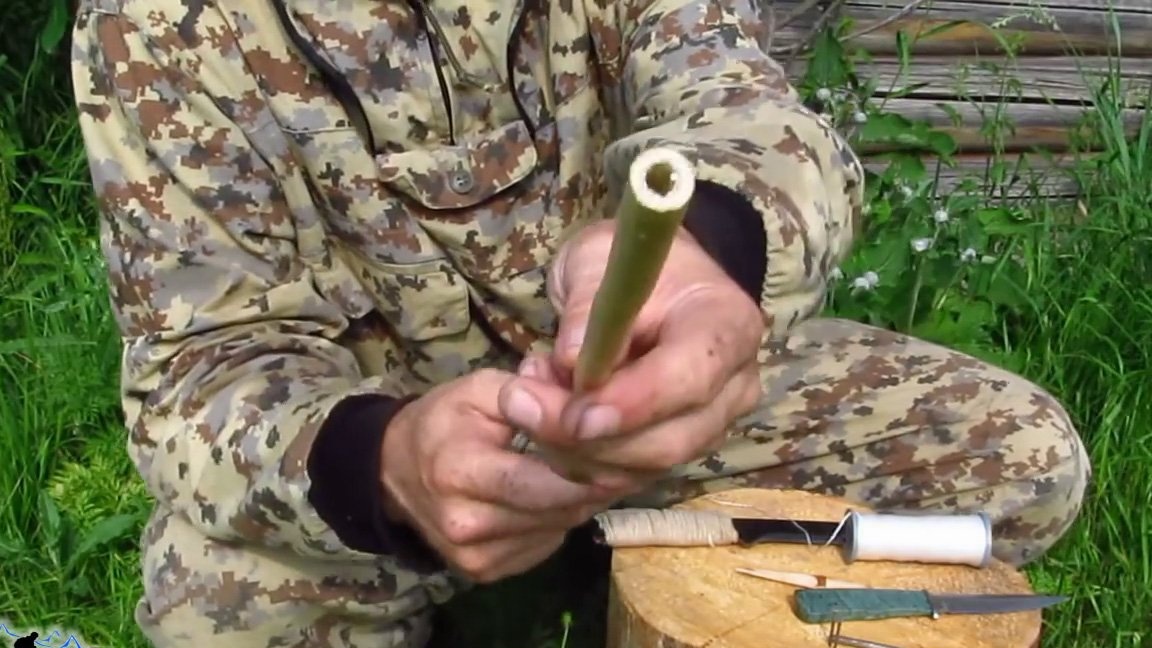
5. We catch the peel, it easily leaves, then remove the peel from the shaft on the ring. The shaft turned out smooth and does not require additional processing. We finish the workpiece of the shaft to the end.

Step Two: Boom calibration, workpiece trimming along the length.
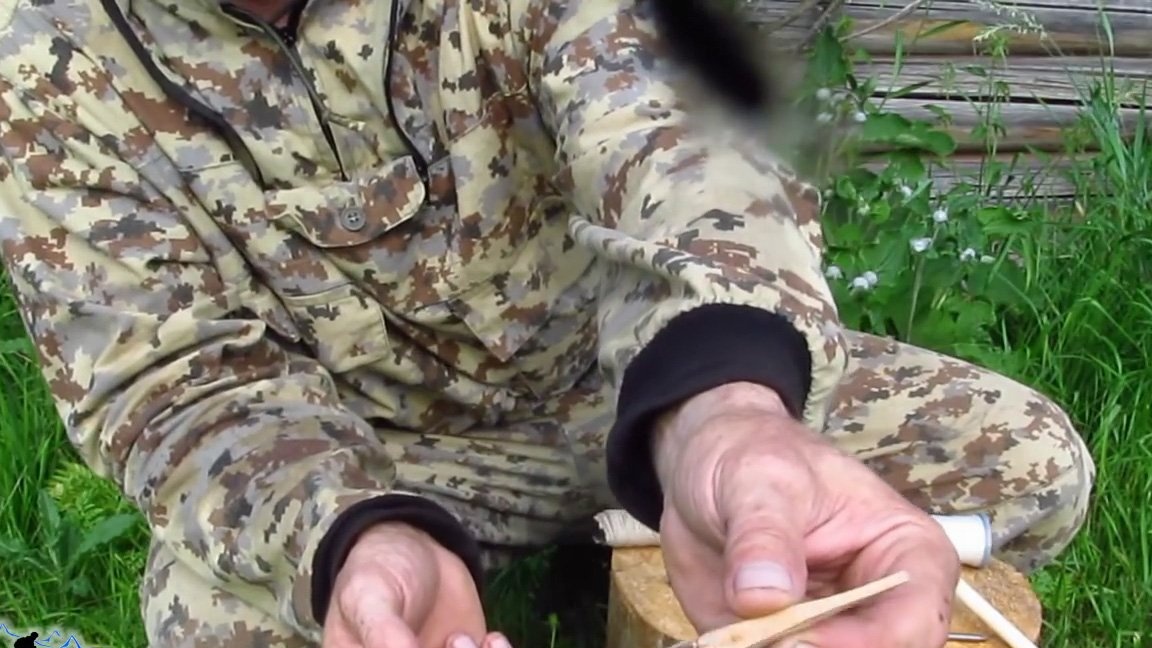
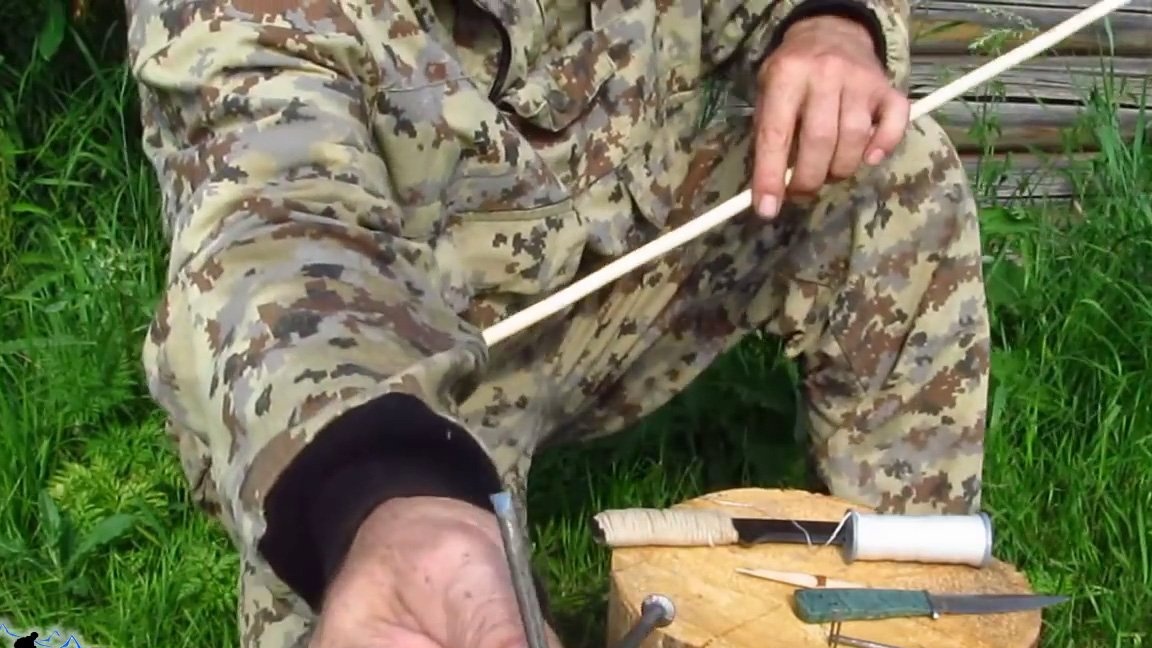
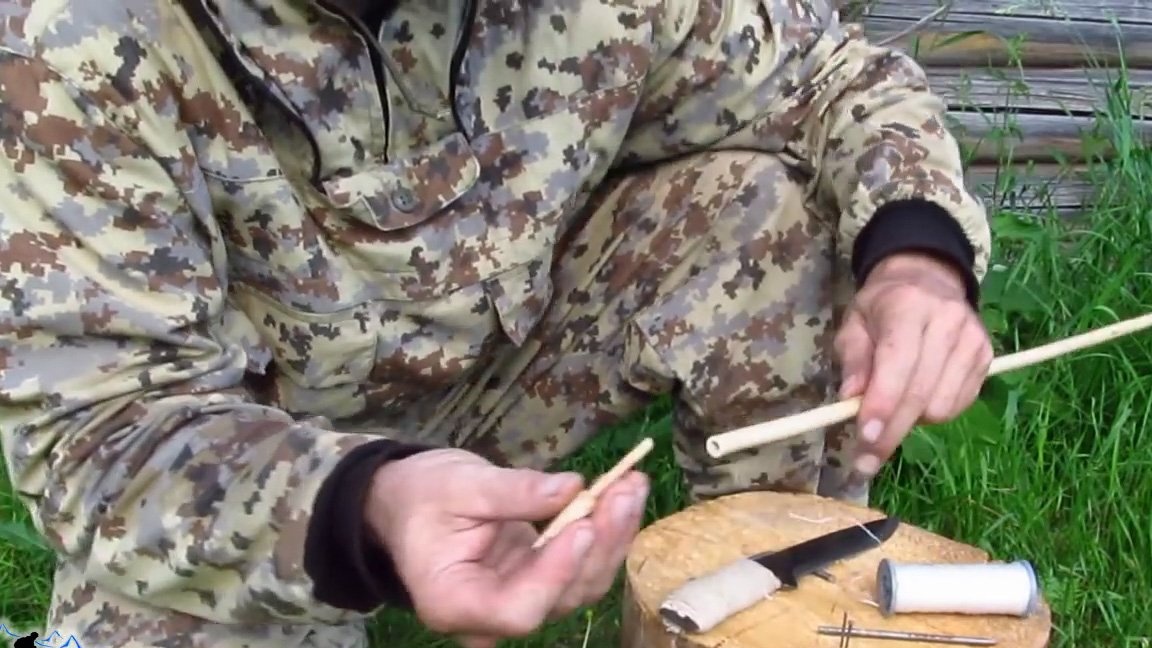
1. The workpiece of the arrow shaft turned out to be of different thicknesses, they must be calibrated to adjust the thickness, weight and length, for this we drive two 50x2 nails into the stump with a distance between them equal to the diameter of the arrow, but not more than 12 mm.
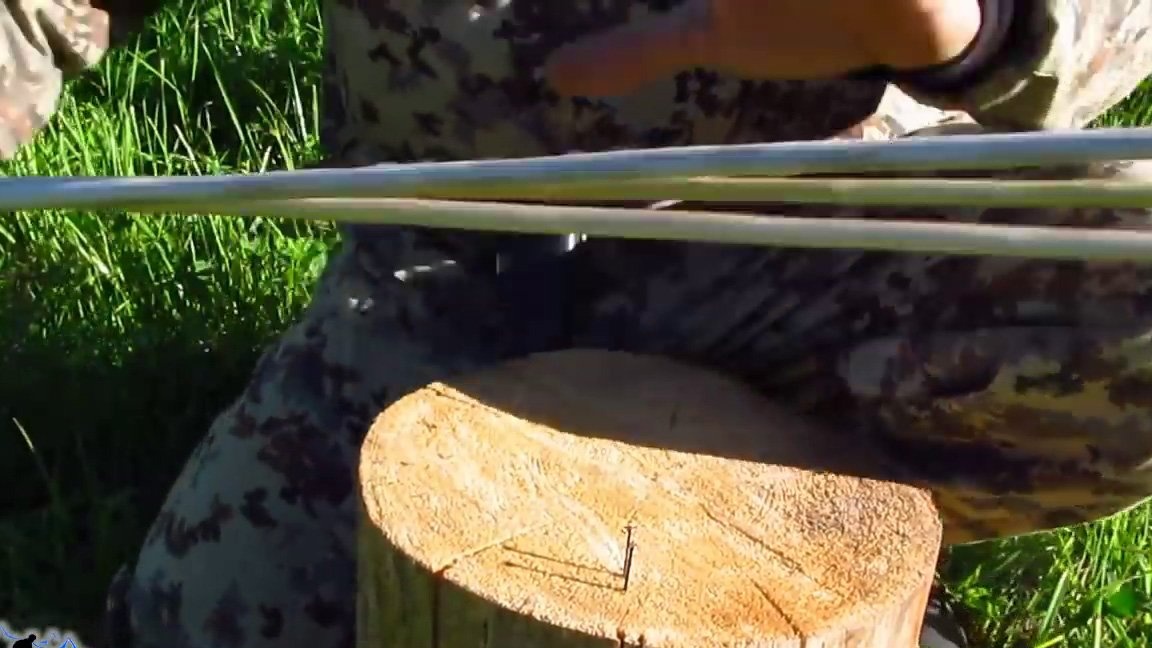
2. We take the thinnest arrow, insert between the nails and stretch along them until the workpiece of the shaft begins to touch the nails, moving them apart, we make a notch on the shaft with a knife.
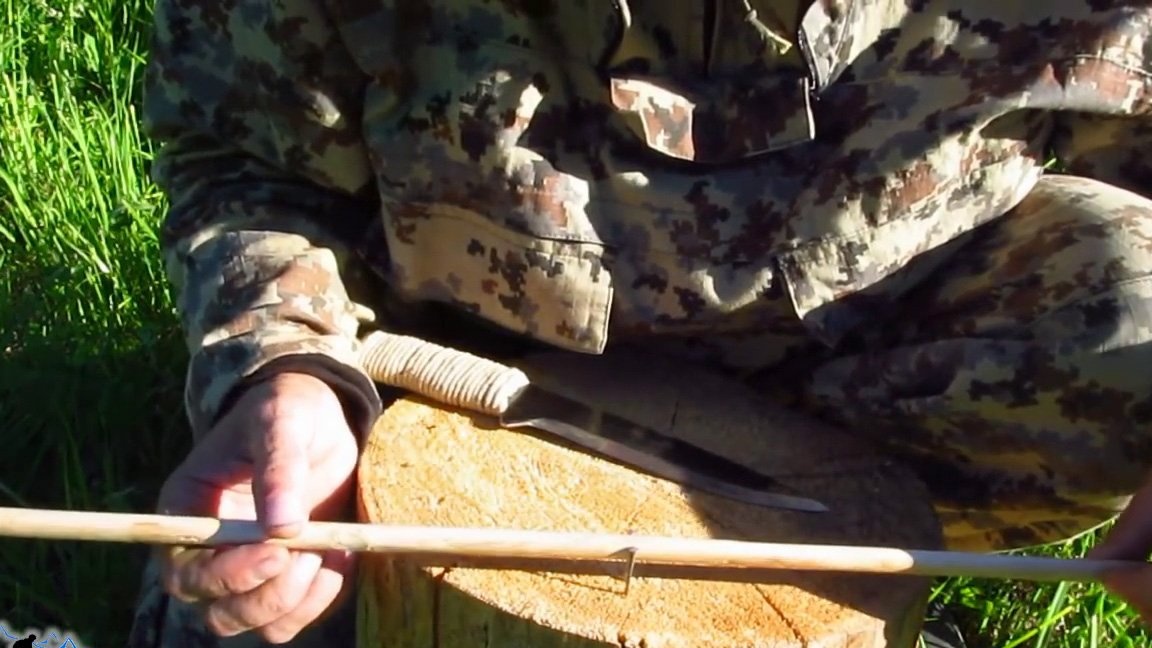
3. Cut off the workpiece with a knife serif for serifs.

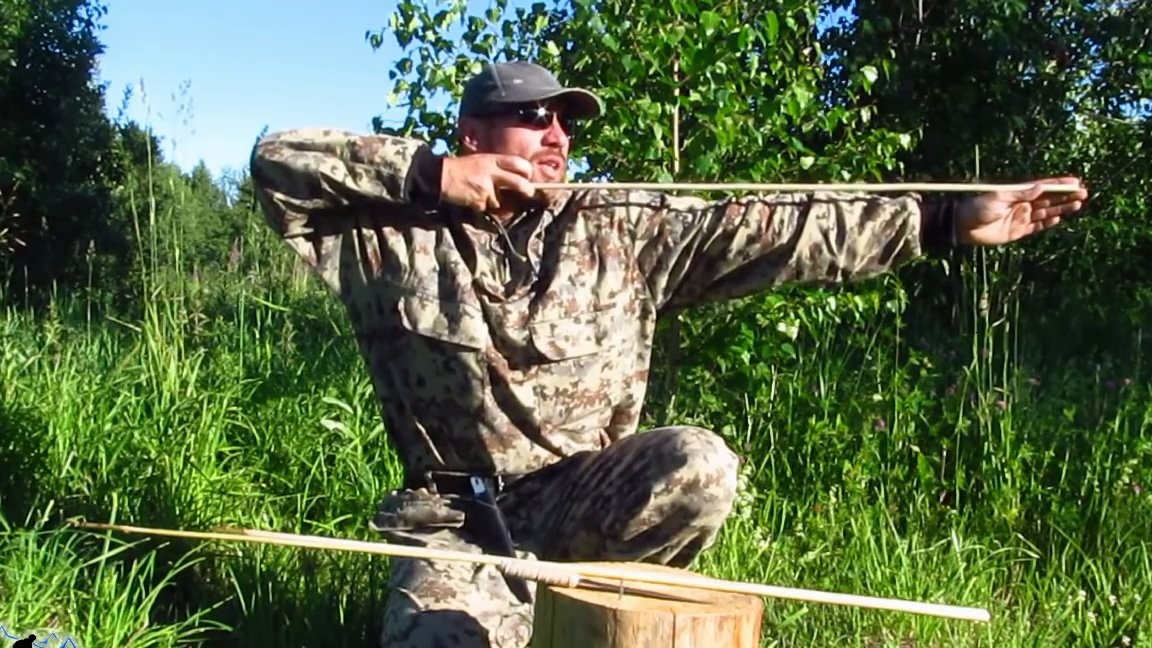
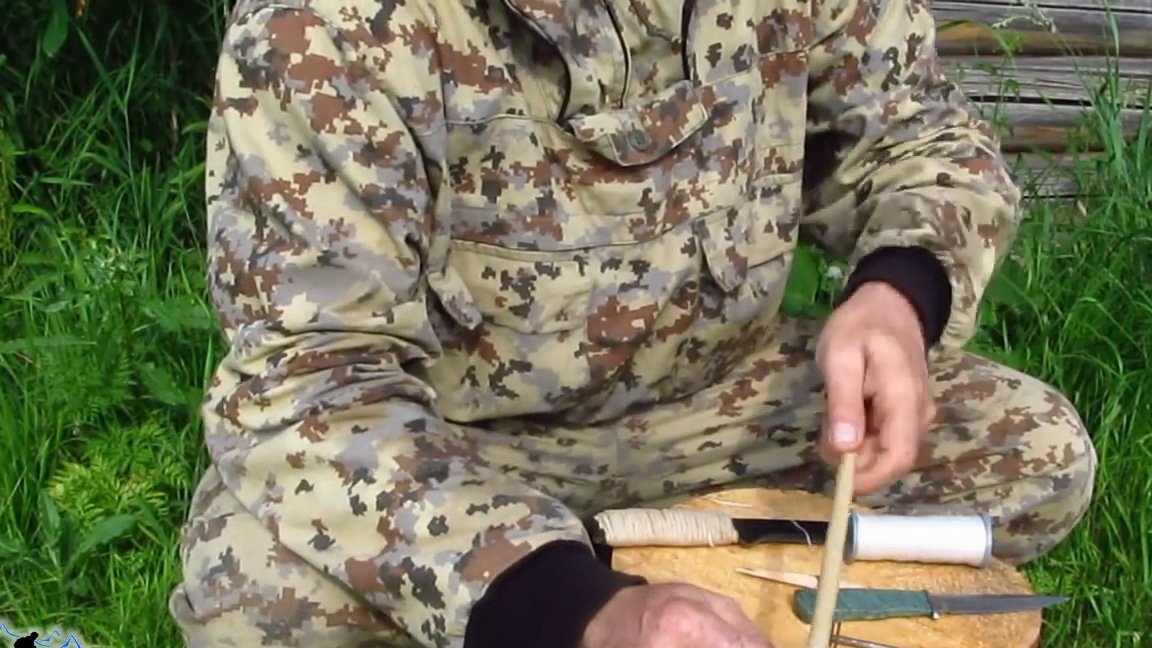
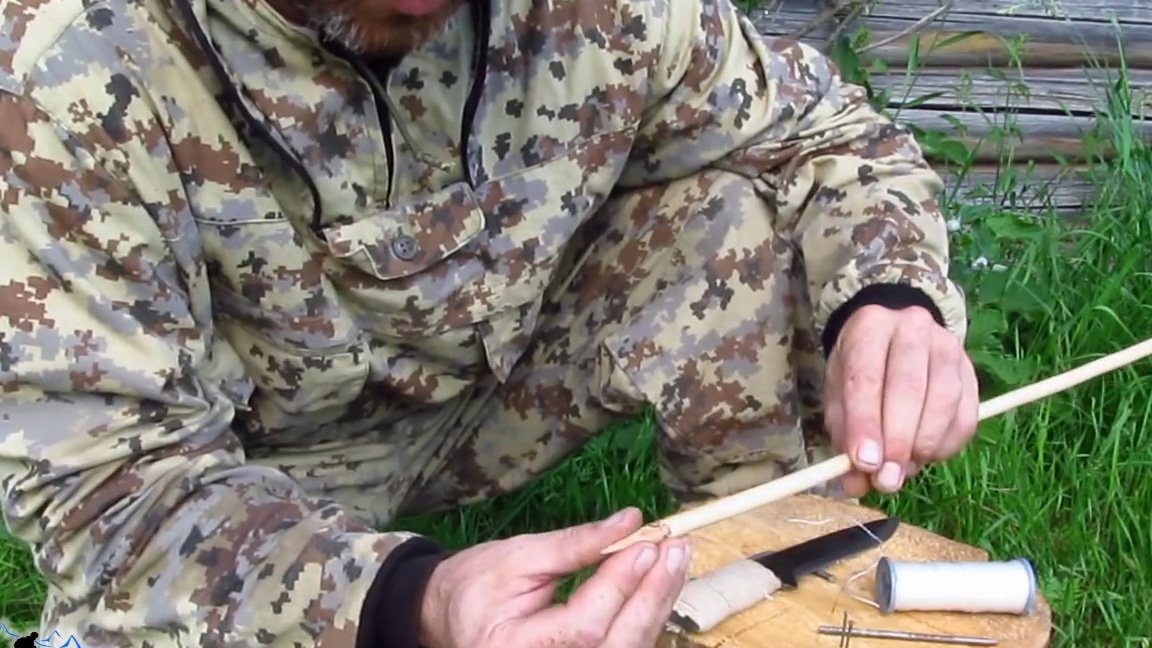
4. Determine the length of the arrow, for this we extend the left hand as when shooting from a bow, the palm is open, the end of the workpiece of the arrow shaft touches the fingertips, the second end of the workpiece is clamped with two fingers that touch the chin, this is the ideal distance for the shooter. We fix this position, we can take it 2-3 cm longer, then carefully so as not to split, we cut off the end of the workpiece.
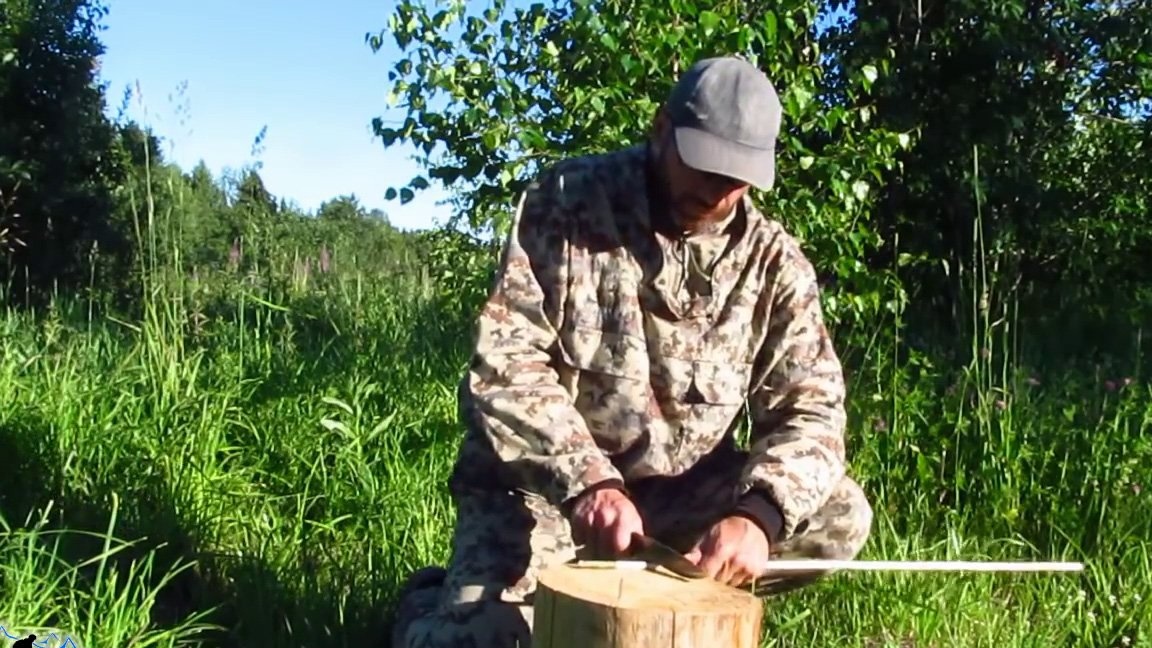
5. Put all the remaining workpieces into a bundle and cut to the found size. Billets turned out 20-25 grams with a run of 2-3 grams.
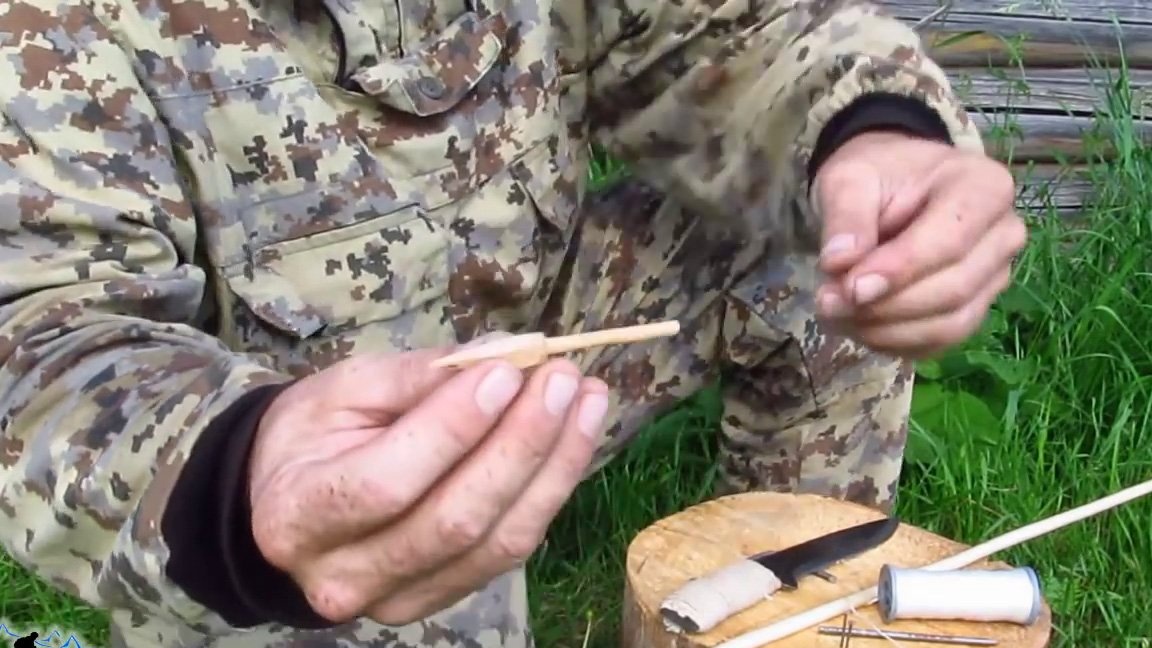
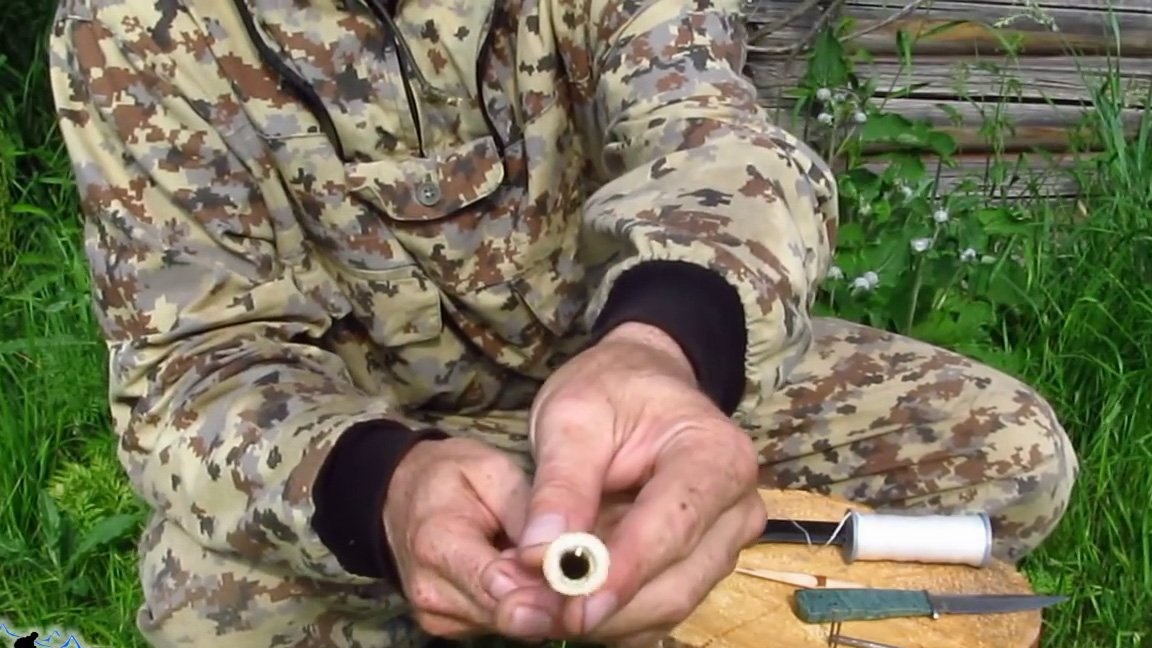
Step Three: Tip making
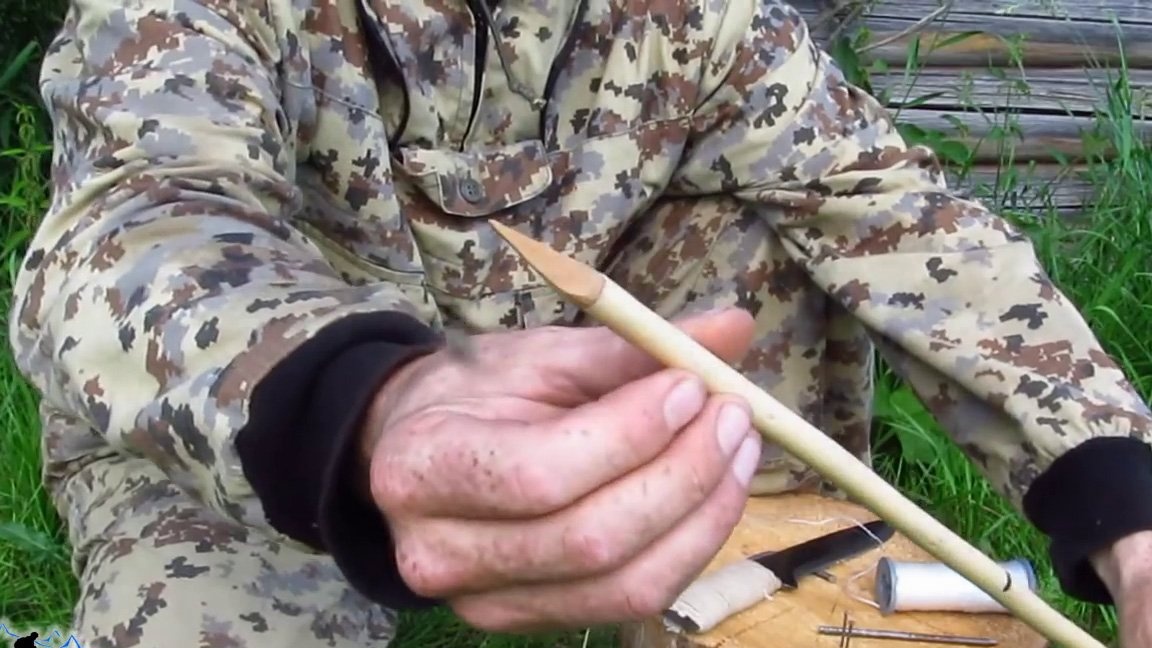
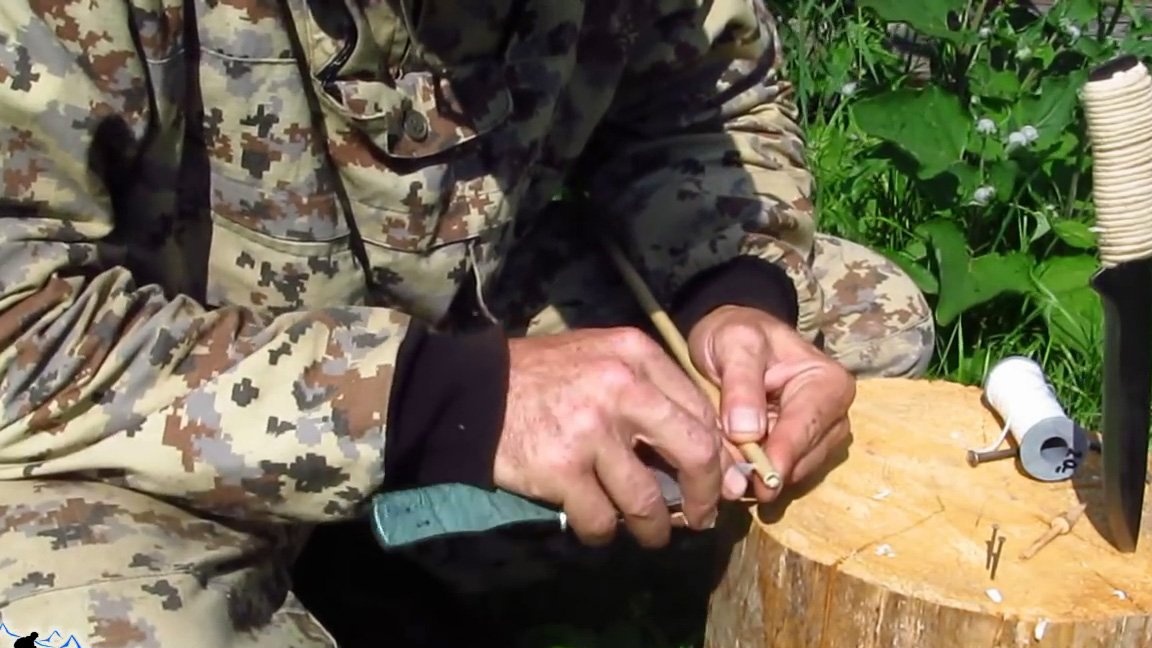
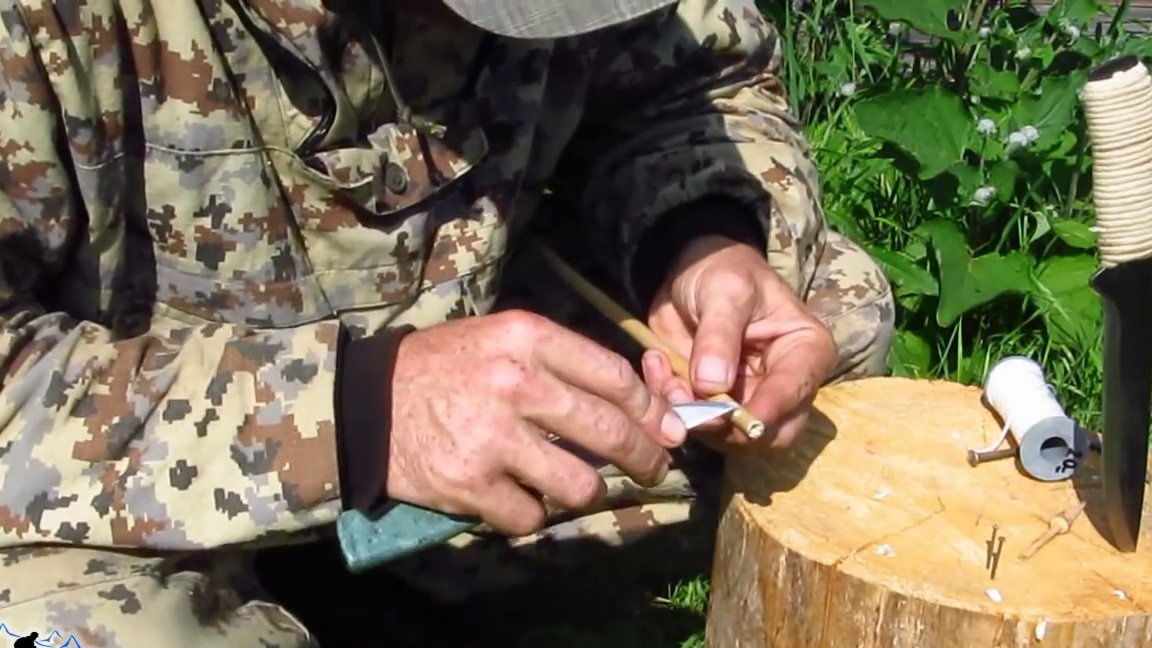
1. The easiest option for the tip is to make it from a strong tree, such as a dry Christmas tree bitch, this is the strongest tree in the forest.
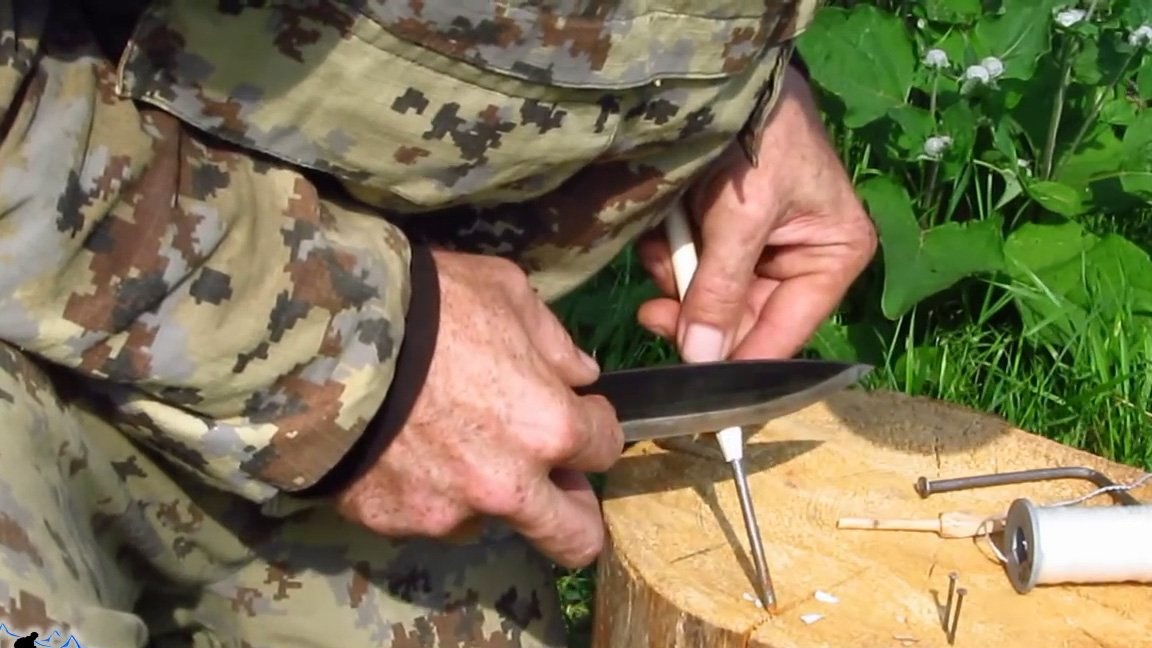
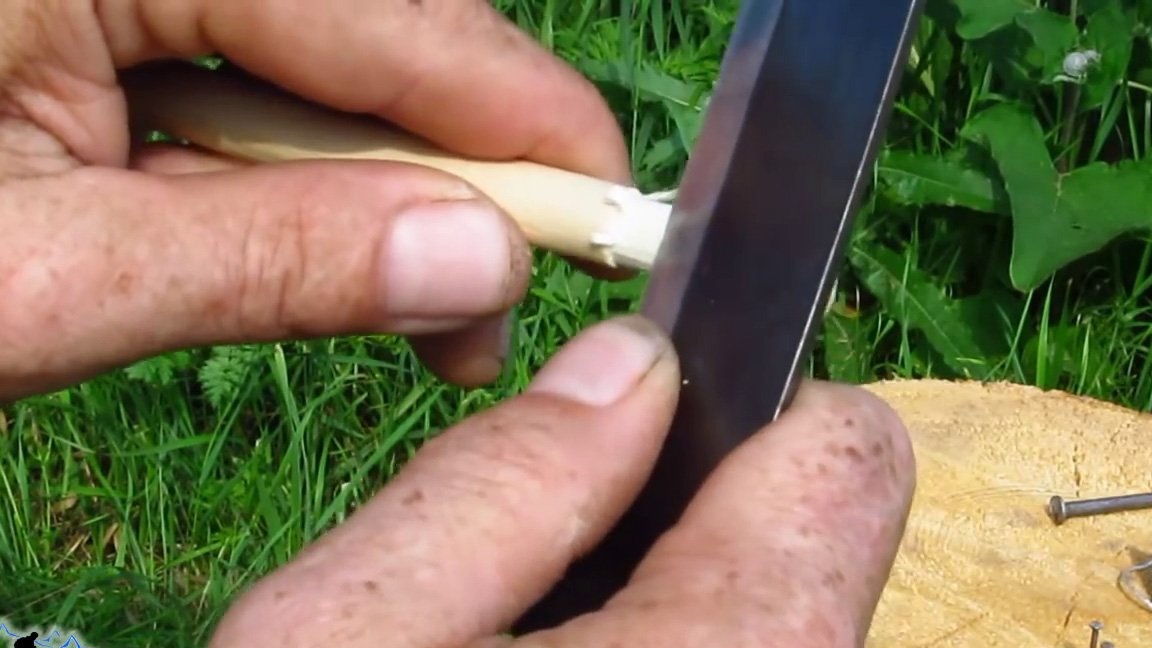
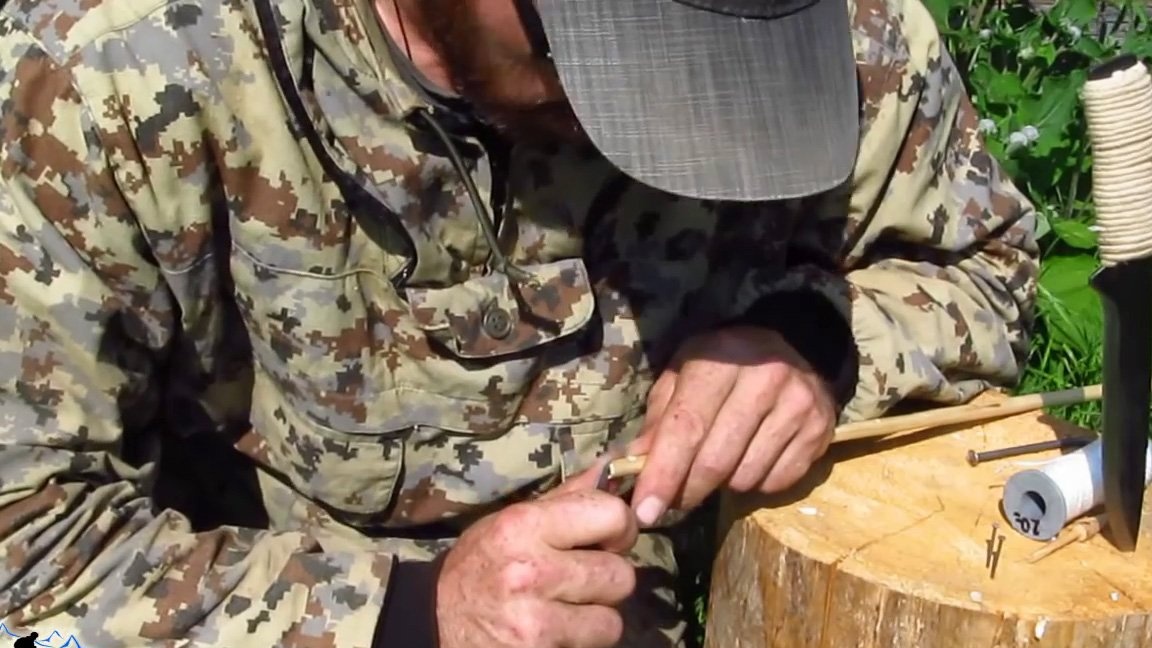
2. We make an annular incision, and carefully trimming with a knife, we adjust the cylindrical part of the tip to the diameter of the arrow shaft.
3. We plan the sharp end of the tip in the form of a cone or in the form of a pointed pyramid with flat faces, which will be more convenient to make.
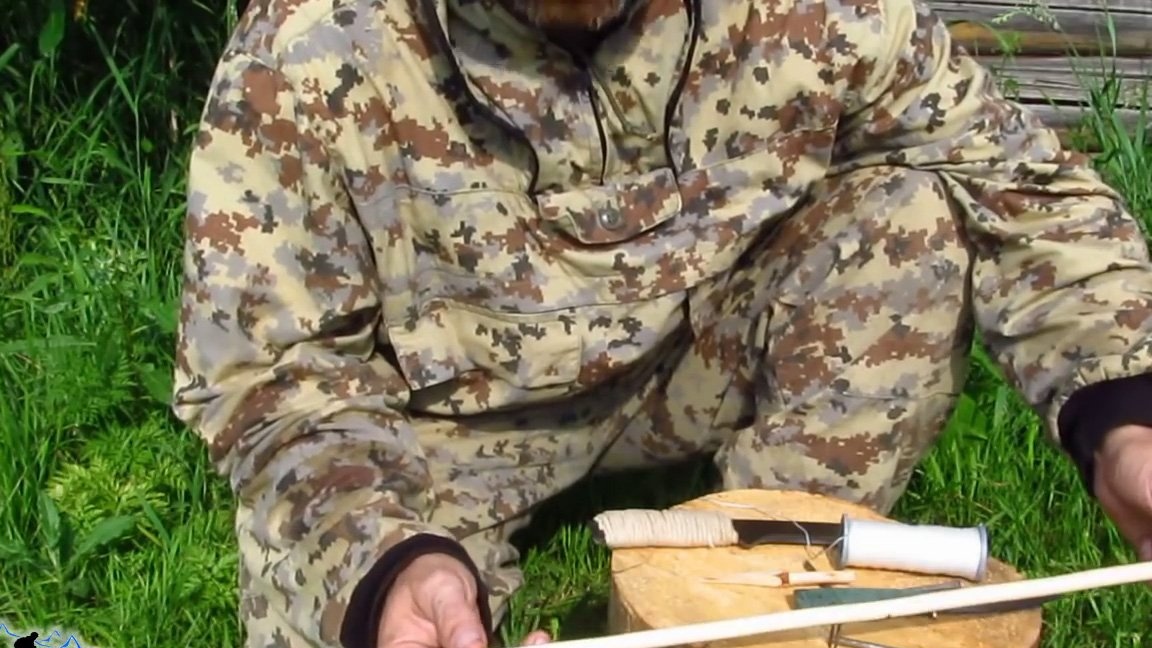
Step Four: Tip installation
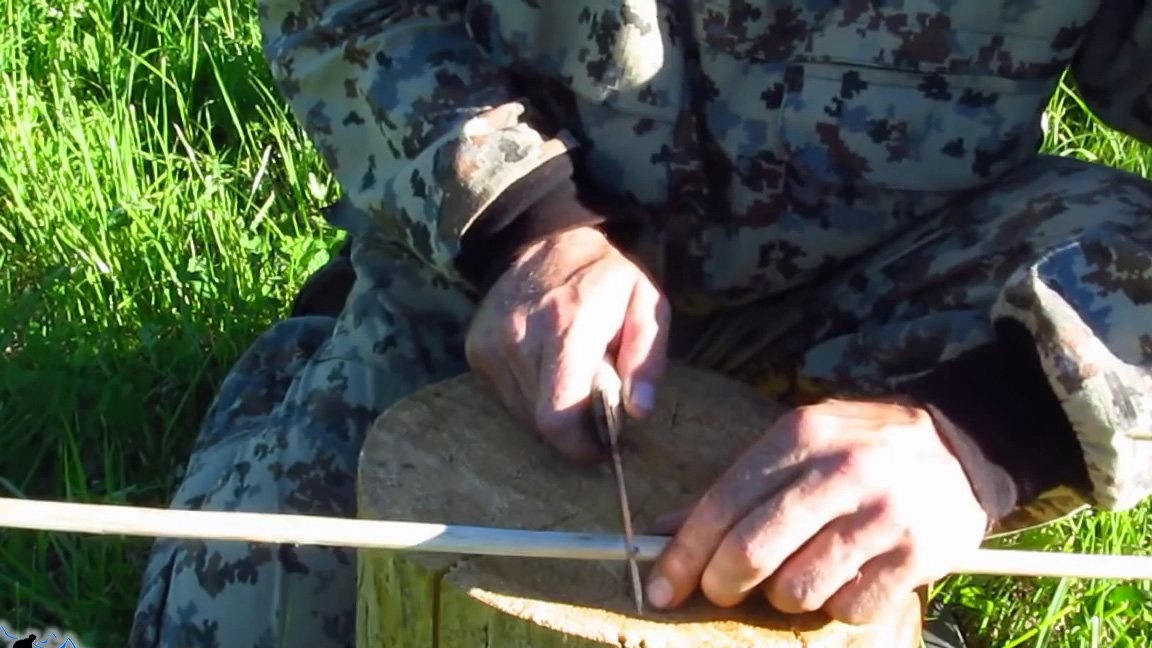
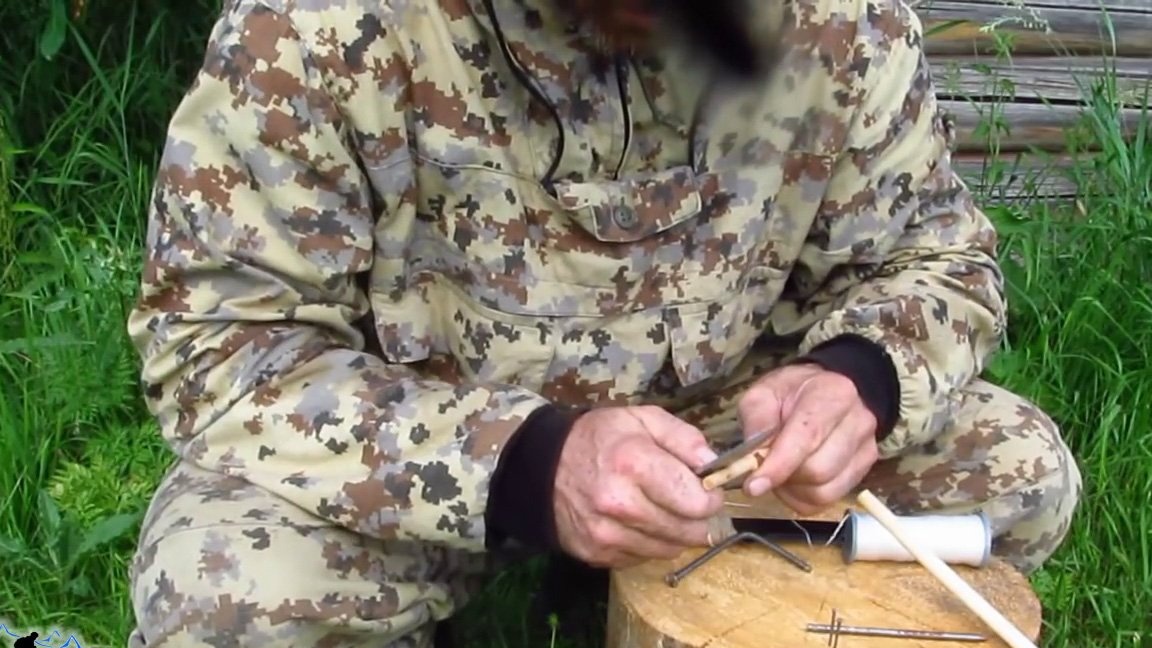
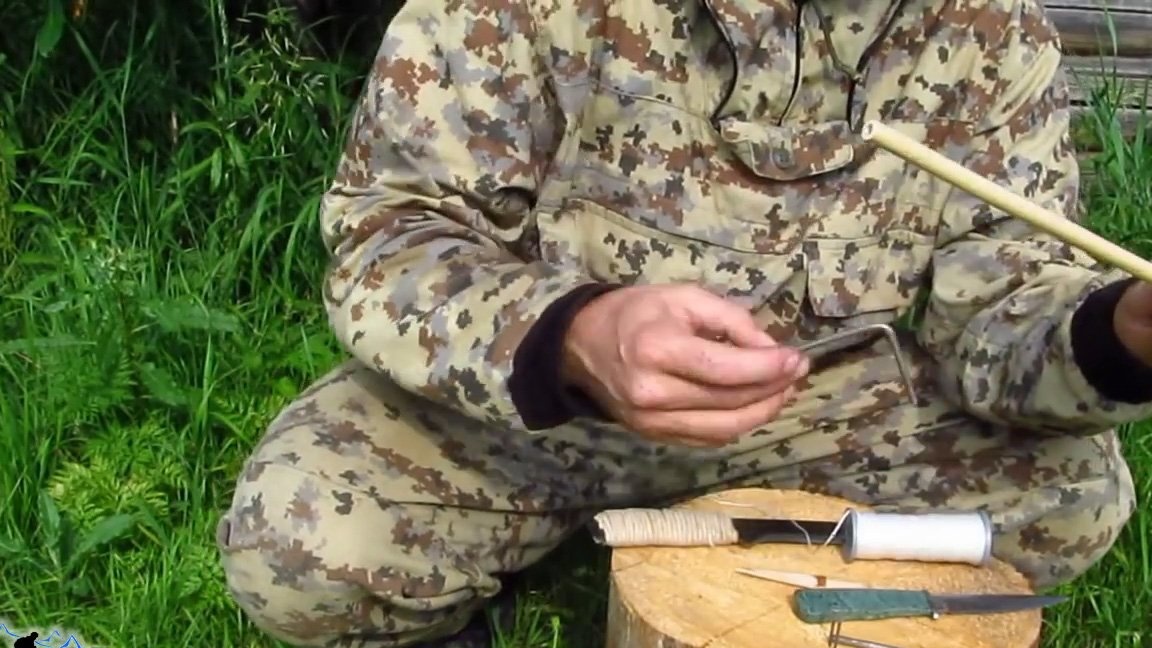
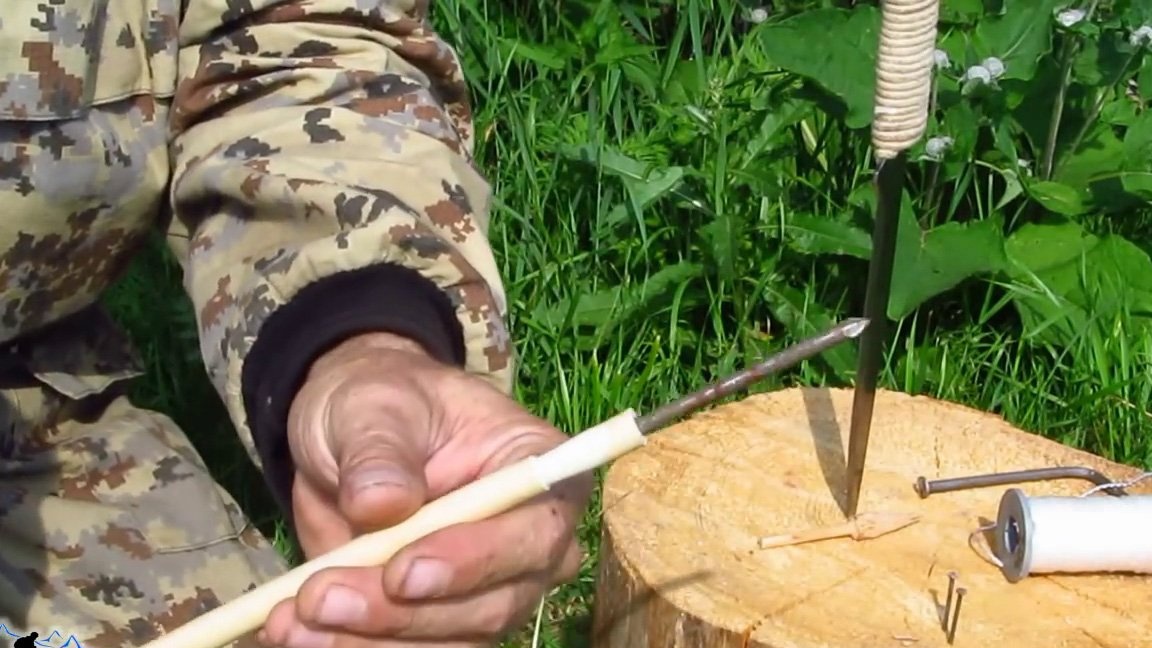
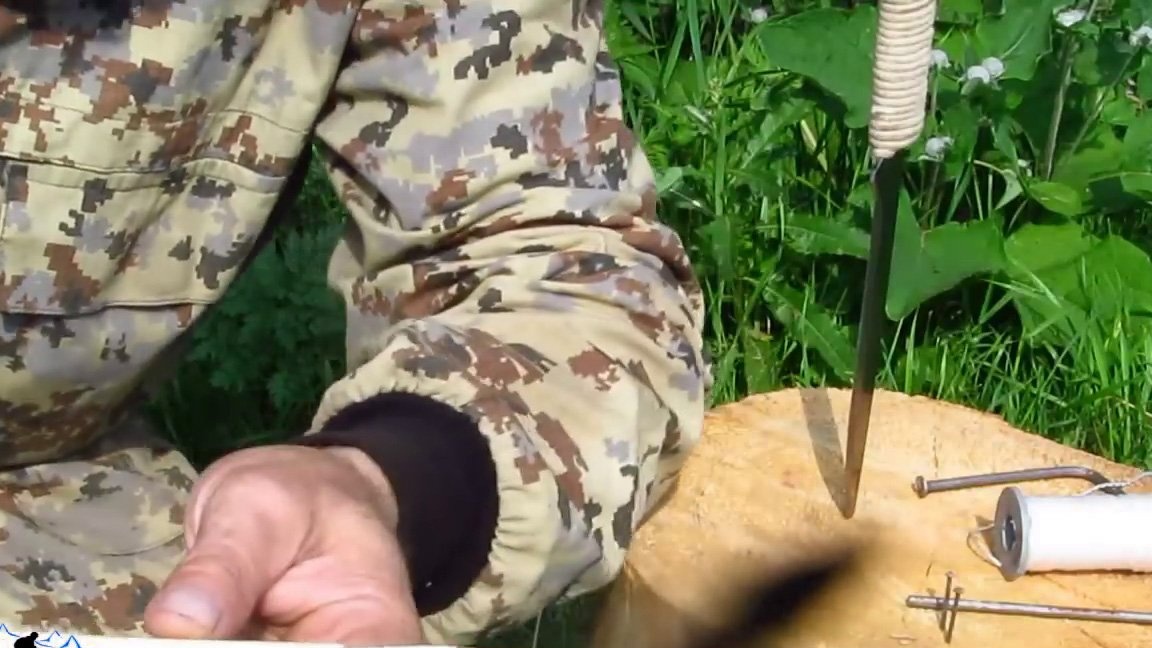
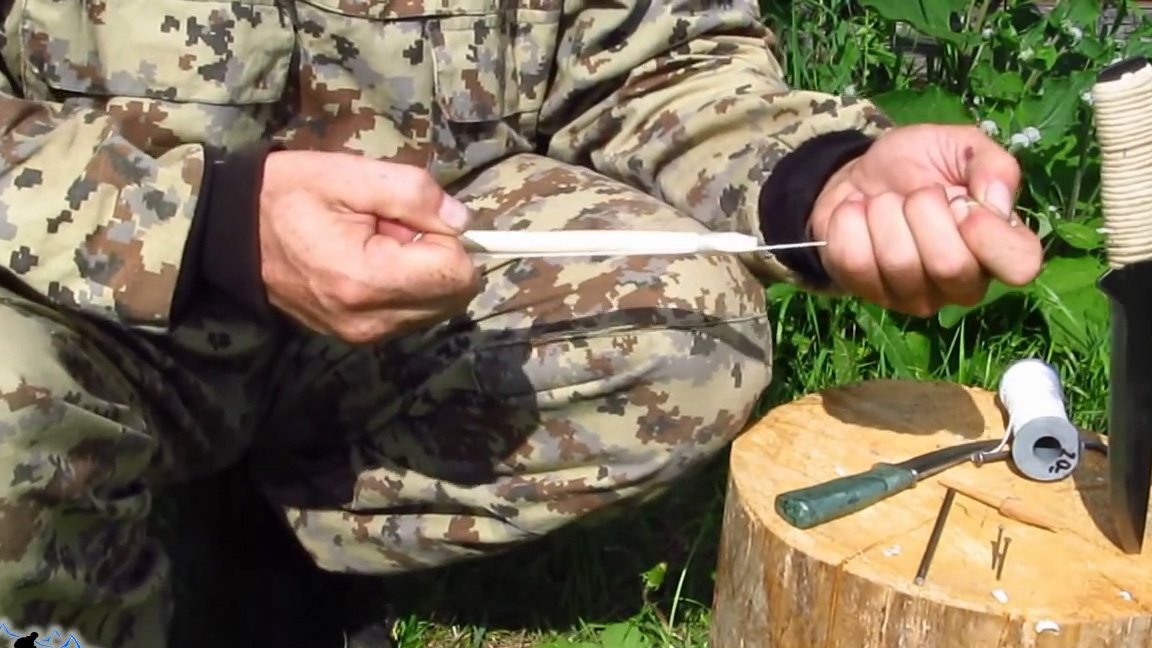
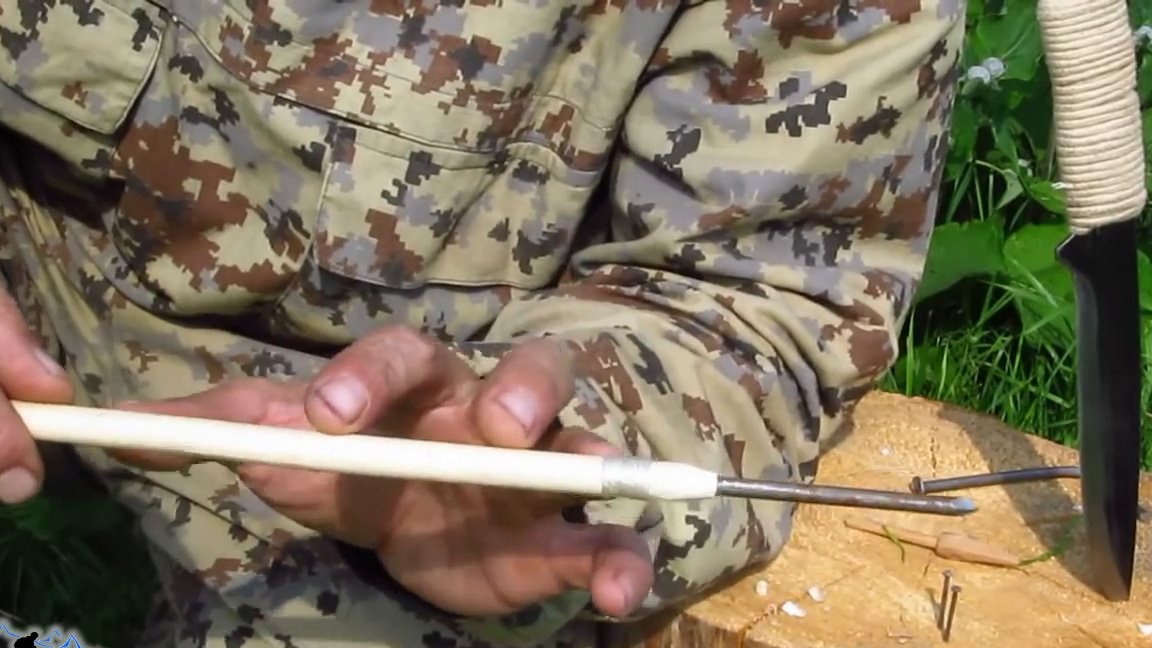
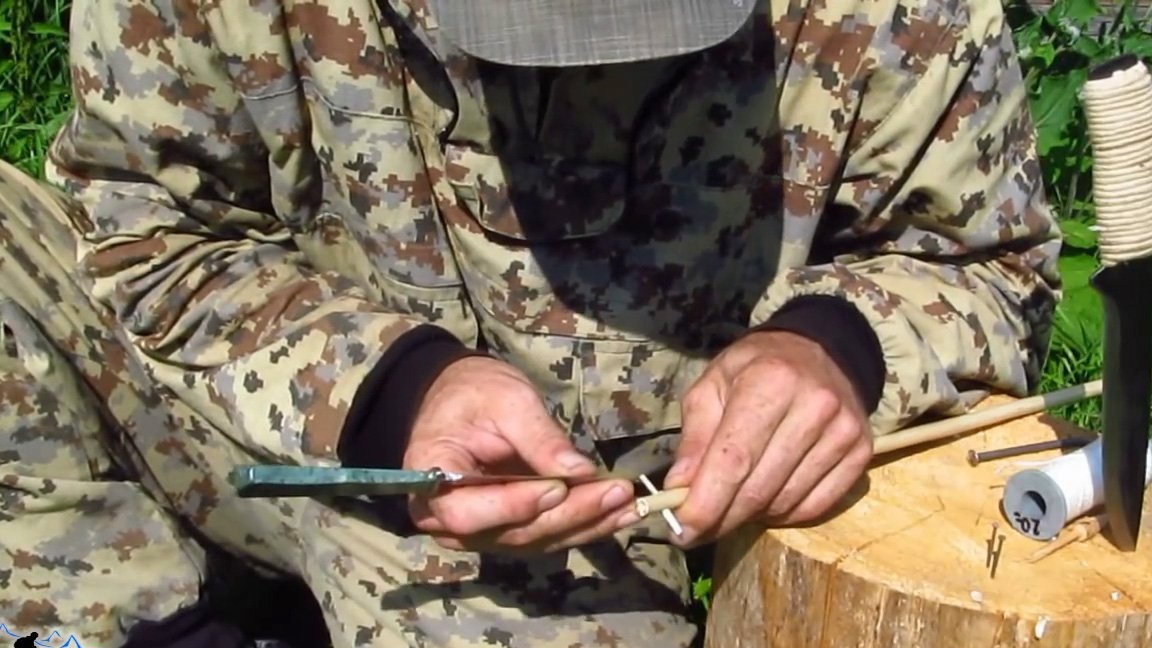
1. Before installing the tip in the workpiece of the arrow shaft, we drill a hole with a diameter of about 5 mm, for this we bend the nail 100x5 at 90 degrees, and sharpen the sharp end of the nail with a file like a screwdriver. The willow is a hollow tube filled with a soft core that can be easily drilled. Insert the sharpened nail into the center of the workpiece and slowly rotating, drill a hole.
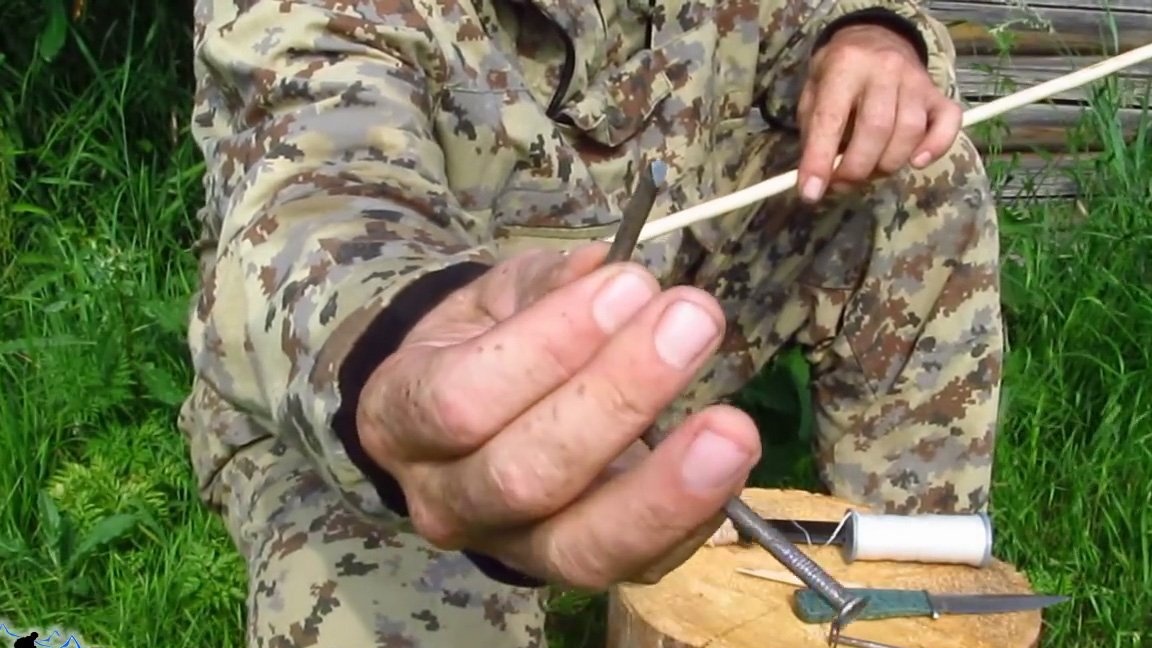
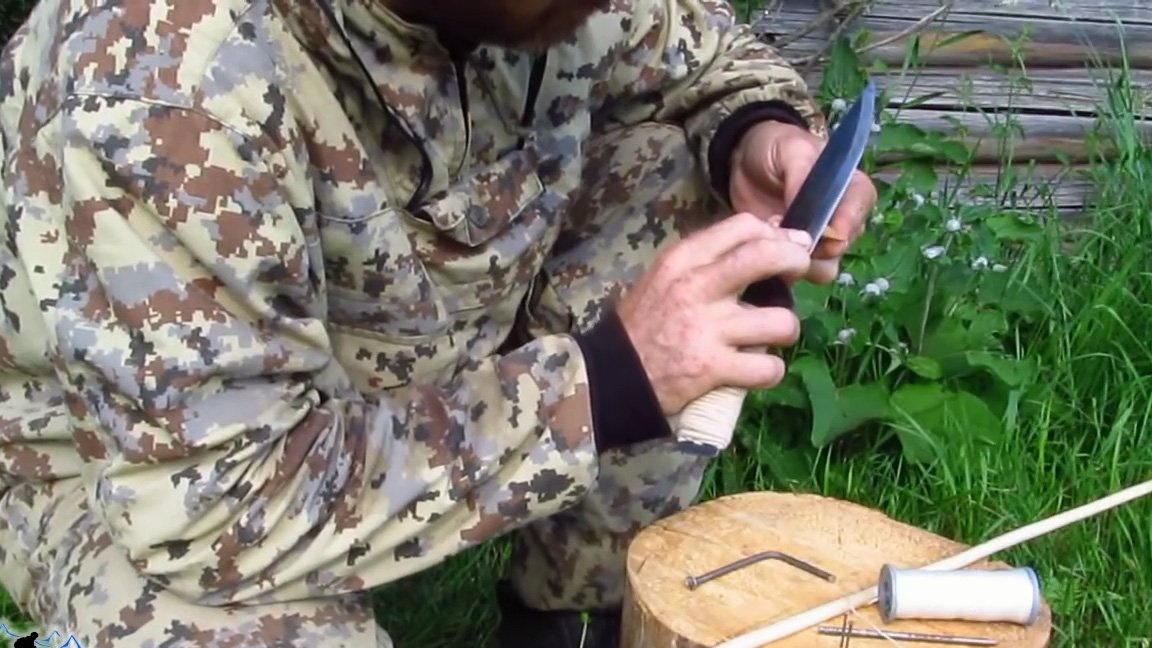
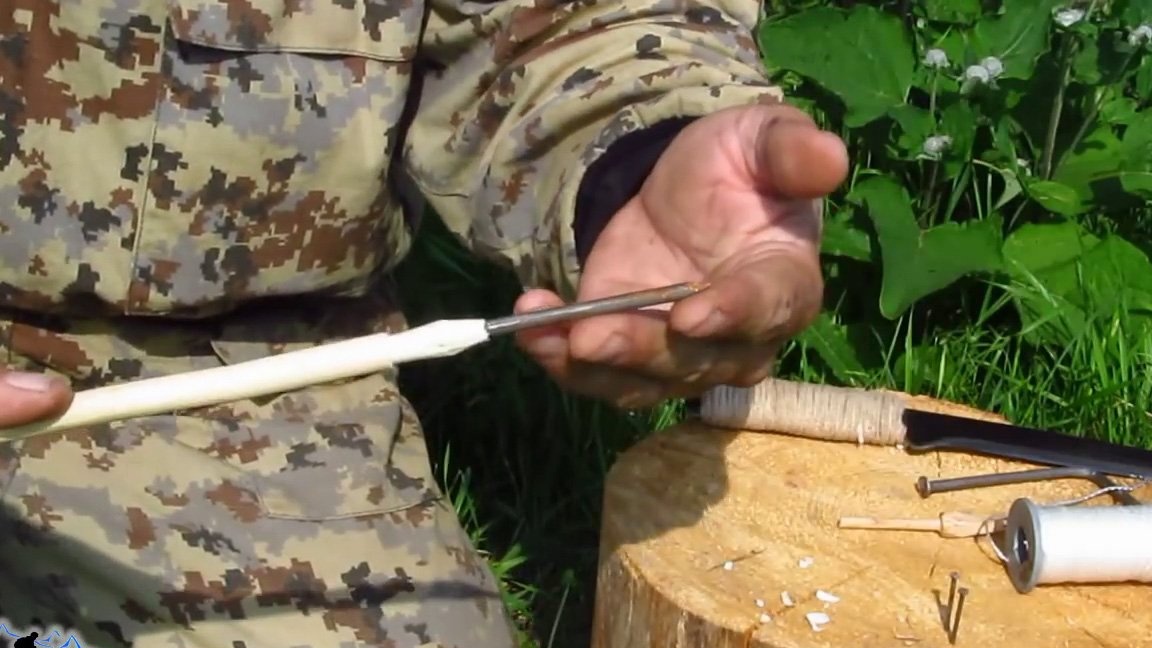
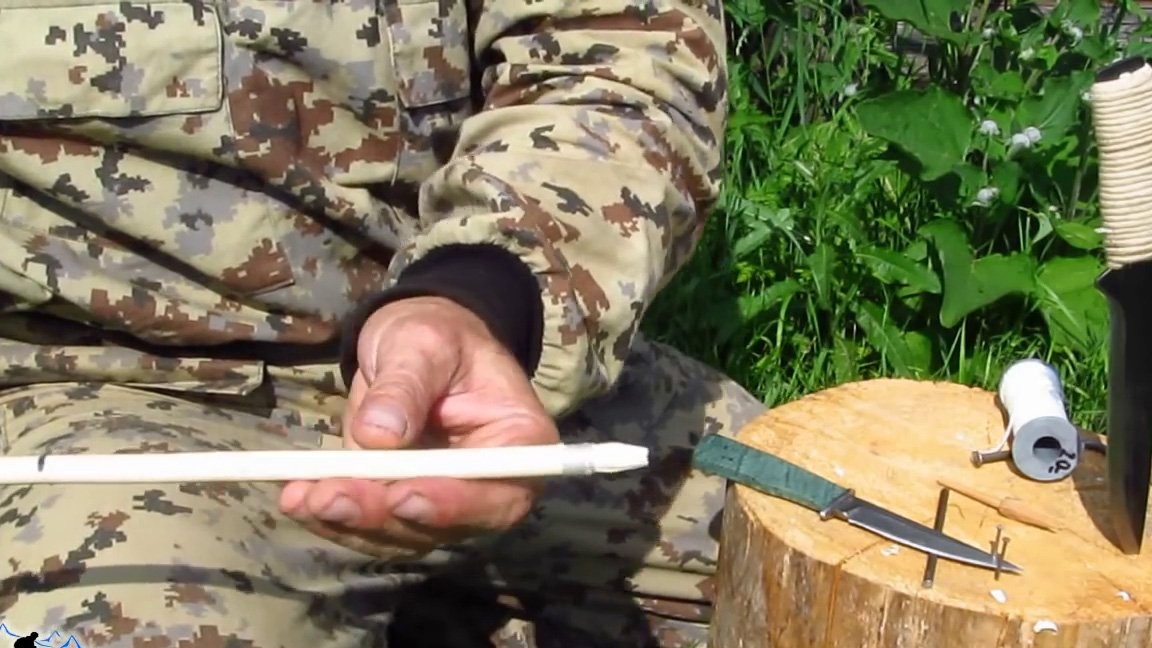
2. Carefully rotating the tip, insert it into the thick part of the arrow shaft, install it to the very end. We got an arrow with interchangeable tips.
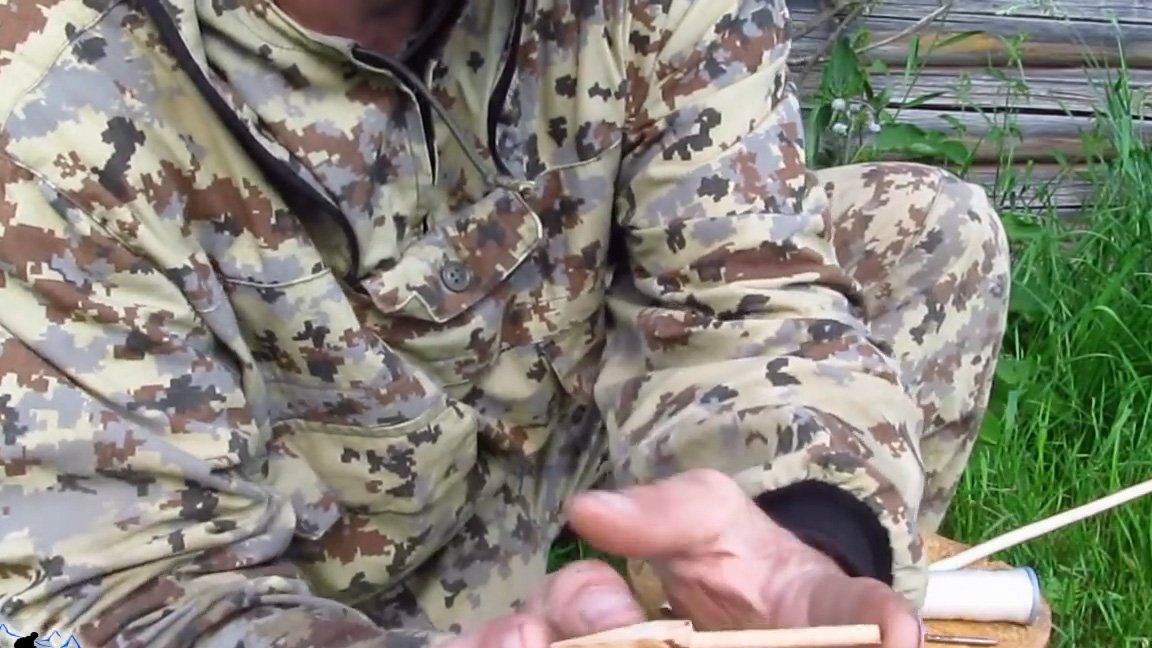

3. Instead of a wooden tip, you can use a nail with a diameter of 5 mm, for this it is necessary to sharpen the end of the shaft to zero, this improvement will not affect the strength of the boom.
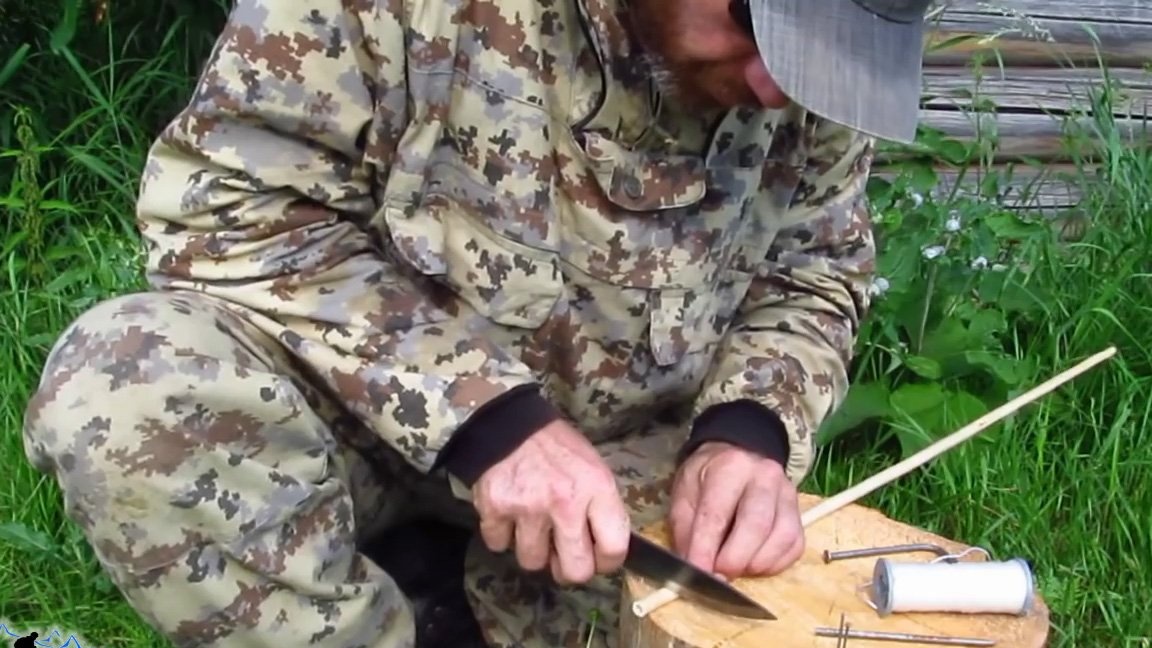
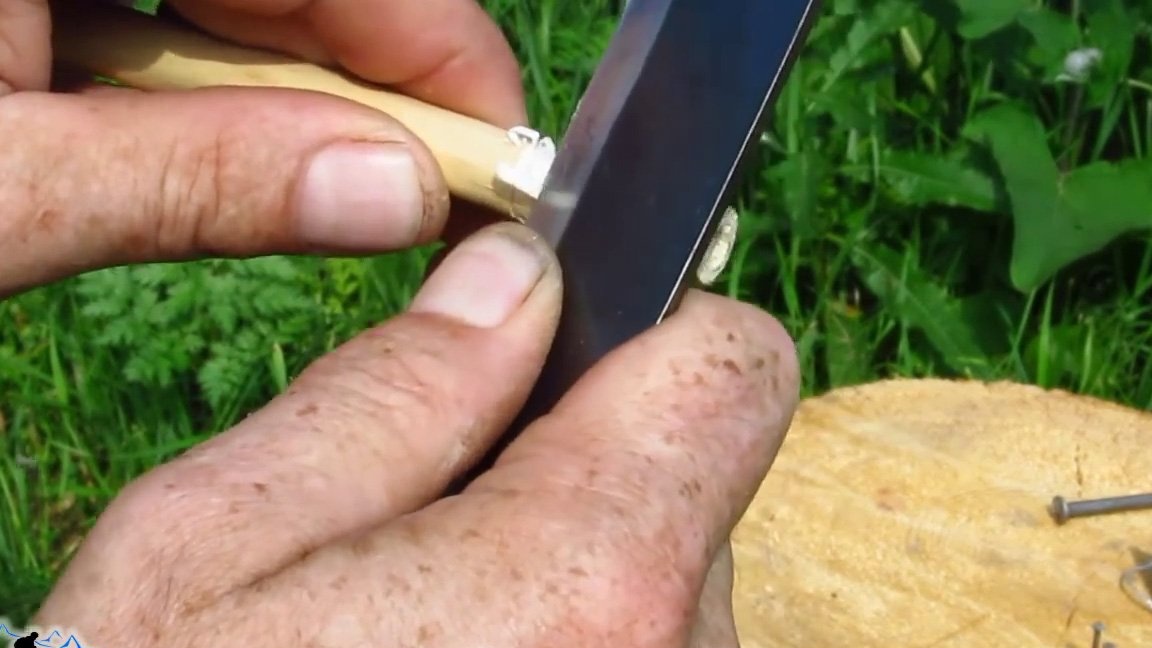
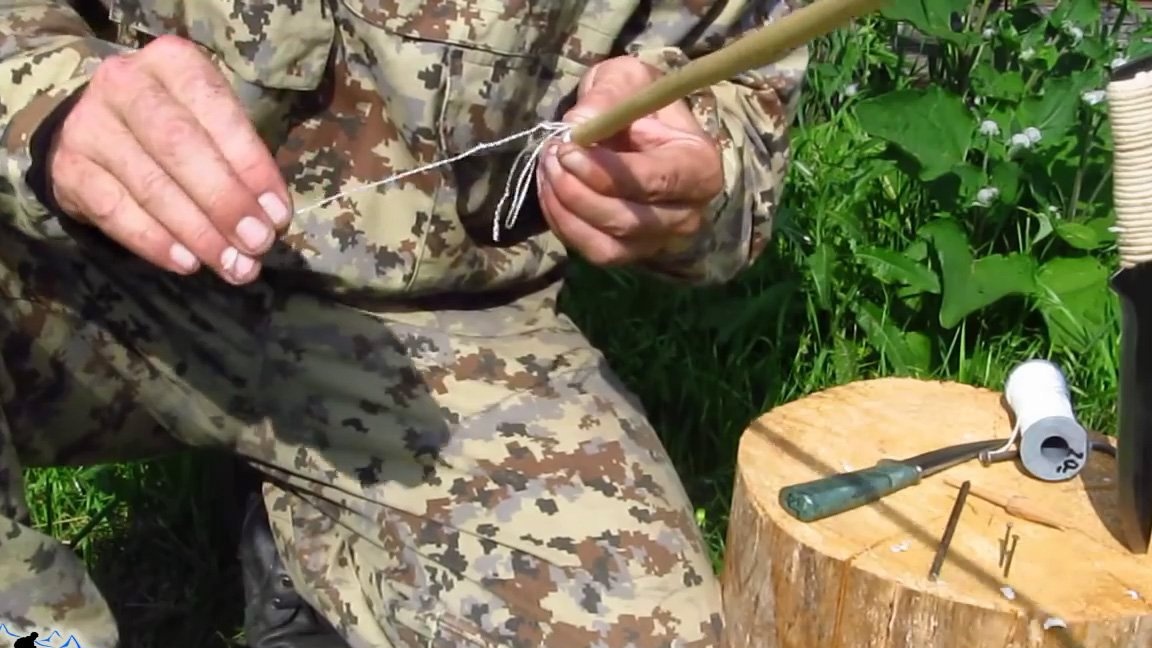
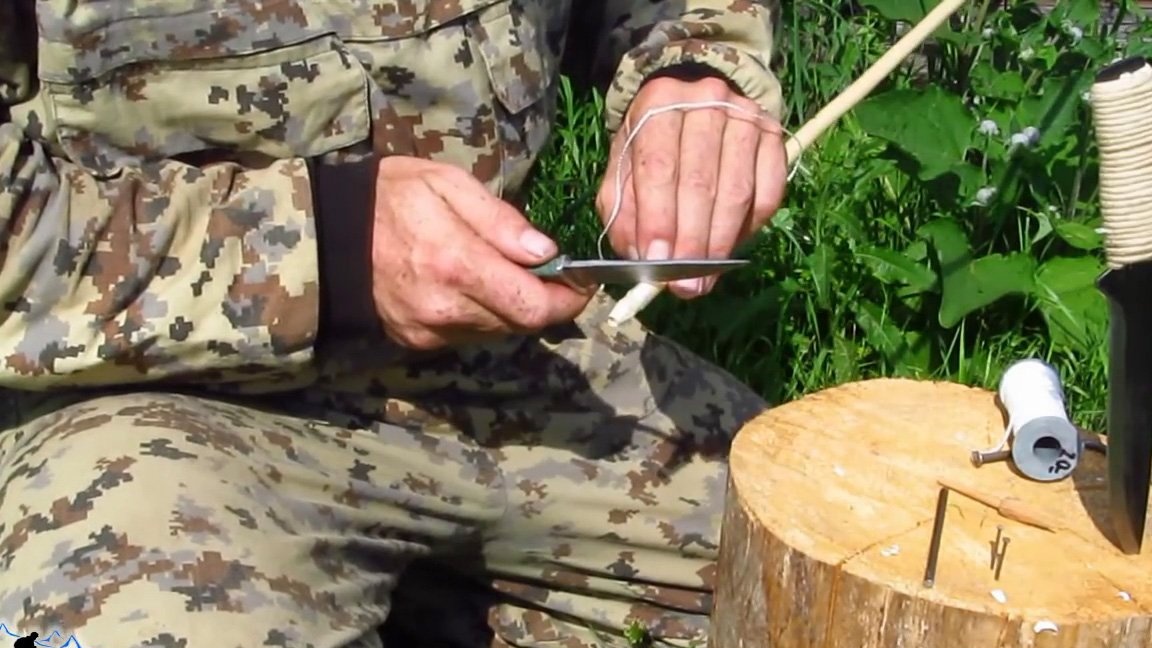
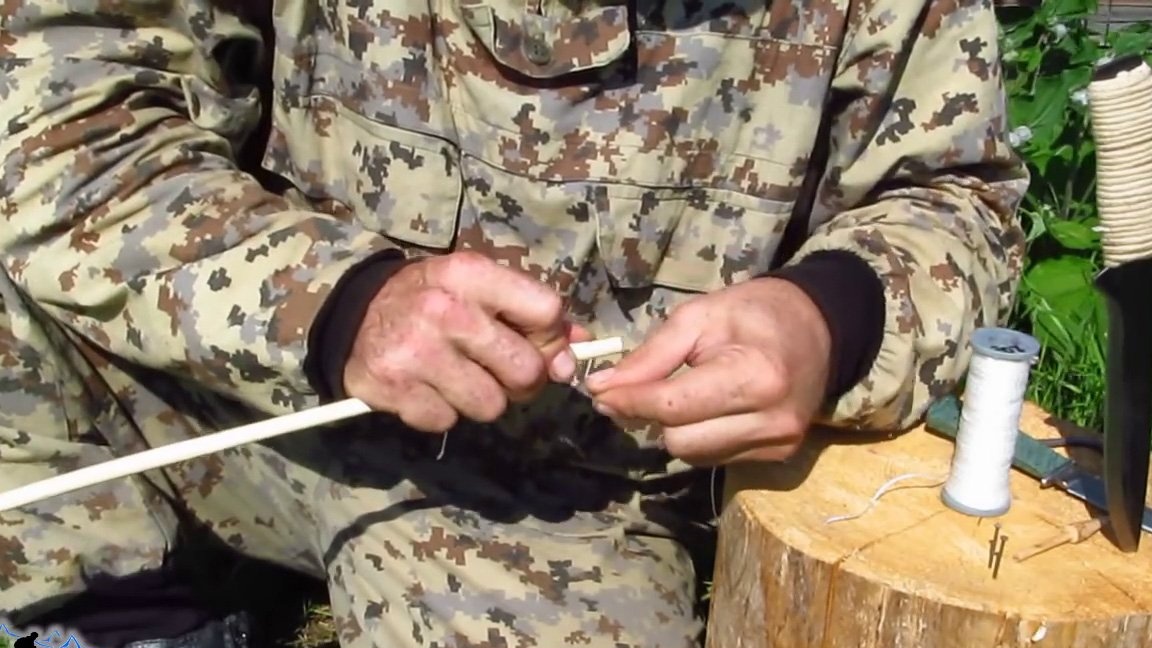
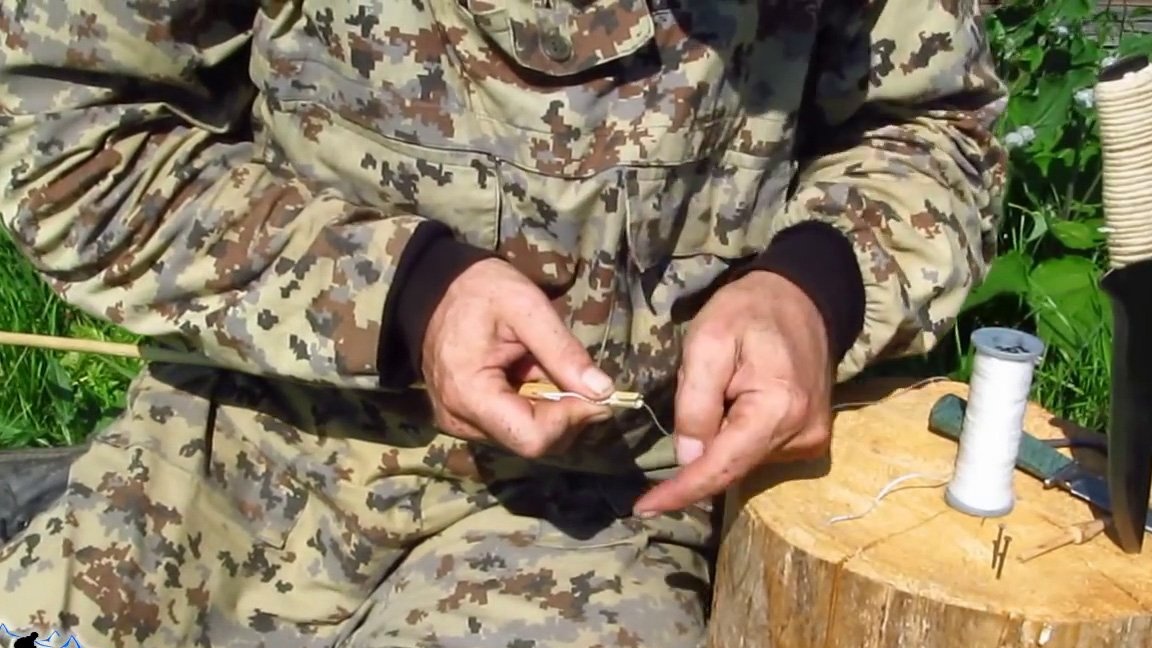
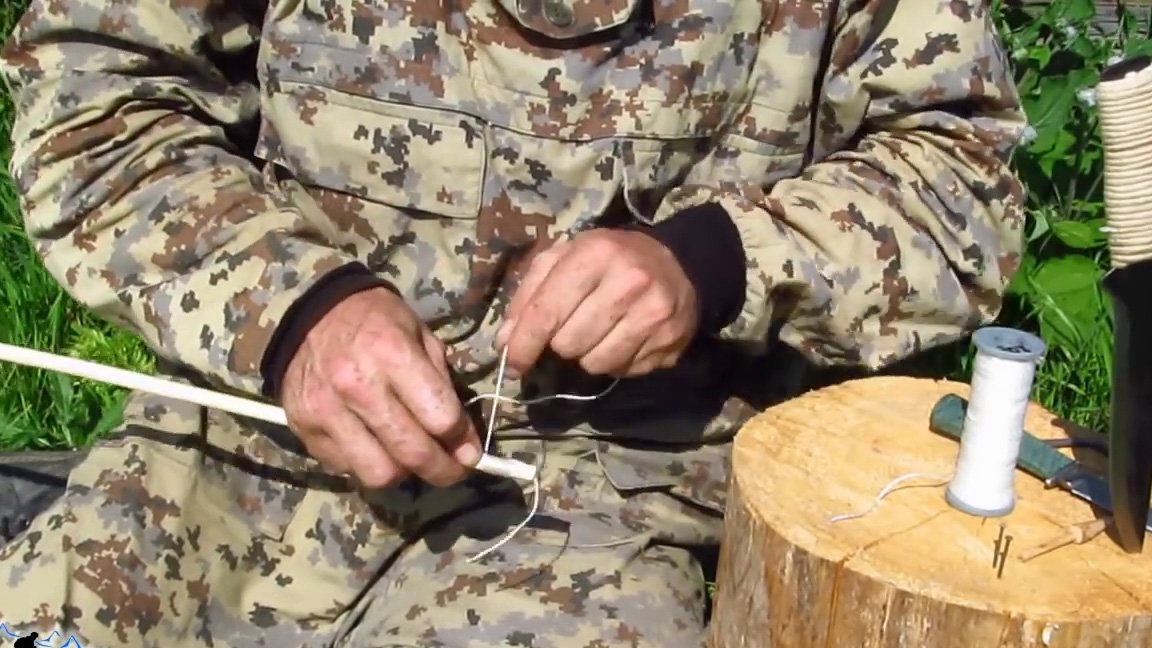
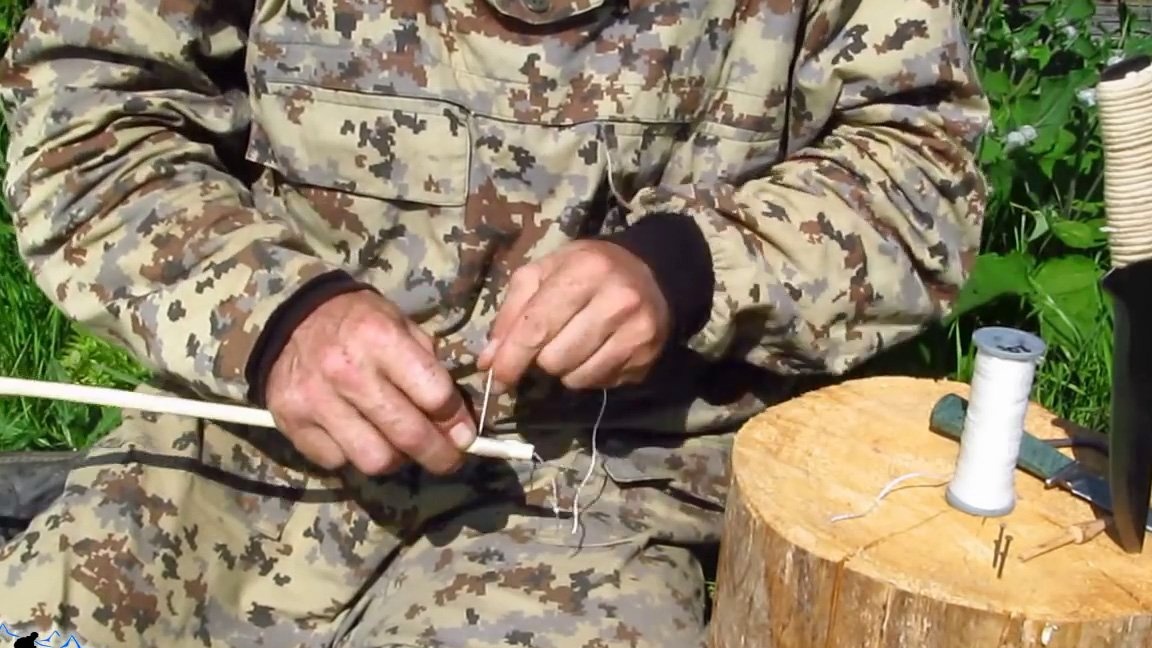
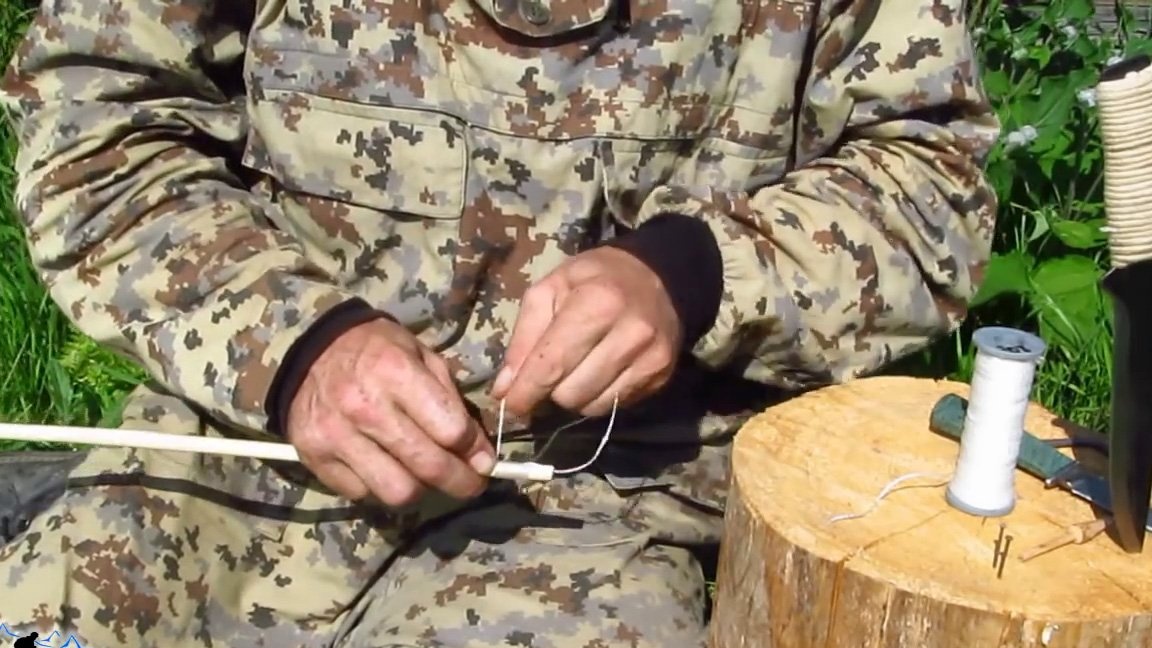
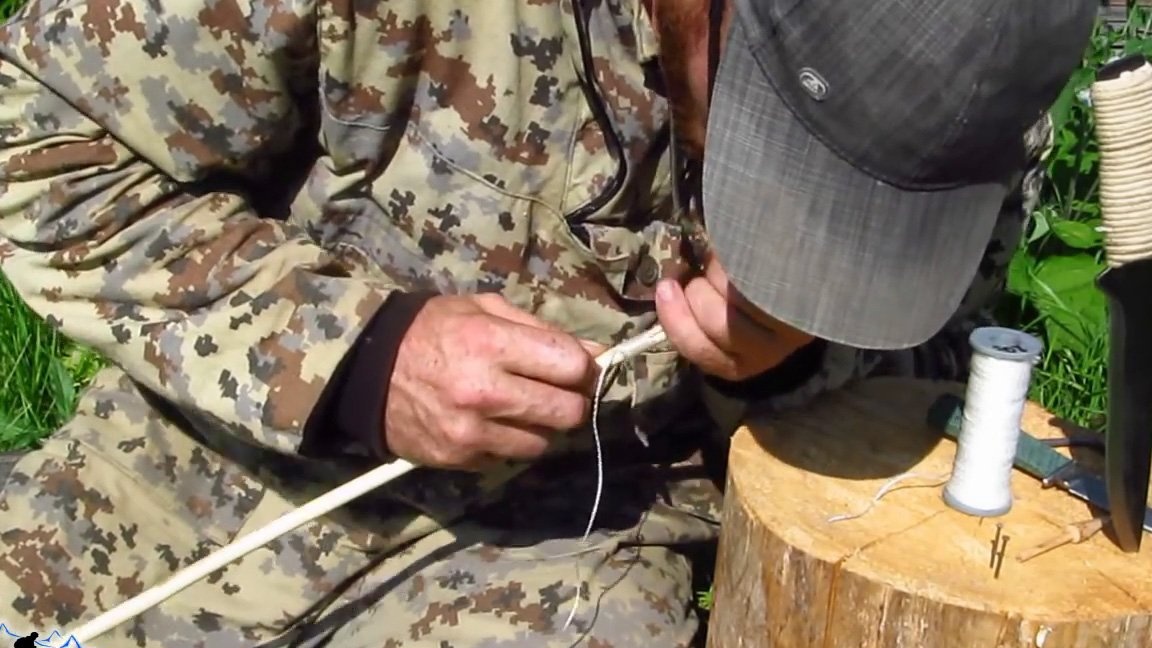
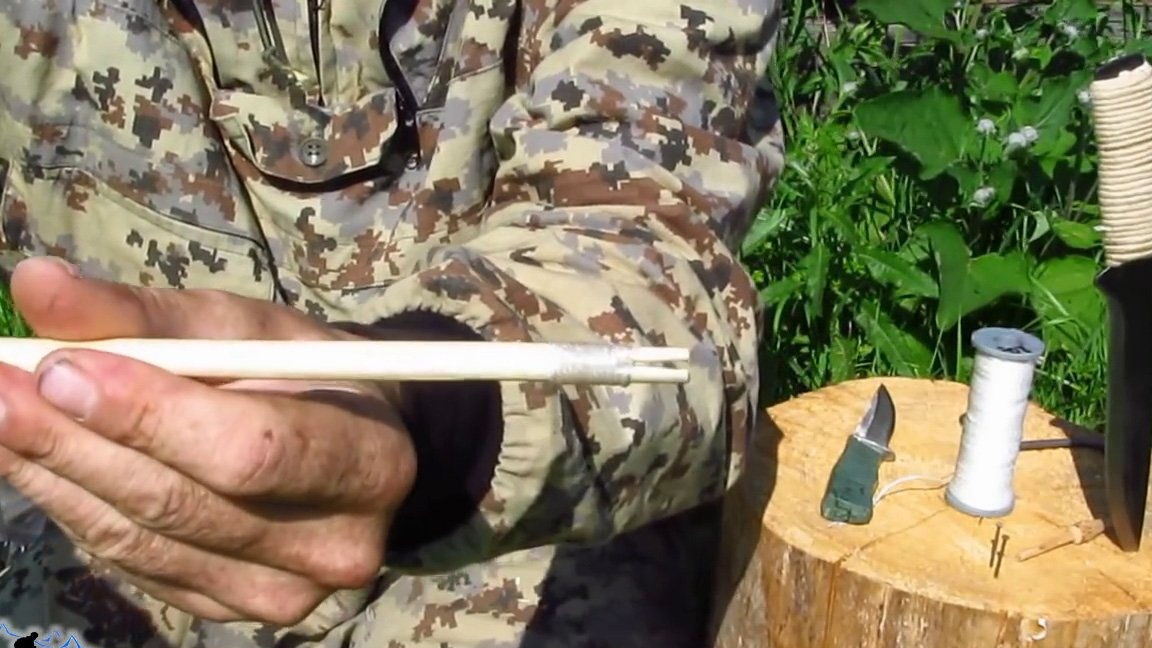
4. To fix the tip on the shaft at a distance of 25 mm with a knife, make an annular incision to a depth of 0.5-0.7 mm, without rushing to make a cut towards the notch, install the tip and crimp with nylon thread.
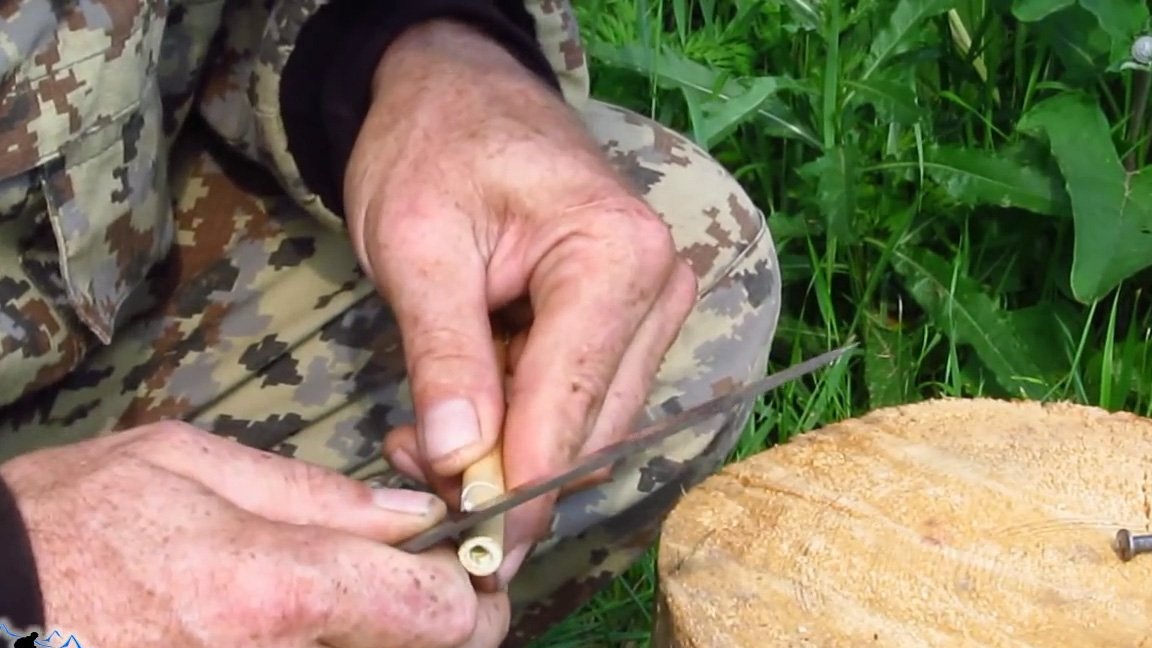
5. To crimp the tip, we take a kapron thread, at the end we make a knot for the convenience of tightening the loop with our teeth, then we make a loop from the kapron thread, attach it to the ring cut, press it with your finger and begin to wind the thread evenly, starting from the ring cut about 15 mm, then wrap in the opposite direction, to get two layers. We stretch the thread with a knot into the loop and tighten the loop with the teeth under two layers of threads, cut the ends of the threads. Such a mount will never untie.
Step Five: Shank making
1. We drill a hole in the arrow shaft with a bent nail from the side of a smaller diameter.
2. At a distance of about 15 mm from the end of the boom shaft, a small hole of 2.5 mm is drilled with the thin end of the knife, then we drill the same hole from the opposite side.
3. A thin knife opposite the holes cut out pieces of the wall of the shaft of the boom with a width of 2.5 mm.
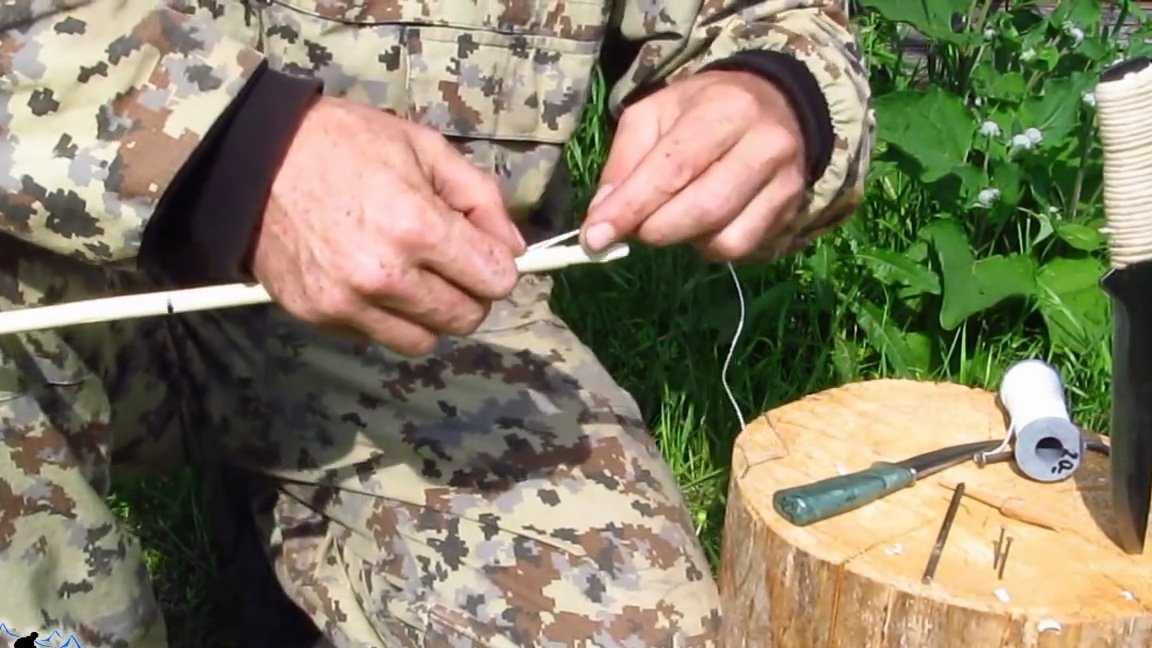
4. To strengthen the shank, take a kapron thread and begin to wind the thread with a figure eight around the ends of the shank 5-6 times, thus creating a shock absorber for the bowstring from the threads. To protect the shaft from breaking by the bowstring, we make a loop of thread and begin to wind about 20 mm in a single layer towards the tip, then pull the thread with a bundle into the loop and tighten the loop under the thread layer with teeth, cut the ends.

Step Six: Production of plumage (stabilizer)
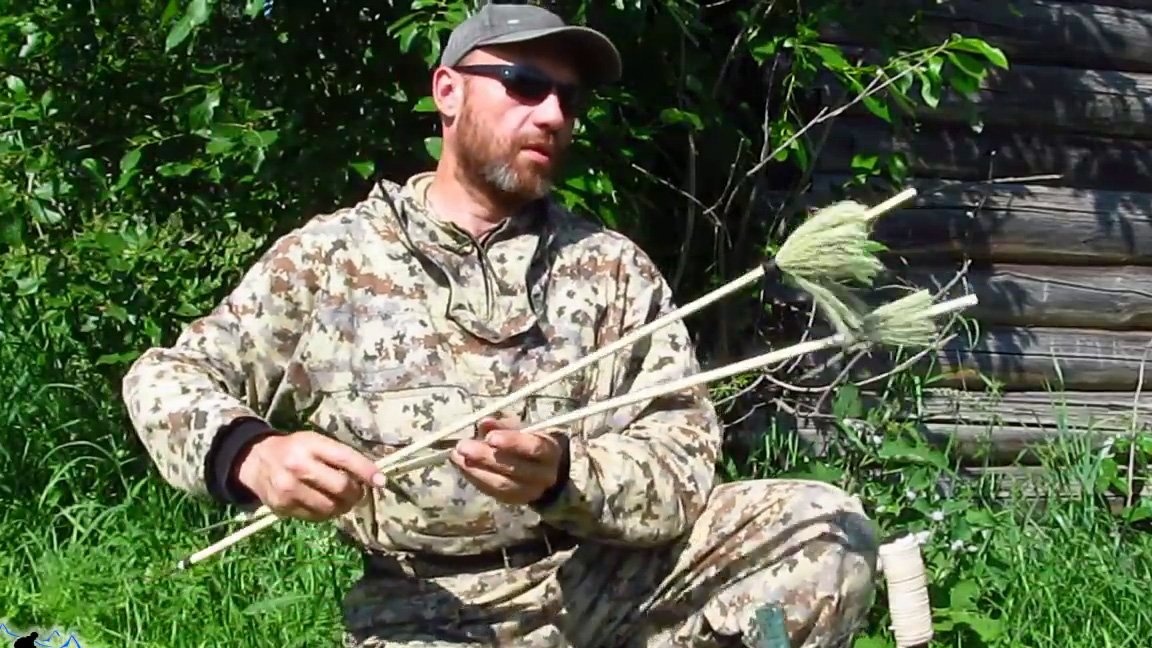
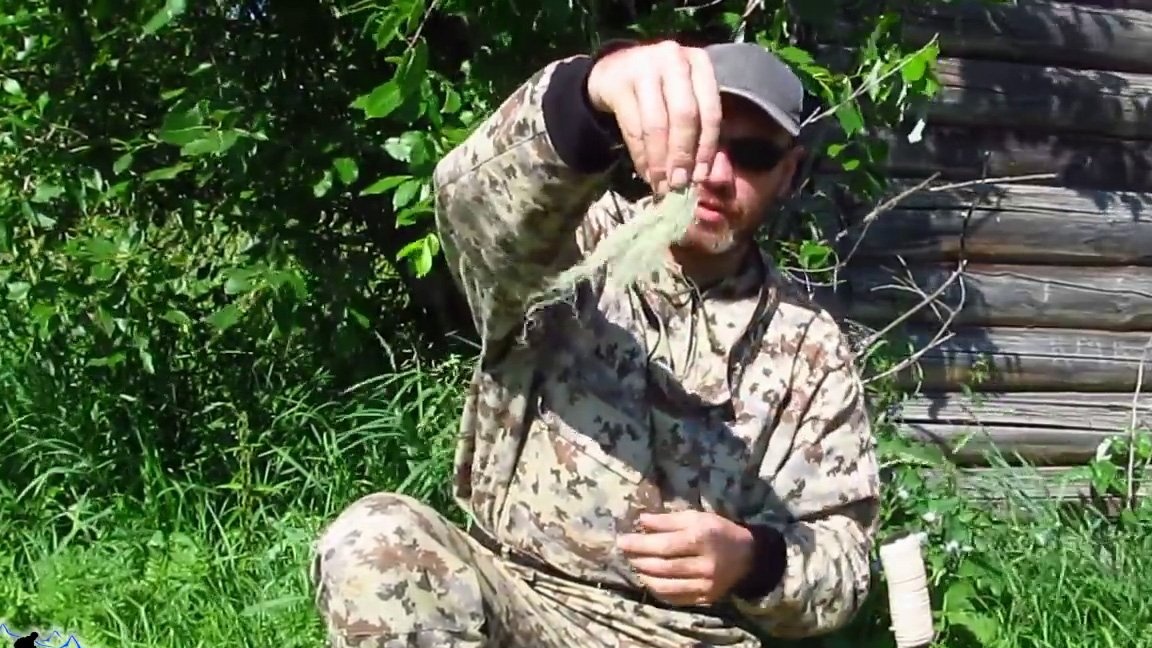
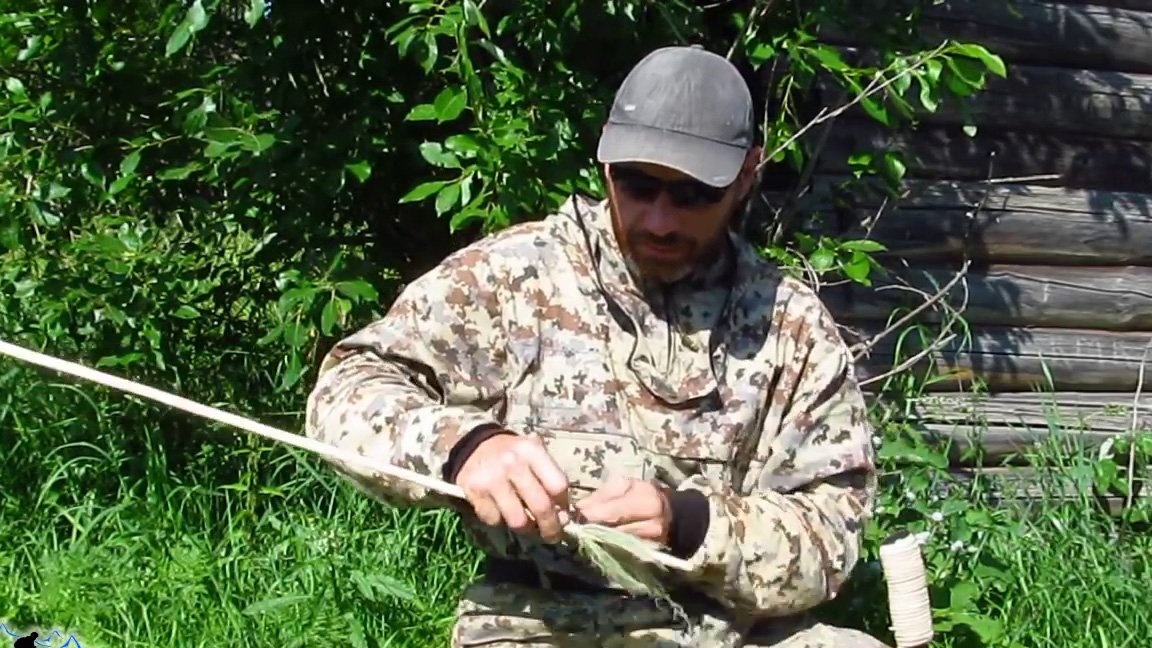
1. The stabilizer is made of lichen (becoming bearded asleep), for this we make several blanks of lichen about 30-40 mm long, we arrange it evenly around the arrow at a distance of 40 mm from the shank, we fix it with nylon thread the same way we fixed the tip.
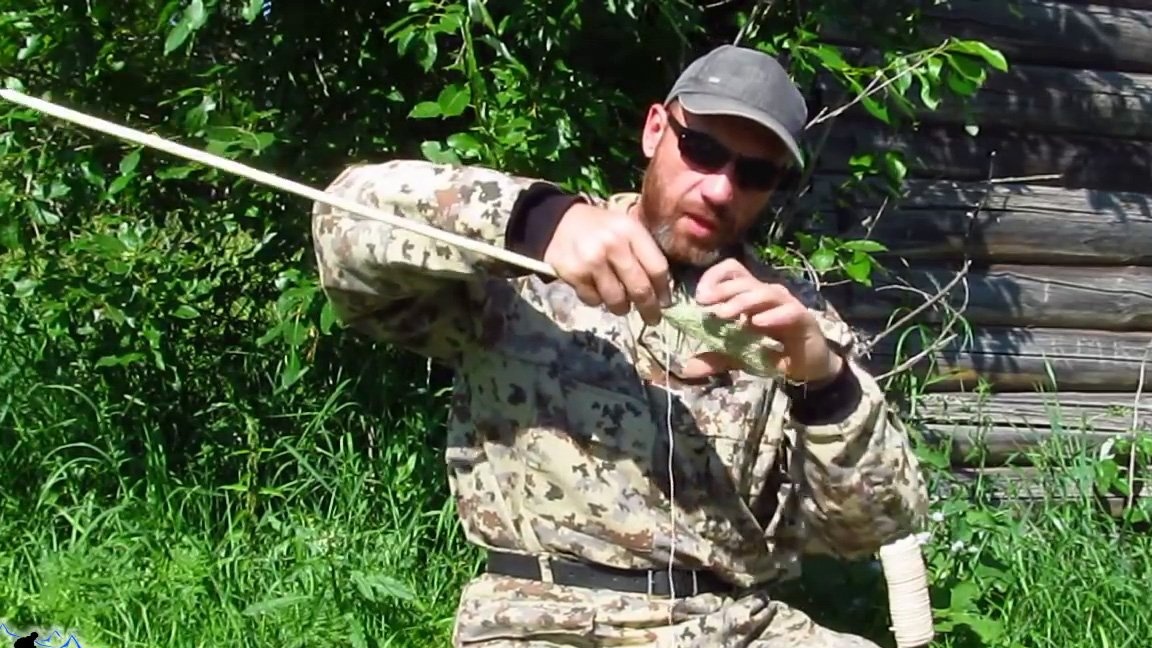
2. To perform the compression of the plumage, we take a nylon thread, at the end we make a knot for the convenience of tightening the loop with our teeth, then we make a loop from the nylon thread, attach it to the edge of the plumage, press it with your finger and begin to wind the thread evenly, starting from the edge of about 10 mm, then wind in the opposite direction, to get two layers.We remove the loop and cut the lichen along the edge of the wound thread, then return the loop to its place and again make how many turns the thread, smooth the sharp corner from the lichen. We stretch the thread with a knot into the loop and tighten the loop with the teeth under two layers of threads, cut the ends of the threads. We cut about 15 mm in a circle our stabilizer, aligning the ends.

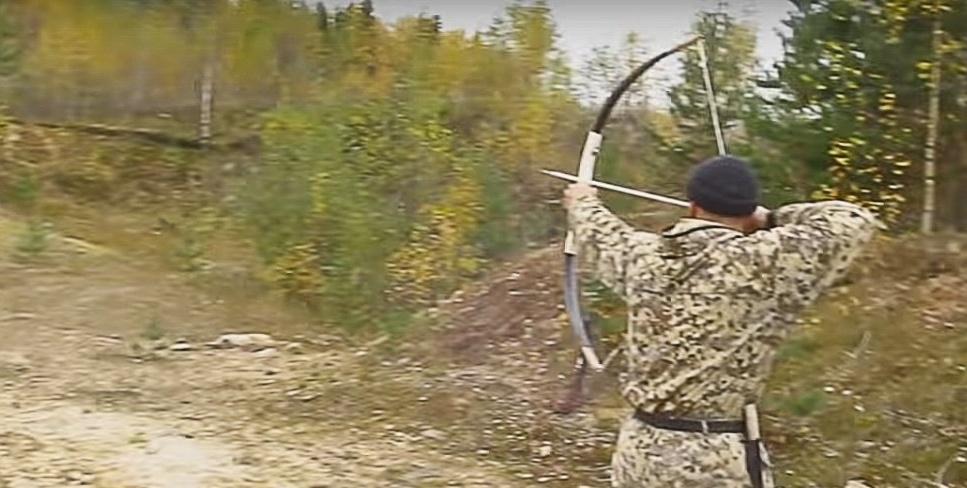
Seventh step: Test
The arrow flies to the target quite steadily, but the plumage is better to do from feathers.
1 part:
2 part: