

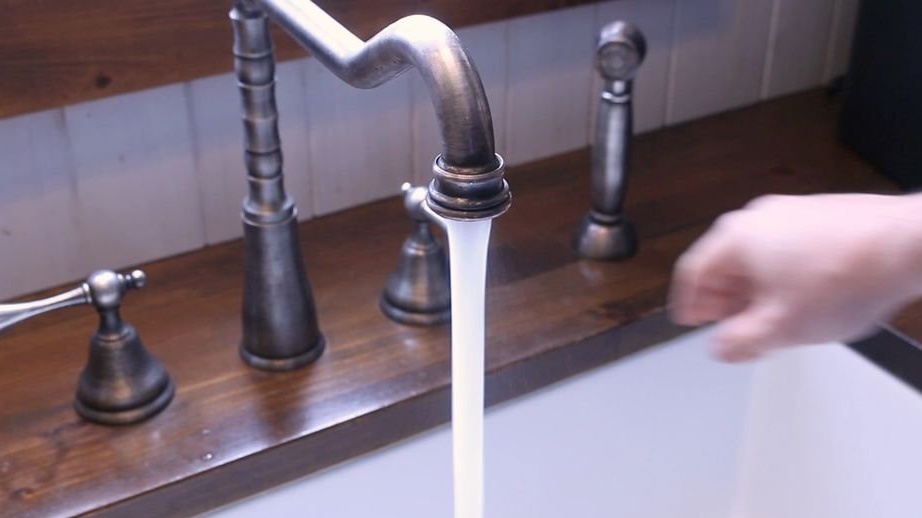
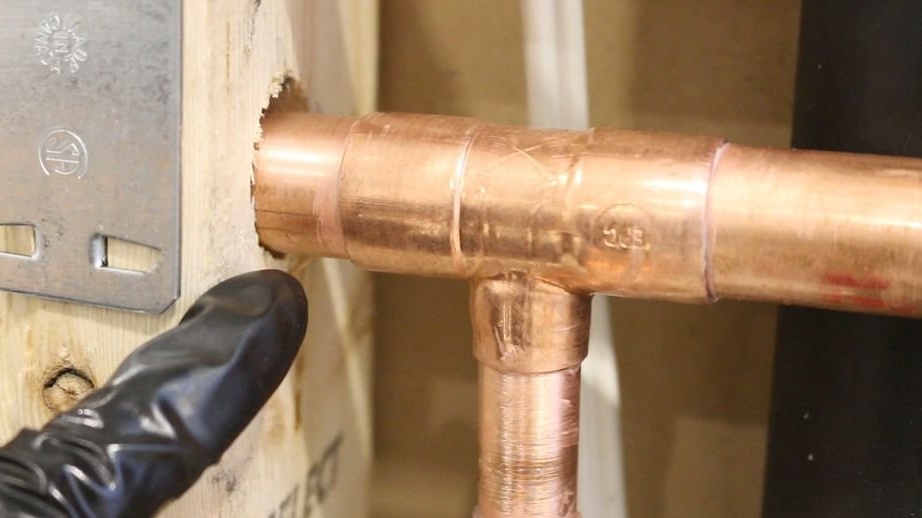
In Russia, the water supply from copper pipes did not take root as much as in Europe. But if you are the owner of housing with just such a water supply, then you will be interested and informatively familiarize yourself with this article. In the instructions, the master plumber will tell you how to choose the right tool for working with the pipe, how to cut, solder, and a few other small plumbing tricks useful when soldering copper pipes. All this will be considered on the example of water supply repair. The master will solder the tee into the copper pipe.
Tools and materials:
-Burner;
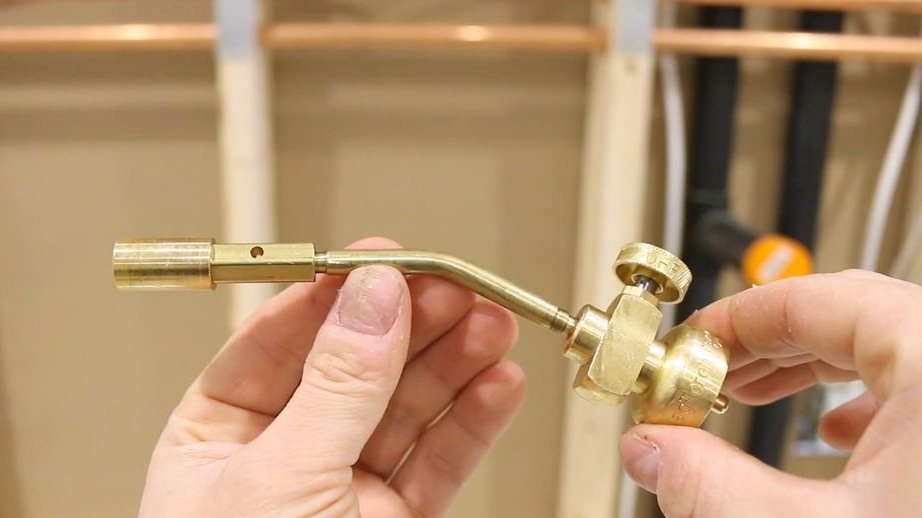
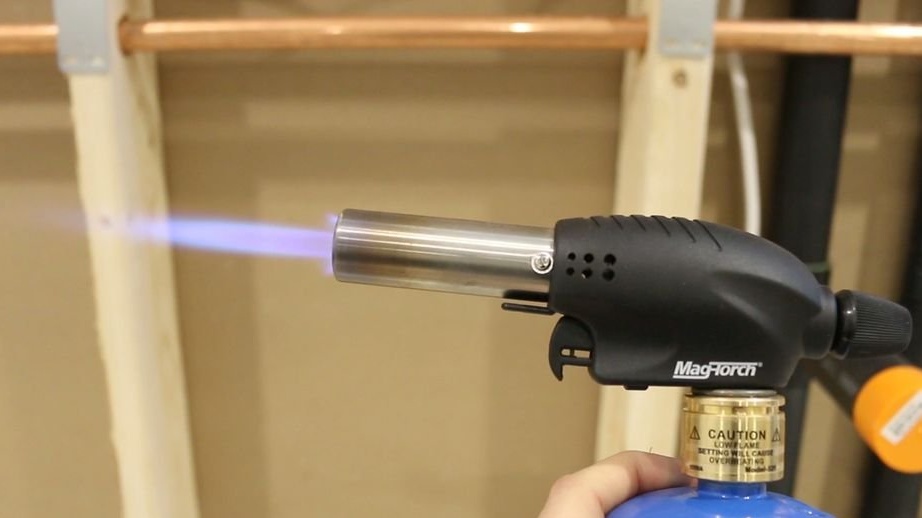
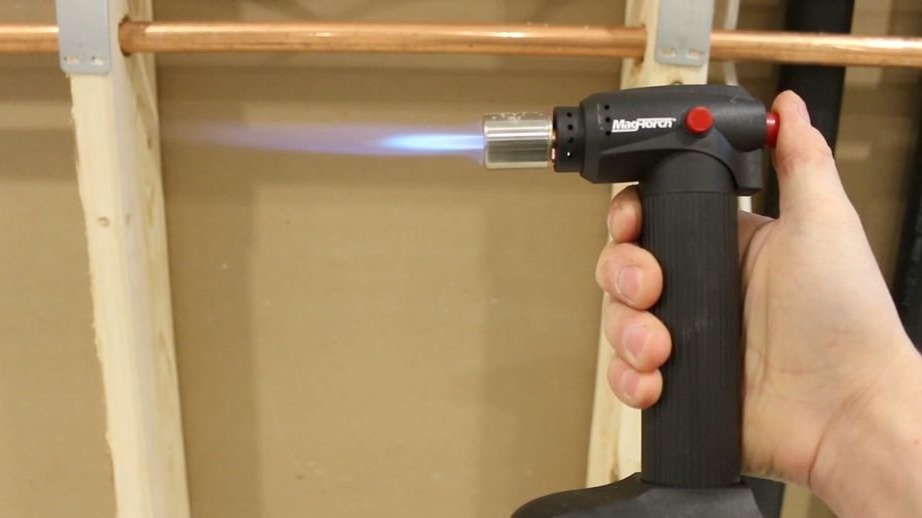
The master prefers to use a burner with a small diameter nozzle. Such a torch is easier to solder in hard to reach places. If the pipes are large in diameter and the space is not limited, you can use any burner.
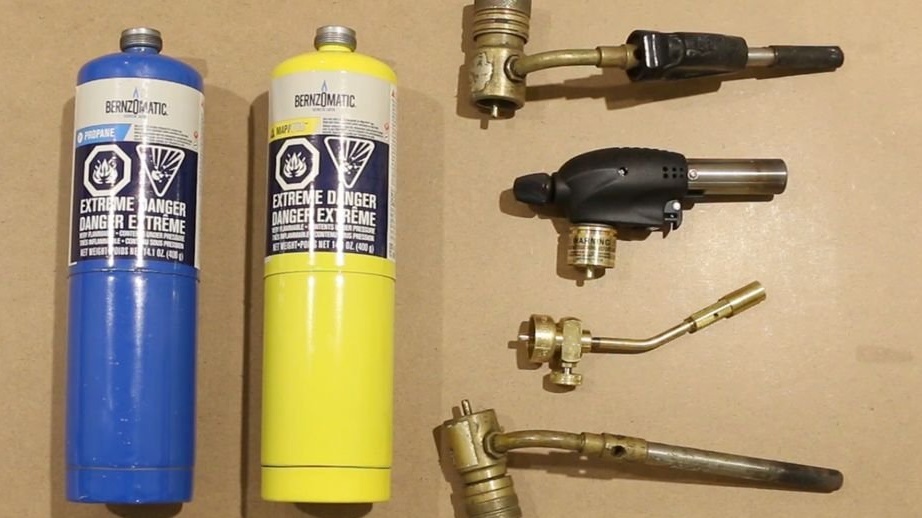
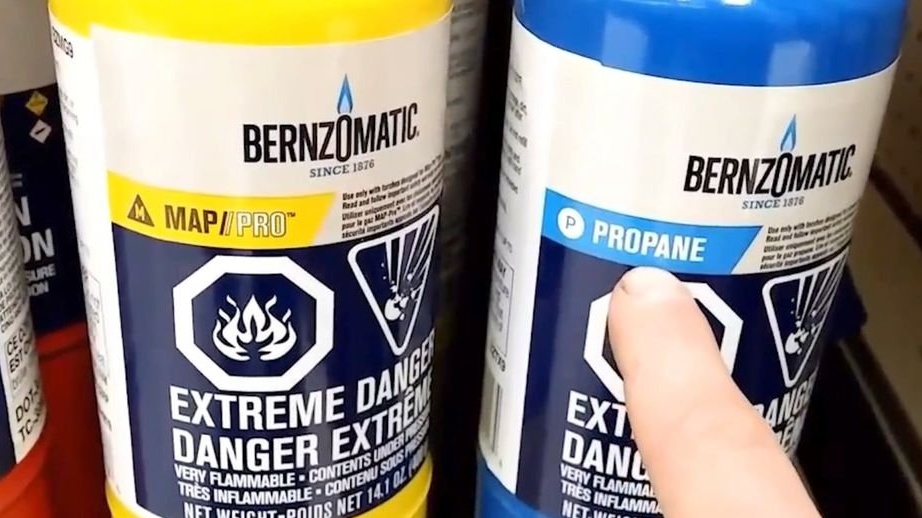
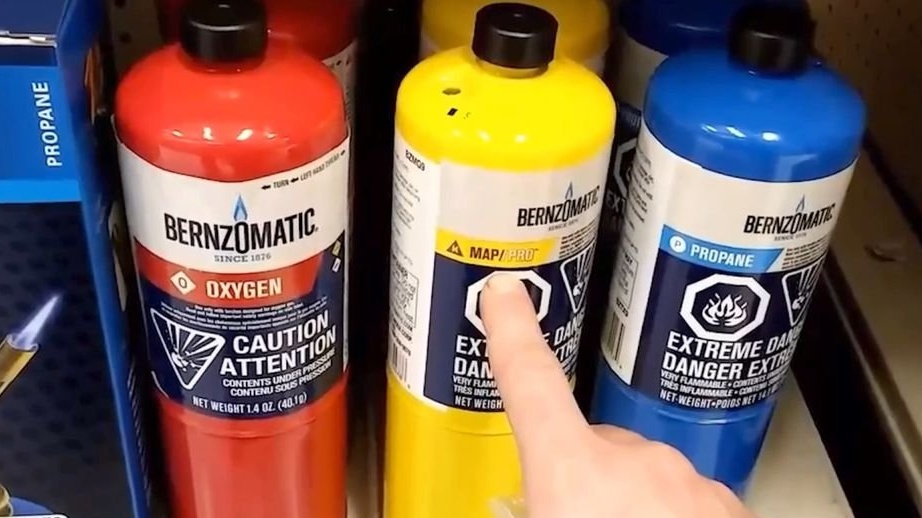
- Gas cylinder;
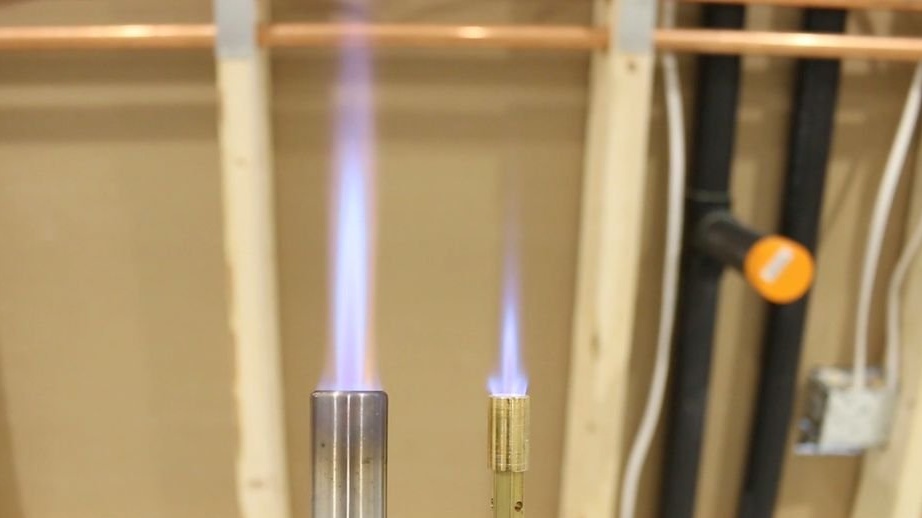
There are two types of gas cylinders for soldering copper plumbing pipes: a blue propane cylinder with a burning temperature of 1950 ° C, and yellow with MAPP gas and a temperature of 2010 ° C. As you can see, the difference is not big, but the master recommends using a yellow cylinder for pipes of large diameter.
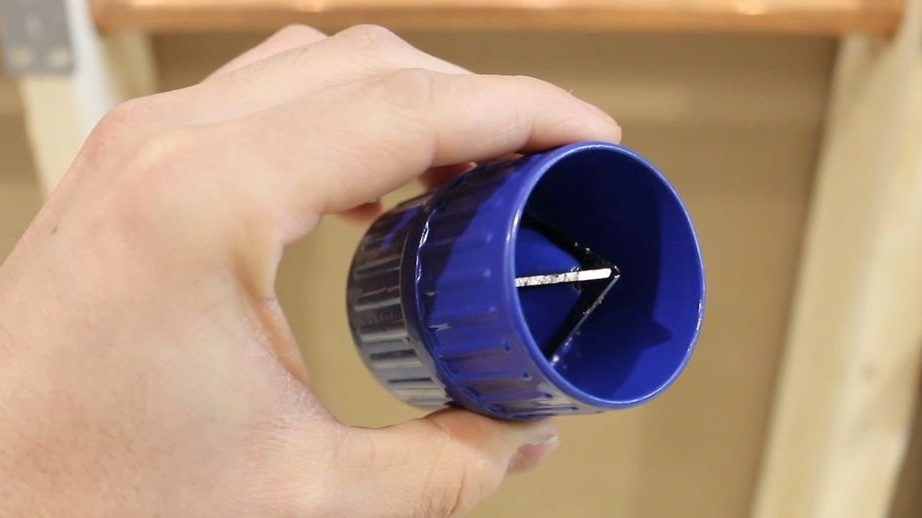
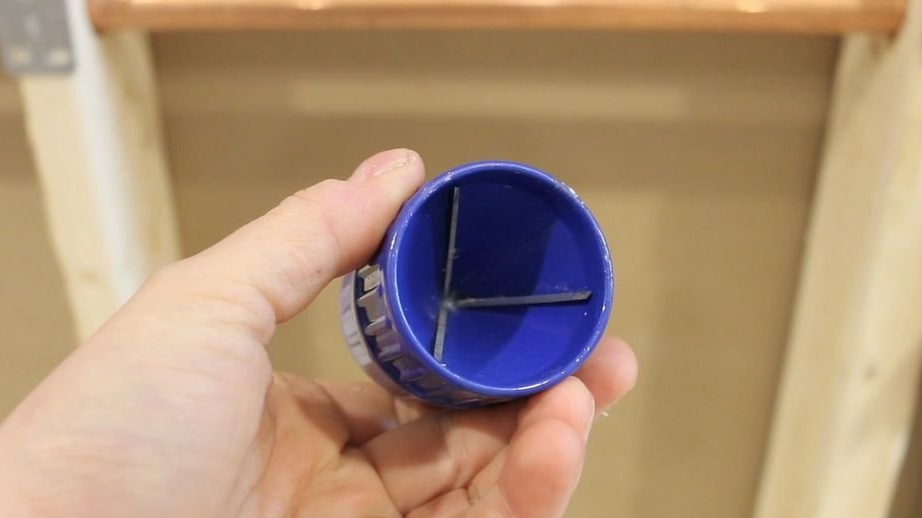
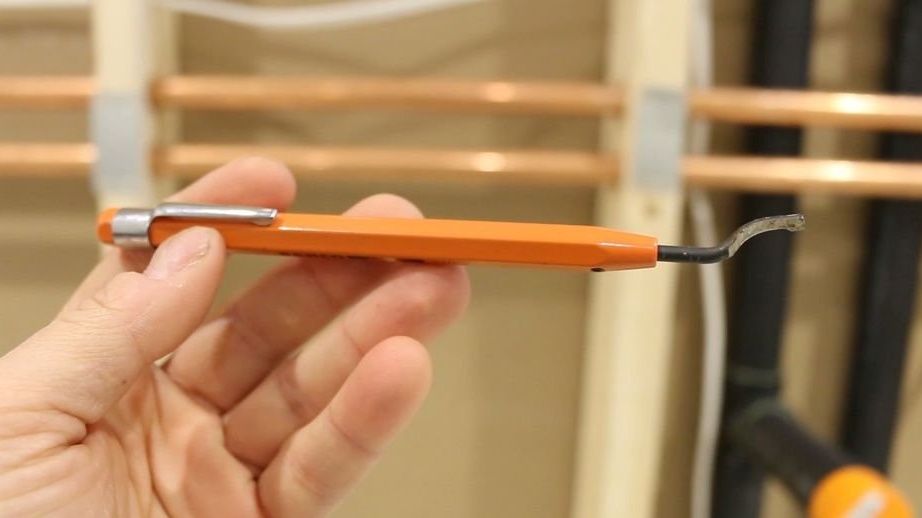
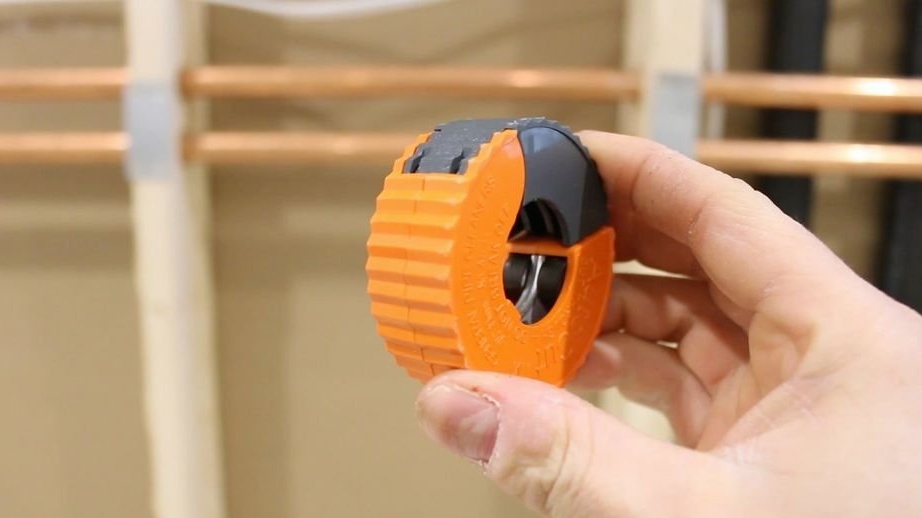
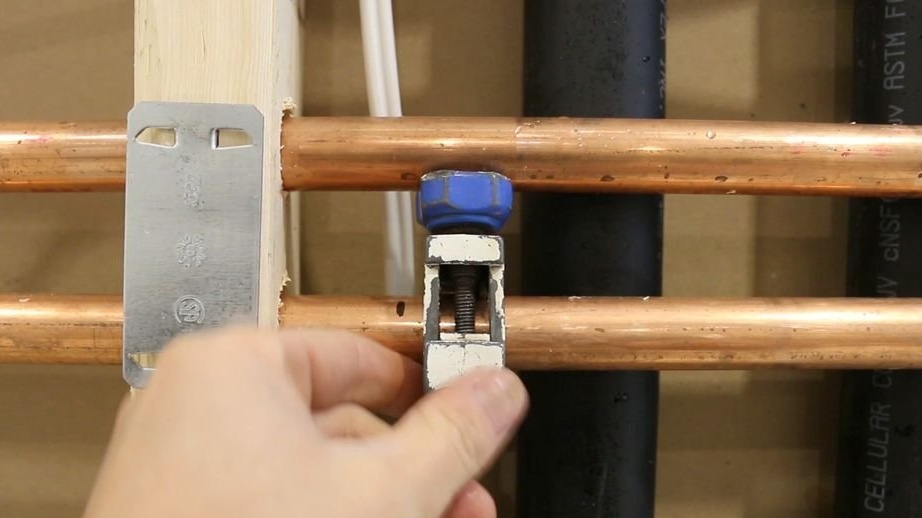
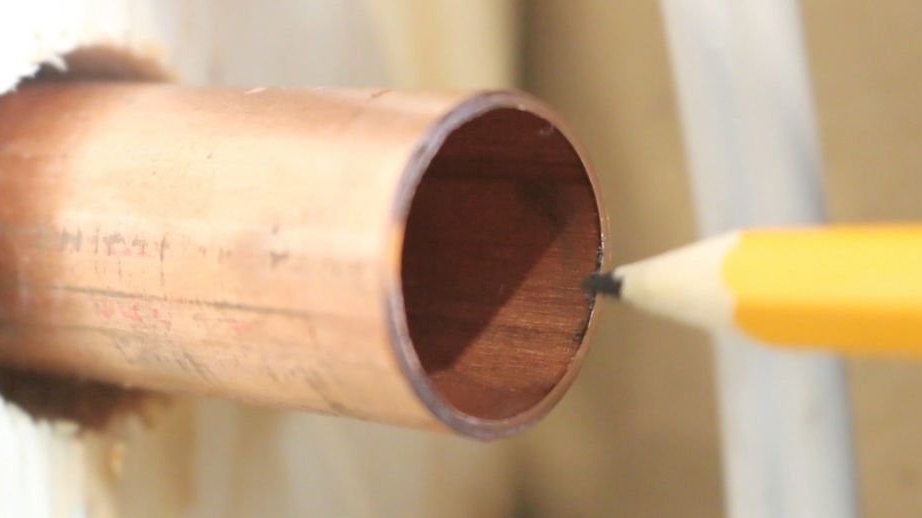
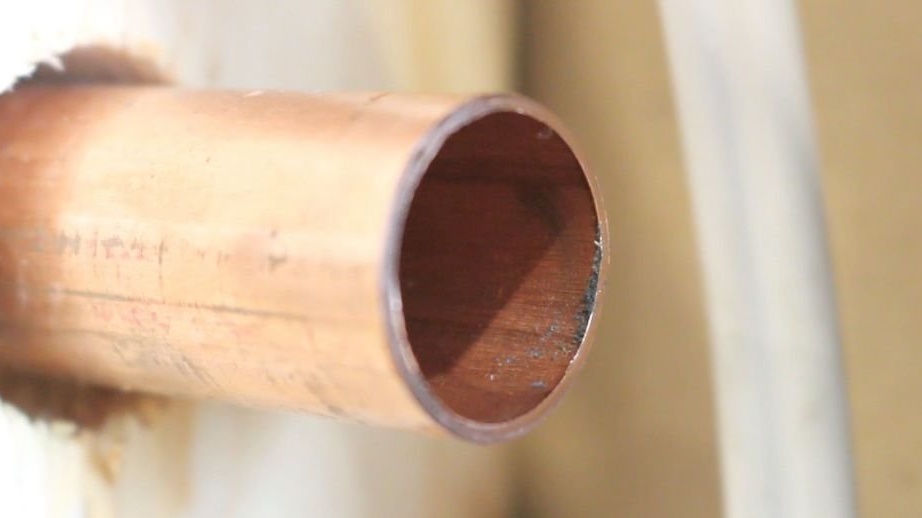
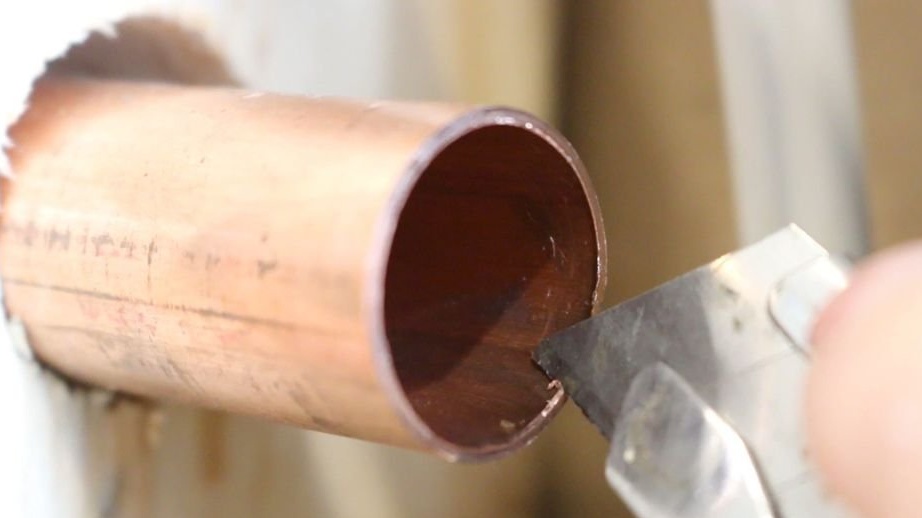
- Tool for deburring;
When cutting a pipe, barbs remain on the inside of the pipe. Before soldering pipes, remove burrs. To do this, you can use several tools and they are all presented in the photographs below. With a 2-in-1 scan, you can remove burrs and cut off the outer edge of the pipe.

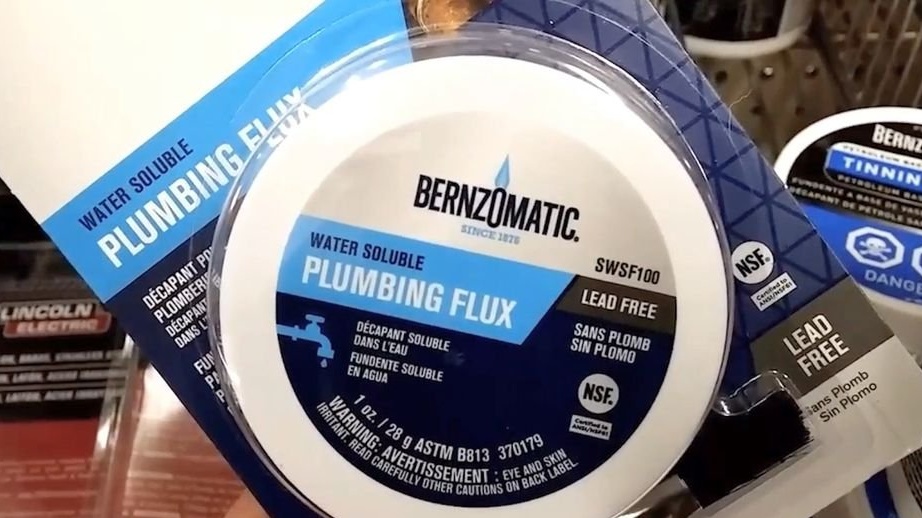
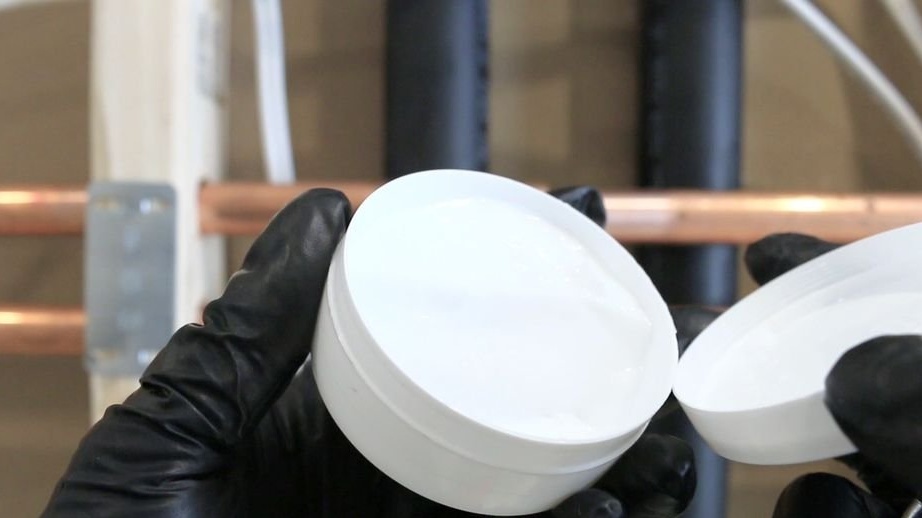
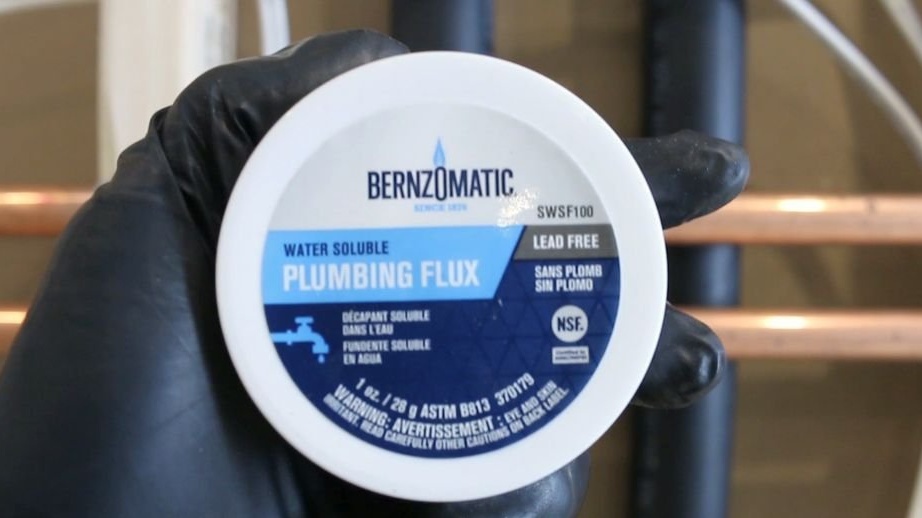
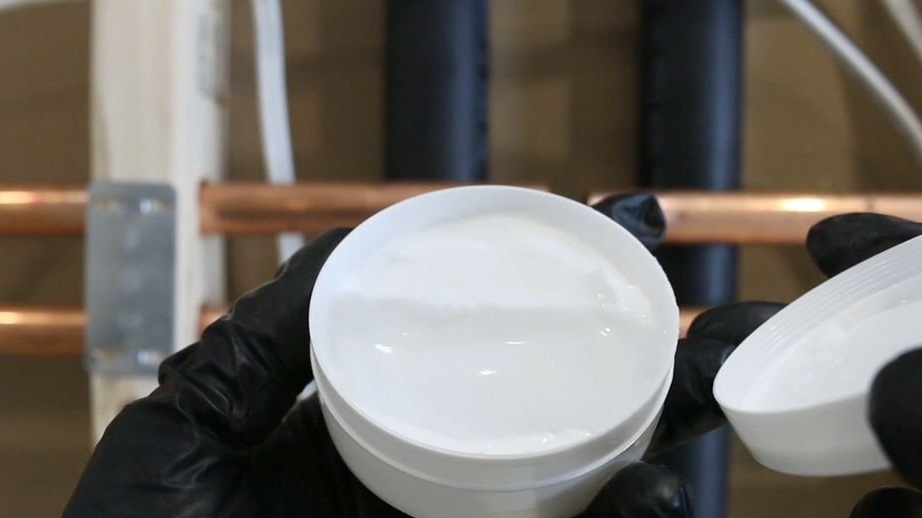
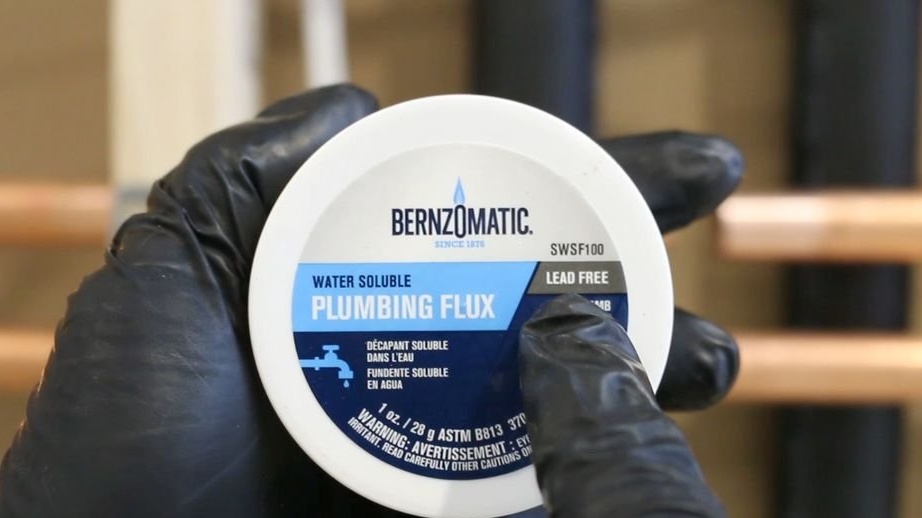
-Flux;
When soldering, a flux is required. For beginners, the master is advised to use flux with solder. The flux should not contain lead and should not be water soluble.
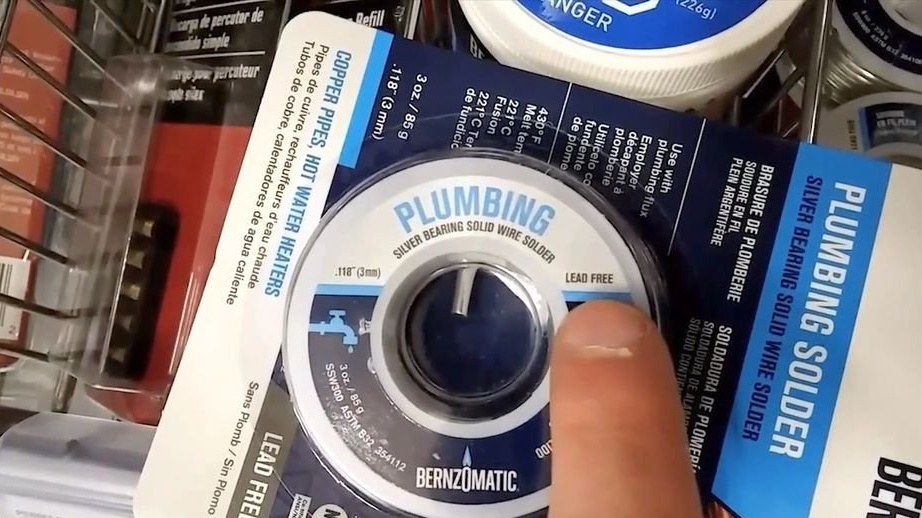
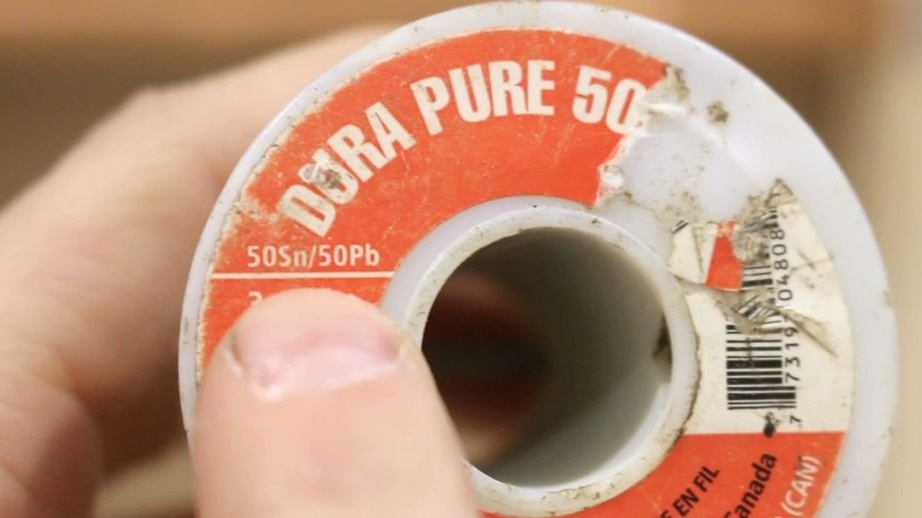
-Solder;
Solder should also not contain lead.
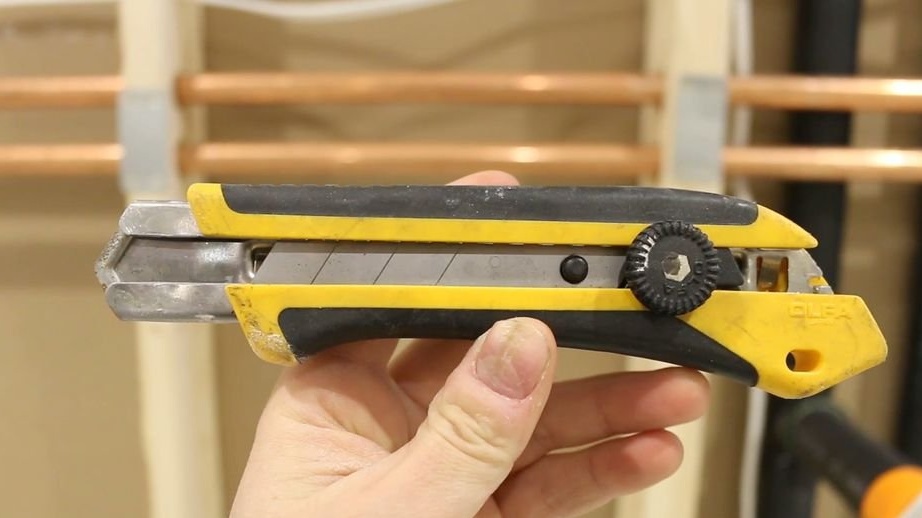
-Pipe cutter;
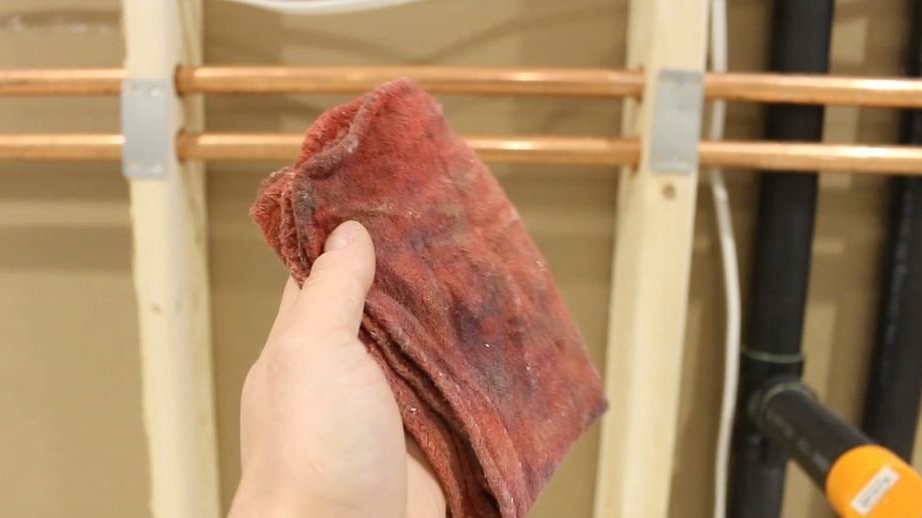
-Rag;
- Nastchastka;
- Refractory material;
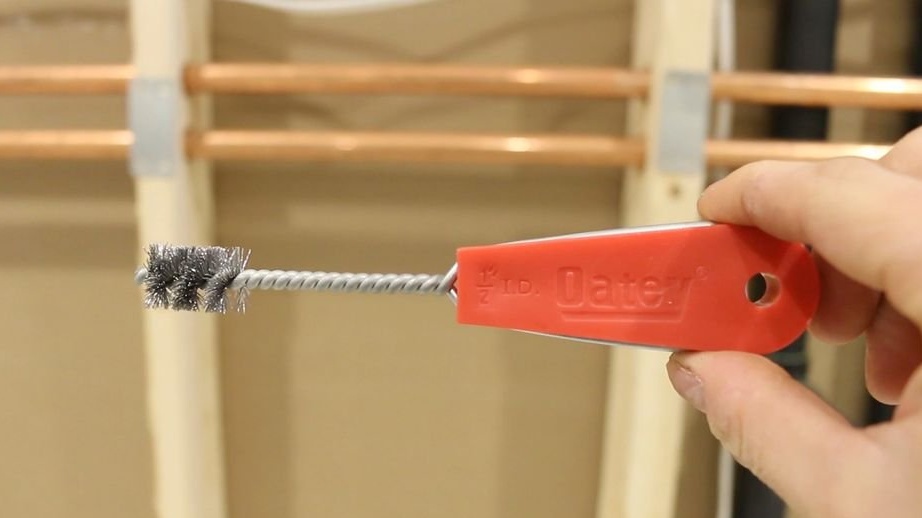
-Metal brush;

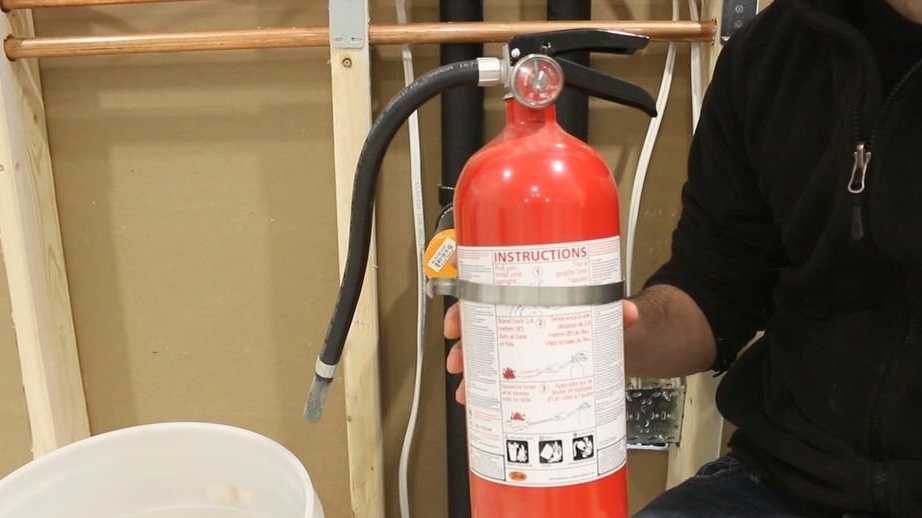
-Fire extinguisher;
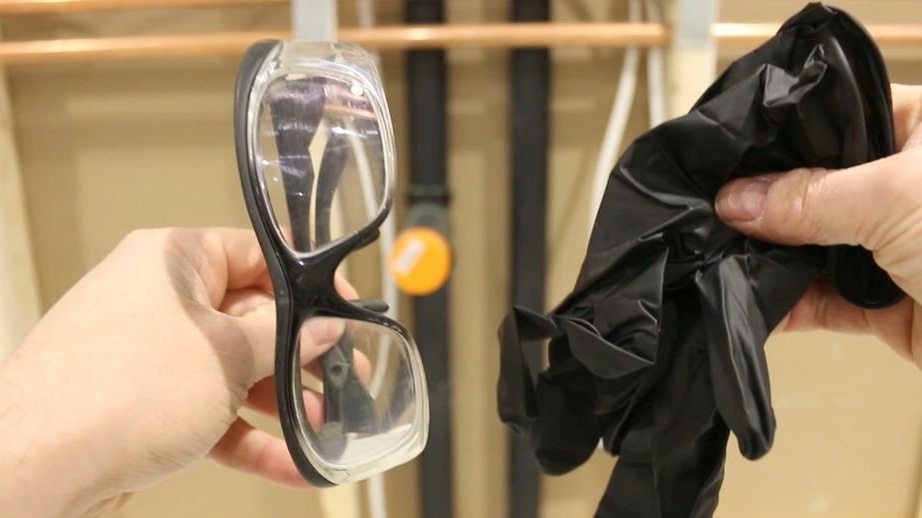
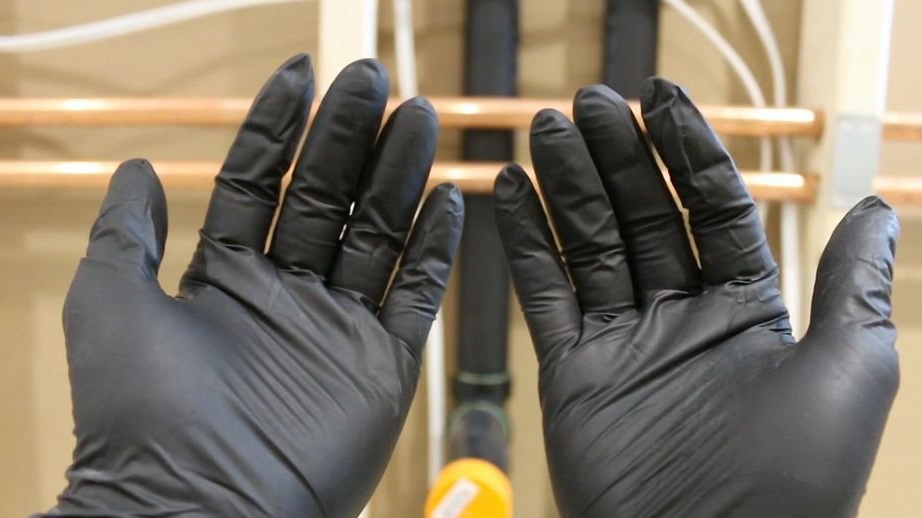
-Gloves;
-Glasses;
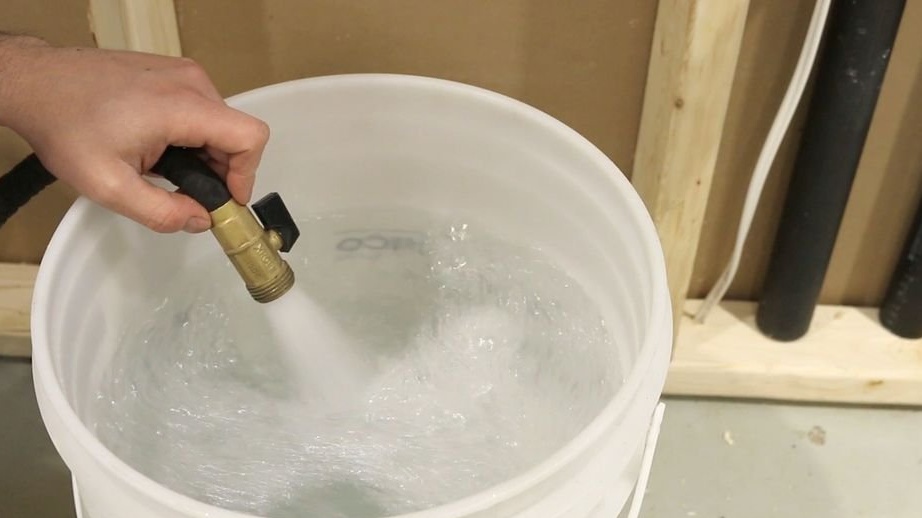
-Capacity;
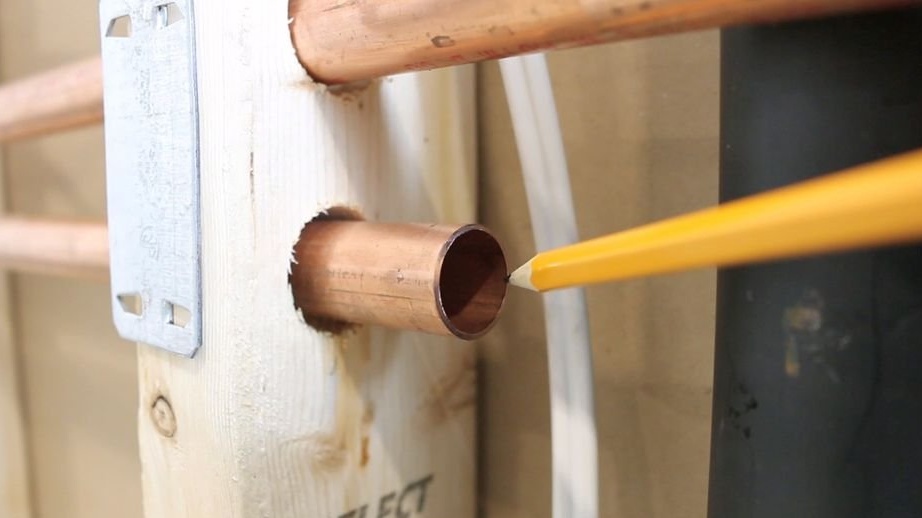
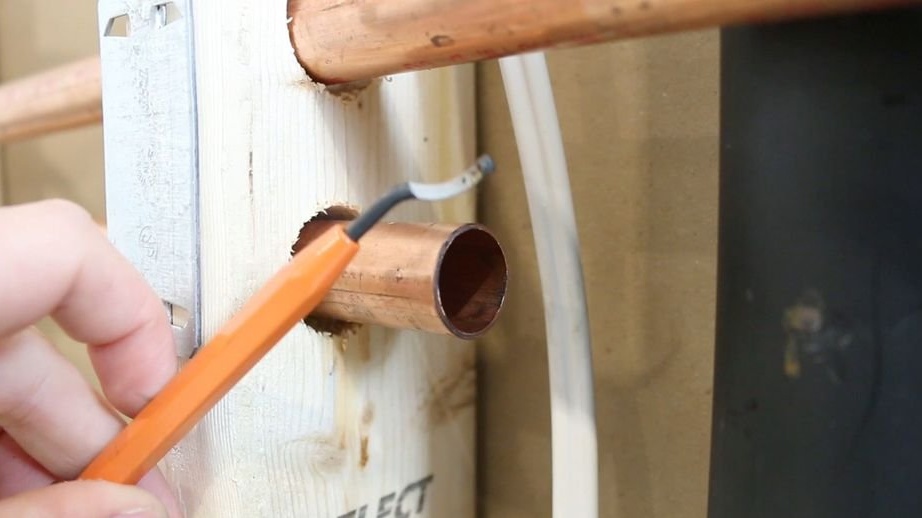
Step One: Pipe Cutting
Before cutting the pipe, it is necessary to shut off the water supply and relieve pressure.

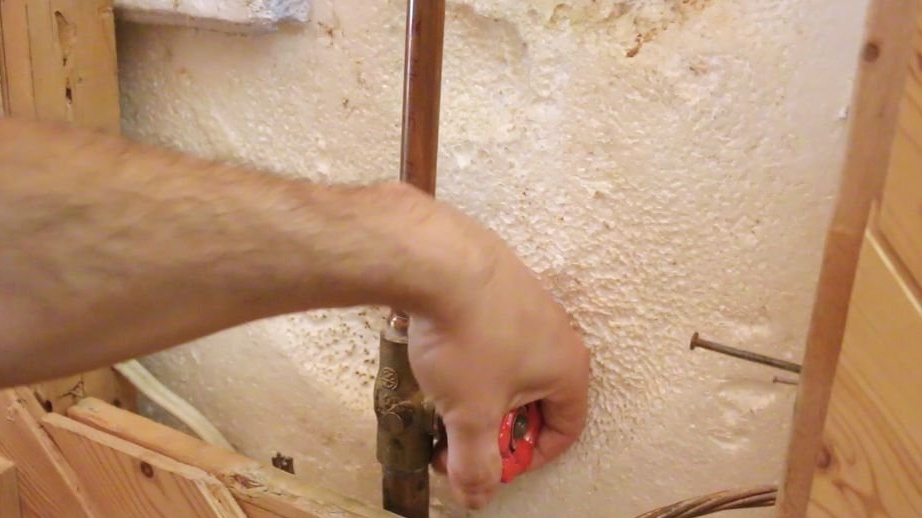
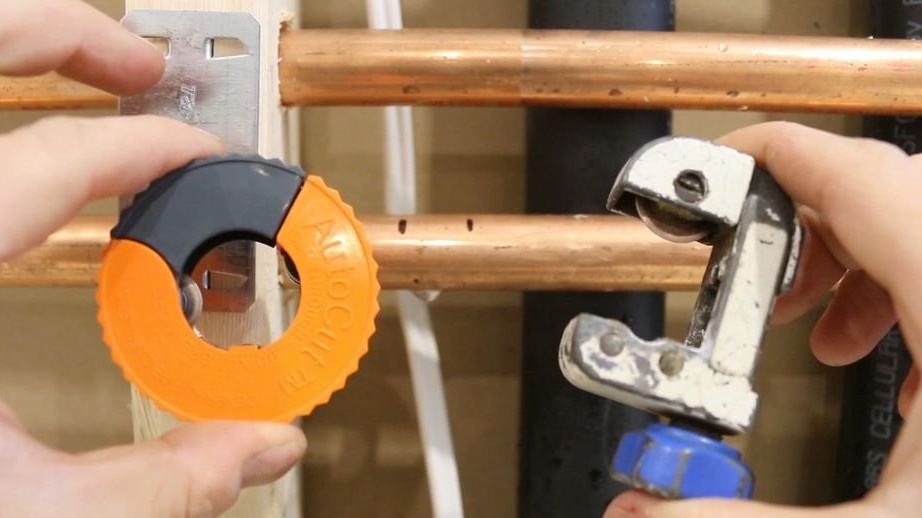
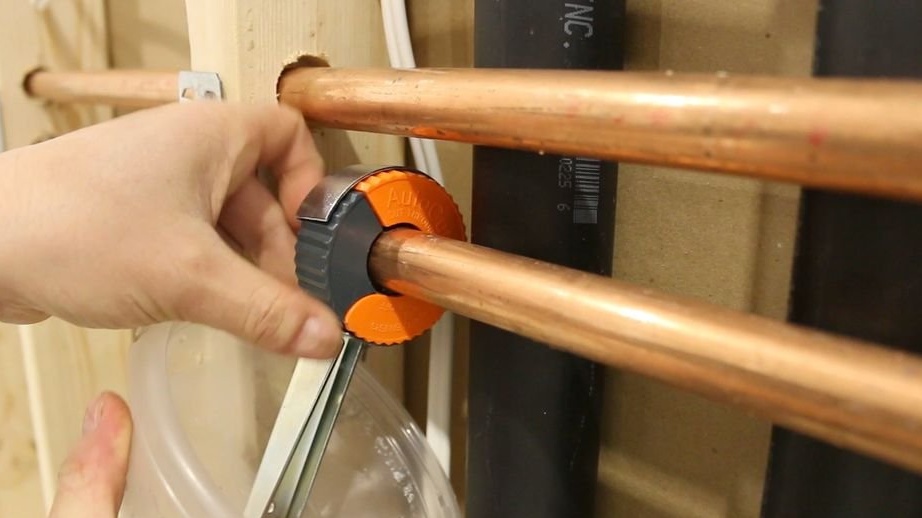
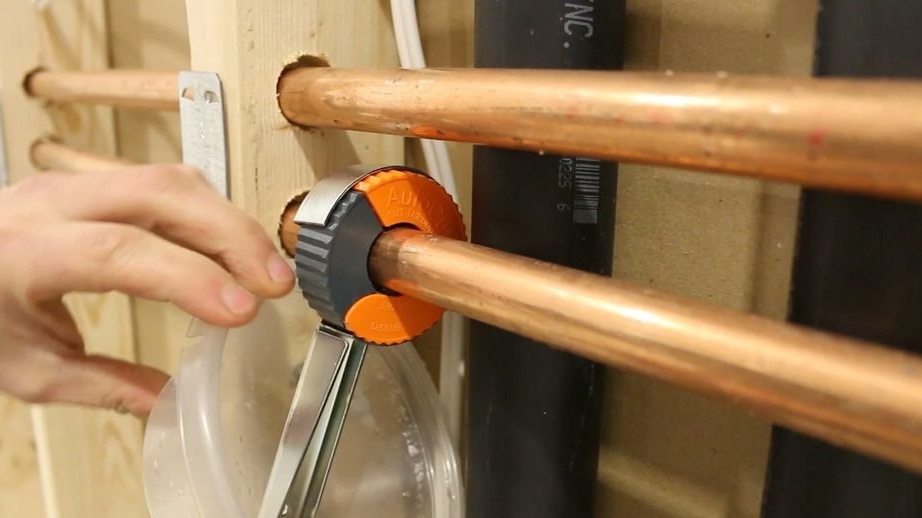
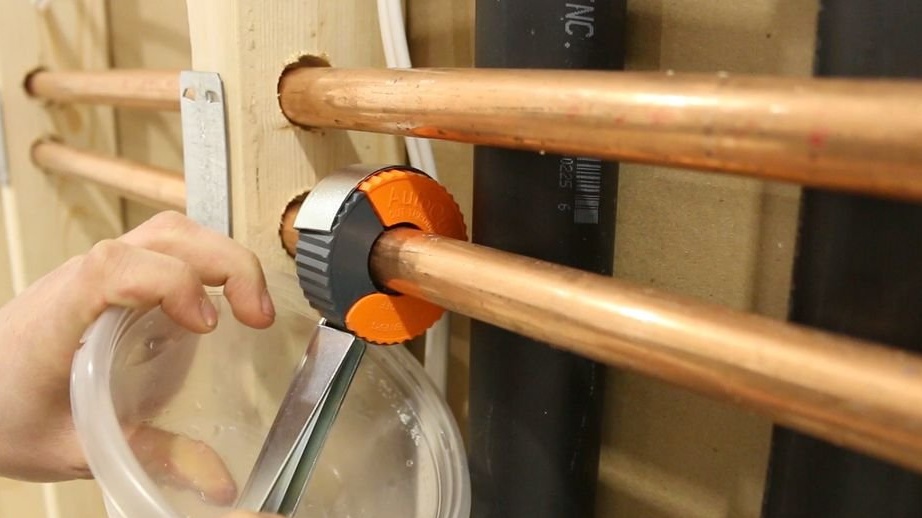
A pipe cutter is used to cut the pipe. With the help of a pipe cutter, the cut is smooth. Before cutting, makes markup.
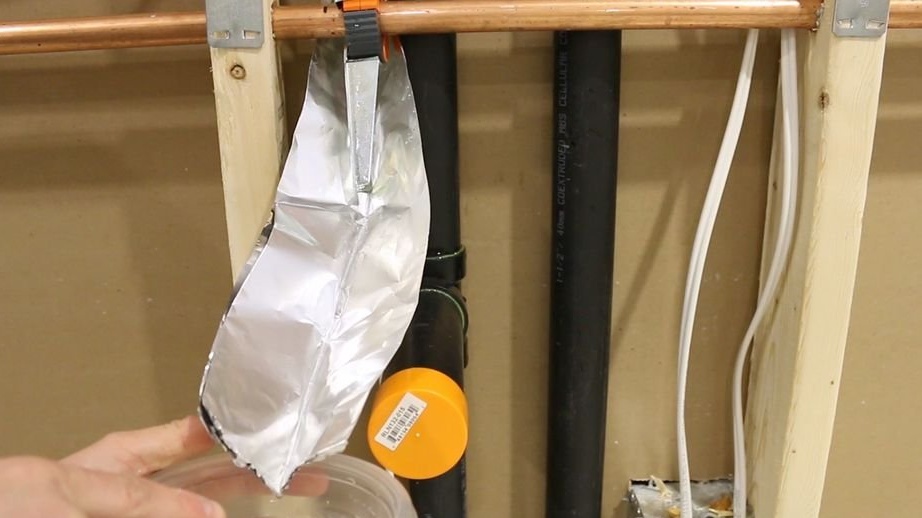
The master has two types of pipe cutters. An annular pipe cutter can be used in a limited space. To drain the remaining water, you can make a trough of foil.

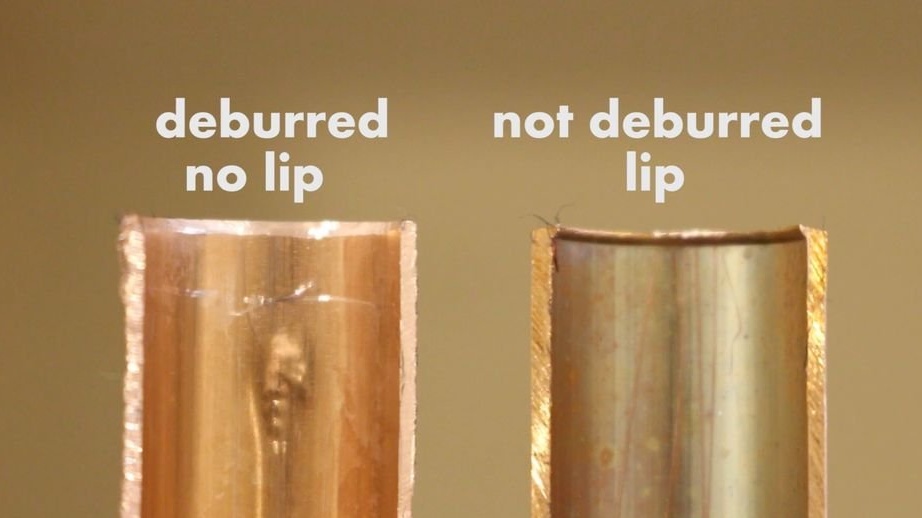
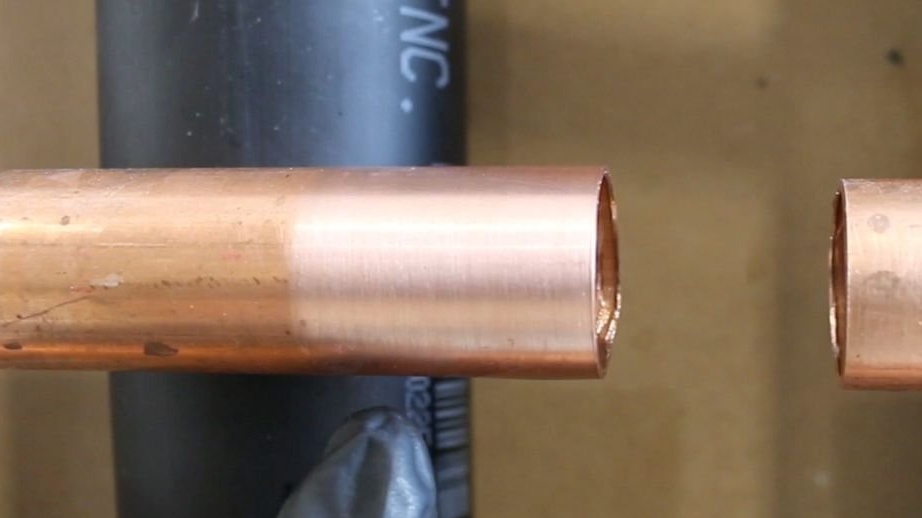
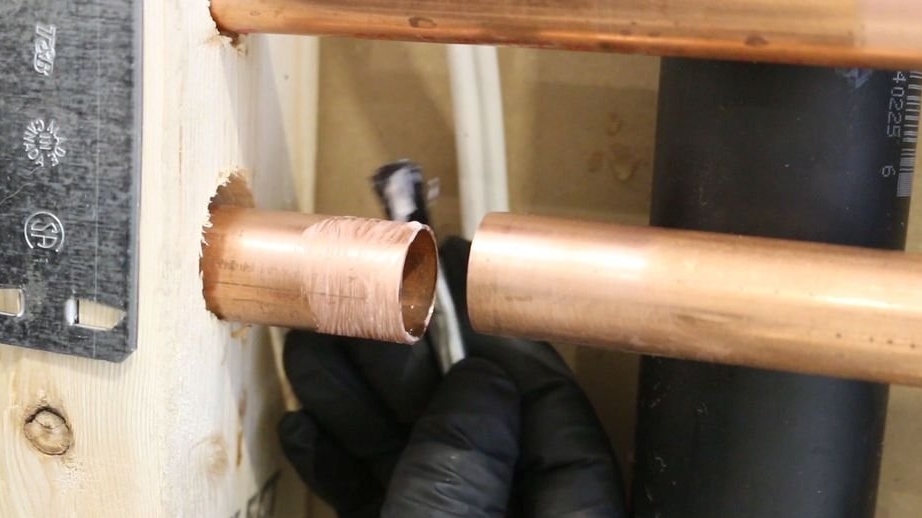
Step Two: Deburring
The tube is cut and it is necessary to remove the burrs. Ignoring this operation has two unpleasant moments: the first decreases the water flow rate and the second moment, over time, a leak may form in this place.
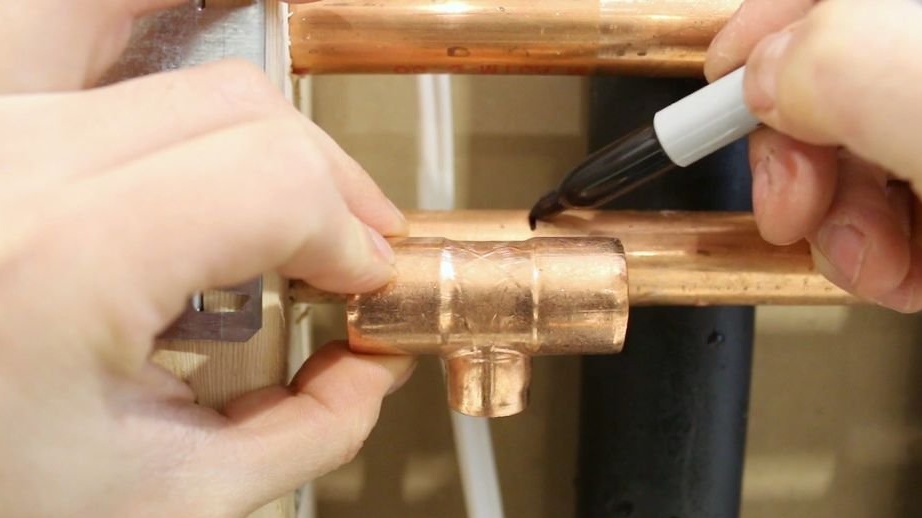
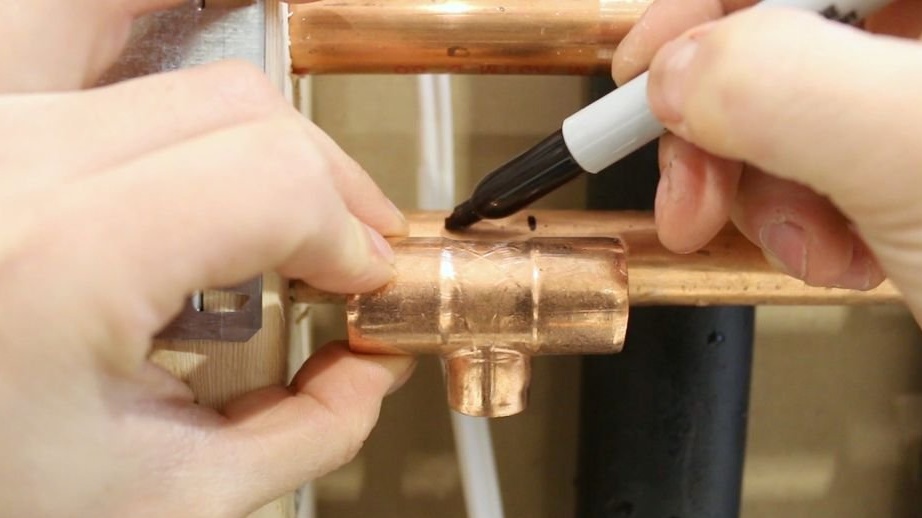
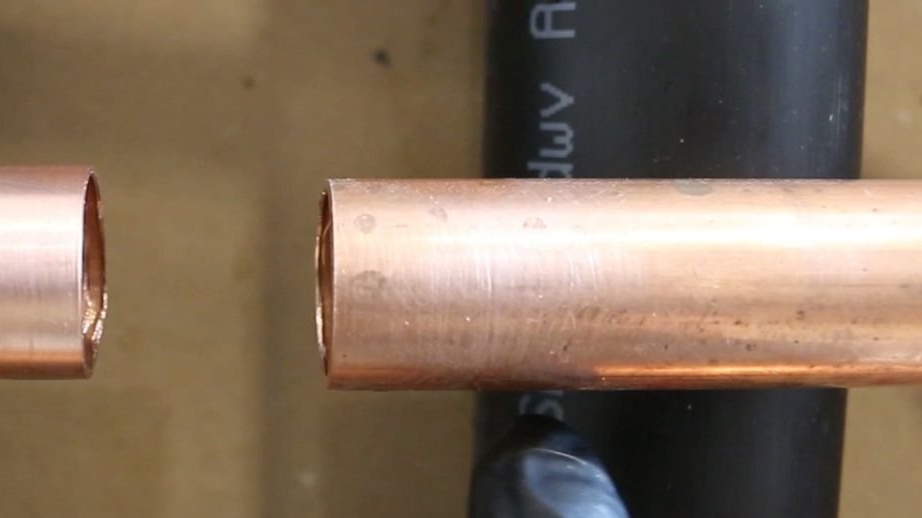
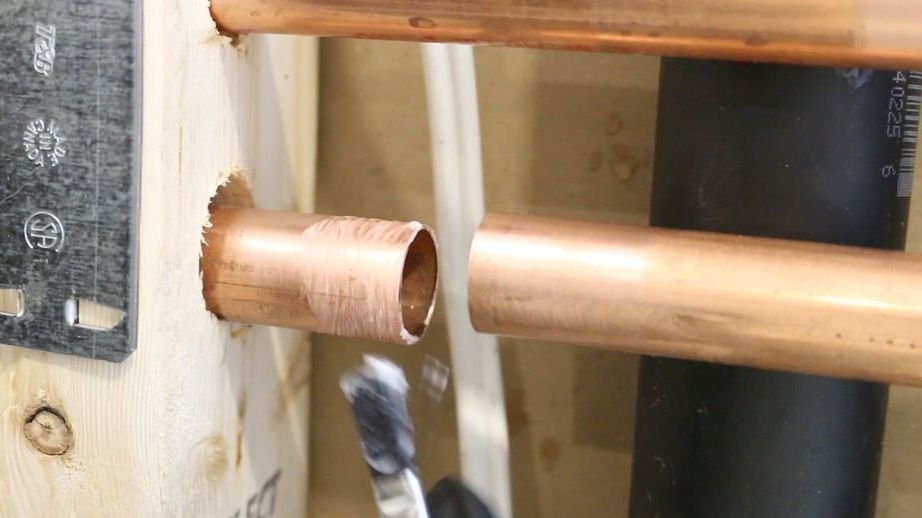
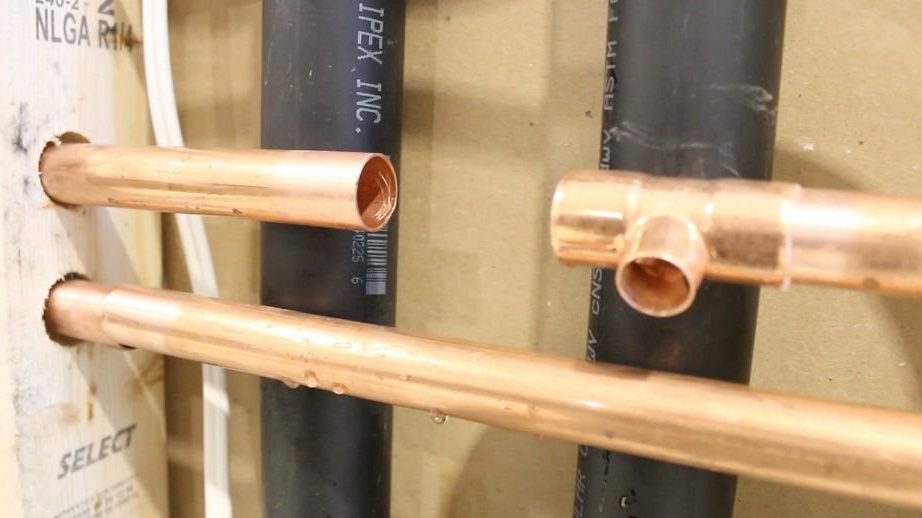
Step Three: Prepare Solder Compounds
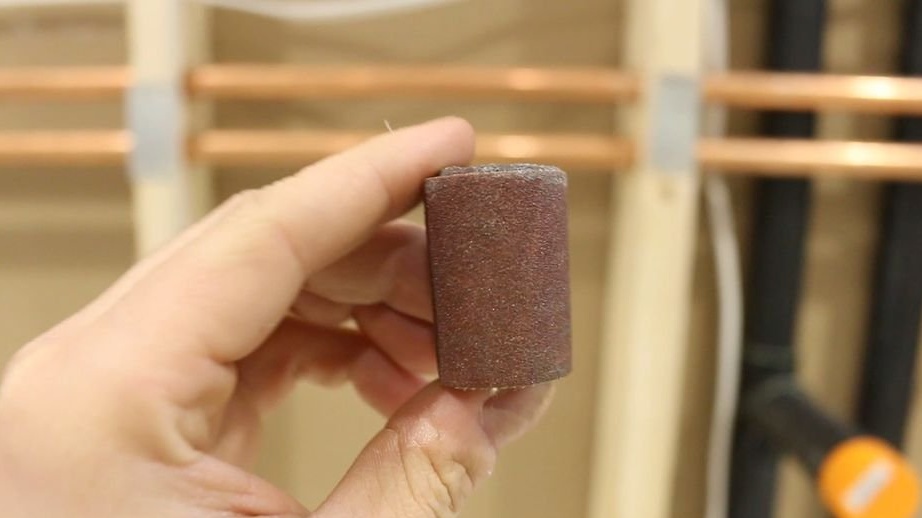
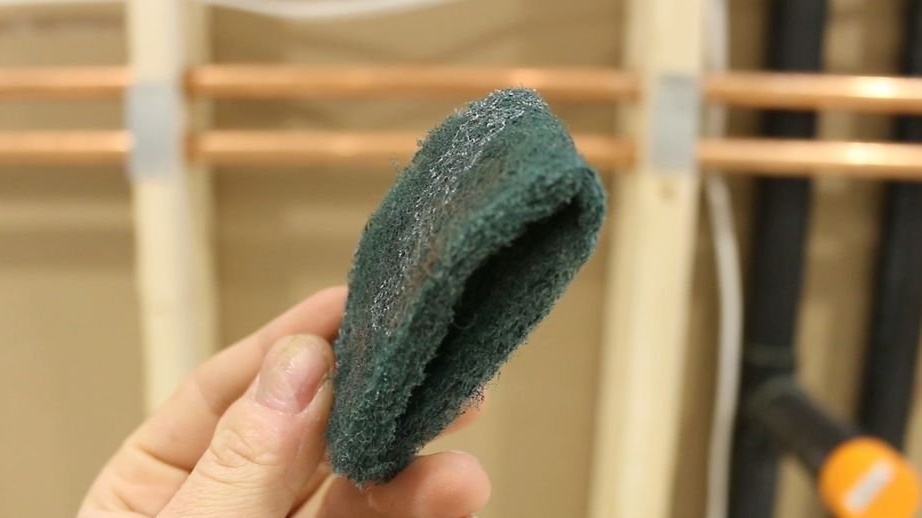
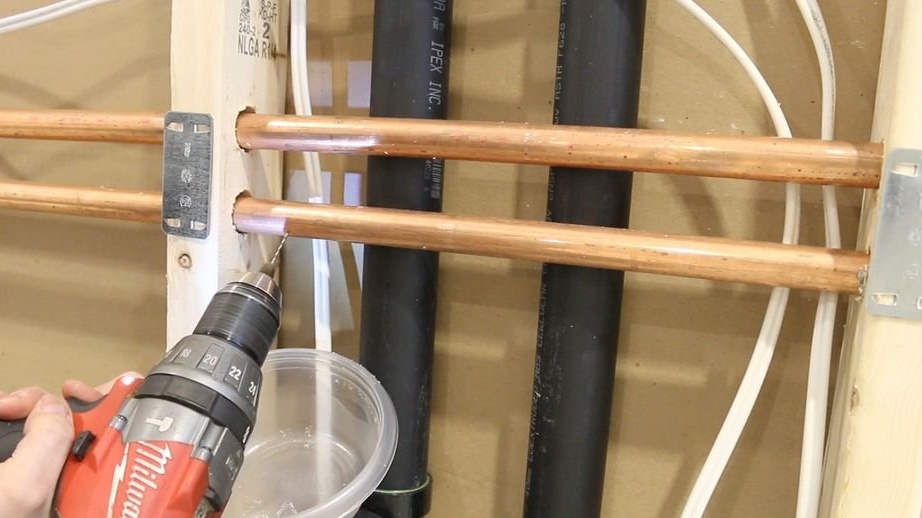
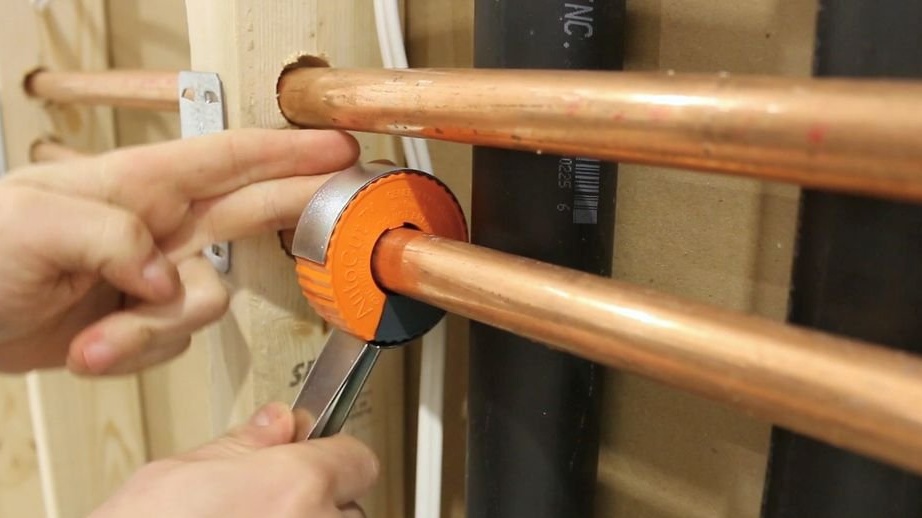
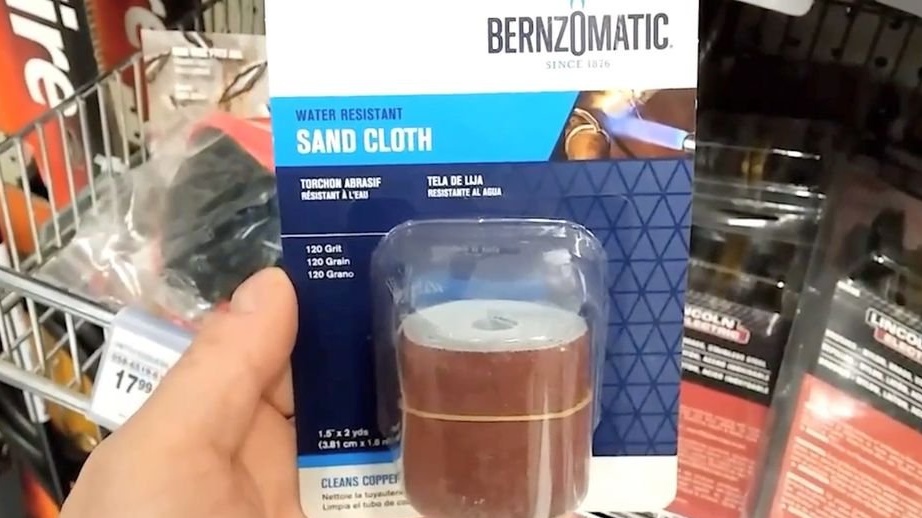
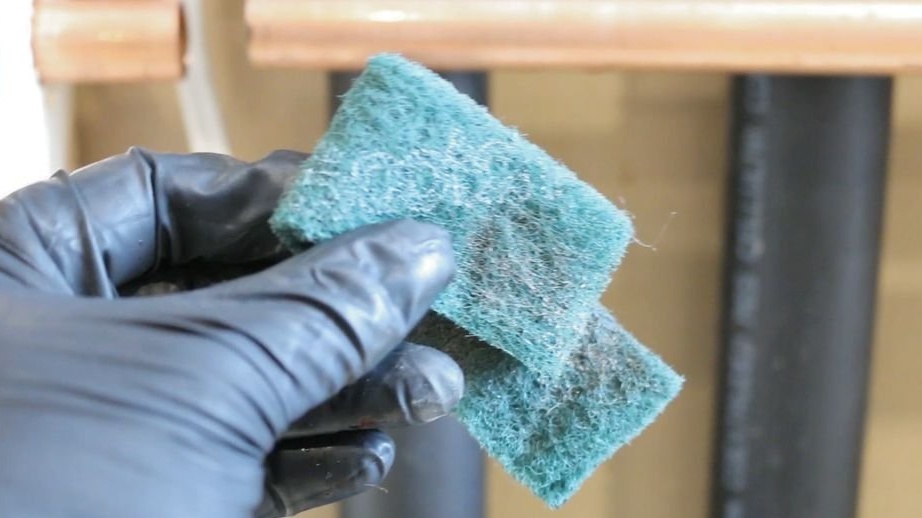
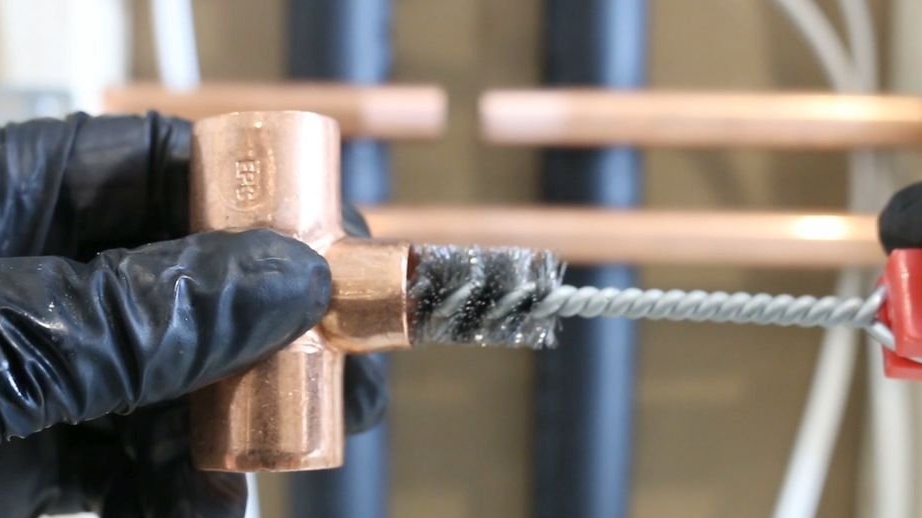
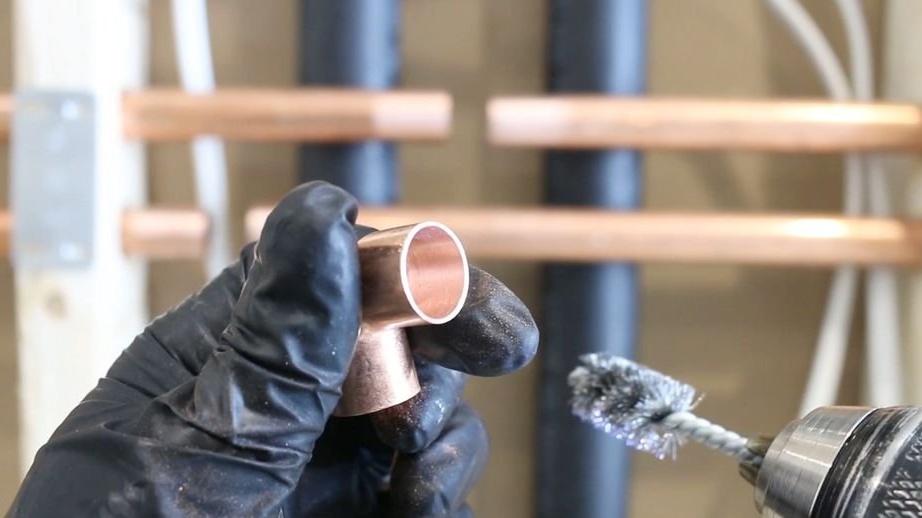
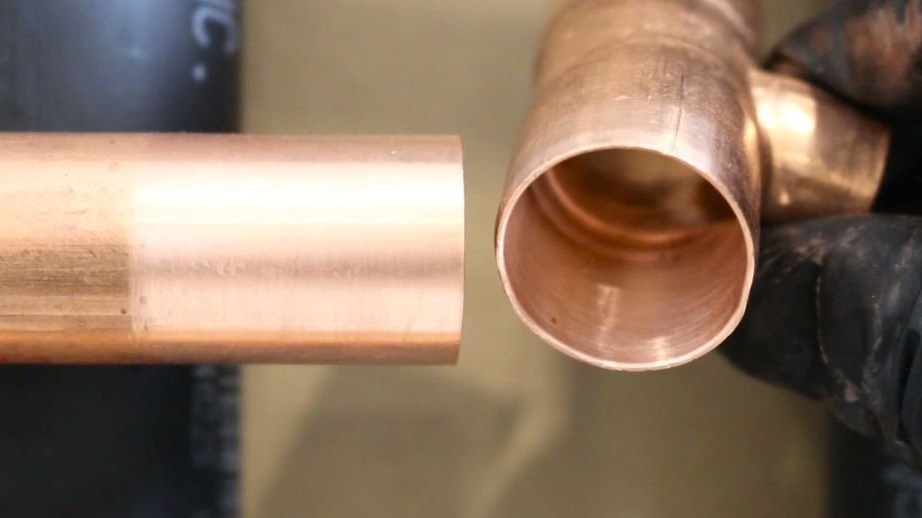
Now you need to prepare the pipes for soldering.The ends of pipes and fittings must be sanded. You can use sandpaper or a dishwashing sponge (hard side).

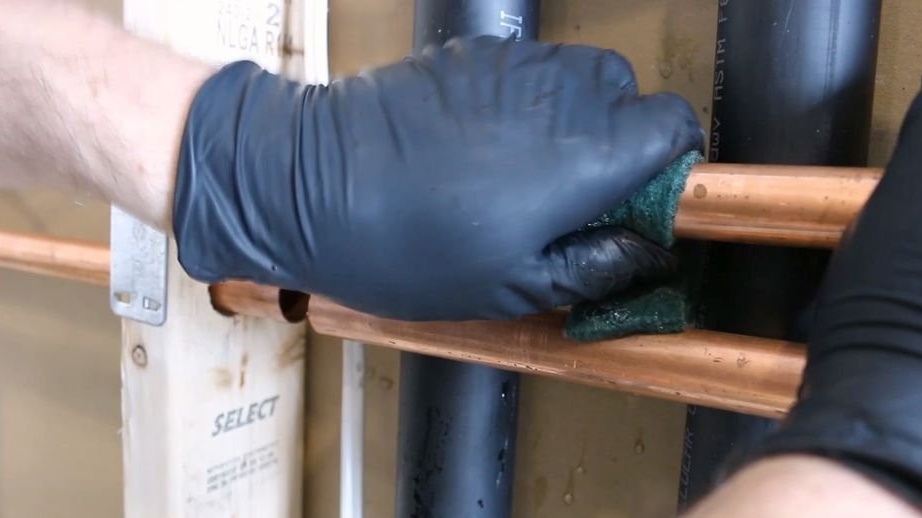
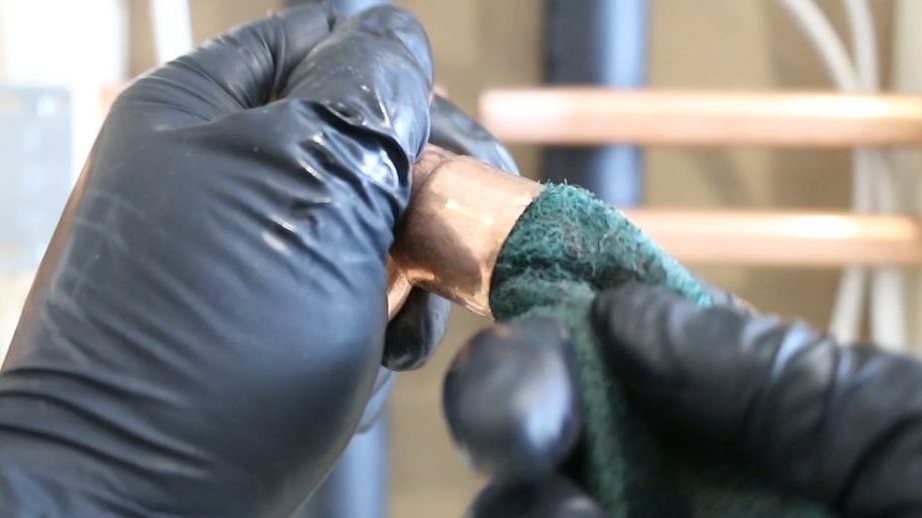
To clean the inside of the master uses a metal brush installed in the drill.

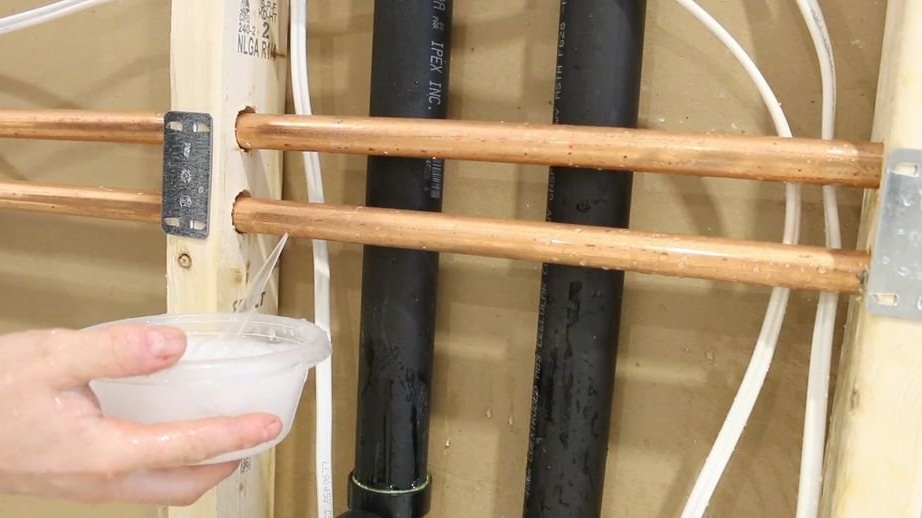
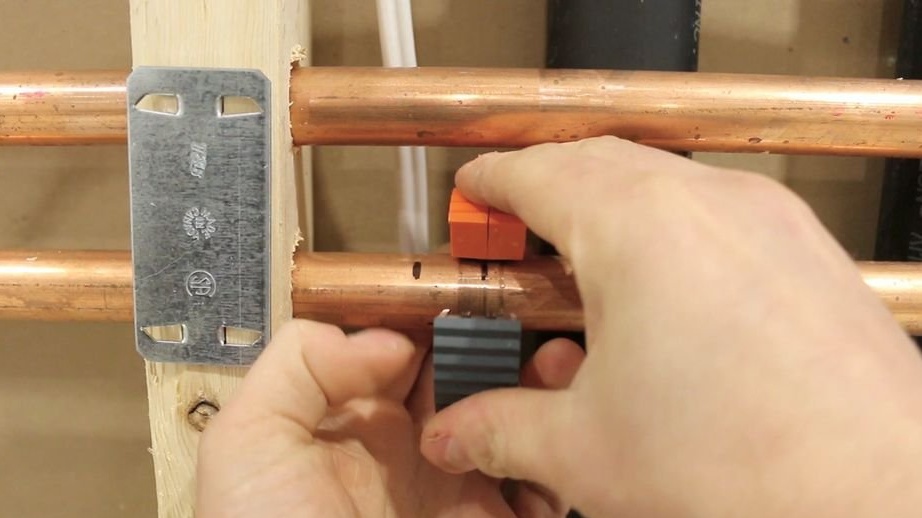
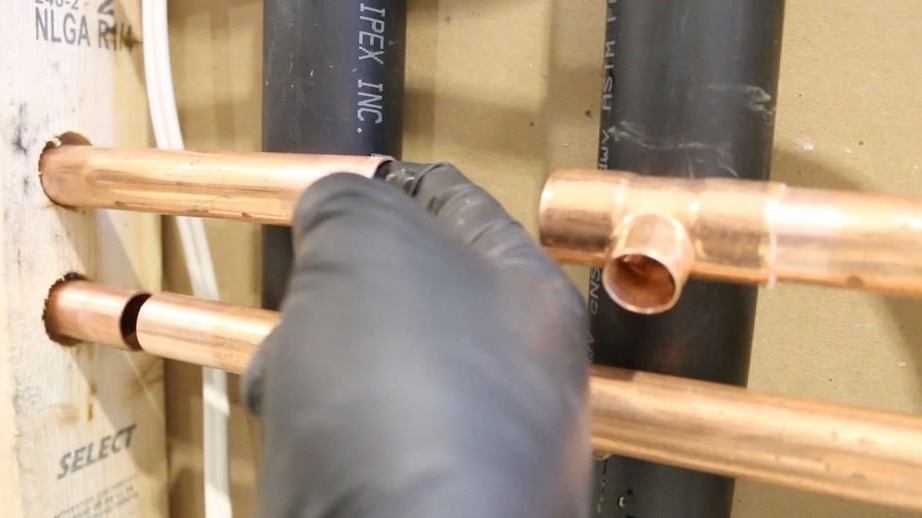
Step Four: Apply Flux
Now you need to use protective equipment.

The master once again reminds that materials with lead cannot be used for drinking water.
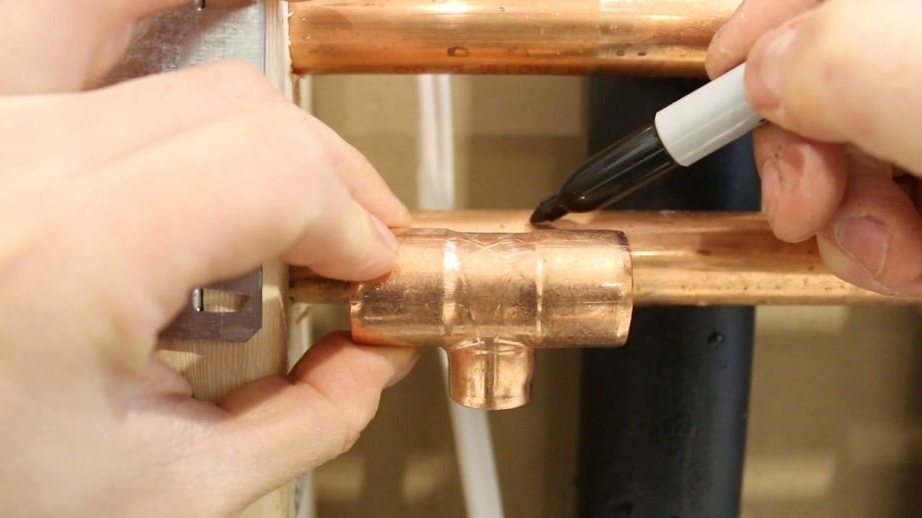
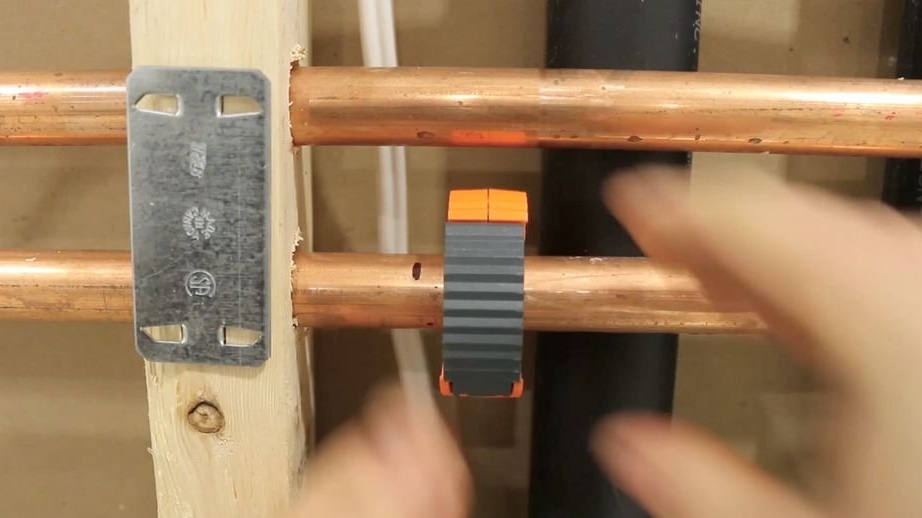
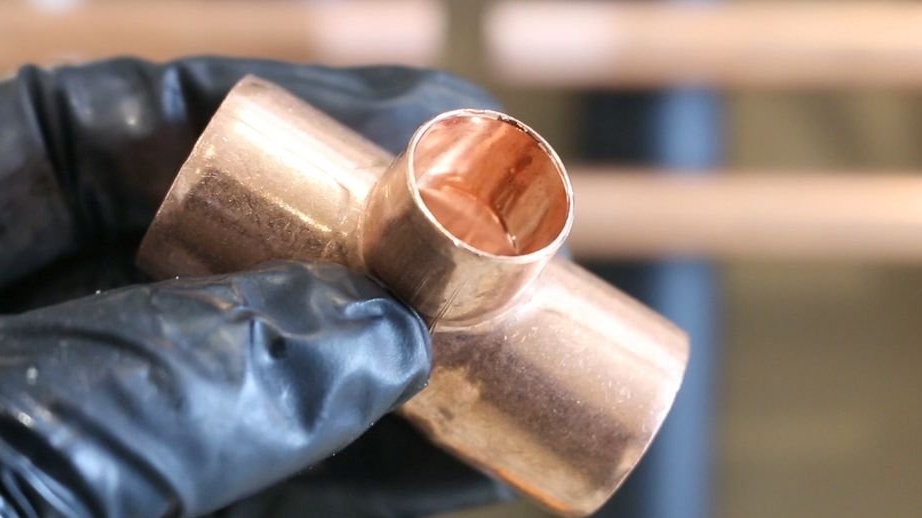
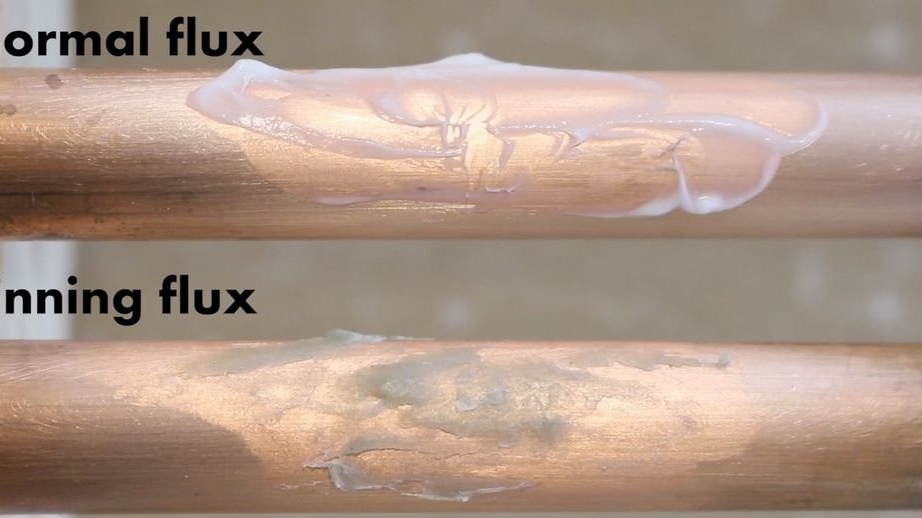
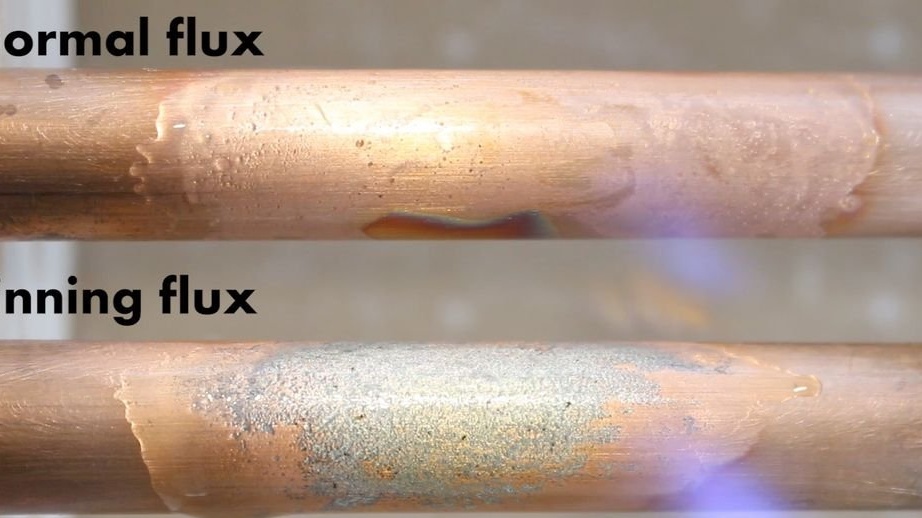
Apply flux to the connected parts.
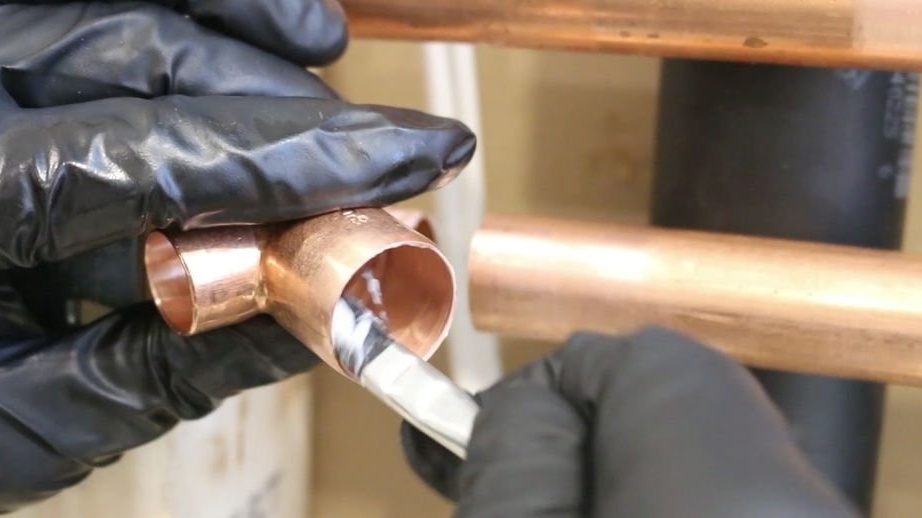
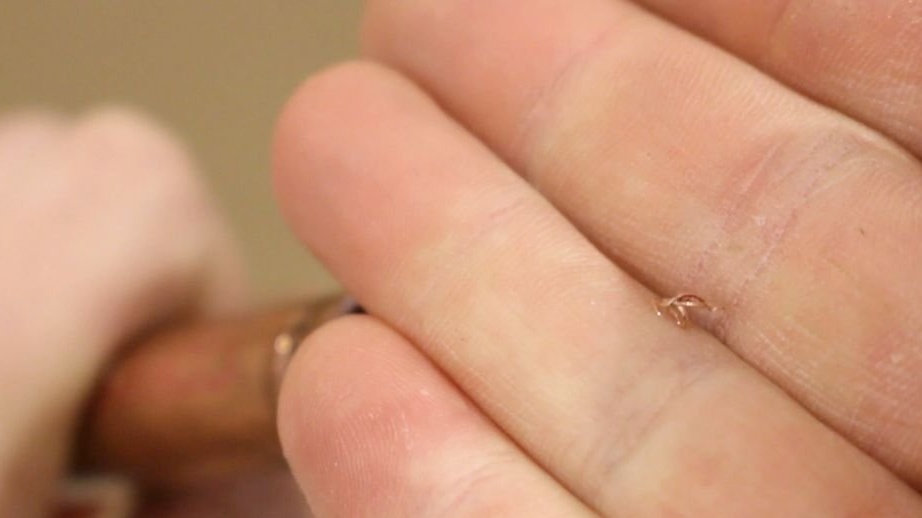
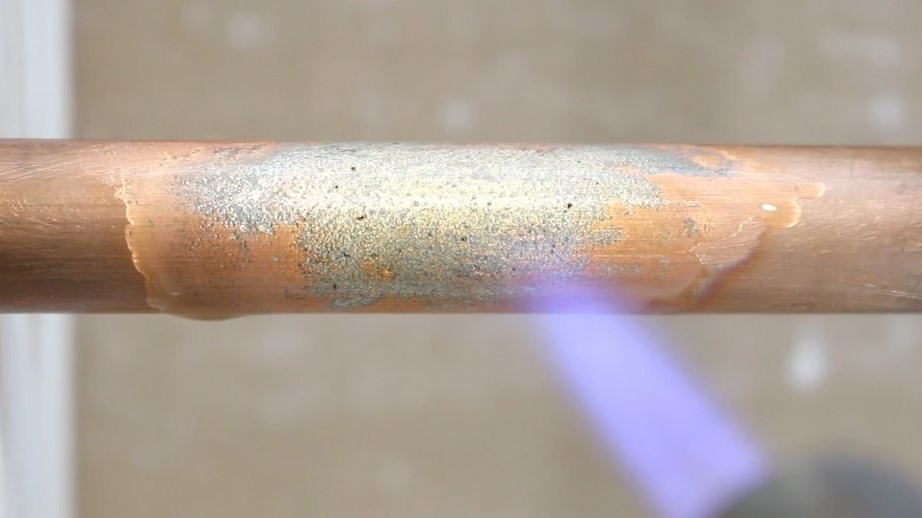
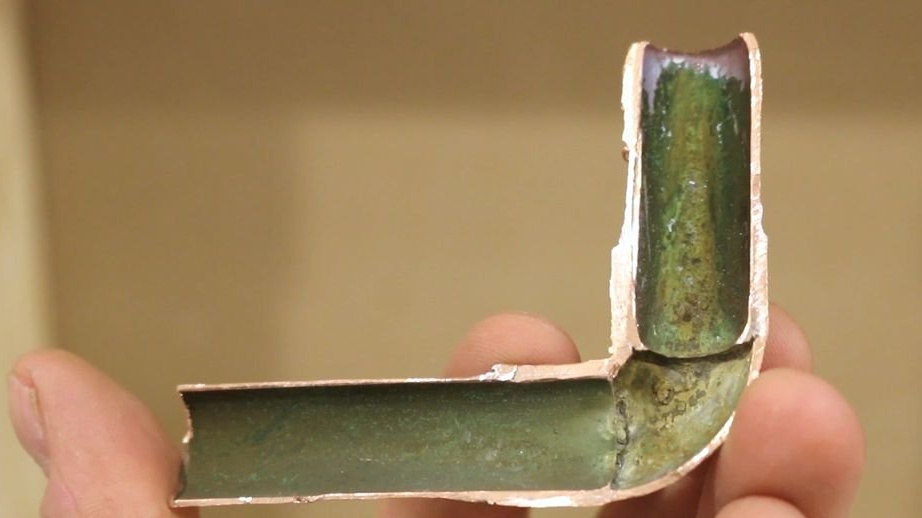
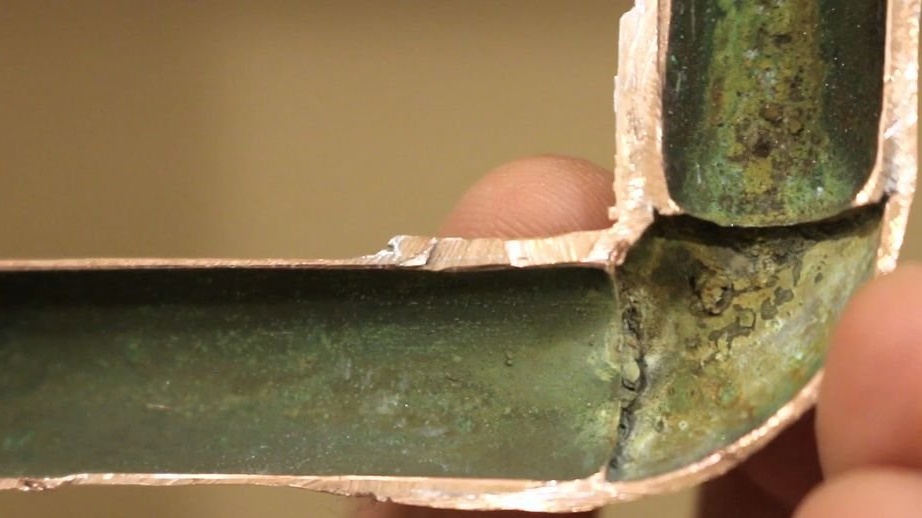
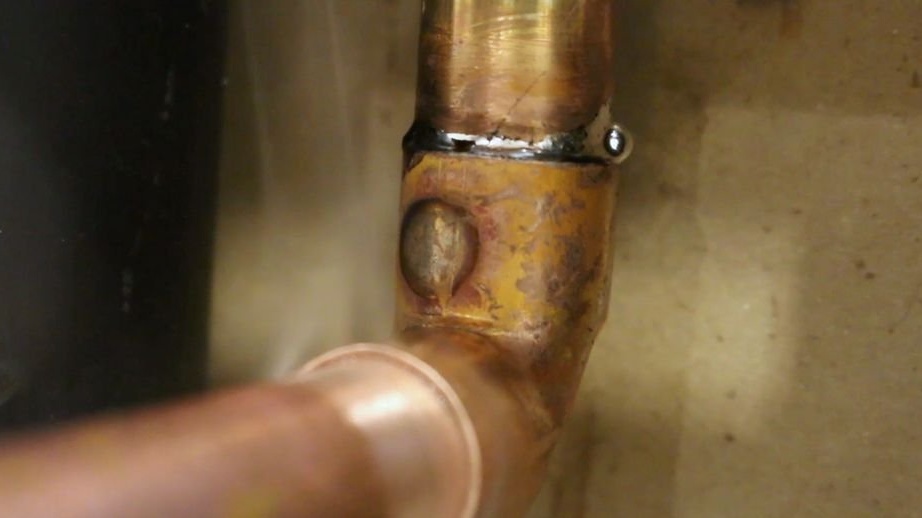
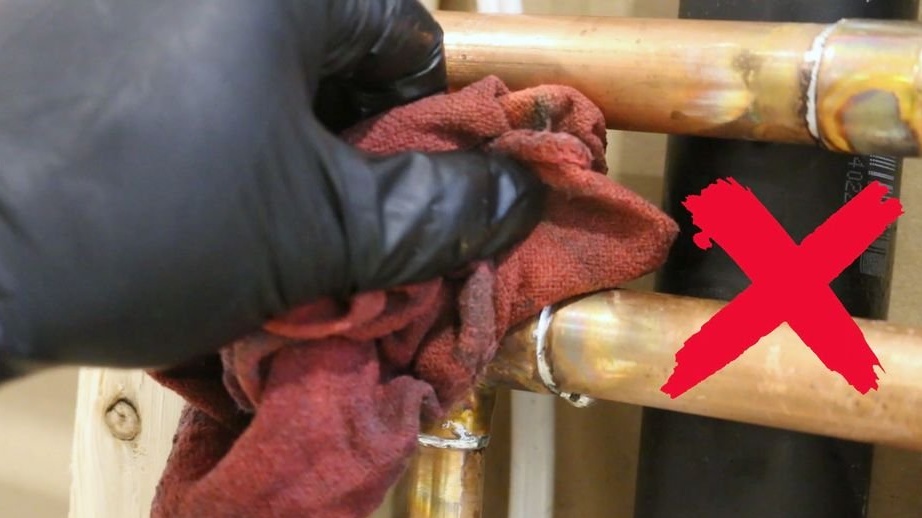
Do not apply too much flux. If there is too much of it, then, when soldering, it melts and enters the pipe. After a while, the pipe oxidizes. This is clearly visible in the latest photos. 1 week has passed since the soldering.
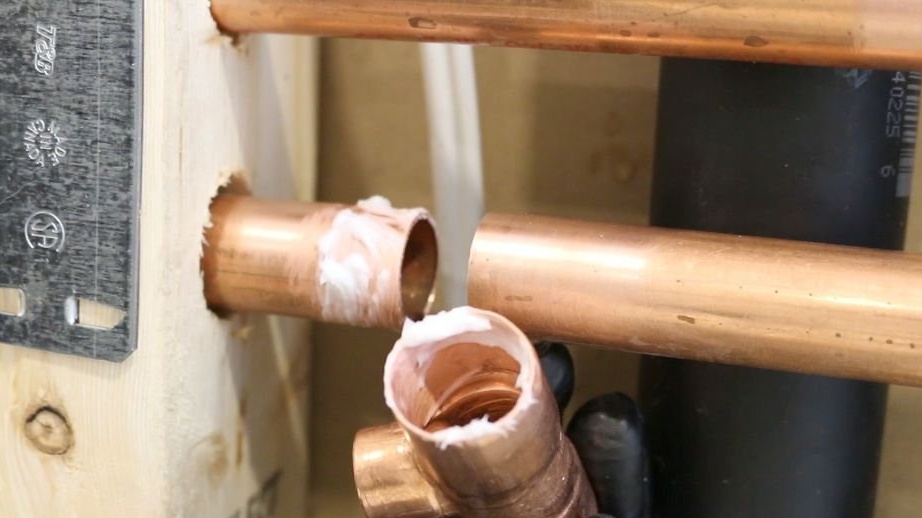
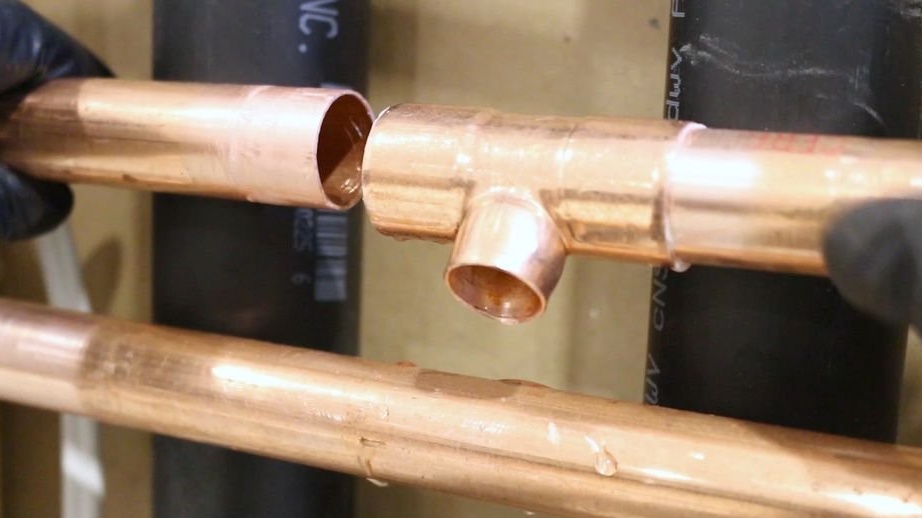
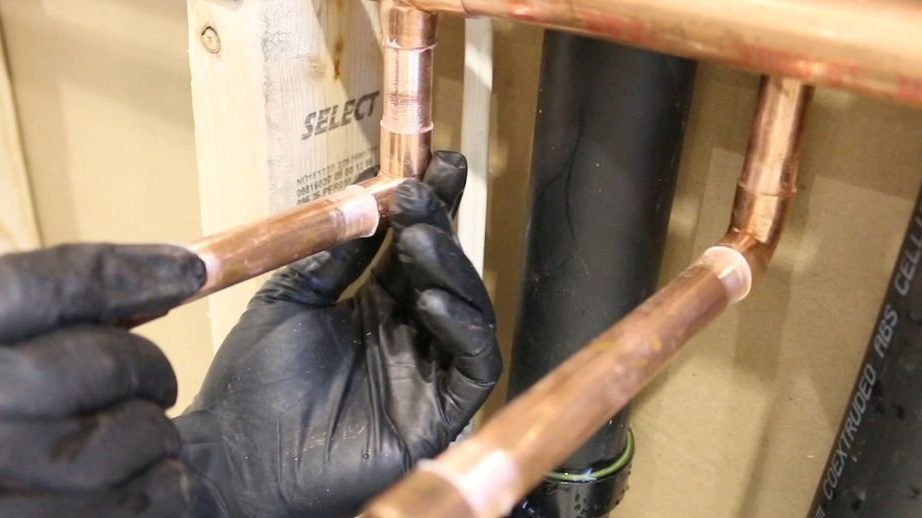
Step Five: Build
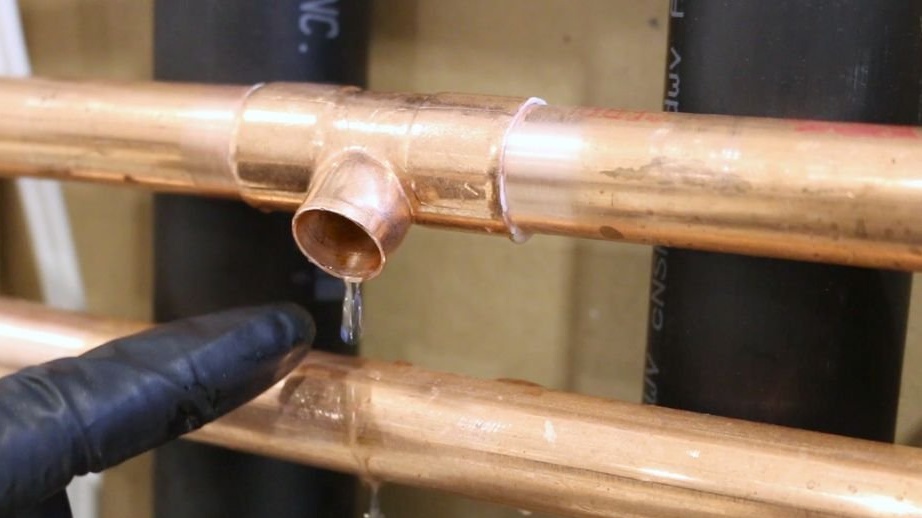
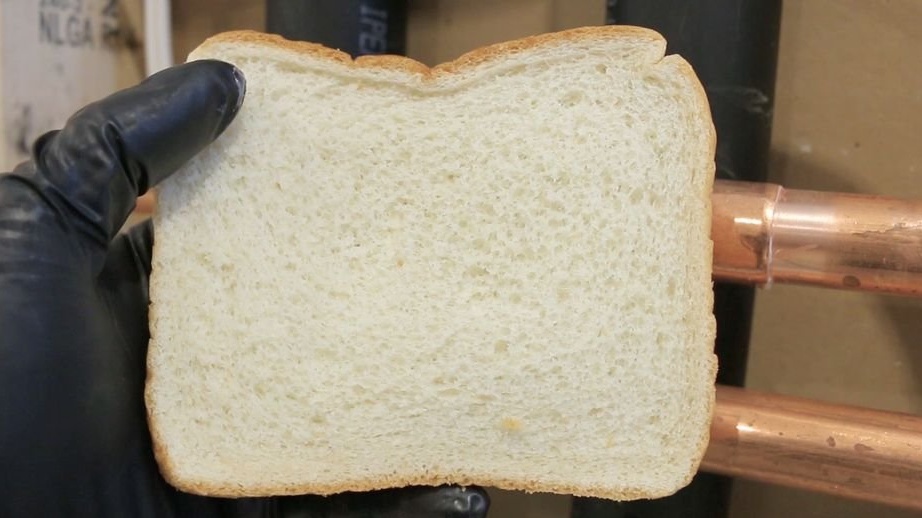
Now you need to assemble the node. After assembly, the excess flux must be wiped. If the water continues to drain from the pipes, you need to take bread, roll a ball out of it and put it into the pipe. This will be enough to eliminate the leak at the time of soldering, and then the bread will dissolve when the water is turned on.
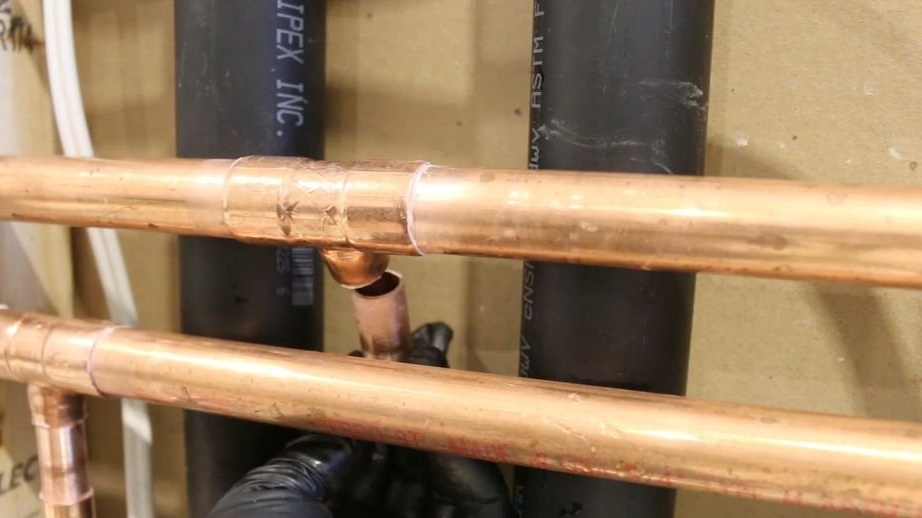
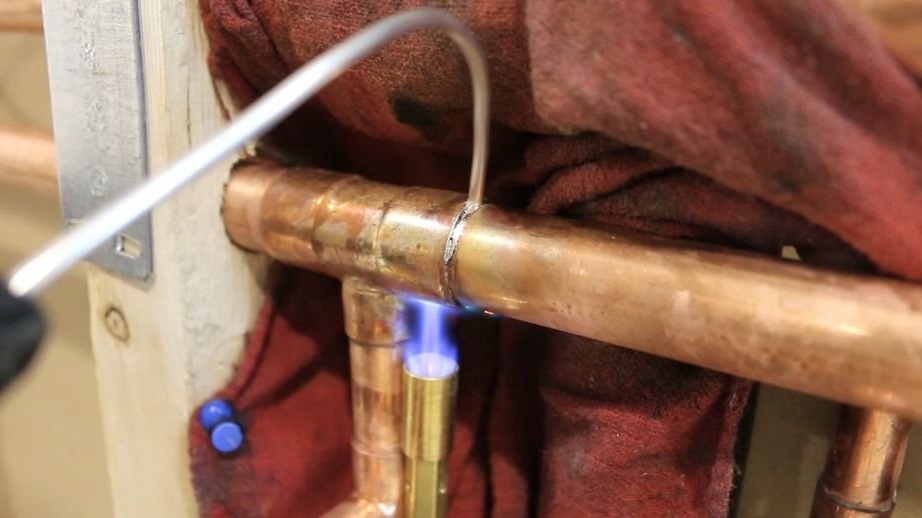
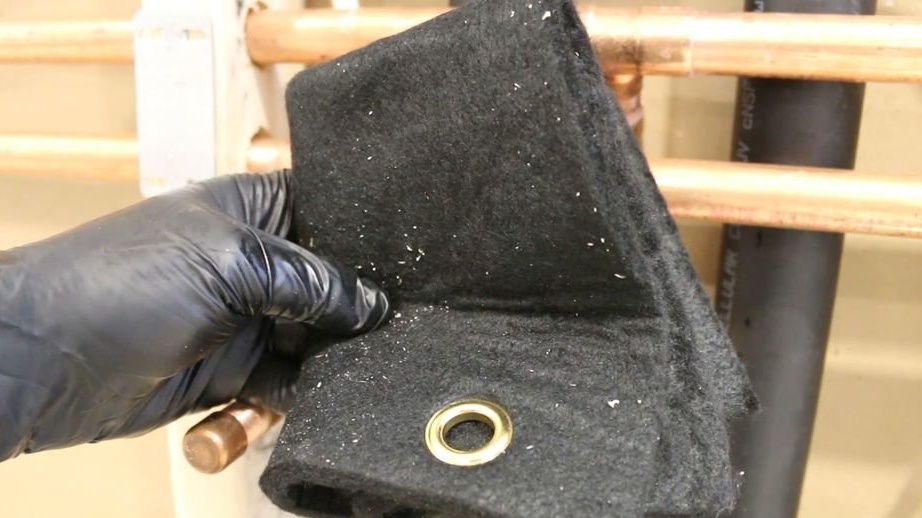
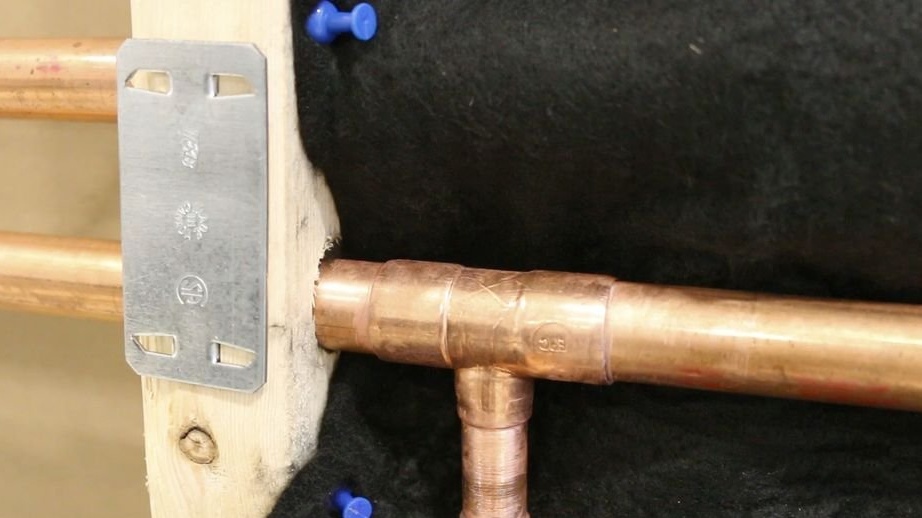
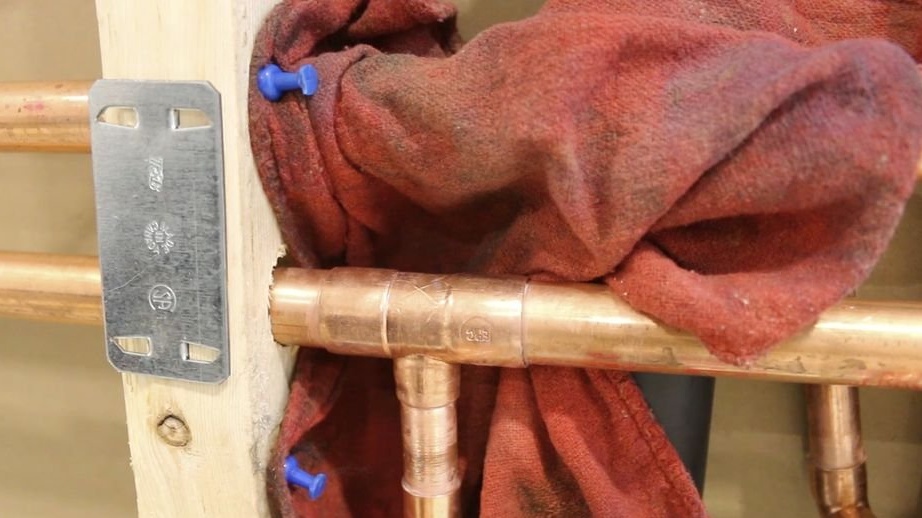
Before soldering, you need to protect combustible materials with either a special refractory material, or simply with a wet rag.
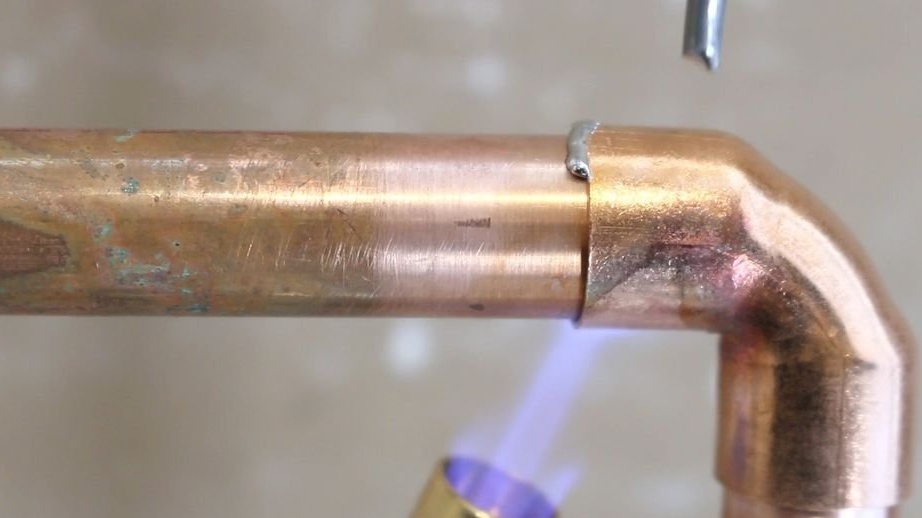
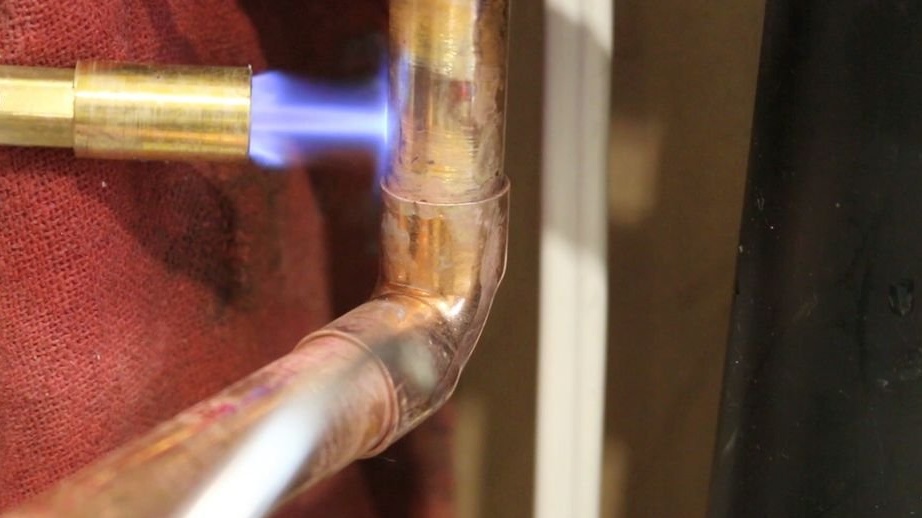
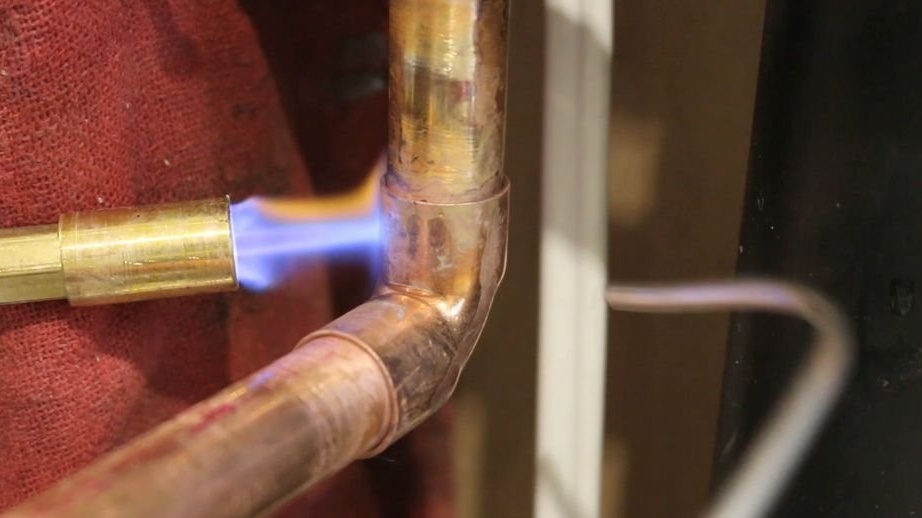
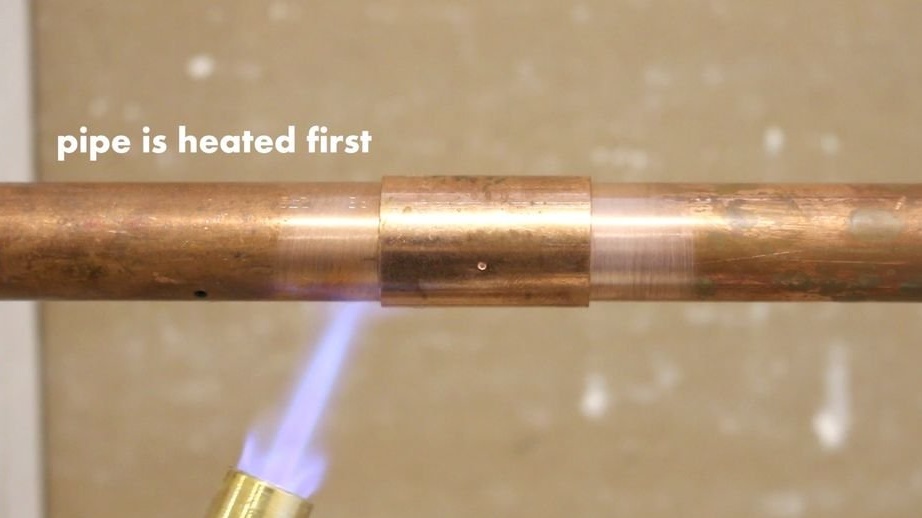
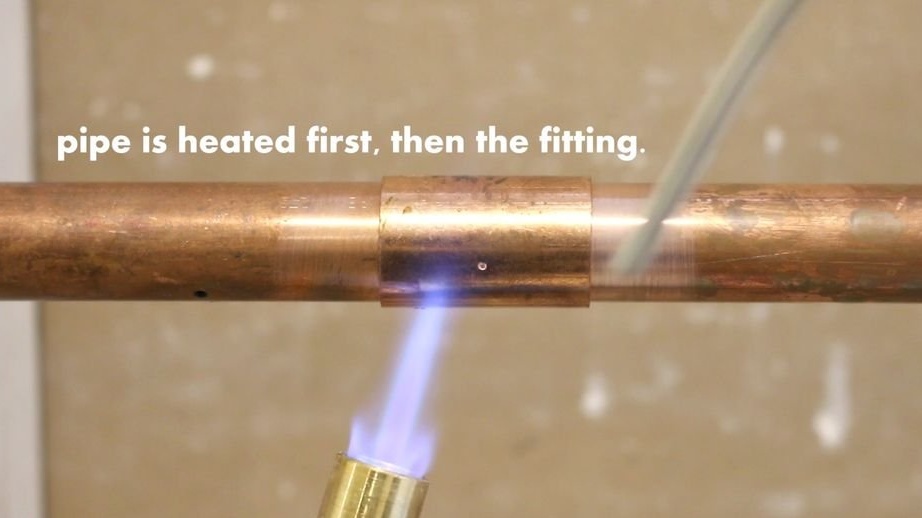
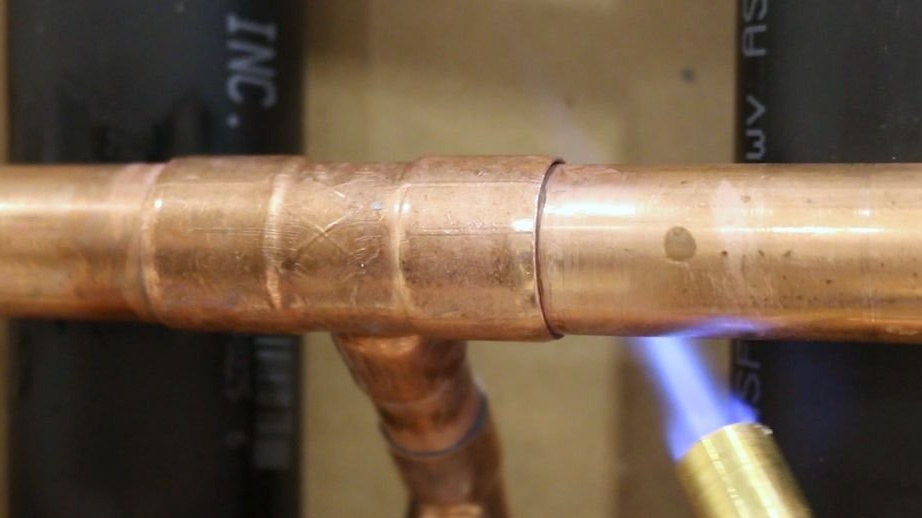
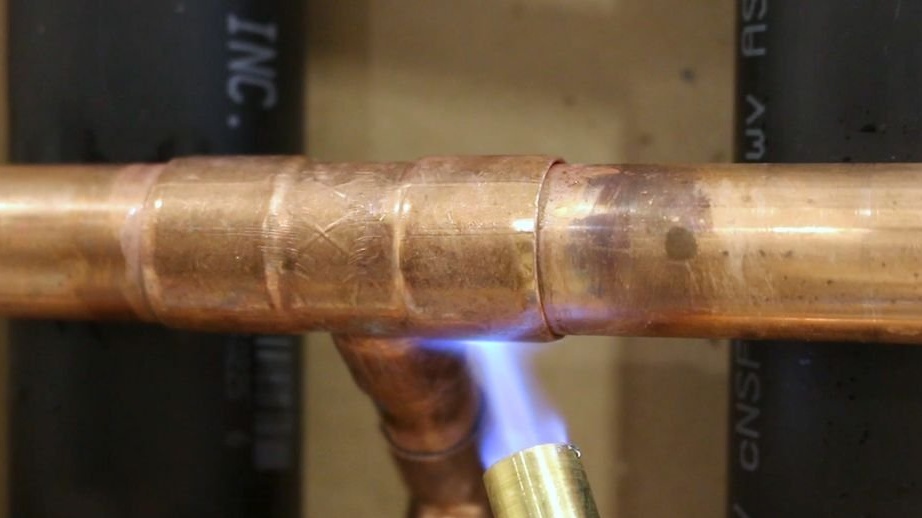
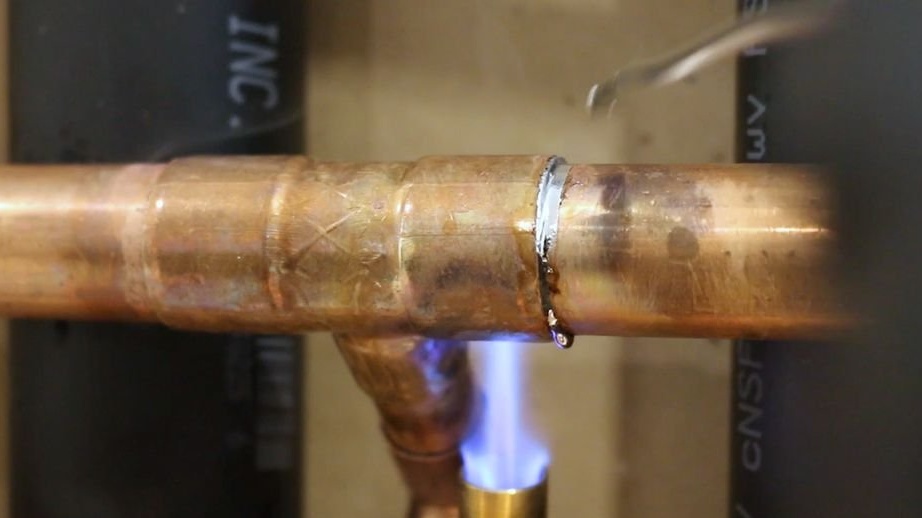
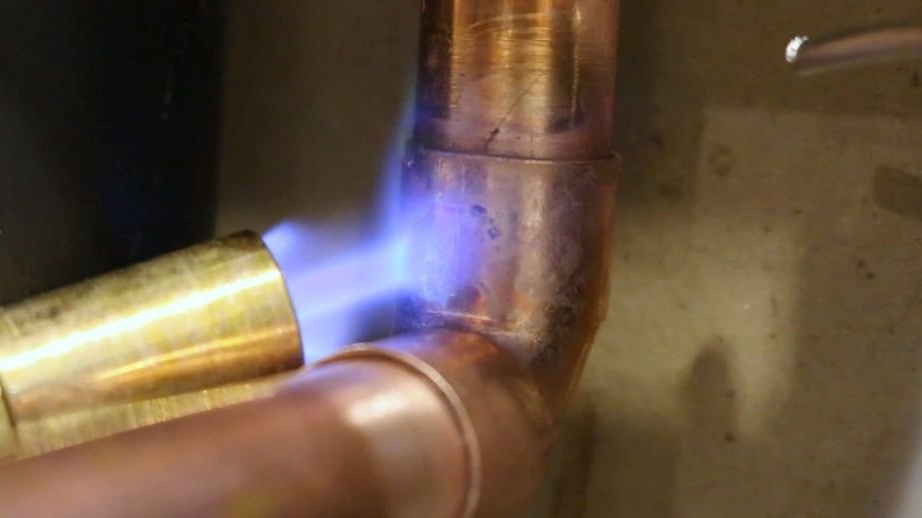
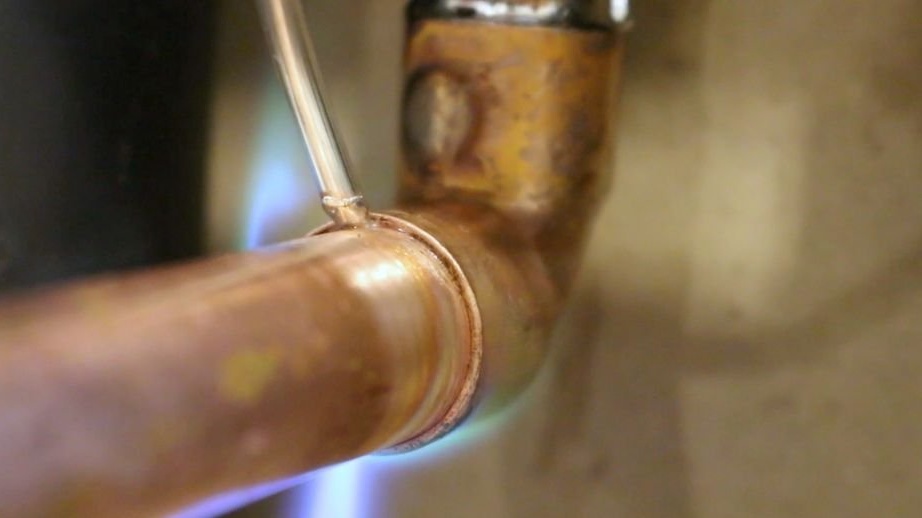
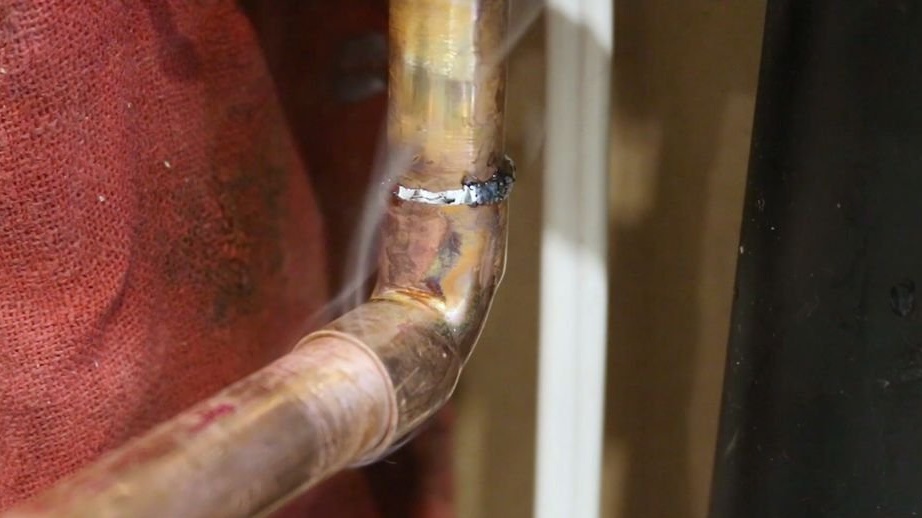
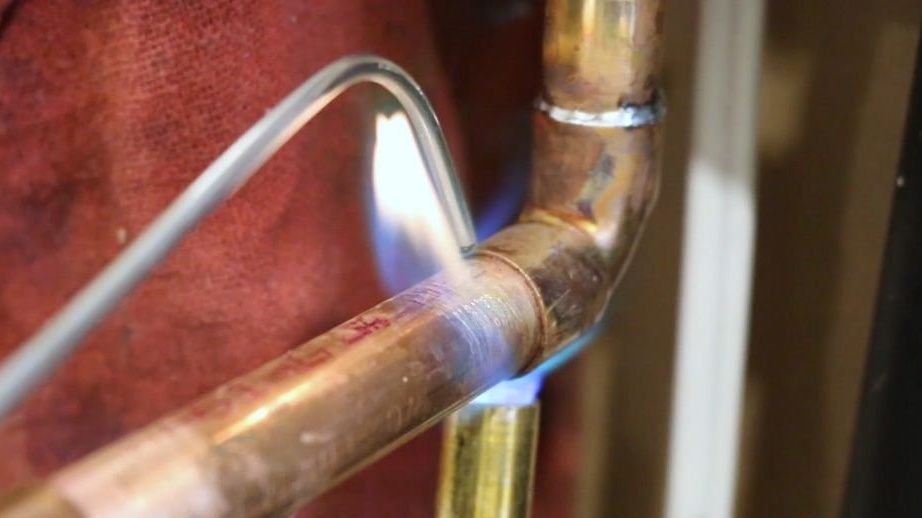
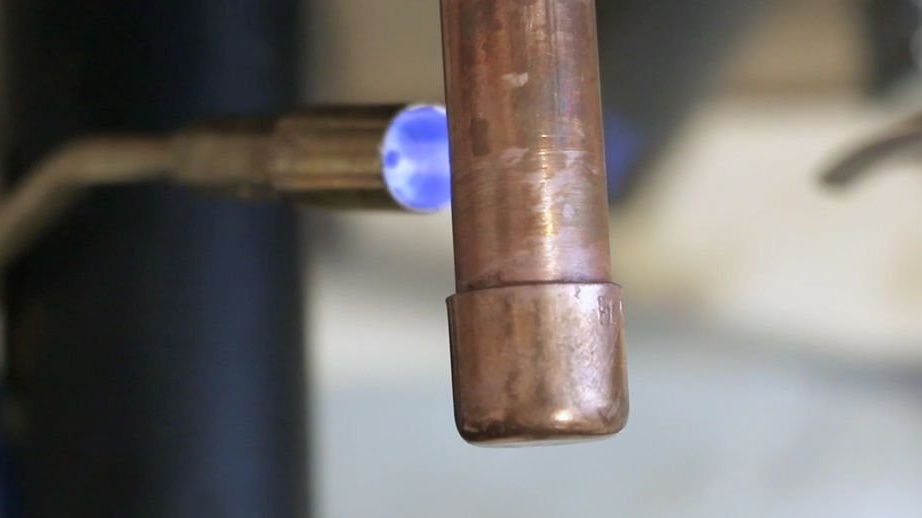
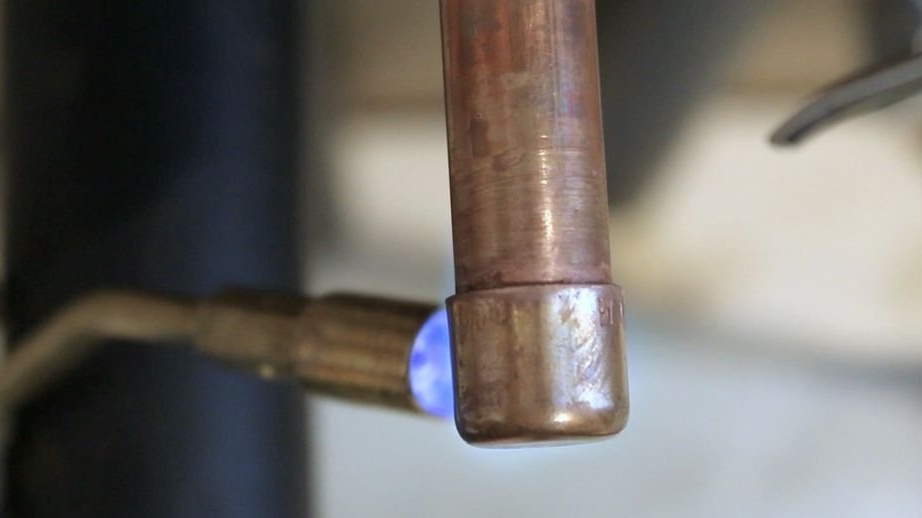
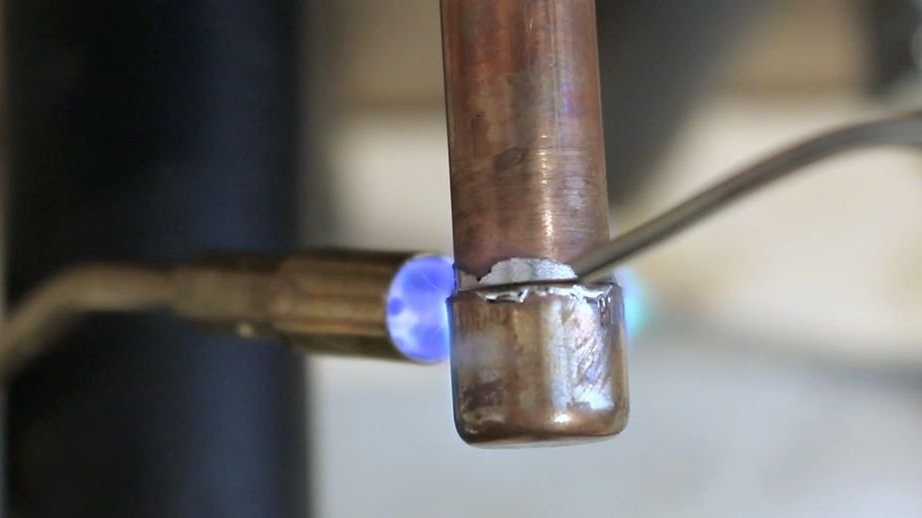
Step Six: Soldering
When soldering, first warm up the pipe for 5-10 seconds, and then heat the fitting. Burner flame must be set to medium power. Solder to the joint must be applied from the opposite side of the flame. In this case, with sufficient heat, the solder is “drawn” into the gap between the pipe fitting.
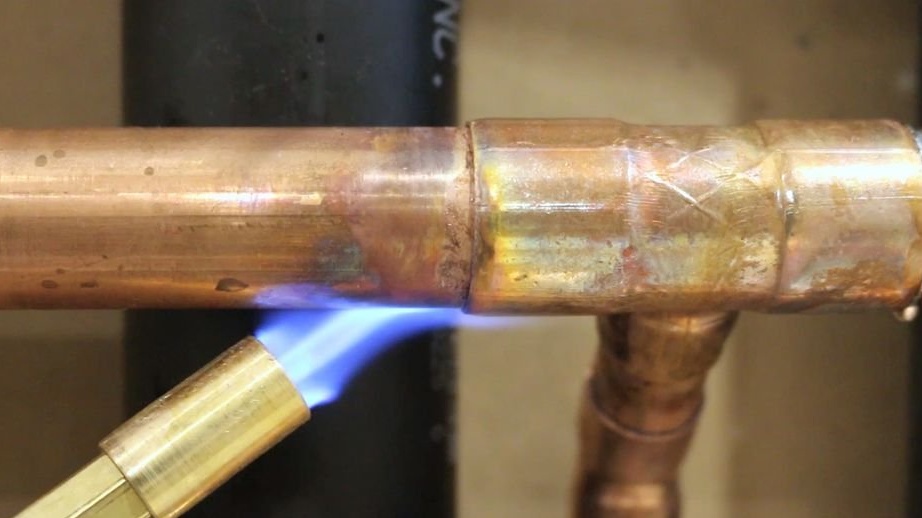
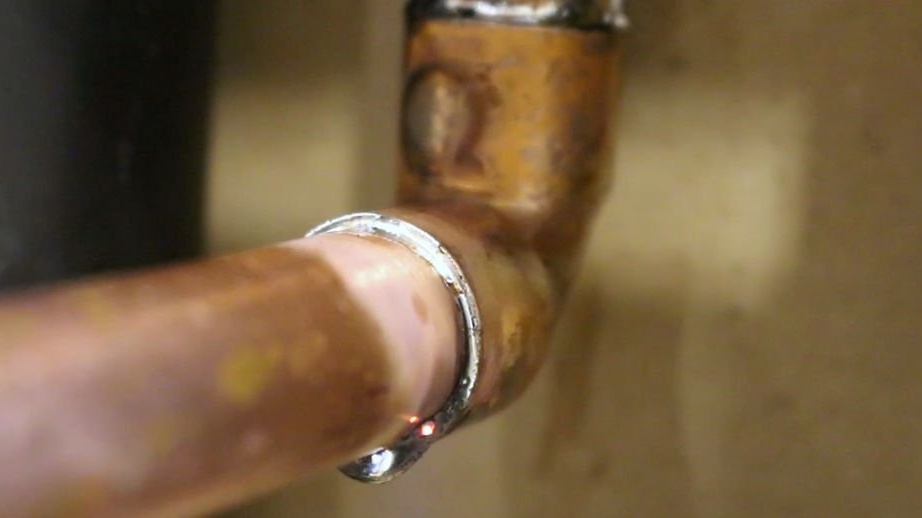
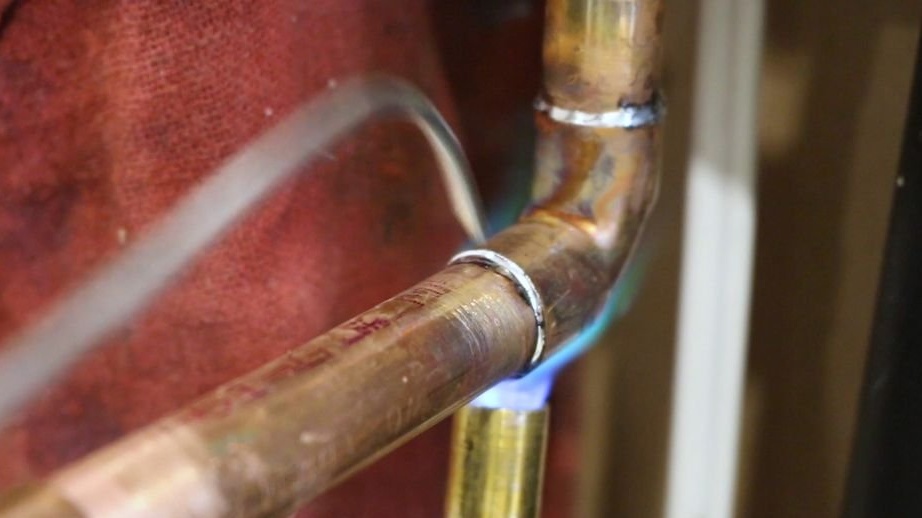
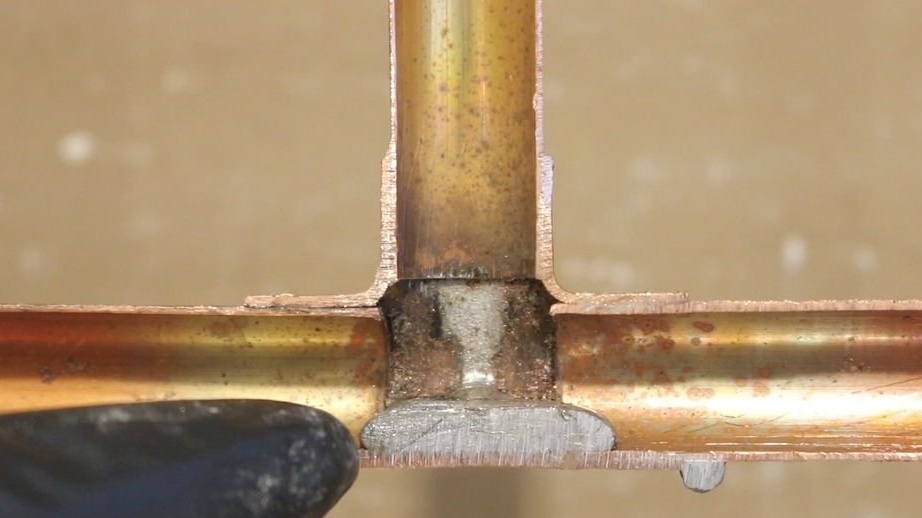
After soldering, the assembly must be naturally cooled, otherwise microcracks may form and eventually leak.
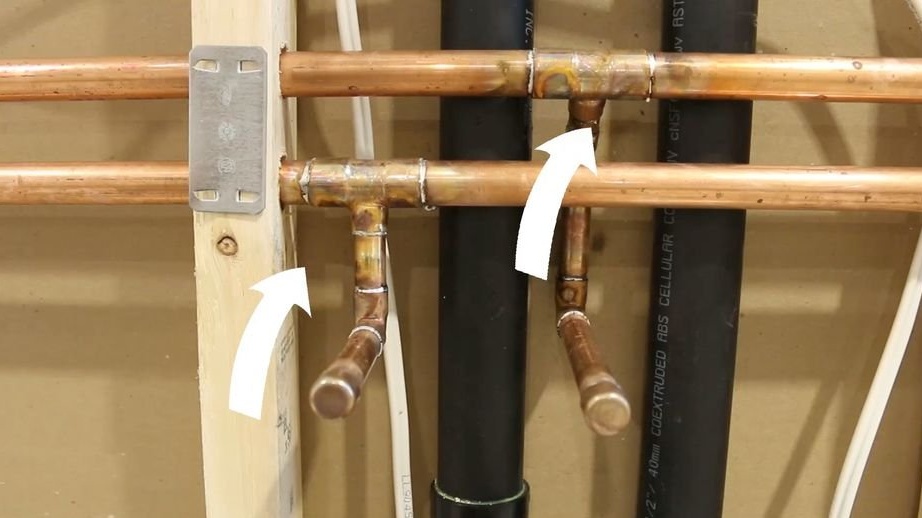
After cooling the unit, open the water tap and check the connection for leaks. If a leak is detected, you need to unsolder the unit and do the whole operation again.