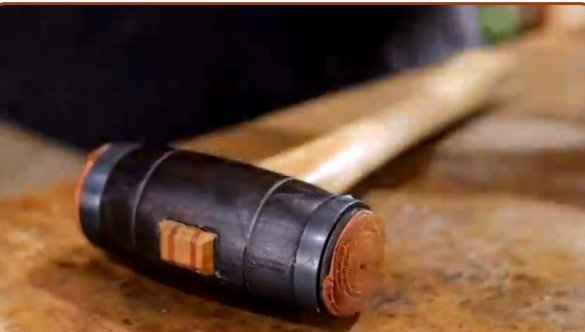
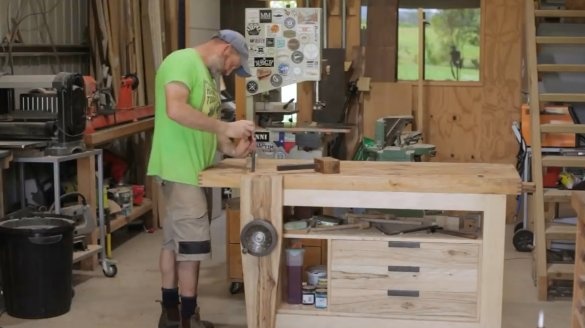
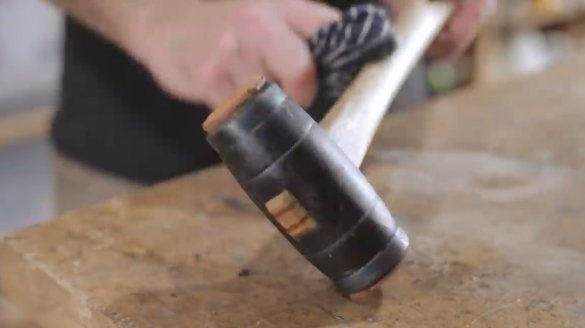
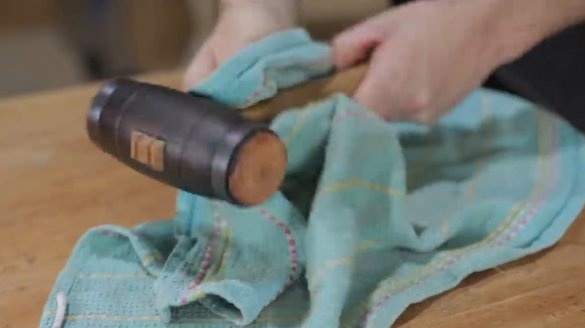
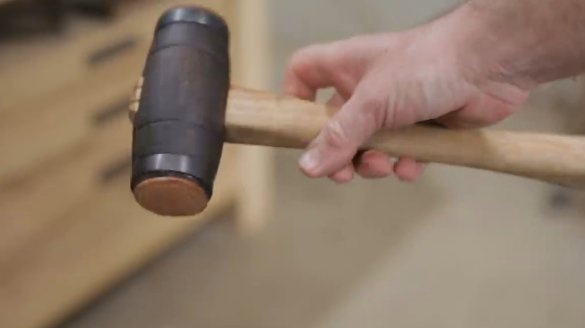
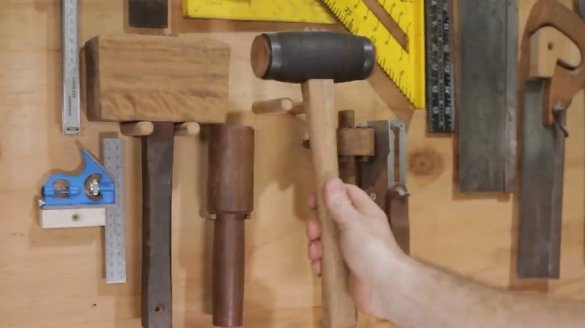
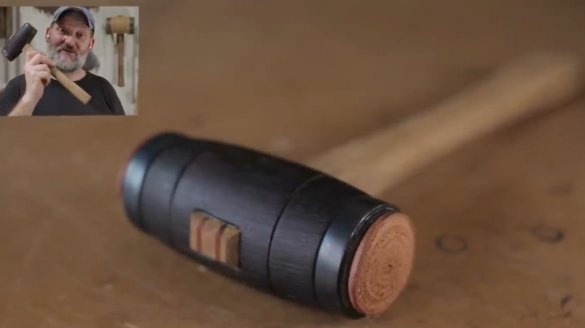
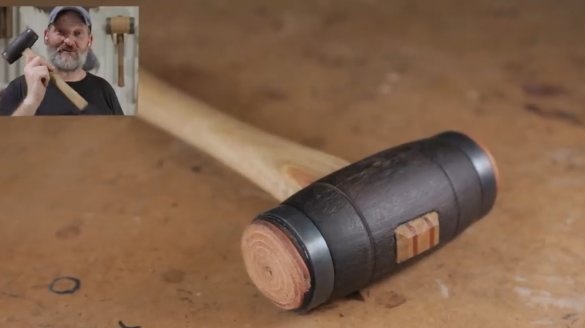
In this article, YouTube author Pask Makes tells you how to make a leather hammer with a hammer.
Materials
- Steel pipe
- Wooden beam
- Leather tape or sheet
- Washers
- Fishing weights or lead
- PVA glue
- Two-component epoxy resin
- Flaxseed oil for wood impregnation
- Wax.
Instruments, used by the author.
- Gas-burner
- A circular saw
- Band-saw
- Lathe
- Marking planer
- Hacksaw for wood
- Forstner drills
- Anvil
- Belt sander
- Files, chisels, clamps, clamps
- Joiner's knife, planer
- Goniometer, square, ruler, pencil.
Manufacturing process.
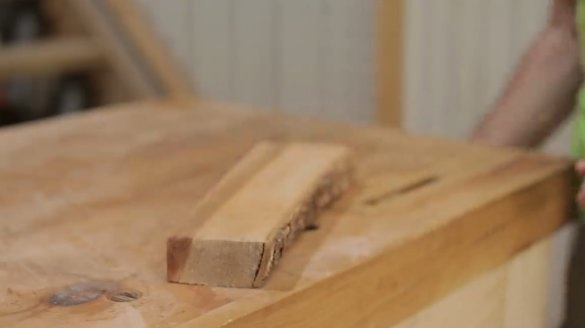
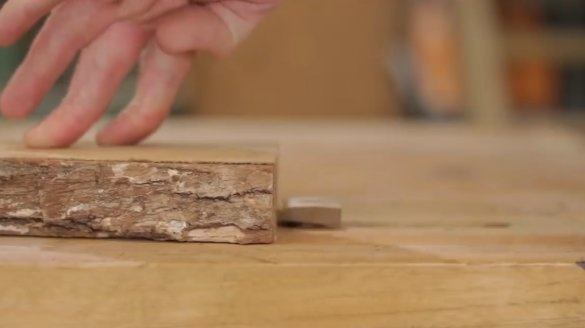
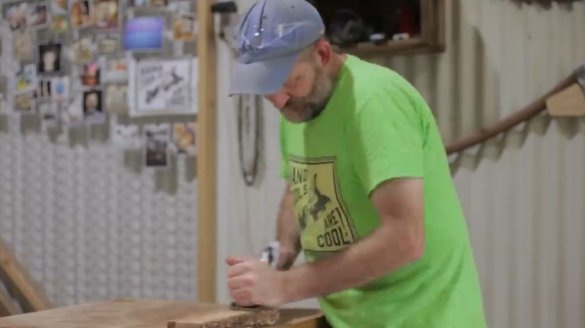
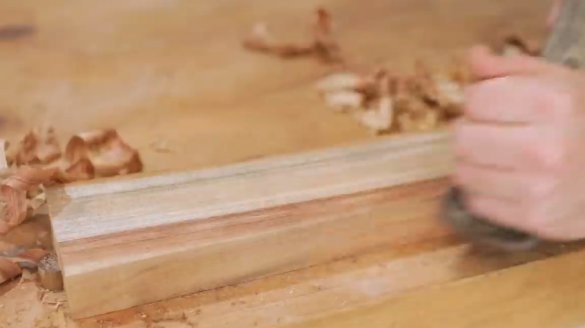
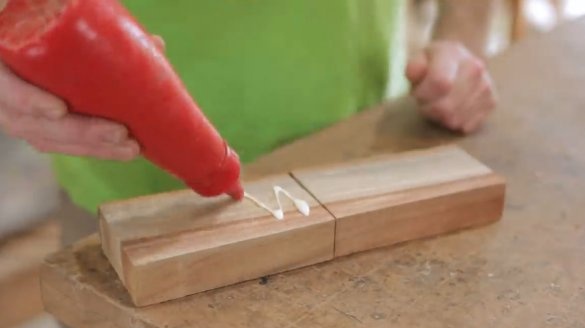
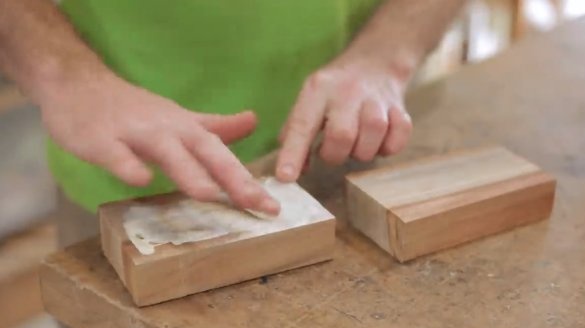
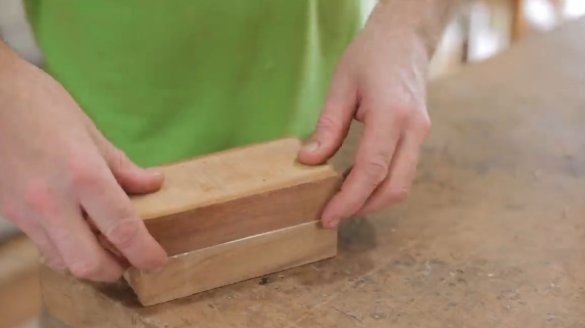
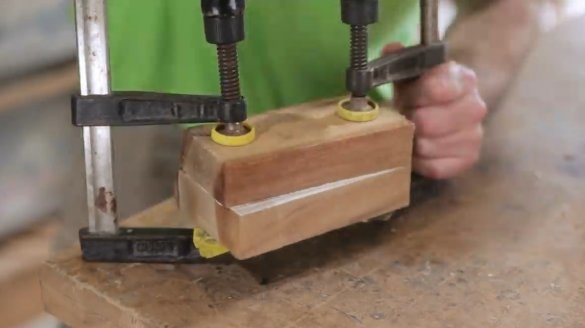
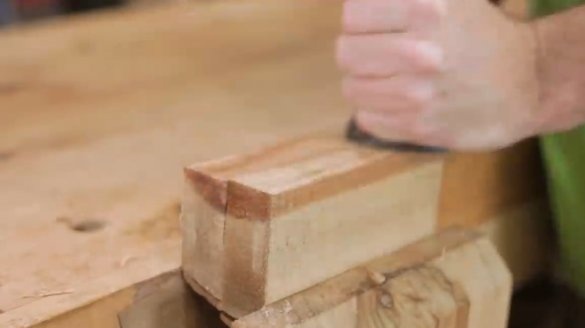
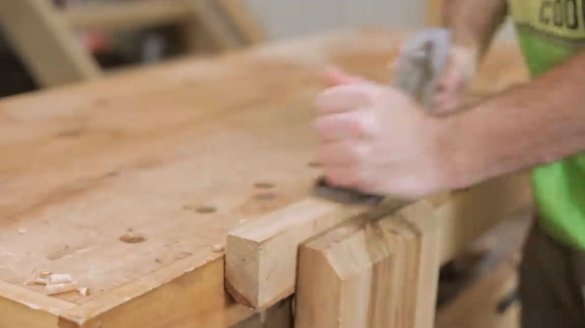
The wooden log block master fixes on a workbench. Then it is processed with a manual planer, cut in half, and glues both parts together by tightening them with clamps.
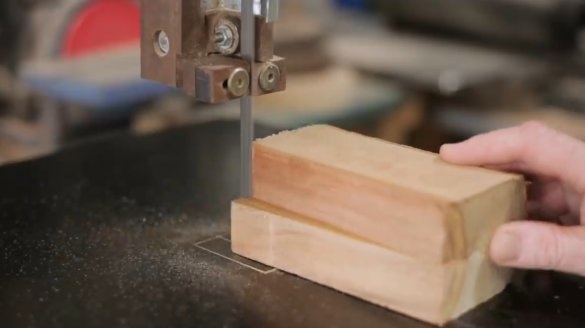
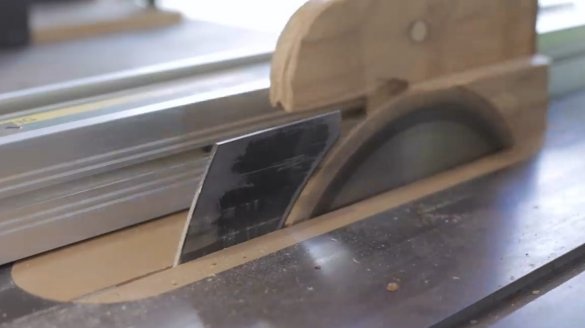
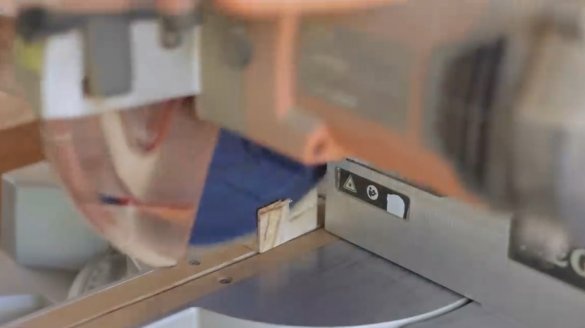
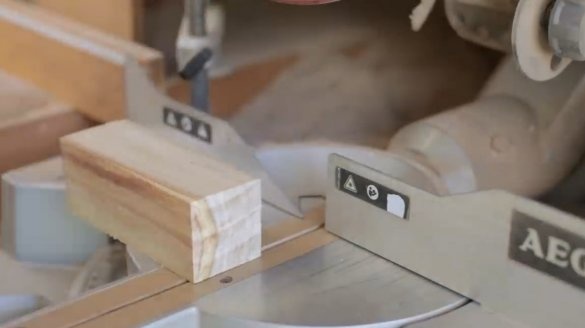
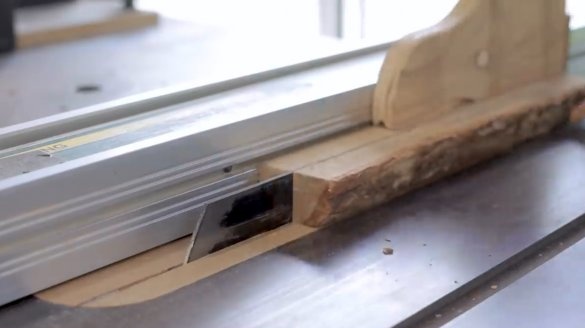
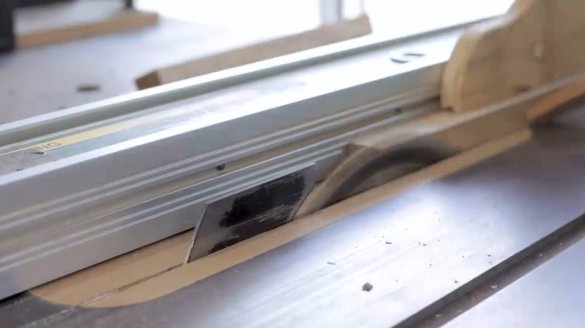
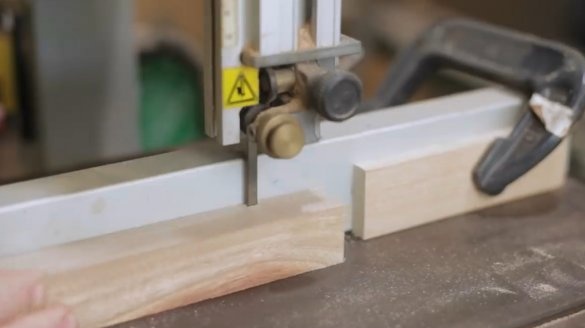
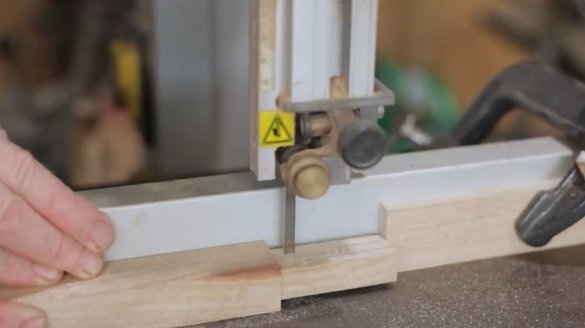
After the glue dries, it aligns the bar on the band saw. And then it gives it the final shape of a box on a circular and miter saw.
From an elongated beam, the author grinds the handle of a future hammer.
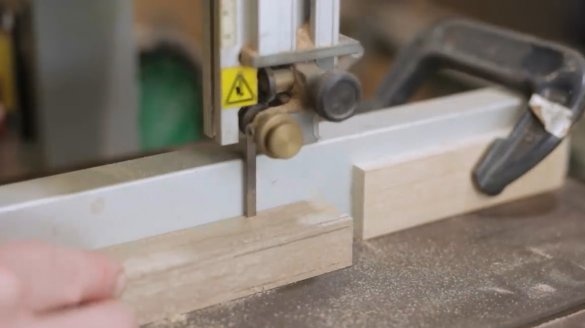
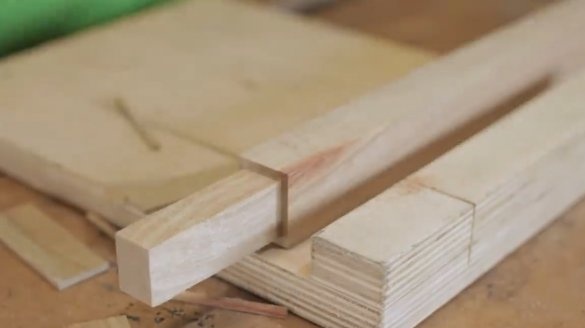
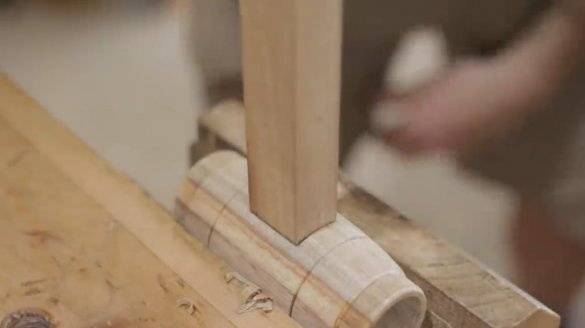
By making symmetrical cuts on the perimeter at one of its ends, he removes the excess wood with a hacksaw. As a result, a spike is formed, on which the hammer head later “sits”.
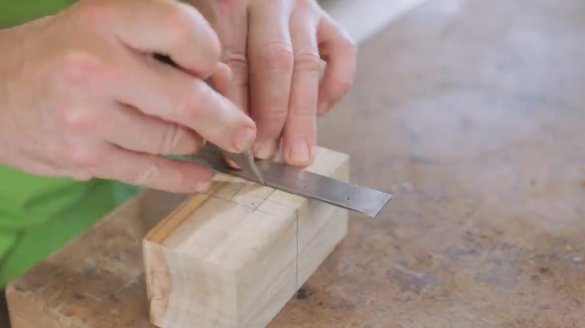
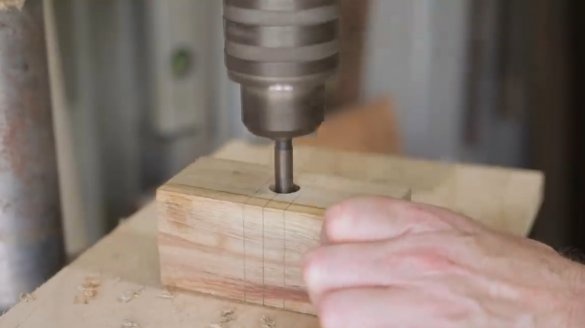
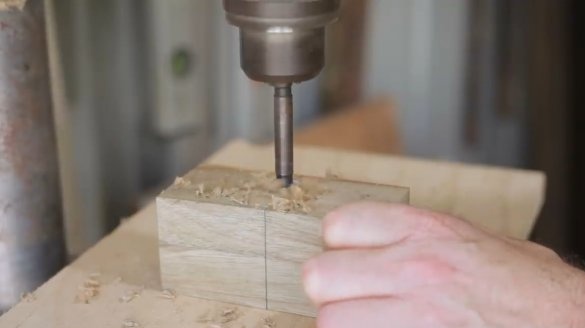
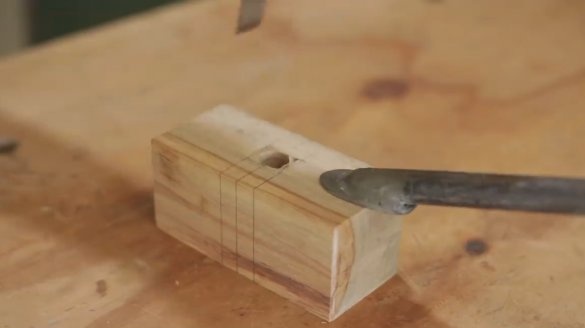
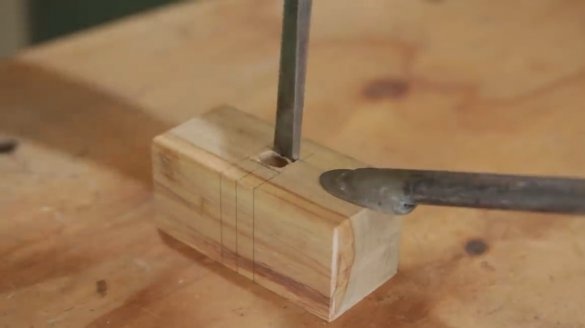
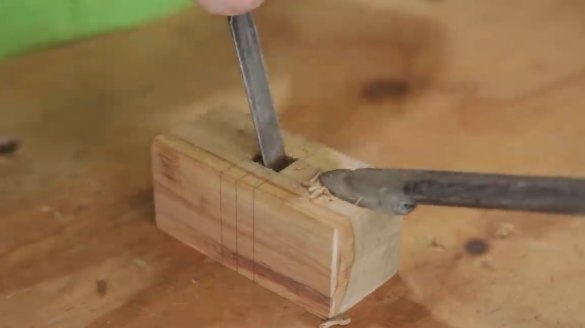
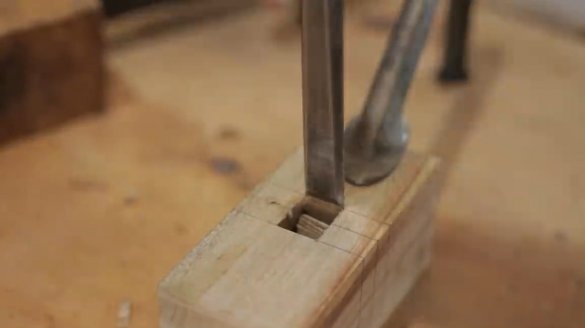
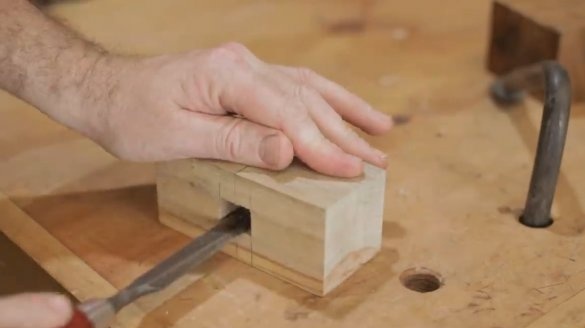
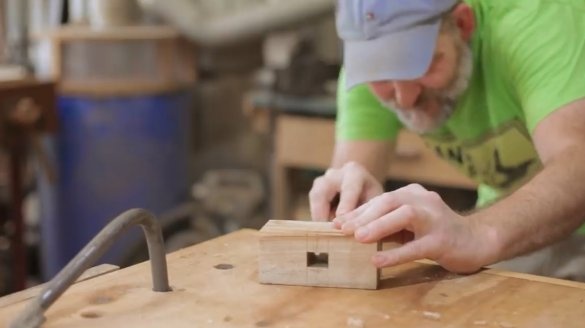
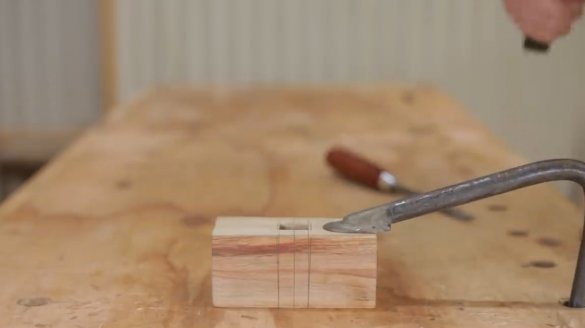
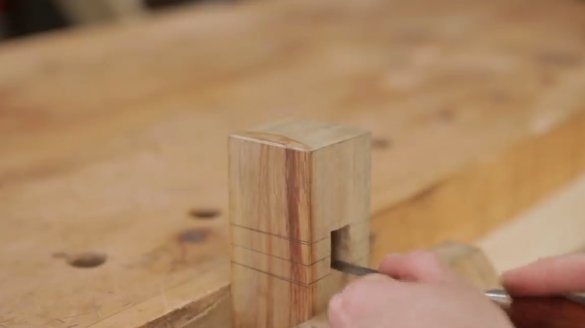
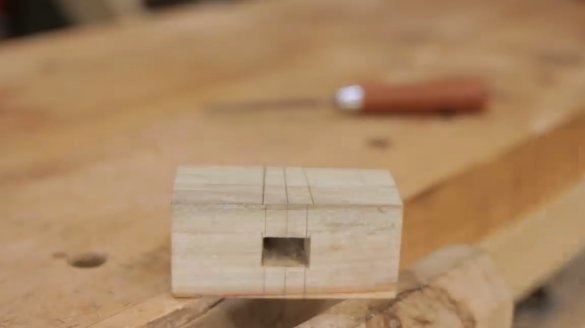
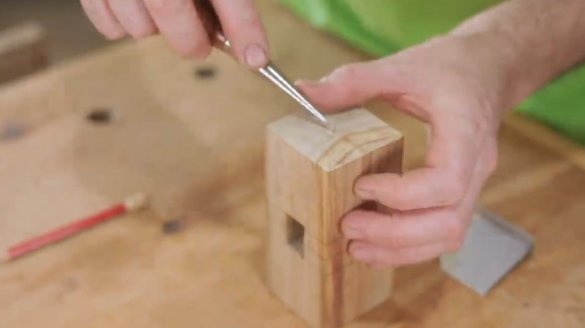
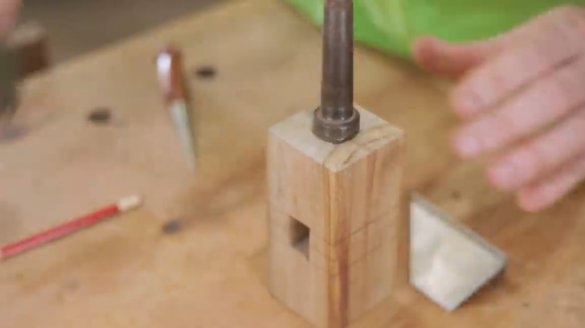
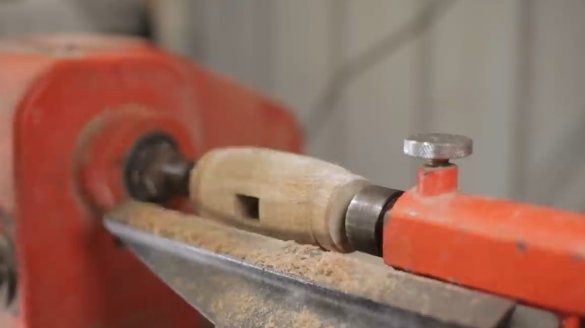
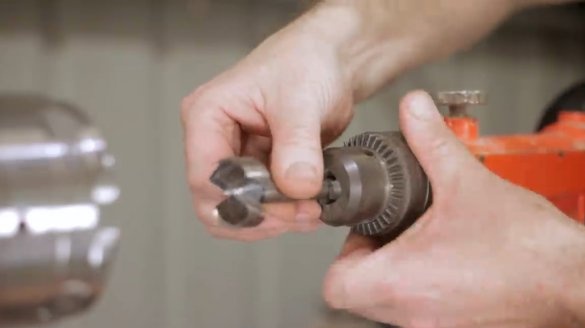
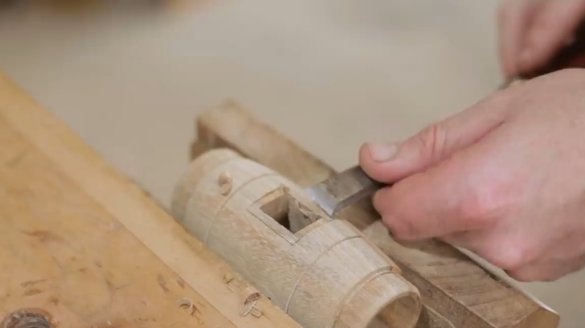
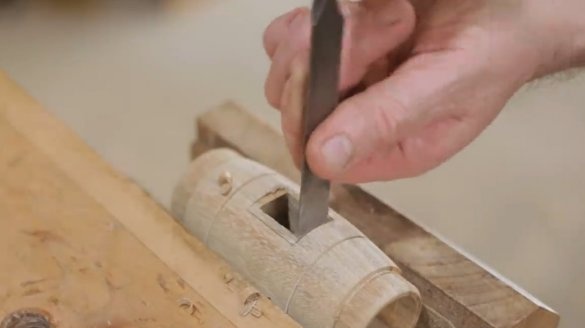
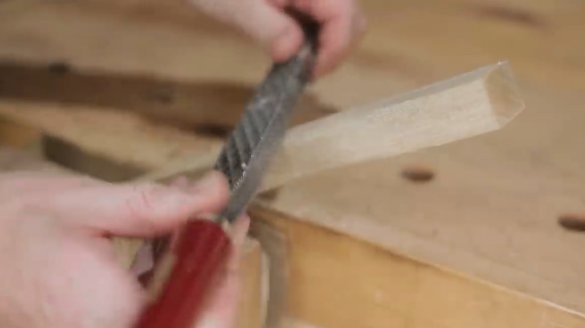
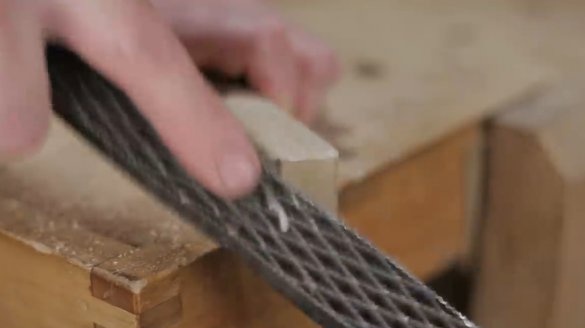
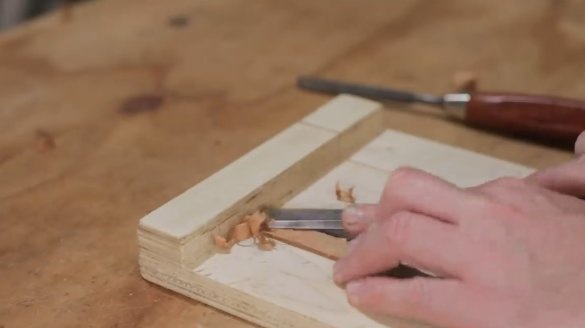
Further, in the center of the bar, the author marks the place where a through hole will be made for the nozzle of the hammer head on the handle. With a Forstner drill, the master makes the primary hole. And then expands it manually, with a chisel. Rough edges are filed.
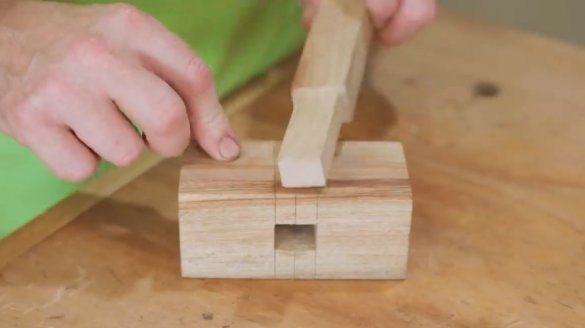
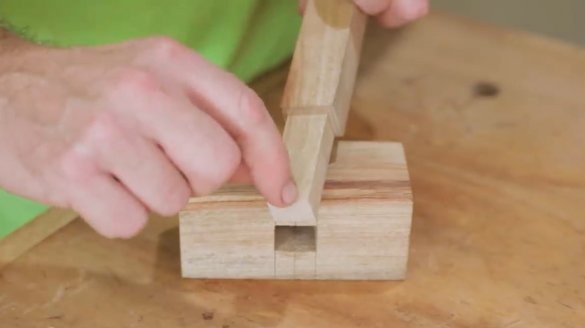
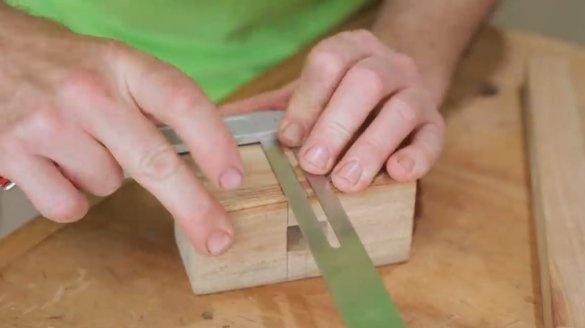
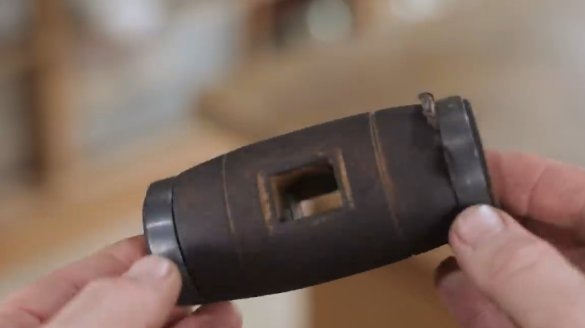
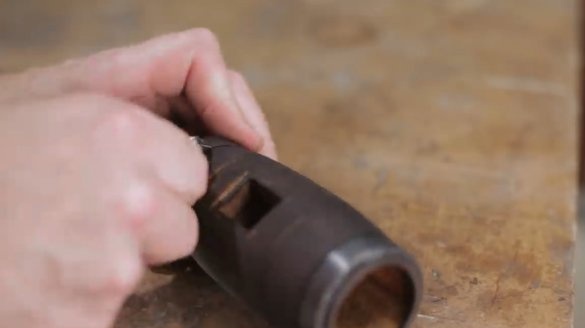
He is going to open a little hole on the upper side of the head to taper the hole. Later, when he puts the head of the hammer on the spike, he will make several cuts in it and drive the wedges there. Then the hammer head will be locked and will no longer slip off the handle.
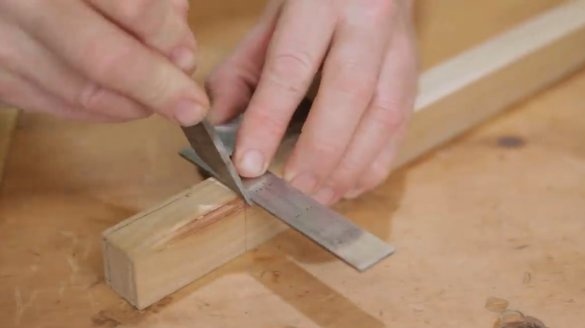
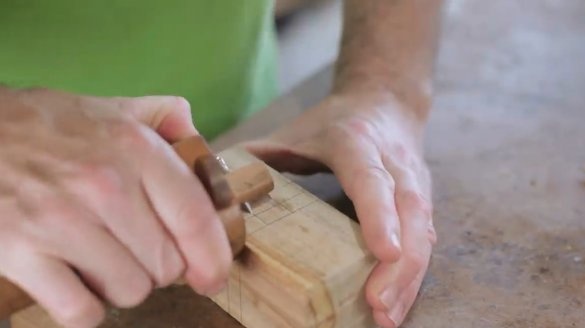
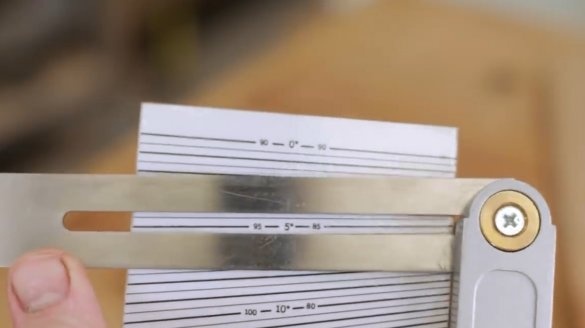
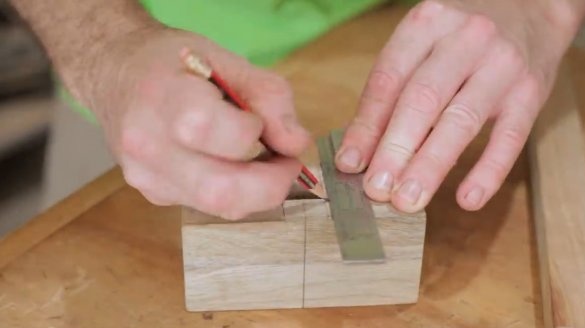
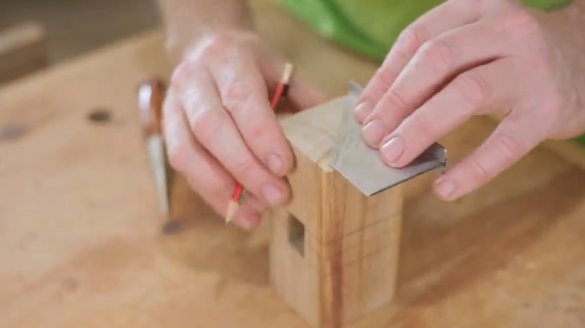
The author sets the goniometer on a scale of 5 degrees and makes a markup.
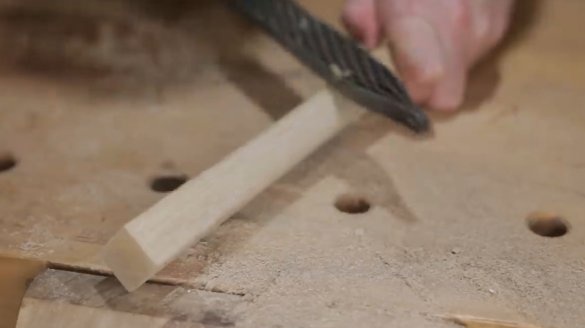
Bevels file down. It can now be seen that gaps appeared between the top of the spike and the hole.
On the spike makes two longitudinal incisions for the wedges.
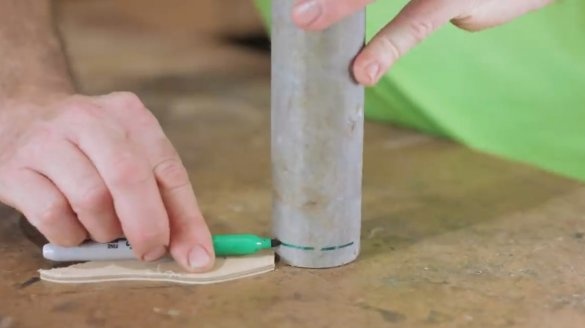
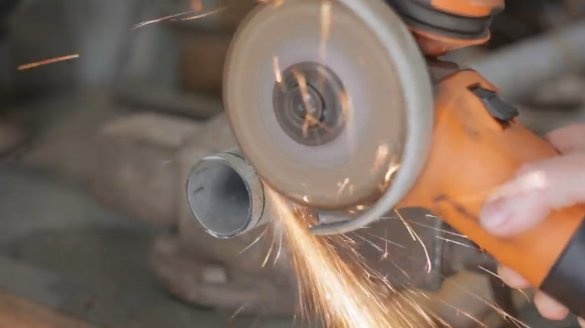
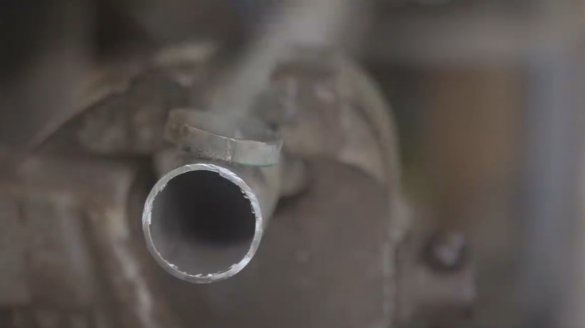
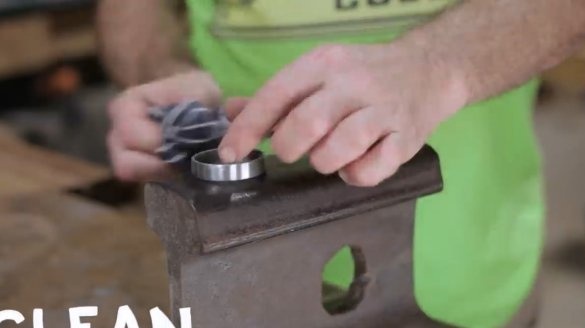
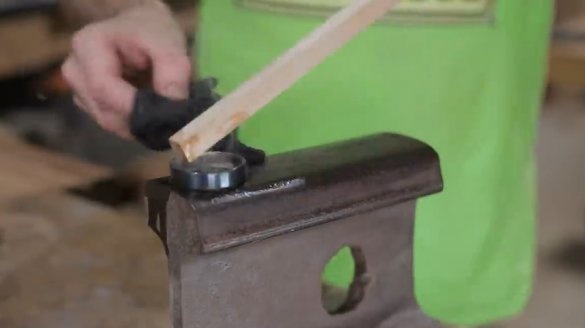
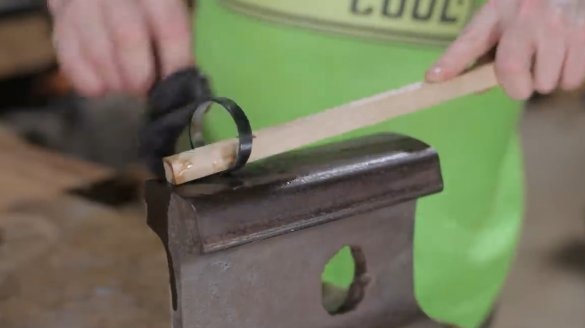
Then he takes a steel pipe, and cuts out two rings.
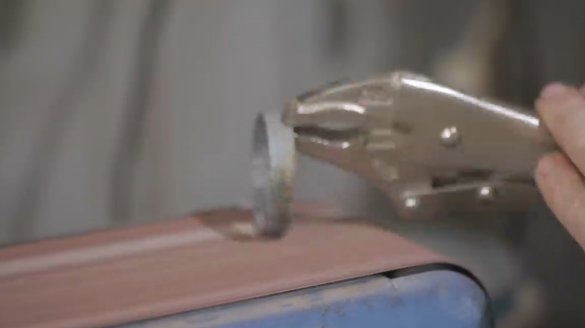
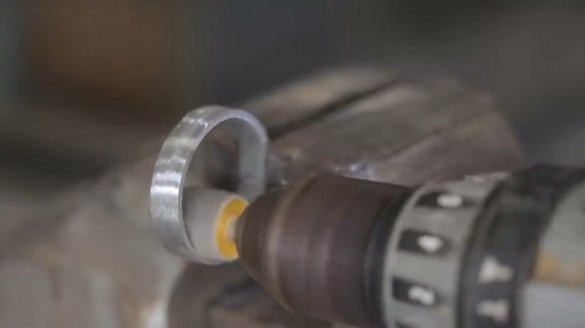
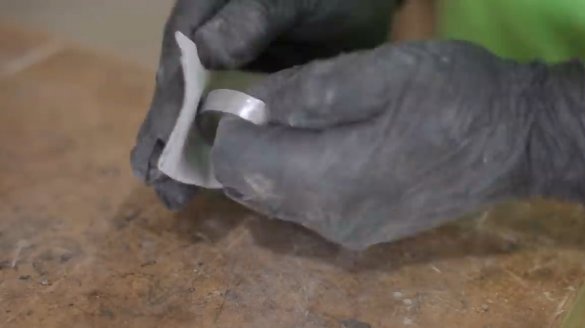
Thoroughly polishes them inside and out.
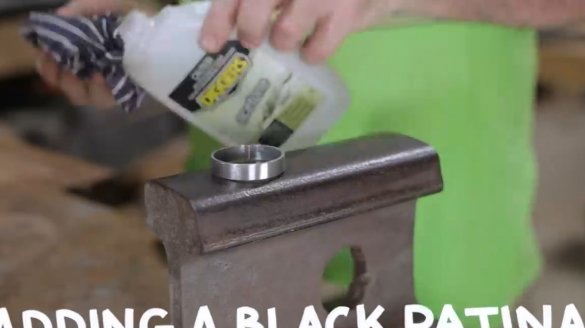
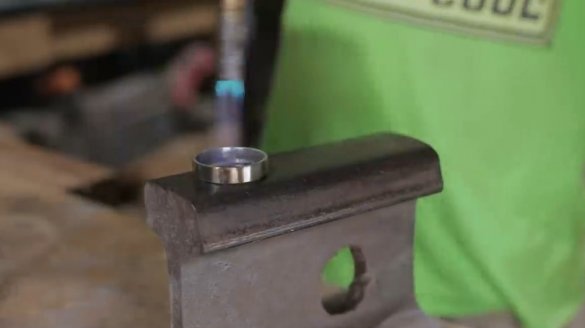
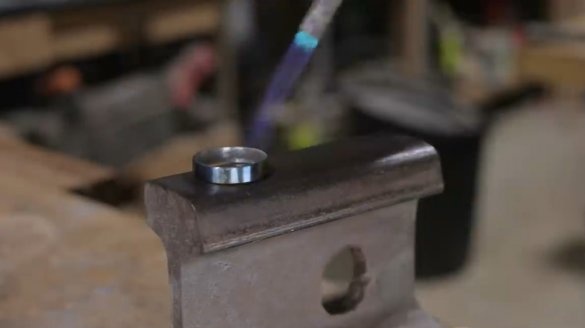
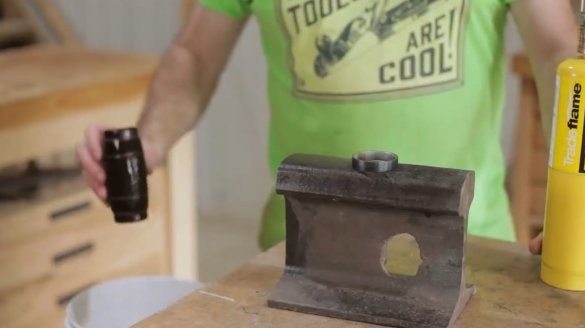
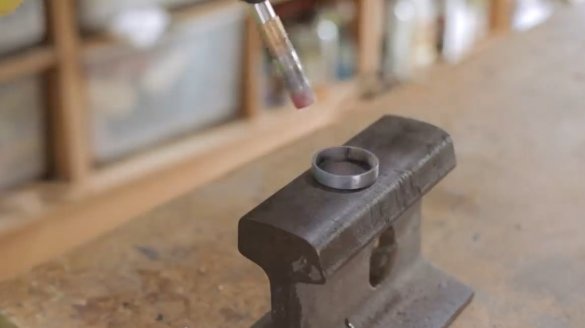
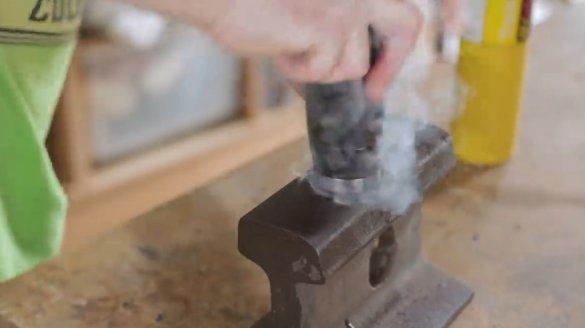
Apply a patinating agent, wipe and heat with a gas burner.
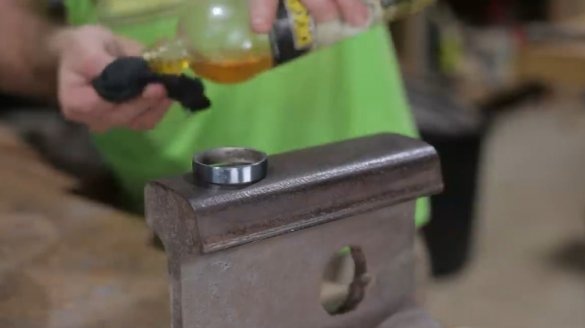
After lubricates the red-hot rings with linseed oil.This gives the ring a matt black color.
Marks the center of the head.
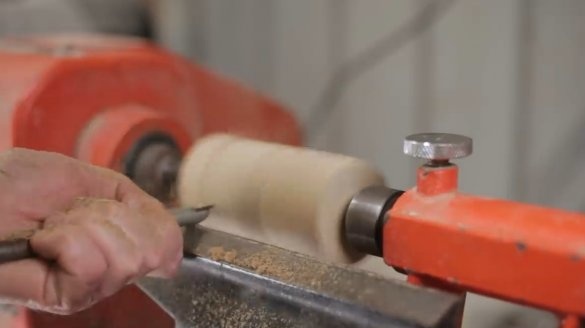
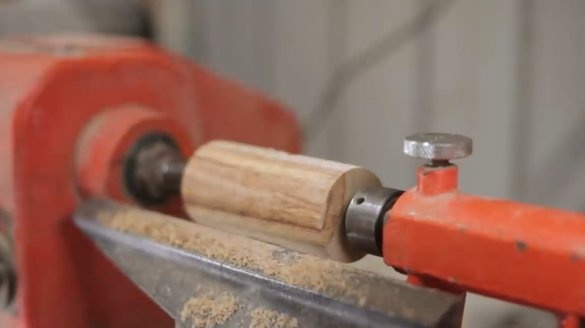
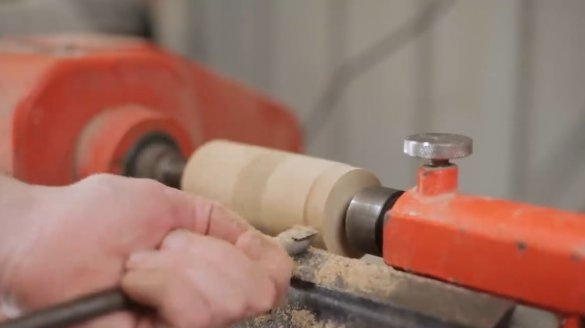
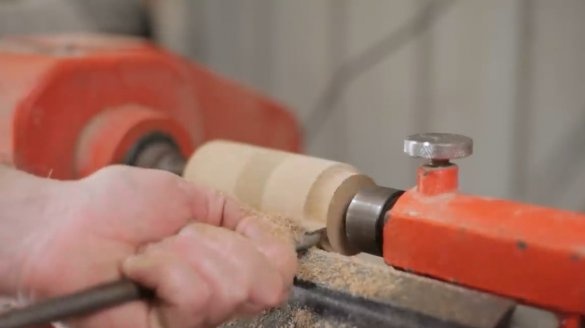
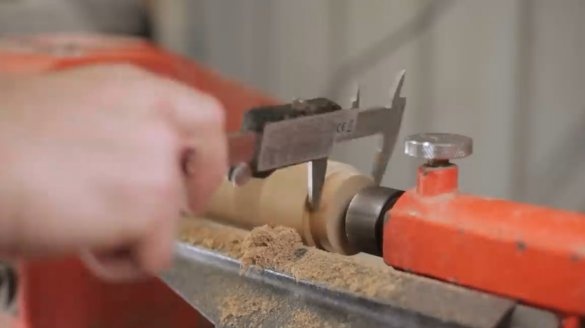
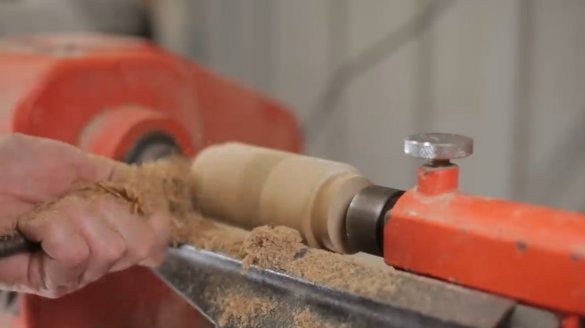
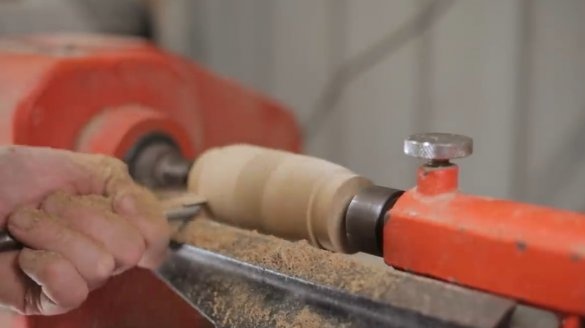
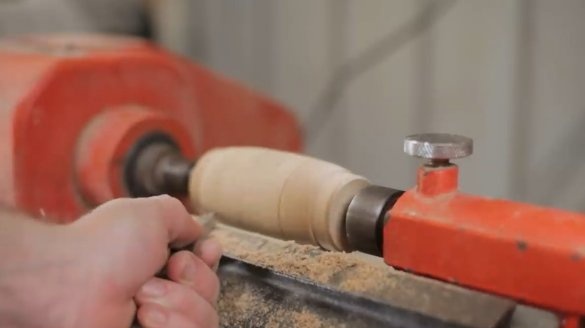
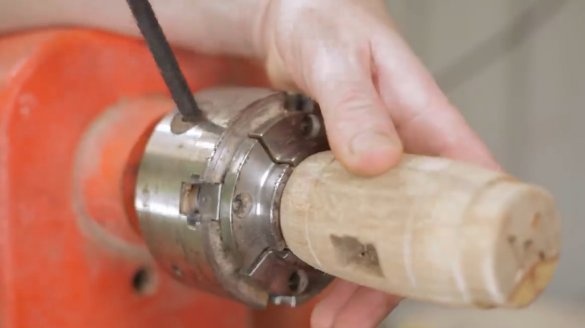
Then the author sets the hammer head on the lathe and gives it a rounded shape.
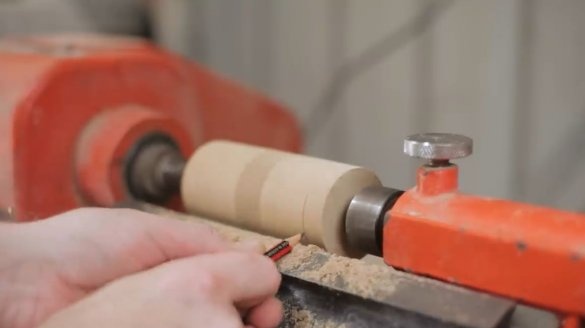
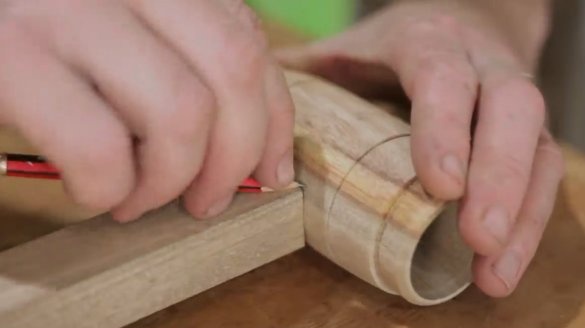
With a pencil, he marks the points where the grooves will be located. In these places the head will be narrower and hoops will sit on it.
Gives the head a barrel shape, makes two decorative grooves.
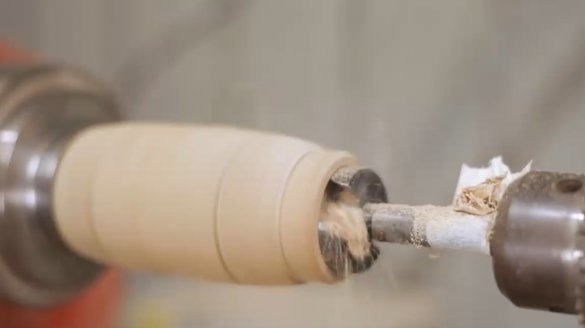
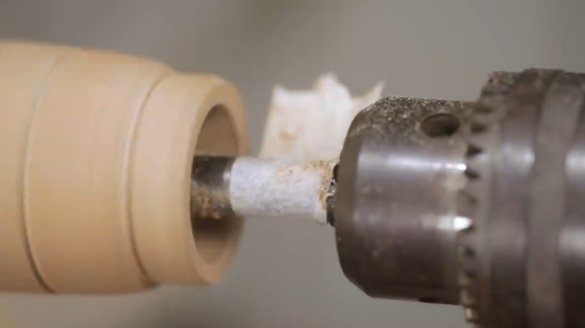
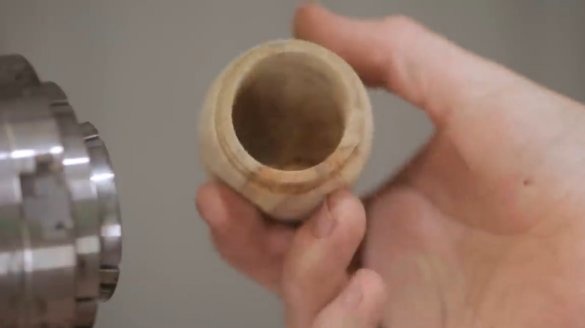
The next stage is drilling the cavity in the wood mass symmetrically from both ends, to the same depth. He used a masking tape as a depth mark.
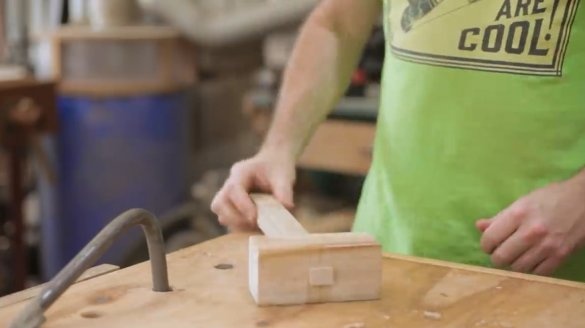
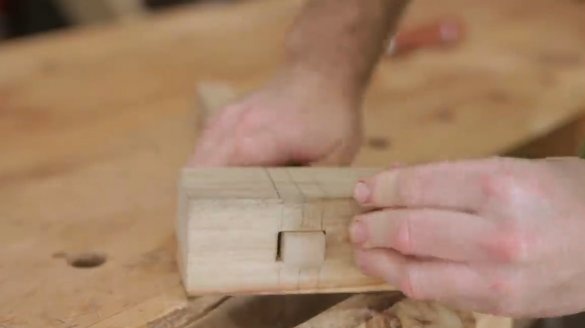
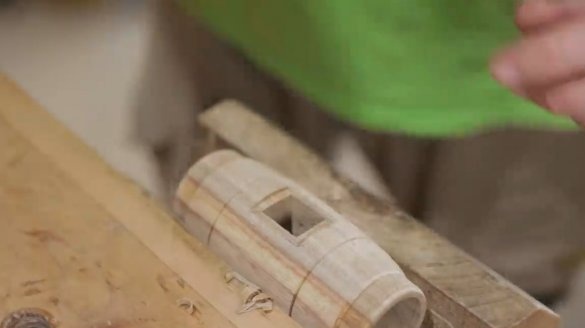
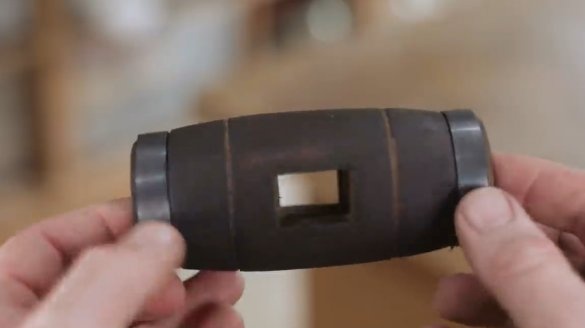
In order to avoid gaps between the bottom of the head and the handle, the master makes a rectangular seat.
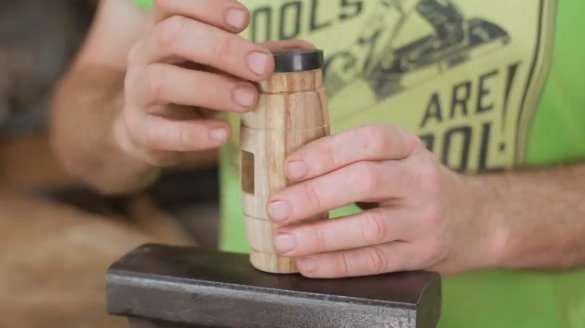
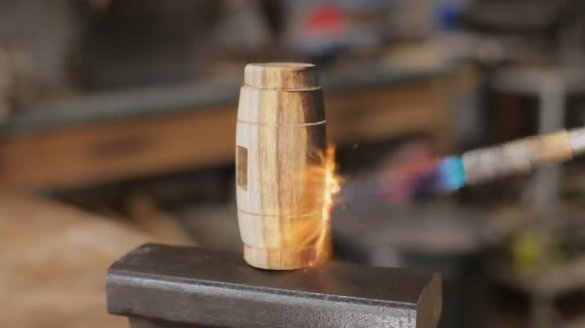
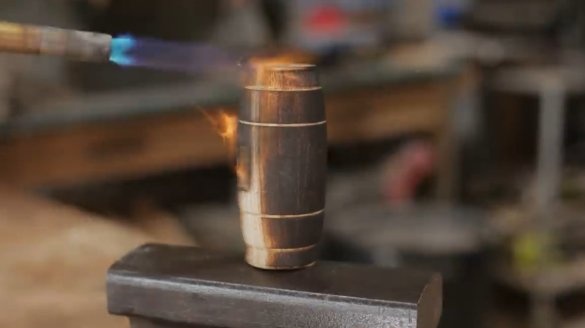
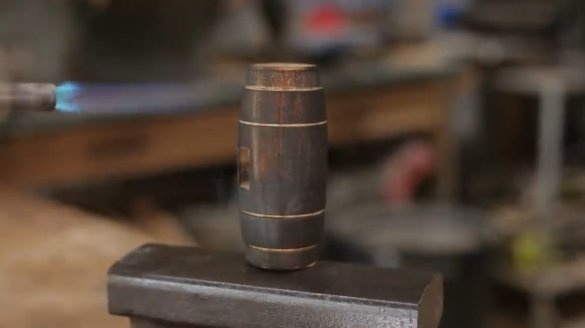
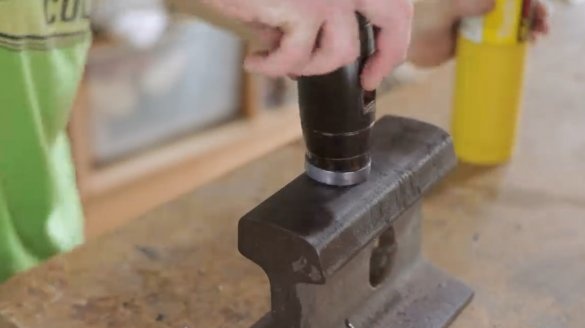
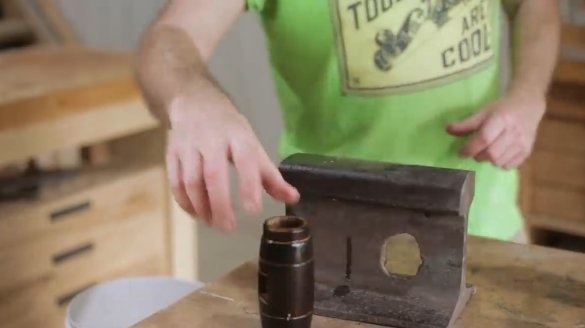
The hoops are slightly smaller than the required diameter and can hardly fit on the striker. But this is done on purpose. They could be easily sized. The master is just about to warm them up a bit, and when they expand, it’s easy to put them on high. Later they will cool down and shrink again, due to which they will be firmly fixed on the wood. Of course, the glowing rings will slightly burn the tree, but this is not so scary, since the author intends to burn the hammer head with a gas burner for solidity. The handle itself will be the original wood color. Such a contrast will add charm to the product.
Then the master immerses the material in water so that it softens a little, and at the same time heats the rings with a burner. Directly into the red-hot ring presses the head in.
And this is what he did. Burrs came out between the ring and the head; he removes them with a knife.
Now it's up to the grip. With a file, the master gives the workpiece a rounded shape, and cleans it with an additional thin emery paper.
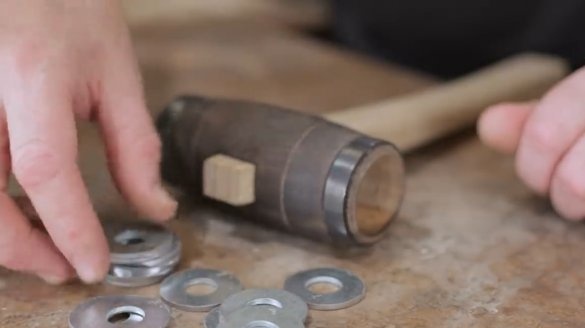
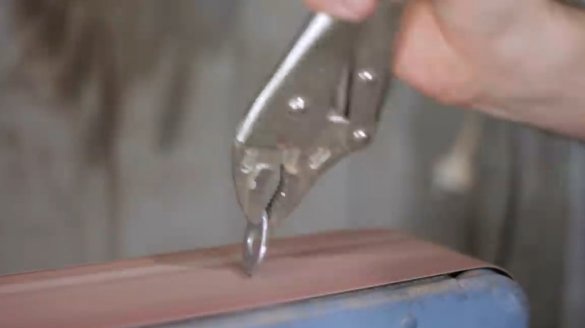
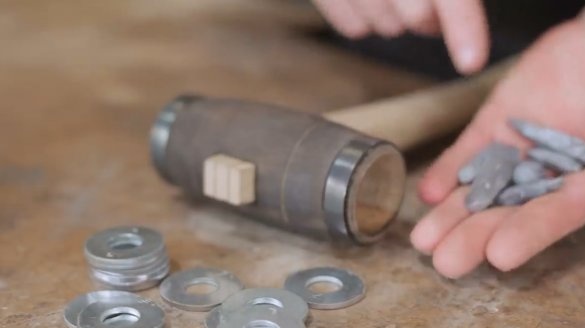
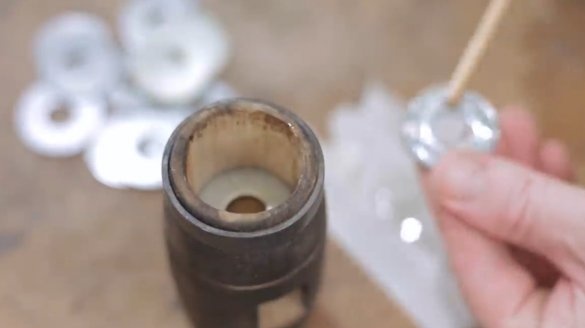
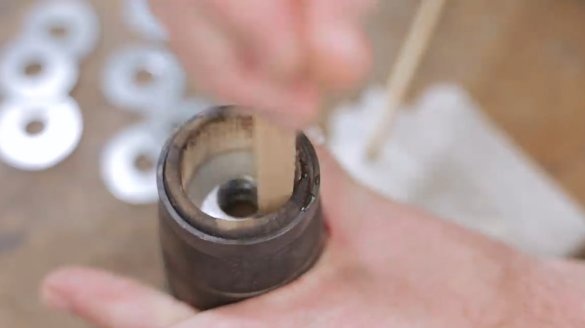
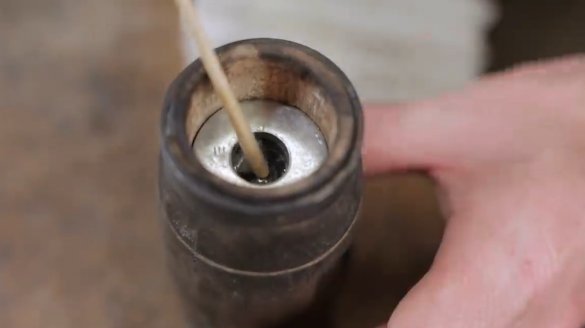
Further, the master is going to artificially increase the weight of the hammer due to the fact that he will put steel washers in the lateral cavities of the strikers, seven pieces in each cavity. Previously, he slightly cleans the washers on the outer edge so that they fit into the cavity in diameter, and then takes each on an epoxy resin.
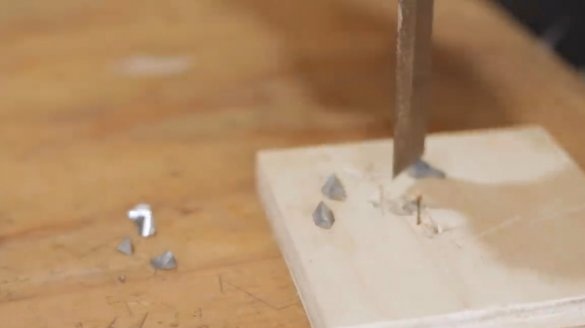
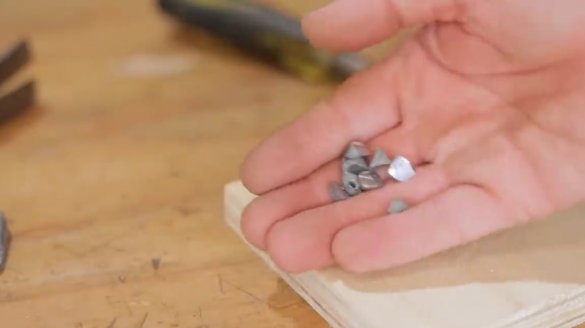
In the middle of the washers, he also pours epoxy resin and puts shredded lead fishing weights there.
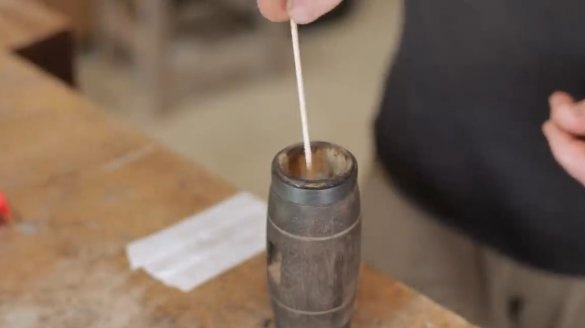
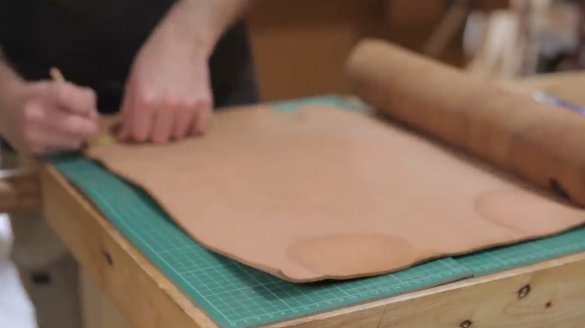
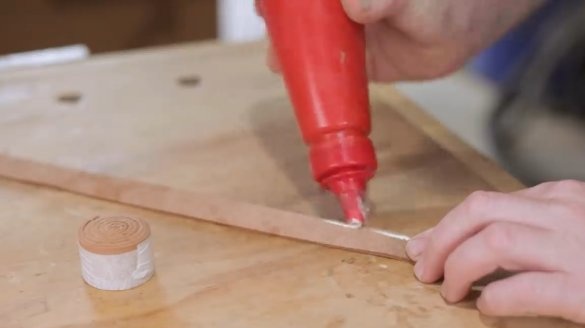
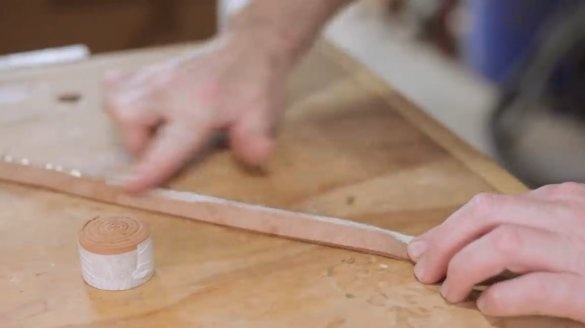
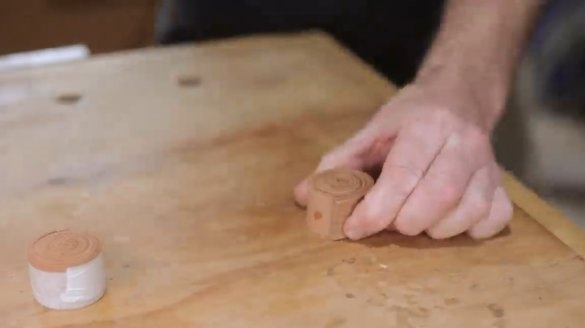
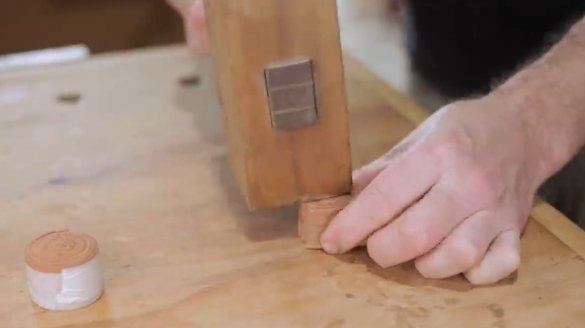
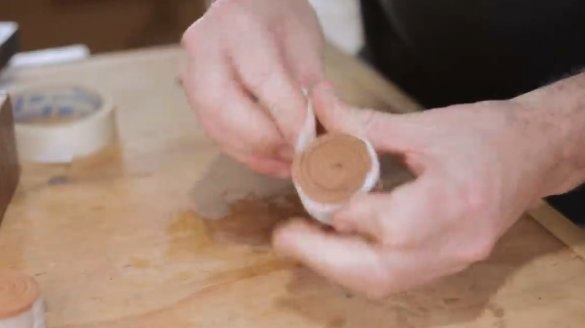
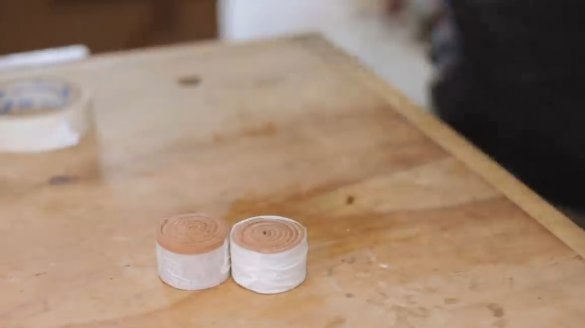
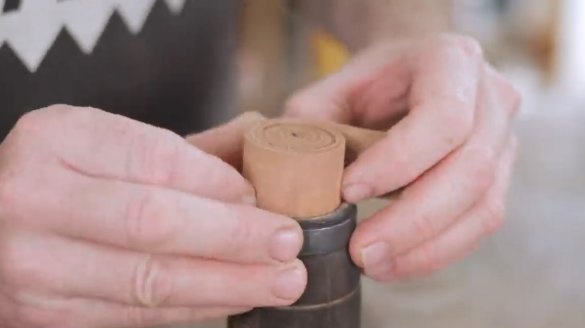
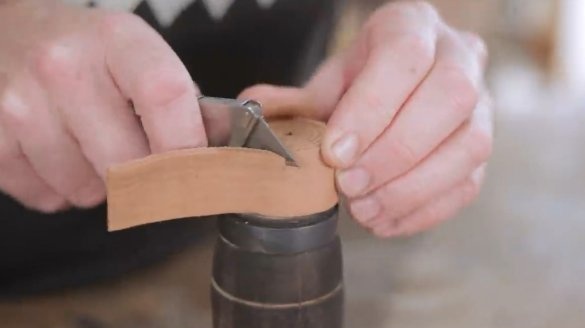
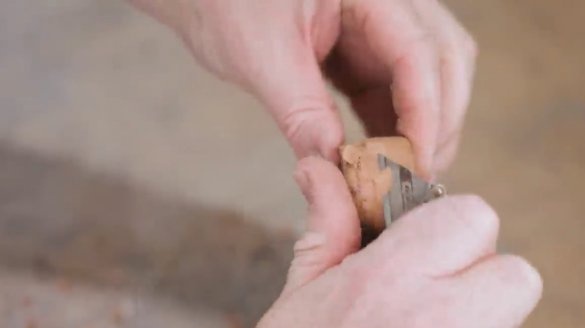
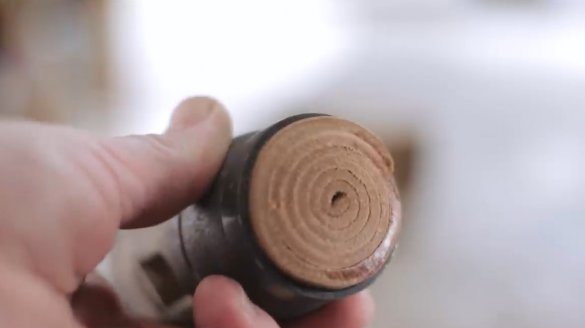
After that, the author cuts a long strip from the skin layer and twists it into the "snail", after having previously smeared with glue one edge of the strip. Then he lightly knocks the "snail" with a hammer so that the edges do not protrude, and pulls it with duct tape for a while until the glue dries.
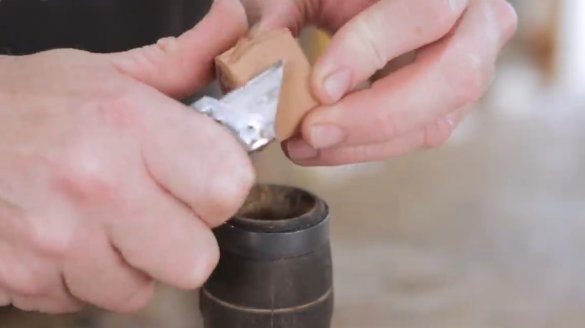
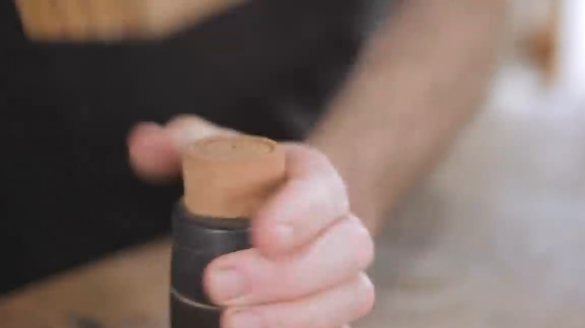
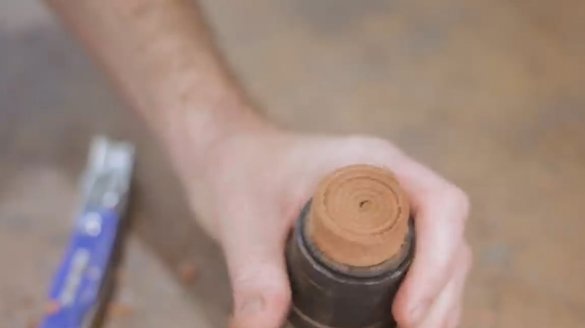
Now it is important to choose the right diameter so that the curled skin fits tightly into the cavity. The author carefully cuts off excess skin with a knife. Then clogs leather rounds on both sides.
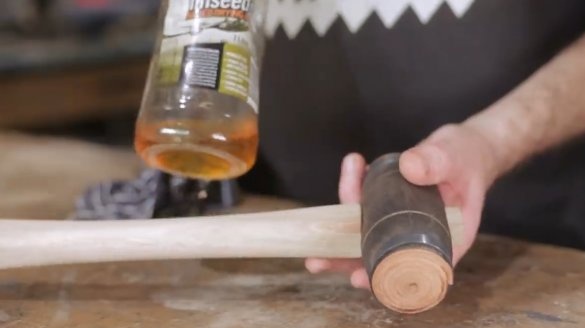
Before you put the head on the handle, the master processes everything with linseed oil.
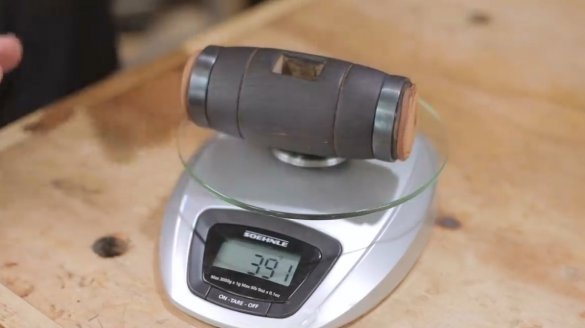
Now the hammer head has a decent weight - about 391 grams.
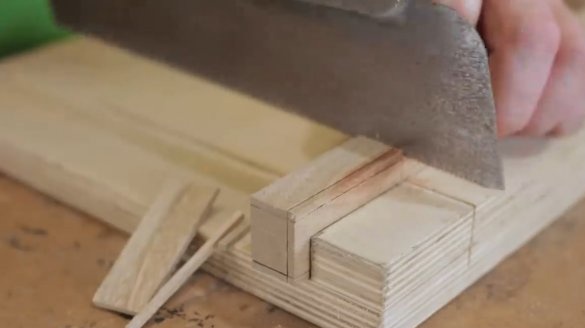
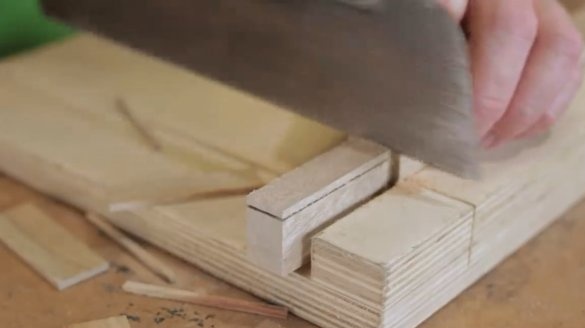
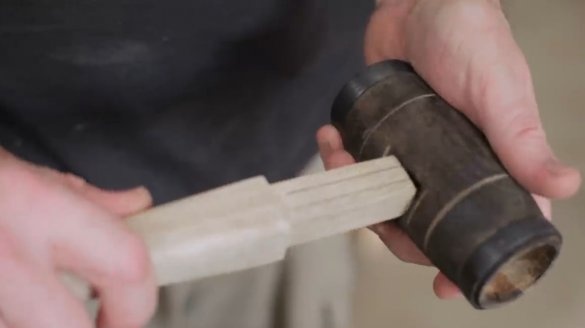
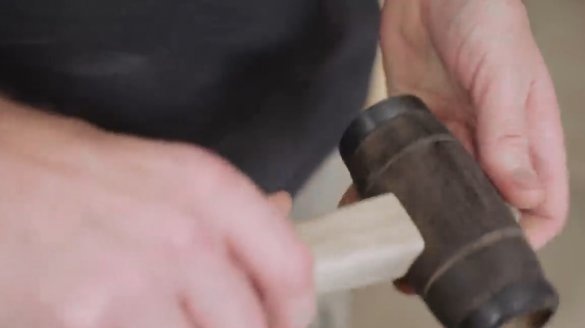
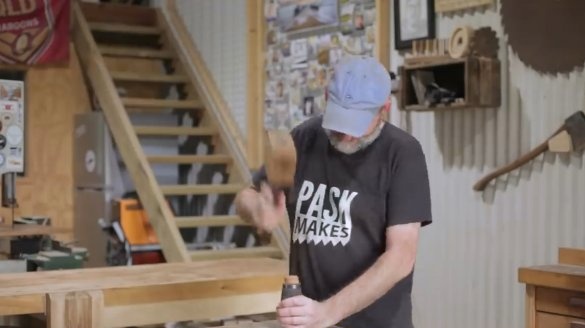
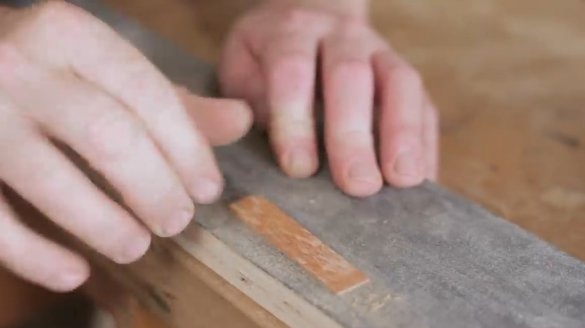
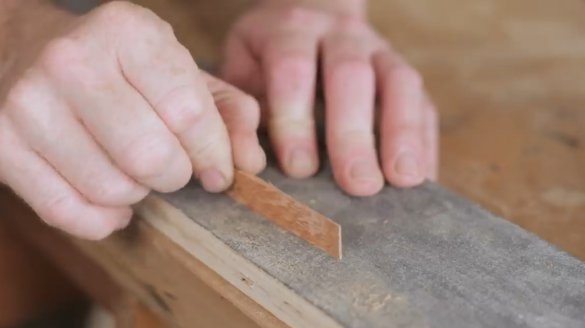
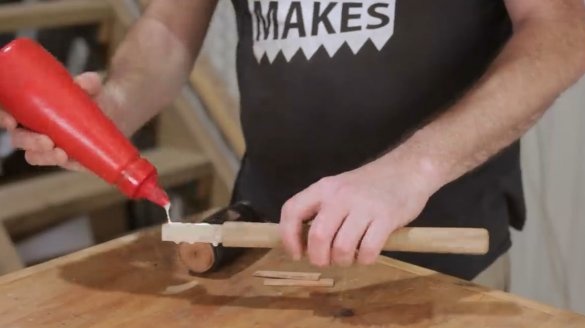
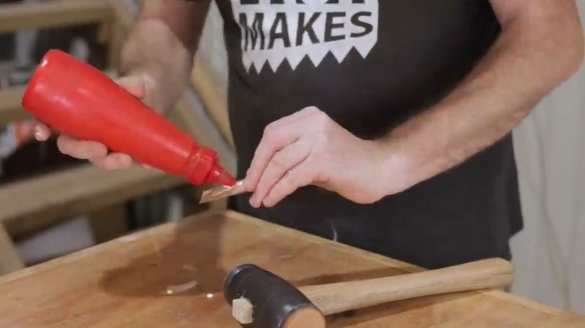
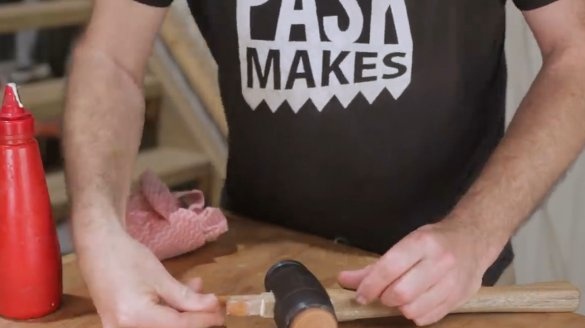
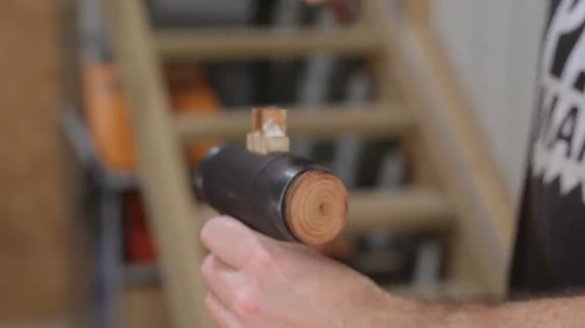
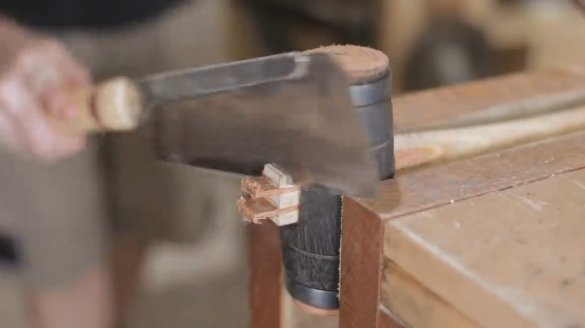
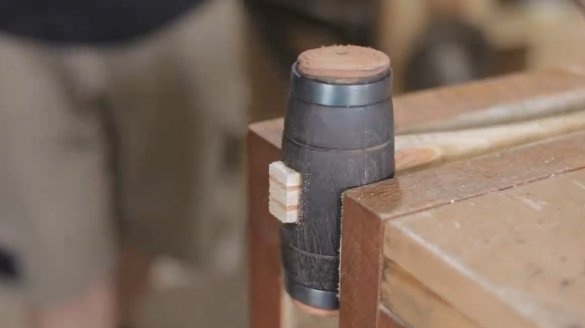
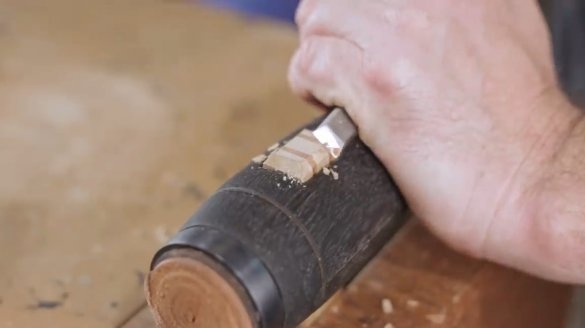
Finishing touches, making wedges. The author cuts out two small strips of wood, cleans them, and sticks the spike of the handle with glue. He puts the hammer head on the spike and drives these two wedges into the slots of the mounting unit.
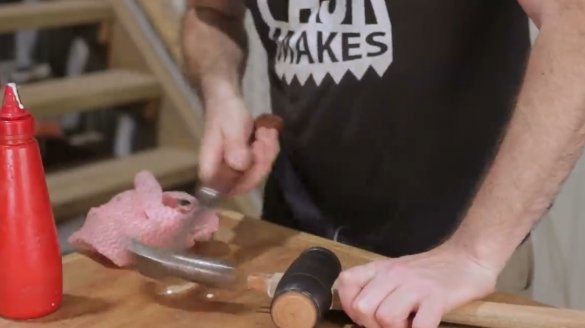
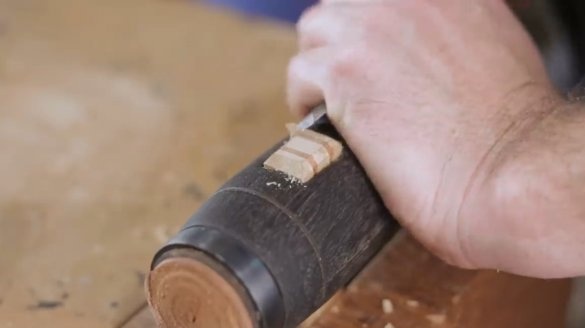
The excess is sawn off and processed with a chisel.
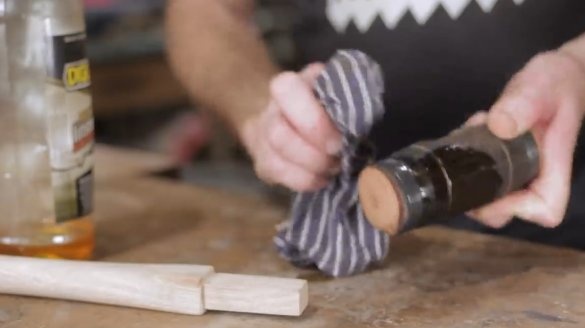
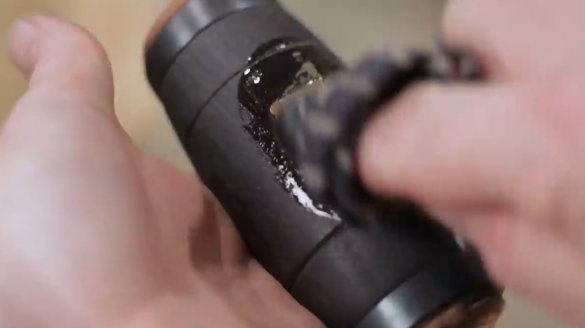
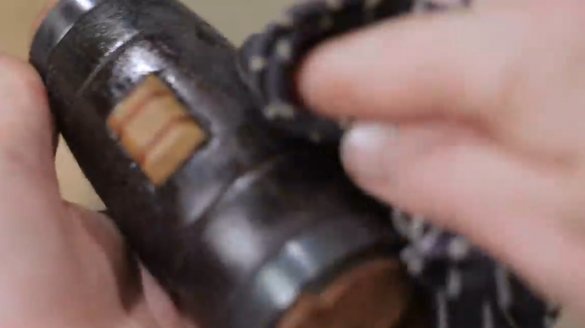
After that, the mounting unit is slightly cleaned and treated with linseed oil.
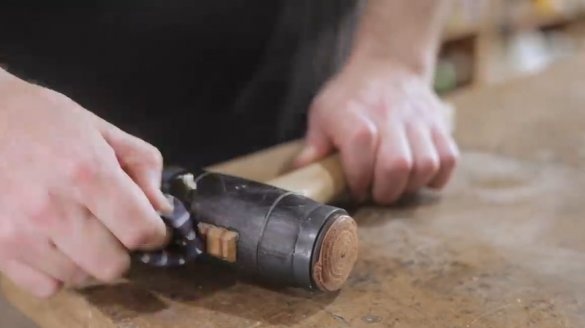
Finishing is done with wax.
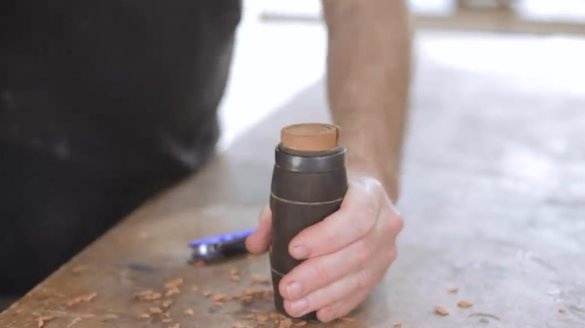
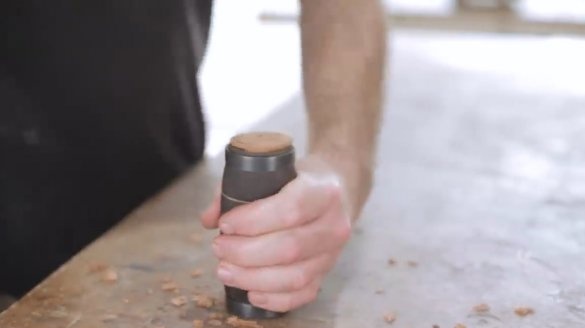
And a hammer with a soft base is ready to replenish your tools!
Thanks to the author for a simple but useful tool for the workshop!
All good mood, good luck, and interesting ideas!

