


Hello everyone, in this instruction we will look at how you can make simple and powerful motorcycleworking on electricity. This is a motorcycle, because it uses a rather powerful engine for as much as 1,500 watts, which is powered by a voltage of 48V. And everything is assembled on the basis of either a moped or a motorcycle. Such an engine can be ordered from China, its main positive feature is that it is brushless.
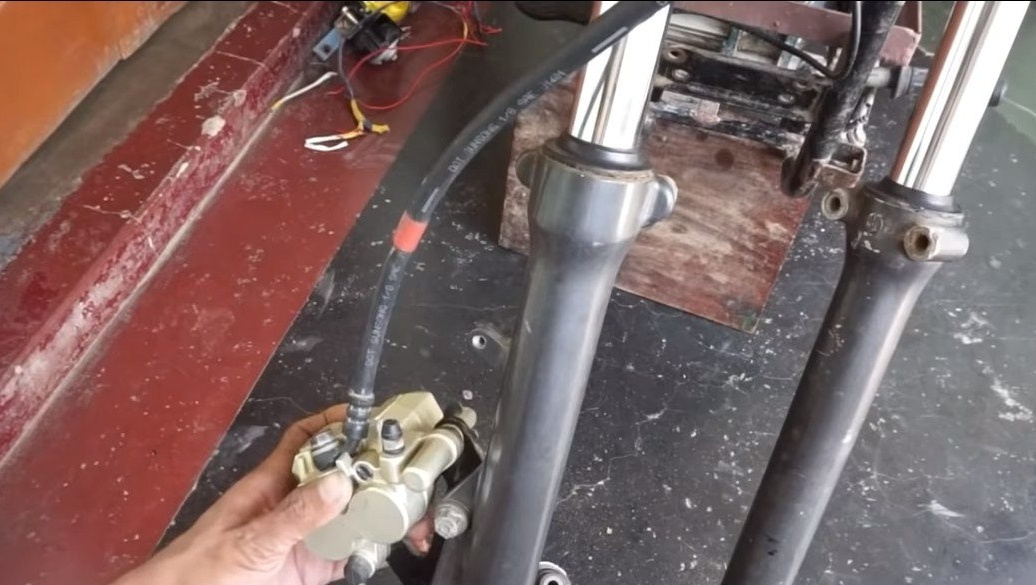
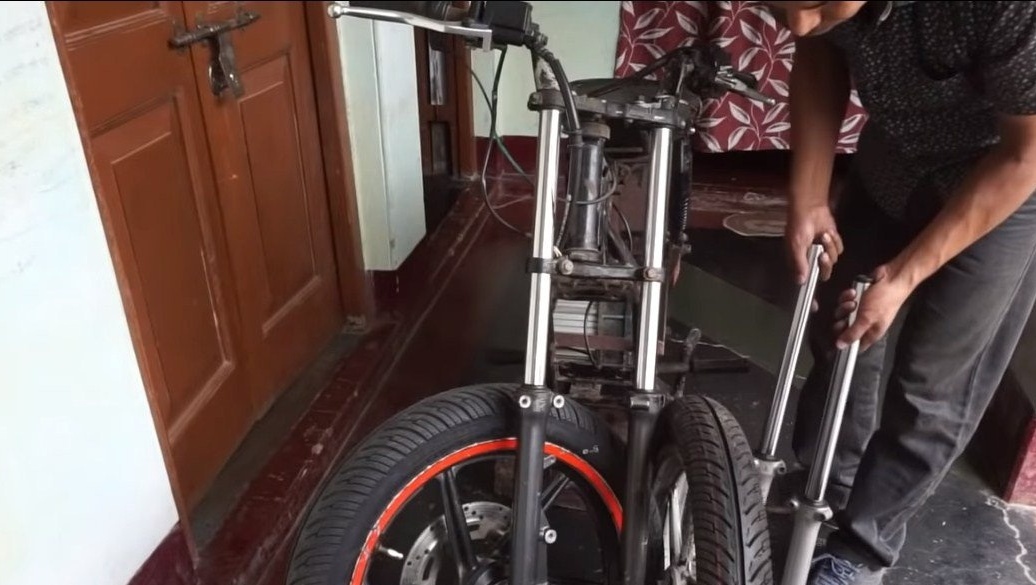
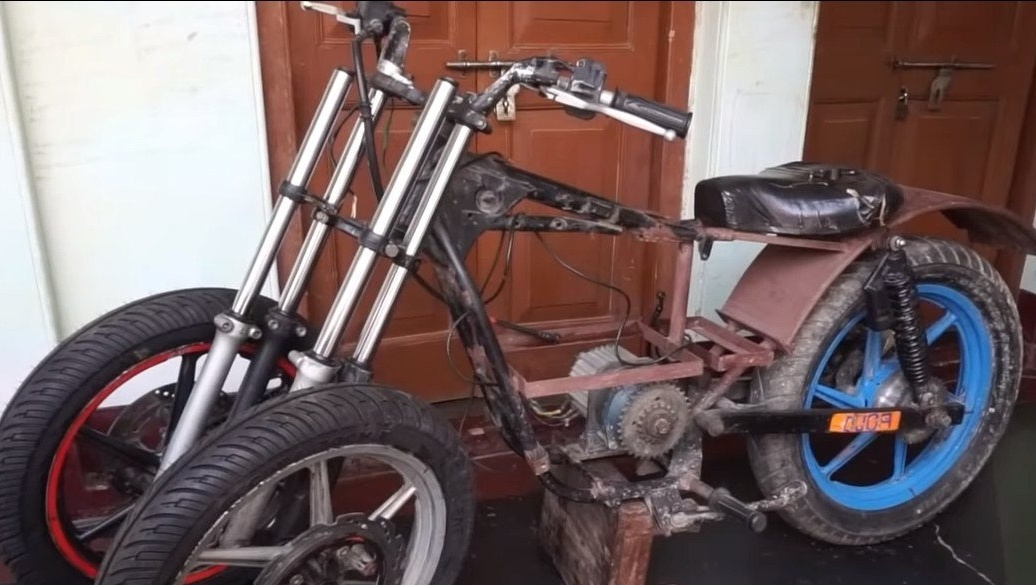
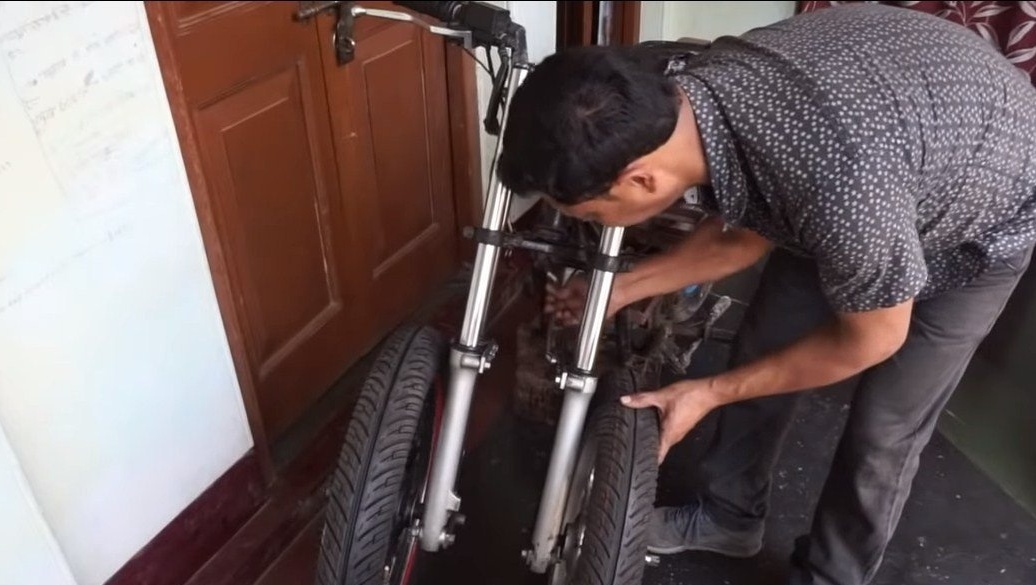
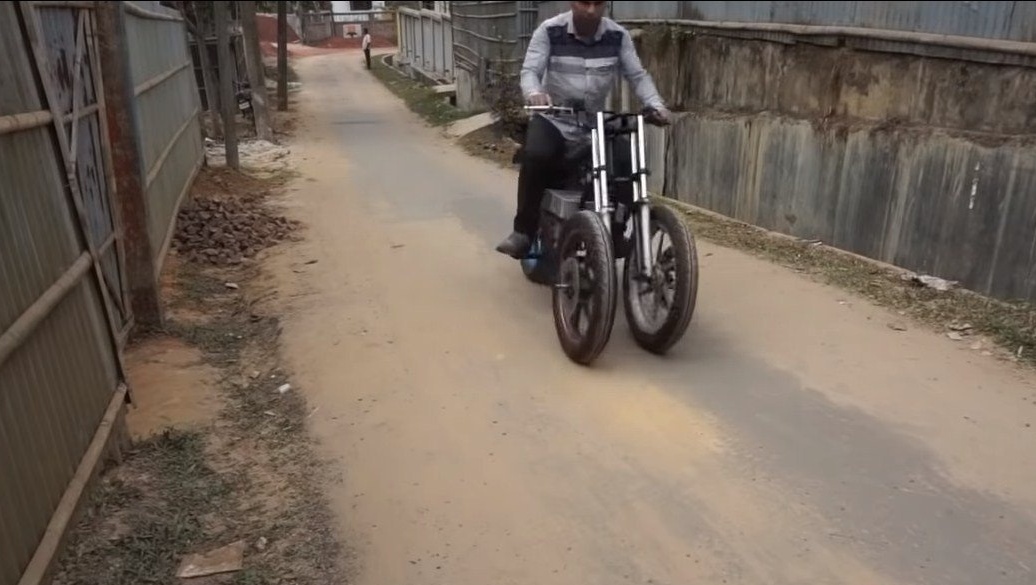
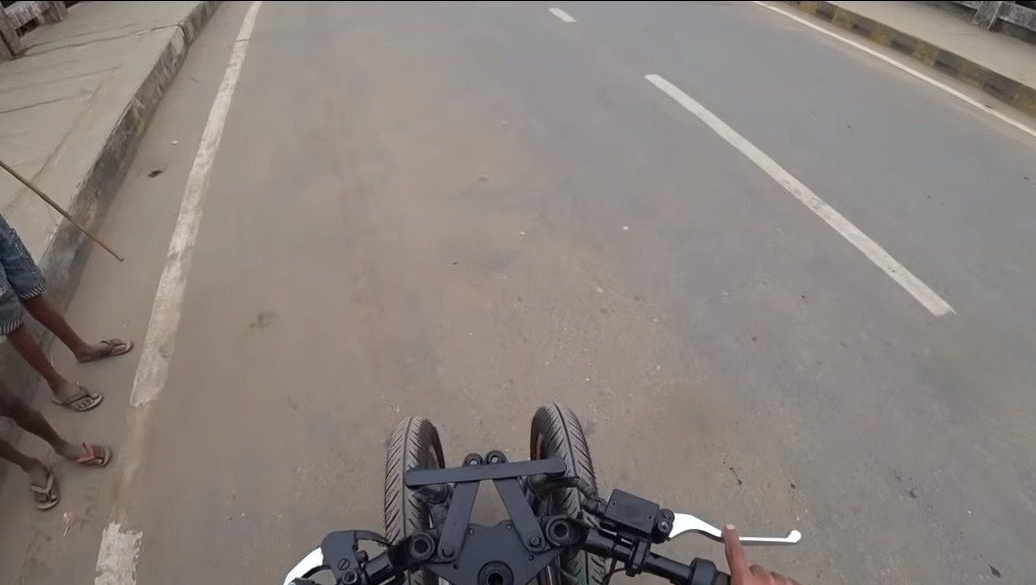
The front fork is assembled quite interestingly and simply, each wheel is mounted on two shock absorbers, thanks to this the machine can withstand strong rolls on its side and does not roll over.
As a power source for homemade The author assembled a 30 Ah lithium battery, which provides the desired 48V. You can even assemble it from old laptop batteries. The mileage range and maximum speed were not indicated by the author, but judging by the video, the homemade ride was pretty quick. An interesting fact is that the engine power is enough for direct transmission of torque, that is, the driven and driving sprockets of the same diameter. If the homemade product interested you, I suggest studying it in more detail!
Materials and tools used by the author:
Material List:
- ;
- a controller for the engine, electronic throttle;
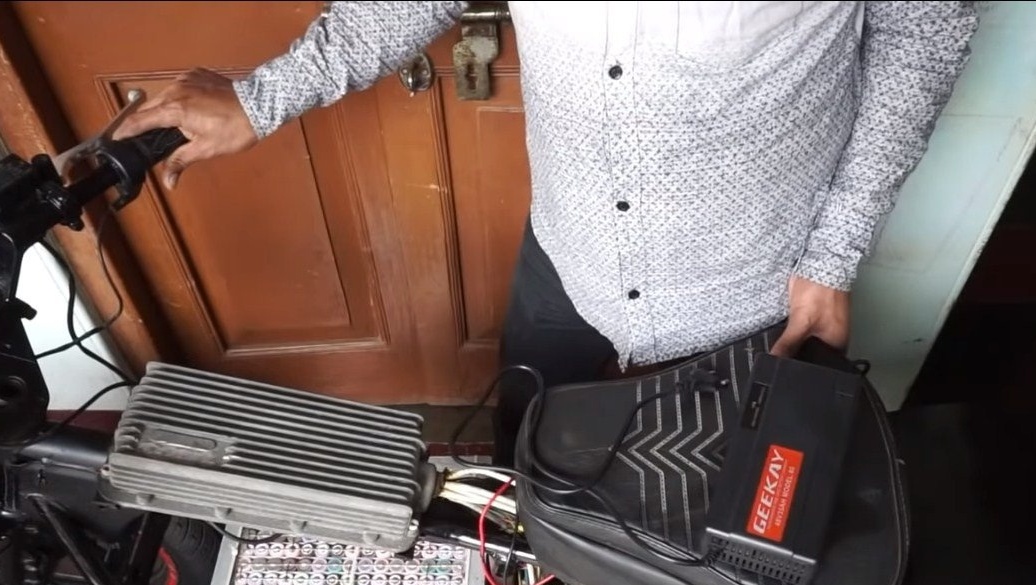
- battery charger;
- cells 18650 (to collect the battery);
- leading asterisk;
- corners, sheet steel, plates, etc .;
- experimental moped or motorcycle (do not use bicycles for such powerful engines!);
- additional wheels and shock absorbers.
Tool List:
- grinder;
- welding machine;
- drill;
- wrenches, etc.
Homemade manufacturing process:
Step one. the front of
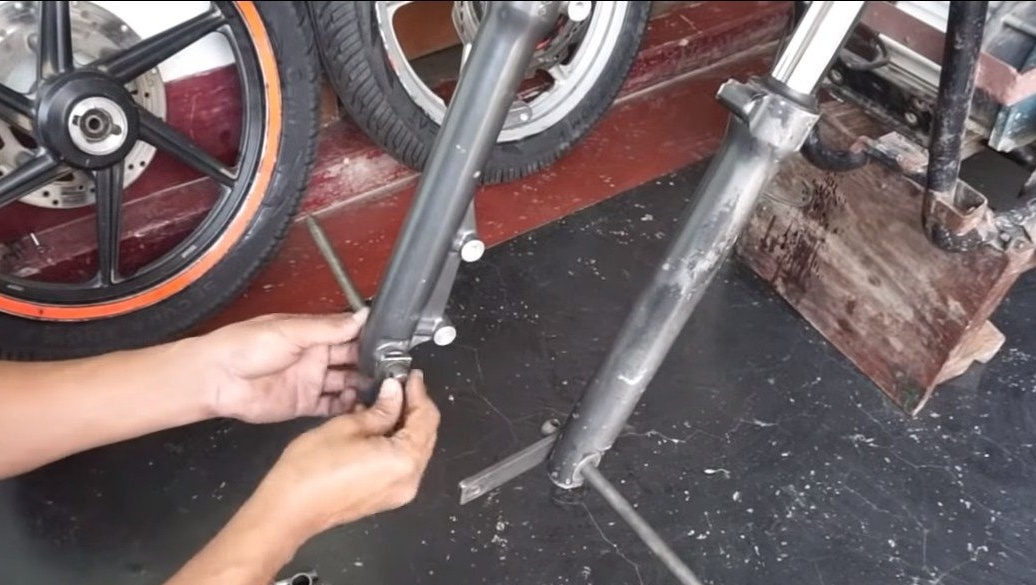
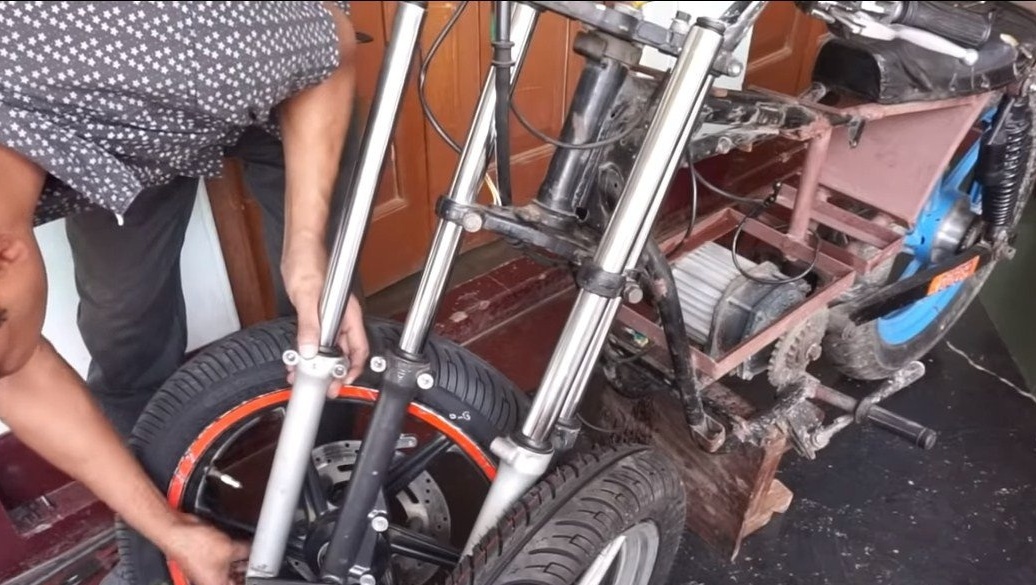
As a basis, the author used an existing electric motorcycle made by him earlier. It will have to be redone, first of all we will install two wheels in the front part, so the motorcycle looks more interesting, all passing by open their mouths from what they saw, and the home-made becomes much more stable.
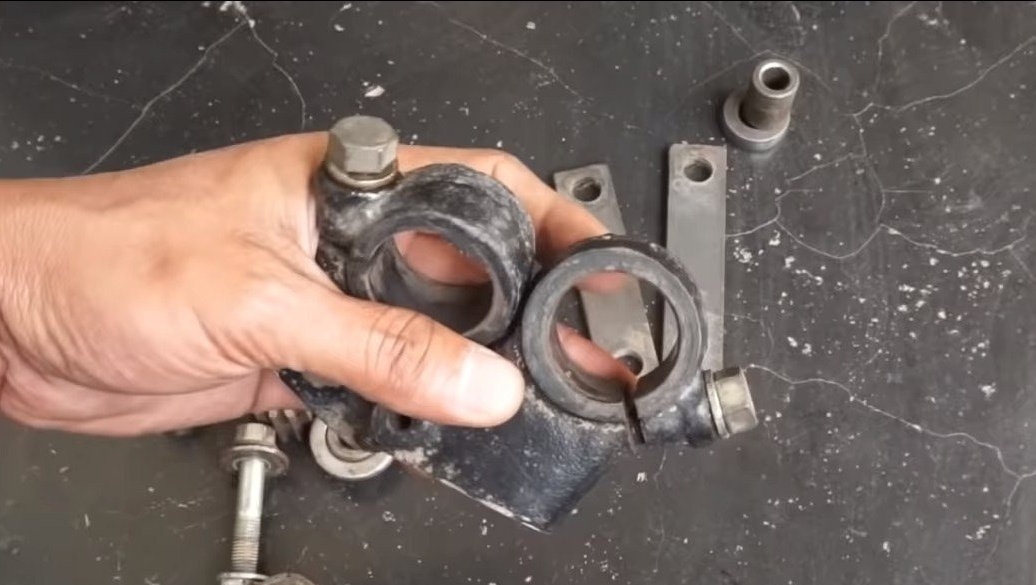
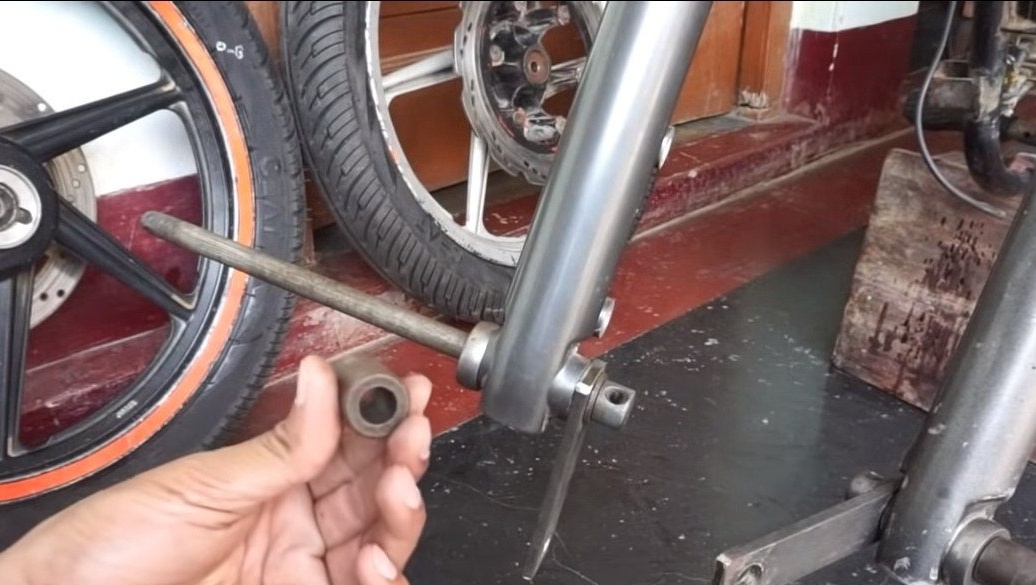
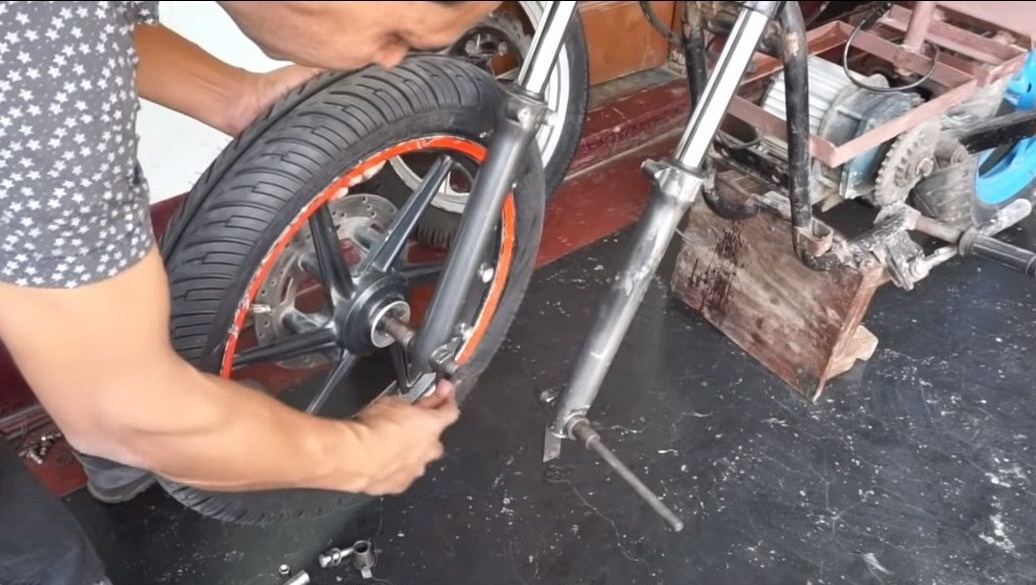
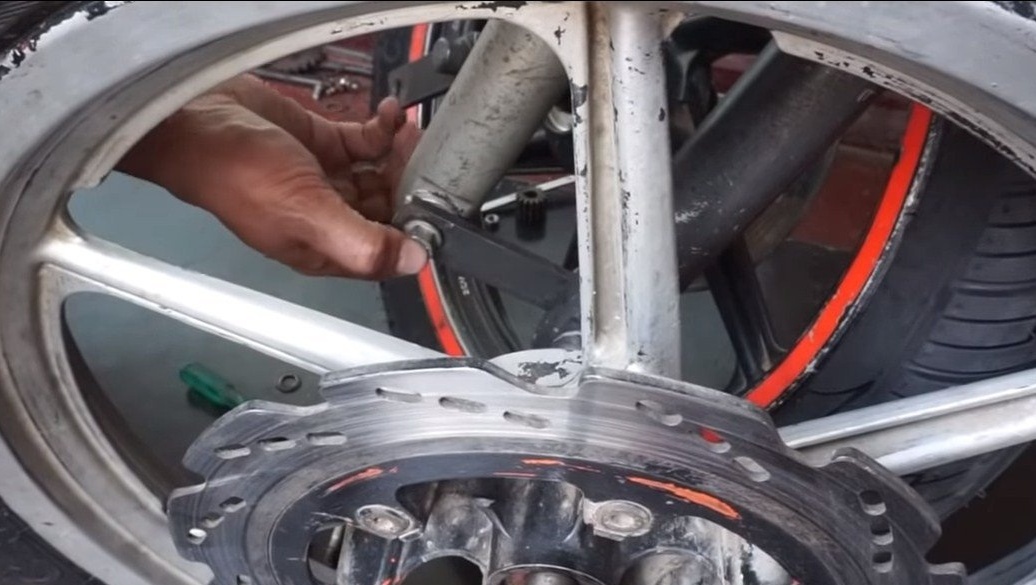
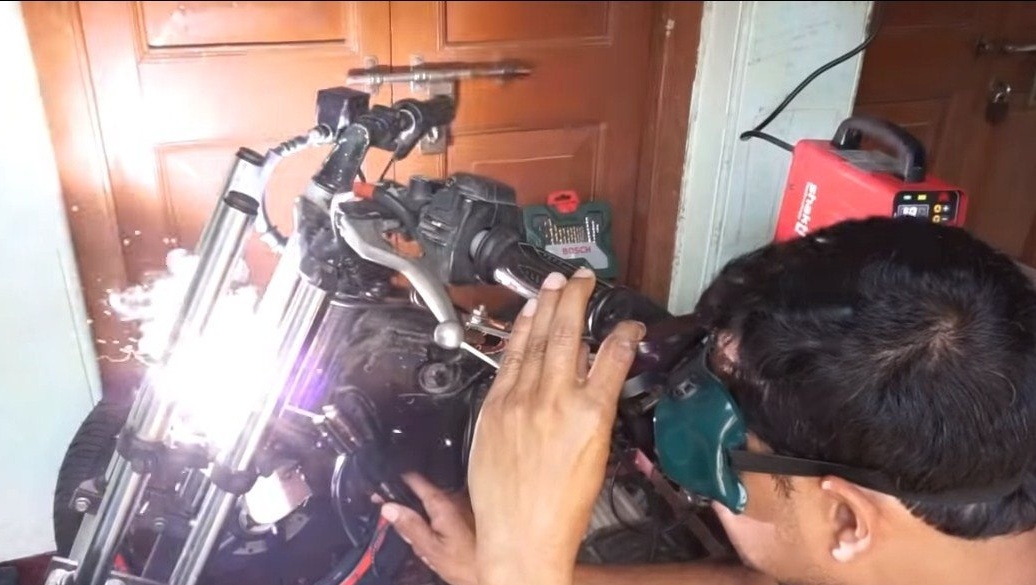
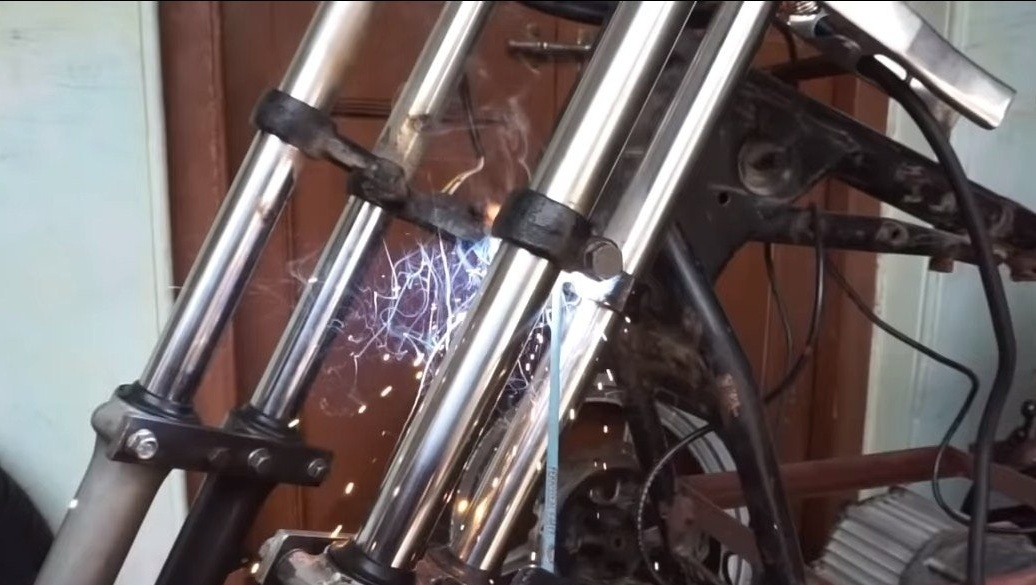
To fasten the front wheels, you will need two more shock absorbers, it is on them to hold the wheels, for each wheel two shock absorbers. It is important to reliably connect pairs of shock absorbers to each other, reliability and safety will depend on this. We use steel plates, additional brackets for shock absorbers, we weld everything tightly. For the wheels you will need long axles, on which the author has installed spacers in order to obtain the necessary gaps.
A little effort and patience and now two wheels in front are installed.


Step Two We collect homemade
Next, you need to install an engine on the frame, this should not cause problems, just make the bracket from corners or sheet steel, depending on the frame design. We securely fasten everything with bolts and nuts. It is important to ensure that the nuts do not loosen due to vibration.
The drive from the engine axis is carried out on the rear wheel. Judging by the video, the author’s transmission is direct, that is, we use another asterisk for the rear wheel as the drive sprocket.
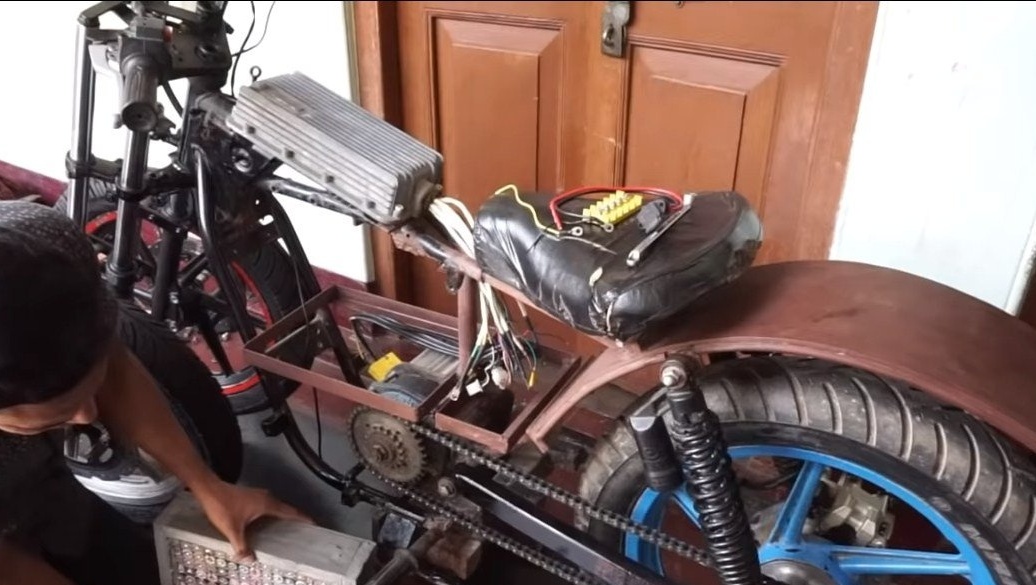
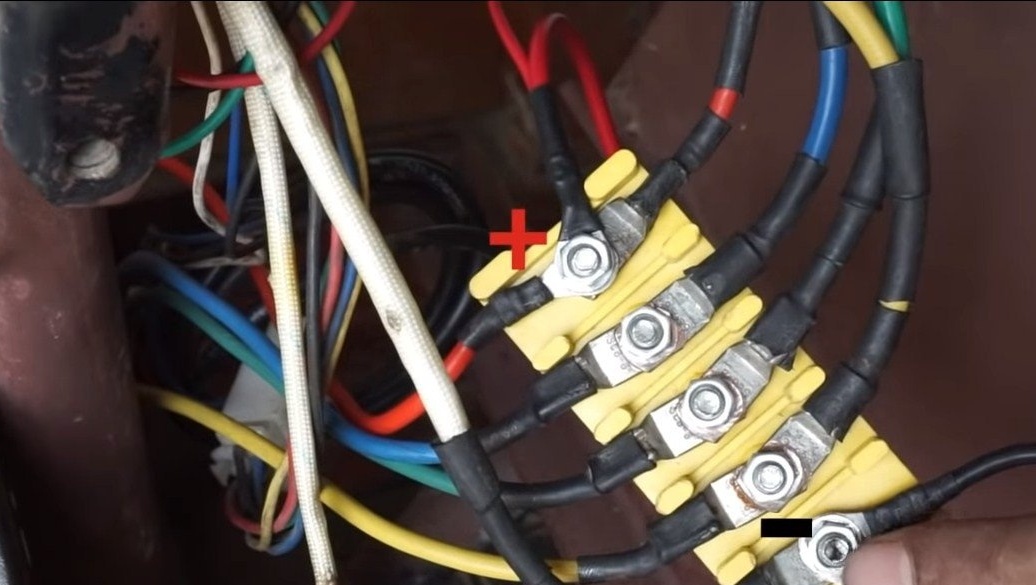
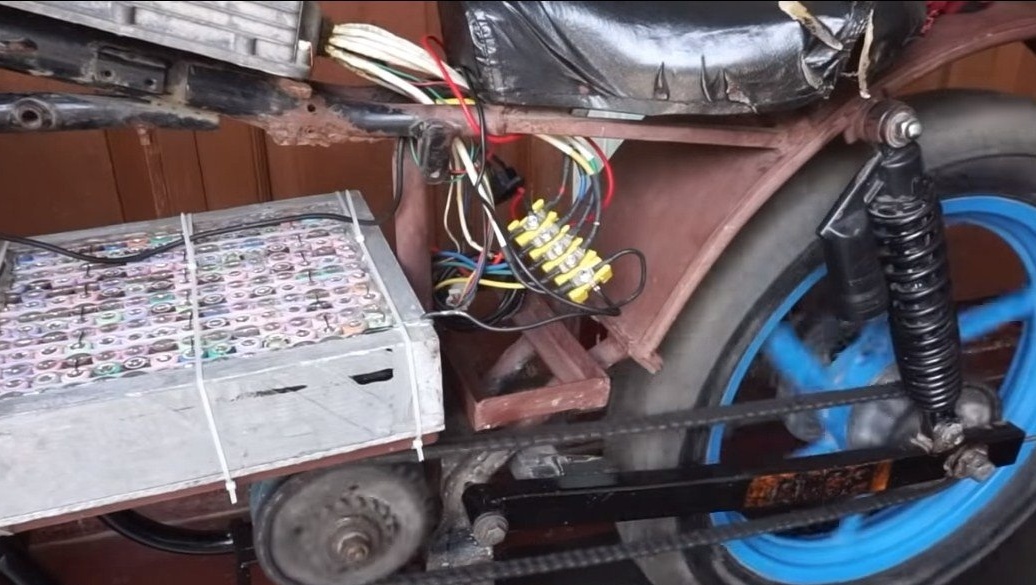
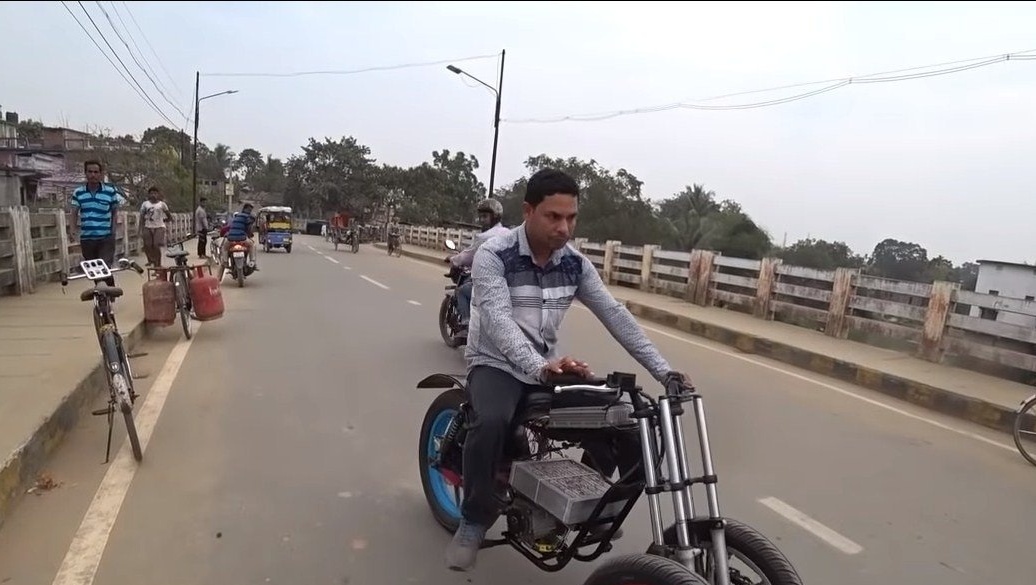
We install a battery on the frame, its author assembled from lithium cells, you can get these from old batteries for laptops or buy new ones. The manufactured battery has a capacity of 30 Ah, and the operating voltage is about 48V. We reliably connect all the wiring, since a current of 30A is not a joke, weak contacts can burn out. We securely mount the controller for brushless motors, it is advisable to protect it from dirt and water.
At the end, it remains to install an electronic inductor, which is connected to the engine controller. That's all, the homemade product is ready.
The author filmed a video of how he drives his brainchild, the car picks up speed quite quickly, looks spectacular, and is also controlled quite confidently.
Good luck and creative inspiration, if you decide to repeat this, do not forget to share your ideas and homemade things with us!