
The main purpose of the aquarium cabinets is to constantly keep a lot of weight of both the aquarium itself and all its components, which together can reach a mass of several hundred kilograms. Therefore, the design of the pedestals must have a sufficient margin of safety, as well as have a solid back wall, which is the bearing for the entire structure. Having acquired an aquarium, many are tempted to install it on already purchased cabinets. Not only are such products structurally not designed for constant high loads, in the event that your aquarium is large, various problems can arise during operation. The fact is that over time, the material from which the hardware is made, under load, gives a drawdown. This is fraught with the fact that existing doors may not open without first draining the water. This is at best. At worst due to sagging countertops, the aquarium may crack and crack.
If you still decide to use such a cabinet, then it requires a fundamental change in the entire structure, which is inappropriate in the case of large aquariums. It will be more profitable to either buy or order a bedside table. Or to make it on your own, such as you need under your water world. That's what the author did
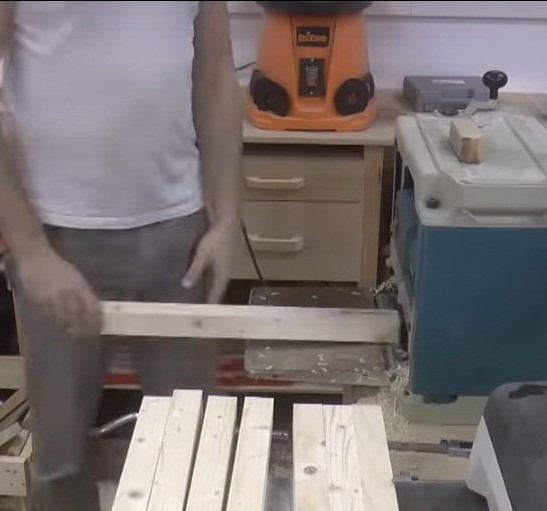
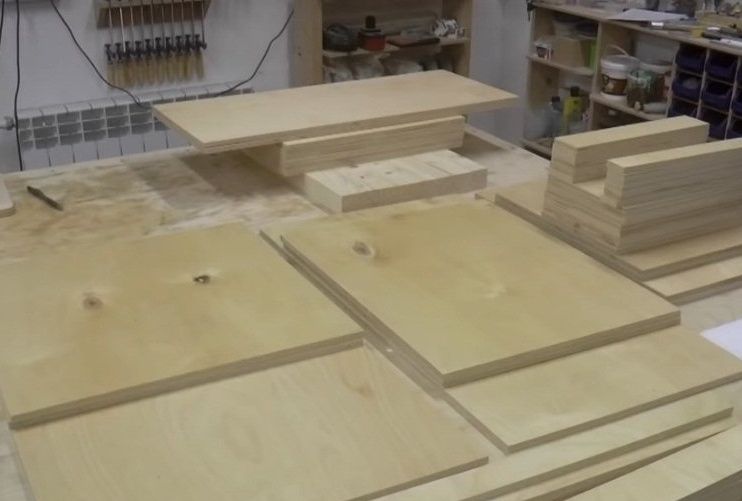
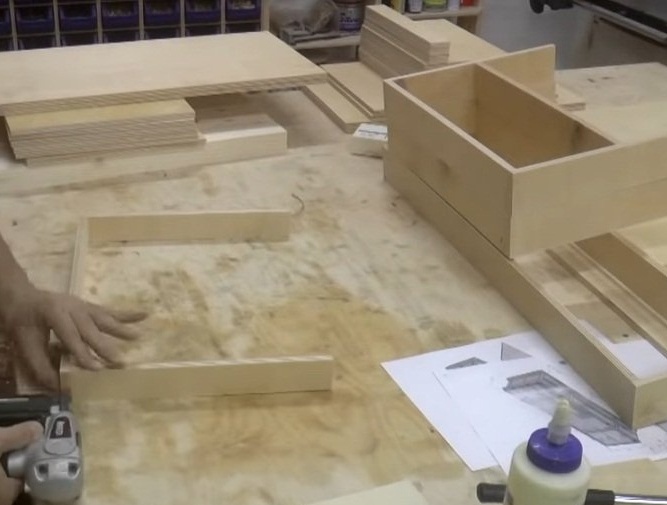
The curbstone will be made of two sheets of 10 mm plywood, and the bars used by the author from previous projects are used as bearing parts.
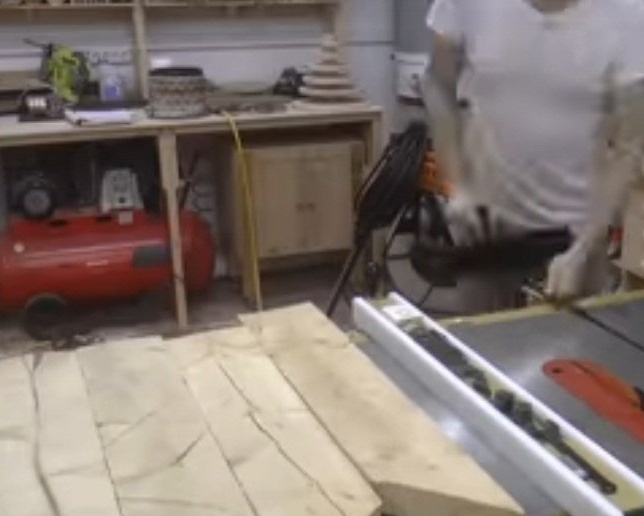
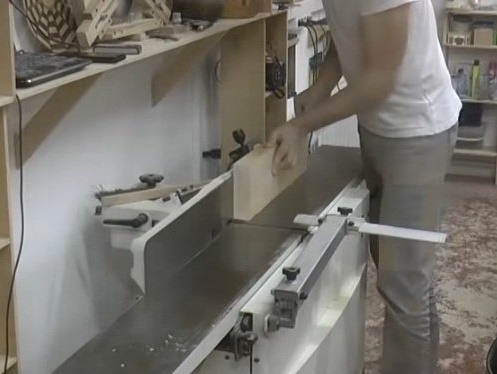
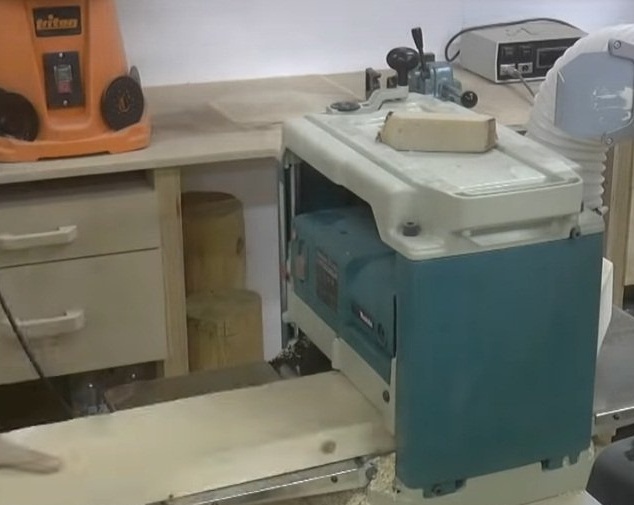
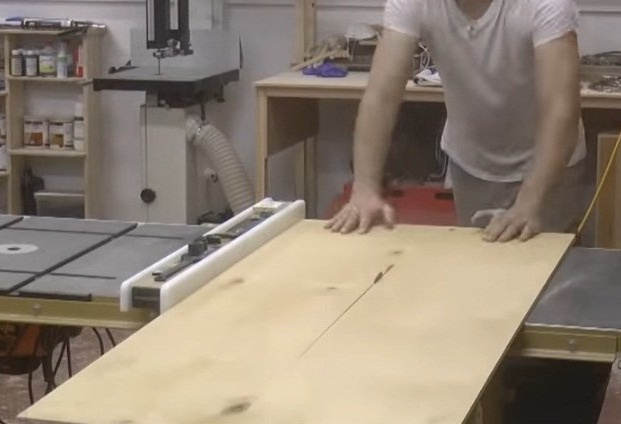
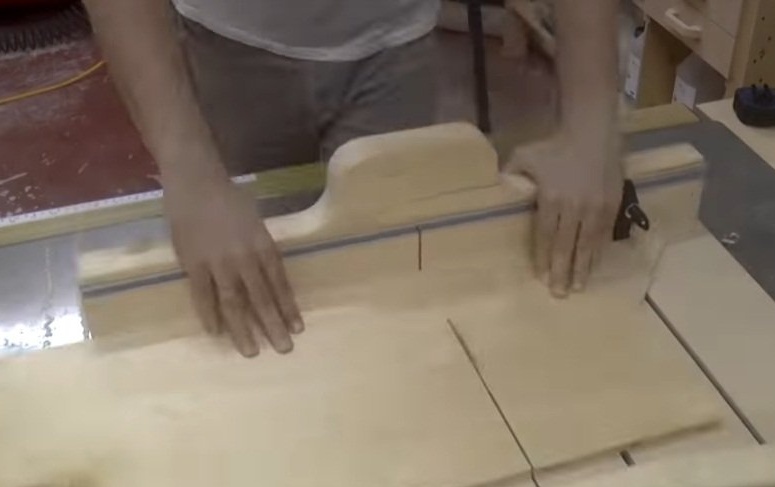
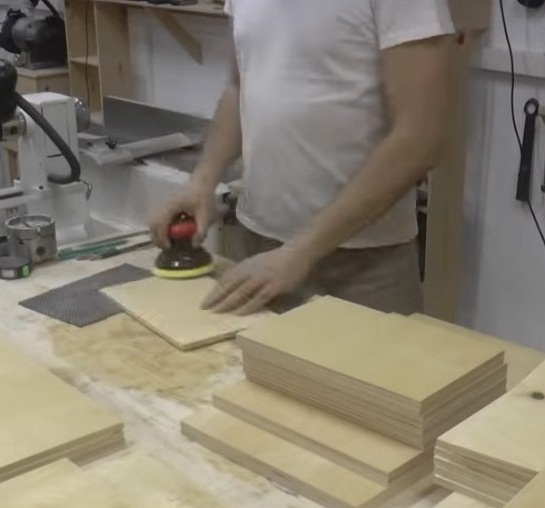
8 power parts are cut, to which all other plywood parts of the cabinet will be attached. The author uses the bars in order not to join the plywood joint to joint, and when gluing parts, the area of coverage with glue increases significantly. The project is drawn in the AUTOCAD program, so all the details are sawn and prepared immediately, referring to the already prepared drawing. The program helps to think out the optimal cutting of parts and reduce material consumption. The workpieces are carefully ground so that there are no protruding fibers during assembly.
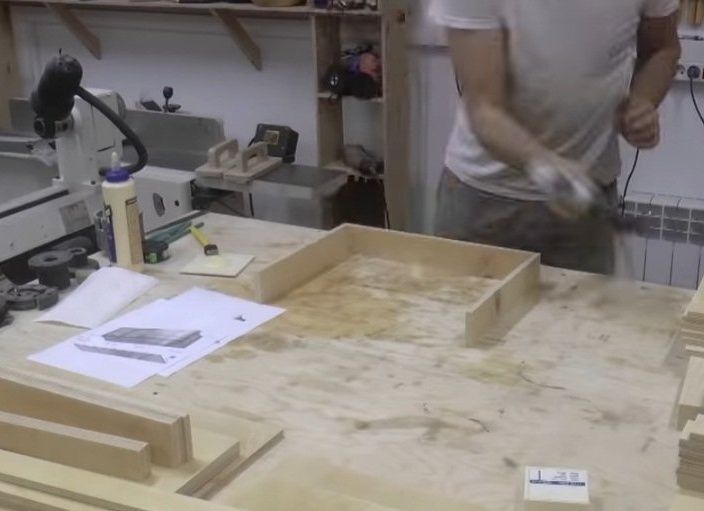
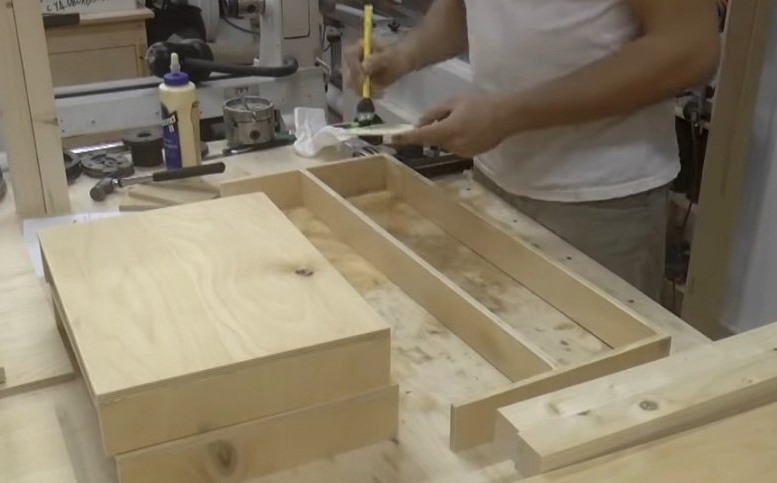
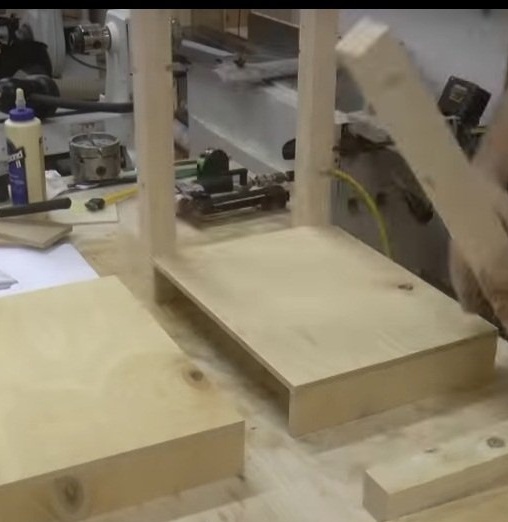
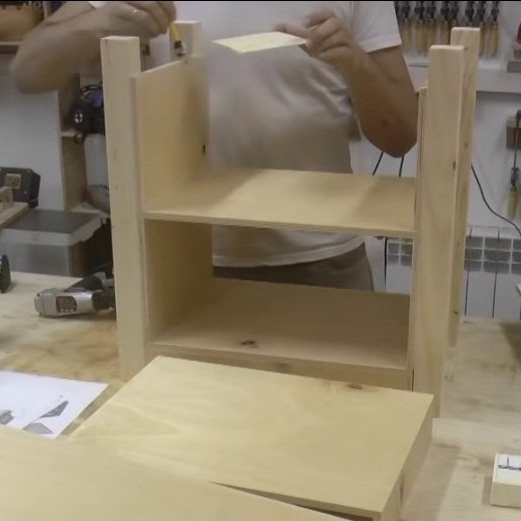
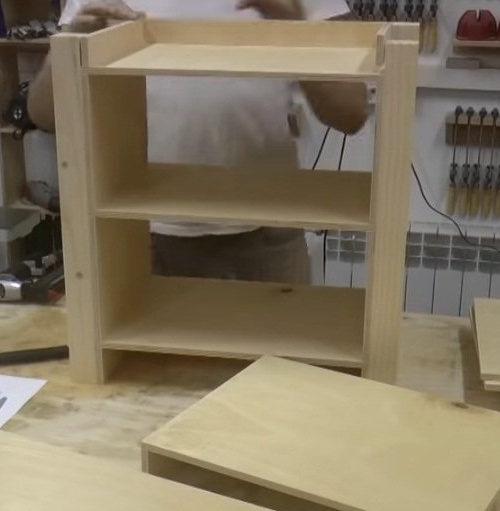
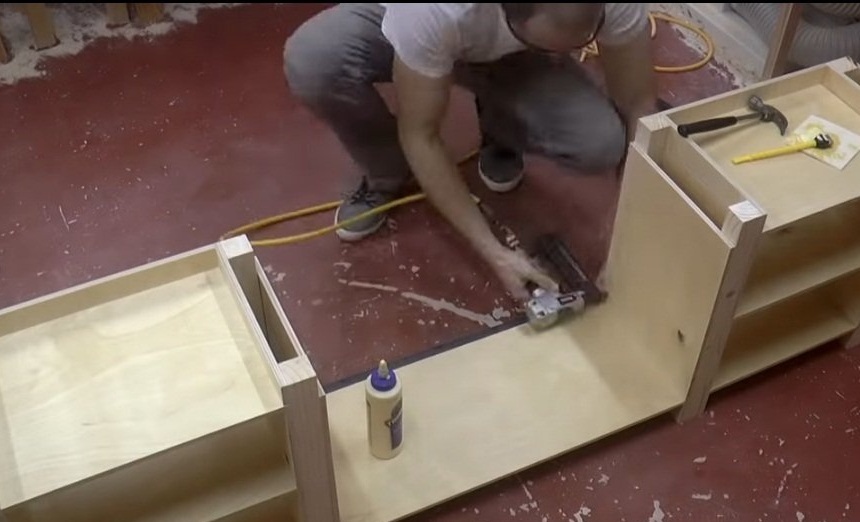
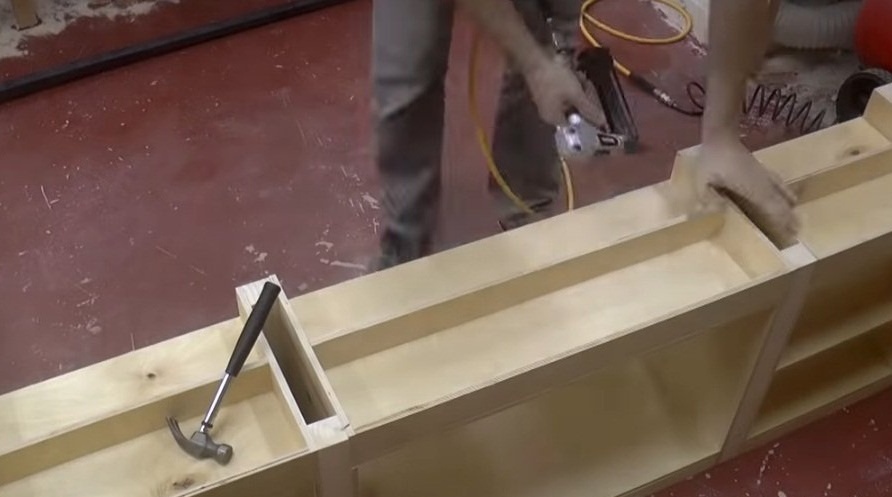
The assembly of the pedestal begins with the creation of the upper and lower reinforcing harnesses.Since all parts have a clear geometry of the corners, there is no need for measuring tools. To set an even assembly angle, the author uses one of the side posts, which is equal to the inter-canal distance. For mounting parts between each other, a hairpin gun is used, which is effective even when connecting thin plywood to the end. The micro-pin, when entering the material, unlike other fasteners used, a nail or a self-tapping screw, does not push apart and does not weaken the layers and holds inside very tightly. Having gathered the upper and lower bindings with the simultaneous attachment of shelves to them, the legs of the stand are attached and mounted to them. To the legs all other parts of the product are already being targeted. Thus, two side parts of the cabinet are made.
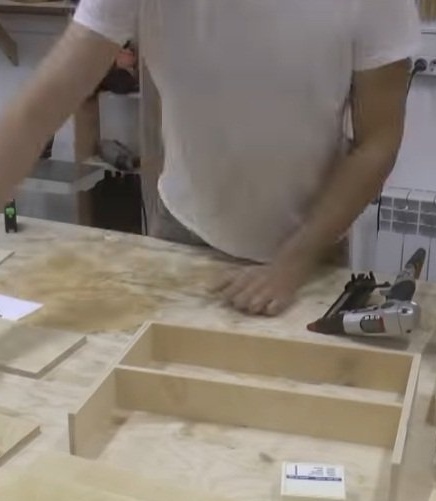

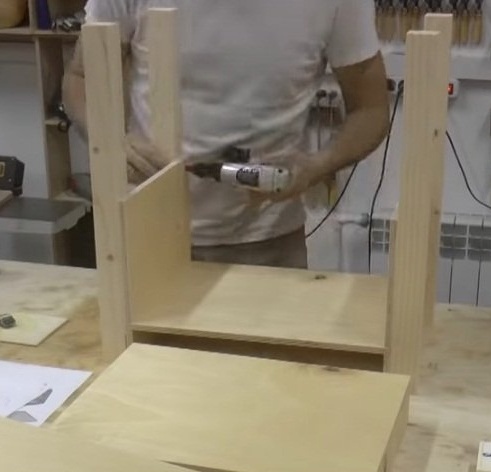
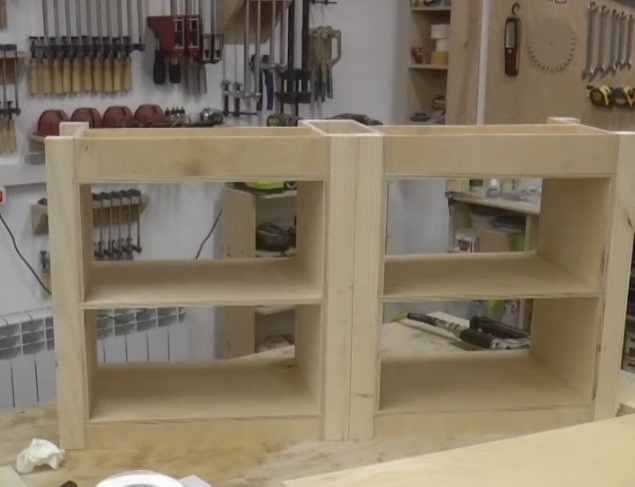
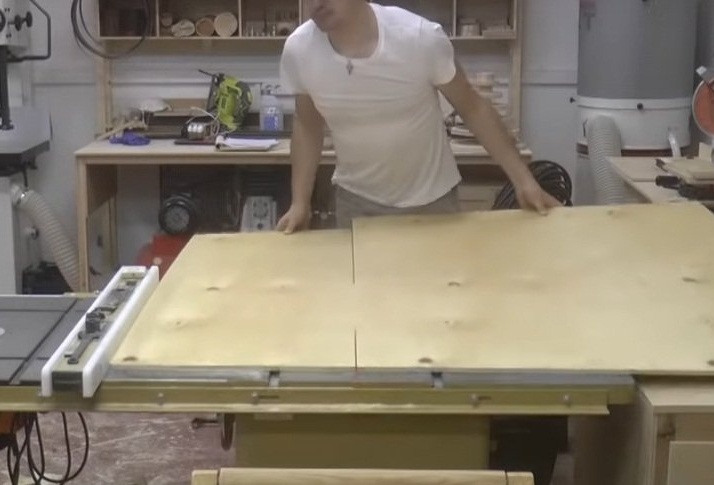
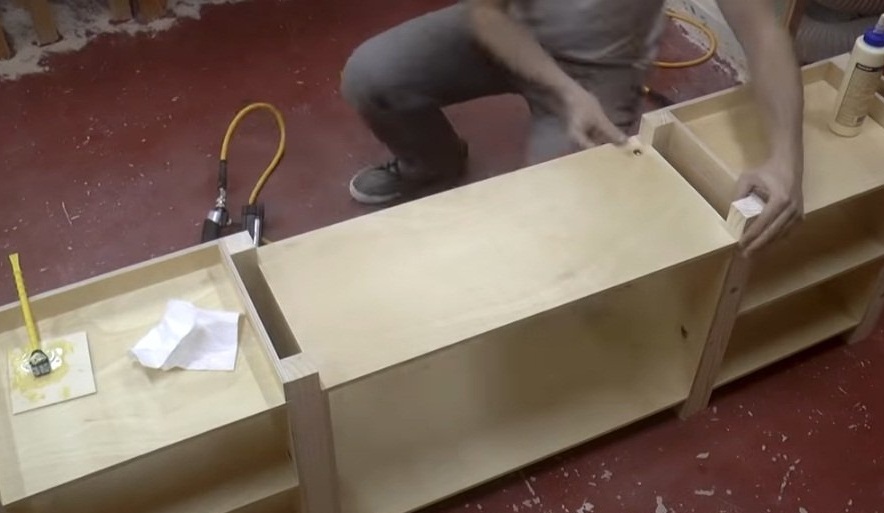
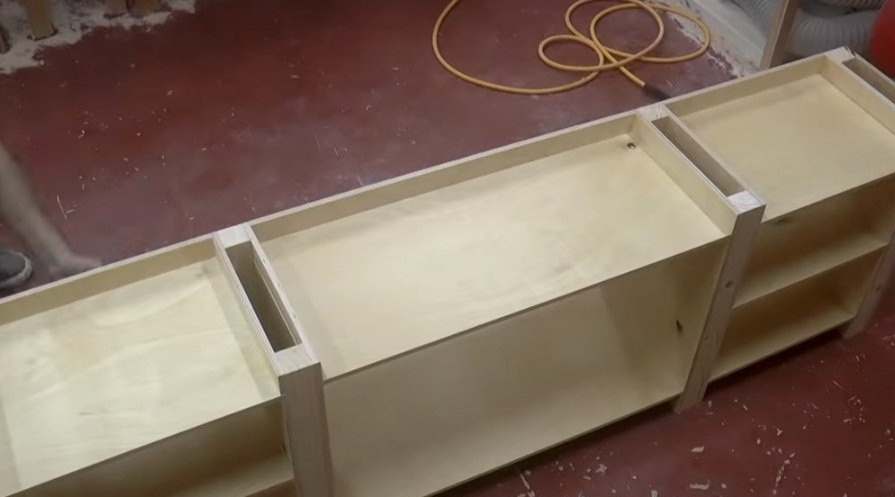
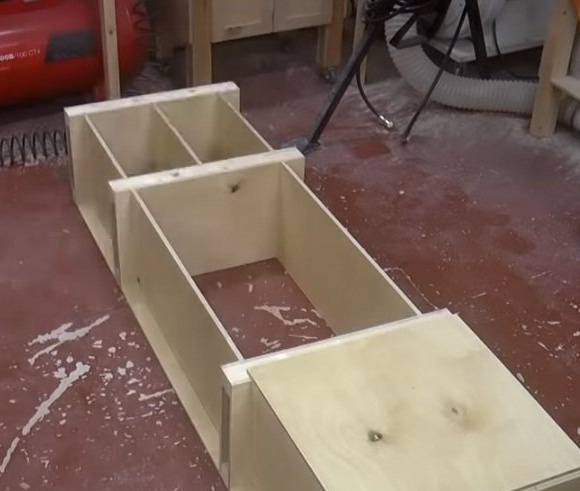
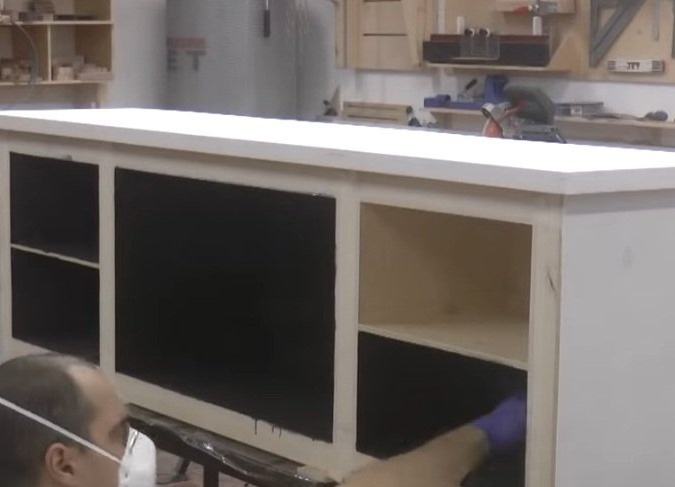
The finished product will be large enough, and the table on which it is assembled is no longer enough. Moving the finished parts to the floor and pressing the middle part of the cabinet with a clamp, the author assembles all the parts into one whole. The middle part will have one large compartment for storing a variety of aquarium devices or replacement tanks with water. The side parts and the upper shelf are attached. The back part, also of 10 mm plywood, which is the main stiffener, is hemmed. The next step is fixing the countertops. It is also made of three parts, since the finished cabinet will be about 170 cm.
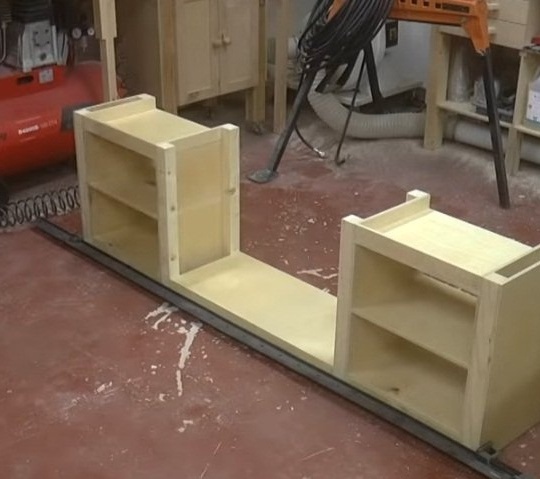
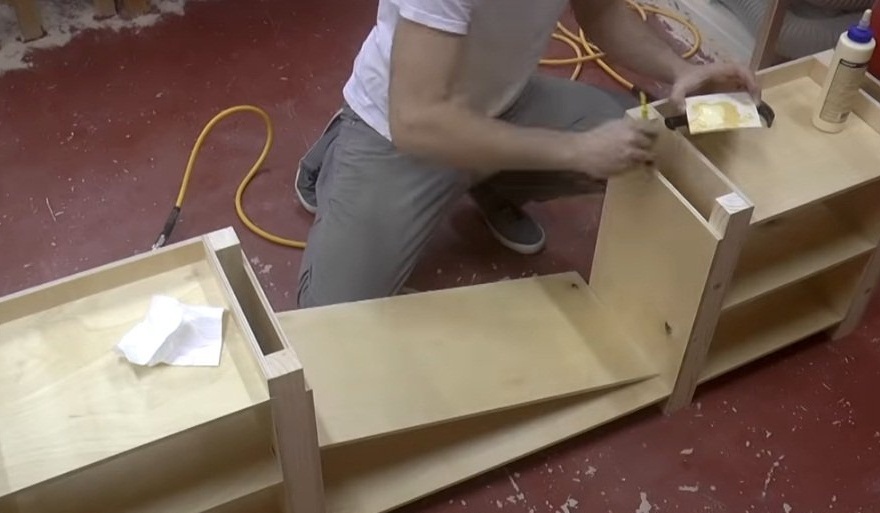
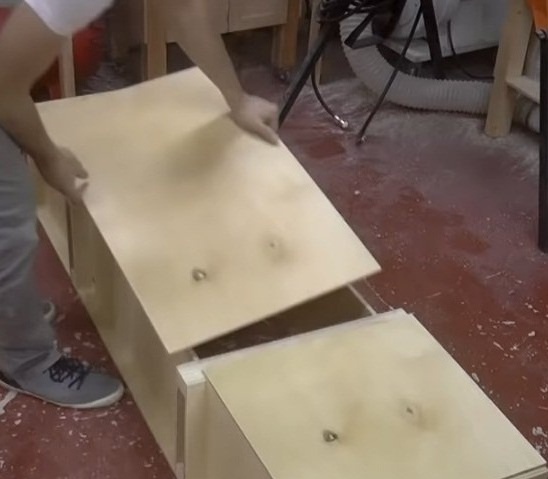
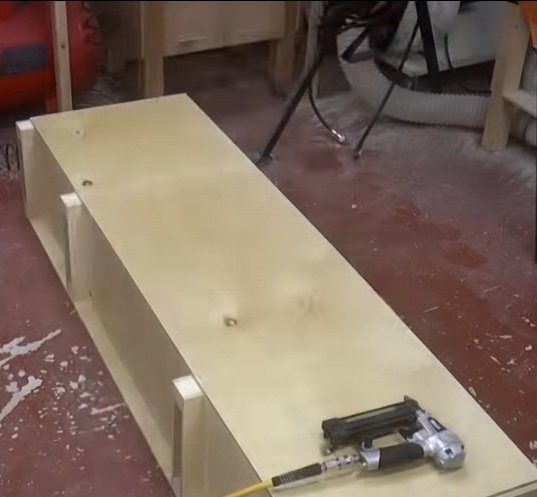
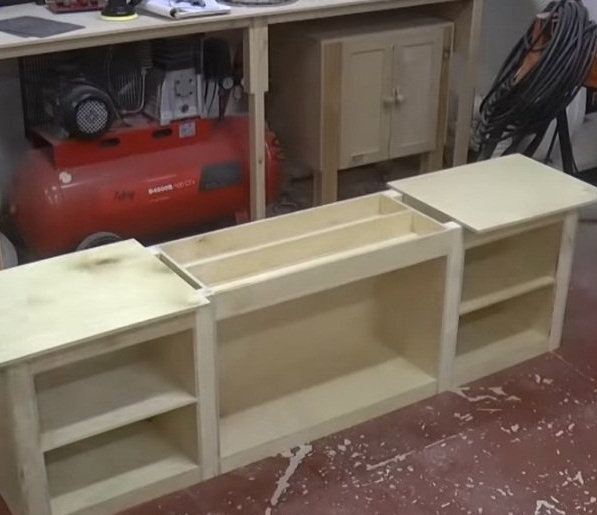
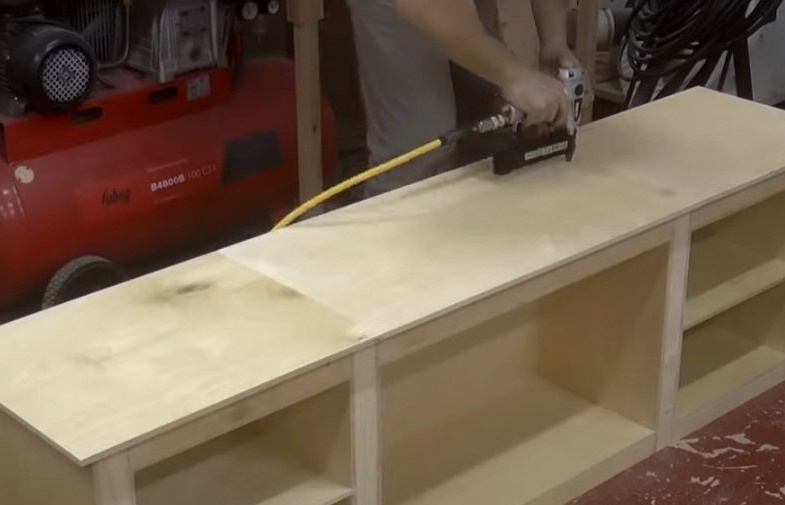
And so that the countertop does not look very thin against the background of thick walls, it was decided to give it massiveness with the help of 15 mm. slats of bottom plywood. Usually they close the end part of plywood products, but here the author decided not to do this, the product will still be painted.

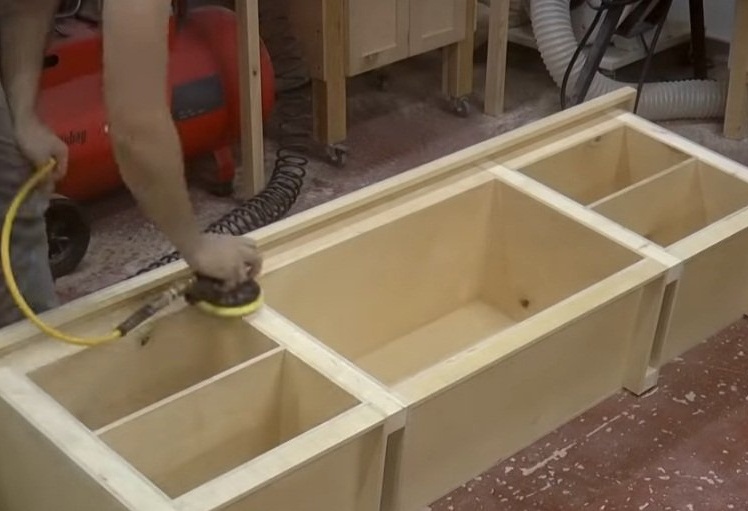

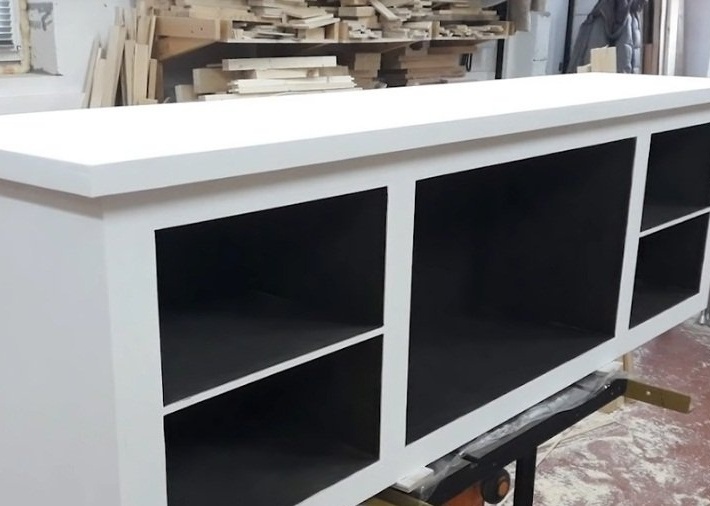
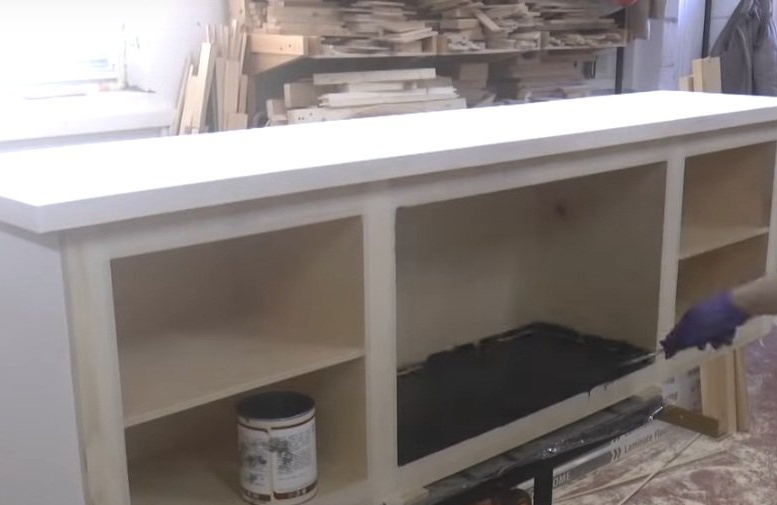
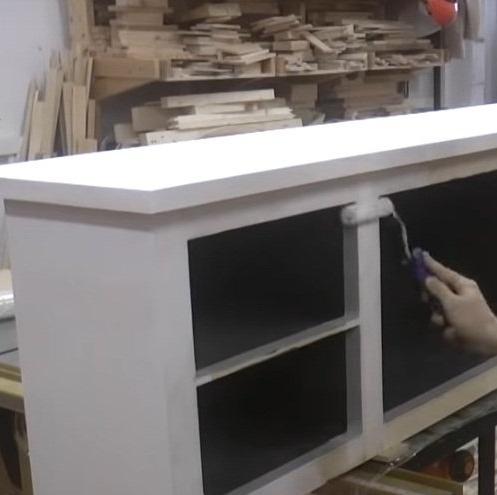
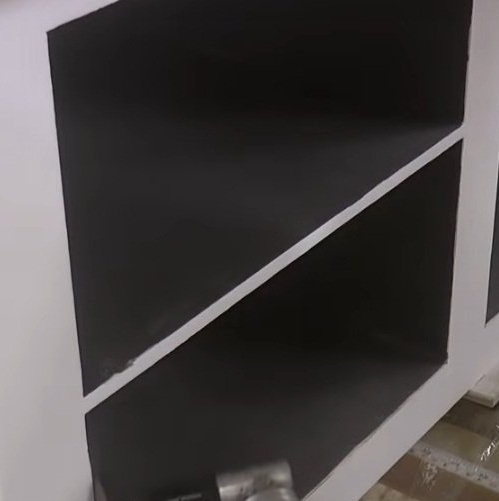
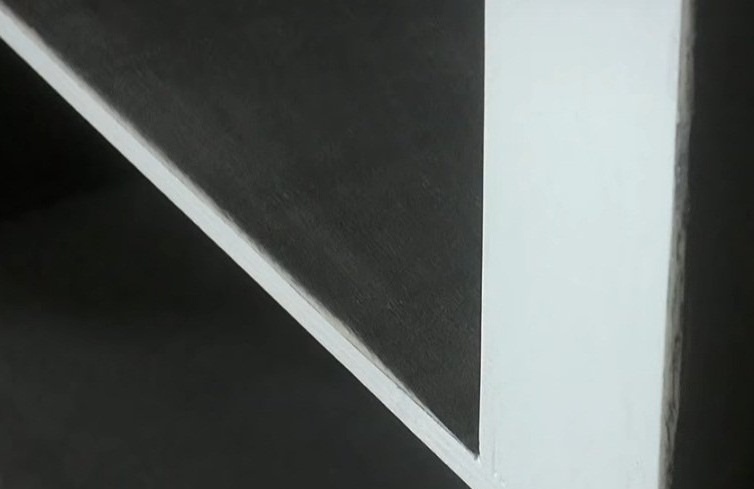
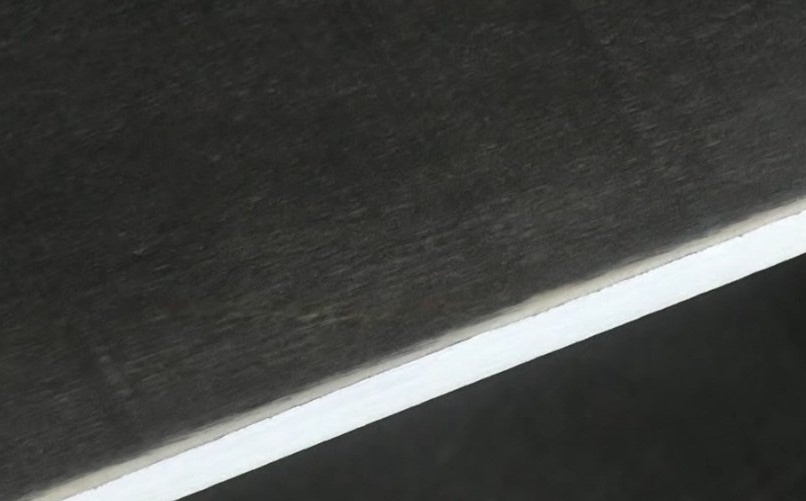
The stand is ready. We turn to the finish. We clean all the bumps and burrs that inevitably arise when assembling any product. Next, go to the painting. The cabinet will be in two color tones - its outer part will be painted white and the inside dark. Painting was carried out using a roller, which, firstly, is very convenient, and secondly, helps to evenly apply paint to the finished product. Before painting, no primer is used, as adhesion to plywood is already very good. Before moving on to painting the interior, the masker tapes the front of the cabinet so as not to stain the light coating. For painting the internal compartment, a wenge priming oil was used. After some time, the tape was removed and glued along the edges of the inner part of the shelves. The front part is painted over with white paint in several layers, since oil can still leak where it should not. After painting, the author, by grinding the faces of the shelves, gave them the effect of scuffing.

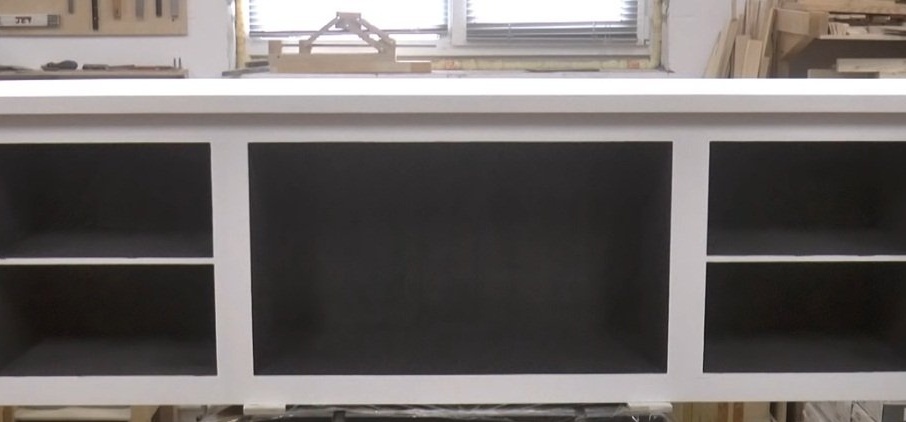
As a result, we got such an interesting modern shelf, on which you can safely place an aquarium - it won’t break!
Good luck and inspiration to all!