Hello dear readers and the inhabitants of our site.
Want to make your own mosaic table? What about a mosaic table with added LED lights?
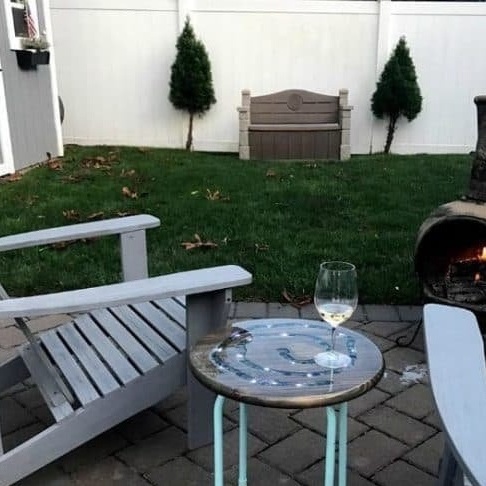
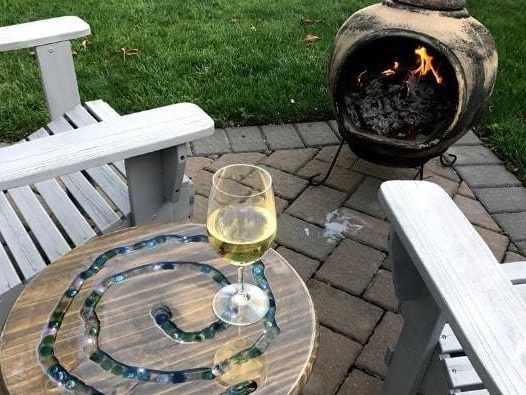
In this article, you will learn how to make an original mosaic table. do it yourself. No, this is not a full-fledged dining table, this is a small table, for a pleasant pastime in the garden with a glass of wine. Well, at least, it is for these purposes that the author makes it.
And you can use such a table as a coffee table, or say coffee, if you make it of course

I suggest you familiarize yourself with the manufacturing process in this article.
Necessary materials and tools.
Manufacturing process.
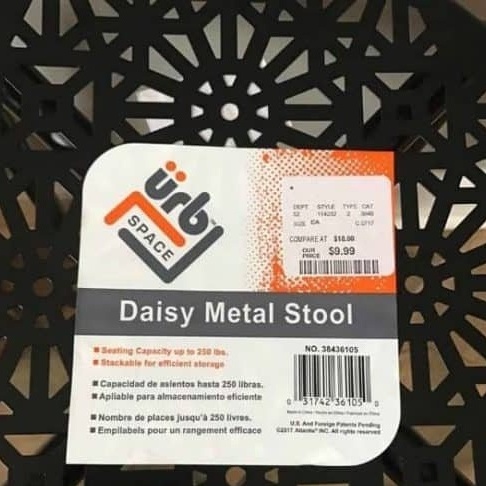
The first thing, of course, is to collect all the accessories for the future table. As legs for the table, the author will use the simplest stool with metal legs, bought in a furniture store.
I acquired a round countertop, or rather I acquired (because the author is a woman) in the nearest building hypermarket. The diameter of the countertops is not very large, about 50 cm. They were also bought there for crafts and kit.
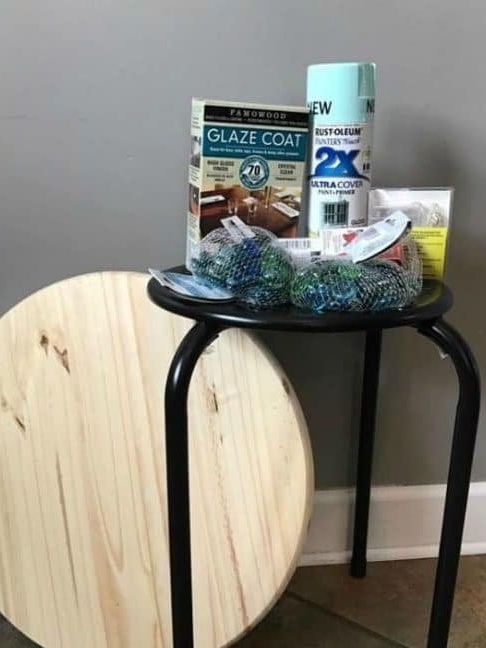
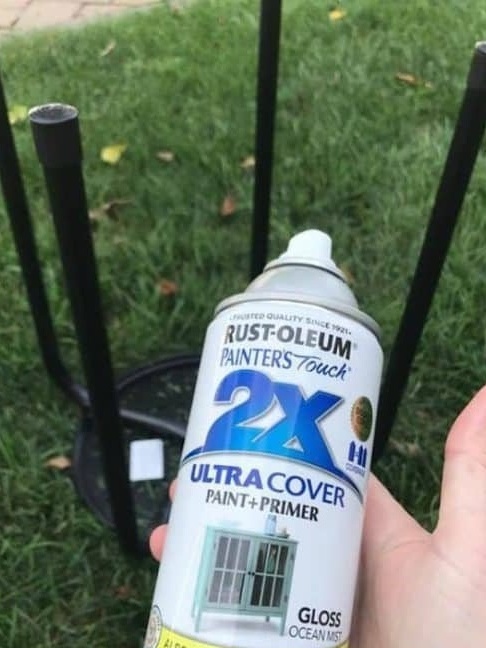
Since the color of the legs of the stool did not fit our master, she repainted the stool, using the spray paint, the color of a sea breeze. In the meantime, the paint will dry out, you can work with the countertop.

In the countertop, the author plans to cut a furrow, for this she will use, in which this one will be installed,.
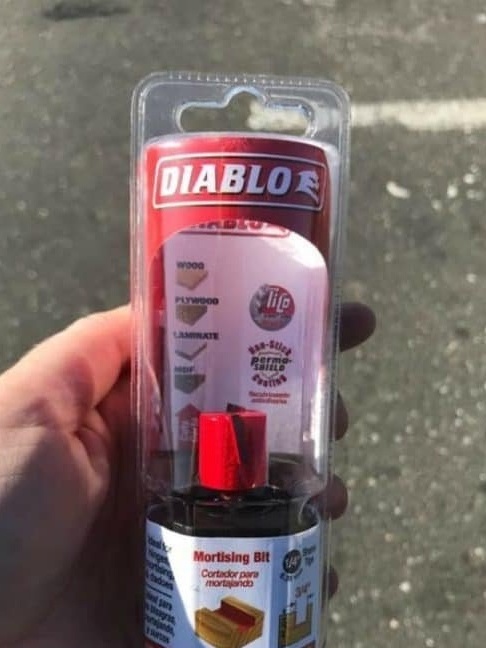
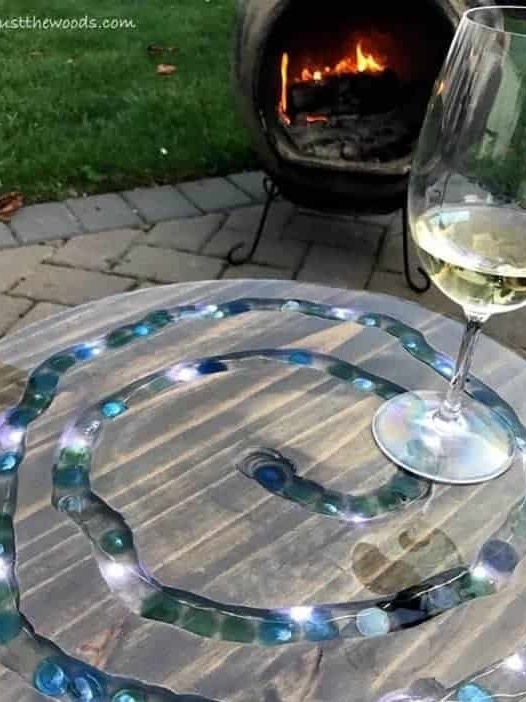
So, using a milling cutter creates a kind of spiral. This spiral is absolutely not necessary to do the correct form, so it does everything so to speak. Actually, you don’t need to do a spiral either, here as they say that your imagination is enough, then you can cut it out.
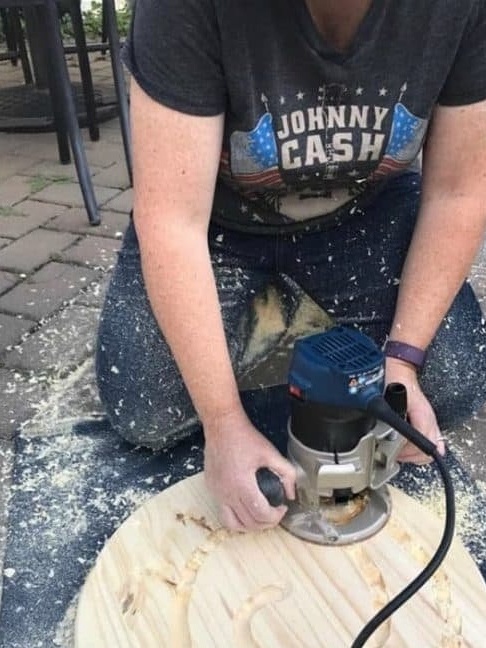
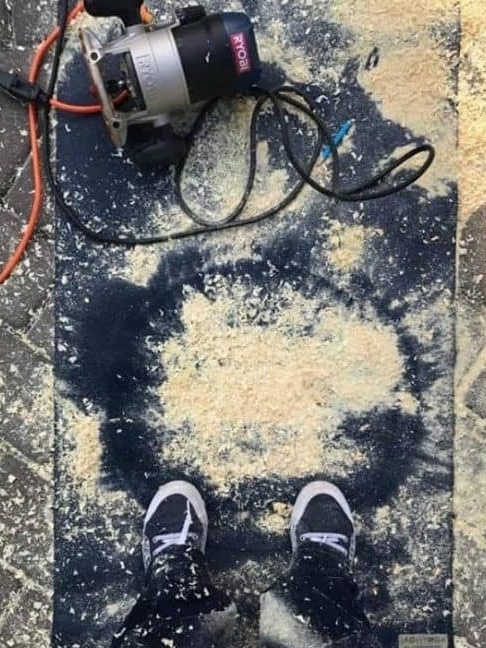
Here it shows that during these works, it is possible to get a little dirty with sawdust flying in all directions. Interestingly, a freshly painted chair, stands somewhere nearby?

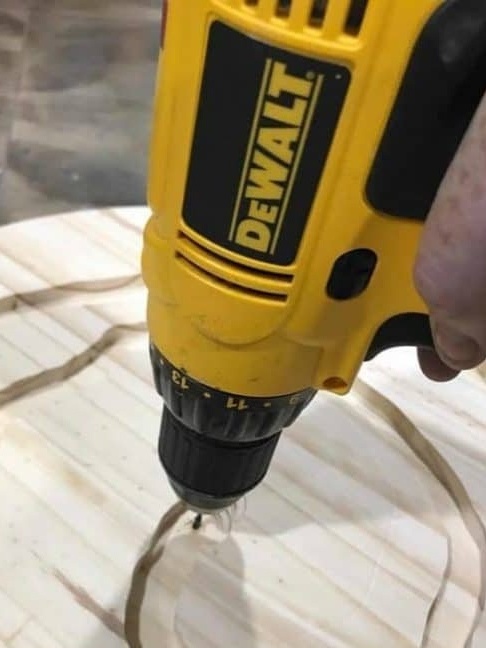
The groove in the countertop is ready, now you need to carefully sand the surface of the countertop, as well as the inside of the groove. Then clean the countertop from sawdust. Then the author drills a hole in the central part of the table, through this hole will pass the supply cable of the LED garland.
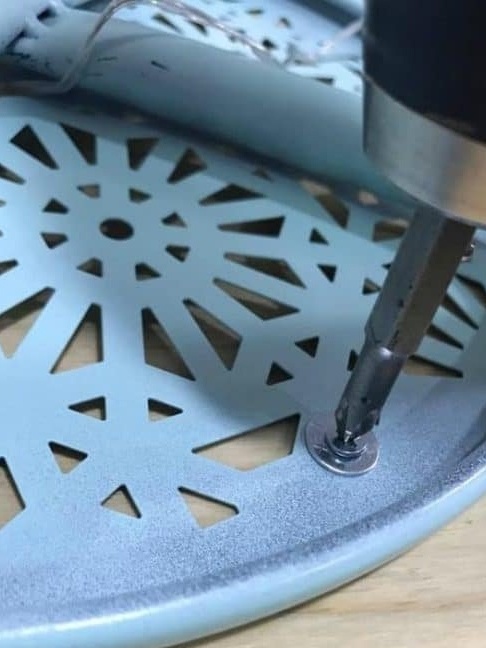
In the meantime, the painted stool has already dried. The author turns the tabletop over, puts a stool on it, aligns it with the center. Screws the countertop to the stool directly through the holes in the stool seat. Although, in my opinion, the design may be unstable, the seat is plastic, it would be better to attach stools to the metal legs, but oh well.
In the next step, our master covered the tabletop with azure, to give the wood a more noble appearance. What azure used, unfortunately, is not indicated, well, yes, this goodness in any hardware store is enough, in various color options, to your taste.
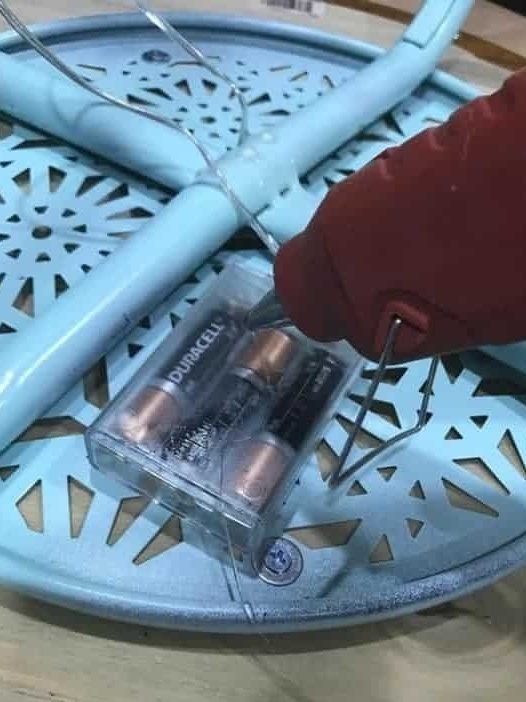
Also, the LED garland is also already laid in the groove. The garland was grabbed to the surface of the groove with a hot glue gun, and the power cables were passed into a previously drilled hole. By the way, in this garland there is a plastic box for batteries, it was disconnected for ease of installation. Of course, you can use an LED strip instead of a garland, but since the author plans to power the lights from batteries, the LED strip will put them faster, in view of the larger number of LEDs and, accordingly, the higher current consumption.
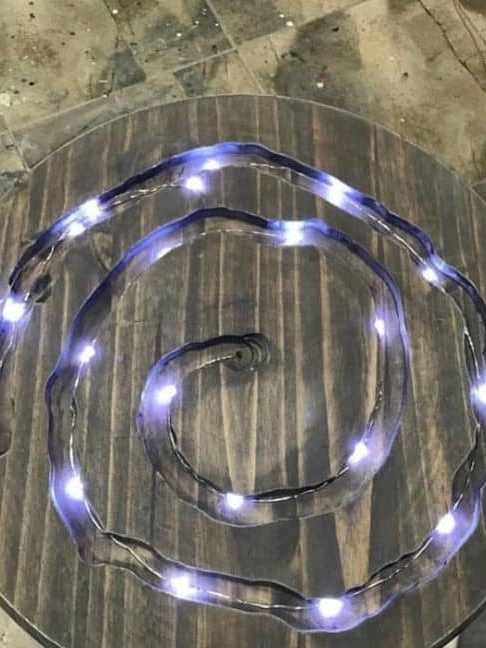
Now you can stack stones in the furrow. Stones should be placed on top of the garland, thereby hiding the wires from the garland.

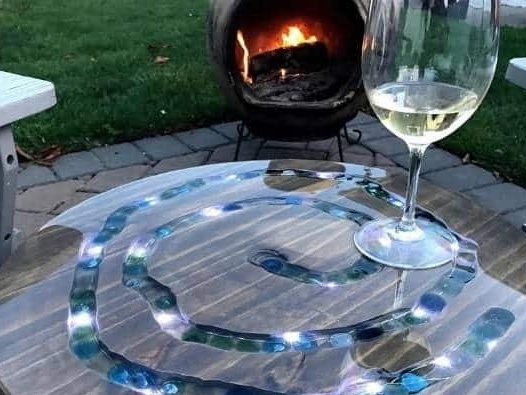
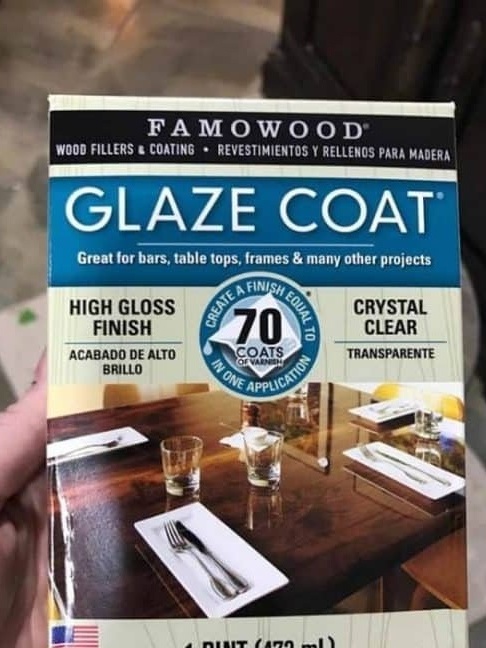
The next step is to seal the surface of the table with epoxy. After hardening, the epoxy will look like glass and give the surface of the table just a great look. The author mixes epoxy resin with hardener, mixes thoroughly. But when mixing the resin do not rush, mixing too quickly will result in air bubbles.
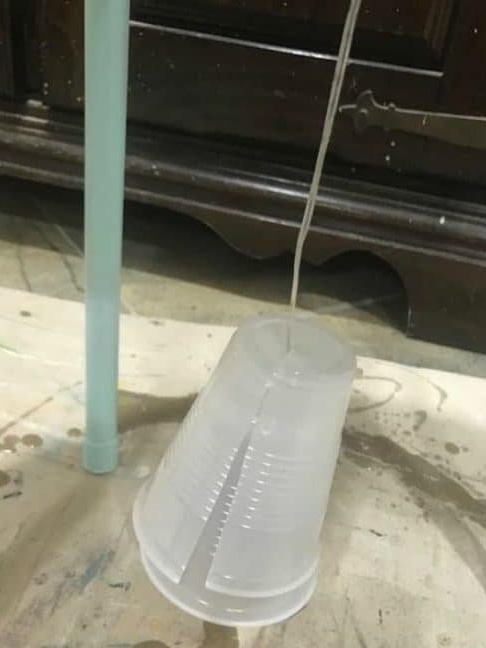
After the resin is ready for pouring, the author fills the groove with stones with it, and then pours the resin on the entire surface of the table, allowing it to spread independently on the surface. At the same time, part of the resin will drain along the edges of the countertop. Therefore, this operation should be carried out pre-covering the floor under the table, do not forget about protecting the surfaces of the legs, they are also better than wrapping them up. It is also advisable to carry out this operation indoors in order to avoid getting various debris brought by the wind on the surface of the epoxy resin. After hardening of the epoxy resin, and this is about 24 hours, you can remove frozen resin droplets around the edge of the table with sandpaper.
The last step in creating this table is to connect the LED garland to the power. The author connects the garland cables to a previously disconnected battery box. The box itself attaches to the back of the countertop with hot-melt adhesive.
Our table is ready for this, now you can safely run for a bottle of wine and experience the table in action.
The table looks great both day and night when the LED backlight is on. Moreover, the surface of the table is under reliable protection and it can be used both indoors and outdoors.
On this I say goodbye to you, good ideas to you !!!