
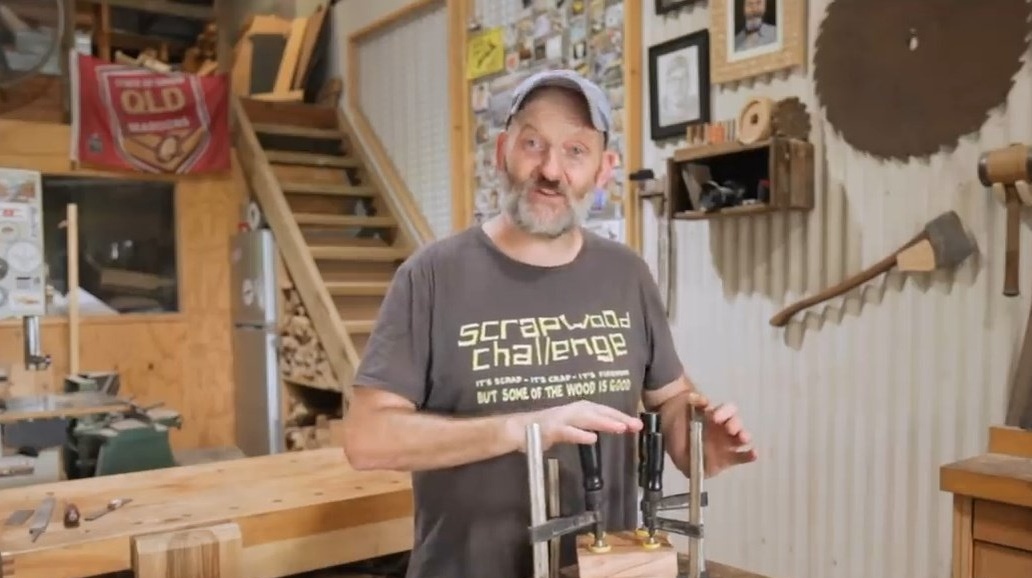
In this article, the author of the YouTube channel "Pask Makes" will tell you about the process of creating a manual planer, but a rather unusual form
Materials
- steel strip
- Wooden beam
- PVA glue, contact adhesive
- Machine oil
- Flaxseed oil, wax
- Bolt M10.
Instruments, used by the author.
- Chisel, clamps
- Bulgarian, drilling machine
- Petal grinding wheel
- Band-saw
- Hacksaws for wood
- Muffle furnace
- Oven
- File, vise
- Orbital sander
- Workbench
- Sharpening machine
- vernier caliper
- Water whetstones, sandpaper
- Vise, ruler, square, pencil, goniometer.
Manufacturing process.
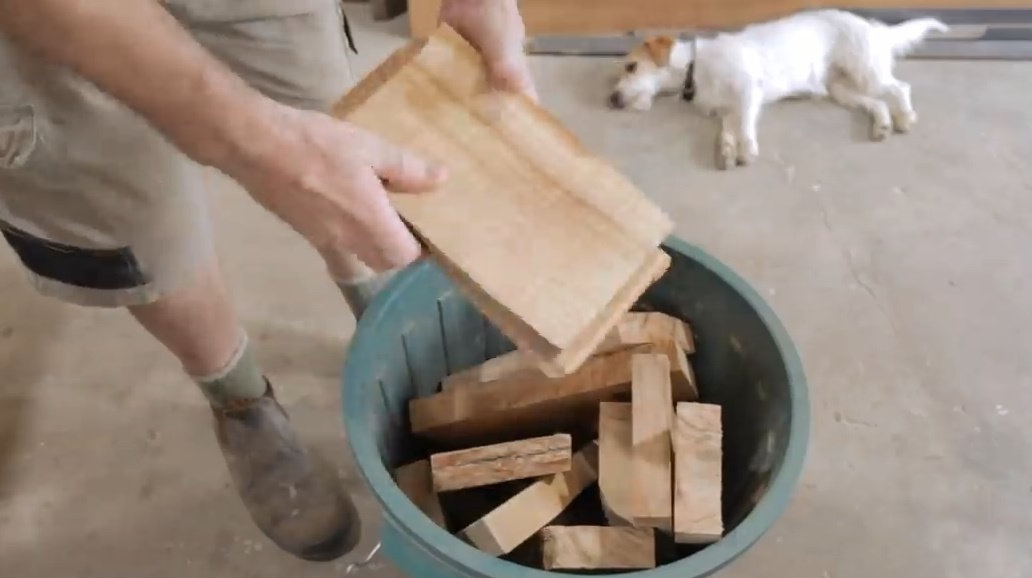
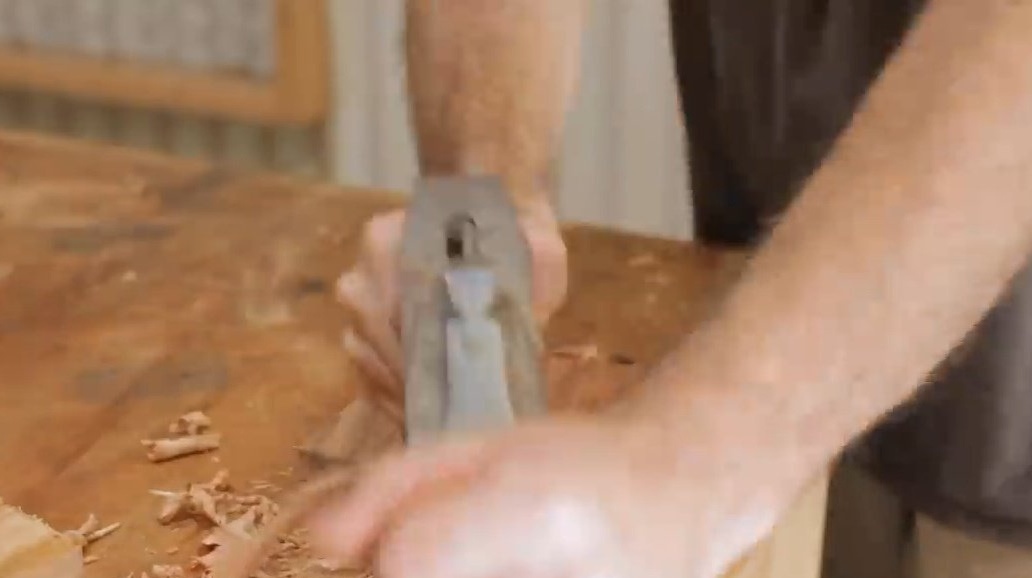
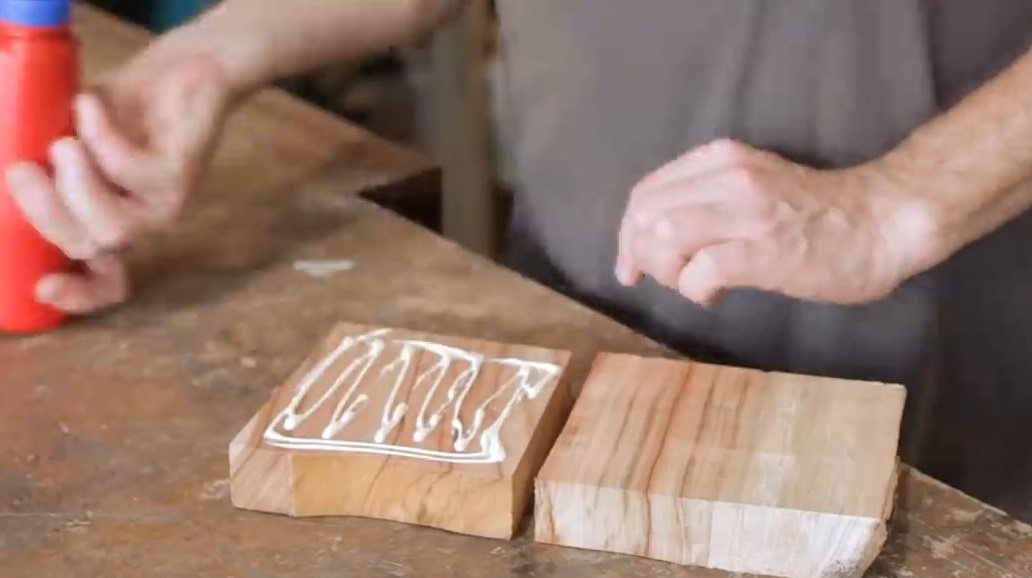
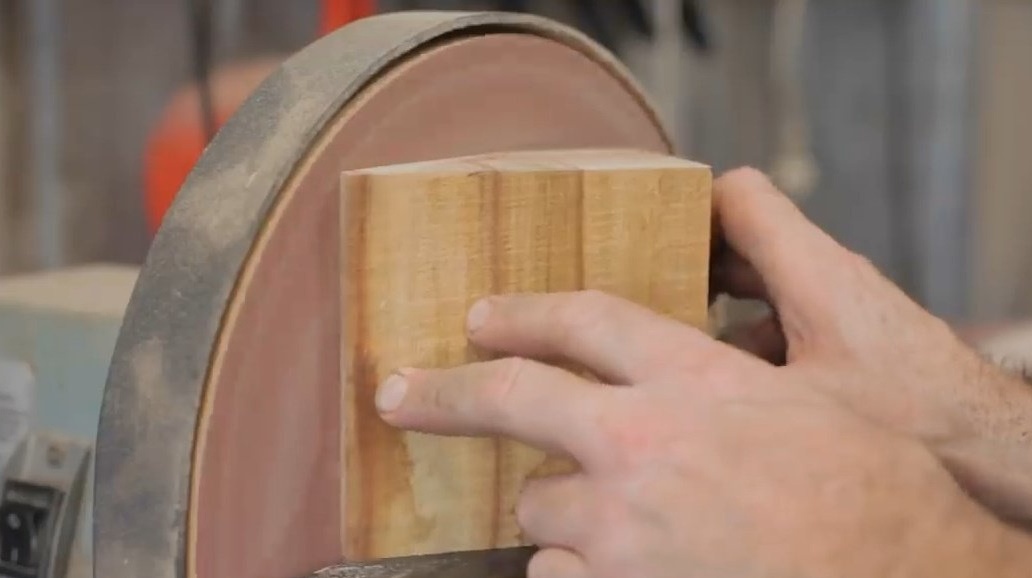
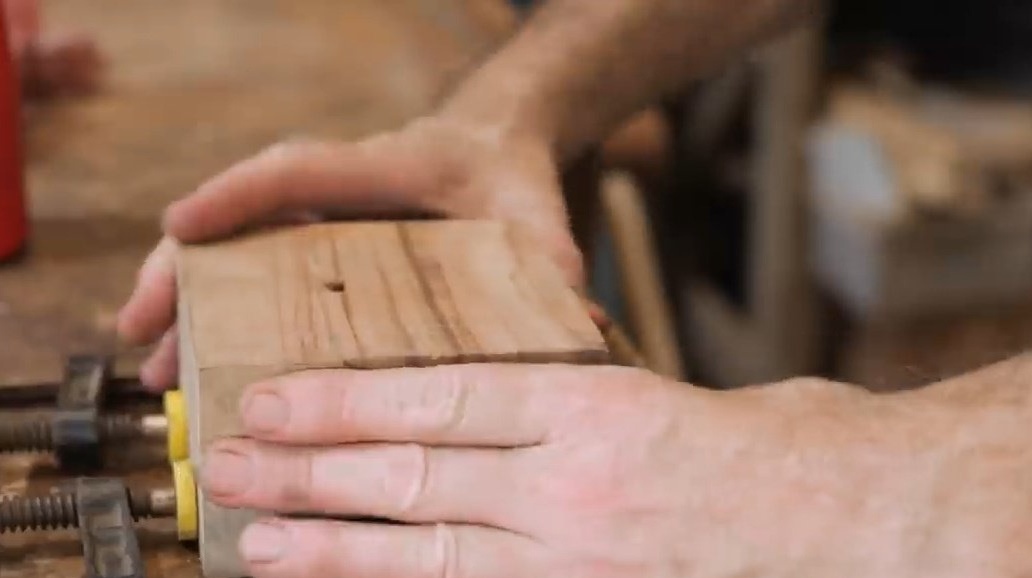
The author selects a suitable wooden block, cuts it in half, cuts the edges and trims the surface with a planer.
Glues both halves. Tightens them with clamps while the glue dries.
In the meantime, he makes the cutter himself. To do this, you can use the usual old 10-12 mm chisel. The handle will have to be cut, because it will unbalance the plane.
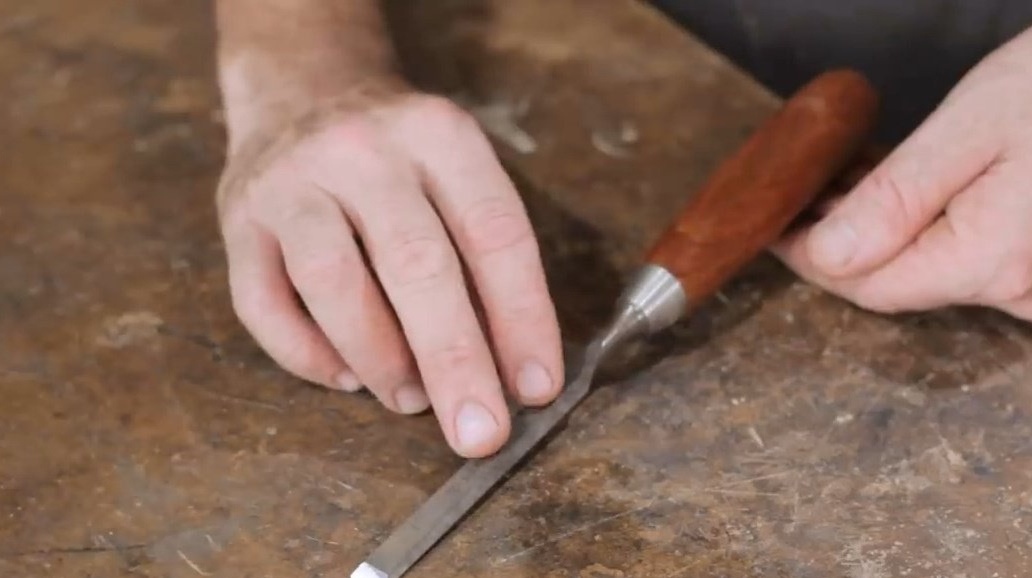
But the master intends to make his cutter out of steel fragments of a knife. Steel 10/75. Another option is to make a cutter from an old file, a plane blade or any piece of high carbon steel.
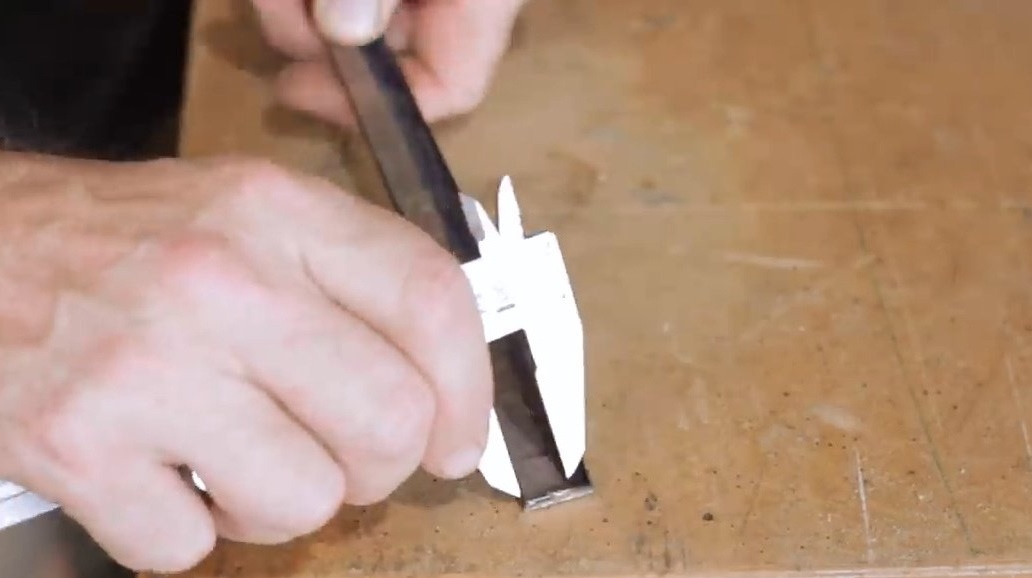
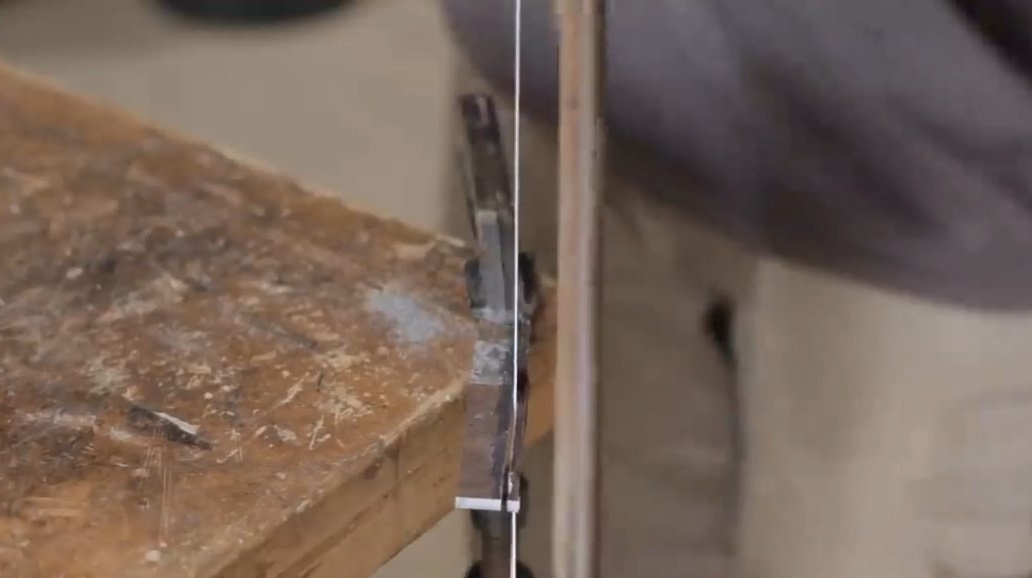
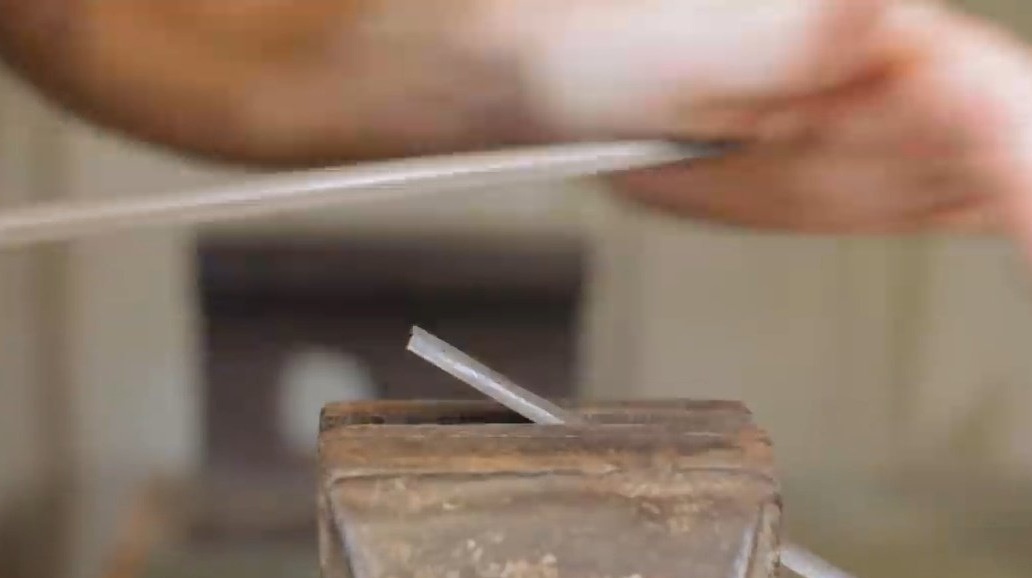
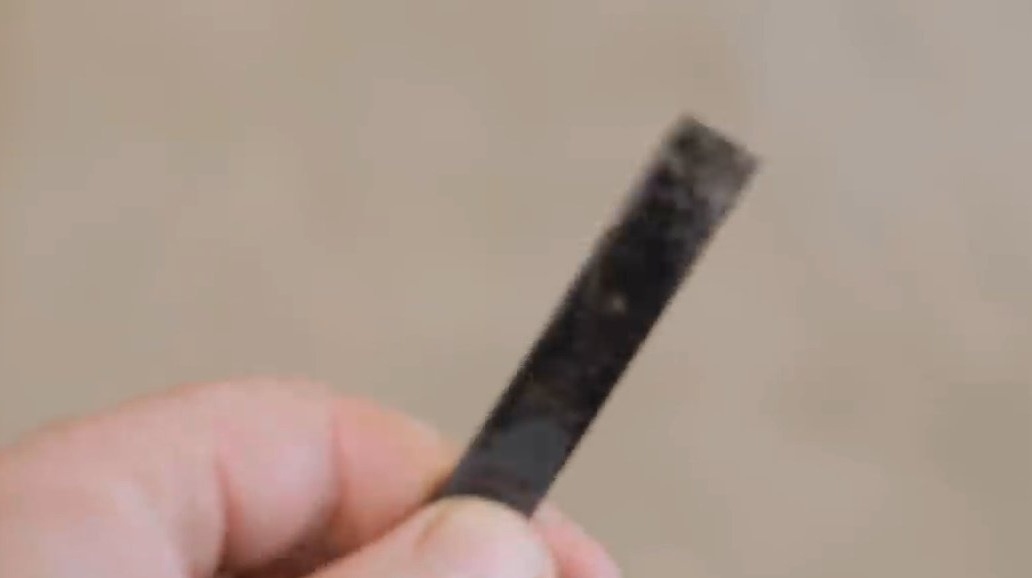
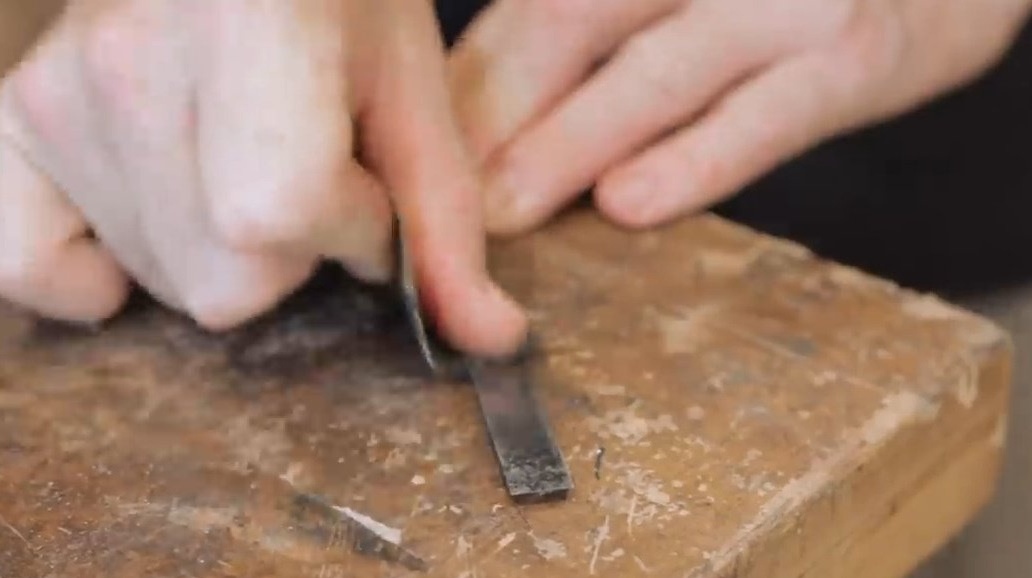
So, the old blade is cut to the desired size with a hacksaw. Moreover, the master preferred to do this manually so as not to overheat the steel with a cutting disc of the grinder.

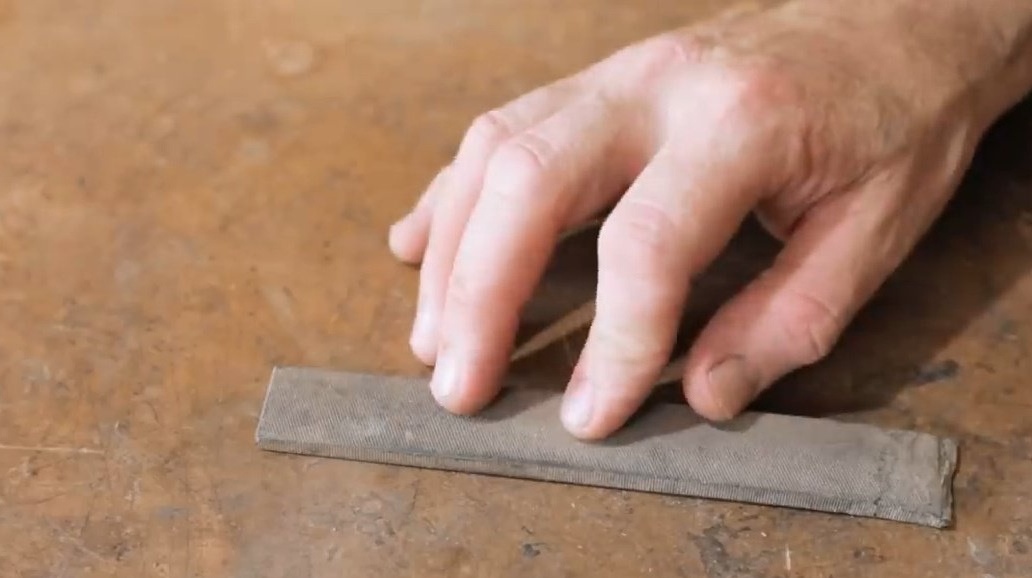
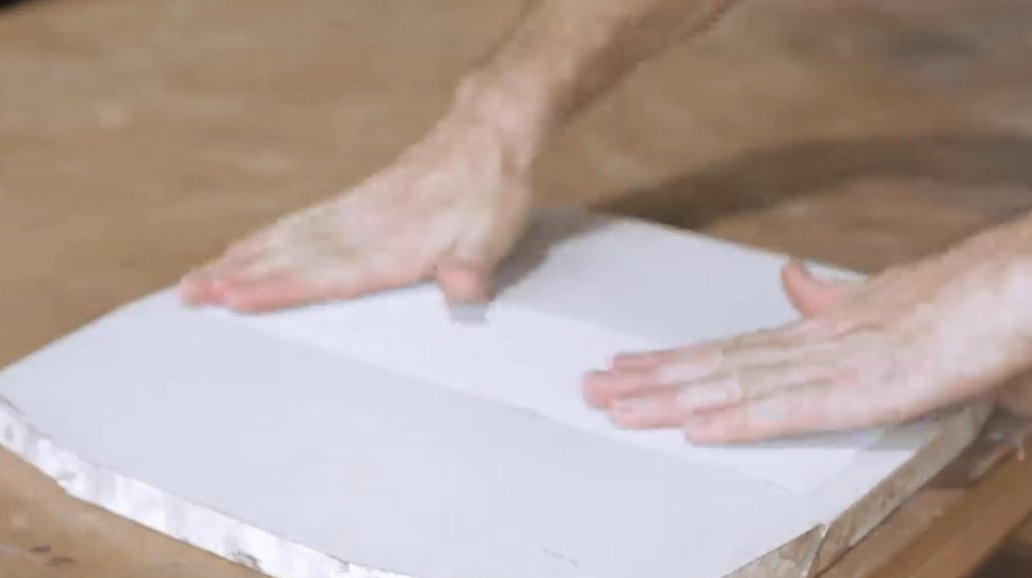
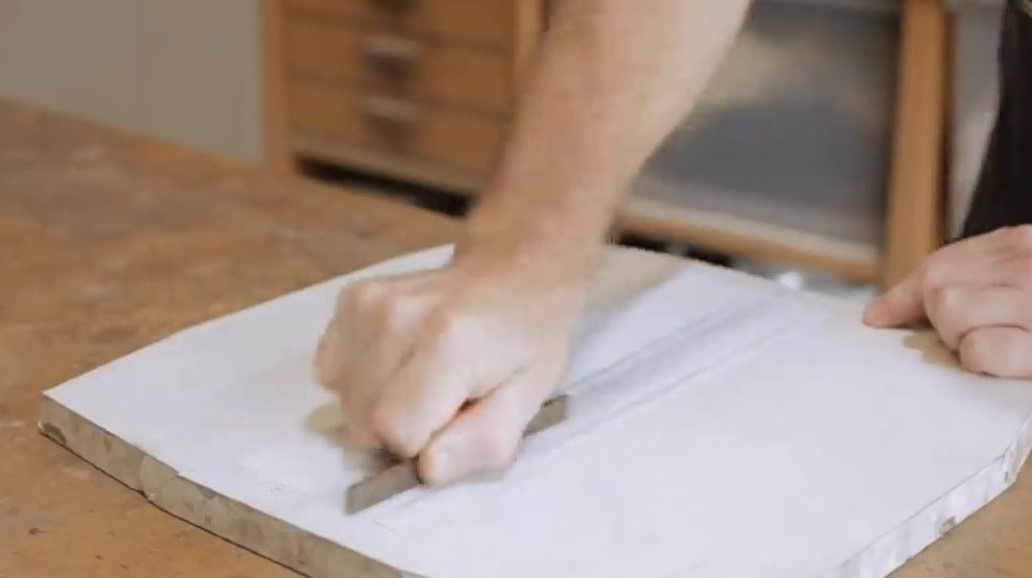
Then it is ground up with a file and polished to a shine on fine sandpaper.
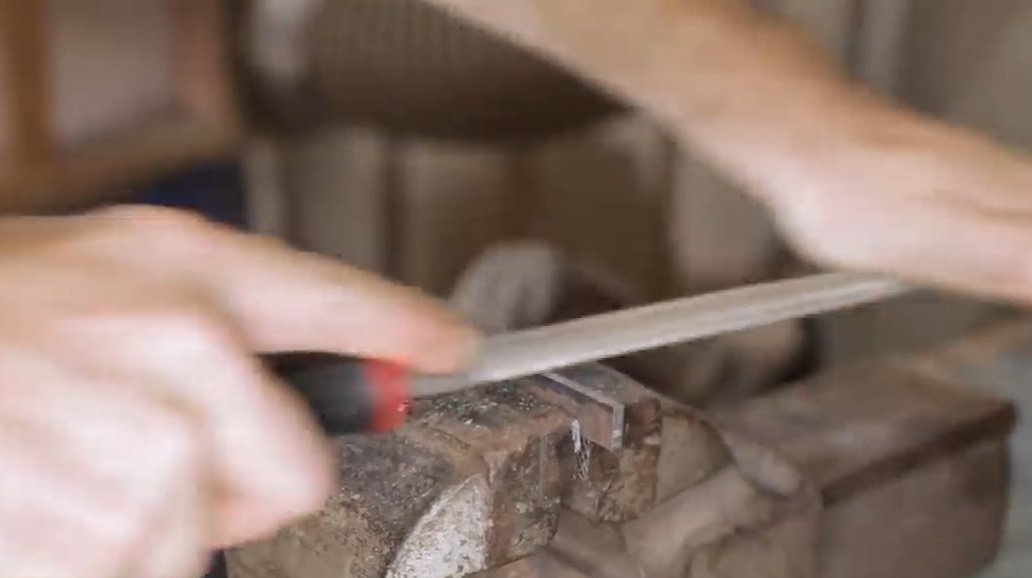

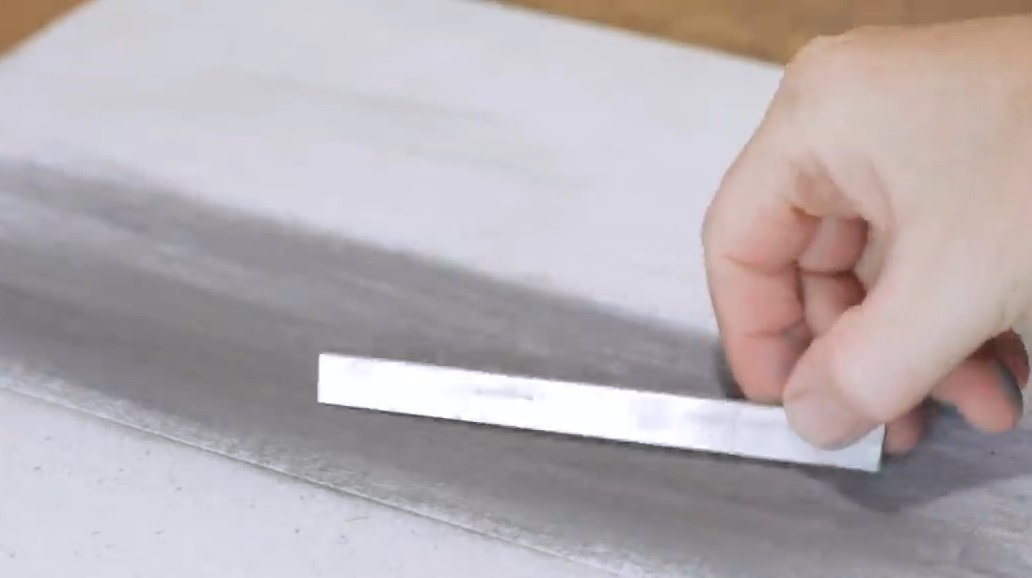
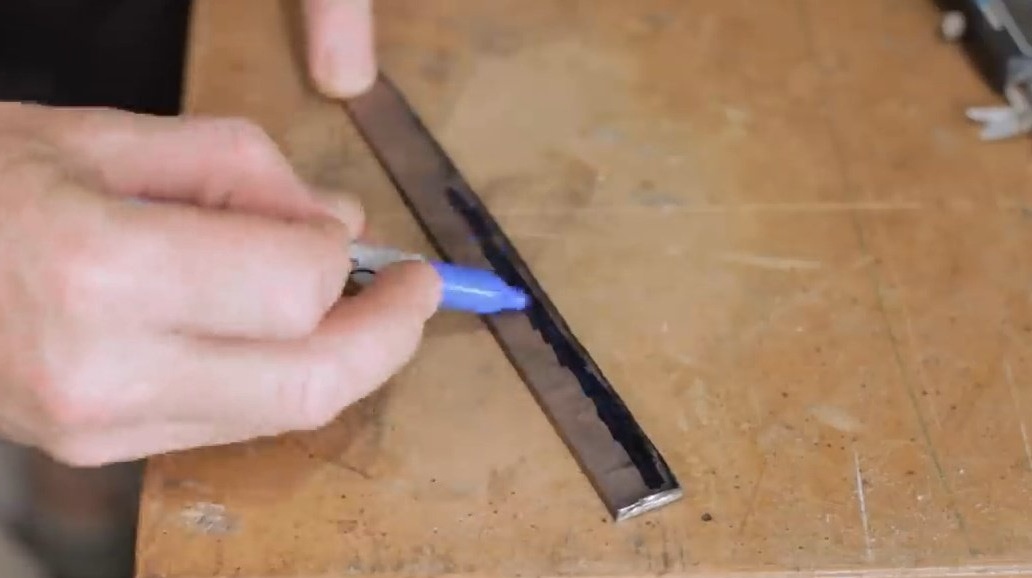
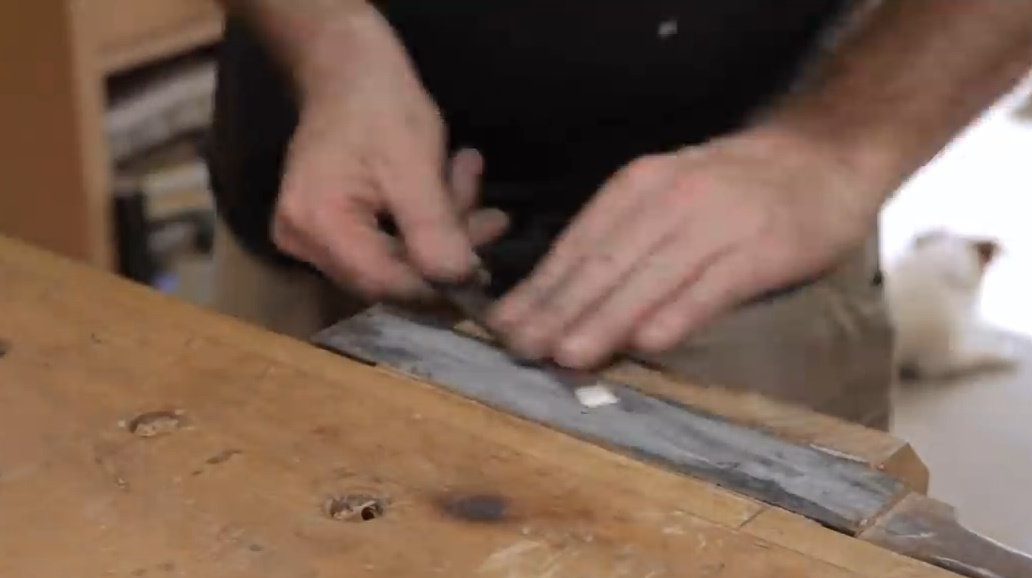
Now the author forms the cutting edge at an angle.
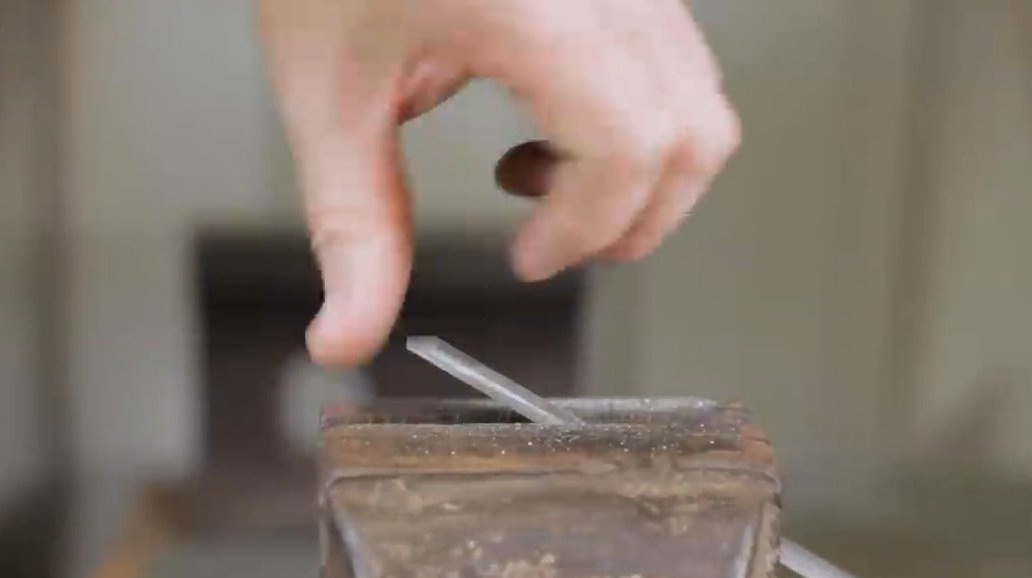
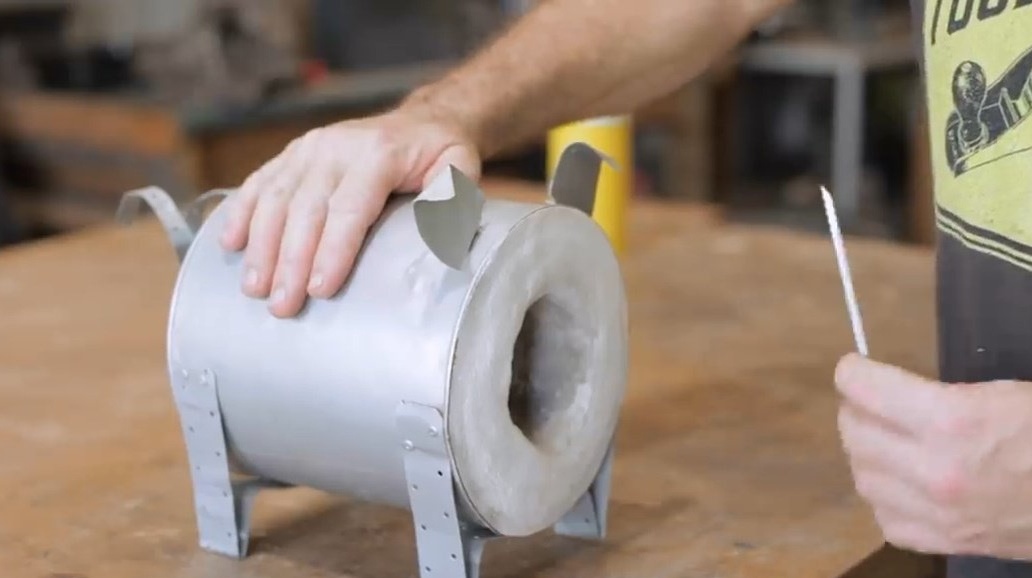
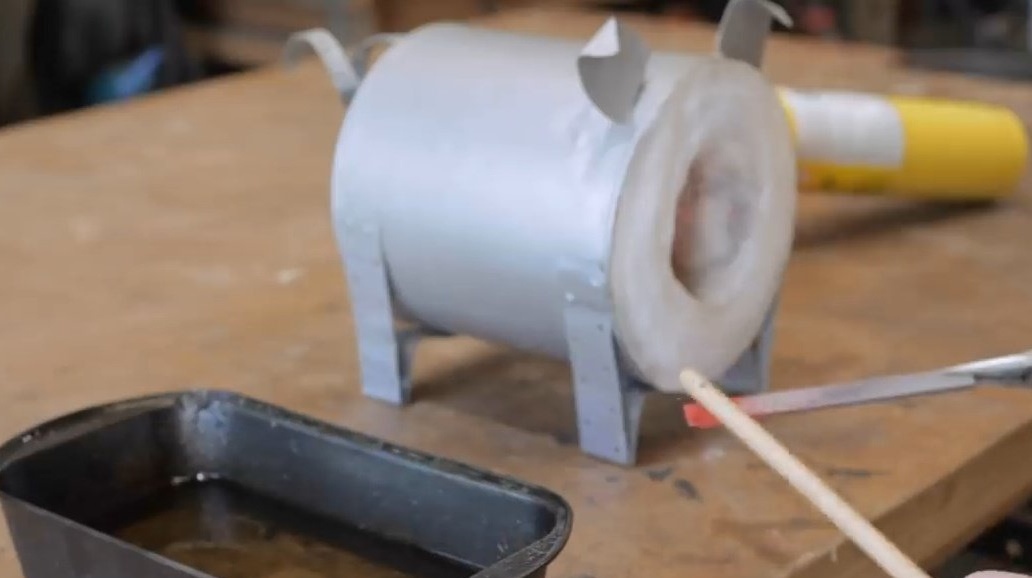
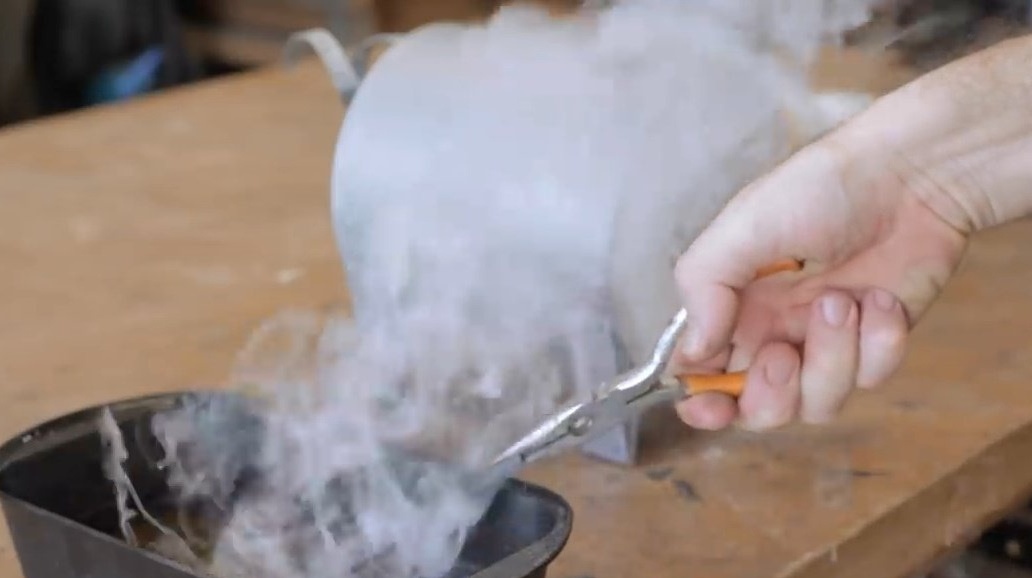
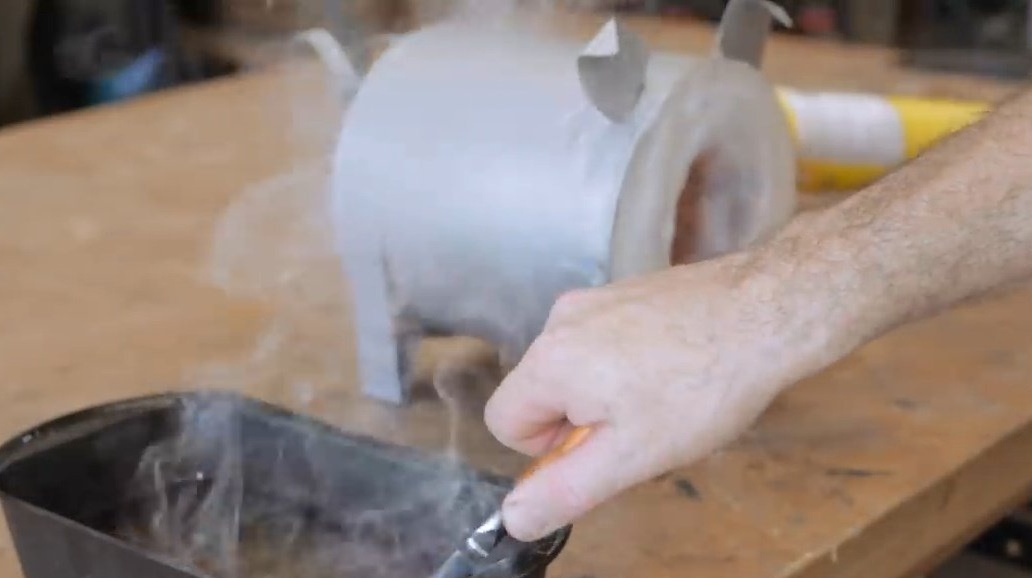
Now you should warm up the blade. This does not require expensive equipment. Small, portable blacksmith's furnace made do it yourself, fits perfectly. The craftsman himself made this pig muffle furnace. In it, he heats the blade to a crimson color.
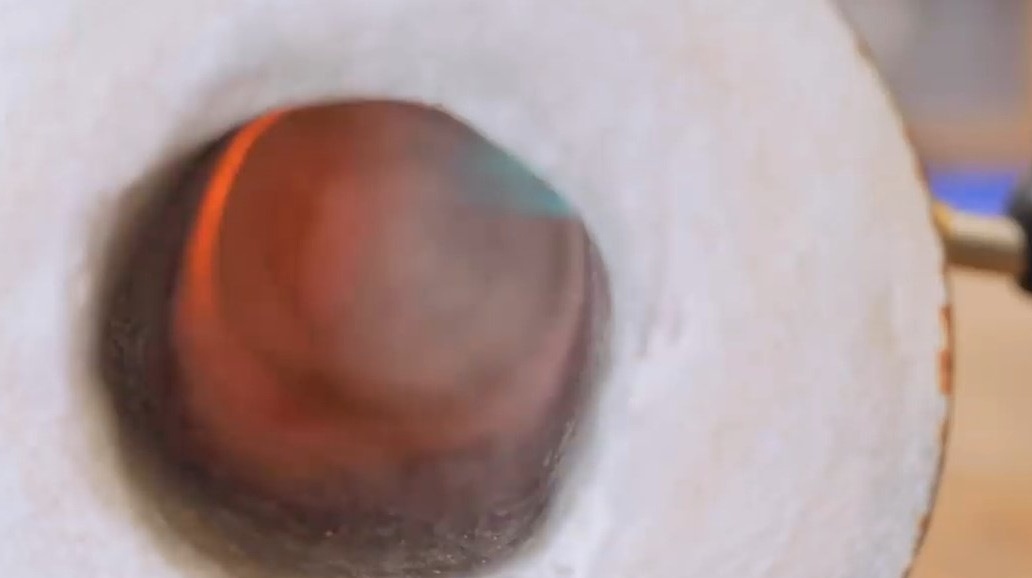
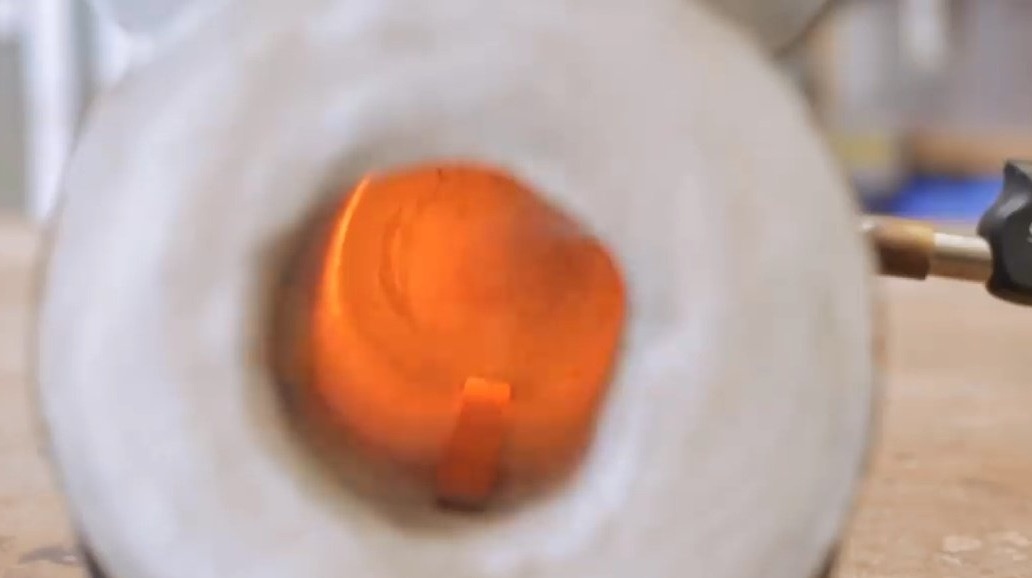
Then he checks the steel with a magnet - if it has lost its magnetic properties, then the heating temperature was sufficient. Next, the master tempers steel in vegetable oil.
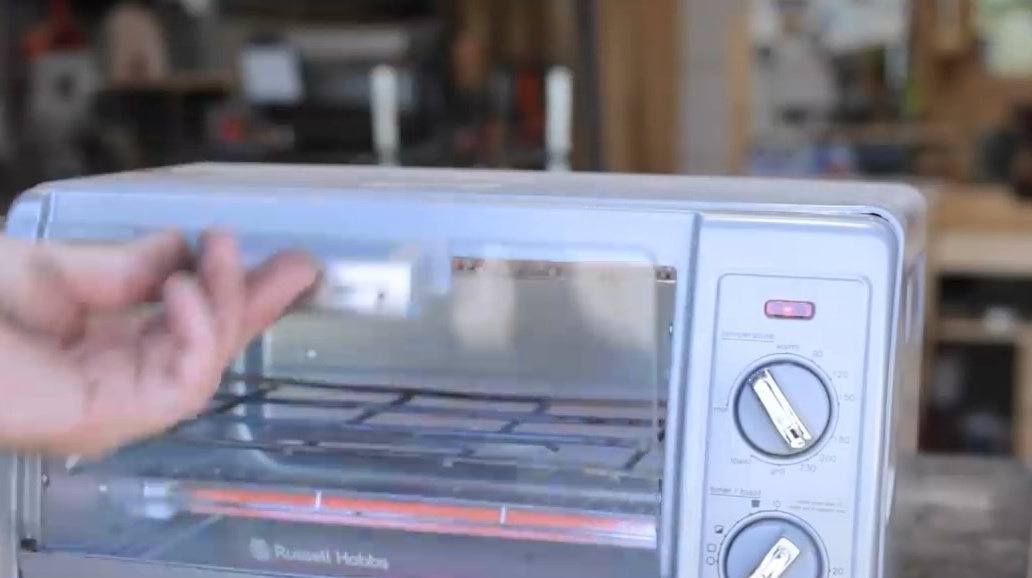
Now you can start sharpening the blade. But it will be very brittle and will likely split. To prevent this, the steel should be released in the oven. To do this, the master sends the blade for an hour to the furnace with a temperature of 210 ° C.The whole procedure is quite simple, but if you want, you can simply use the chisel blade.
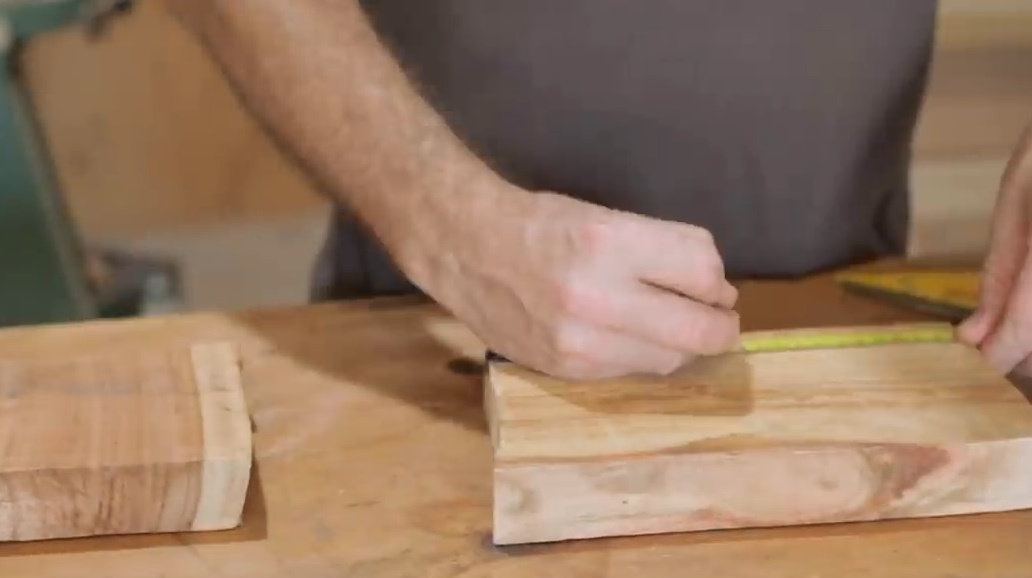
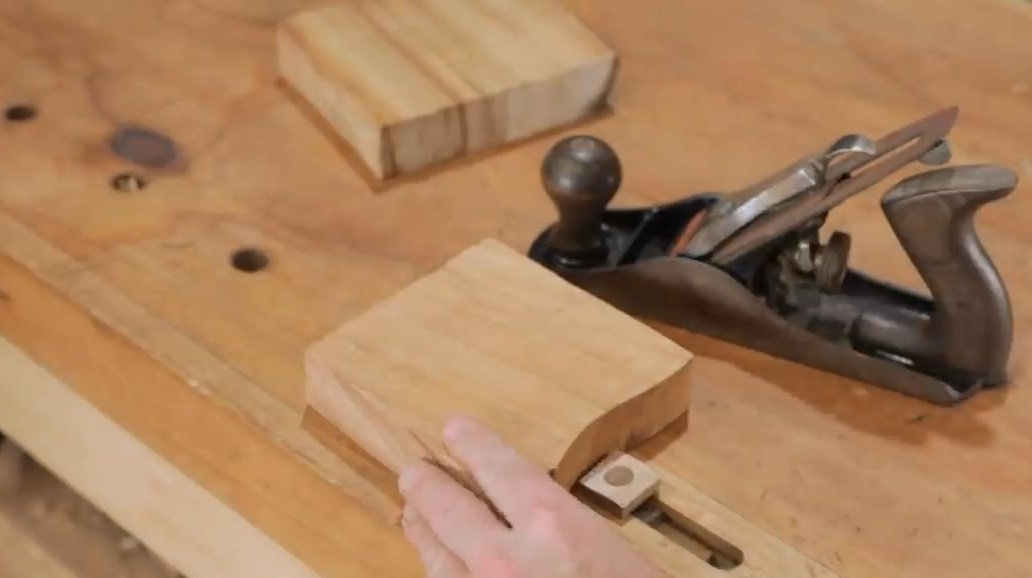
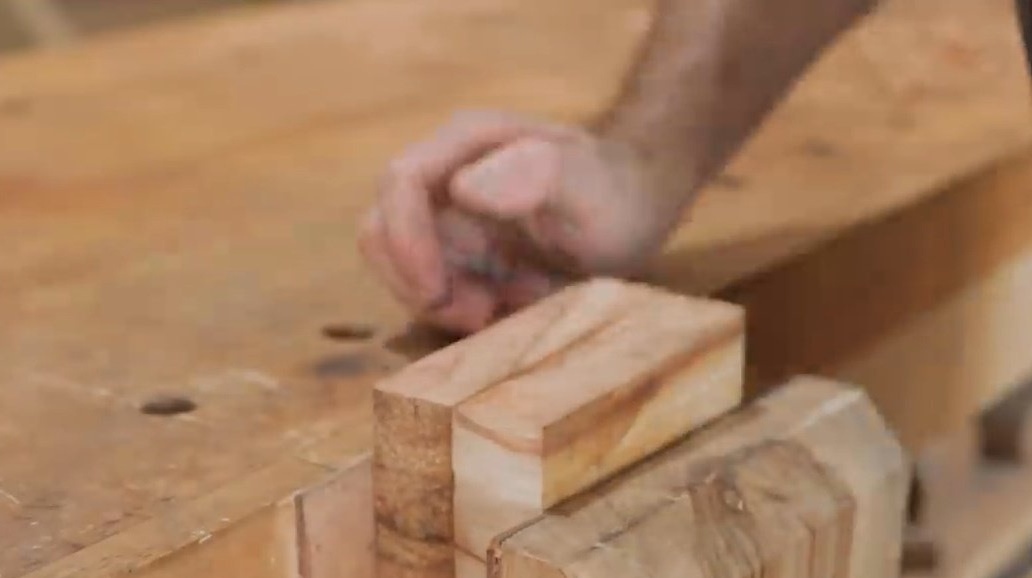
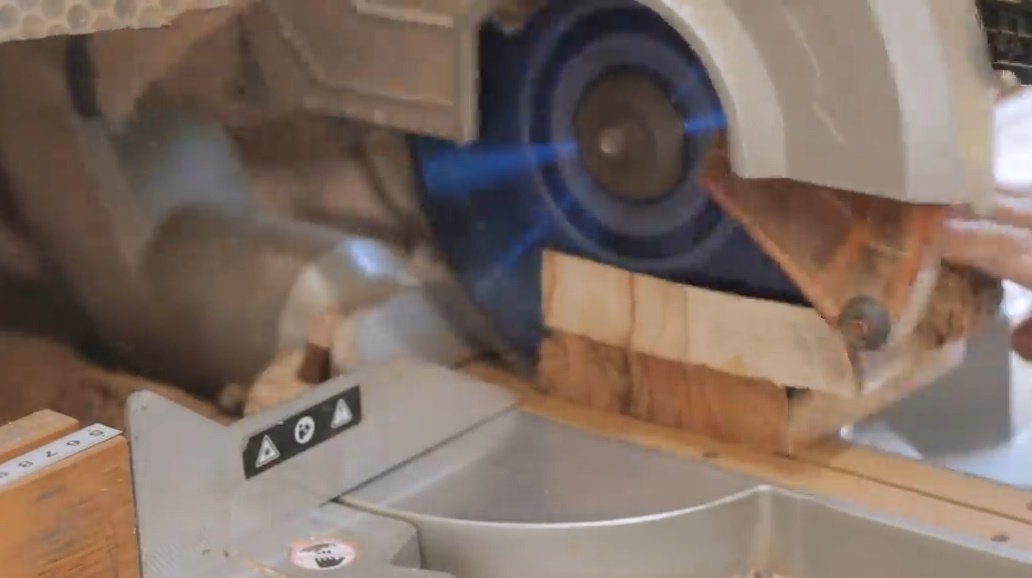
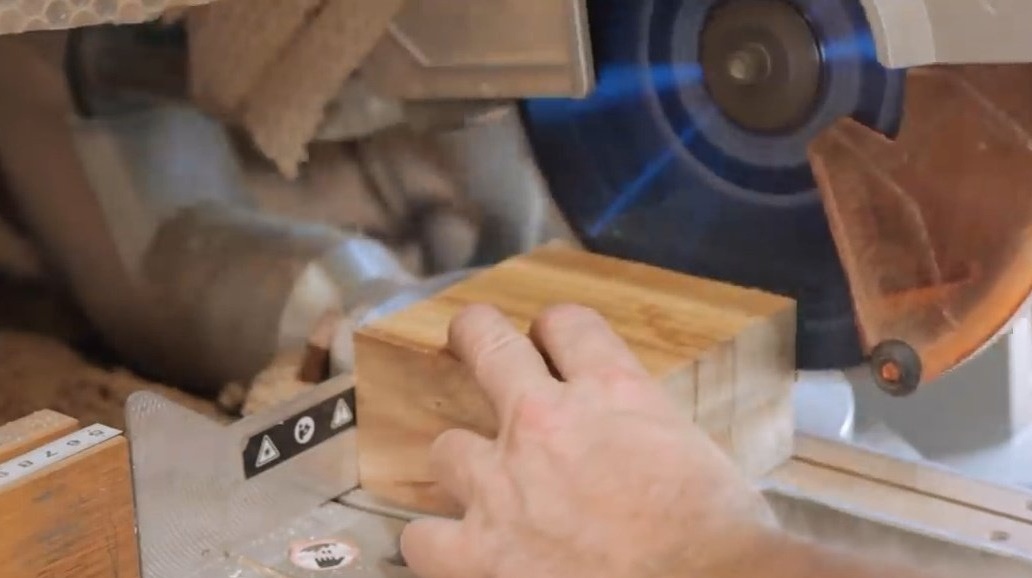
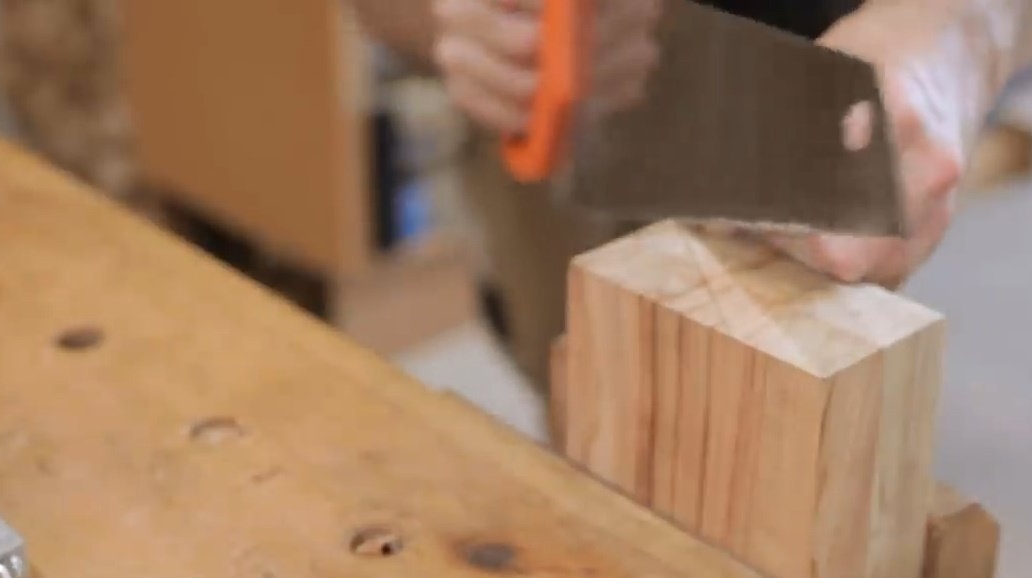
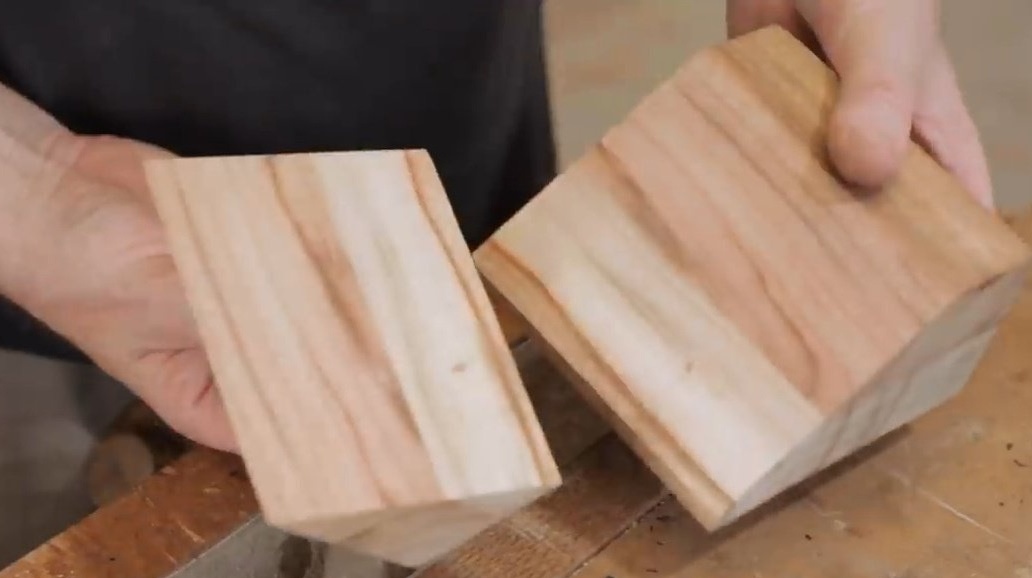
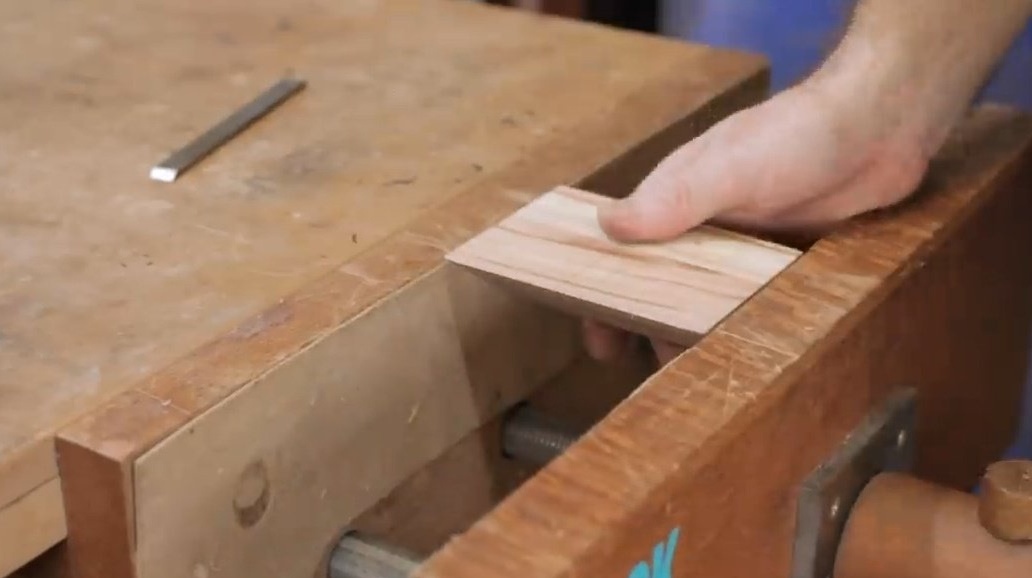
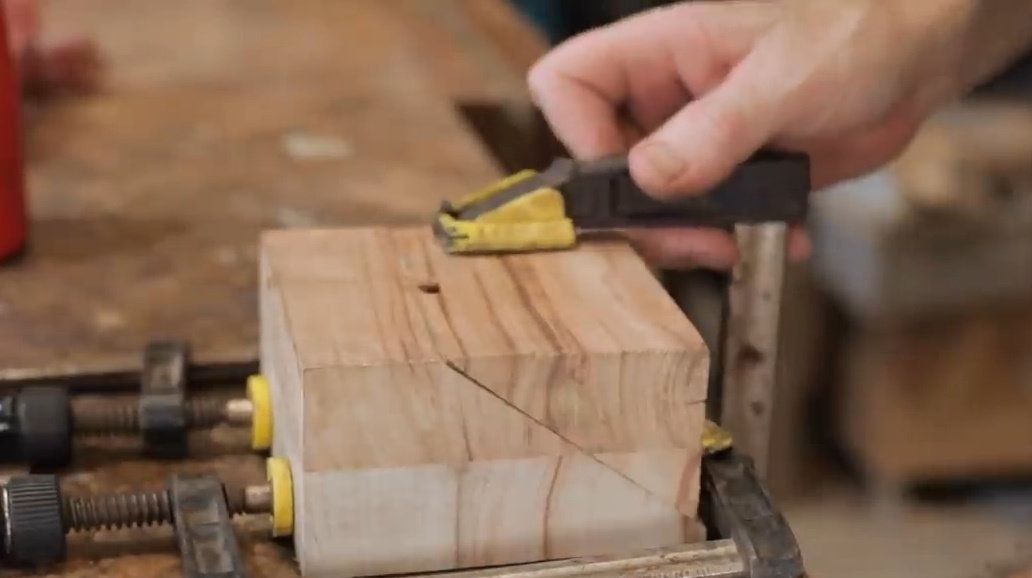
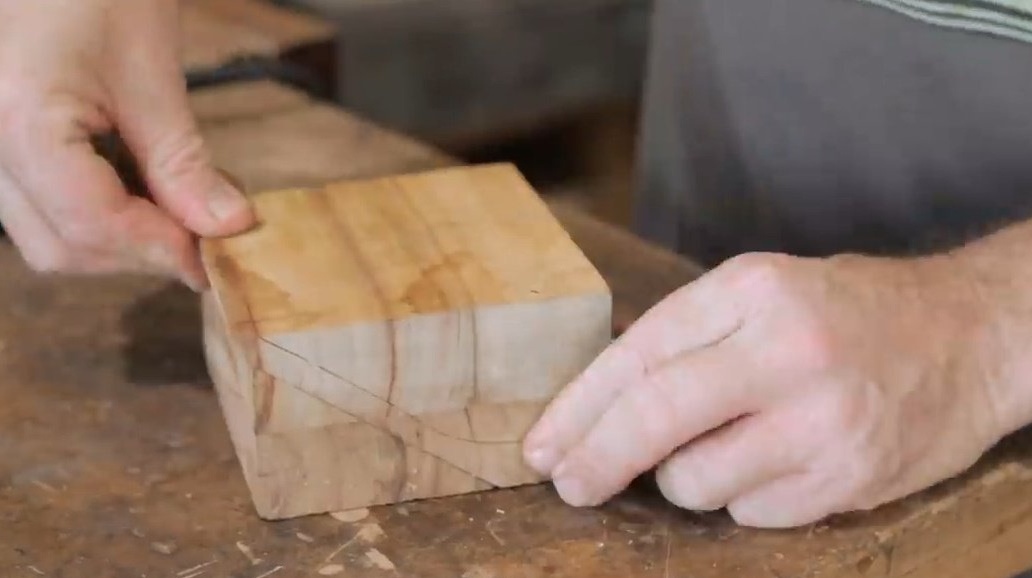
The author proceeds to the manufacture of a plane handle. It will be, as expected, made of wood. It aligns the edges of the block with a miter saw.

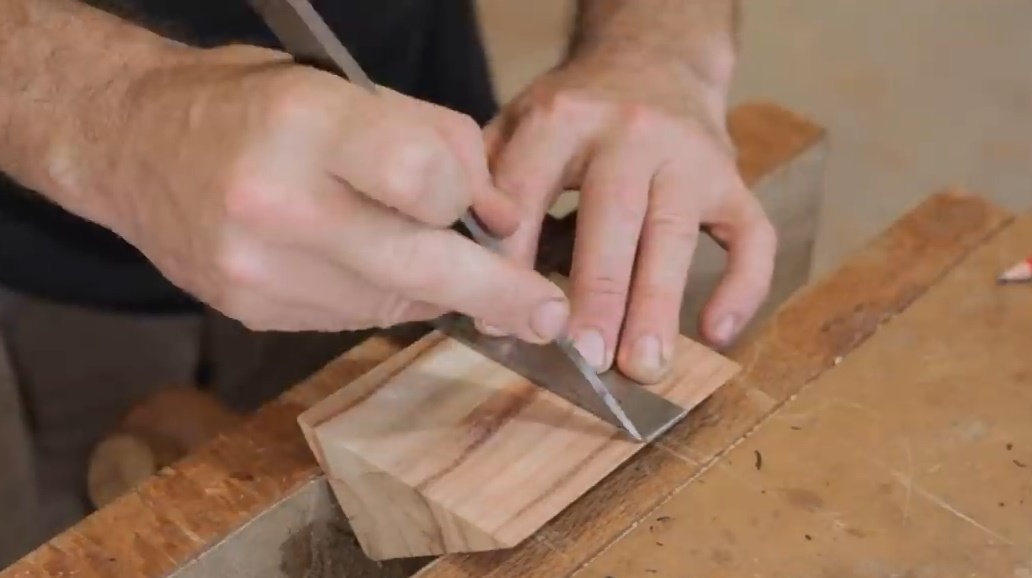
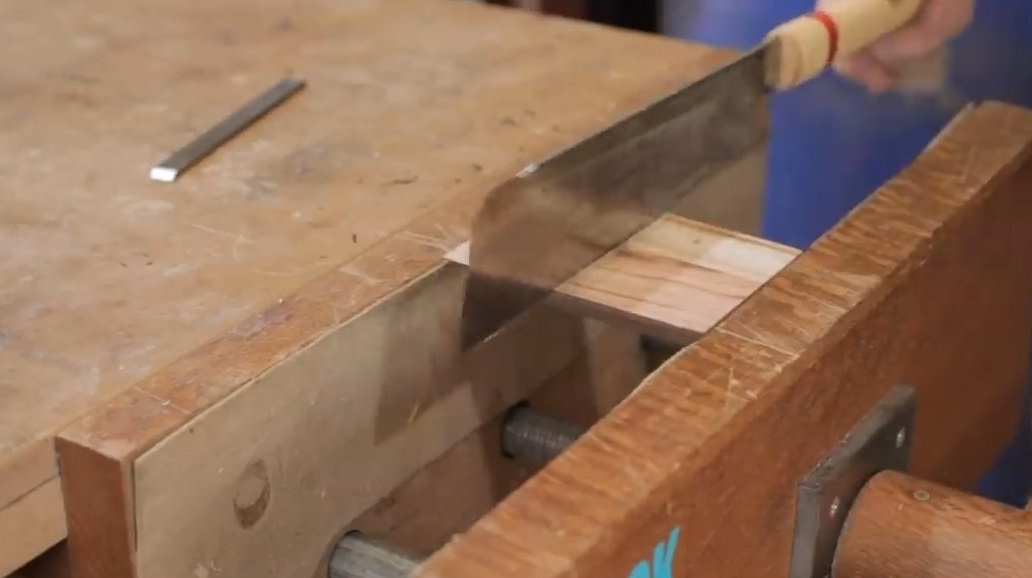
Then she cuts the corner with an ordinary hand saw.

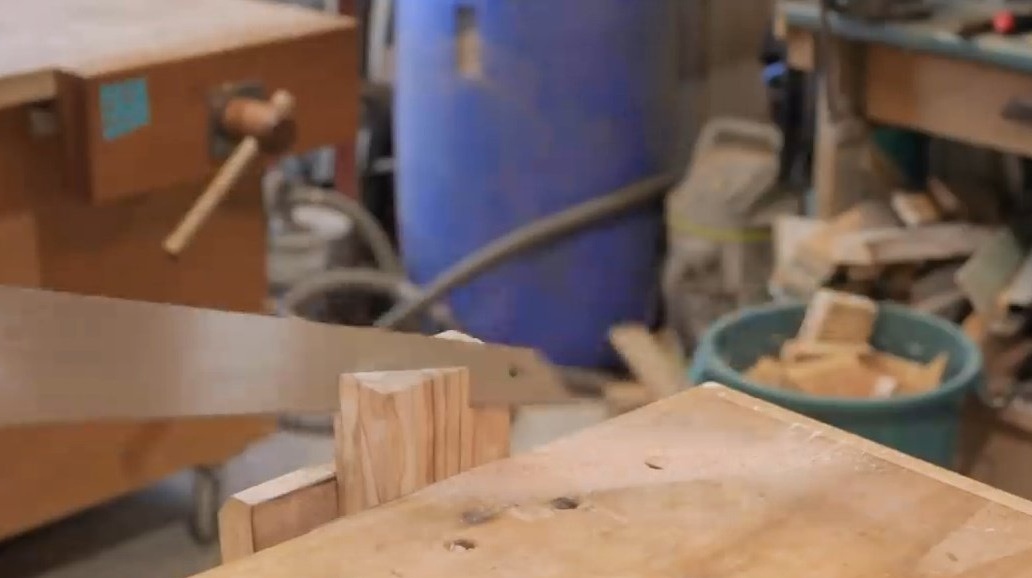
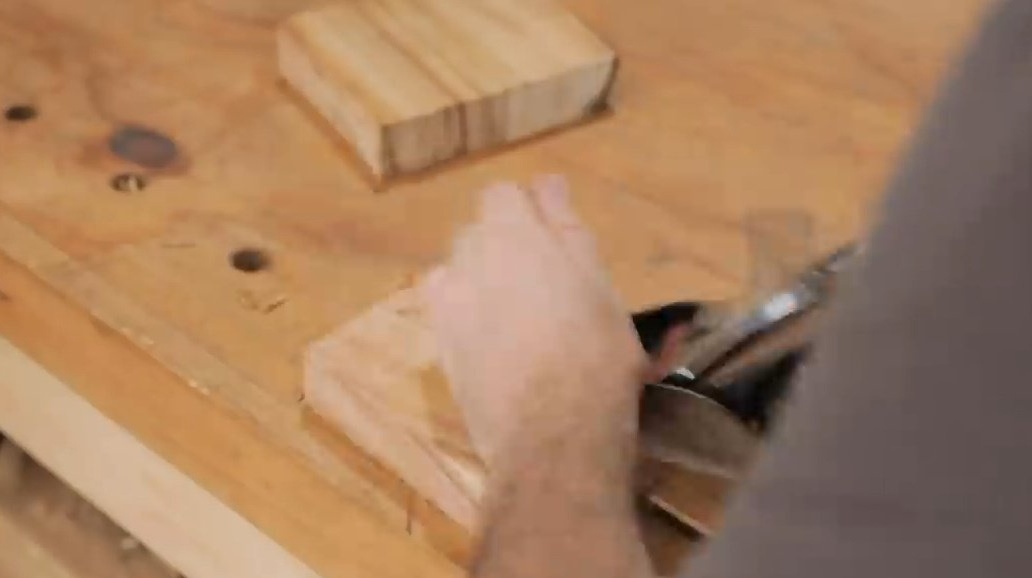
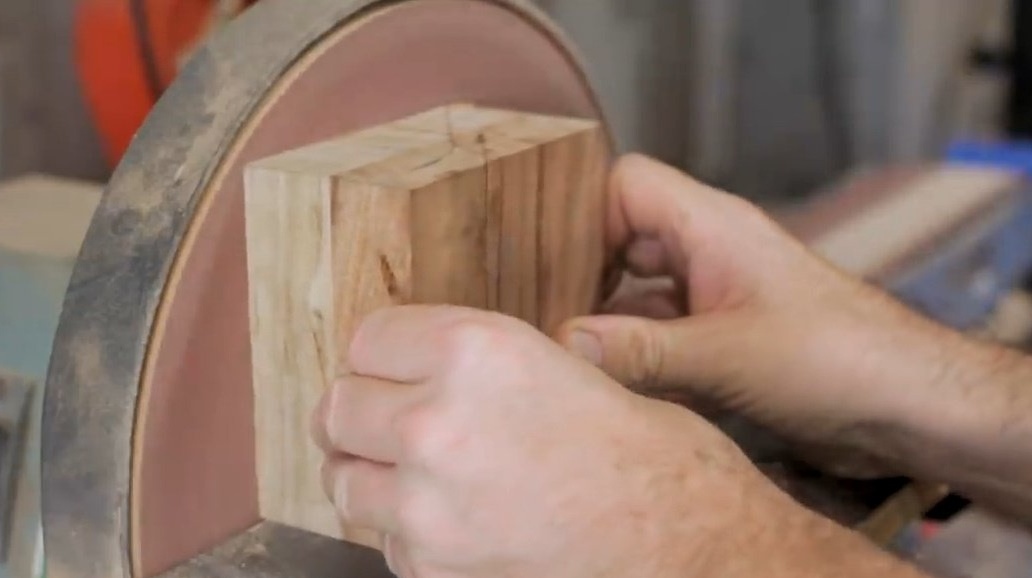
Grinds both halves at the cut point.
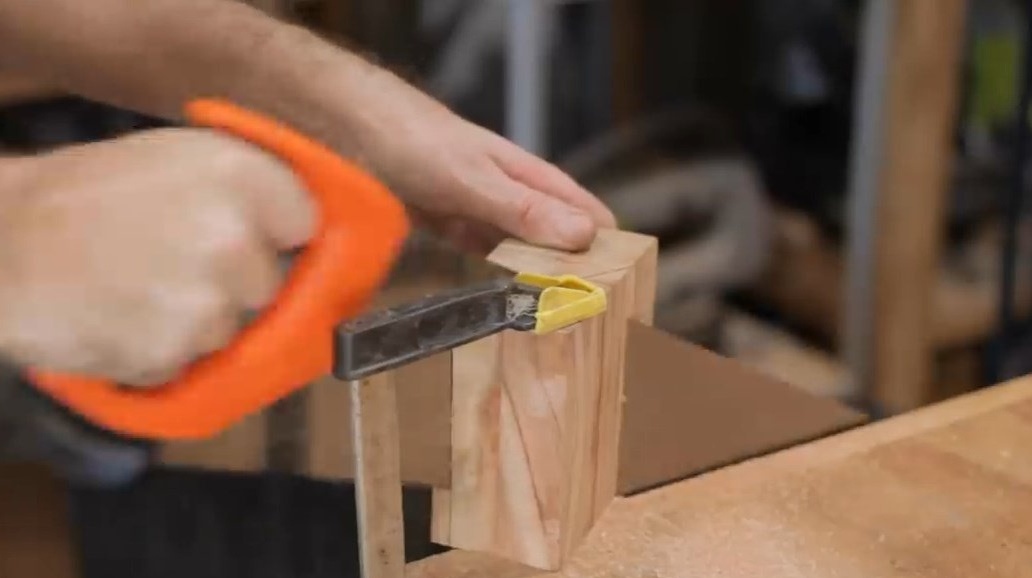
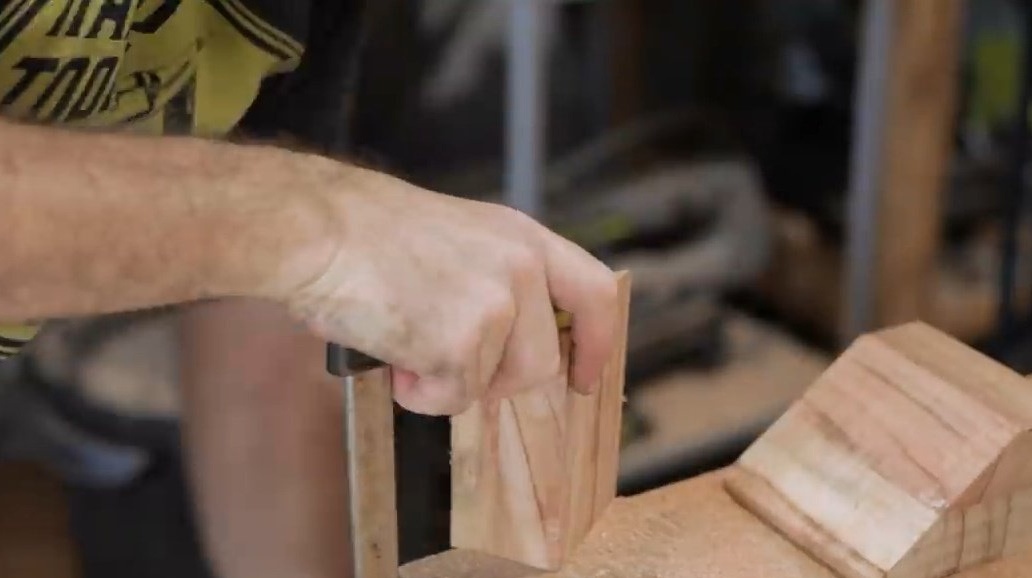
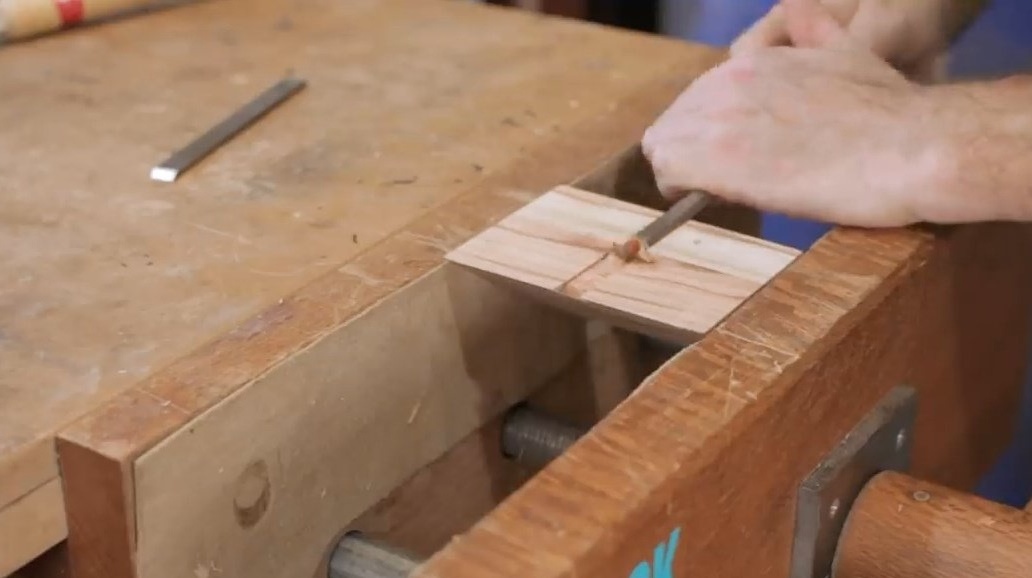
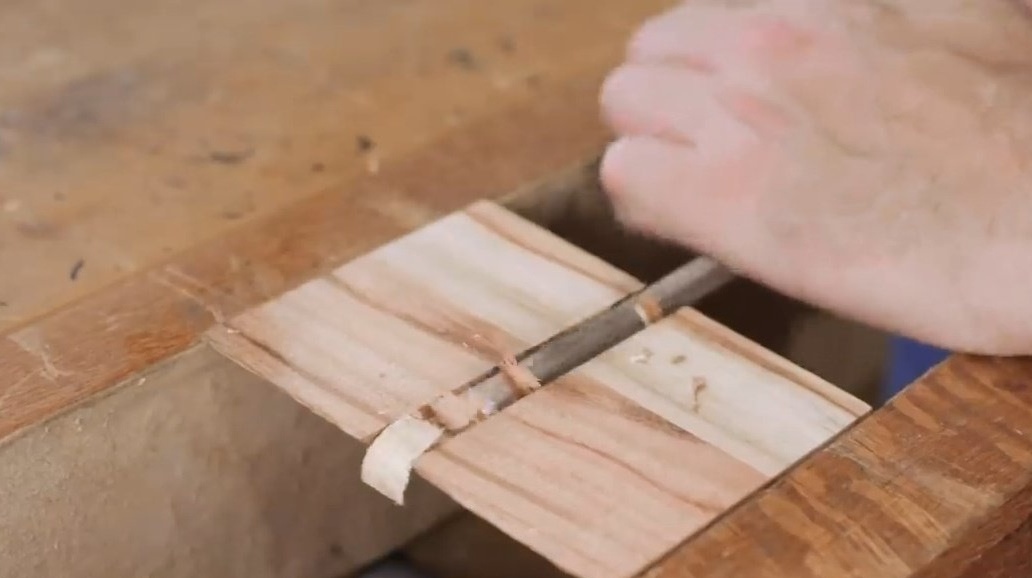
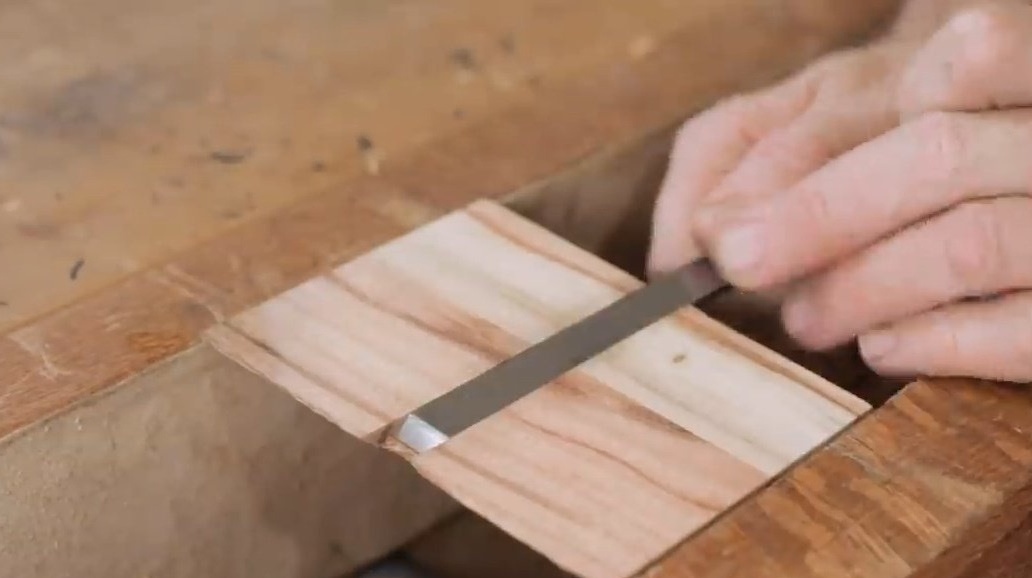
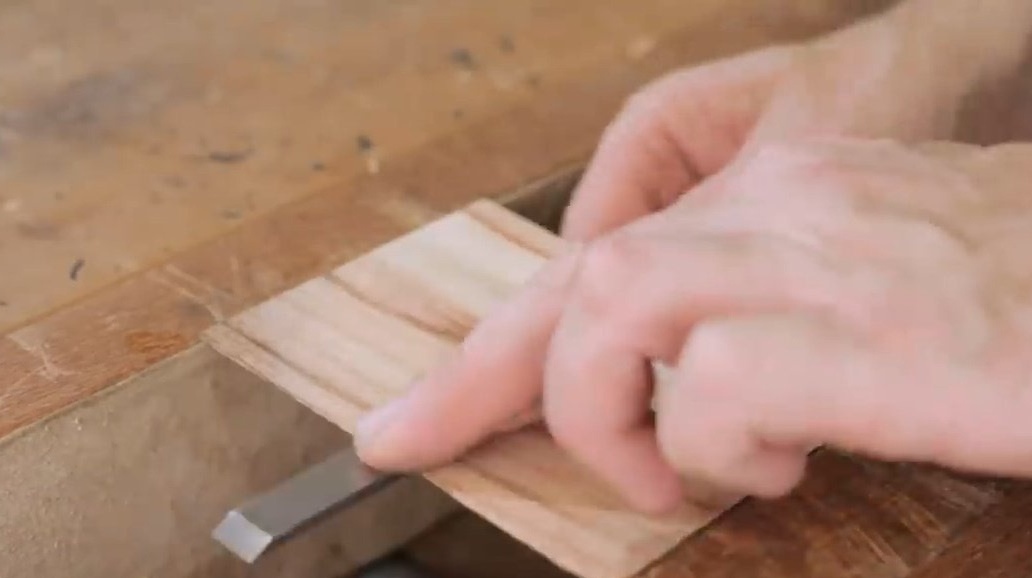
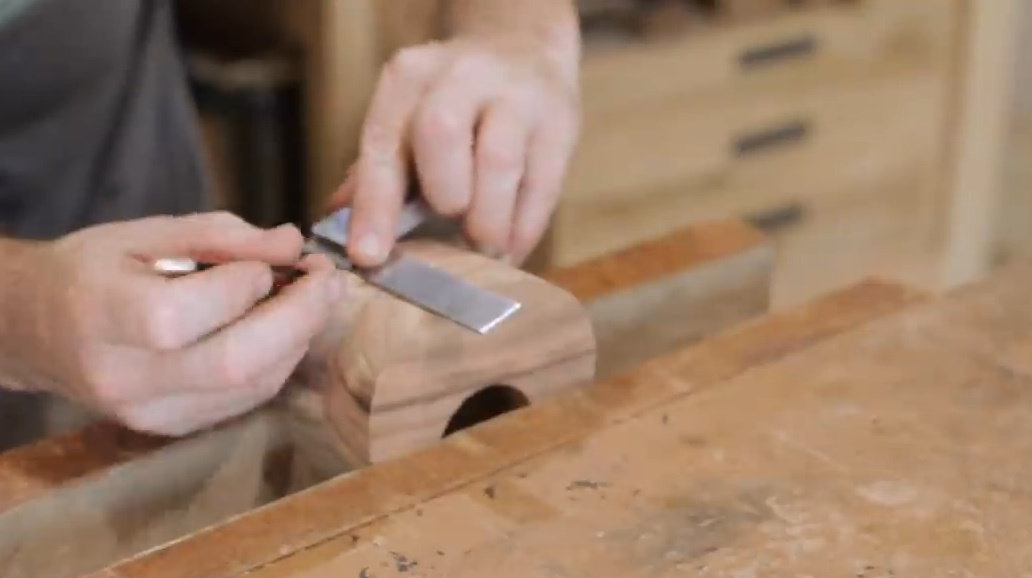
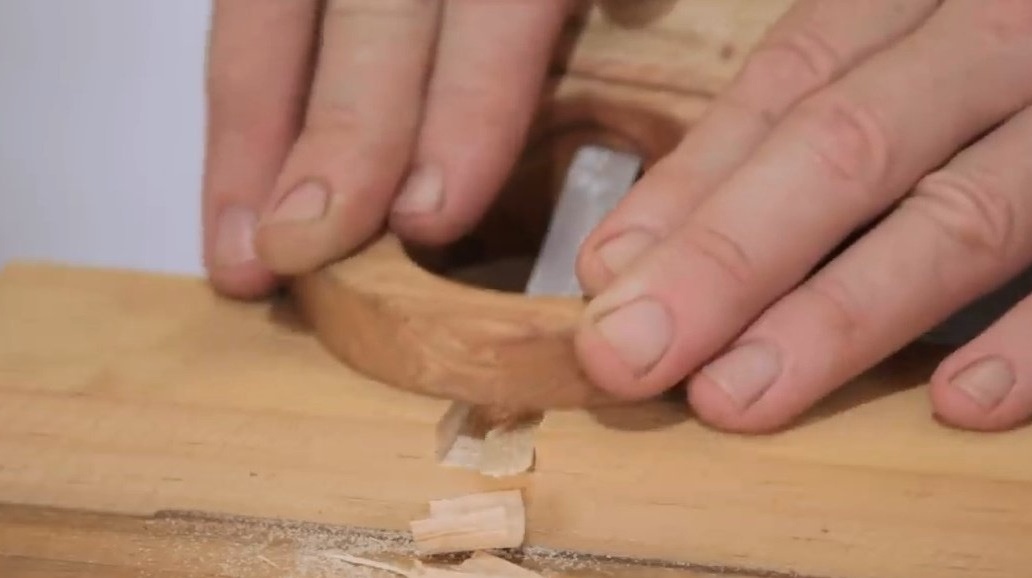
Clamps the smaller of two parts in a vice and makes shallow cuts on it, then hollowing out the material with a chisel. There will be a plane blade.

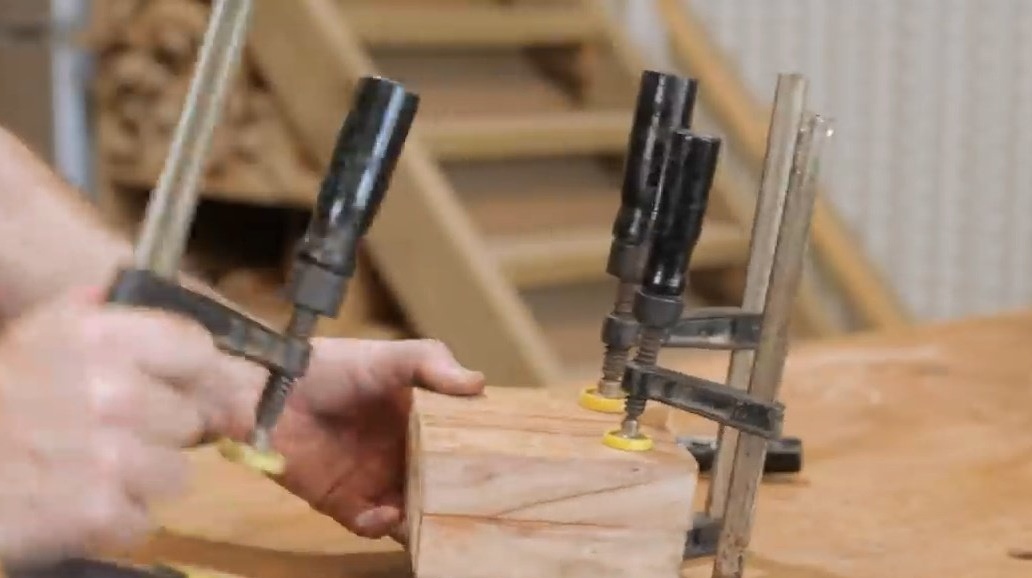
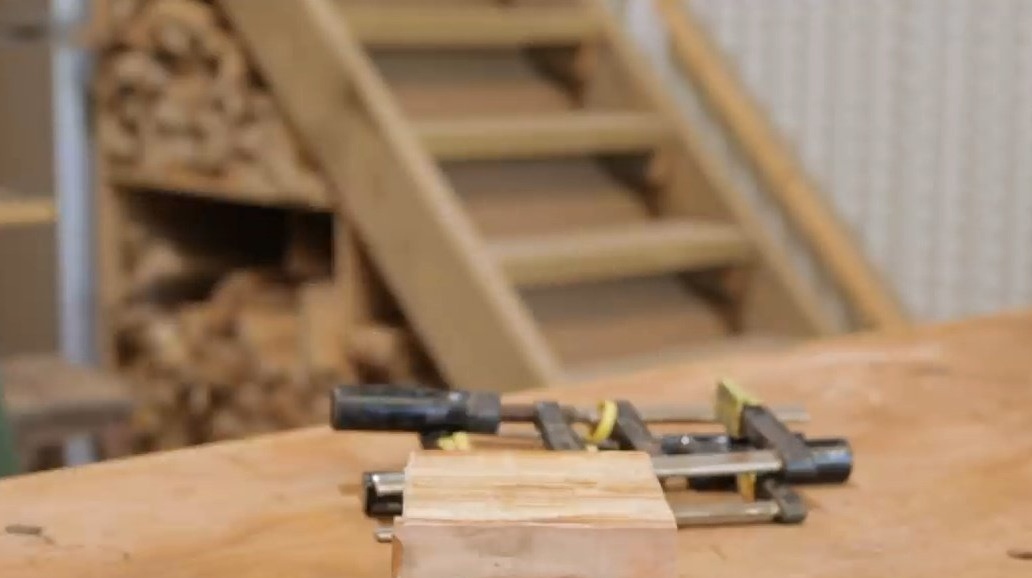
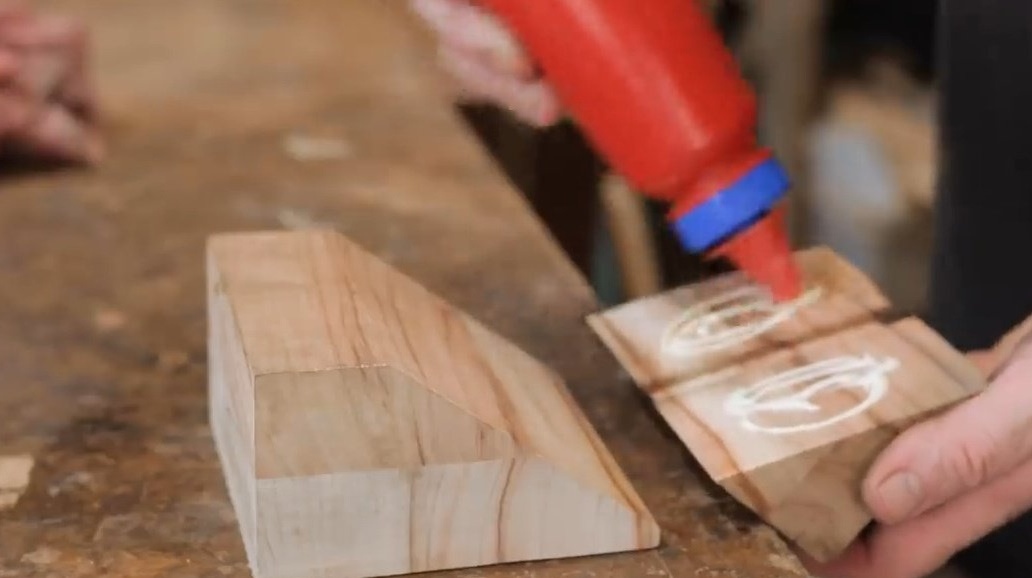
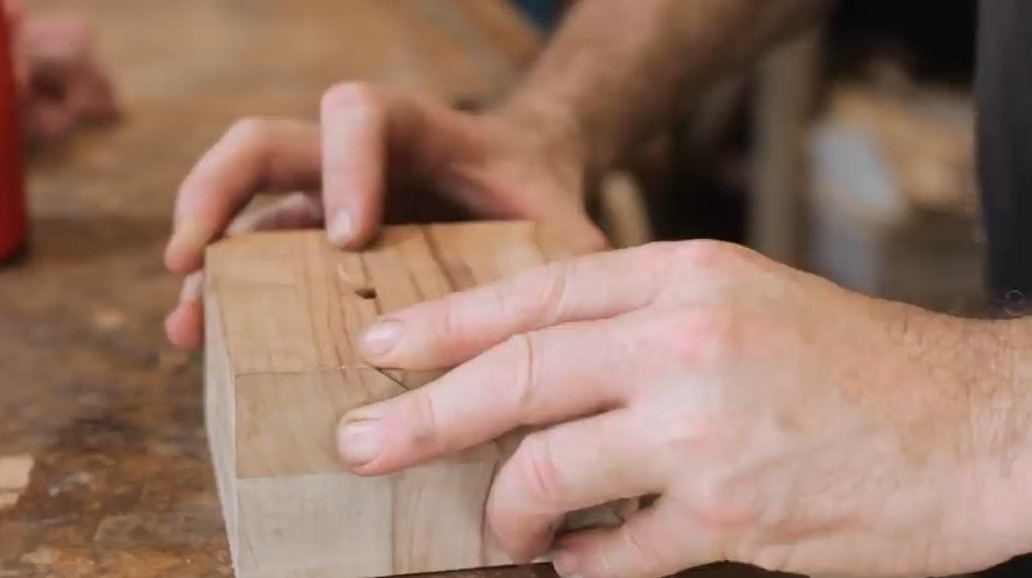
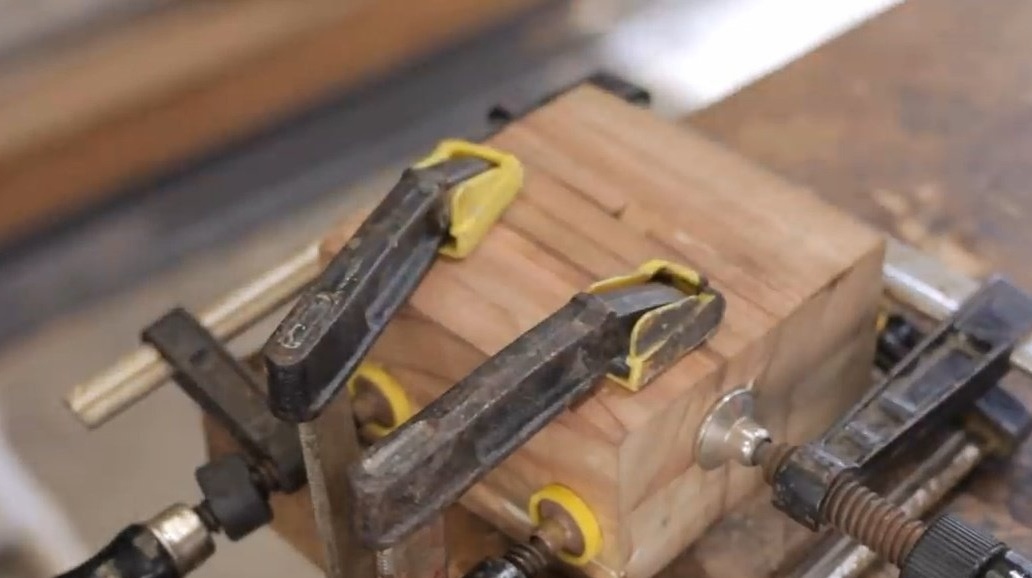
The author again glues two parts together and pulls together with clamps. At an angle, this is not easy.
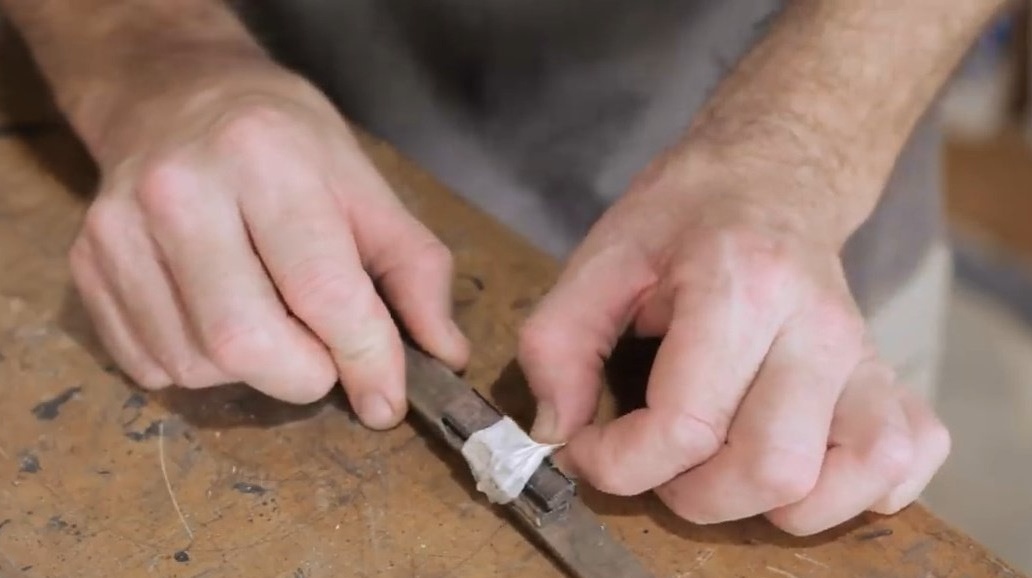
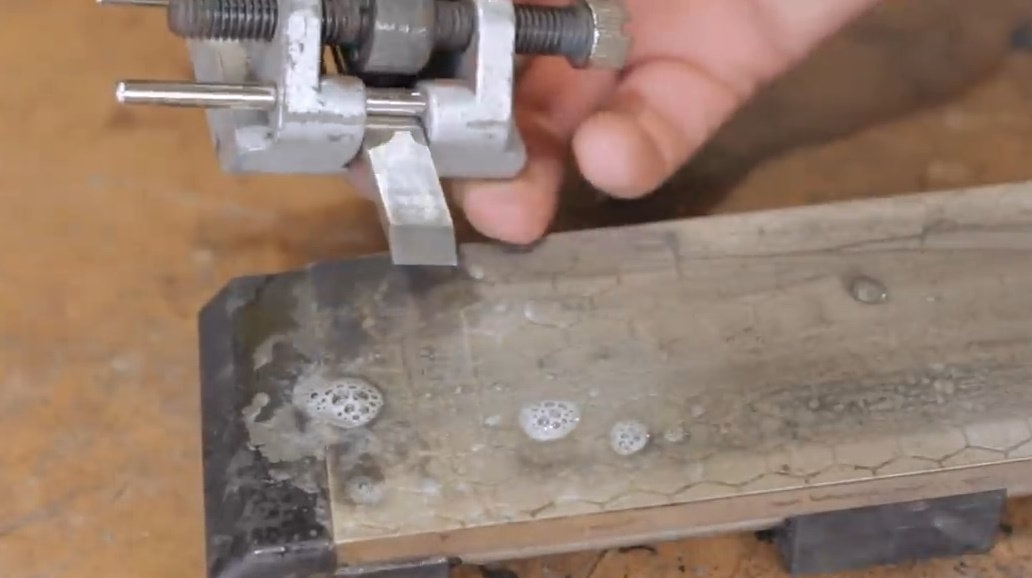
At this time, he processes the blade on water whetstones. It uses a special holder for sharpening chisels.


Spicy!
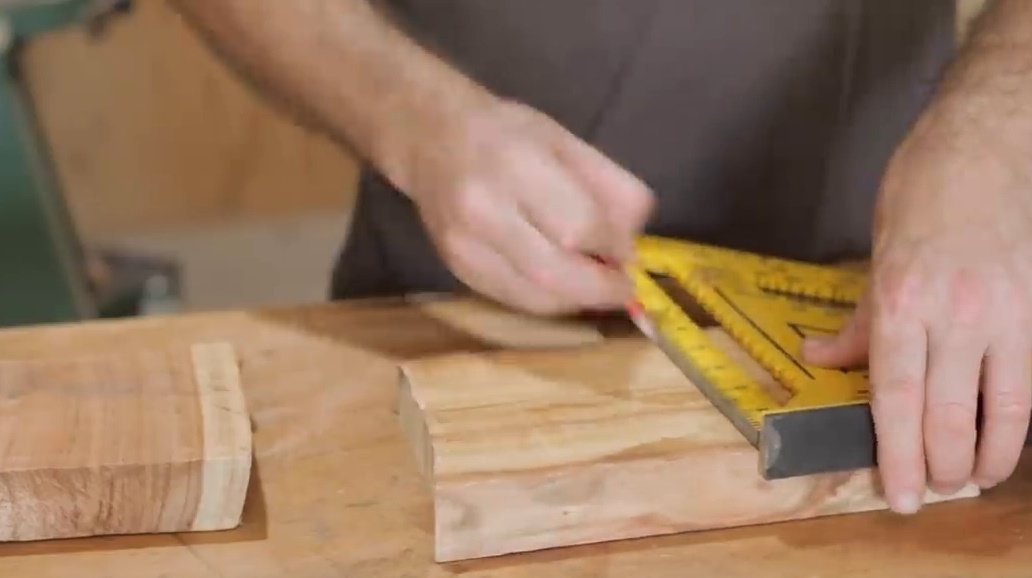
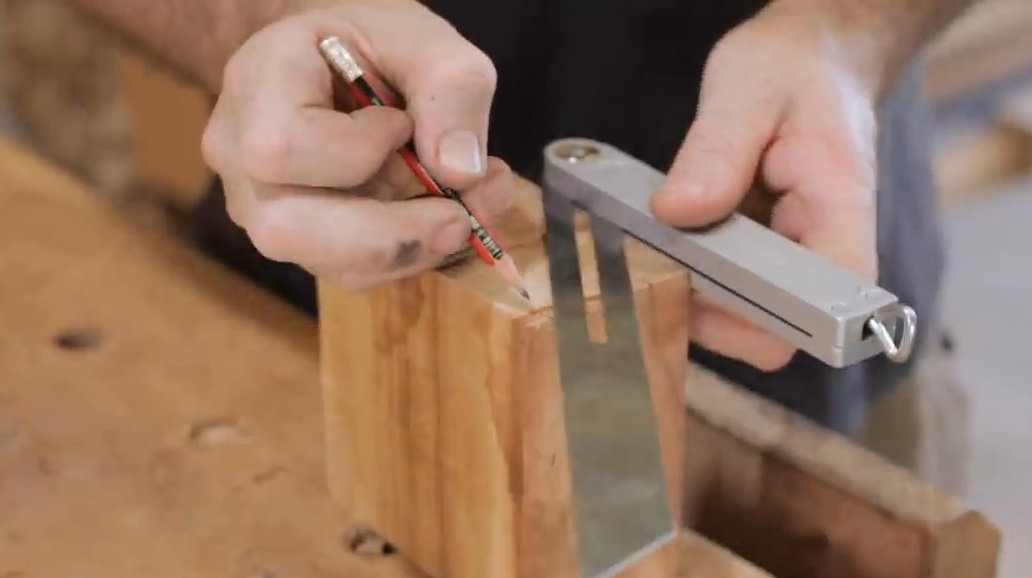
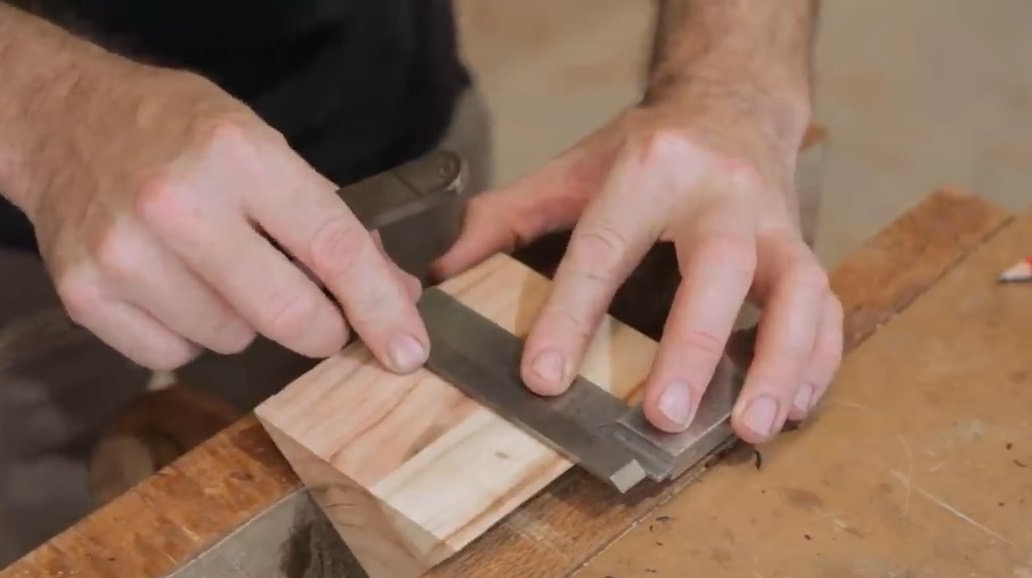
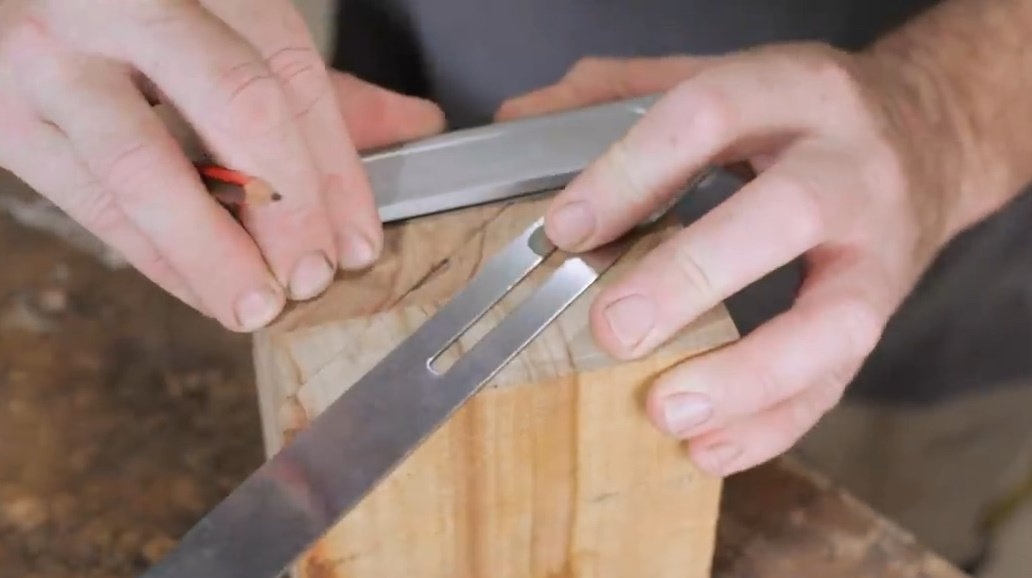
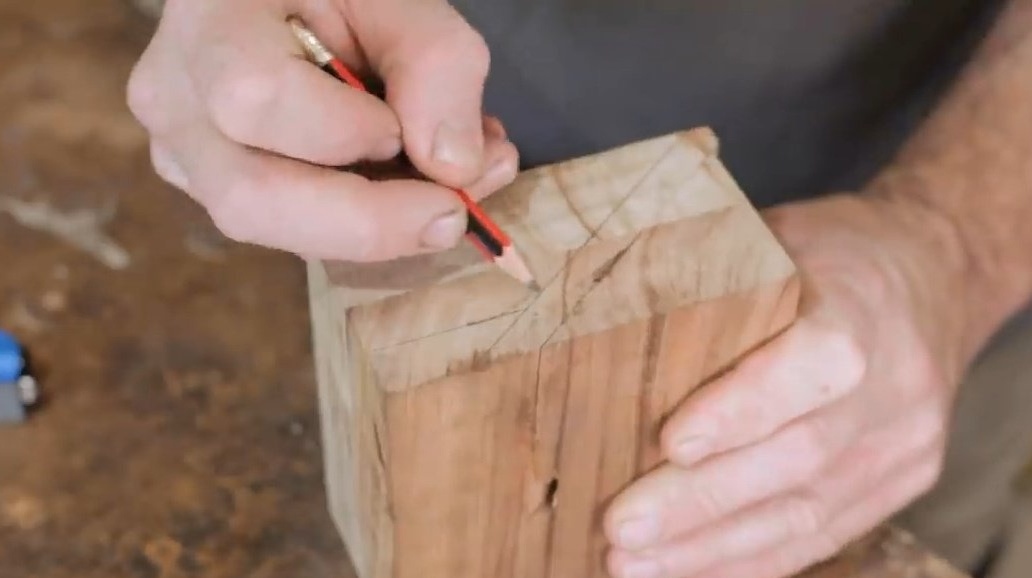
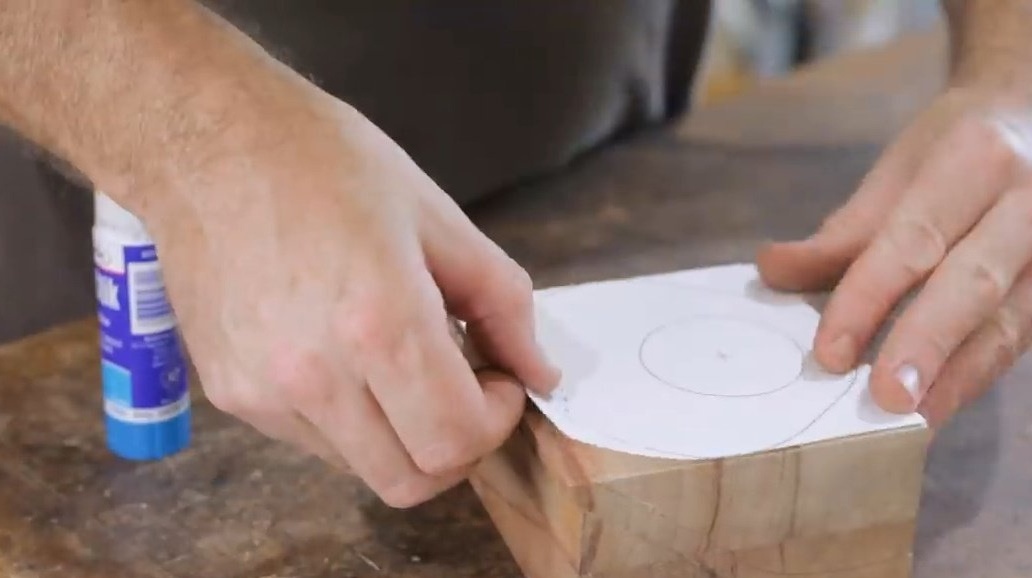
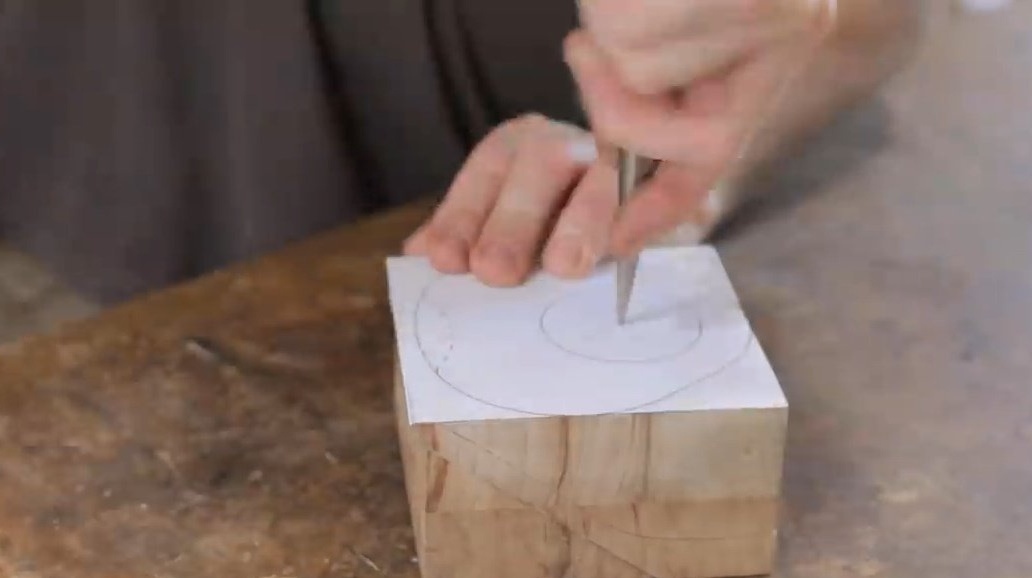
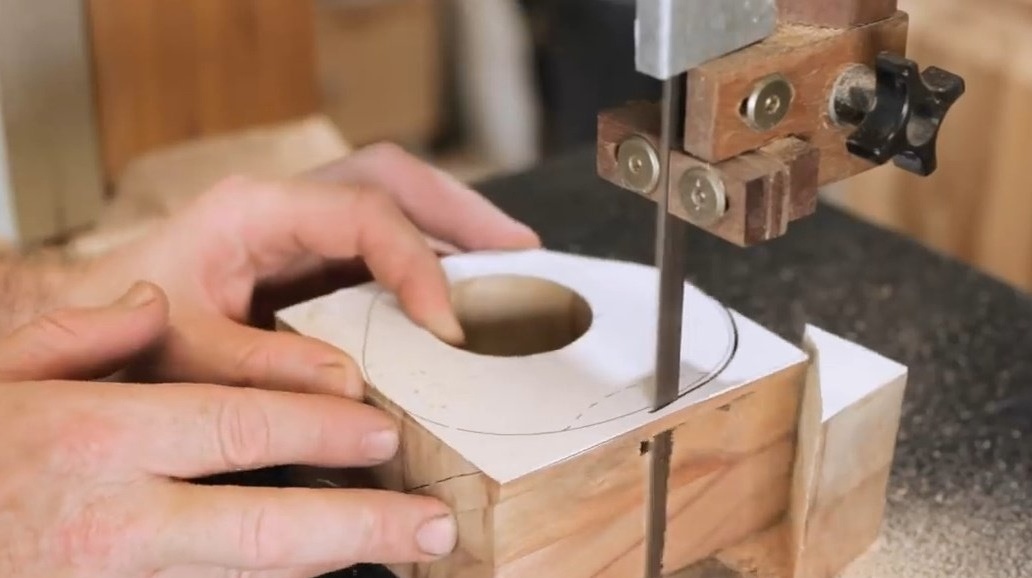
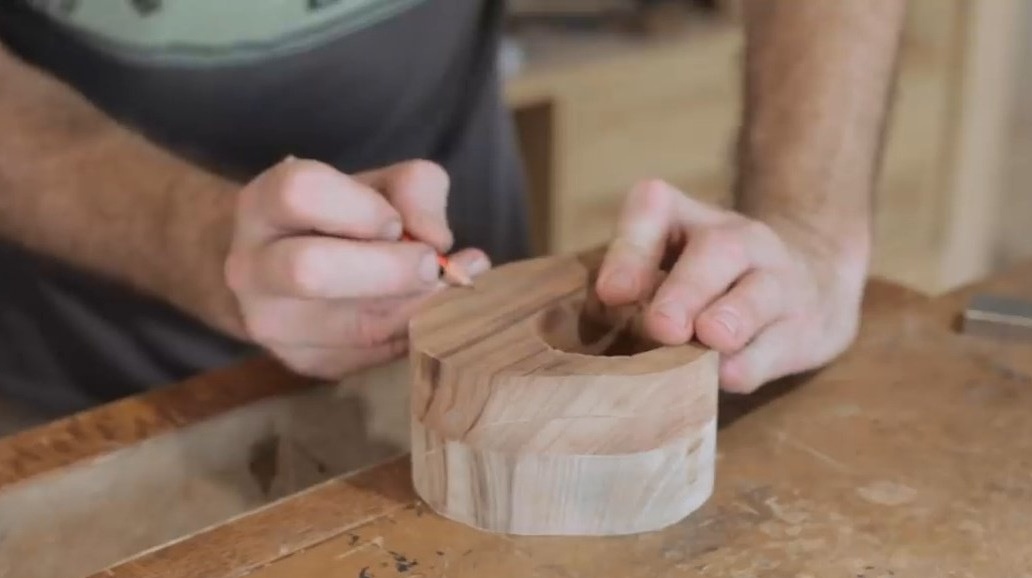
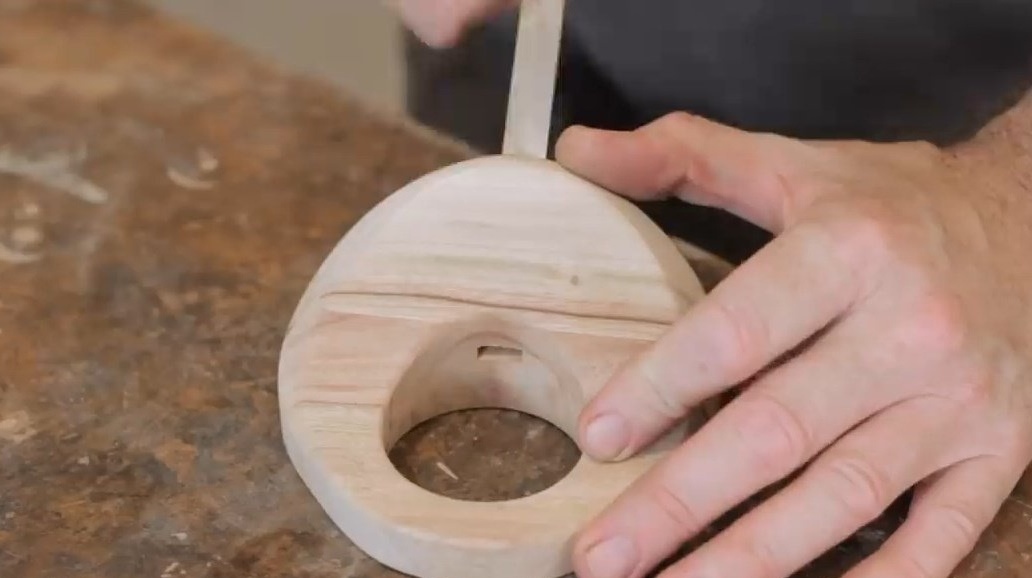
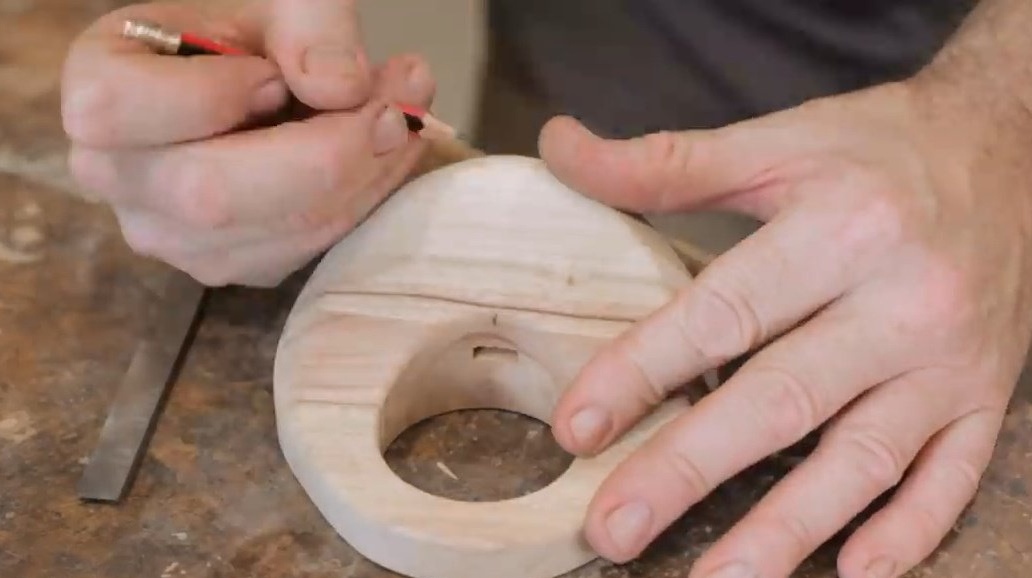
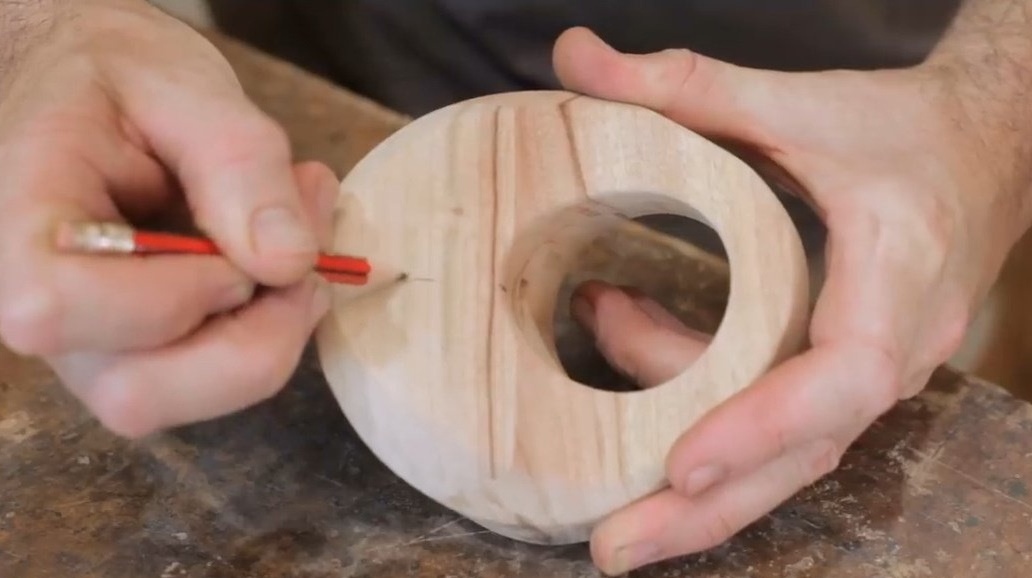
Now the master marks the rounding of the body.
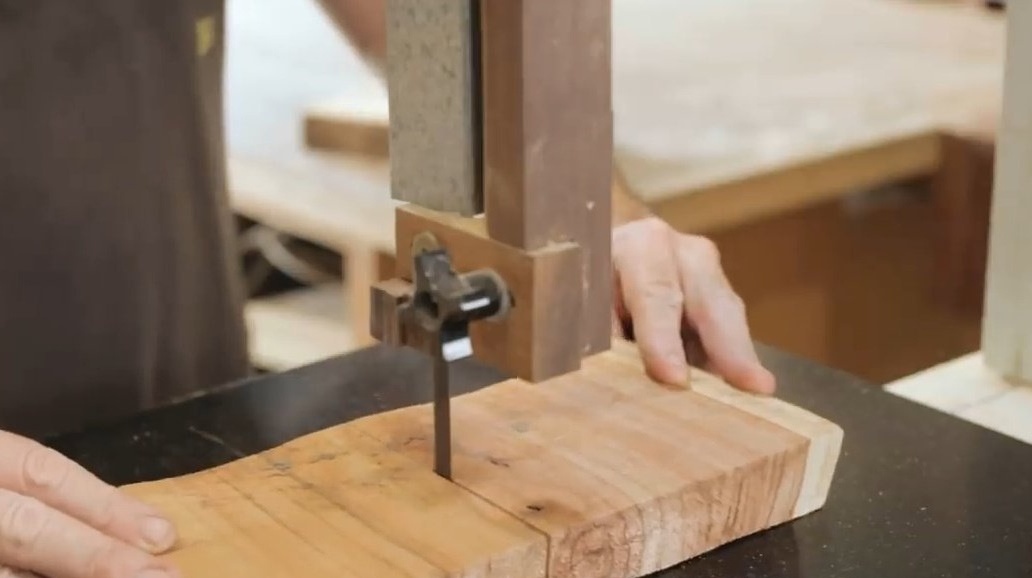
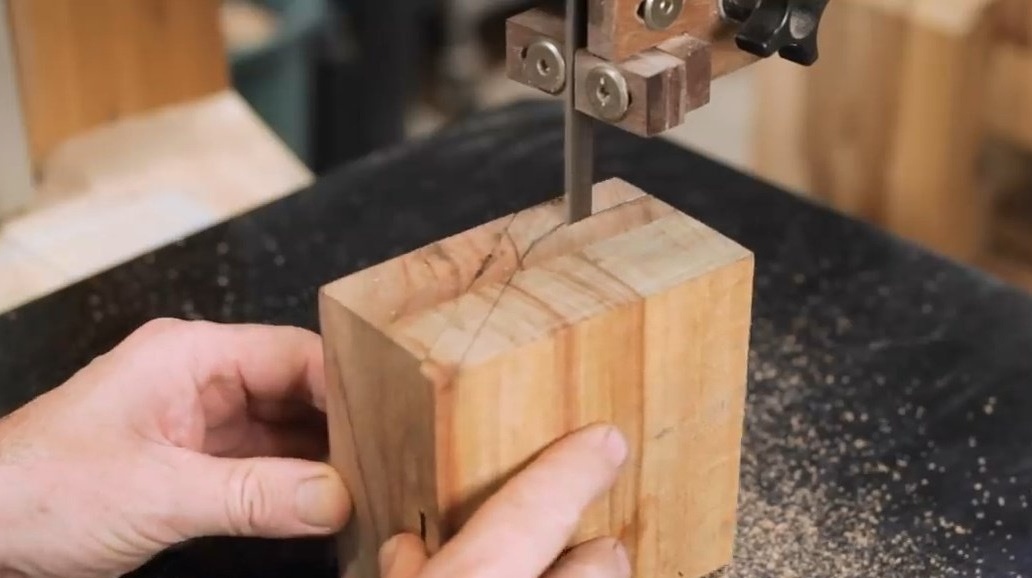
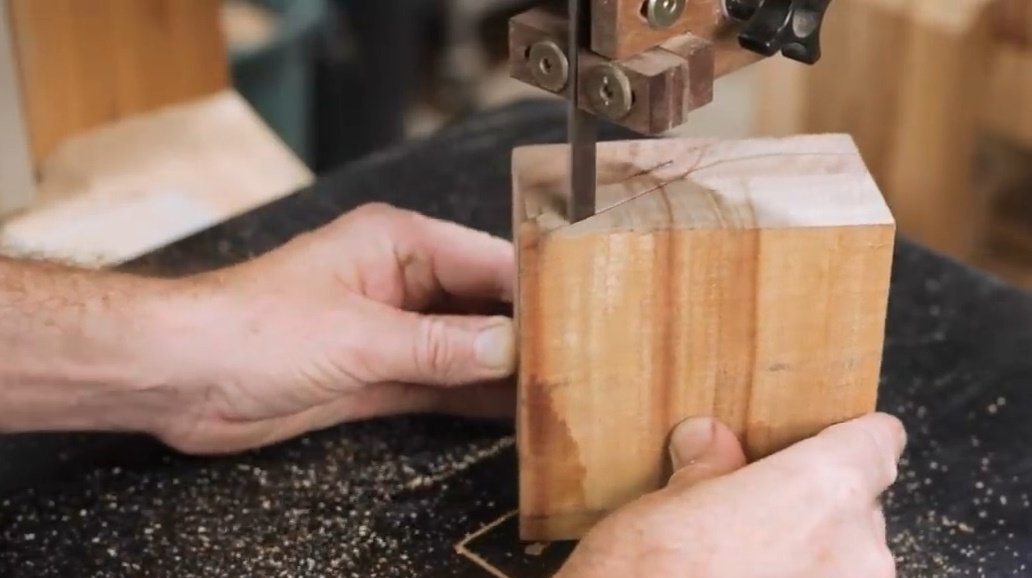
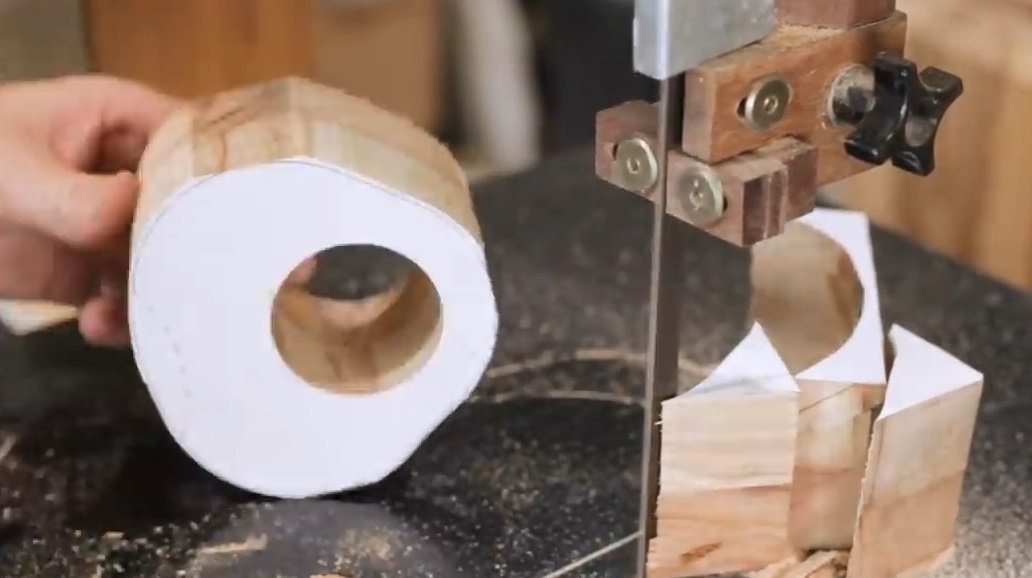
And cuts it out on a band saw.
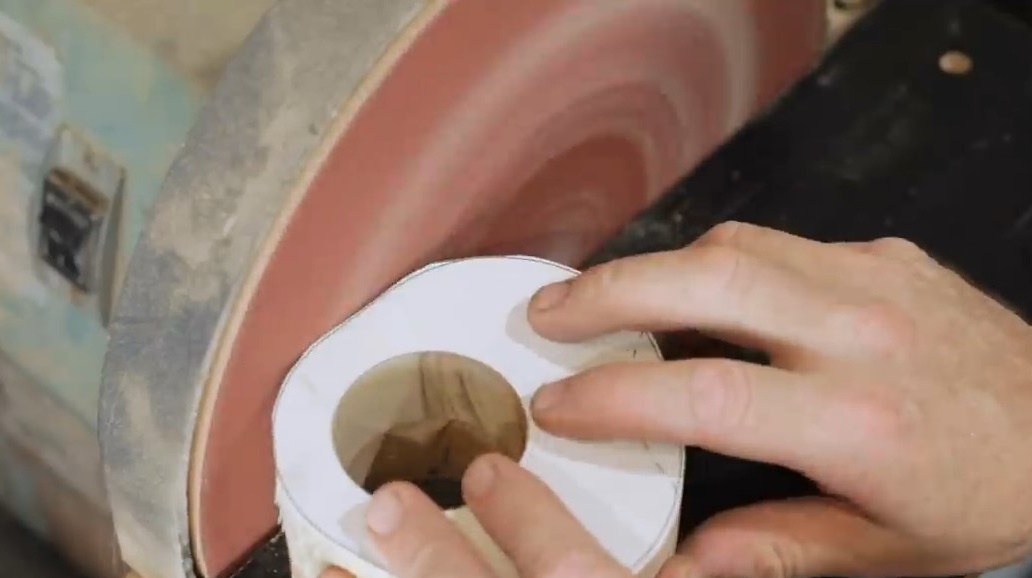
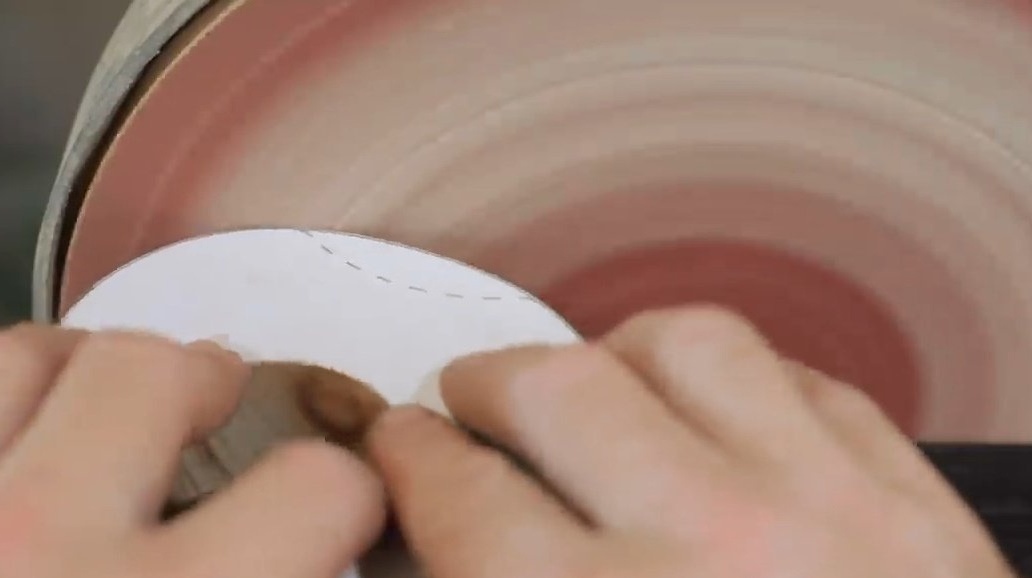
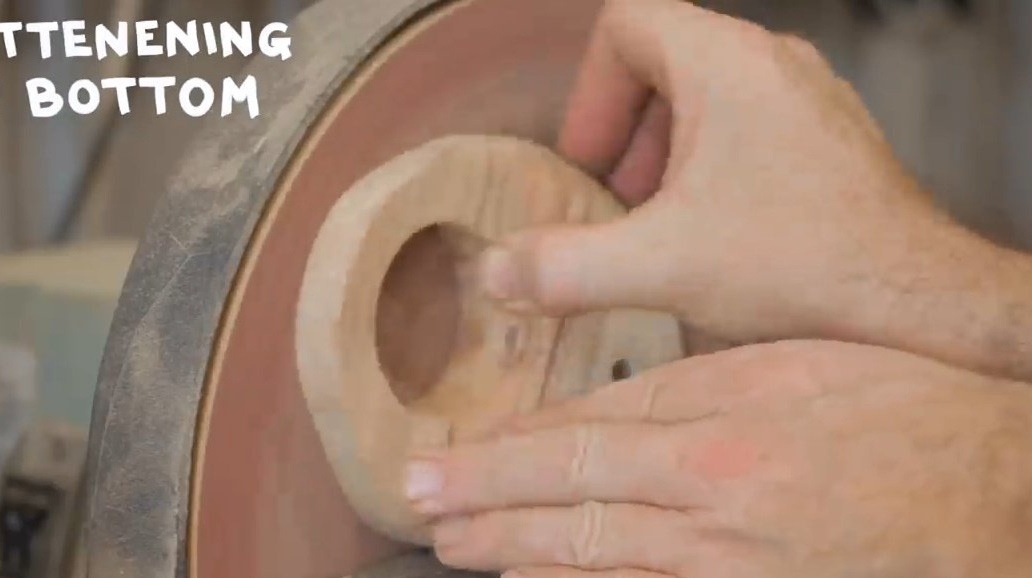
For ease of processing glues them temporarily with a glue gun, then grinding.
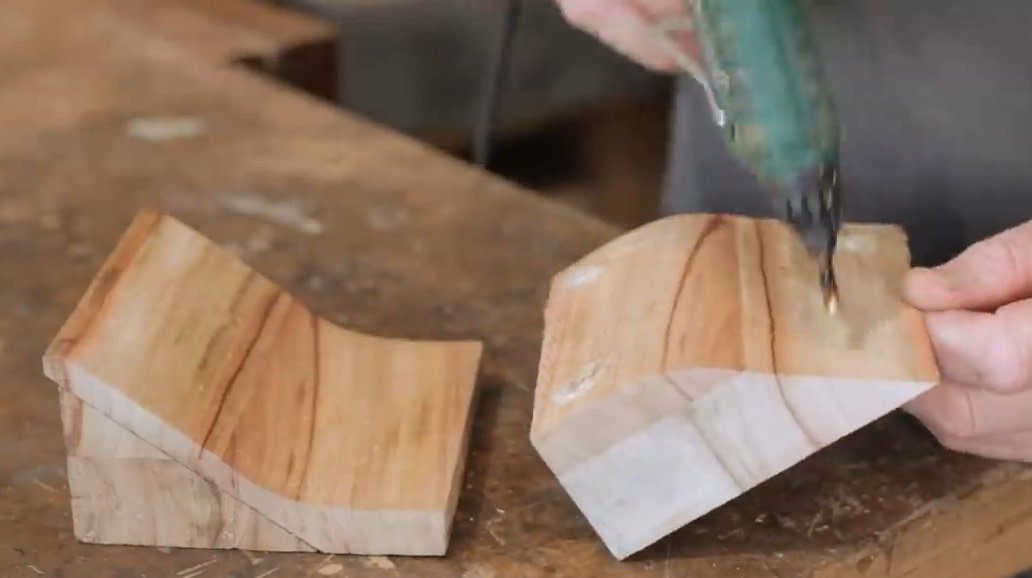
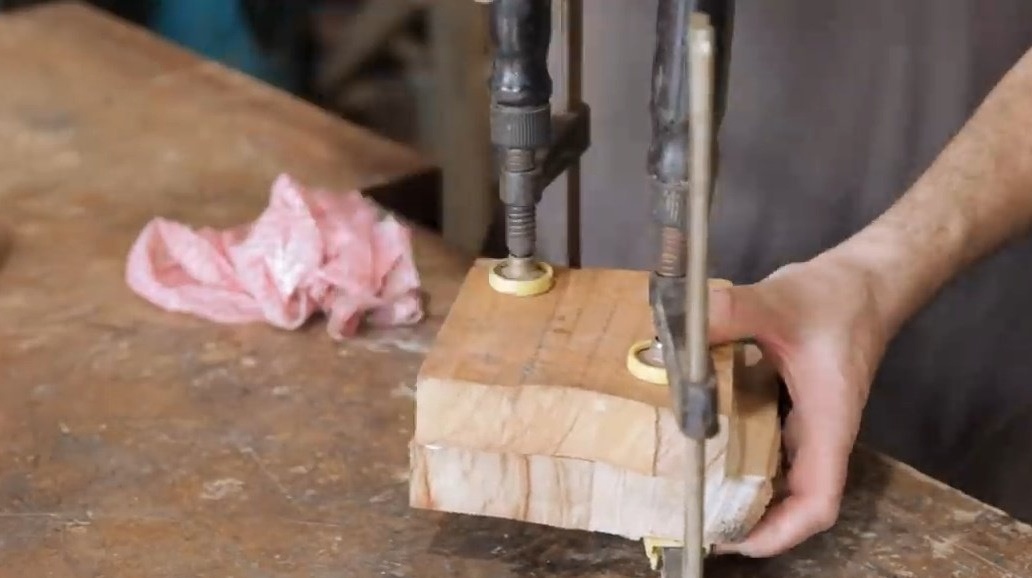
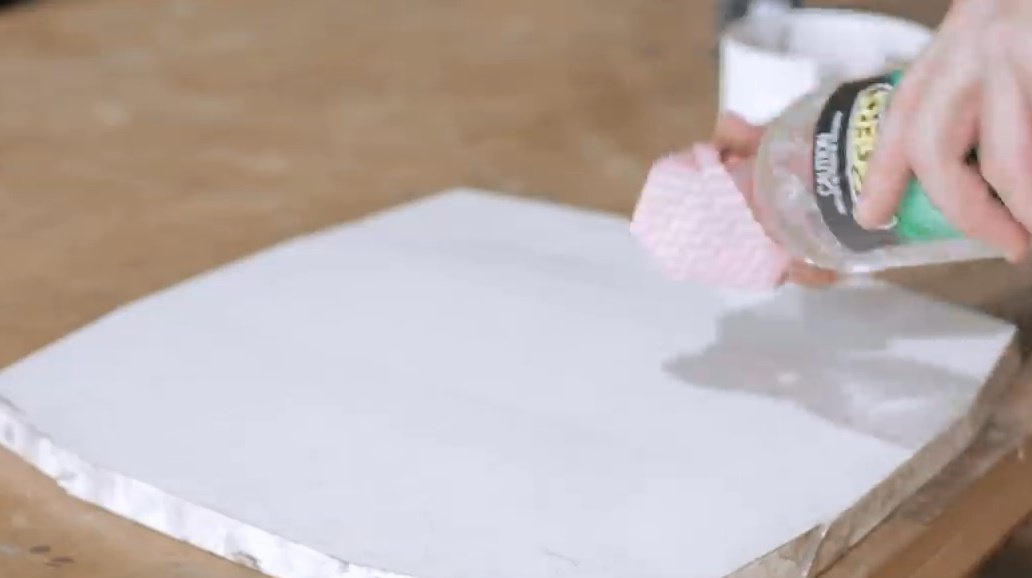
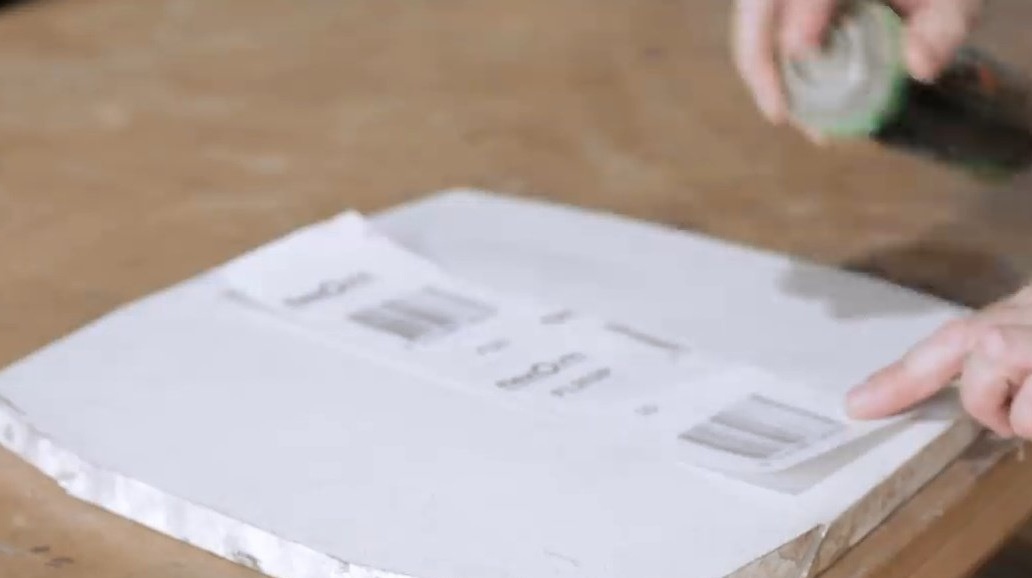
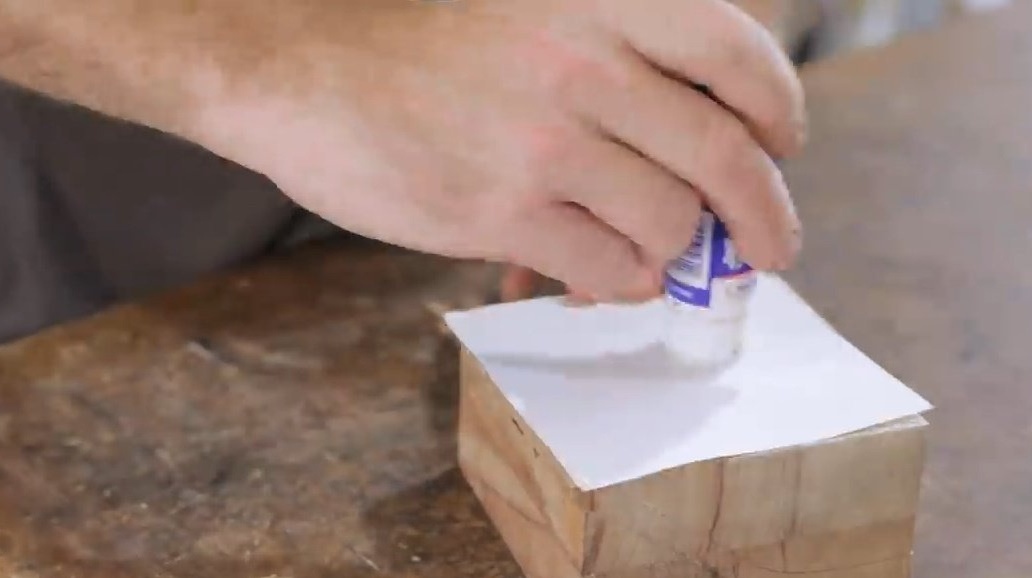
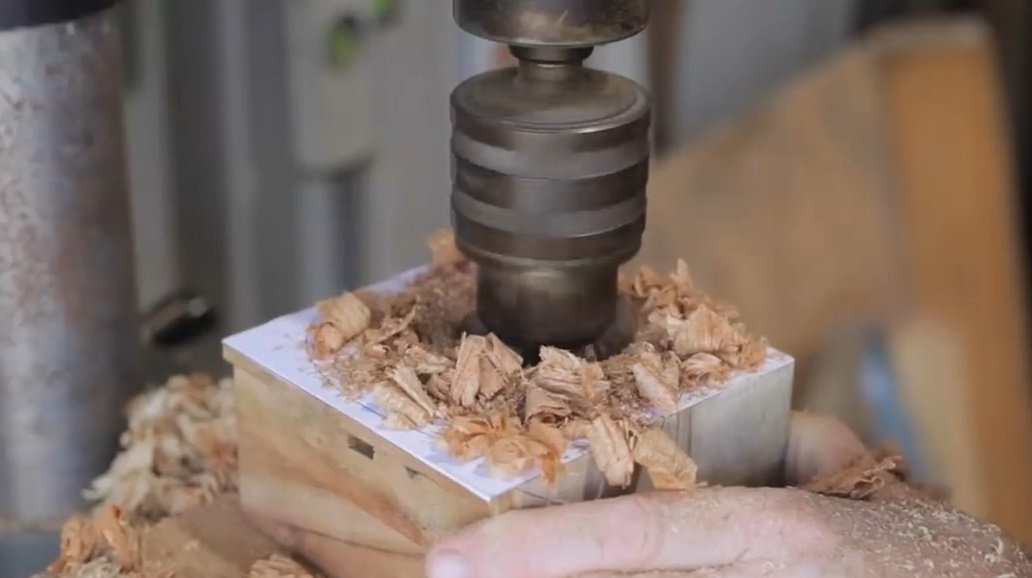
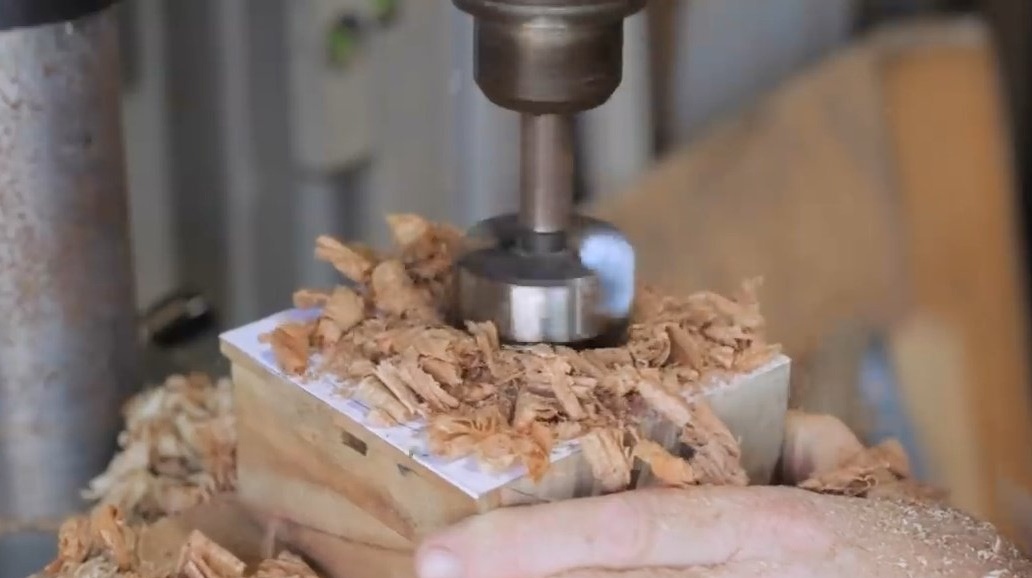
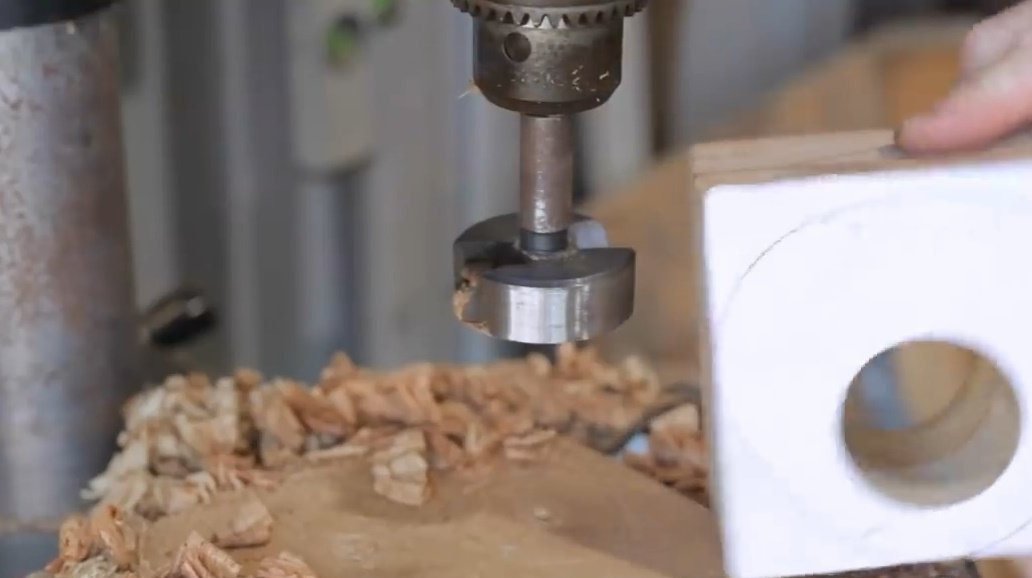
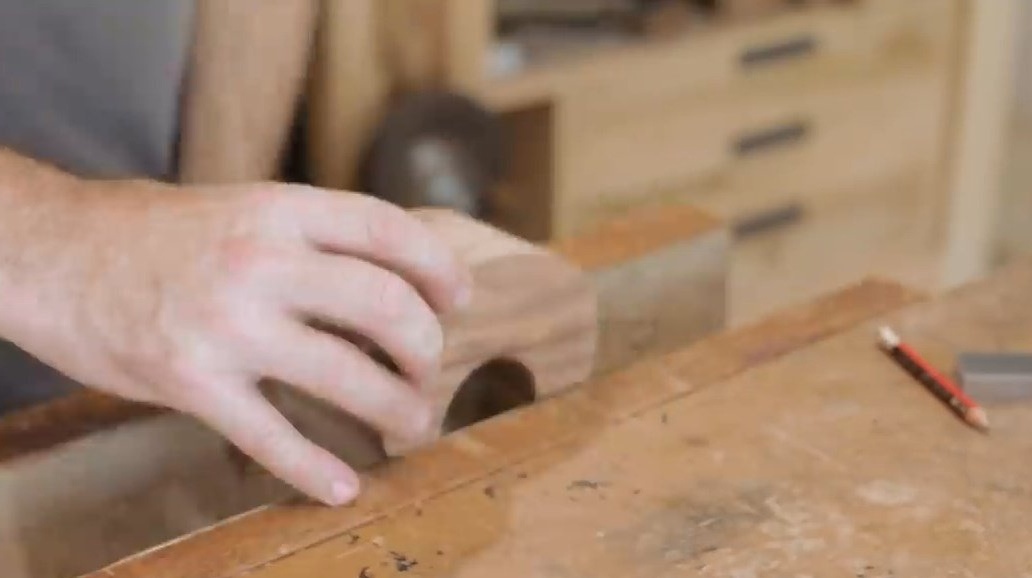
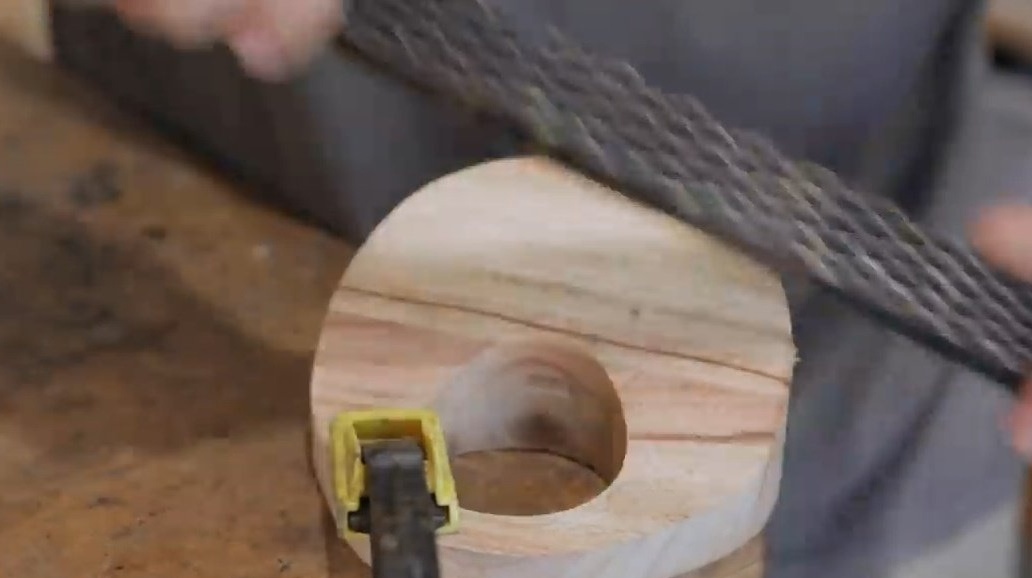
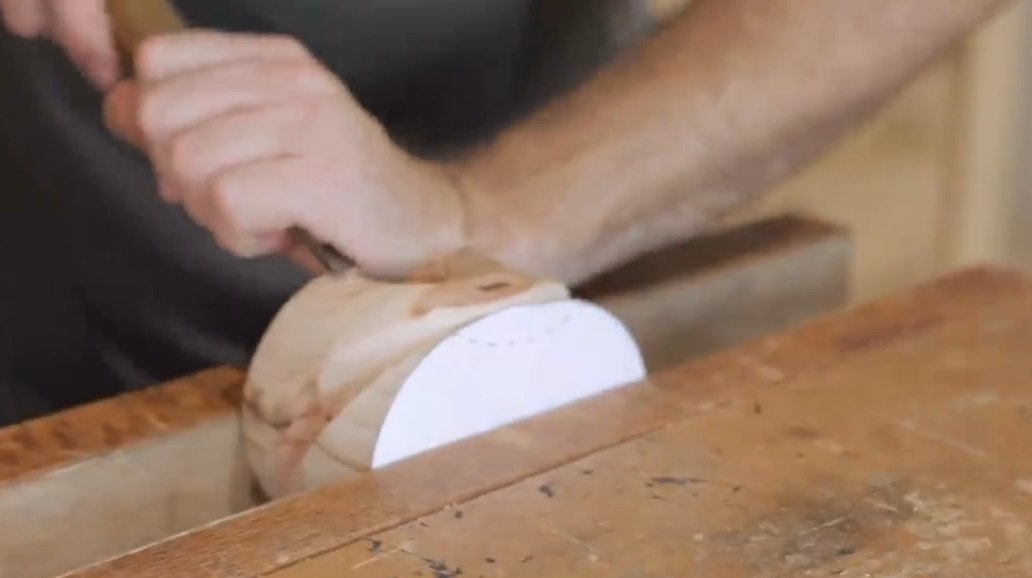
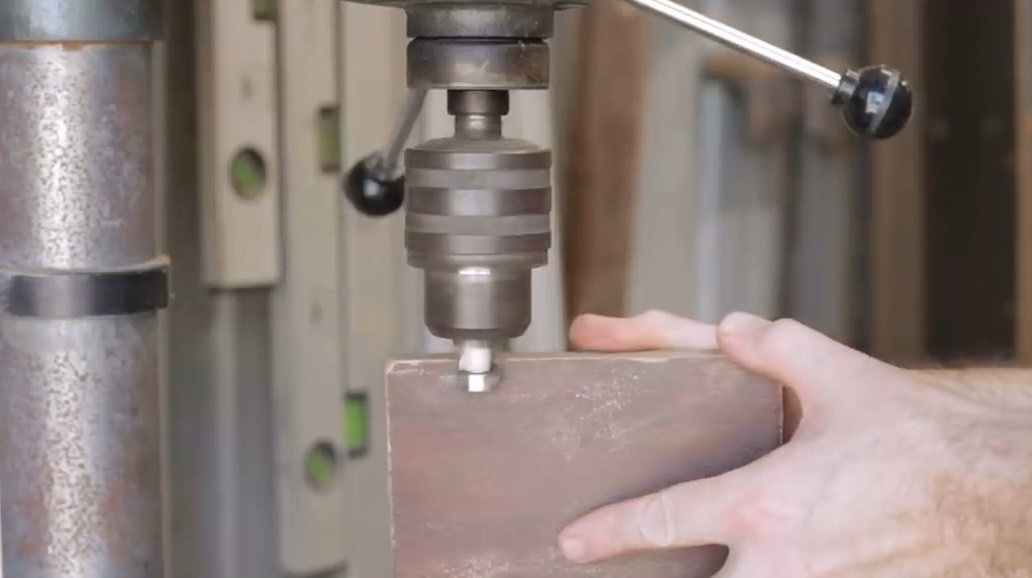
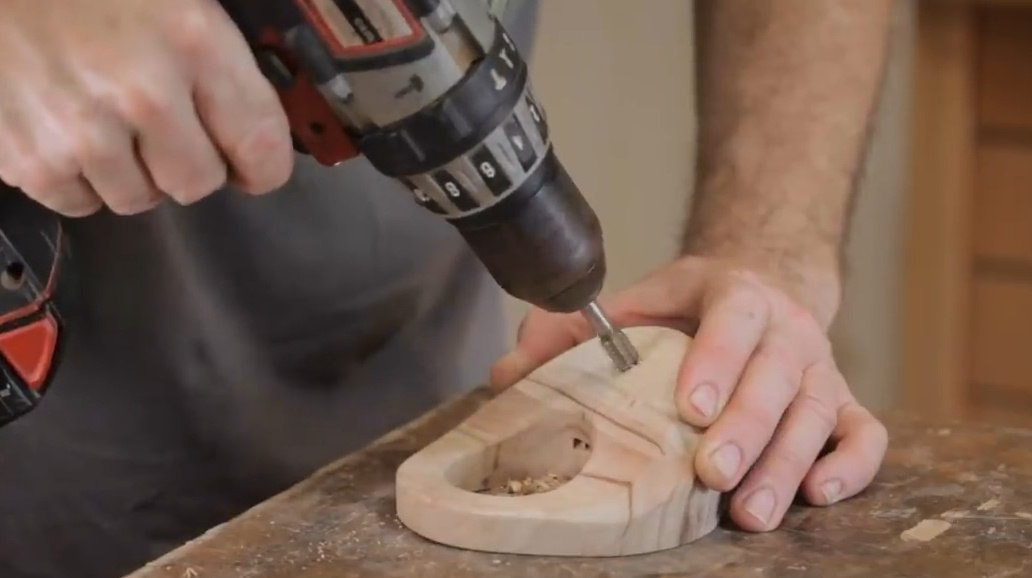
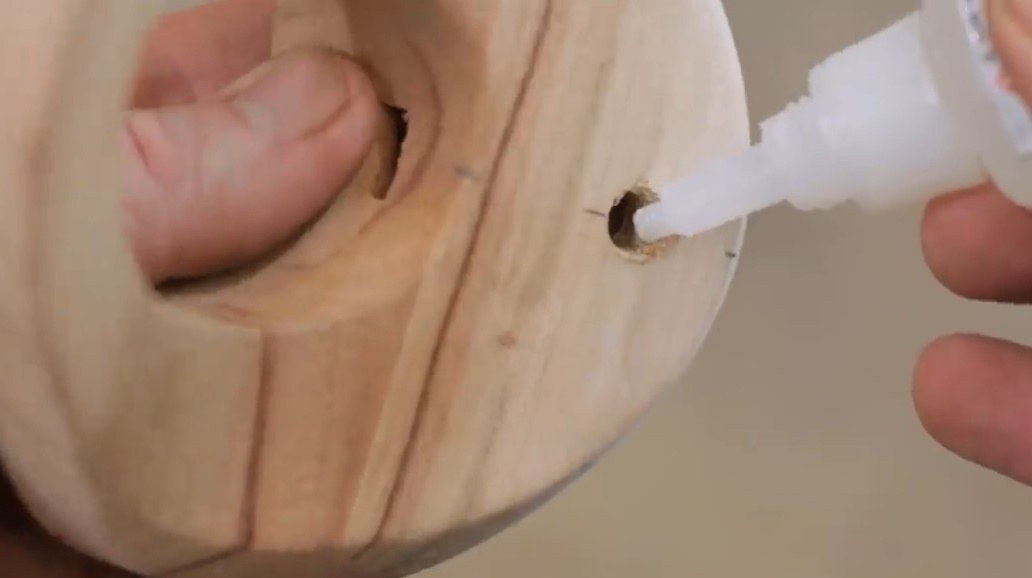
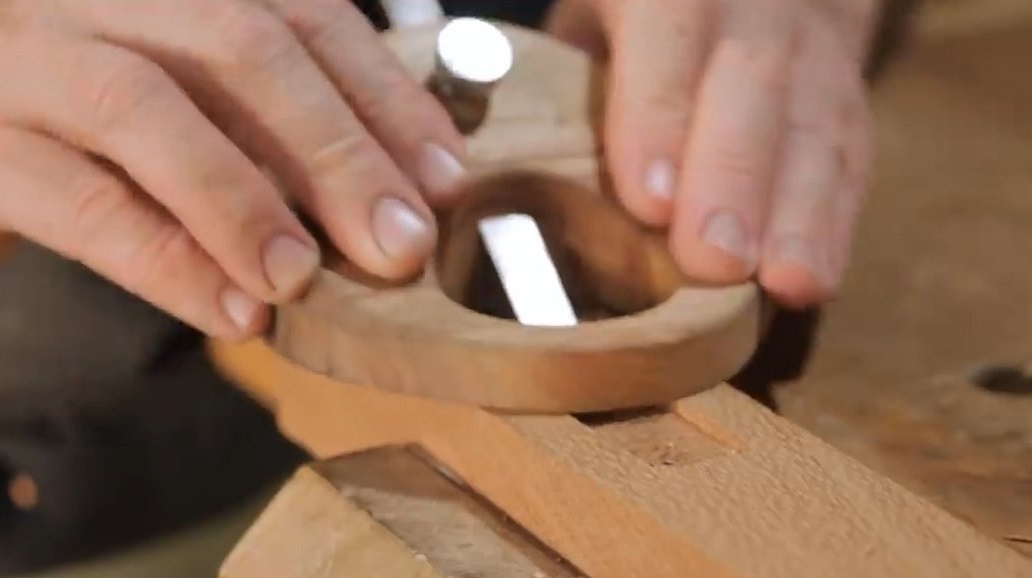
It sticks on the template and drills a wide through hole with a Forstner drill.
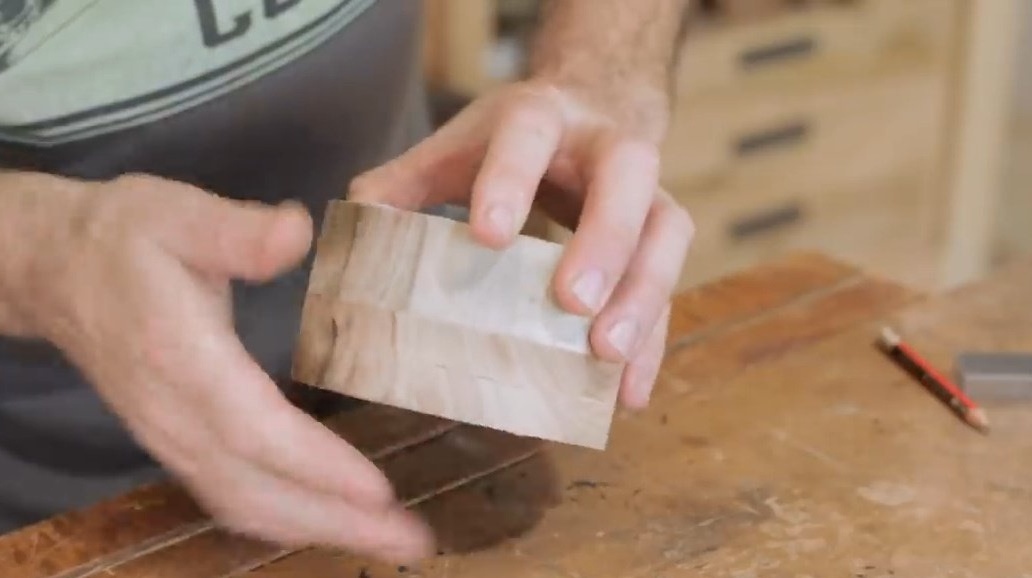
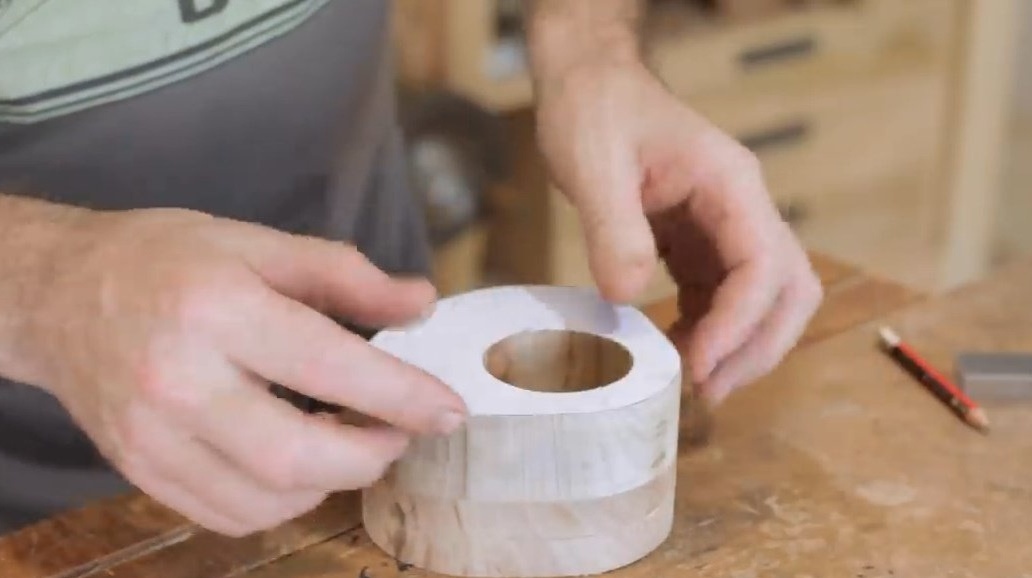
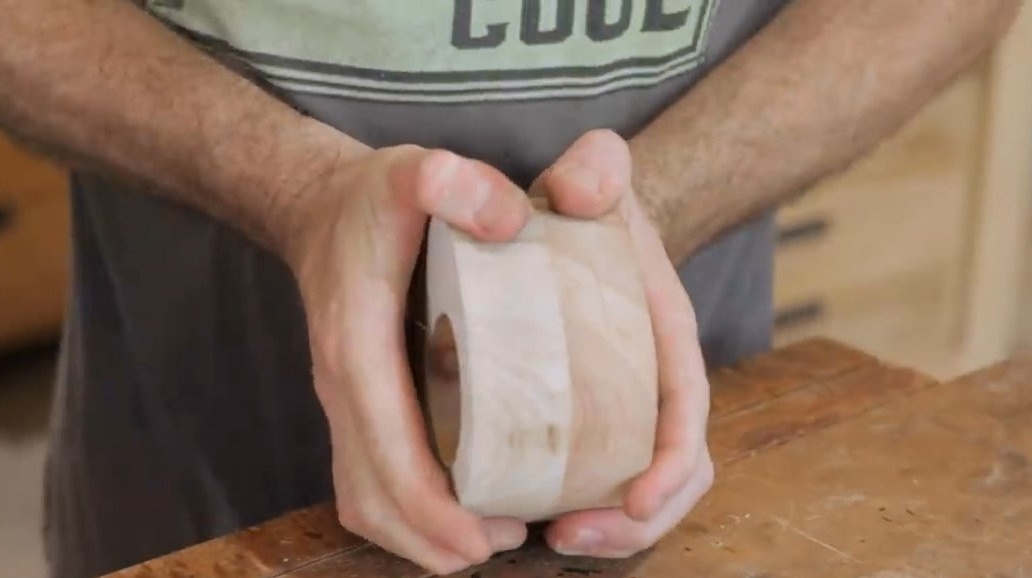
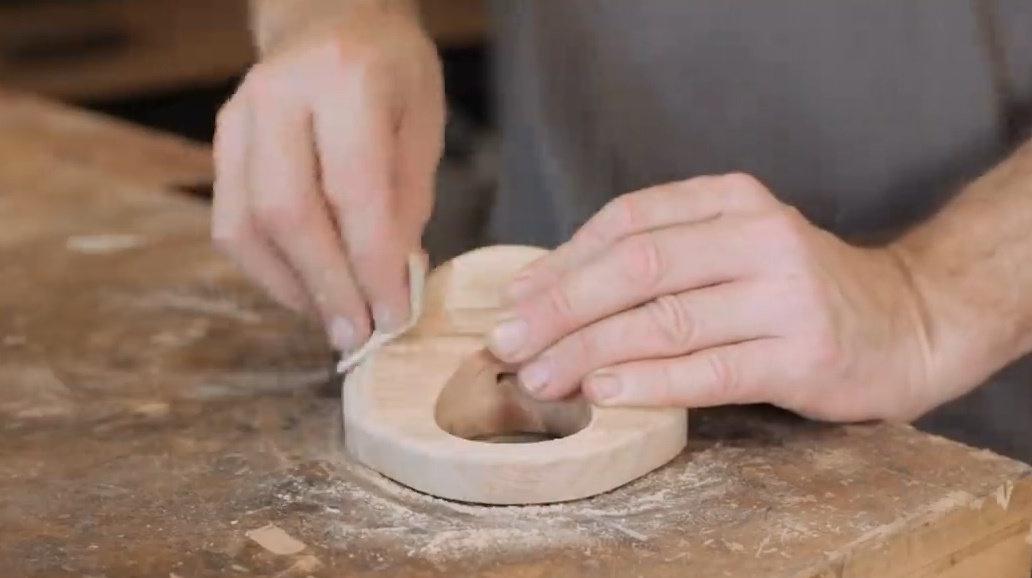
And then cuts the future handle in shape, polishes again.
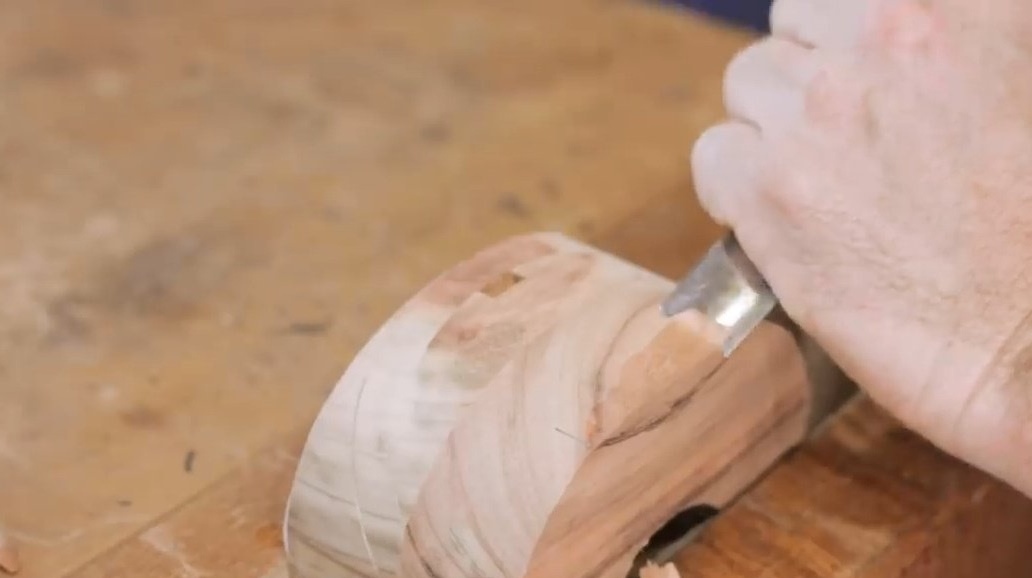
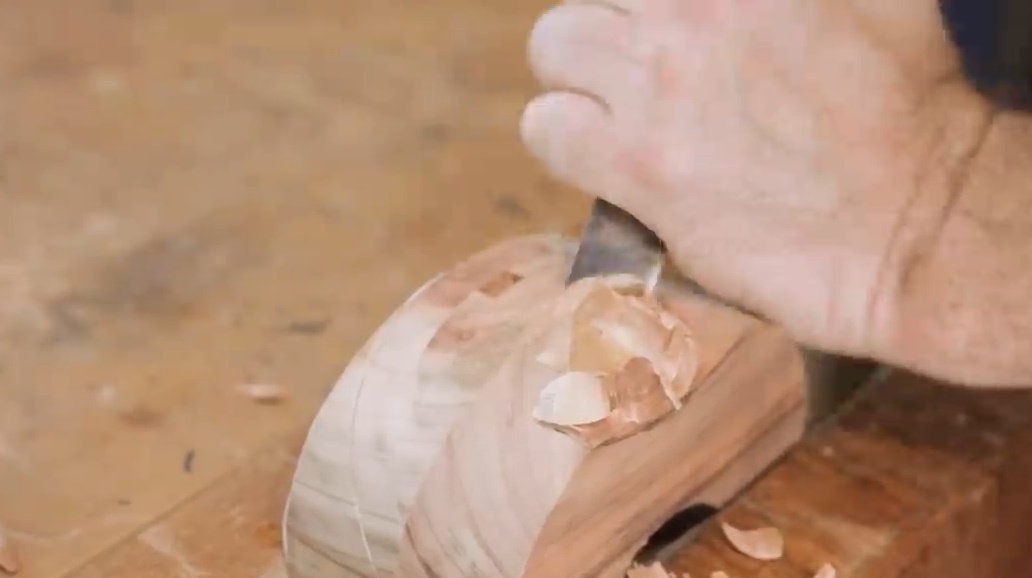
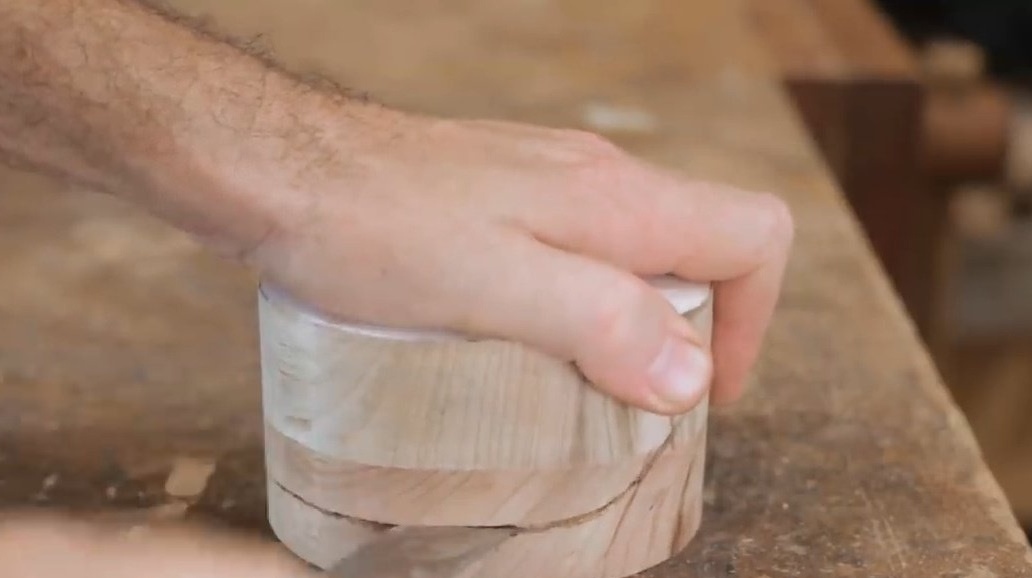
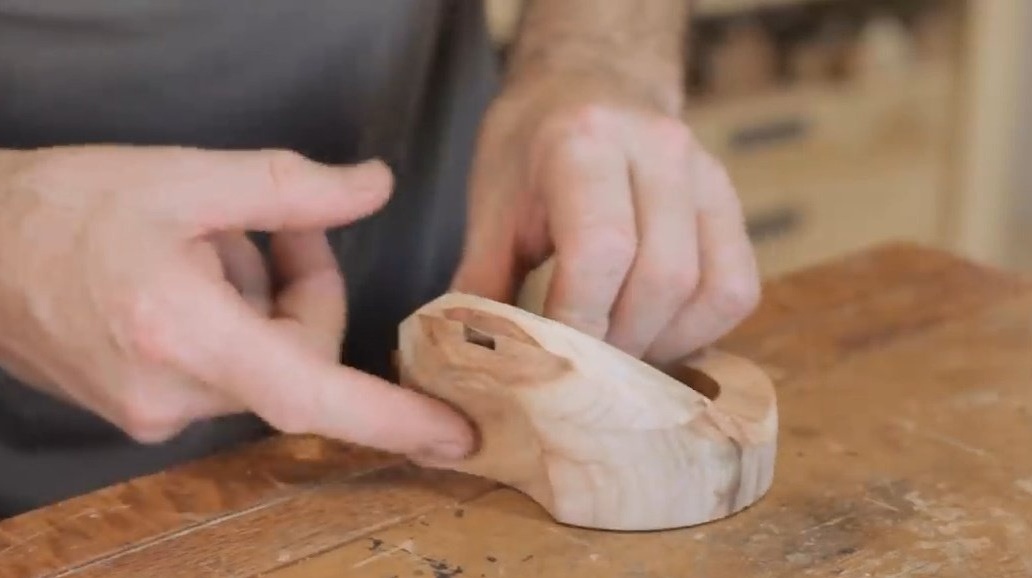
Before decoupling both parts, the author cuts out a special recess for the thumbs on the back of the block, having previously clamped it in a vice. This is not a mandatory moment, but it will be more comfortable for hands.

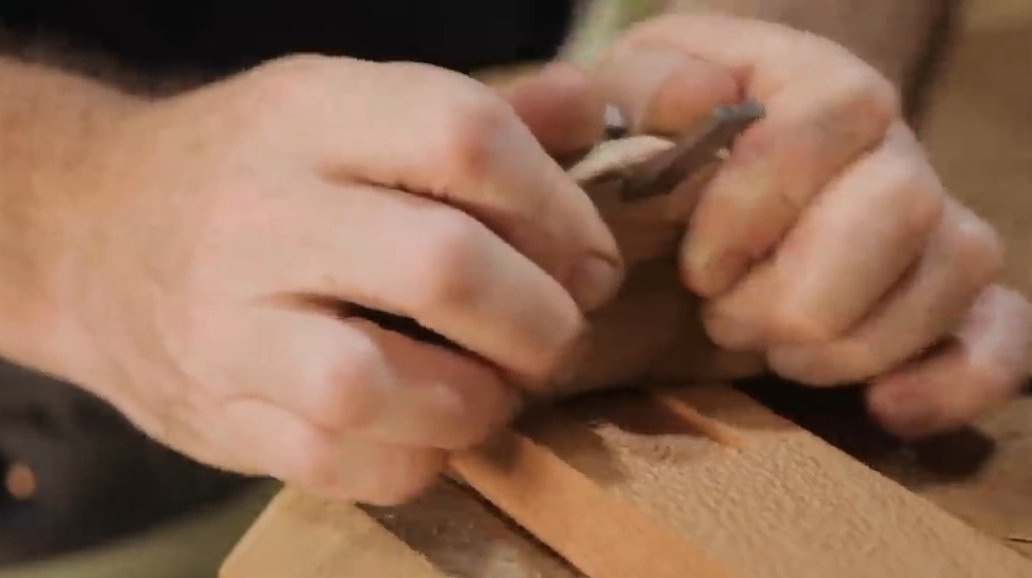
Now he is opening the case. This happens with some effort, because hot glue is a strong enough thing. The knife was very helpful.
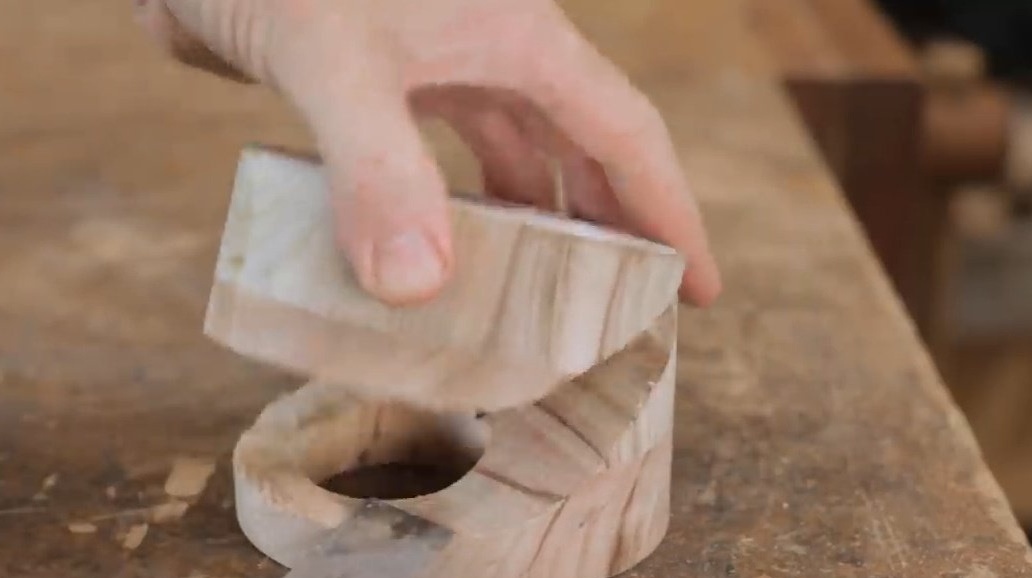
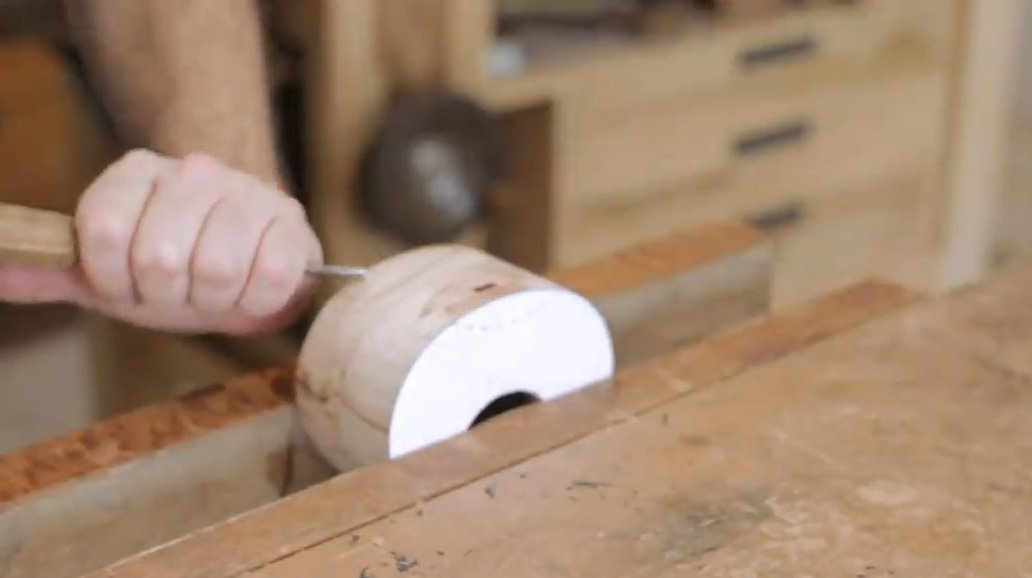
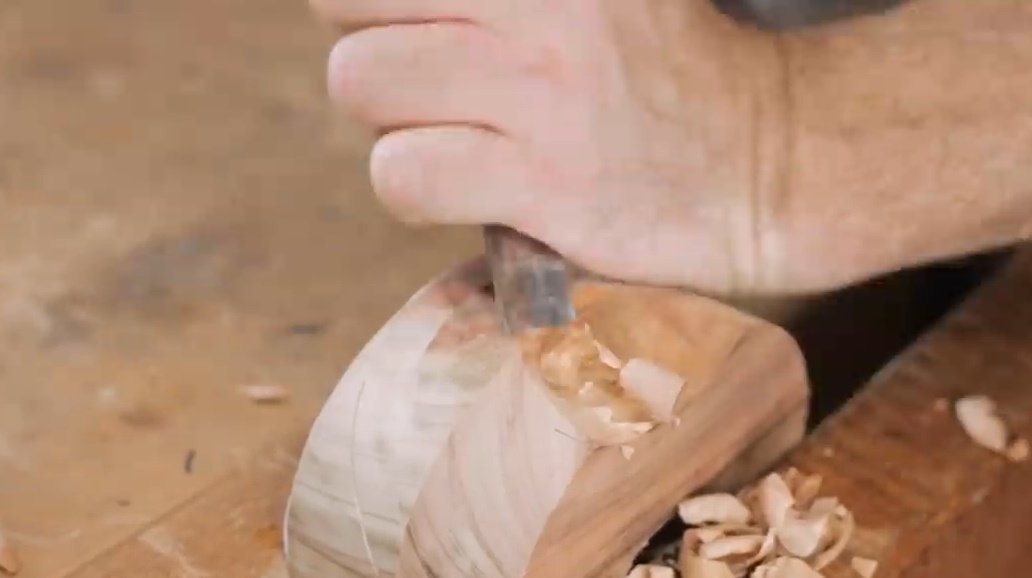
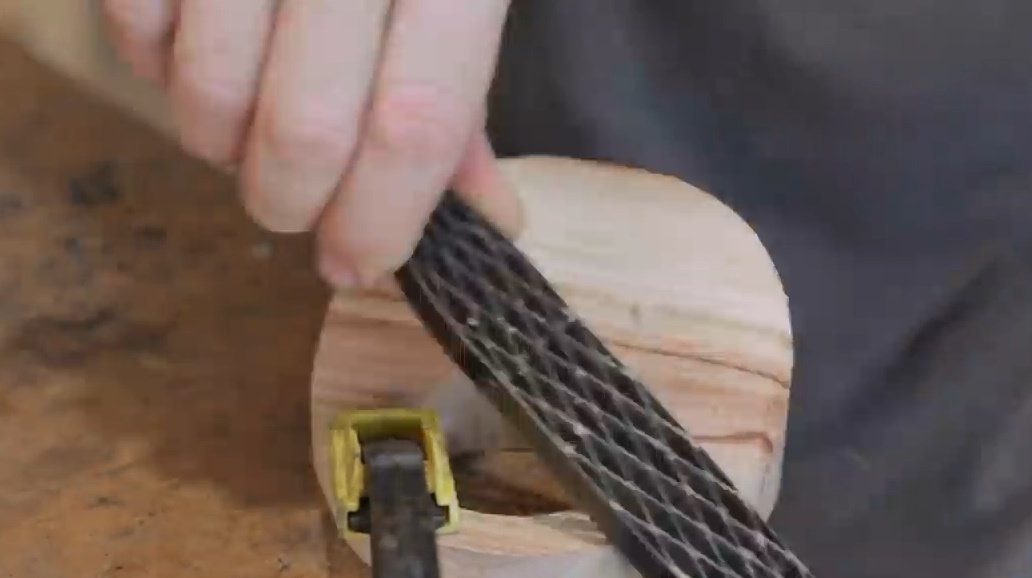
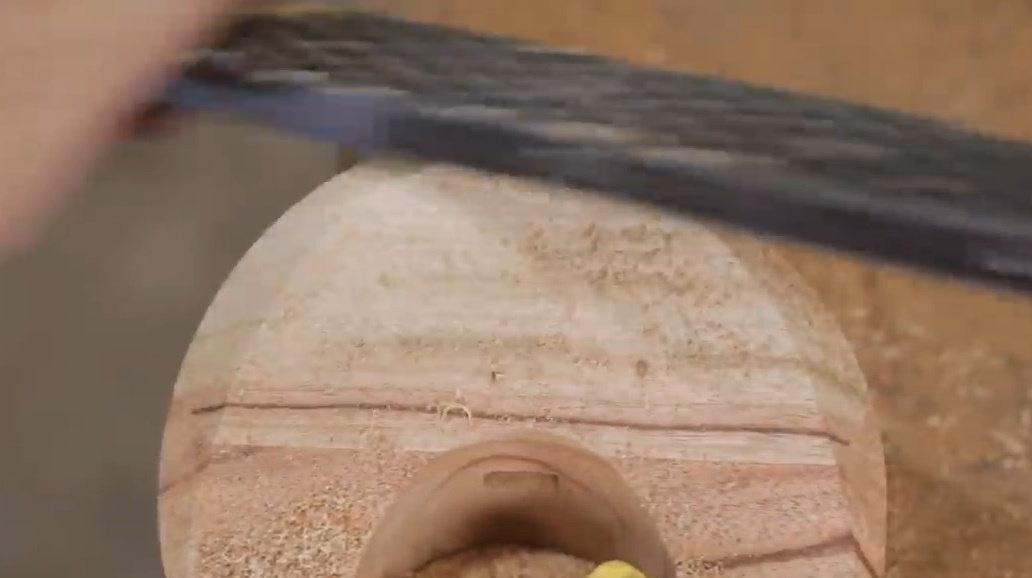
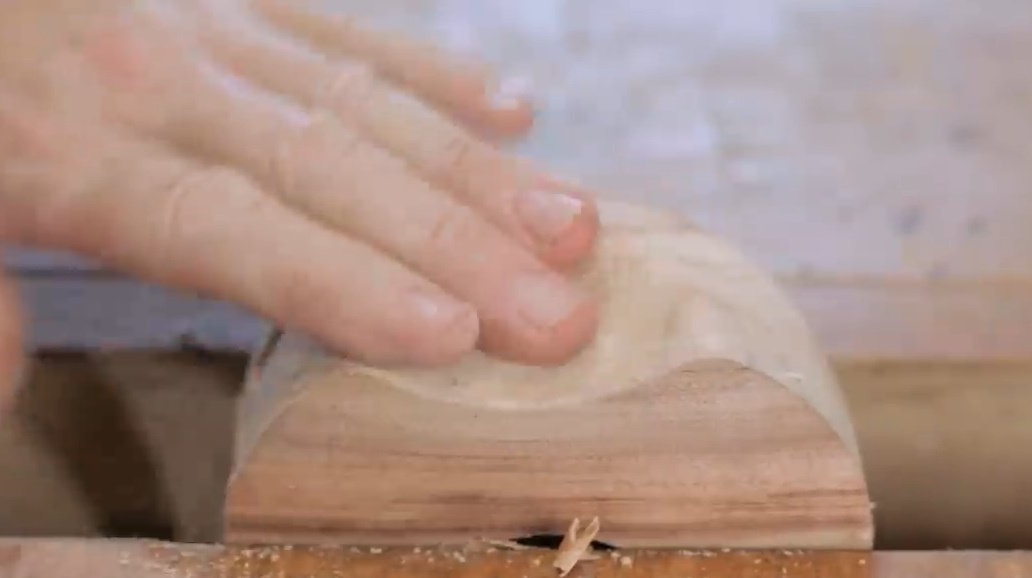
The craftsman processes the planer body with a rough file, achieving soft fillets.
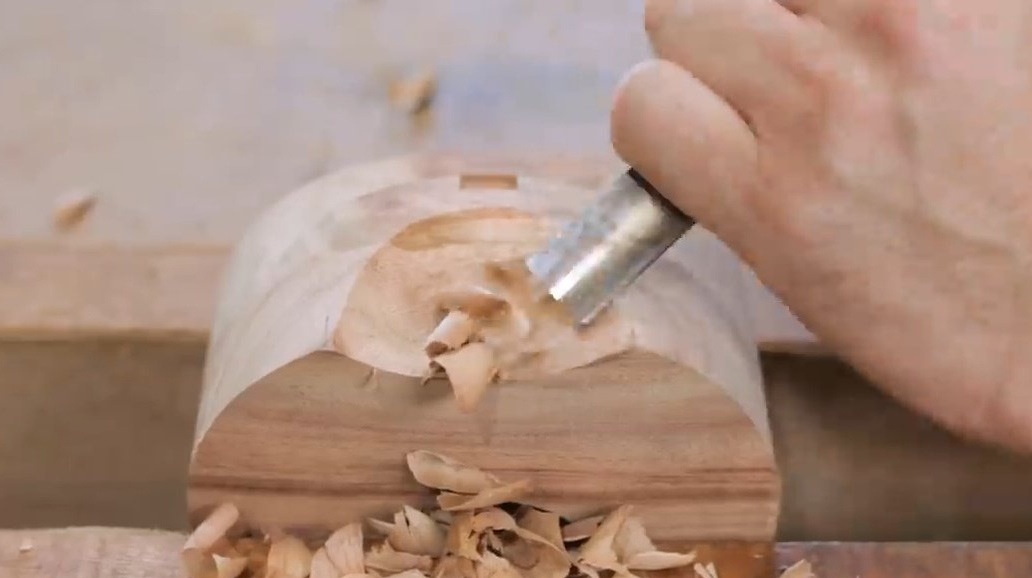
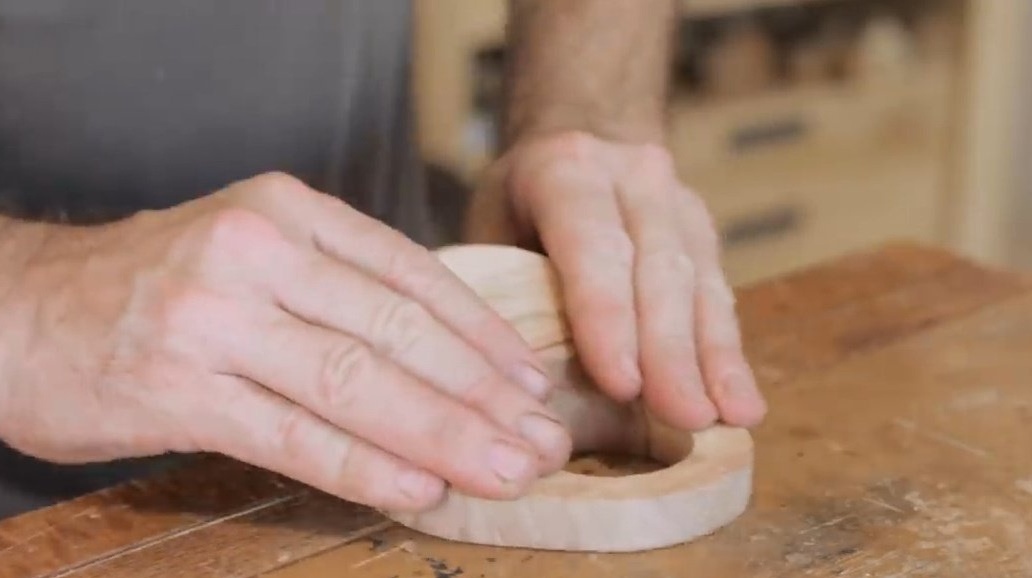
He again tests the shape and concludes that the notch for the thumbs should be wider.
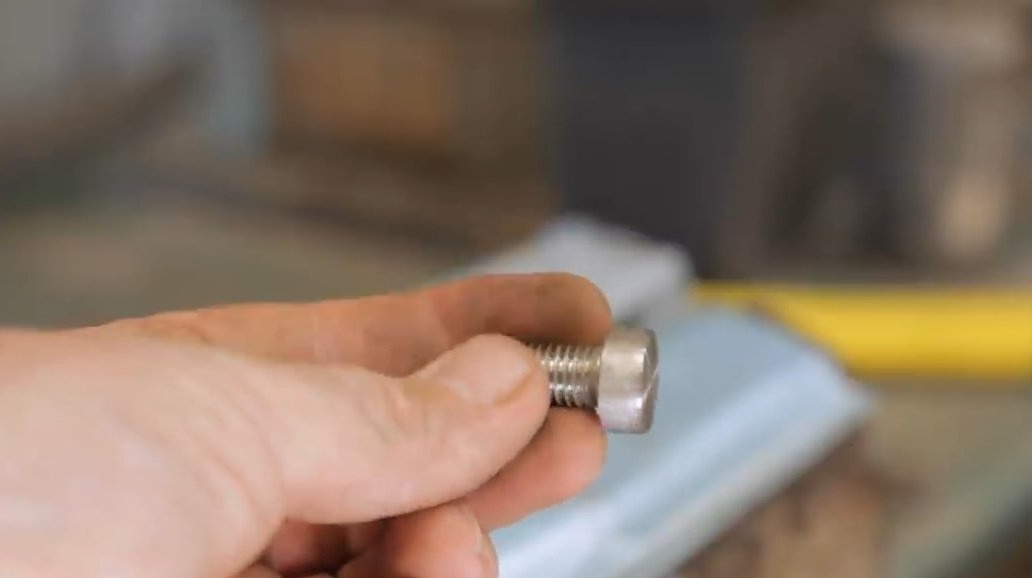
Next, with a stainless steel bolt, he plans to fix the blade.
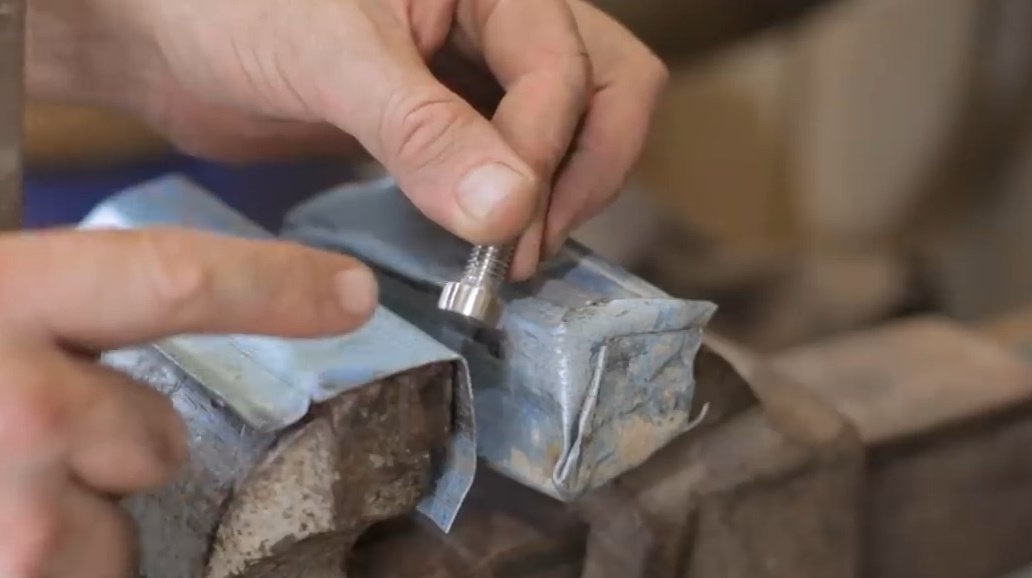
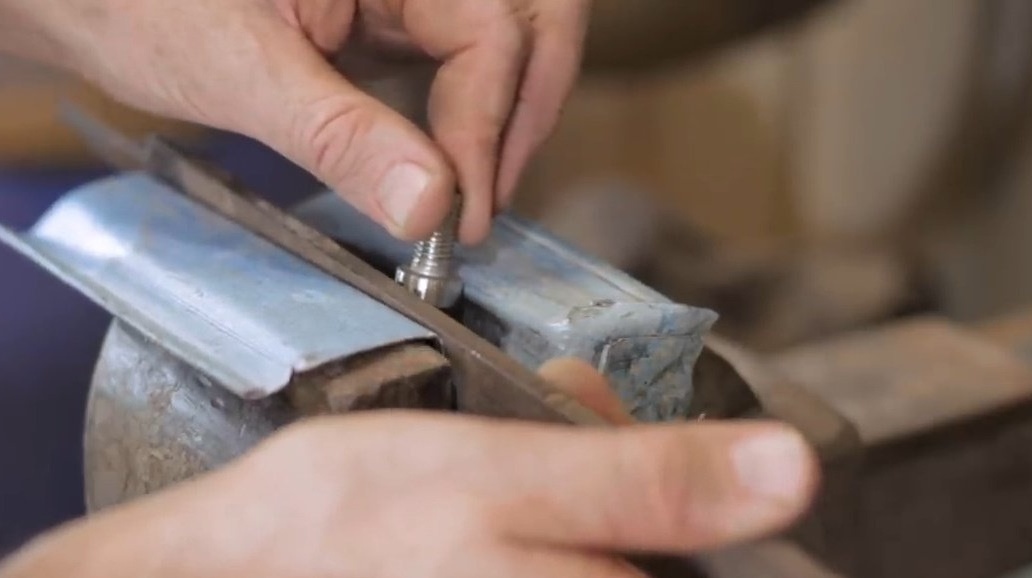
But first, he rounds his hat, and polishes it.
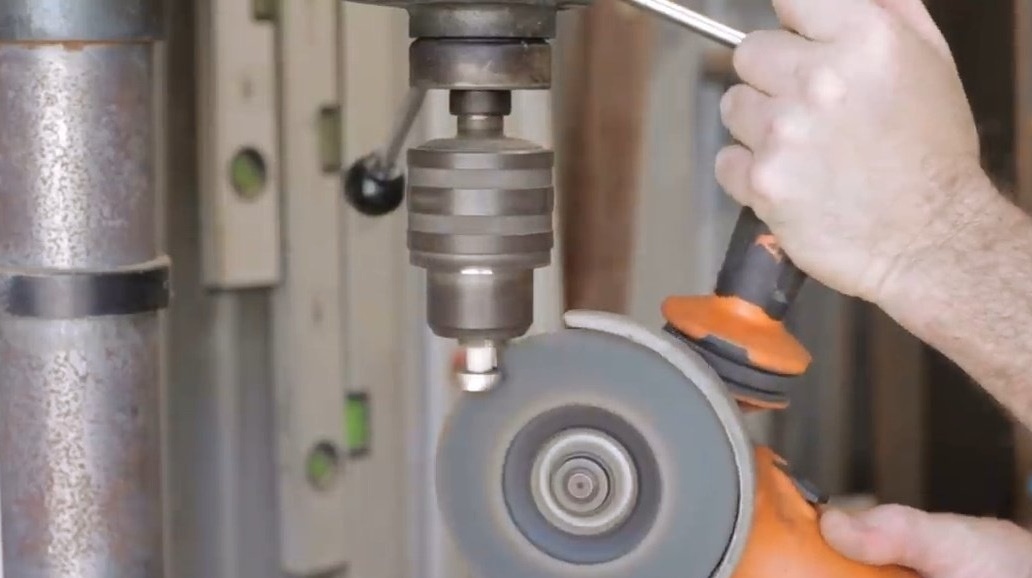
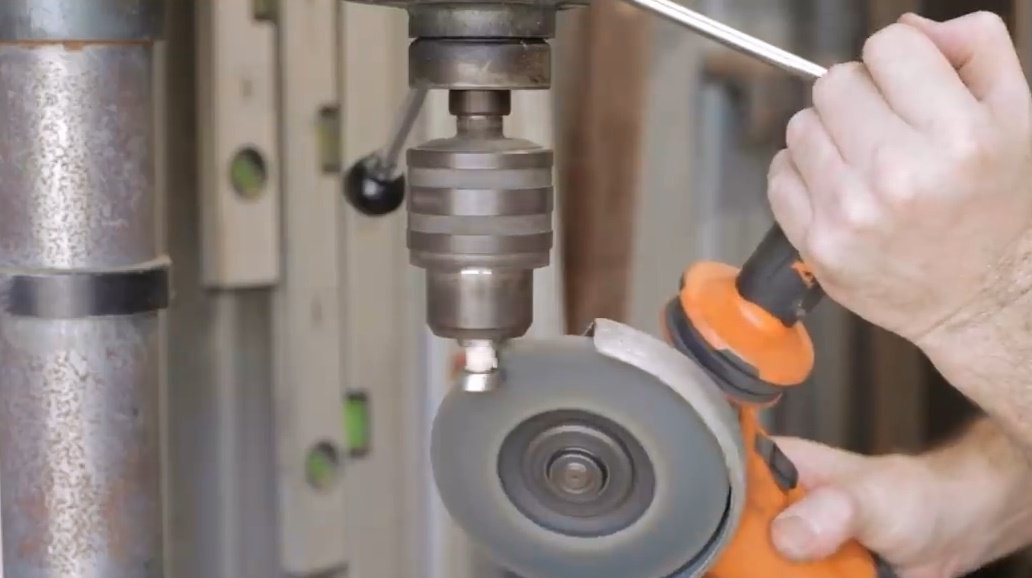
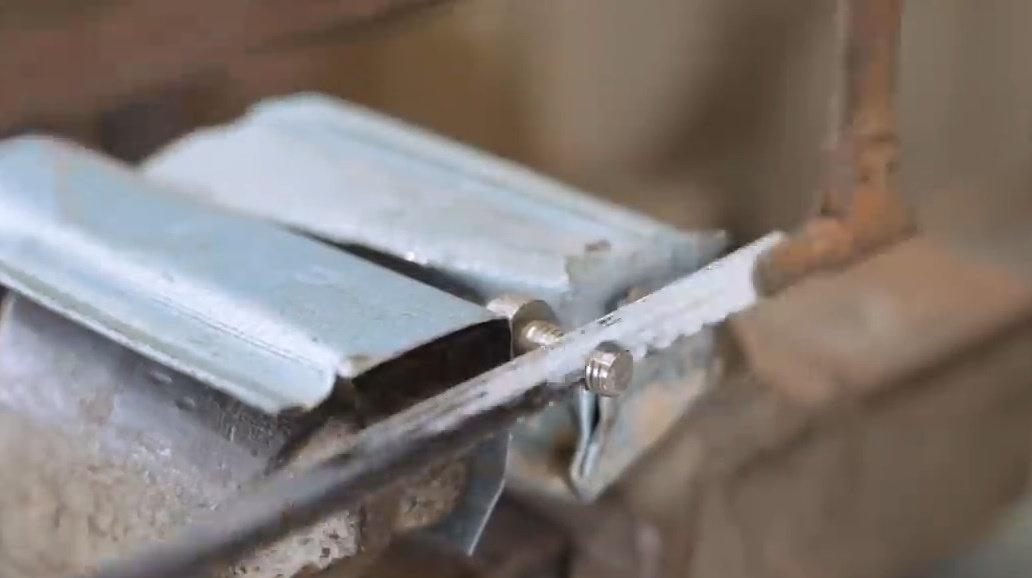
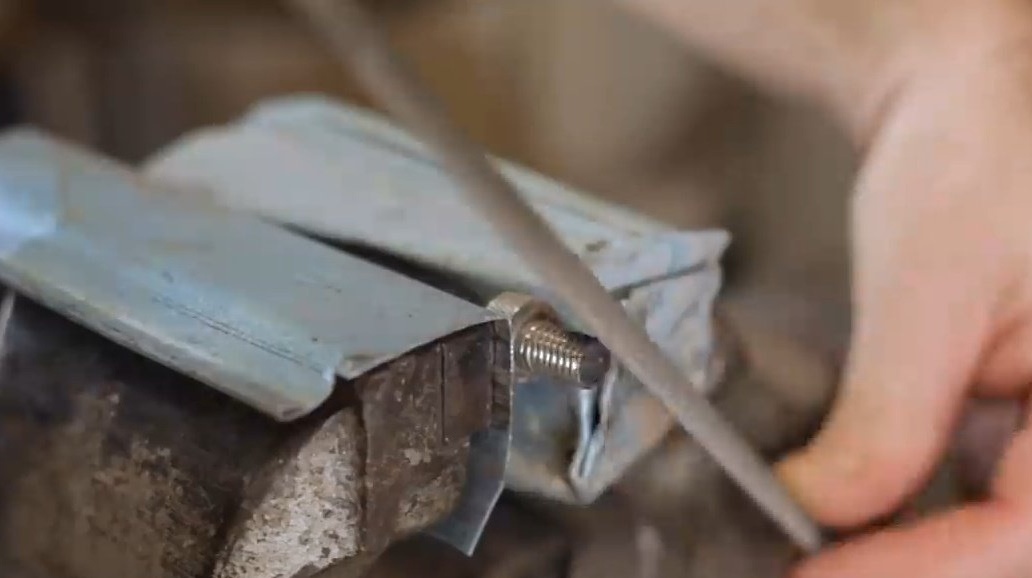
Now manually does knurling. This is a fairly tough method and it is not ideal, but in this case it is appropriate: the master clamps the cap of the bolt in a vice with a file, and then lightly knocks one side of the file with a hammer. The file slides along the vise, causing the bolt to rotate and leaving a print of the file on the head. During this operation, two sheets of tin, about a millimeter thick, are needed. One for the file to slide on it, the other to protect the notch.
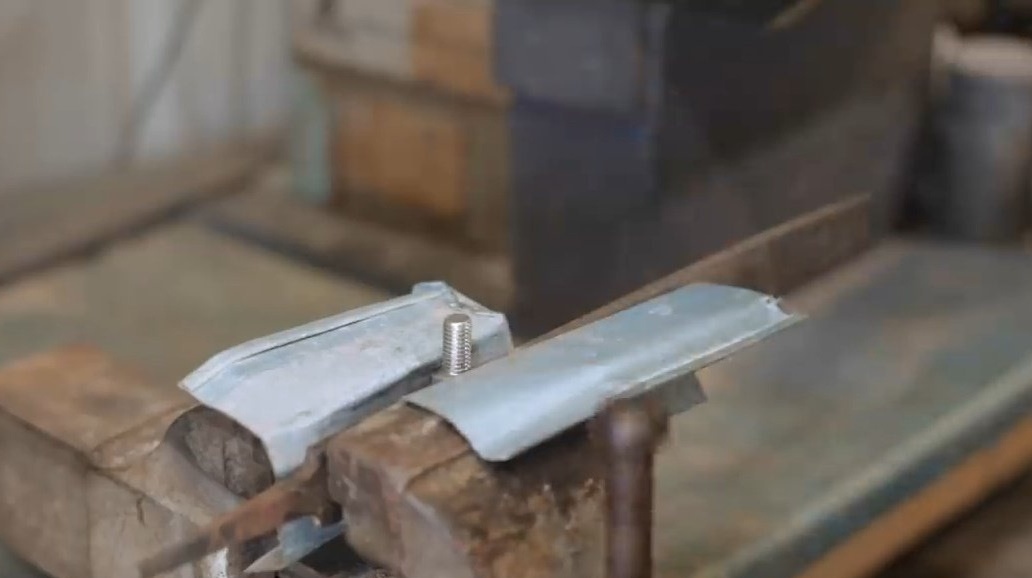
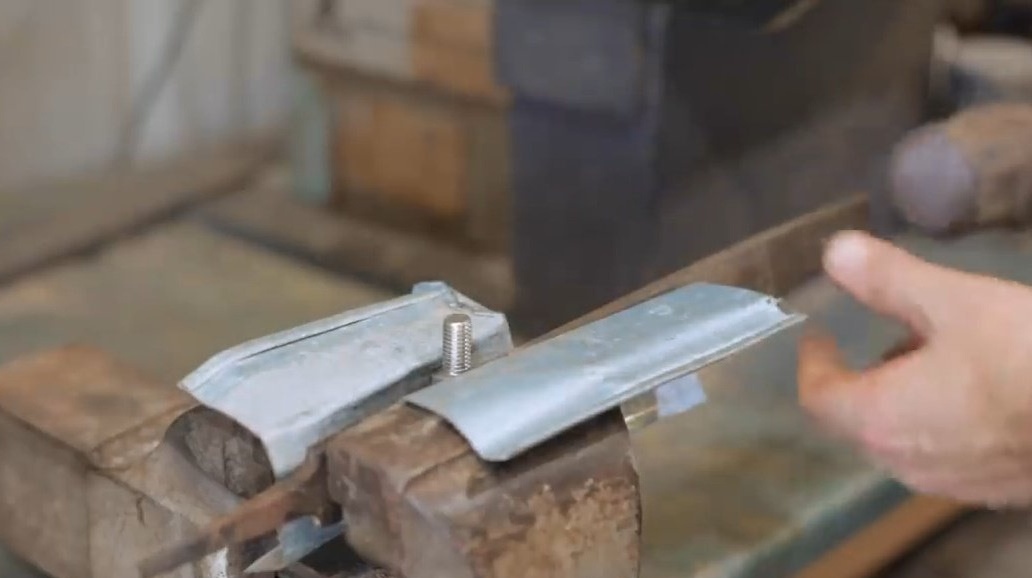
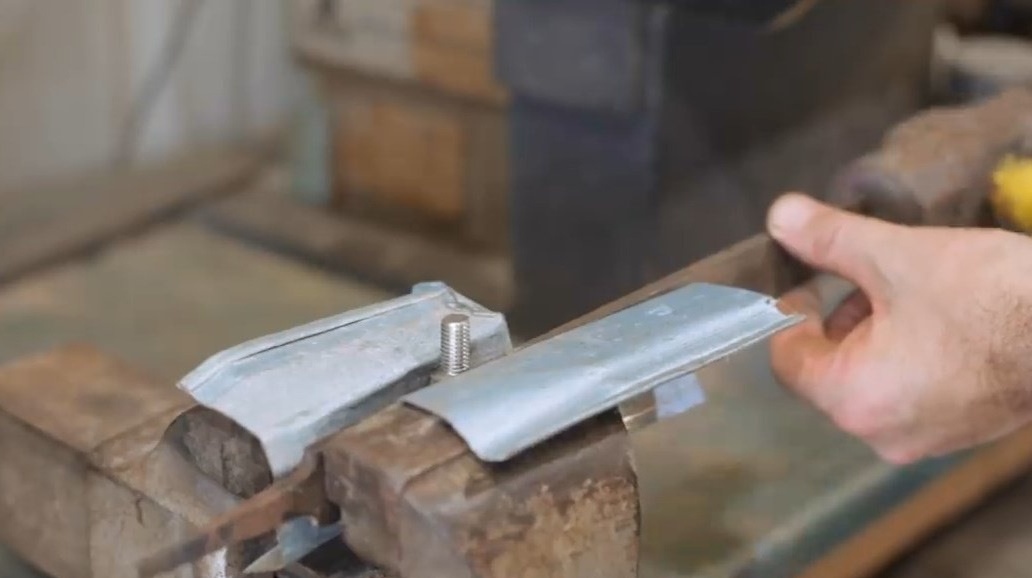
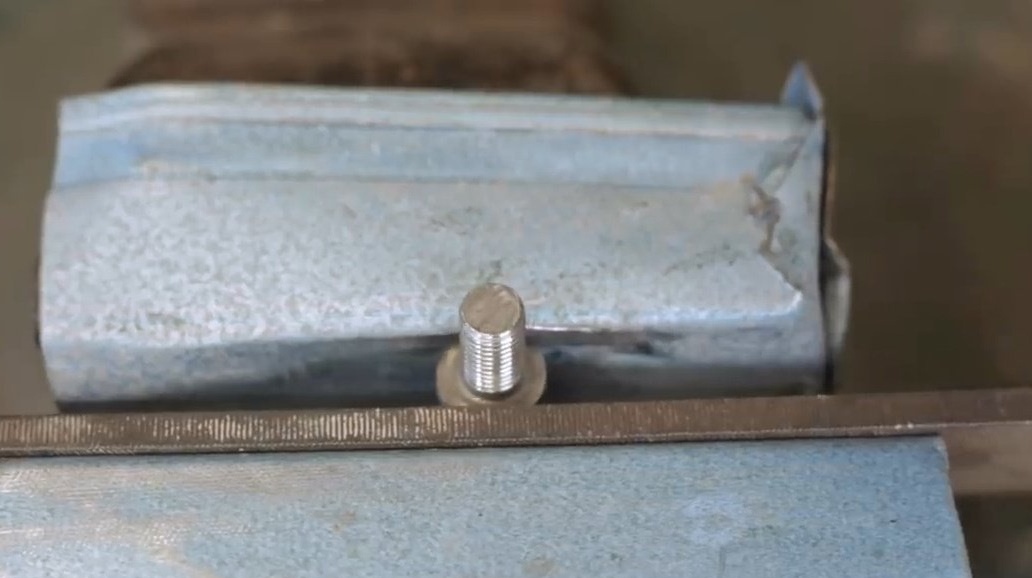
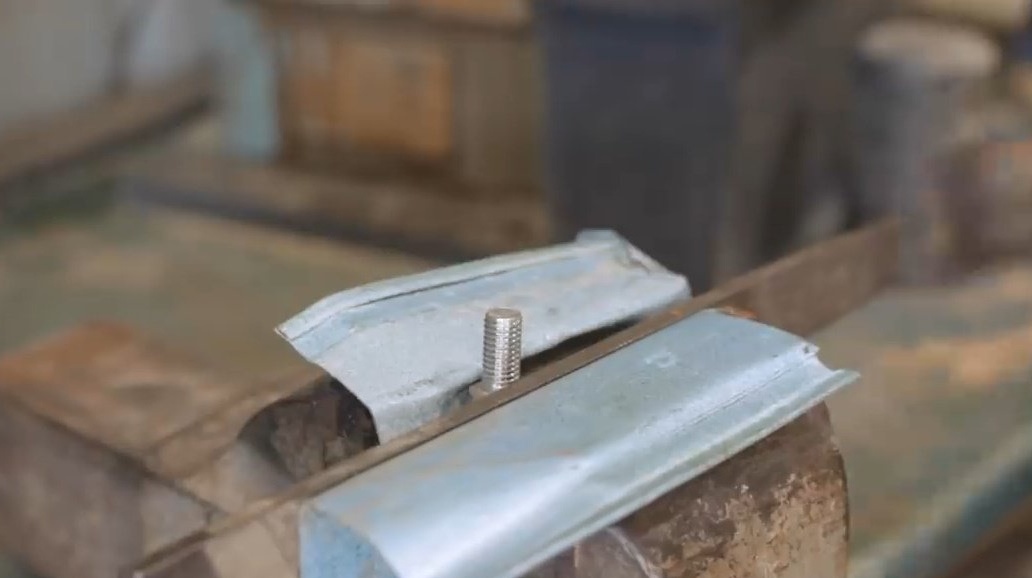
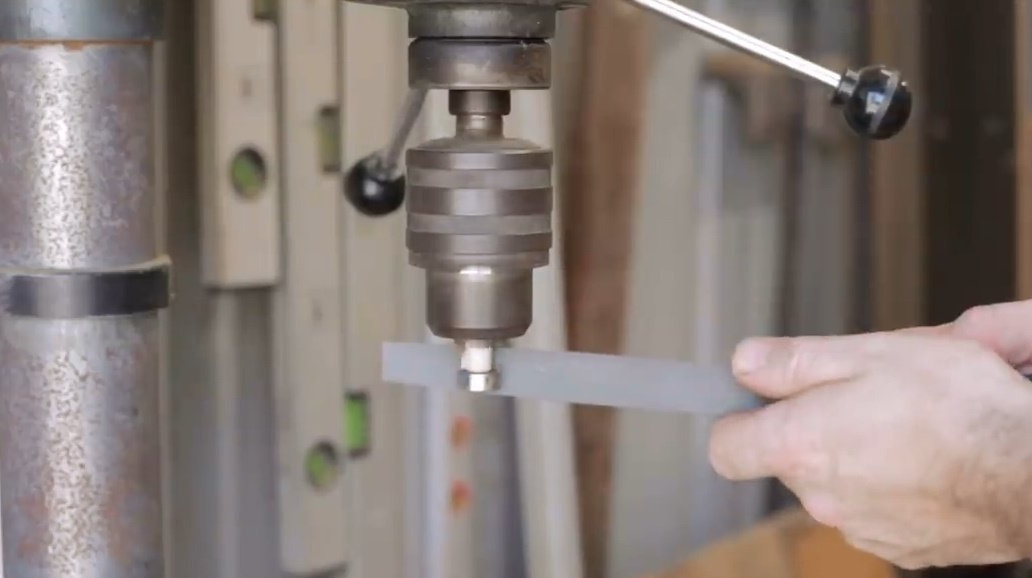
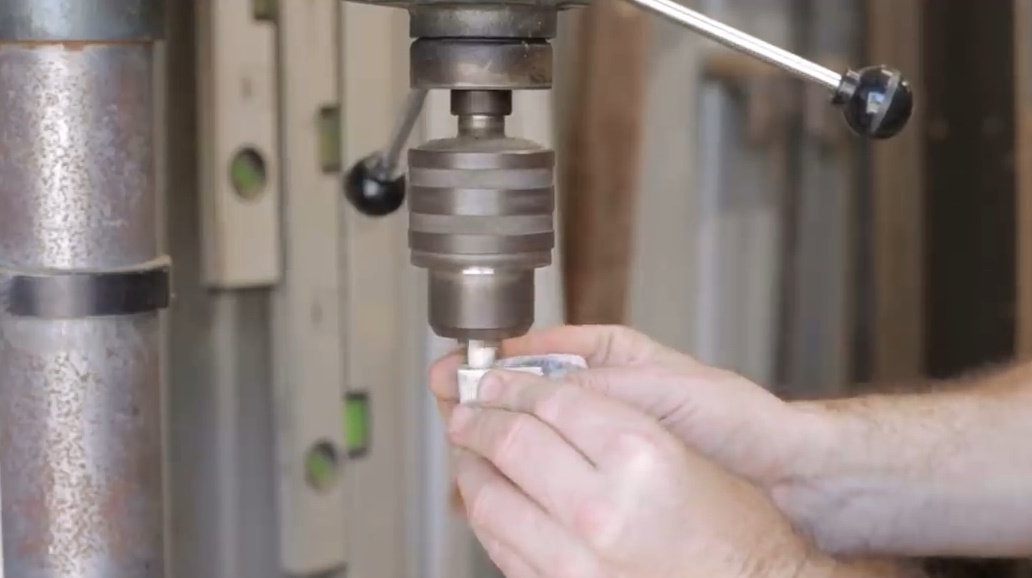
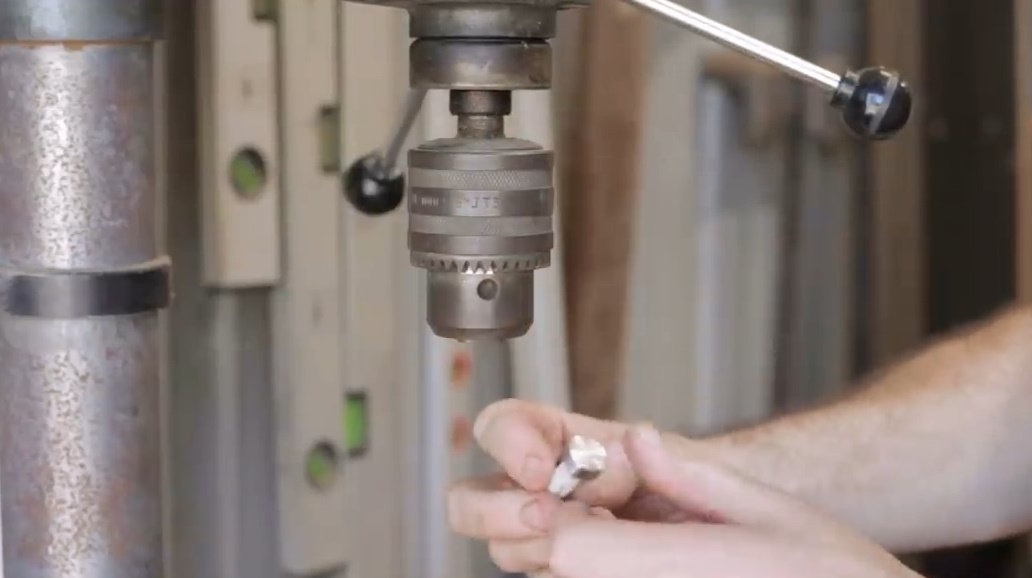
Now here, in the center, a hole will be made under the clamping bolt. Drills a hole and cuts the thread.


The bolt is first cut a little lengthwise and sanded.
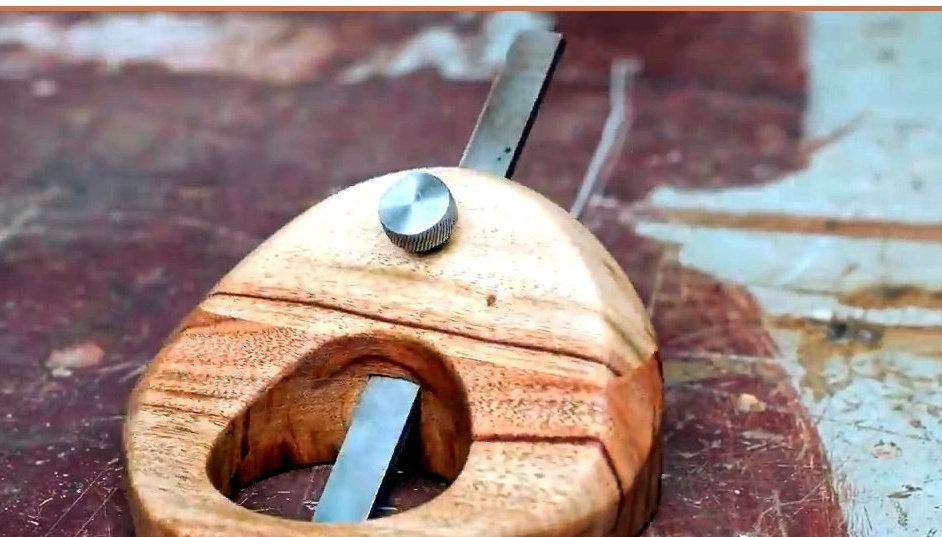
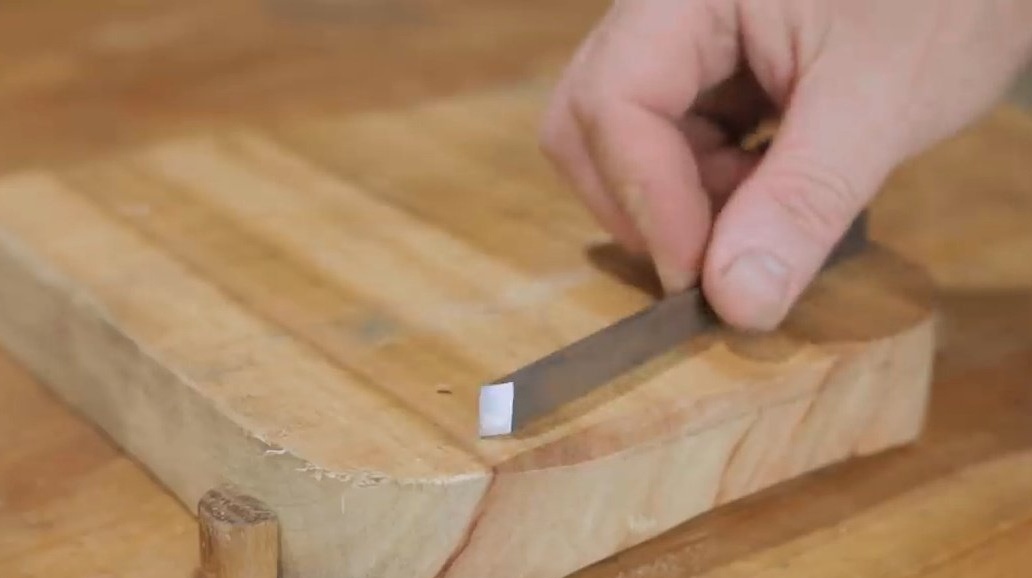
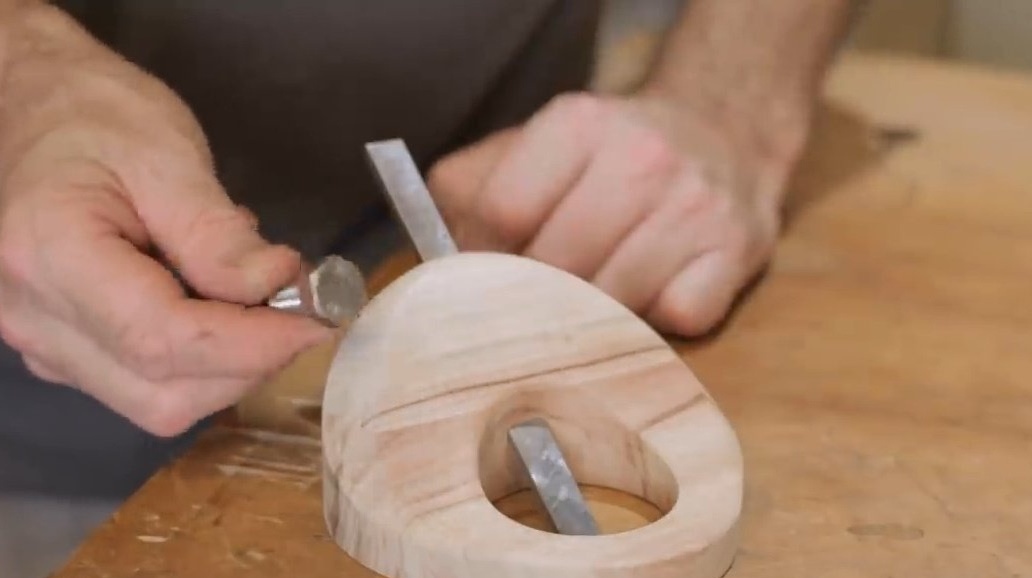
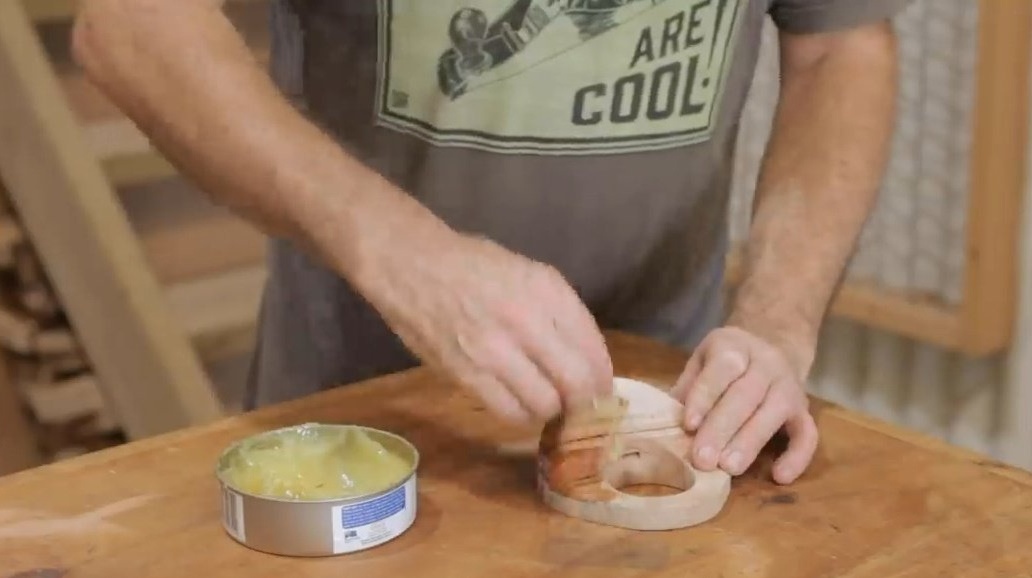
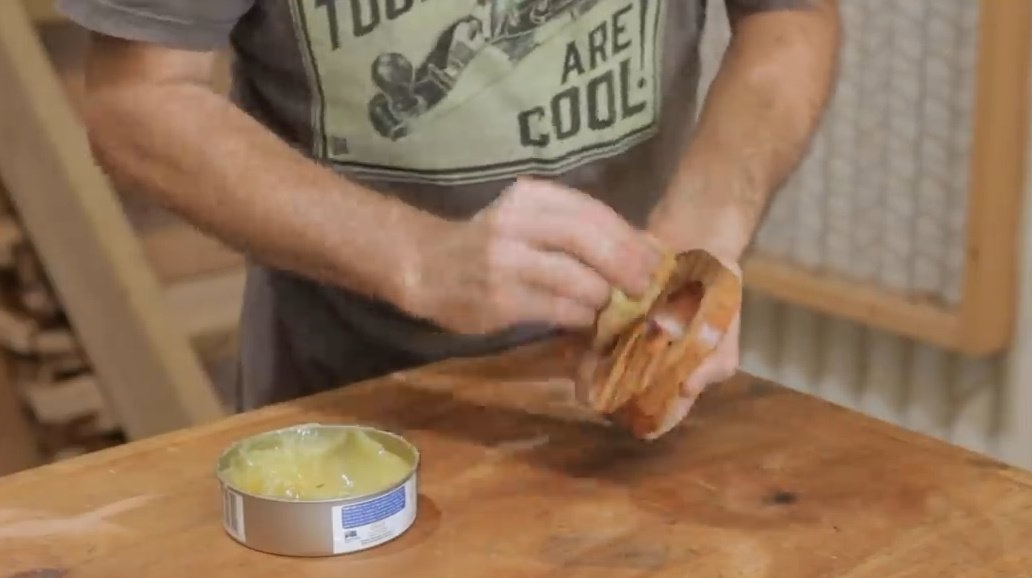
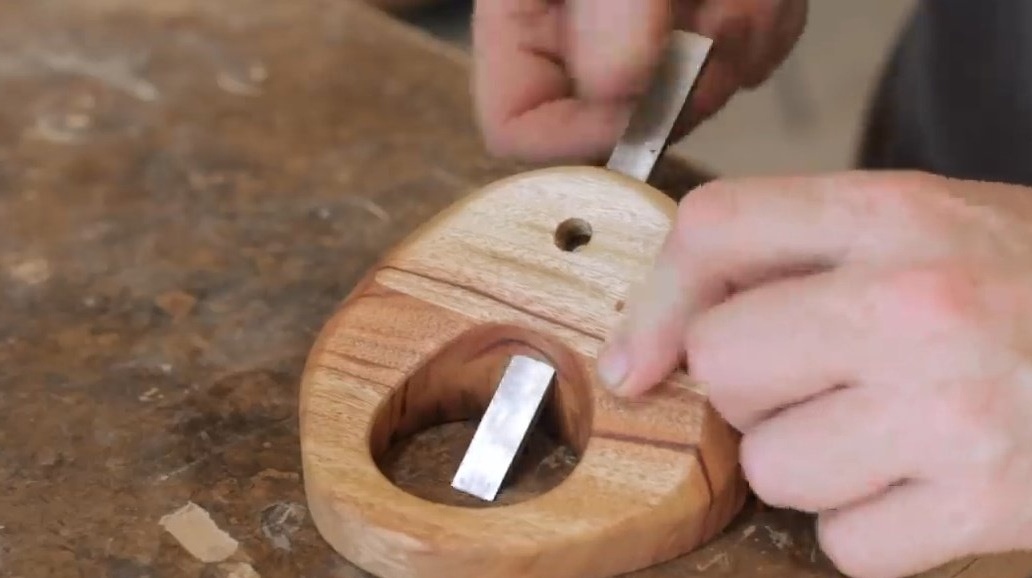
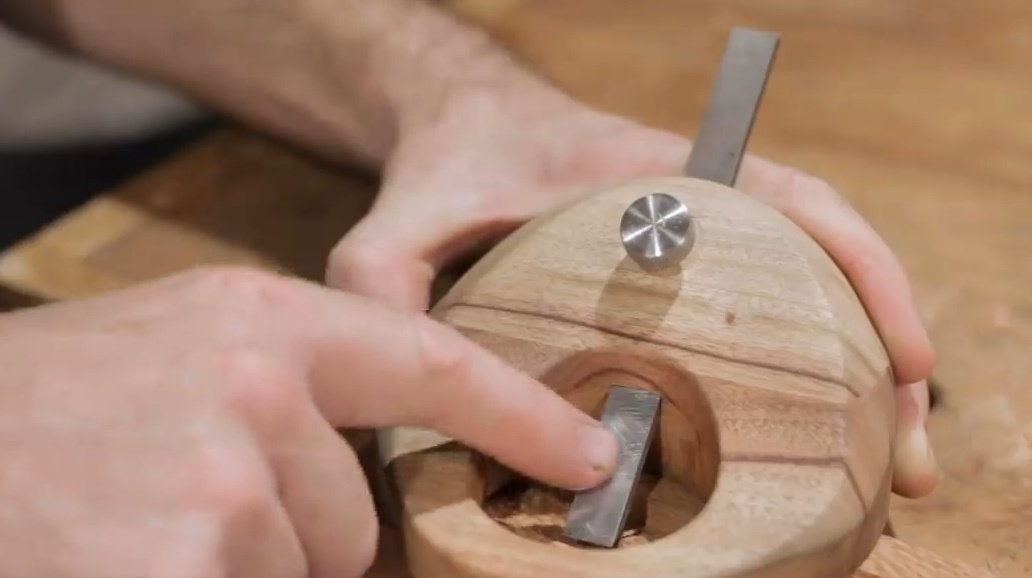
It polishes the base once more and saturates the surface of the handle with linseed oil and wax. Then the author inserts the blade, twists it with a bolt and you're done!
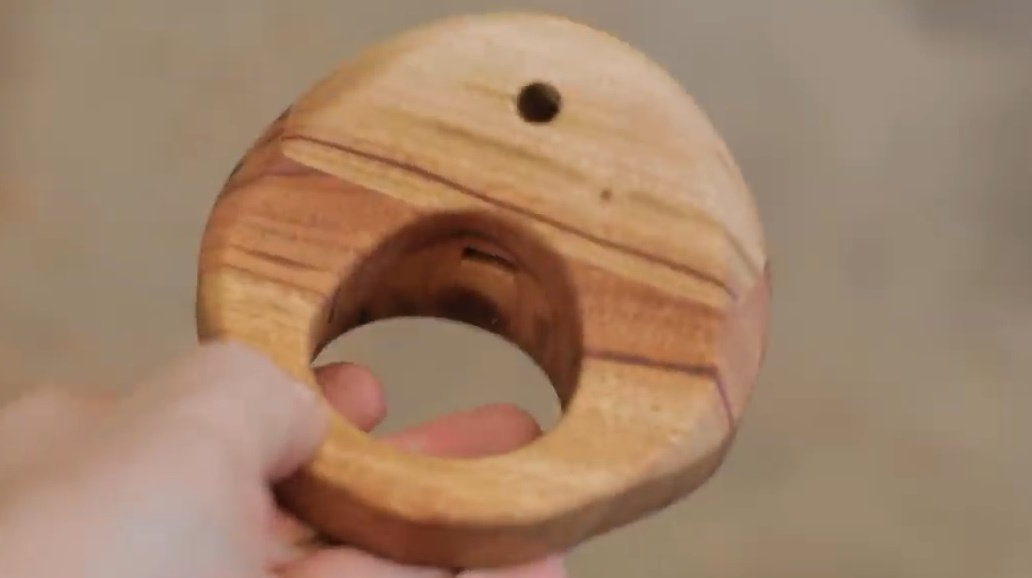

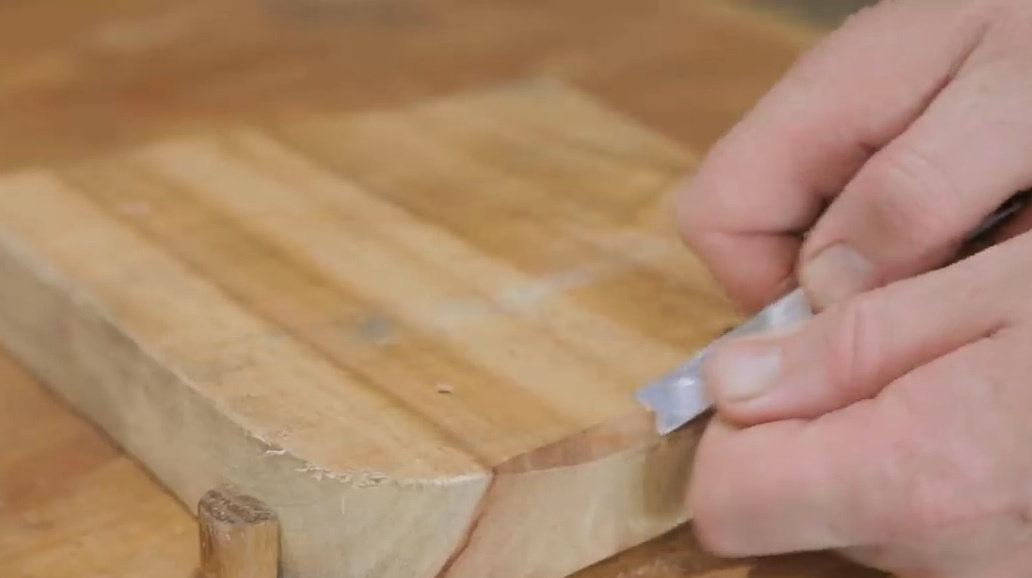
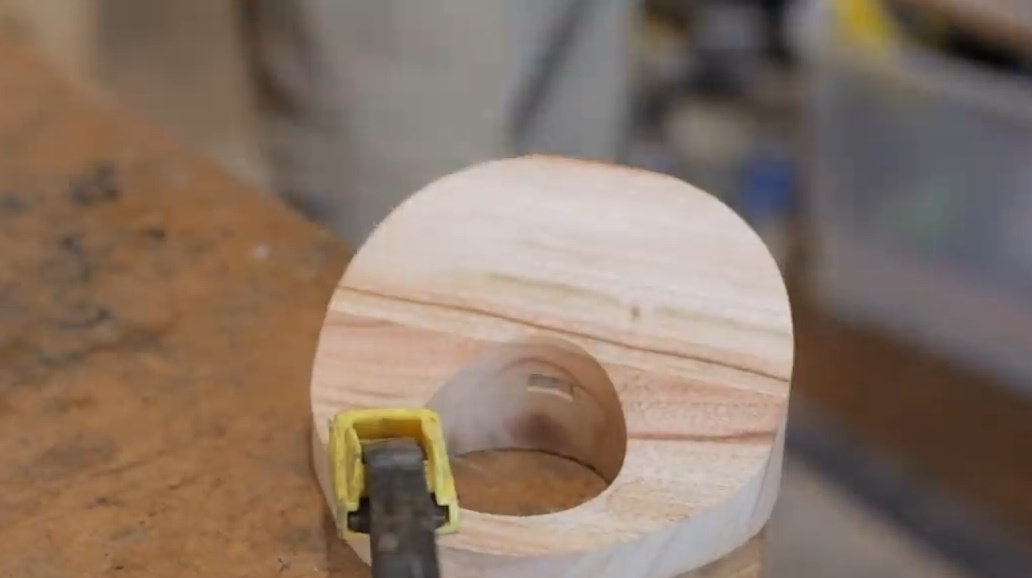
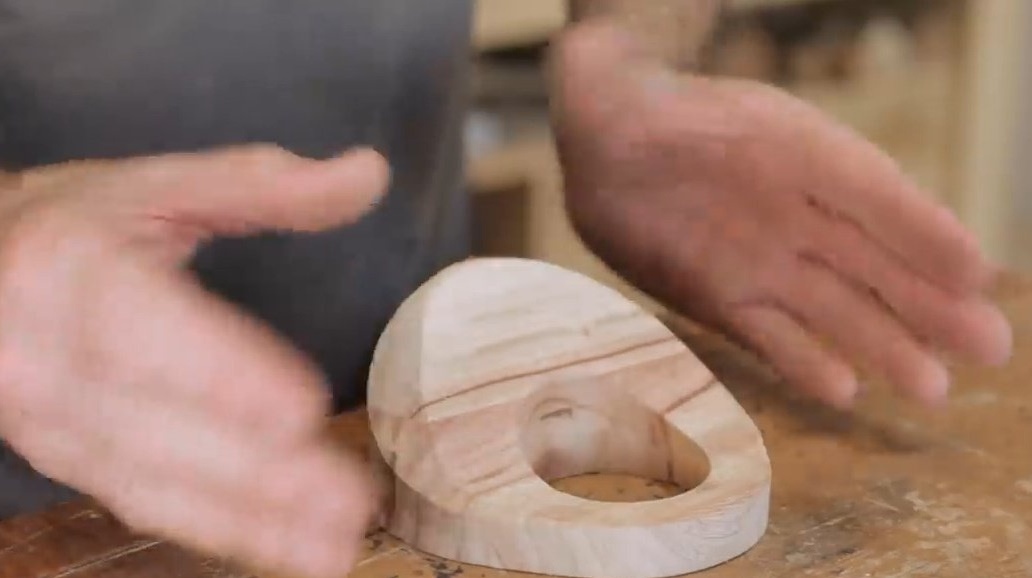
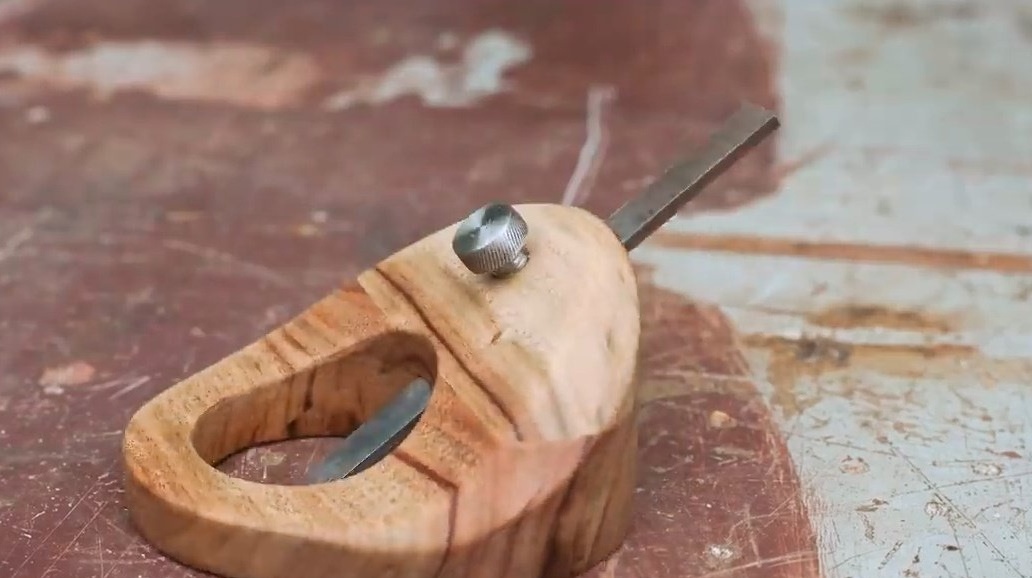
This manual plane is designed to clean out any grooves that require the same depth: for example, grooves, small slots, or even notches for loops.
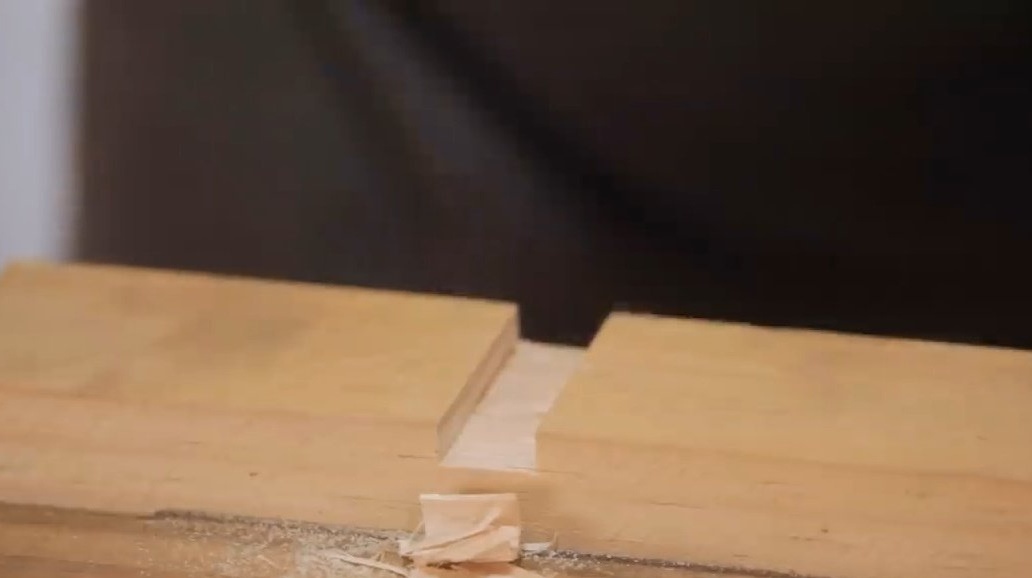

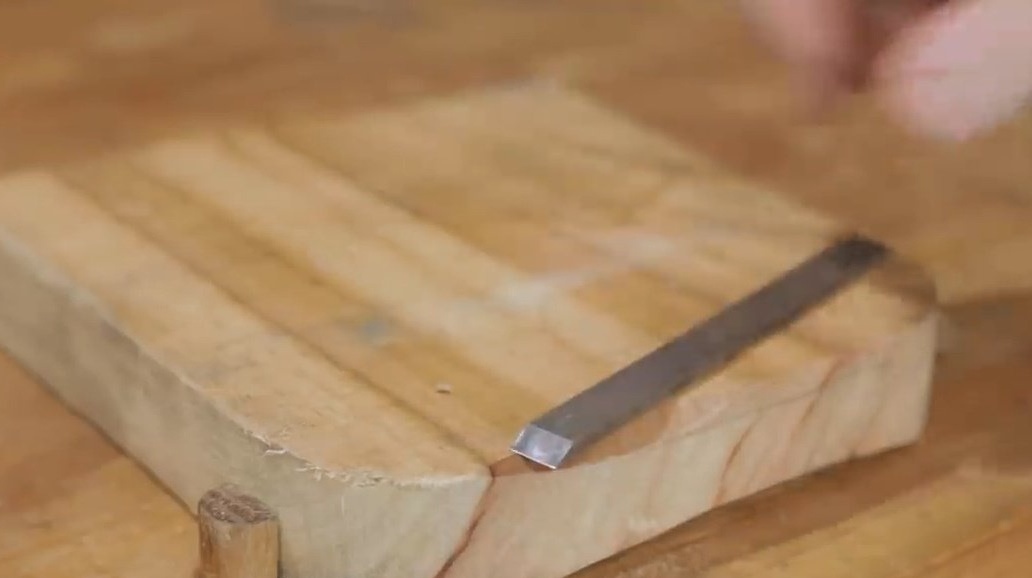
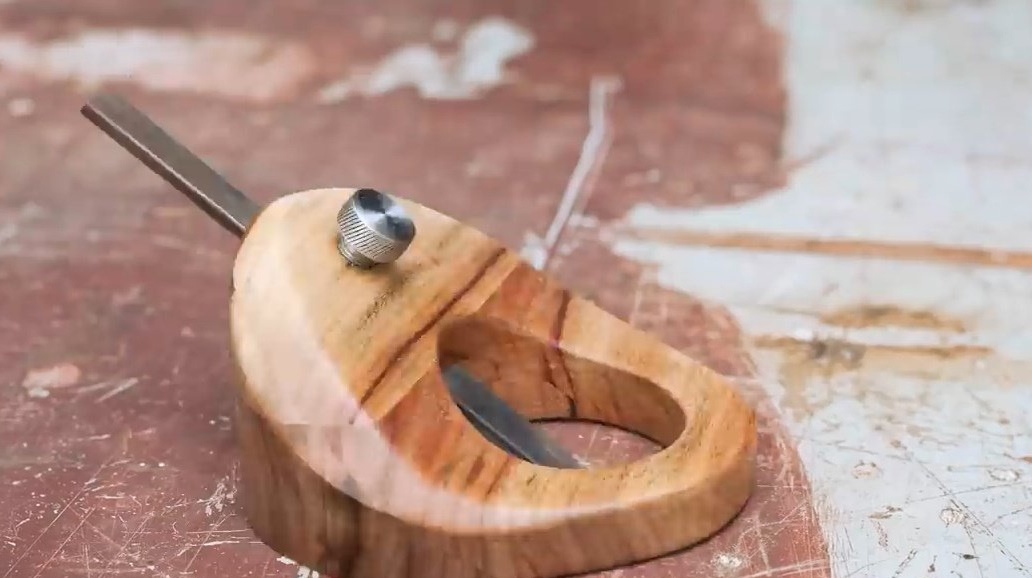
The design is cutting edge. But the author notes that the blade needs more emphasis.
And it could have been achieved if the author cut out this smaller hole.
Try it, you will be satisfied with this tool.
Thanks to the author for a simple but useful carpentry tool for the workshop!

All good mood, good luck, and interesting ideas!