
Today, we, together with the author of the YouTube channel "AlexGyver", will try to slow down a moving object. No magic outside hogwarts? Not today.
Let's make such a truly magical thing, aggressive and rich.

For those who have not yet understood how this works, I explain on the fingers. We have an object that makes periodic movement, whether it be a fan, a shaking pipe with water, a rotating drill and all in this style. We also have a light source that we can control. If you synchronize the flash of light with the movement of the object, you can achieve a visual stop of the object. Once or twice during a period, we turn on the light at the moment when the object is in the same place in the process of its periodic movement, thus obtaining the stop of the object.
If the flicker frequency of the light slightly differs from the frequency of the object, we will get a visual effect of the movement of the object, since each time it will be displayed in a different position. Actually, that’s the whole secret.
Obviously, doing it manually at high frequencies is beyond human ability, therefore, for this project, the author used the arduino platform, which can be programmed for very precise flash control. Today we will go a little further and with the help of arduino we will control the object itself, thus achieving maximum synchronization.
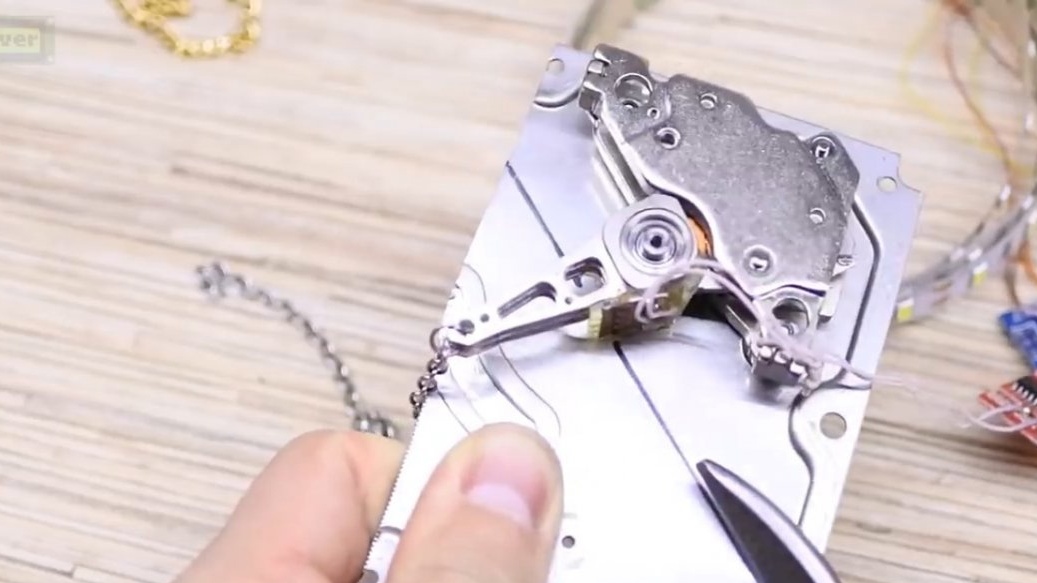
We will use the head of the hard drive as a moving object, this thing is very funny and there are several non-standard uses for it.
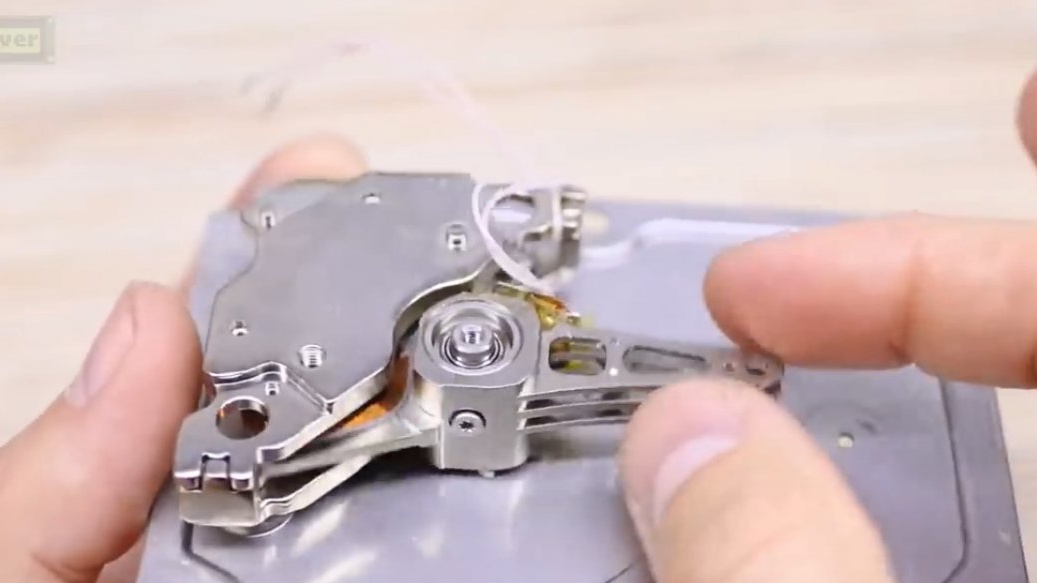

To get it in this form, you need to disassemble the hard drive, pull out the head along with the magnetic frame and screw it to the housing cover with screws and nuts, half the cover with scissors for metal.
So we need:
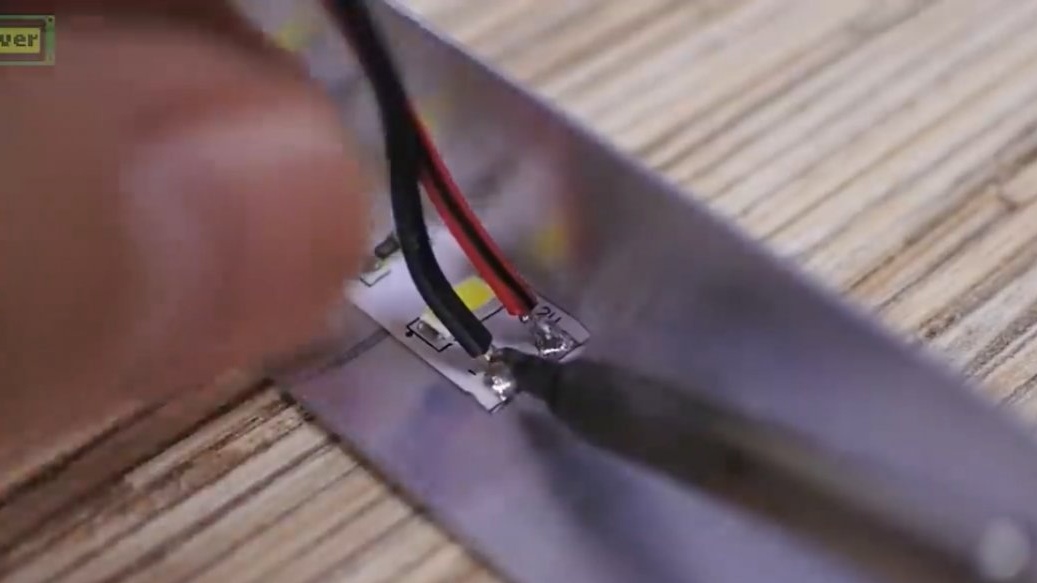
1) The head of the hard drive with a cut off cable and soldered wires instead of it to the winding;
2) A driver for motors that will swing the head;
3) A step-down module to power this case, because along the way we will adjust the supply voltage;
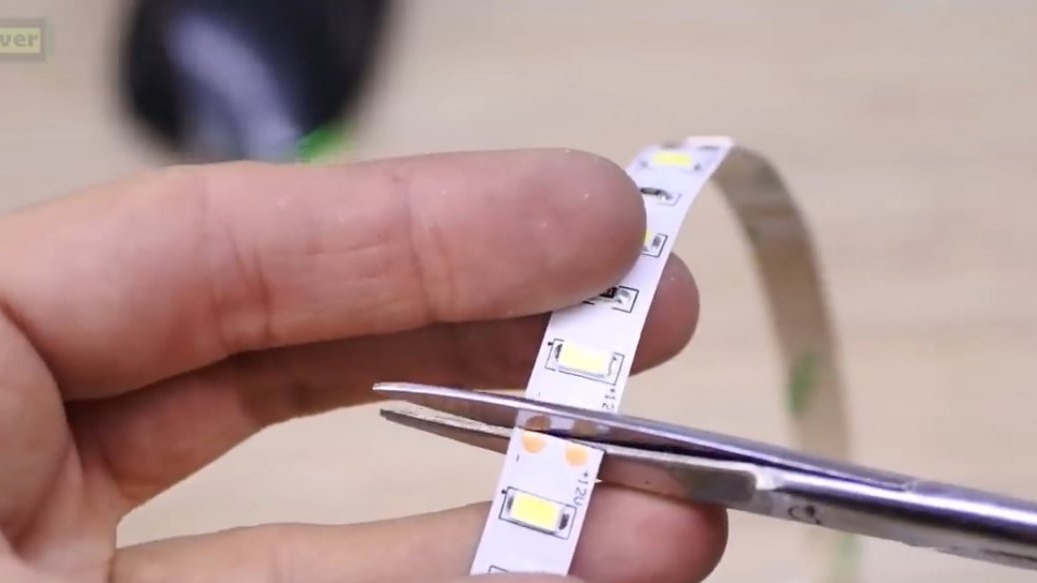
4) The brightest 12V LED strip you can find. The author bought this tape on the construction market, expensive, but it is brighter than that of the Chinese;
5) The tape will be controlled by a field effect transistor. In order not to mess with it, you can take a ready-made Chinese module.You say, because you can steer a tape from the second channel of the motor driver, but no, we need different voltages.
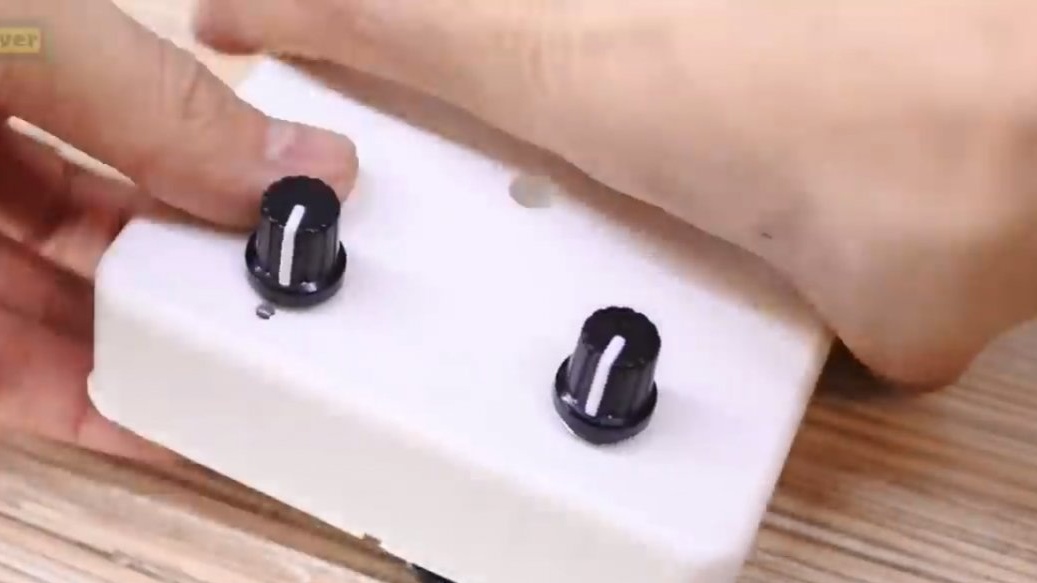
6) Also take a couple of twists to adjust the frequency of work;
7) Power supply for 12 V;
8) Well, of course, the Arduino Nano platform, which will manage all this disgrace.

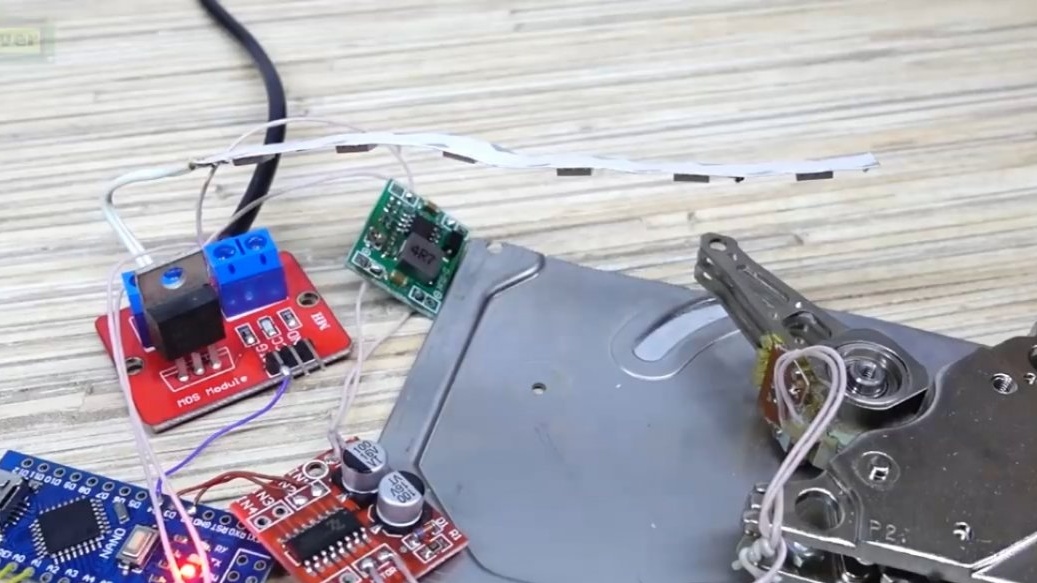
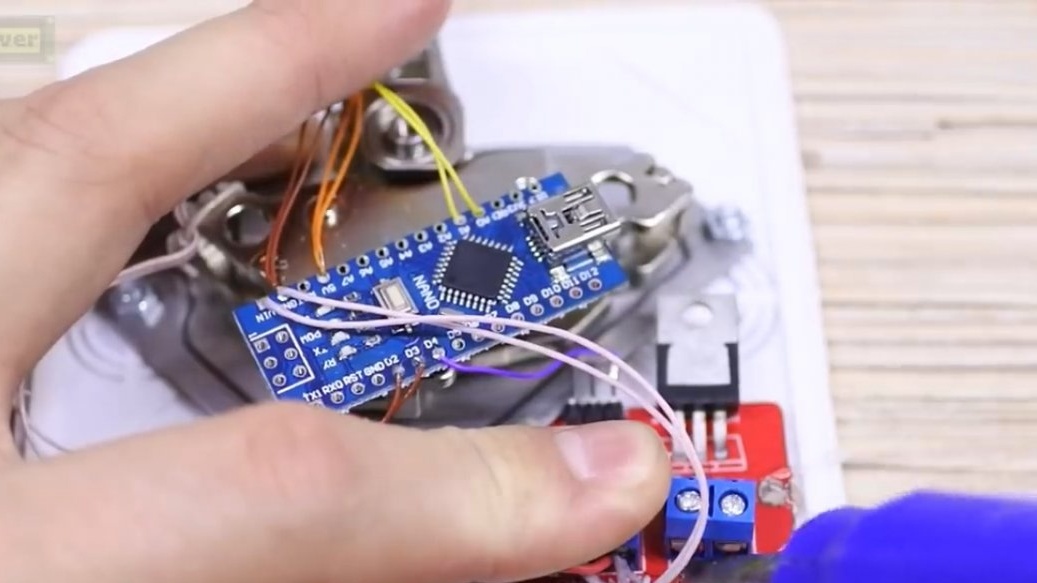
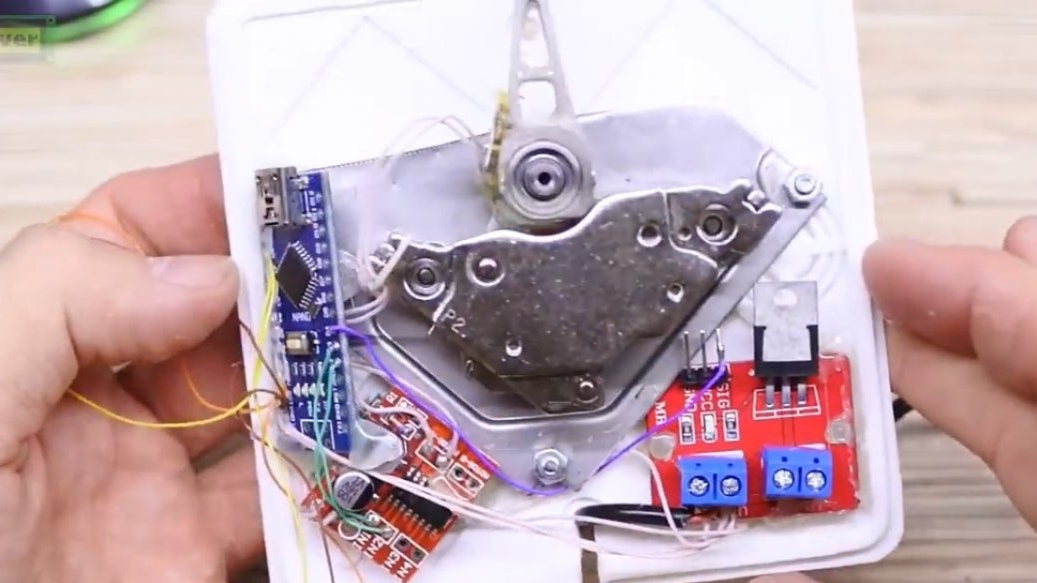
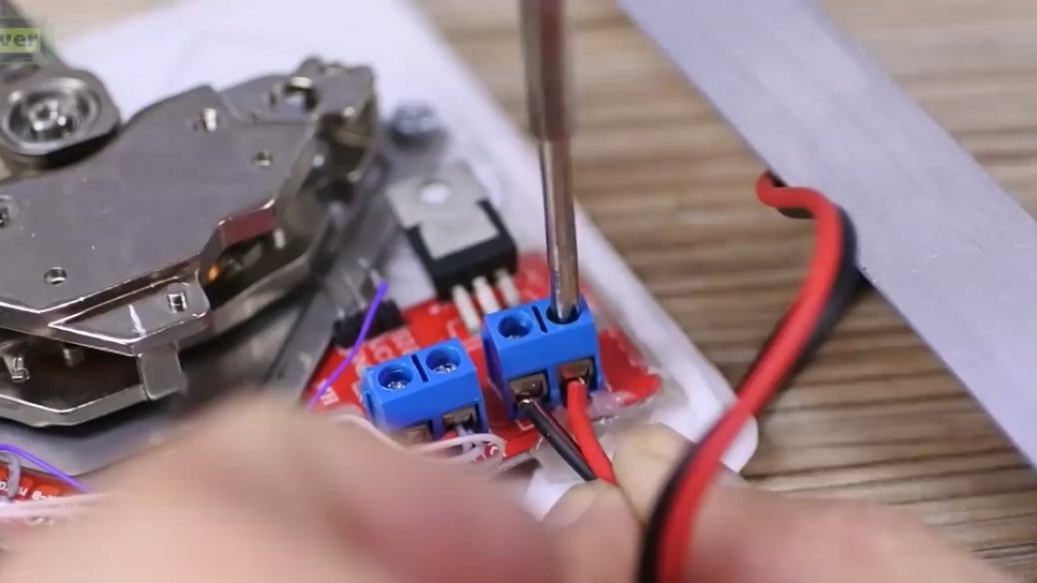
All this junk, with the exception of the head from the hard drive, can be bought from the Chinese, links you will find on. Let's collect electronics according to the scheme that you see on the screen:
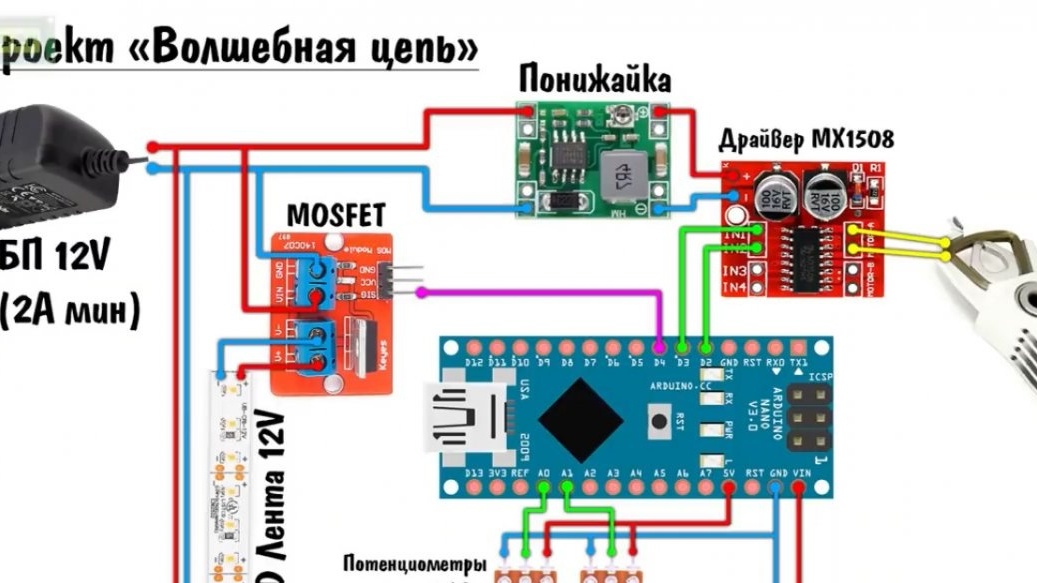
Actually, the circuit was soldered, the author reduced all the power wires to the blocks on the board with a transistor.
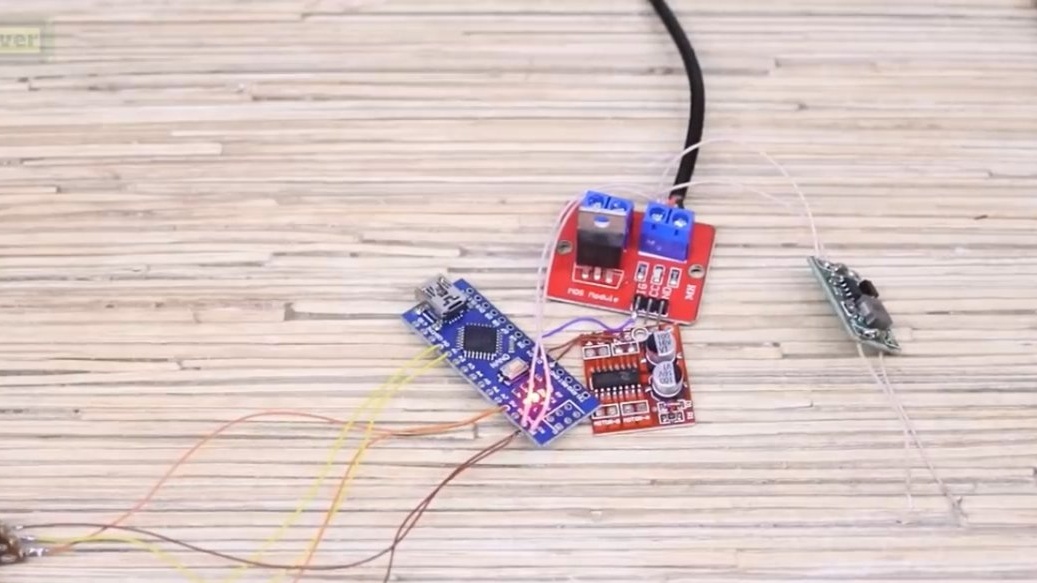
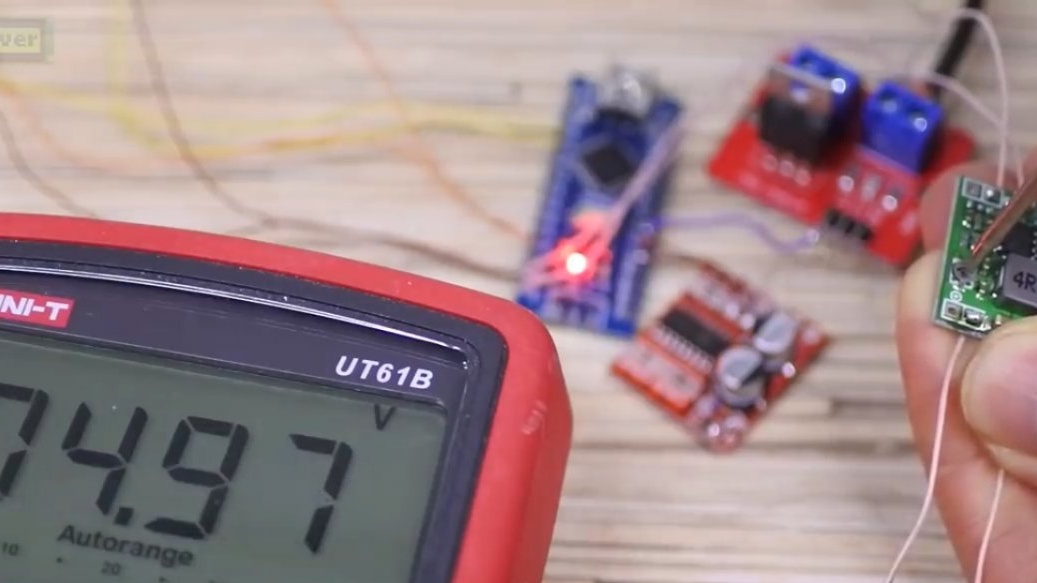
Turn on, the light comes on. Now you need to take a multimeter and measure the voltage at the output of the lower. Next, set the voltage to about 4V on the board with a twist, higher - it will get very hot, lower - there will be too small an amplitude of oscillations.
Now you need to download the firmware, connect the board to the computer. There is a detailed instruction on how and what to do, for example, start by downloading and installing the necessary programs.


Do not be afraid of viruses, all software is official. Having dealt with the firmware download, we launch the system with a test piece of the LED strip. External bright light highlights all the movements of the head, so to create the effect you need to exclude it. And at some point the head stopped. It would have stopped.
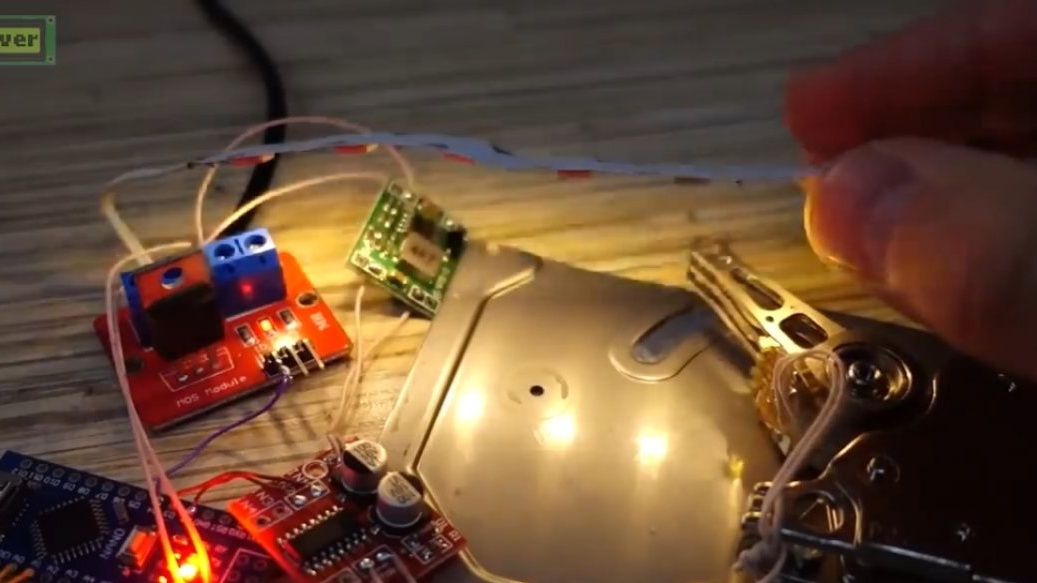
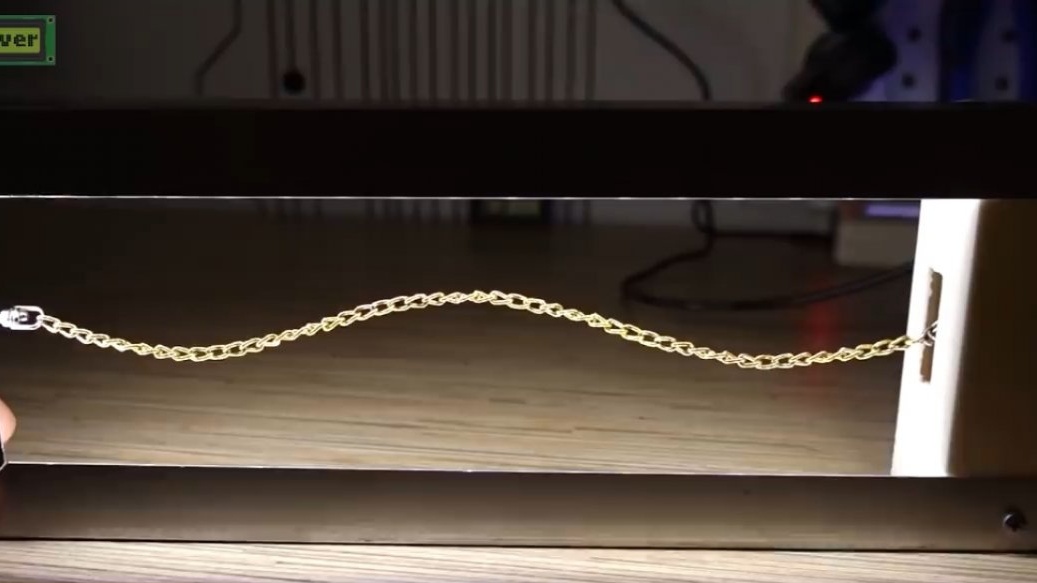
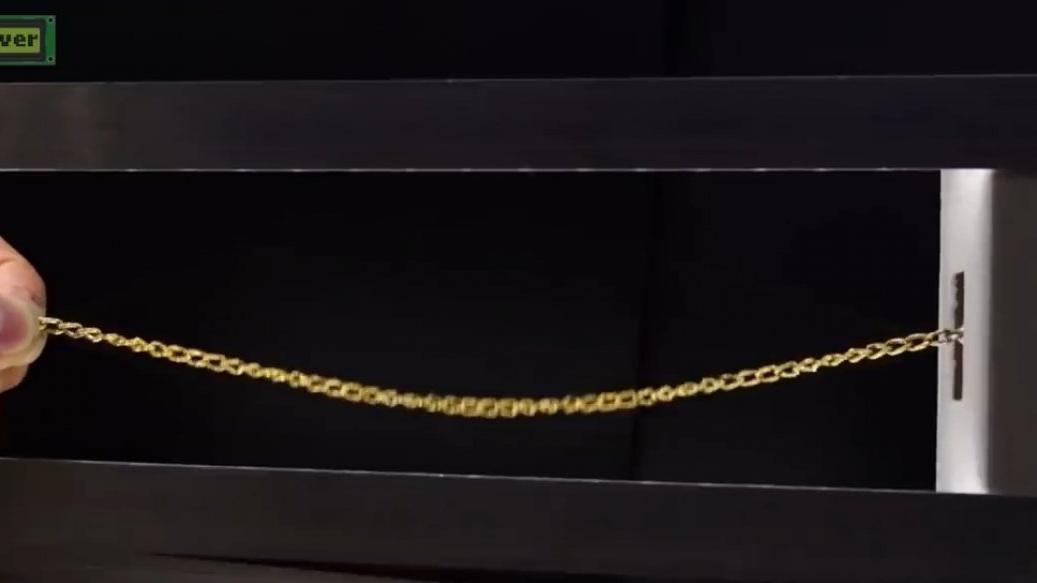
One of the twists can adjust the discrepancy between the frequency of light and the frequency of the head swing, and it will come into a leisurely movement. Let me remind you that with eyes, without a camera, the effect looks better, without running through black bars. Fix a trial piece of chain and see what happens. More clearly in this video:
And we get an effect that we don't want to call magic except for anything: the chain behaves as unnaturally as possible, almost like an oscillating solid, and even has several forms of vibrations. But we will come back to this.
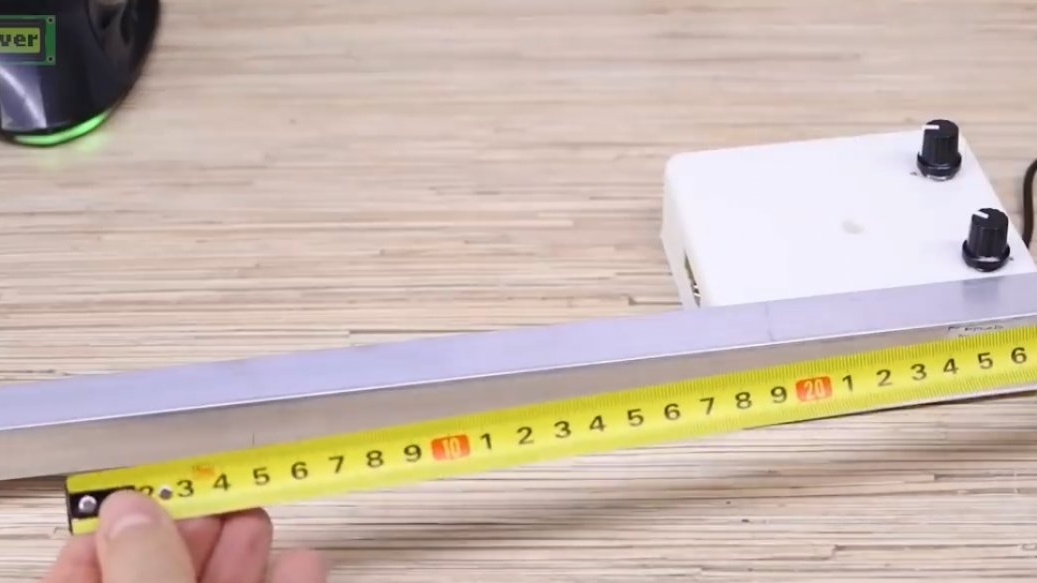
Now let's take a case, for example, a junction box. Size 100 to 100 to 20.

A piece of powerful ribbon and of course a gold chain (50 rubles per meter in a needlework store).

And also an aluminum corner to create a frame.
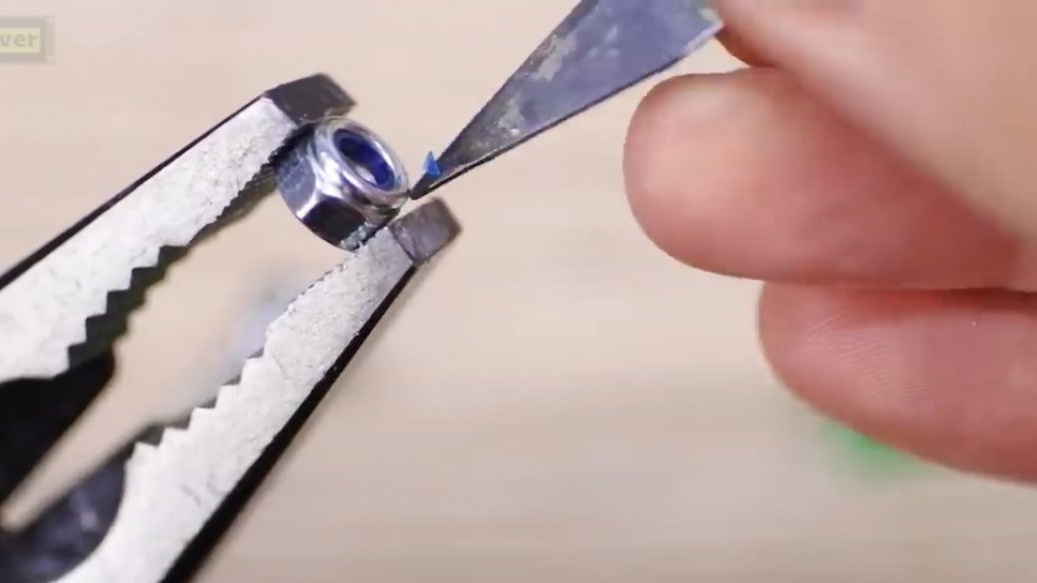
First, remove the excess metal and excess plastic. We fix the head directly to the cover. So that the nuts do not loosen from vibrations, fill them with superglue.

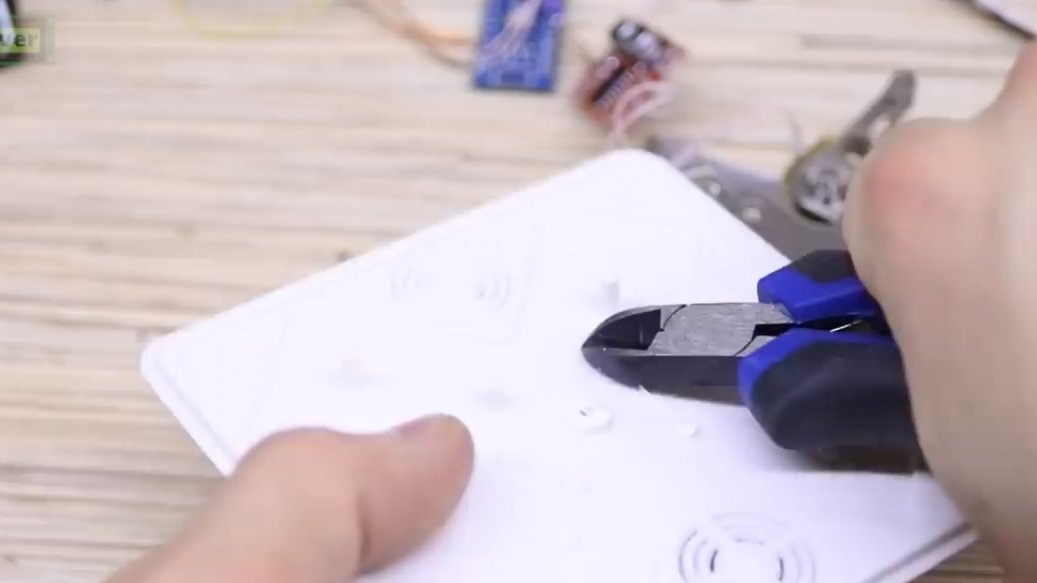

We fix all components with hot glue and double-sided tape.

Excellent. We make holes for twists.

Due to the fact that the camera has a shutter speed and a shooting frequency, you can stop the head without using light flashes by adjusting the frequency to a multiple of the shooting frequency, that is, somewhere at 120 Hz. And we get another funny effect of bending, which can be seen in the movie when the blades bend at the helicopter. It arises due to the line-by-line reading of the image from the camera matrix. While the image is being read, the head already manages to move a little.


Next, we need to cut off a piece of the profile and bend it like a frame.
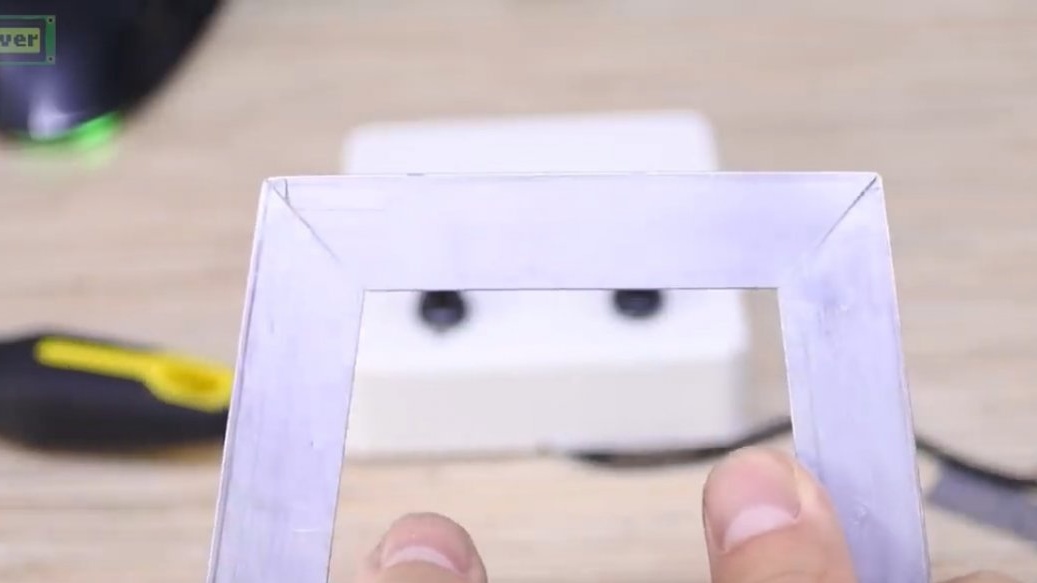
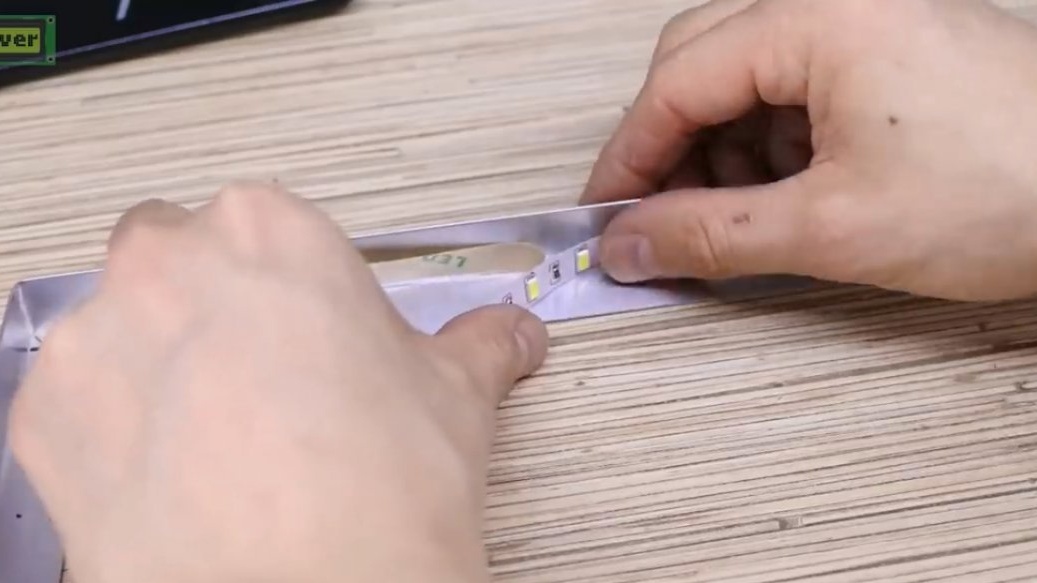
Glue the tape on the inner surface.
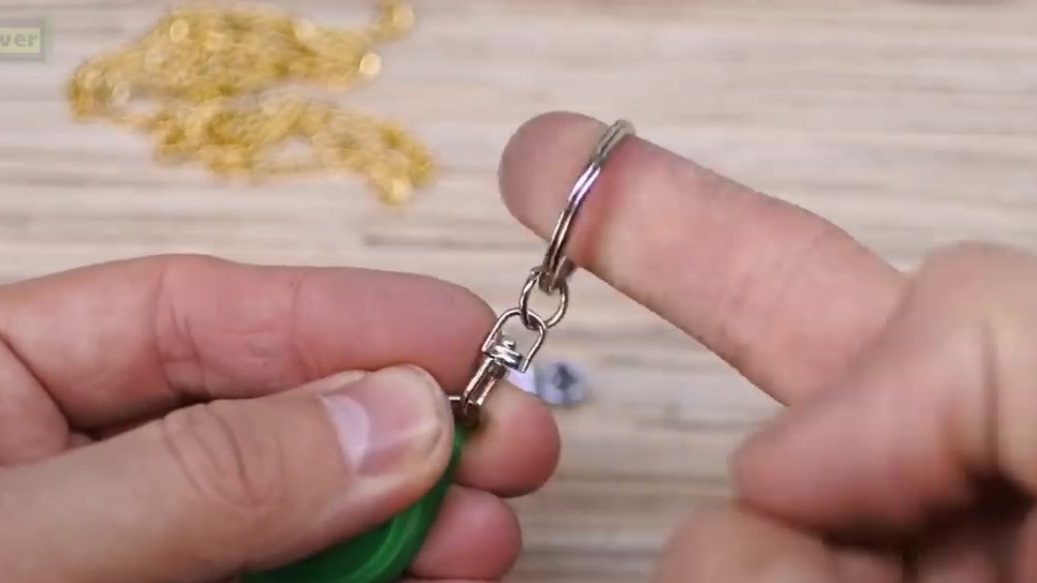
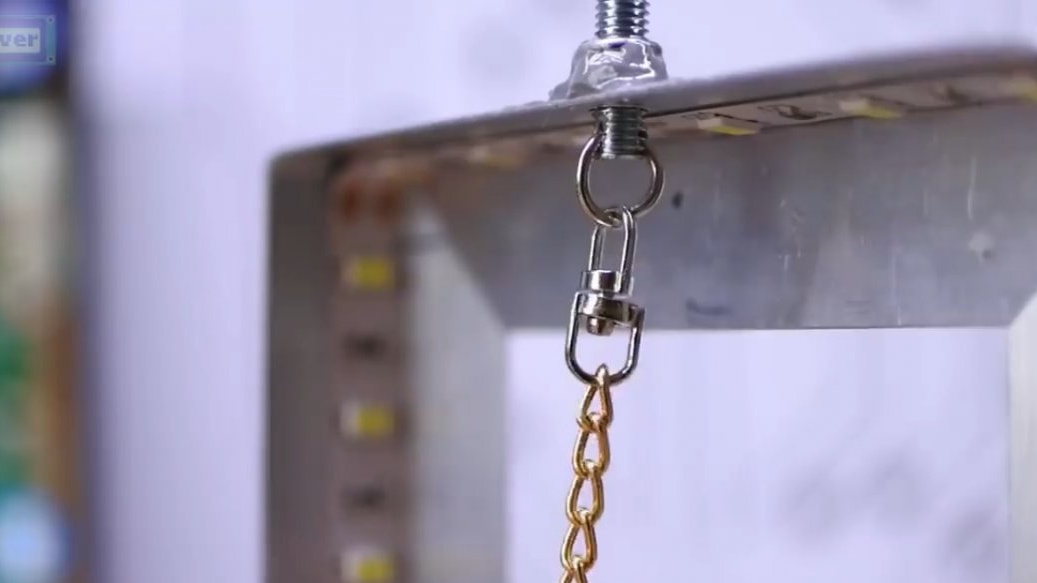
We fix the profile on the screw nuts, we assemble the case on superglue. For fastening and tensioning the chain, we need a M5 screw, a ram nut and a nut with a thread fixation. And also the swivel, you can unhook from the keychain.

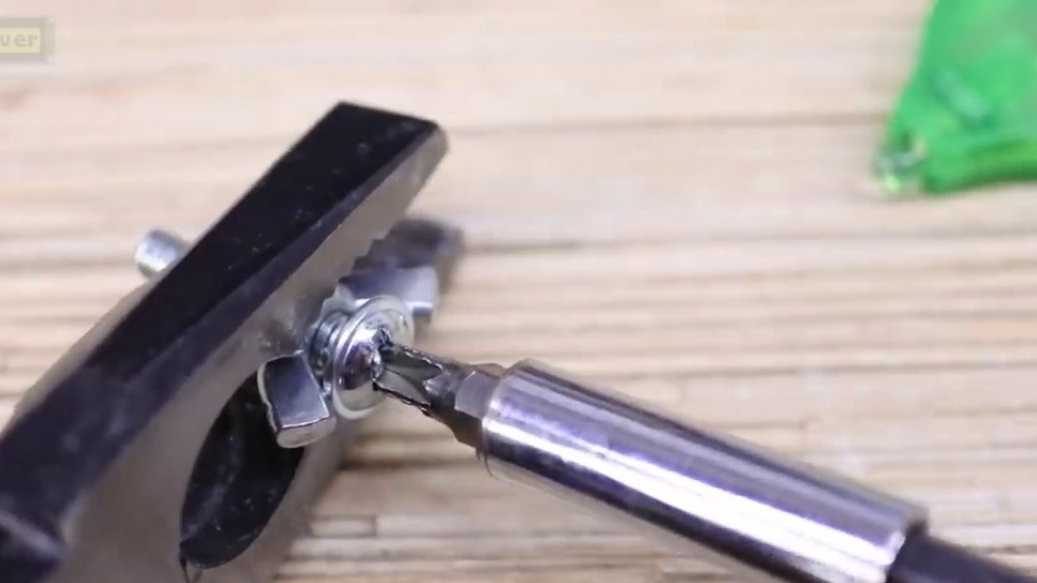
Fasten the screw in the ram. And slightly cut the plastic from the nut to make it spin better. In the screw, drill a hole for a ringlet.
We knead cold welding and fasten our tension mechanism to the frame. That's how the author did it at first, but it all hung out too much.
It is much better to wind it with wire and pour superglue with soda.

And actually, our device is ready. It remains to turn it on, set it up a bit, and turn off the light.

Naturally, in order to achieve the effect, you need to twist the frequency setting and change the chain length in order to get a stable oscillation form of this very circuit.
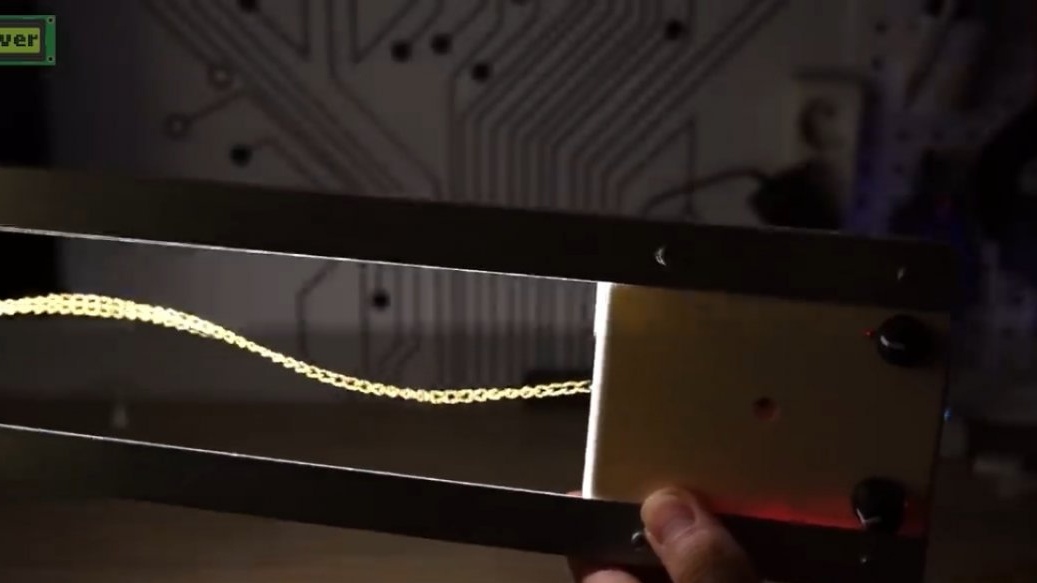
Then the third twist can change the speed of its stopped movement, and here we have the second form of oscillation.If you get good at it, you can catch the third form, it is not so stable. The most stable is naturally the first, the largest and the largest, which is why the device shakes a lot. At a higher frequency, you can get the effect of a traveling wave, and accordingly adjust its speed and direction.
But the funniest thing is of course to hold the chain with your fingers, the brain generally refuses to believe what is happening.
Well, and as a bonus, this system can work as a frame animating plants, you only need to reduce the voltage on the head to reduce the amplitude of vibrations and fix the desired object instead of a chain. And we get a buzzing, but analogous to the classical time frame.


That's all. Thank you for attention. See you soon!