
Spring has arrived, which means it is approaching March 8 and you need to congratulate the girls on the holiday. And as you know, there is no better gift made do it yourself. Therefore, we, together with Roman, the author of the YouTube channel “Open Frime TV”, will make our own hands an original luminous homemade product in the shape of a heart, which is not a shame to give.
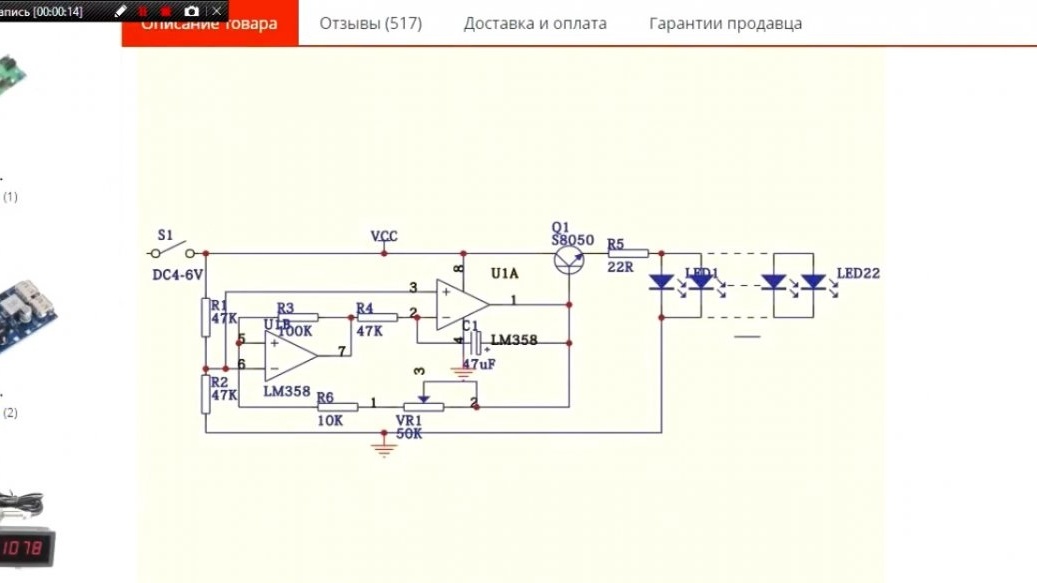
The main idea was to create a simple design that can be repeated by any, even inexperienced person. That is why here the author did not use smd components, since they can cause difficulties when soldering. The idea was a handkerchief kit kit, which the author saw on Aliexpress.

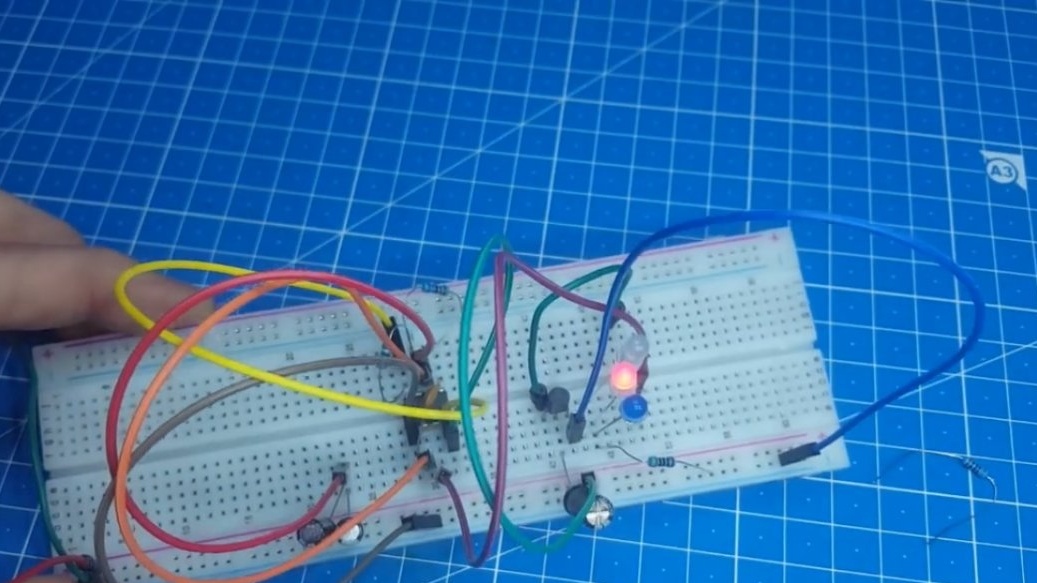
The author did not want to buy a kit in order to copy the wiring of the board, and the circuit itself is quite large, since there is used a triangular pulse generator on operational amplifiers. The idea is good, but requires an understanding of the principle of operation of the operatives, so we will try to make it easier, but with the same functionality.
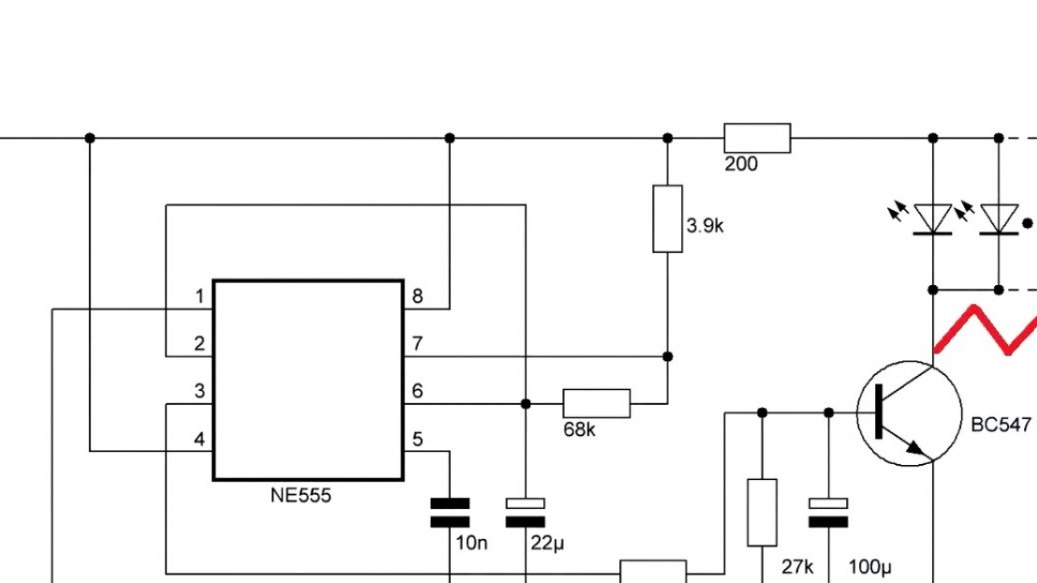
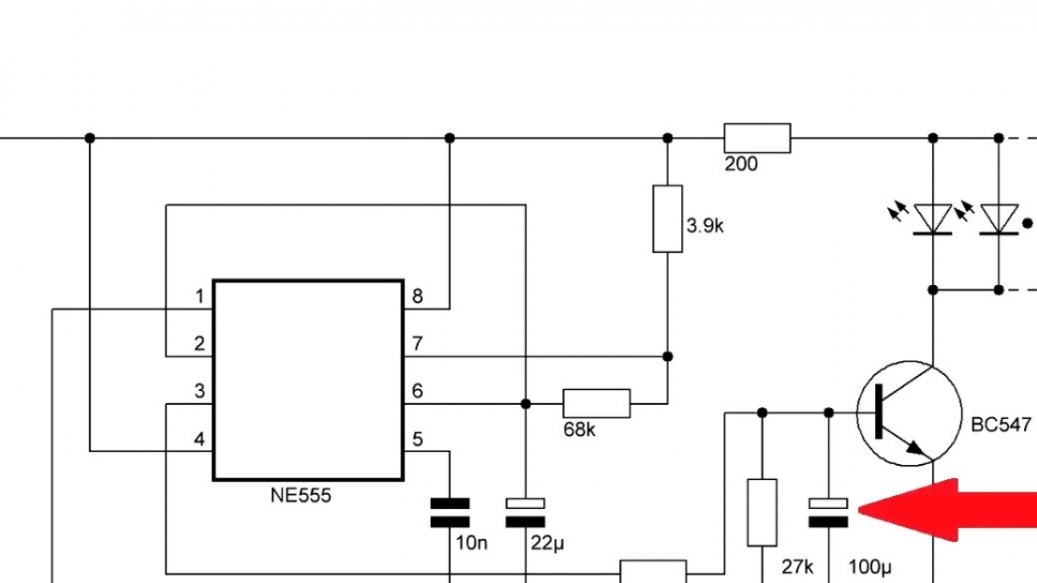
So, let's look at the circuit:
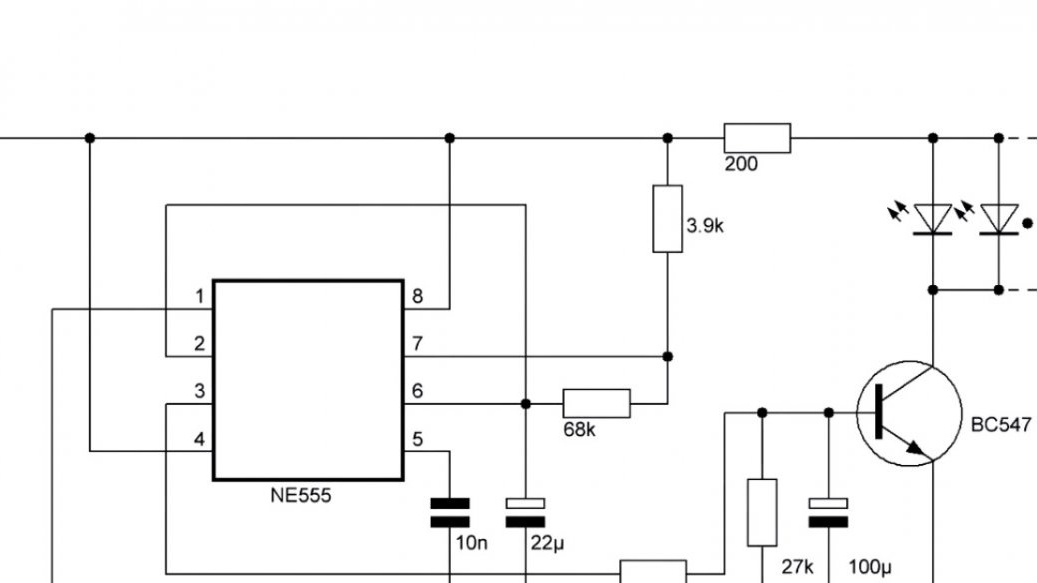
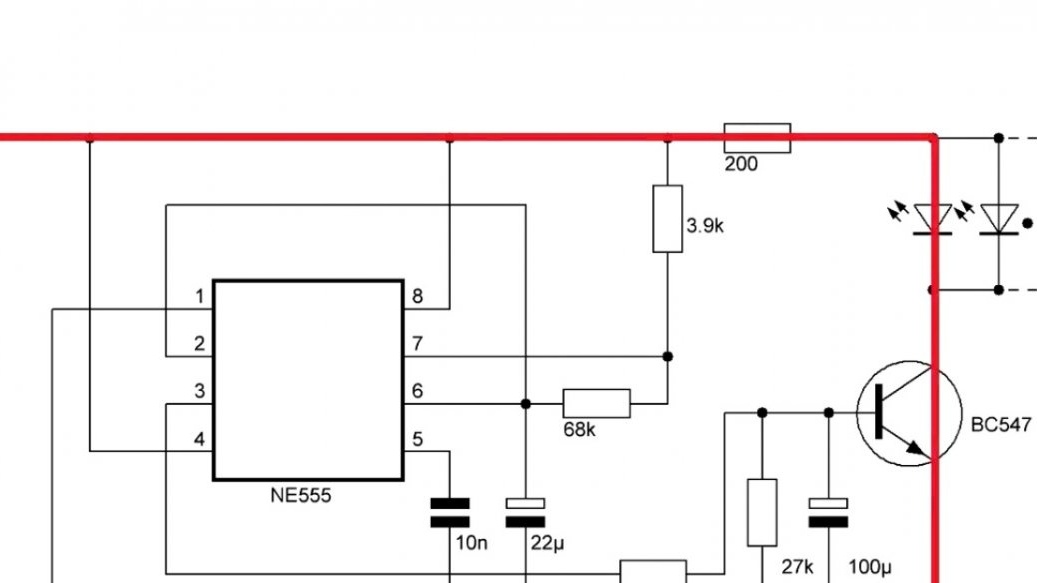
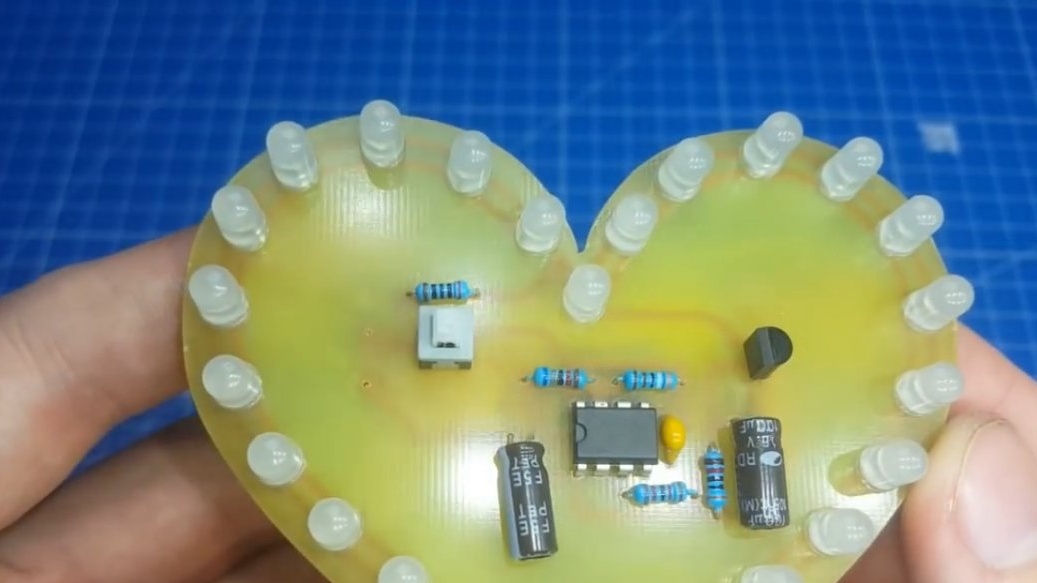
It consists of a timer ne555, which is so popular that there is absolutely in any electronics store and the price is cheap.
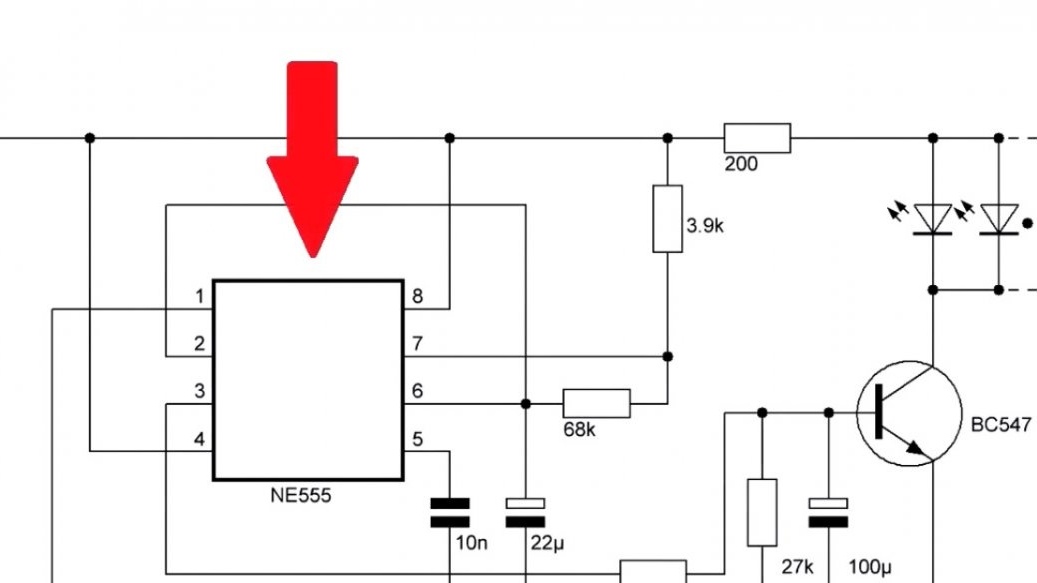
Next is a small harness for setting the frequency.
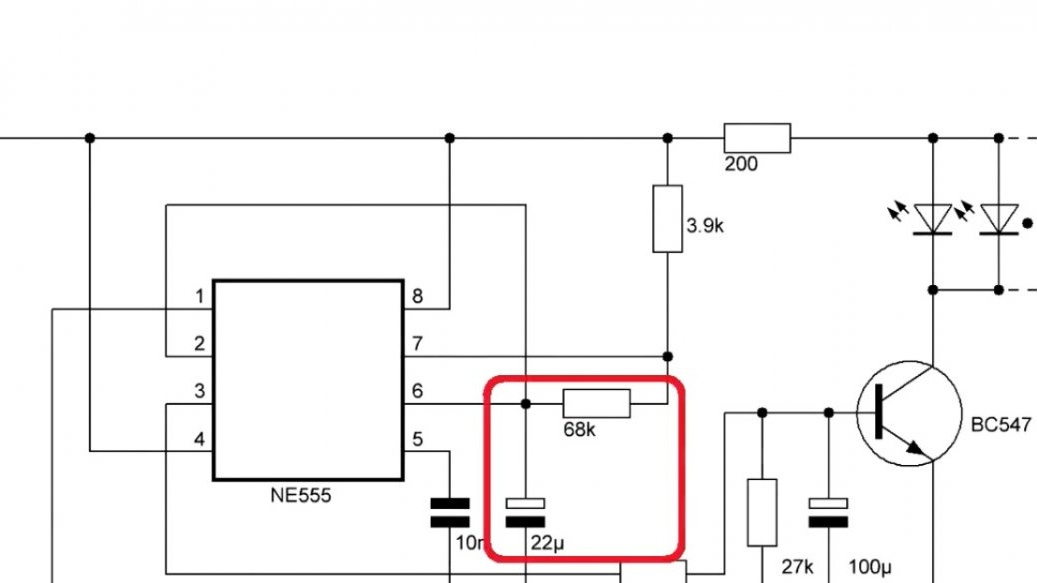
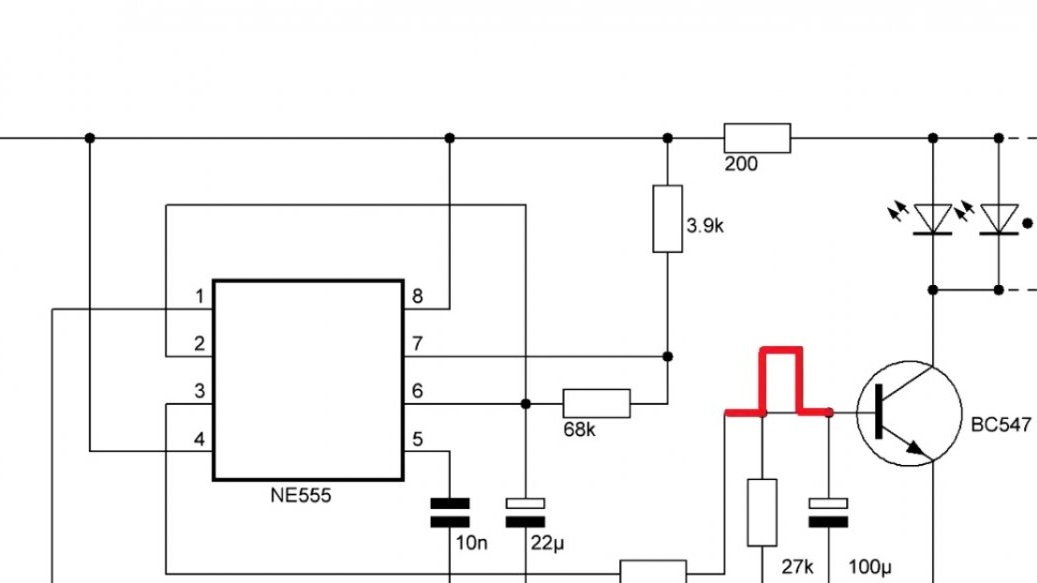
At the output of the timer we get rectangular pulses.
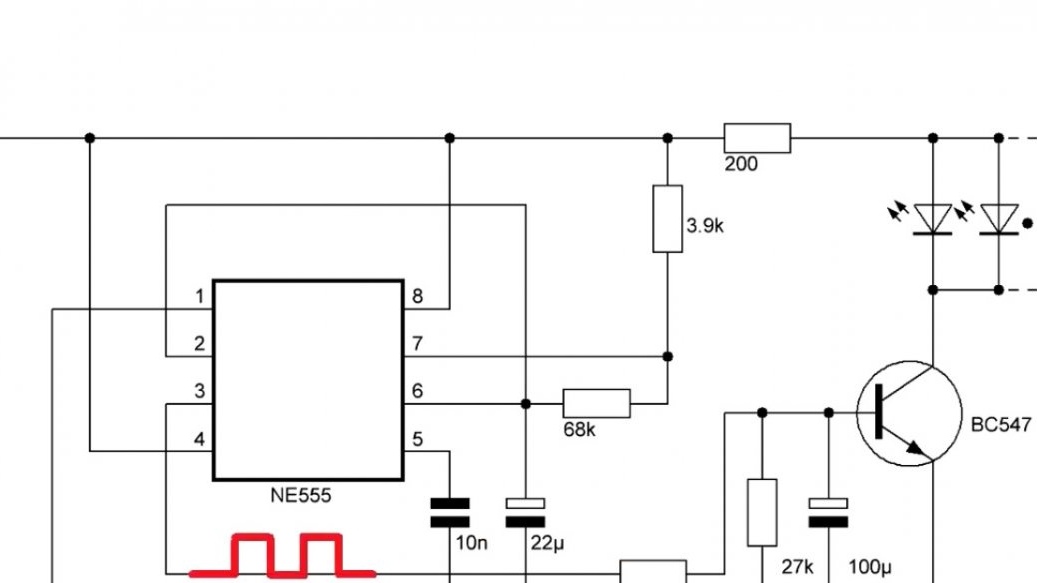
But if you connect them directly, then we get a banal blinking of the LED, which is not very beautiful. Therefore, we need to get triangular from rectangular pulses.
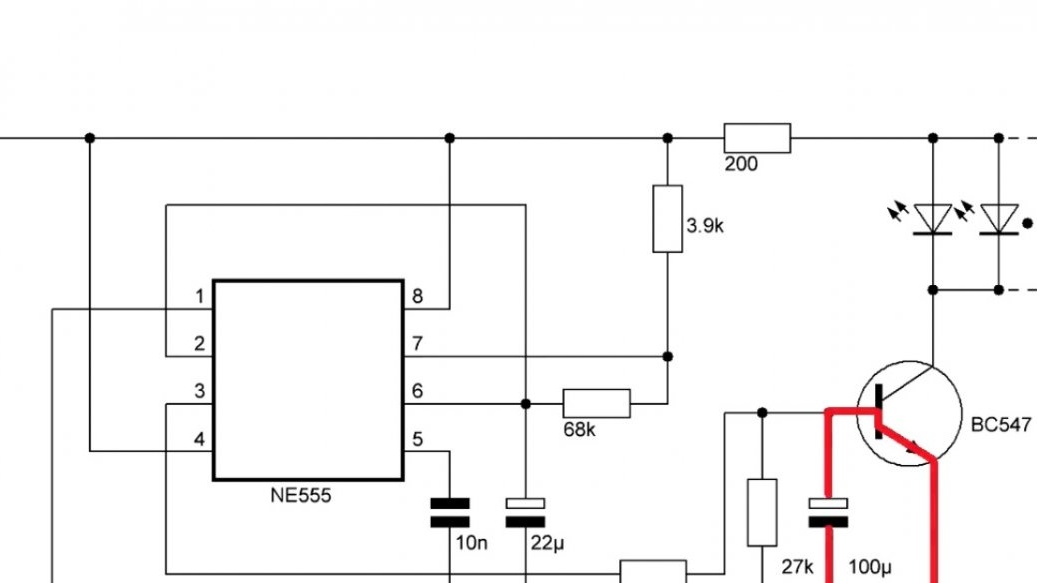
This is done in an elementary way by adding a transistor and a capacitor.
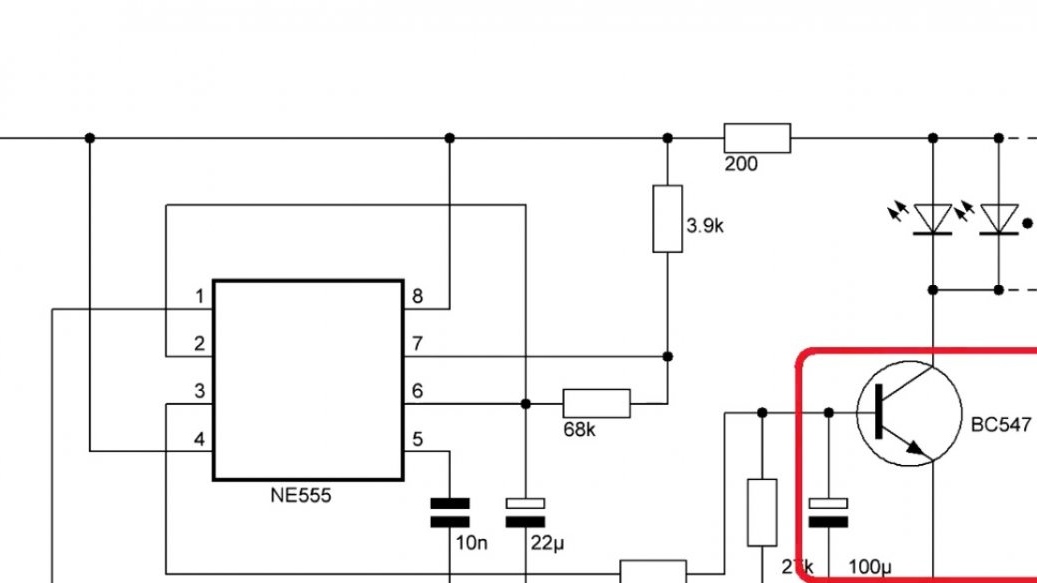
Let's look at what happens when a rectangular pulse is applied to the base of the transistor.
If there were no capacitor, then the transistor would simply open and light up the LED.
But since a capacitor is installed here, when a voltage is applied, it, according to the law of switching, cannot change stepwise and therefore will increase exponentially.
And this means that the voltage at the base of the transistor will also change. The exhibitor has a site very similar to a straight line, and we will use it.
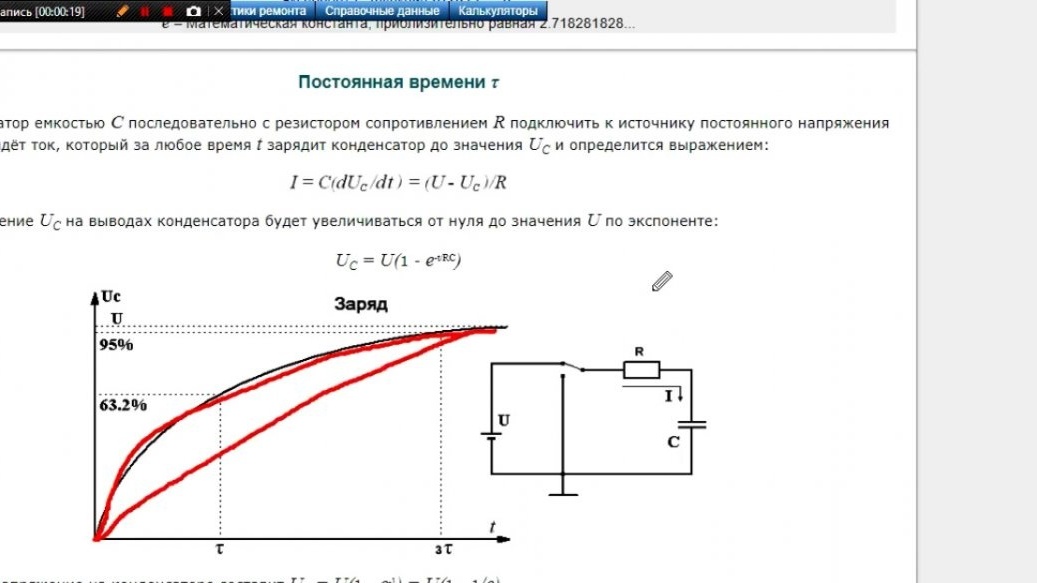
The resistor values are selected in such a way that when a full opening is achieved, the rectangular pulse disappears, but since there is a charged capacitor on the base, it will be discharged through it, thereby creating a damping effect.
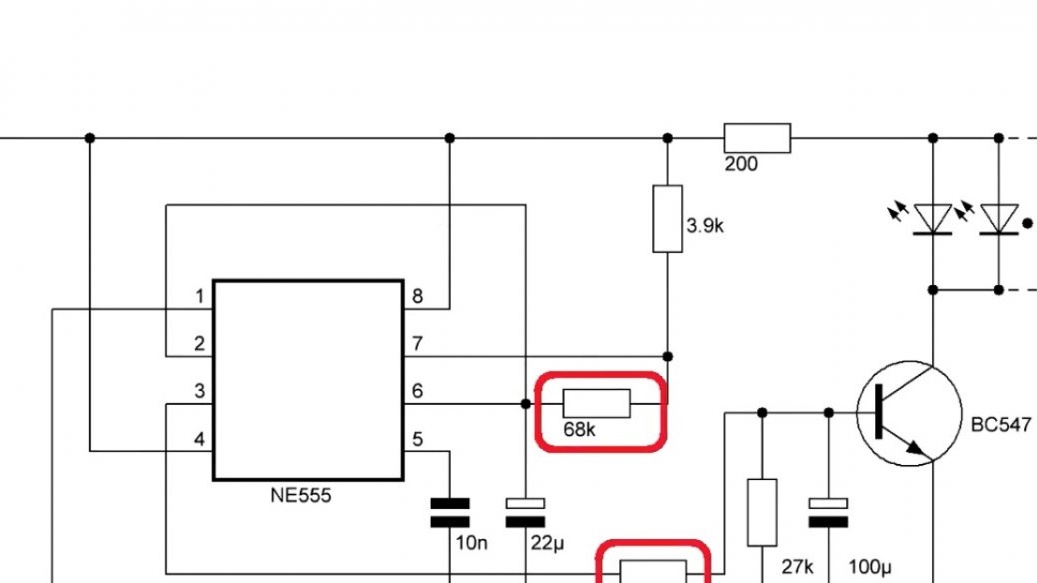
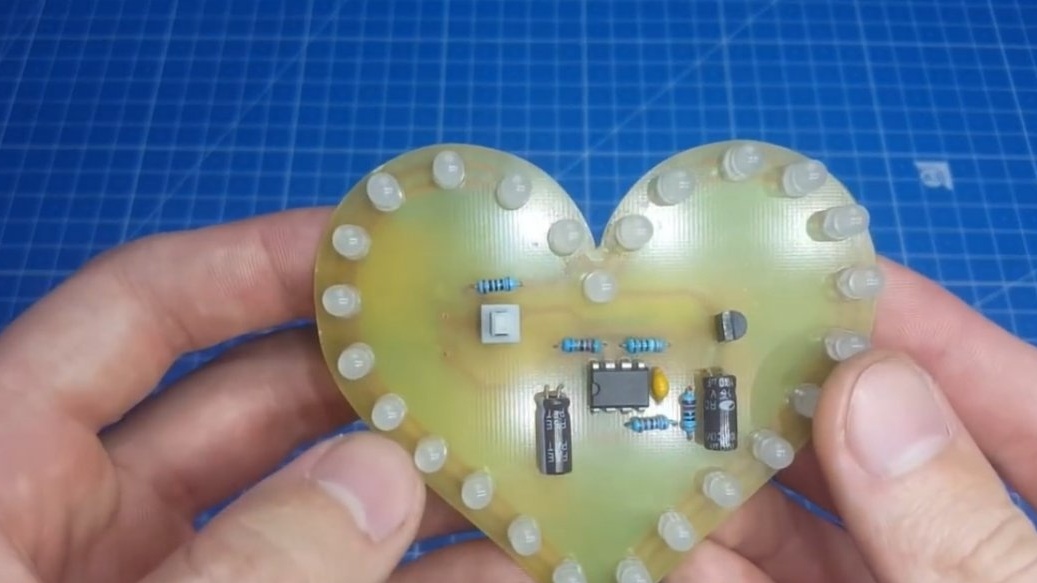
So we figured out the operation of the circuit, now a couple of little things. The first is a resistor that limits the current of the LEDs.
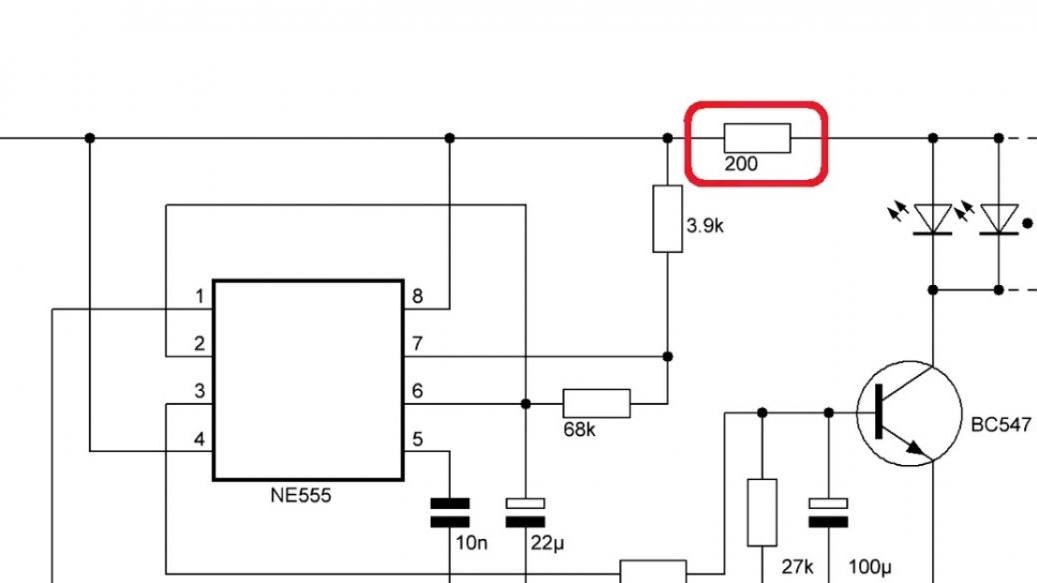
It is worth choosing based on your LEDs, because they consume different currents and it is impossible to predict which one you will have. The author set the minimum value to 200 Ohms, but if you increase it, the LEDs will glow a little dimmer, but at the same time consume less battery current.

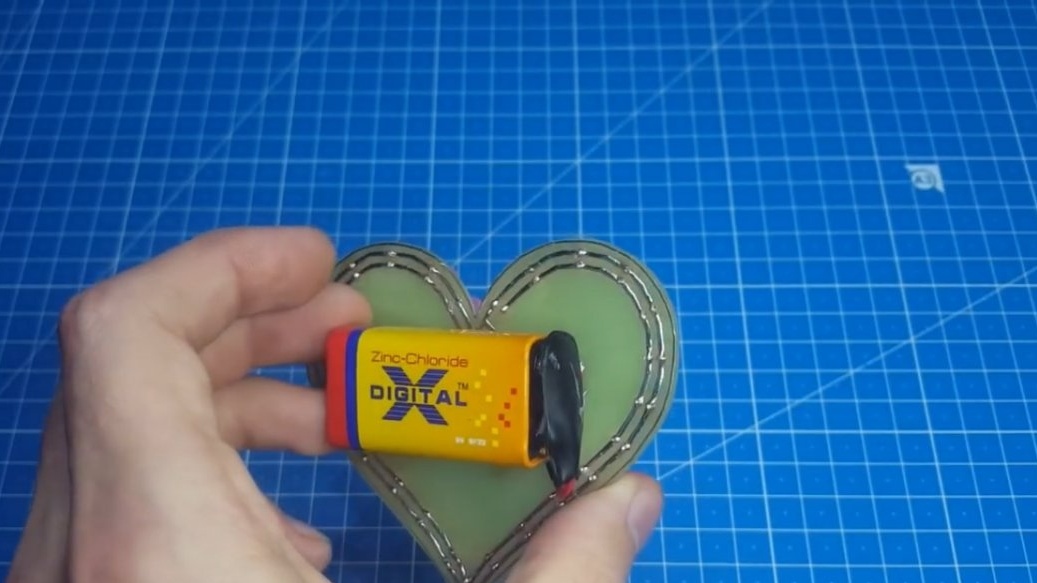
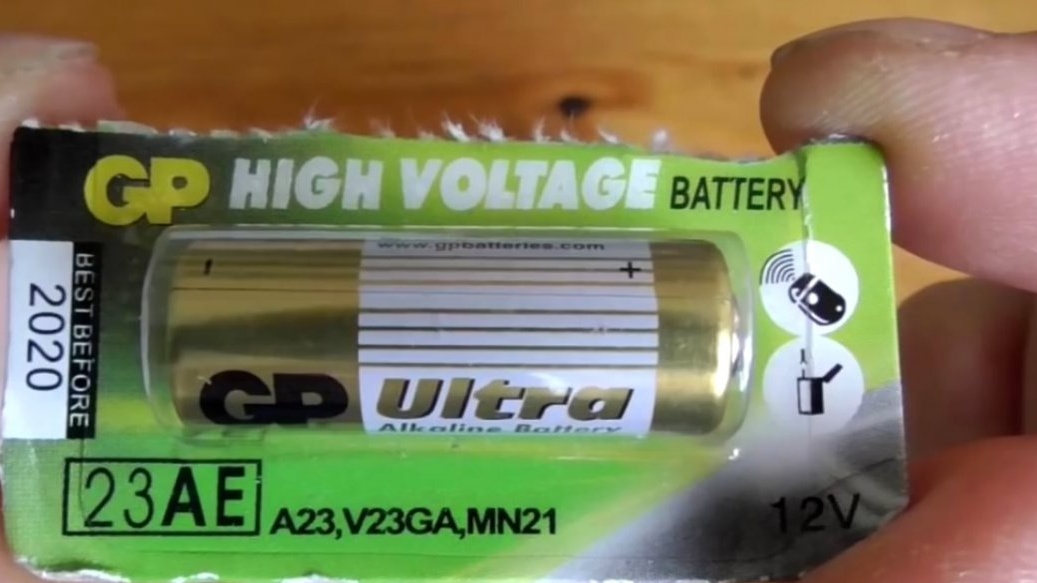
Now about the battery. The author used a battery of the forms of factor 6F22 (“Krona”), since it is more durable.
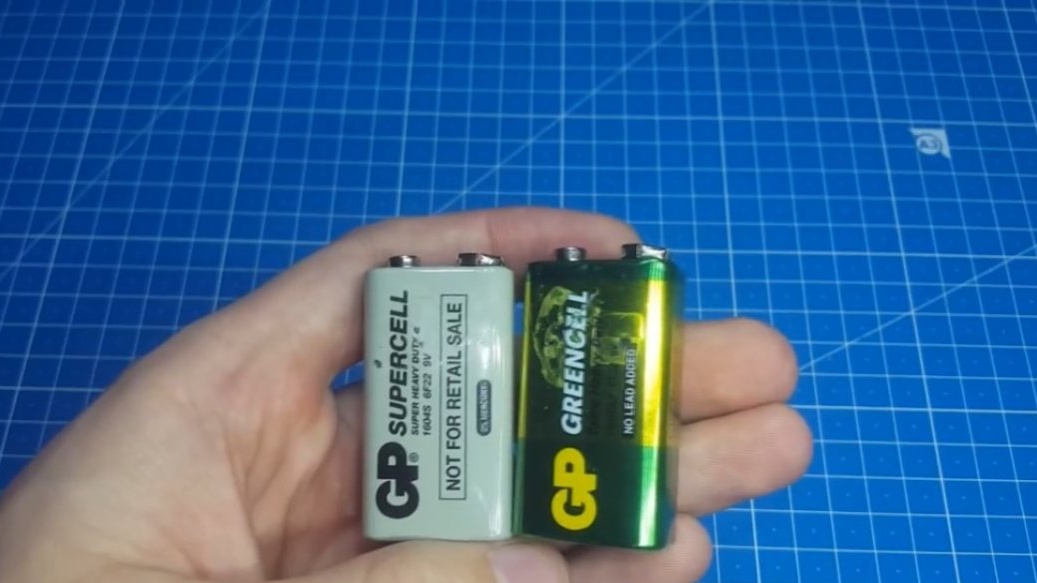
But you can take a 12-volt battery, everything will work fine with it too.
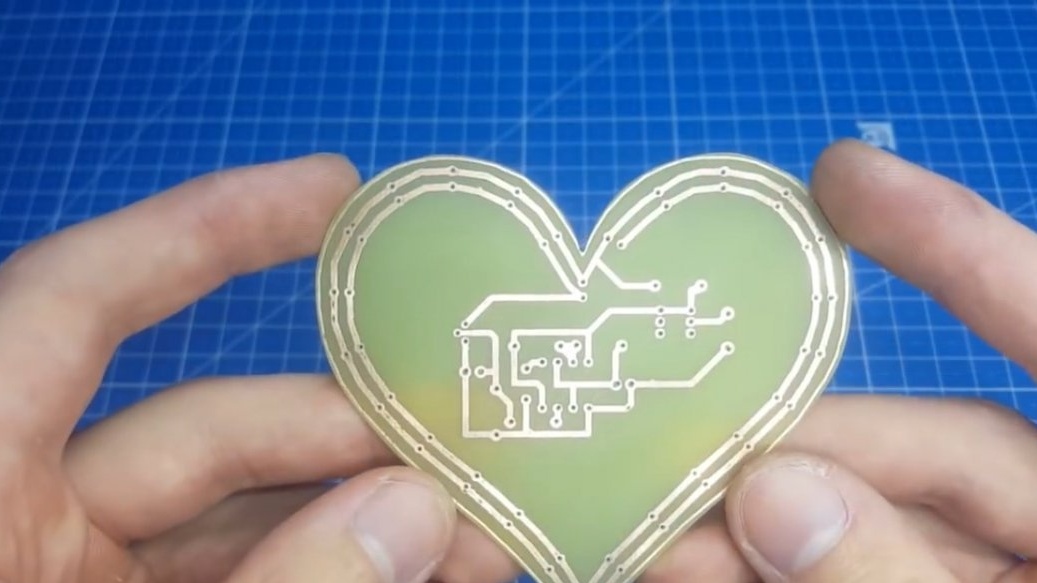
Now proceed to the layout of the printed circuit board. Here the first thing was to draw a beautiful heart. To do this, download the image on the Internet and insert it into the Layout.
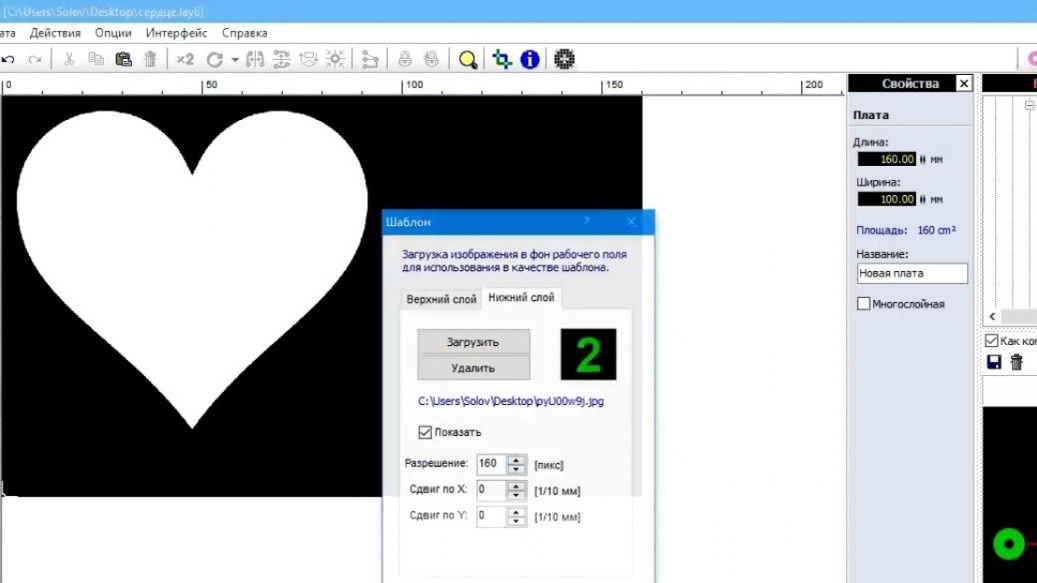
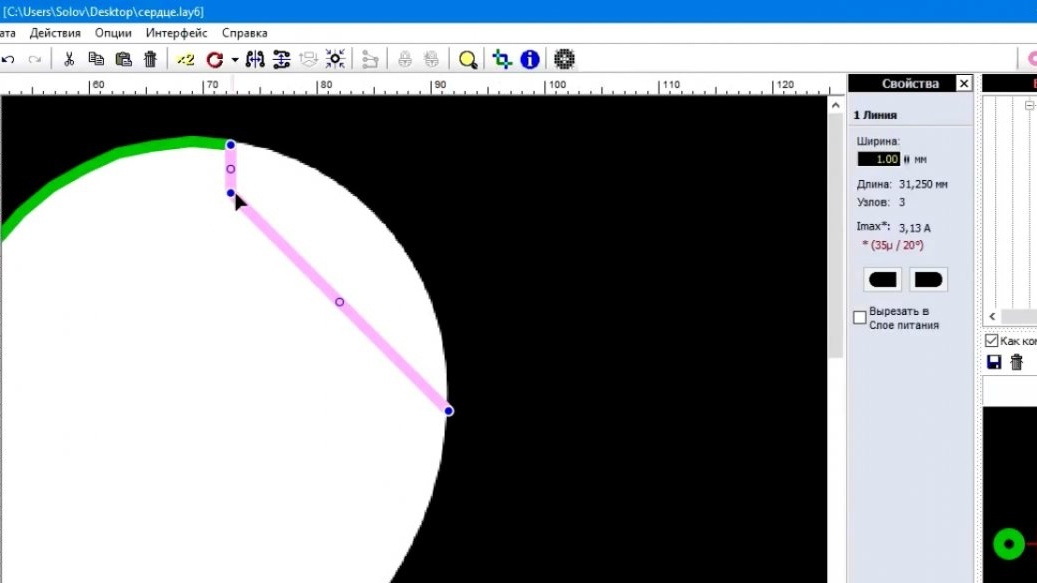
Then we simply circle the line, and break the line itself under the contour of the heart. Everything is done elementary, if desired, you can reduce the heart or increase and already make a signet for yourself.

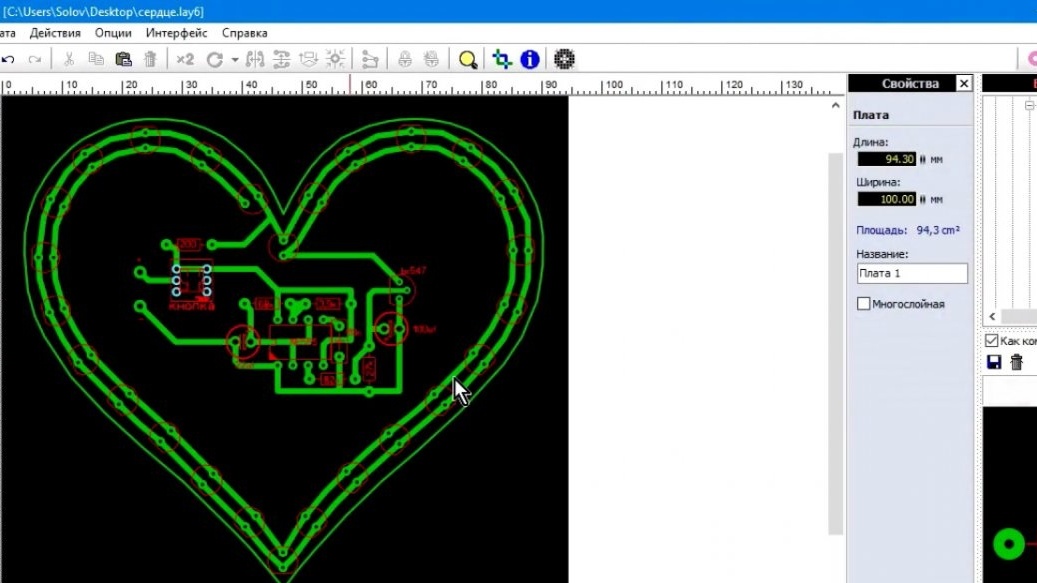
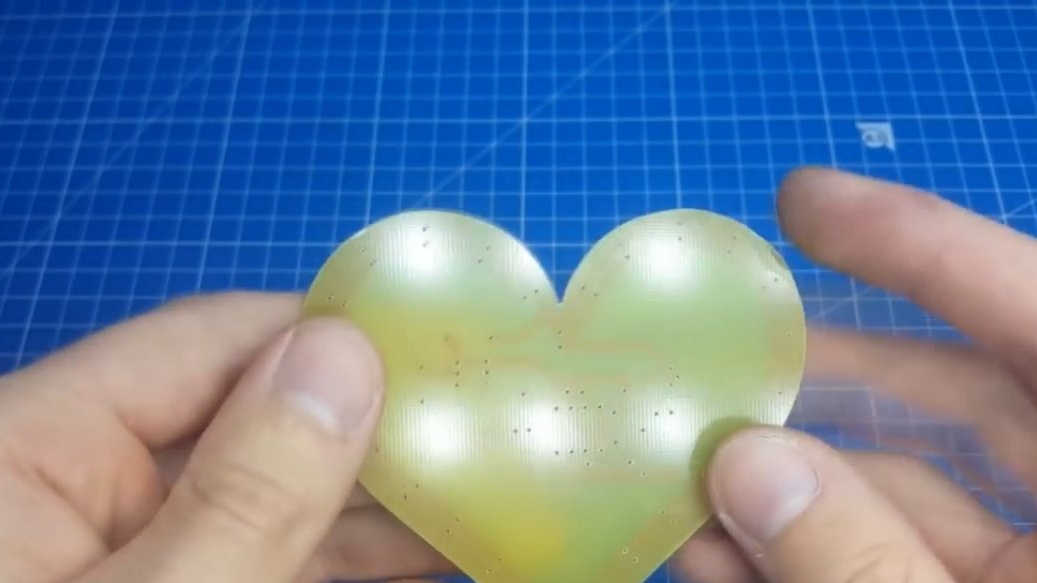
Then we transfer the signet to the textolite and poison. To begin with, the author betrayed a rough shape with scissors so that less copper had to be etched, and after etching, the contour should be processed. You can do this with the help of files.
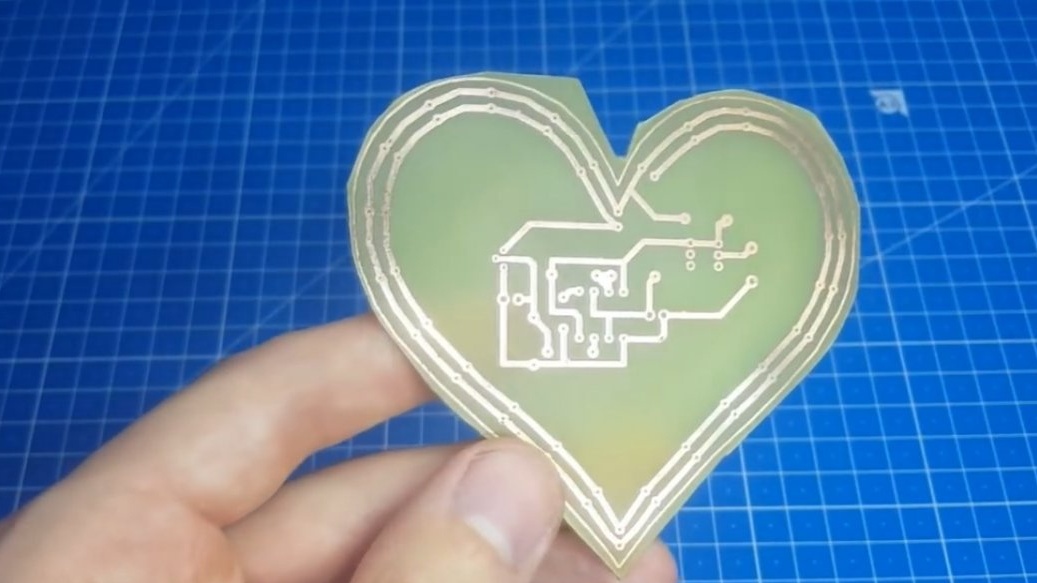
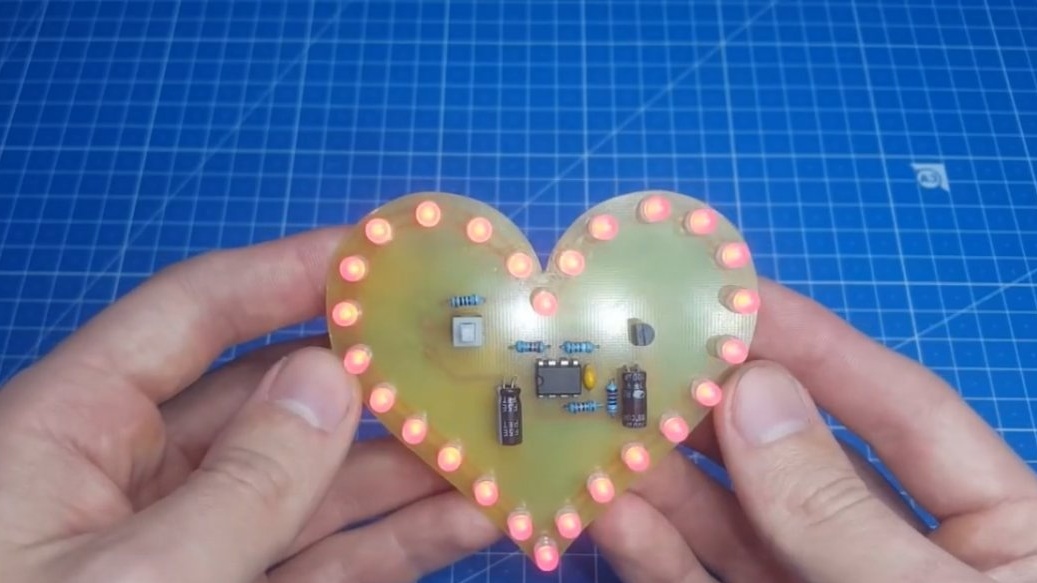
Well, at the end we solder the scarf.
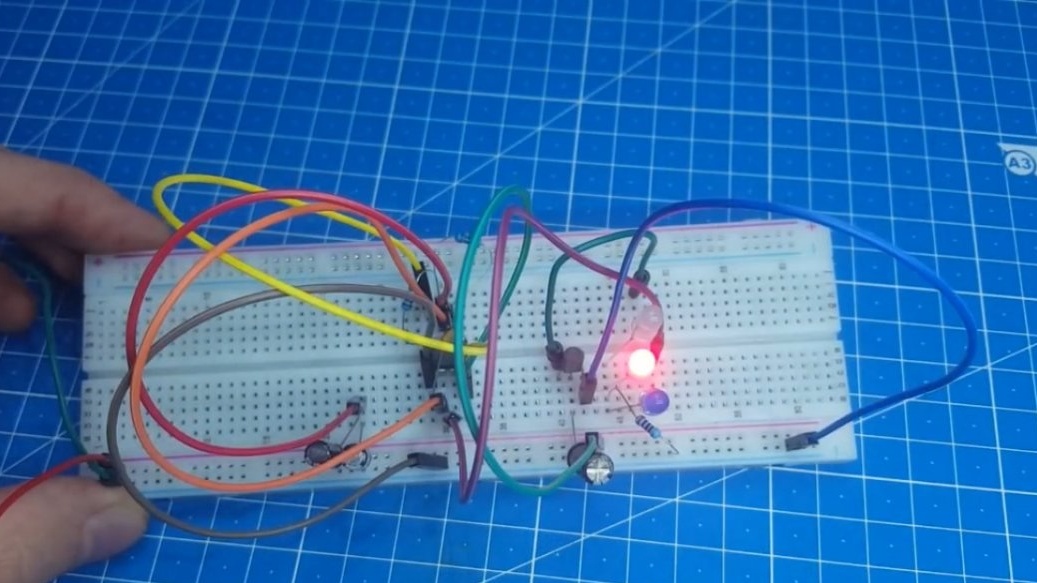
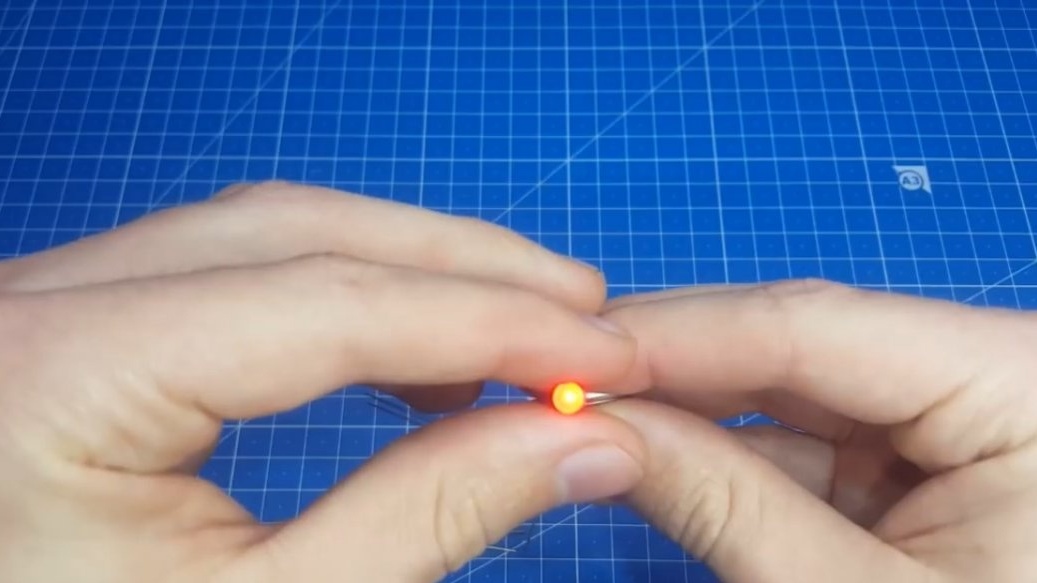
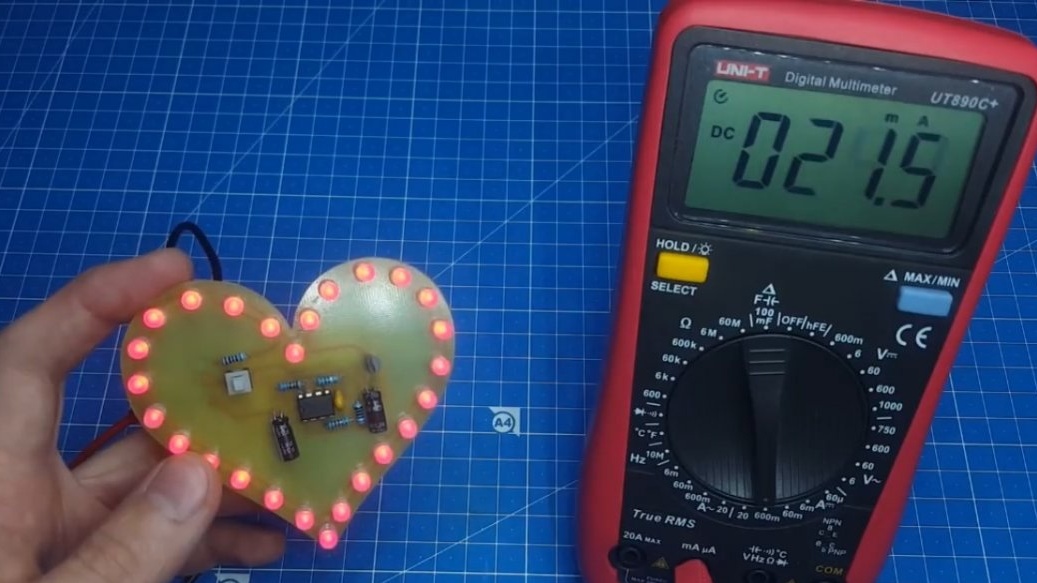
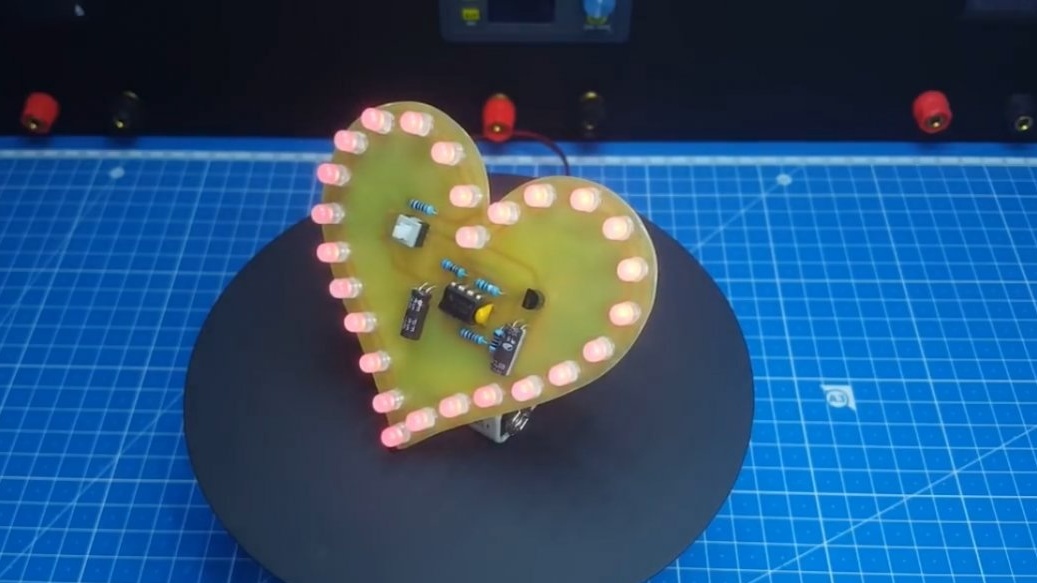
As you can see, there are no difficulties. We make inclusion.
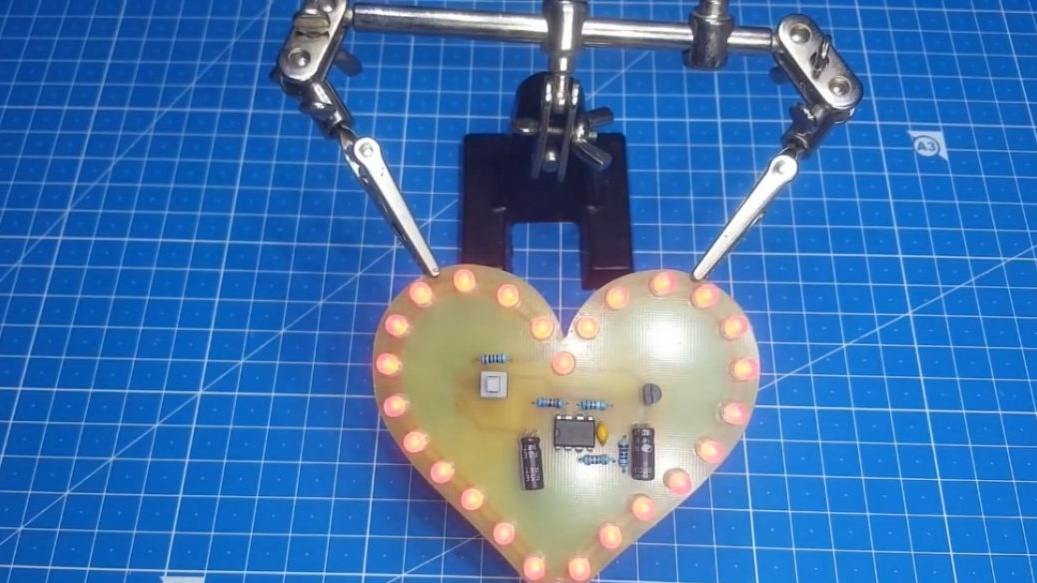
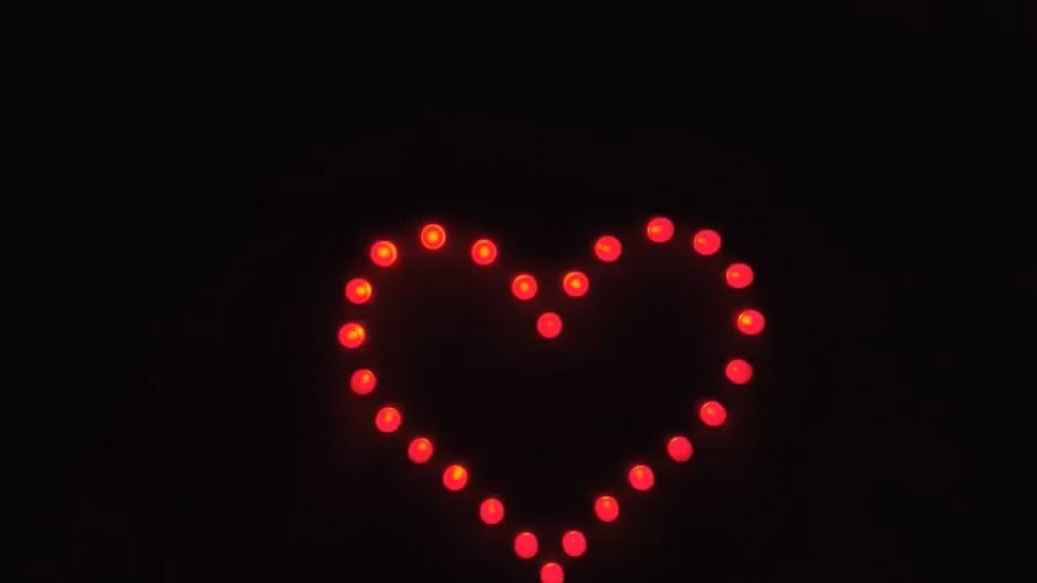
Great, everything works. When illuminated, the camera cannot convey the full beauty of the LEDs, but in the dark the glow is very beautiful and resembles a heartbeat.

Such a homemade toy can be attached somewhere with a double-sided tape and enjoy the sight. The consumption of our homemade device today is less than 30 mA, which means that the battery life is very long.

Here we have such a simple and excellent homemade. Now you can congratulate your ladies on the upcoming holiday. Well, that’s all for today. Thank you for attention. See you soon!
Author's video: