

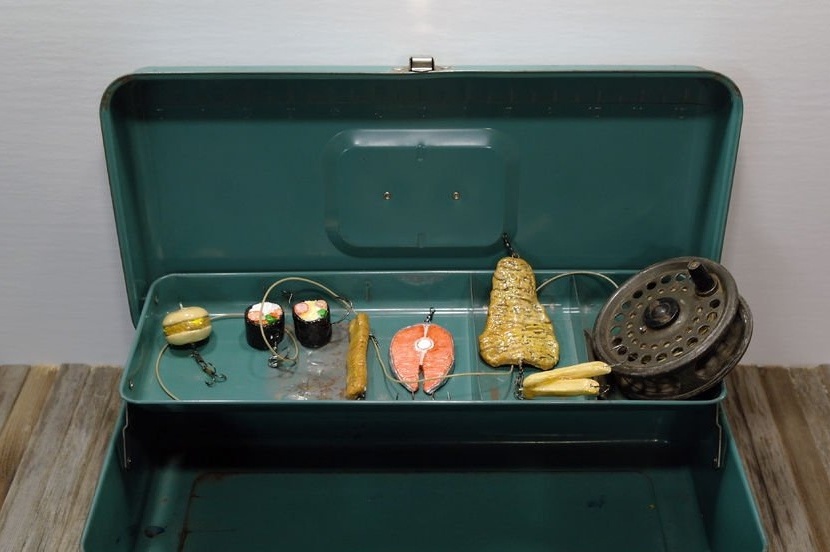


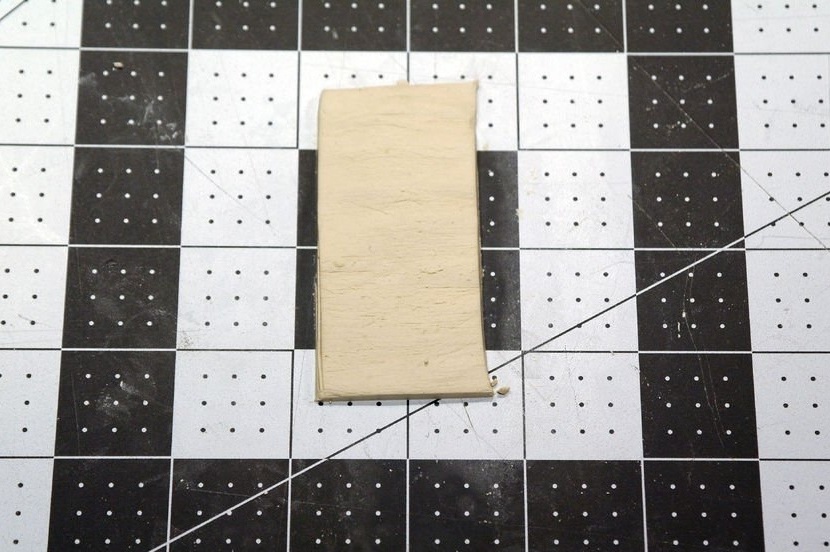
In this article, the master angler will tell and show us how to independently make various fishing lures. Why buy something that you can independently and inexpensively make with your own hands and at the same time, get more pleasure from the work done. By the way, this article will be useful not only to fishermen, from this article you can find out a method of manufacturing and processing various clay figures. You can try it yourself, and teach them how to make your own children. To make baits, the master uses air-dried clay for sculpting. Such material does not require drying in an oven, such as polymer clay.
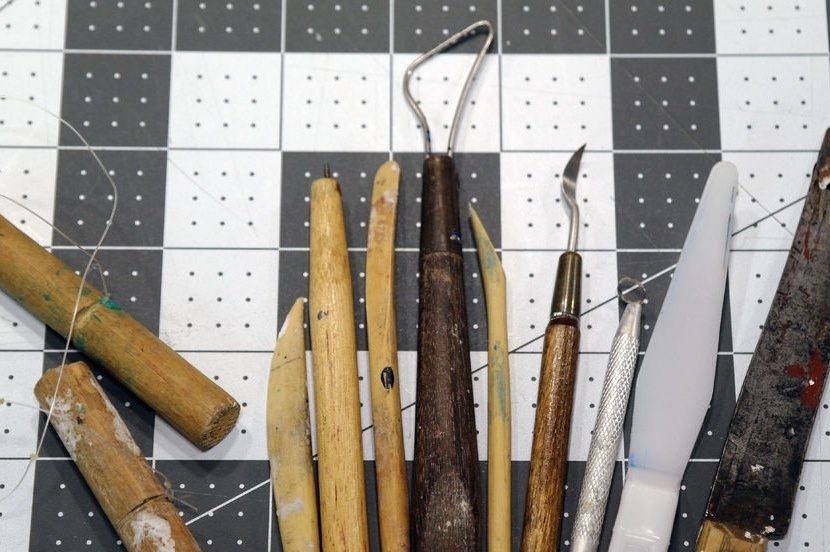
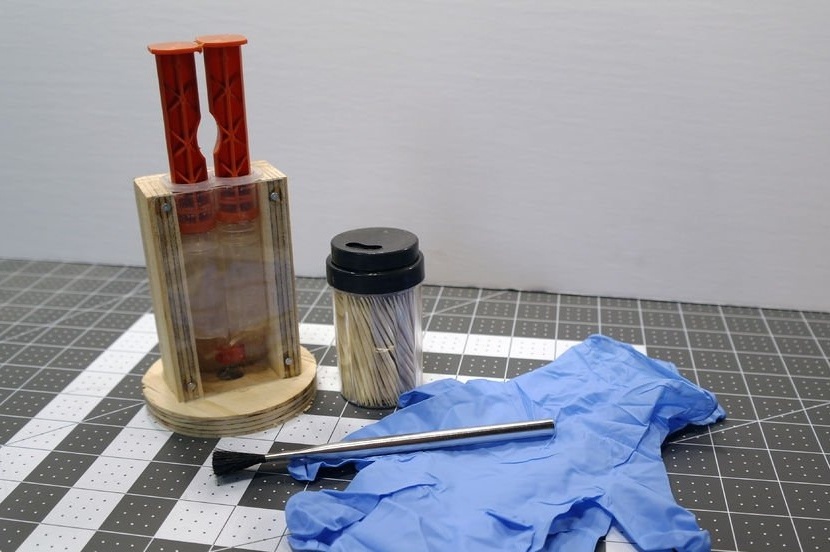
Tools and materials:
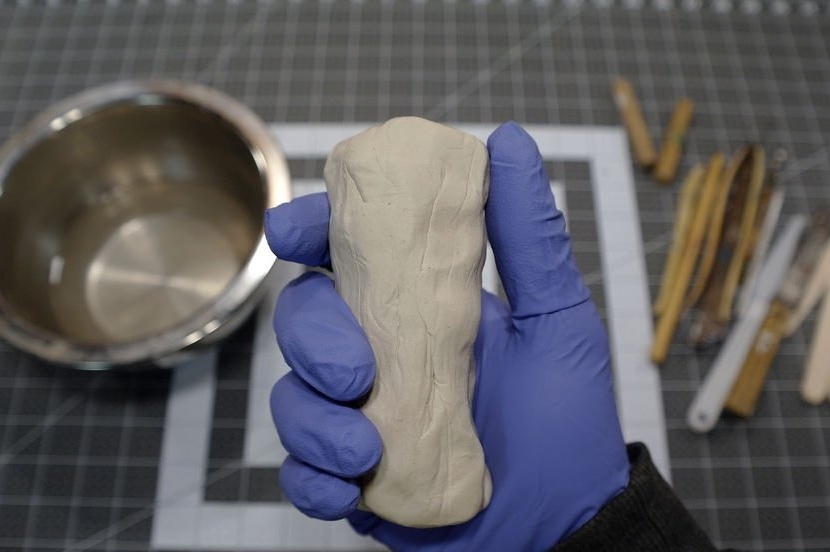
-Air-dry clay;
-Acrylic paints;
-Various pottery tools;
-Epoxy adhesive;
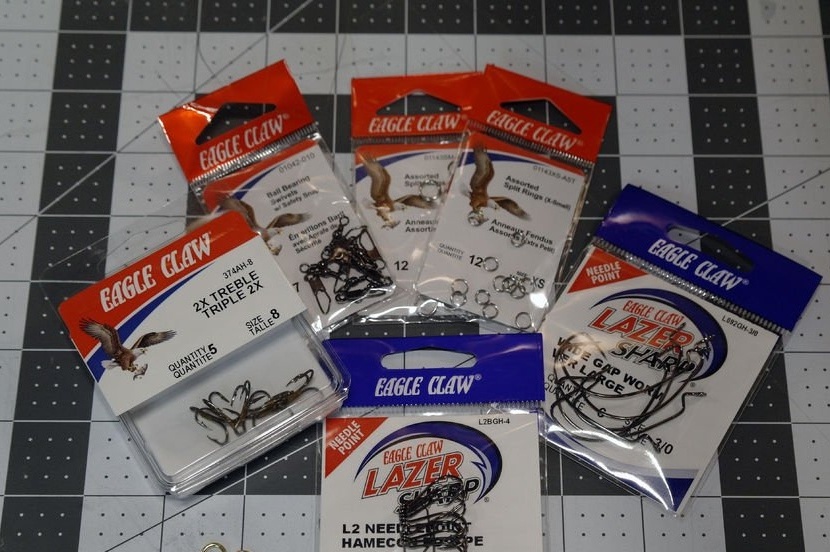
- Fishing tackle (simple hooks, triple hooks, small rings, rotary latches, etc.);
-Wire;
-Gloves;
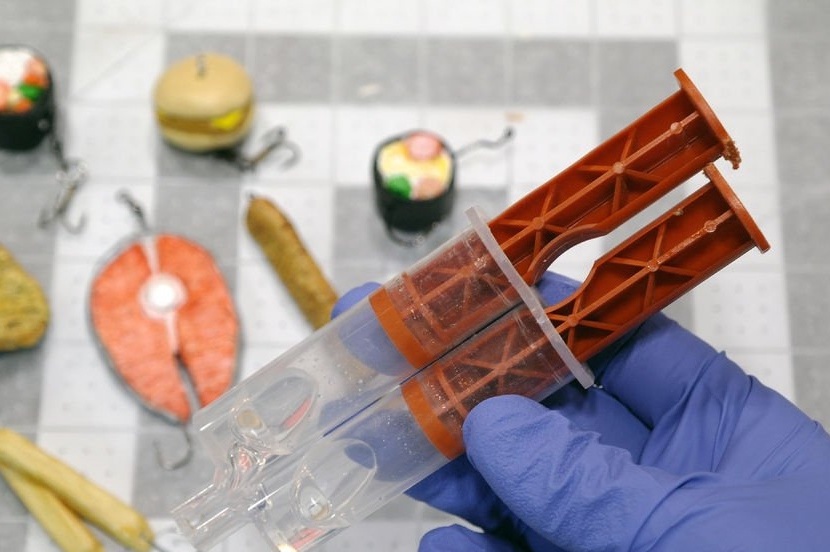
-Mat;
- Capacity with warm water;
Toothpicks
- brush;

Step One: Introduction
Forming a lump of clay into a sphere, rolling it on a table or between hands is a complex process, while cutting the same sphere out of a clay block is easier. Sometimes it may be easier to remove material to create a specific shape than to add material to try to form the same shape.
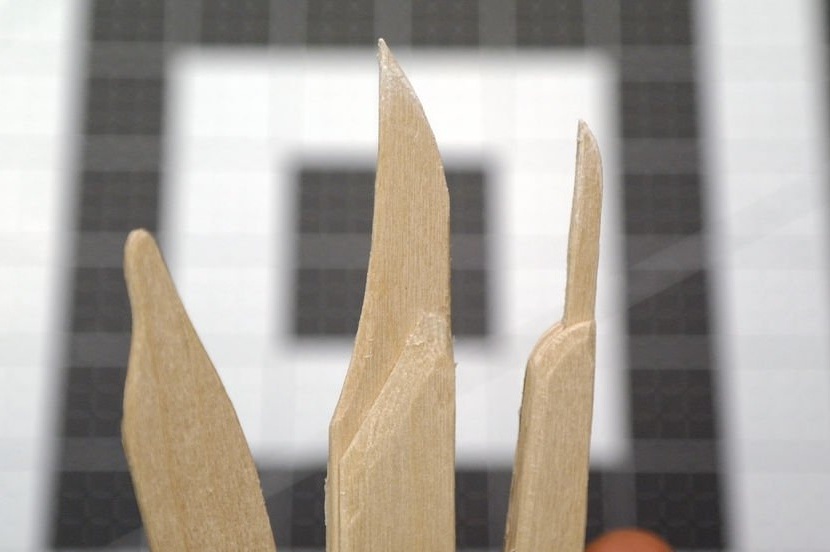
As for tools, literally everything can be used as a tool for sculpting or texturing clay. Whether it’s your homemade tools or those you’ve bought, they all function in about the same way, and there are excellent modeling tutorials on the Internet to help get you started. Use various tools to create different textures in clay.
If your clay begins to crack and harden, just add a little water to it. Water is also used to smooth the surface of clay and glue pieces.

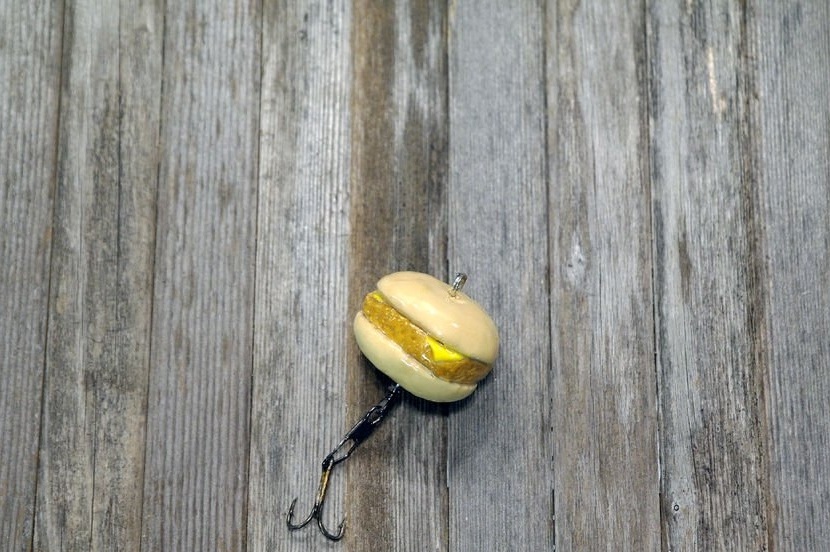
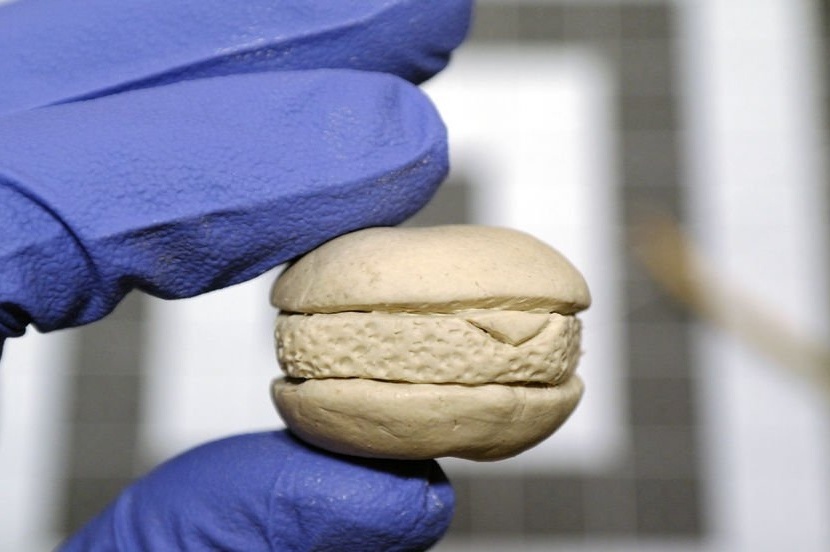
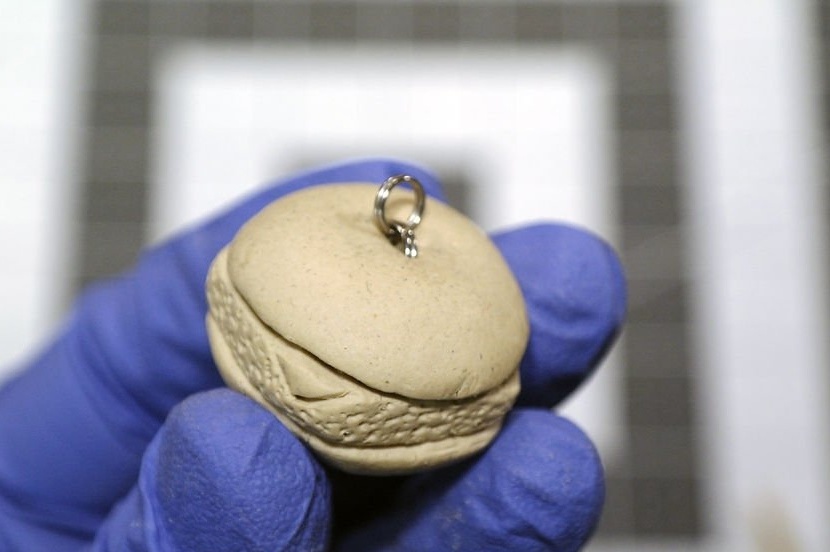
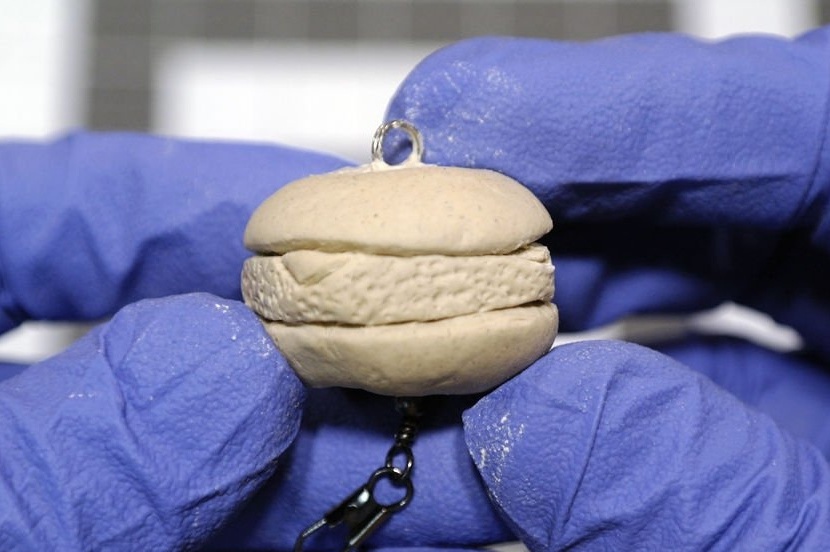
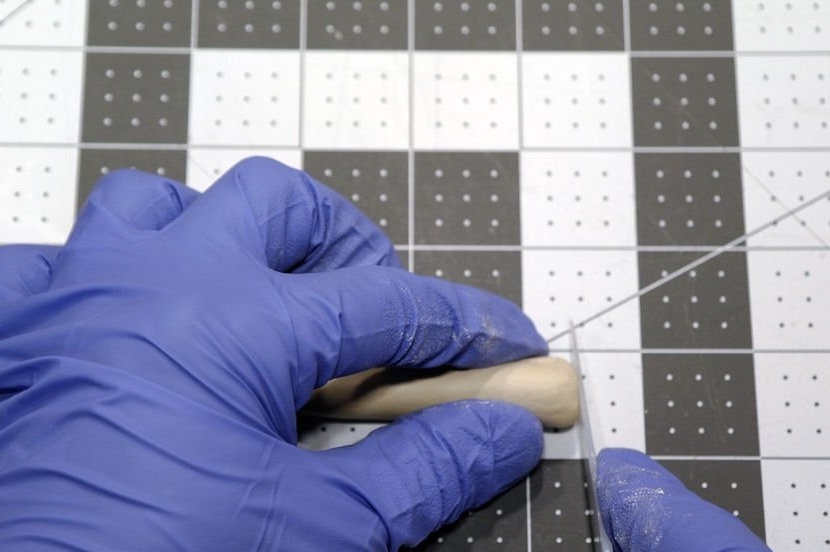
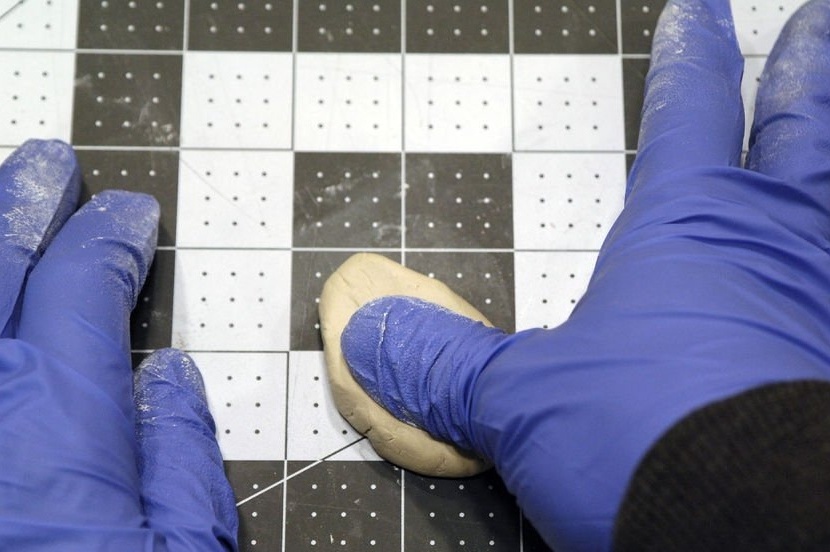
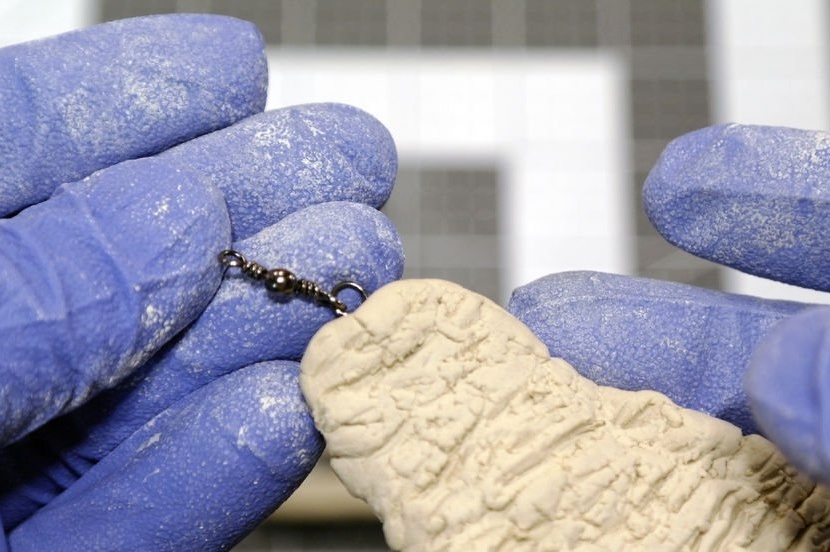
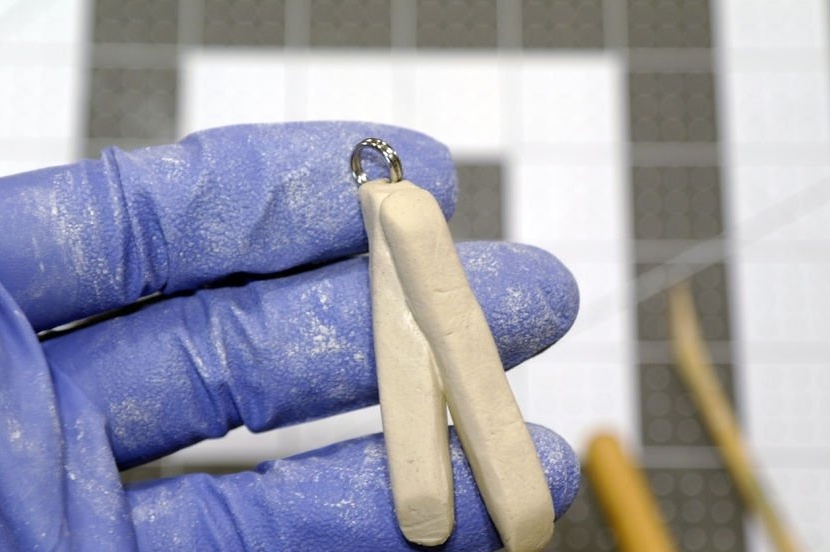
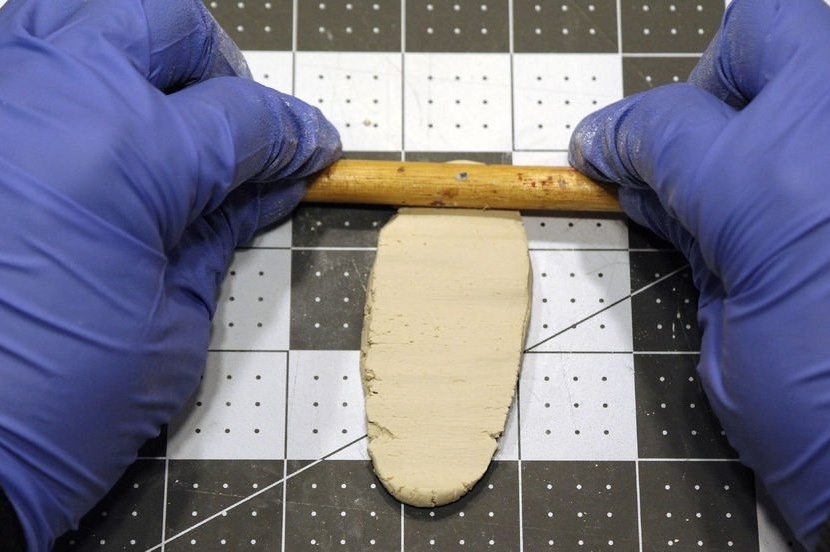
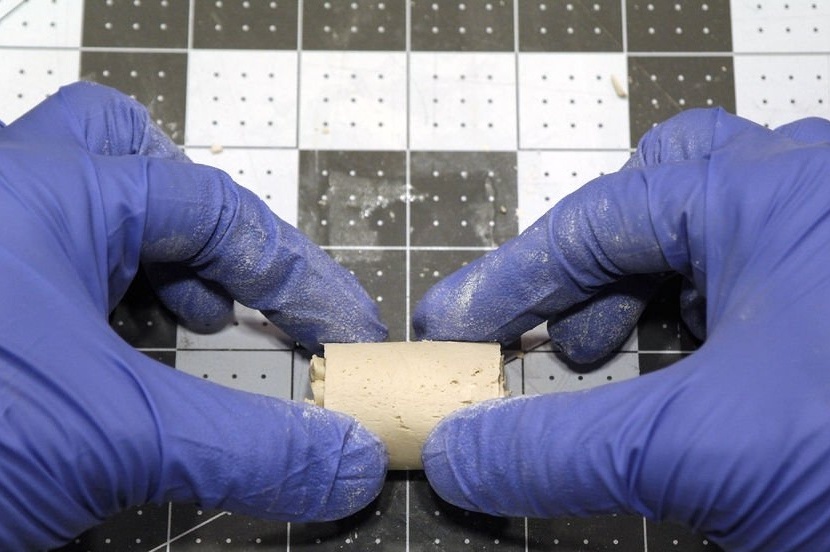
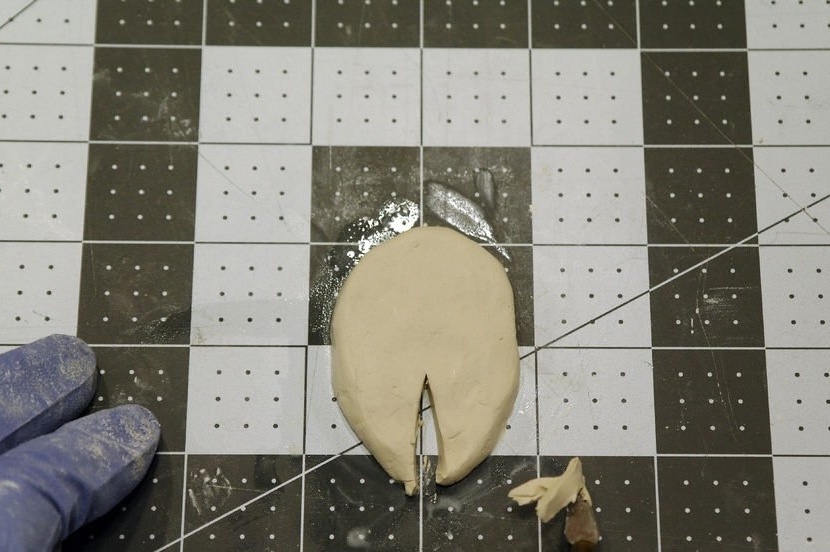
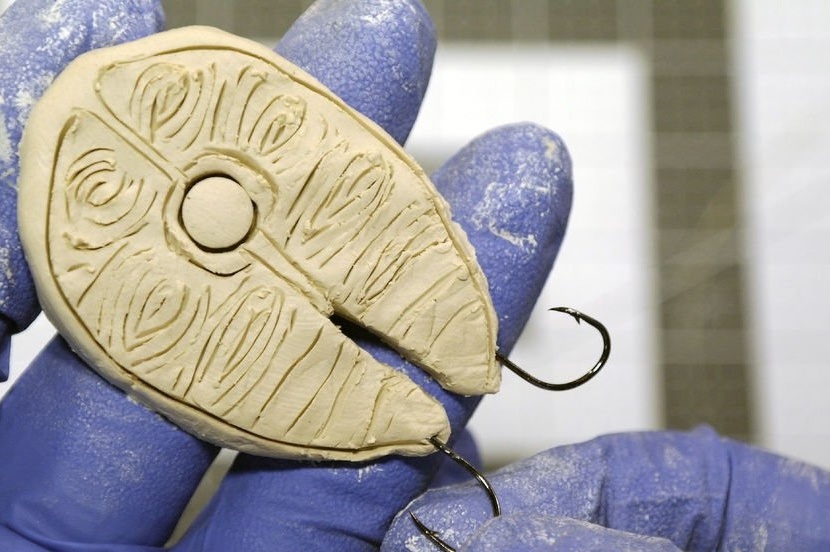
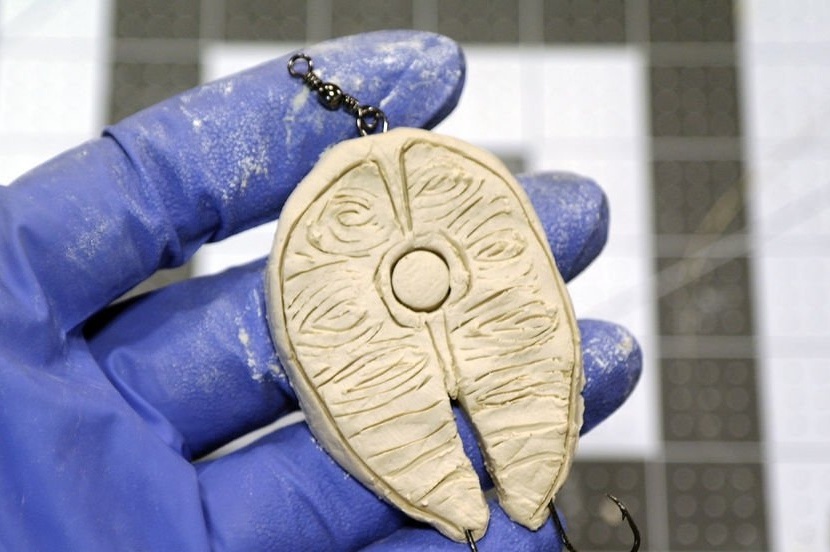
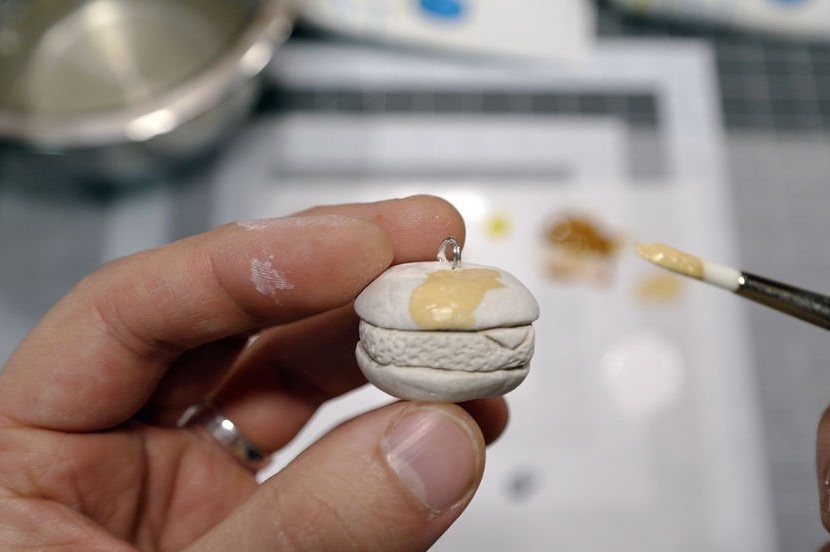
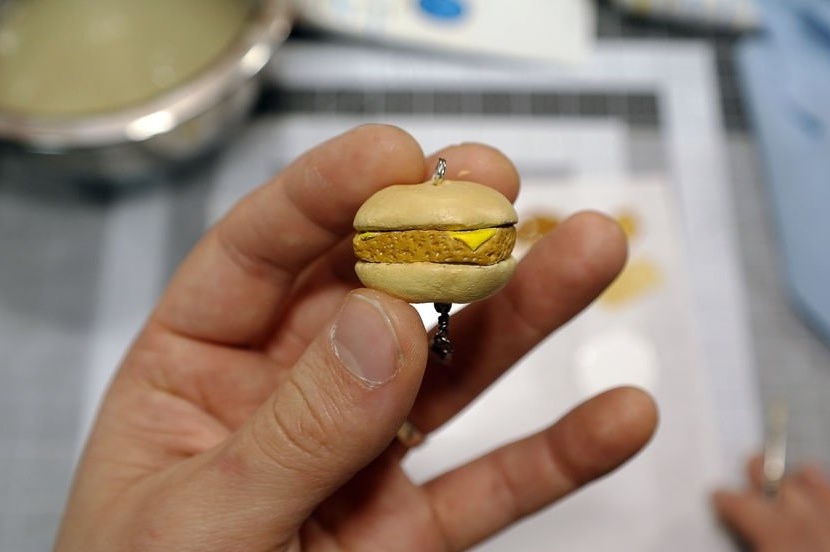
Step two: sculpt a “sandwich”
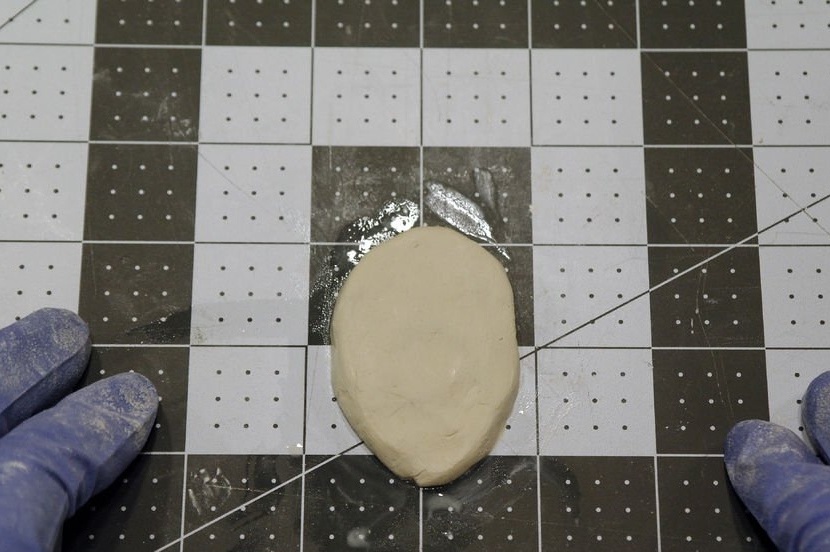
To make a sandwich, the master rolls the clay into the shape of a roll, and then cuts a small piece and gives it the shape of a flattened ball
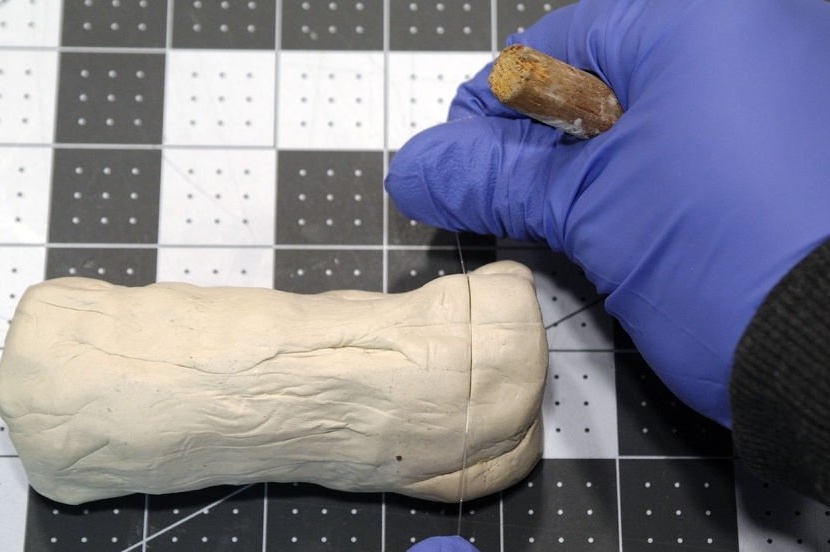
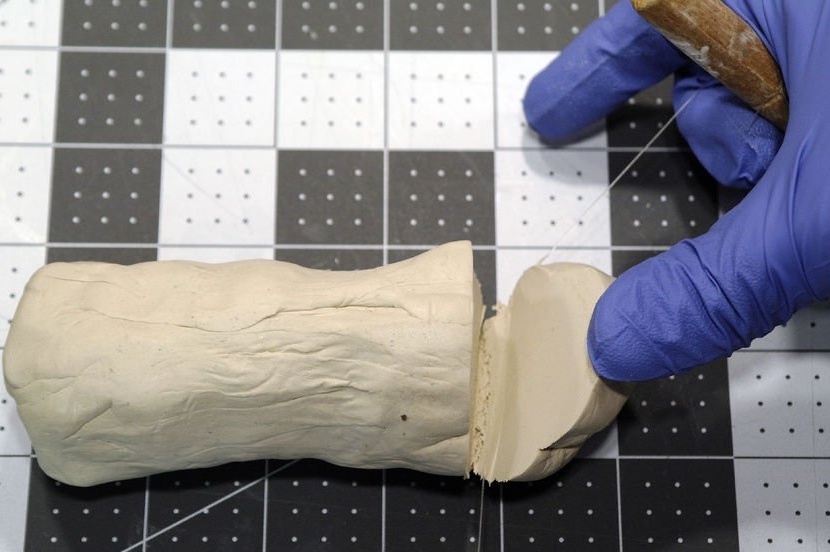

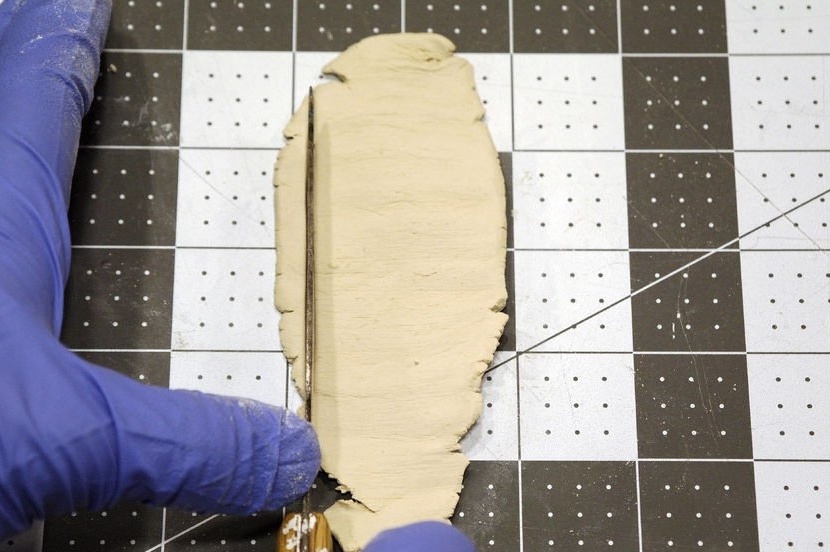
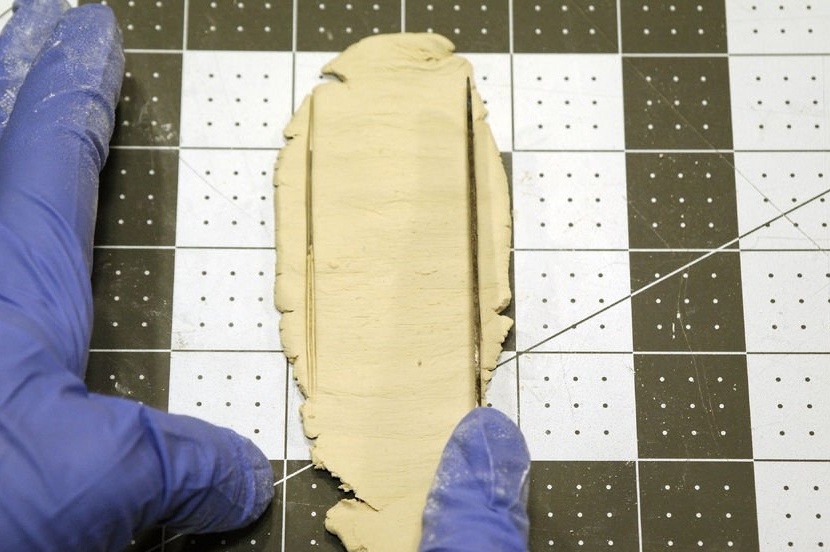
Next, you need to cut through two lines.
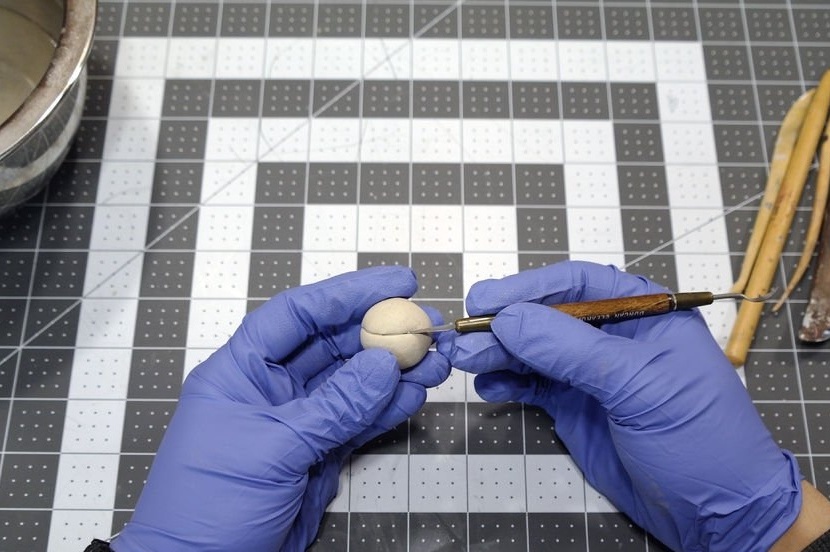
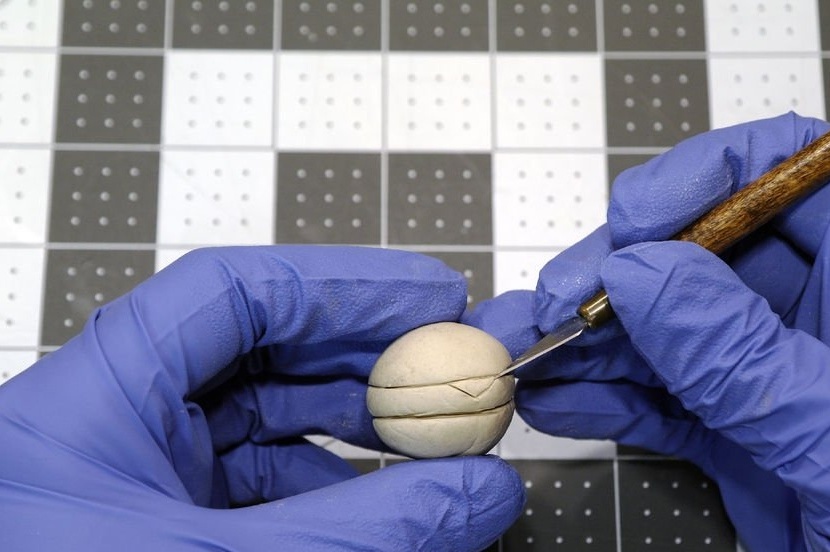
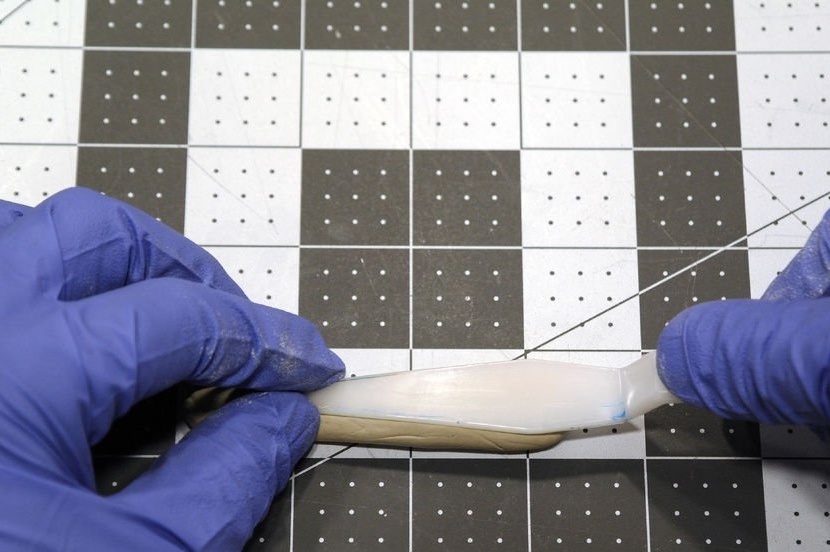
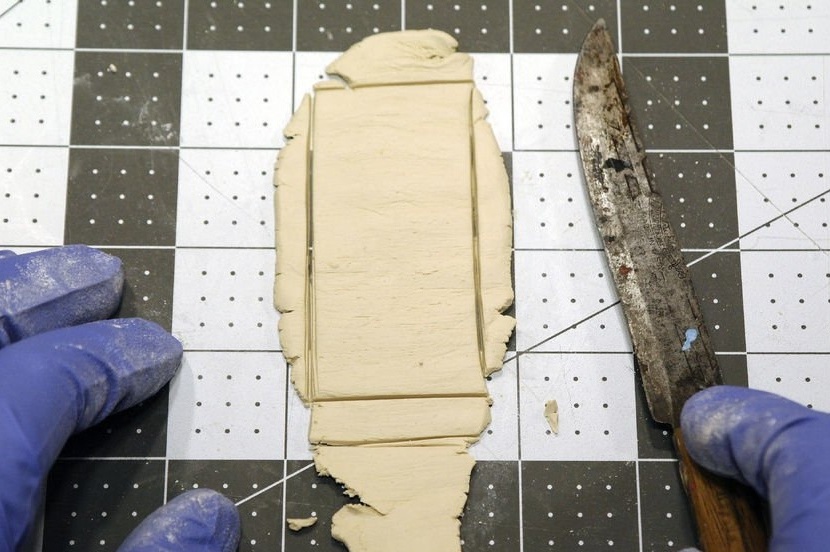
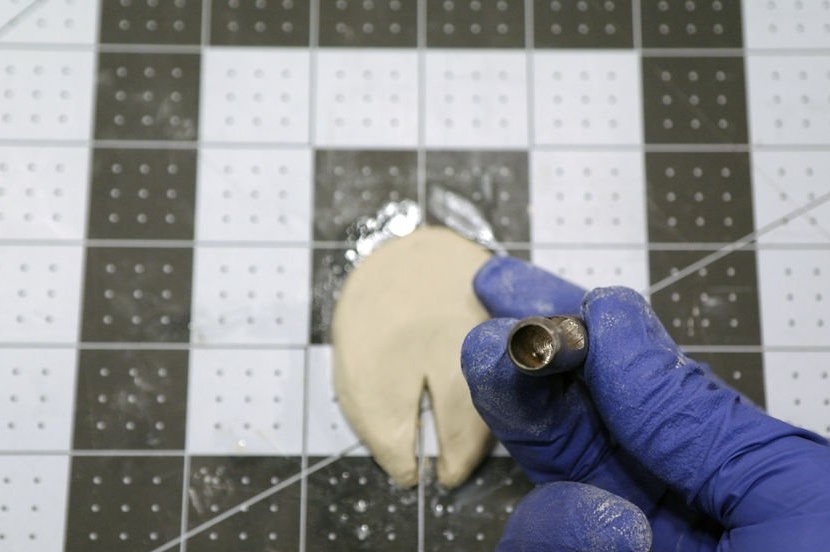
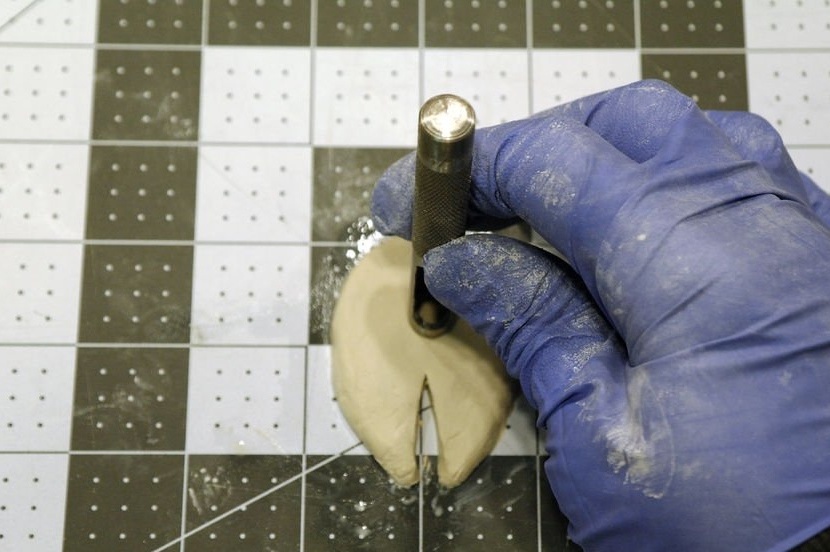
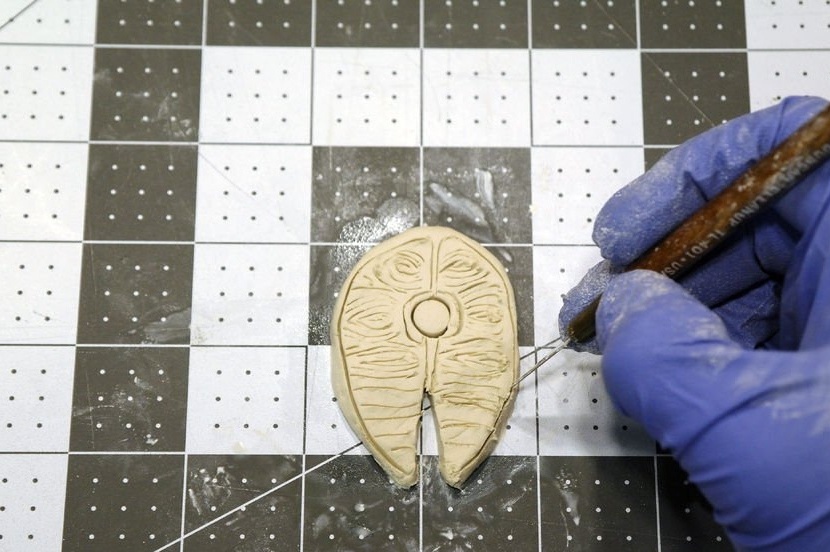
And apply a texture pattern.
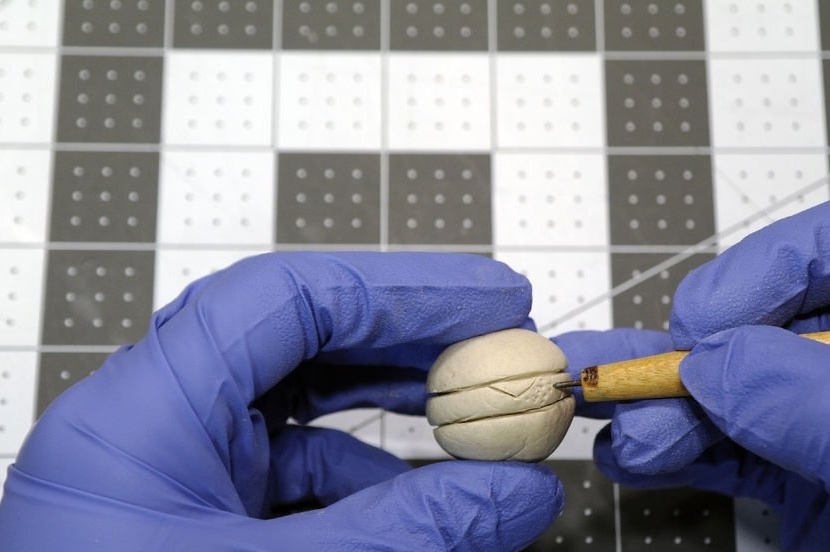
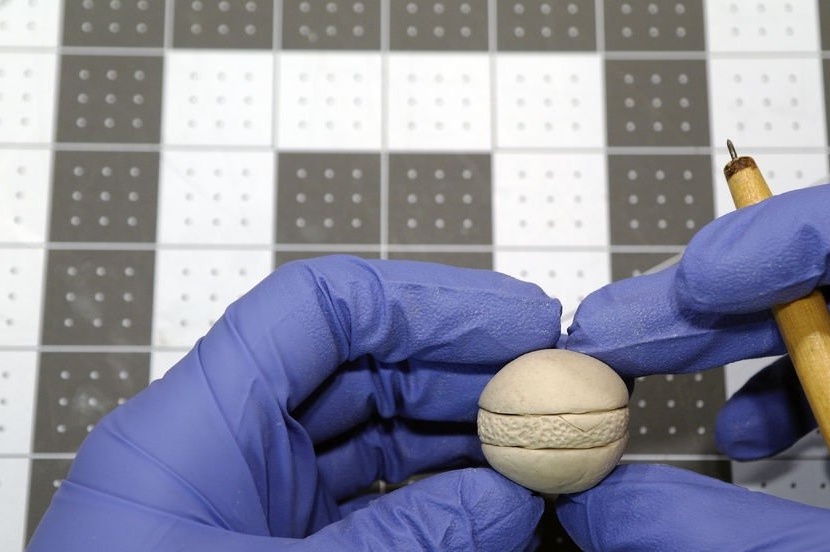
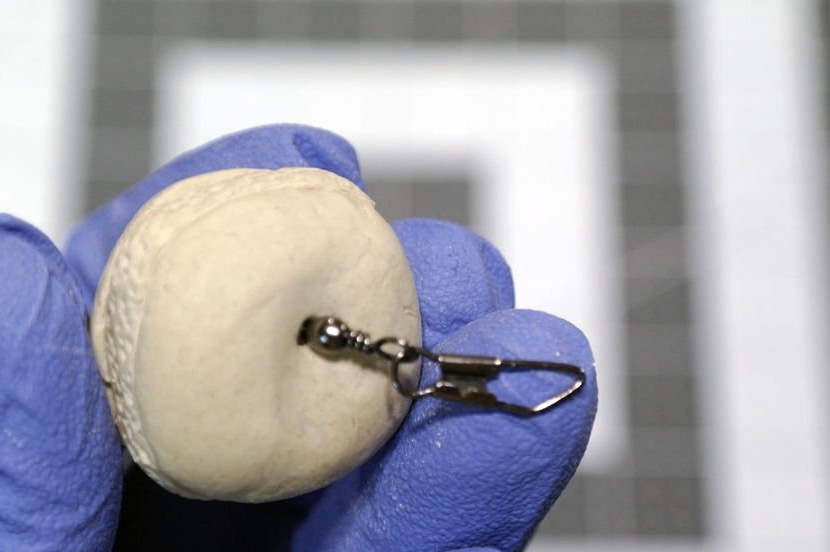
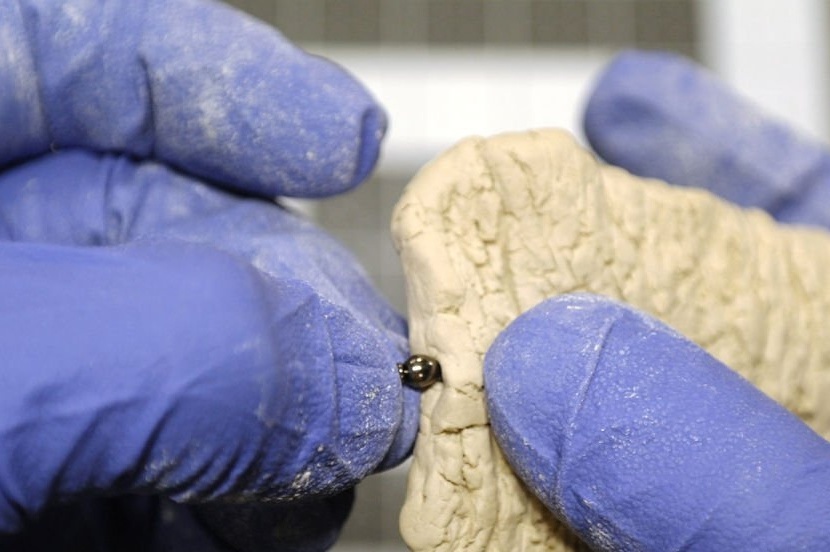
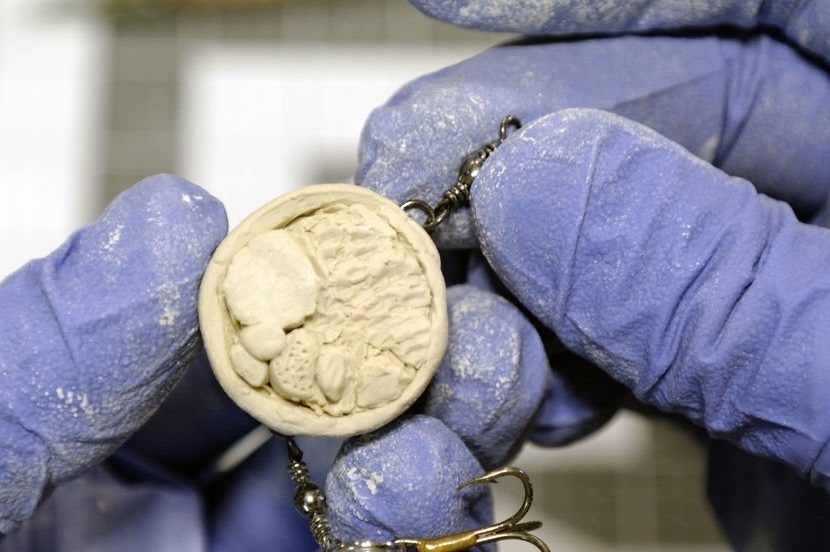
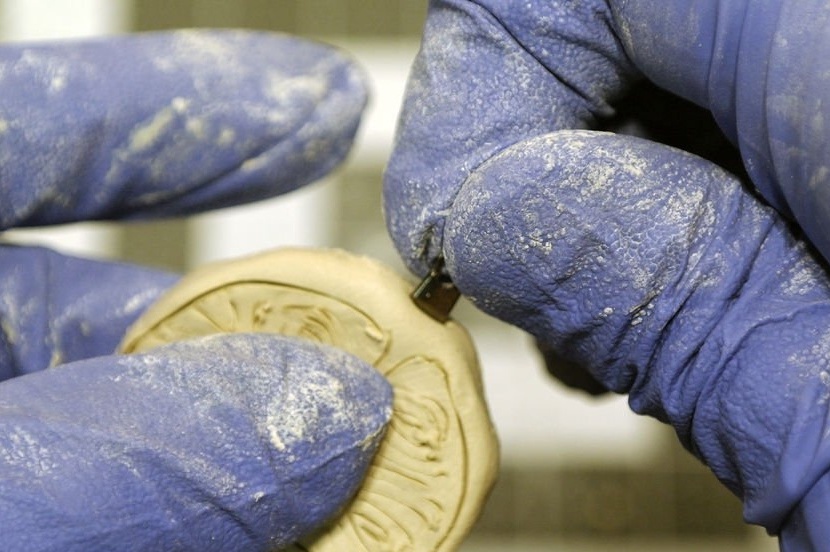
It connects two metal rings.

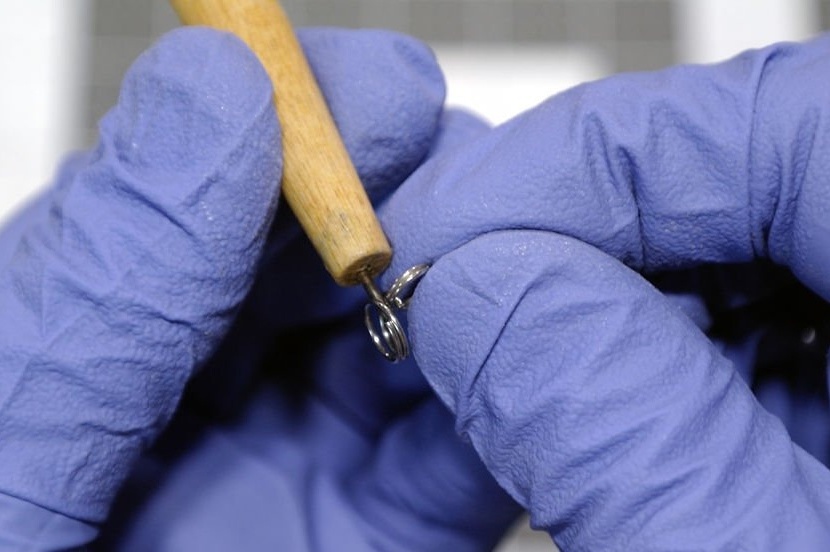
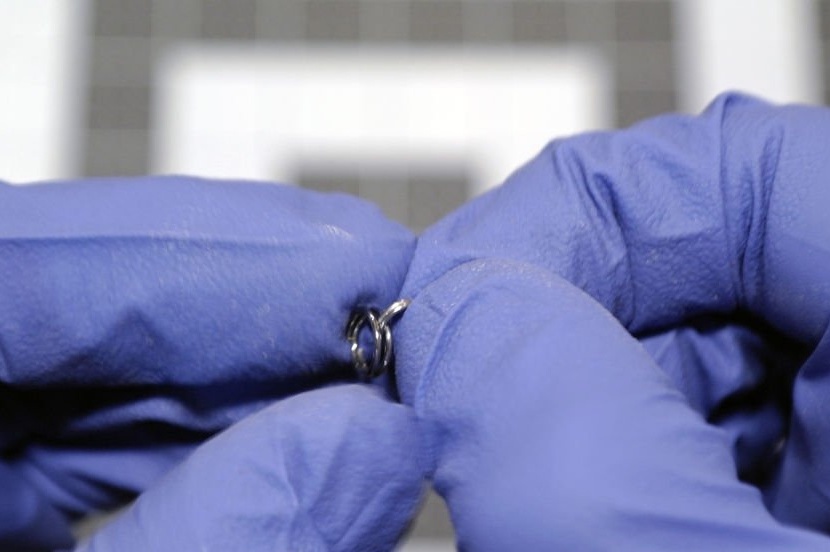
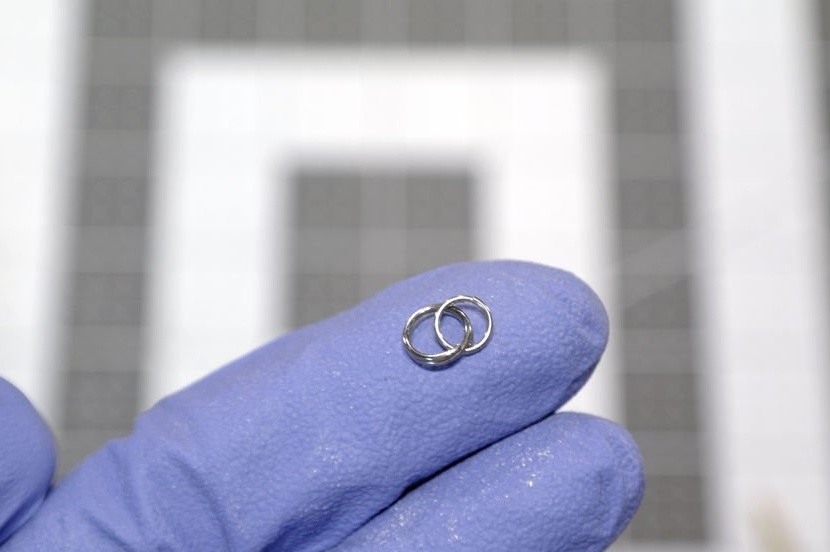
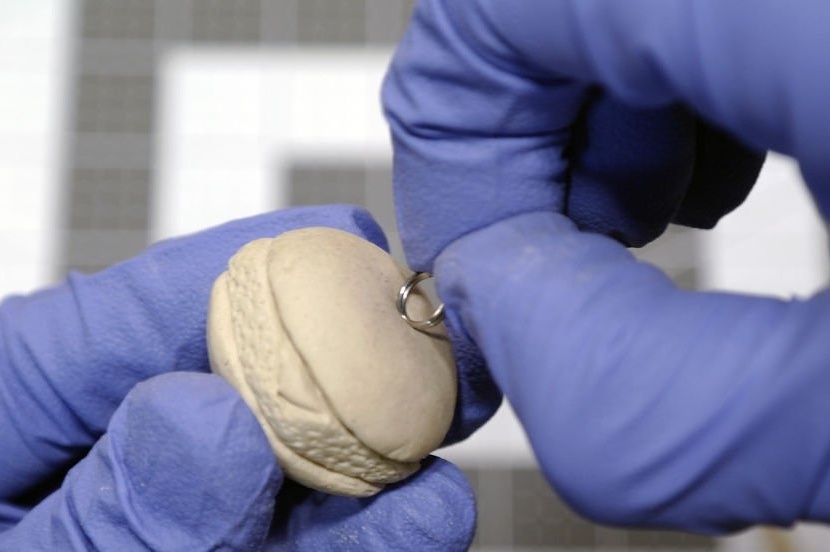
Presses one ring into the clay. On the second ring wears a swivel with a lock. Pushes the chain through the sandwich so that the ring comes out on the other side. Now you need to slightly correct the clay at the installation site and wipe the upper ring.
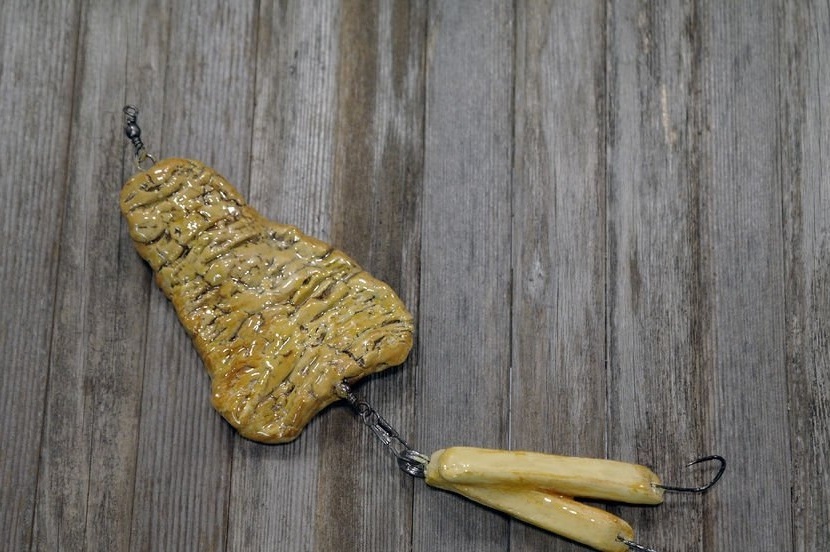
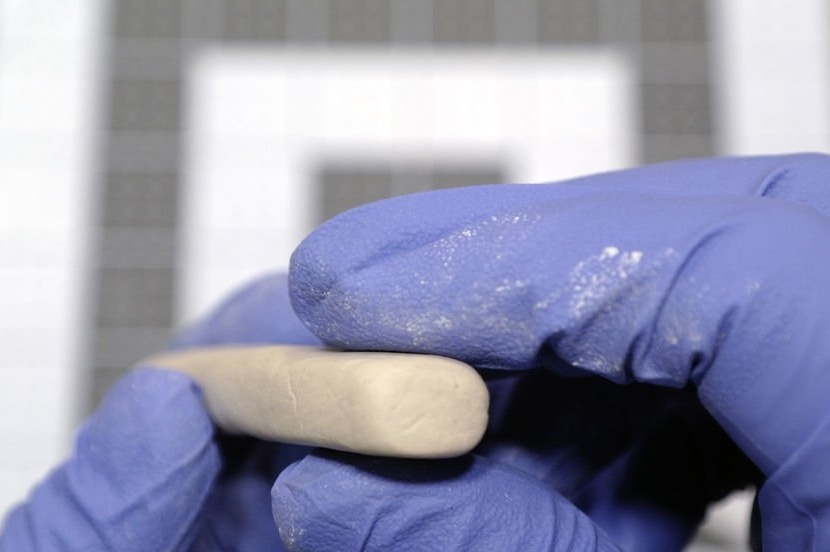
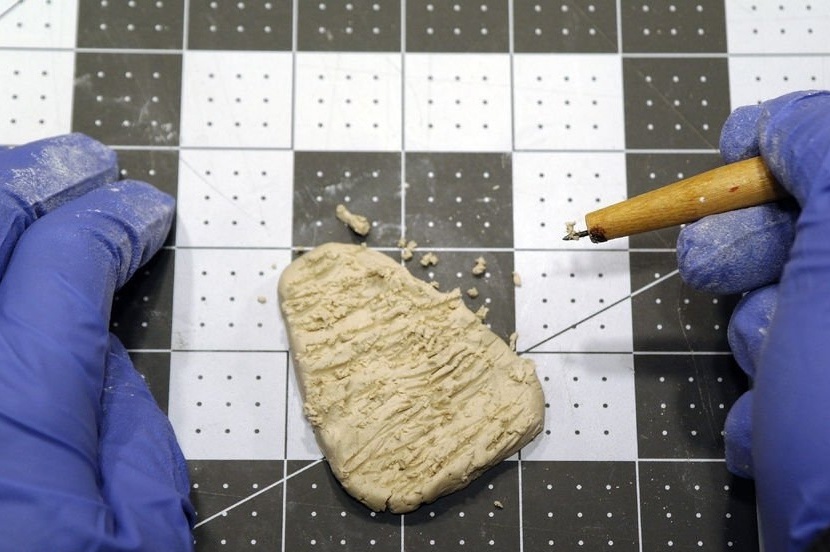
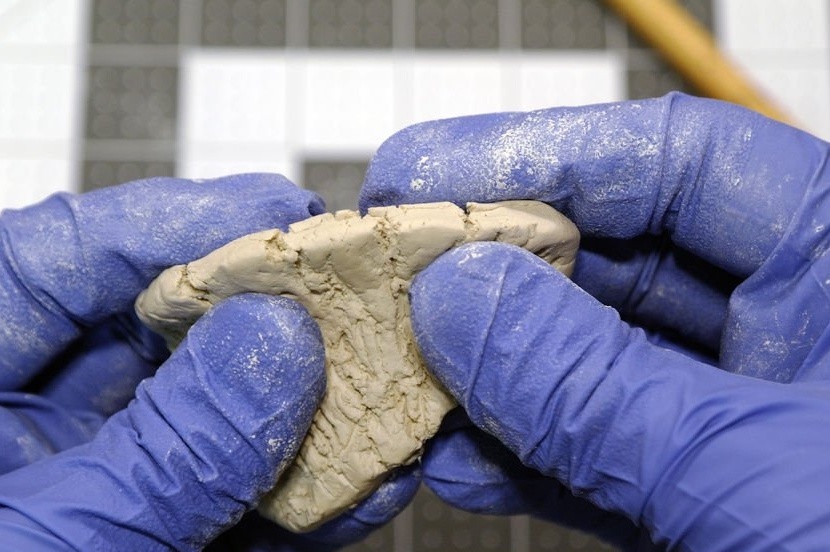
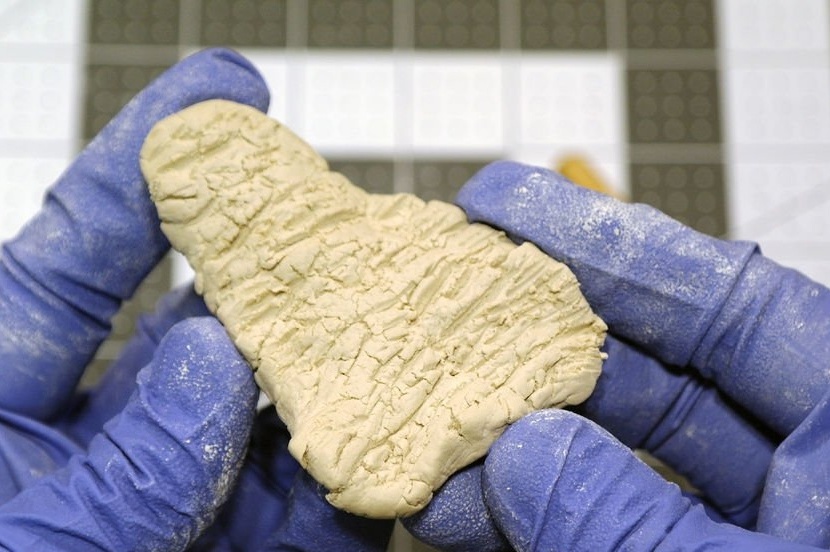
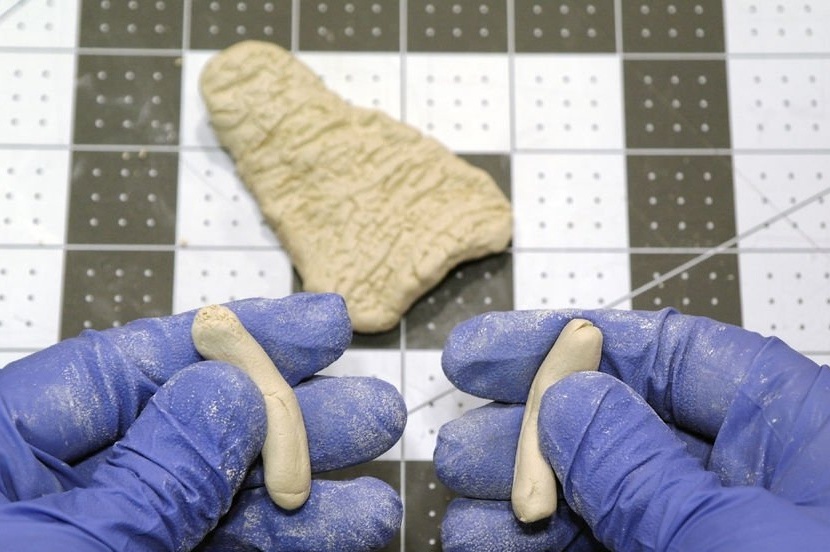
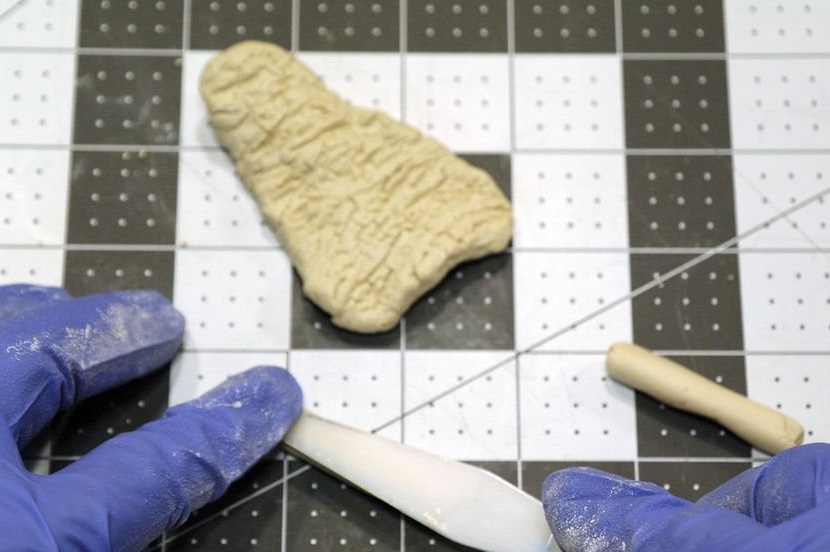
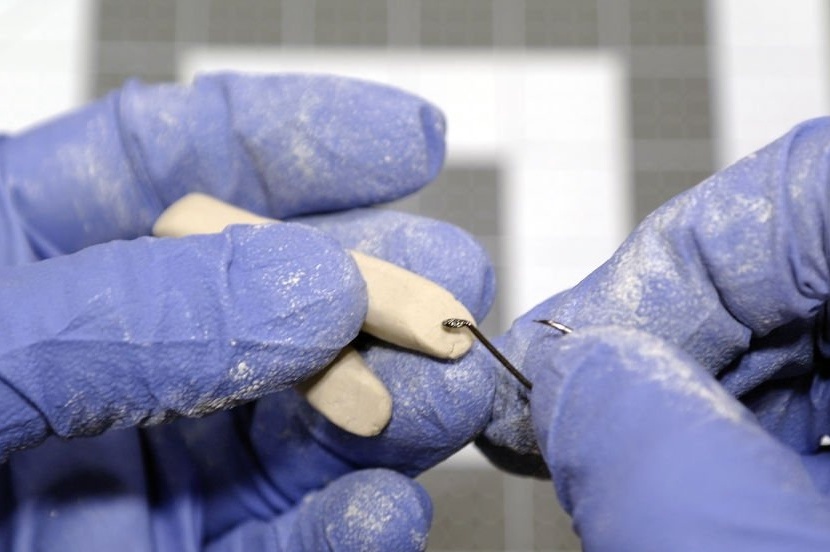
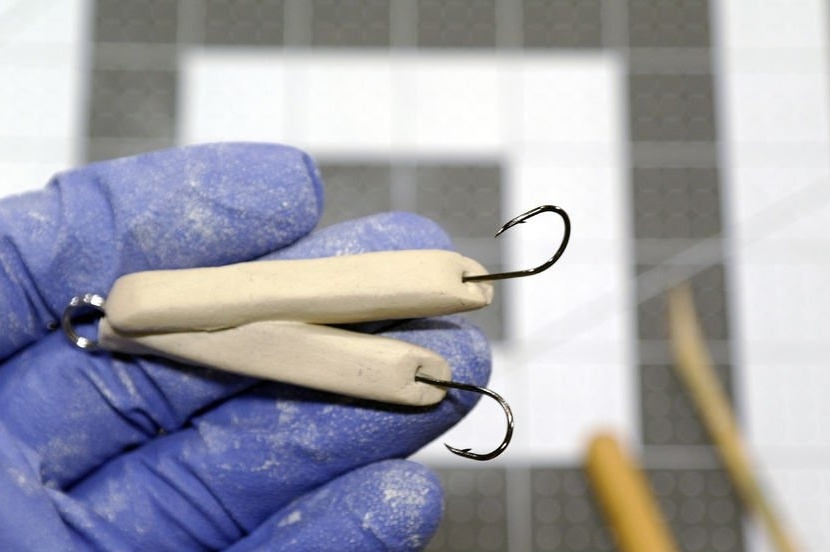
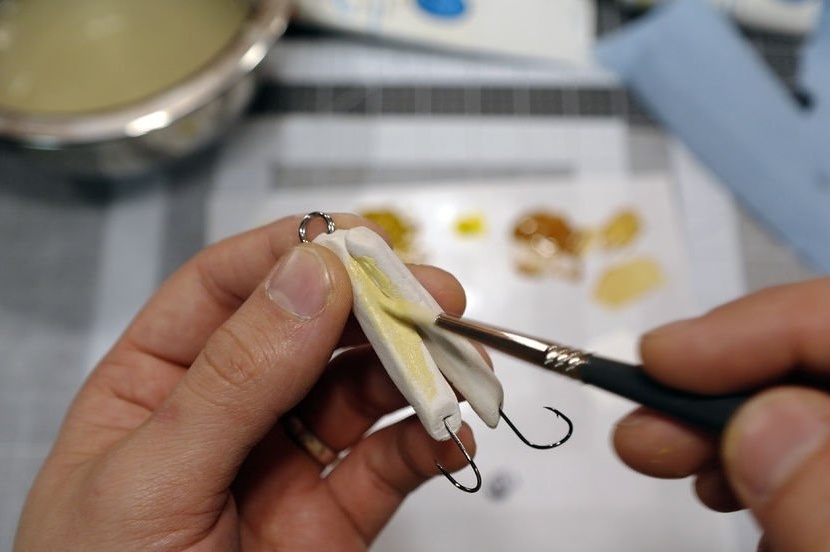
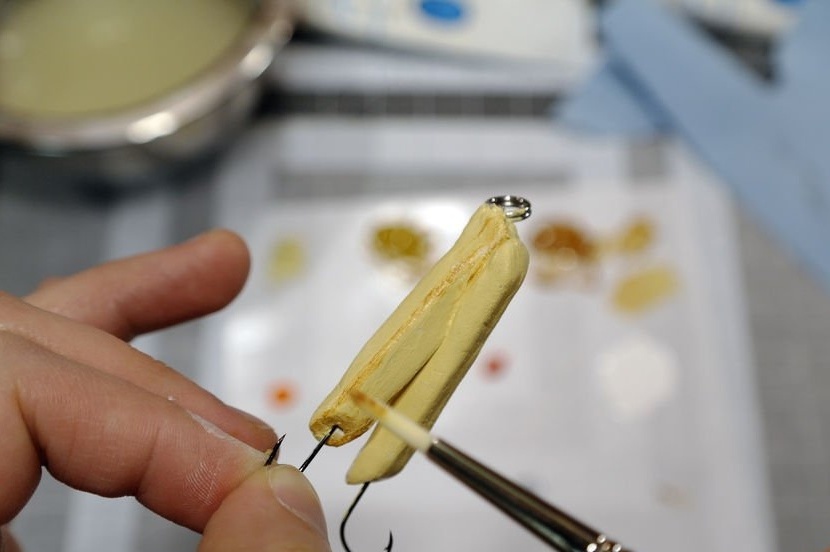
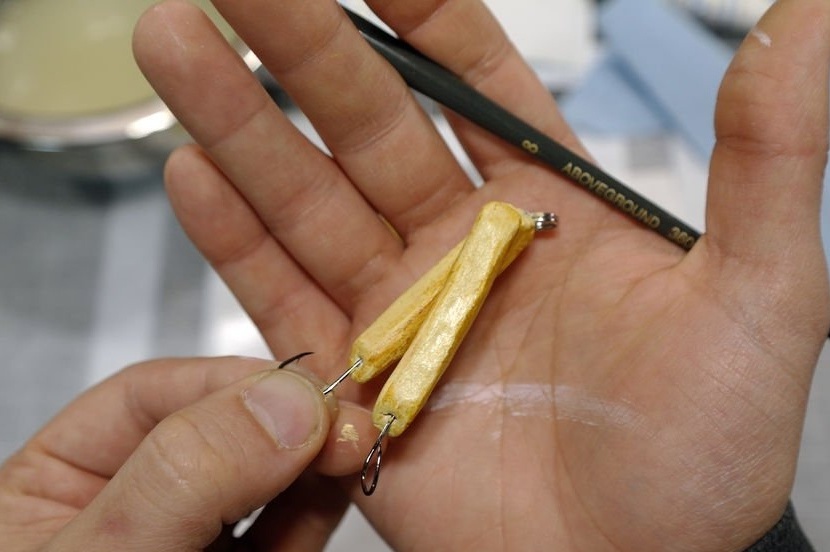
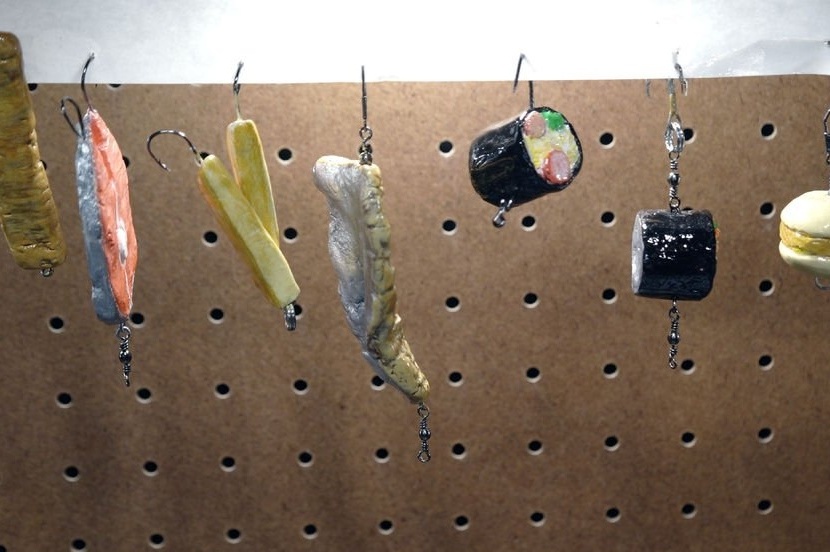
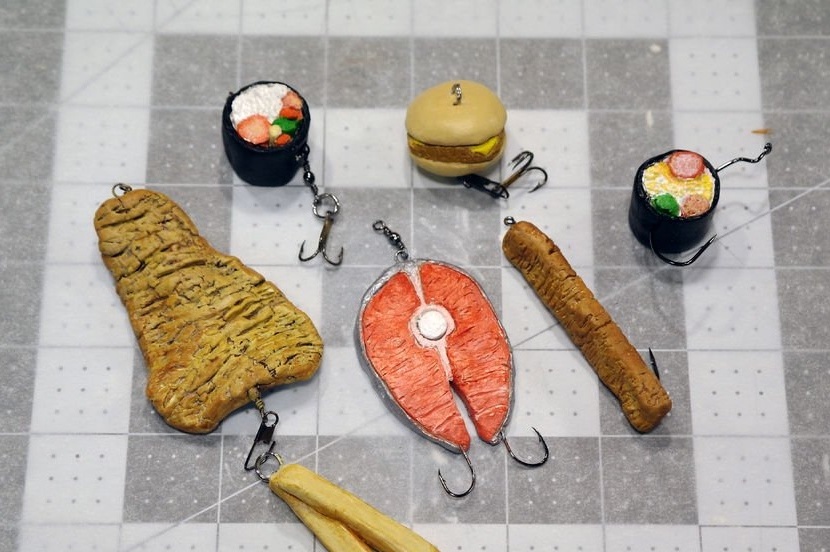
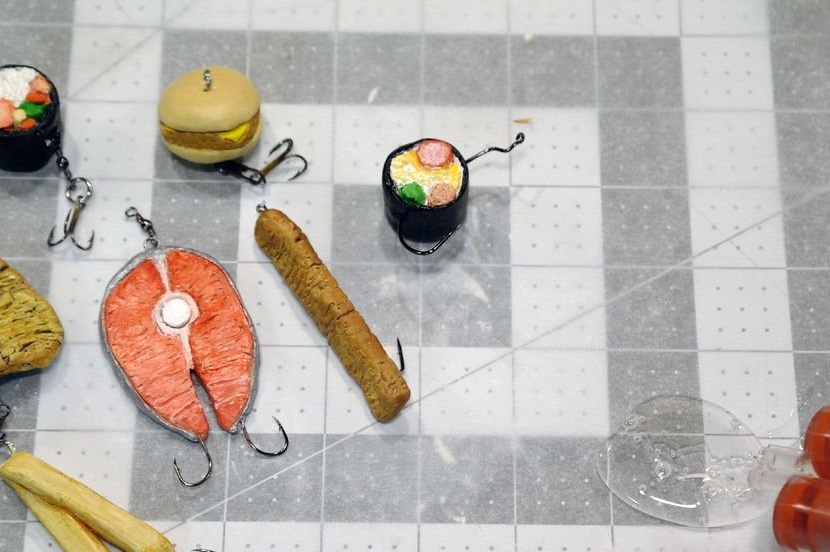
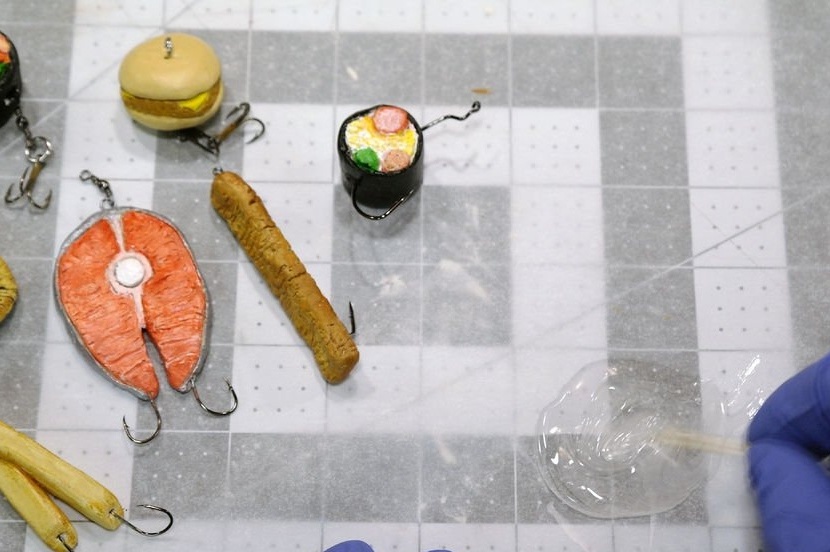
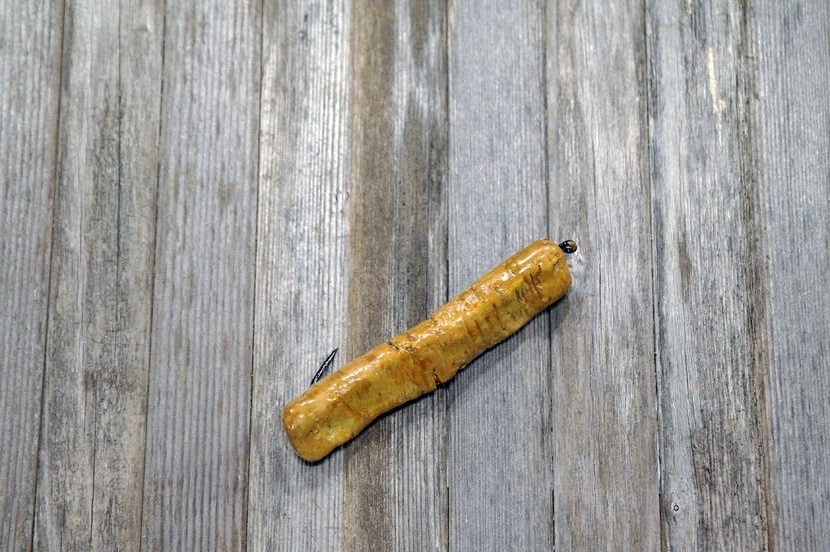
Step Three: Fried Potato Bait and Fish Sticks
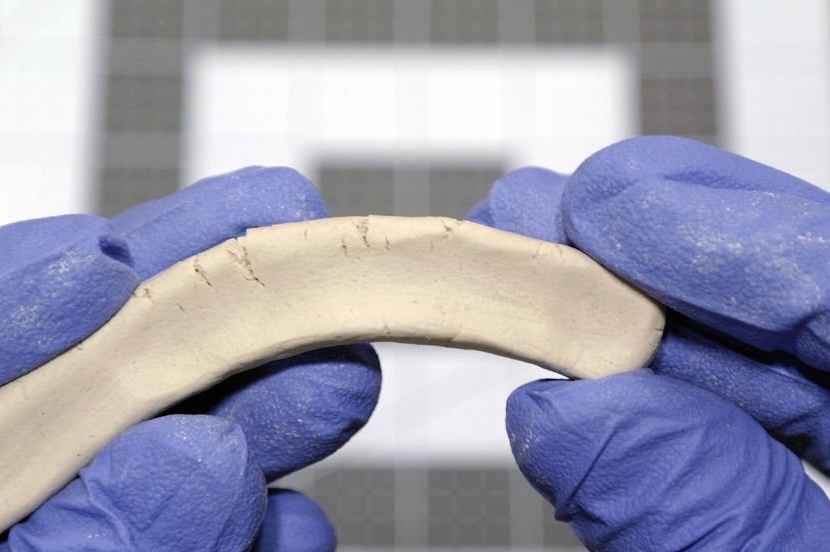
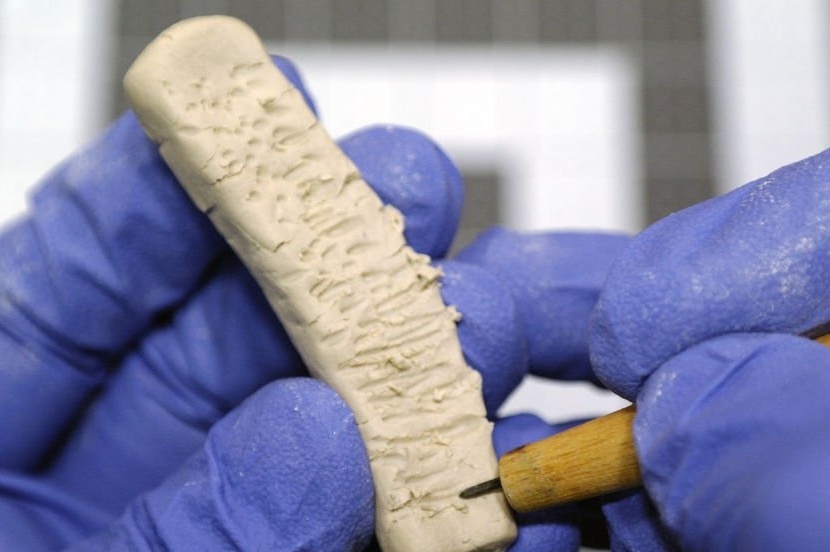
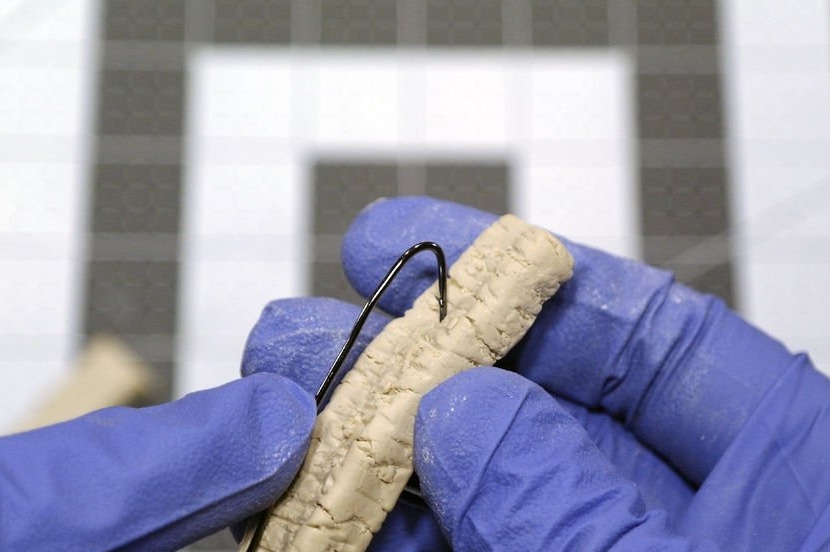
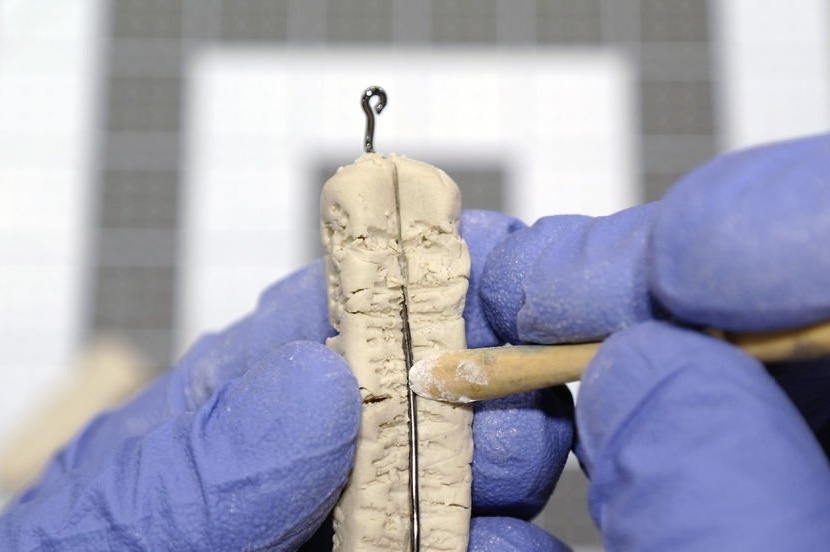
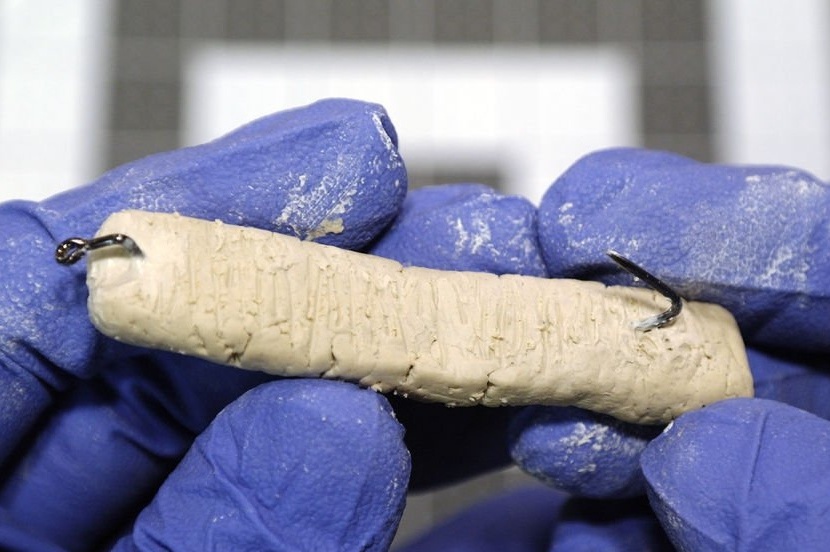
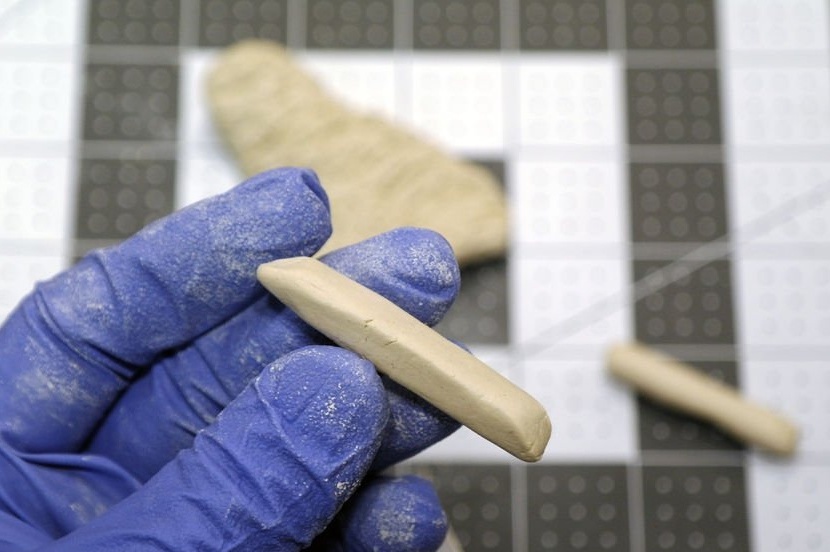
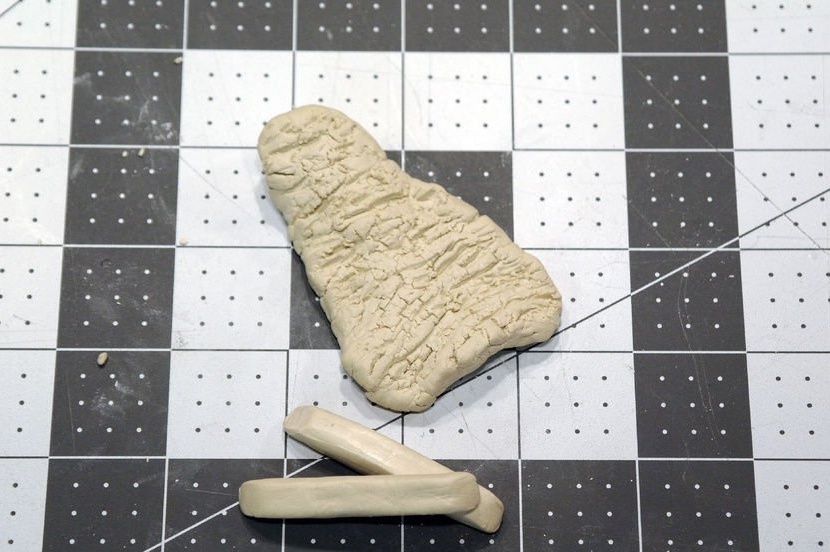
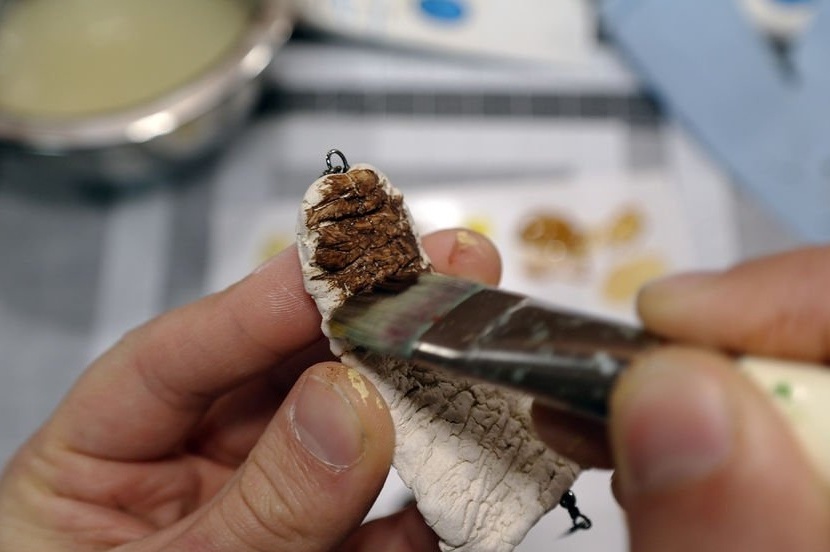
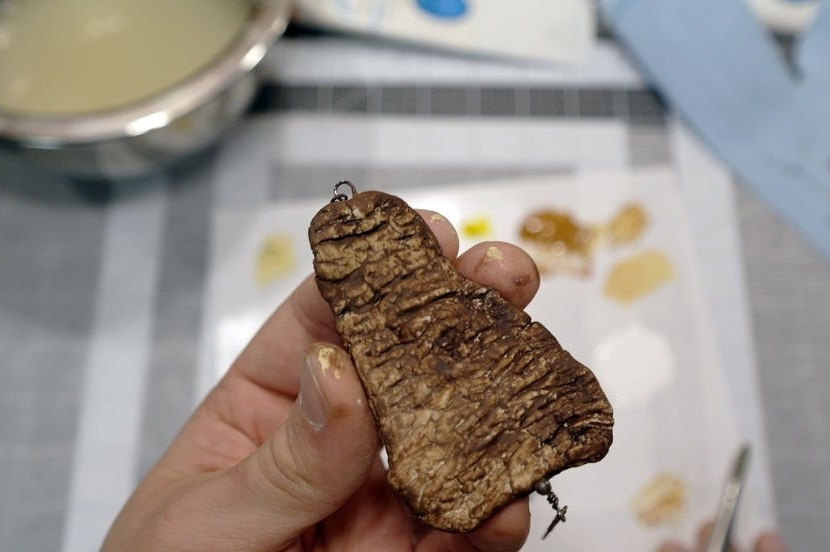
Well, with fish sticks, everything is simple. The master makes a bar, bends, so that he would crack a little and apply a drawing on all surfaces.
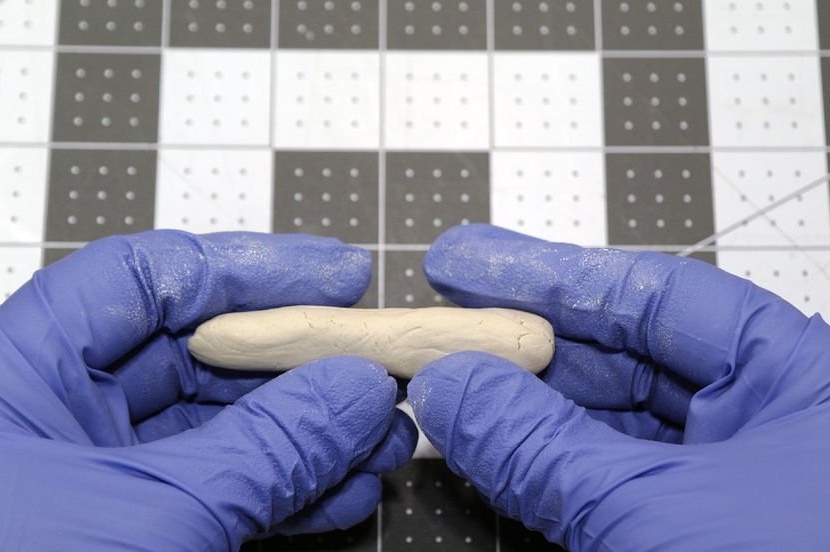
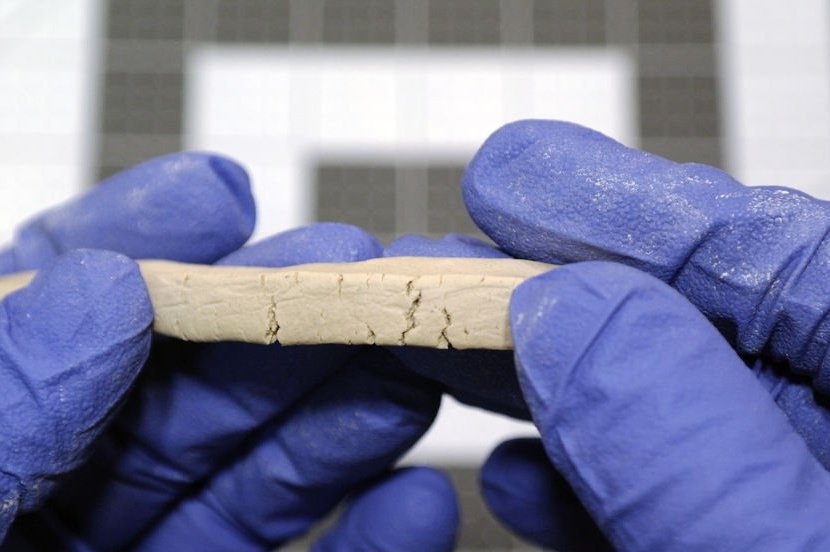
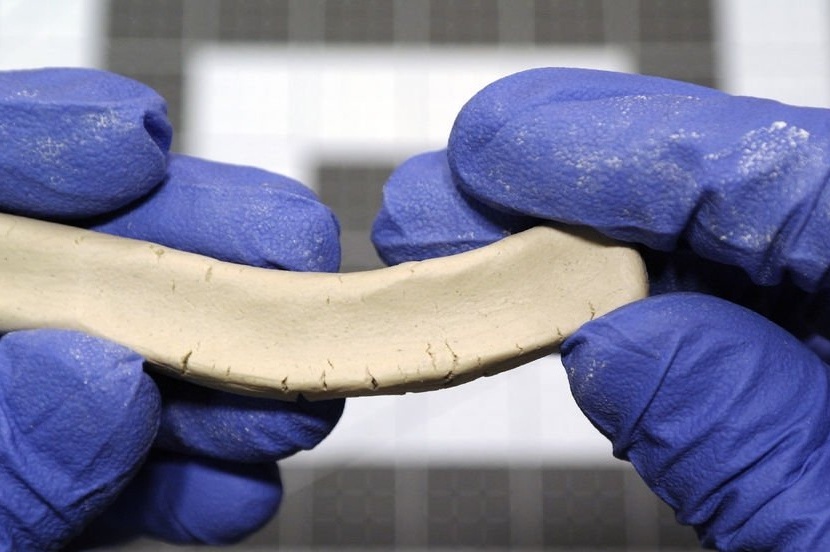
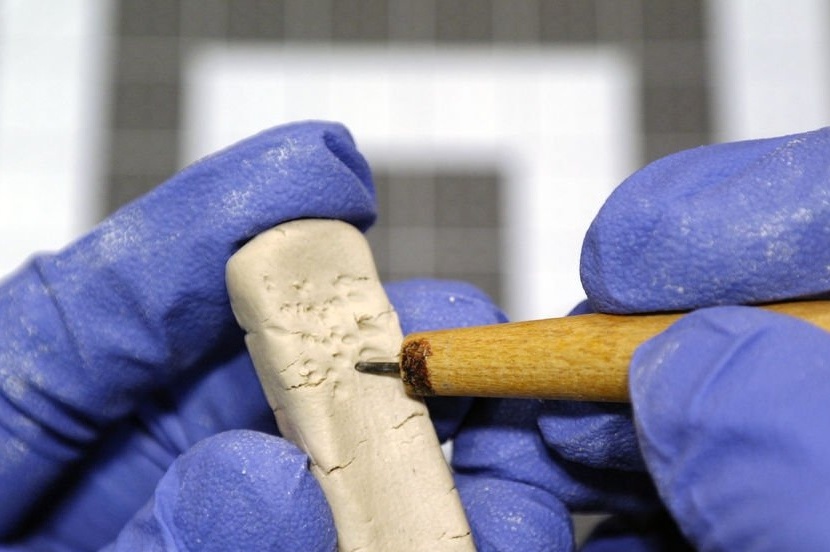
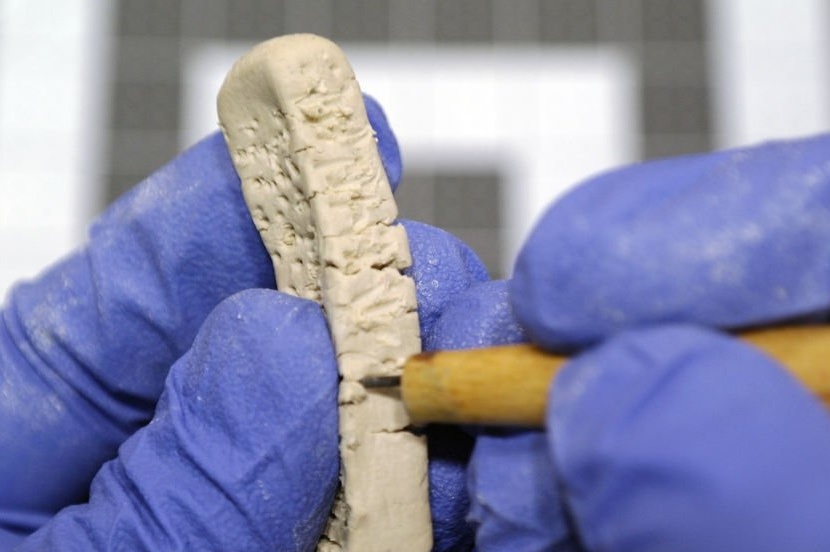
Then he takes a hook and presses it into the clay.

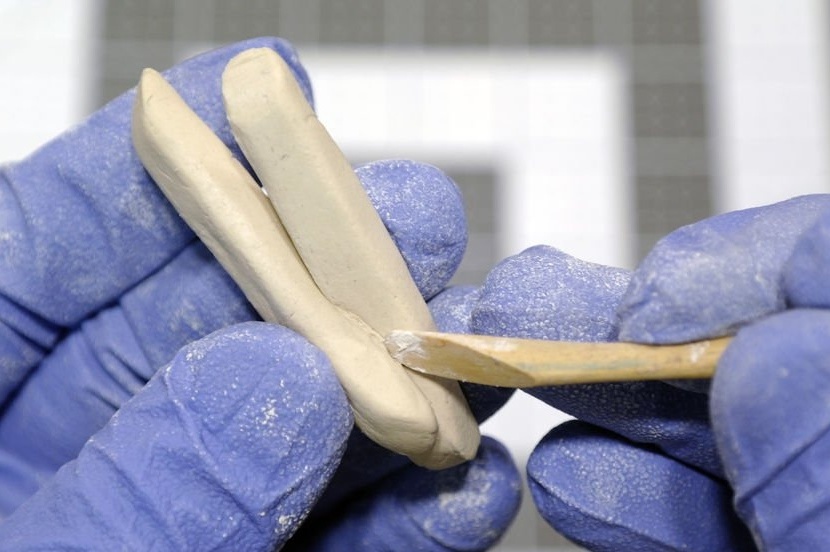
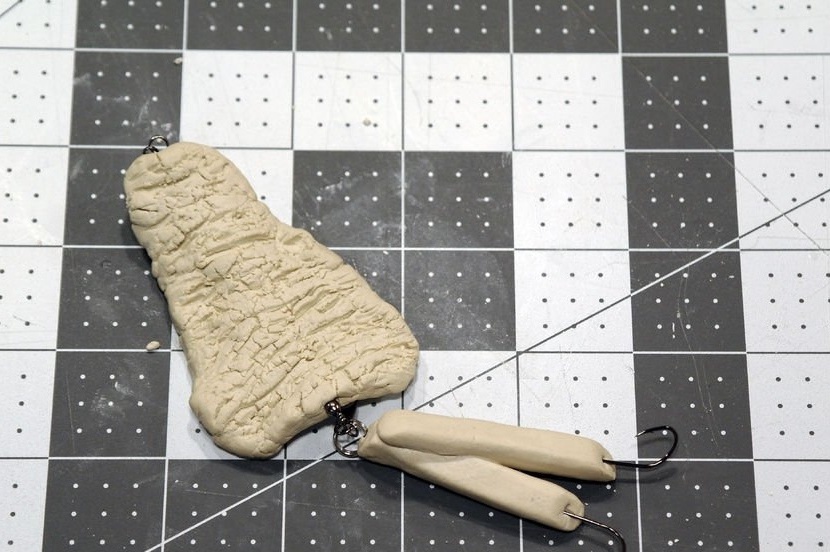
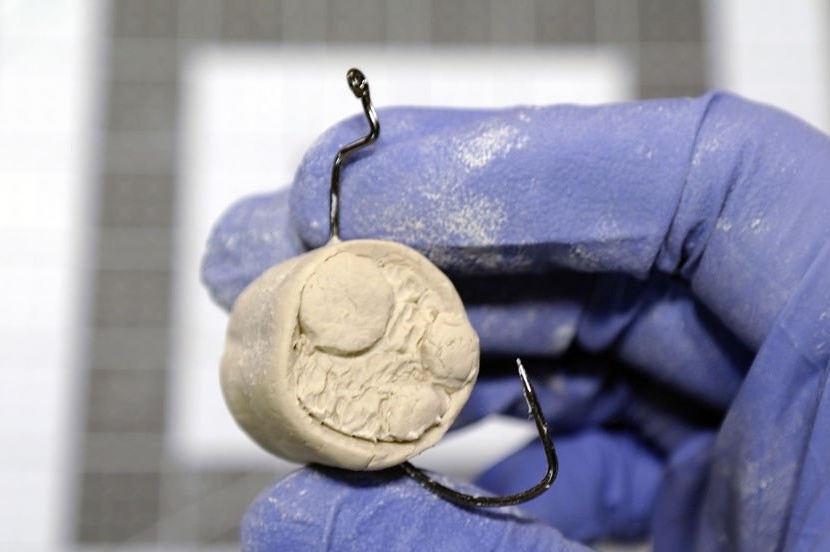
The bait chips consists of three clay parts. First he molds a slice of chips and applies a drawing.

Inserts swivels on top and bottom.
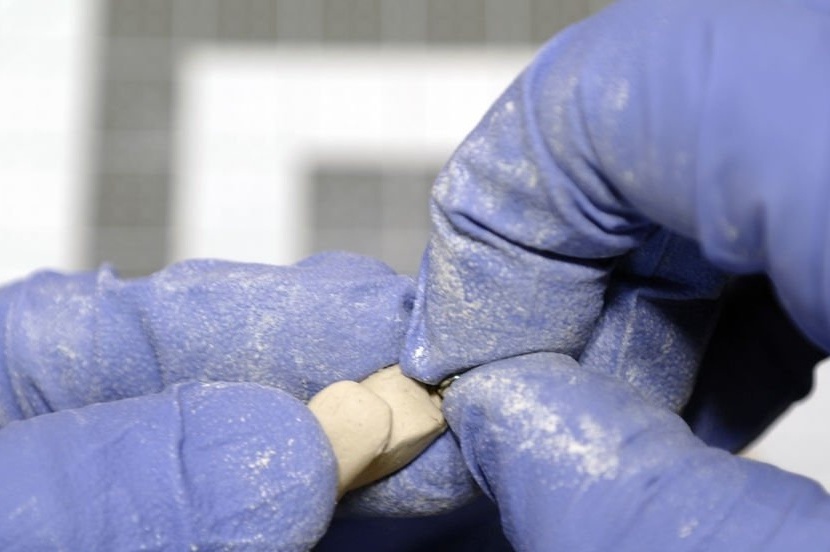
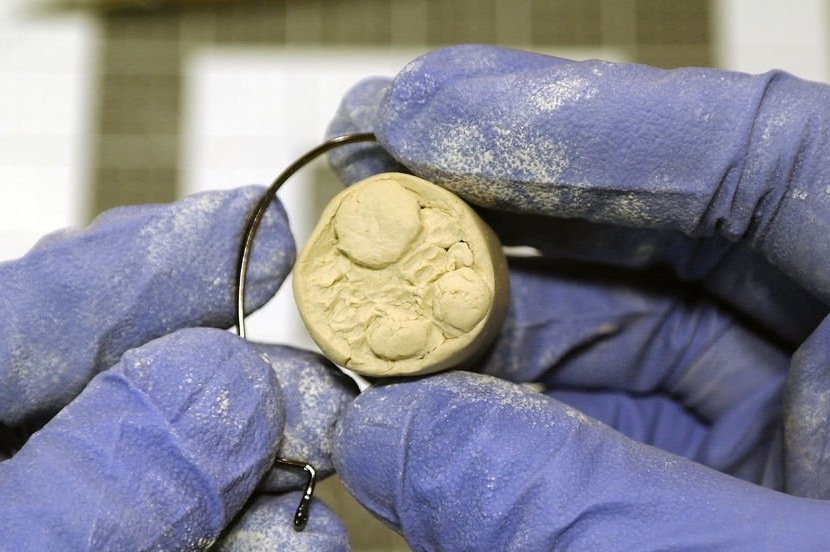
Makes two cubes.
Connects them at an angle (do not forget about water). Inserts a ring from above, hooks from below.
Connects two parts.
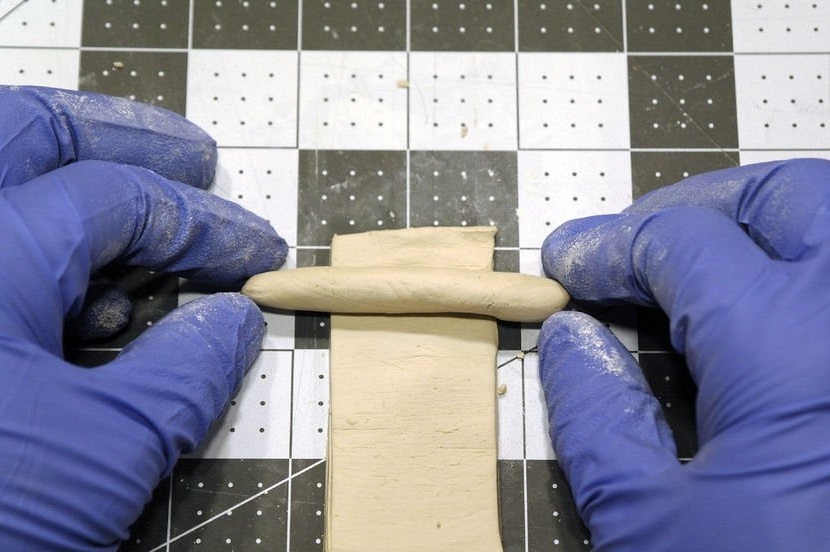
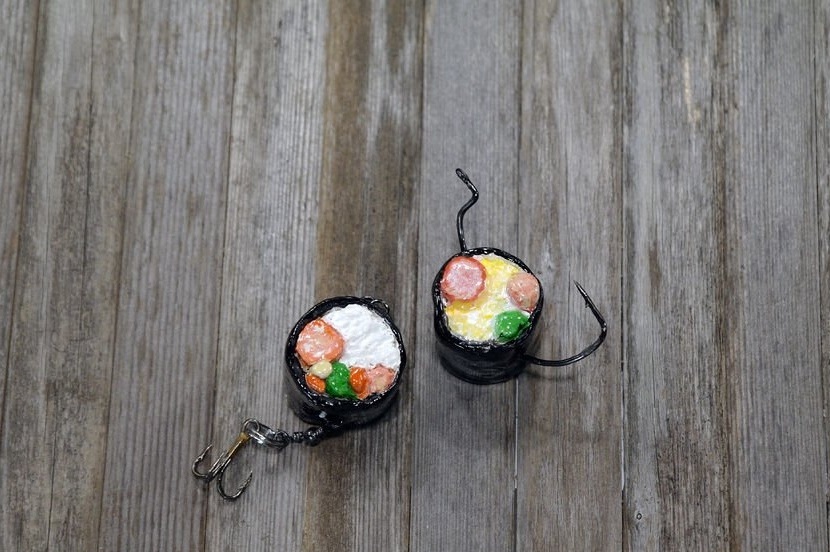
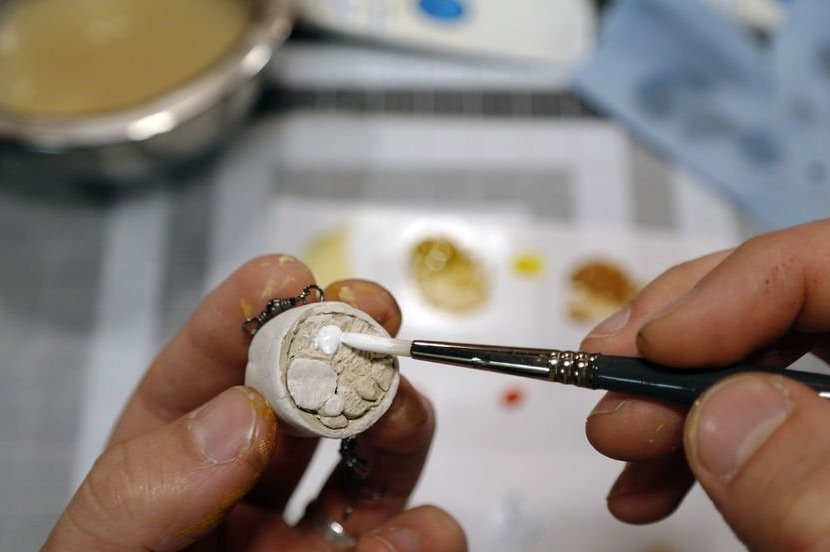
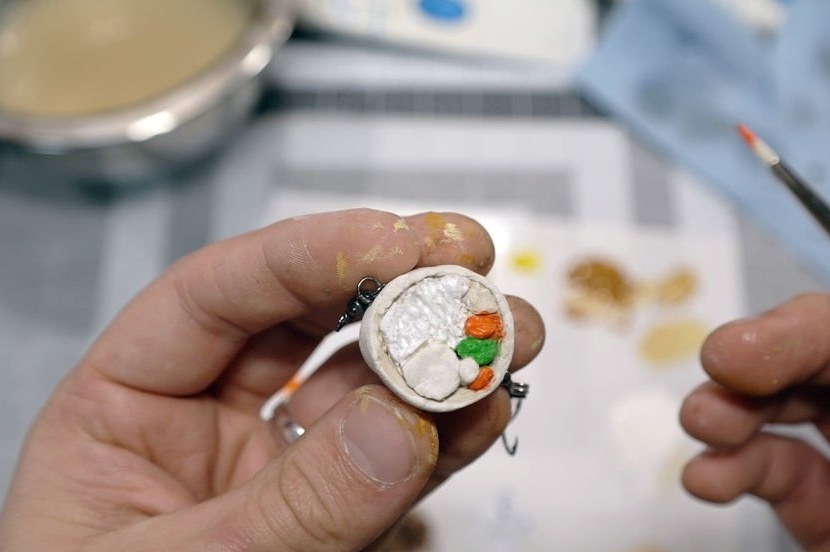
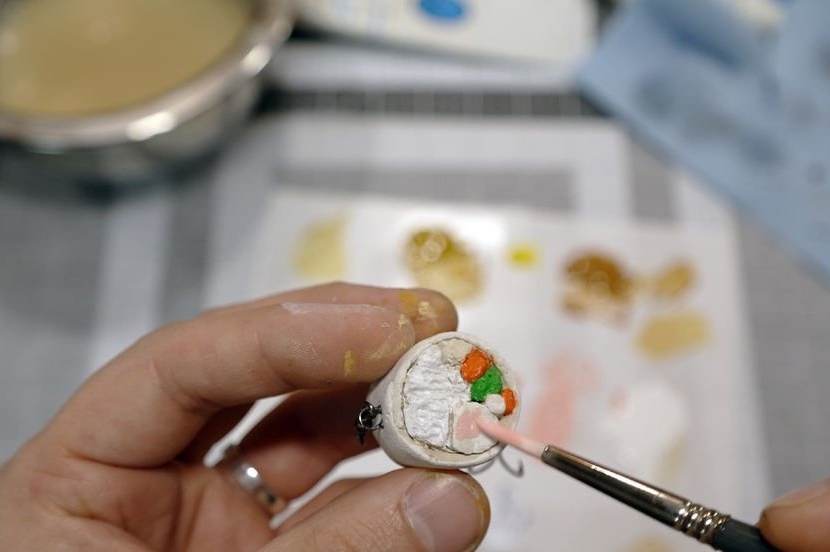
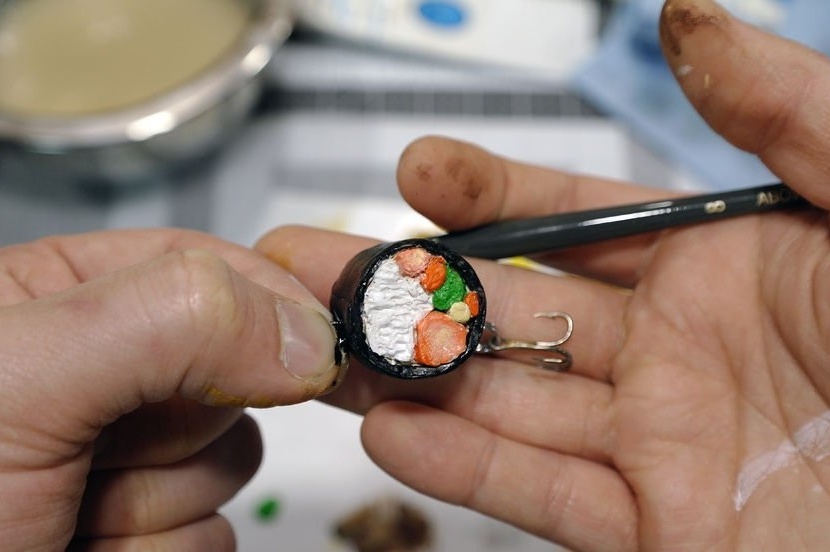
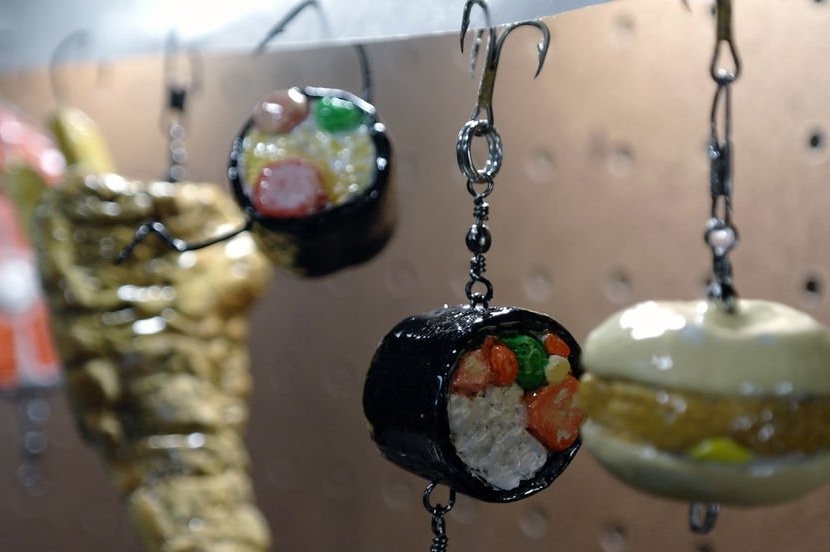
Step Four: Sushi
The most difficult to make bait is sushi. The master rolls and cuts the clay.
On a rectangular part lays billets twisted in rolls.
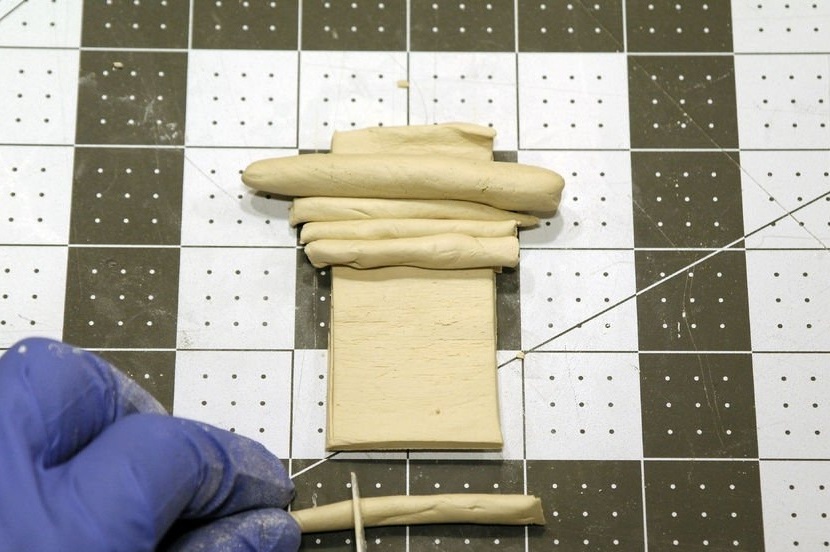
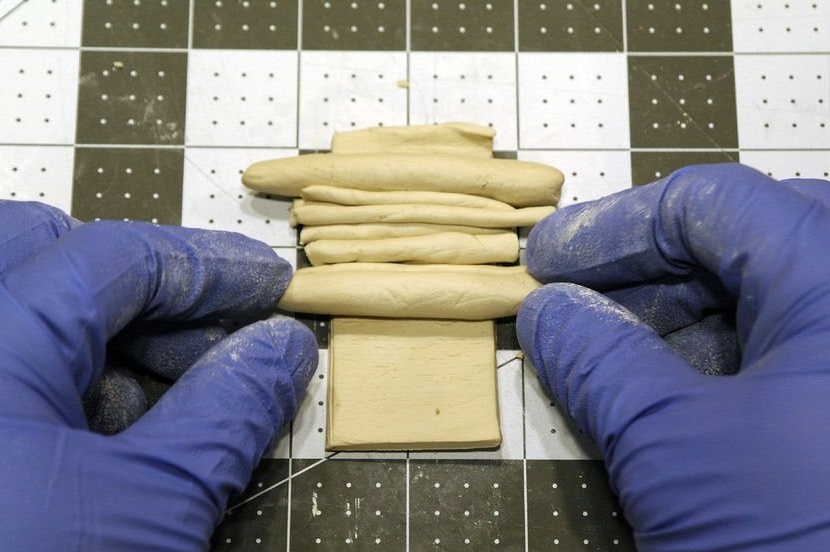
Trim protruding edges.
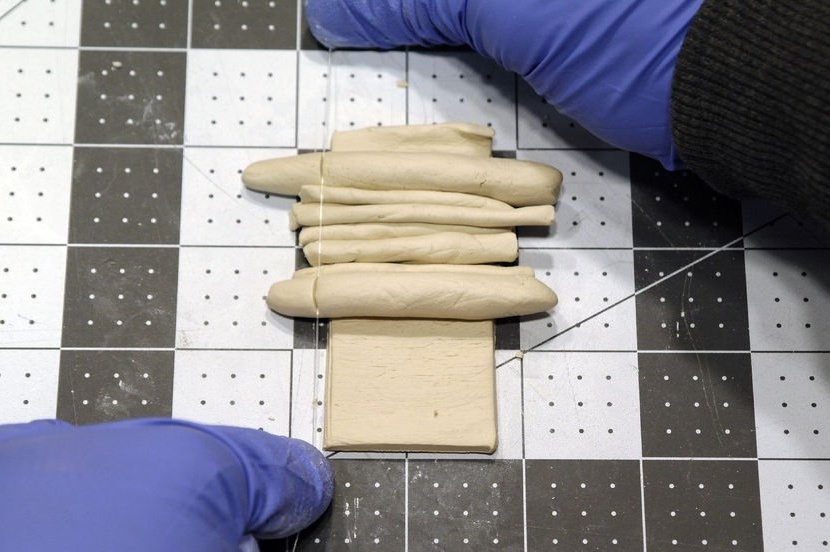
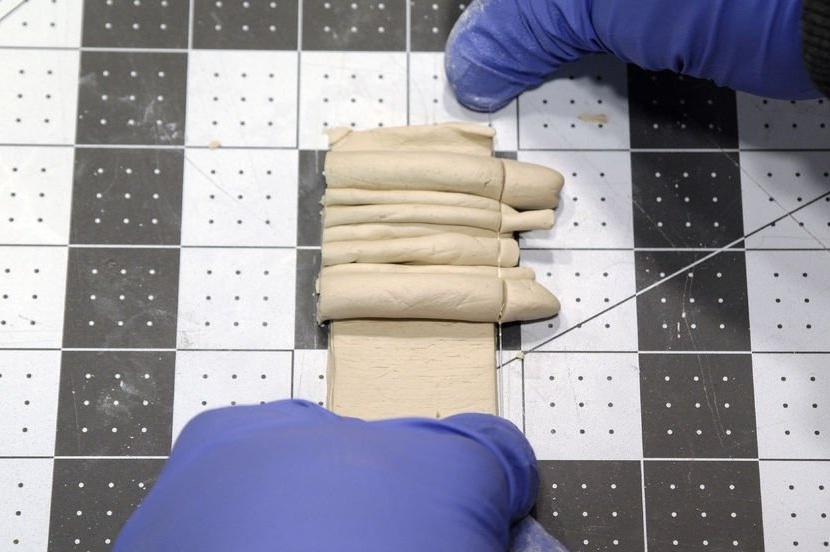
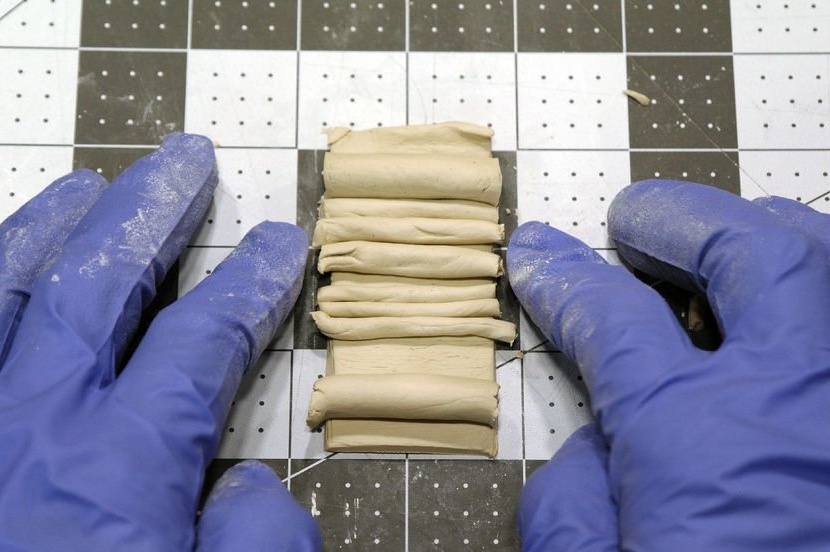
Collapses.
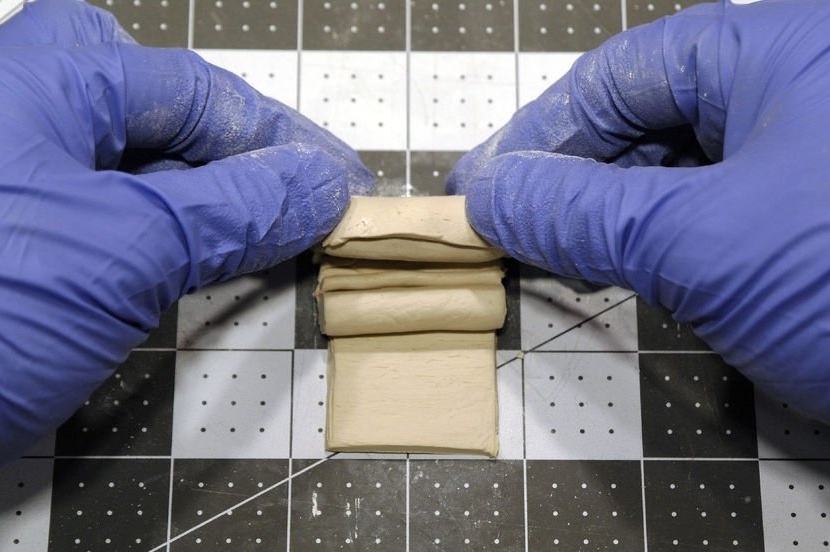
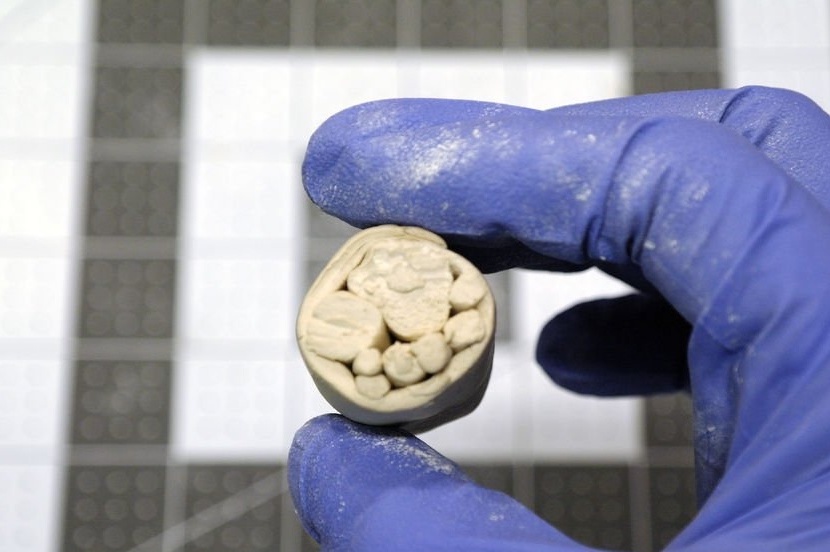
Applies a texture pattern.
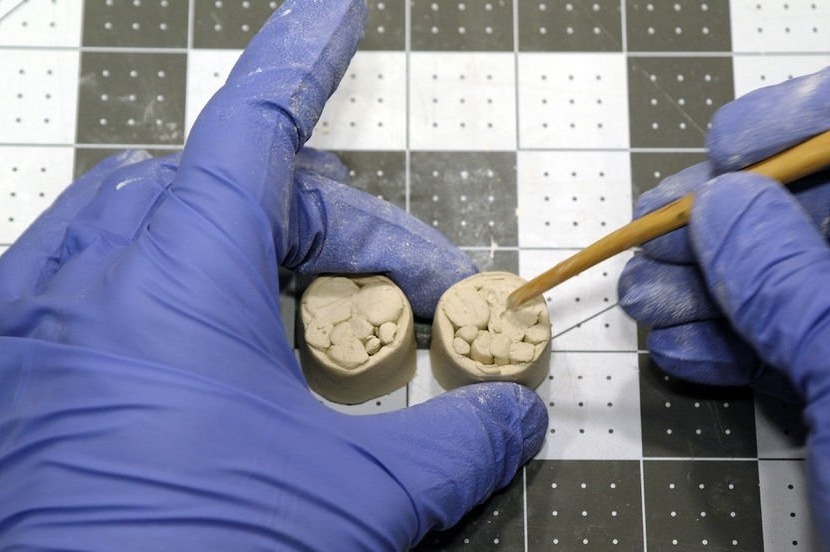
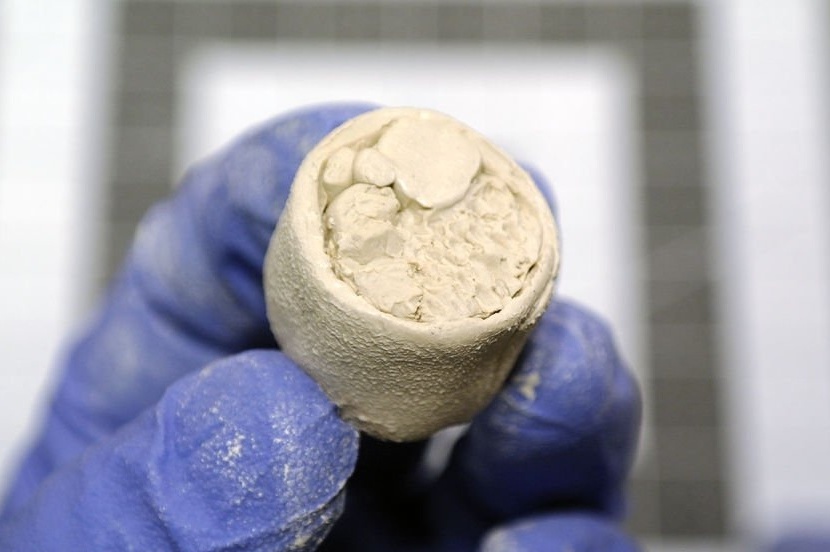
Now you need to insert the hook into the "sushi".
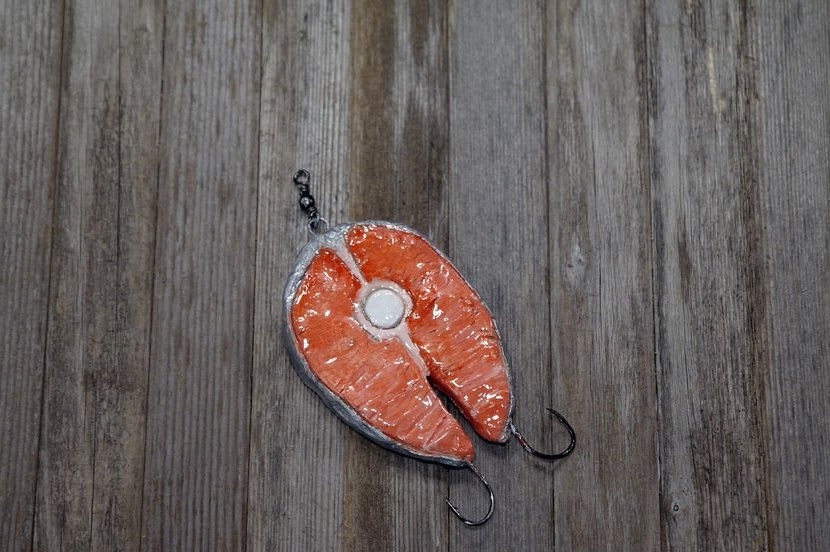
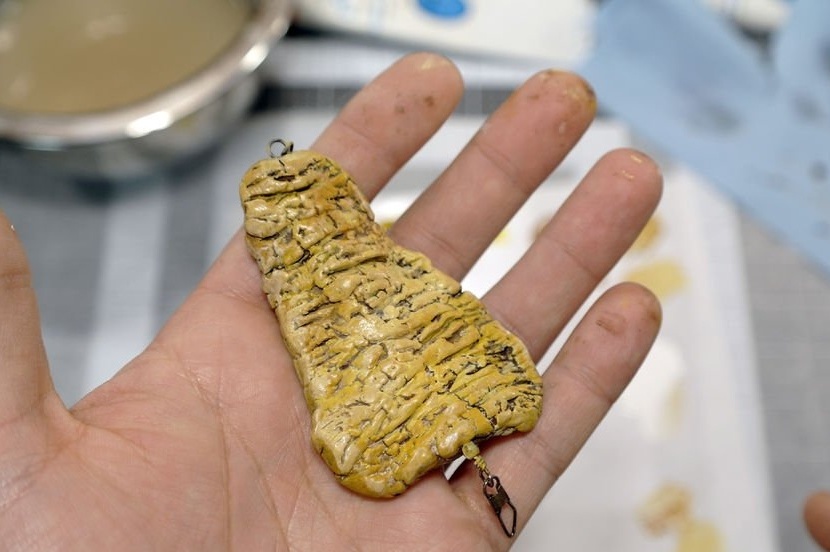
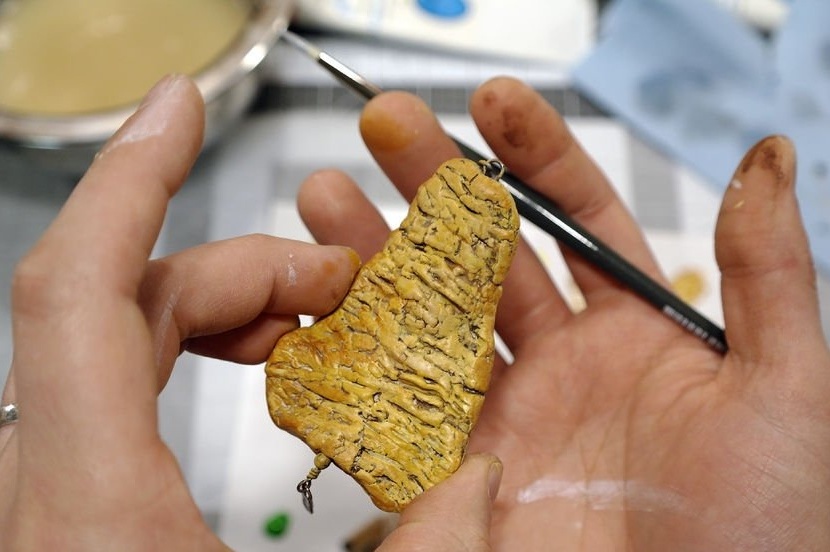
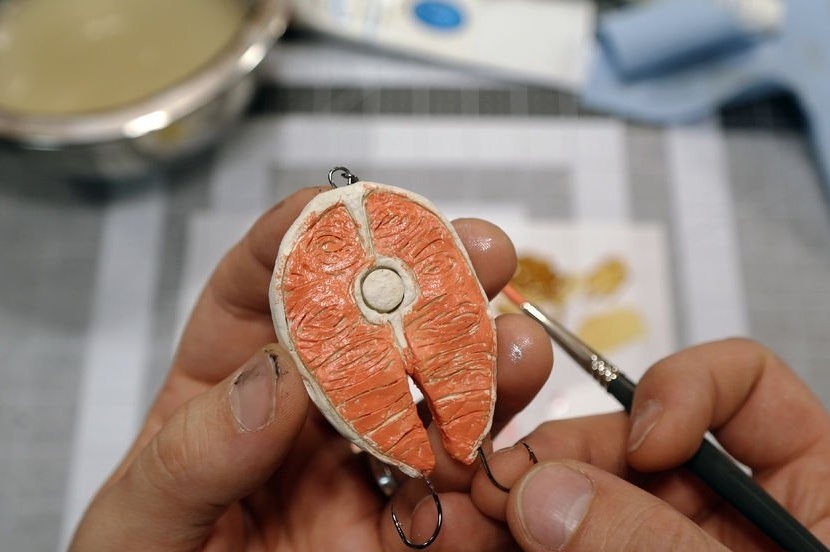
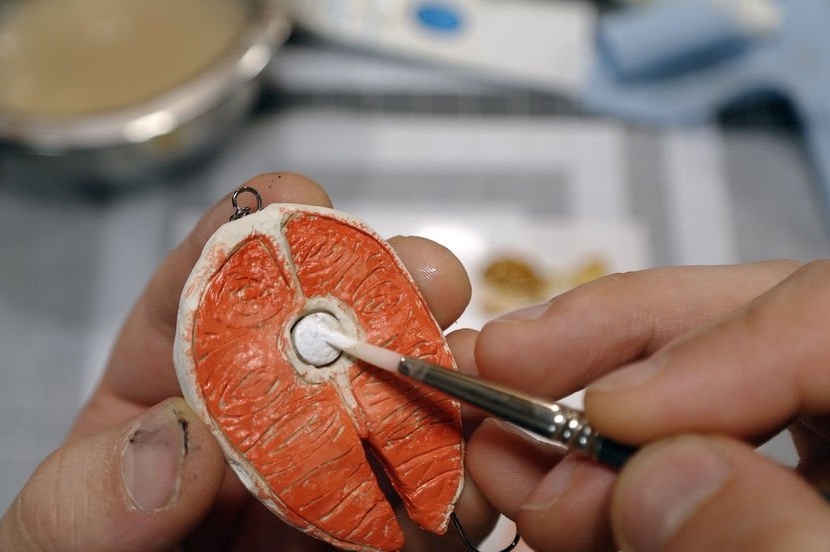
Step Five: Salmon Steak
Finally, the last bait is made in the form of a fish piece. The bait is made similar to the previous ones. In my opinion, the most beautiful of the lures, whether it is delicious or not, you need to ask the fish.

The bait is molded and now you need to leave them to dry. You can speed up the drying process with a construction hairdryer, but then the water bubbles turn into steam and break through the clay pores. The surface becomes like a moon. If you decide to use a hair dryer, be sure to protect your hands and face.
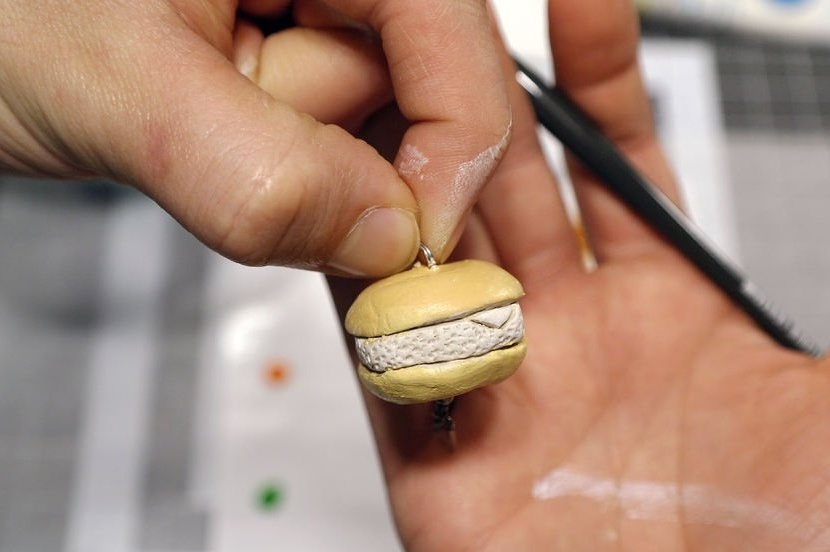
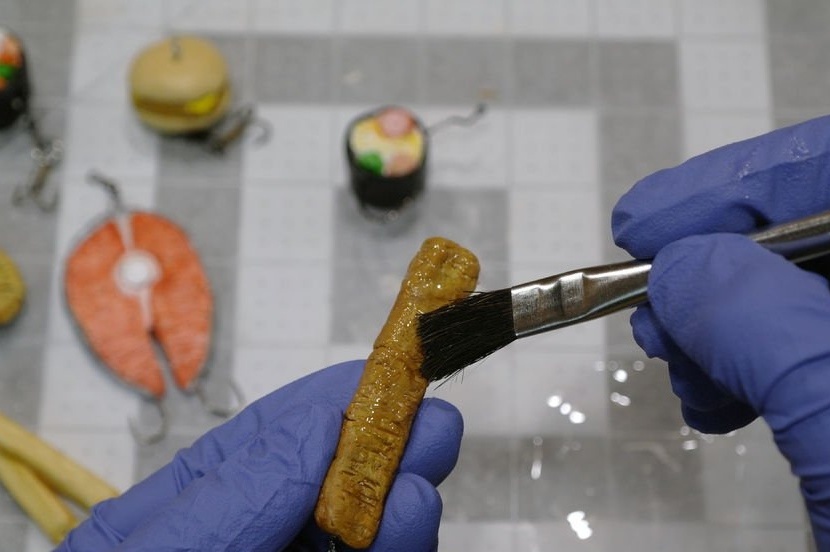
Step Six: Painting
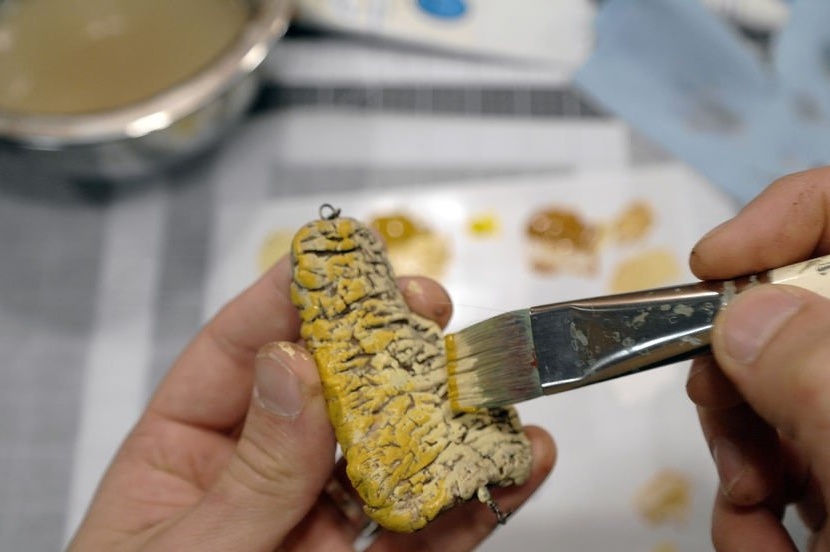
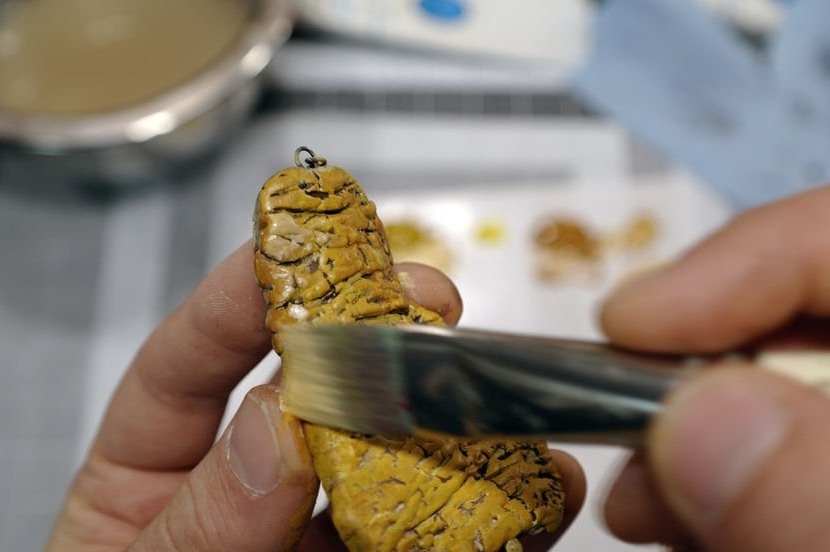
The products have dried, and the master begins to stain. The main problem when working with acrylic paints is their quick drying. The master advises adding an acrylic retarder to the paint. This additive slows the drying process.

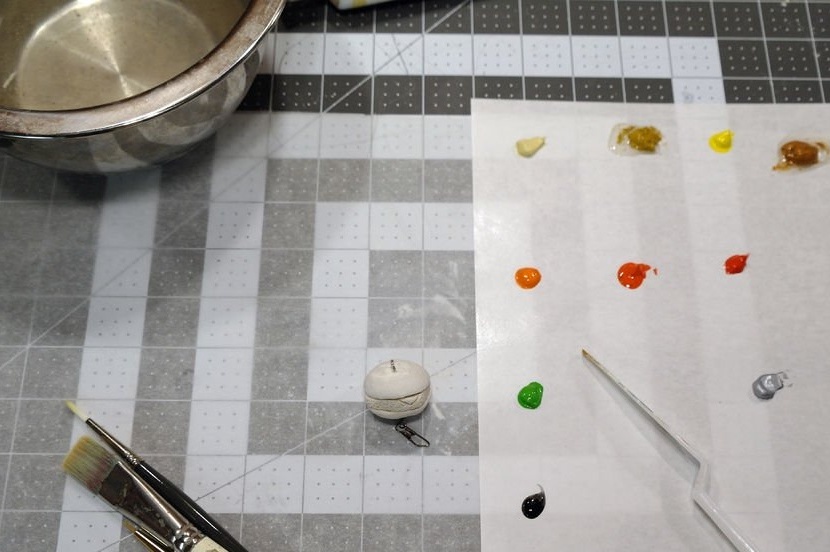
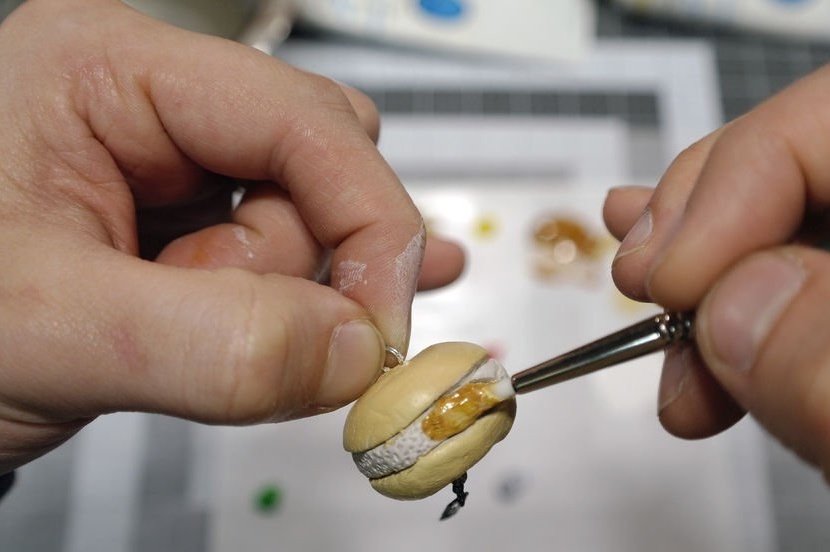
You also need to choose the right type of brush. Brushes are divided by fiber and size. To color the bait, the master used synthetic brushes of size 3-6. To paint a large workpiece, you can use a brush number 10.
To understand what color will be when mixing different paints, the master advises using special tables produced by paint manufacturers.


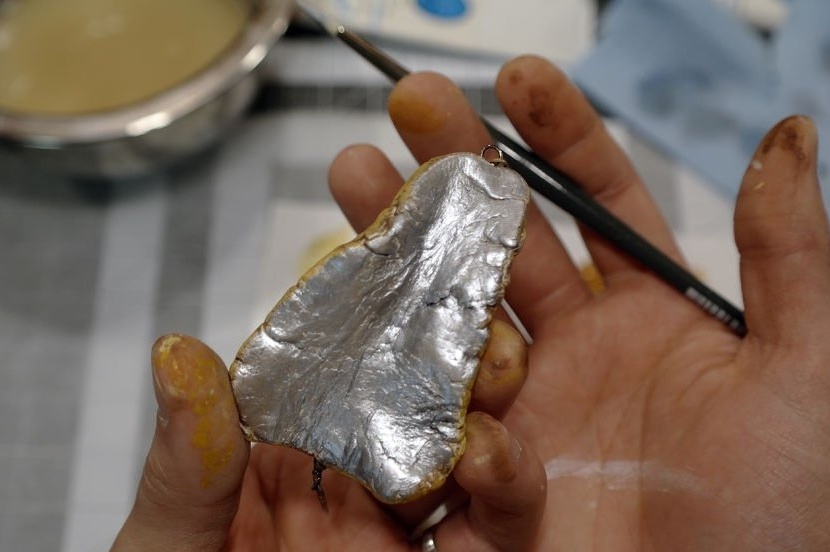
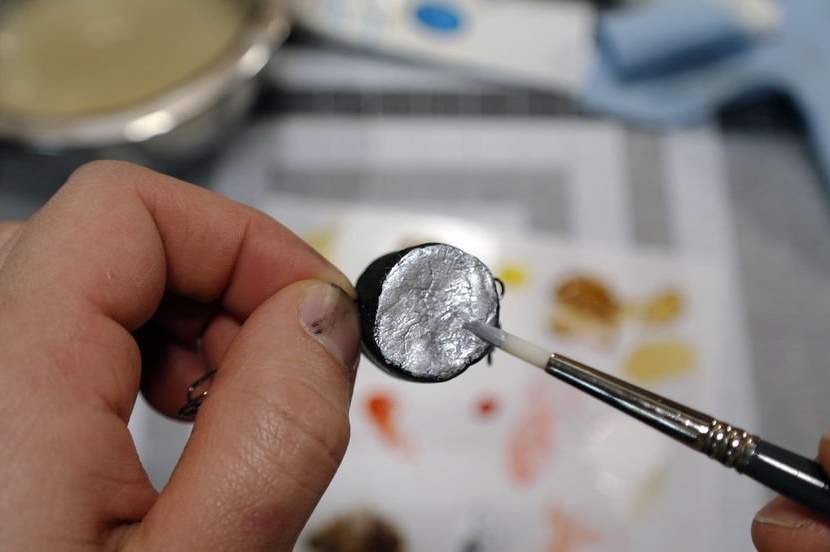
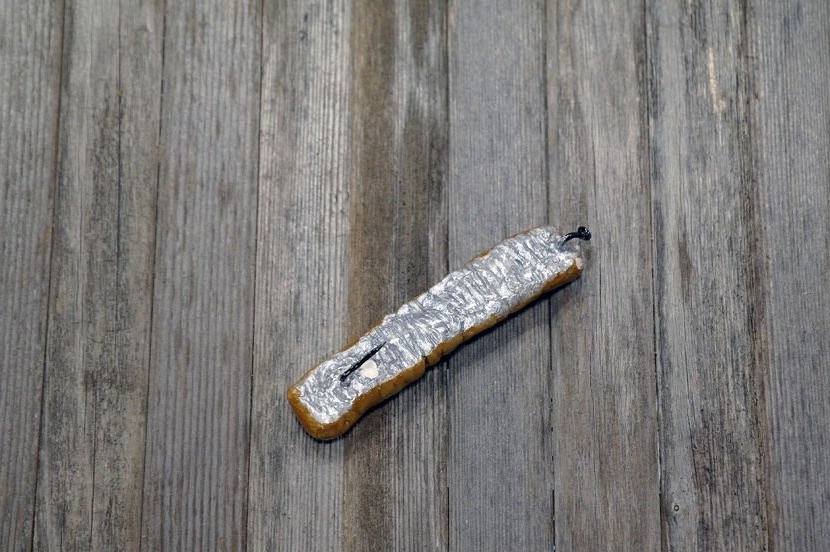
Fish are attracted to reflective objects, so the master covered the back of his baits with silver paint. Such paint reflects color well.
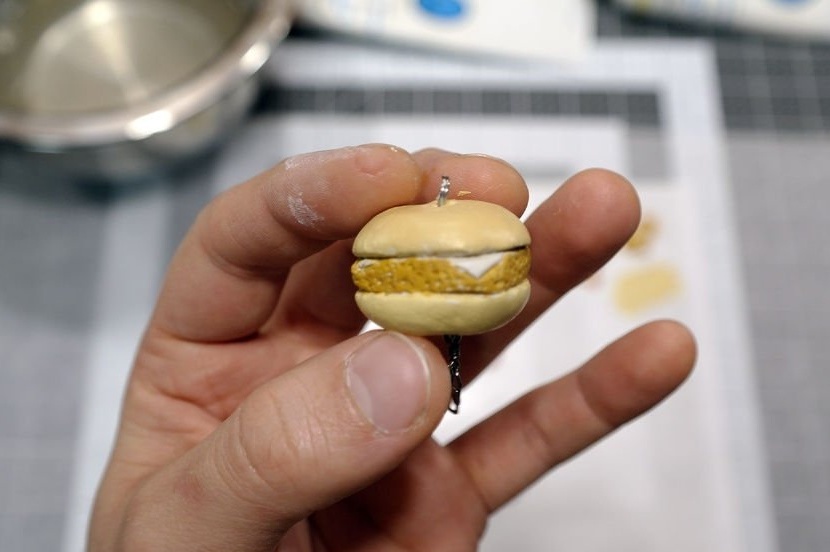
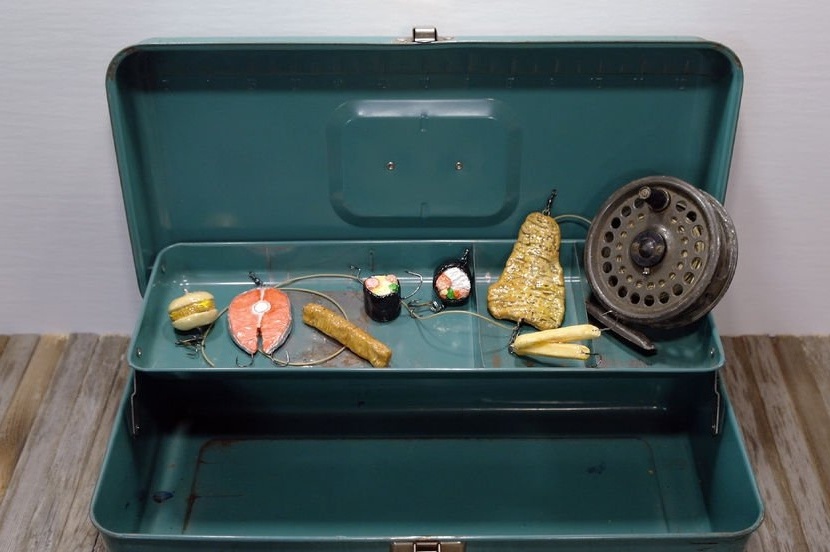
Seventh step: bonding and water repellent coating
After the paint has dried, you need to apply epoxy resin on top of the lures. Such a coating will give the product durability and protect it from moisture.
Everything is ready, now you can go fishing.


As you can see, making baubles is a simple and fascinating task. Good luck fishing.