
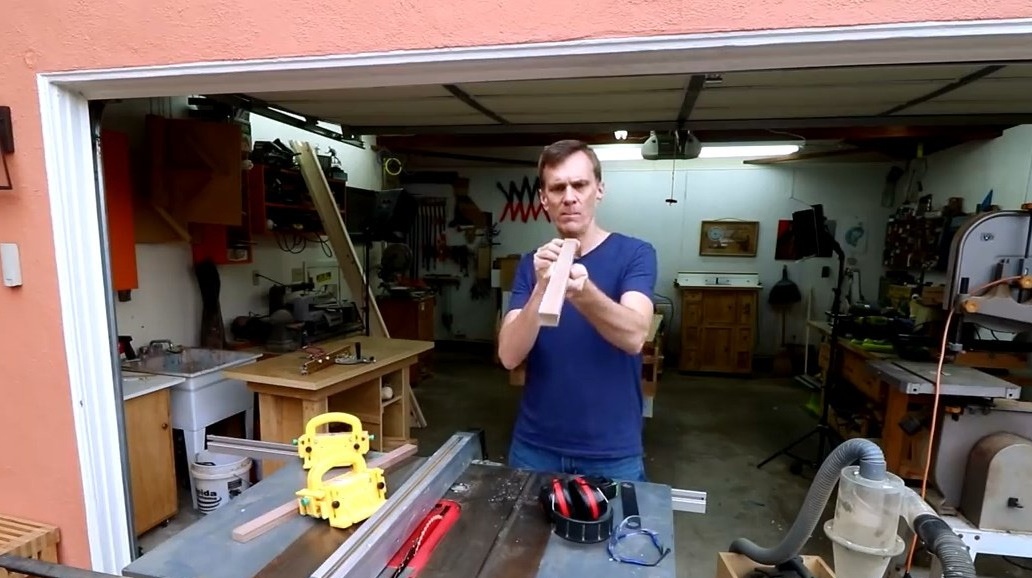
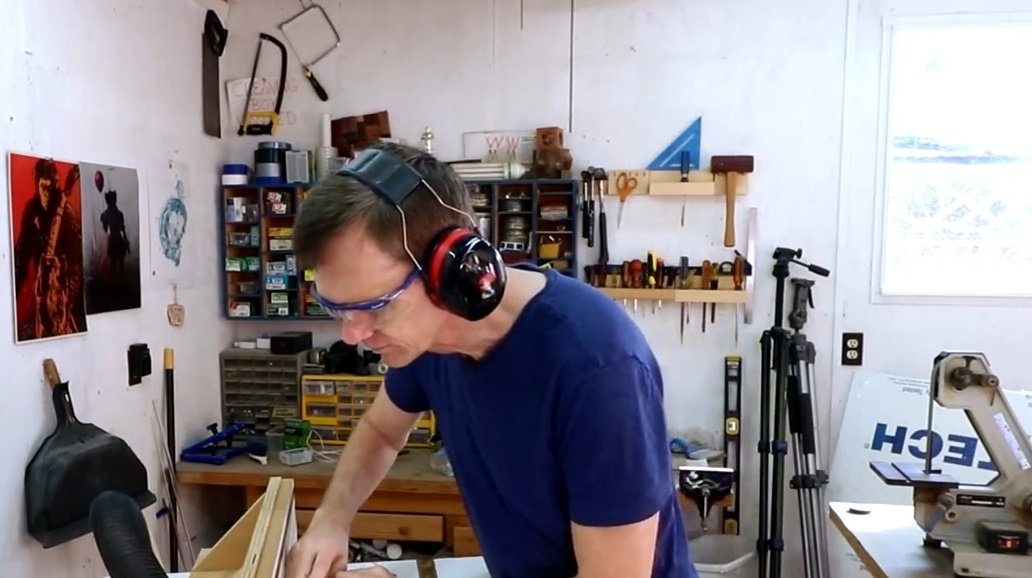
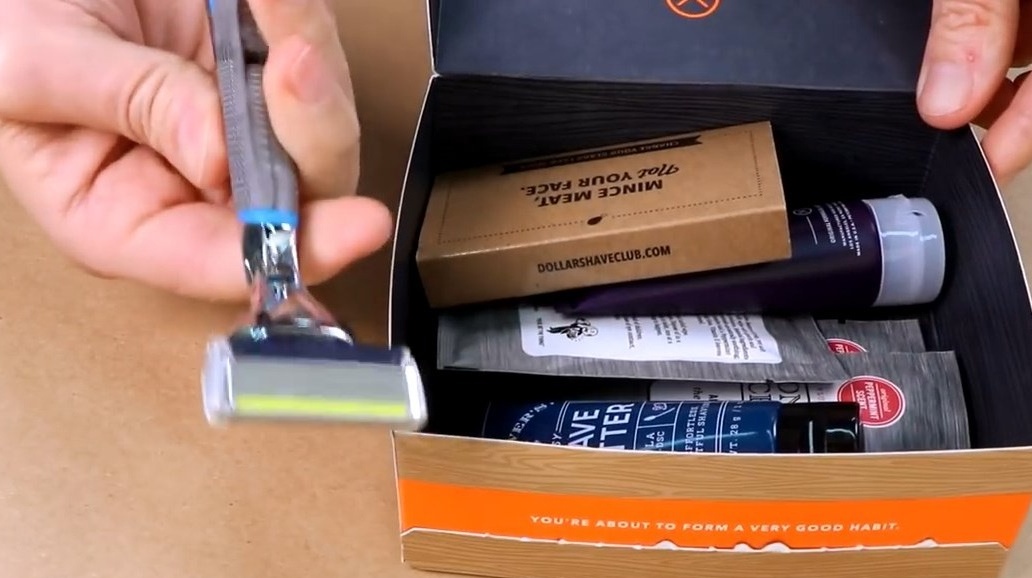
In this article, Steve, author of the YouTube channel "Steve Ramsey - Woodworking for Mere Mortals", will tell you how to make your own sharpening device for disposable razors. Nothing complicated! And, believe me, ecologists and green people will be grateful to you.
But even if you don’t shave and you don’t need a razor, the author promises to teach a simple technique how to make charming boxes using milling.

Materials
- Wooden boards (maple and cherry)
- sheet plywood
- PVA glue
- Rubber bands
- Insulation tape or masking tape
- Old jeans
- Aerosol contact adhesive
- Aerosol varnish.
Instruments, used by the author.
- A circular saw
- Milling machine
- Sandpaper
- Furniture stapler
- Joiner's knife
- Ruler, pencil, square.
Manufacturing process.
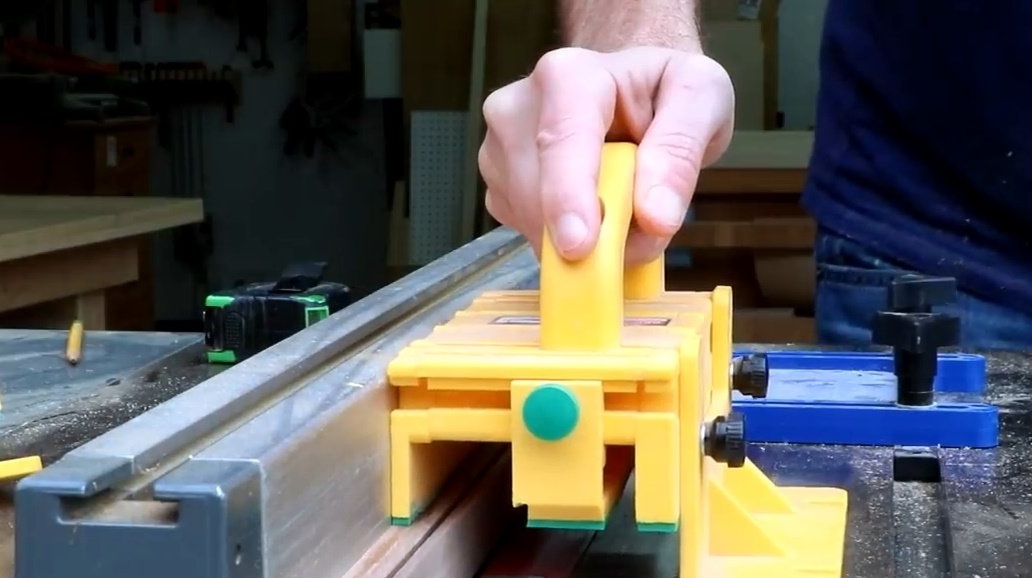
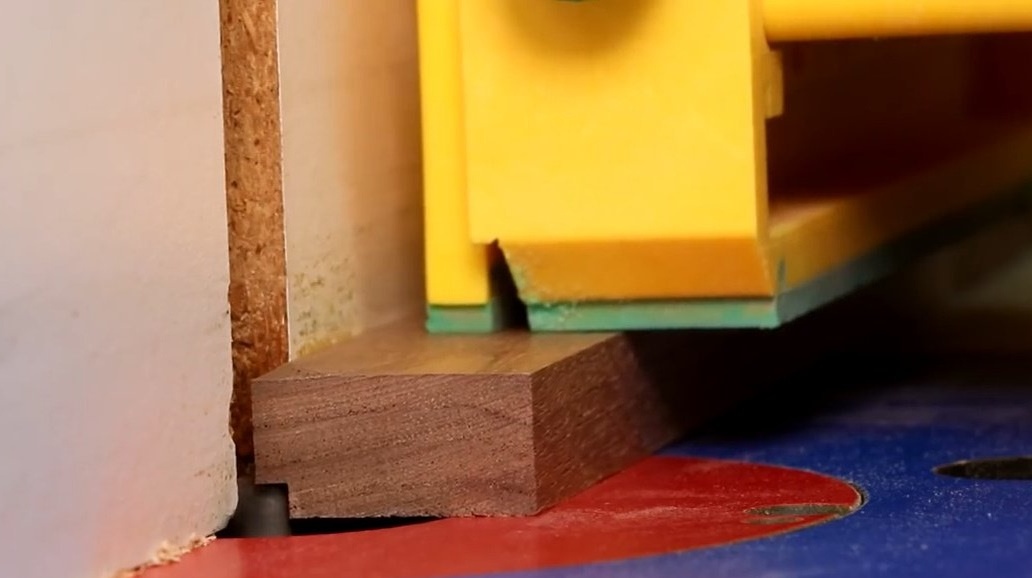
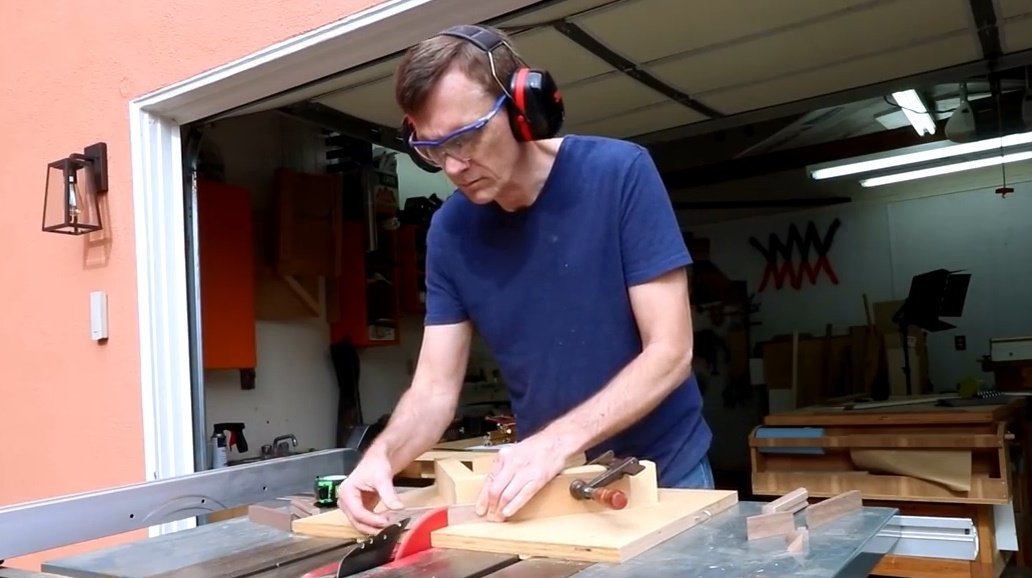
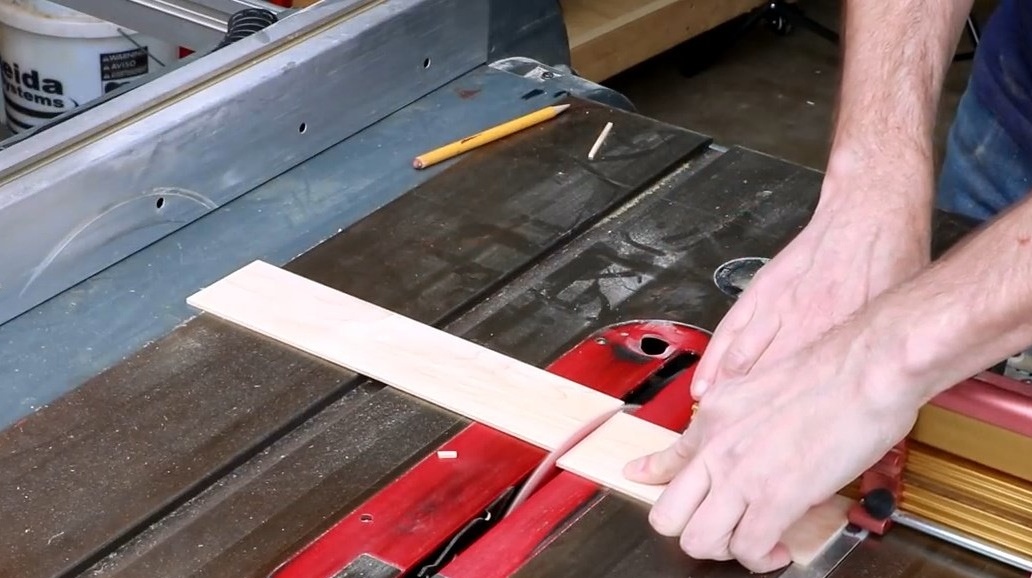
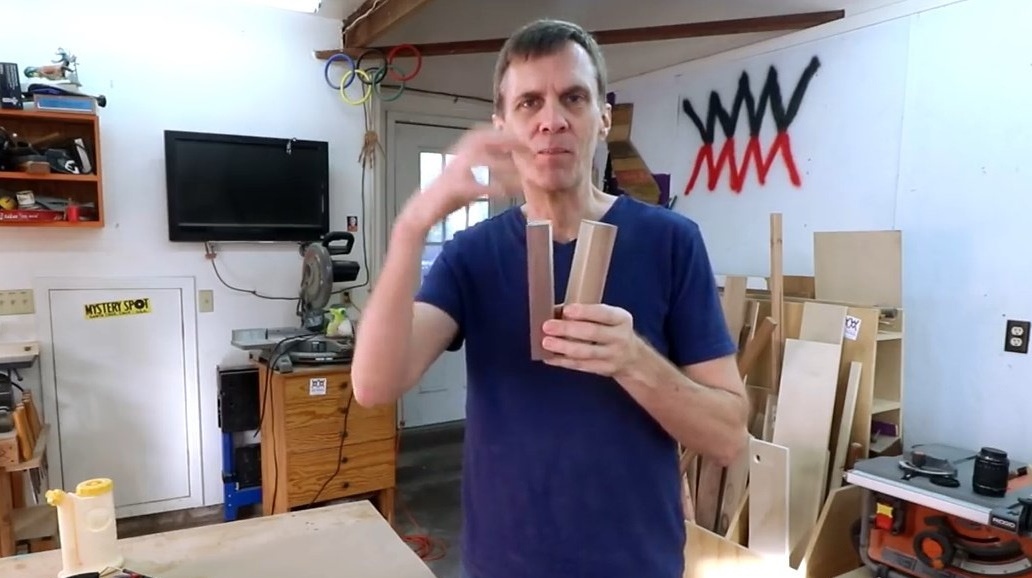
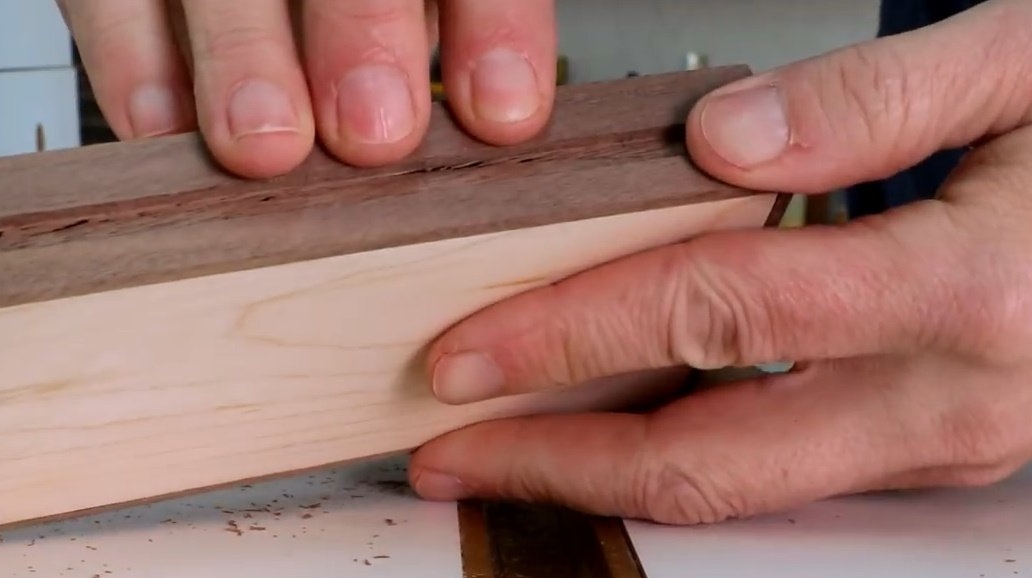
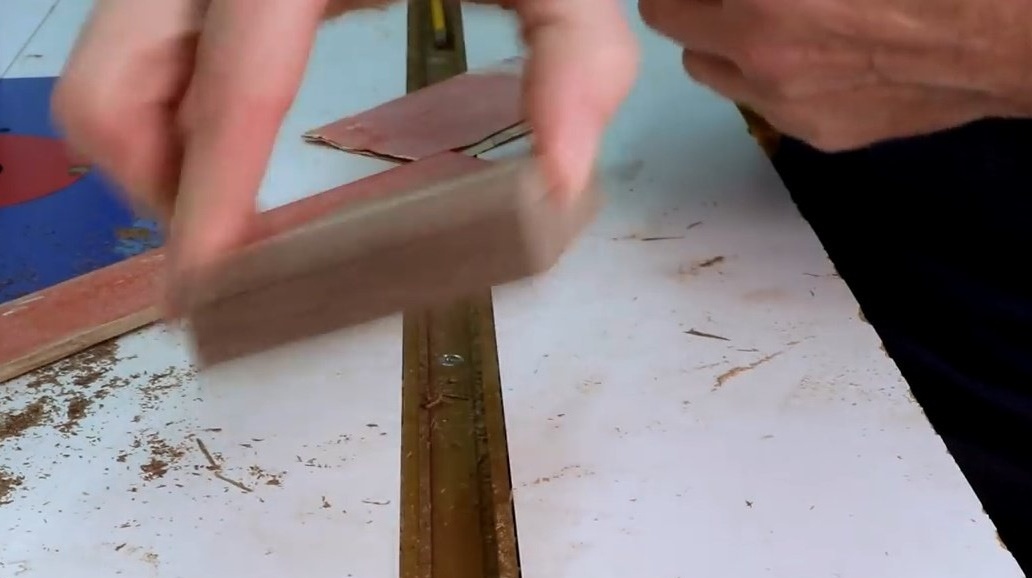
Working with such small pieces of wood is a real test, says Steve. The smaller the product, the more accuracy it requires. And he begins by cutting a board 2.5 cm wide.

And he cuts a second board, which he will use as a probe in case something goes wrong. He cuts it into 12.5 mm thick so that the box is not very bulky.
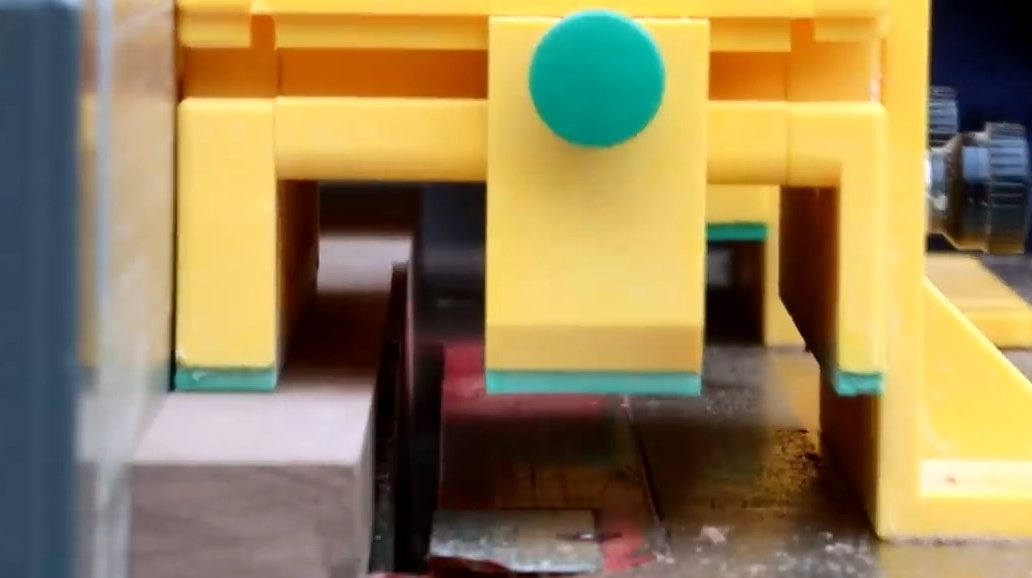
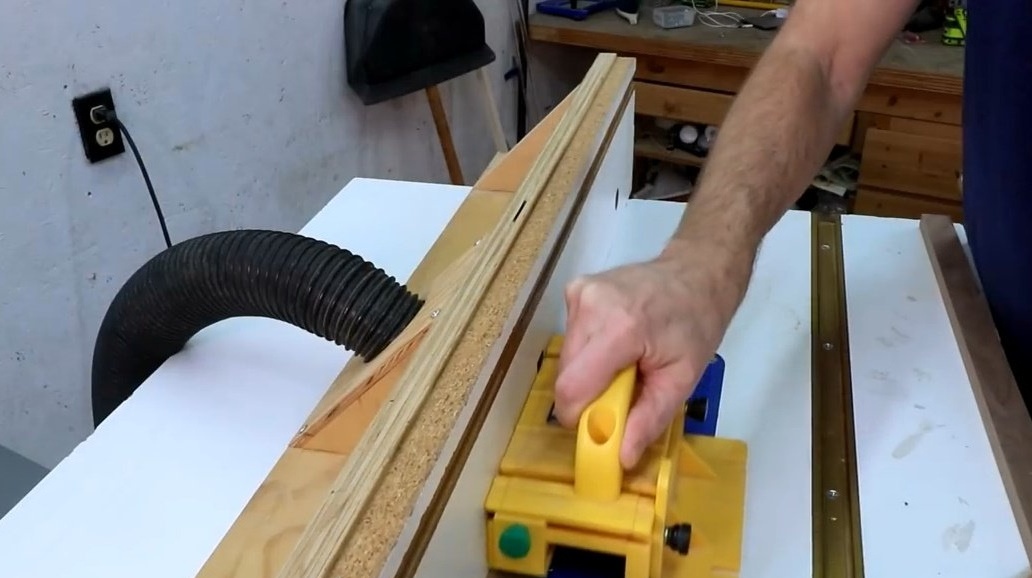
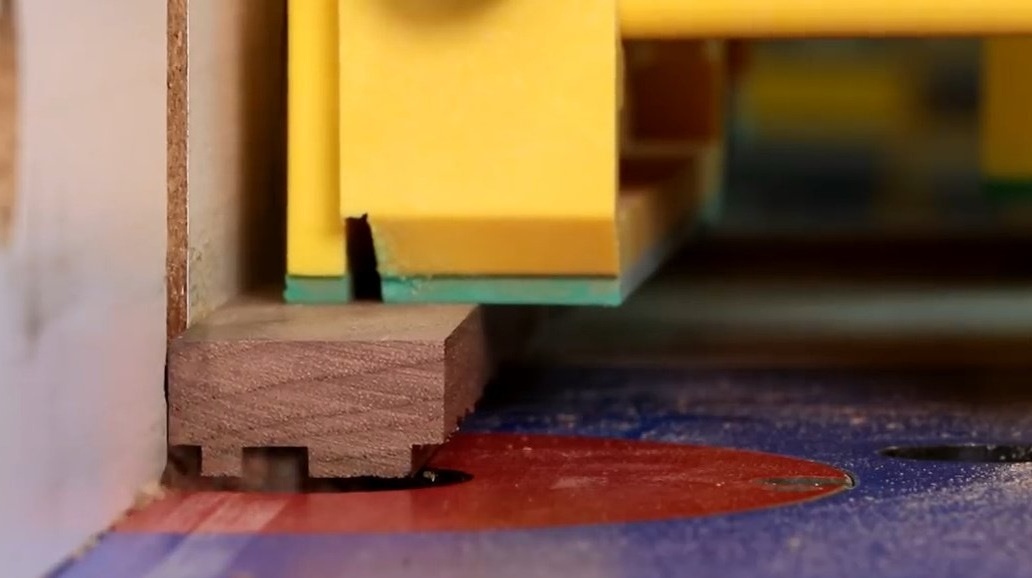
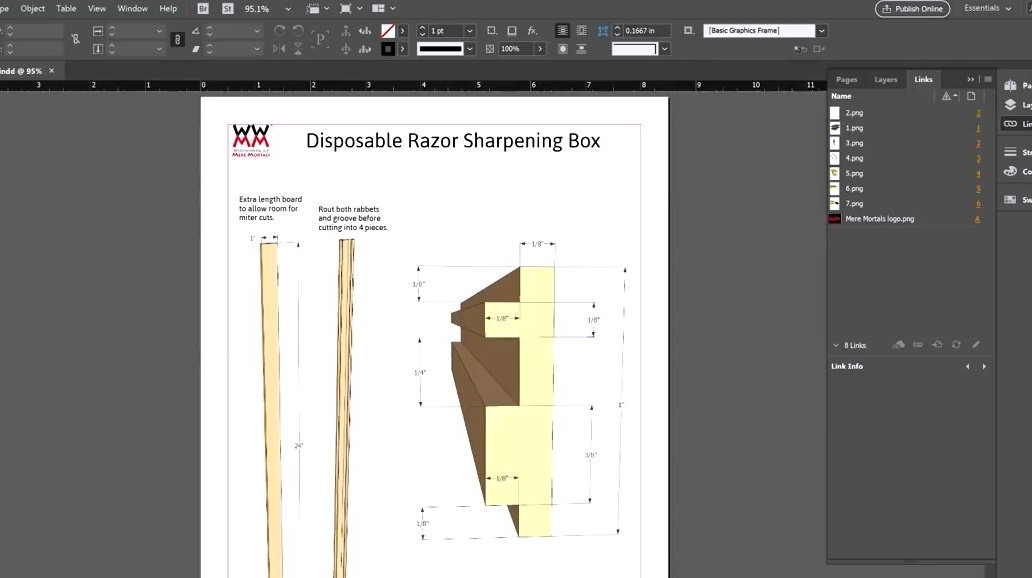
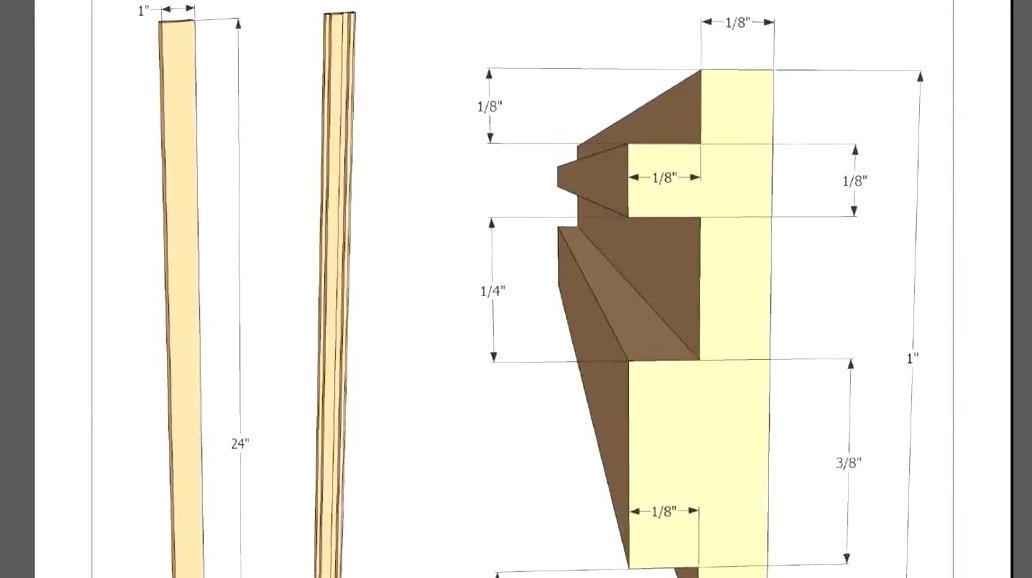
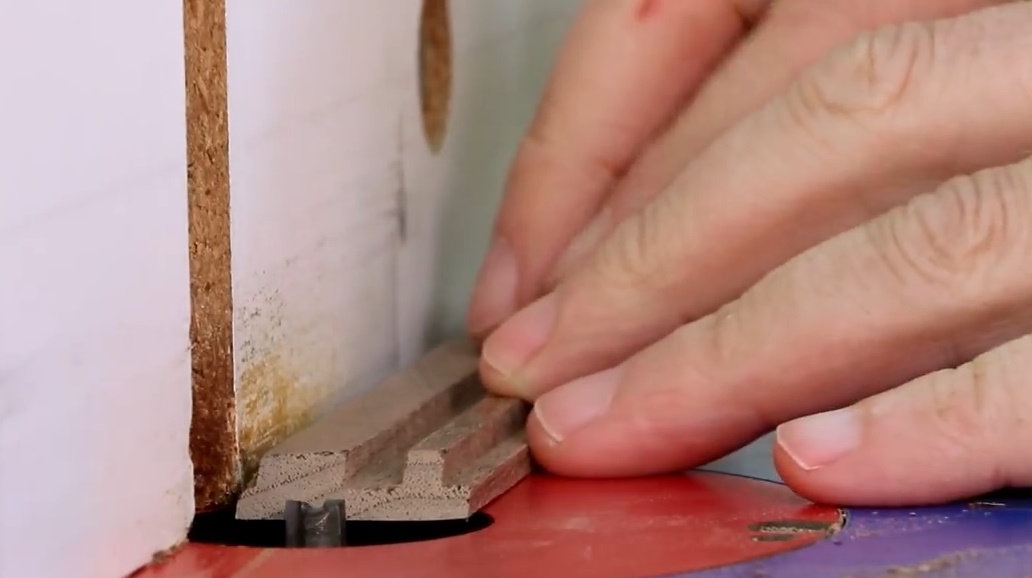
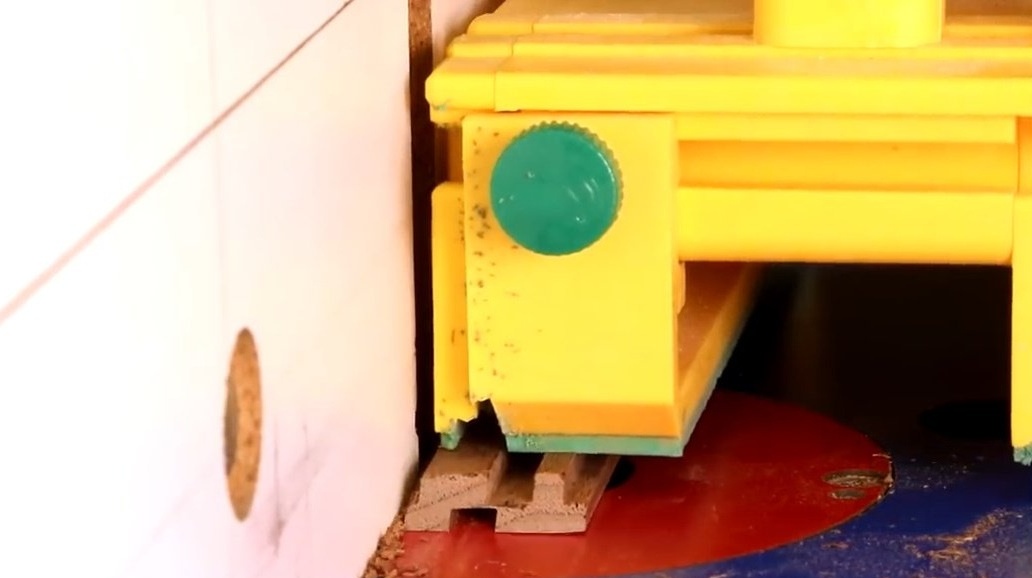
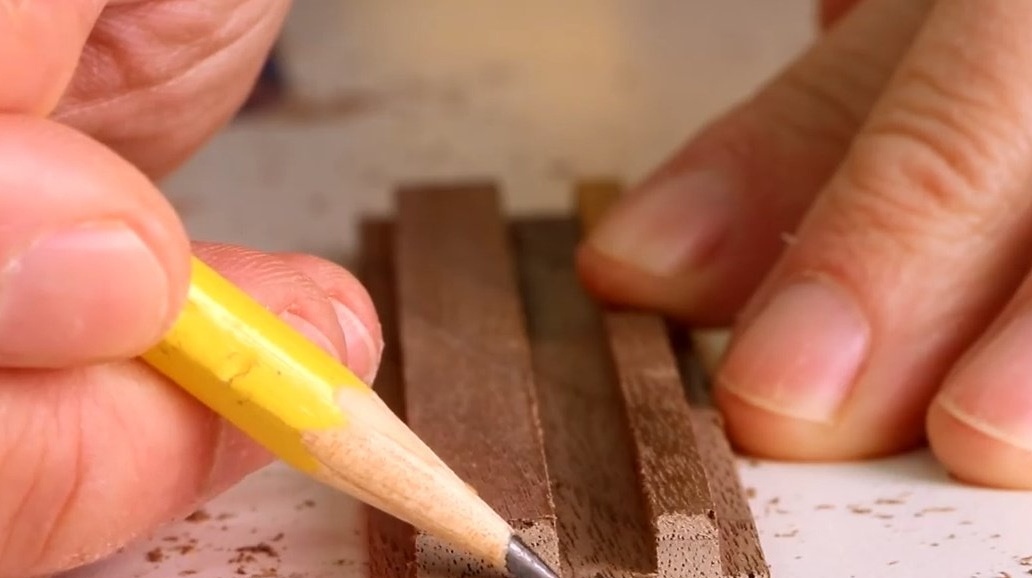
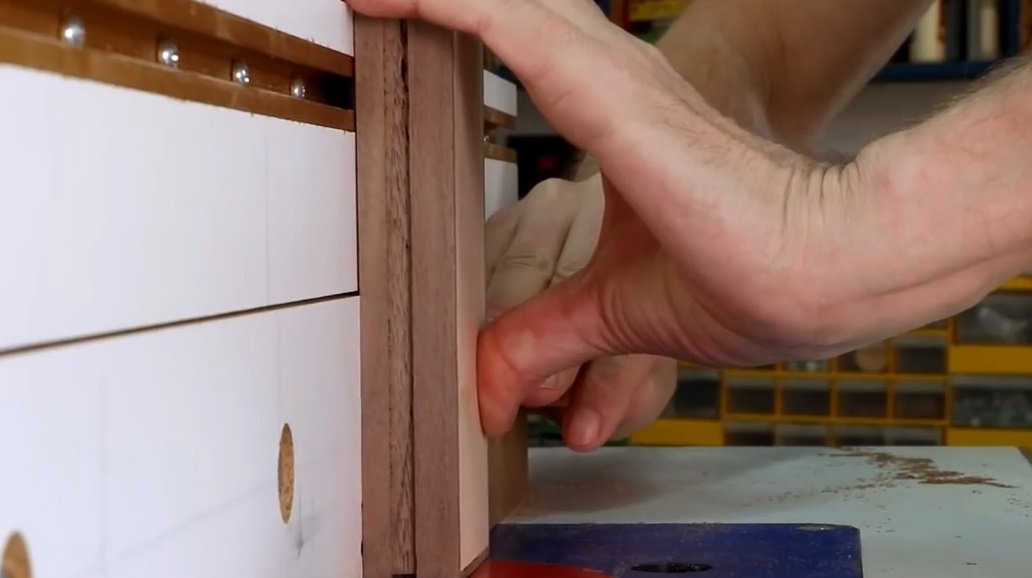
The master is faced with the task of cutting a shallow groove and a groove in the middle of each of these boards. To do this, he will use a straight milling drill for 6 mm.
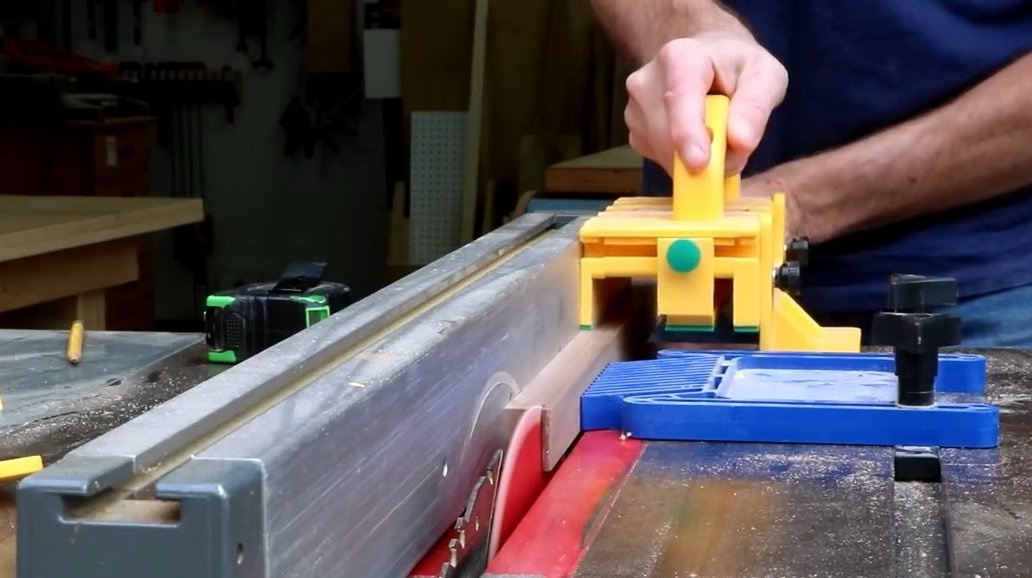
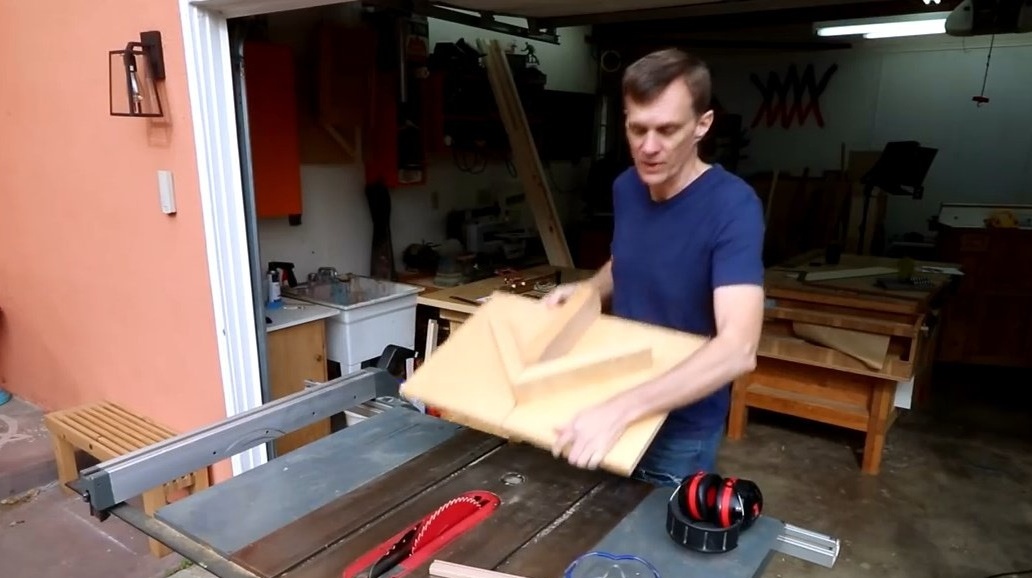
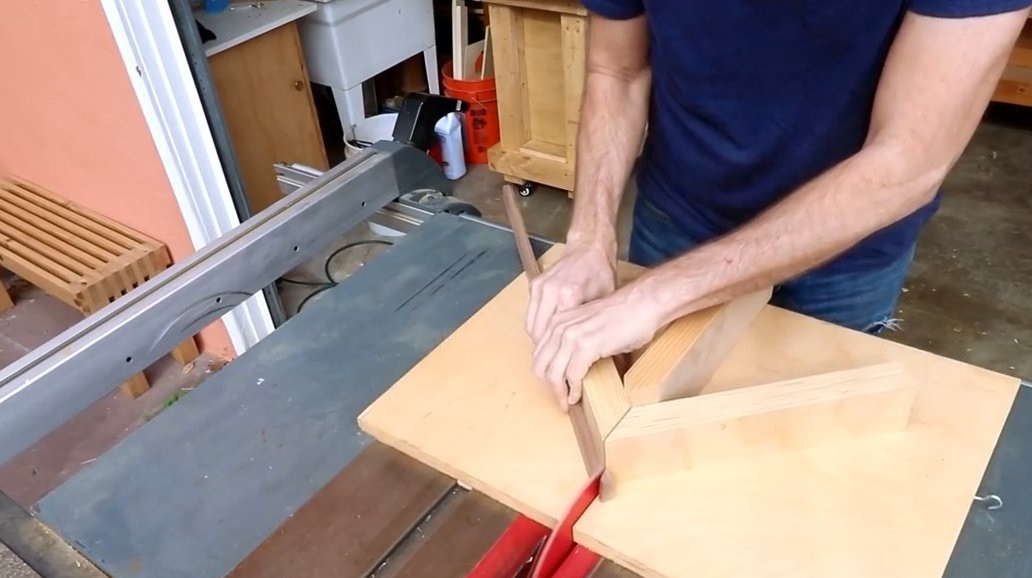
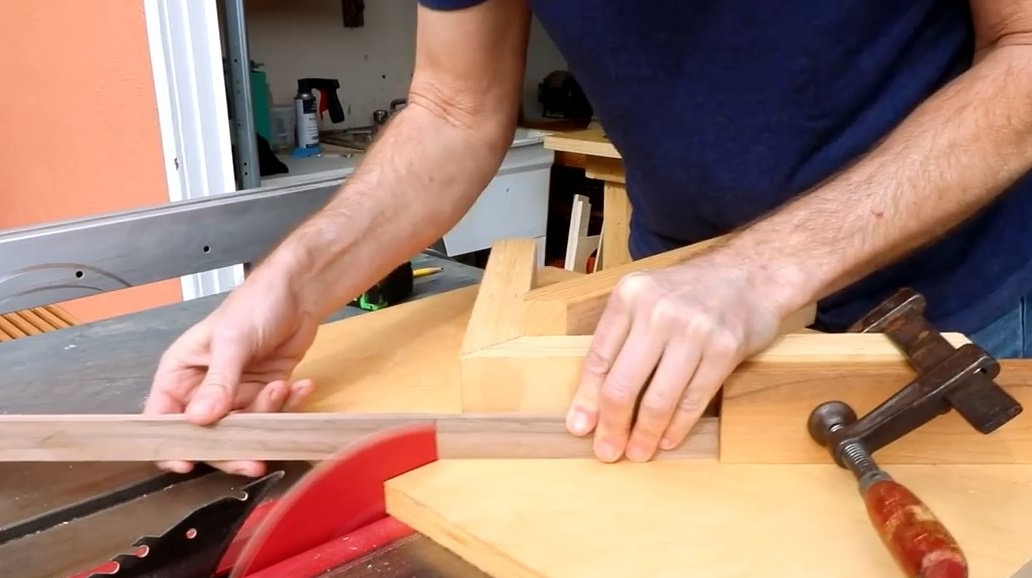
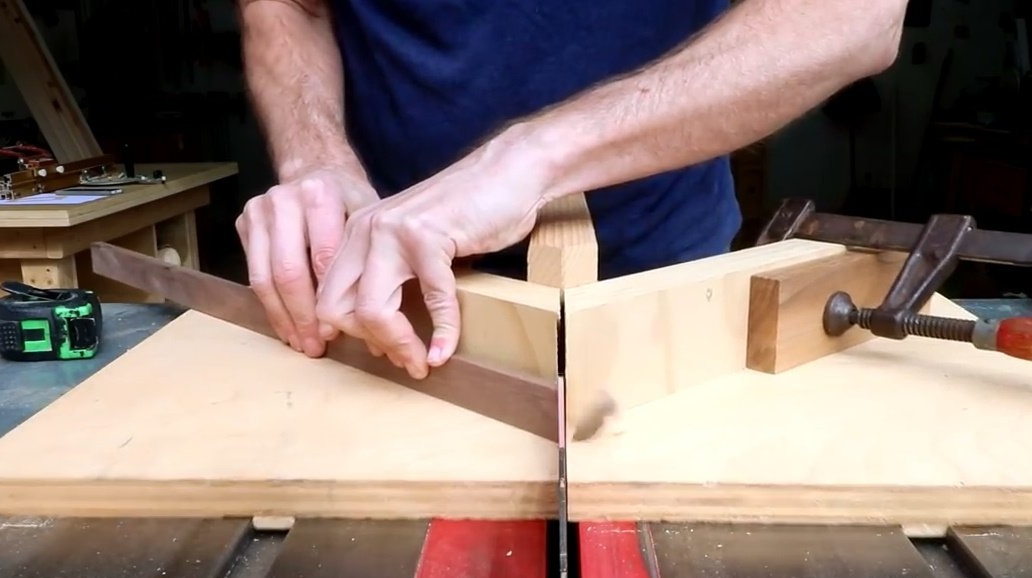
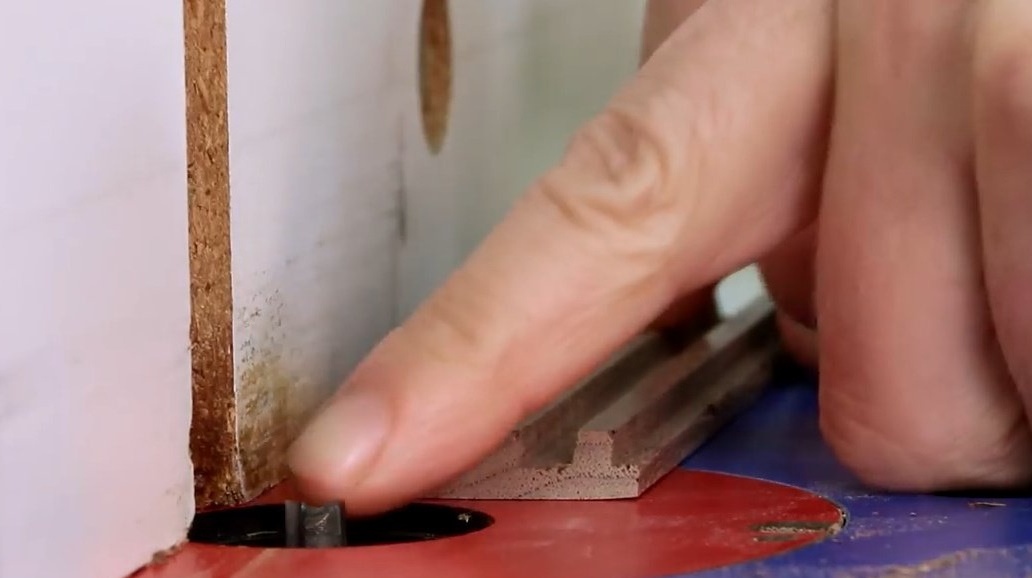
To make bevels at 45 degrees for an angular connection, the author uses an angular carriage.
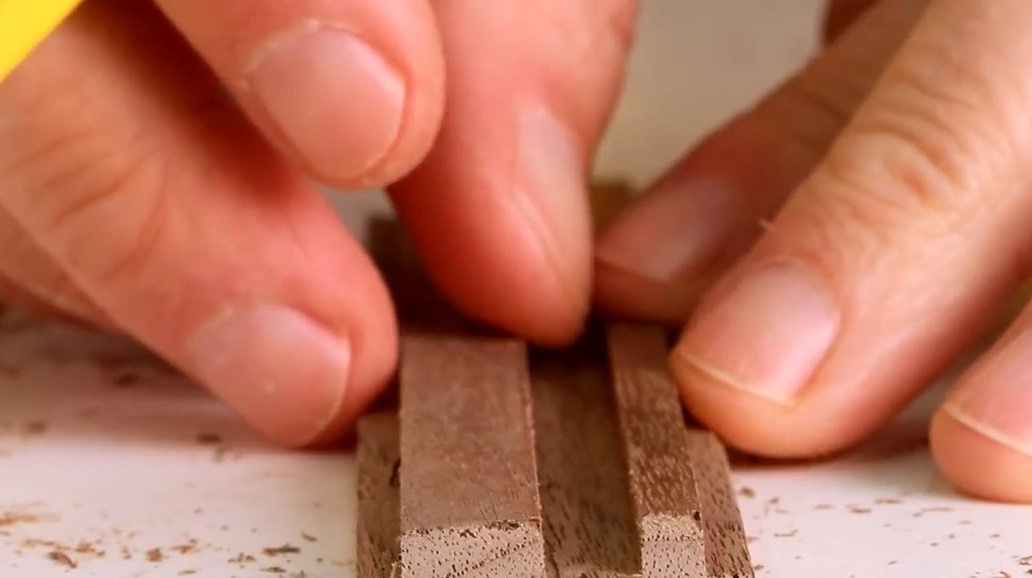
Initially, the thickness of the parts in the drawings was 7.5 mm, but the author made a mistake: being carried away, he sawed planks by 12.5 mm, which is why the whole structure turned out to be somewhat massive. Here are the original drawings of the author.
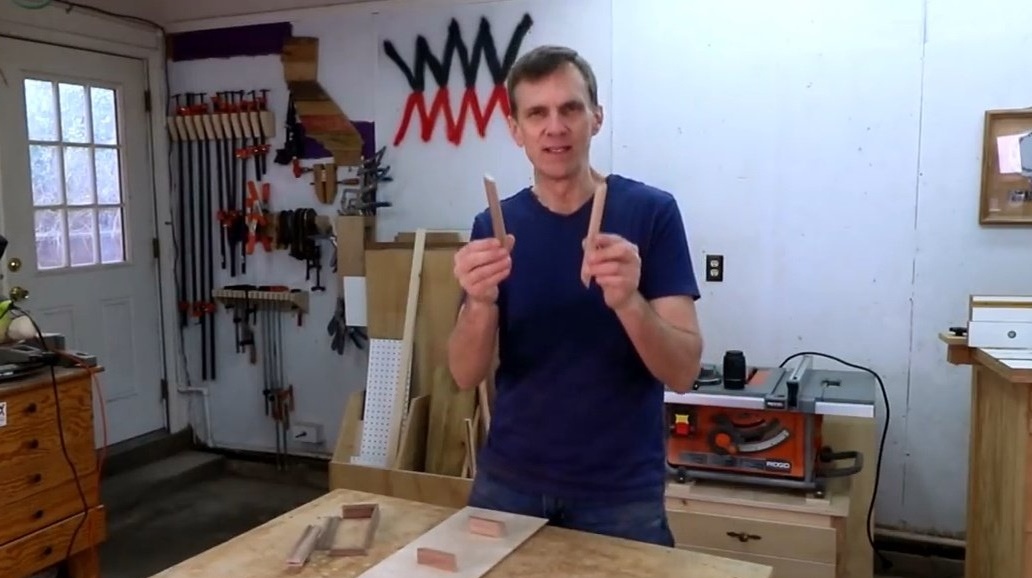
Remaking these elements proved extremely difficult. Therefore, the master re-cuts a set of parts with a thickness of 7.5 mm. The photo shows the difference.
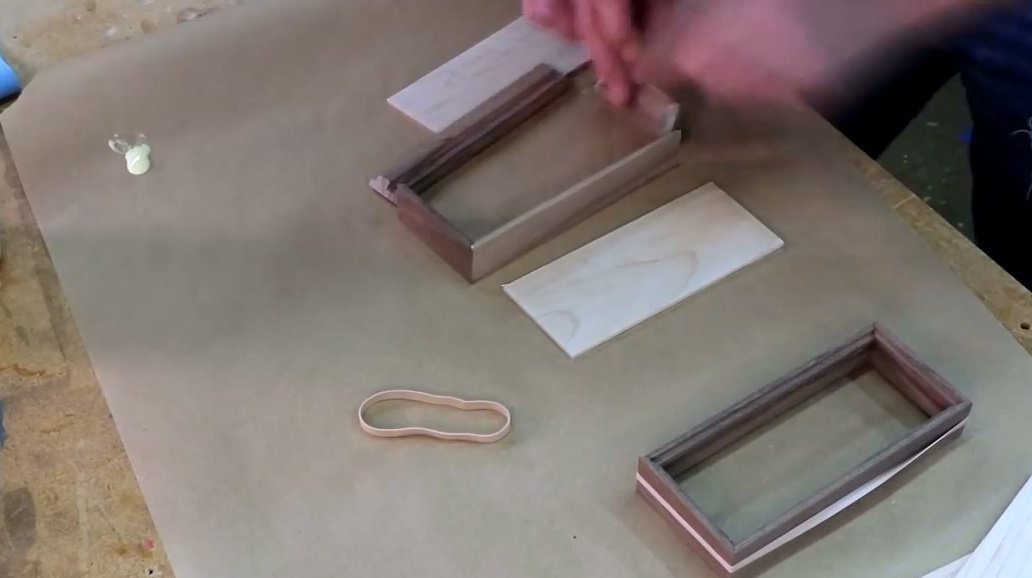
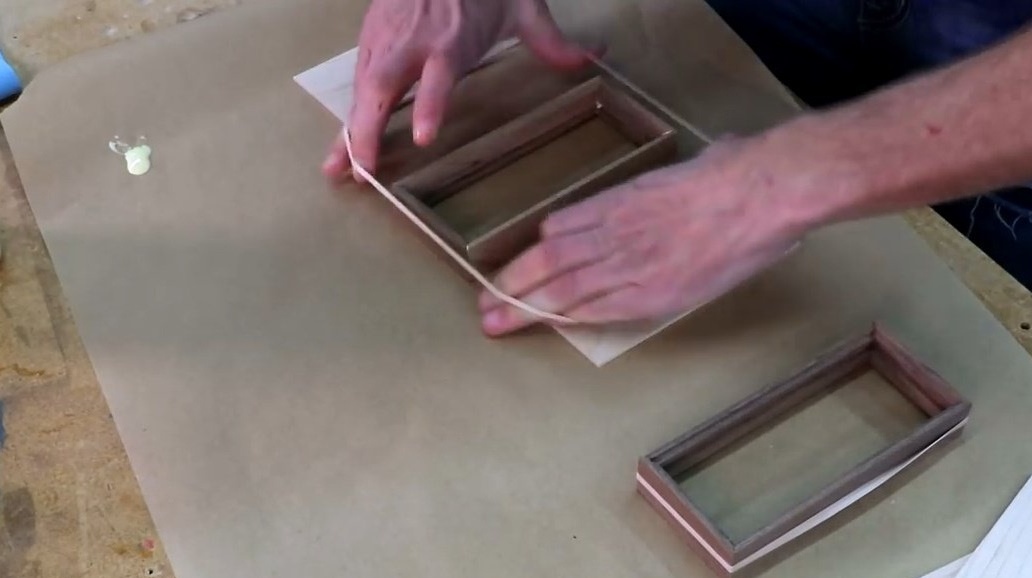
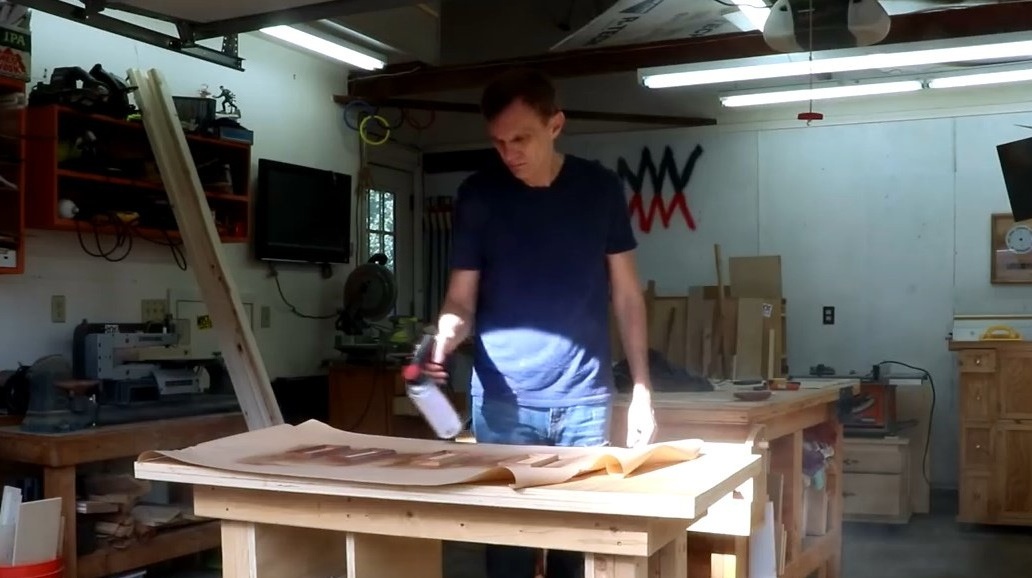
Then Steve temporarily fastens all the planks with an elastic band. Makes markup on a piece of board.
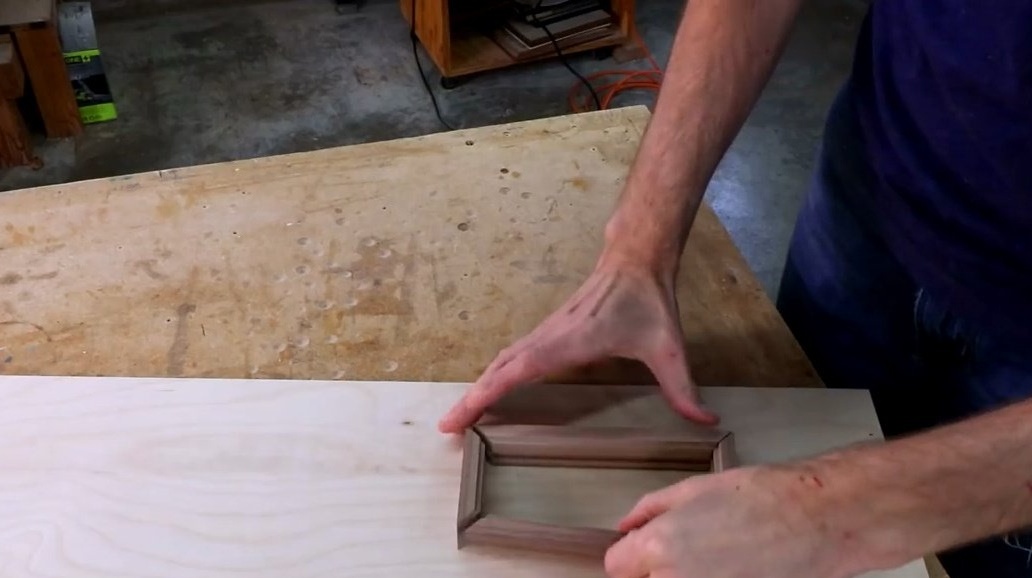
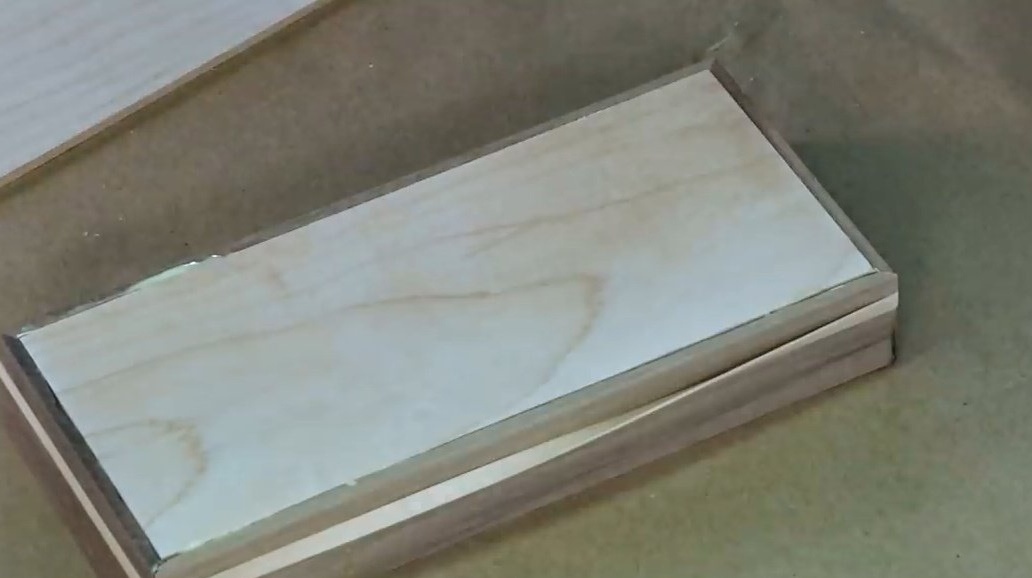
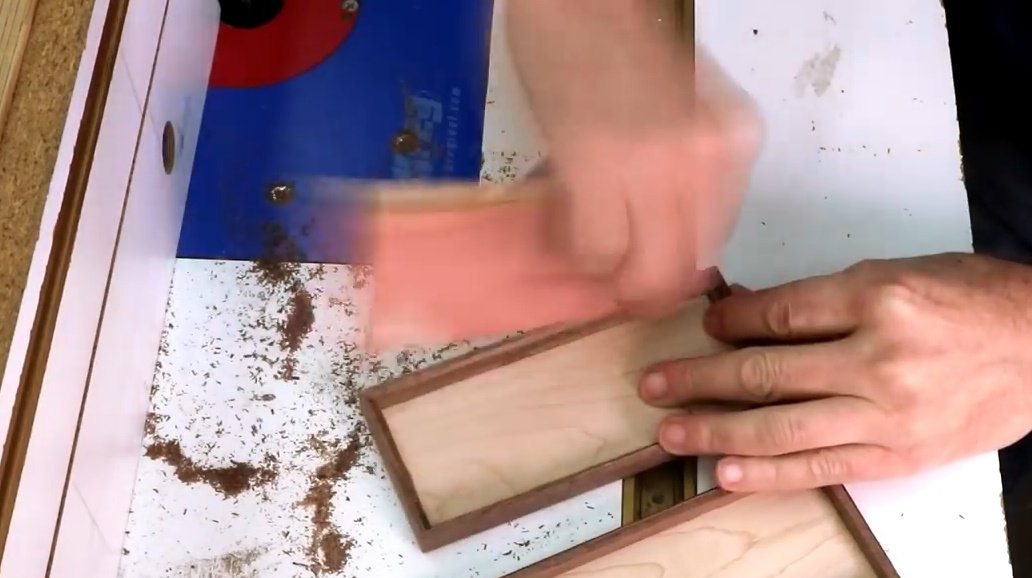
Now you can cut the lid and bottom of the box, according to the dimensions laid down.
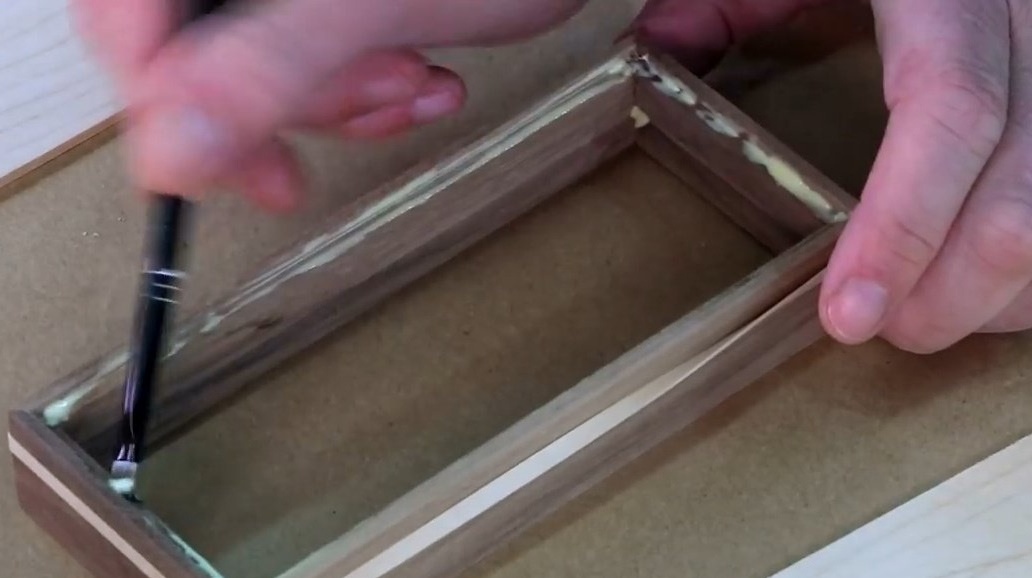
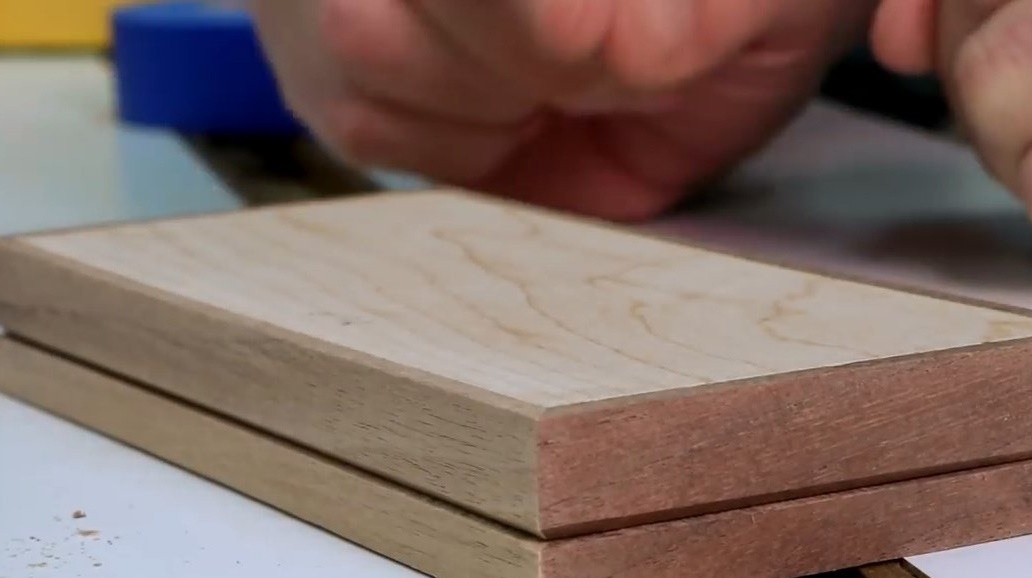
It remains only to glue all the elements of the boxes. Glue residue must be removed immediately.

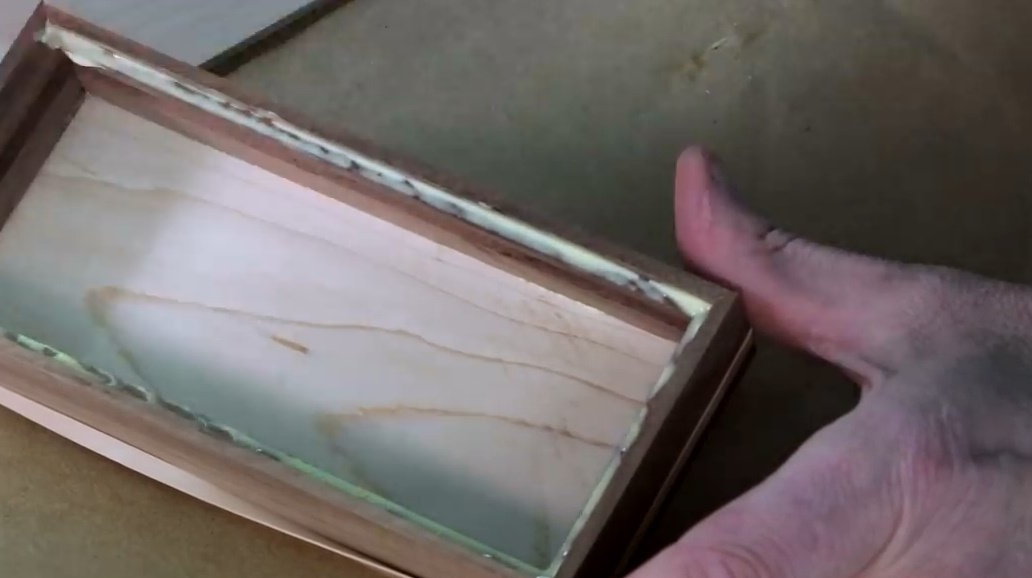
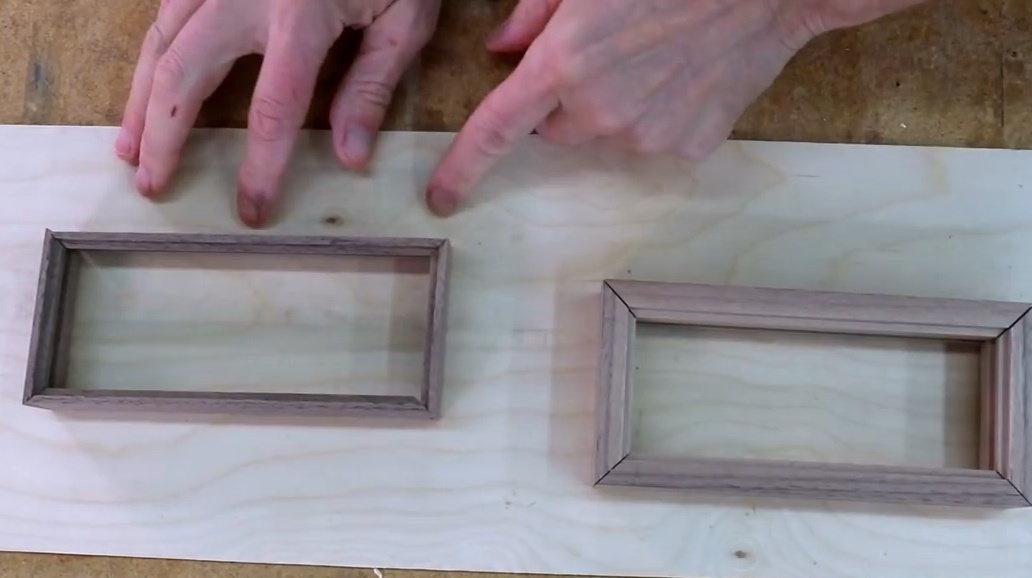
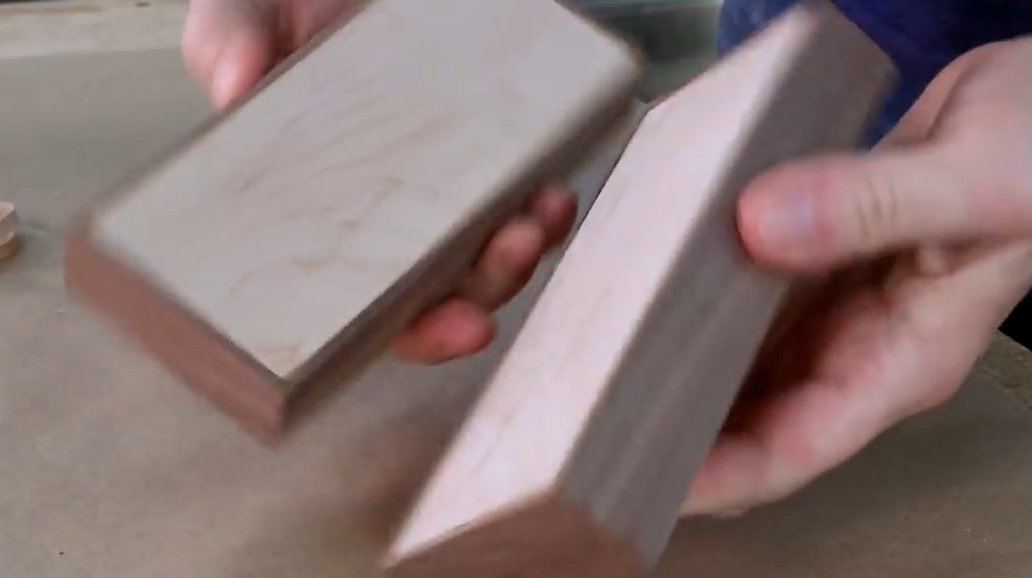
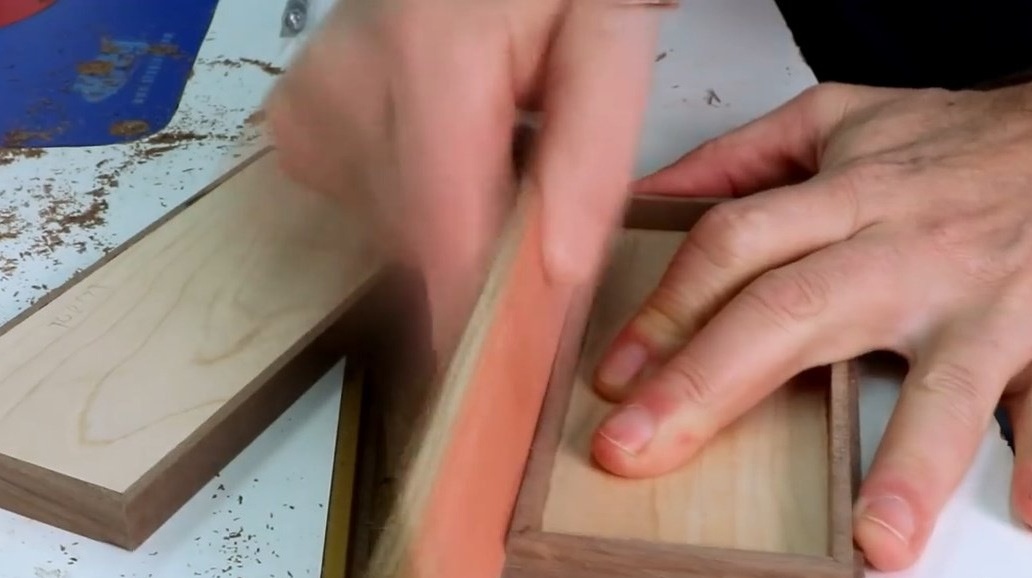
And here the author makes one tactical mistake: if you try to remove the lid from the base of the box, it matters which side of the plank will be front / top, and which is lower, because there is a special groove inside that runs around the perimeter of the box.Usually the master marked the top and bottom, but this time forgot. Fortunately, he was able to determine where which side was from the video he was shooting. The pattern of wood fibers of maple helped.
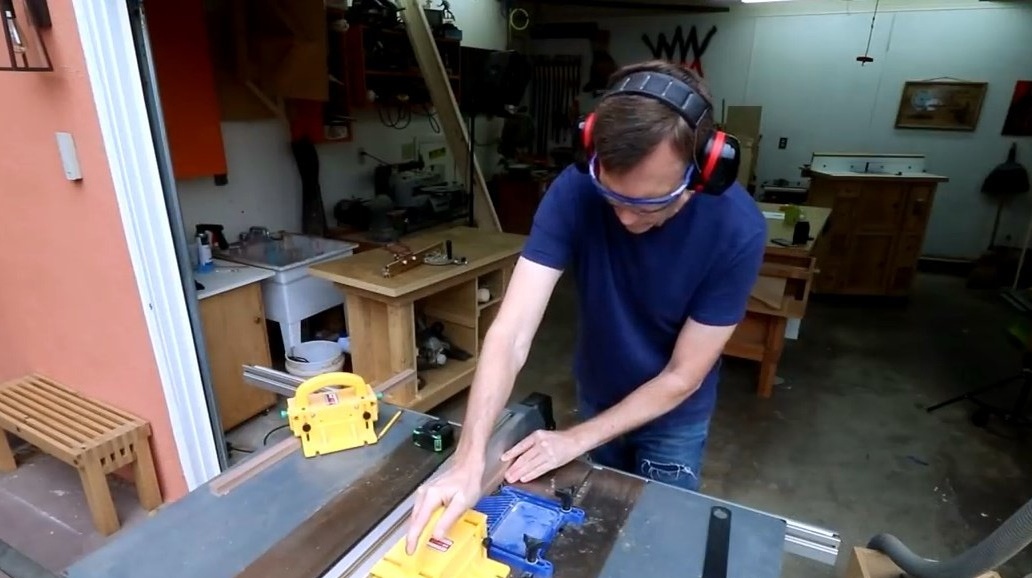
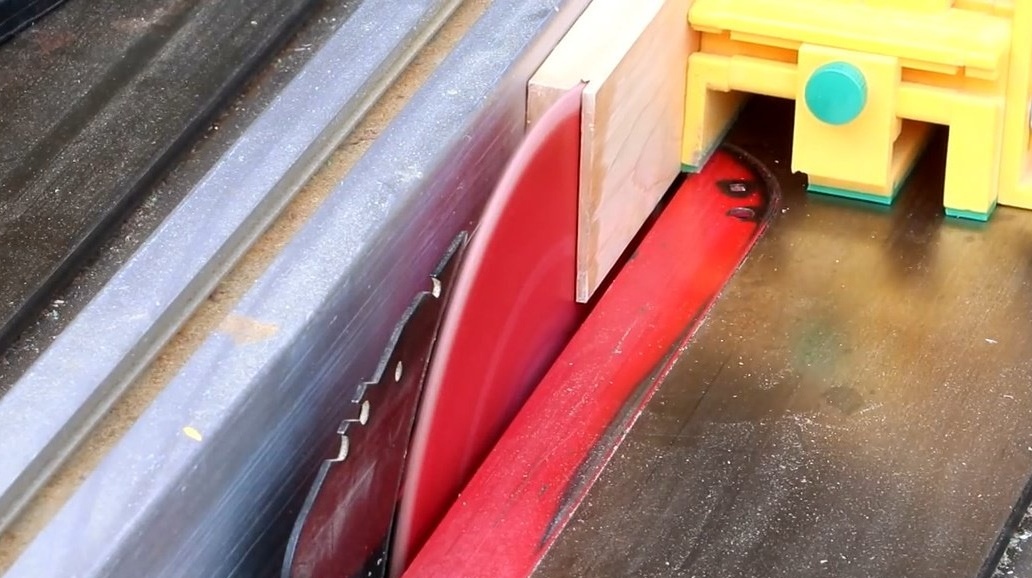
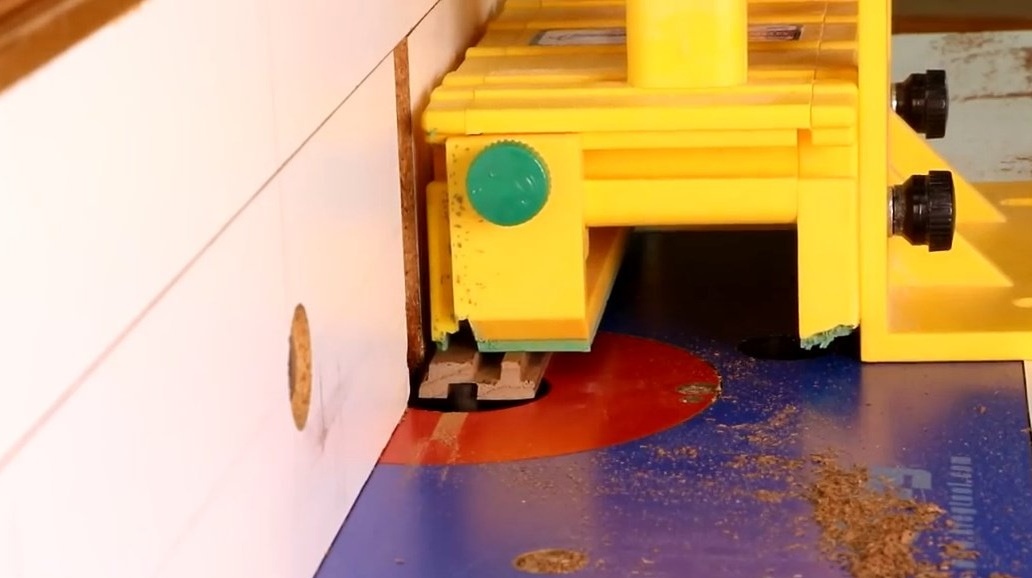
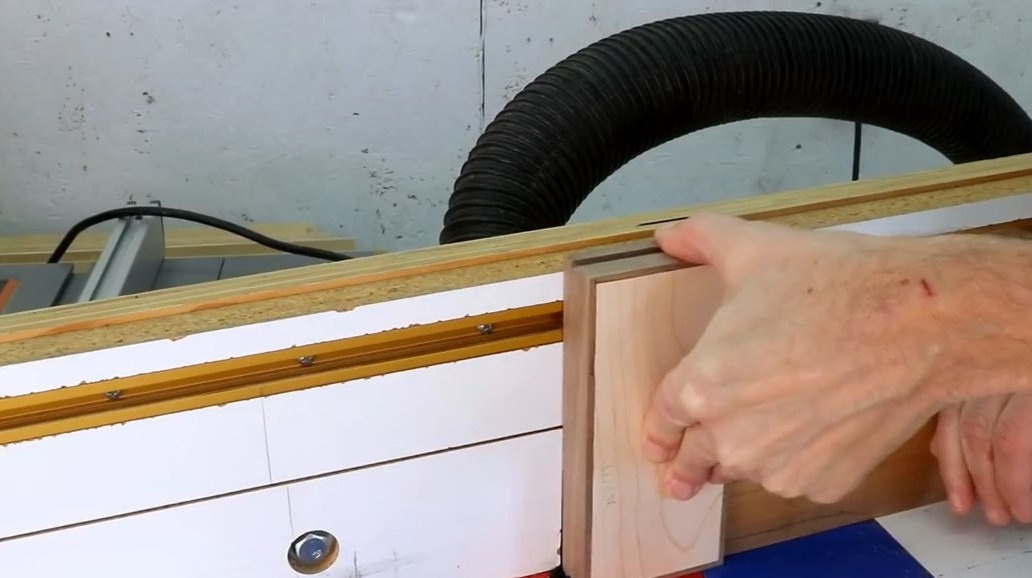
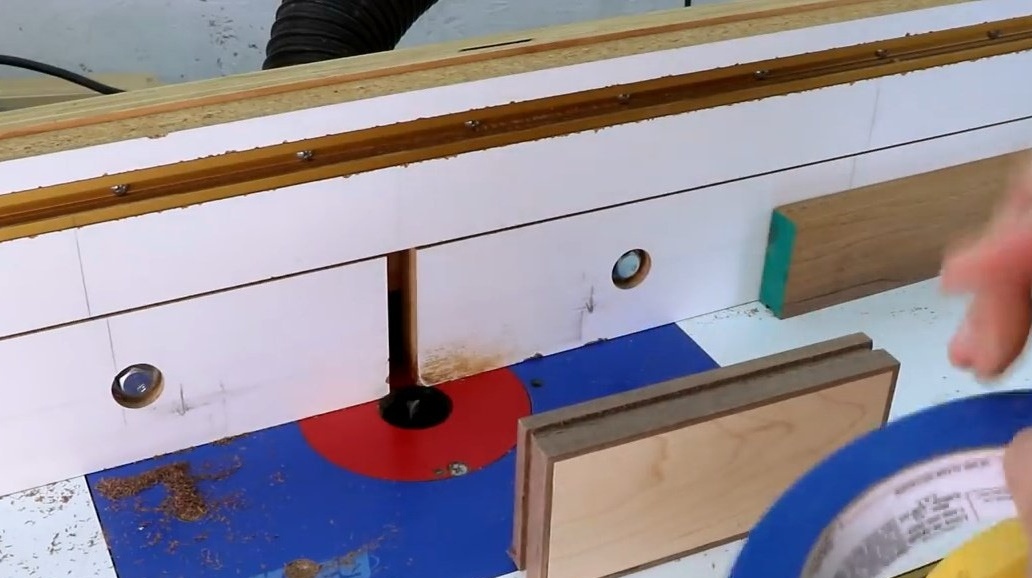
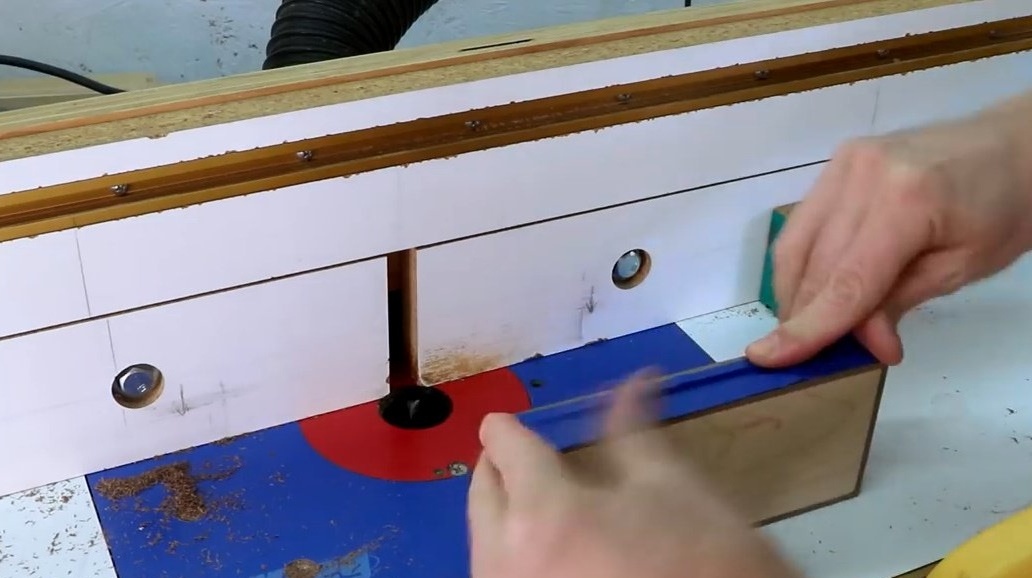
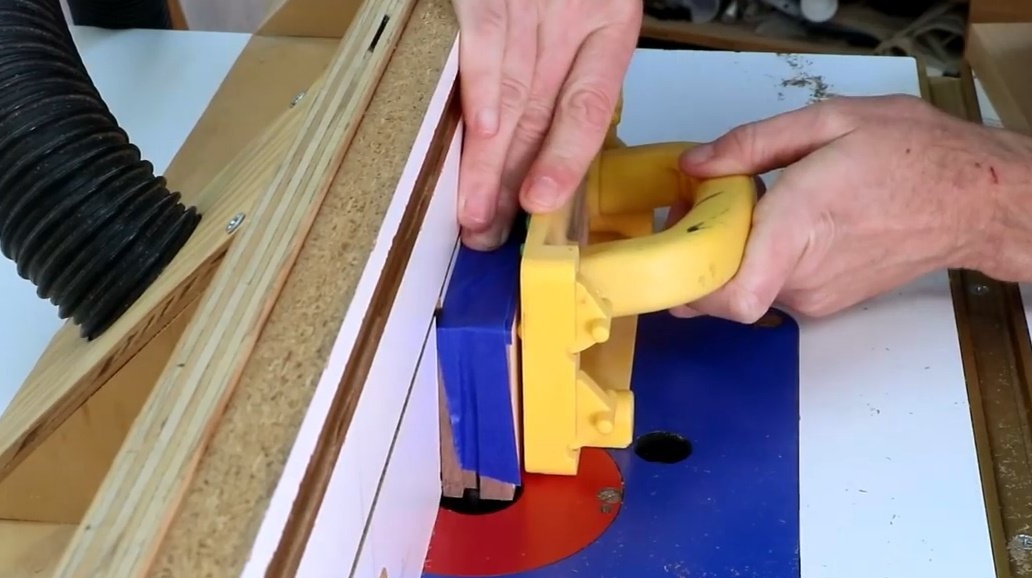
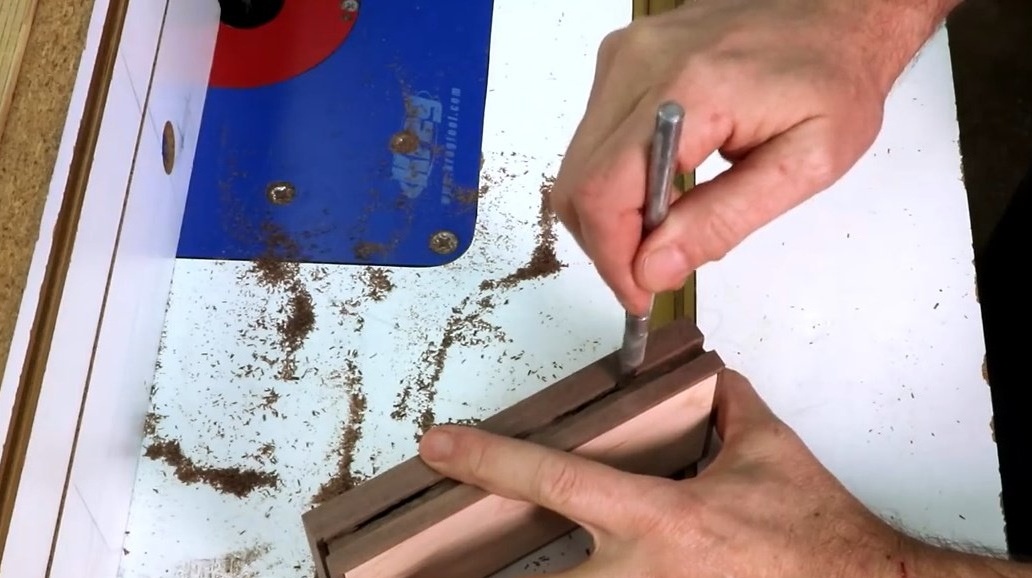
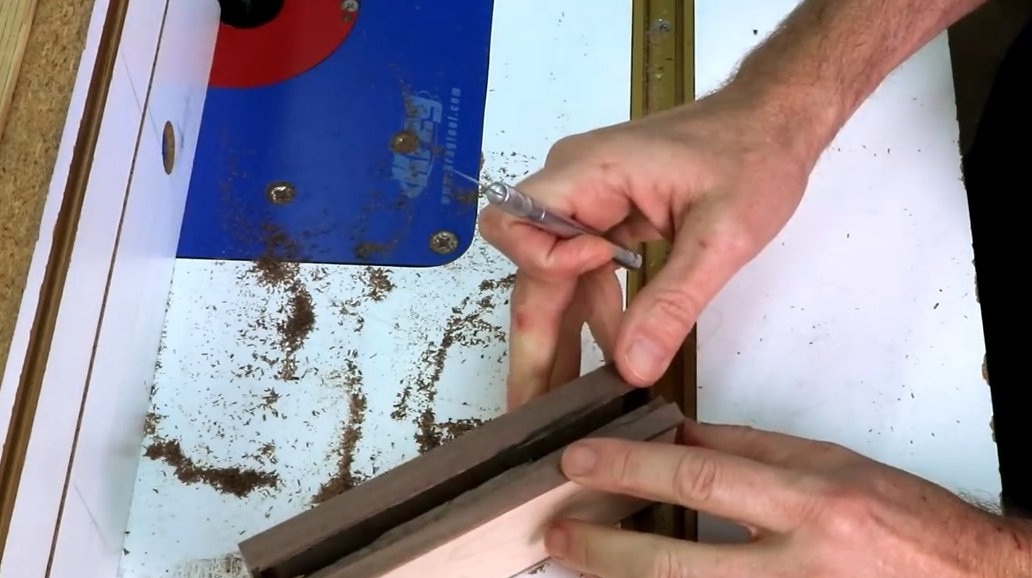
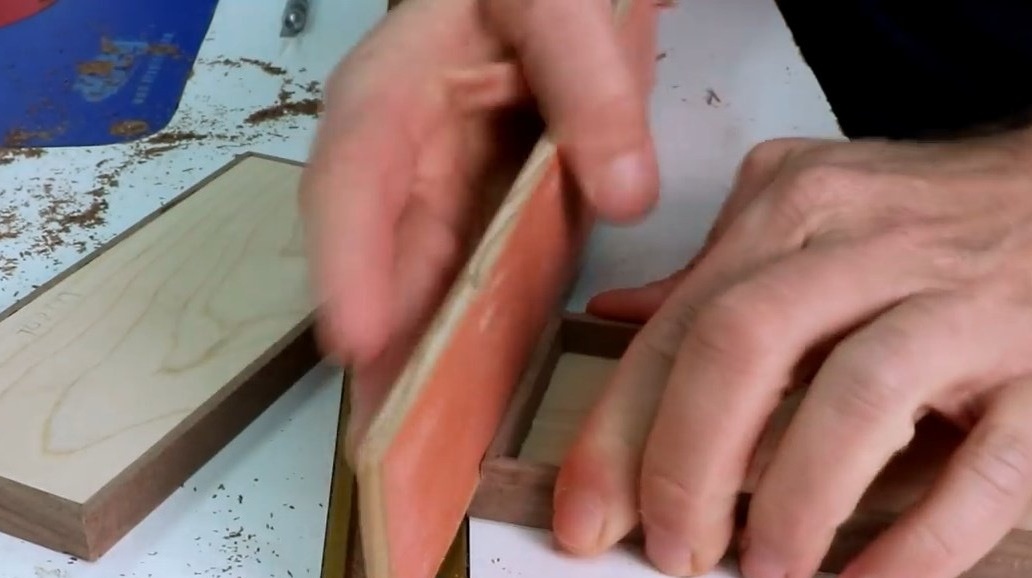
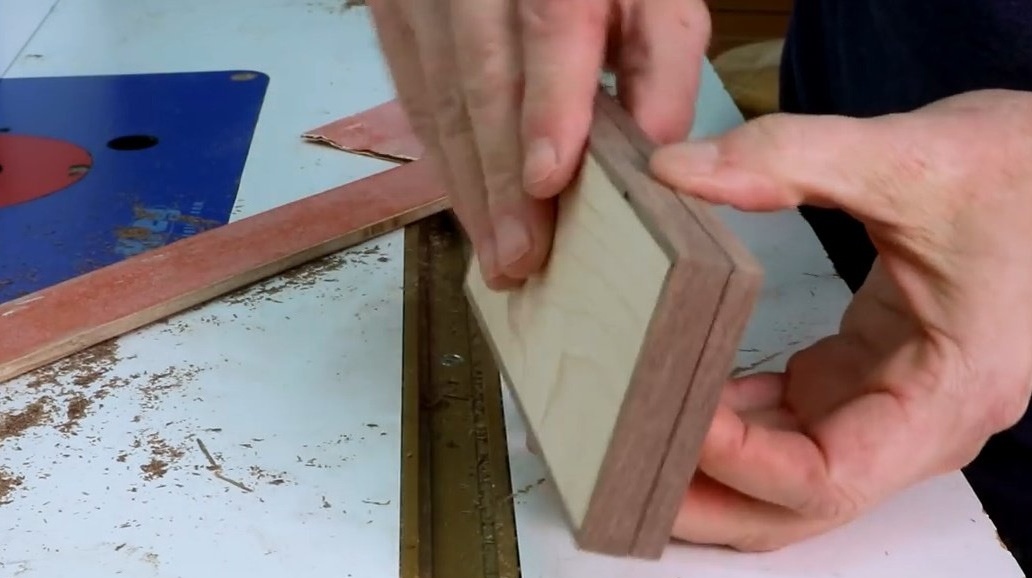
The next stage of work is the most difficult and responsible. The craftsman will have to make wide slots on the router so that as a result the bottom and the lid of the box are separated from each other. Steve strongly recommends that you first practice on some scraps to maximize fit equipment and fill your hand.

So, the milling drill bit is set just in size and at the right depth. The slot will pass just beneath this place.
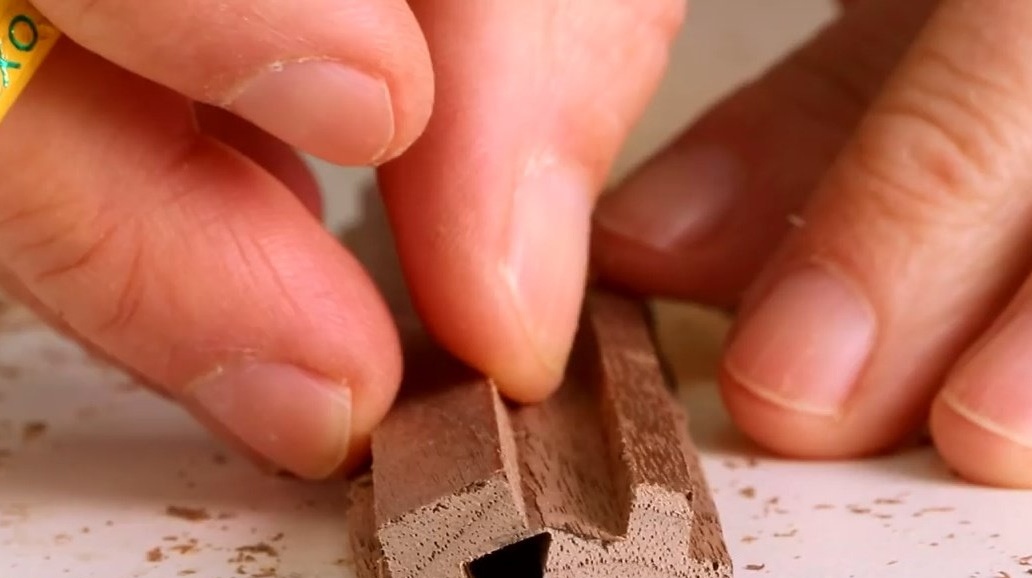
If you still need to raise the drill, he will do it. The point is that both grooves should lie as close as possible to each other, so that the partition between them is practically absent. Then it can be easily broken with your hands or cut with a knife.
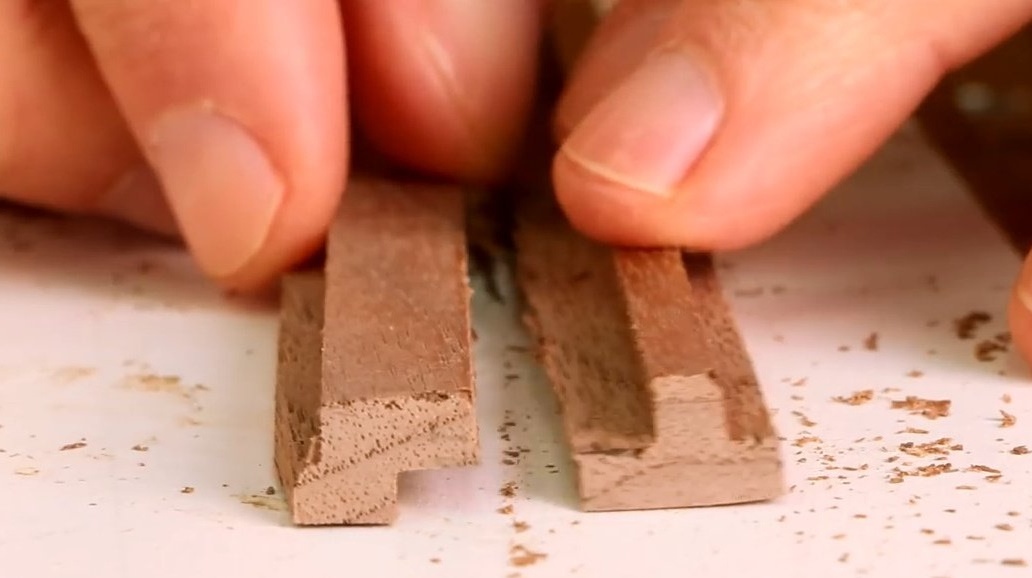

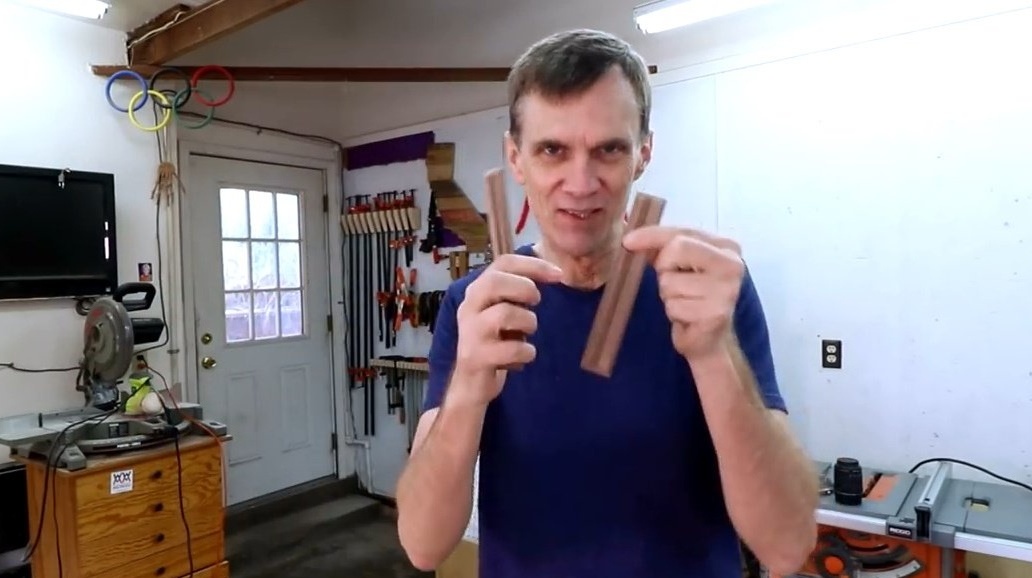
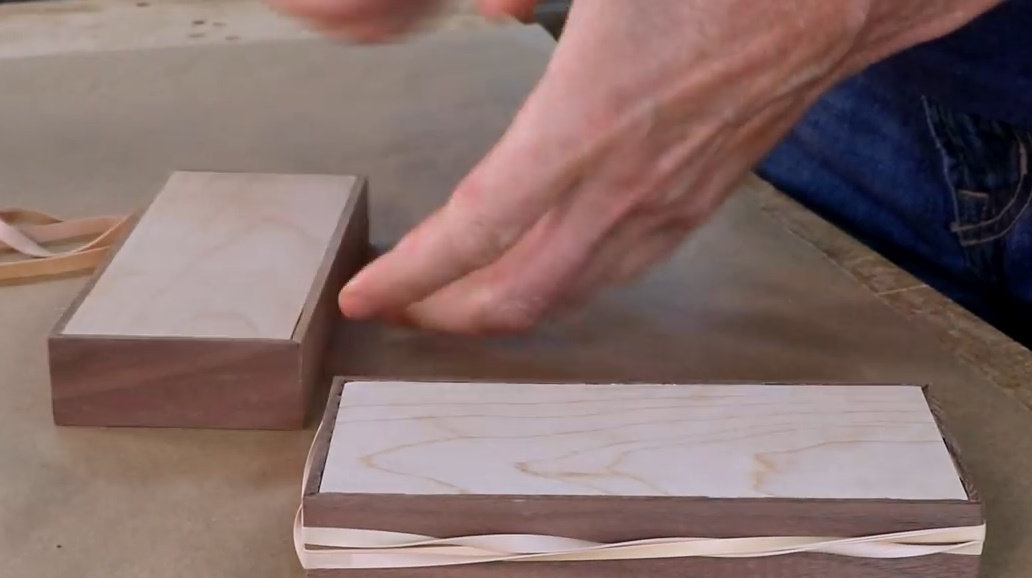
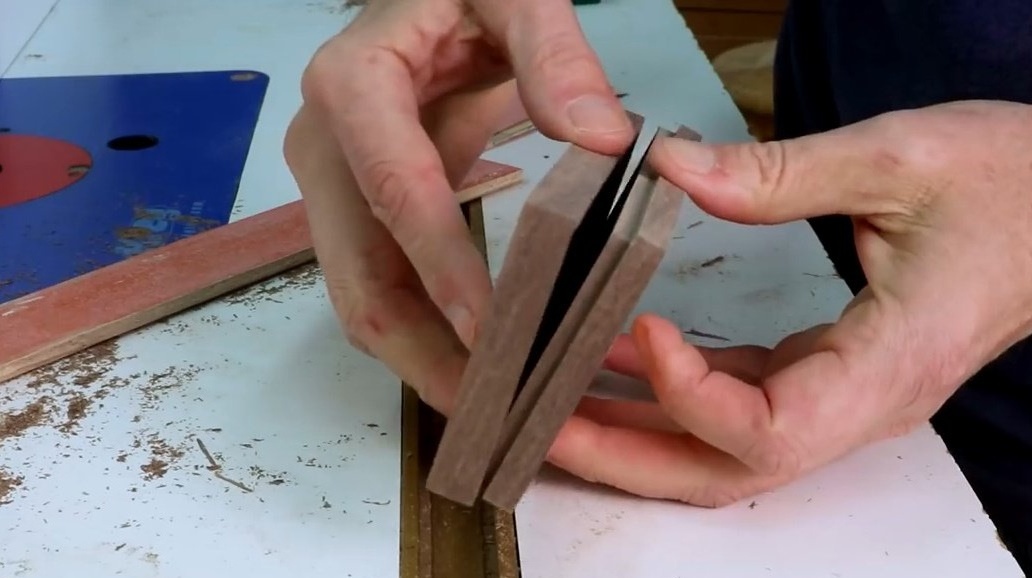
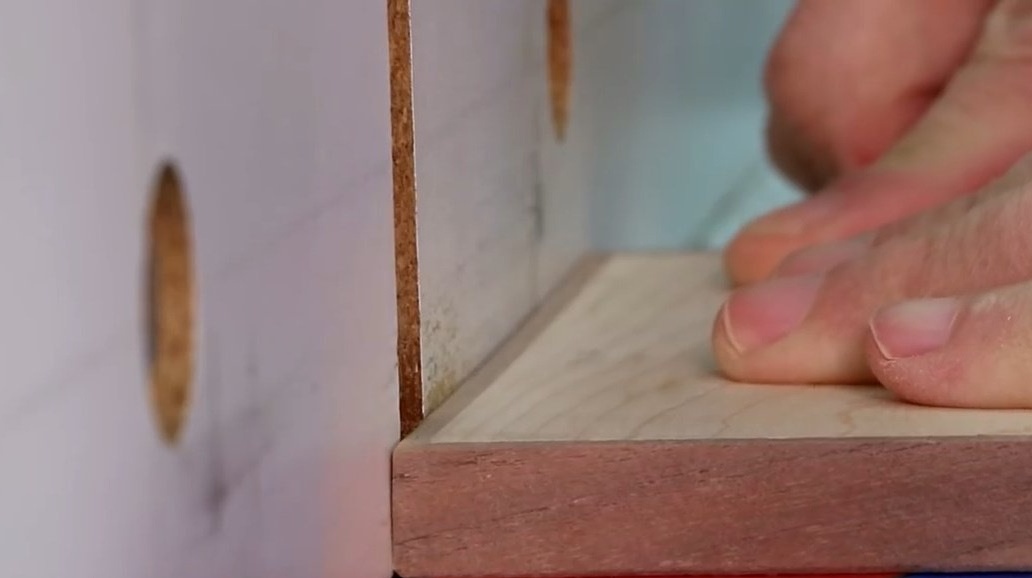
The test version was a success. Now the author intends to test his skills on the product. There comes a moment that Bob Ross would call a test of courage. A craftsman think blindly will separate the lid from the base of the box. Propyl will be produced on three sides of the box. And then Steve will tape these sides together and cut the last, fourth side. This is necessary so that the box does not suddenly open at hand during operation.

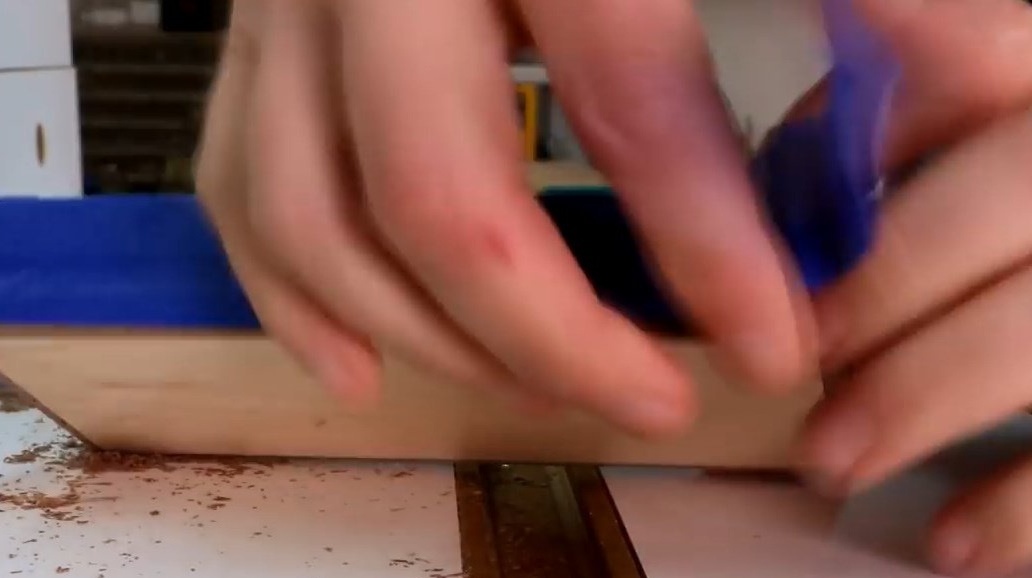
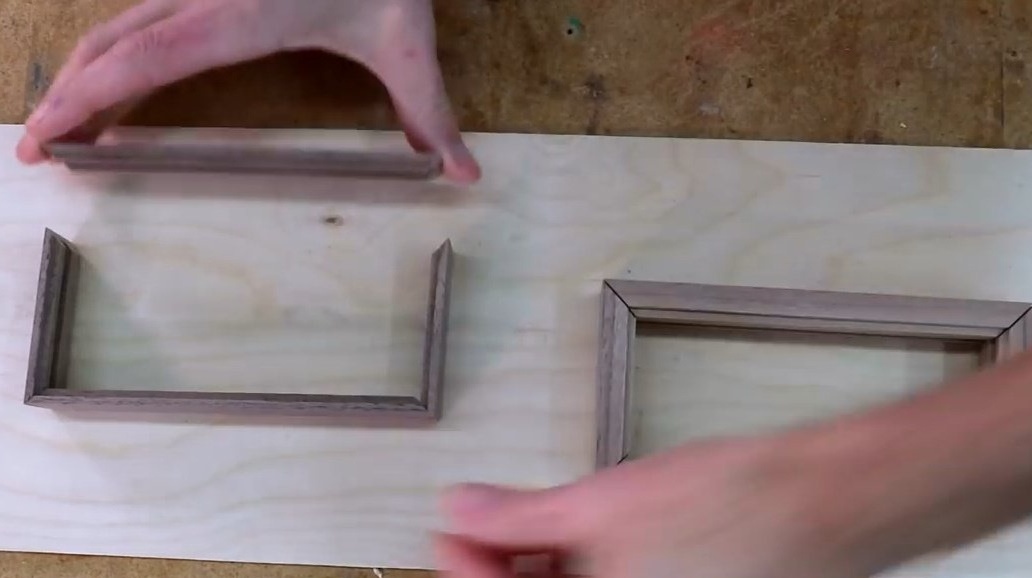
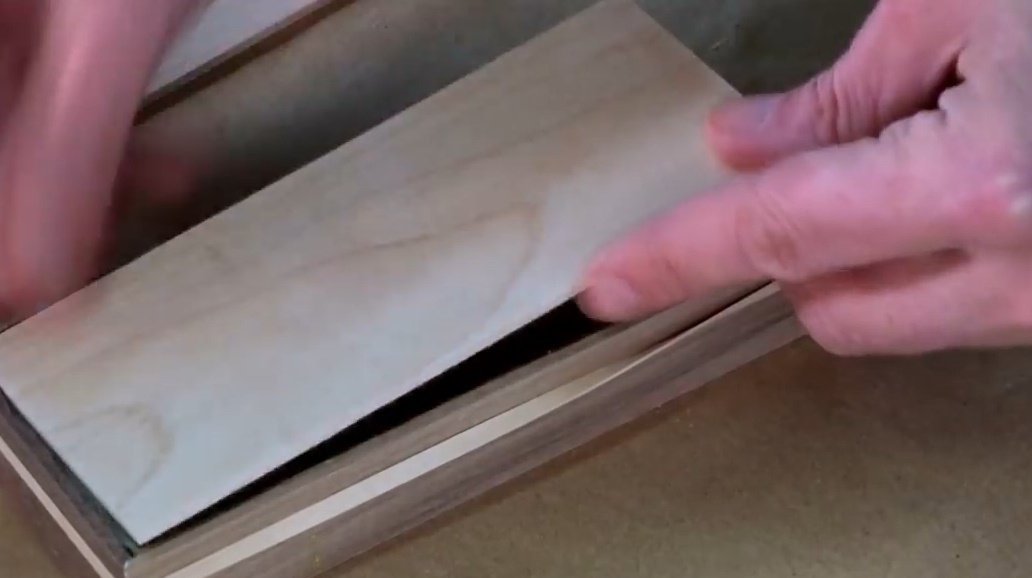
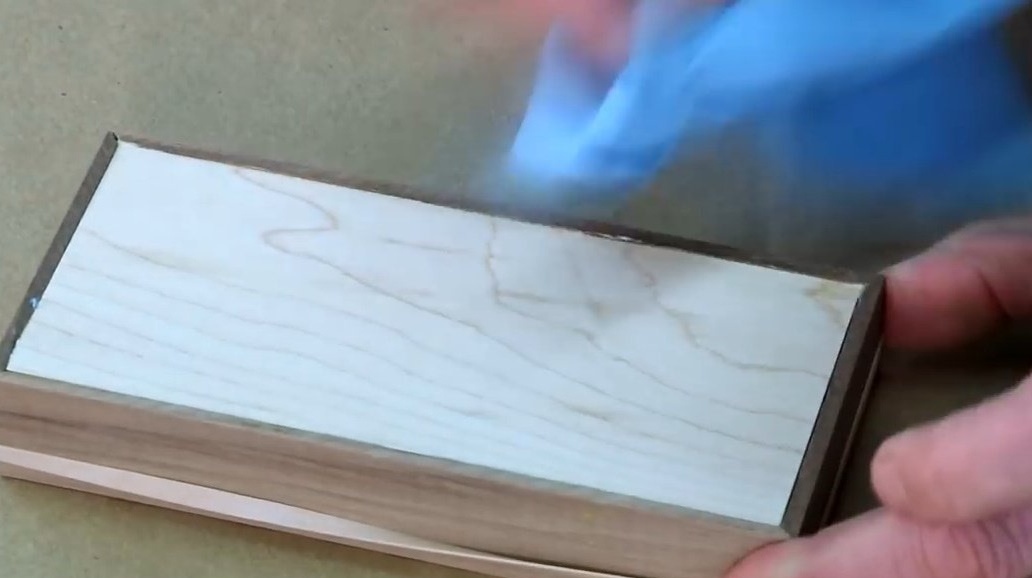
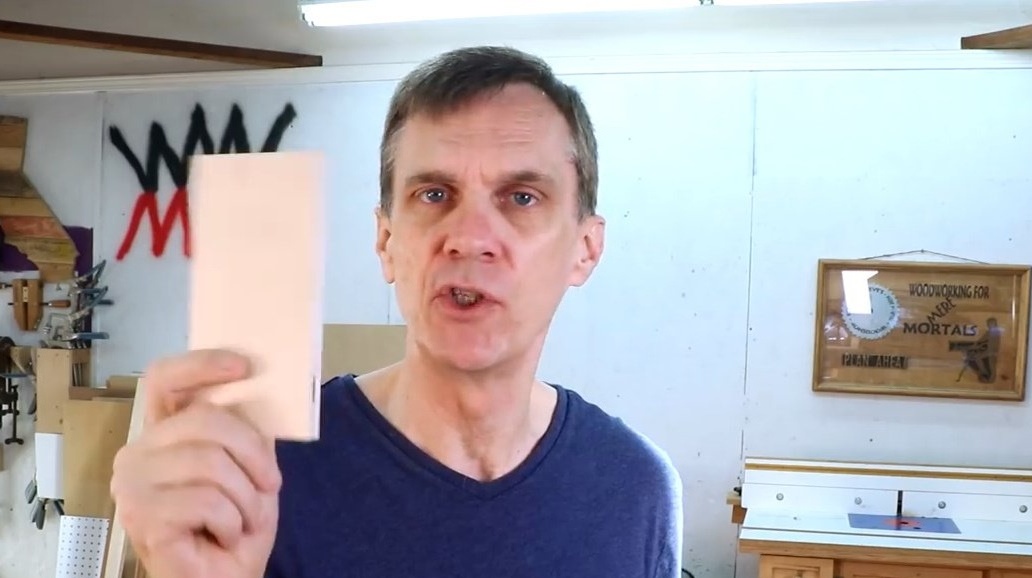
Great hit. Further, the author carefully cuts with a knife those places that did not open and wipes all the niches with sandpaper.
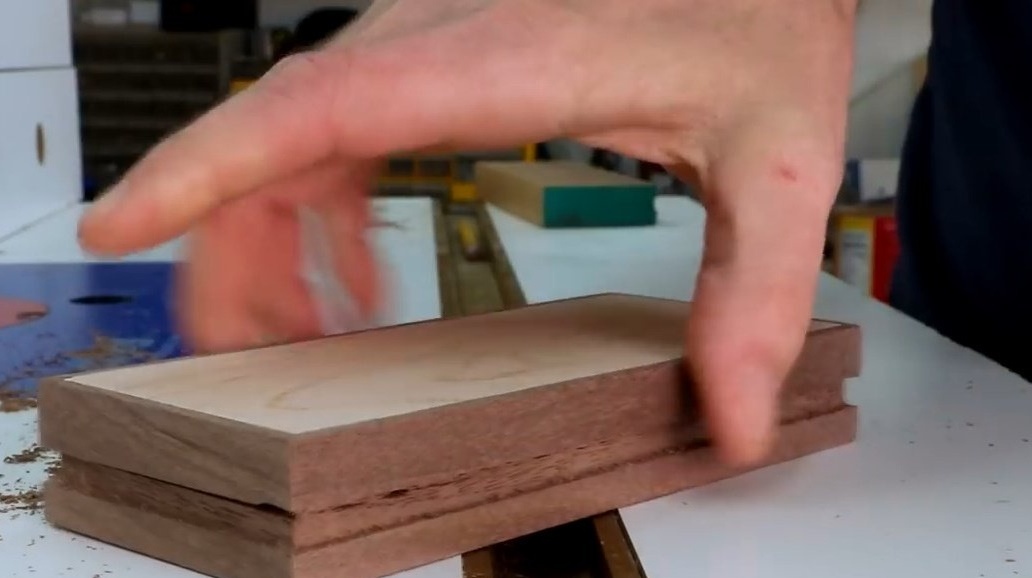
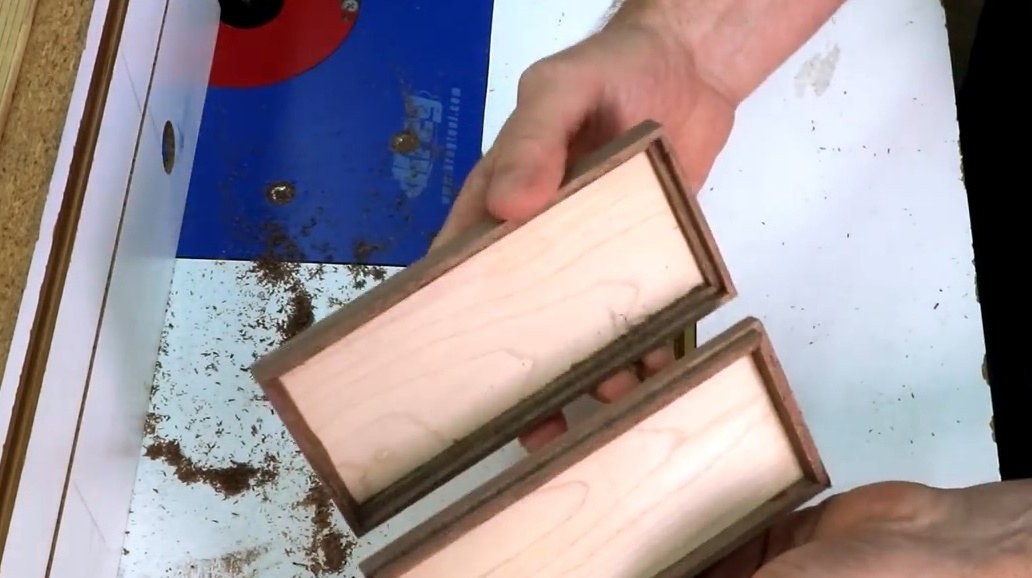
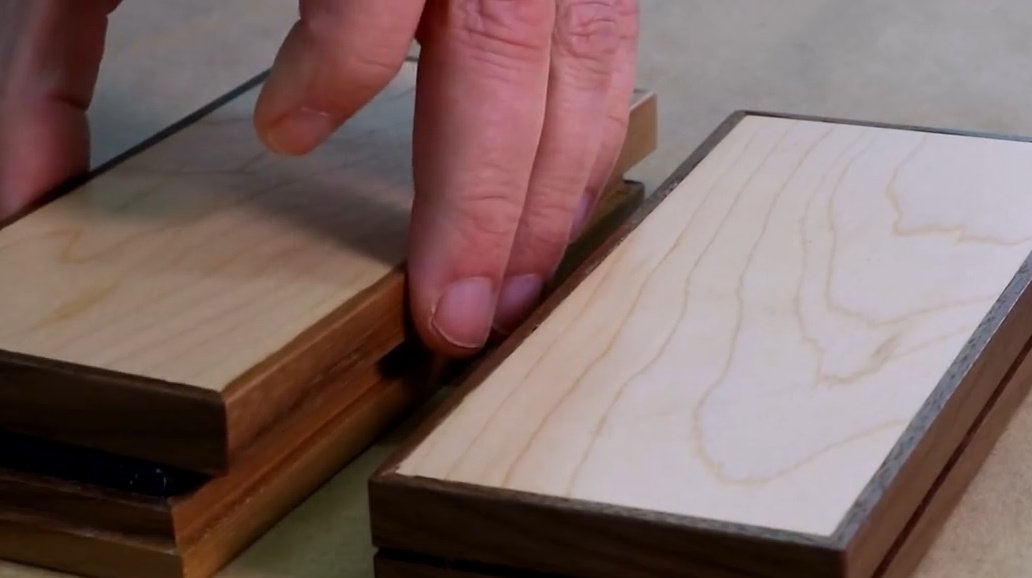
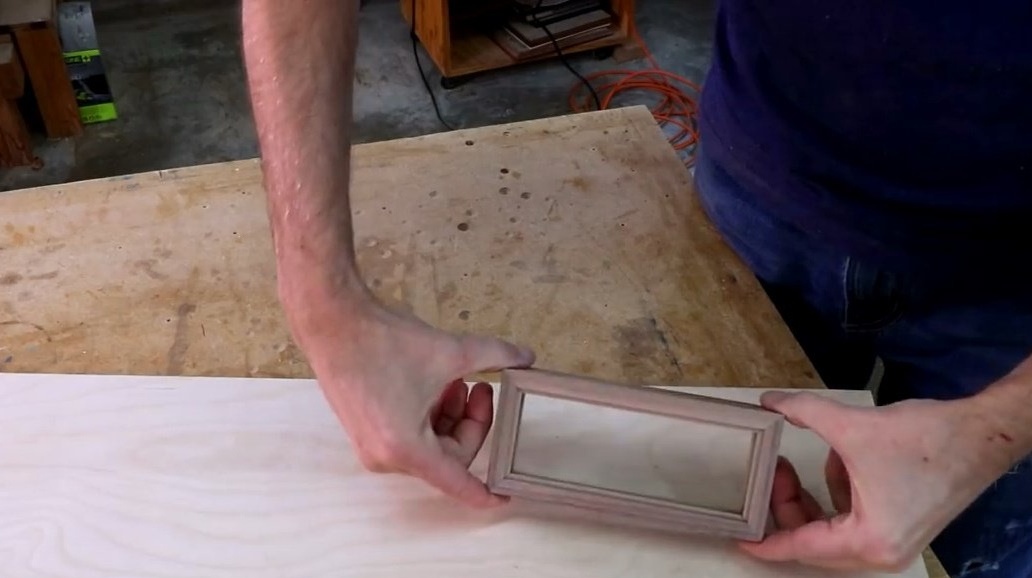
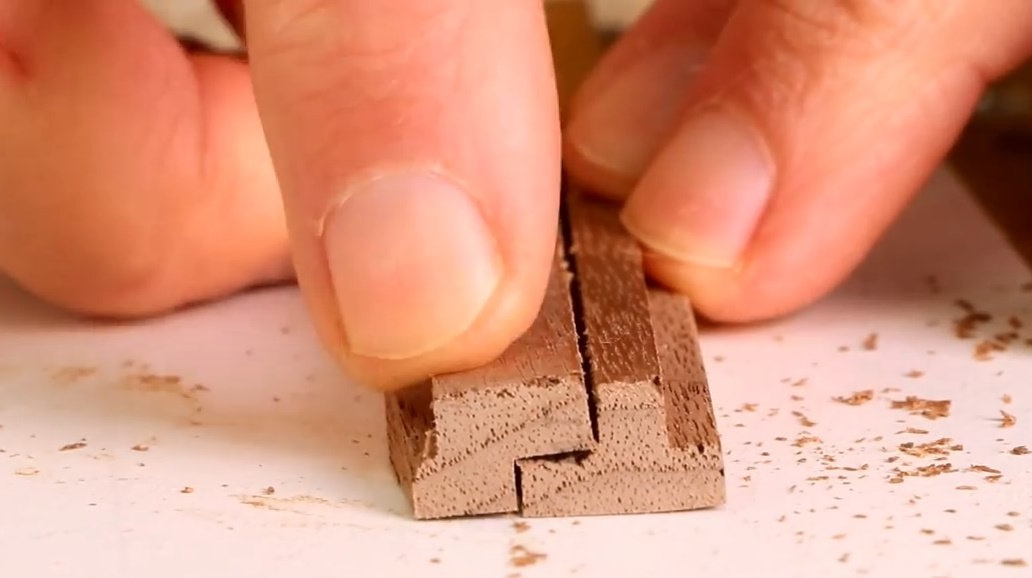
The lid remarkably "sits" on the base of the box. Tight fit. Two halves do not fall apart even when turned over.
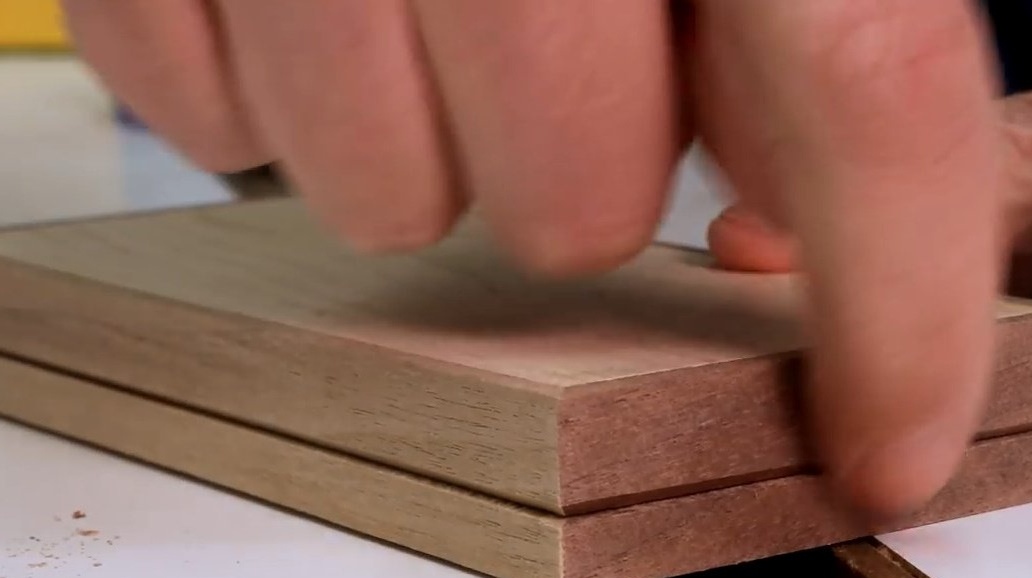
Then the author cuts along the edge a thin chamfer in the lid of the box to give it a separation from the base ?? So it will be easier to determine where the top. In addition, thanks to this chamfer, it will be easier to open the box.
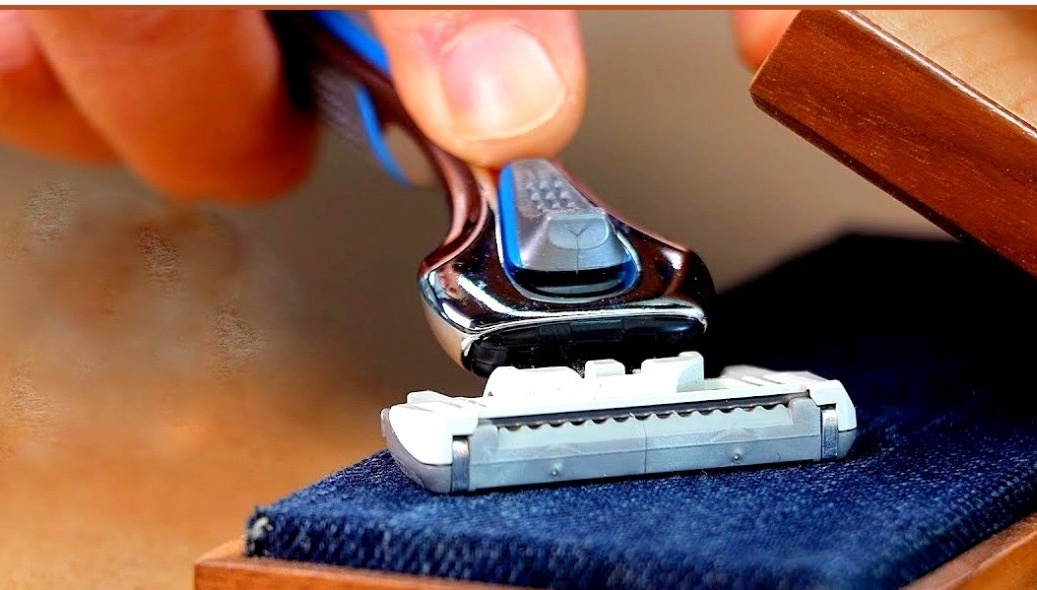
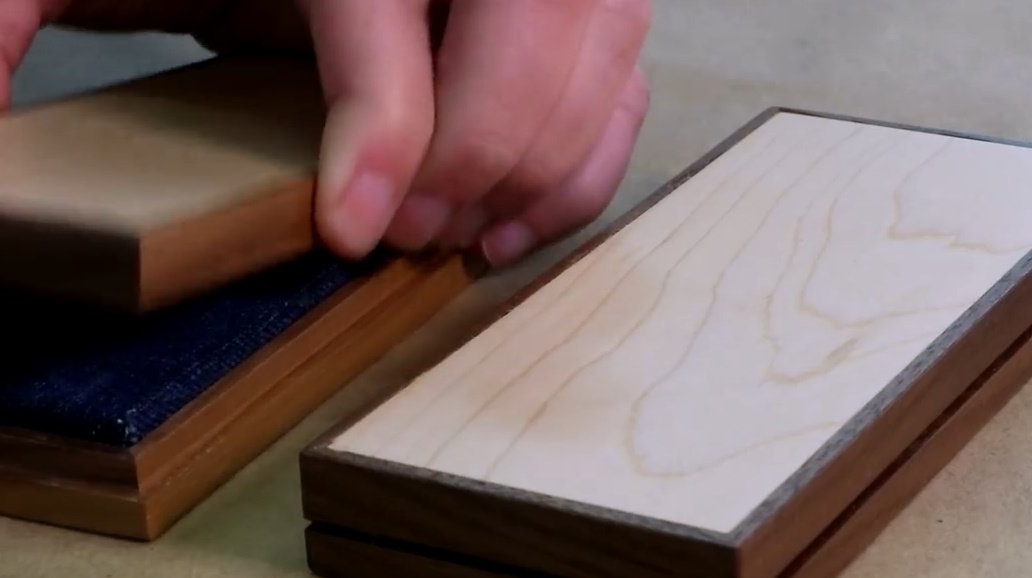
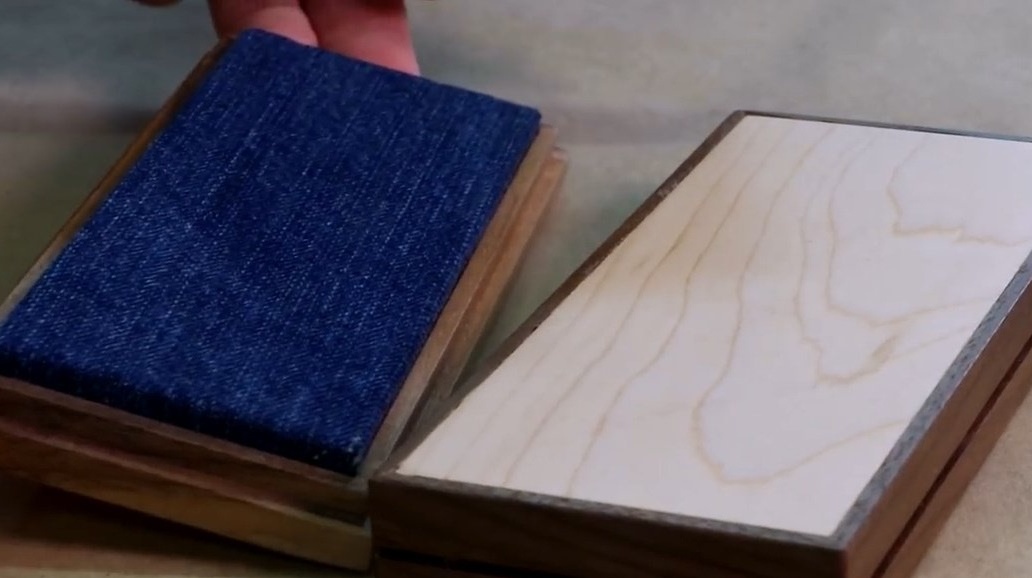
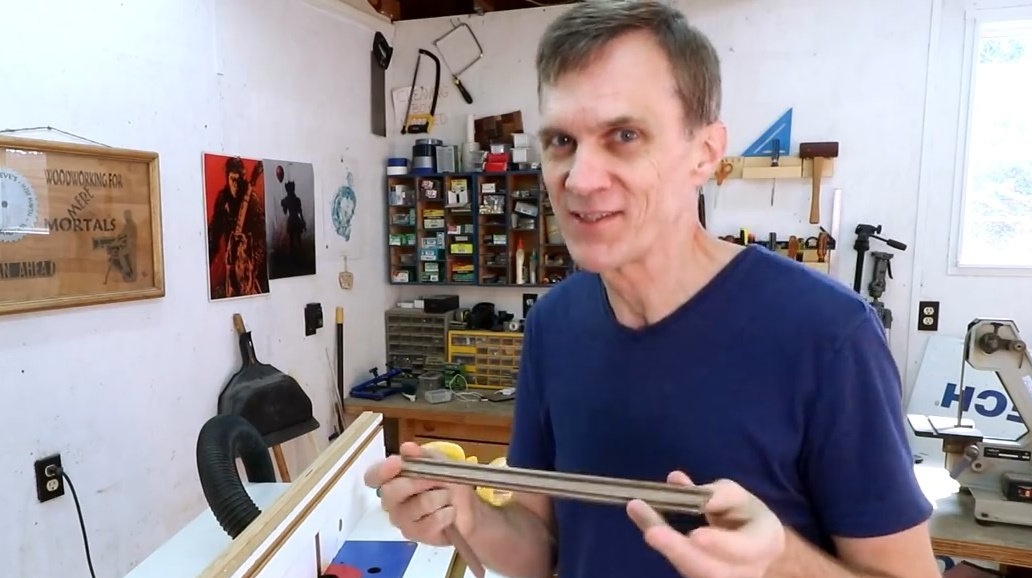
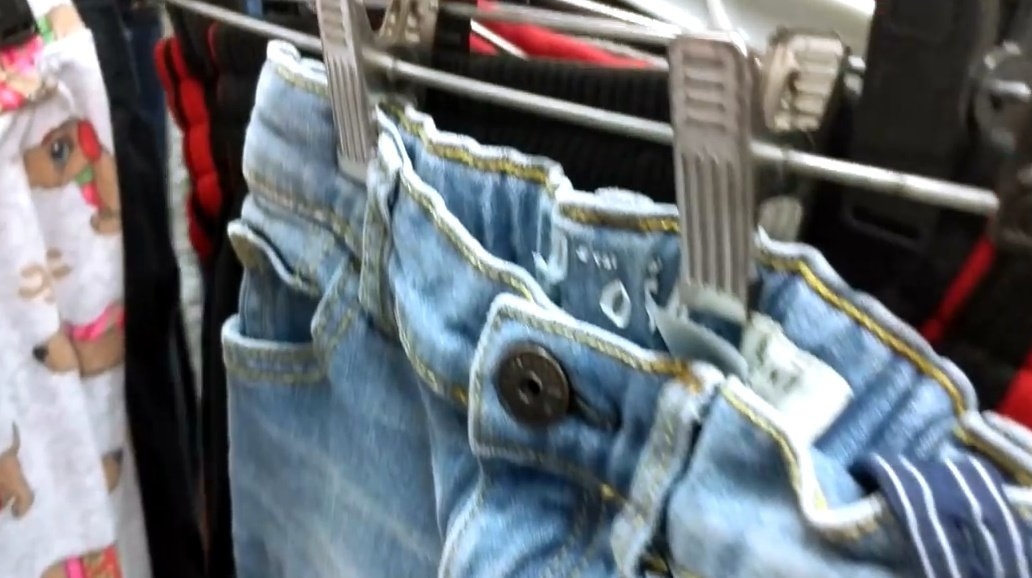
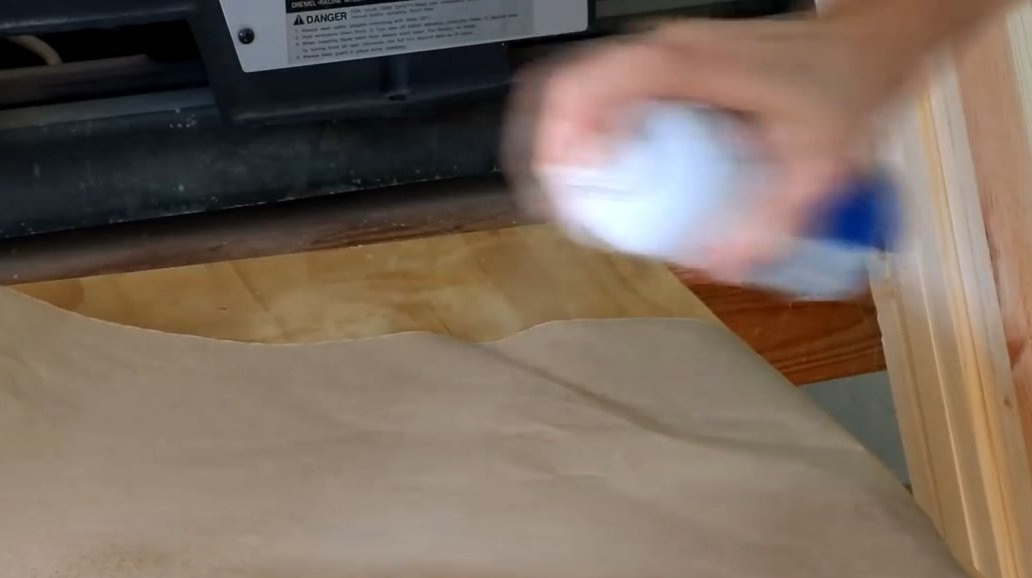
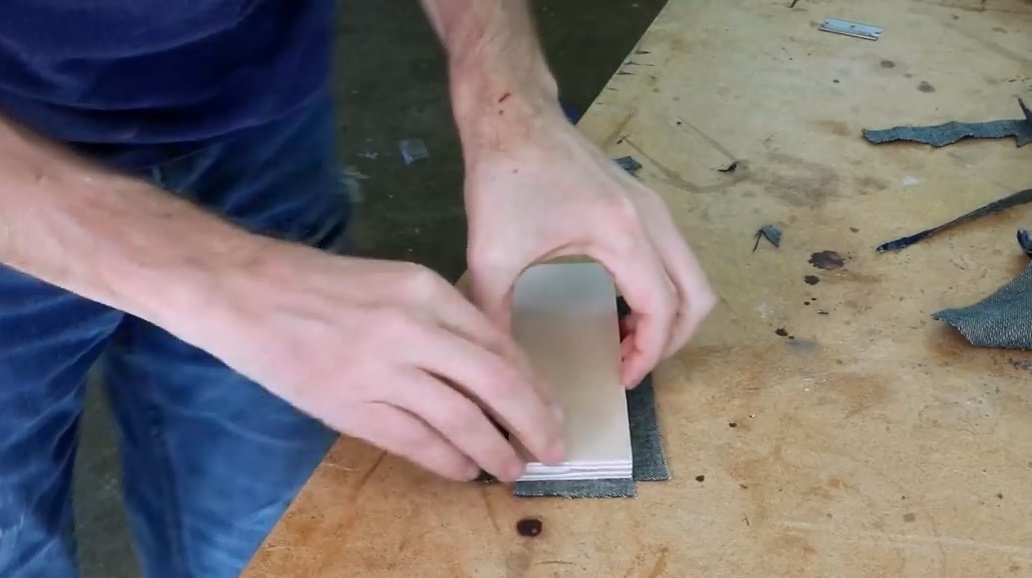
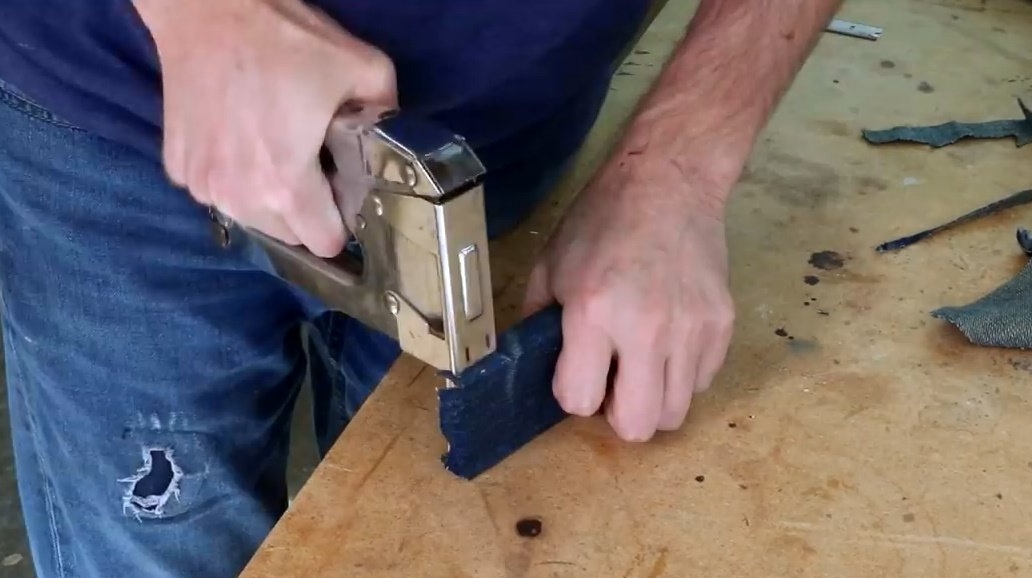
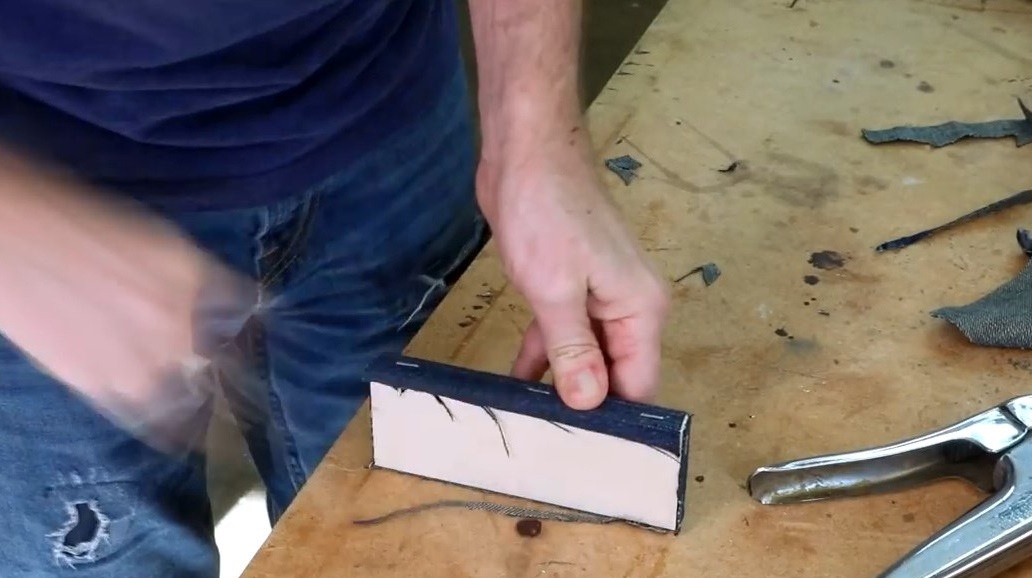
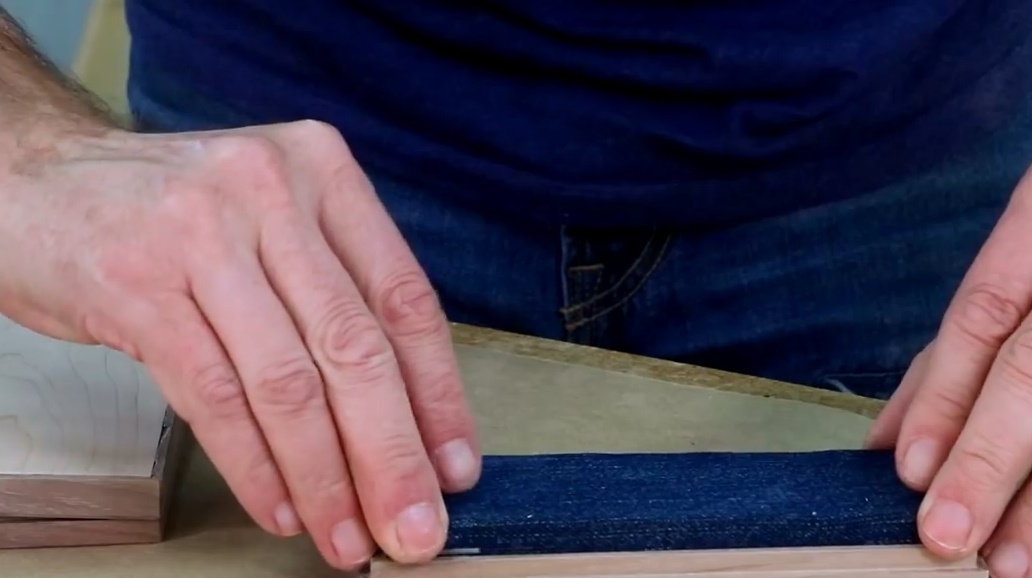
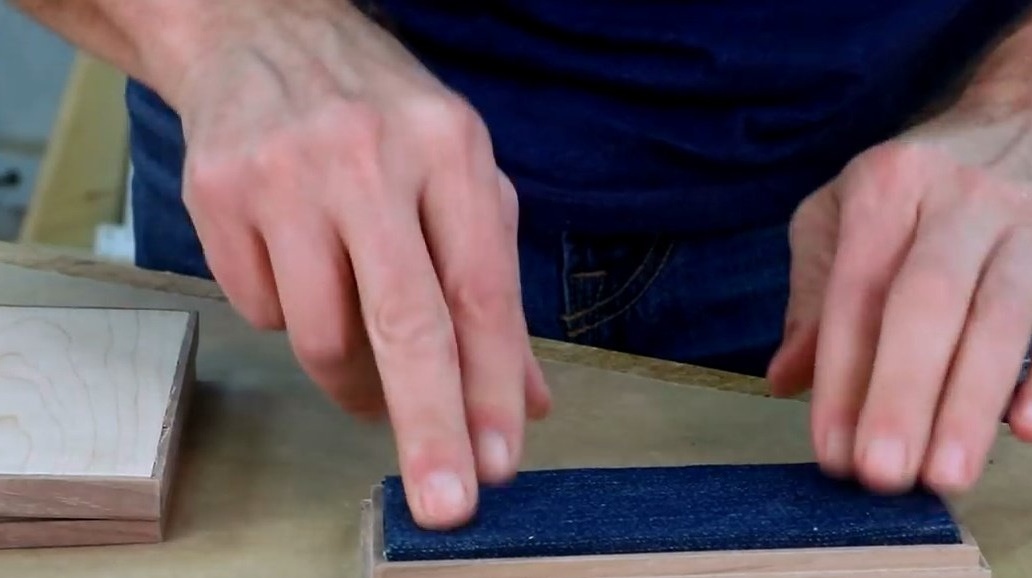
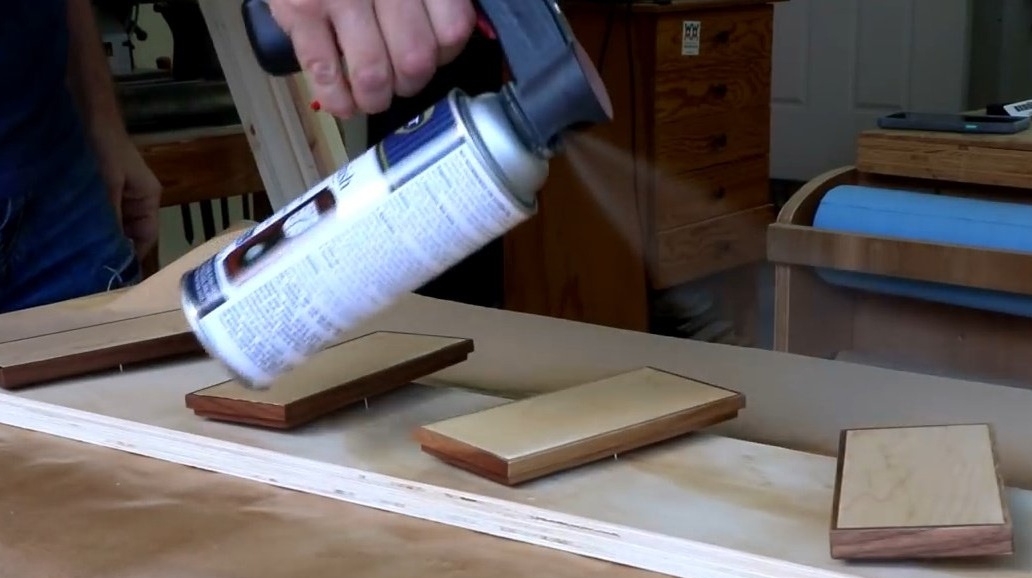
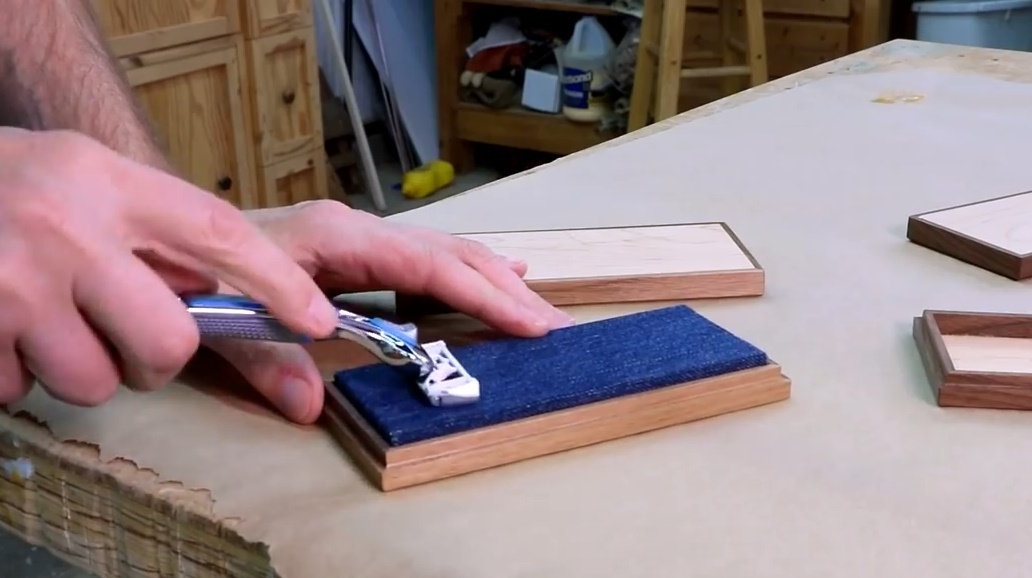
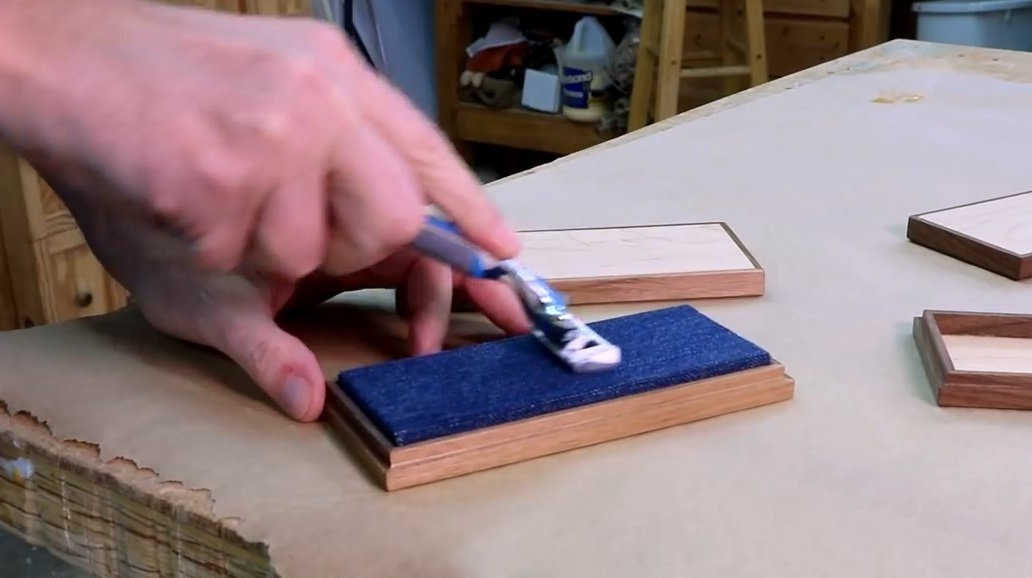
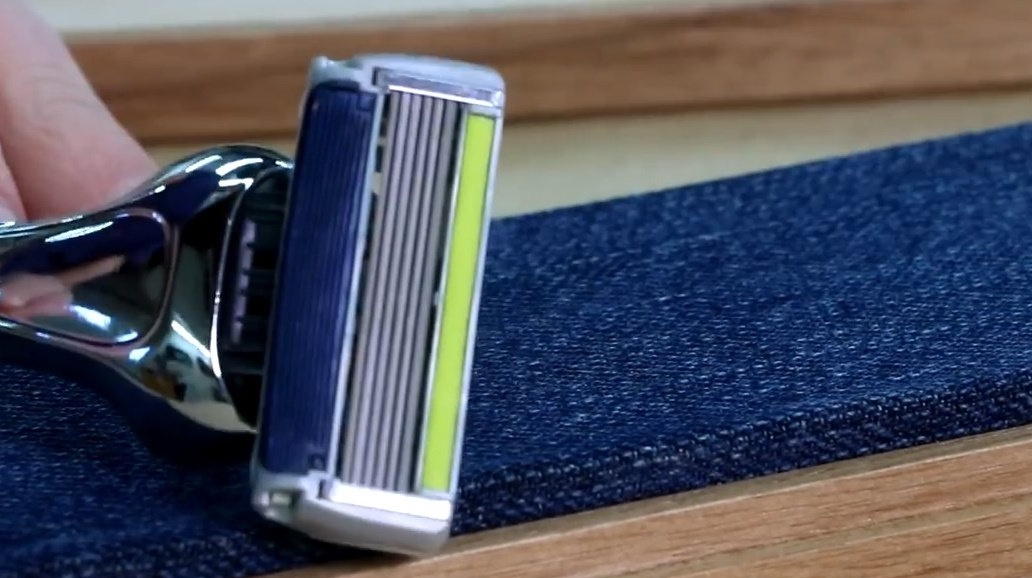
For the sharpening system, you need a board half an inch thick. The author uses plywood and plain denim.
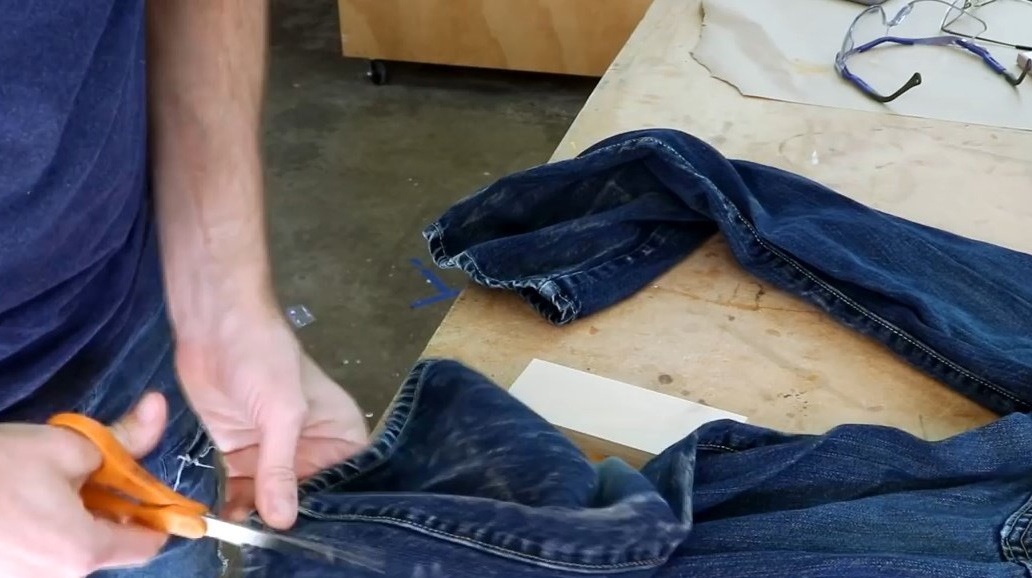
He sprays an aerosol contact adhesive on the plywood, and the stapler shoots the fabric to the base. Excess tissue is cut with a knife.
Now all the elements are ready.
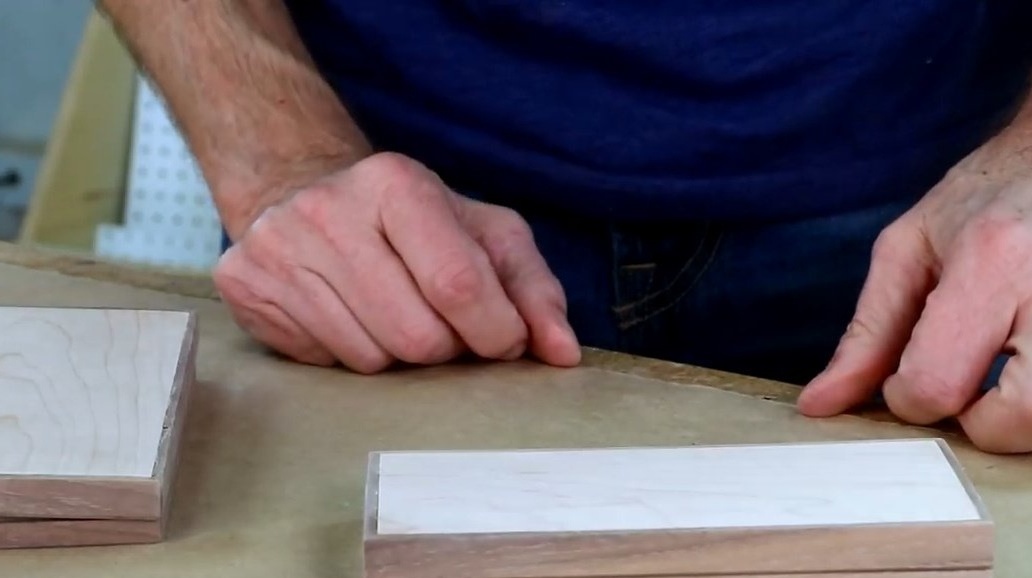
After which it covers all the elements of the box with several layers of varnish.
Sharpening for disposable razors is ready. In its functions and properties, it resembles a leather belt.
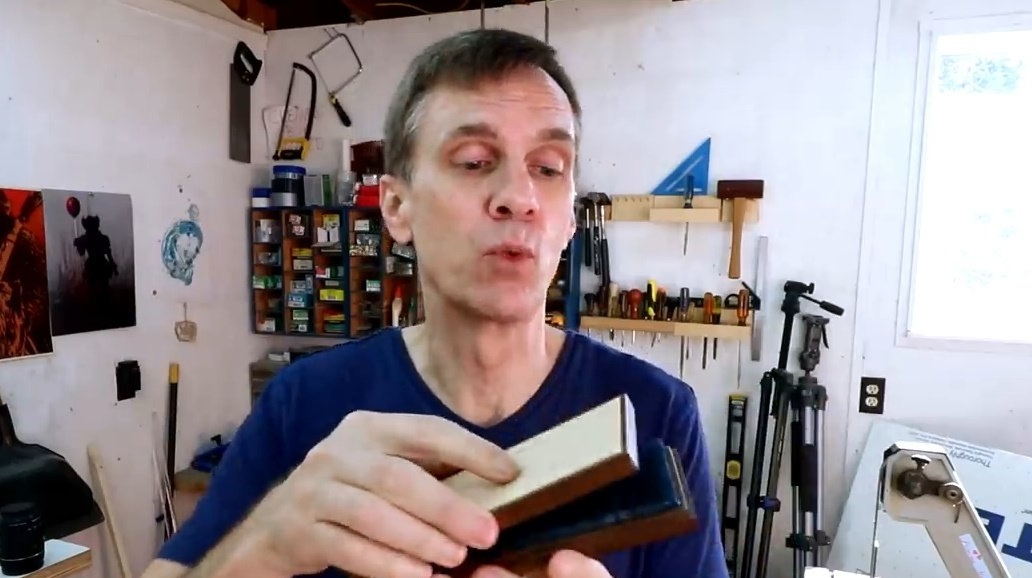
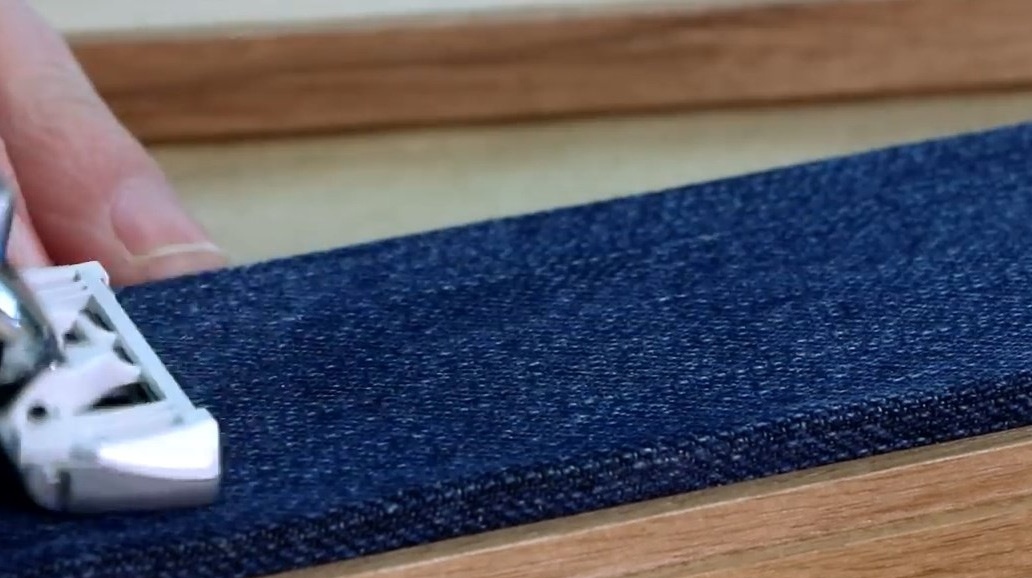
Cutters, scissors, and other barber tools can also be sharpened about it, but it sharpens razor blades best! Sharpening is best while the blade is dry and preferably without debris. The grinding process itself occurs when the blade moves in the opposite direction.

Thanks to the author for a simple but useful home appliance!
All good mood, good luck, and interesting ideas!