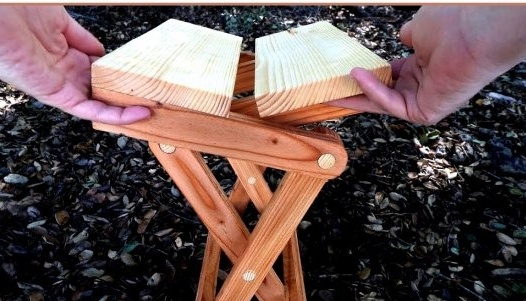
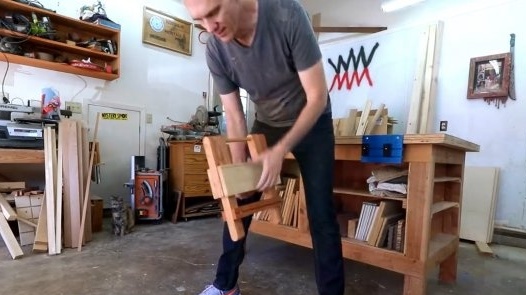
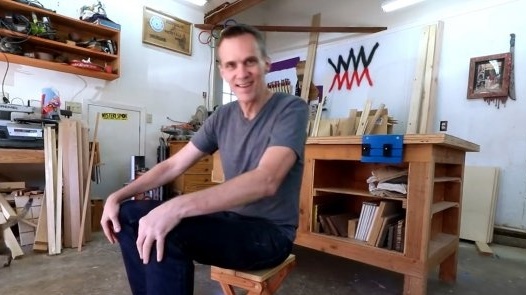
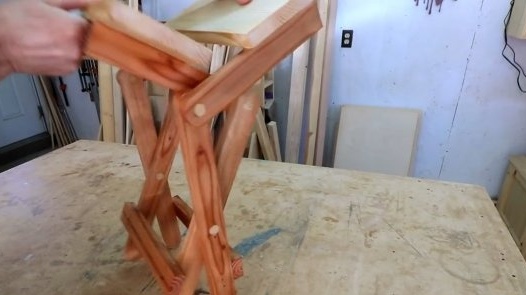
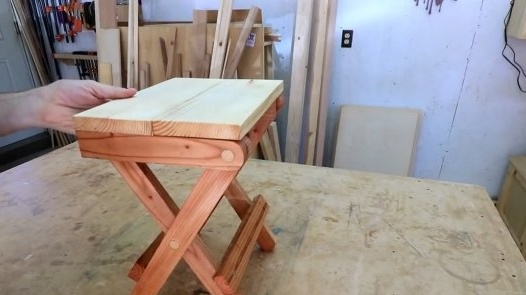
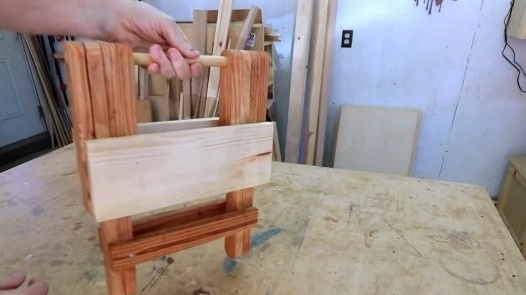
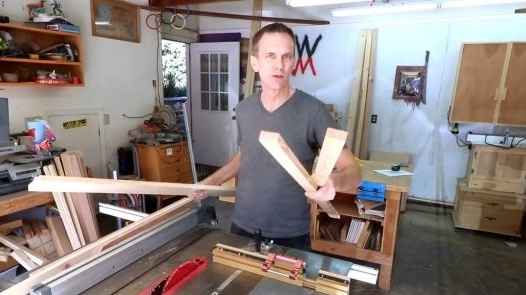
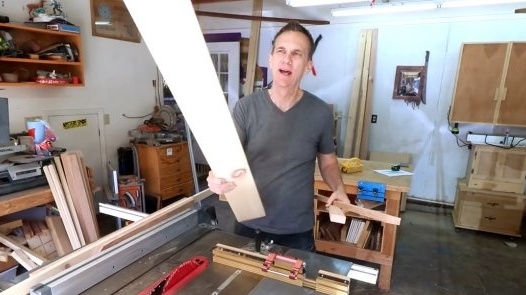
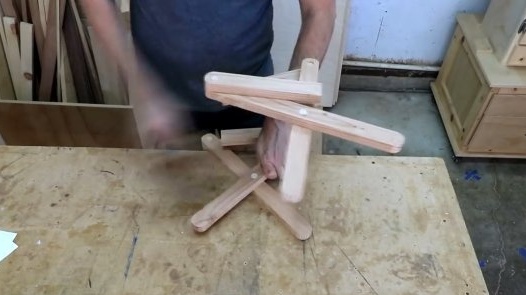
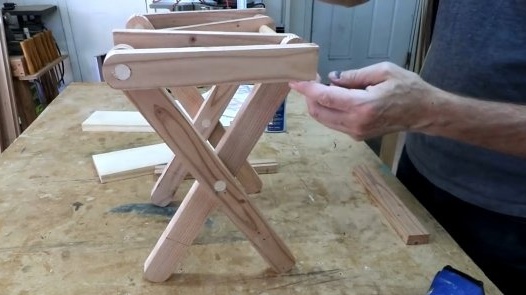
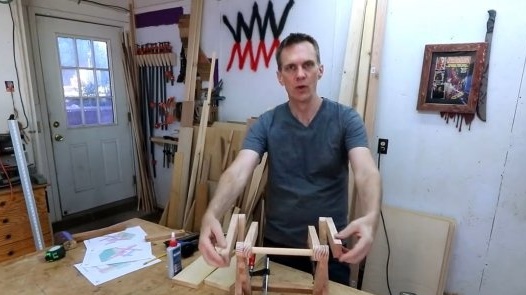
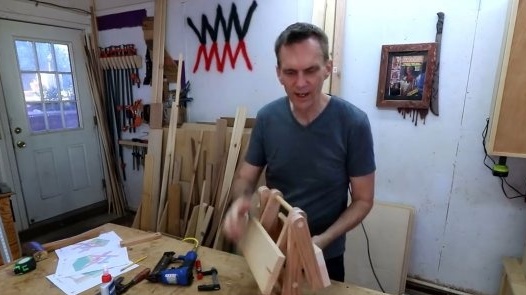
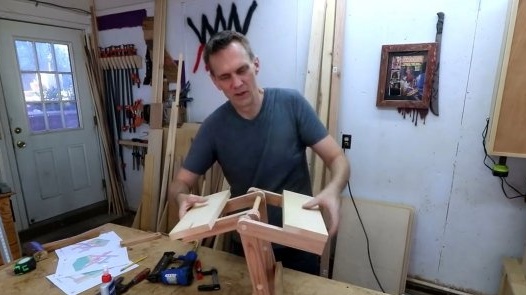
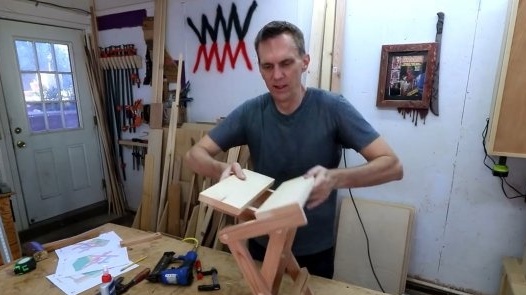
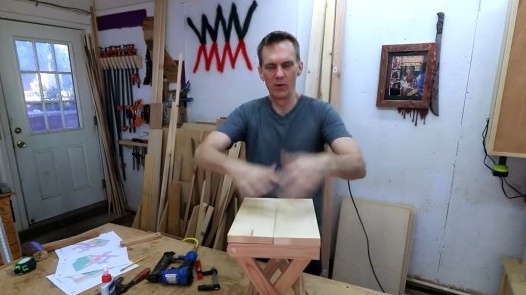
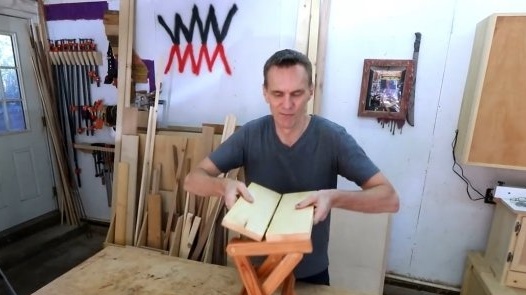
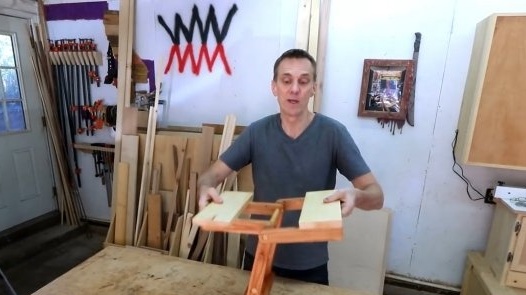
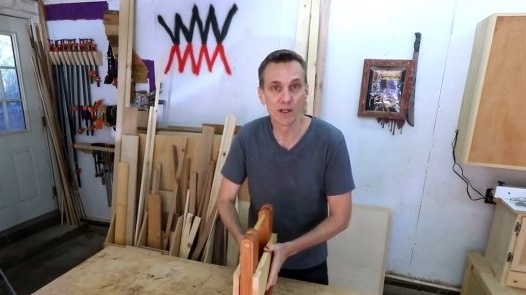
In this article, Steve, the author of the YouTube channel "Steve Ramsey - Woodworking for Mere Mortals", will tell you how to make such a small folding chair for sitting around a fire - this is a wonderful solution in the field, in the camp, in nature.
It weighs almost nothing, and you can make it in a couple of hours even with very simple tools. And finding the right materials is very easy.
Materials
- Trimming boards, wooden beam
- PVA glue
- Flaxseed oil for wood impregnation.
Instruments, used by the author.
- Neiler
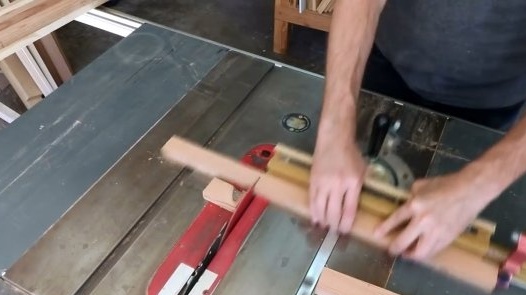
- A circular saw
- Drilling machine
- Forstner drills
- clamps
- Orbital sander
- Vibration and orbital grinding machines
- Mallet, ruler, square, pencil.
Manufacturing process.
For starters, you should use the drawings proposed by Steve.
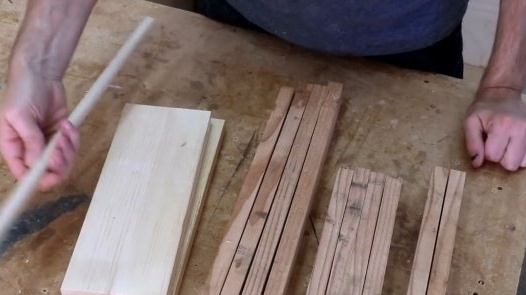
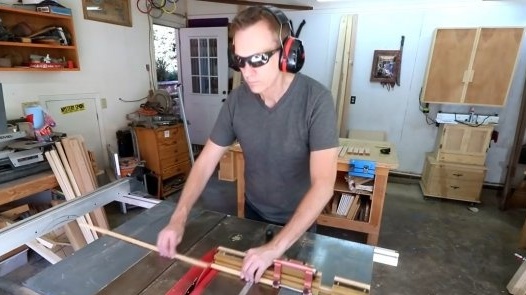
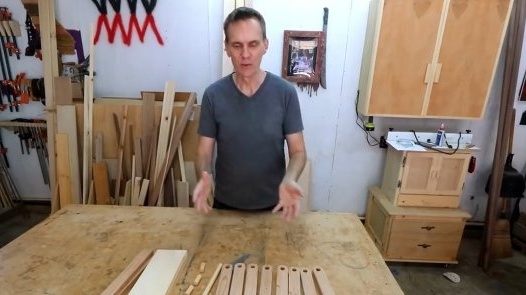
The great thing about this project is that a few cuts of the bars and a couple of boards are enough to carry it out, they just need to be cut to size.
The author notes that this is just the case when he recommends immediately cutting all the elements for seating. A total of 12 parts of 4 different sizes and a round log with a diameter of 20 mm.
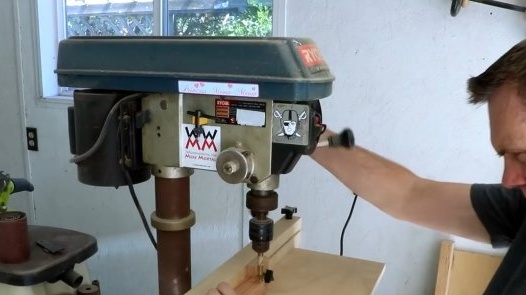
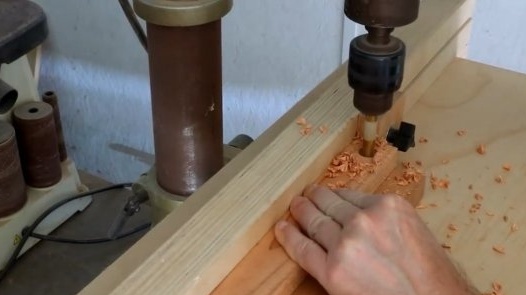
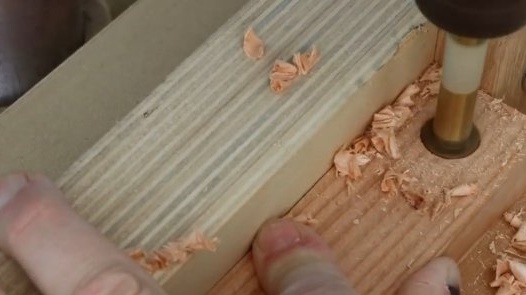
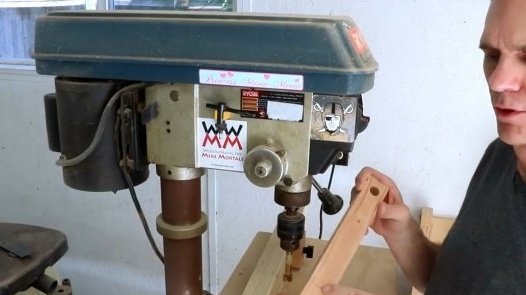
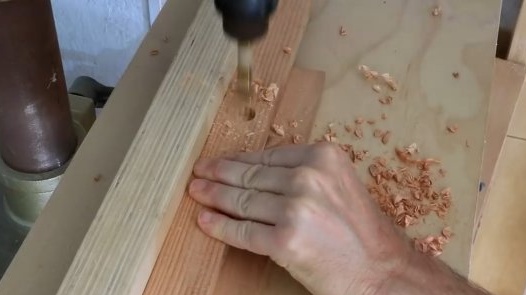
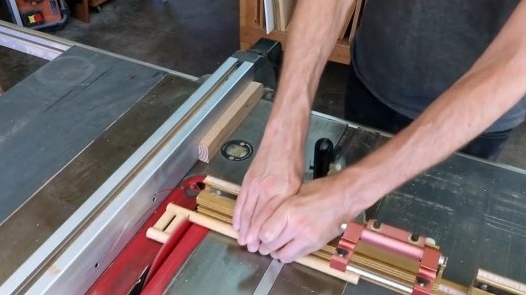
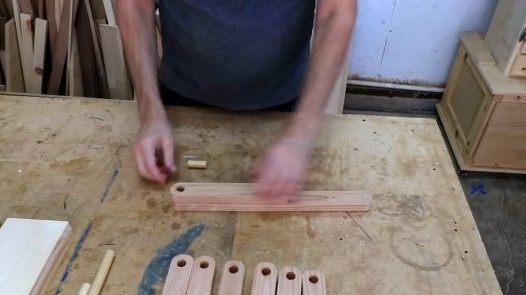
First of all, the author drills a hole from one end of each long part.
He then moves the stop further and drills a hole in the center of each long part.
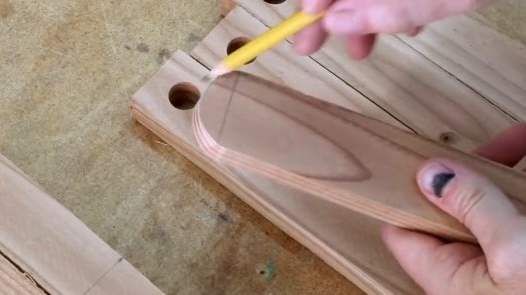
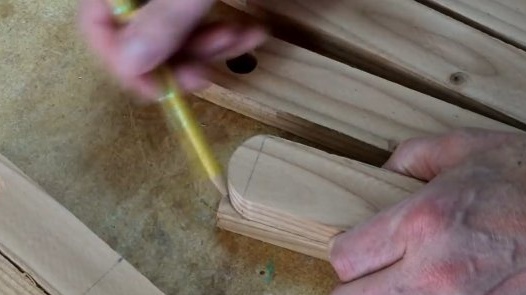
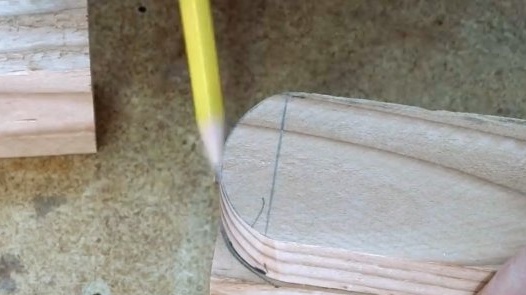
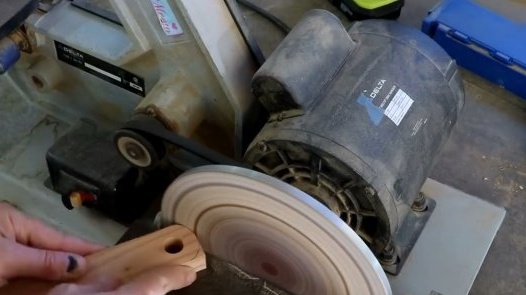
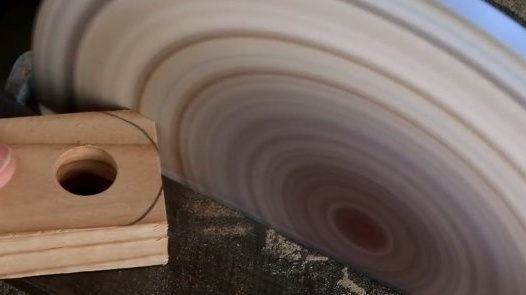
On this plate, Steve made a rounding and now he intends to use its shape as a stencil for others. The same curves will be from one end of the meek elements and from two ends of the long ones.
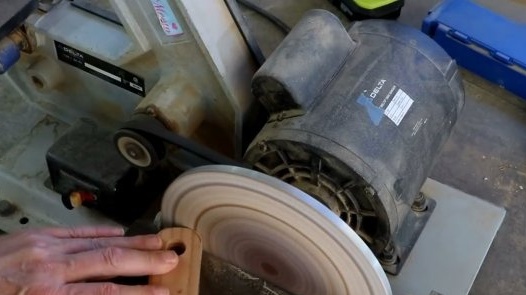
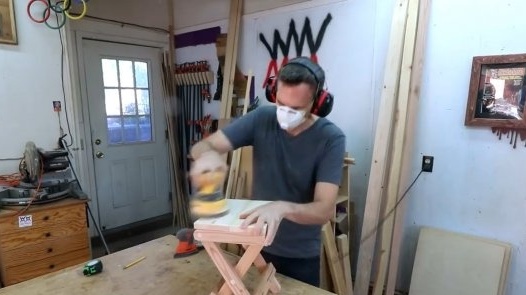
The corners can be cut on a band saw or a jigsaw, but the author prefers an orbital sander.
He cuts the wooden core into 5 parts: one long and four short.
When all the structural elements are ready, you can proceed with the assembly.
At first glance, everything looks confusing, but if you follow the plans and drawings, then there is nothing complicated.
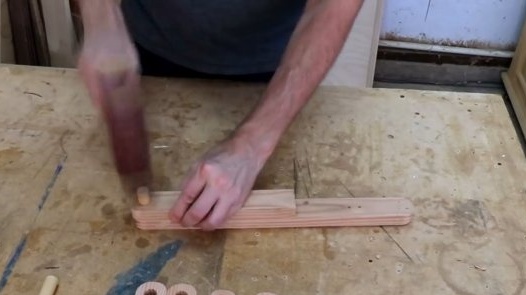
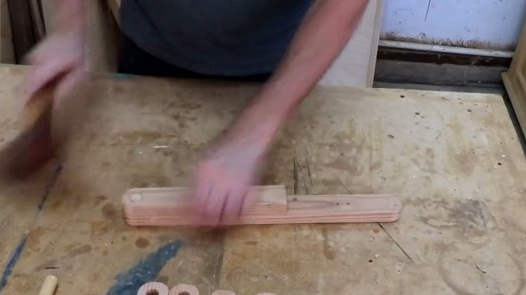
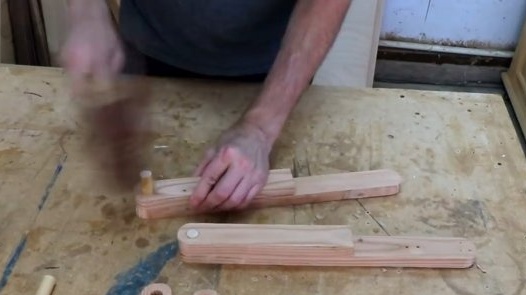
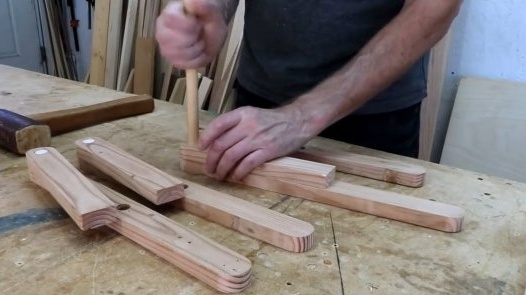
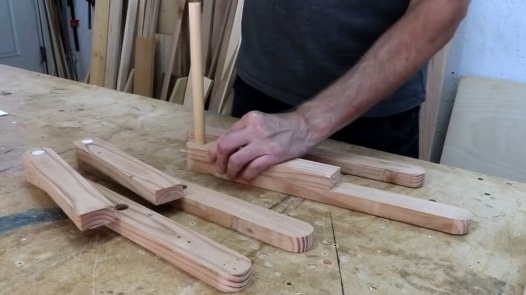
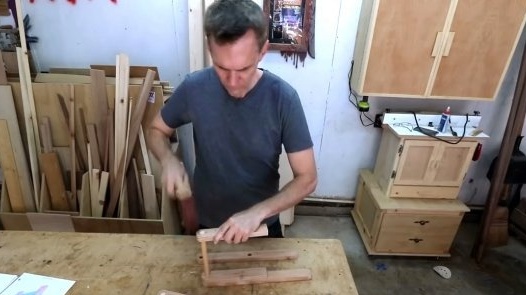
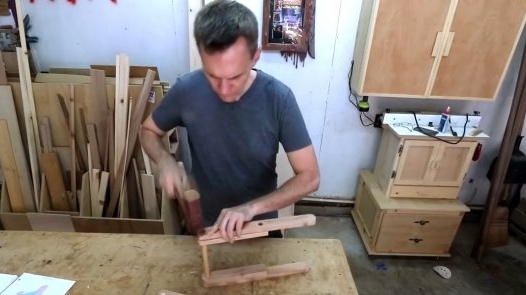
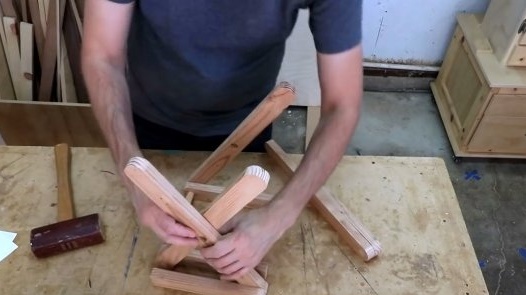
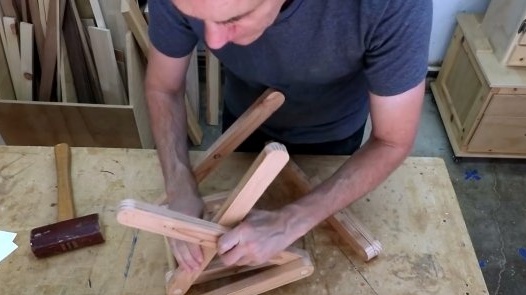
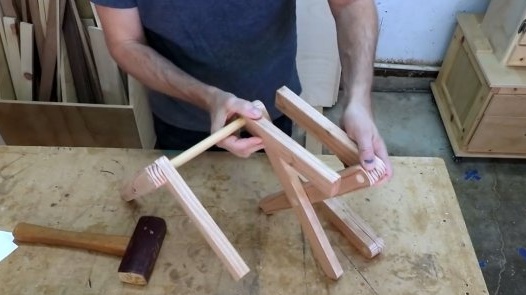
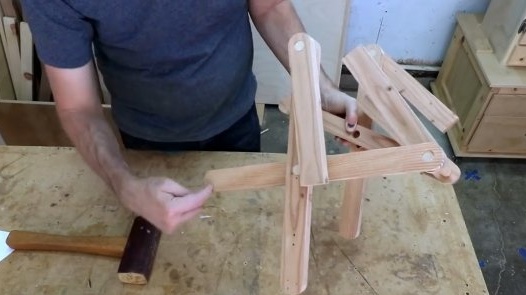
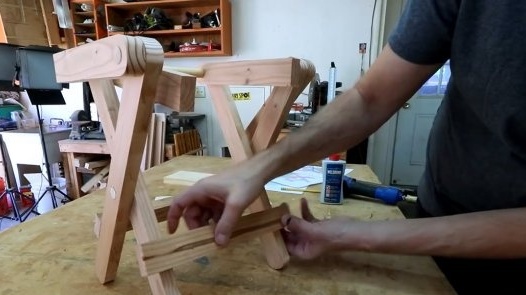
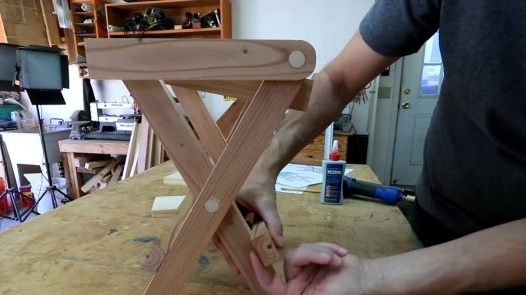
We connect the long part with the short one and insert the pin for fixing. The next pair is connected by a long rod. One of the details is short.
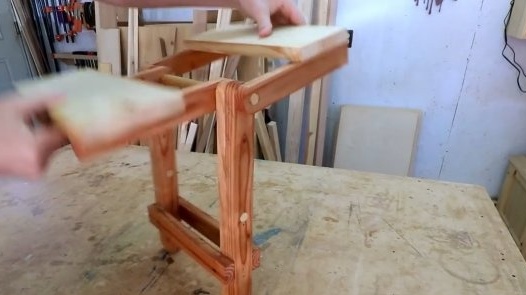
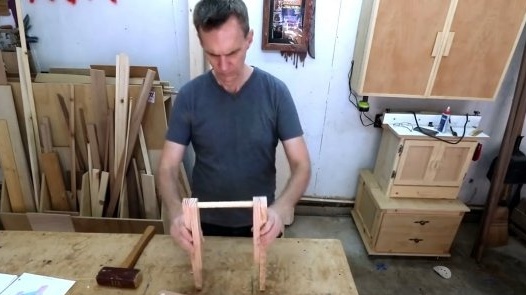
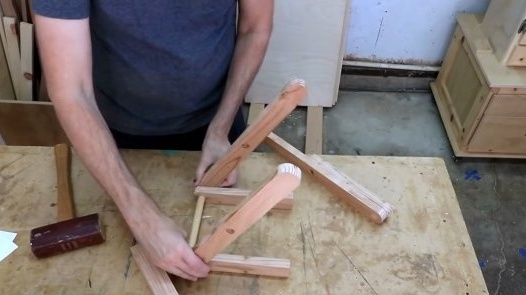
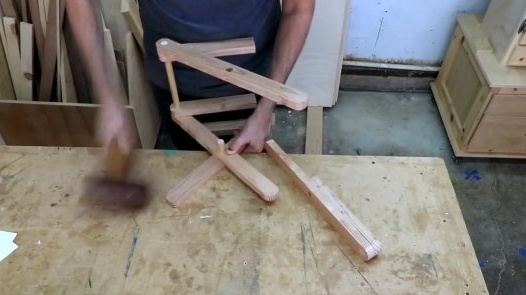
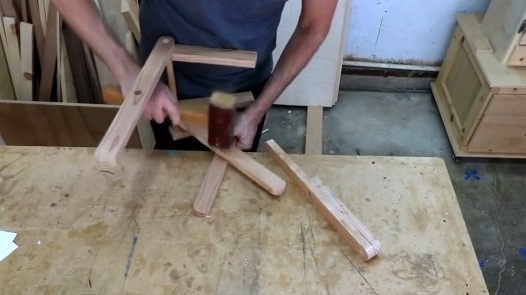
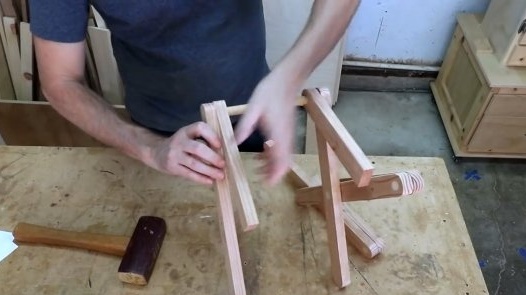
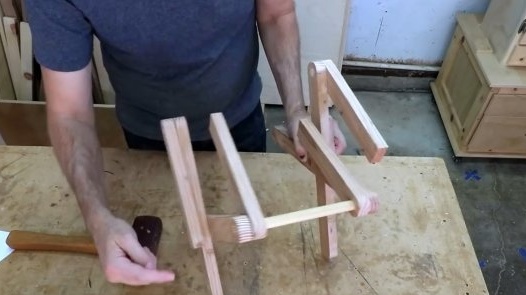
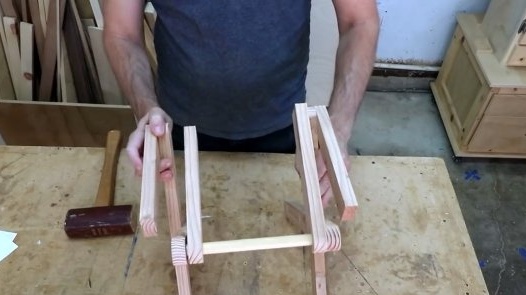
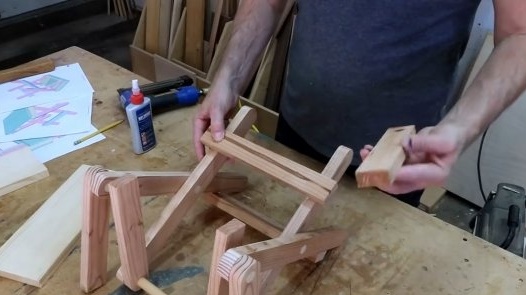
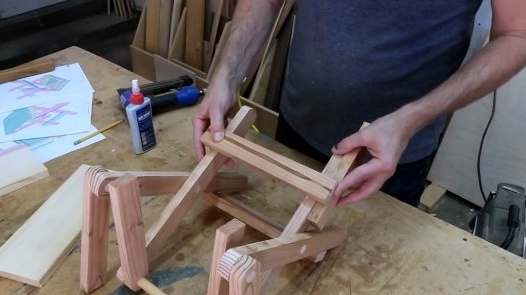
The best way to keep it straight is to take the middle section. Fasten it with a long crossbar. Steve lifts these two legs at an angle of 45 degrees. Two short legs of other connections are turned out and put in focus.And their long pair rises at an angle. Now you can see where these parts should be fastened with a pin. And here you have half the seat.
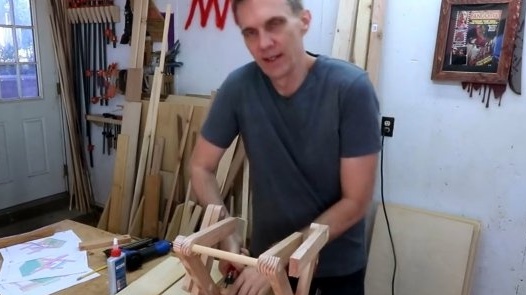
The same should be done with the second half. It should be remembered that 4 long segments are legs, and short ends without holes are seat legs.
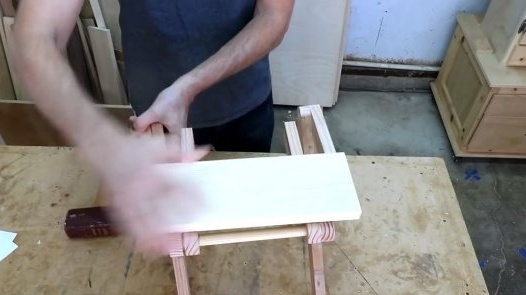
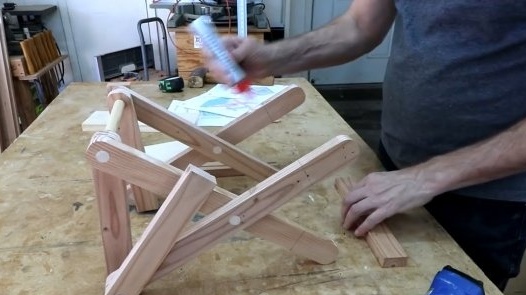
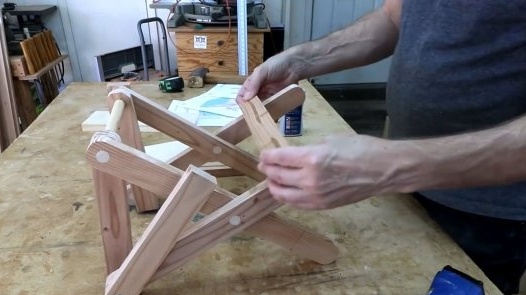
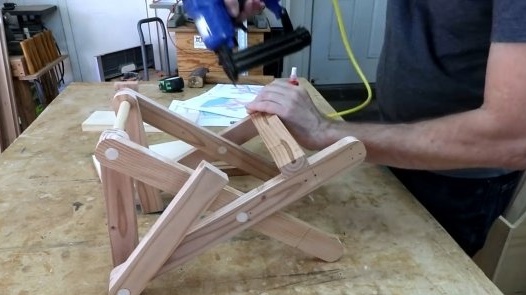
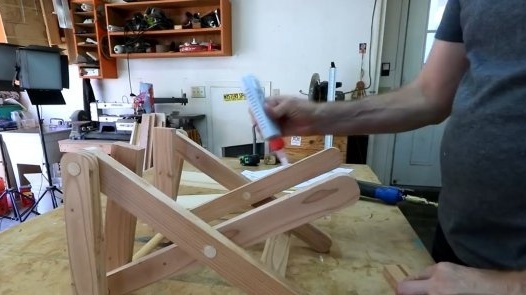
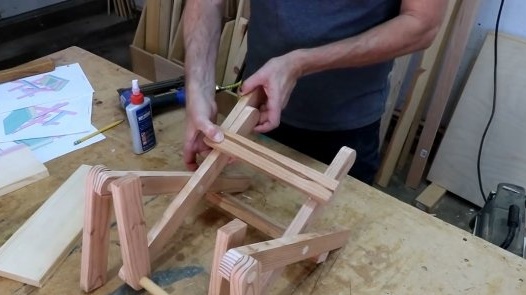
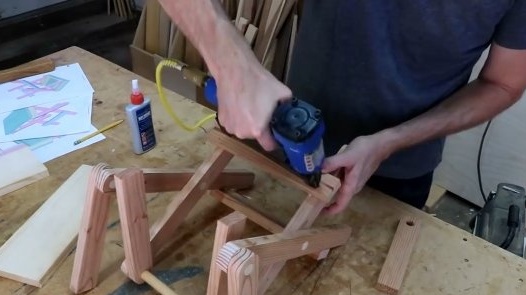
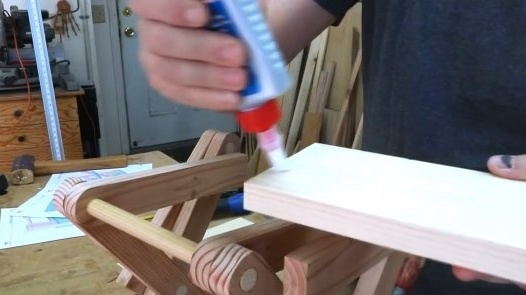
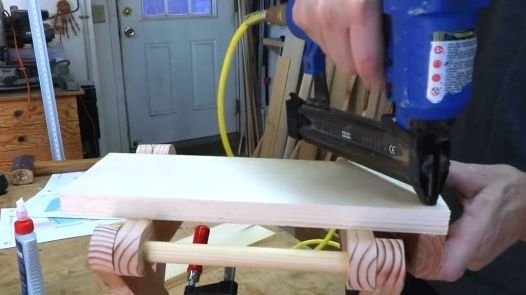
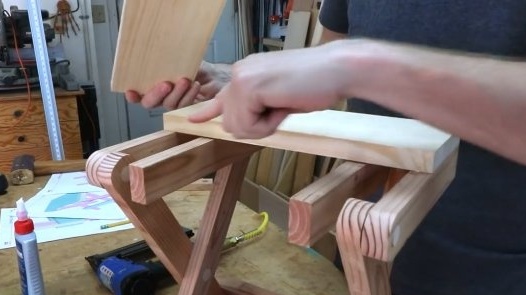
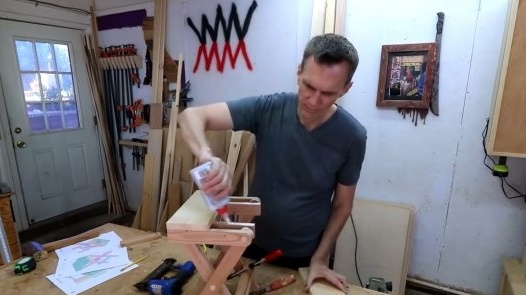
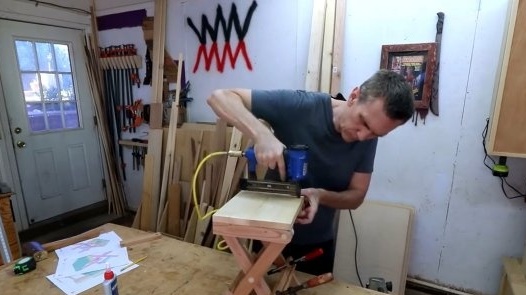
And now you can already attach the seat itself. But first, the master glues and shoots the cross-braces on the legs of the chair with a neiler. Moreover, the second board protrudes slightly beyond the edges of the legs, a kind of emphasis is obtained. For reliability, it tightens the glued places with clamps.
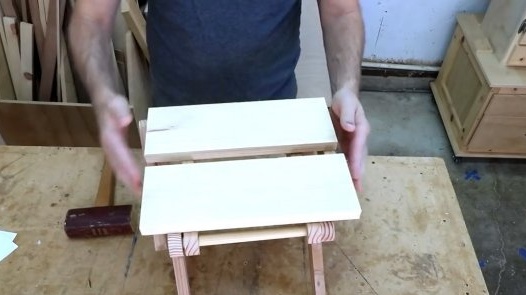
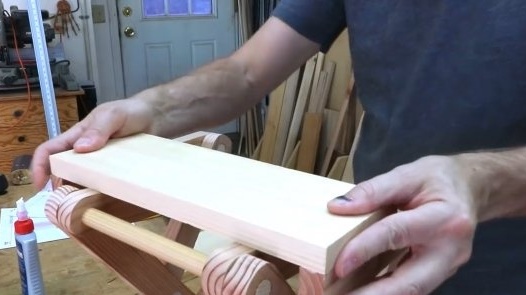
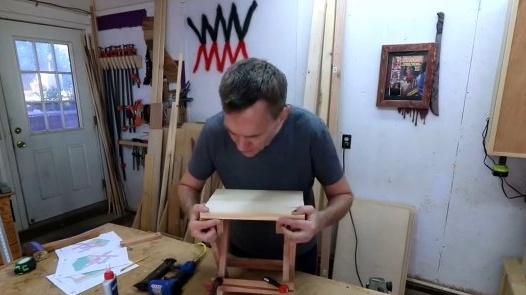
To attach a seat, you should start with two outer segments on which a wide board will be “planted”.
The second board is attached to the two inner rails. Now the whole structure should dry properly.
If the stool is unfolding tightly, it is only because the pin is stuck somewhere.
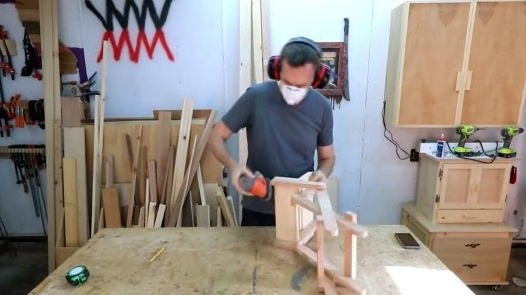
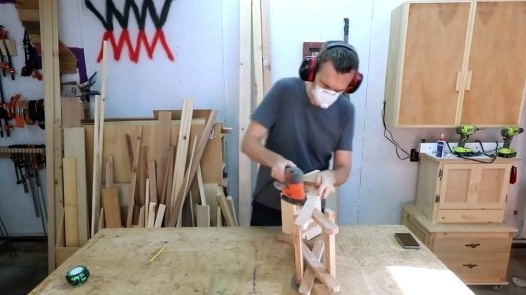
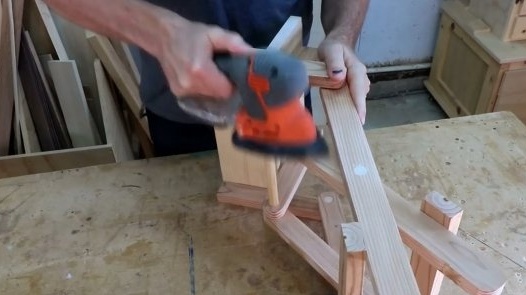
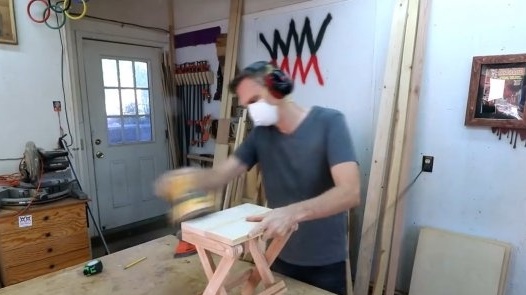
The stool should be smoothed out to smoothness. First, the author processes vibrational, and then orbital grinding machines.
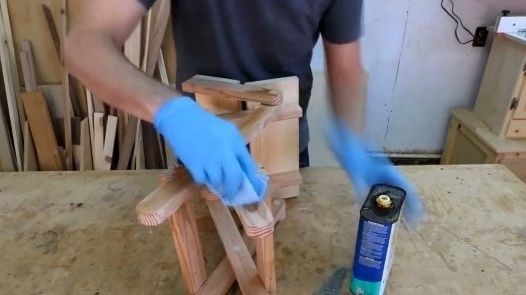
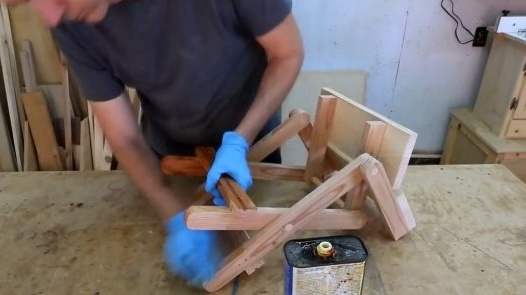
And now you can treat the surface with linseed oil.
The author concludes by recalling that for this project it is simply imperative to rely on the drawings. They indicate the dimensions of the parts, assembly plan, etc. If desired, the stool can be made in other sizes.
You cannot buy such a stool in a store! If only because it is made do it yourself and with love!
Thanks to the author for the simple but interesting design of the compact folding chair!
All good mood, good luck, and interesting ideas!

