
In this article, the author of the YouTube channel will tell you how to make a quick-clamp vise with an eccentric clamp. The convenience of such a vice is that there is no need to twist the clamping screw each time the dimensions of the workpieces change. Simply slide the movable sponge and clamp it with an eccentric.
About the entire process of manufacturing the nodes of this device below.

Materials
- Nut and washer M10
- A bed from a vice
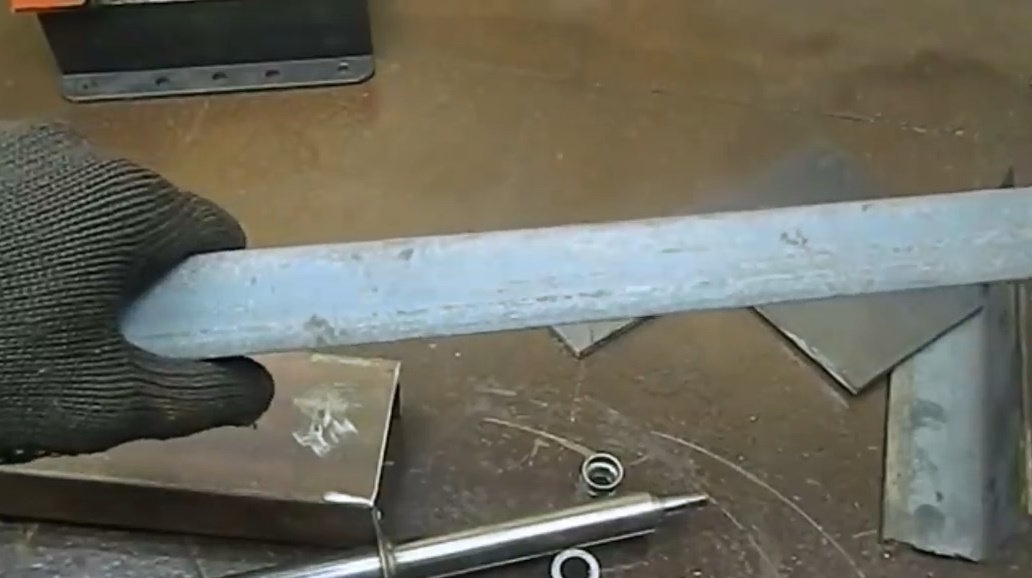
- shock absorber rod
- Corners 32nd and 50th
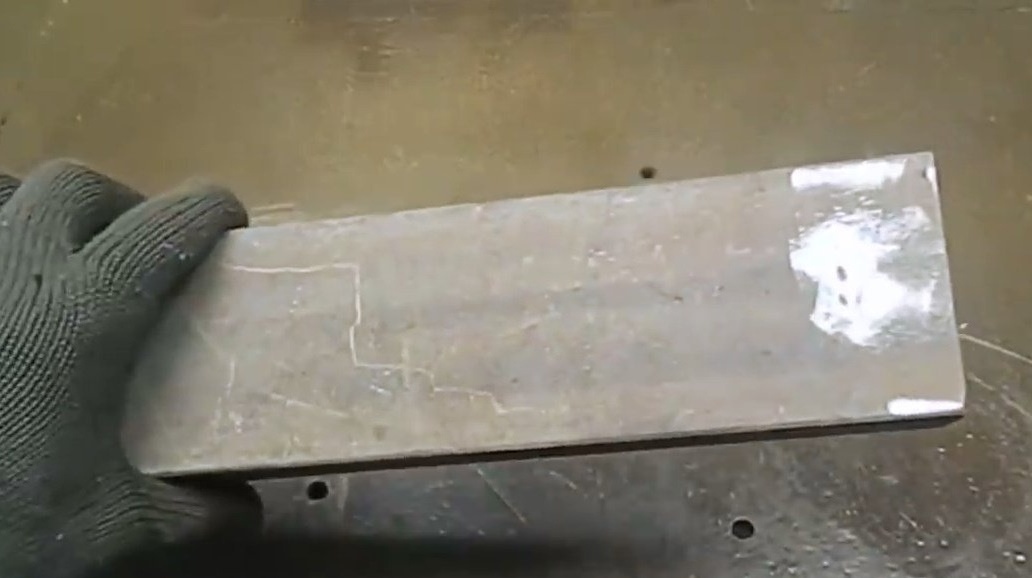
- 80th channel
- Sheet steel 6 mm thick
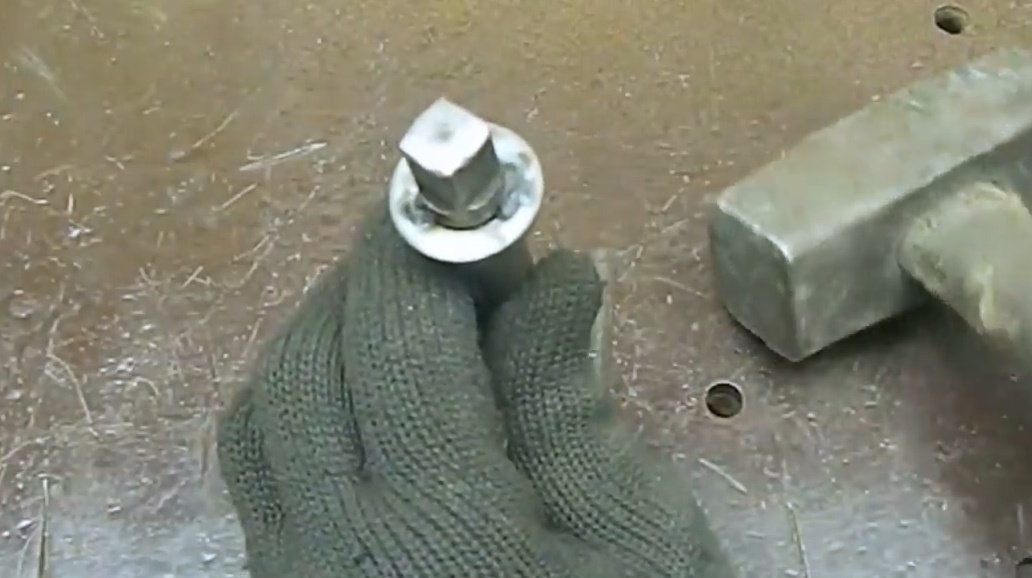
- Car nut M12
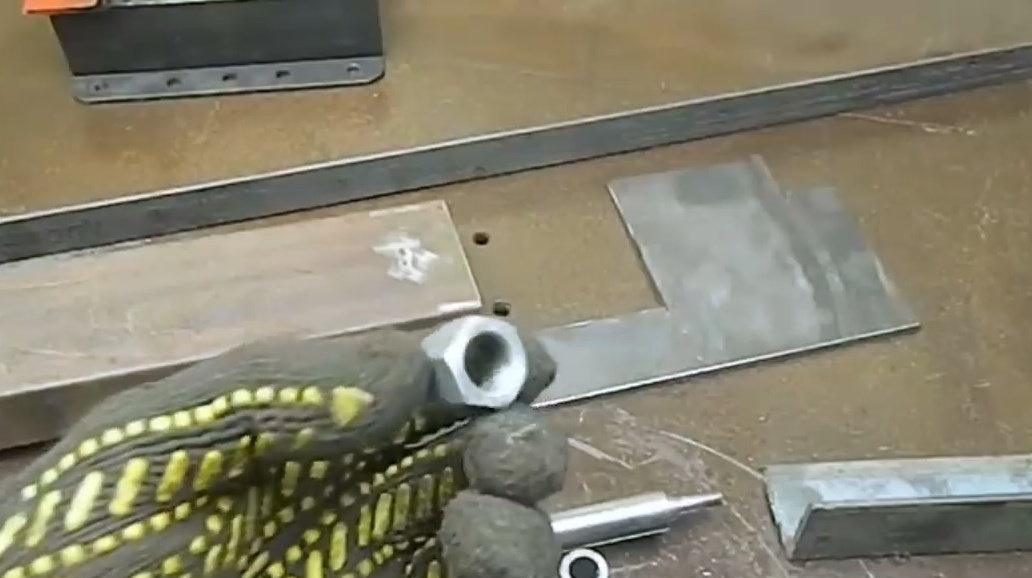
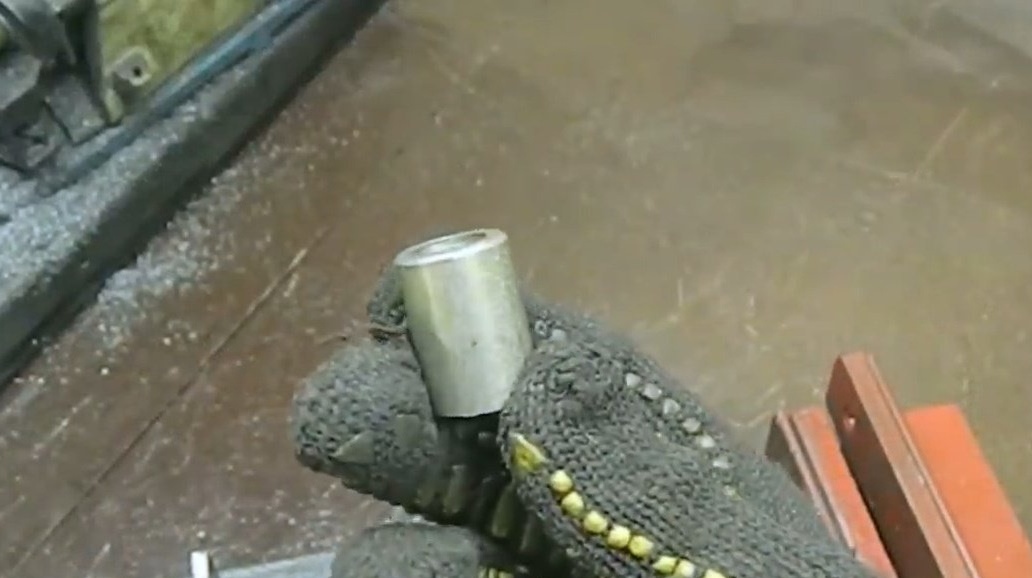
- Sleeve from jet thrust Zhiguli
- Eccentric with welded handle
- Spray paint.
Instruments, used by the author.
- Band-saw
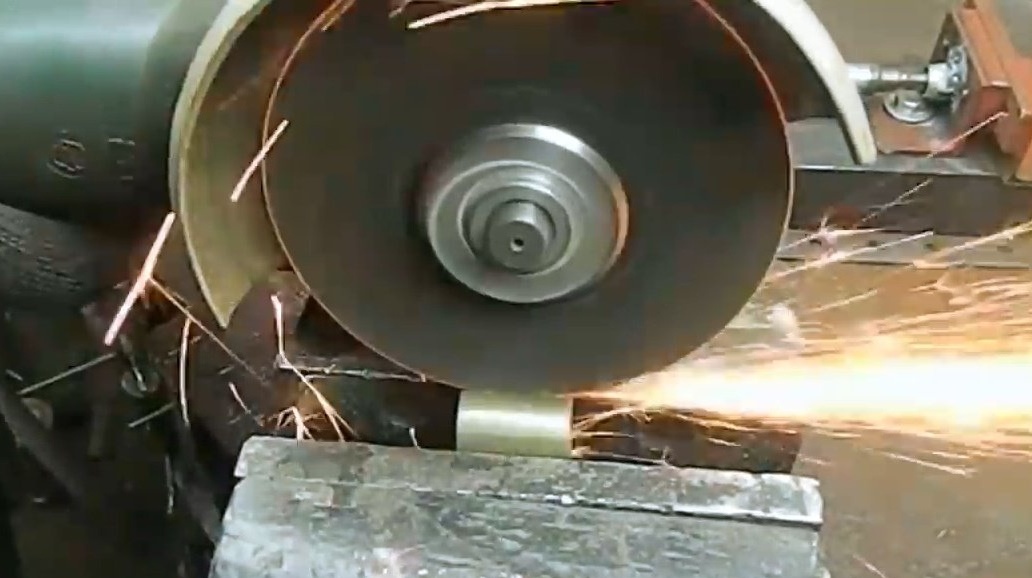
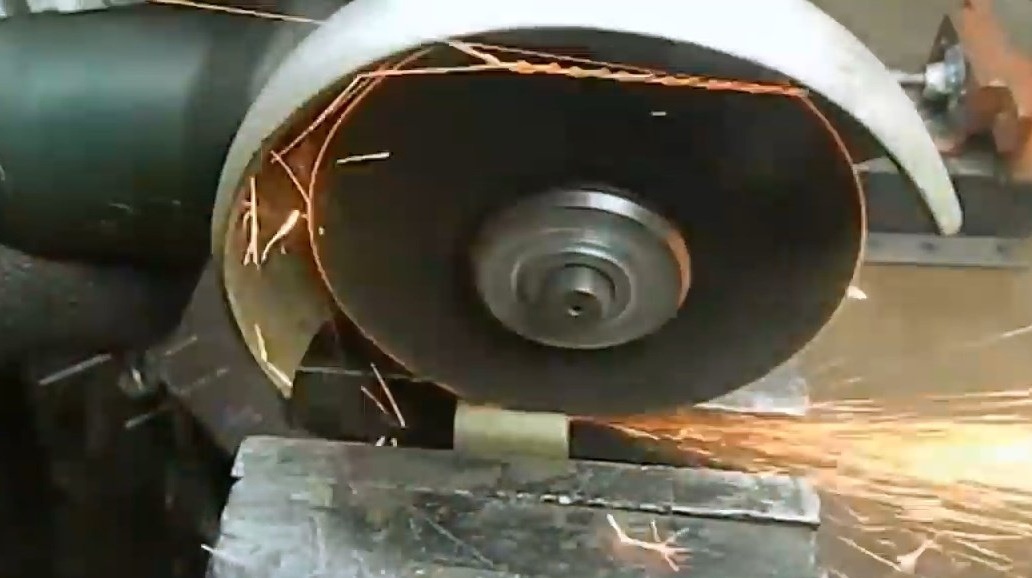
- Bulgarian, stripping flap disc
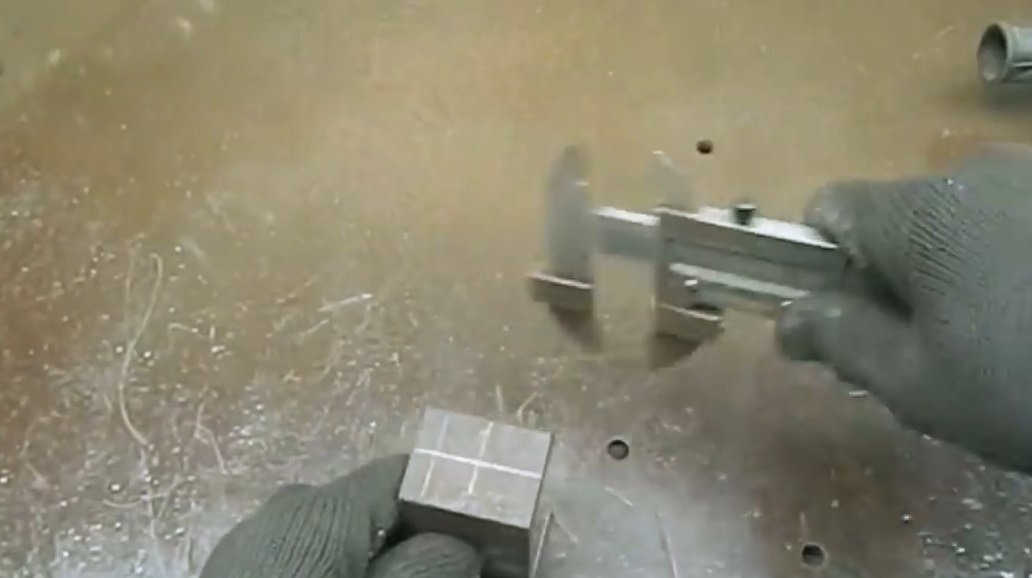
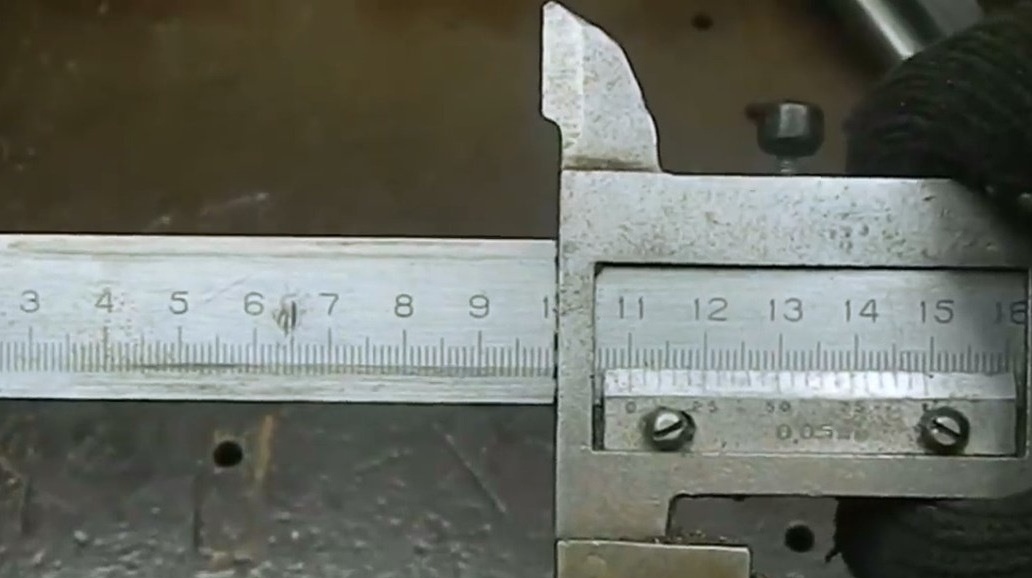
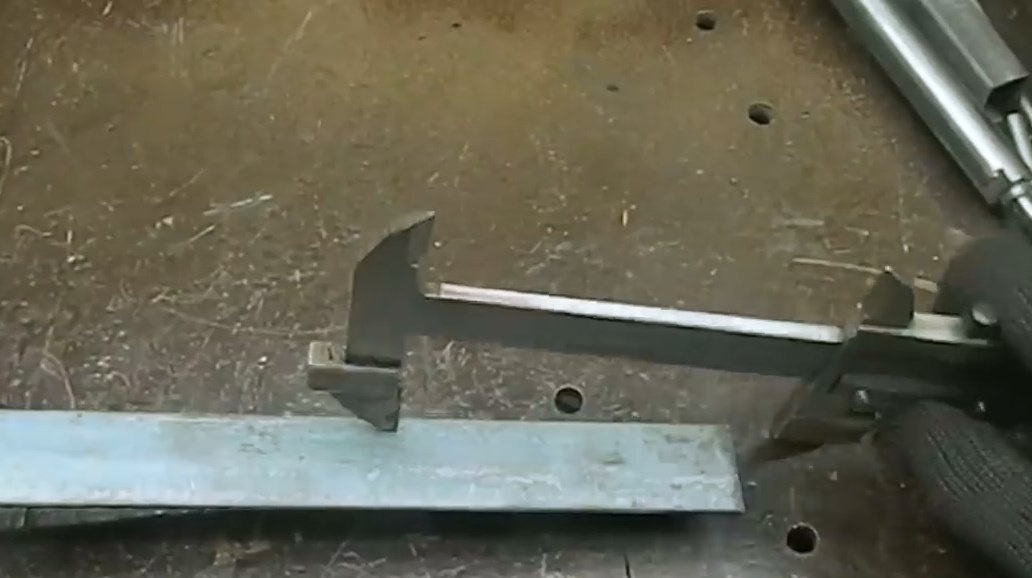
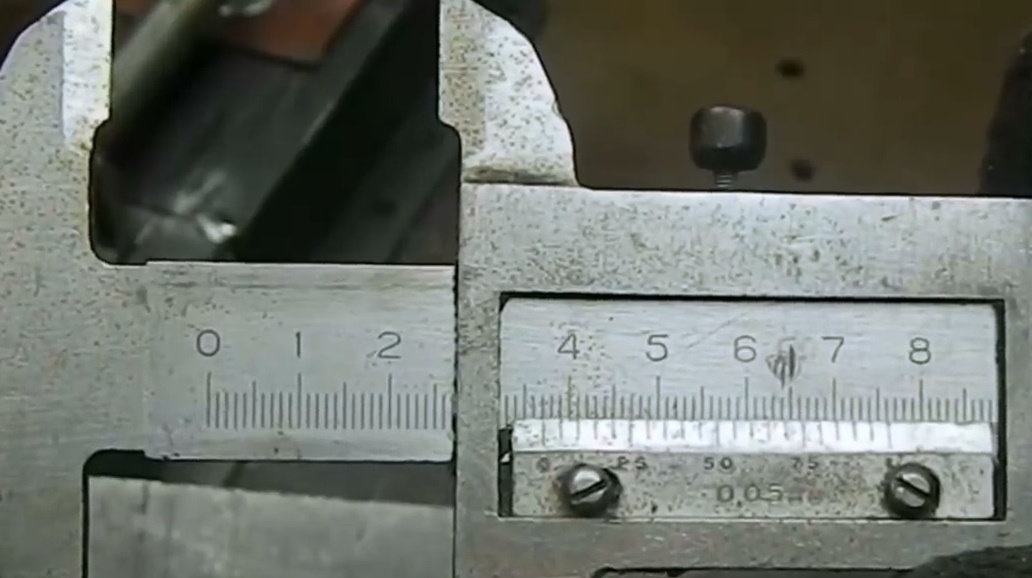
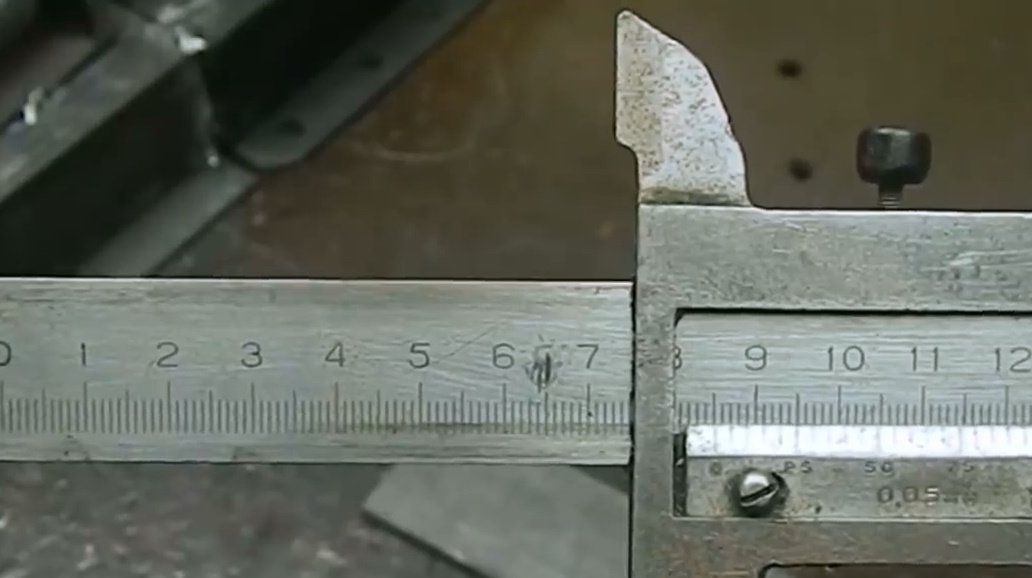
- Vernier caliper, core, hammer
- Vise
- Welding machine
- Drilling machine
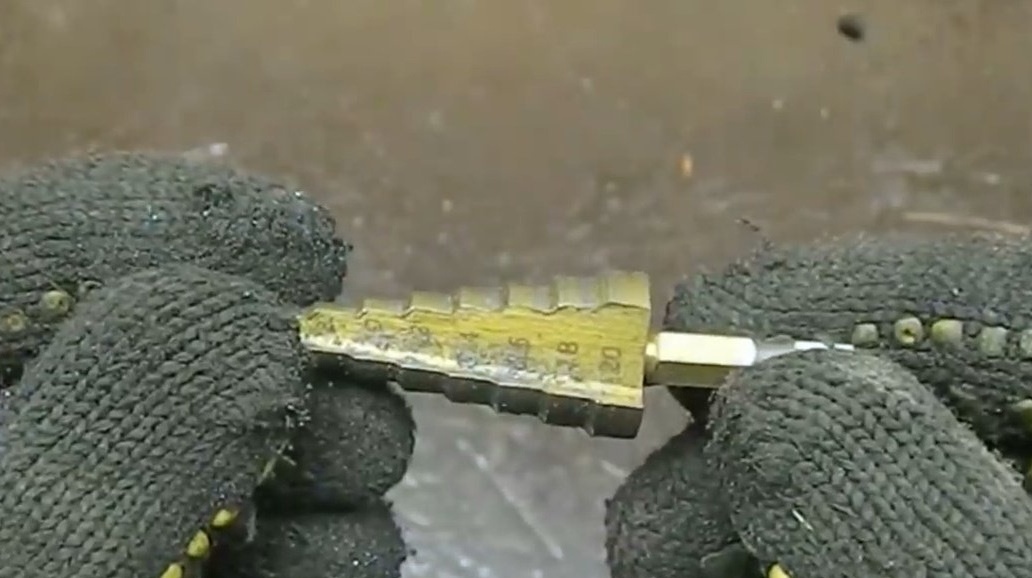
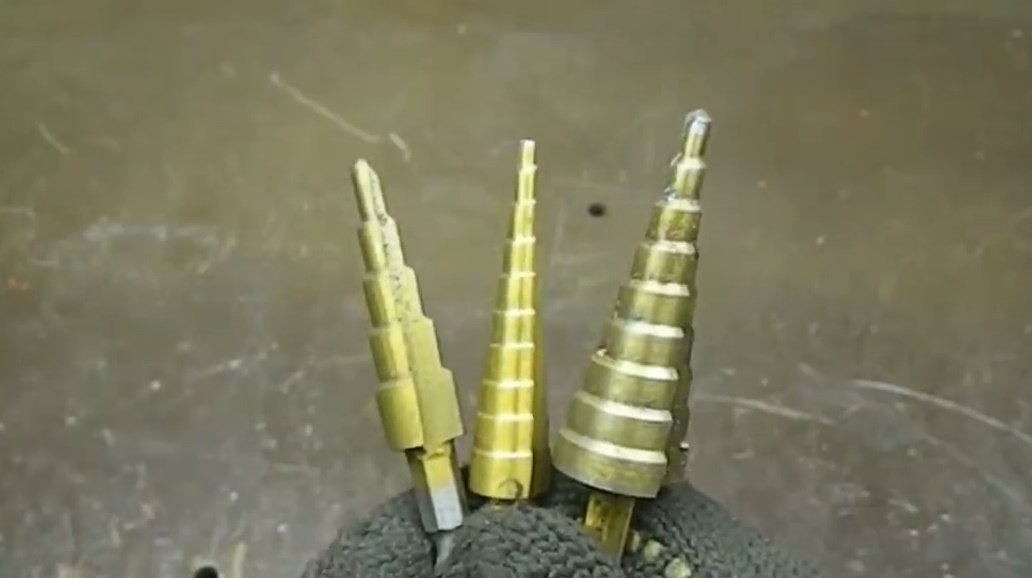
- Step drills
- Ruler
- Clips, clamps
- Spanners.
Manufacturing process.
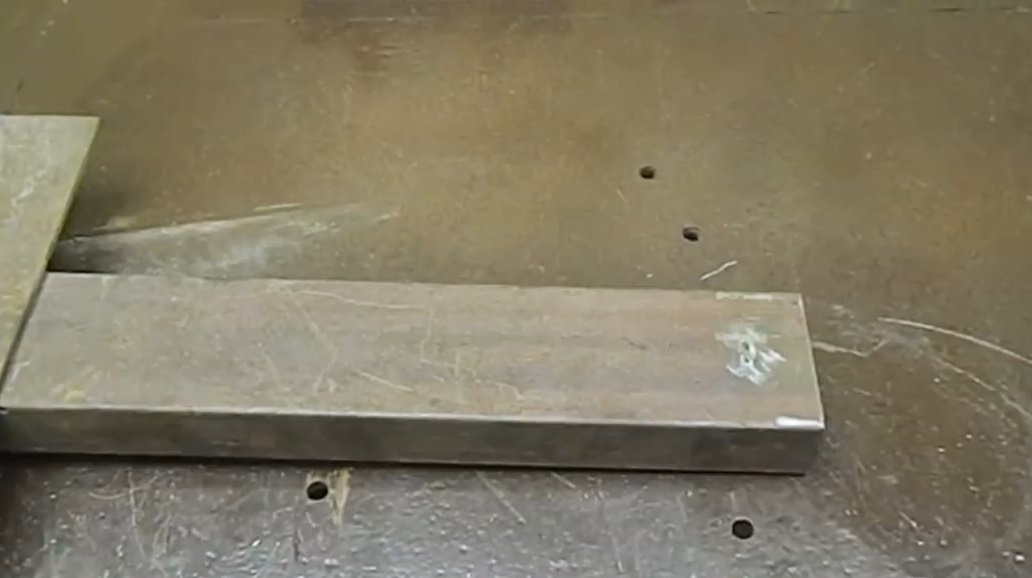
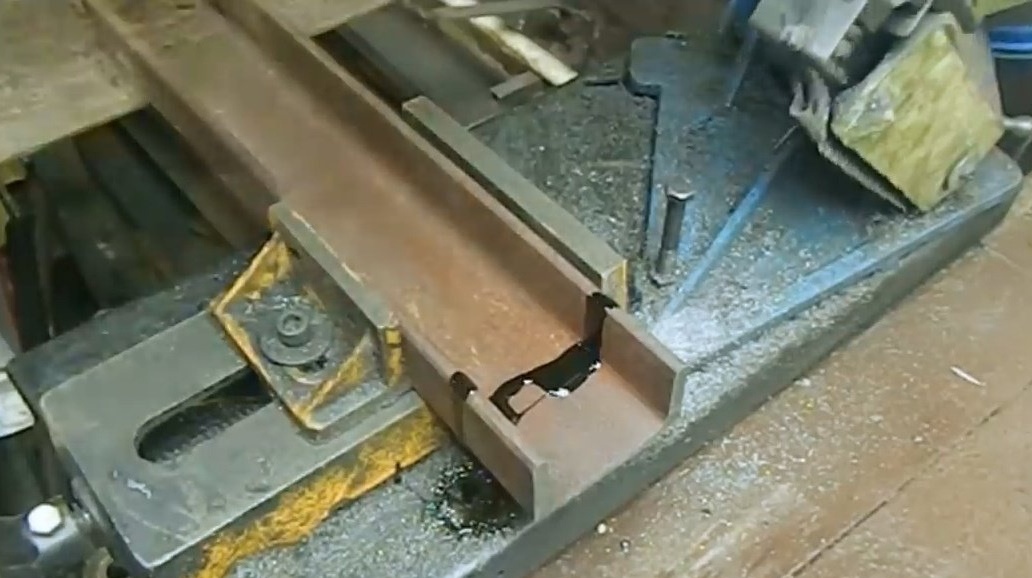
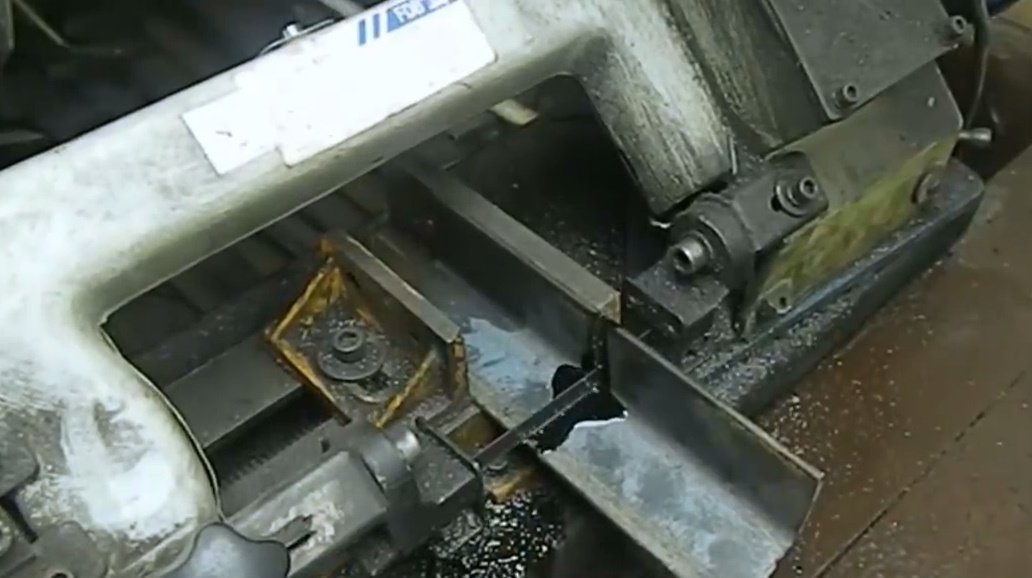
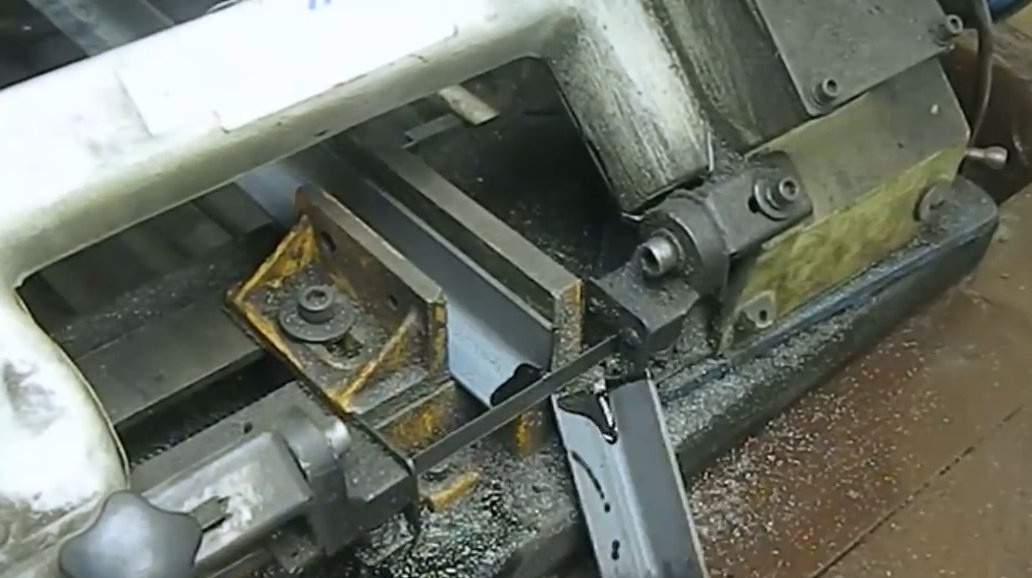
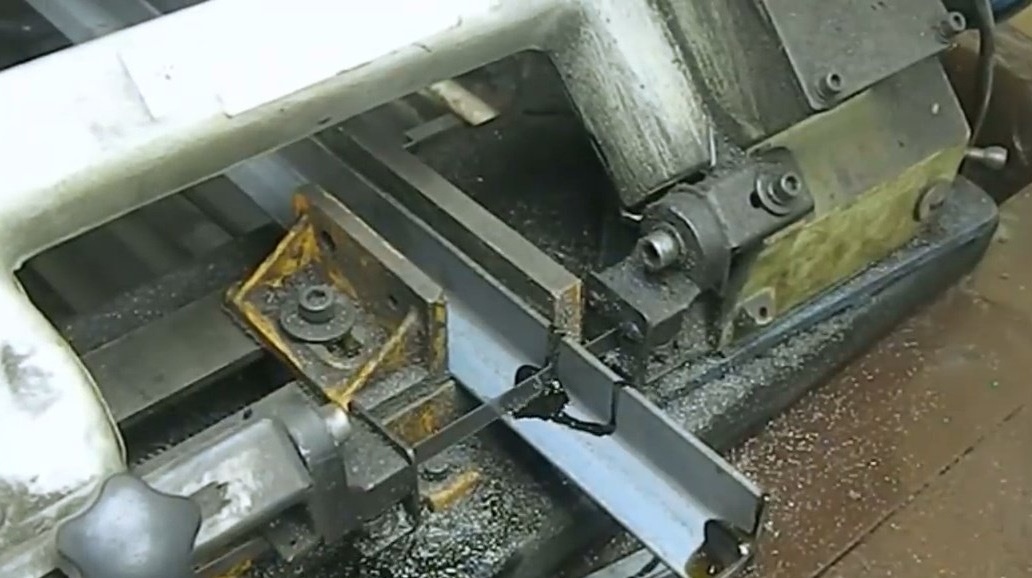
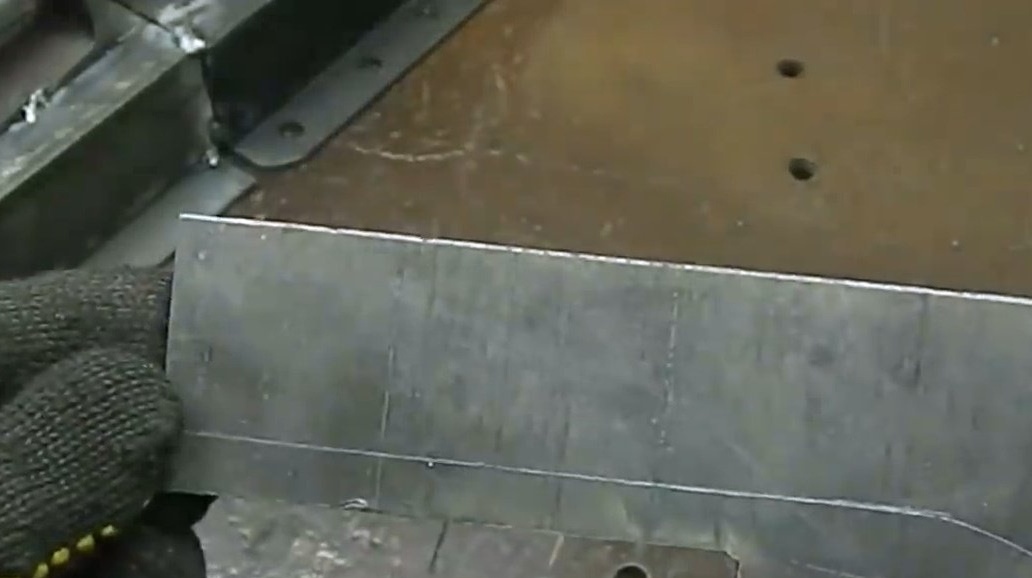
First of all, the author needs to cut off a piece of the channel length of 50 mm. Marks up the workpiece.
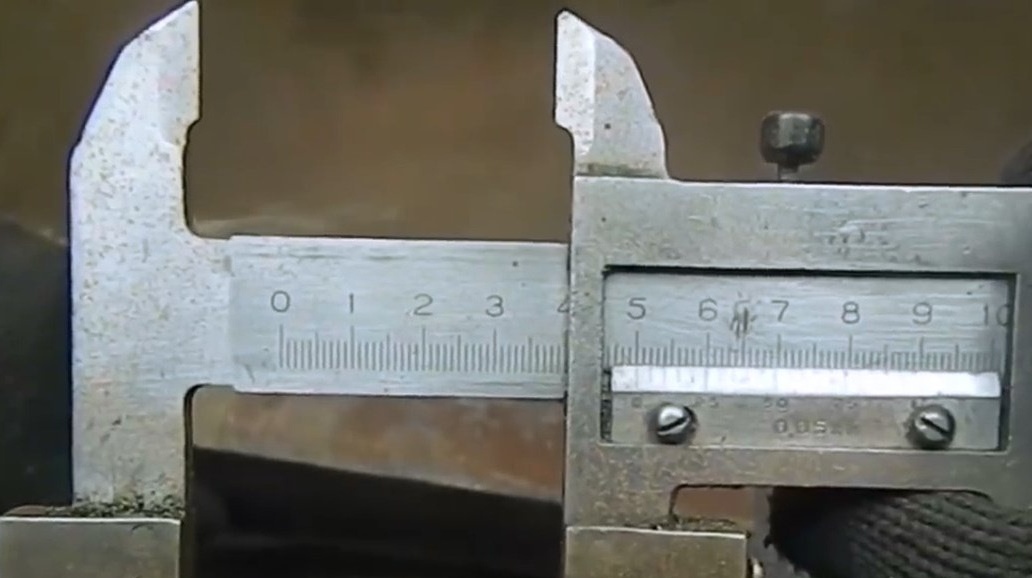
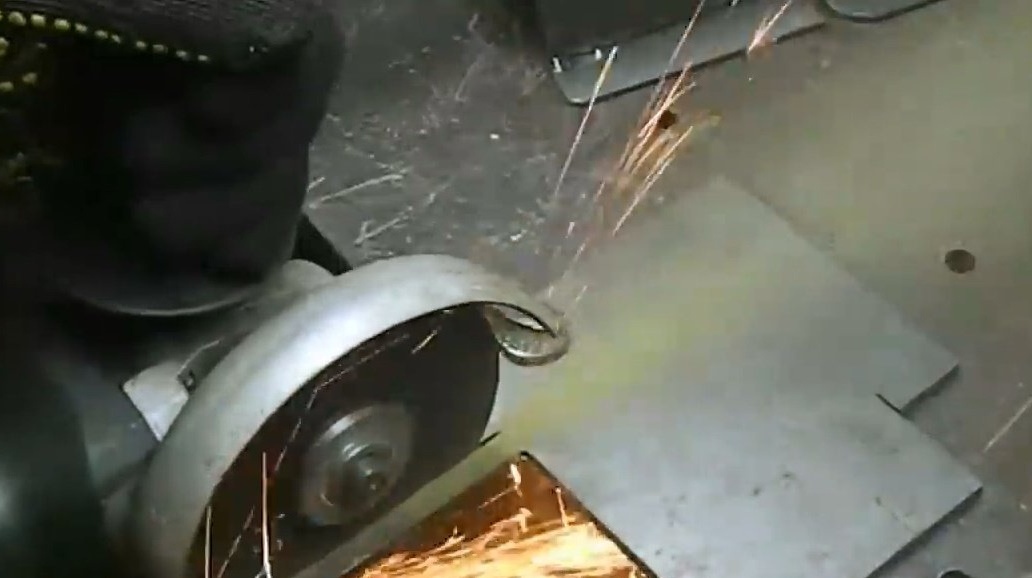
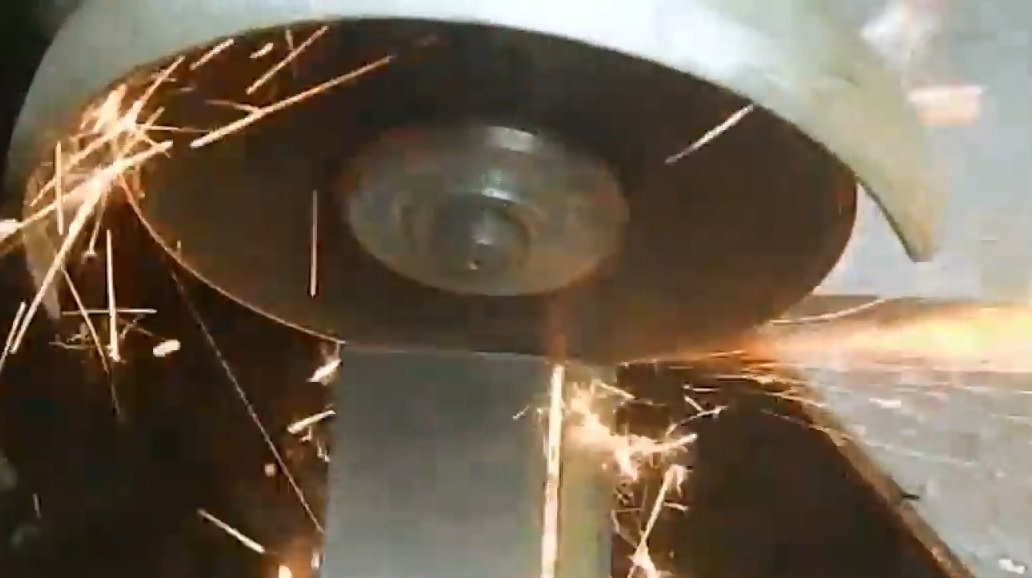
Then he cuts it off on a band saw, lubricating the cut with oil.
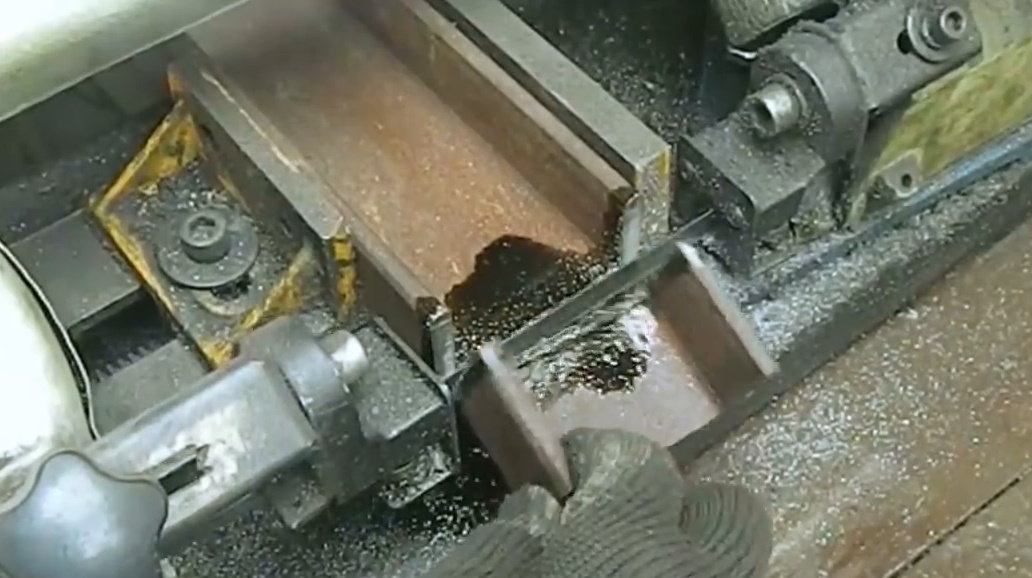
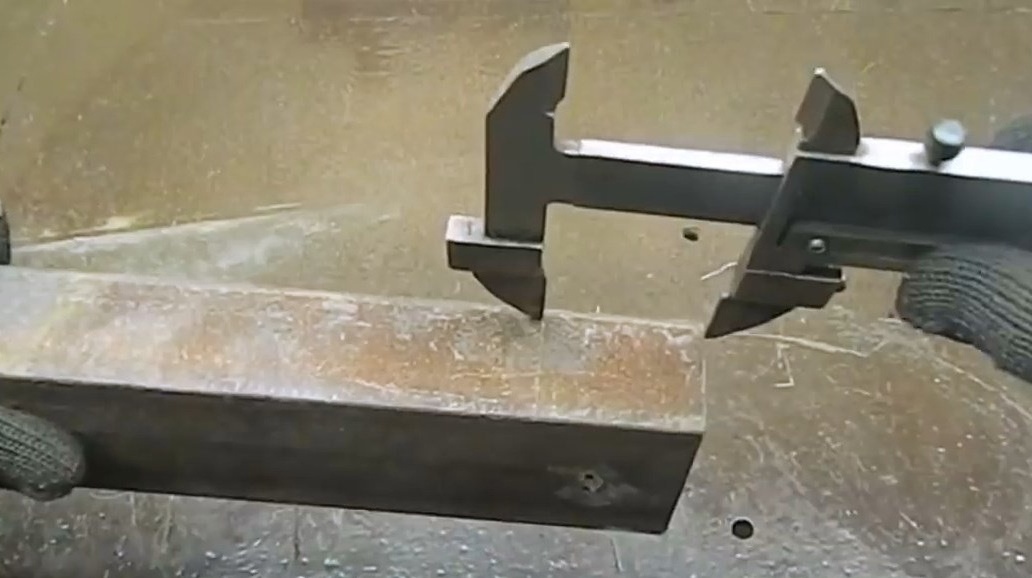
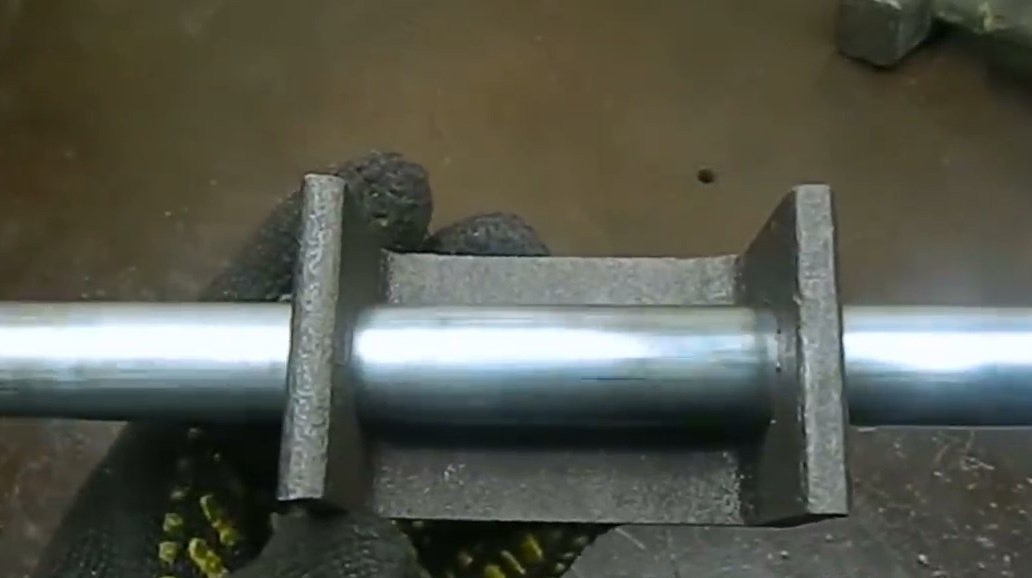
Marks the centers on two sides of the workpiece, and cores them.
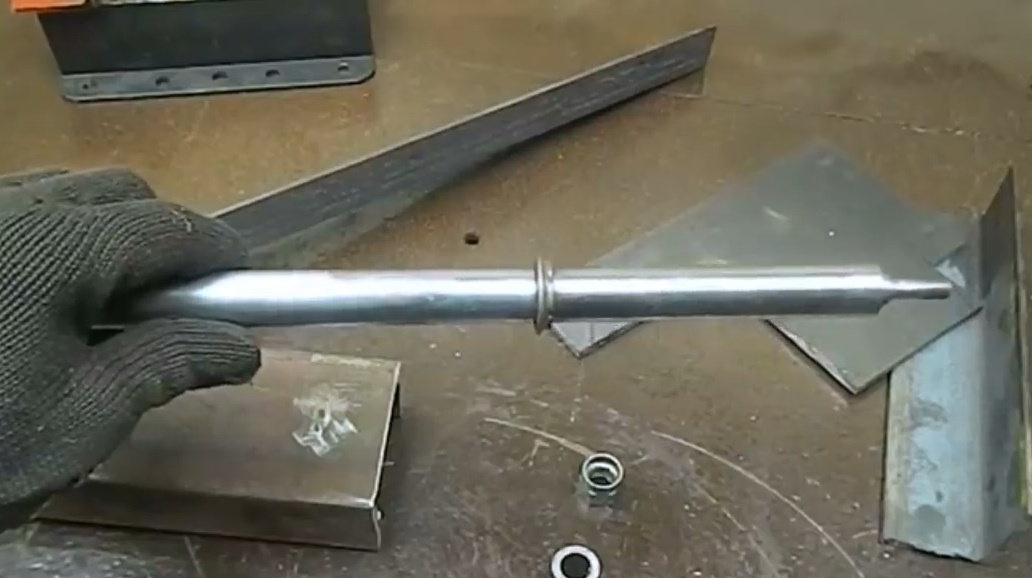
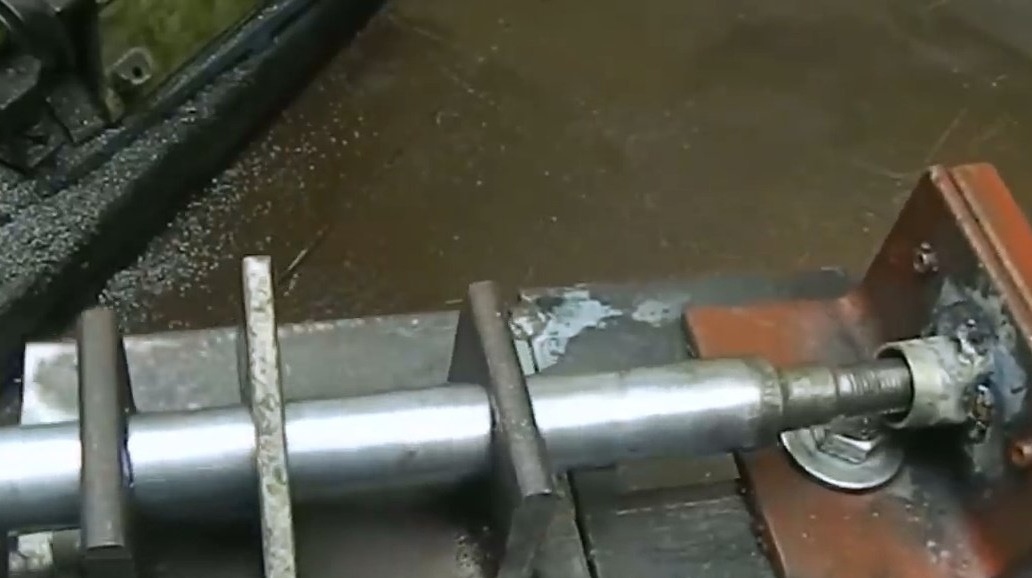
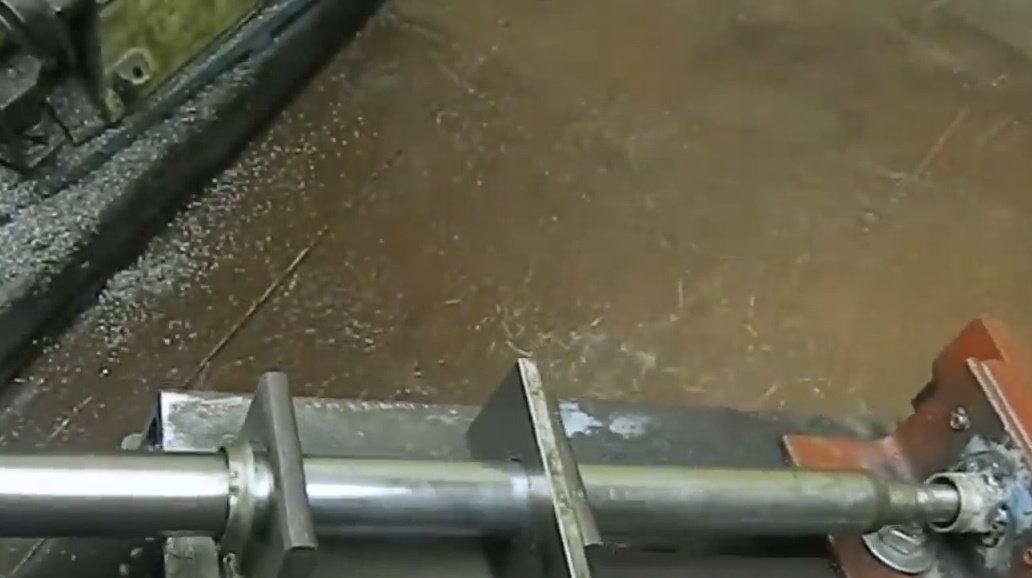
Then he drills two through holes along the diameter of the rod with step drills.
Now inserts the rod into the holes. There is almost no backlash.
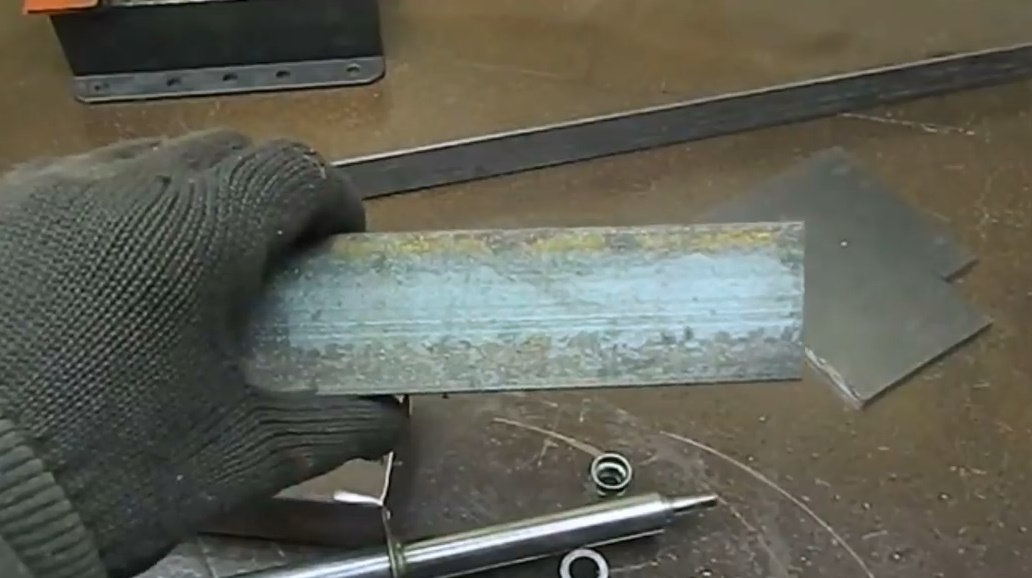
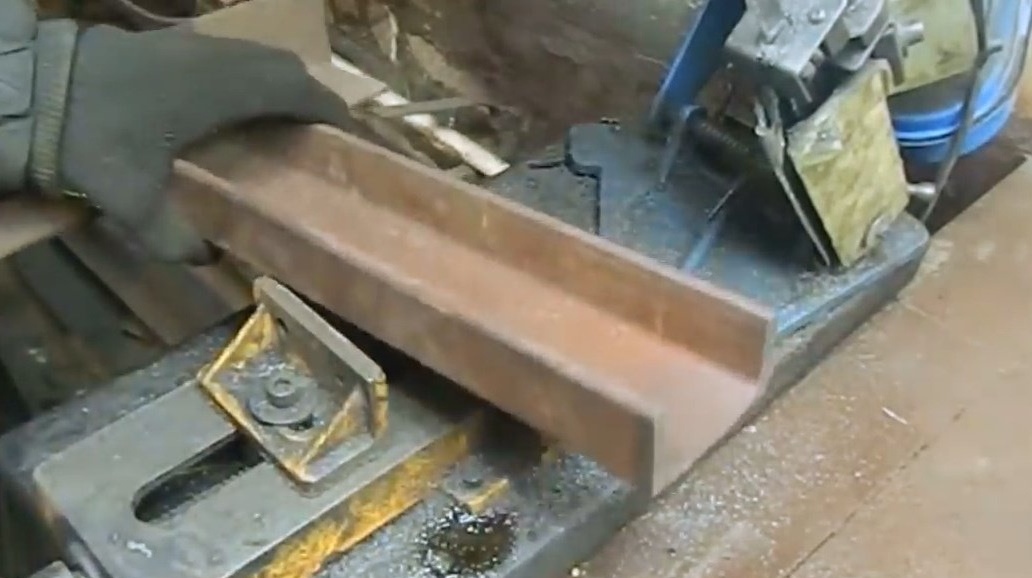
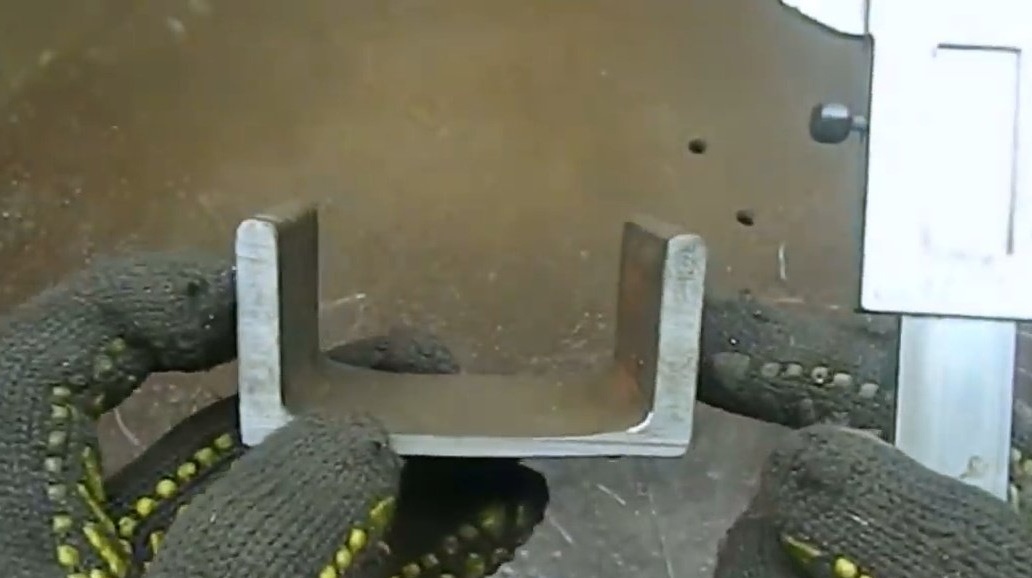
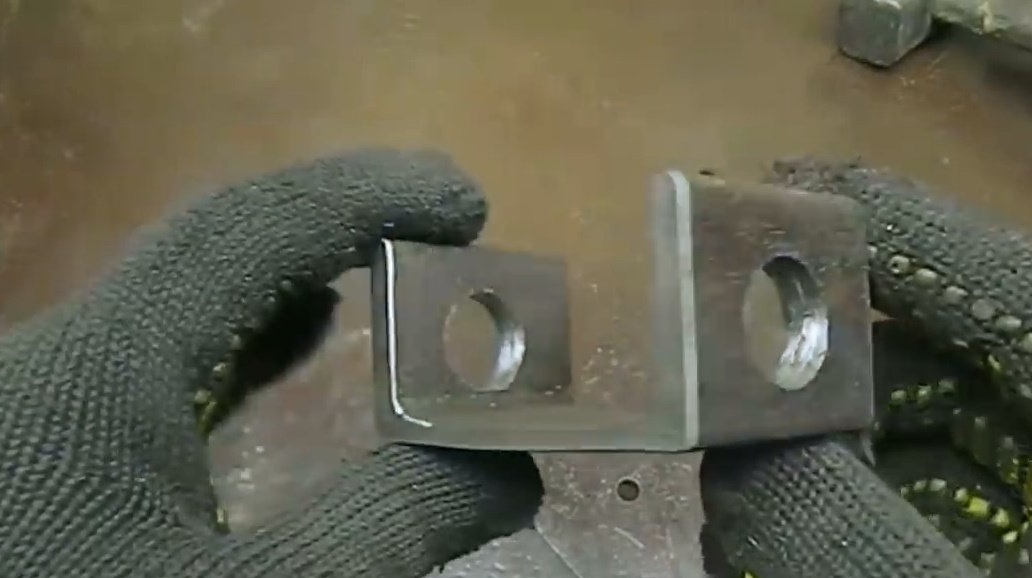
The 50th corner, 230 mm long, is cut by the master in half.
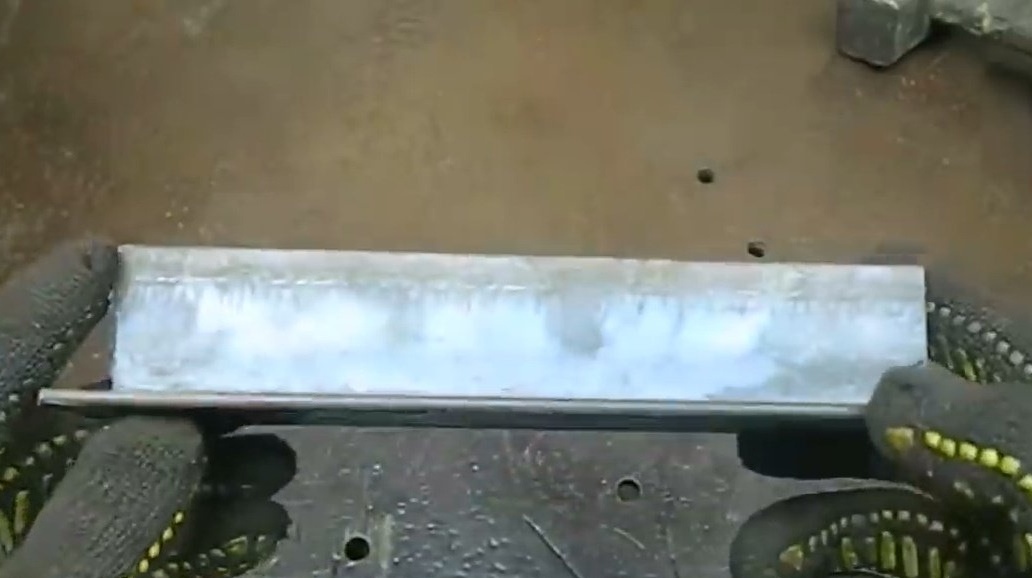
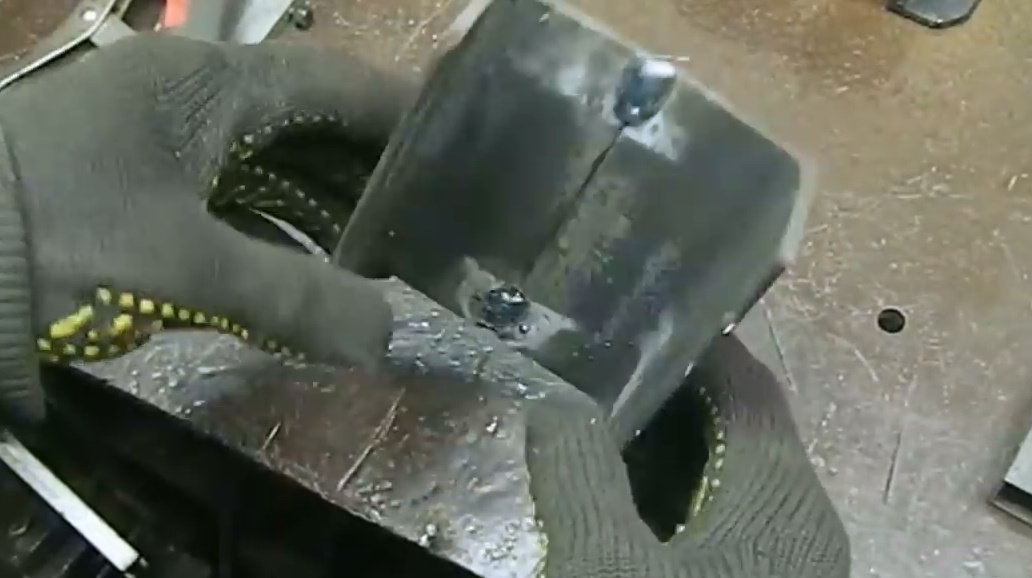
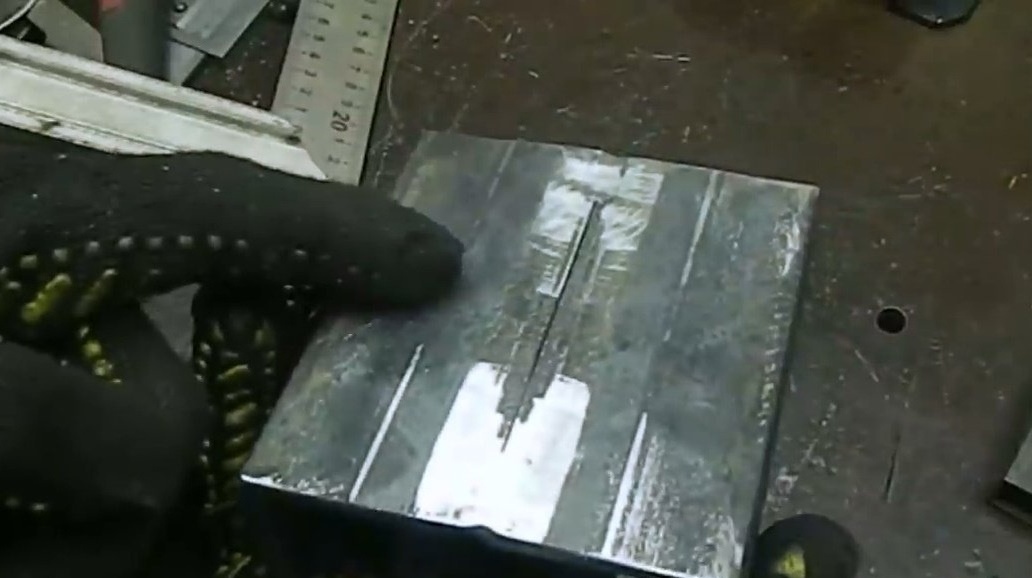
Now the two resulting blanks need to be welded together in a shape similar to a channel.
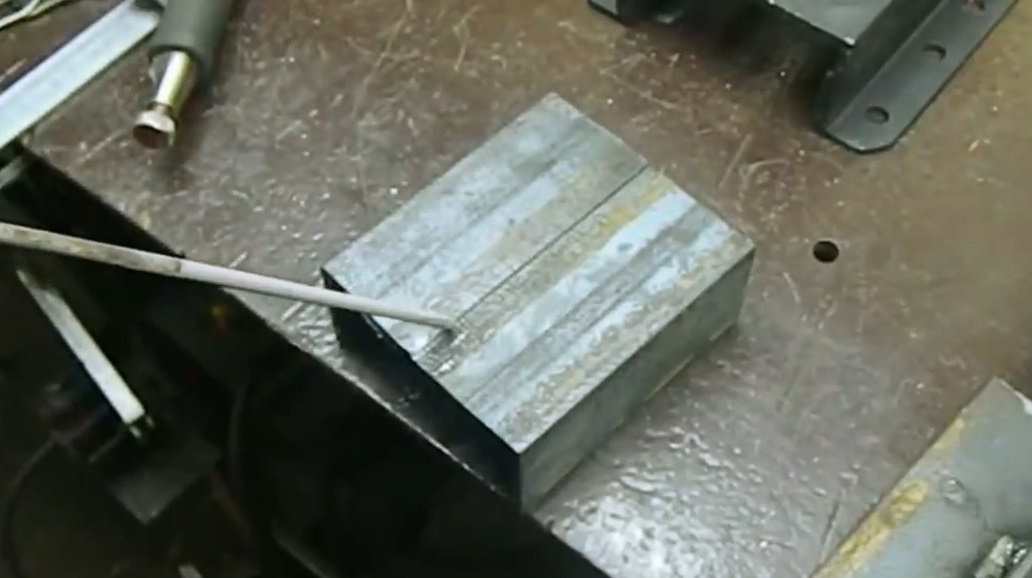
The resulting seams are carefully cleaned with a petal stripping disk.

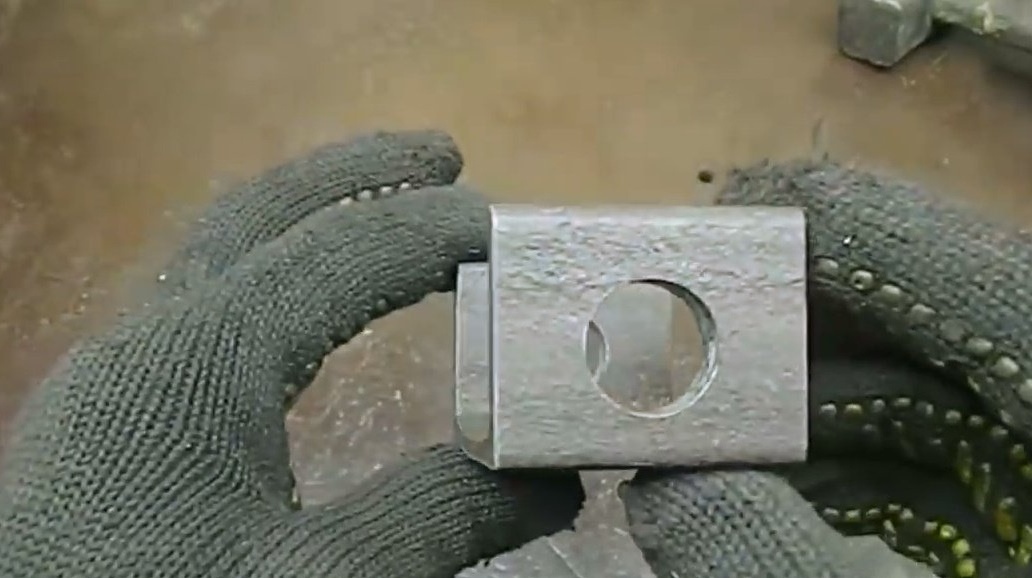
This workpiece turned out, its upper part came out smooth.

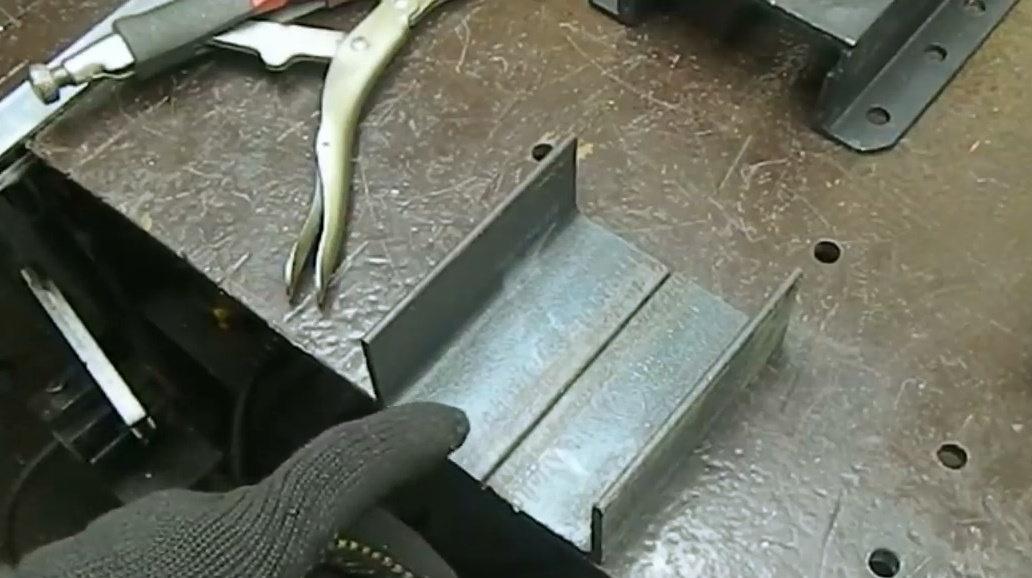
Now from the 32nd corner you need to cut two pieces of 110 mm.
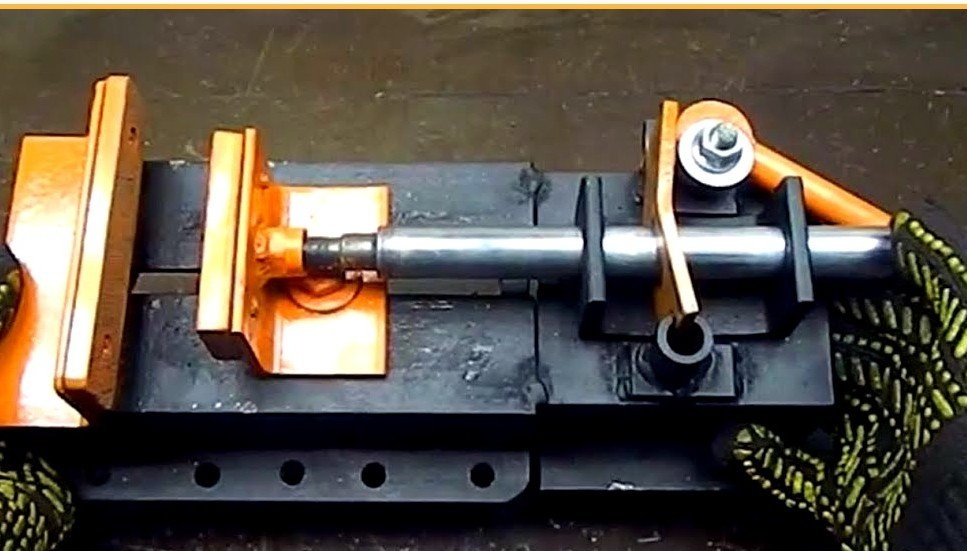
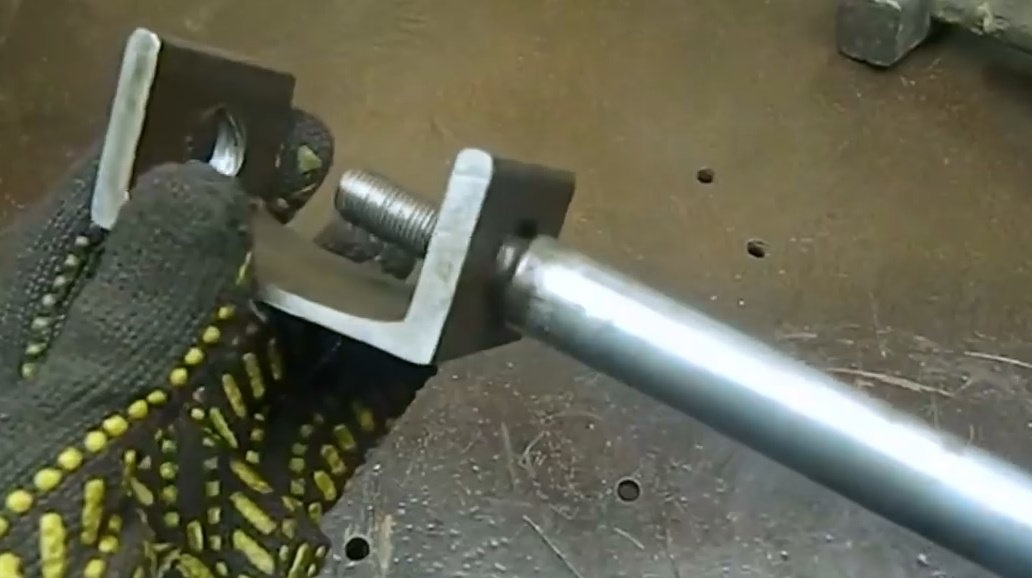
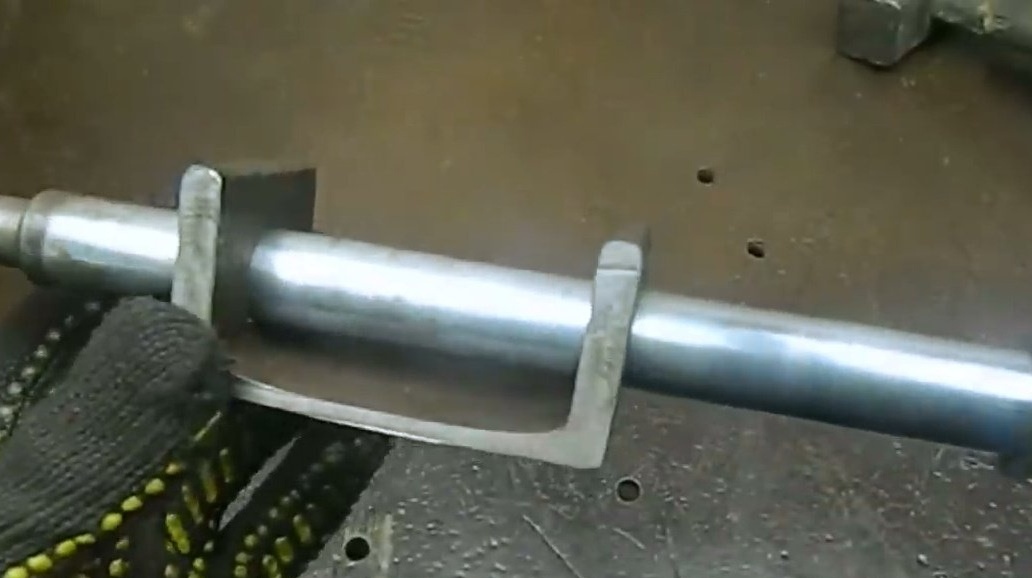
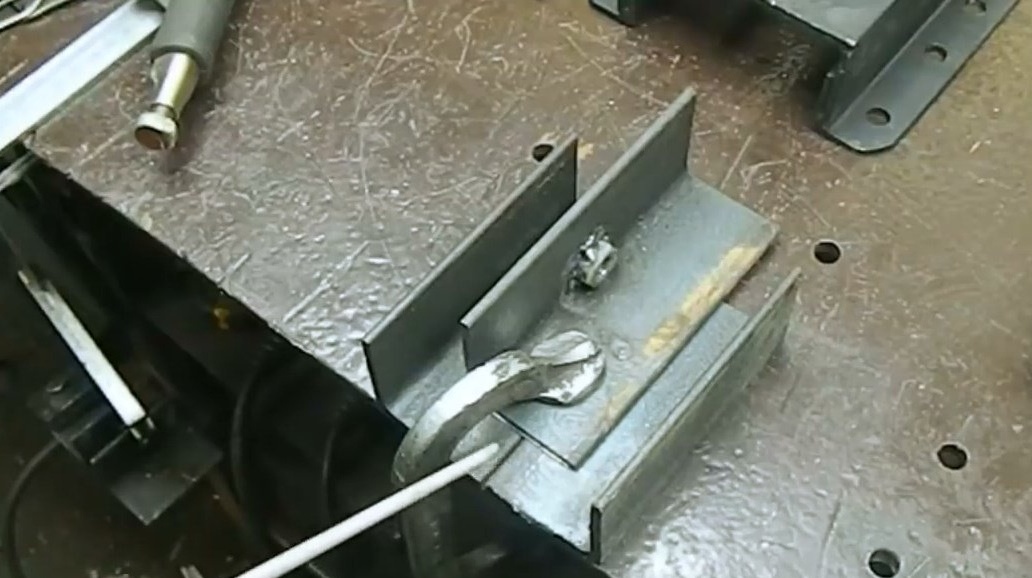
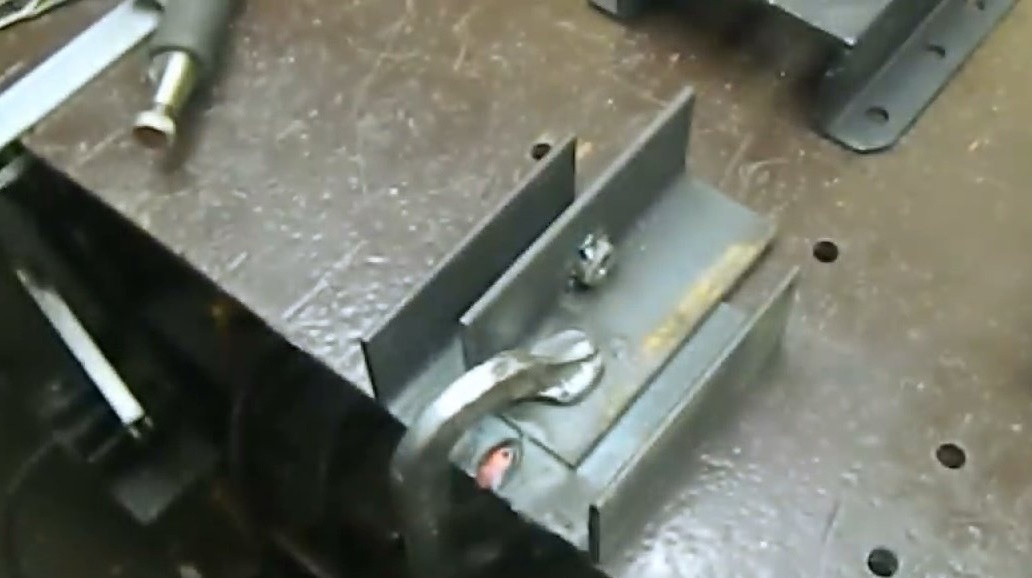
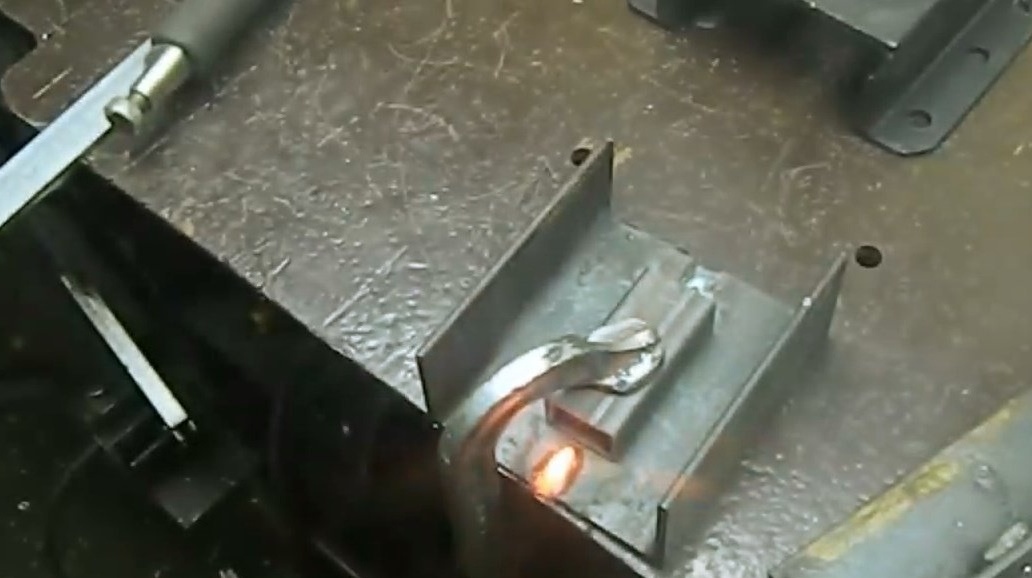
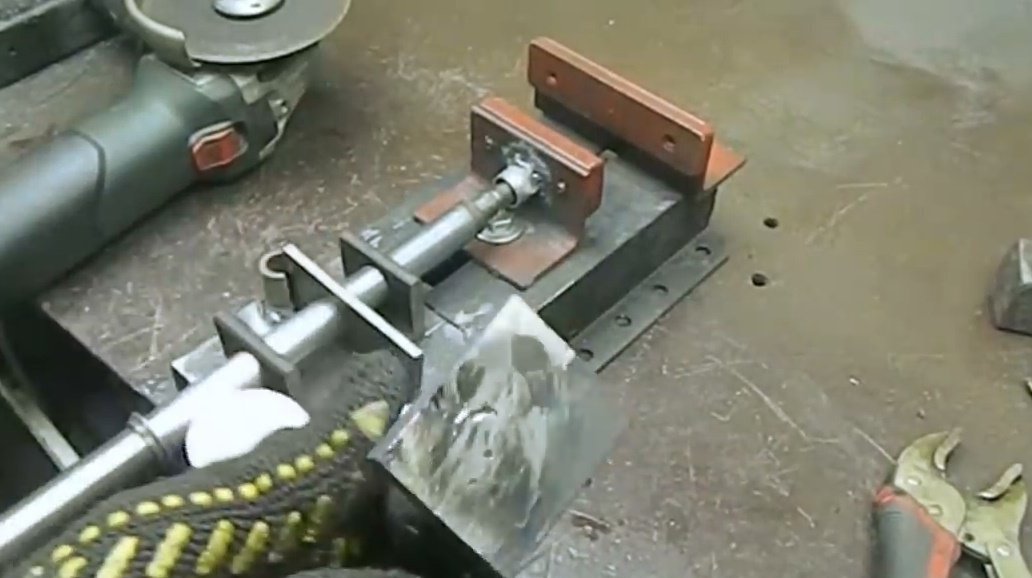
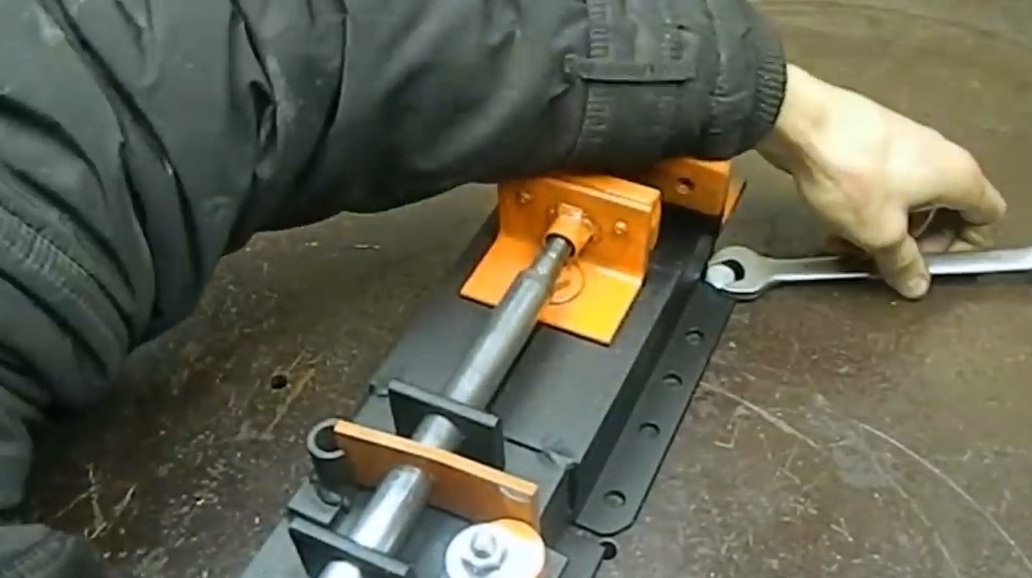
Now you need to connect these three blanks with the vise itself. The author temporarily grabs welding.
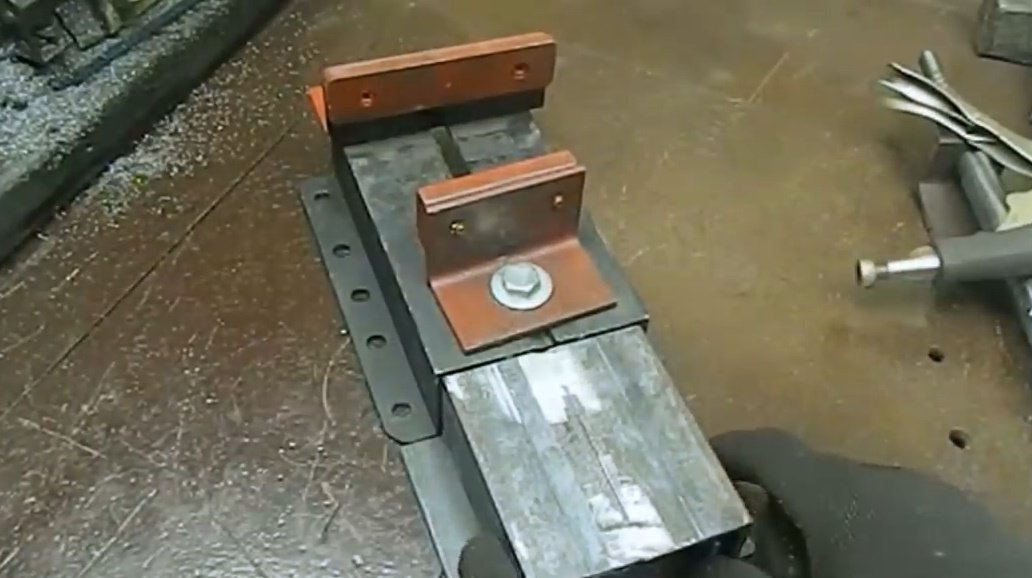

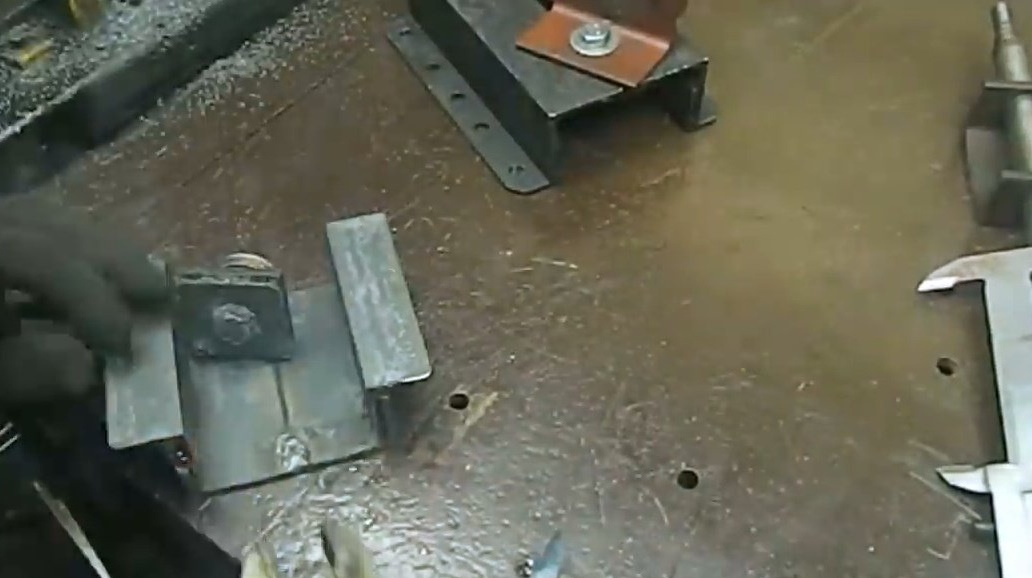
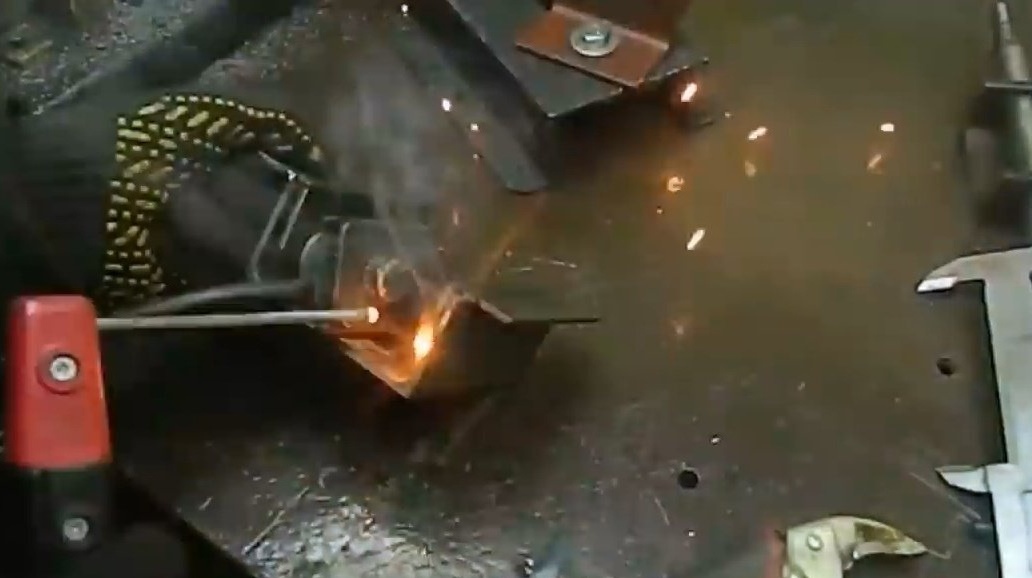
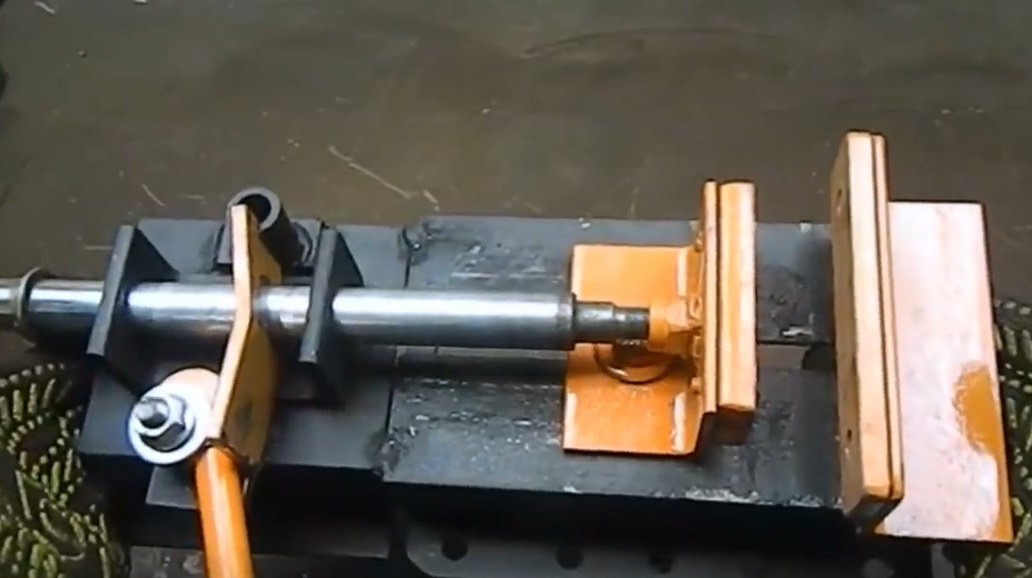
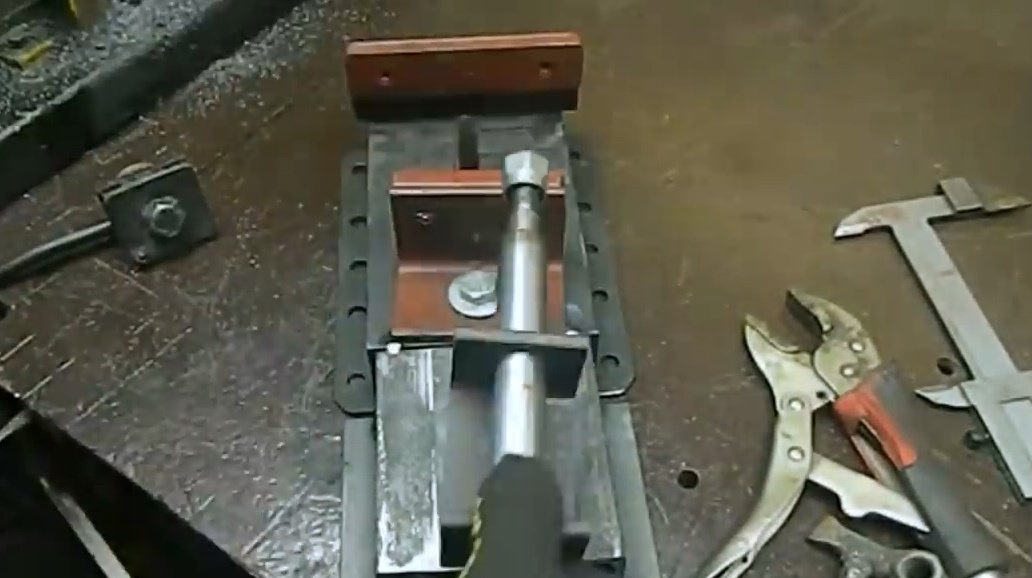
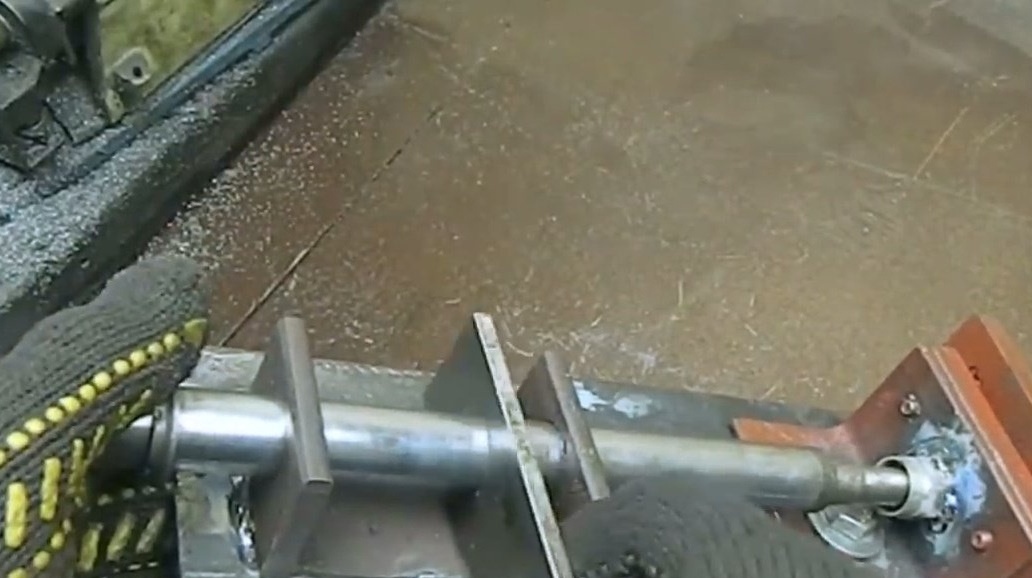
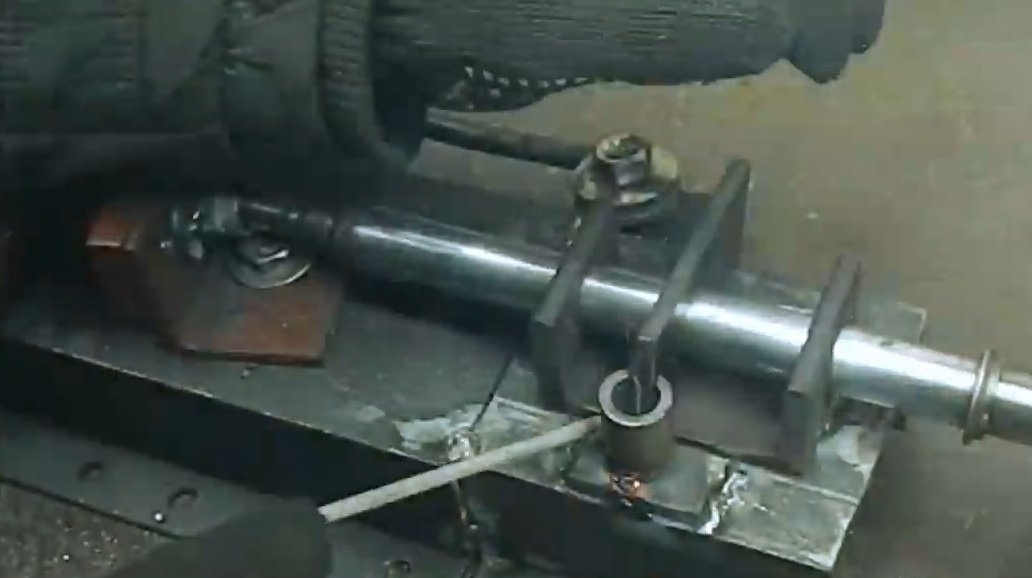
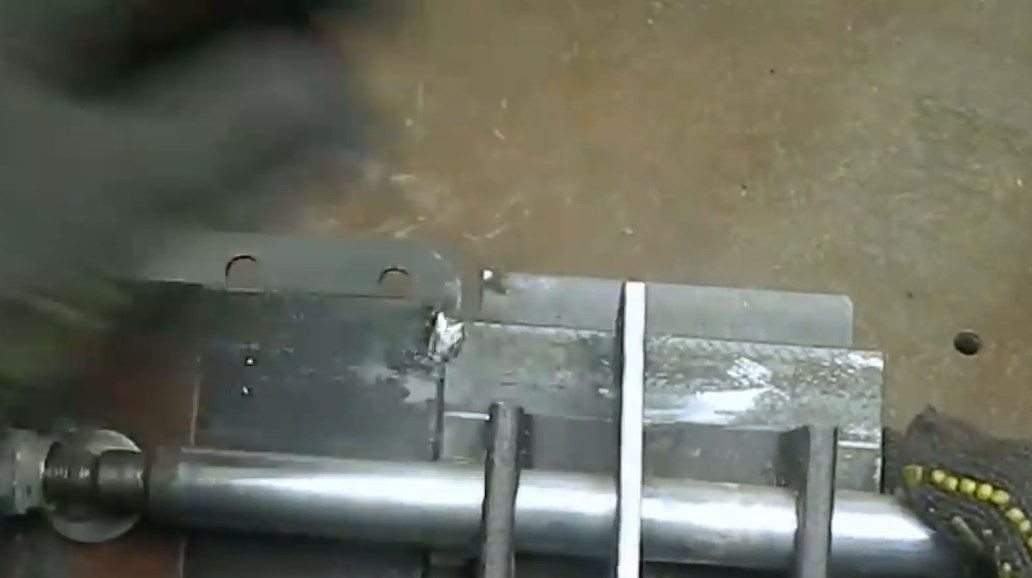
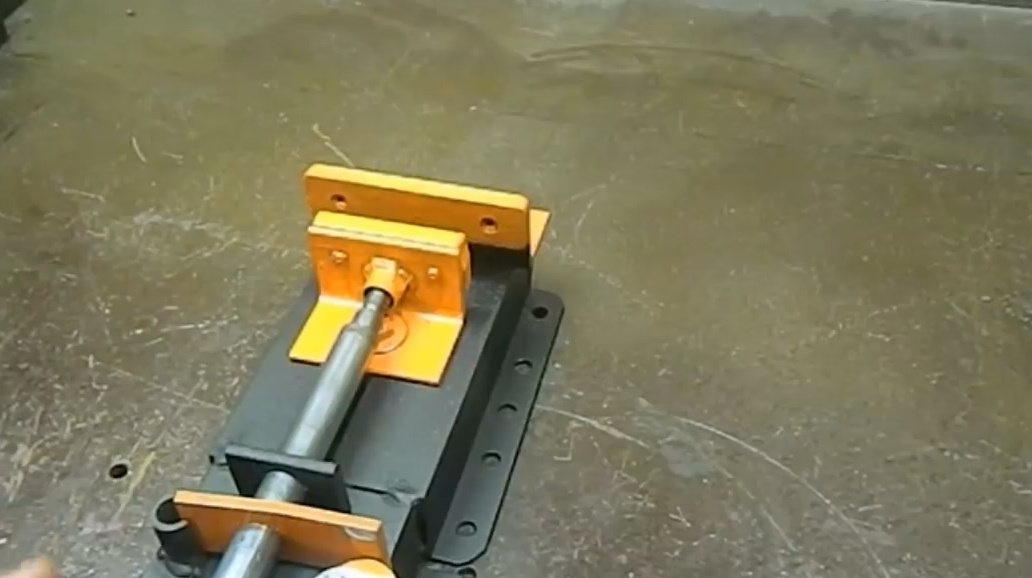
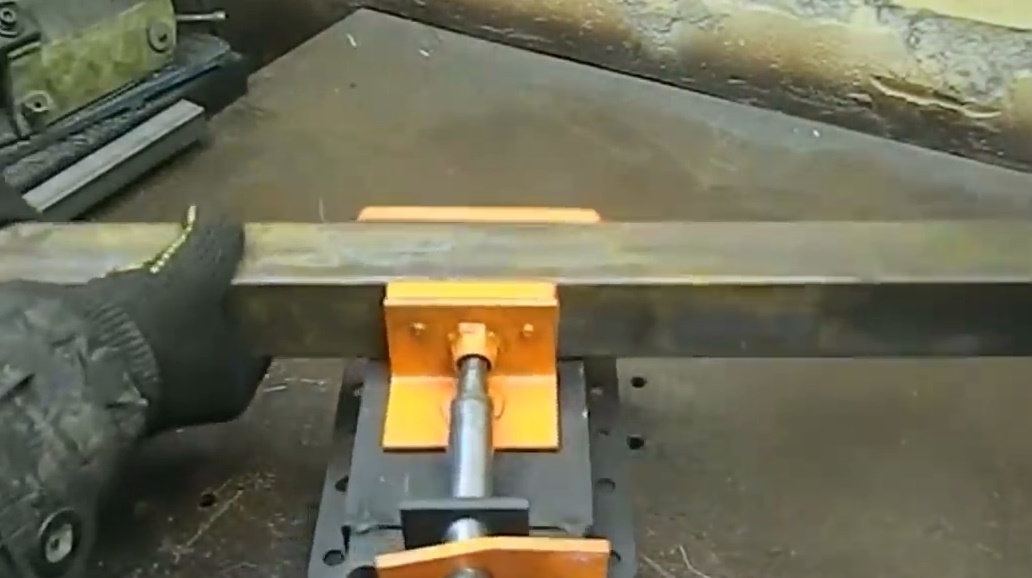
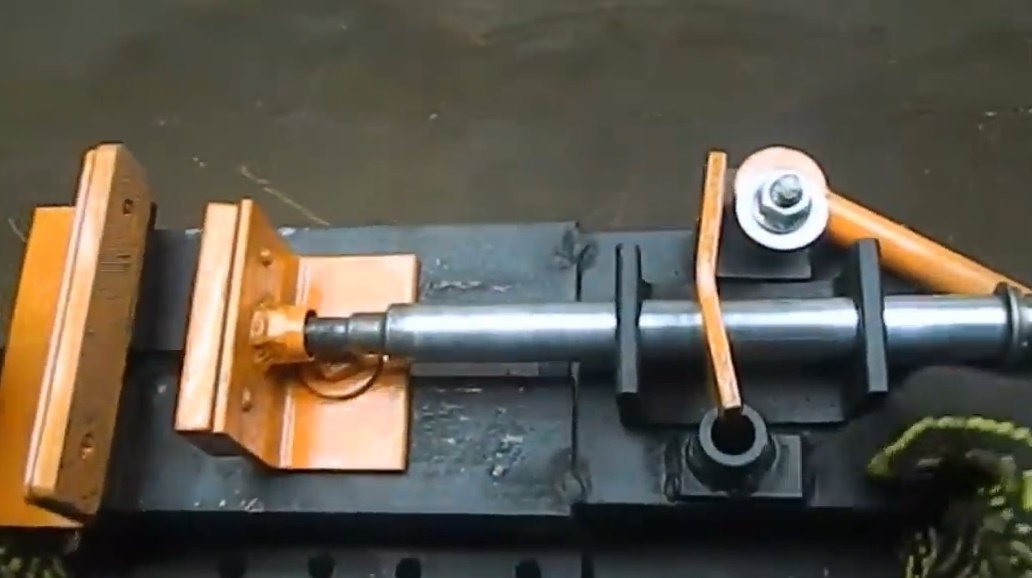
The resulting design connects to the bed.
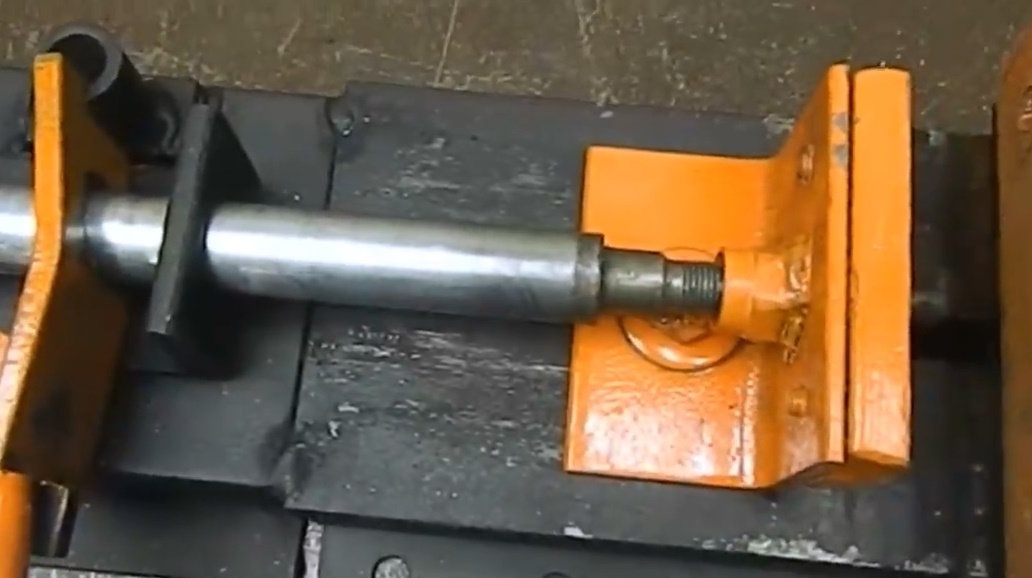
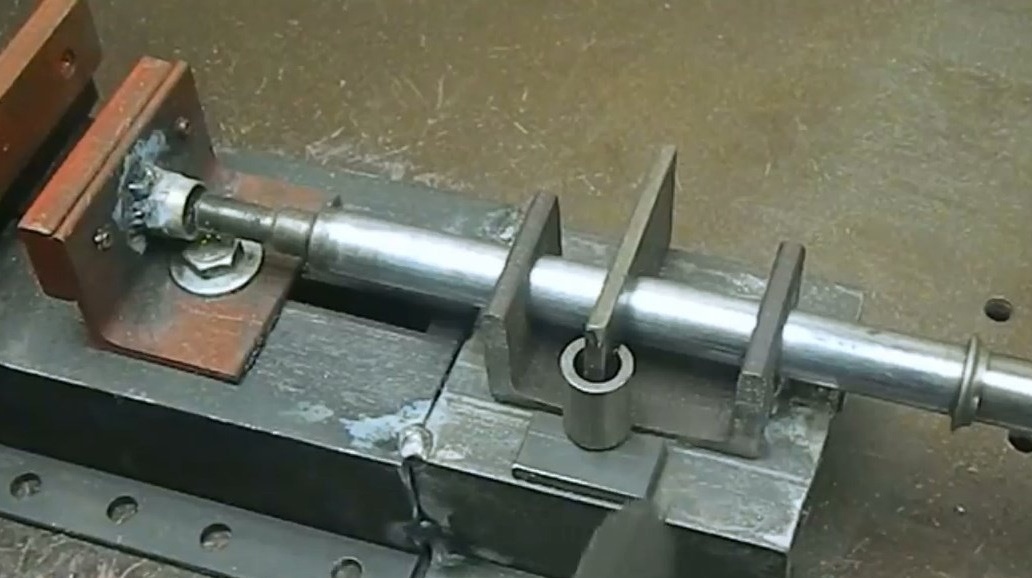
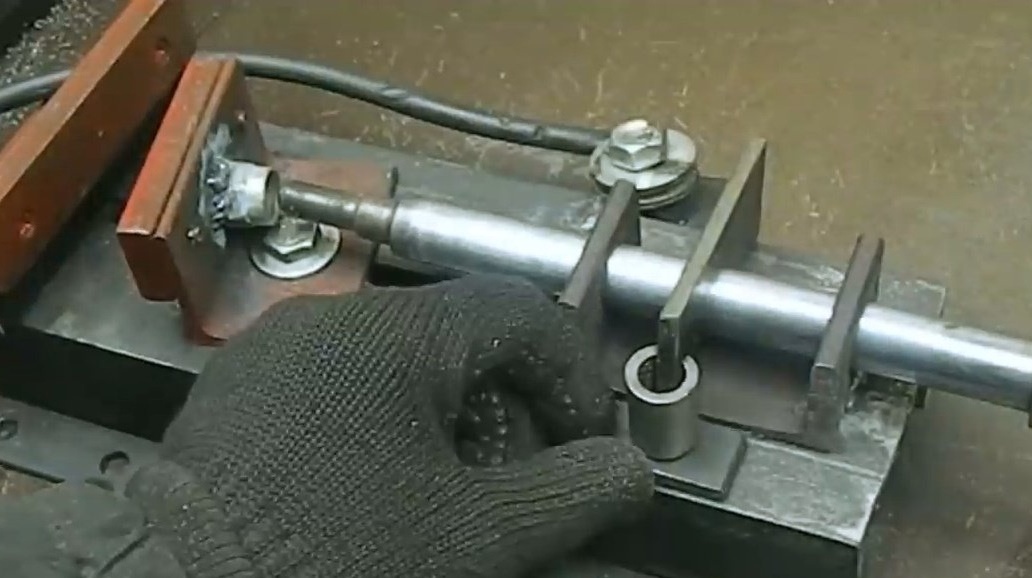
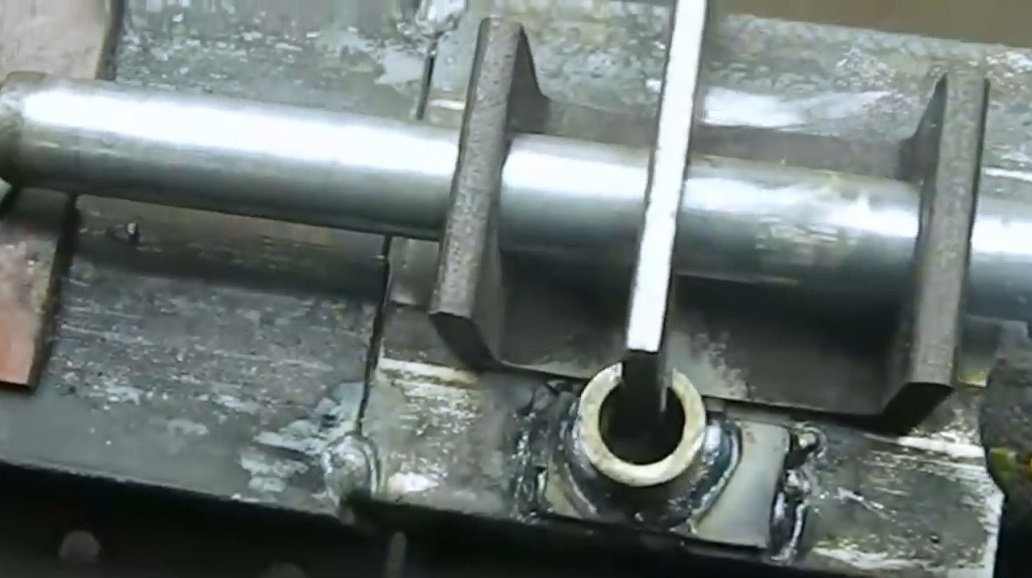
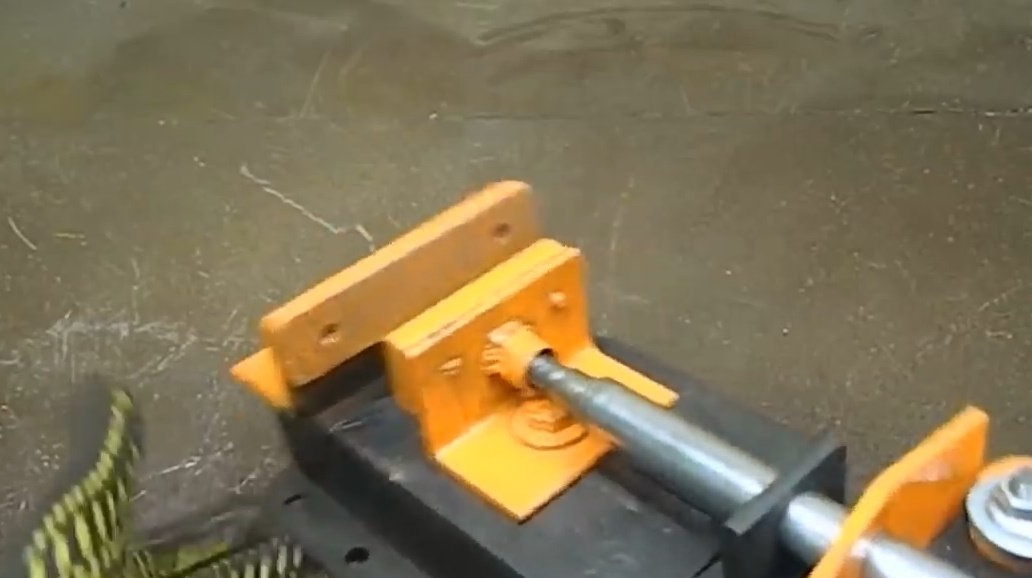
Inserts the rod, winds the M12 nut at its end and welds it to the movable sponge.
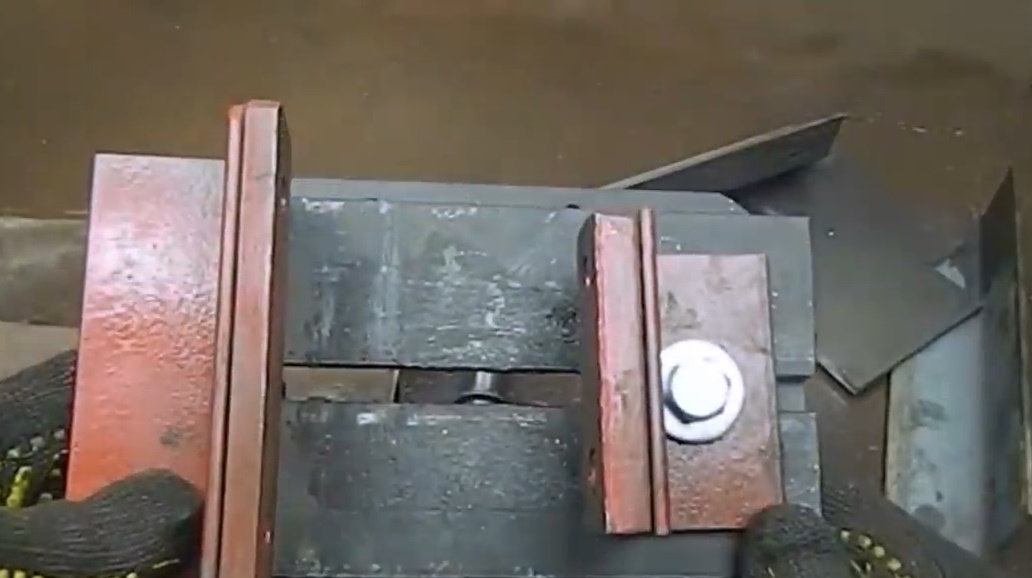
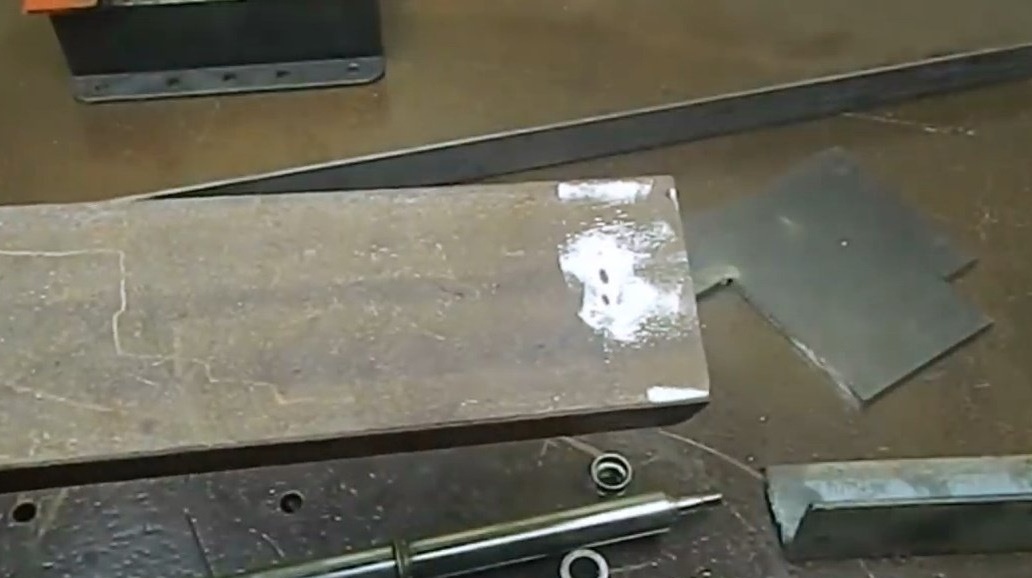
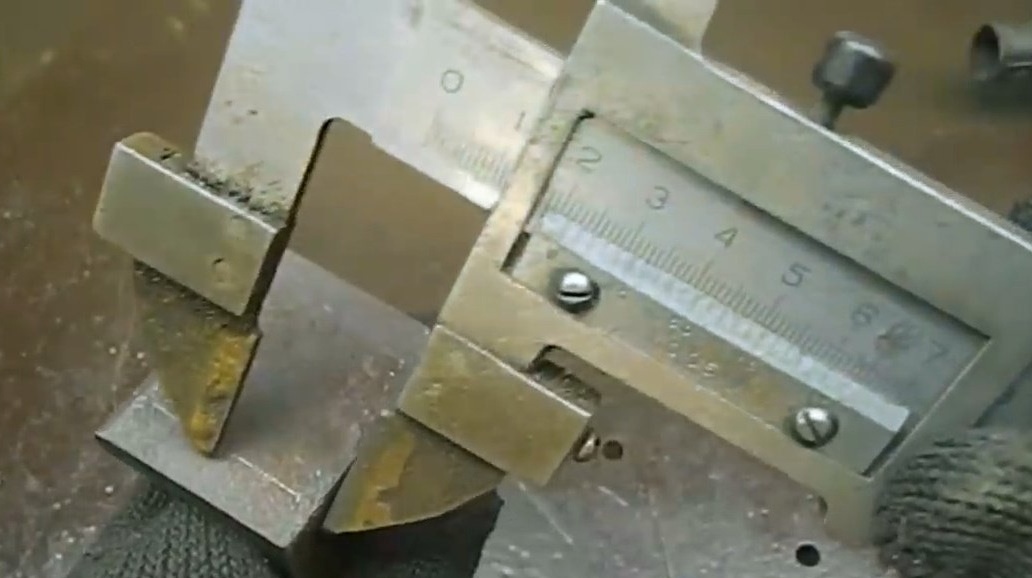
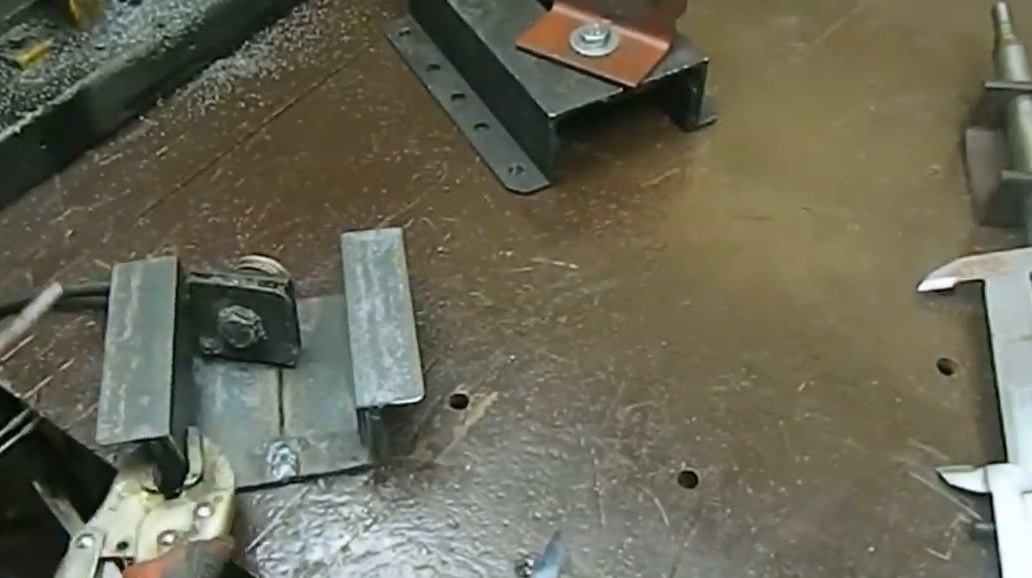
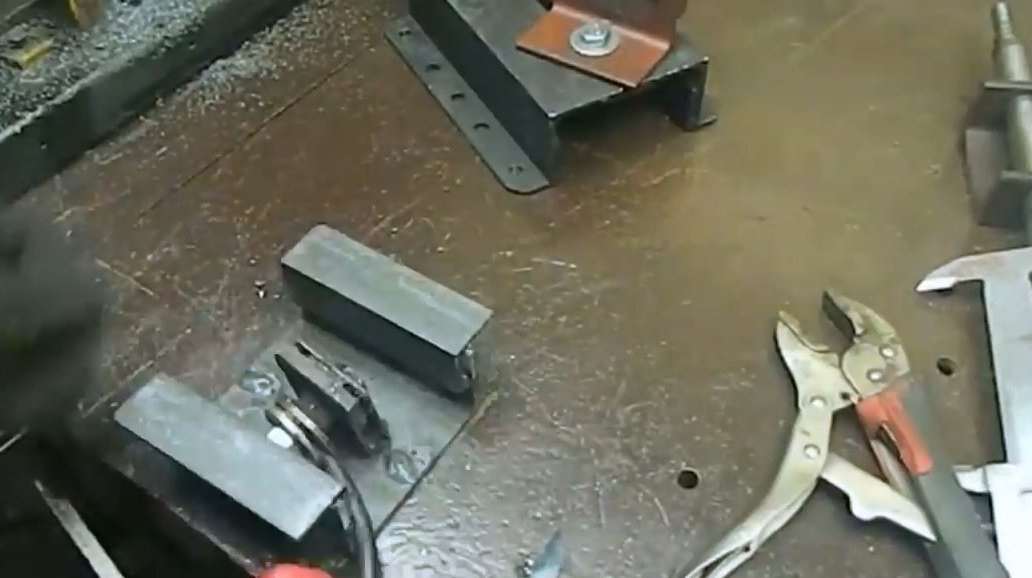
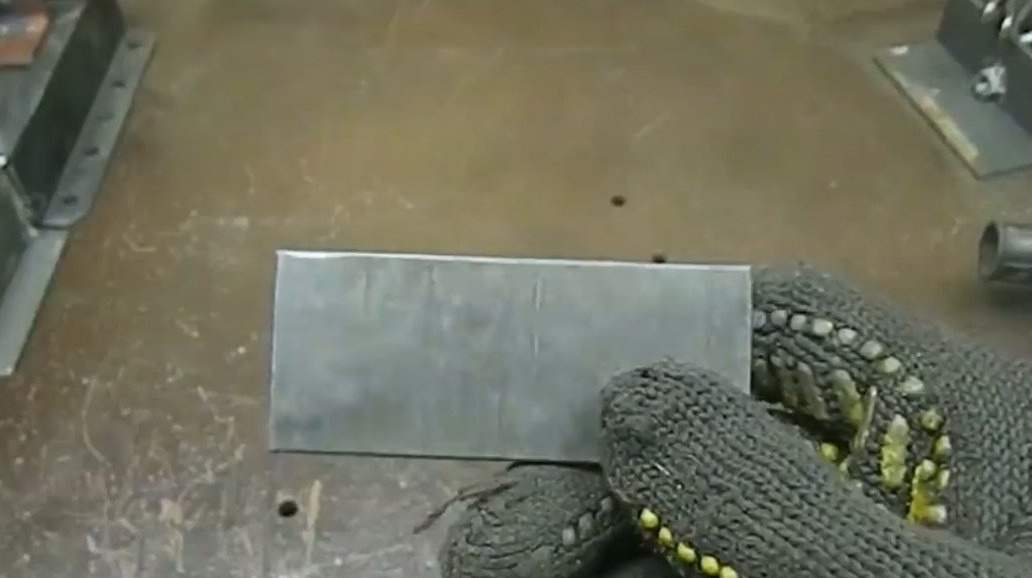
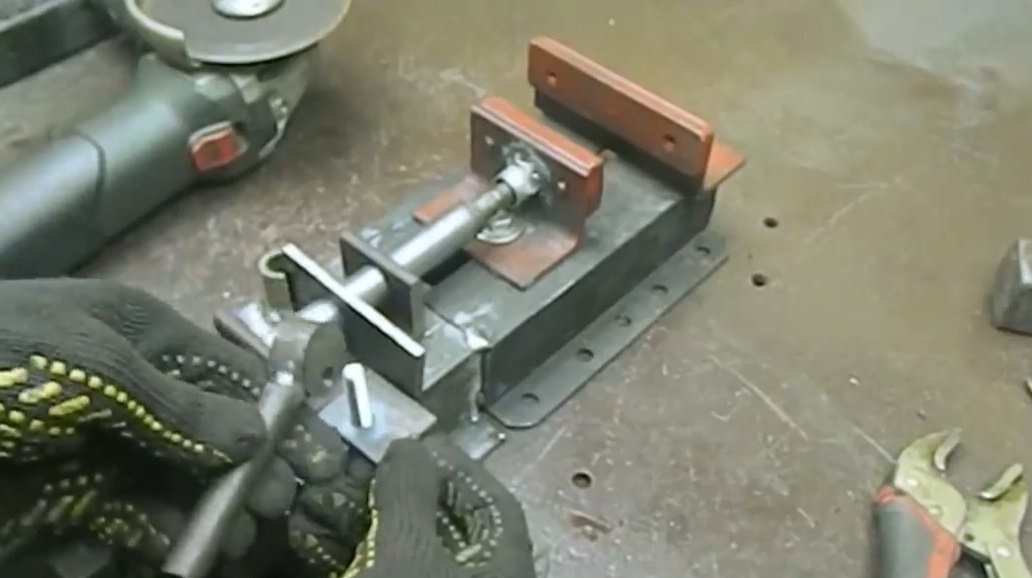
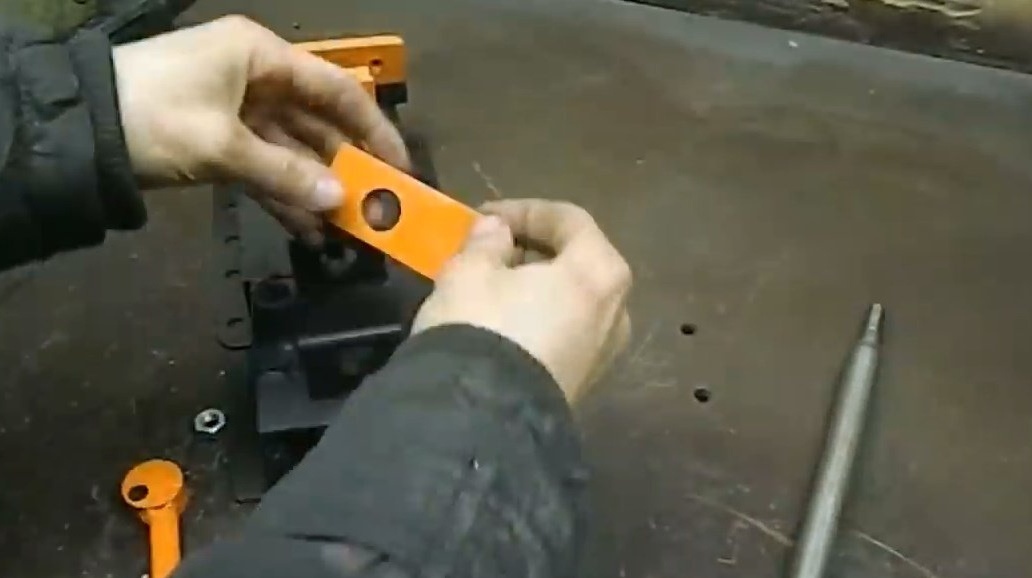
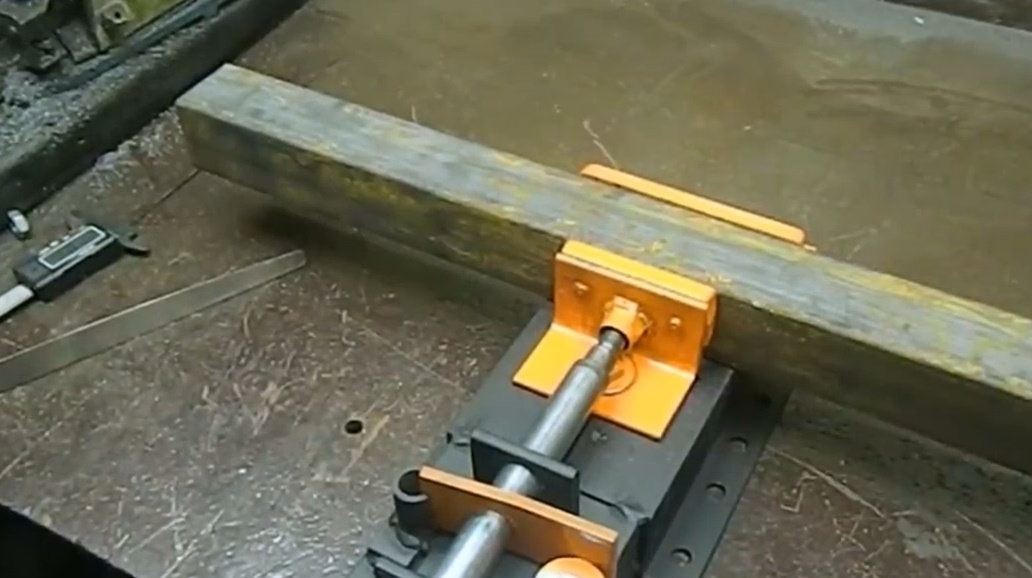
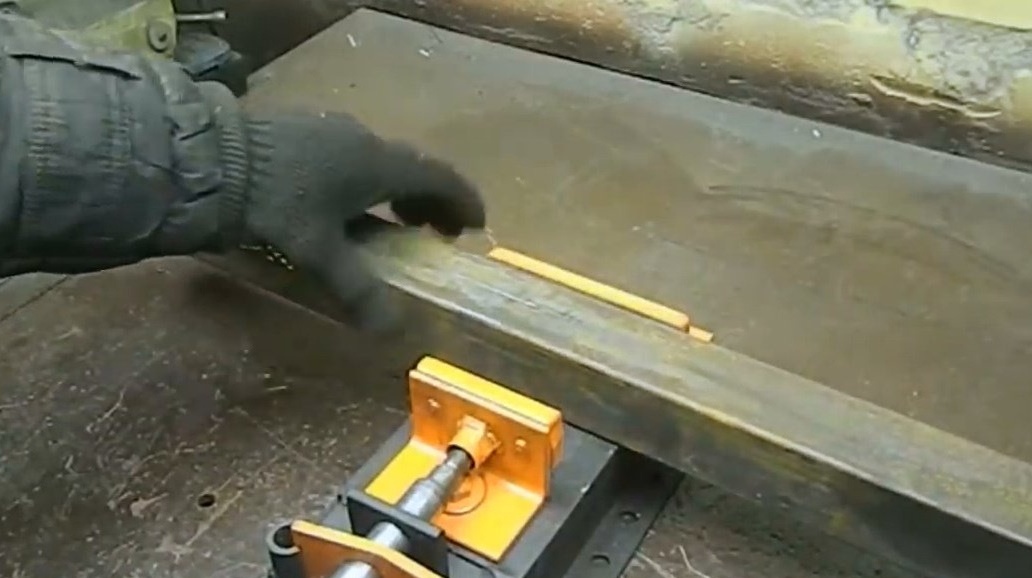
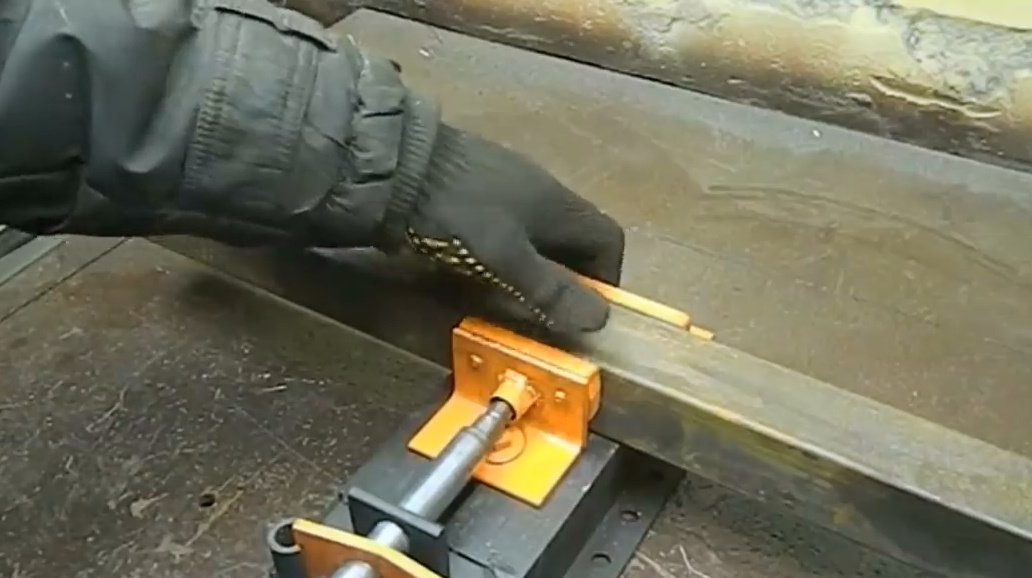
From a steel sheet with a thickness of 6 mm, a strip should be cut with a width of 37 mm and a length of 85 mm.
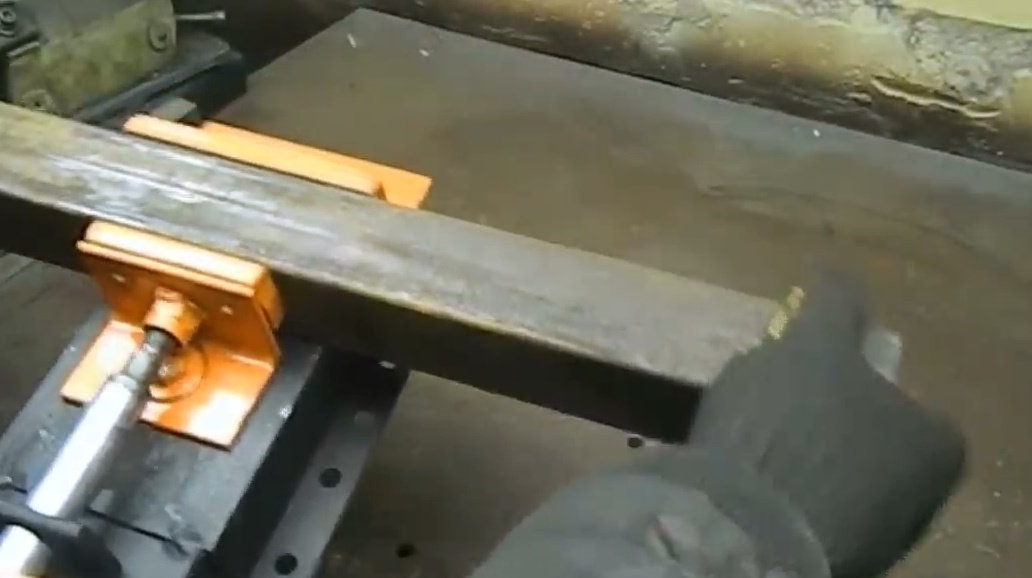
In the resulting workpiece, drills a hole with a diameter of 20 mm with a slight offset to the side.Then sets it on the stock. The plate has a slight play relative to the stem.
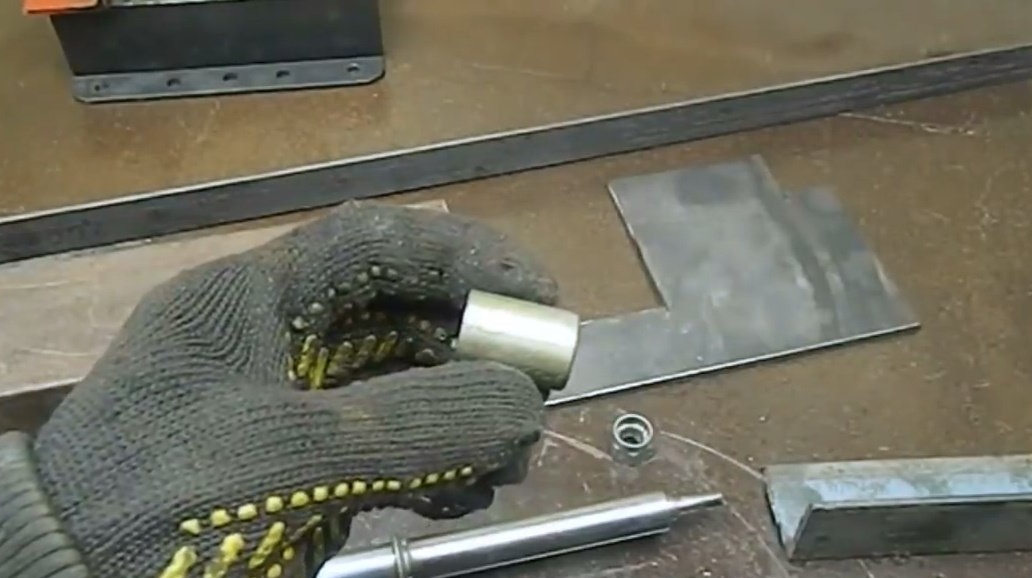
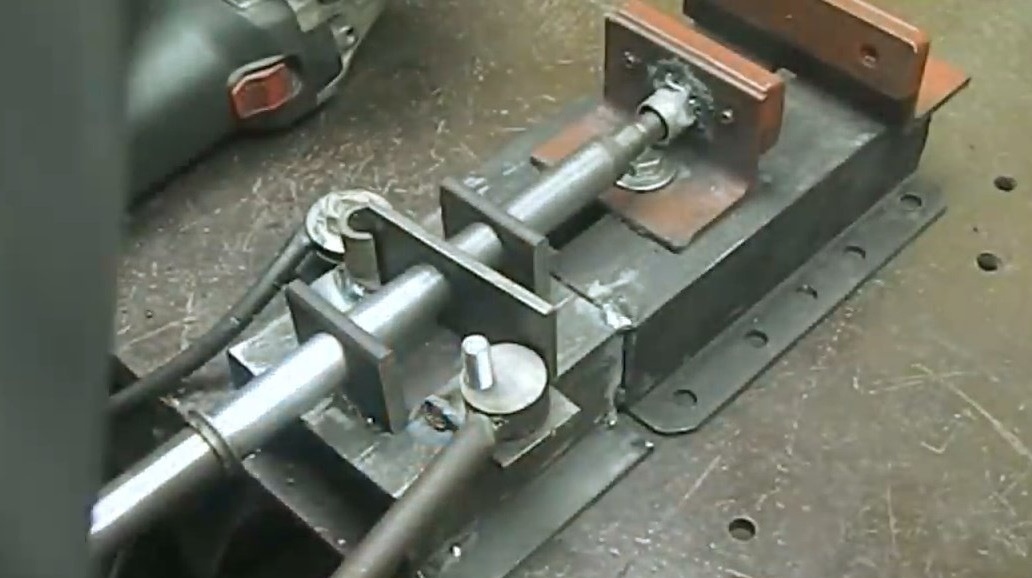
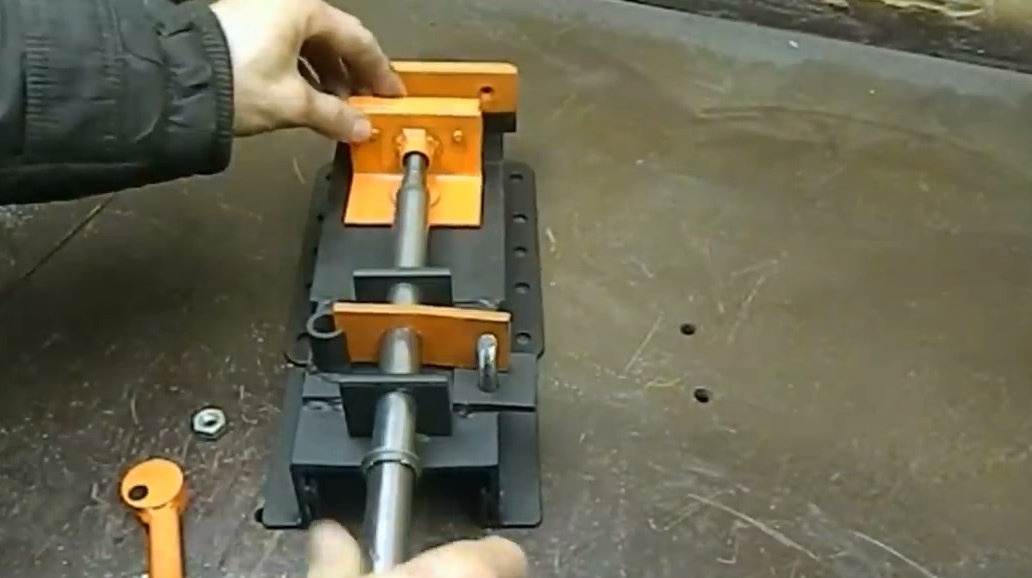
In the sleeve from jet thrust cuts out a groove 7 mm wide. It should be slightly larger than the thickness of the plate, and it should be freely placed in it.
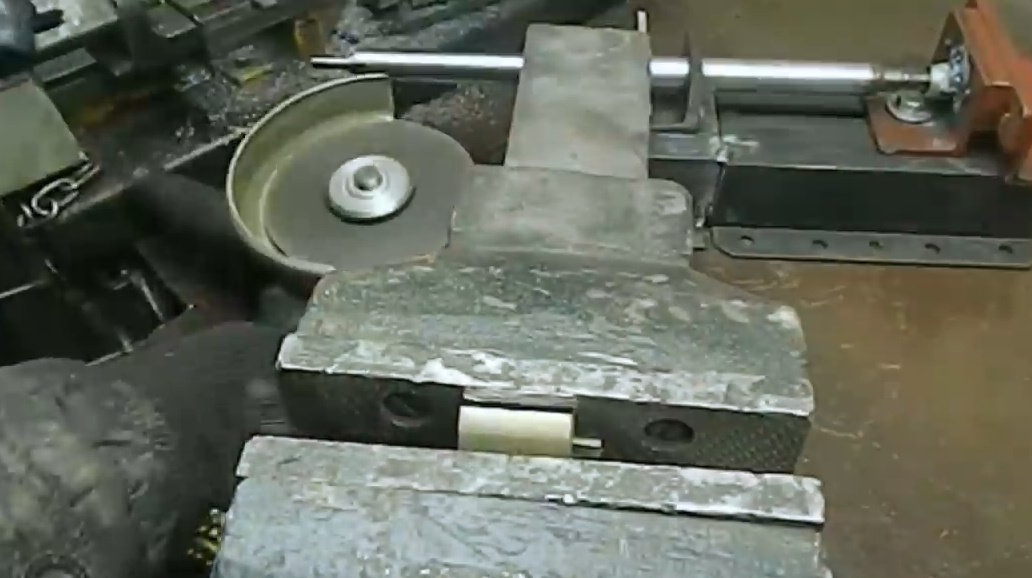
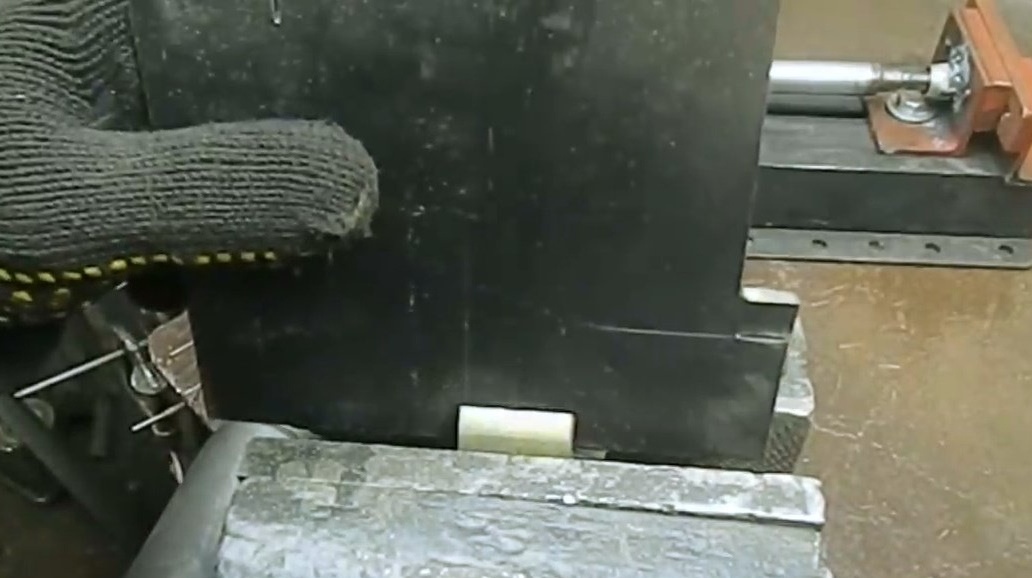
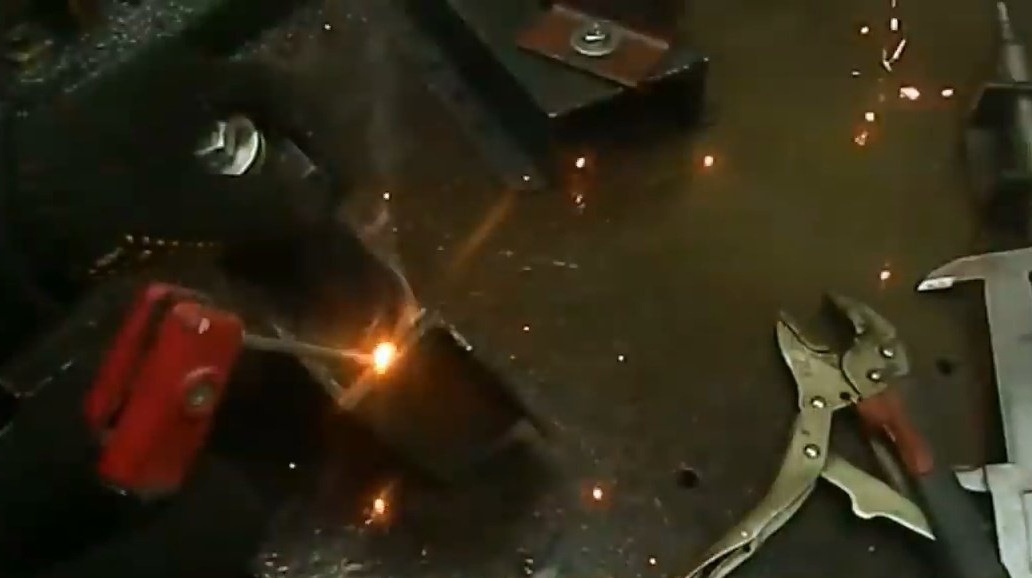
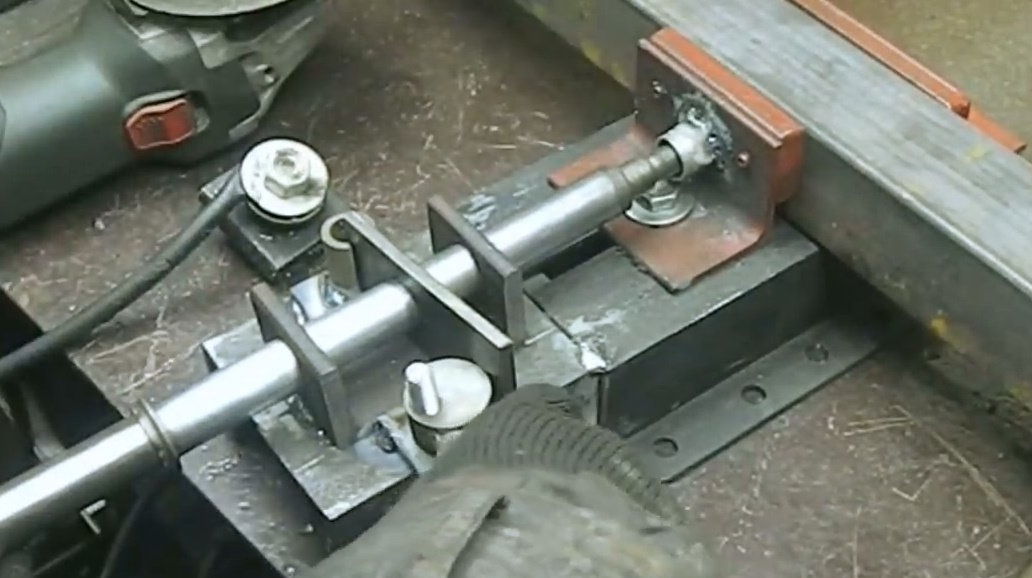
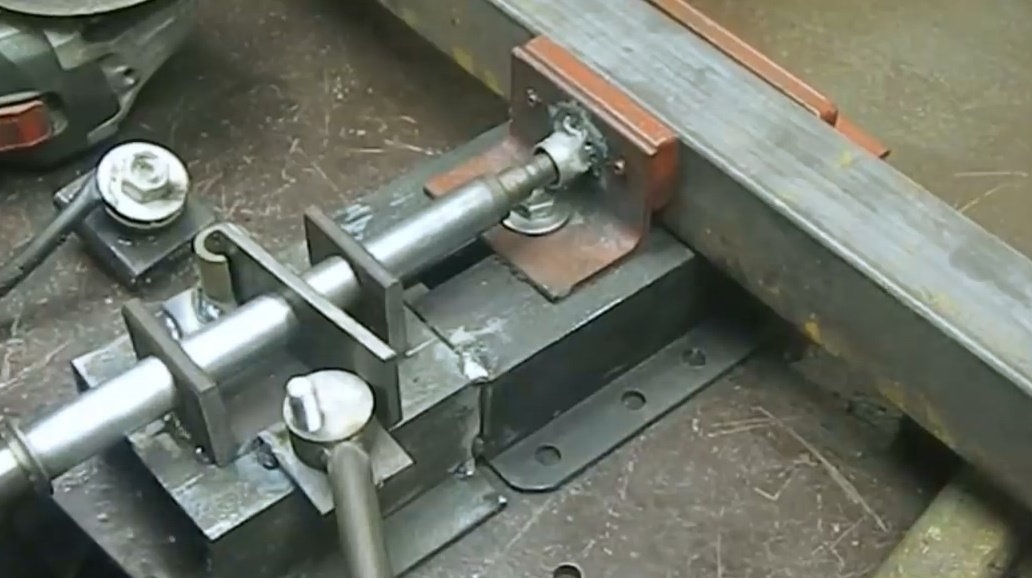
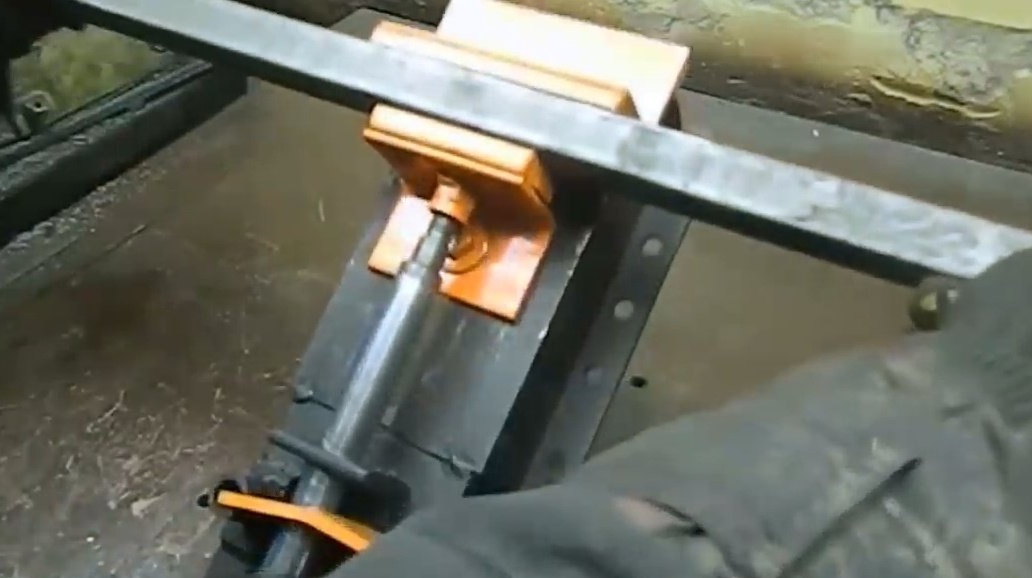
A small lining is welded to the vise base, and a sleeve is already welded to it.

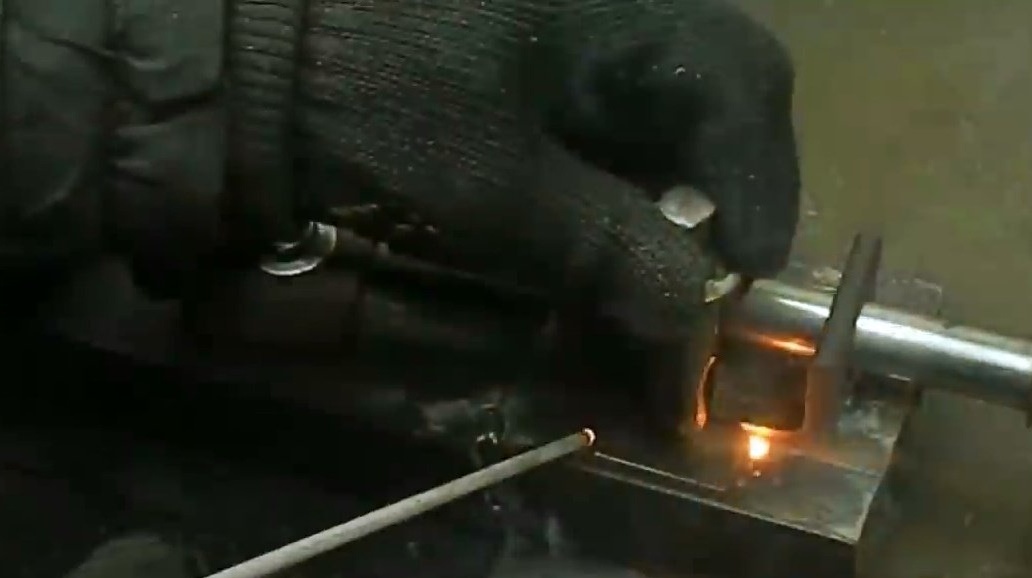
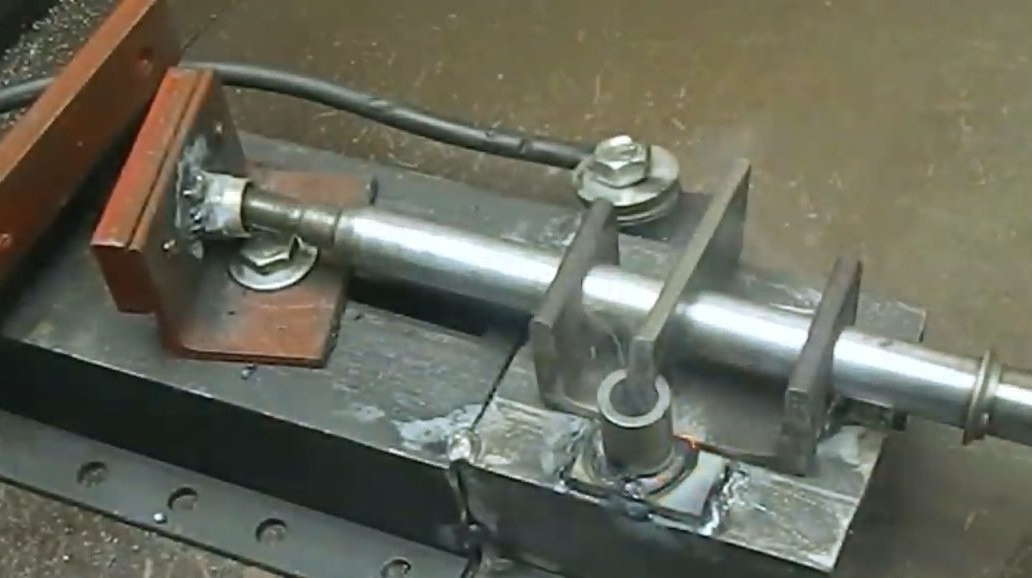
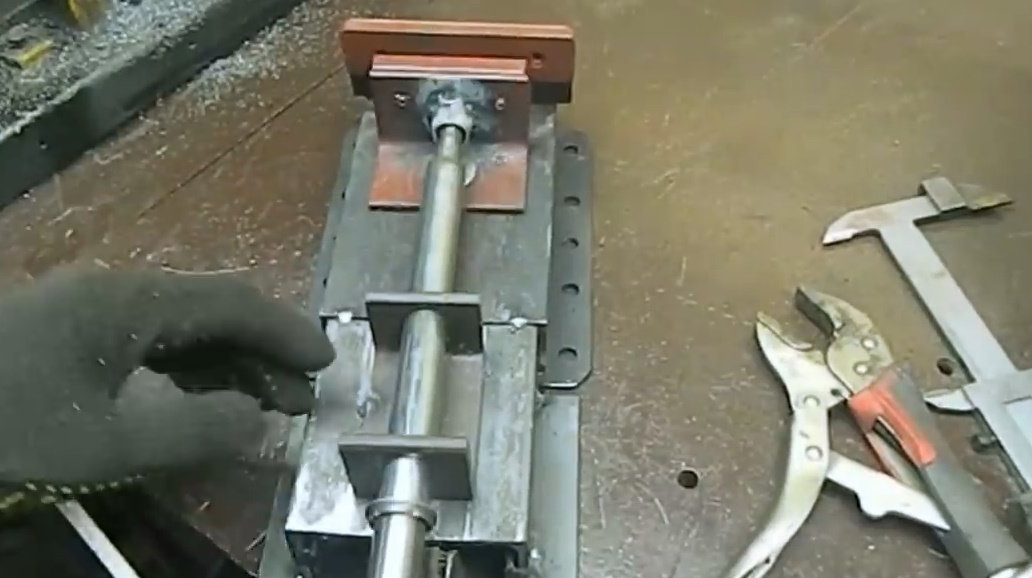
This connection has turned out, in the sleeve the plate is freely located.
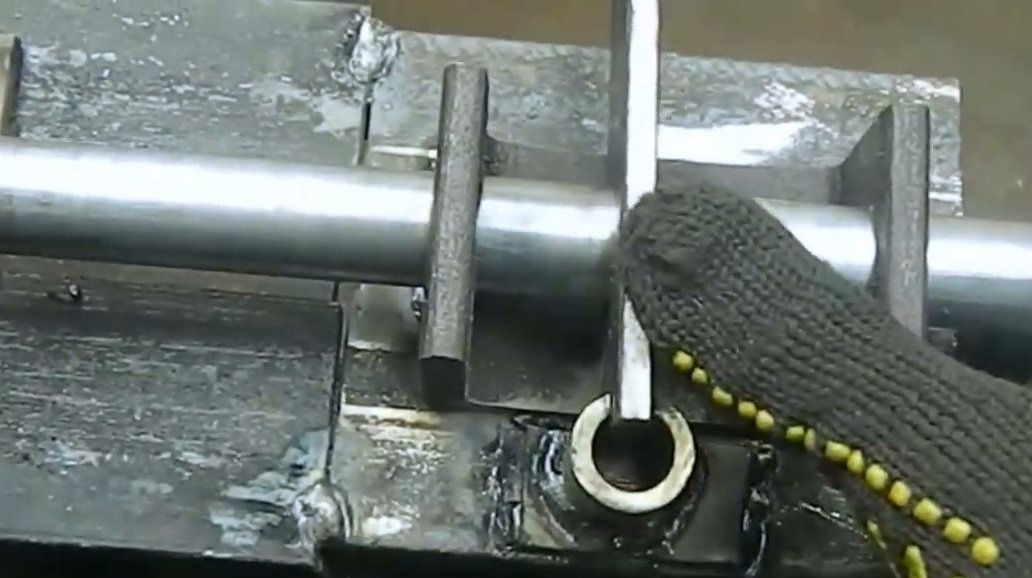
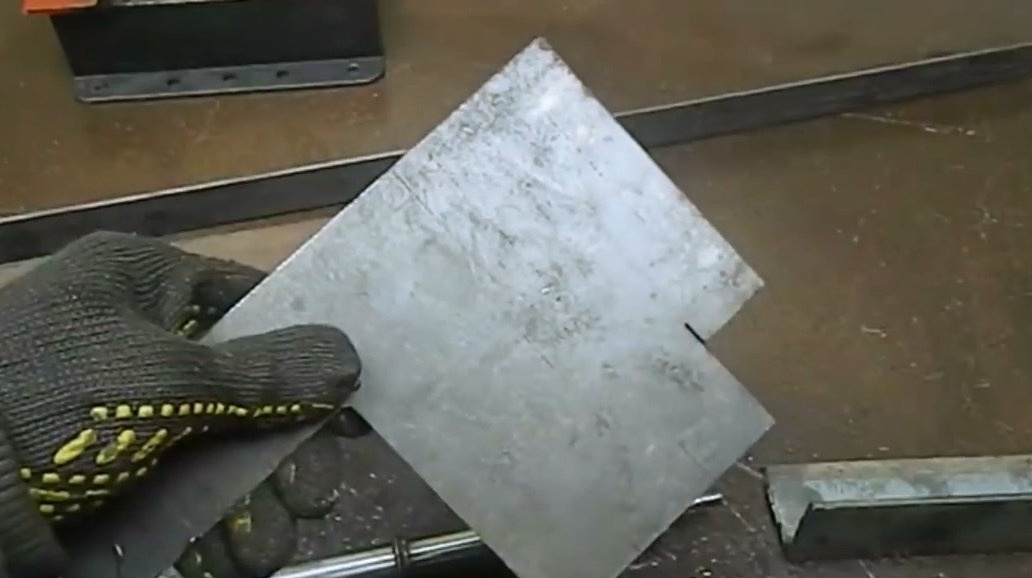
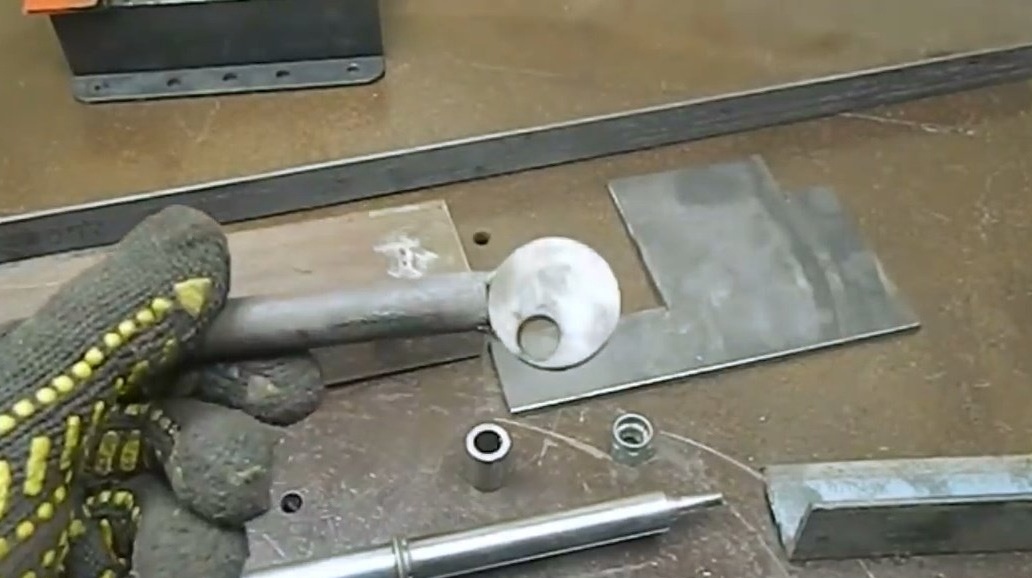
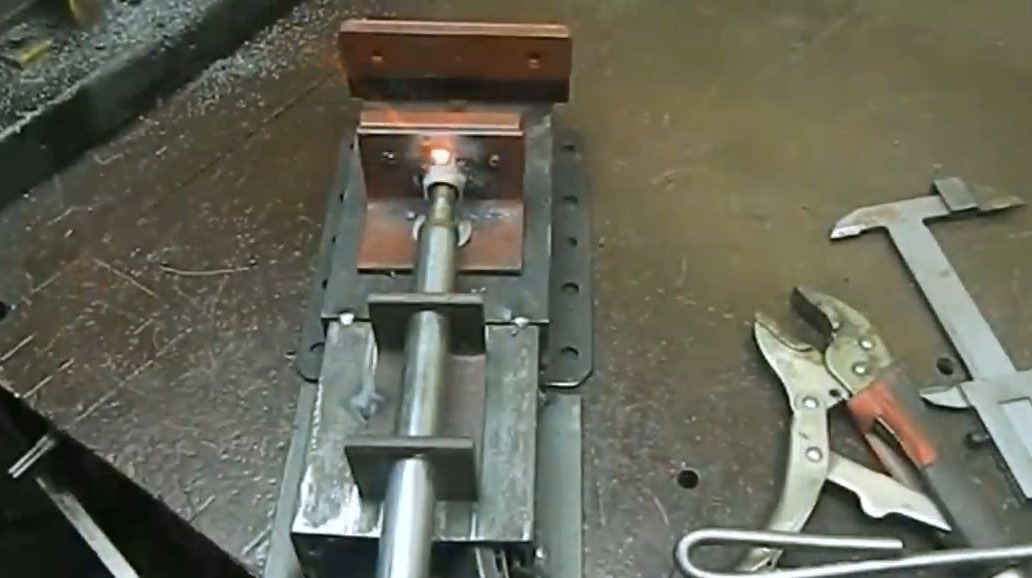
A hole of 10 mm diameter is drilled in the plate, and a stud is welded into it.
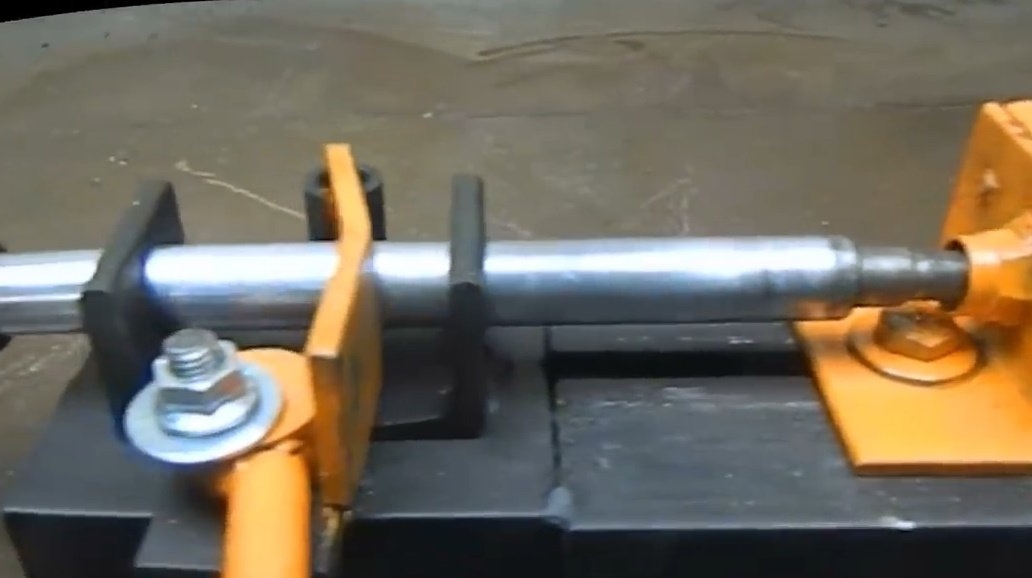
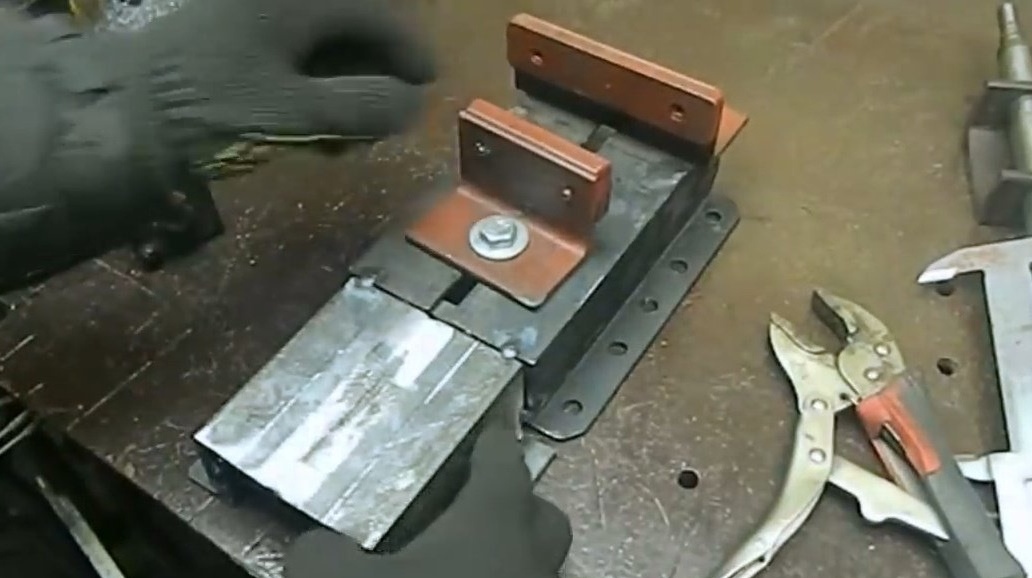
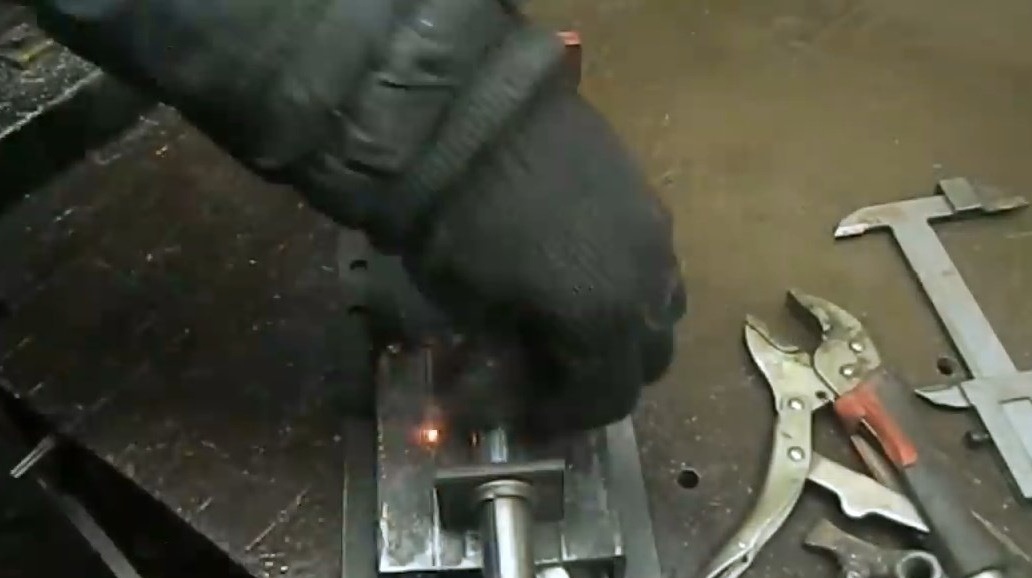
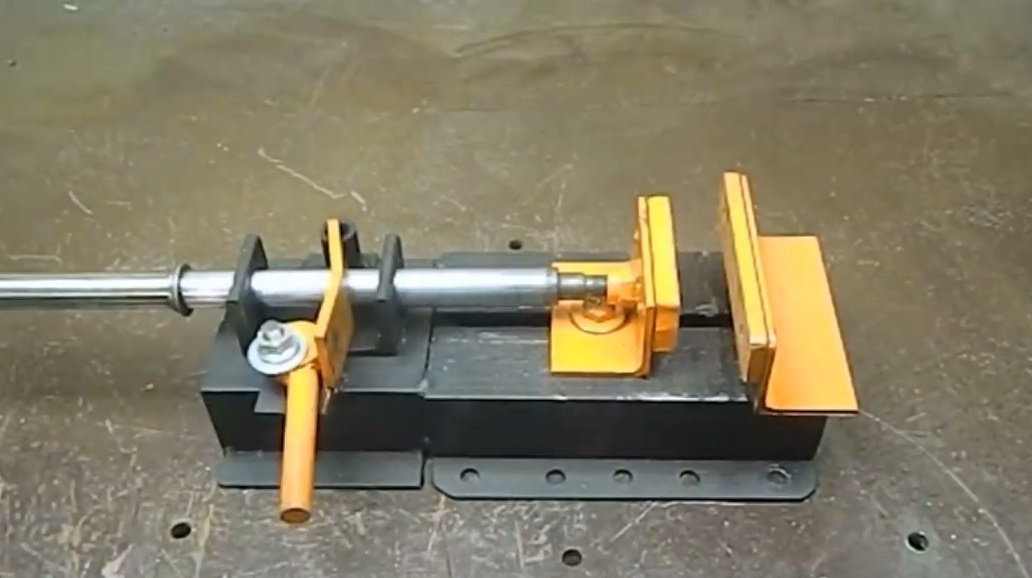
Now this blank must be welded to the base of the vise. It is on this part that an eccentric will be installed. After checking the quality of the capture details, the author scalds all the seams completely.
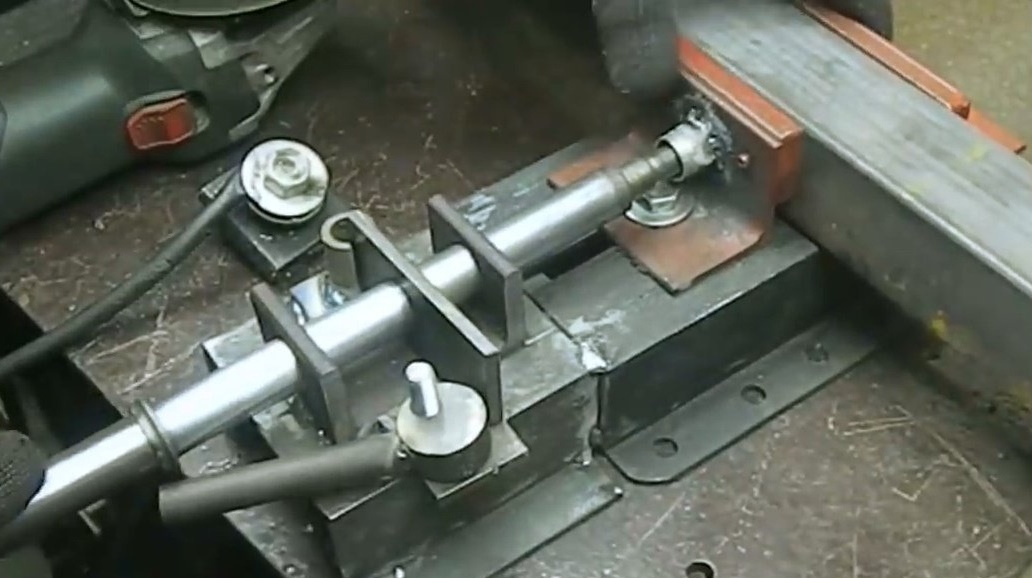
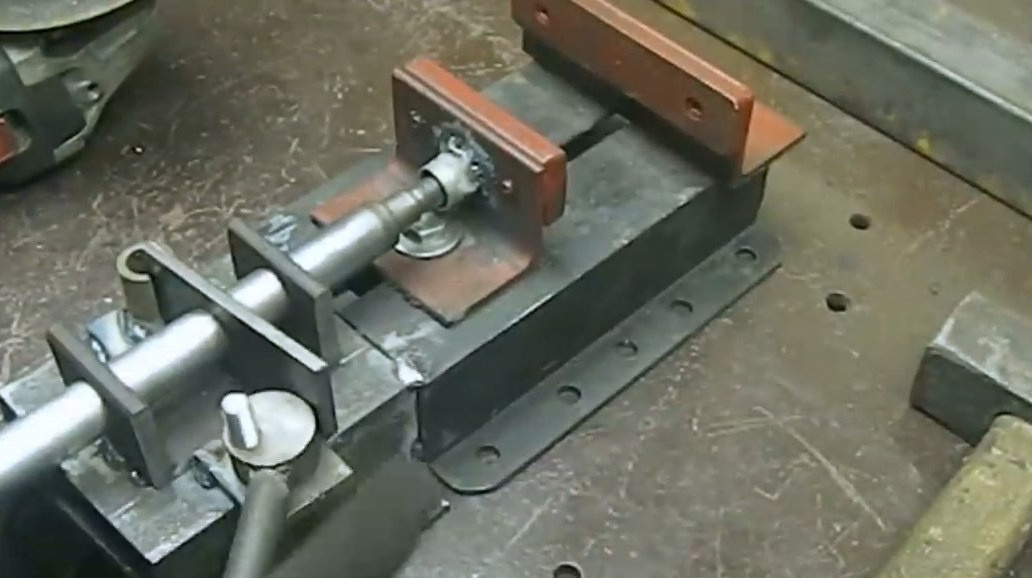
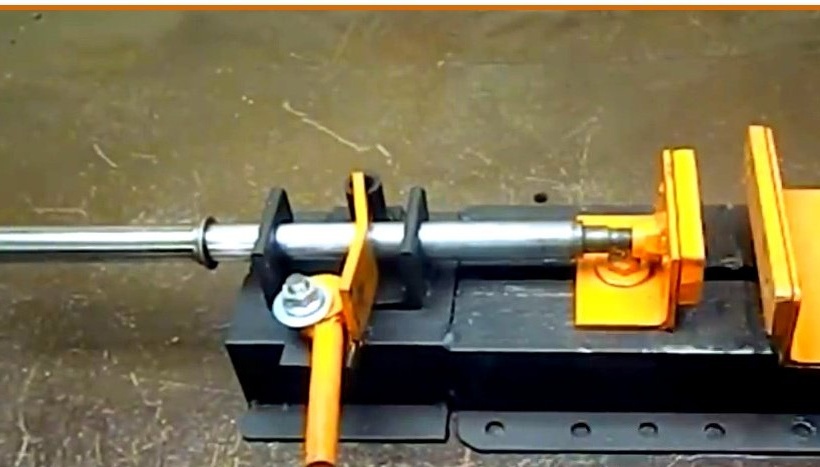
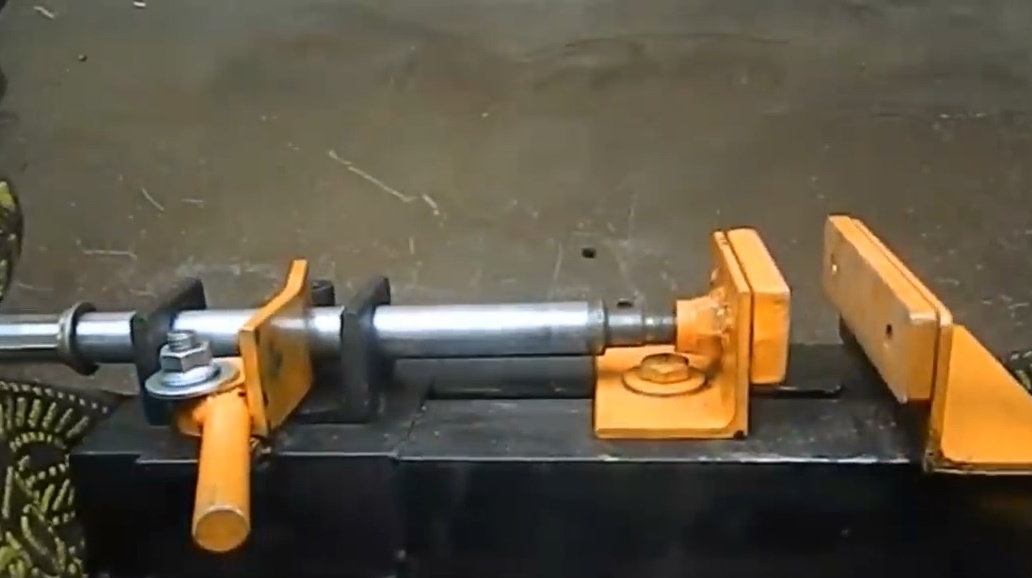
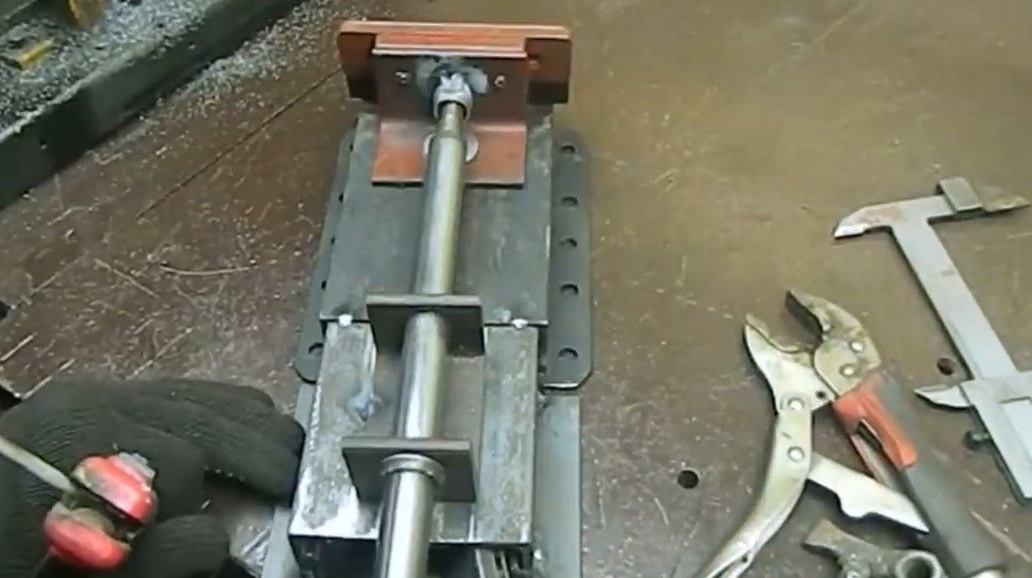
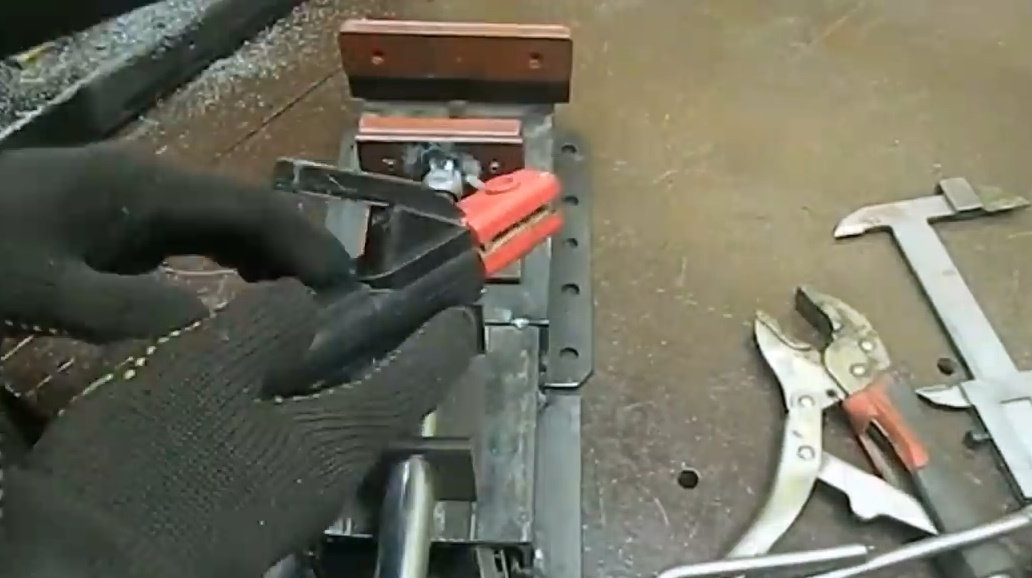
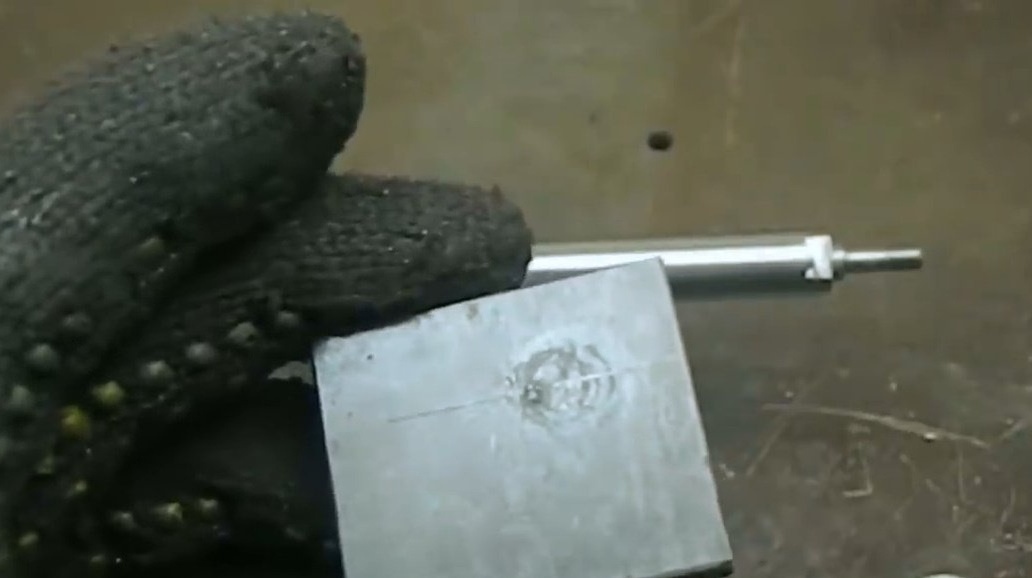
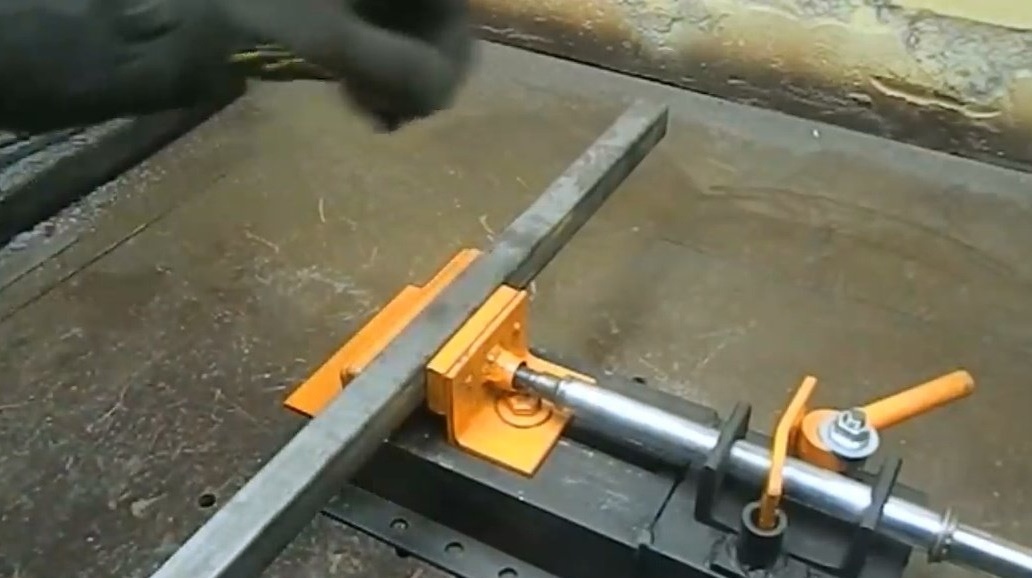
So, all the structural elements are spray painted, it has already dried. Now you can start assembling. The eccentric author fastens with an M10 nut, placing a washer.

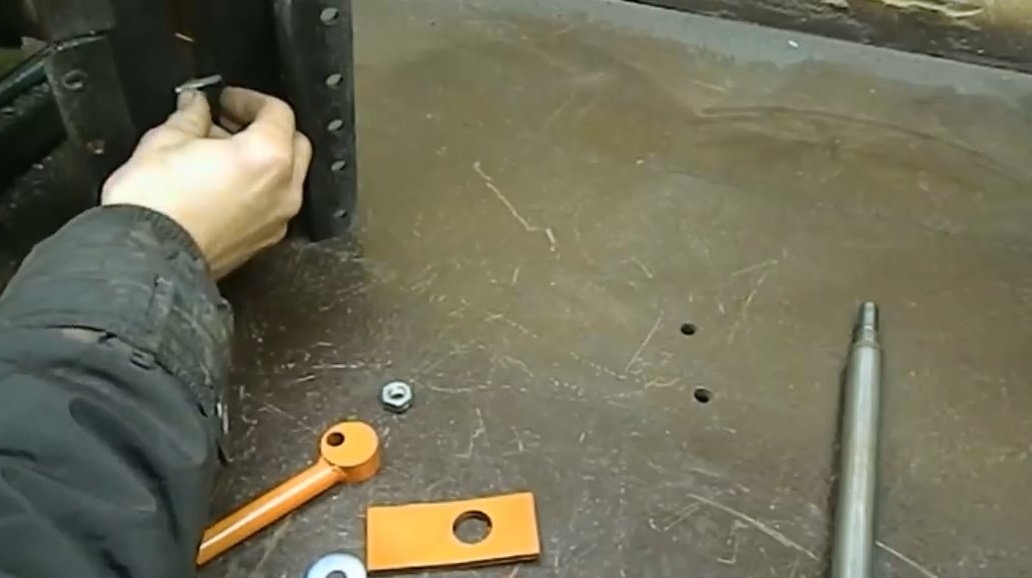
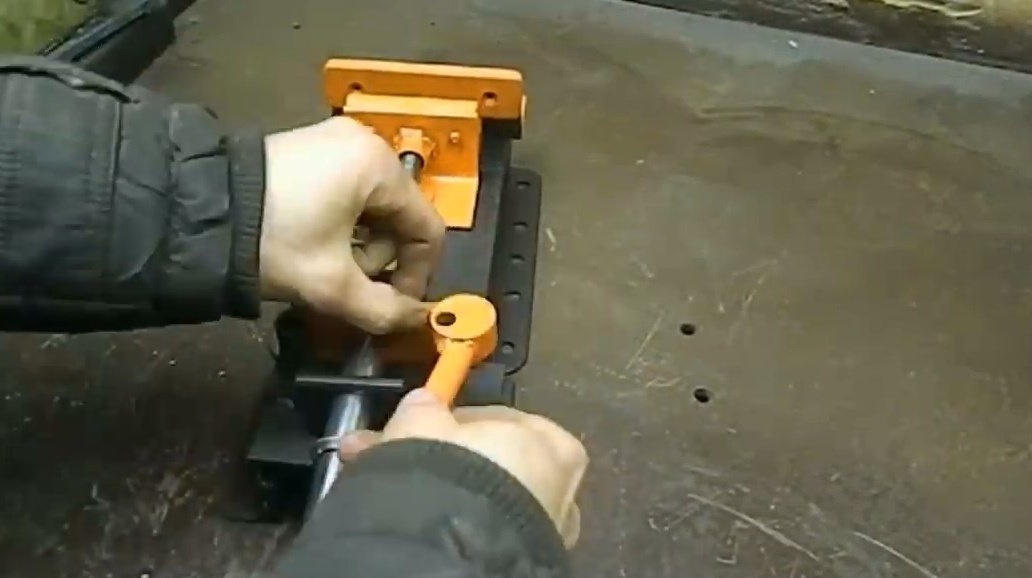
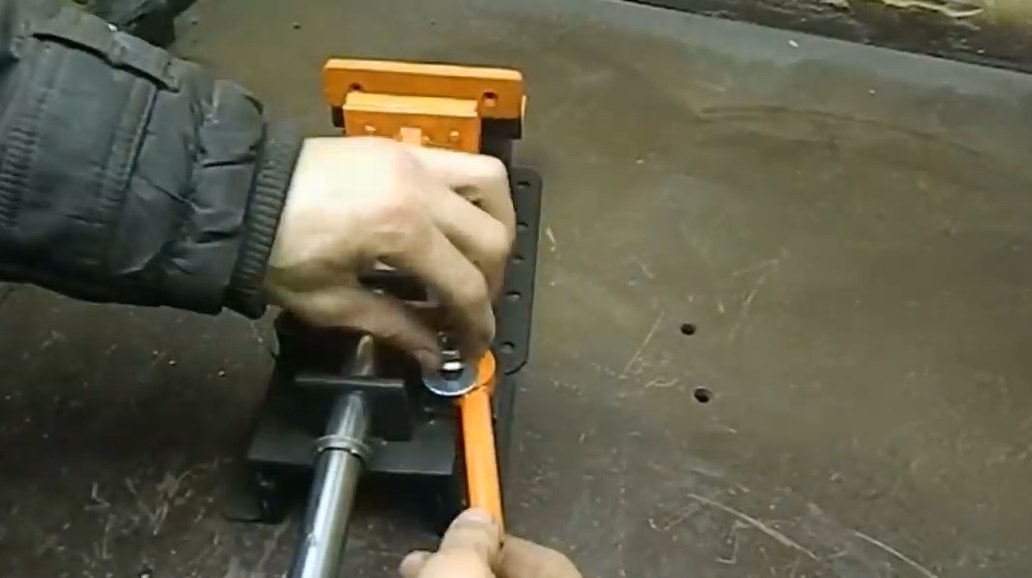
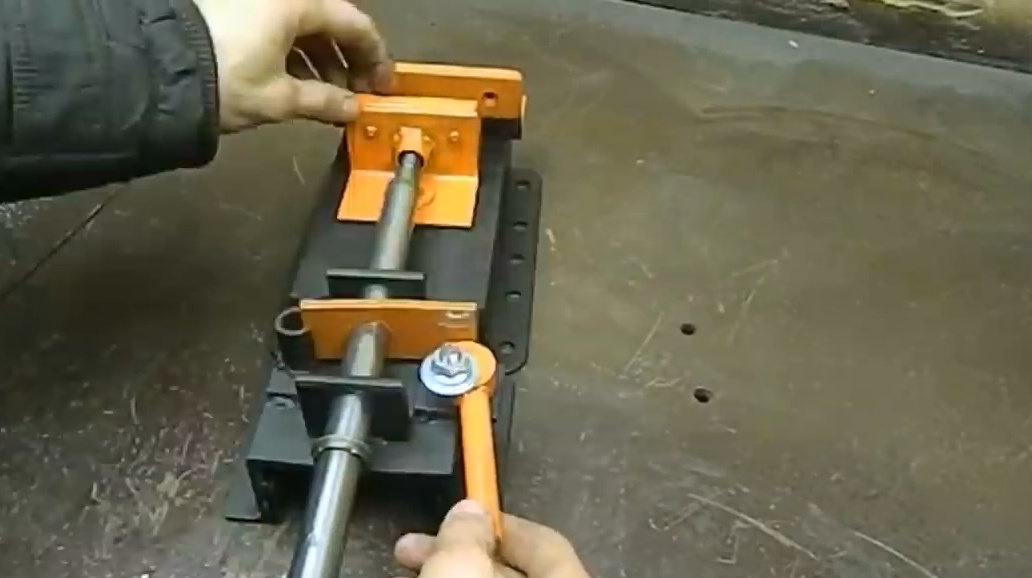
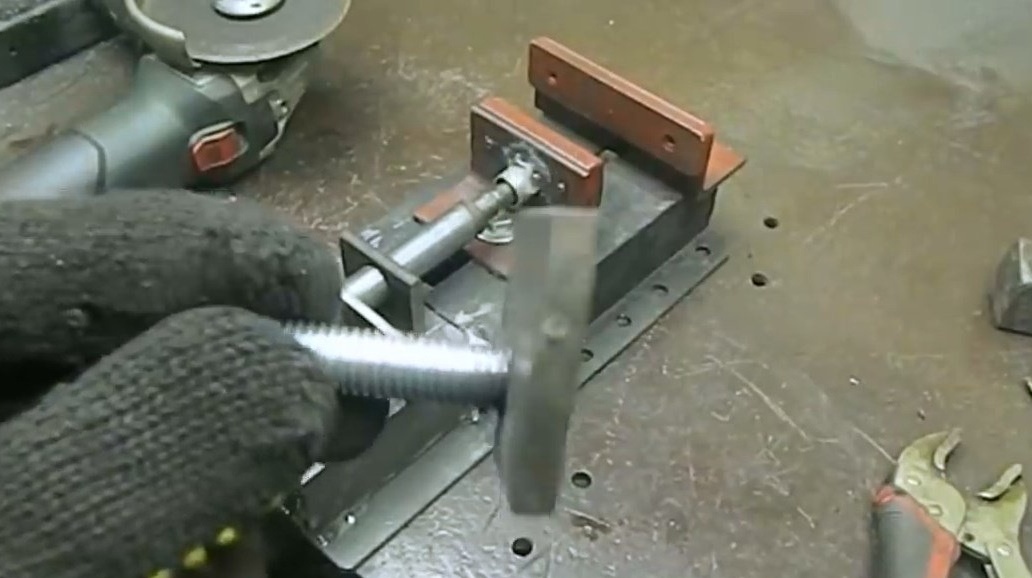
First, the author secures the vise on a workbench with a bolt and clamp.
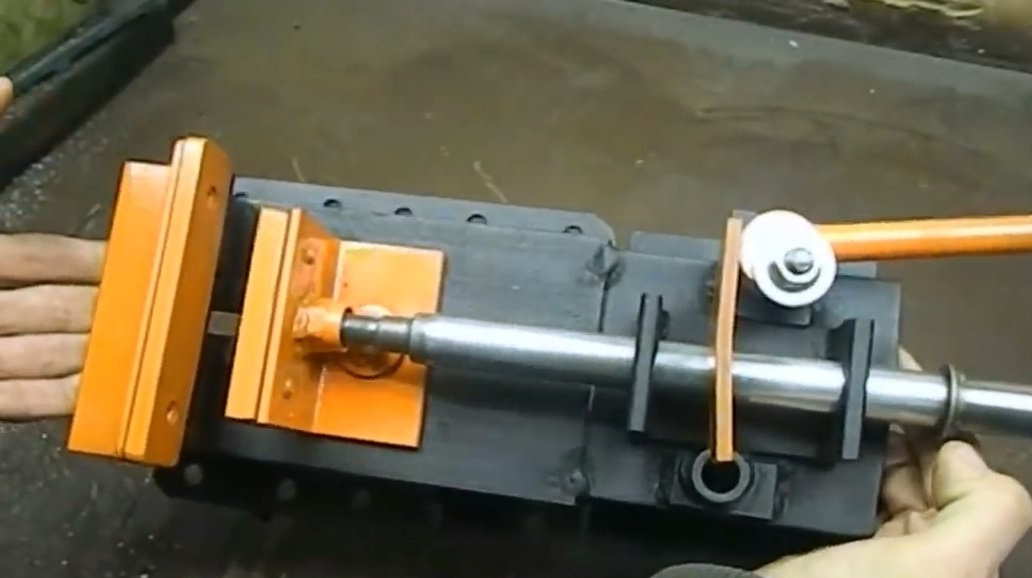
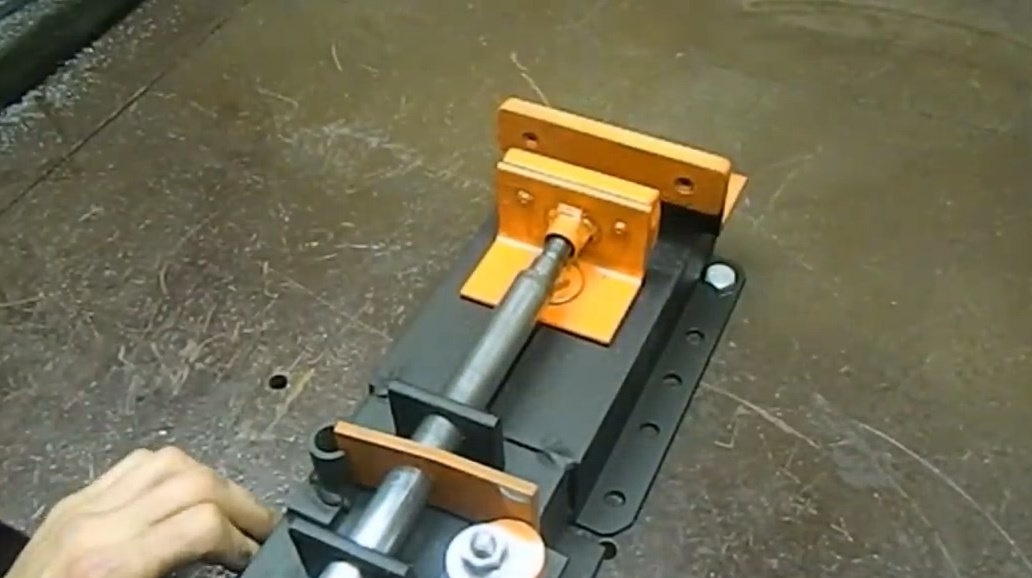
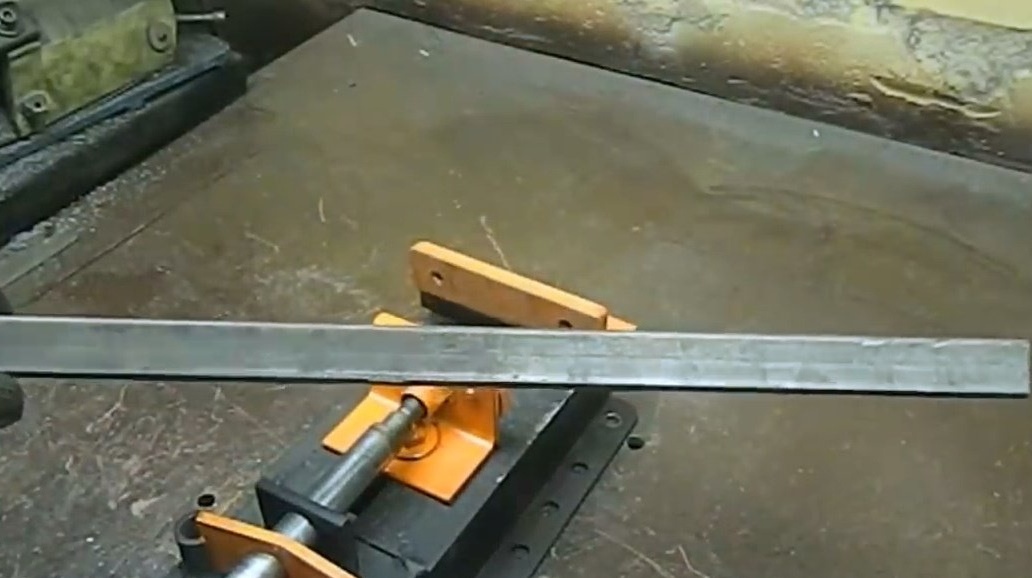
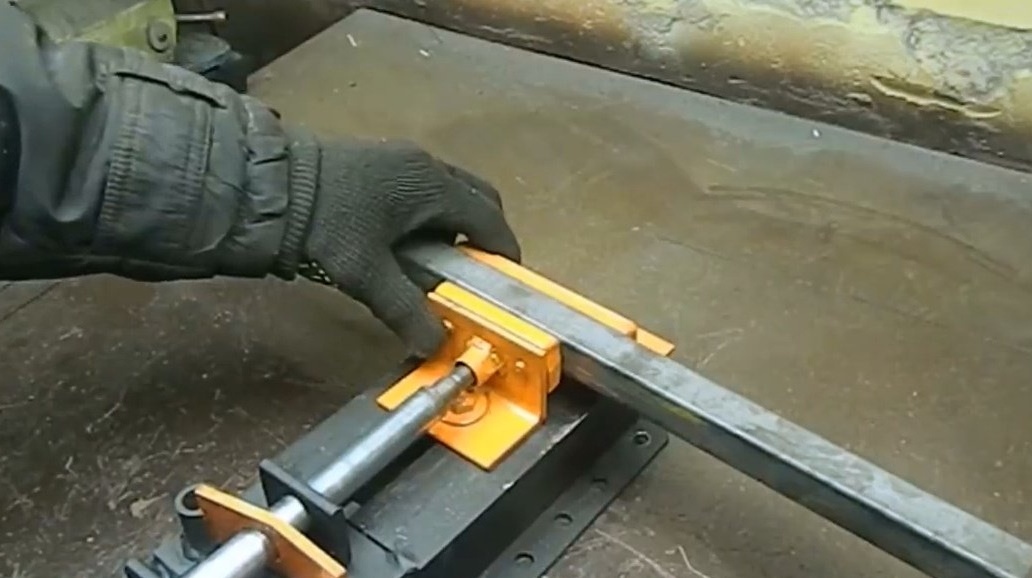
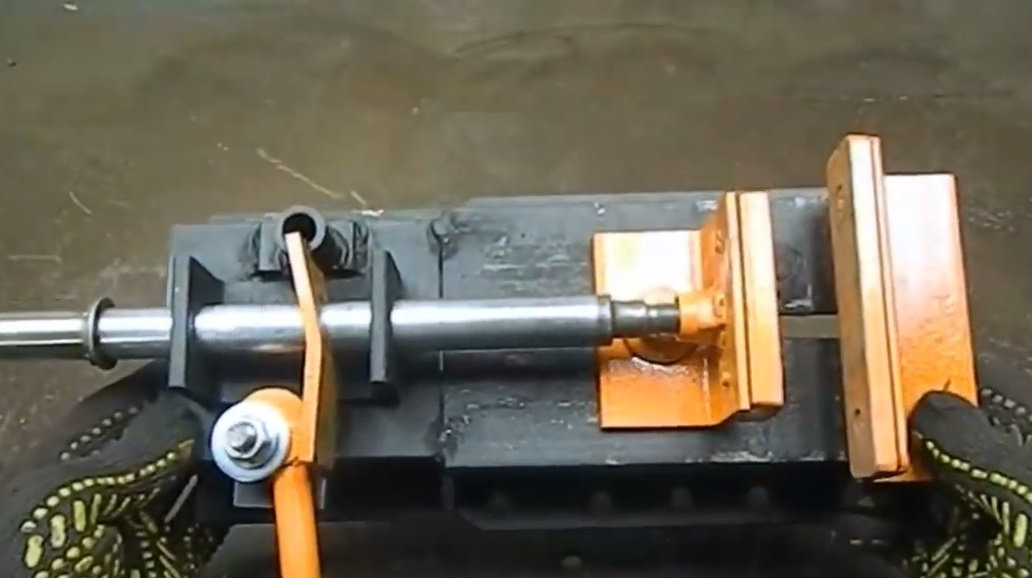
And tries the power of the clamp. Everything works fine, just slide the movable sponge and squeeze it with an eccentric.
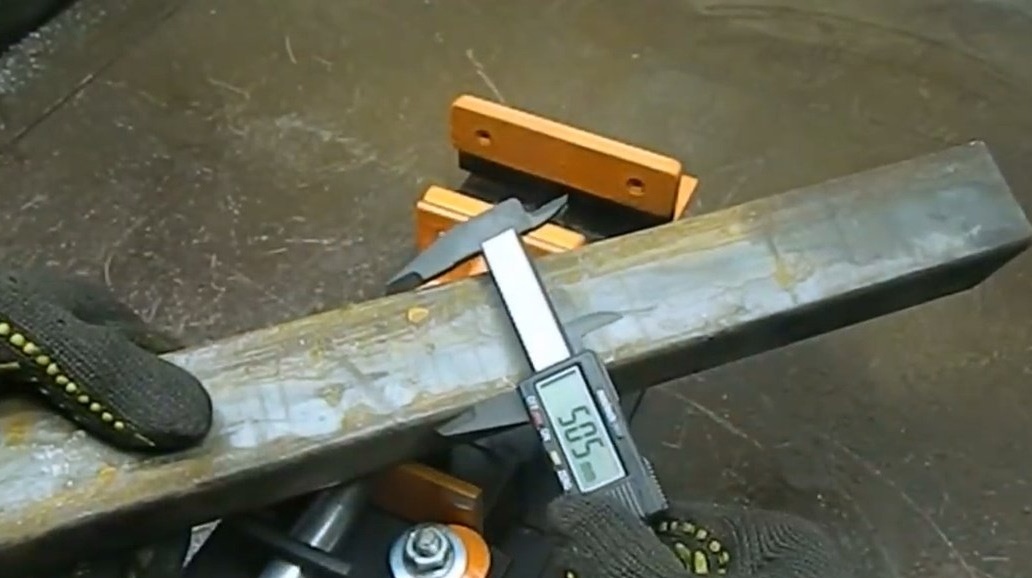
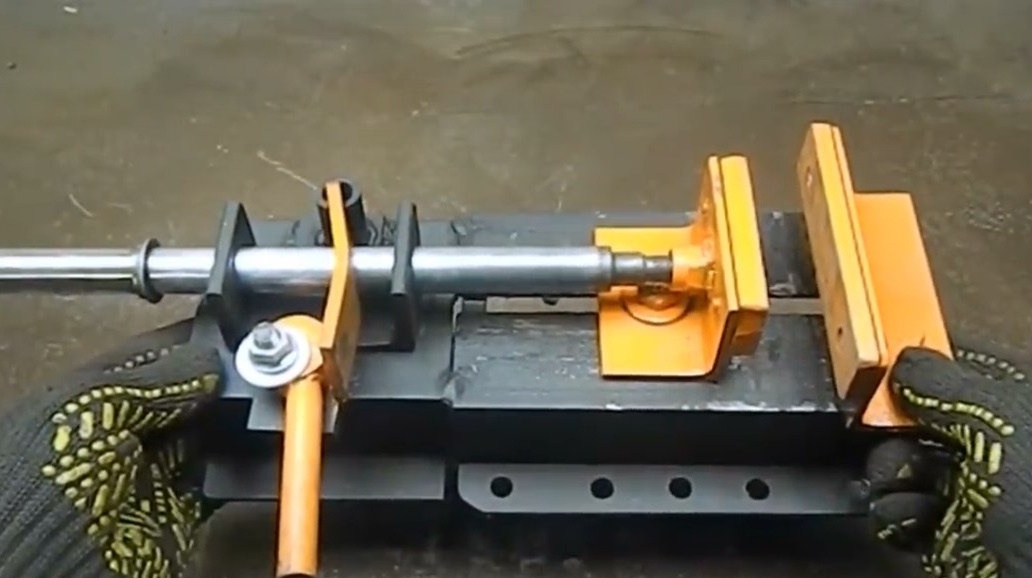
Having unfastened the vice from the table, you can check the clamping force by lifting it by the workpiece.
With small blanks like a profile pipe 25X25 there are no problems either!
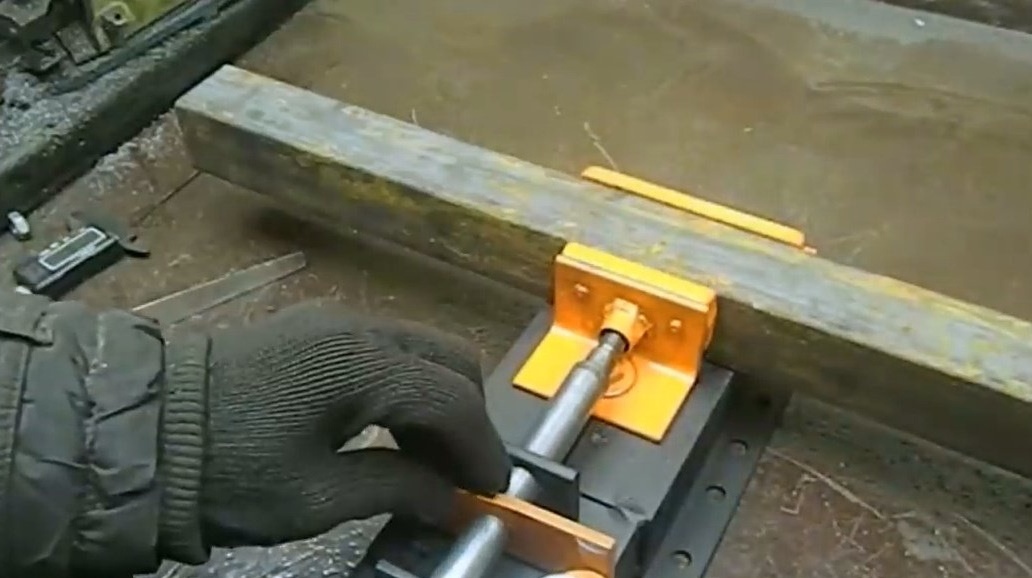
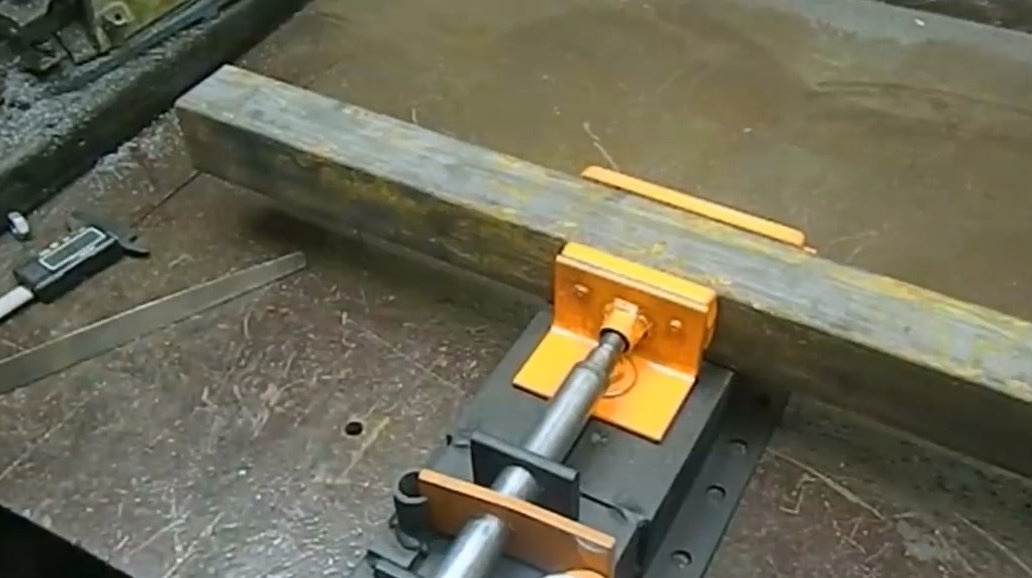
These are the quick-clamping vices obtained by the master. Everything is beautiful and reliable.
Thanks to the author for the simple but useful device for the workshop!
All good mood, good luck, and interesting ideas!