
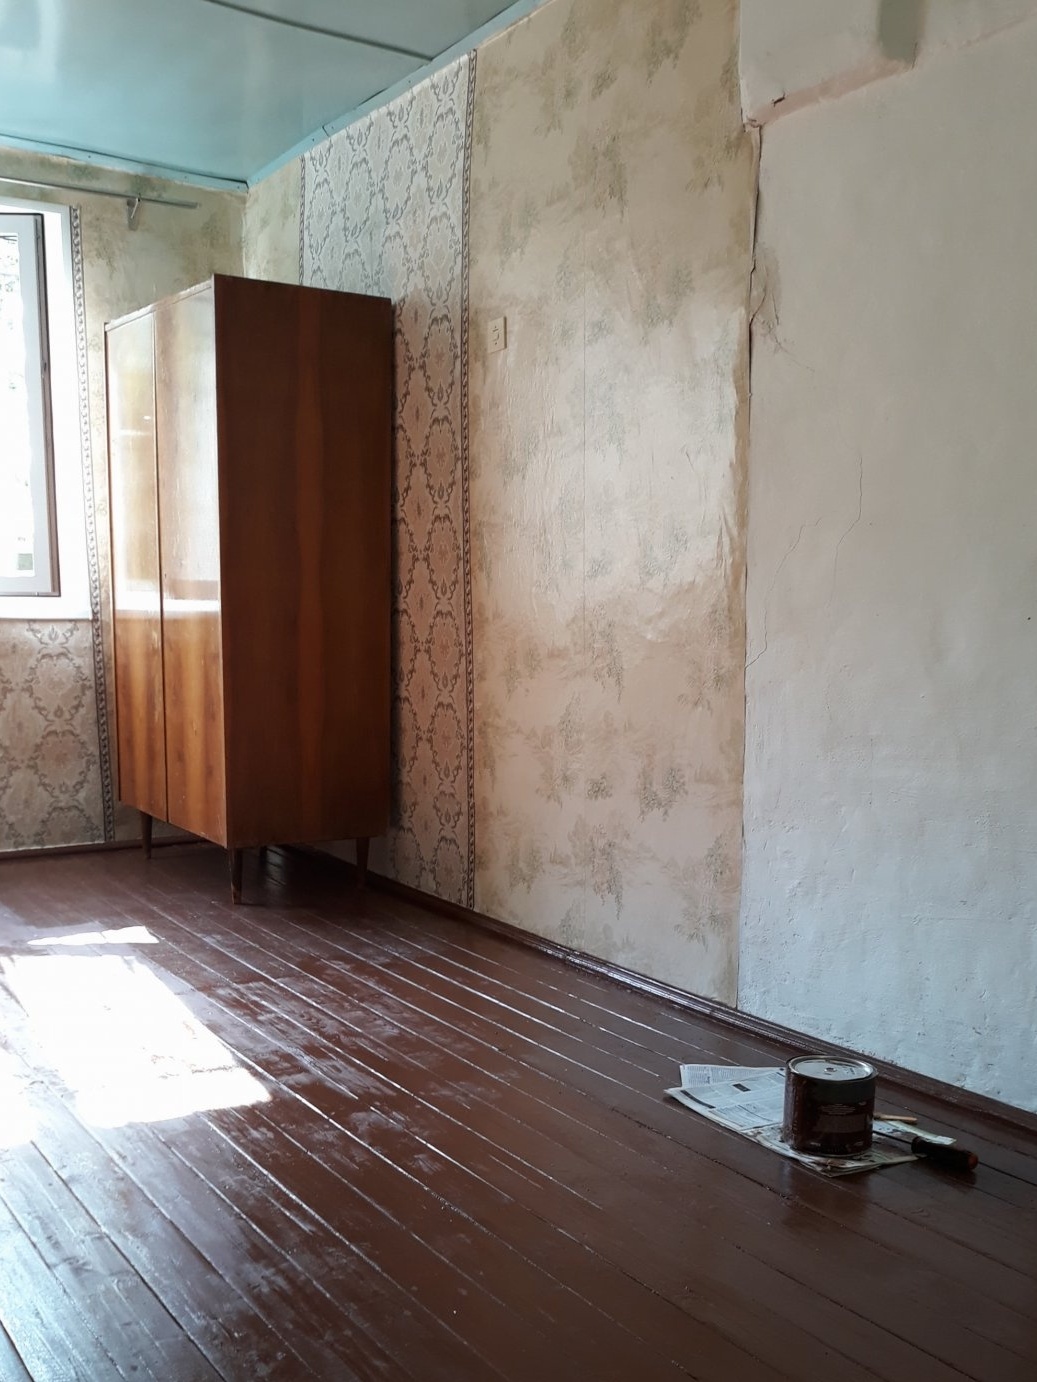
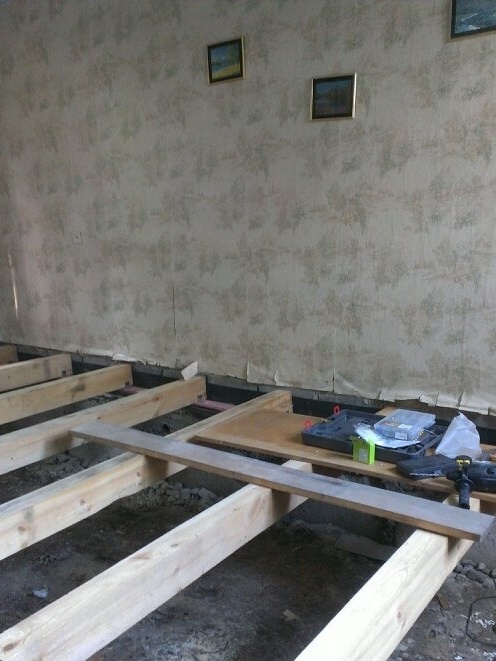
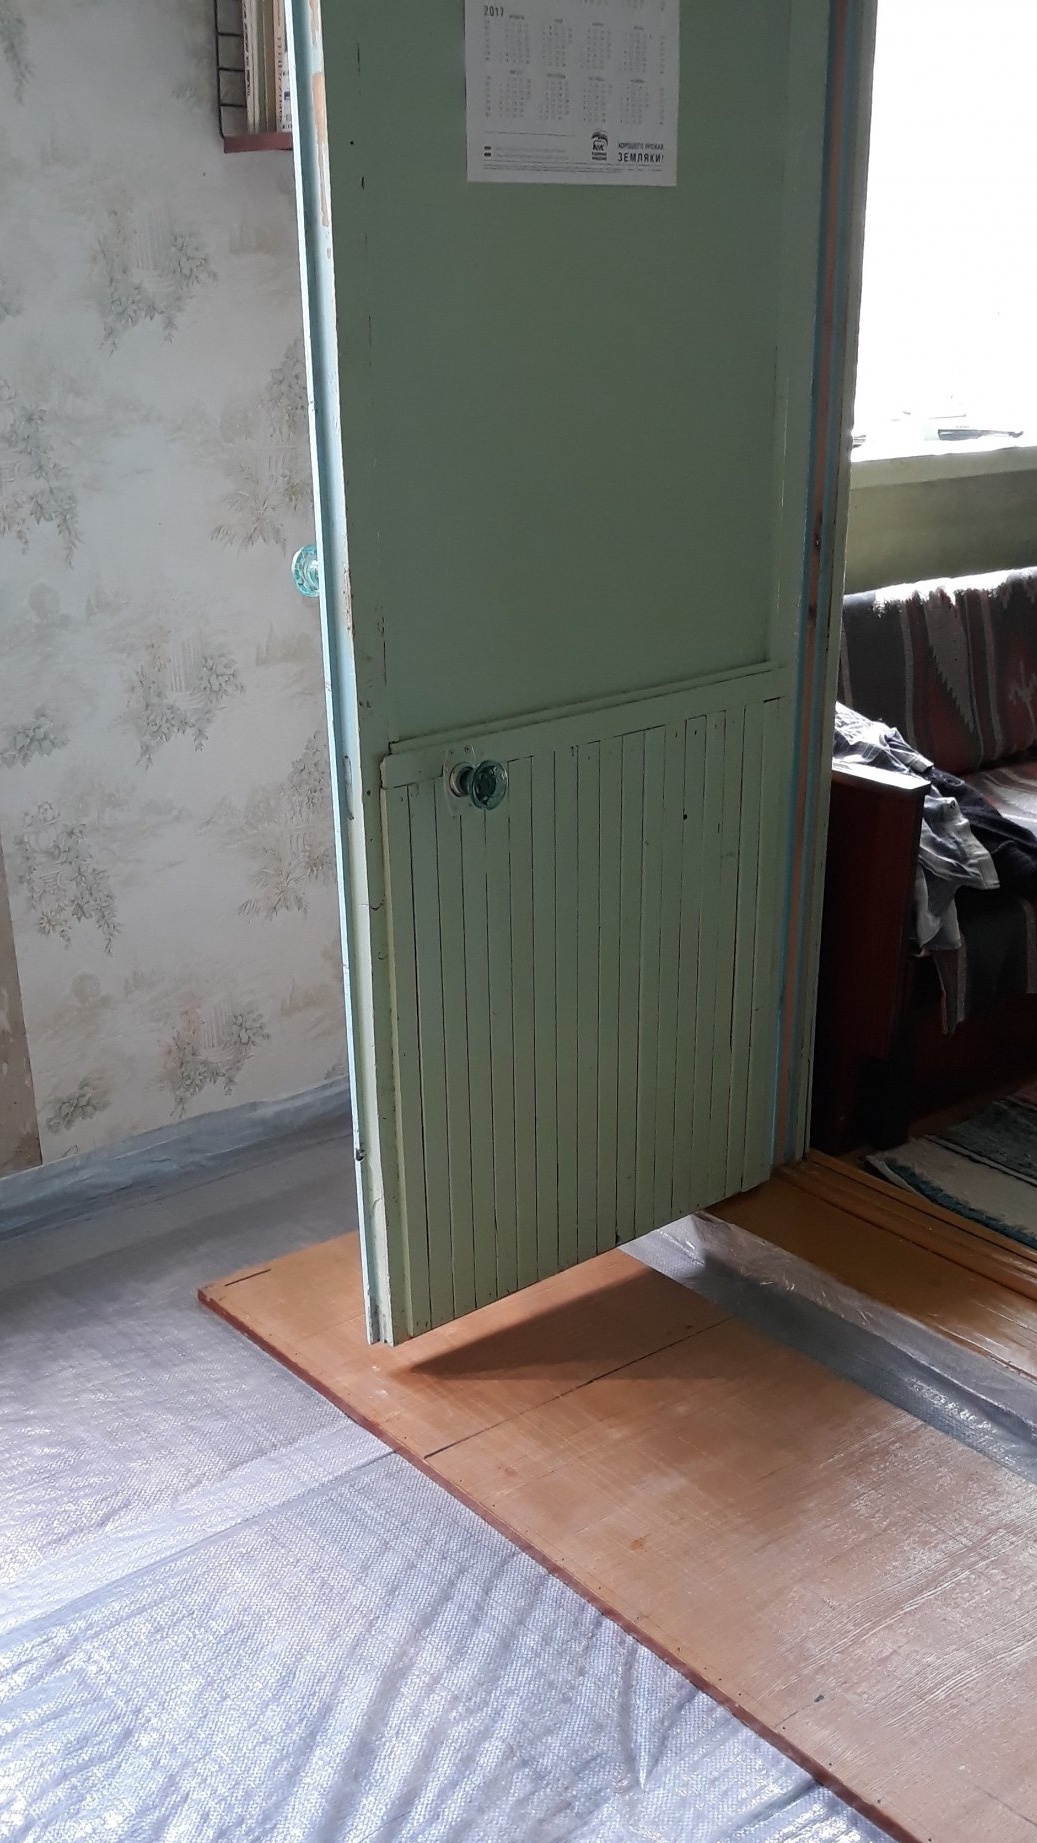
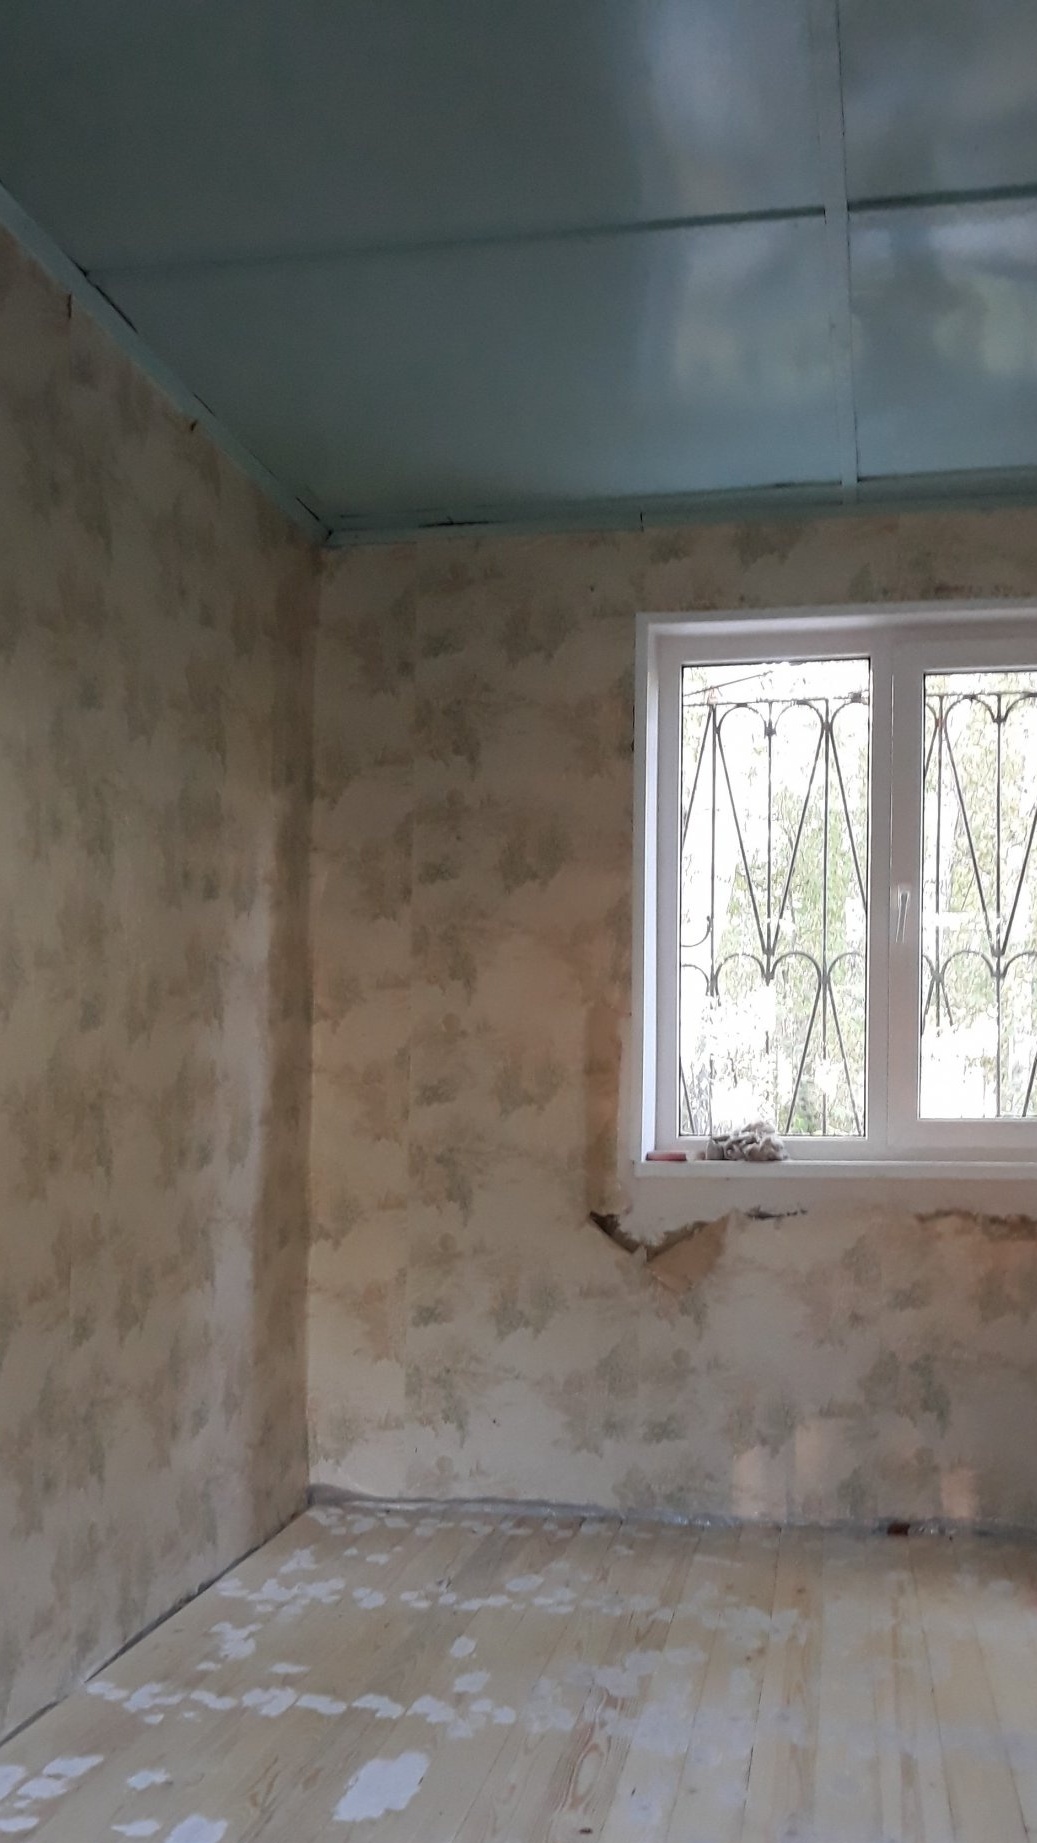
So this terrible day came. When it became necessary to change the floor in the garden house room. More than 20 years have passed since its construction. You look at him, everything seems to be normal, but when you pass, he bends under his feet.

After interrogating the hostess, it turned out that the floor was covered with panels made of chipboard. I don’t know for what reason this was done. But, the floor is completely rotten and only linoleum keeps a person.
After lifting linoleum, it turned out that in places lies another layer of linoleum.
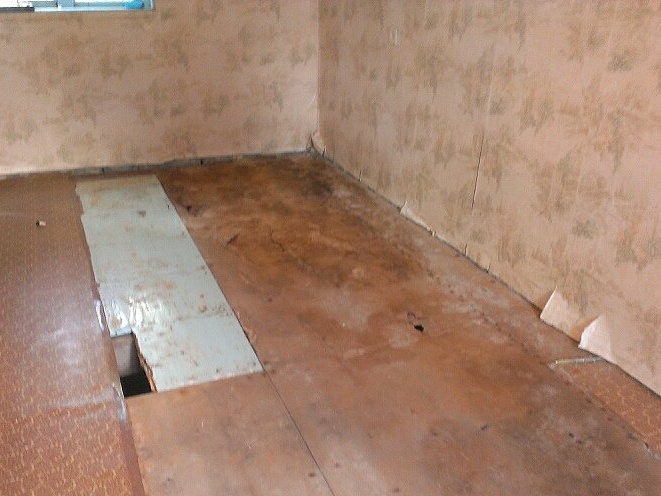

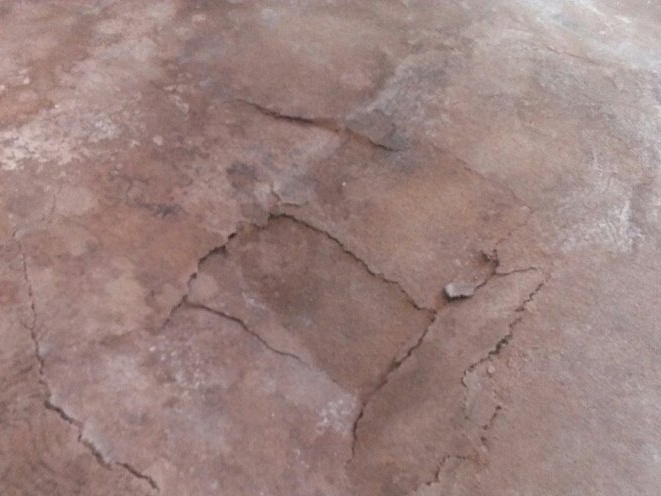
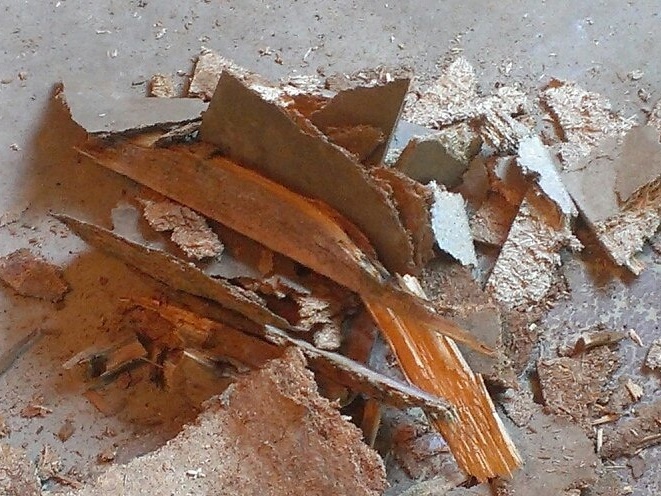
Further disassembly showed that there was nothing left of the chipboard. In principle, it should be so. Particleboard and moisture in any form are not compatible.
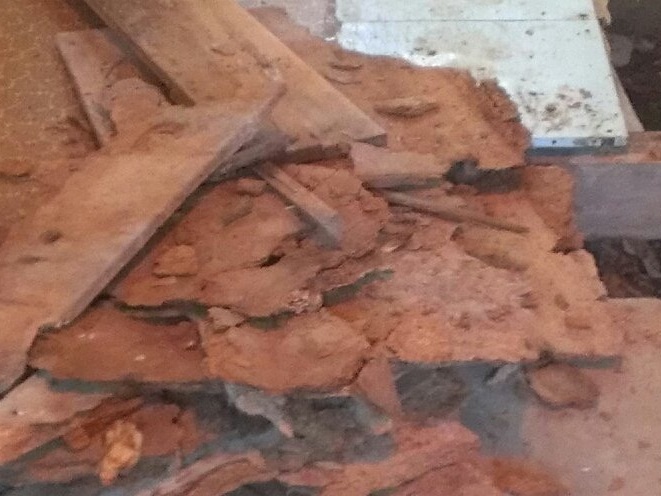
Further opening of the floor showed that in some places he (the floor) is still made of boards.

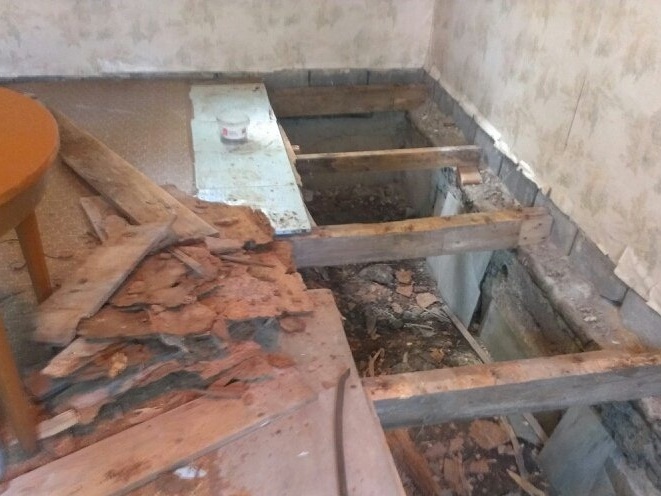
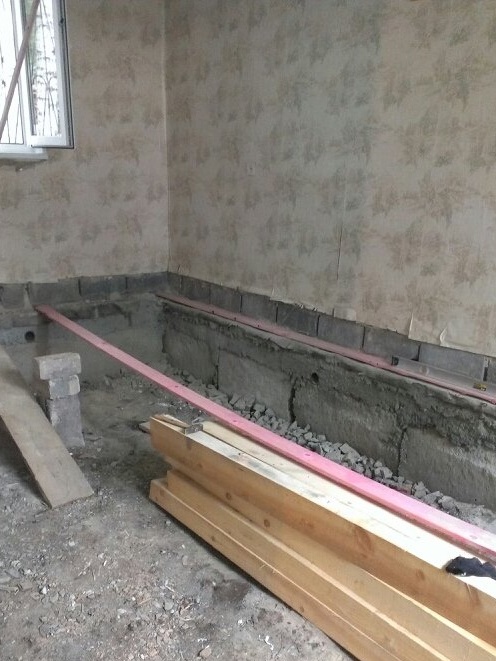
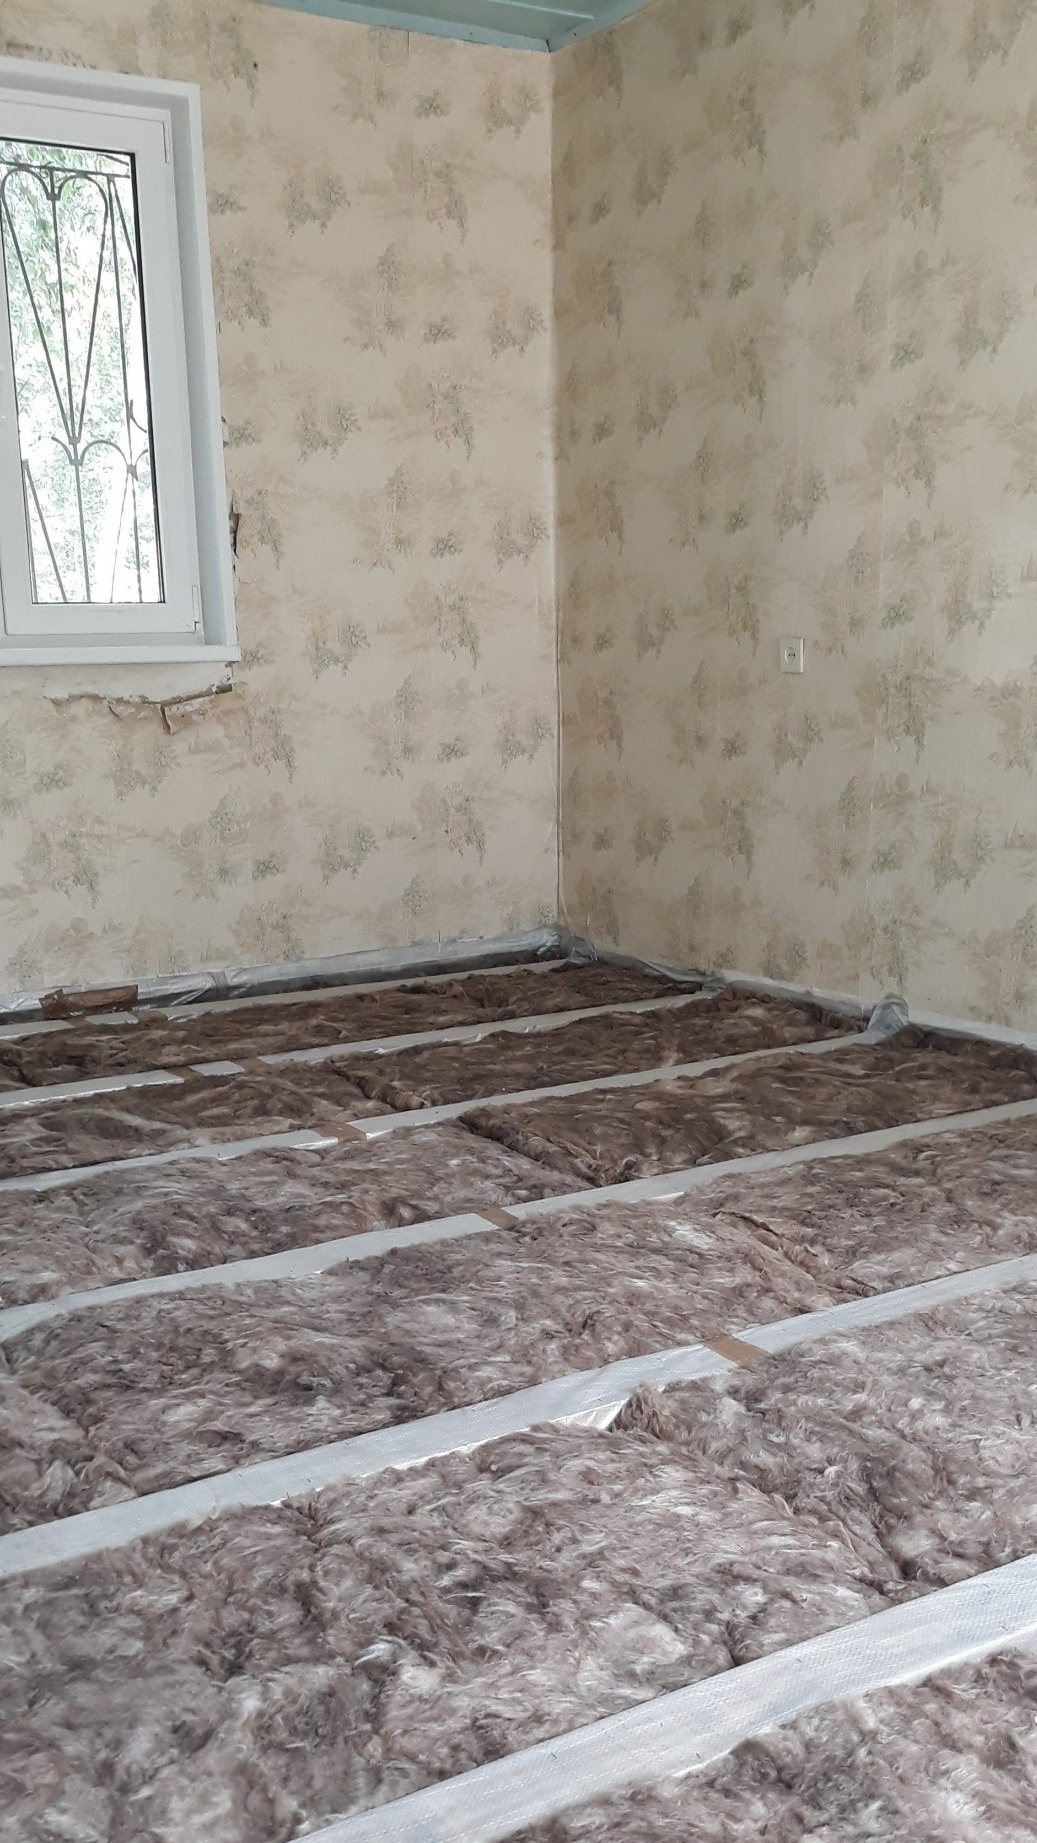
Logs from a timber 200 x 100 mm, inspection of the log showed that they also rotted in places, since they were used. The distance between them is quite large. They are not fixed either to the wall or to the lodgement.
It became clear that the number of lags needed to be increased. Up to 7 pieces, then between the lags there will be 793 mm. With the expectation that the extreme lags will be separated from the walls by 100 mm. All this with a room length of 5.66 m. Based on these calculations, materials were purchased.
According to the following floor mounting scheme.
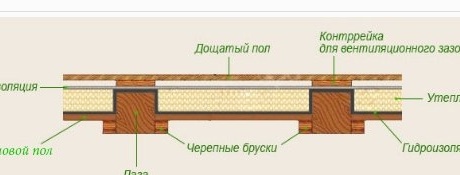
Namely:
- logs, timber 200x100x3000 mm - 7 pcs.,
- a beam on the crate of the subfloor 25h25h3000mm - 14 pcs,
- boards on the floor 100x25x6000 mm 34 pcs, (including under the lodgement lag)
- boards for an air gap of 100x25x3000 mm - 7 pieces,
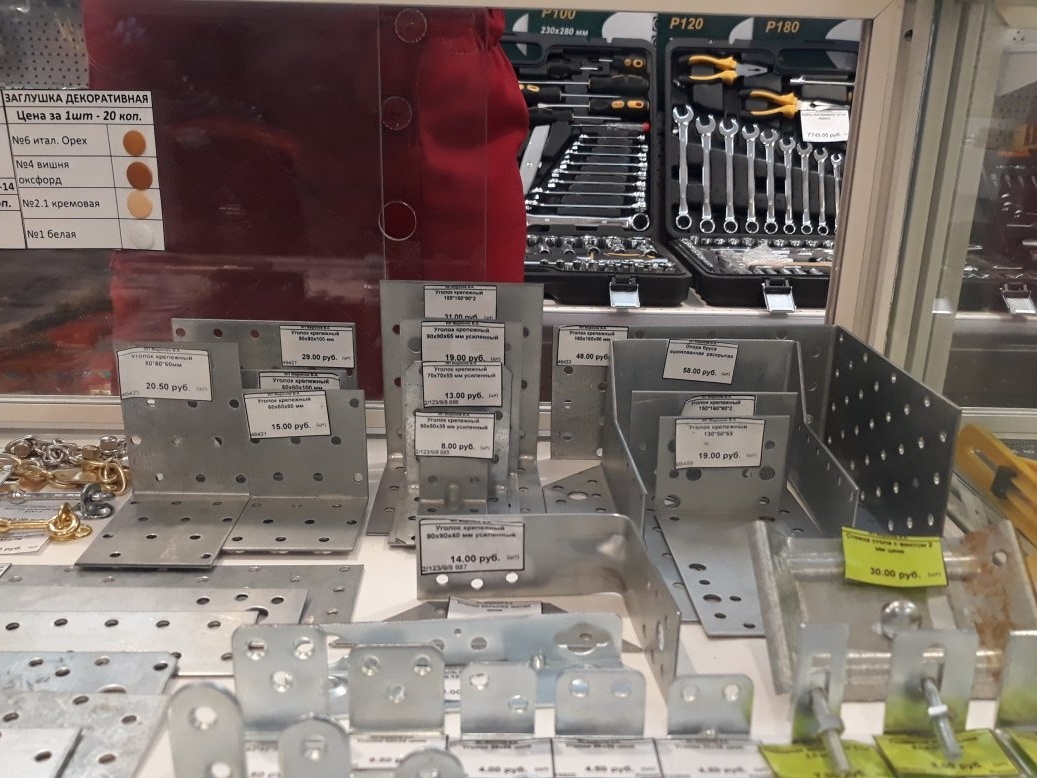
- a corner metal fixing for fastening a log - 28 pieces. (4 pieces per lag),
- frame anchor 10x112 mm - 12 pieces,
- hydro-steam insulation Axton D ... 35 m2 (film),
- Start insulation 50 mm thick 2 rolls (20 m each)2 in a roll)
- two-sided construction tape on the double perimeter of the room,
- a construction stapler with a stock of brackets,
- wood screws with anodized coating 4x50 mm 2.5 kg.
- antiseptic 10 l
- floor paint 5 l
The floorboards and the rough beam were double-treated with an antiseptic. Processing was not performed on the front side of the floorboard. Left to dry.
Logs were cut to size, tried on in place, marked and also treated with an antiseptic.
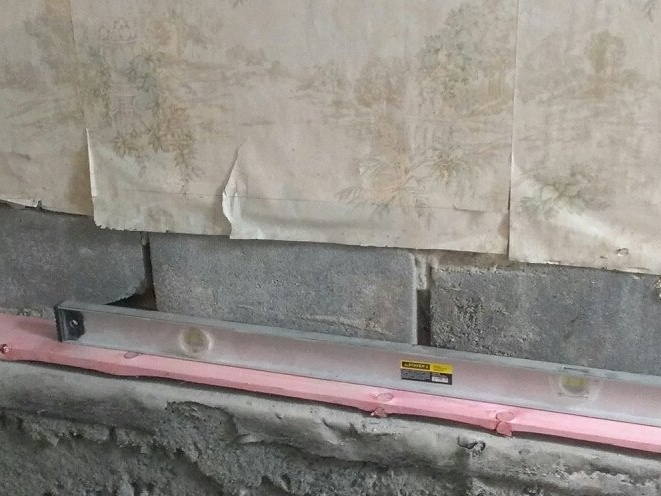
Further, the lodgement boards under the logs were processed to the size, and processed with an antiseptic. Installed in level in their place on the roofing material, and fixed with frame anchors (10x120 mm) directly to the foundation, 6 pieces per board.

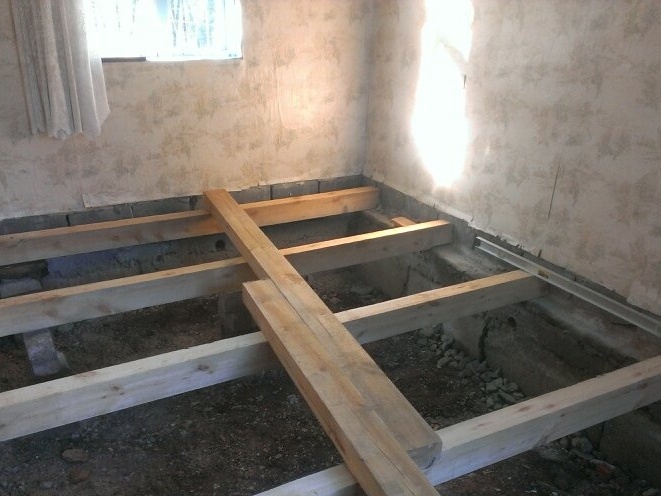
Then lags are put in their places. And fixed with screws to the lodgement through the mounting corners on both sides of the log, and at both ends of it.
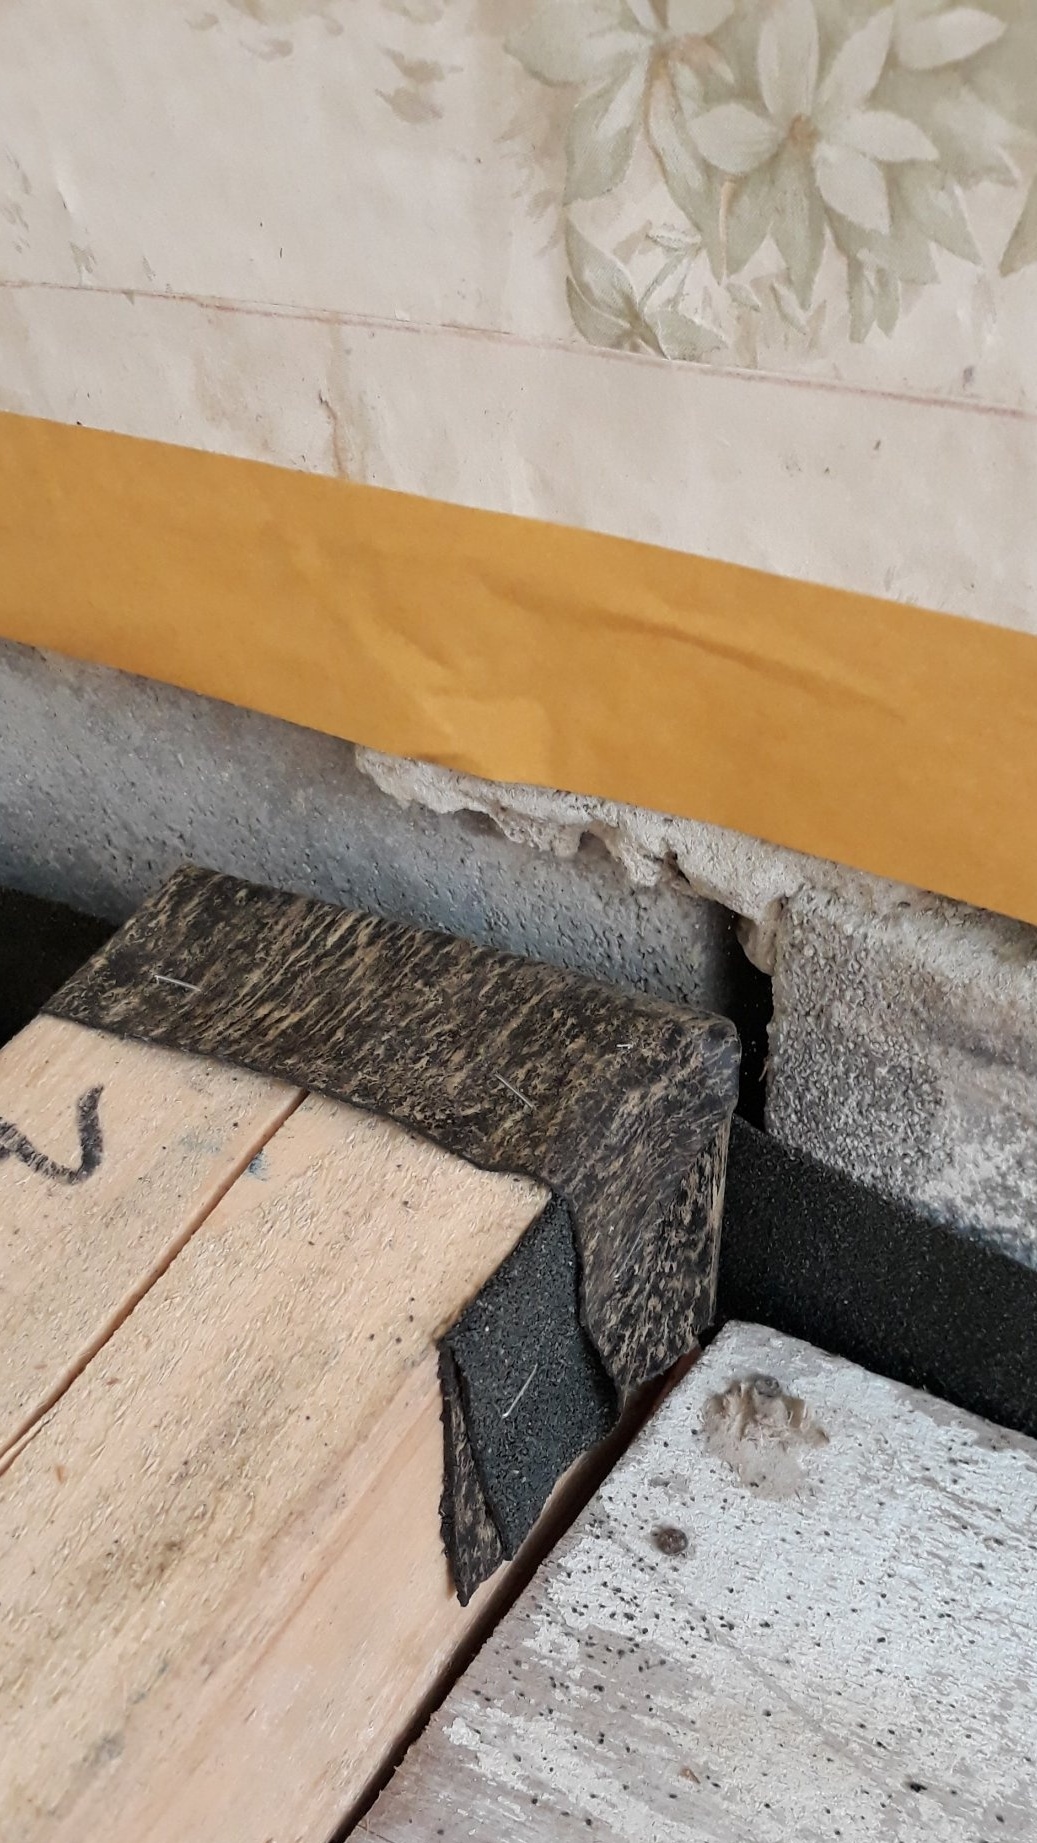
Further, each end of the lag from the wall is protected by roofing material.
Further, in the lower part of the lag, on both sides of it, a beam of a rough floor is attached.
Retreat.

The next stage of work was the preparation of the rough floor. Boards for him were sawn to the size of each span of the log, from the available material, and then treated with an antiseptic and dried.
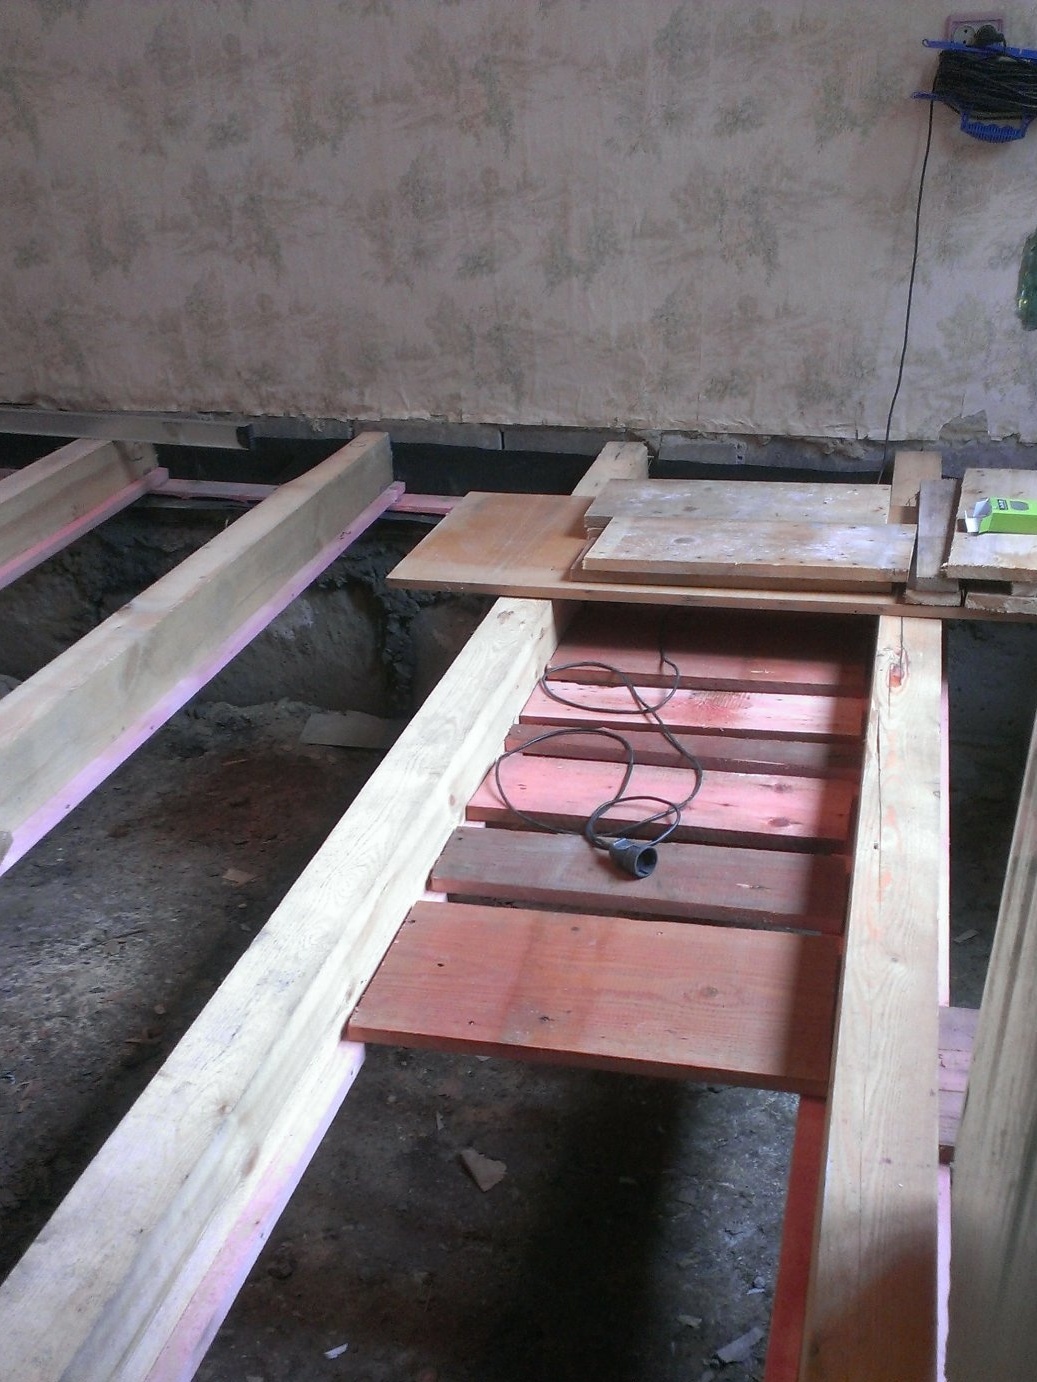

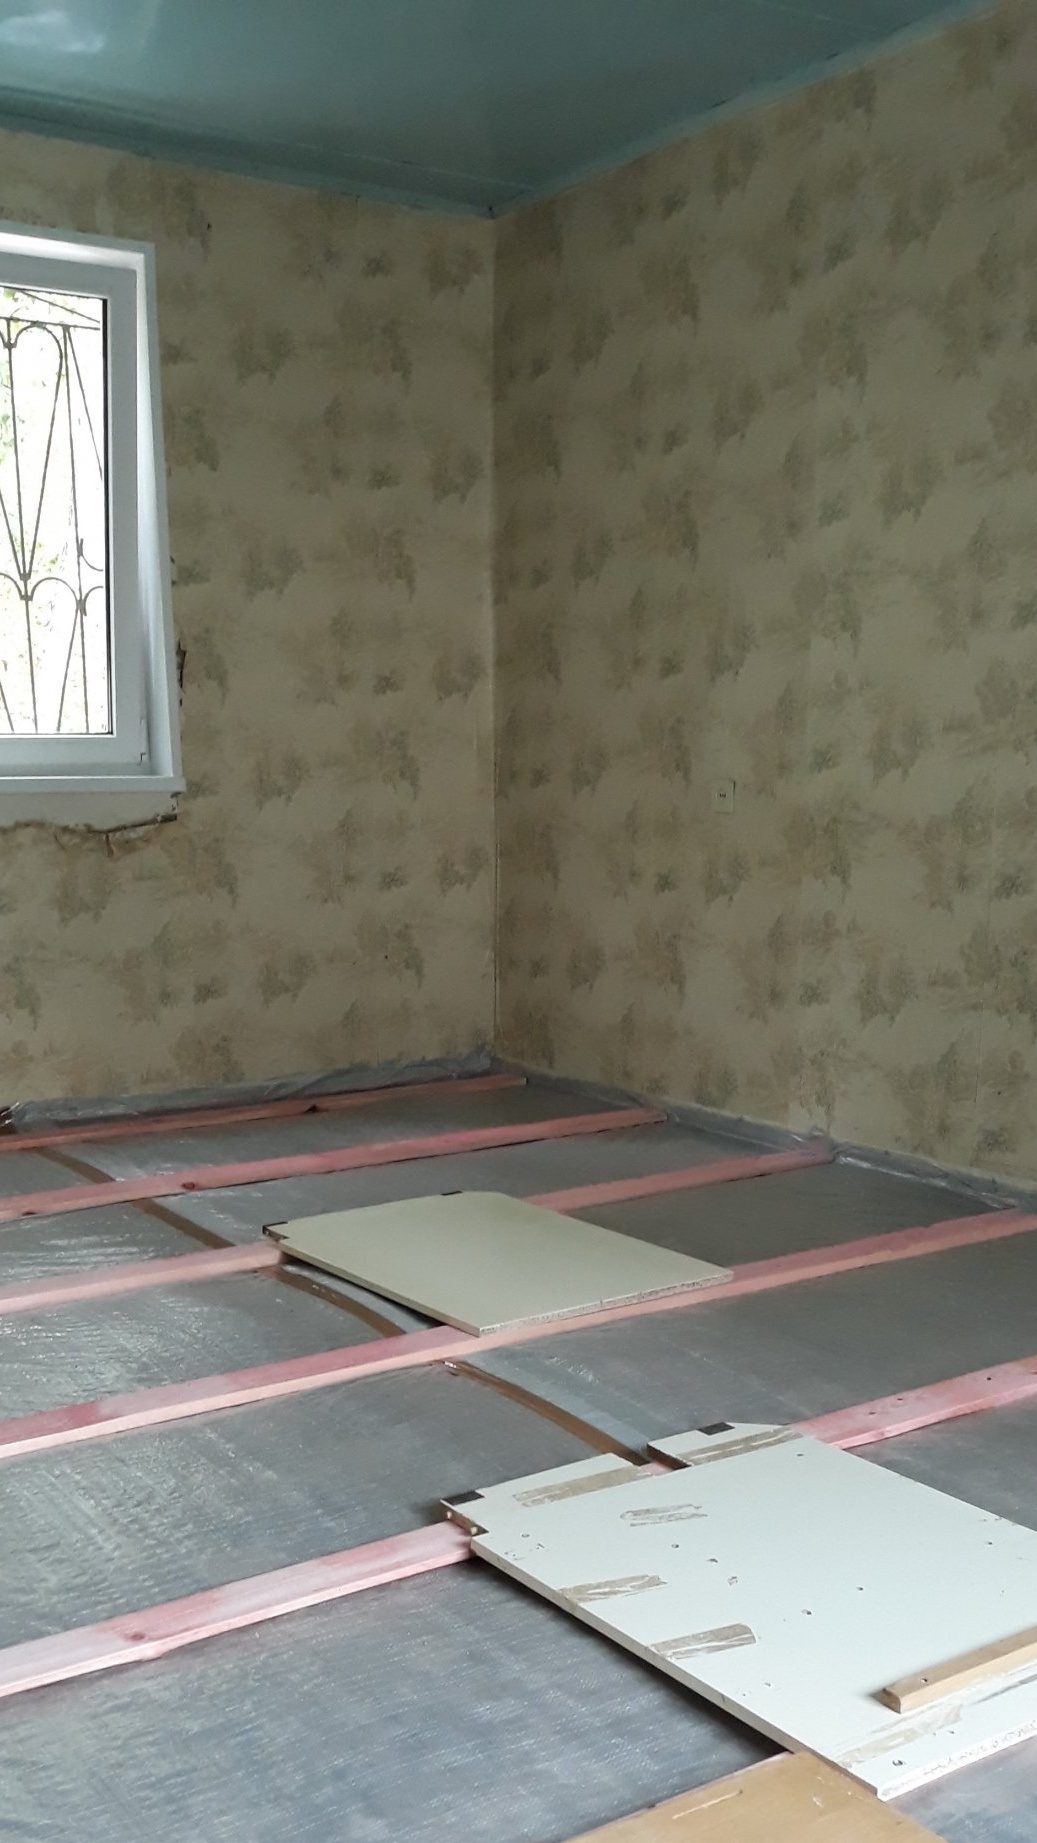
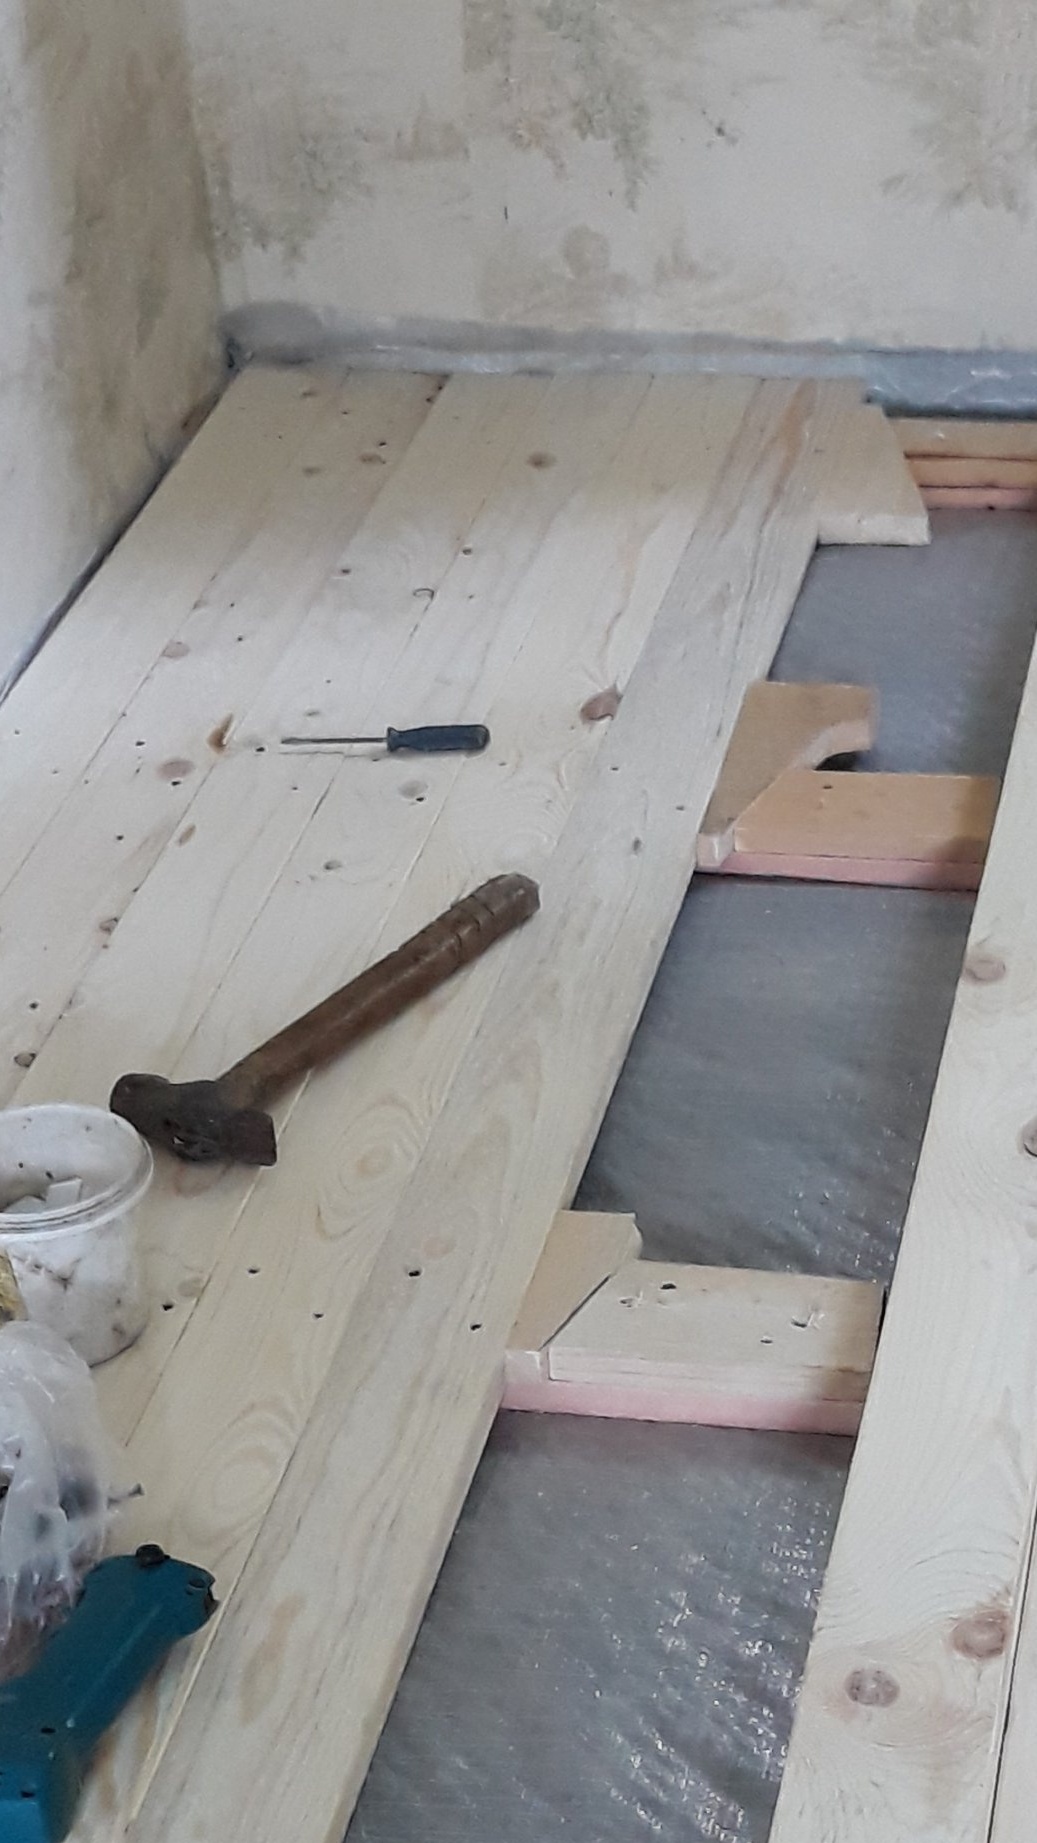
Then the rough floor was laid out in its span with a gap between the boards, fixed with self-tapping screws to the rough bars, so that it would not move. The gap between the boards is clearly visible in the photo, through the film.
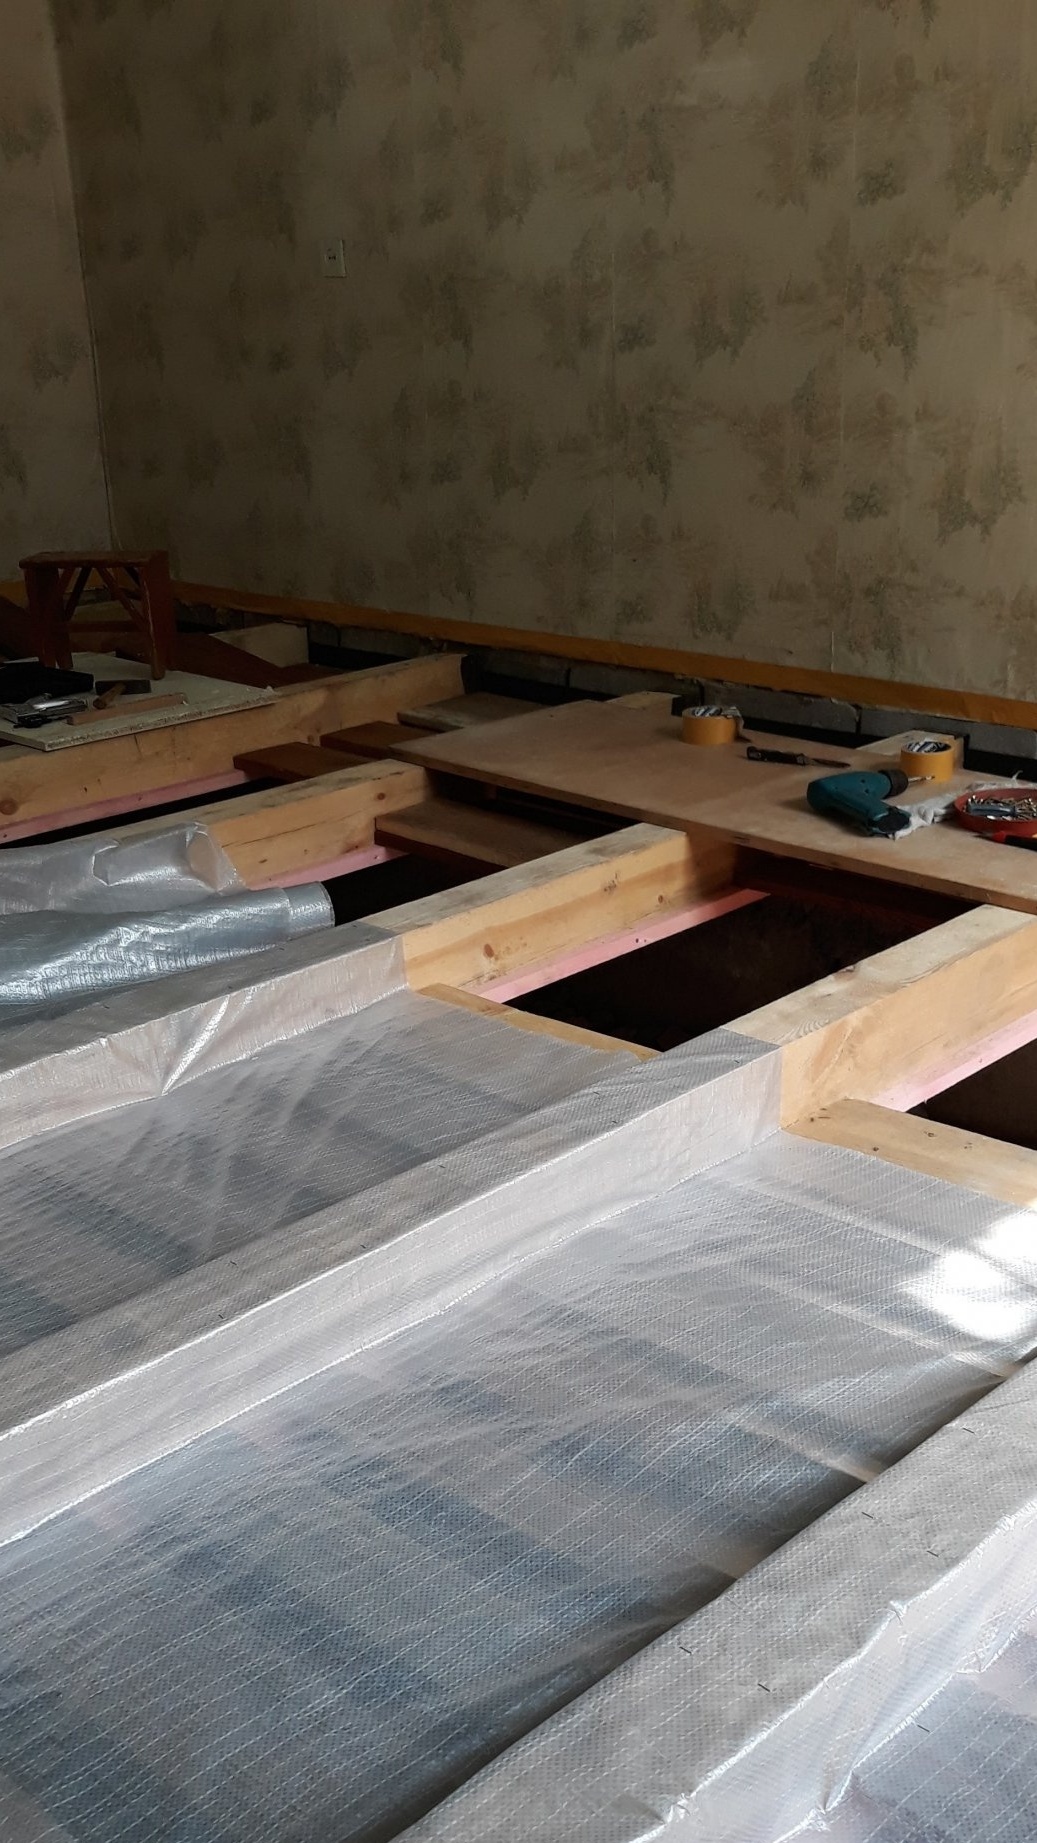
Before laying the hydro-vapor insulation film around the room perimeter against the walls, two-sided adhesive tape was glued at about the level of the future baseboard.
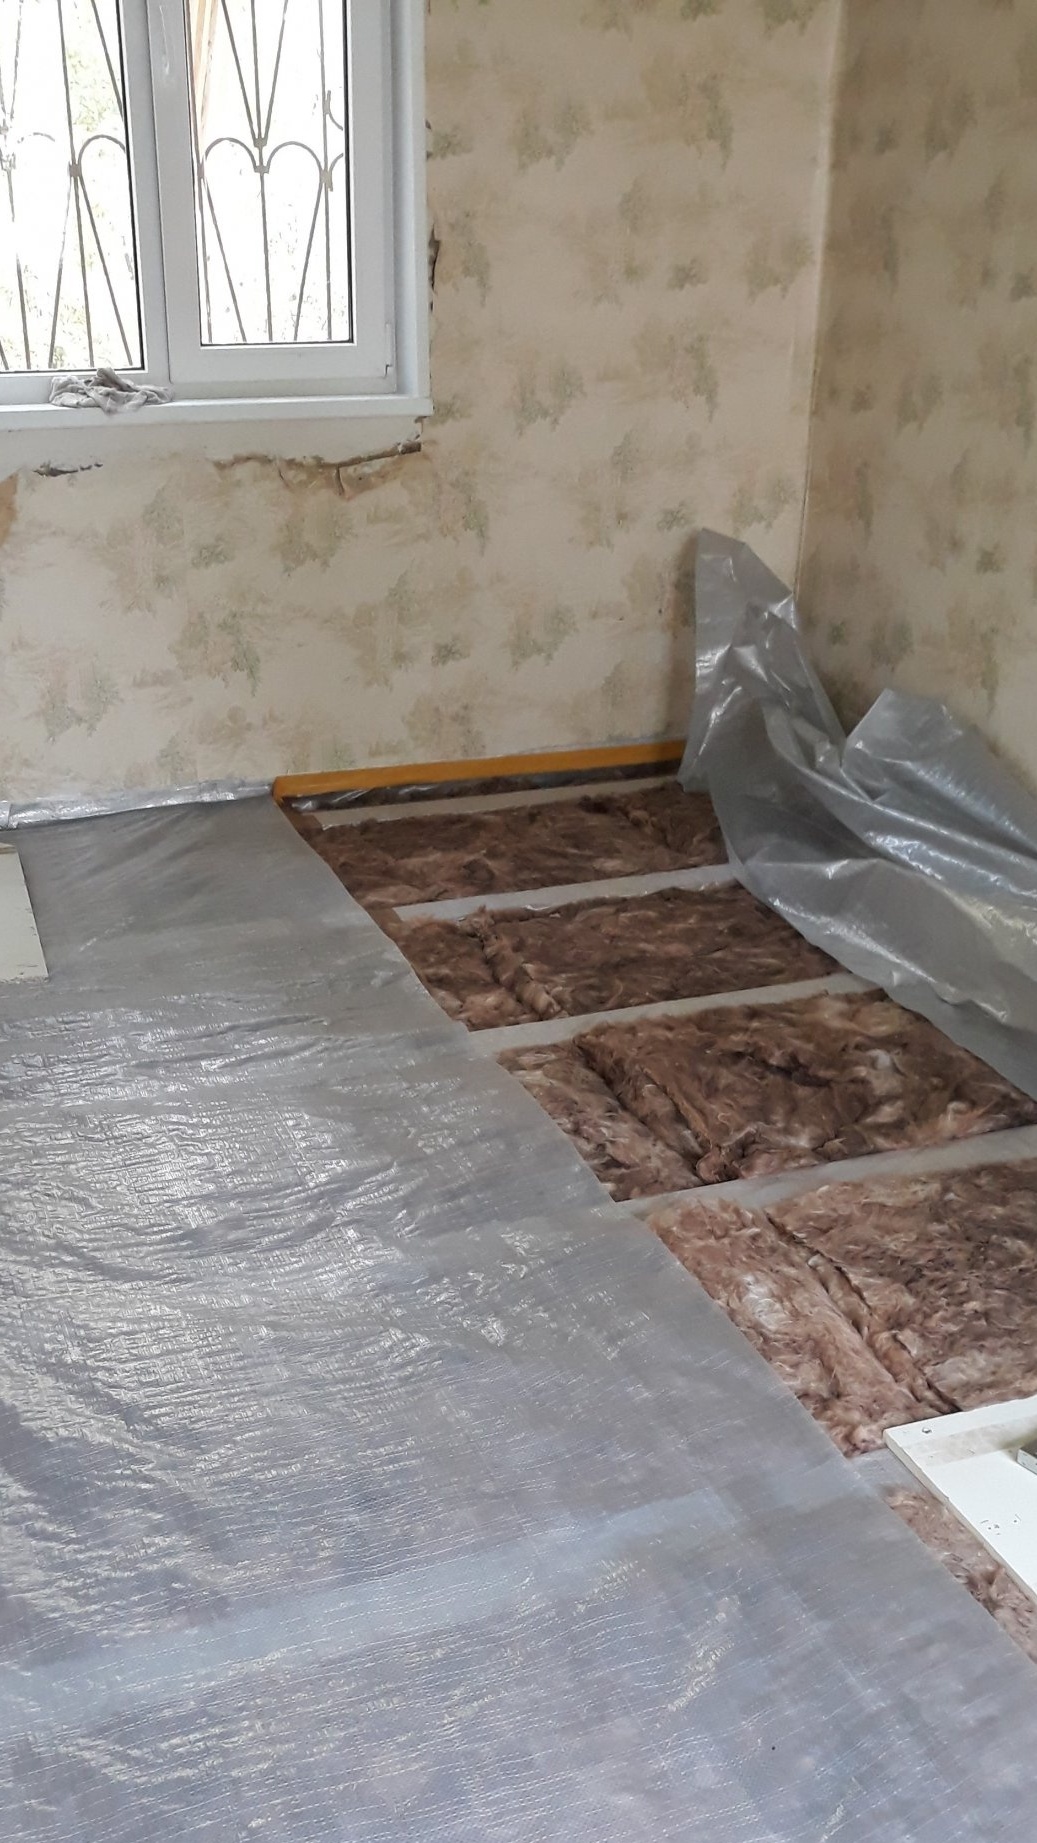
The film was laid out on the draft floor with a margin with access to the wall and was attached to construction tape, as it was laid, the second sticky side of the tape was released.
This can be seen in the previous photo and in the next.
The film to the logs and the subfloor was attached with a construction stapler to the brackets. Thus repeating the profile of the floor.
The second strip of film must be laid with the calculation of the overlap of the first strip of 200 - 300 mm. The free end of the film (overlap) along the entire length without gaps is closed with ordinary tape. And the laying of insulation begins.
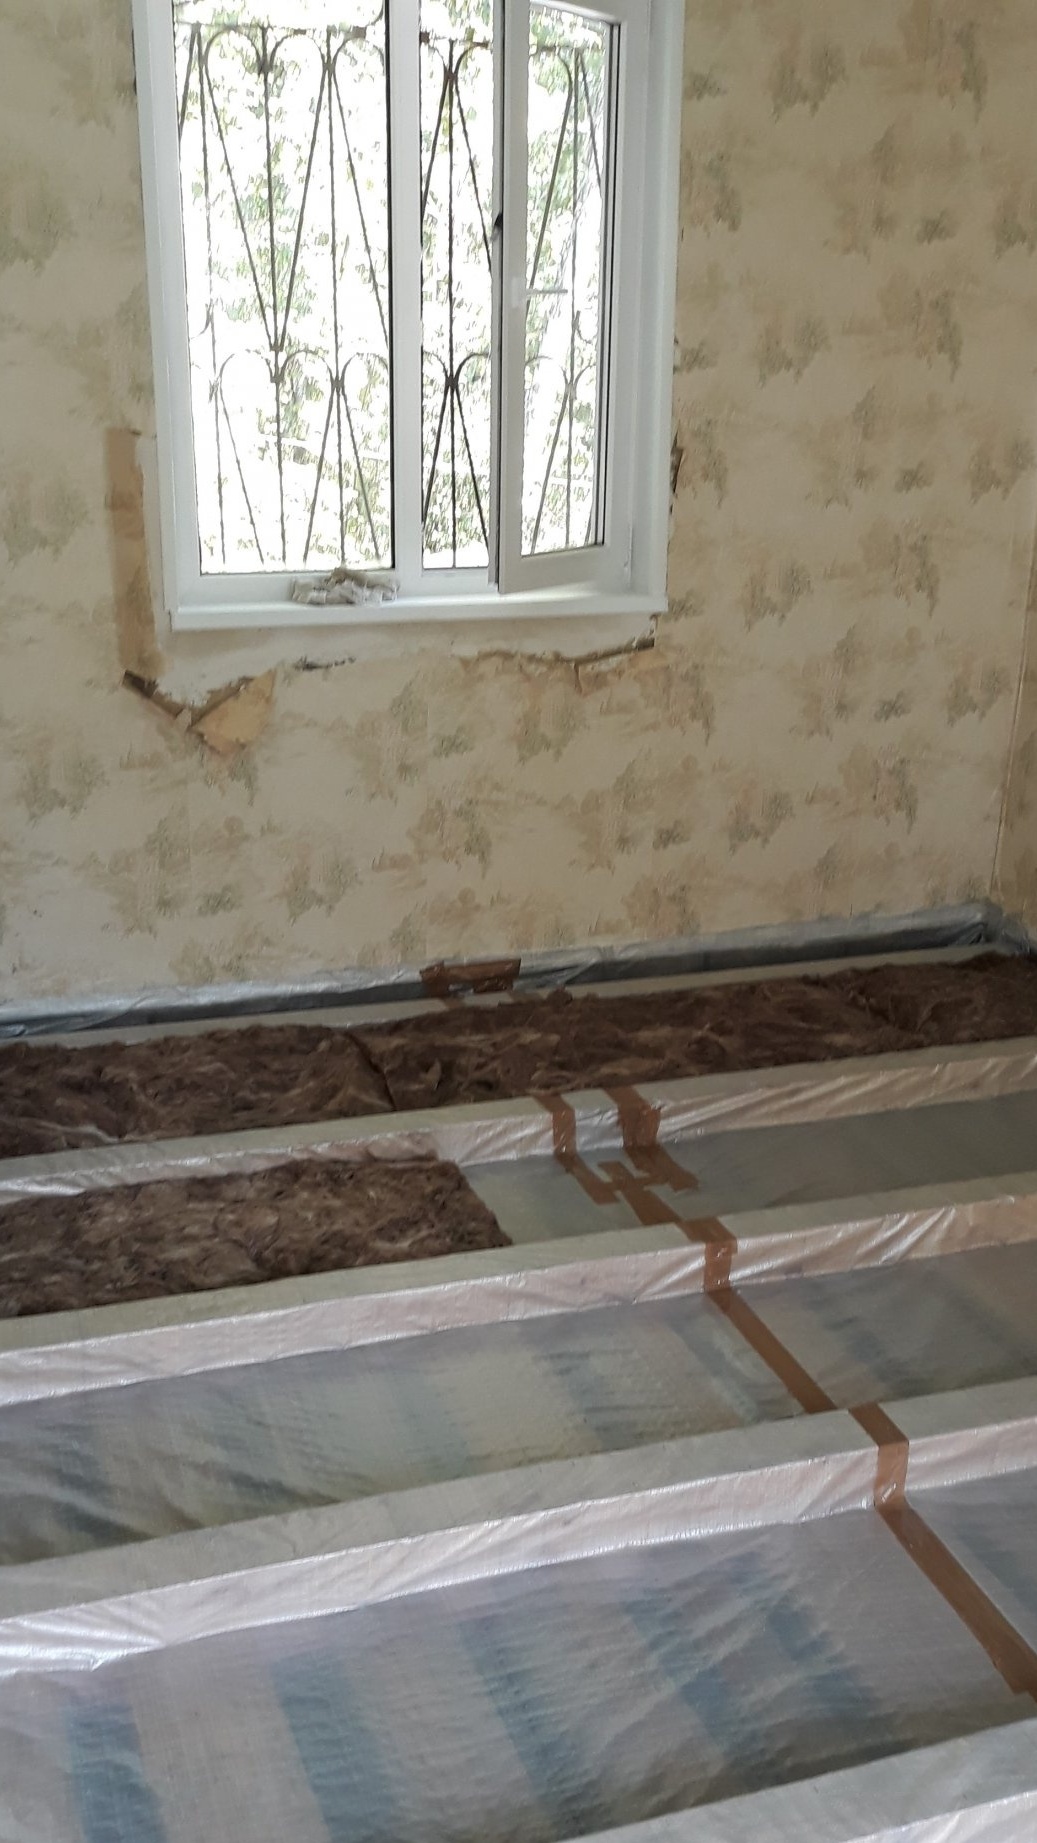
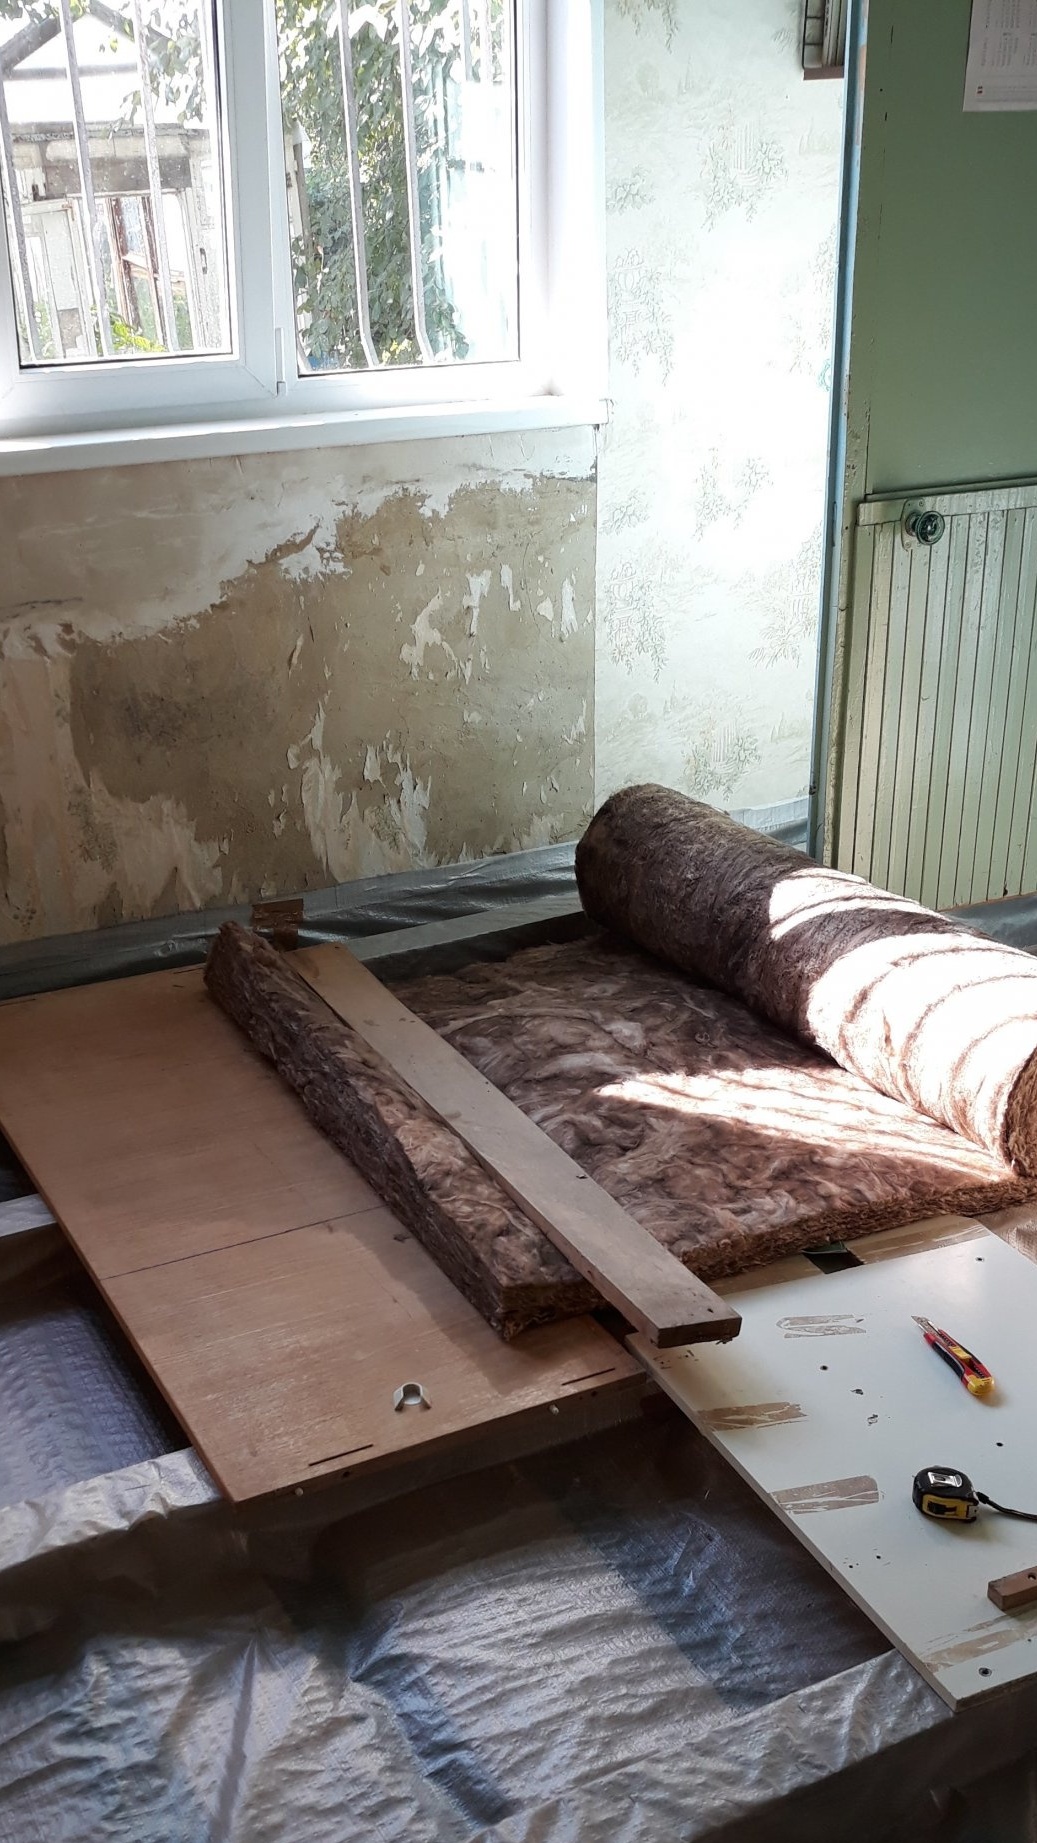
The insulation is cut into pieces of the right size to get up tight between the lags. The pieces of insulation are laid in two layers, so that the joints of the first and second layers do not coincide, the joint of the second layer is slightly shifted relative to the first layer.

Before laying the second - upper layer of the hydro-vapor insulation film, the second strip of double construction tape is glued (to the same place) around the room perimeter.
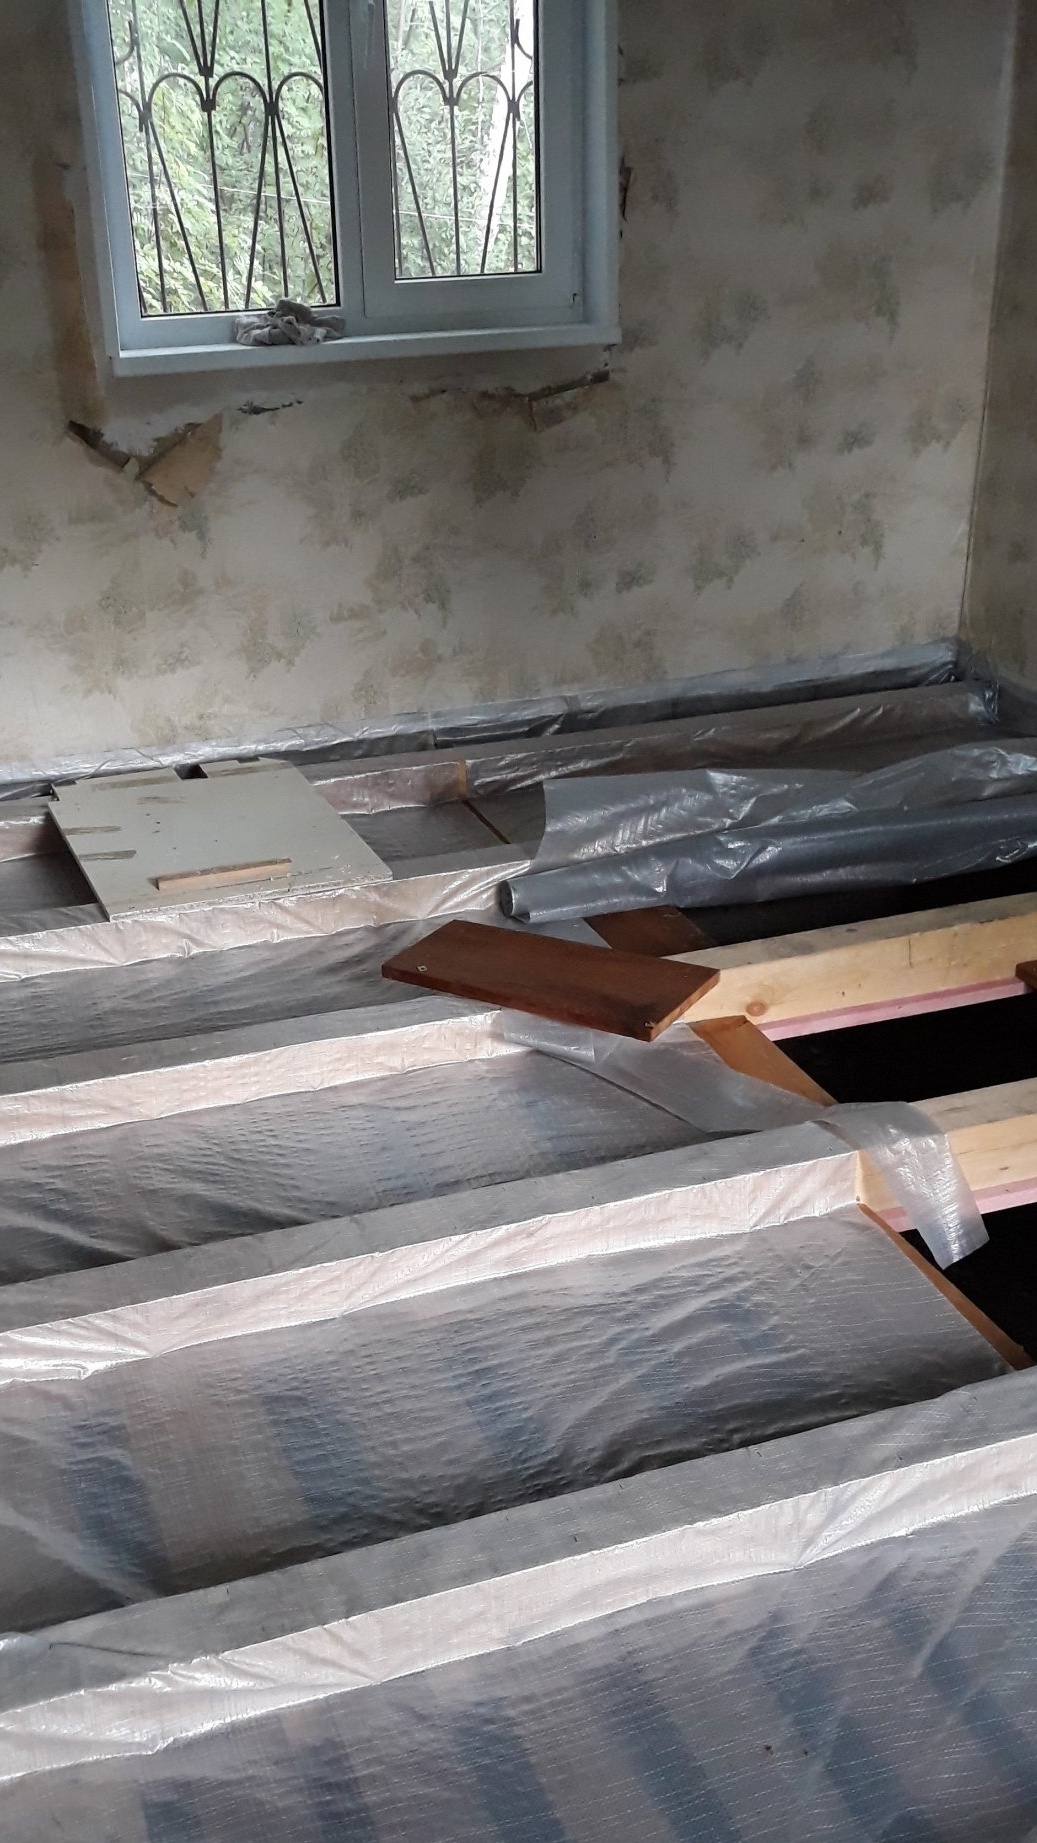
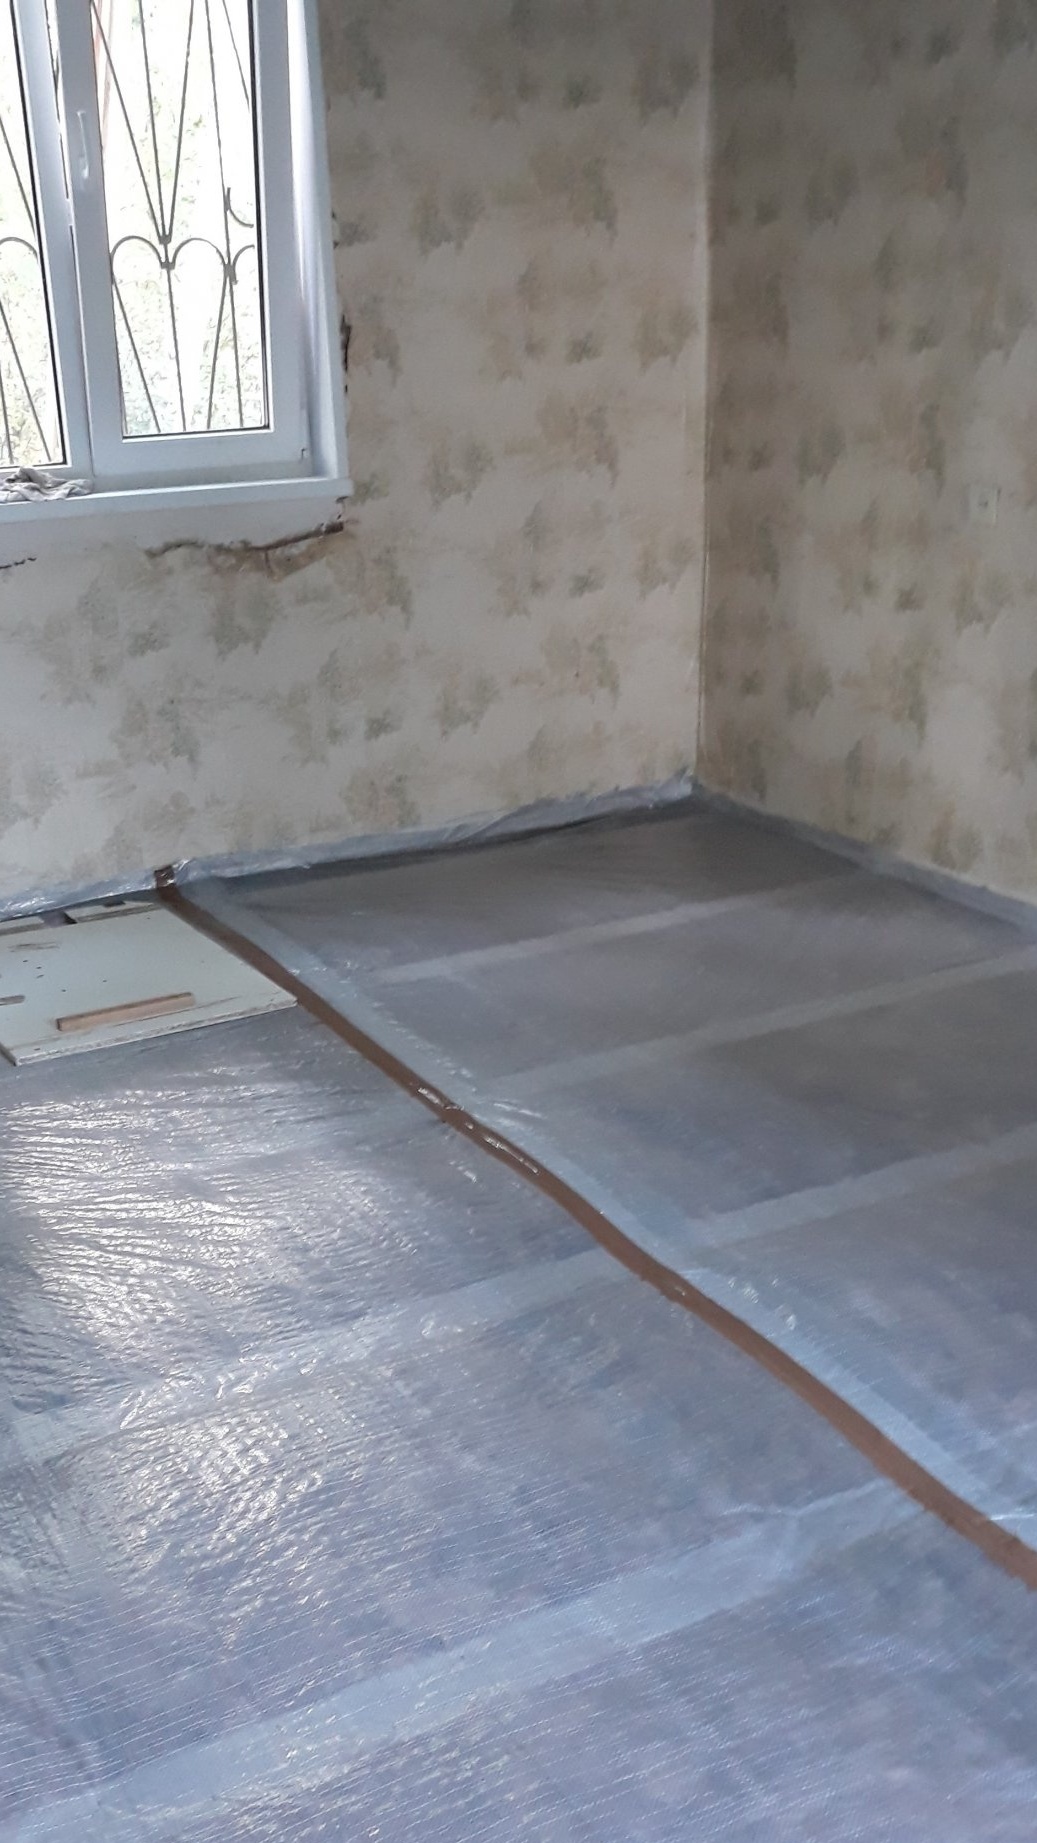
The film is laid, as well as the first, releasing the sticky tape of tape as it moves and gluing its end to the wall. The film is fixed to the lags by the brackets of the construction stapler.
This can be seen in the following photo.
The second strip of film is laid in the same way with overlapping and sealing the gap of the joint with adhesive tape.
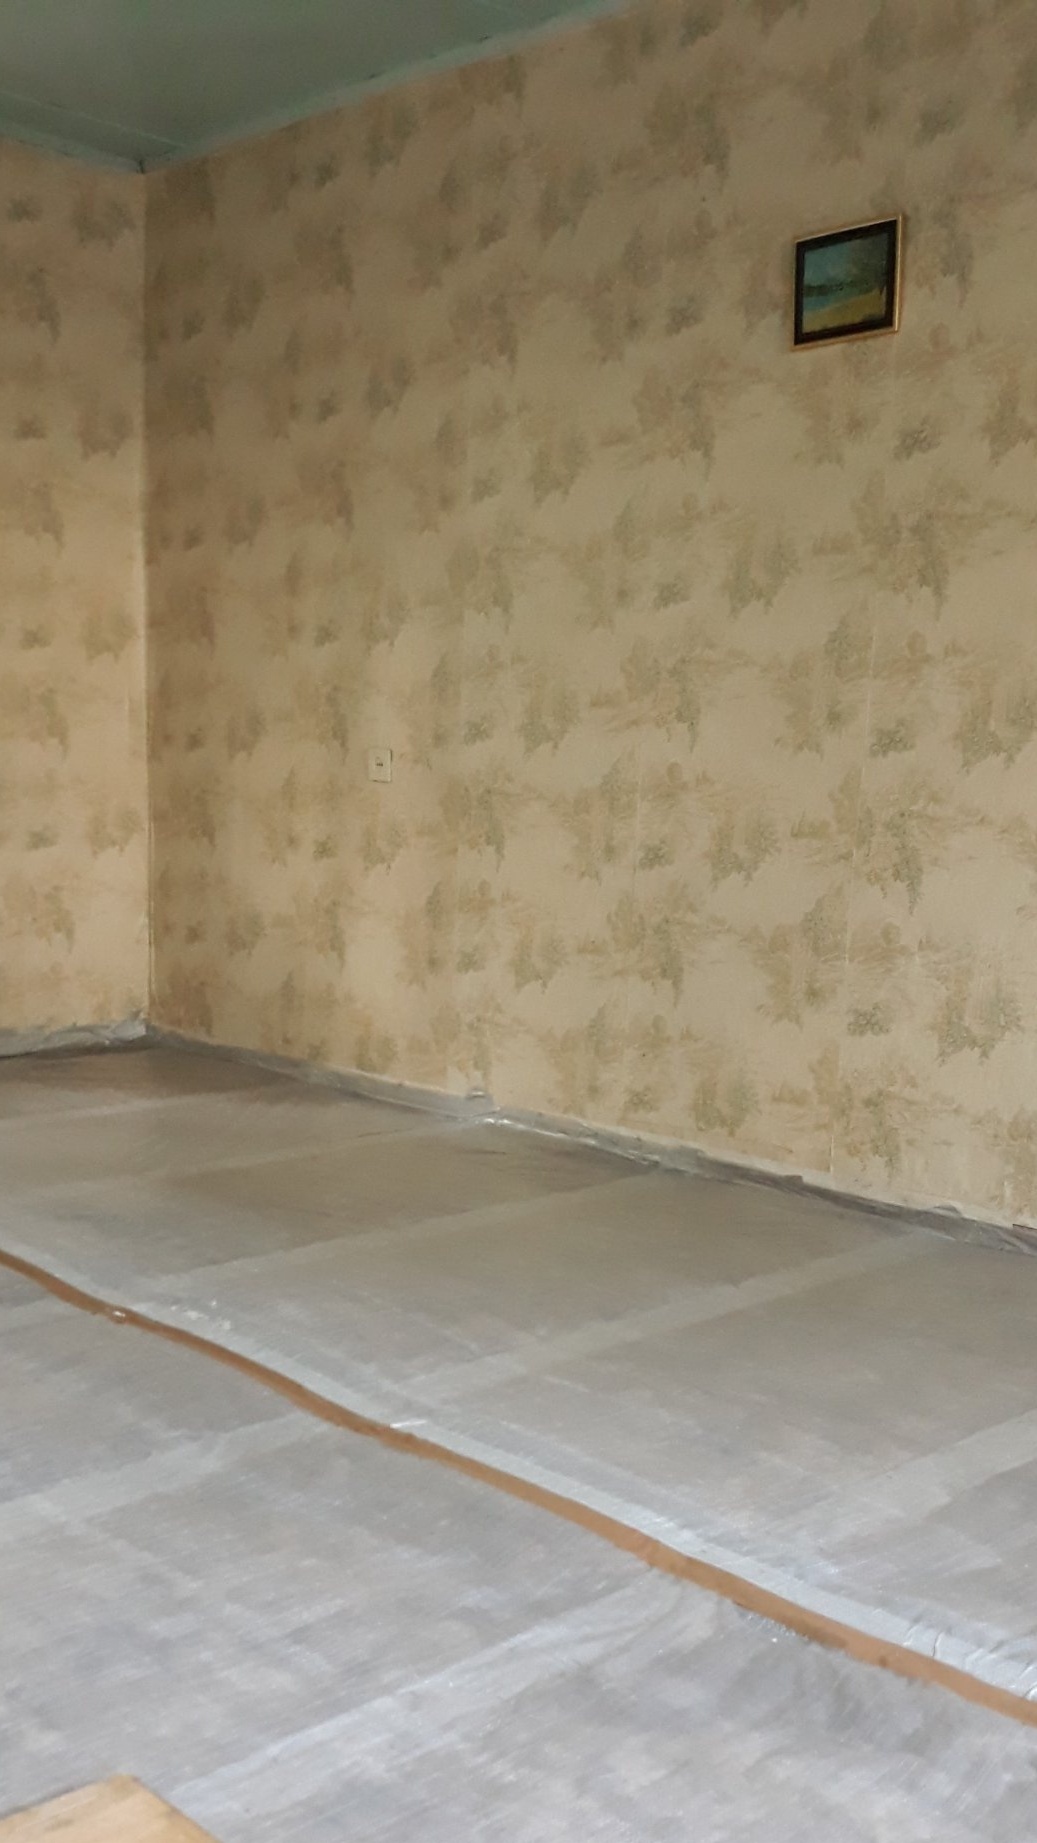
Thresholds pass the same way as on the walls, with two layers of construction tape
On top of the film, in places where it lies along the lags, air gap boards are installed.
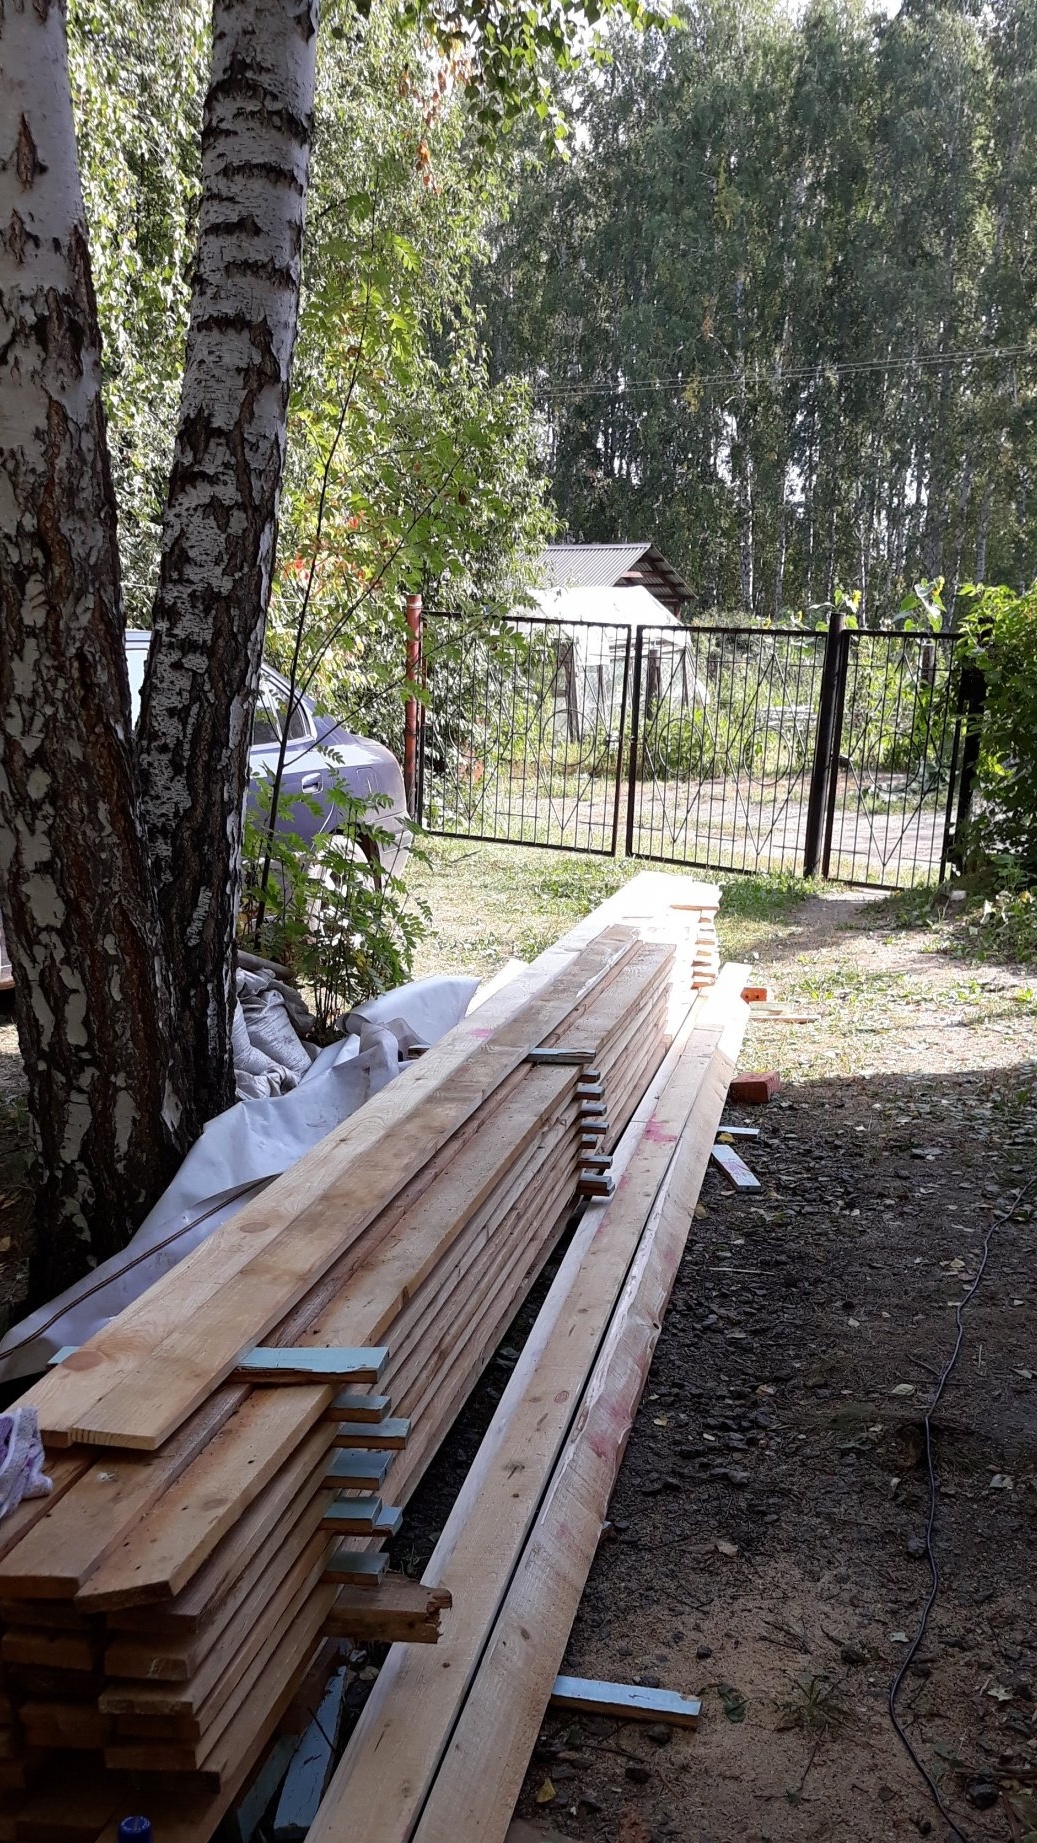
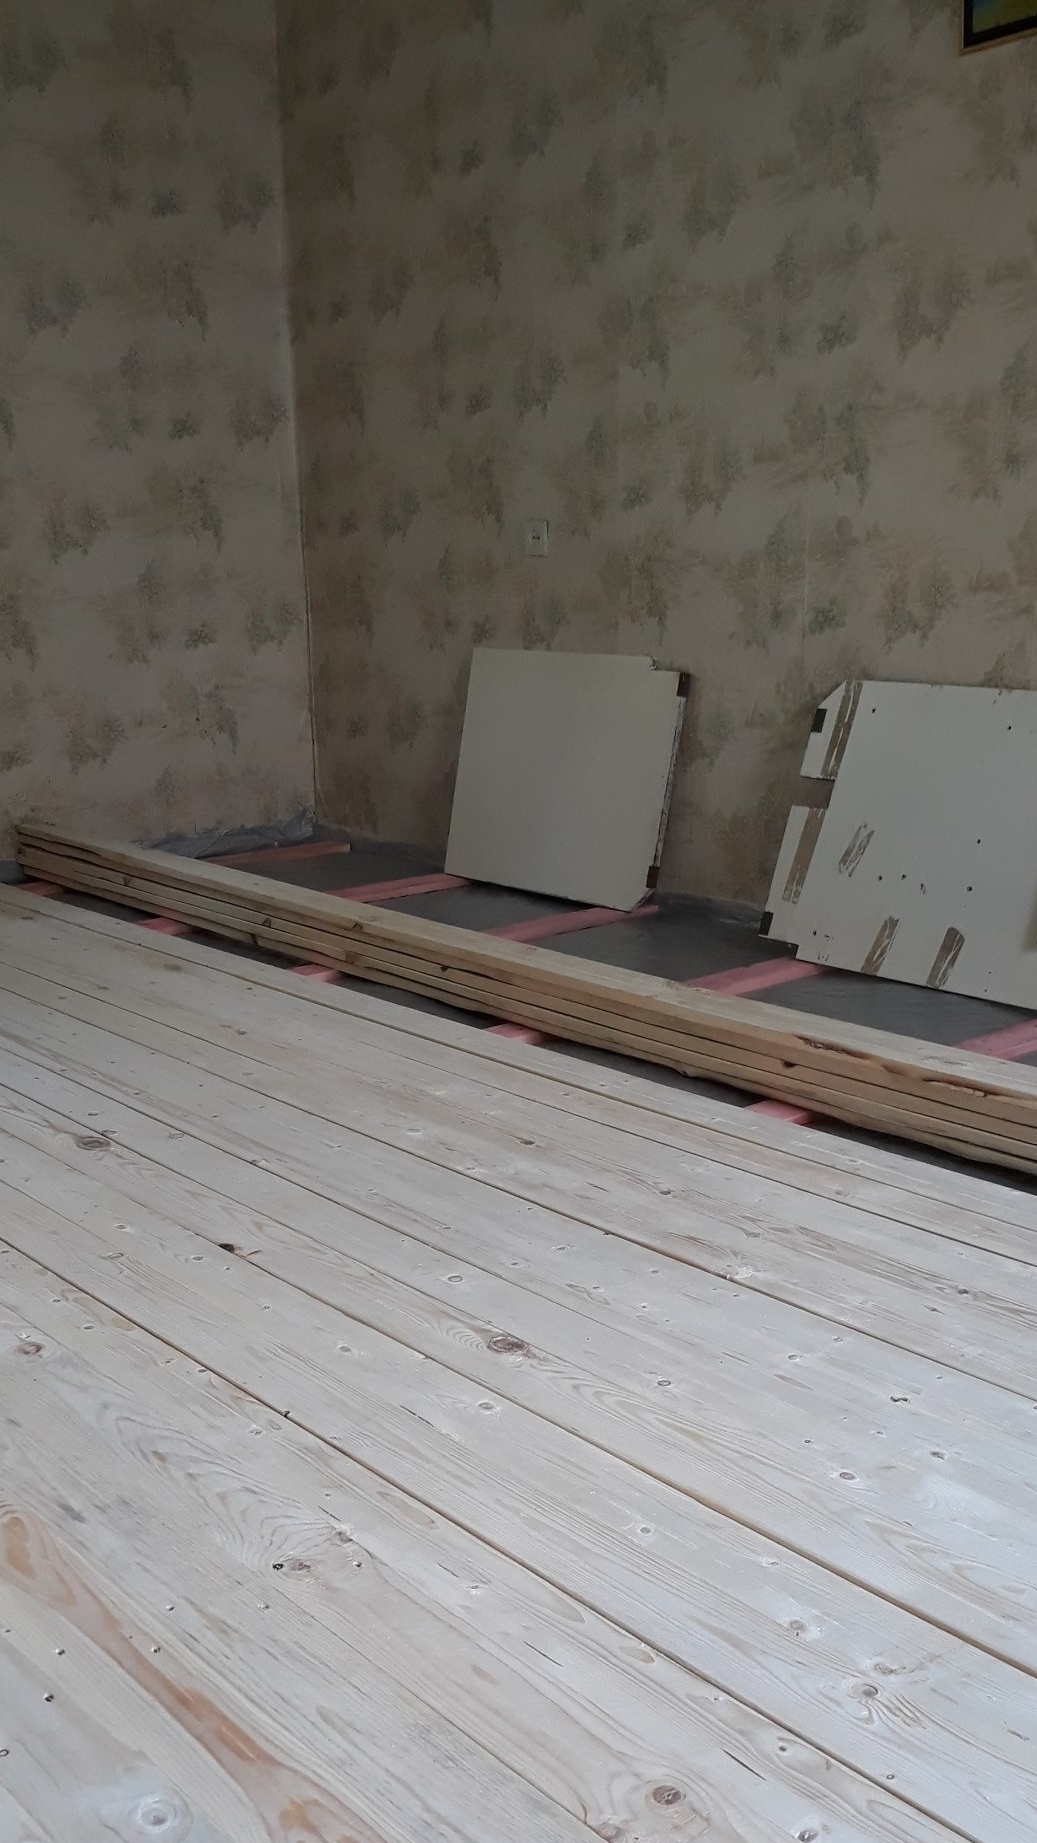
The time has come to plan floorboards.
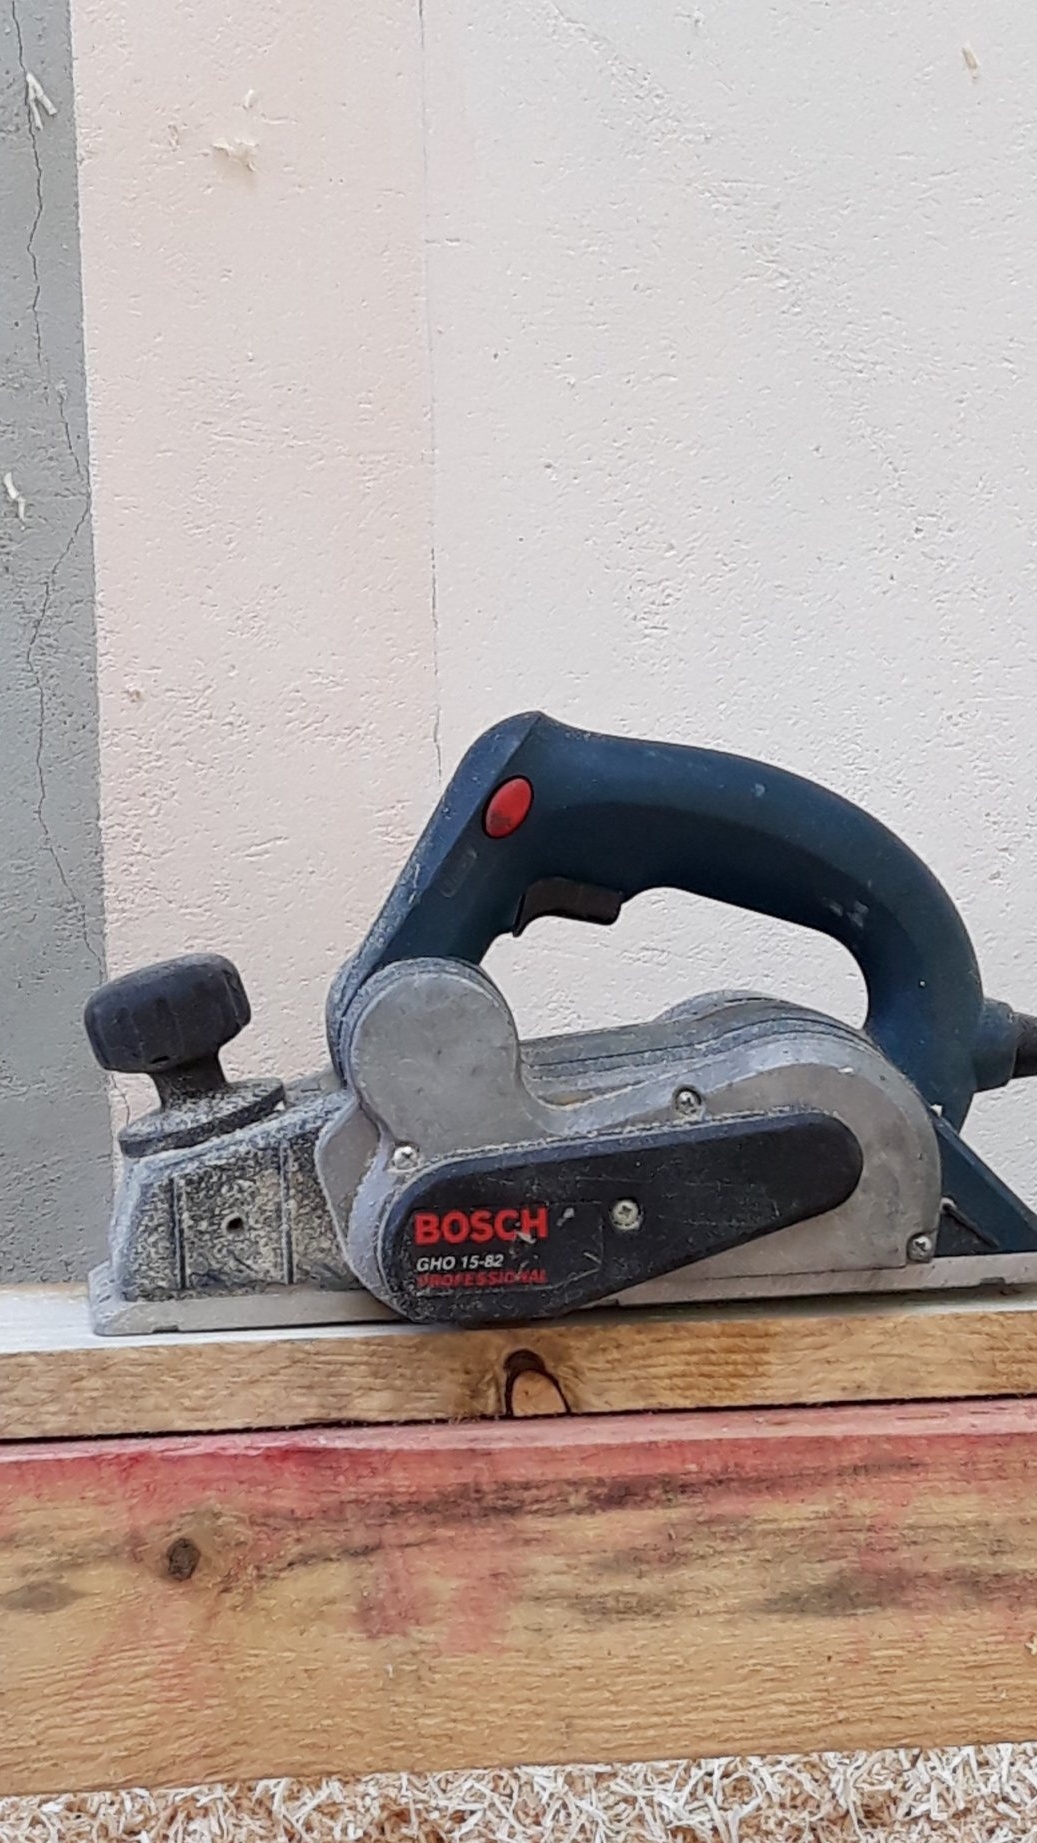
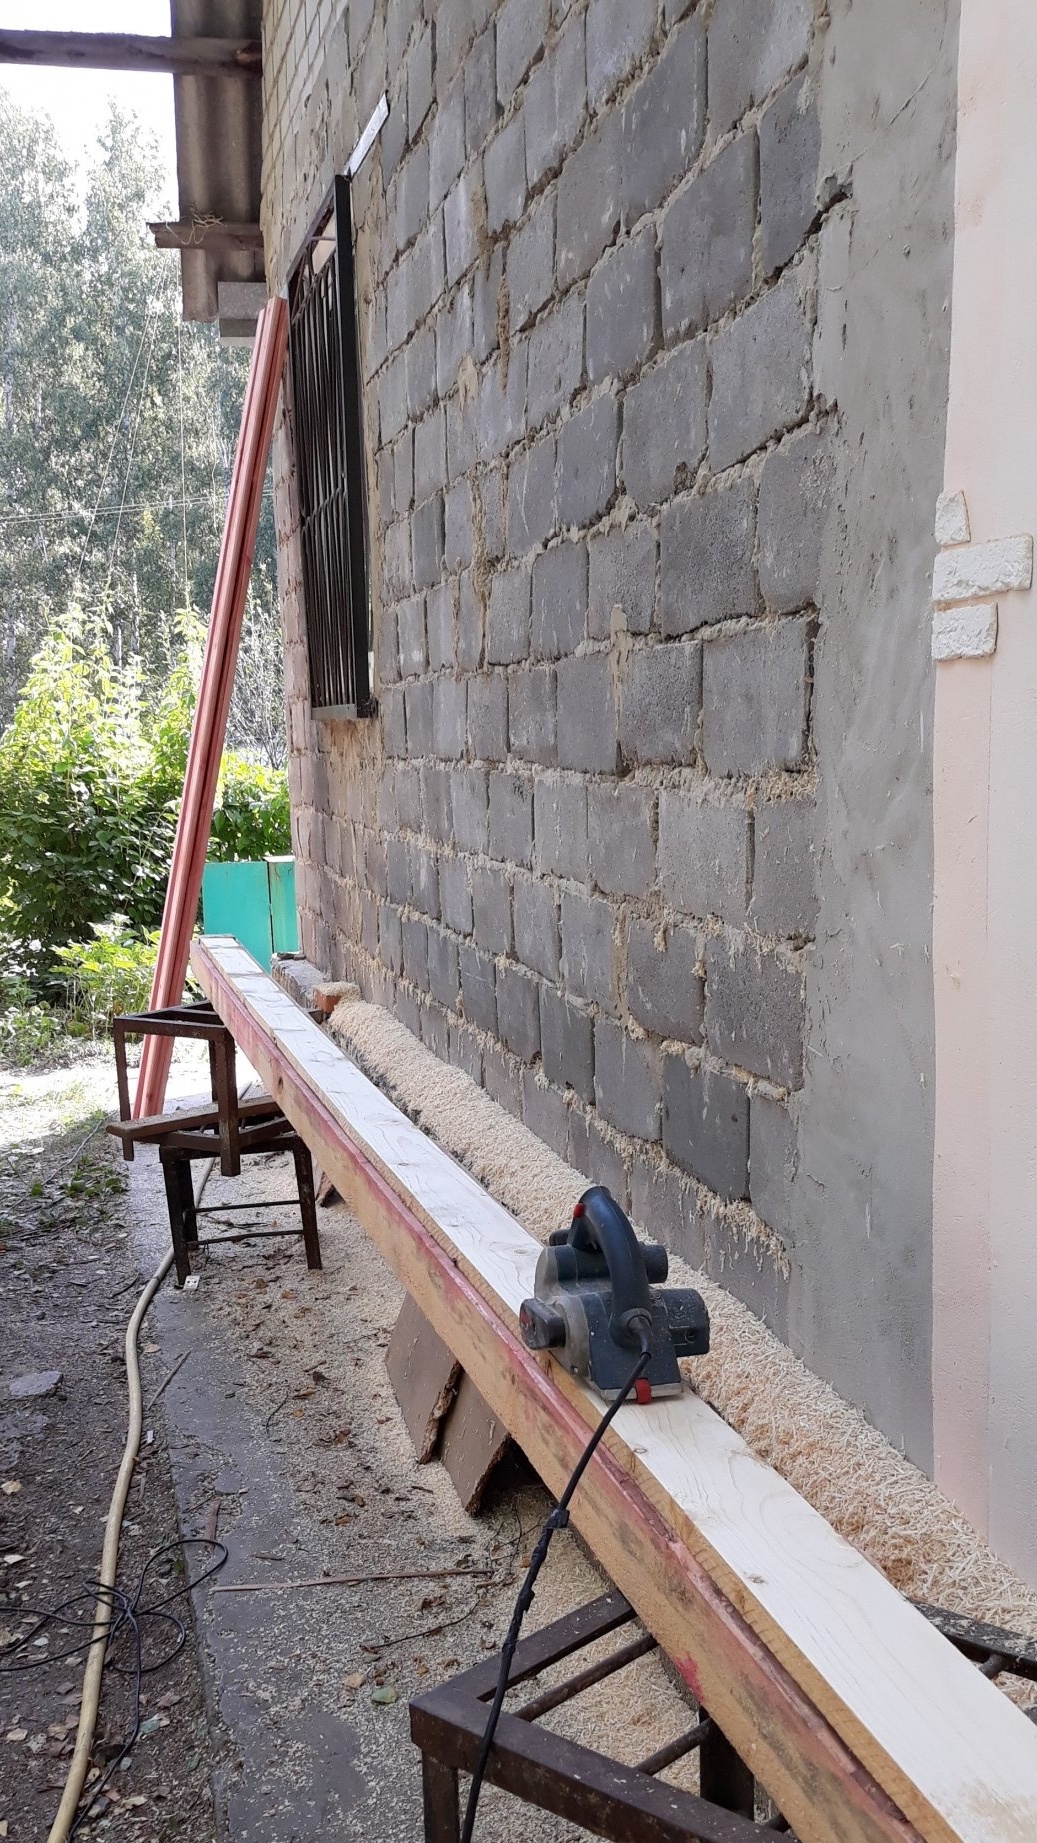
I did it on a 6 meter bar.
After processing the boards, I fed them in batches through the window, having previously cut them to size. And stacked in order of their future installation.
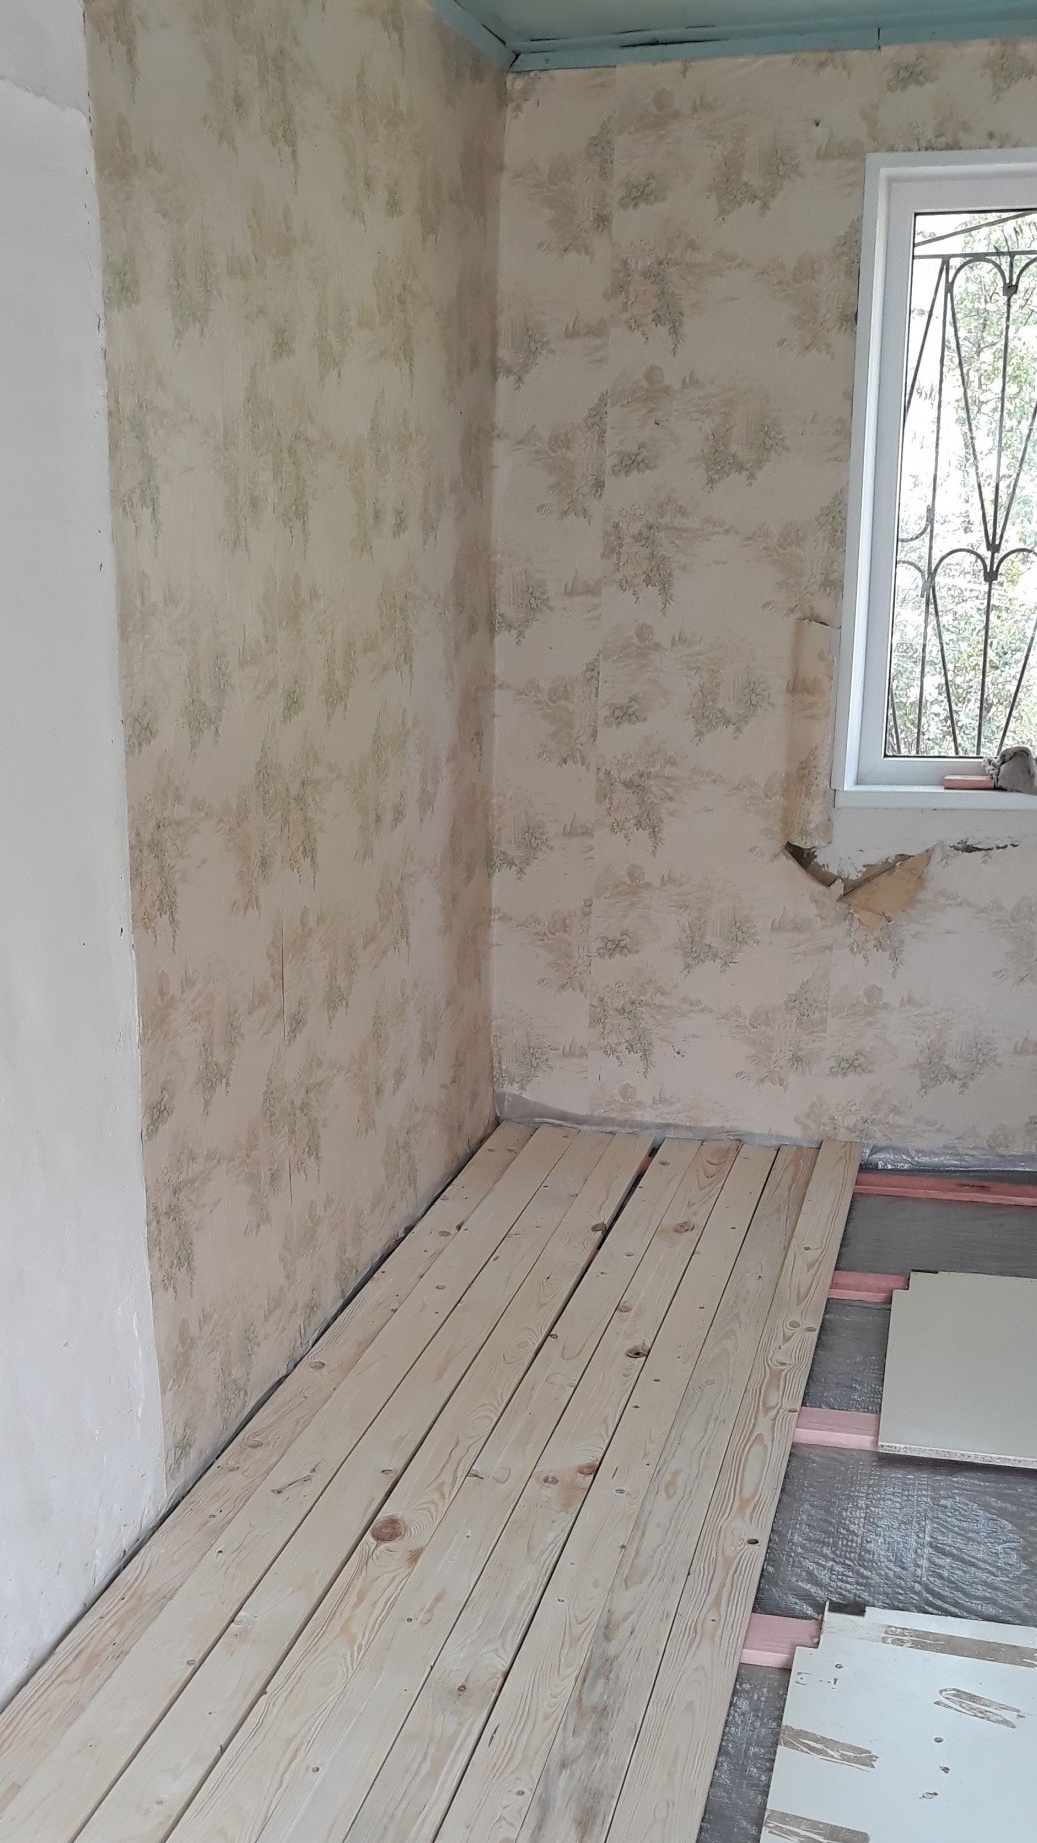
The boards were installed in their place by means of wedges to avoid unnecessary slots in the floor. Wedges were fixed on the boards of the air gap fixed on the lags.
Thus, the film coating was not damaged.
Then putty the floor and clean it. I used a grinder with a petal circle.
What is there to do? Worked in a muzzle.
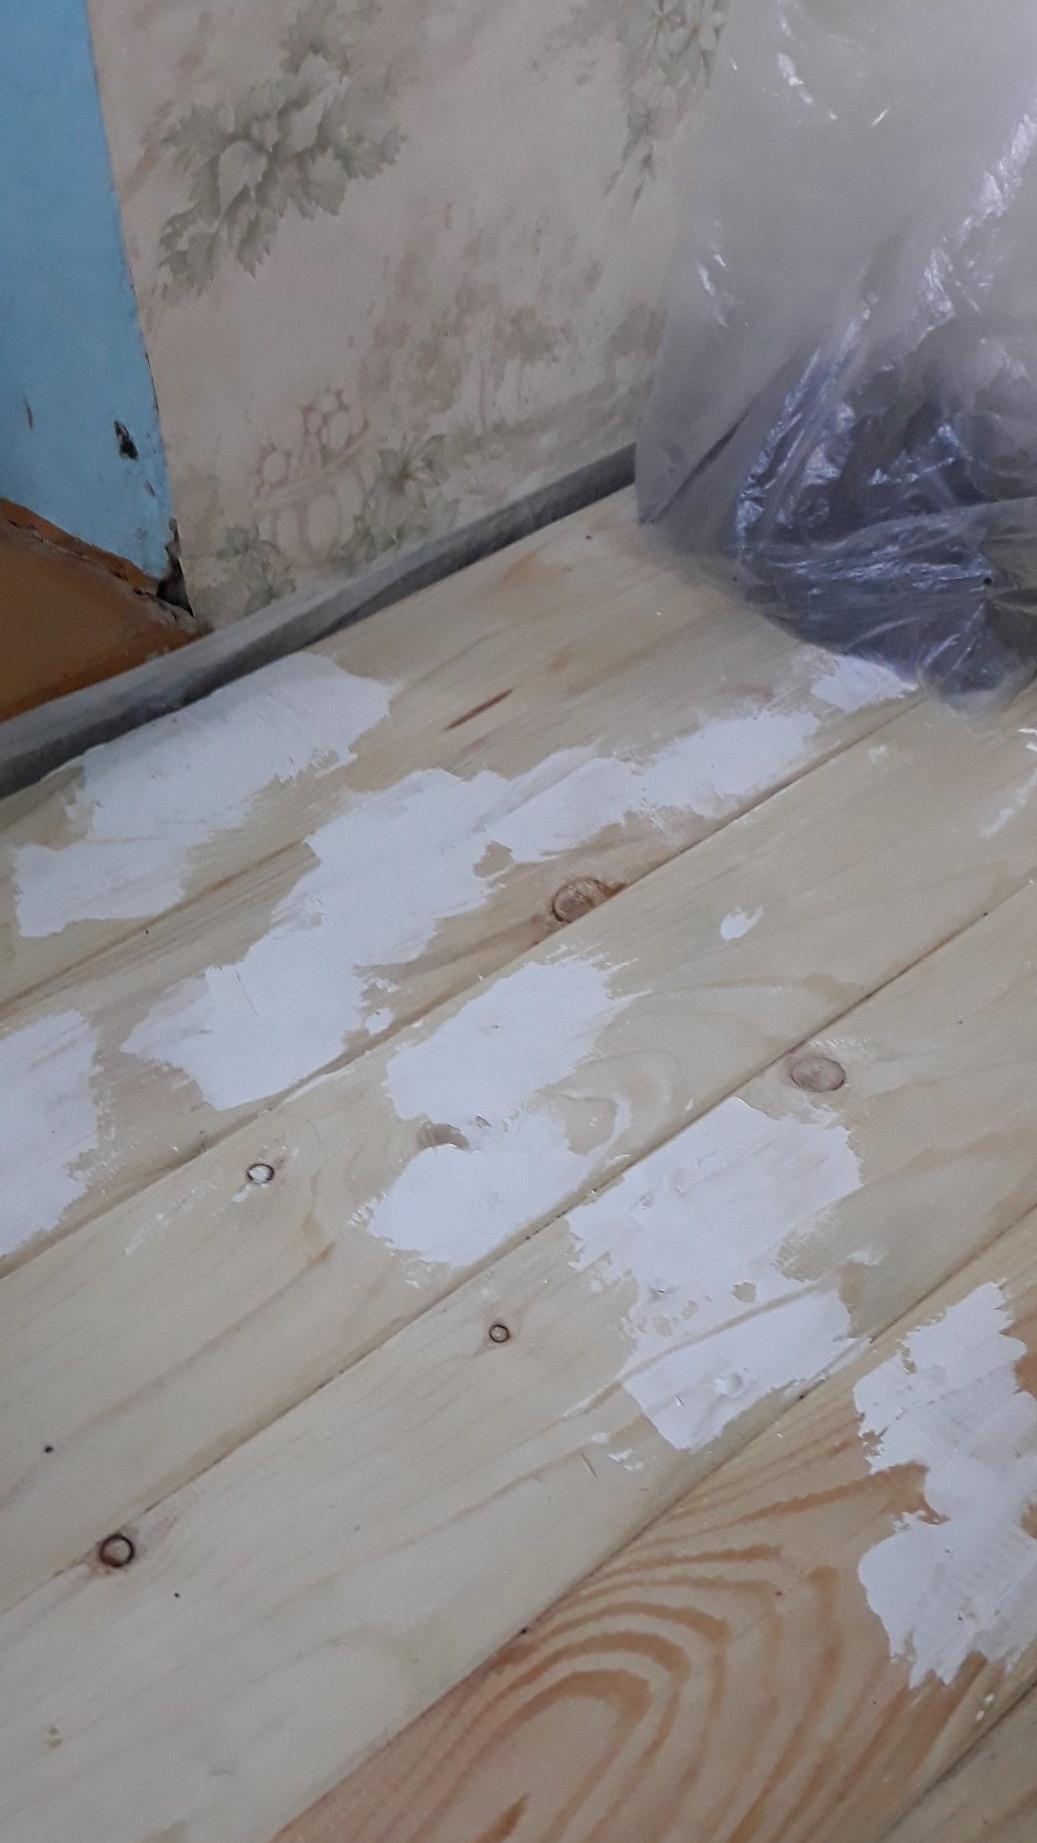
Further installation of skirting boards, I used old skirting boards. This is followed by trimming of the protruding film and construction tape over the upper edge of the baseboard.

Well, how to finish. Paint the floor twice.
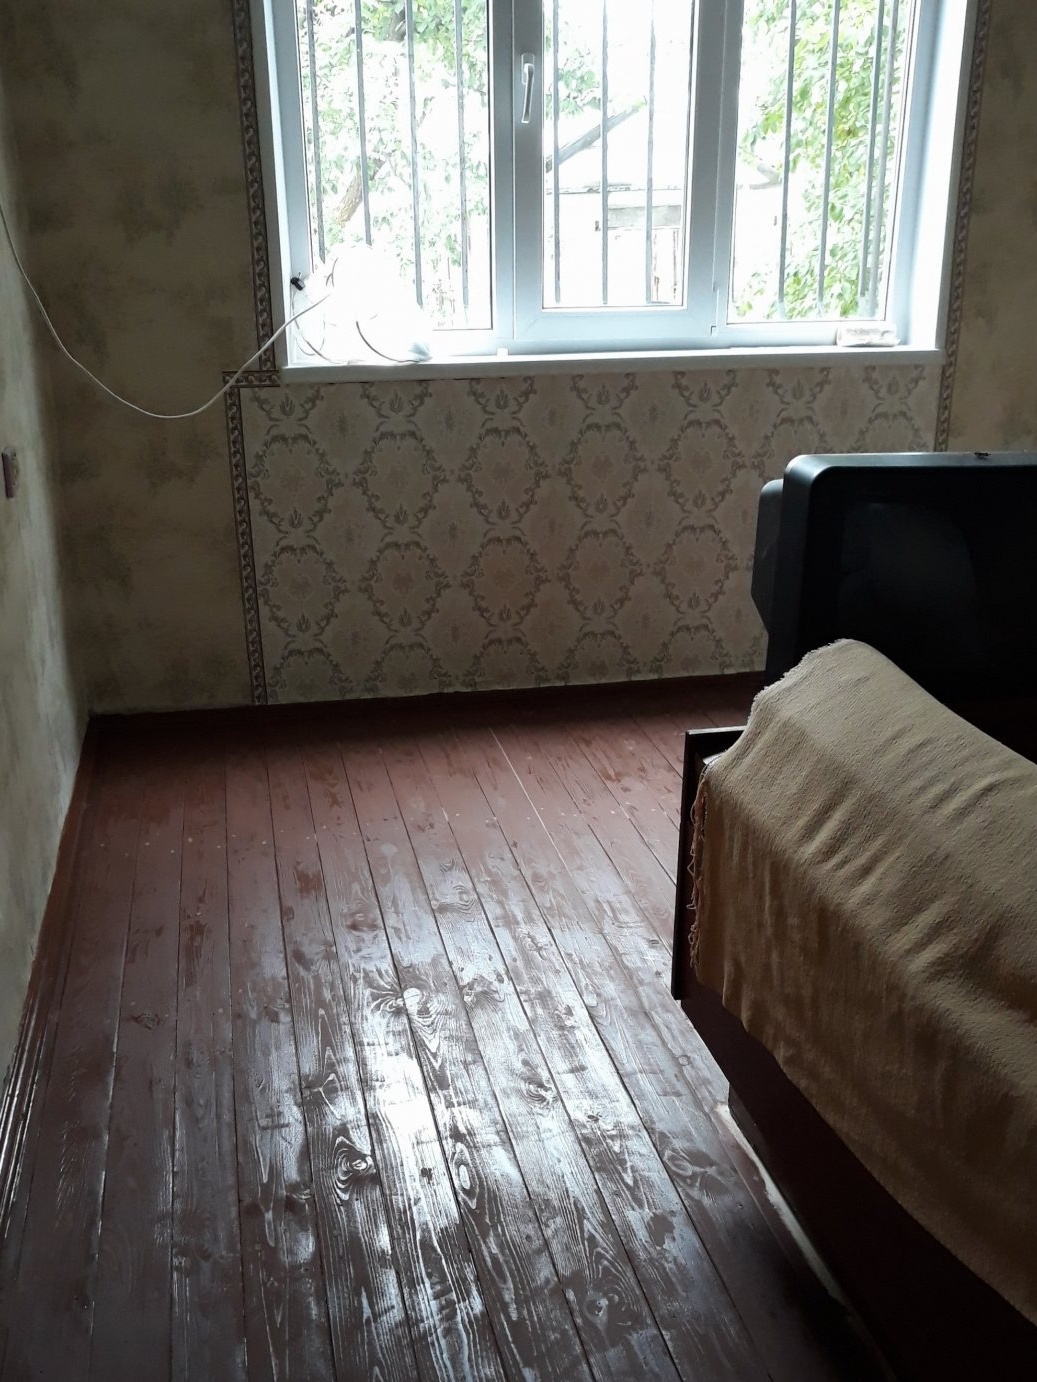

That's it. Maybe someone will find this material useful.
He worked alone, during the summer they ate managed to crank everything up.
Watch, criticize, advise.