Today I want to tell you about how to make a very convenient handicraft for a wood lathe.
Such a design will allow you to easily move the handcuff in three directions and quickly, having turned only a quarter of a turn of the lever, firmly fix it in the desired position. (The weakening of the first lever will allow the hand to move on the bed at the same time "right-left" and "forward-backward", the other - provides an adjustment of "up-down" and rotation around the central axis.
To begin with, there is no machine for which I made this handyman!
 That is, at present it has not yet been completed. But this node has the right to be considered a separate homemade product, since it can be done for any existing machine tool, instead of a regular handyman. (Usually, their fixation is achieved by tightening the bolts (nuts), which requires significantly more time and effort).
To make it you will need:
1. Corner 50 to 50.
2. Lane 50 to 5.
3. Water pipe DU-15 (trim)
4. Water pipe DU-20 (trim)
5. The circle is 12 mm.
6. Bolt M12 per 100
7. Two nuts M12.
8. Trimming thick sheet steel.
So, as I mentioned in another topic, I am currently making a small wood lathe based on an asynchronous motor from a water pump. I’m doing it not for any specific purposes, but simply “for myself”, or, as one of my friends-masters likes to say, “for the sake of creativity.))).
The main requirements are sufficient "home" functionality with relative compactness. (So that it can be transported in the trunk of a car, or put on a shelf until there is no need to sharpen something).
Perhaps someone will say that I started from the wrong place. That a handyman is the last ... But I have my own views. The fact is that, as a master, I try to fulfill a number of requirements when creating my “creations”. Here are some of them - do not use a tool that I do not have, Do not use ready-made components if they were originally made for factory devices of this kind (For example,you can use the reducer from the grinder in a homemade concrete mixer)))) But if I want to make a homemade grinder - you can not! ))) Then the gearbox should be home-made, or, from a concrete mixer! )))). And the main thing is never to order anything from anyone !!!
Based on this, in no case can I resort to the services of a turner !!! (And I don’t have my own lathe). And, therefore, the front and rear headstock are not yet ready for me. I am looking for ways to do without turning.
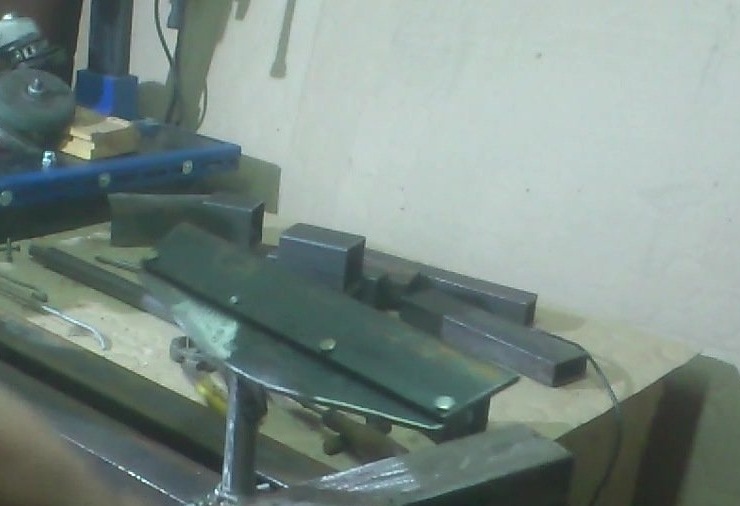
In the meantime, he made a bed and a helper.
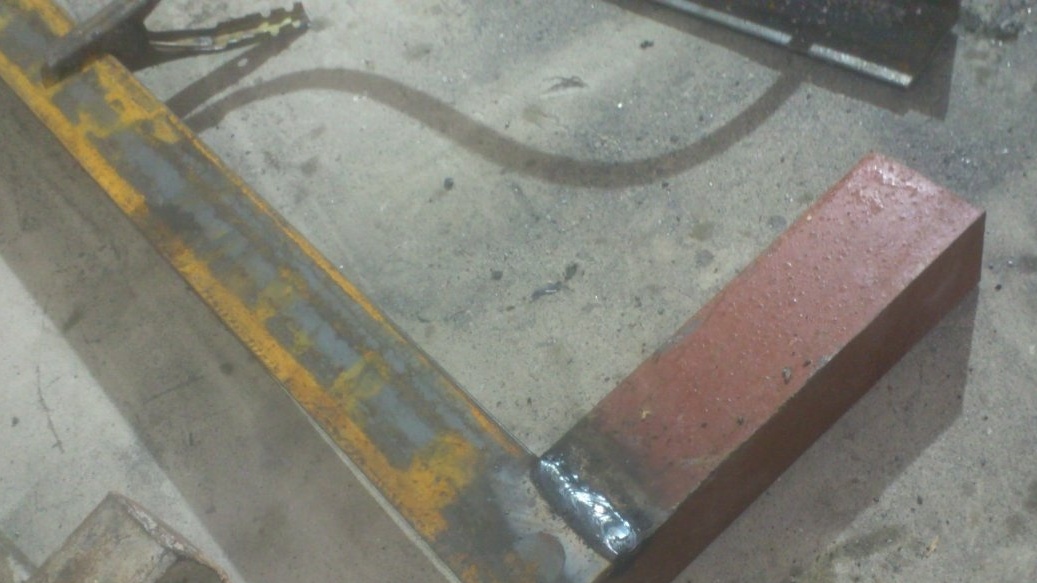
I decided to weld the bed from steel corners 50 to 50. For this, I cut two pieces, one meter long. (I figured out the dimensions, based on the fact that later it was possible to process a part half a meter long. (For example, if I want to carve the leg of a stool)))
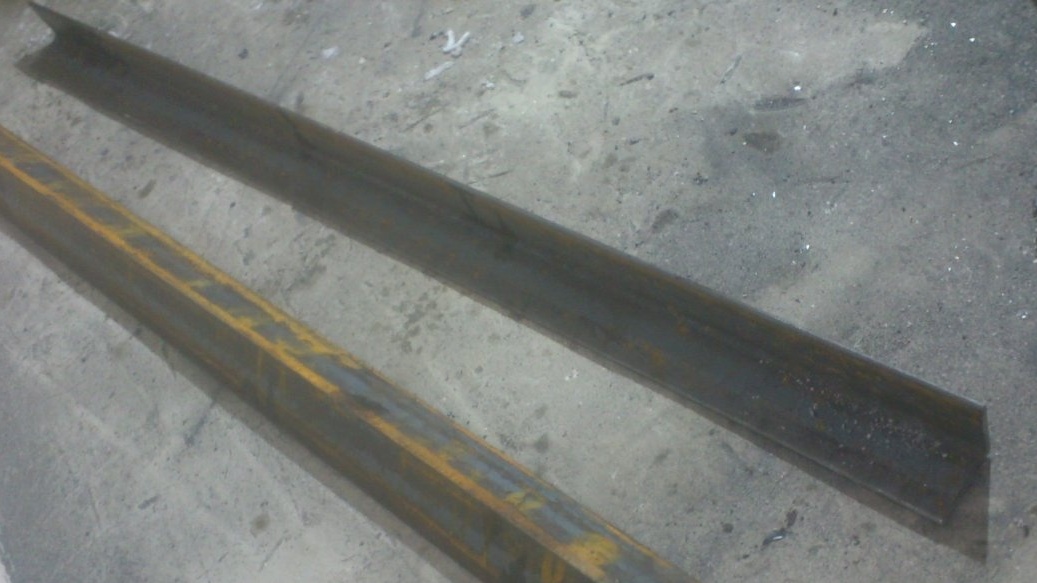
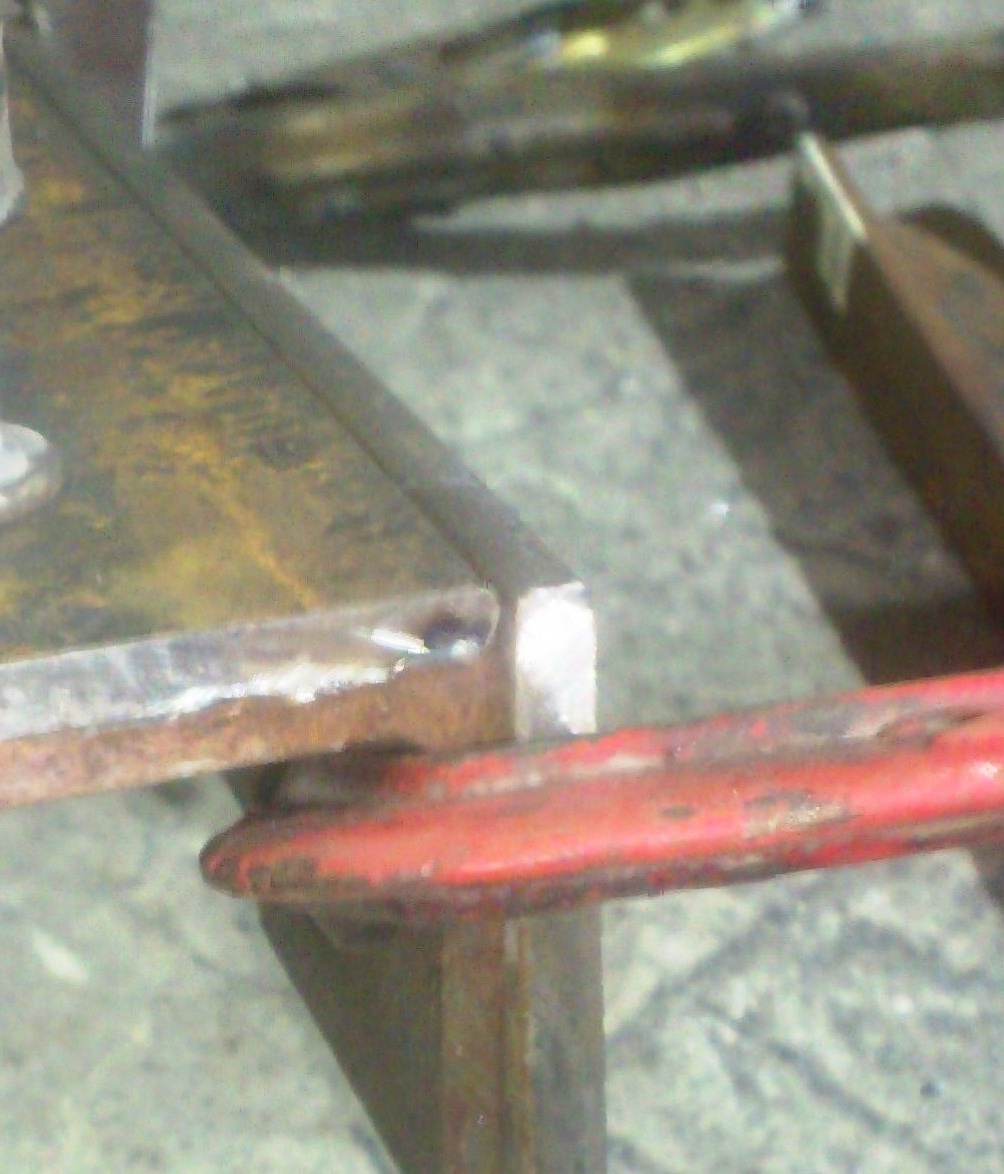
First, I welded along the edges of one corner of the trim of the same corner, placing them at a right angle:
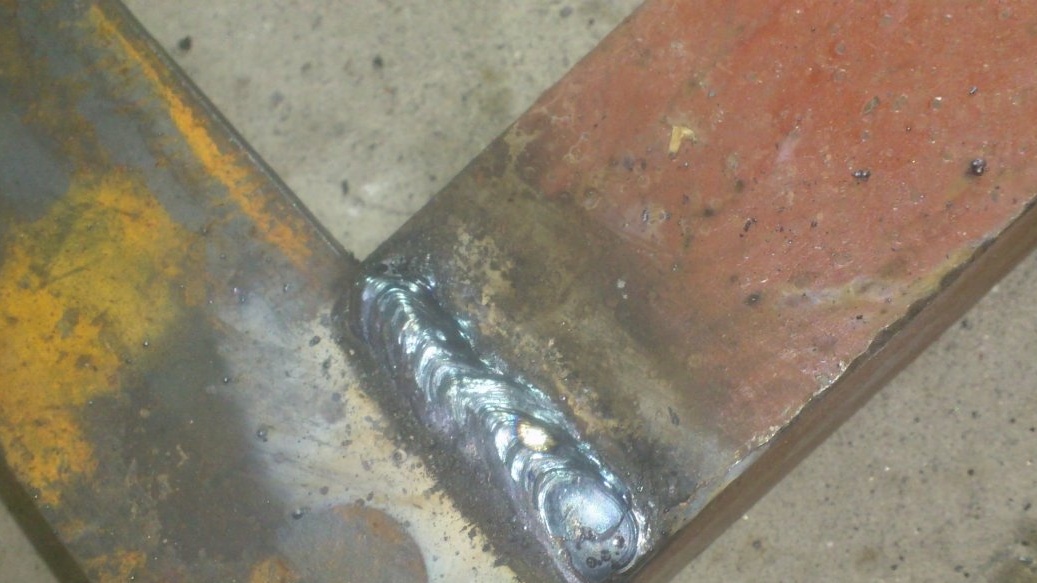
Between the supporting corners, I decided to leave a gap with a width of 25 mm. Based on this, I cut the end segments to the desired length, and welded the second corner to them, putting in the slot, as a template, a profile pipe with a side of 25 mm:

Particular attention was paid to ensure that the upper shelves of the corners were in the same plane:
The bed is "ready yet."))) (I mean, later I will make transverse supports ("legs"), but for now, for my purposes (pre-assembly) this is enough.
We proceed directly to the manufacture of the handicraft.
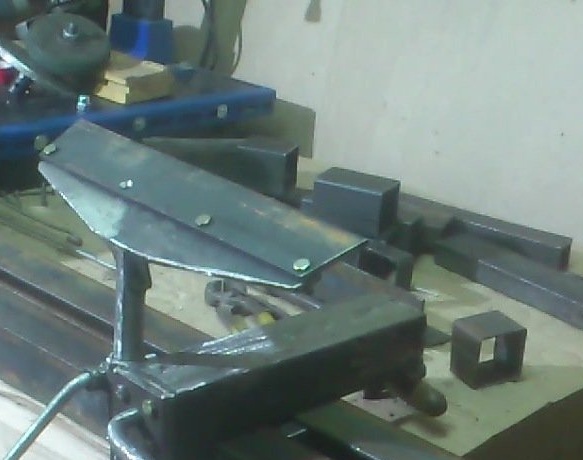
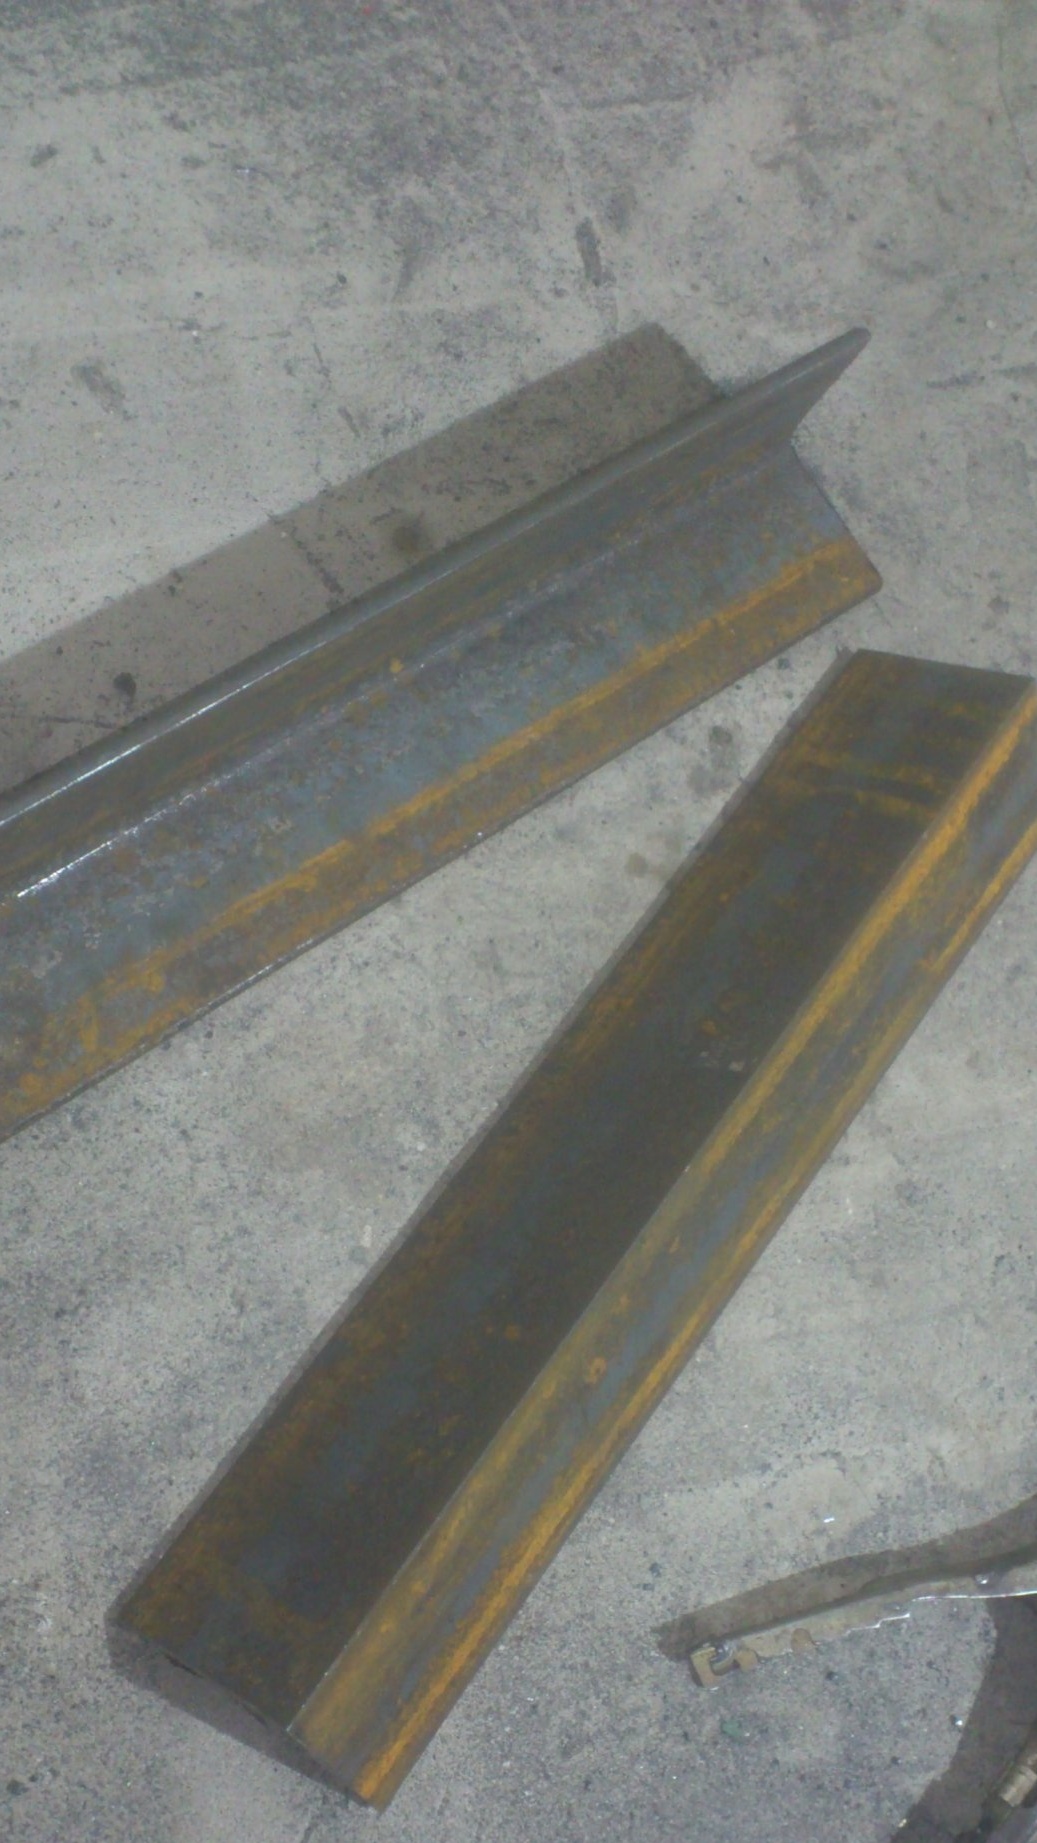
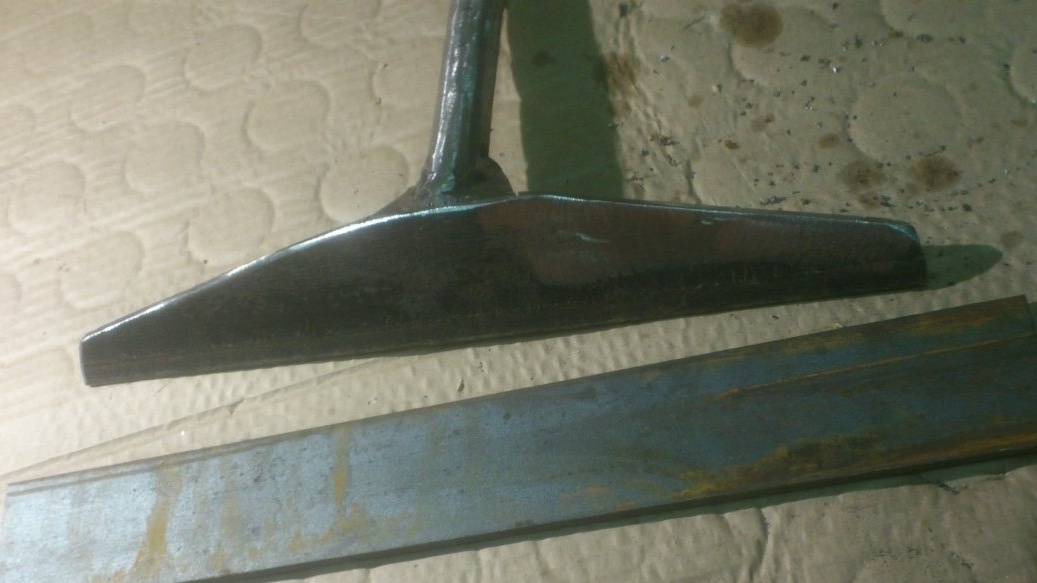
Actually, I myself made a handicraft from the same corner:
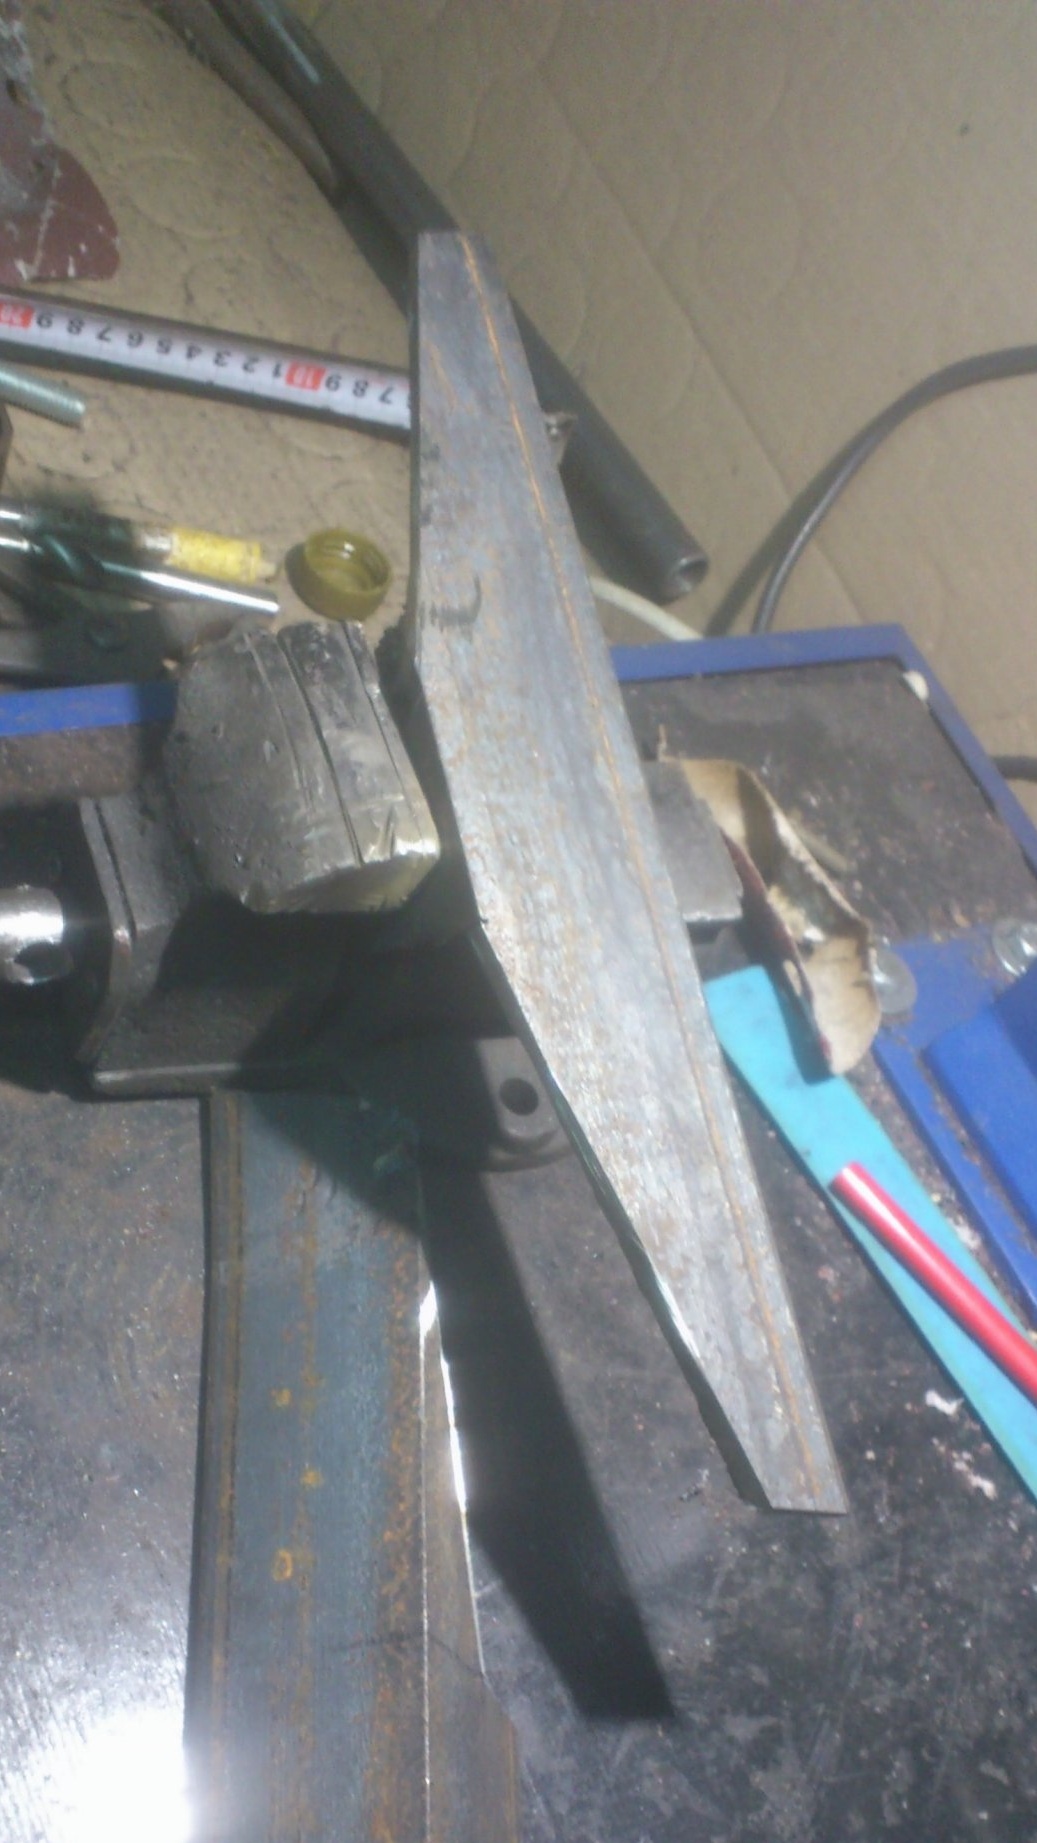
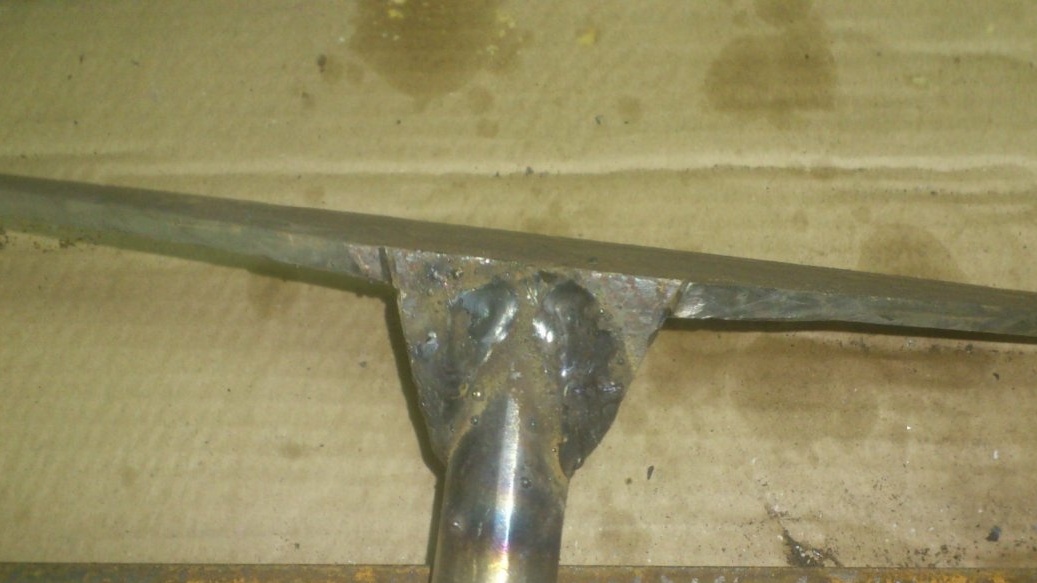
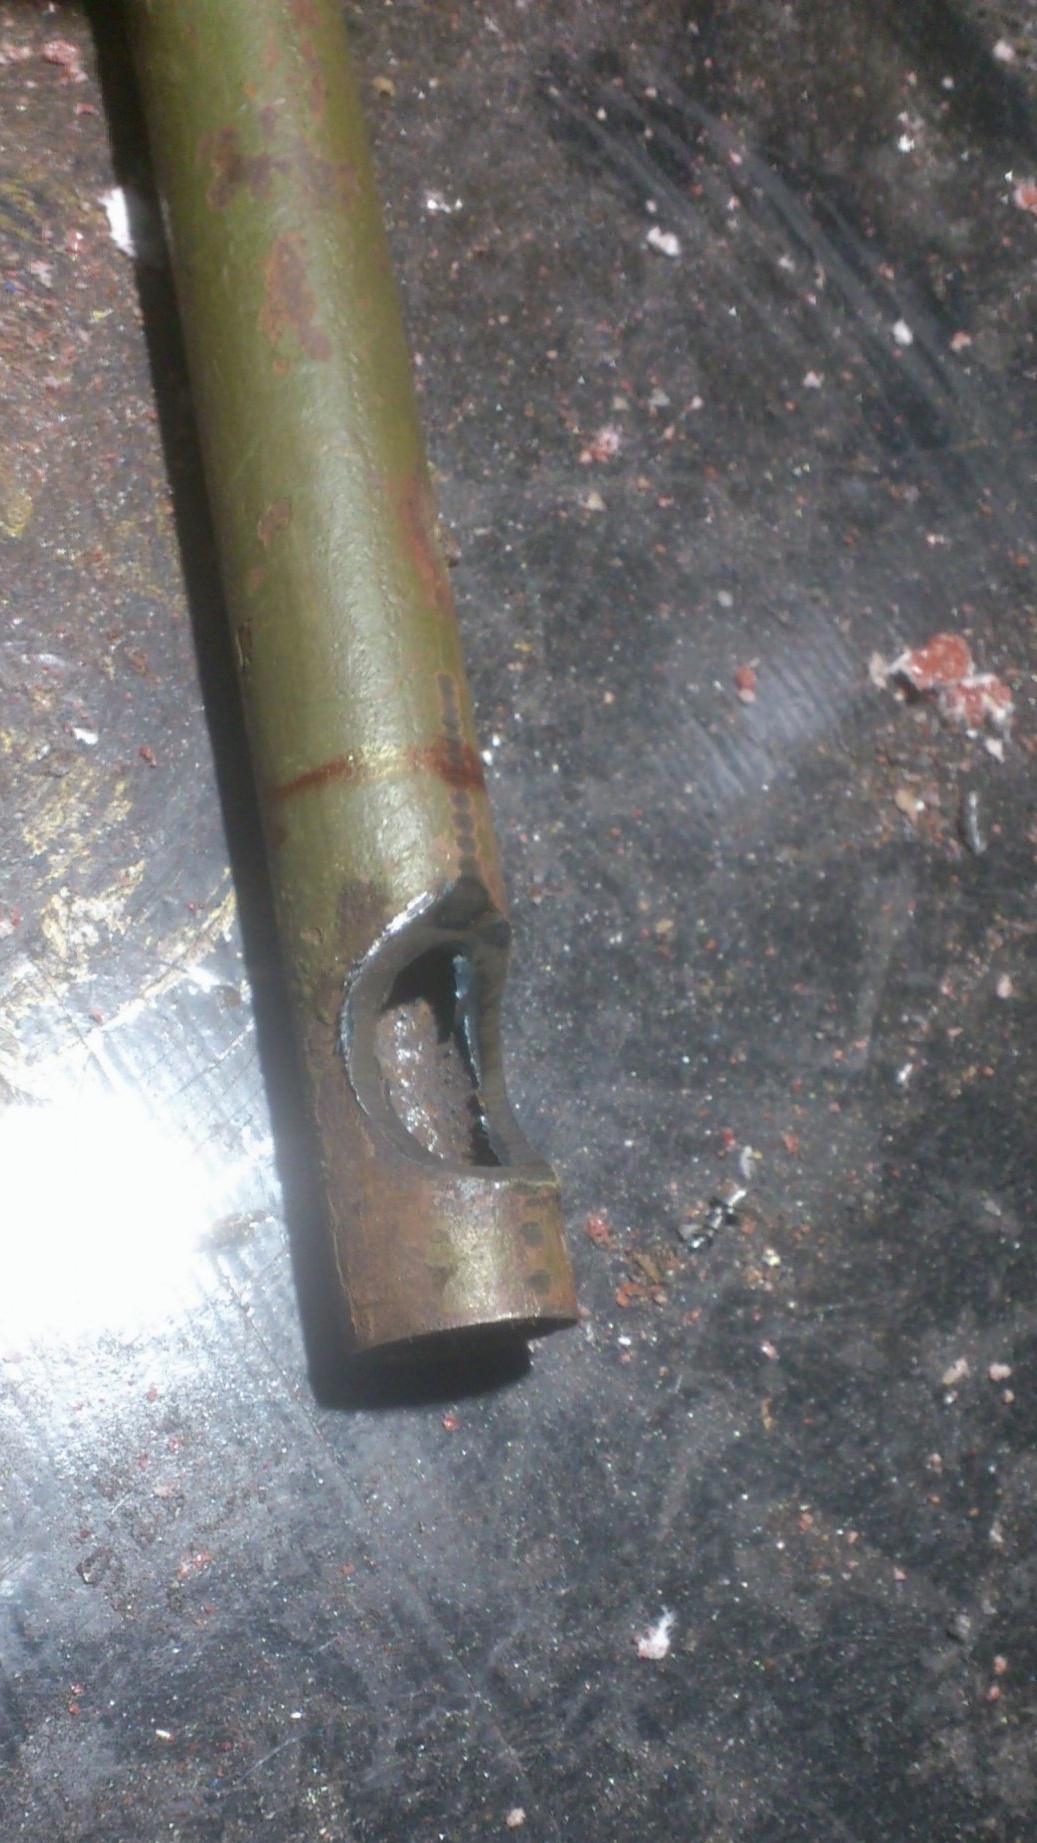
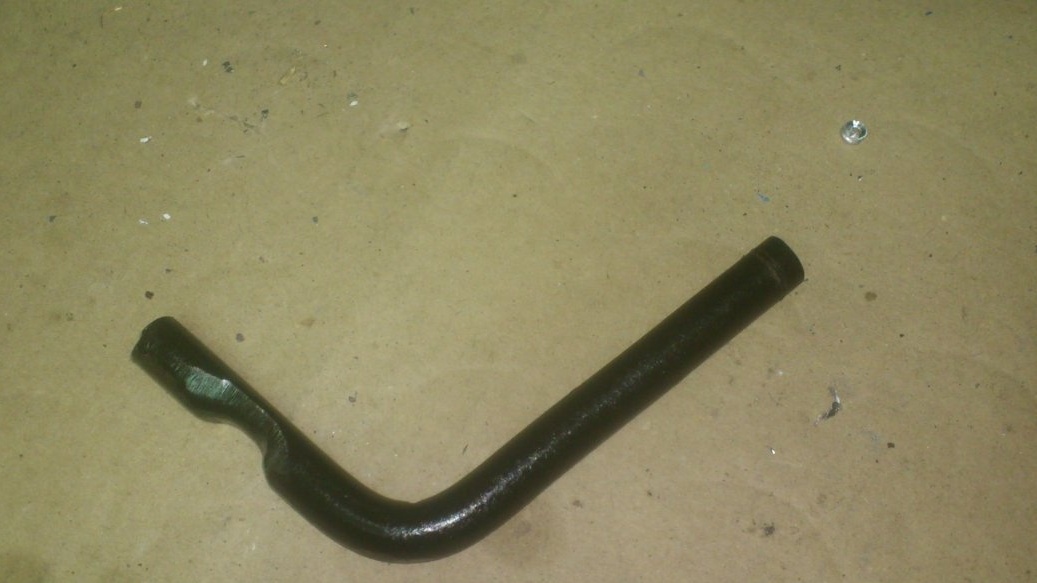
After which I made him a “leg” from the pipe DU-15. In order to make the handrail inclined to the workpiece, I made a cutout like this on the edge of the pipe:
Then I welded both parts:
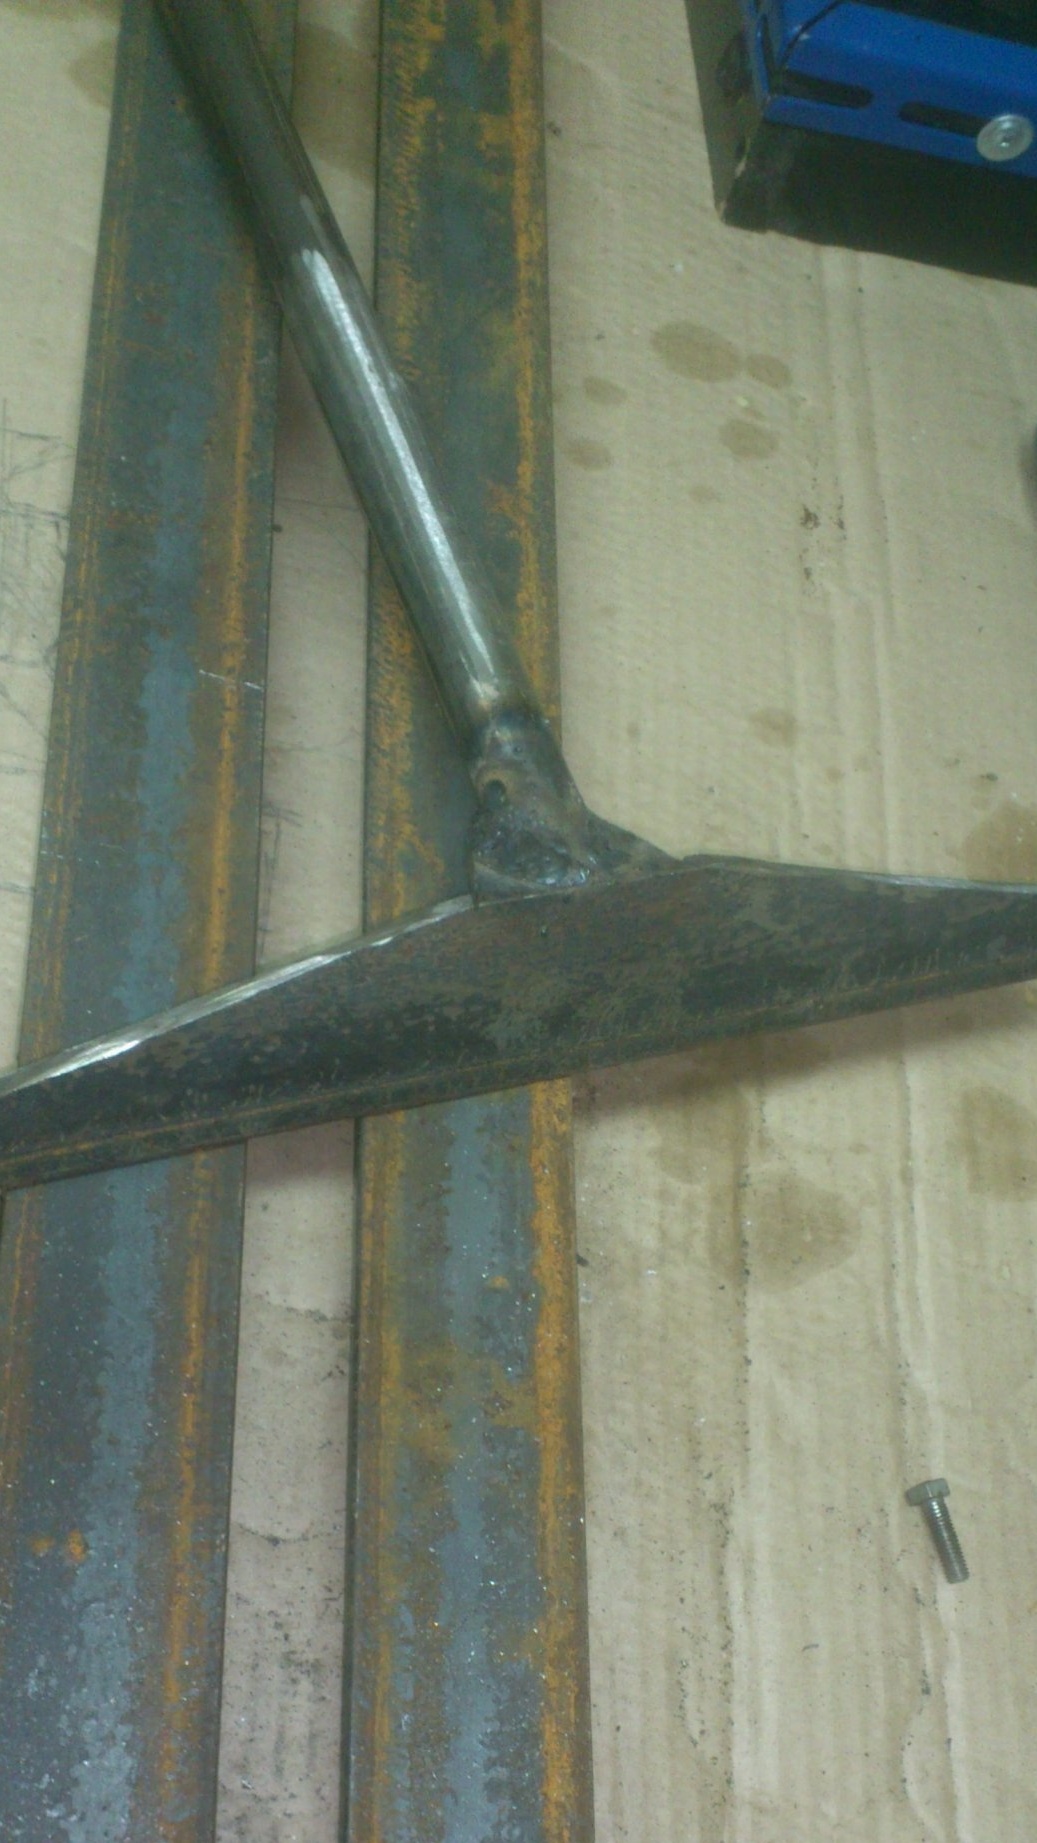
In a similar way, I made two handicrafts - one wide (300 mm) and the second - narrow (150 mm).
Now we proceed to the manufacture of the supporting part of the handcuff - a mechanism thanks to which it can move along the entire plane of the bed and firmly fasten in the right place.
The option with tightening the nuts I dropped. Much more convenient - the eccentric mechanism on quick clamps.
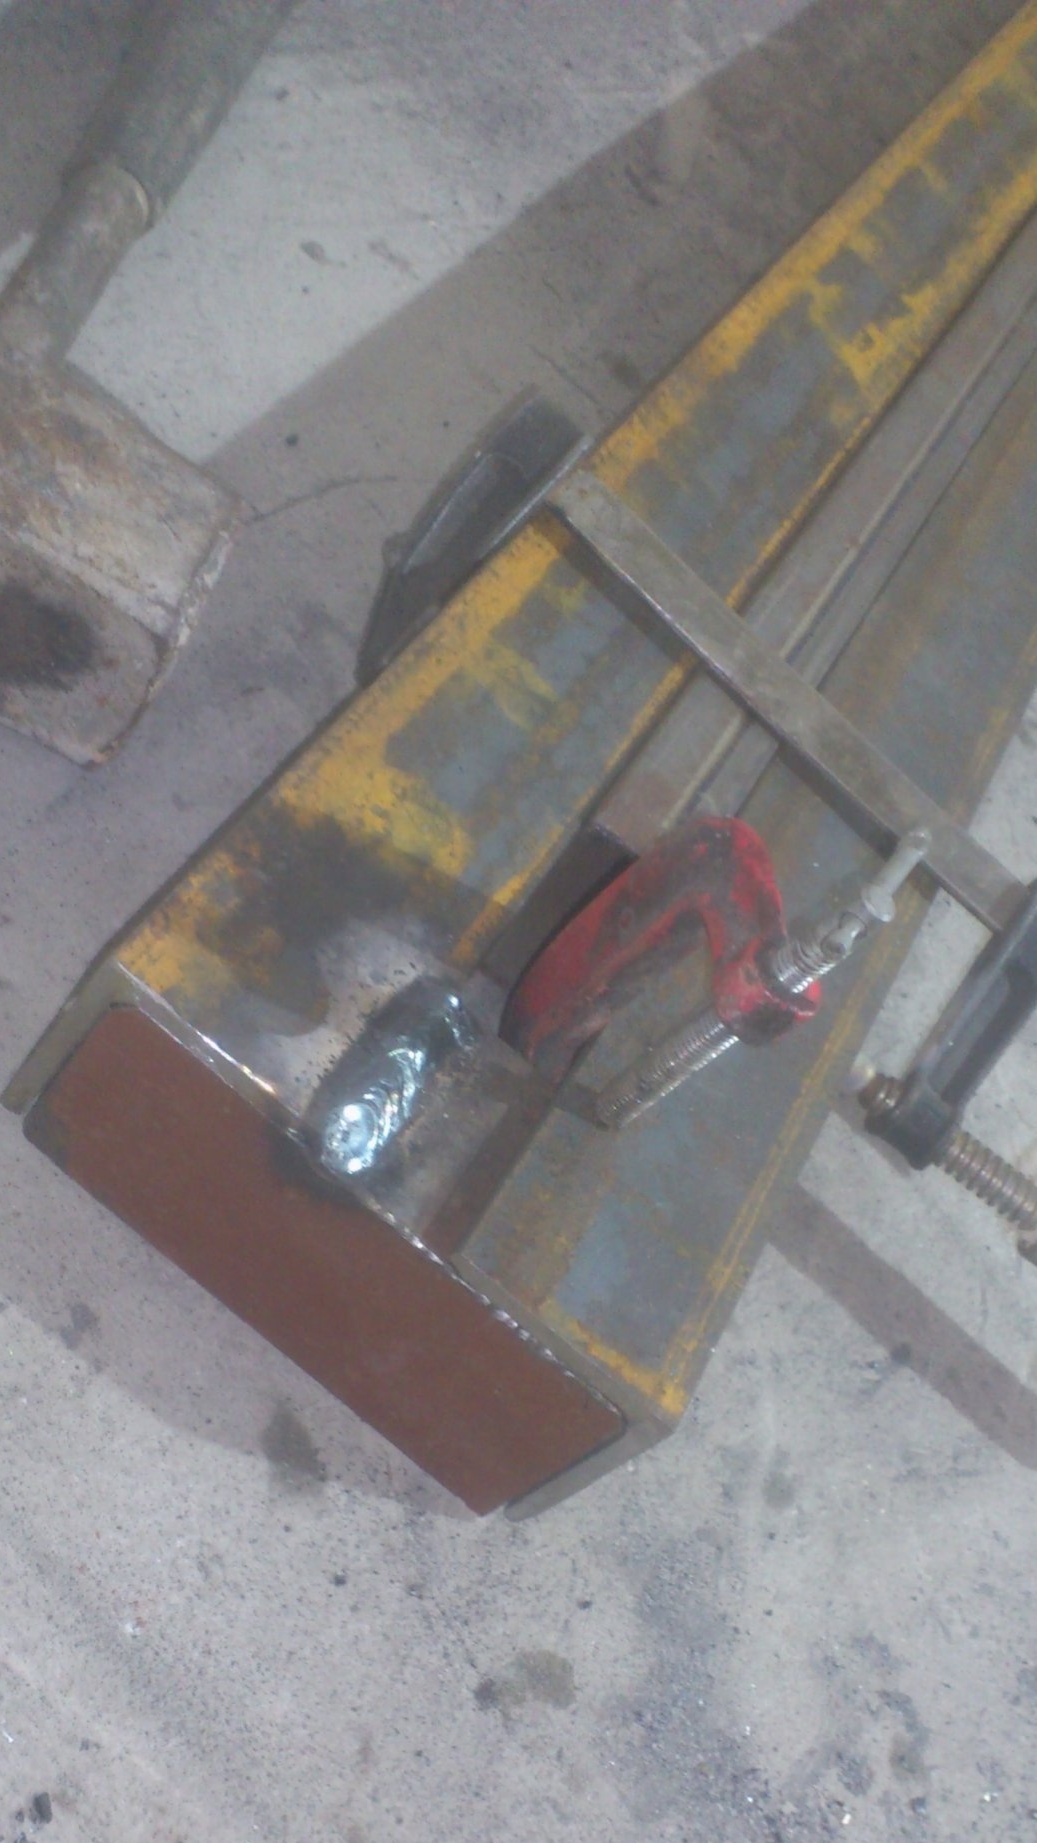
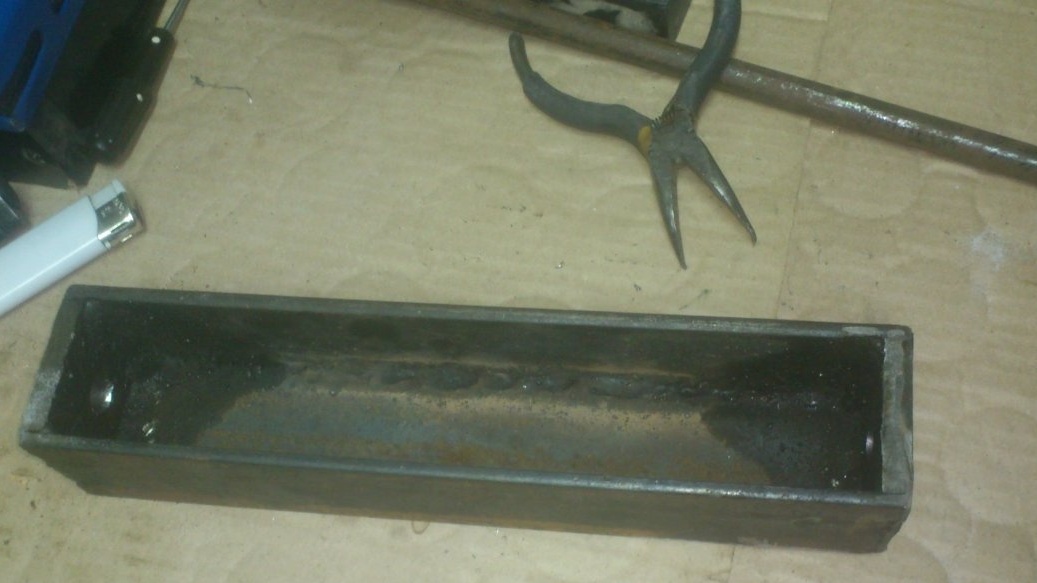
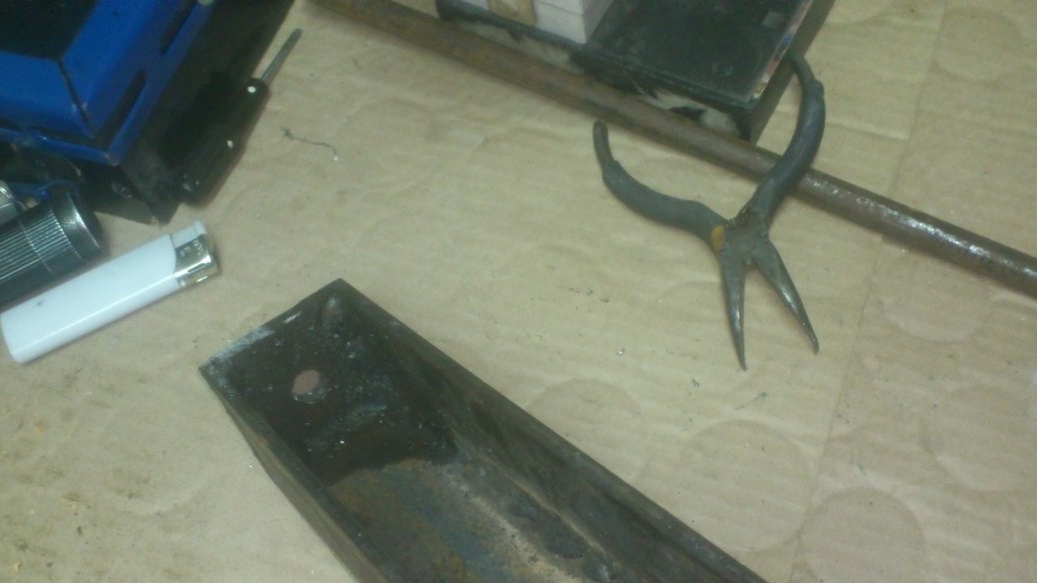
I started with the case.
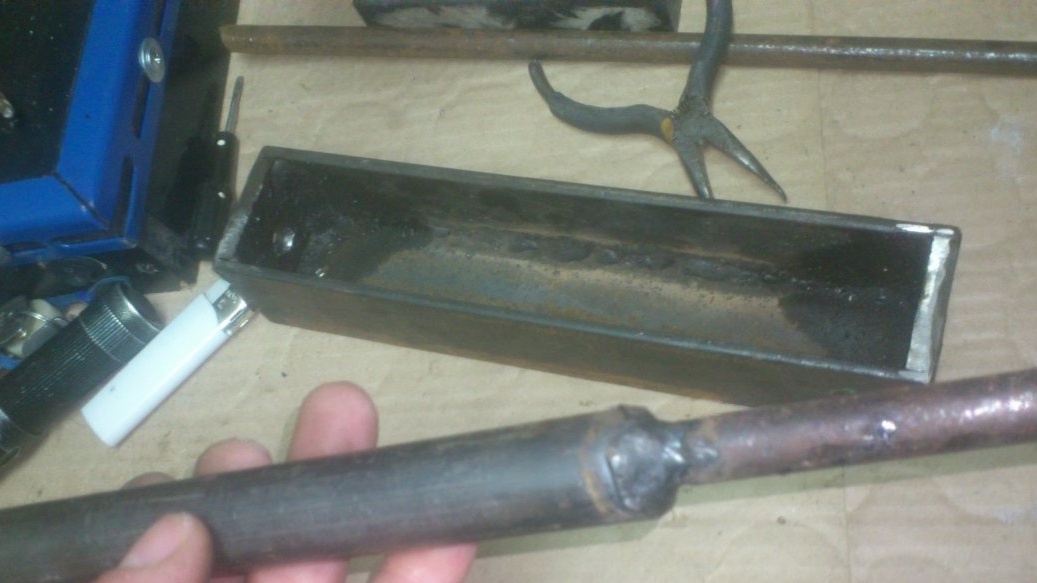
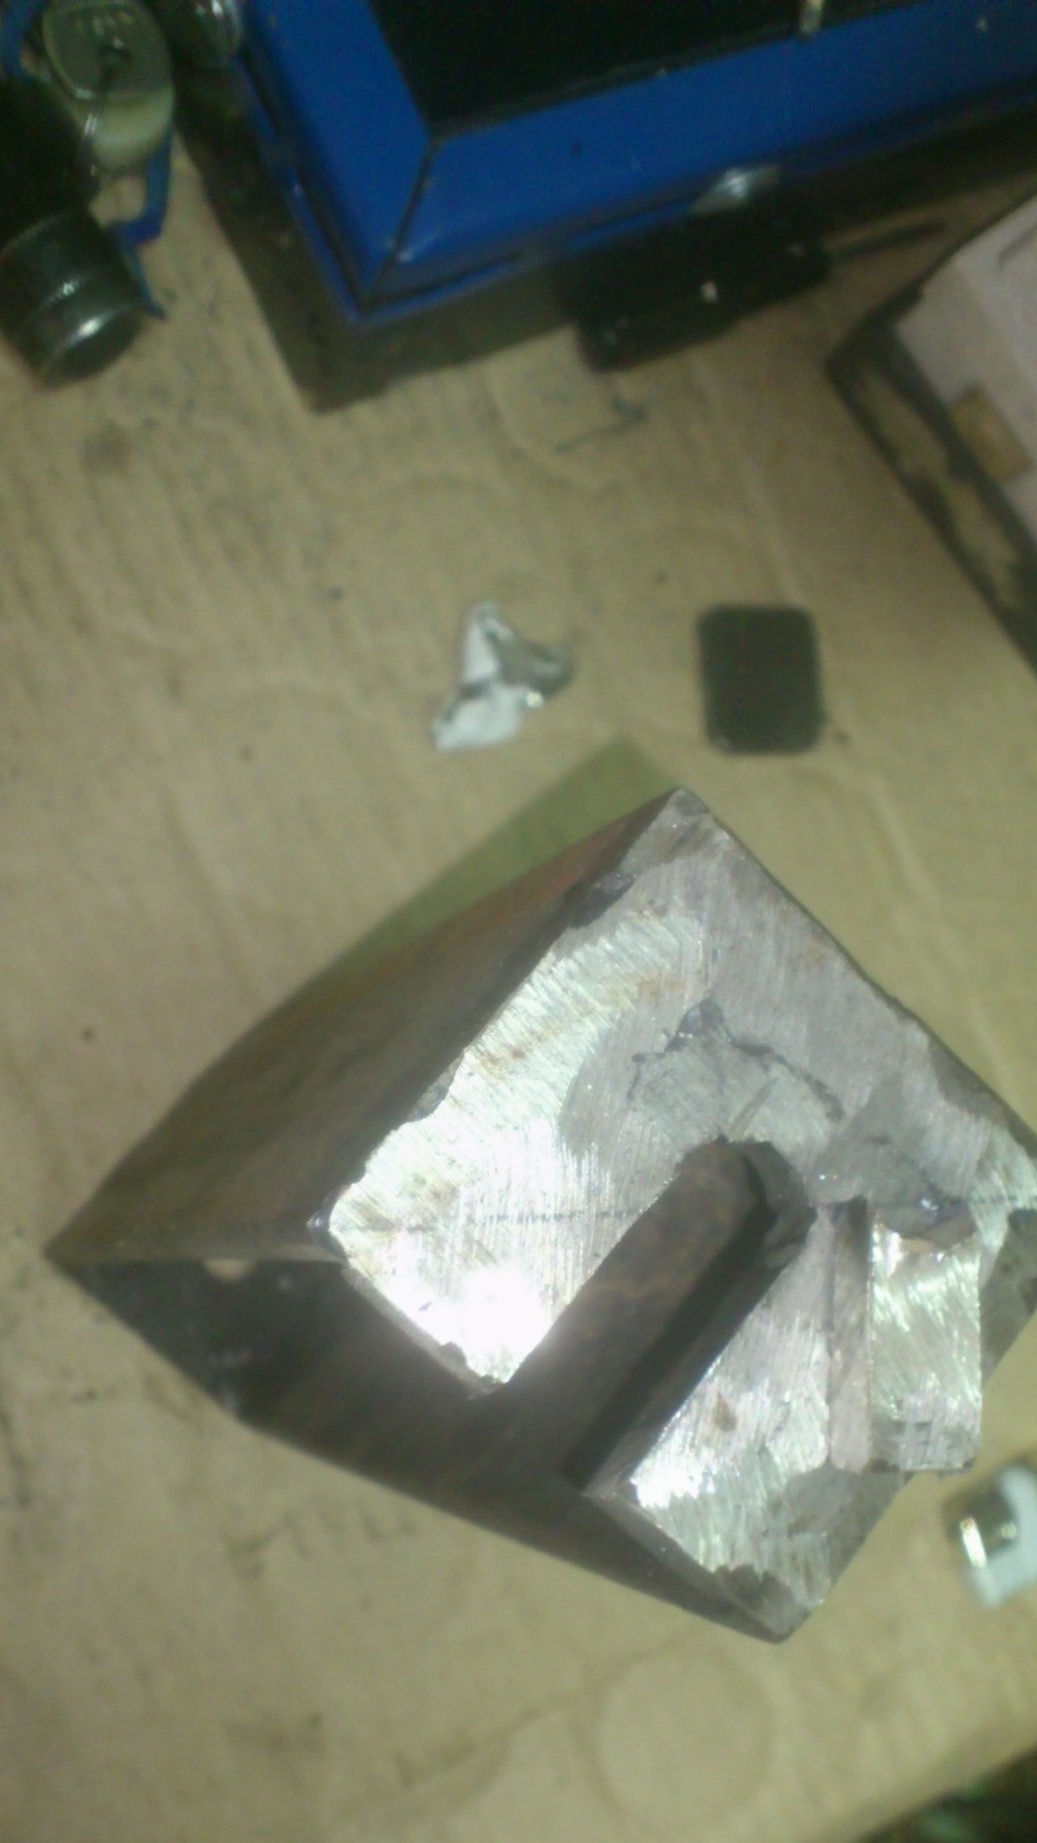
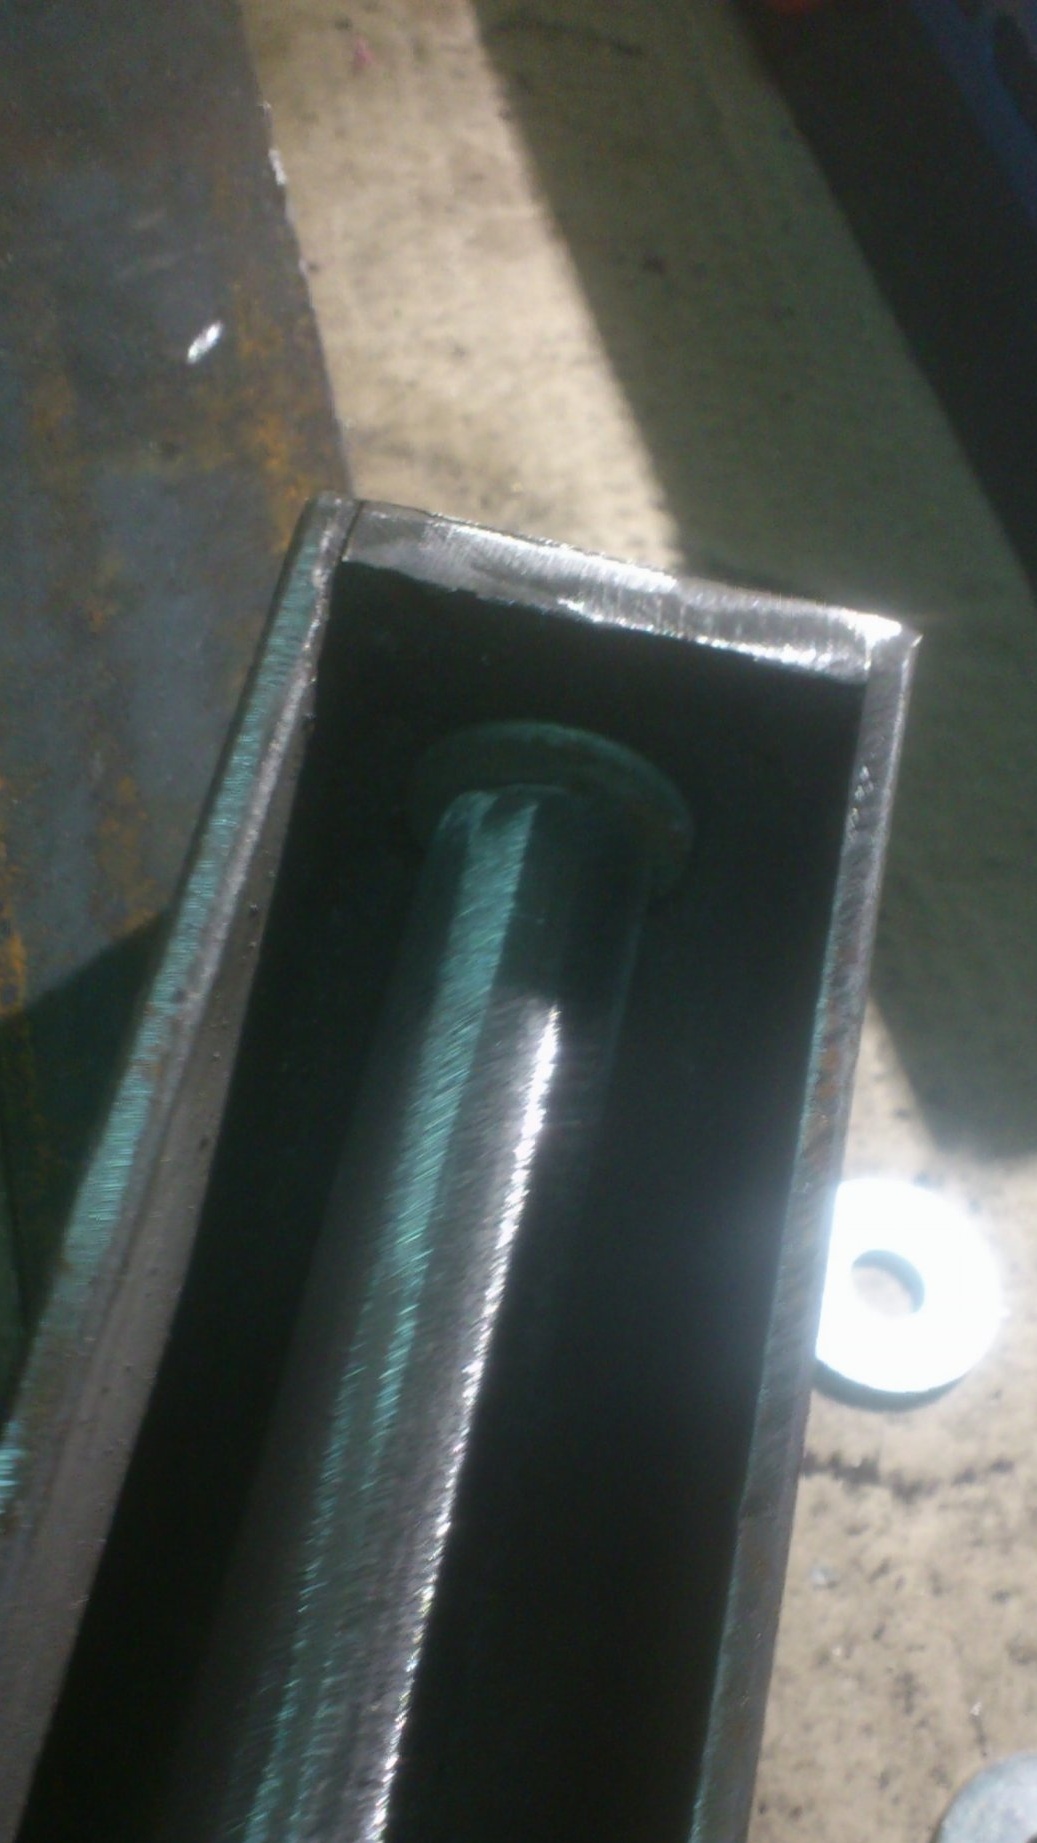
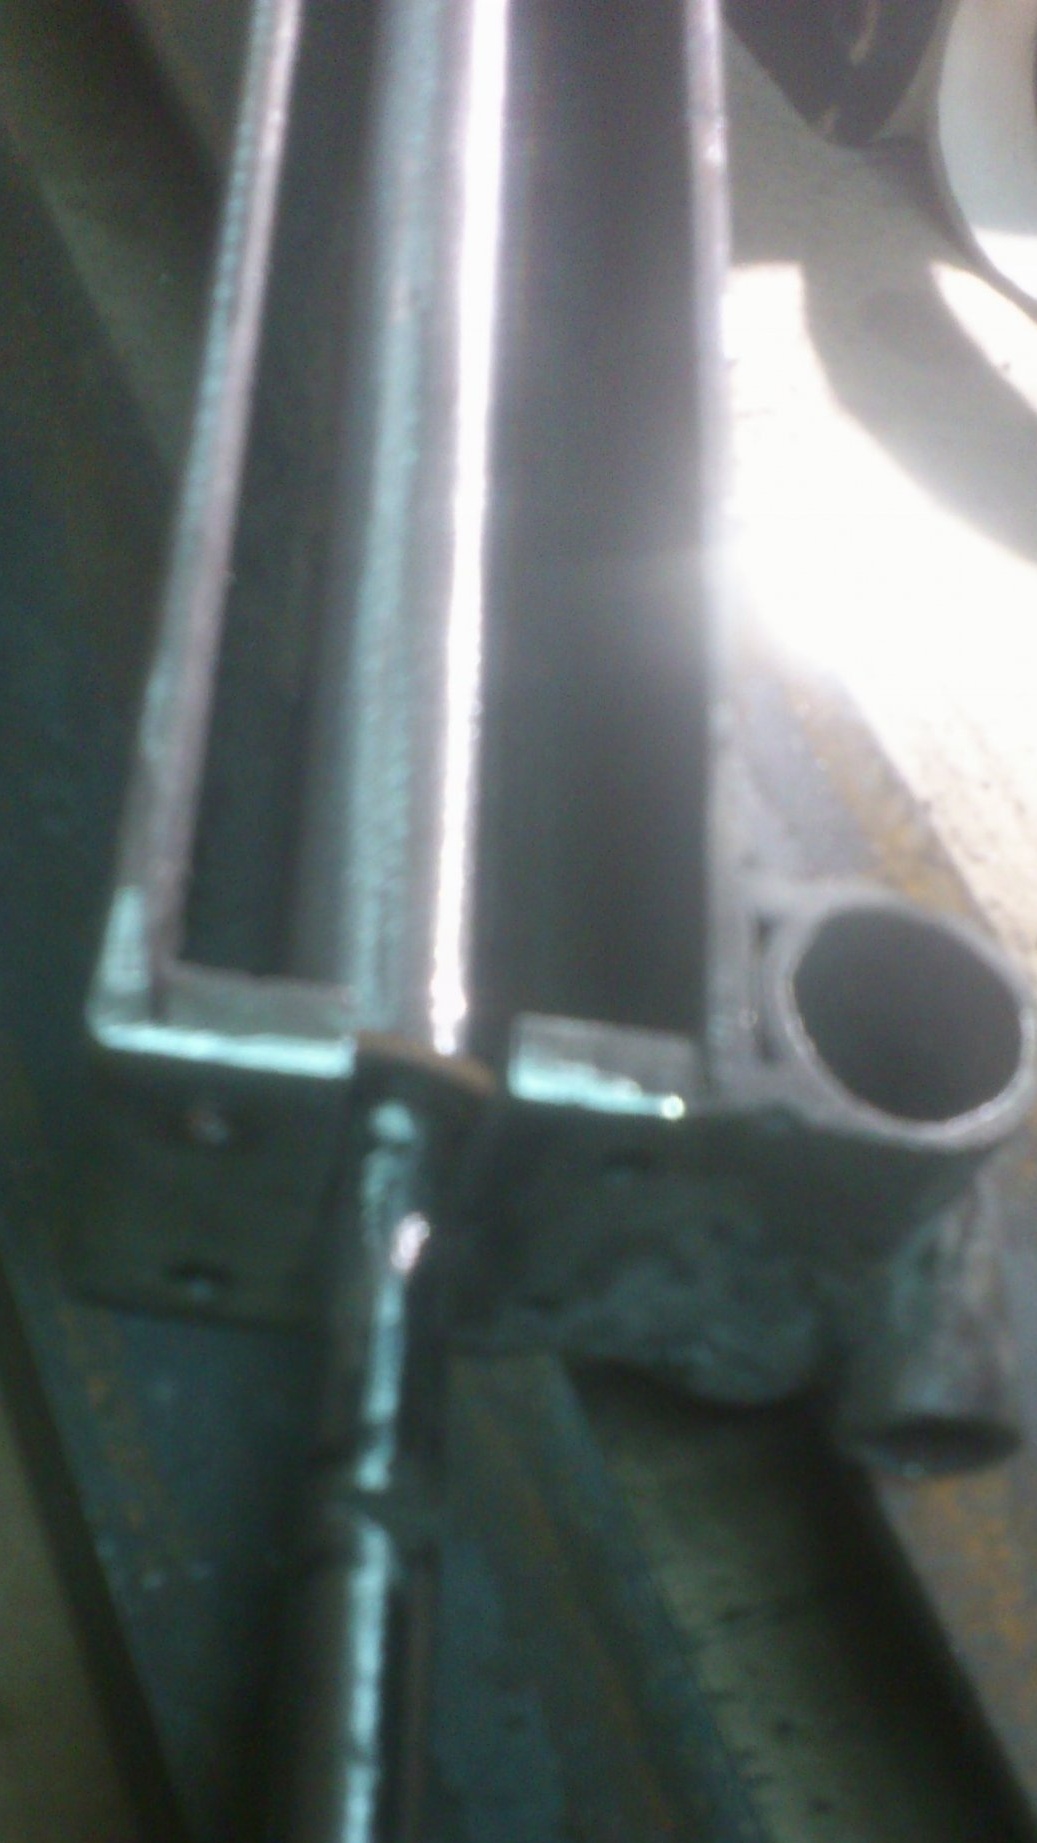
In order to be able to place the eccentric shaft inside, the housing must be made in the form of a sufficiently deep long duct. Basically, it is made from a channel. But I didn’t have a channel, and I don’t want to make the structure so heavy, so I decided to use the same 50 by 50 corner. And to make the U-shaped box, I added a 50 by 5 mm strip to it, welded it tightly on the outside and from the inside:
As a template, in order to achieve a right angle, I used a trim of a corner of a smaller section (40 by 40).
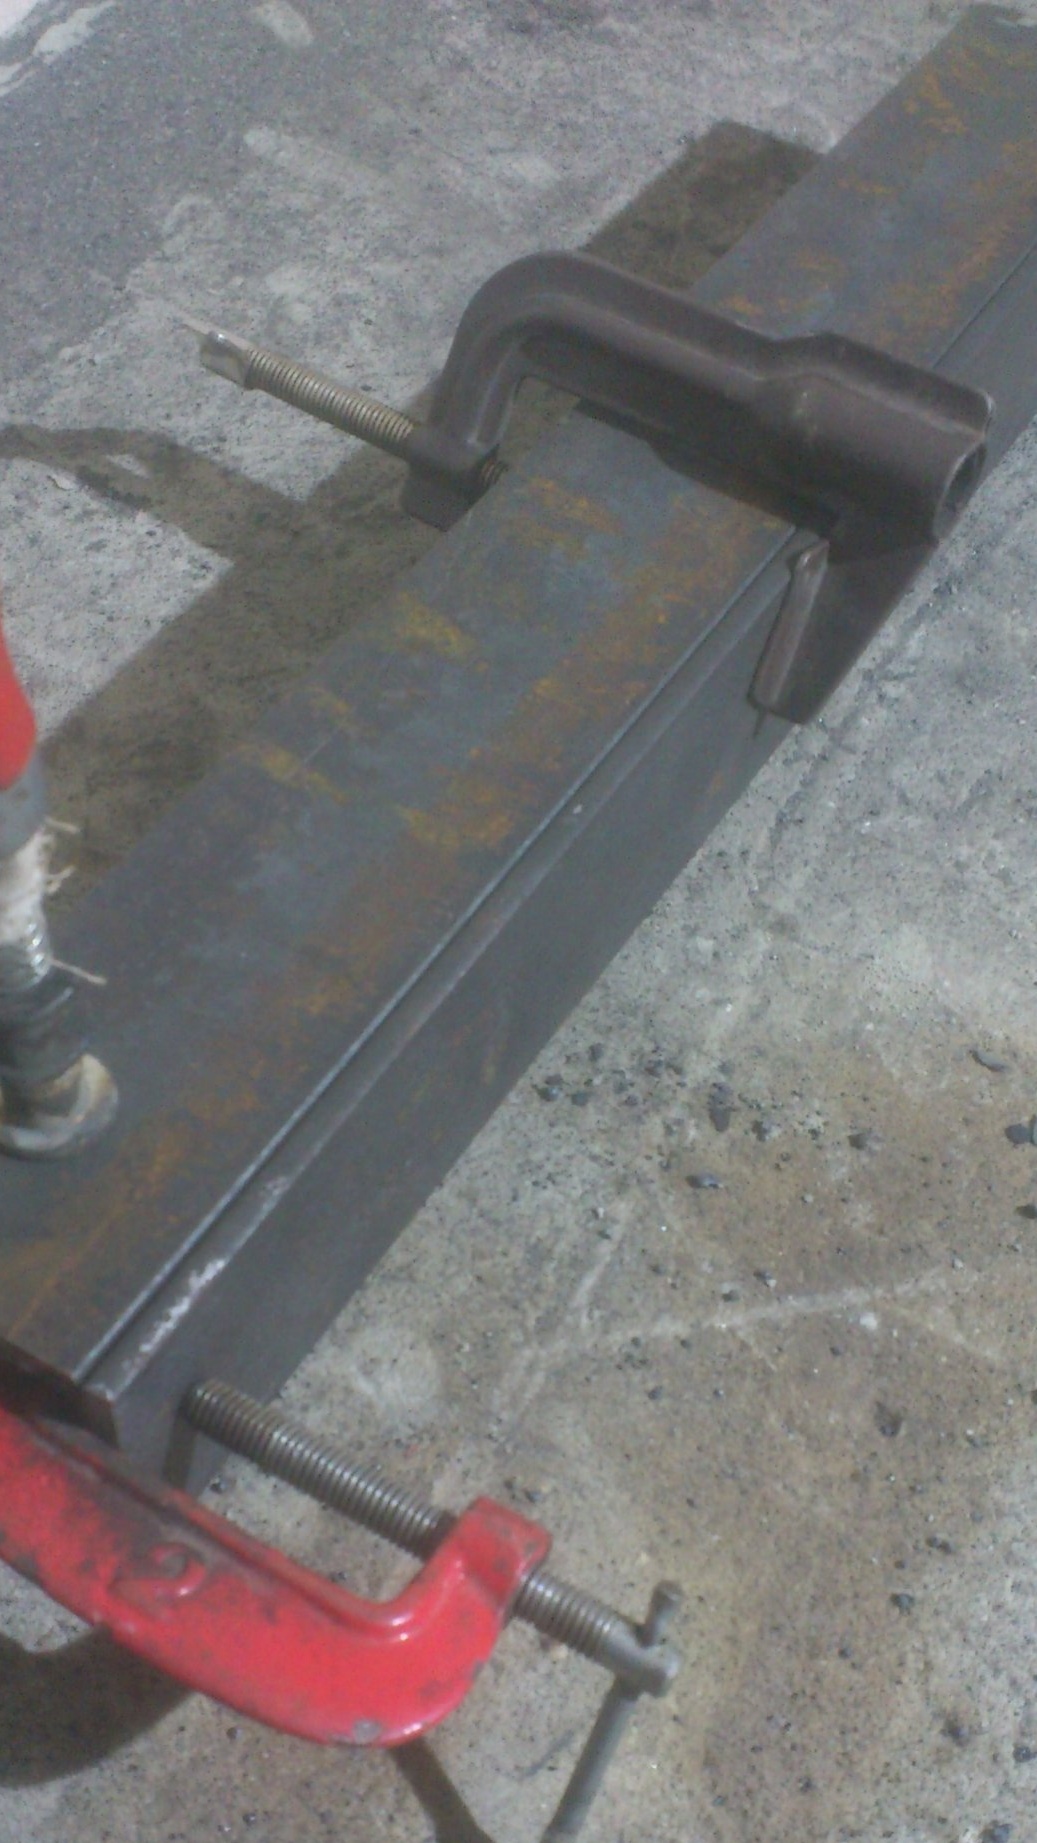
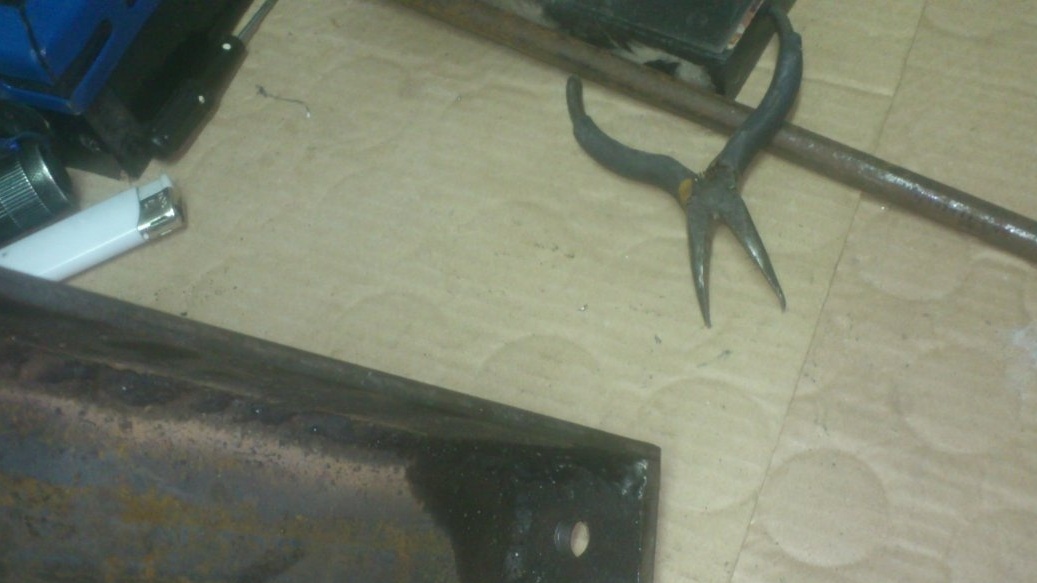
In the resulting box strip of 50 to 5 welded ends.
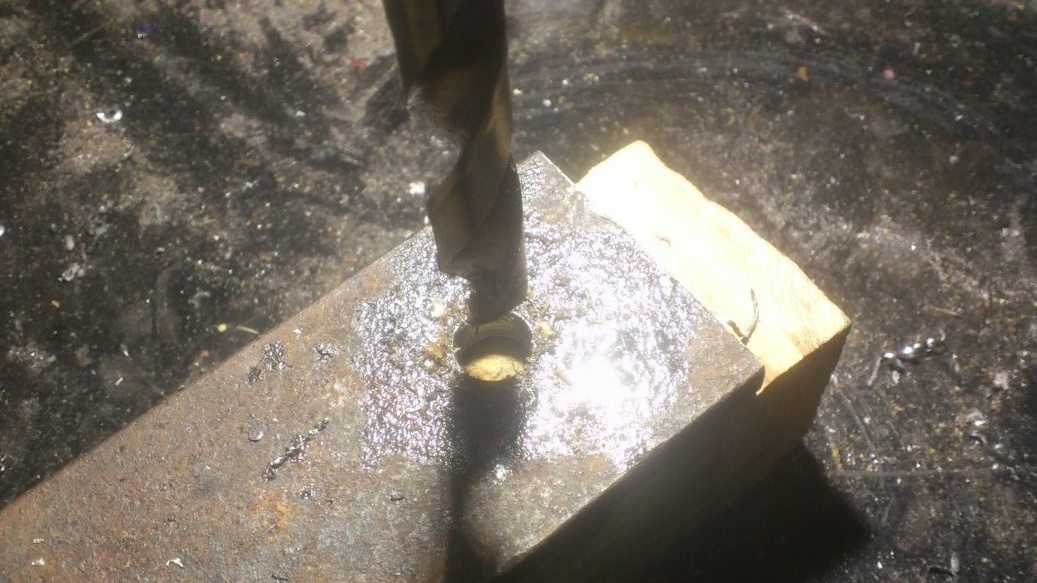
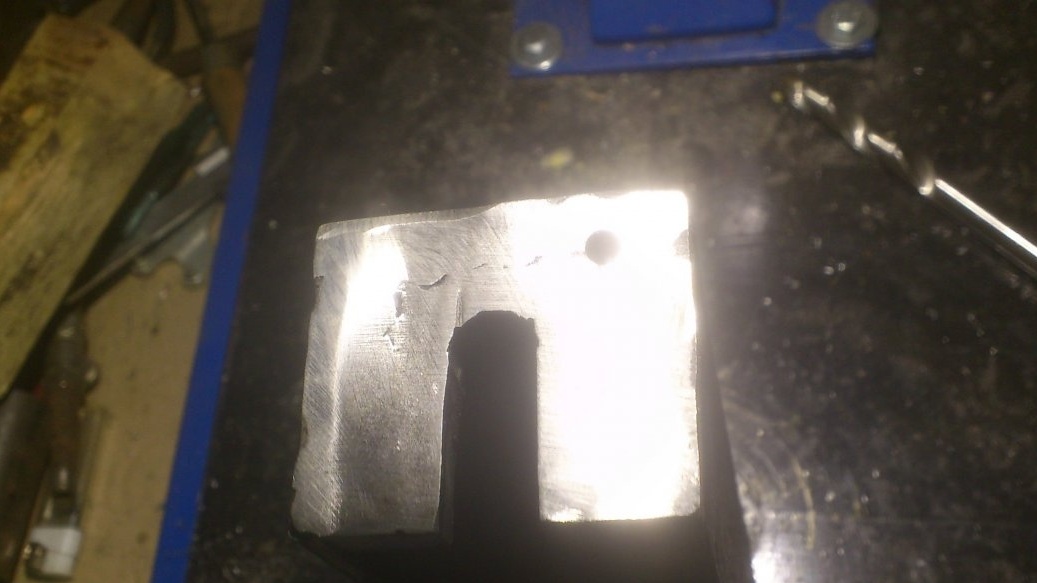
In the center of each end I drilled holes with a 12 mm drill for the axis of the eccentric shaft.
Now I need the eccentric shaft itself. While watching videos on the Internet, I saw that people basically order it from a turner. Some do it themselves, ordering a turner with "bolts without threads" with an eccentric "hat" and welding them to the ends of the round timber ...
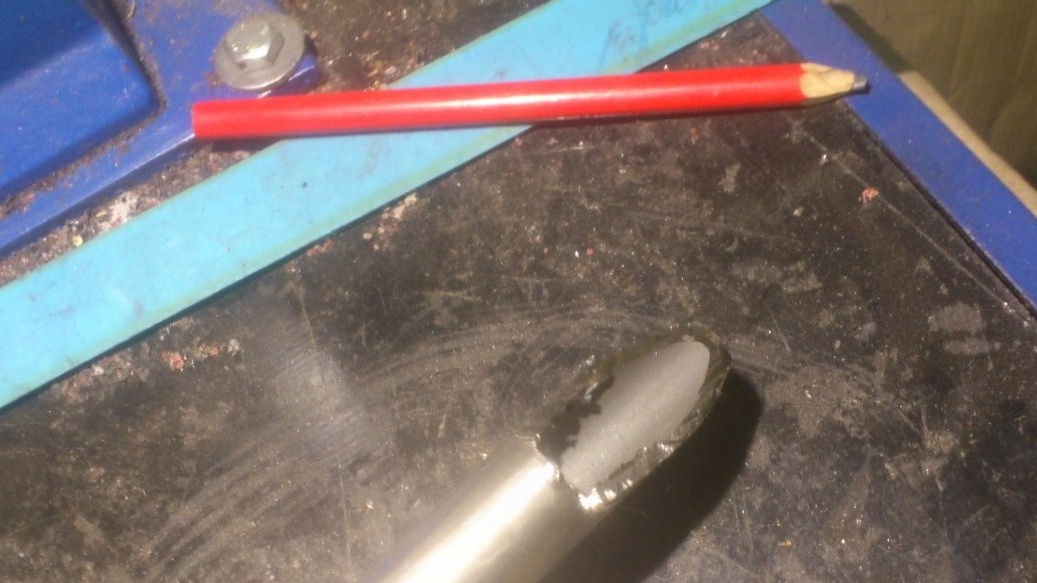
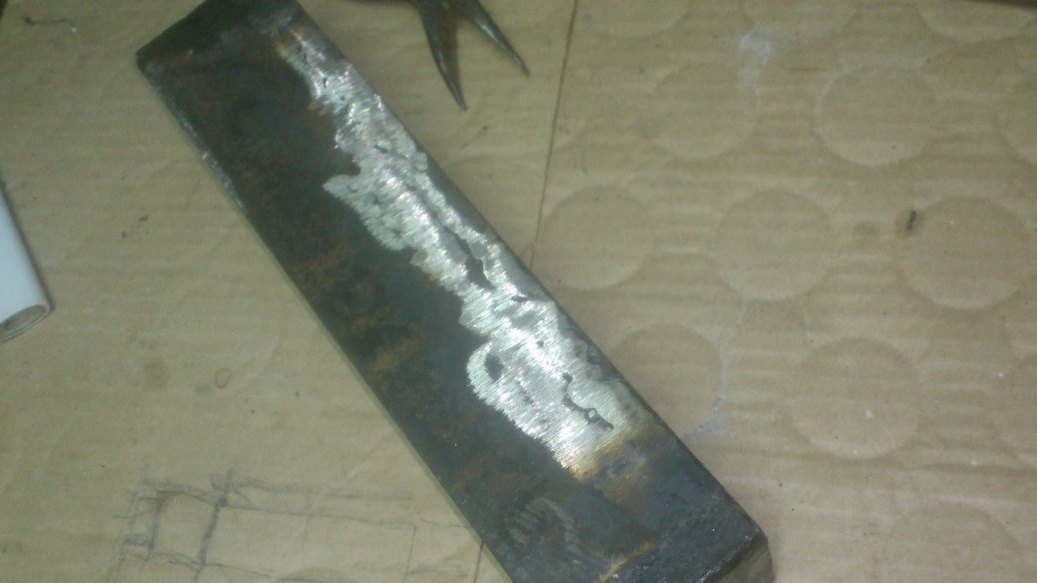
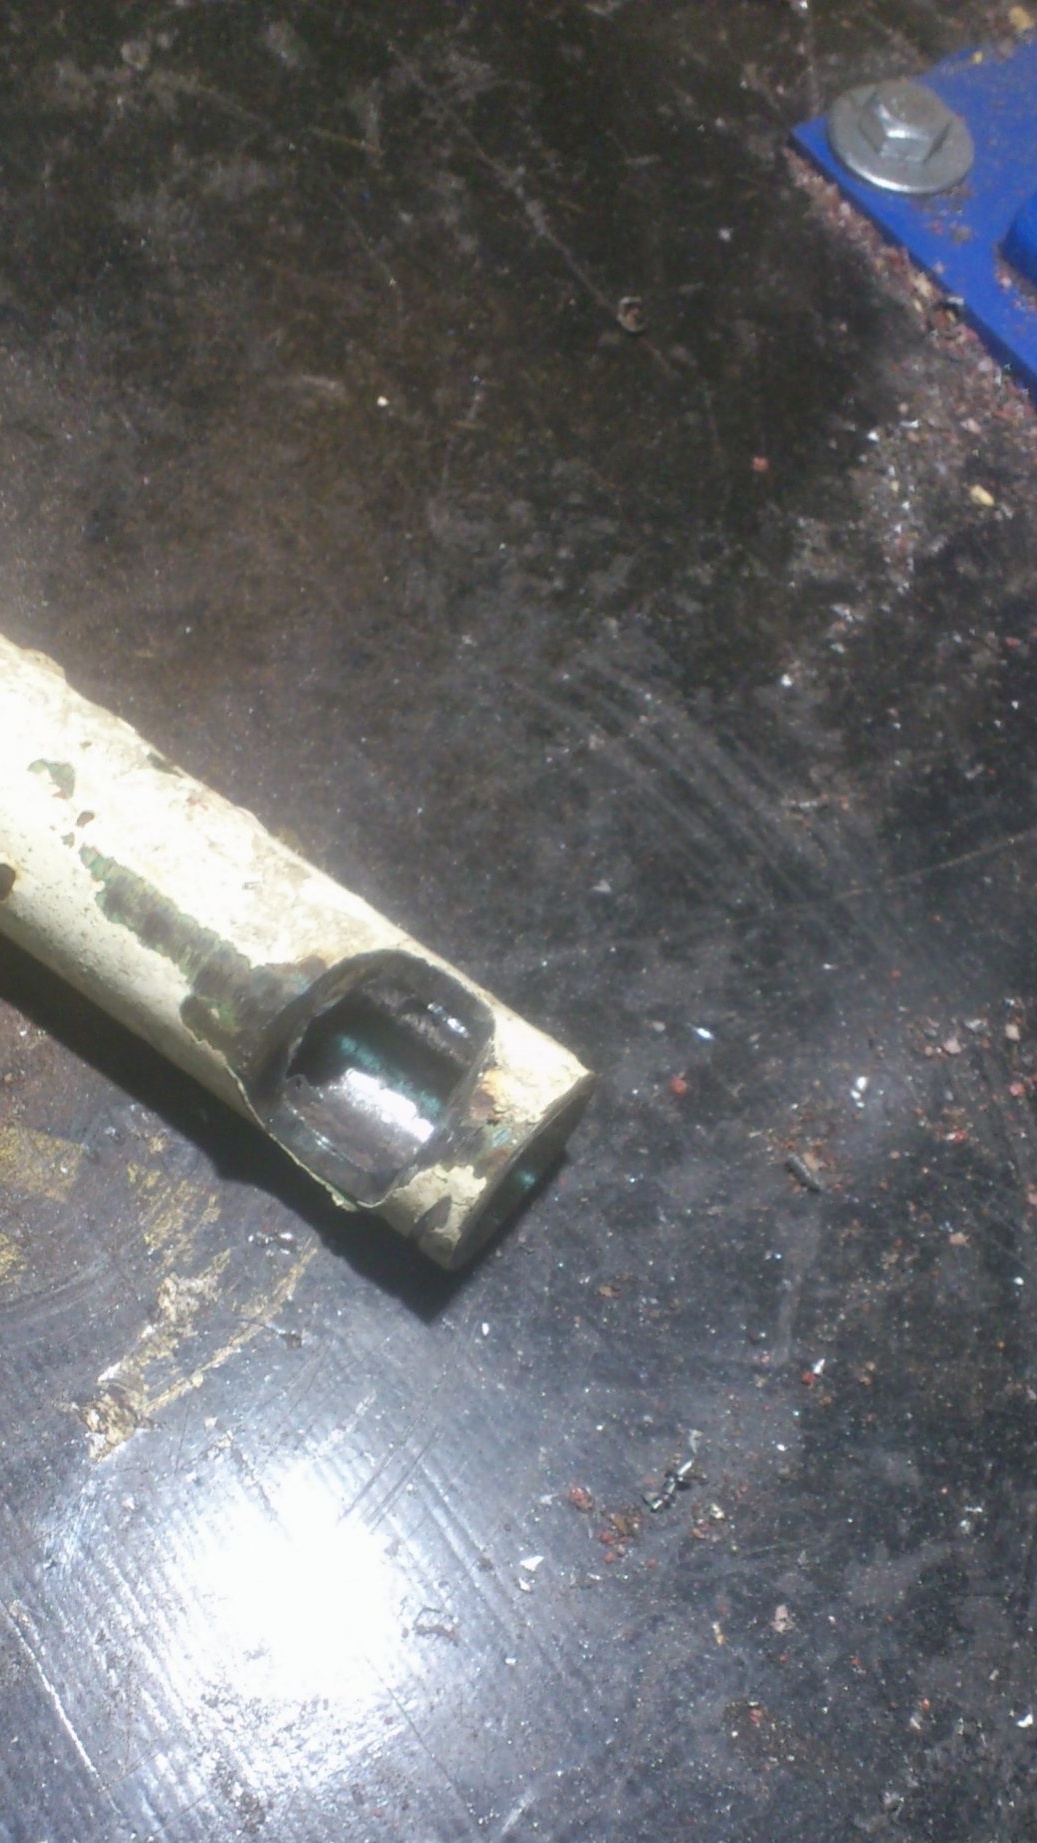
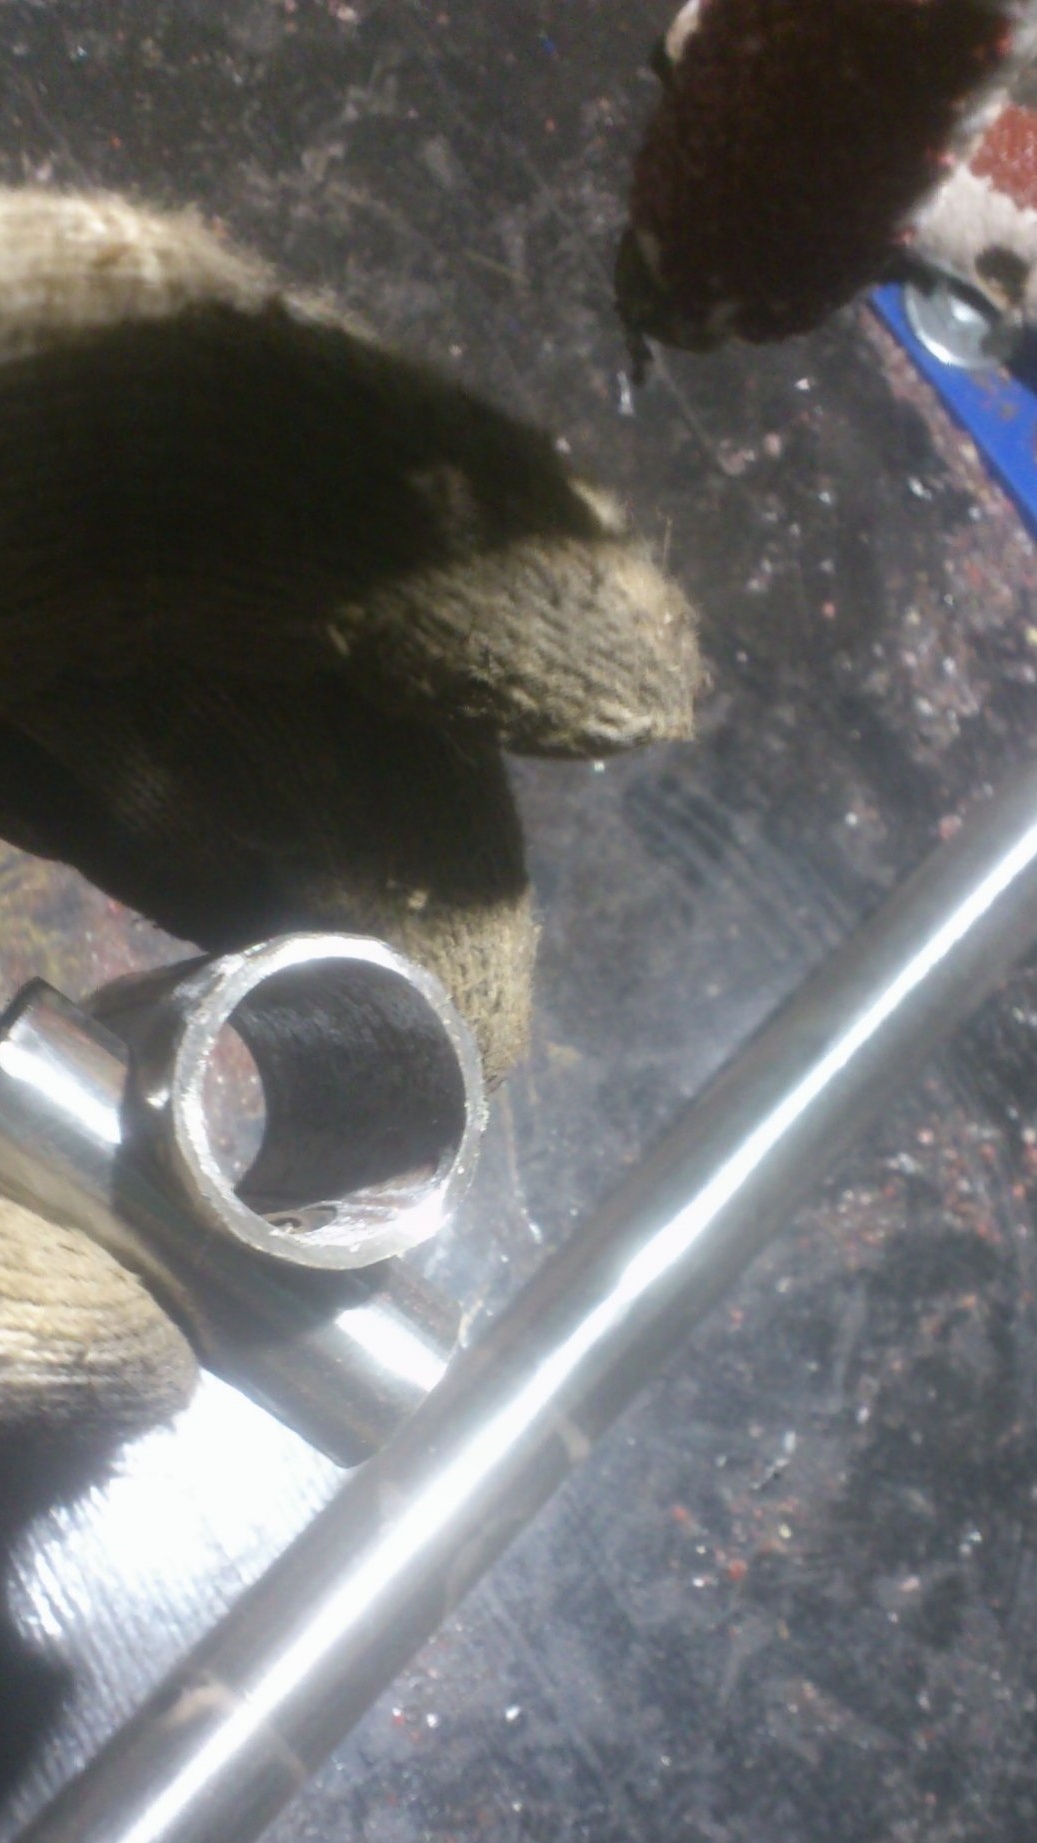
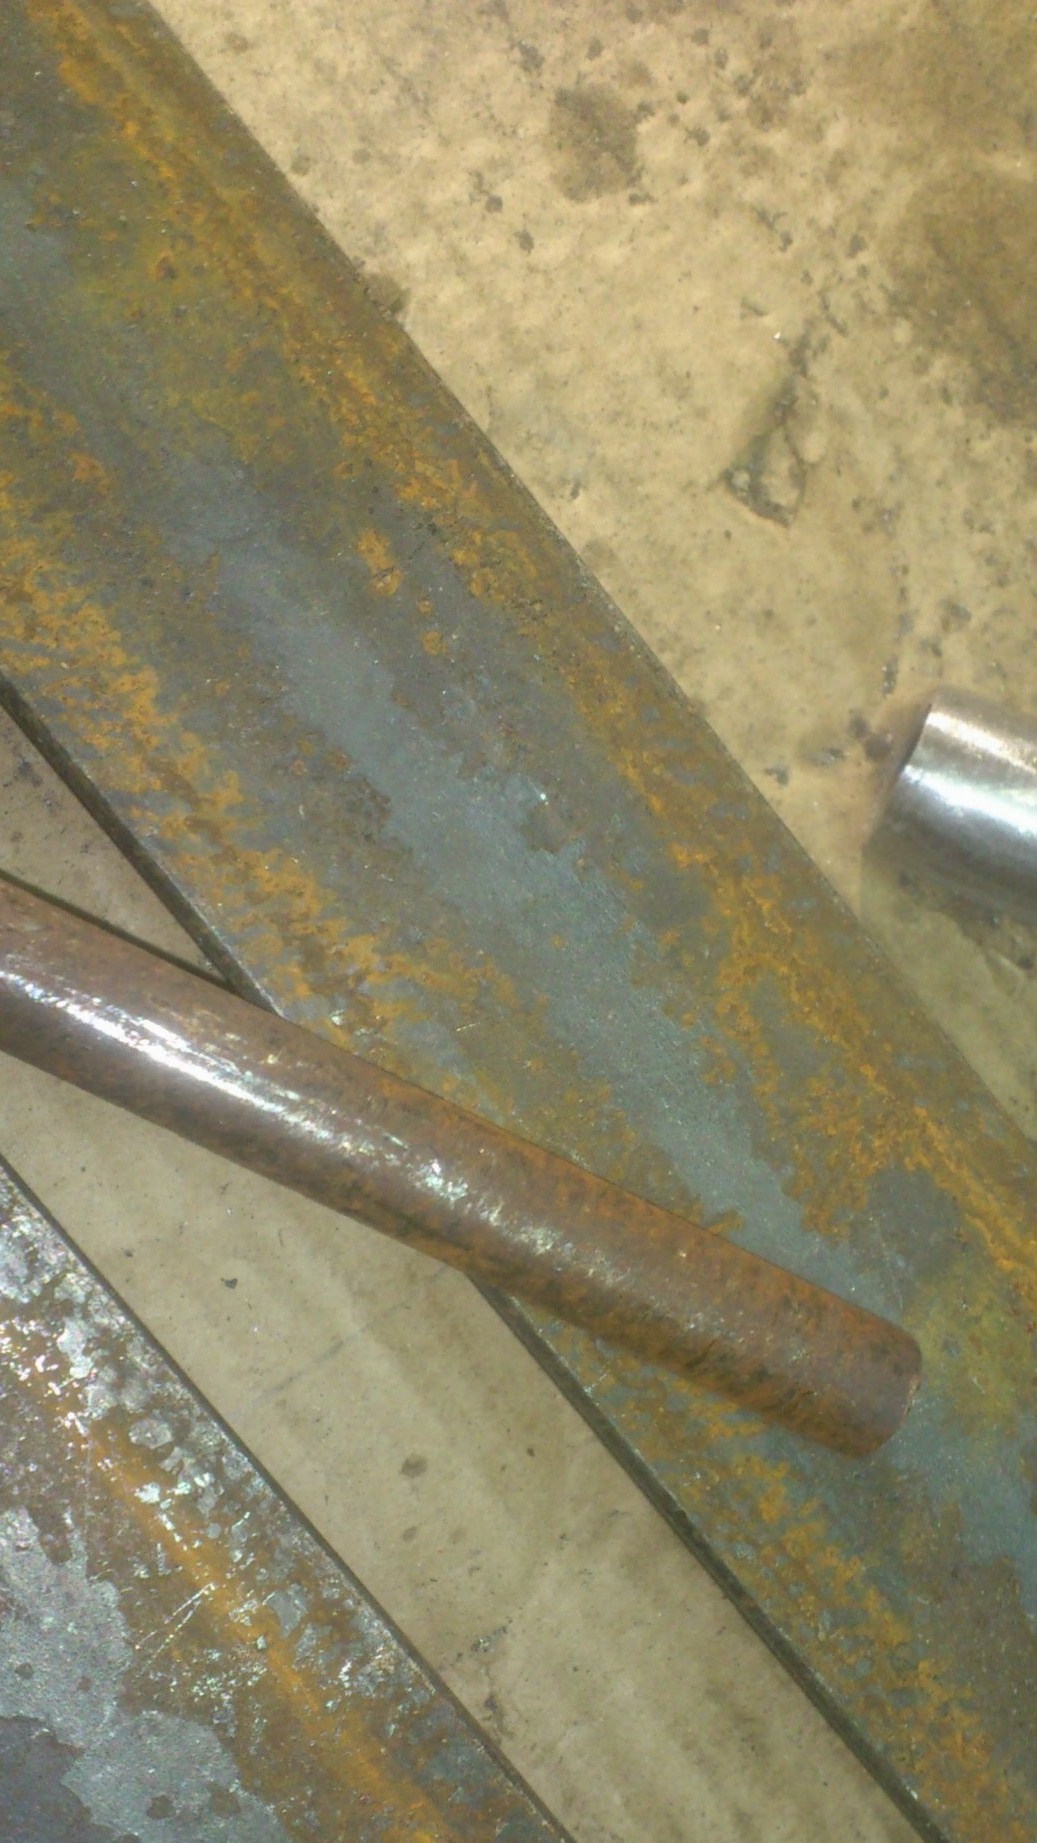
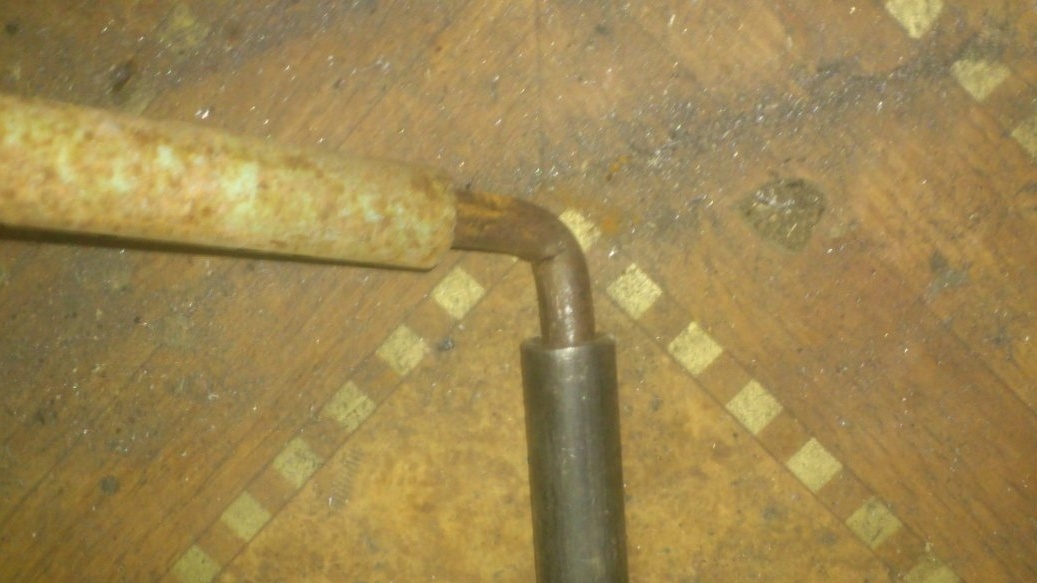
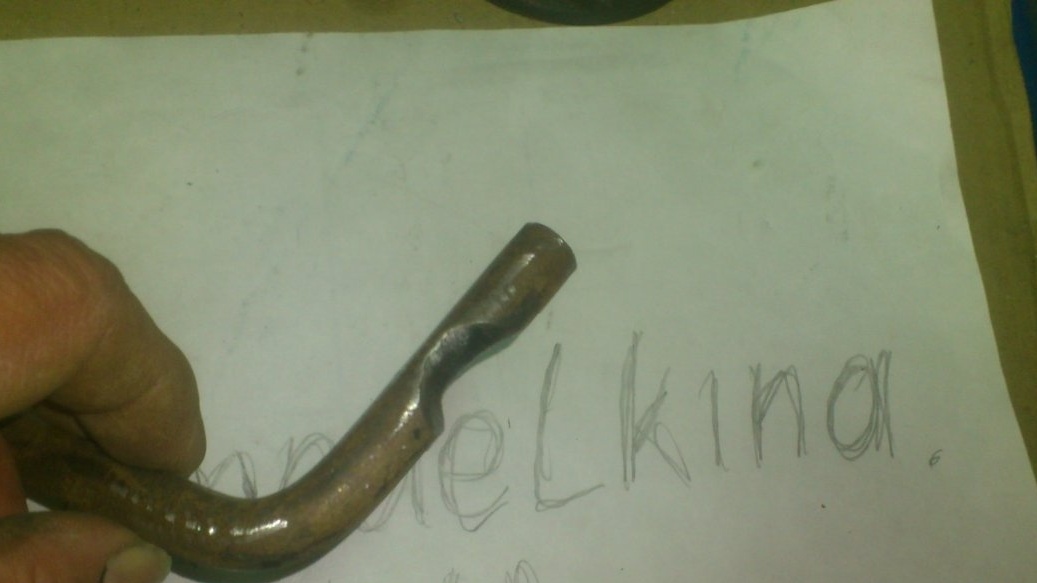
As I already wrote, I’m not going to order anything ... And I still found a way how to easily make this element myself ... For this, I inserted an axis into the piece of the water pipe DU-15, in which I used a pin, with a diameter of 12 mm. The inner diameter of the Du-15 pipe is more than sixteen millimeters. I filled this difference by scoring several pieces of wire full length on one side:
Then scalded both ends of the pipe:
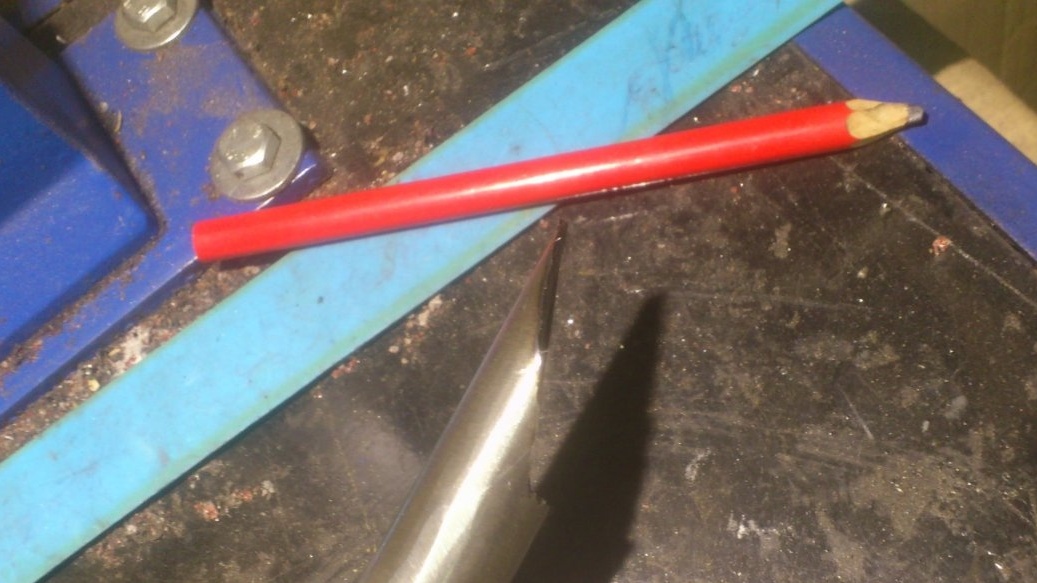
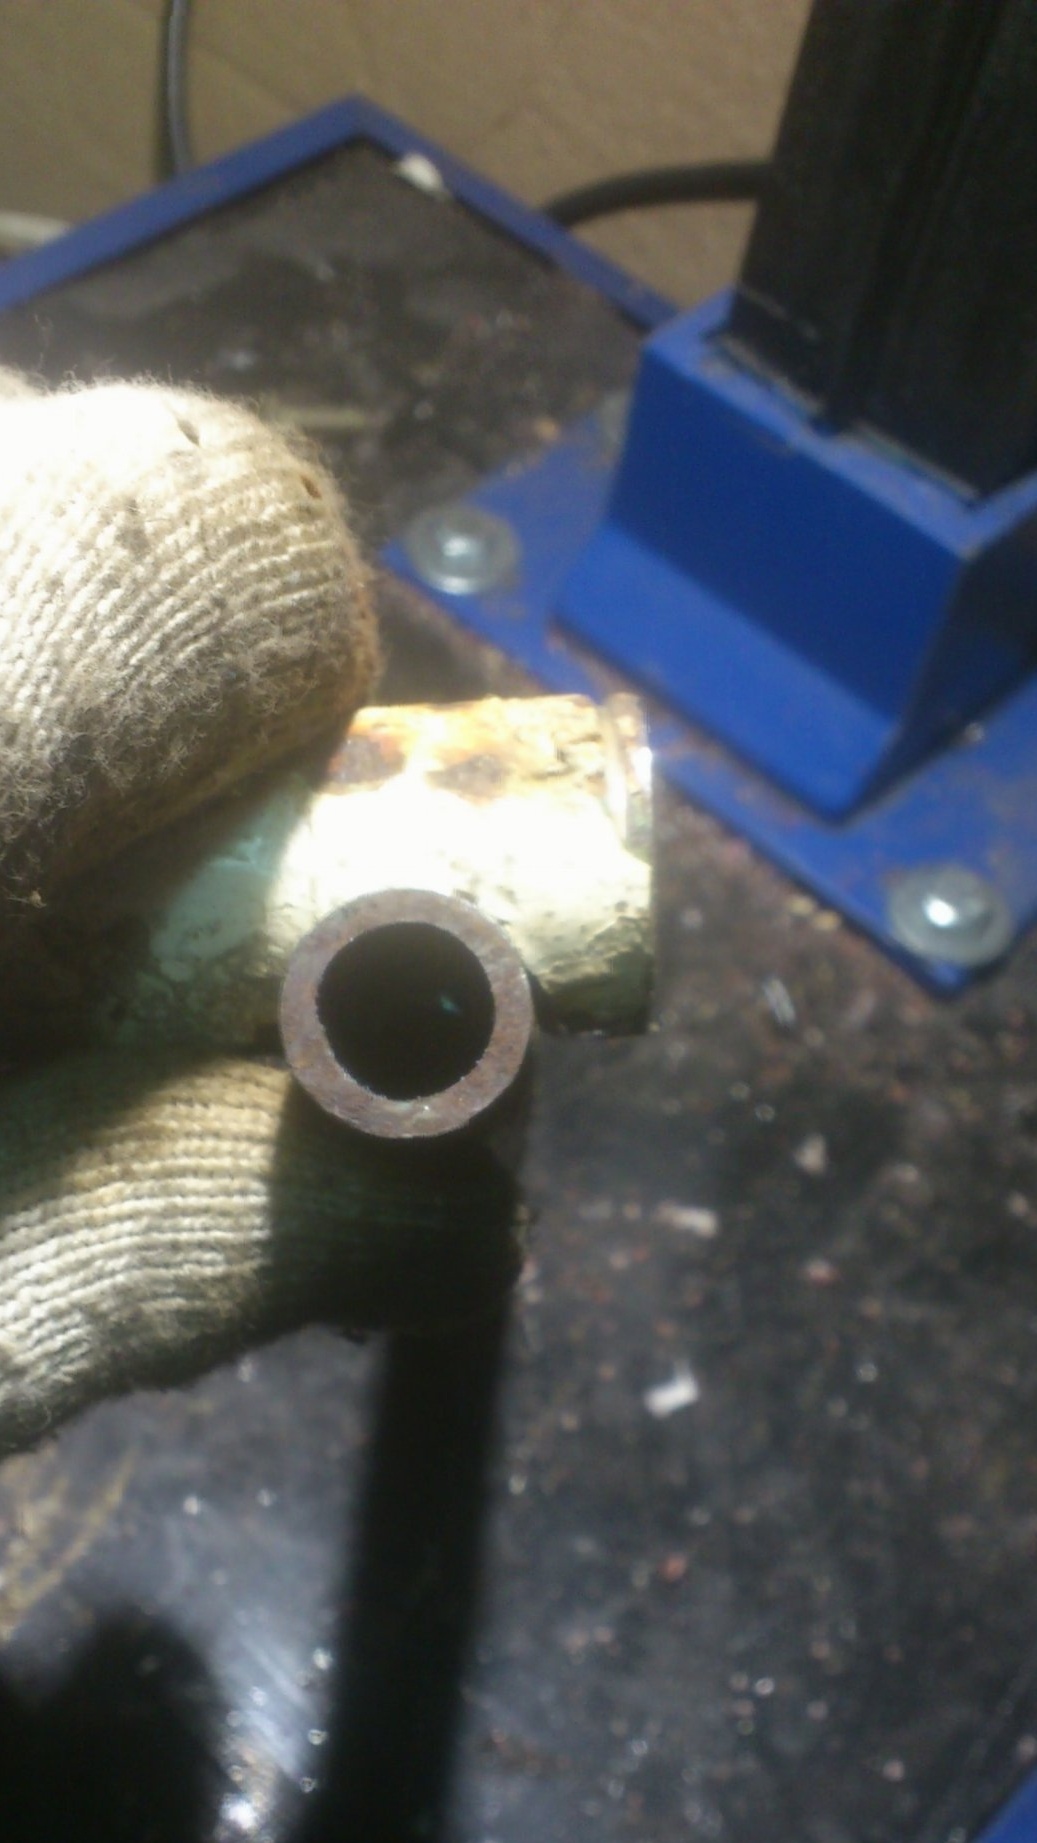
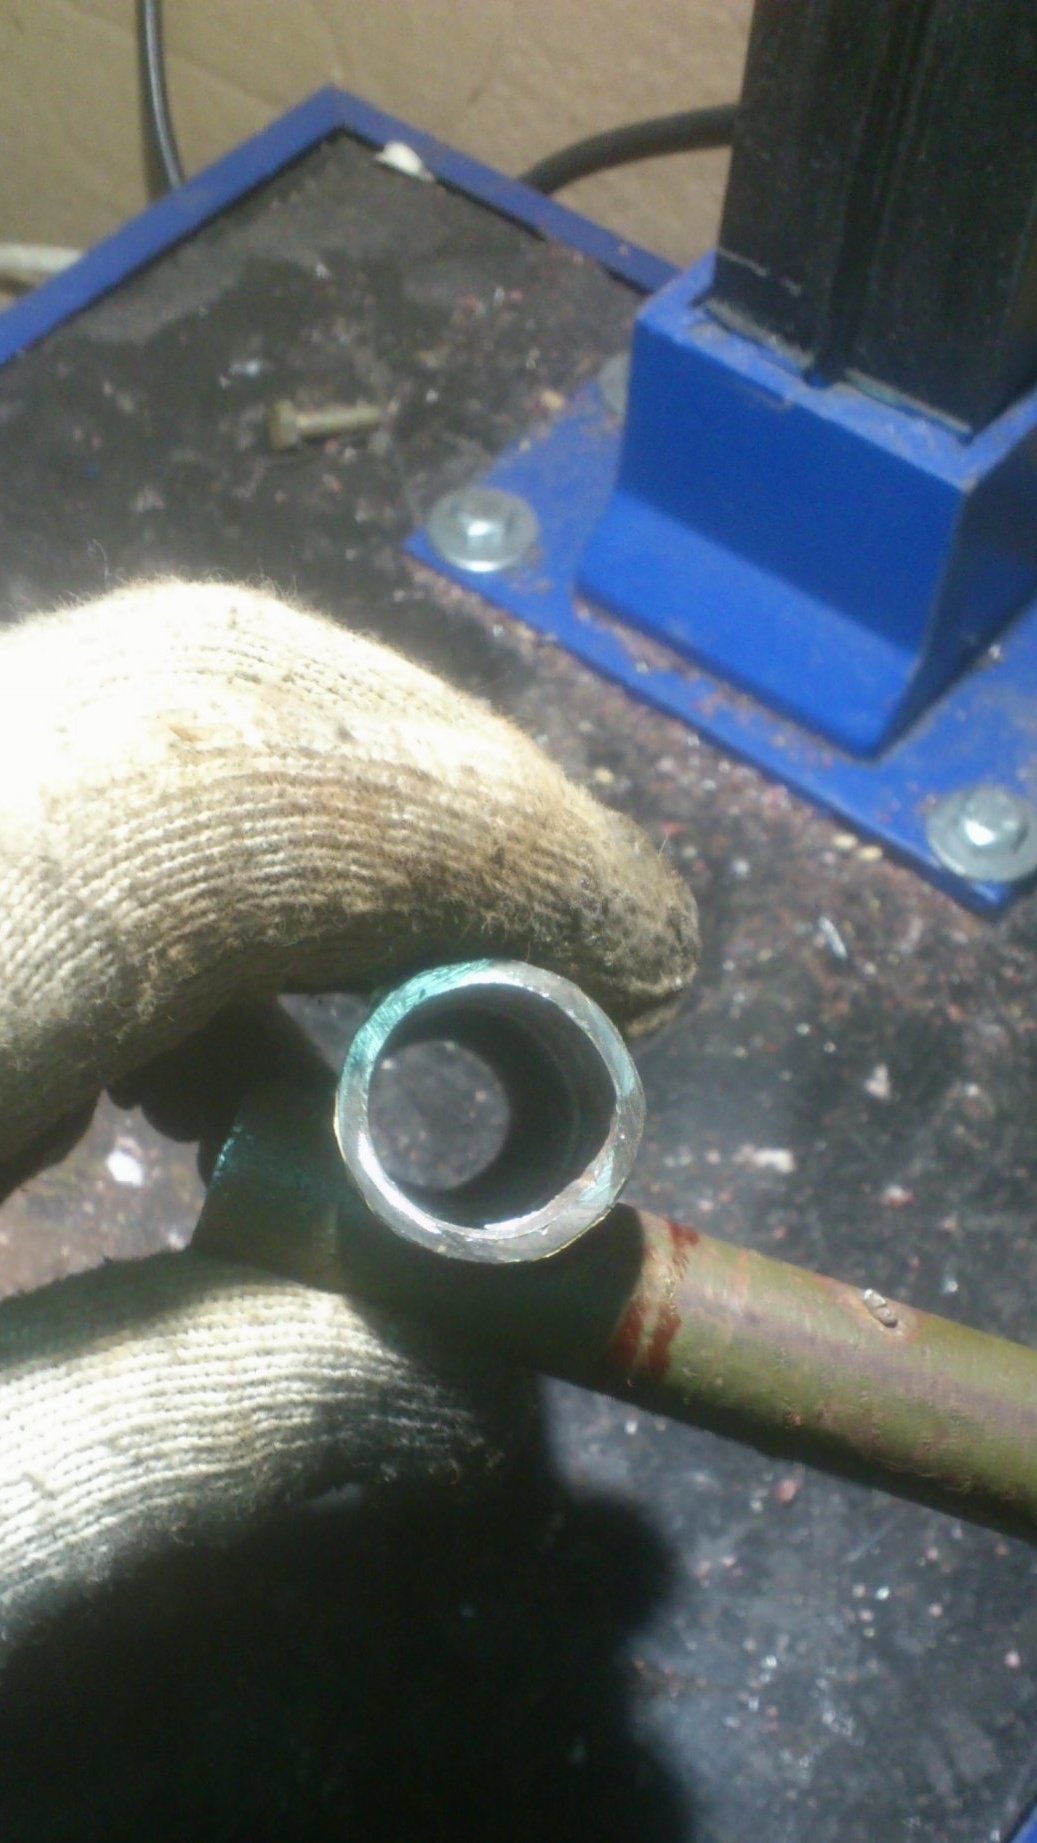
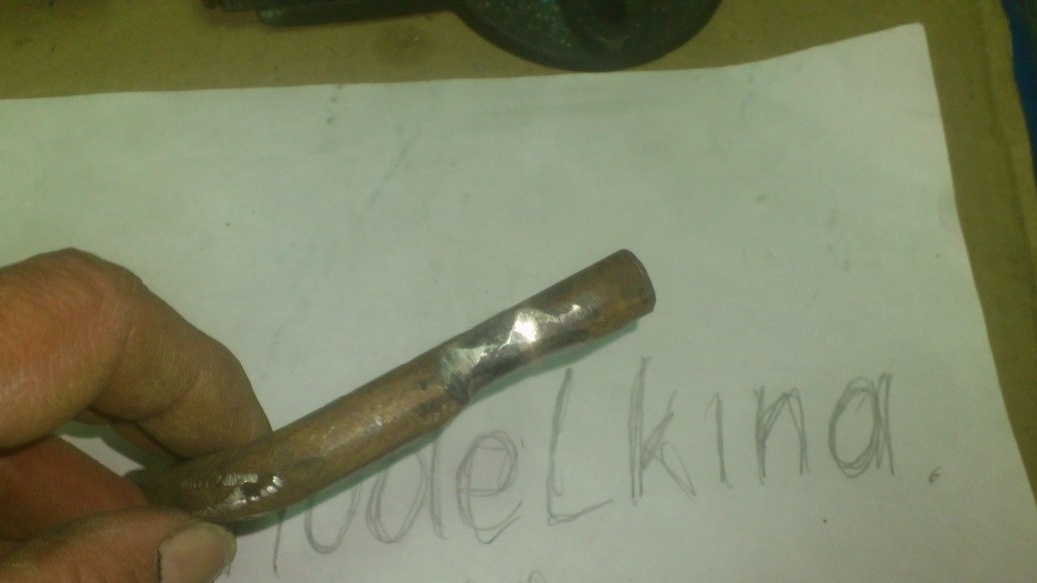
And he cleaned the ends with a grinder, using a masking tape as a template for evenness:
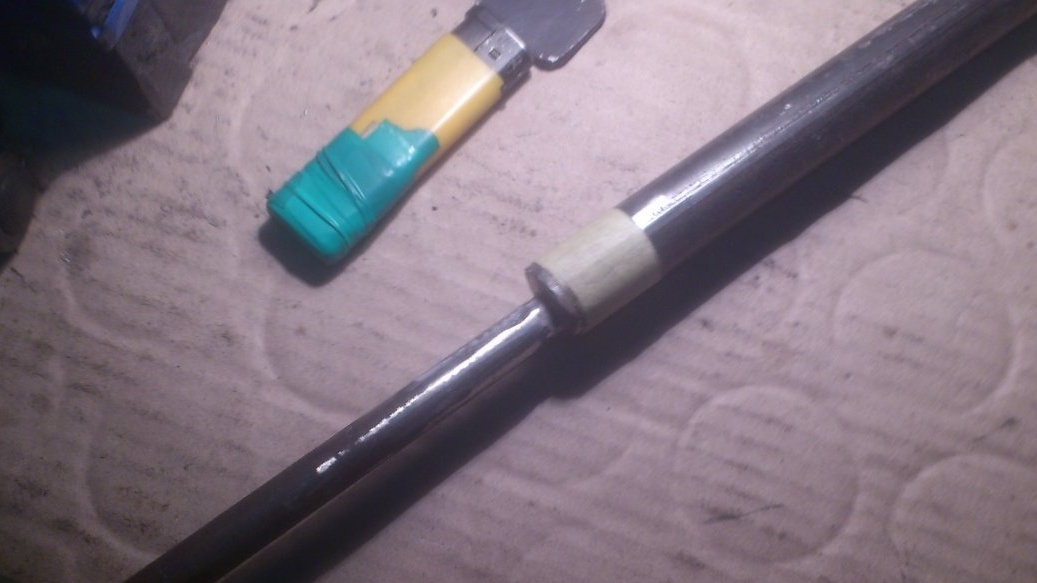
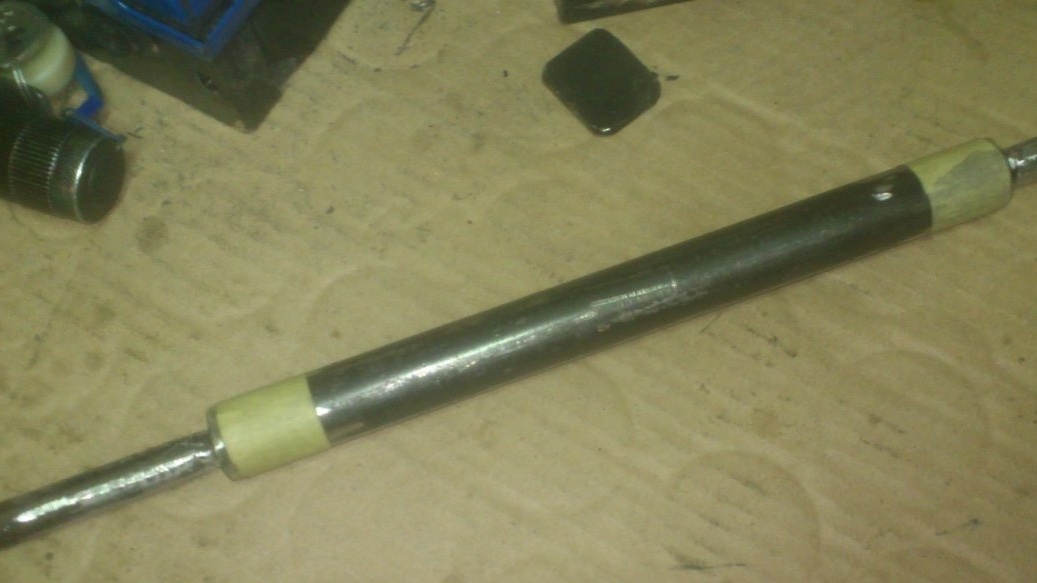
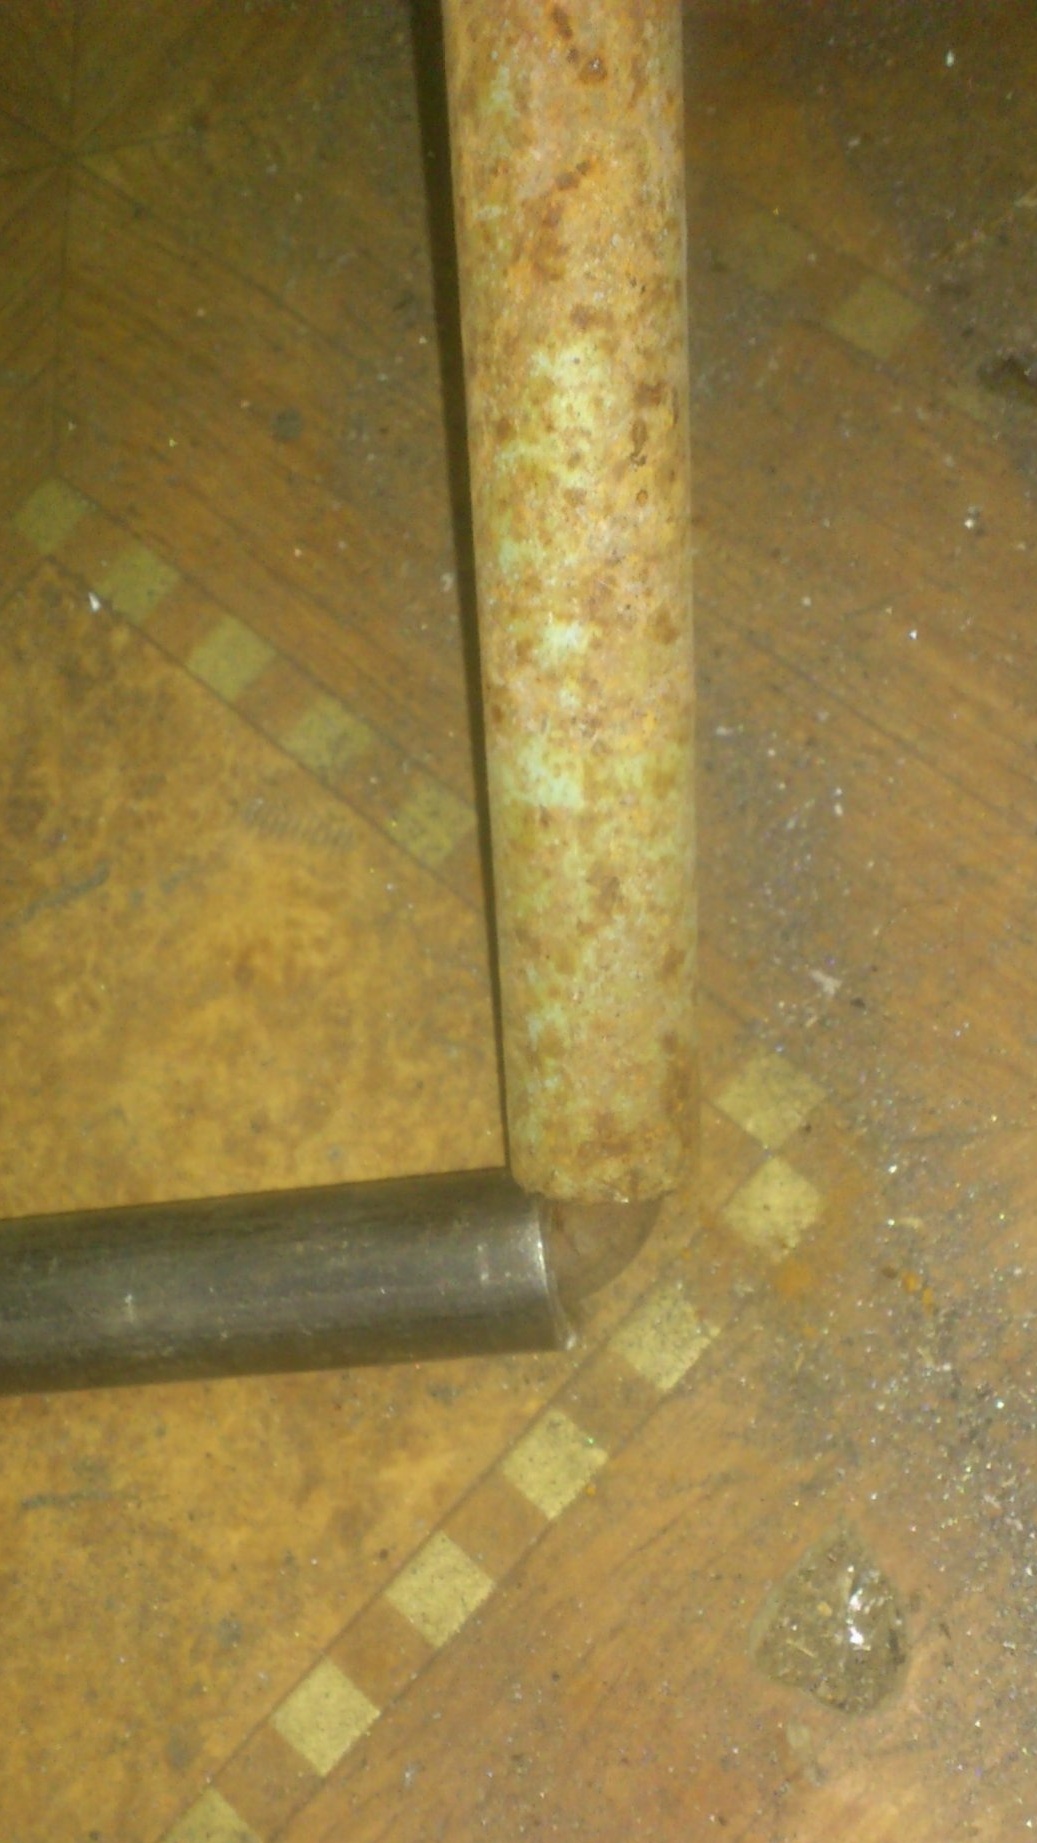
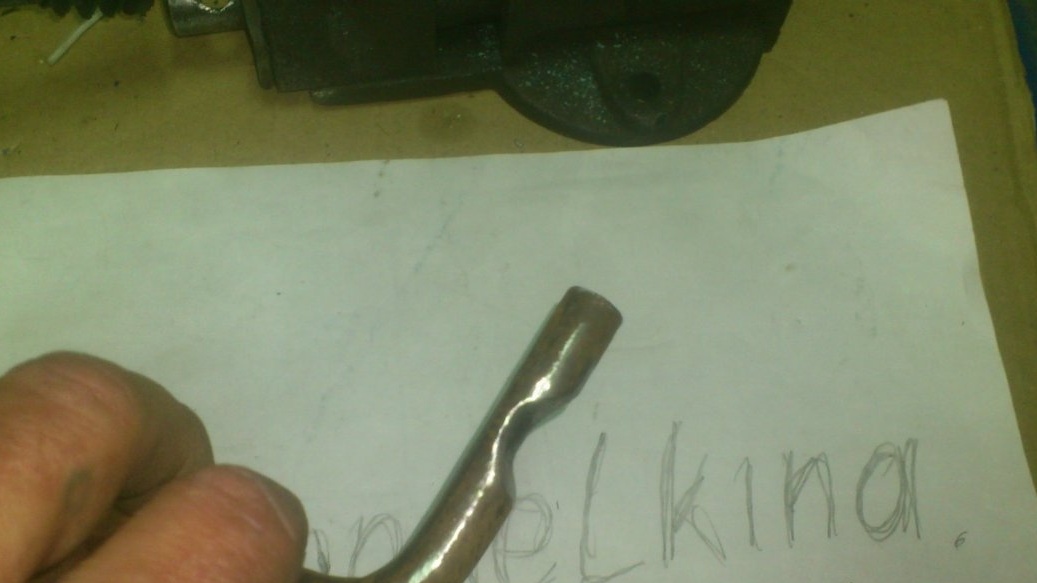
So I got the eccentric shaft I need with a radius difference of about 4 mm:
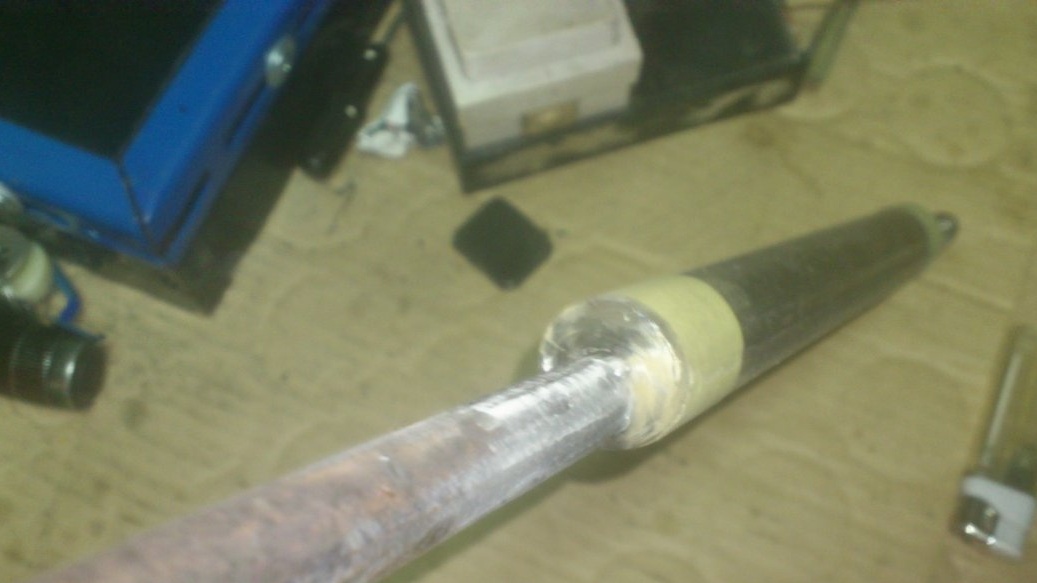
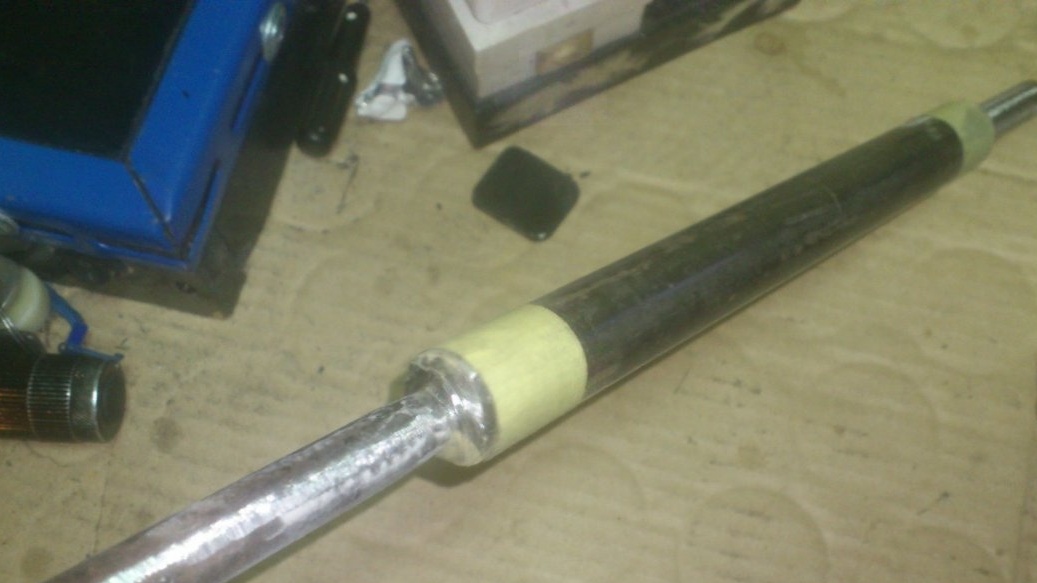
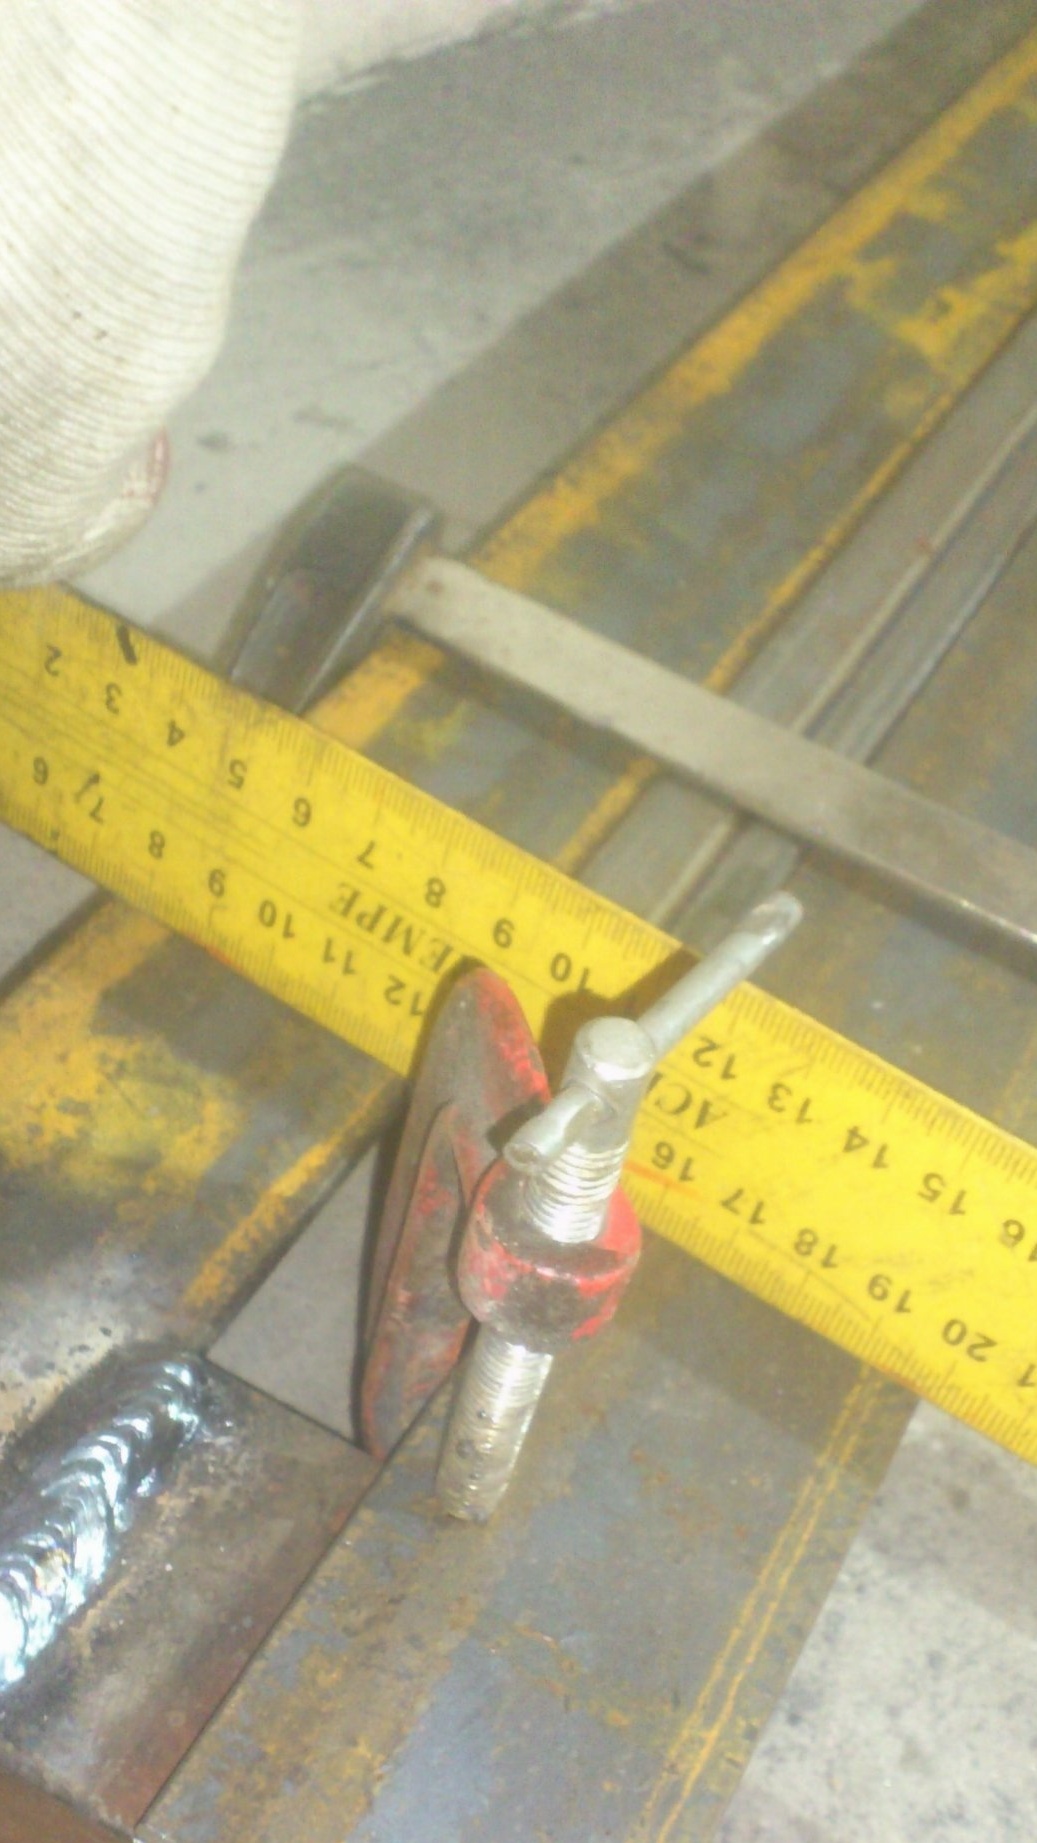
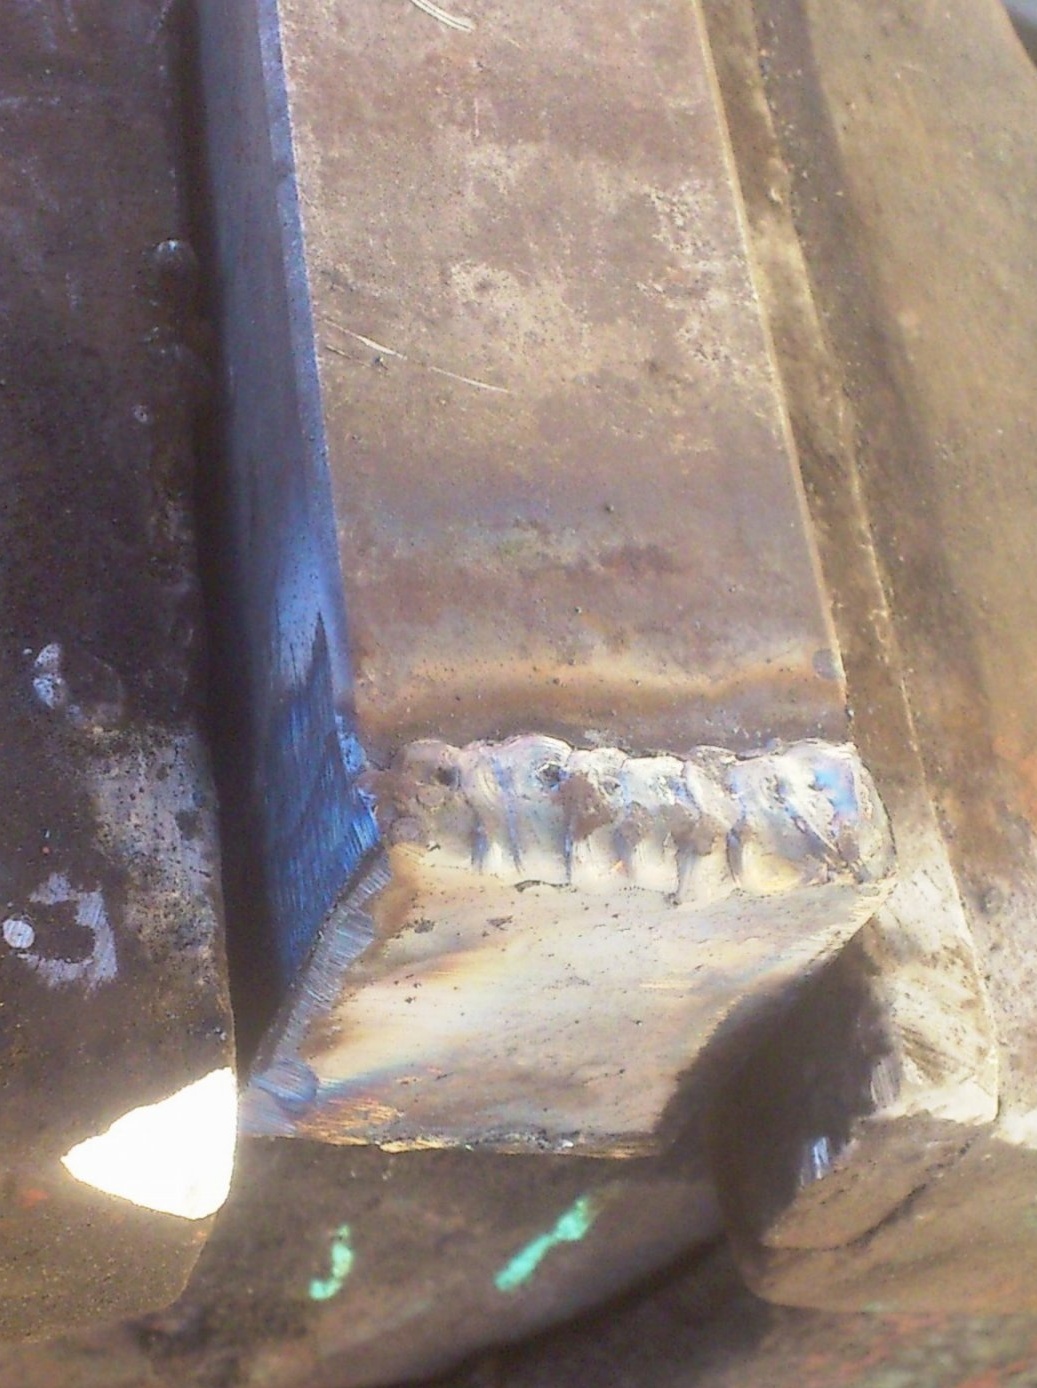
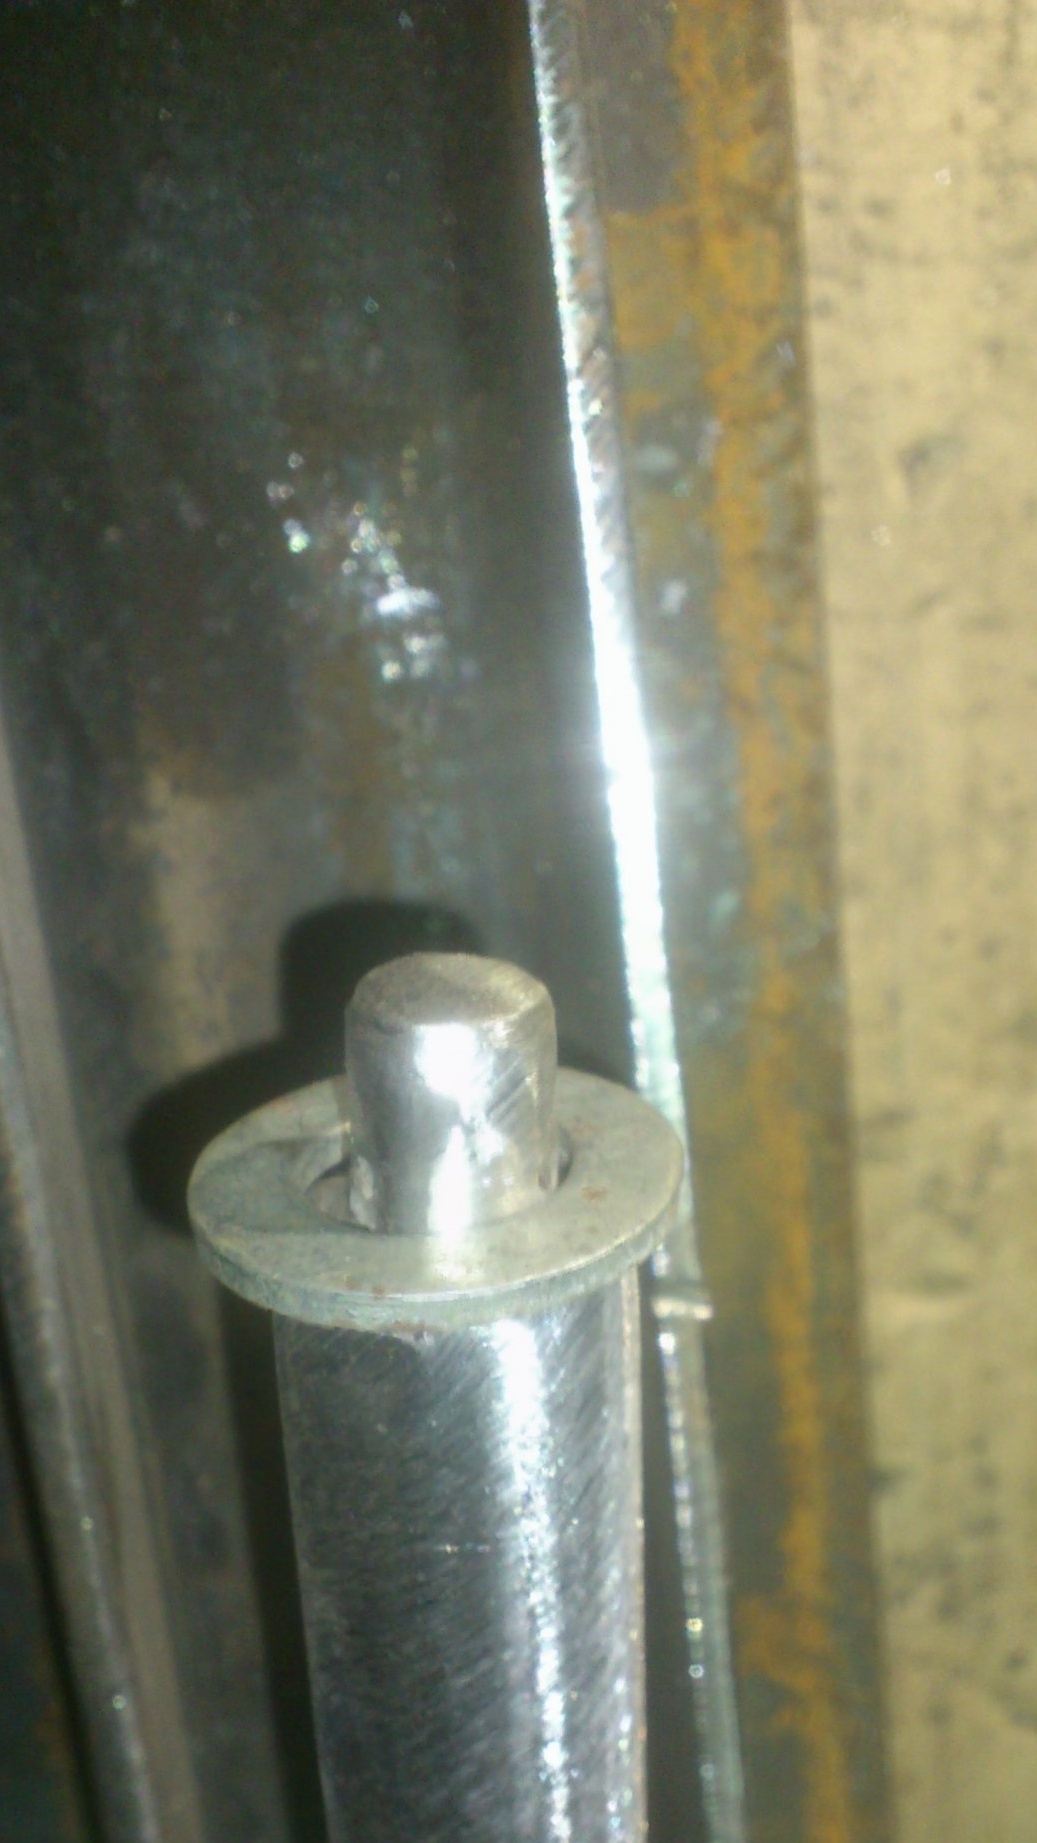
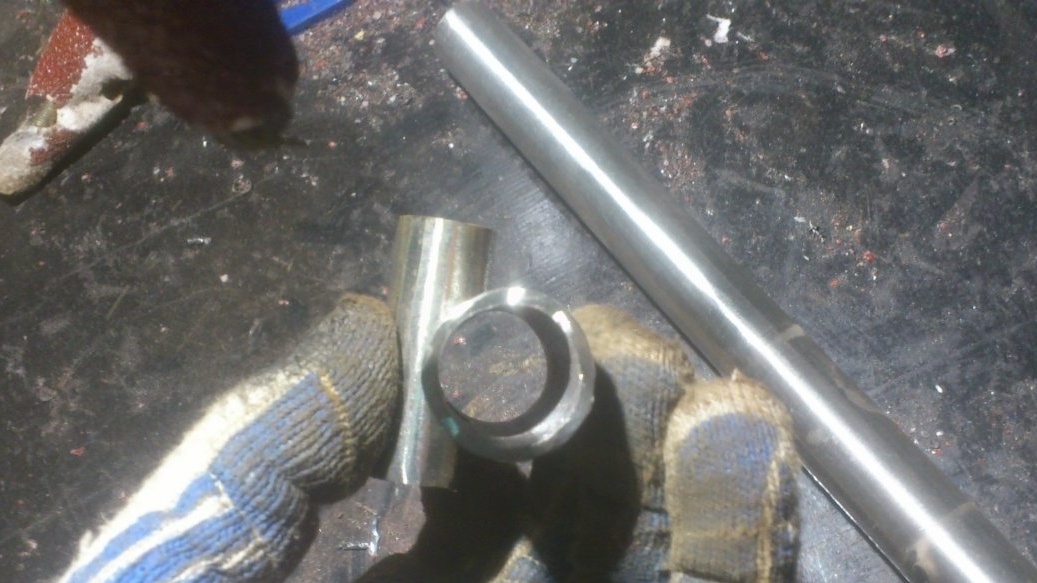
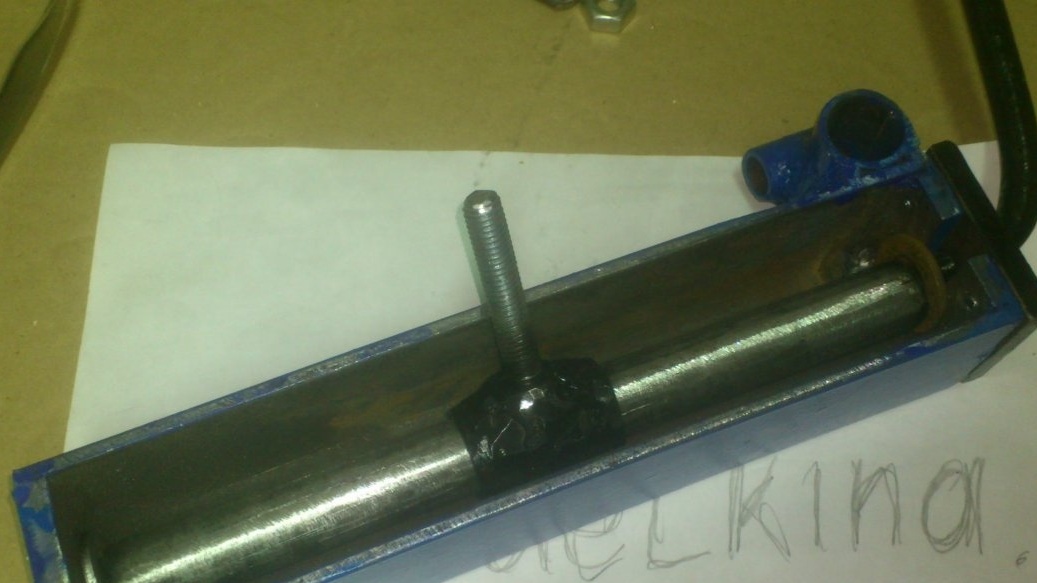
Now you need to make a leash. For this, I used an M12 bolt and a piece of a Du-20 water pipe. After the welding seam was removed inside, she easily began to dress on my shaft. I welded a bolt to a pipe, pressing it to it with a hat, not forgetting to protect the thread during welding:
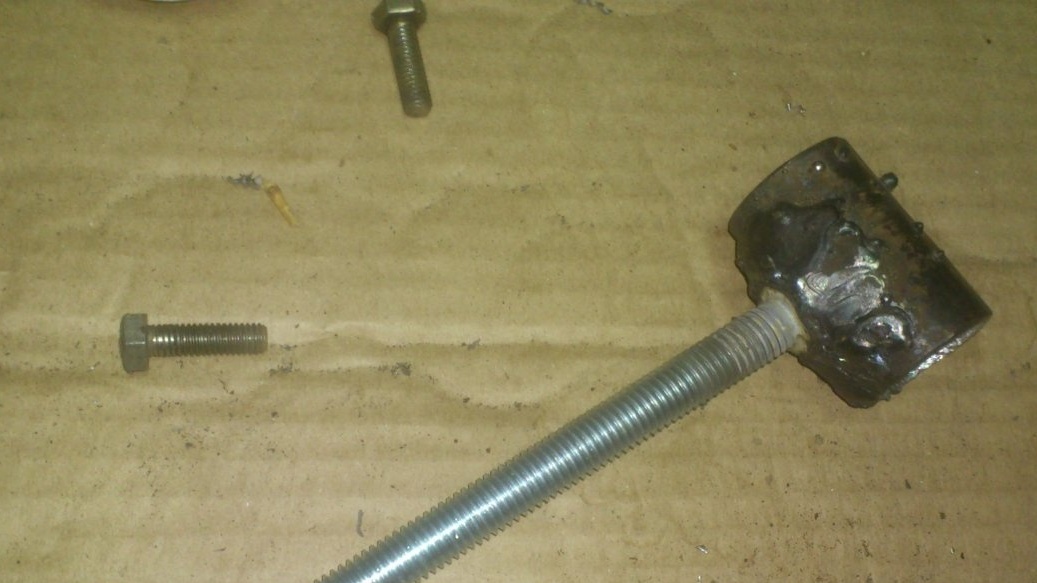
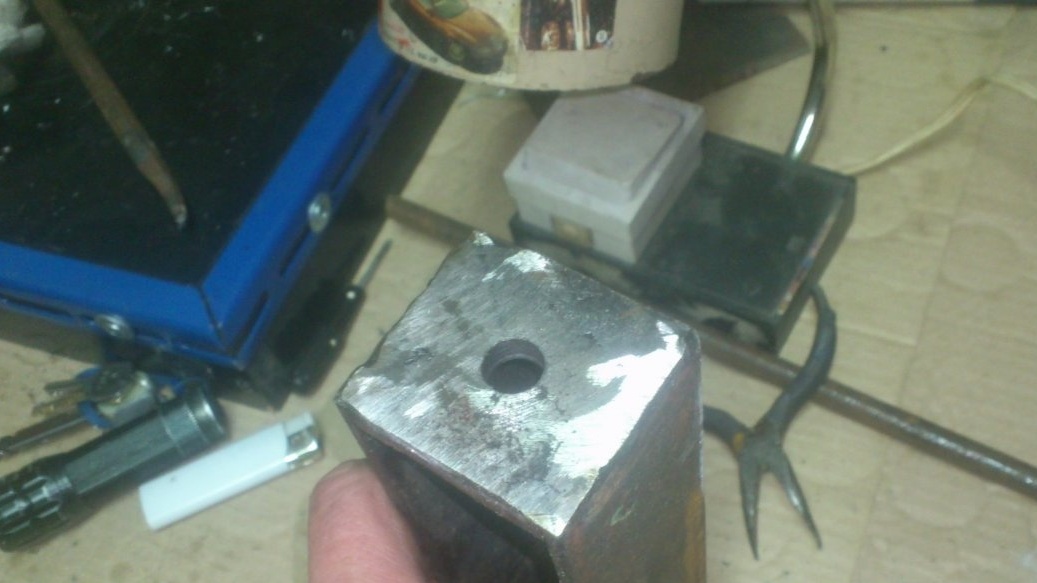
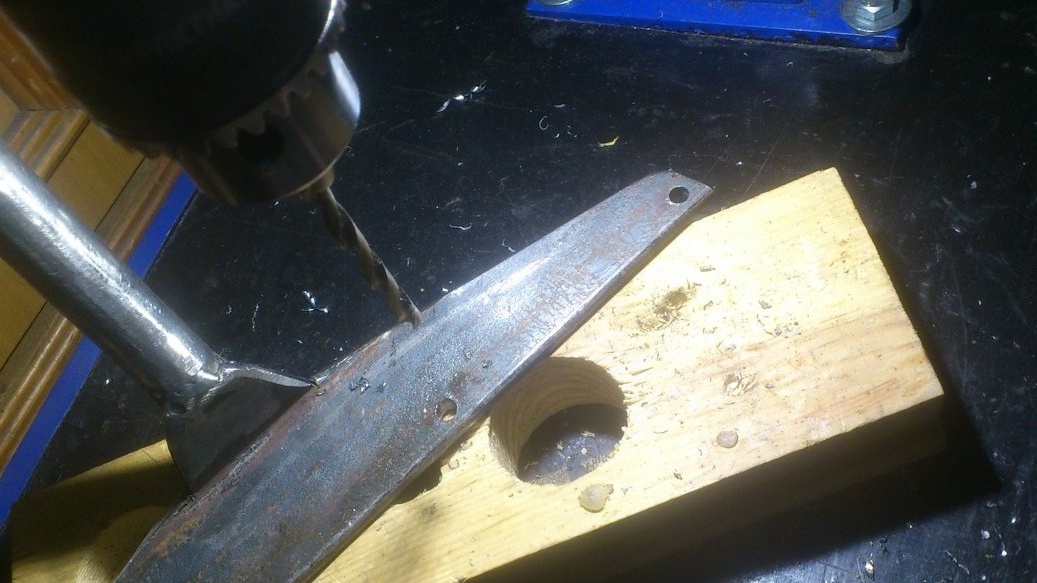
Now you need to insert the shaft with the leash on it, inside the case. To do this, I made a slot in the front end:
And made a cover out of a strip. First drilled a hole under the shaft:
And then he cut off the desired square, drilled four holes in it in the corners, and fixed it to the end with a slot with four M6 screws. (I drilled holes in the end for this and cut the thread.)
Sorry ... The phone sat down, so I was able to photograph only one threaded hole (three more were added later)):
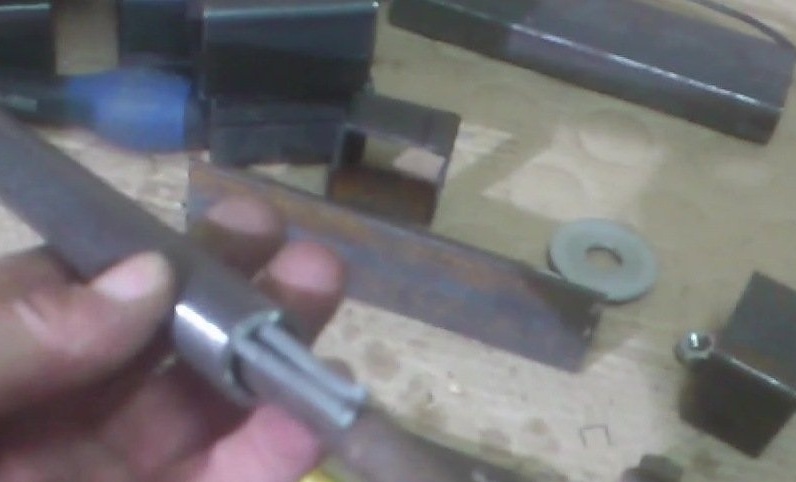
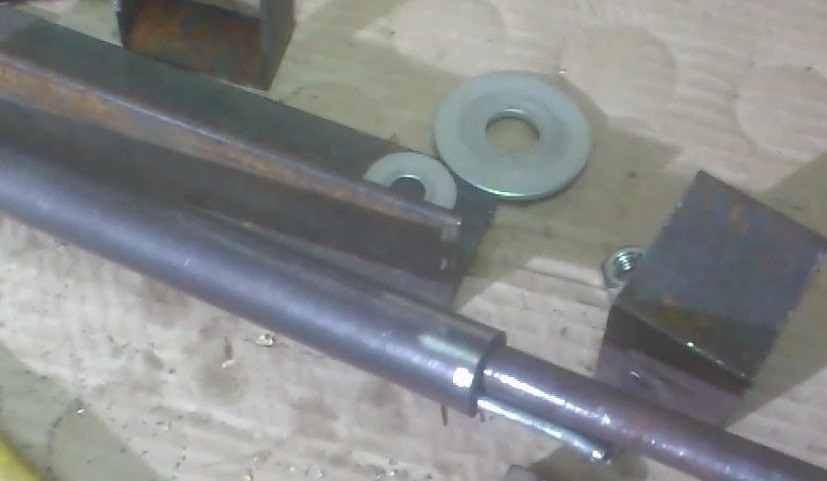
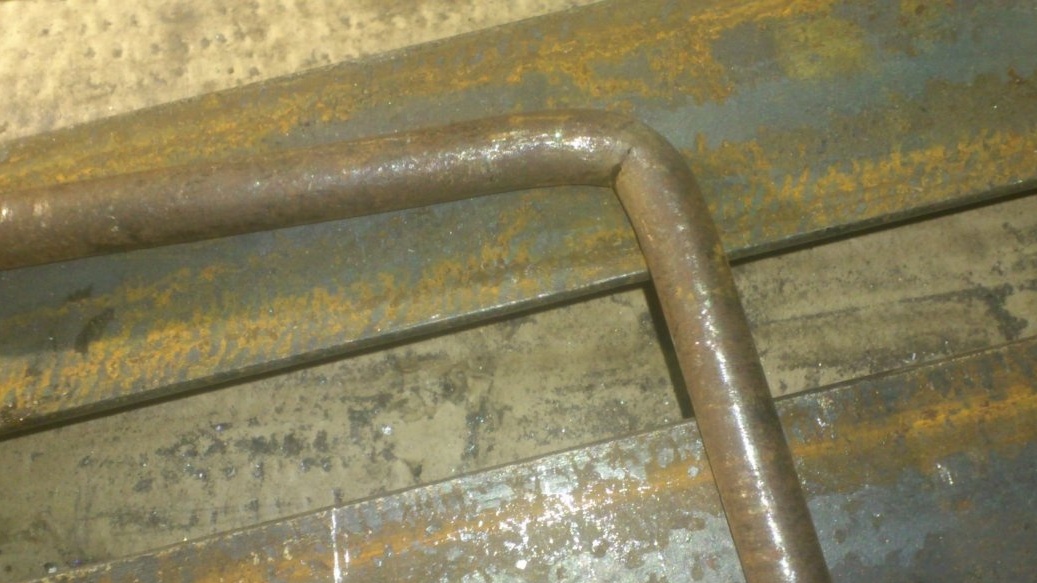
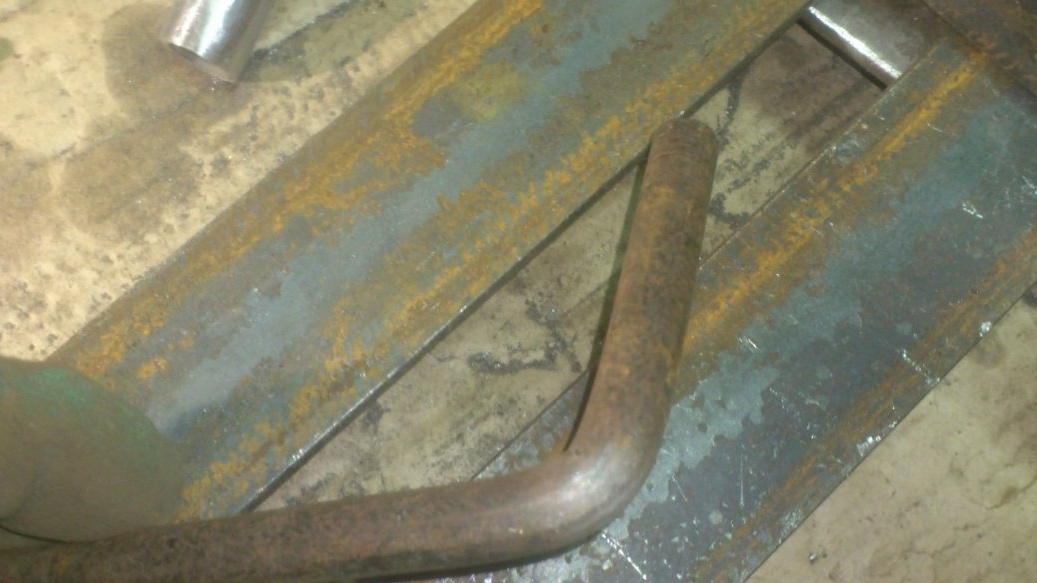
Now we put washers on the shaft (to compensate for the backlash that appeared when I cleaned the ends of the grinder), put a leash on it and insert it into the box:
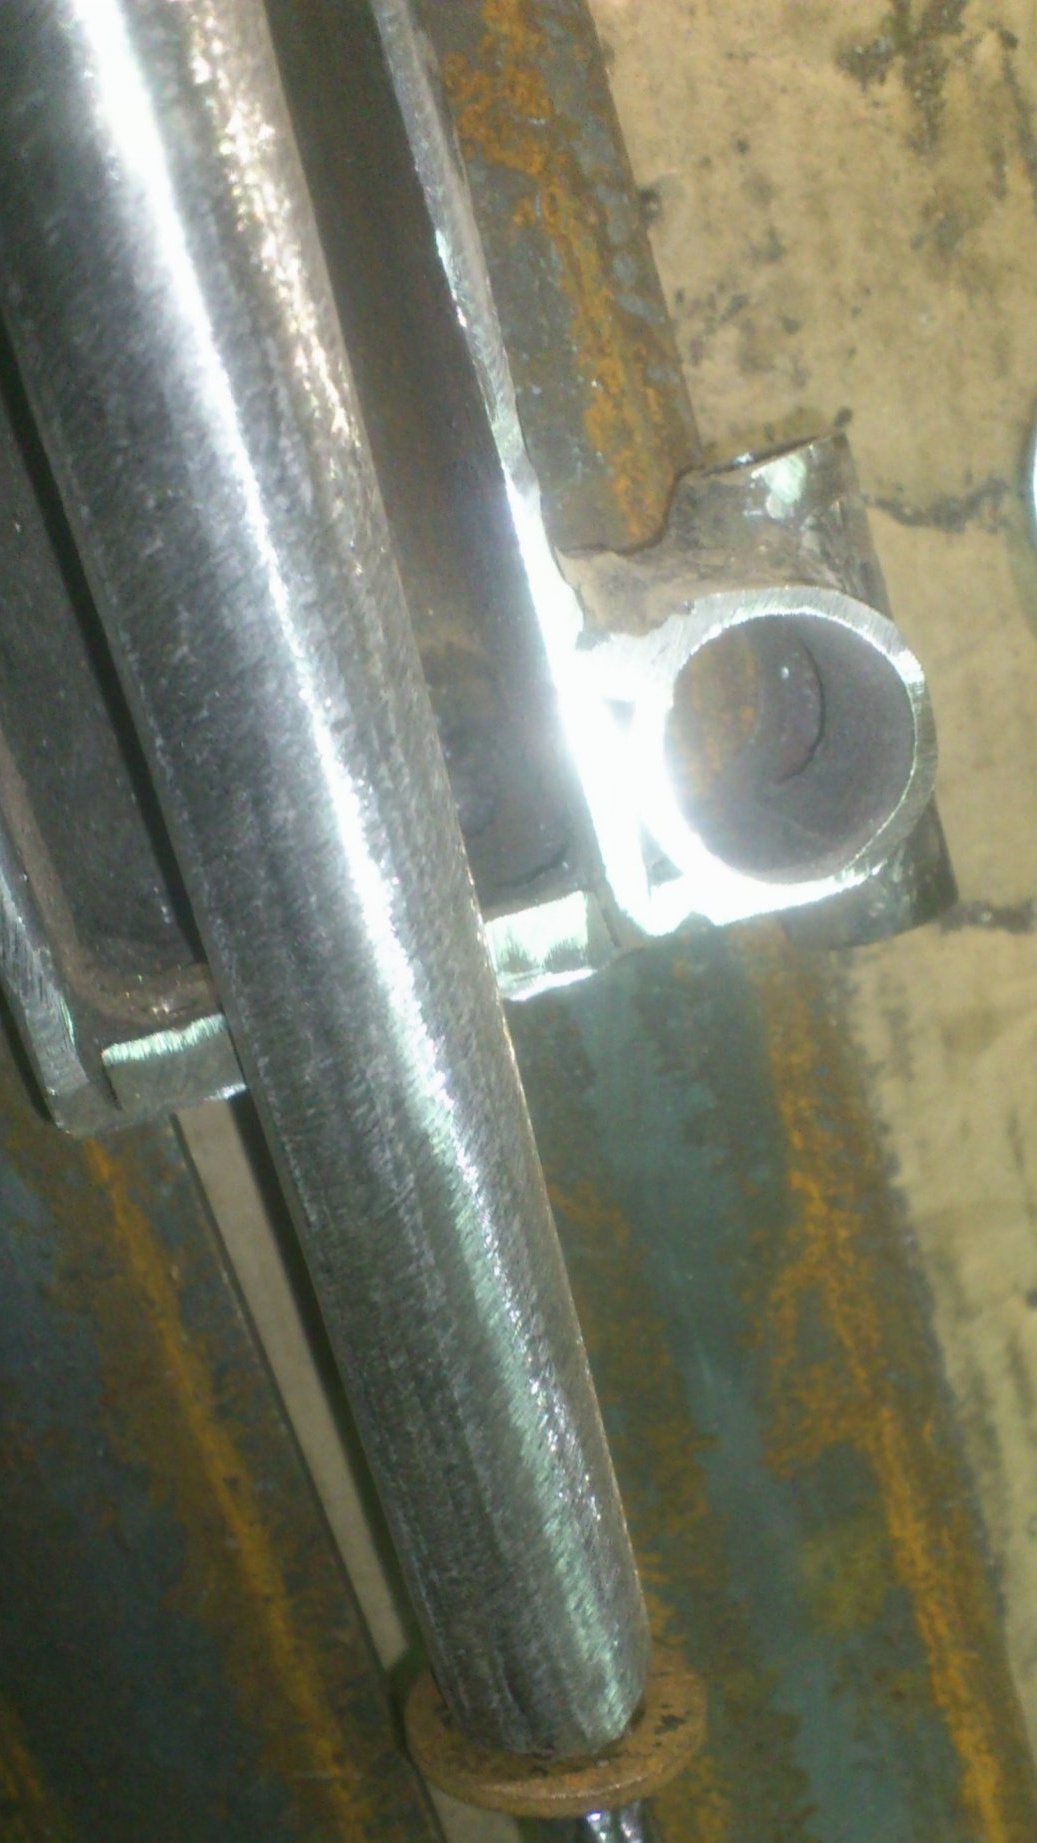
The front, long end of the axis sticking out of the body is bent to the side. This will be the lever through which we will turn the eccentric.
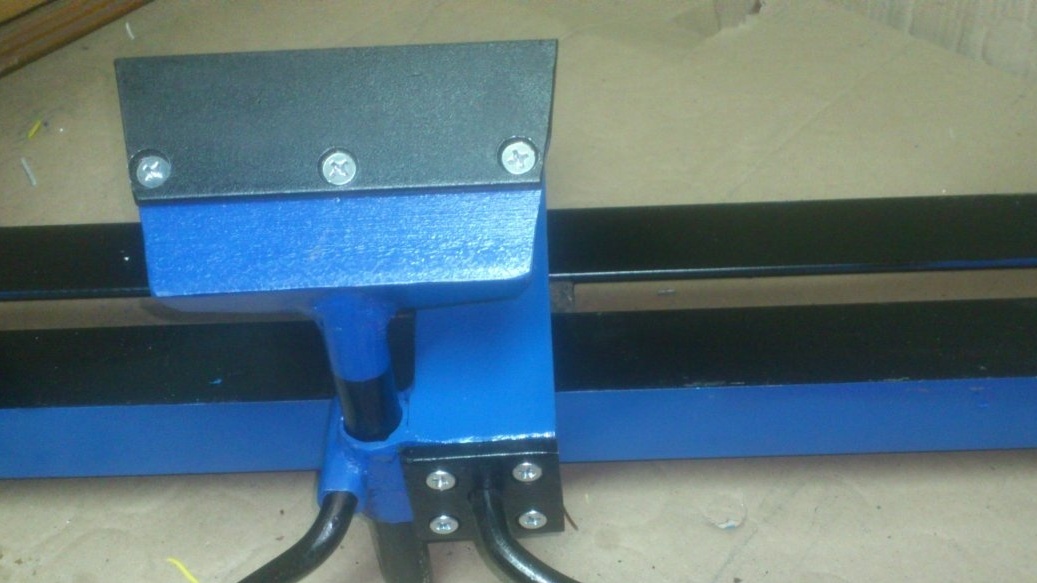
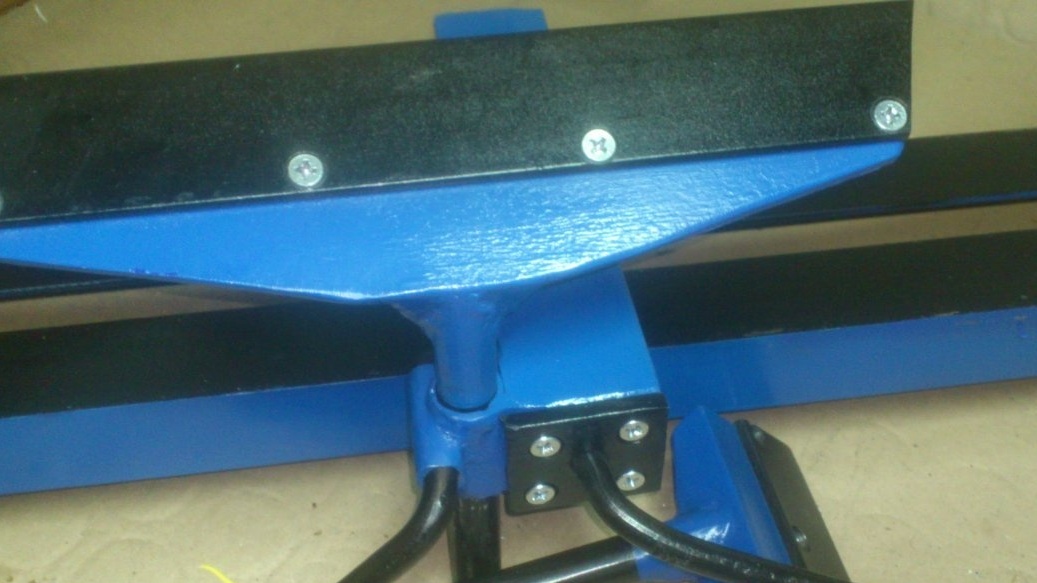
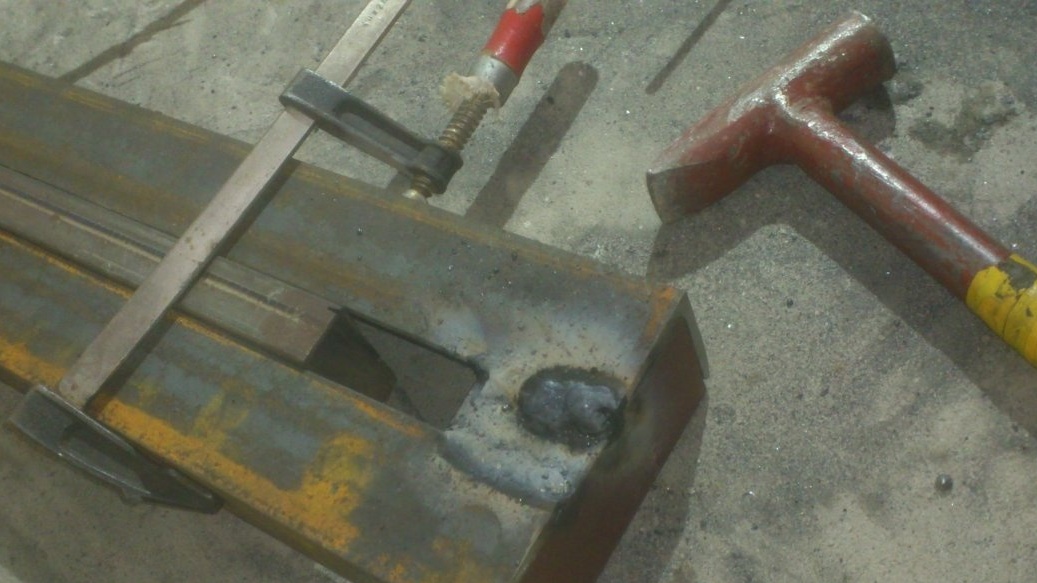
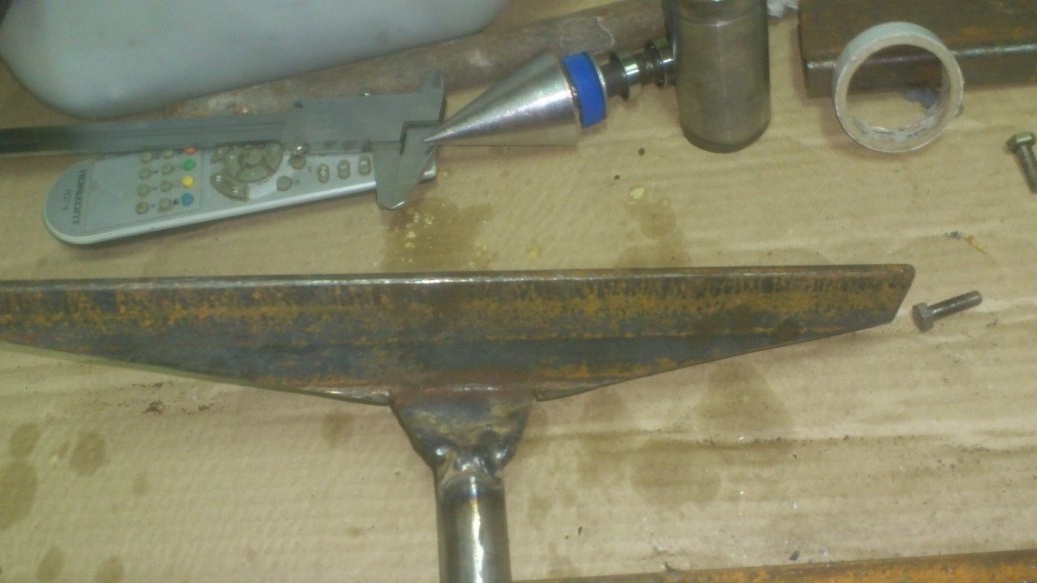
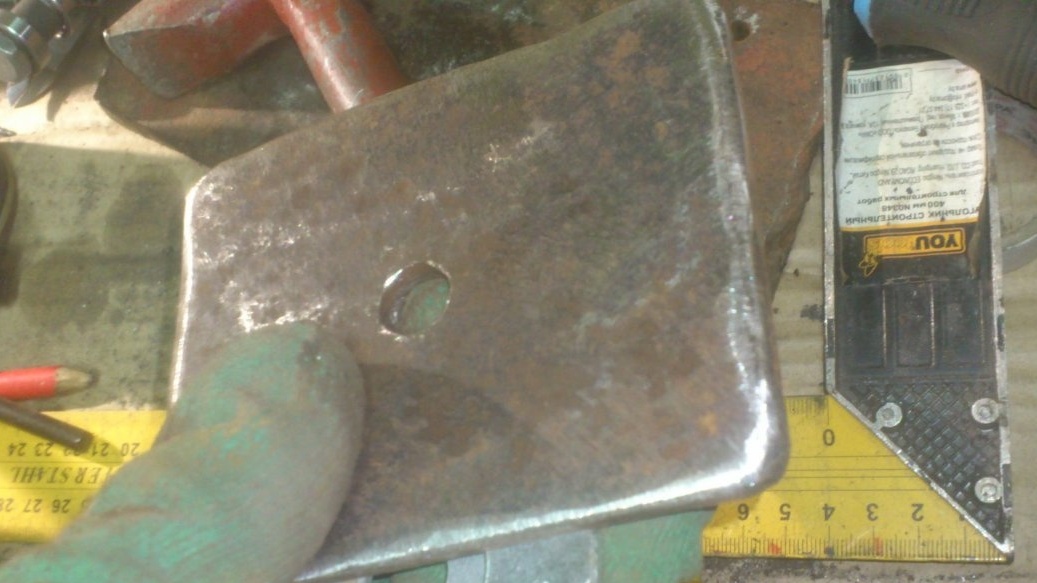
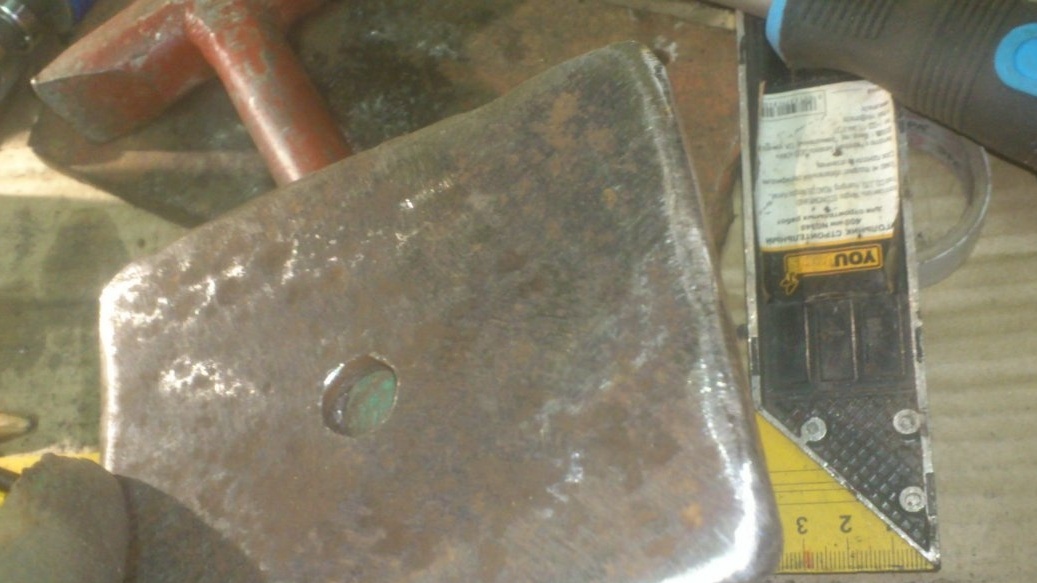
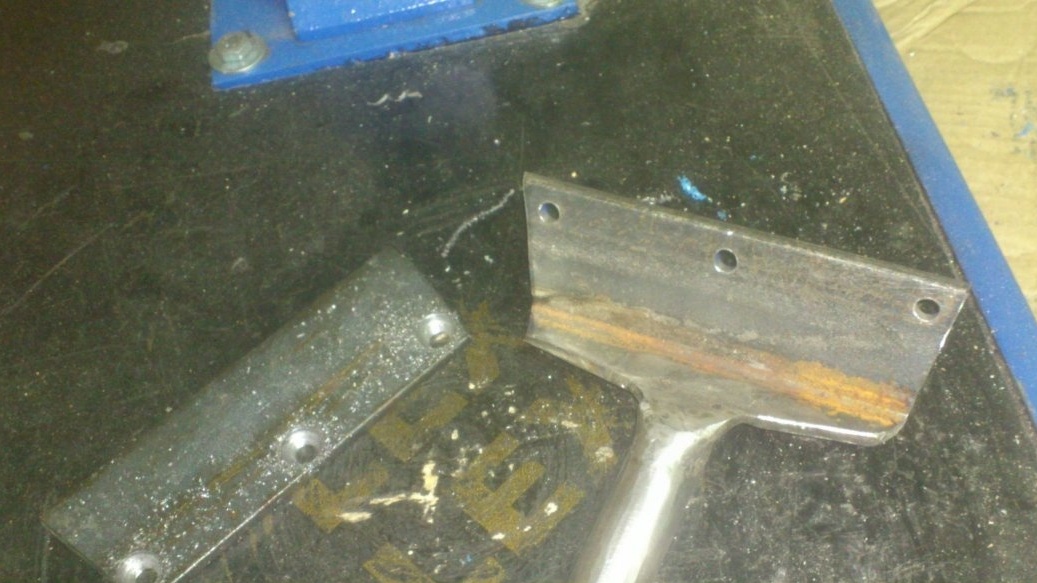
Now it remains to make a clamping pad. Since it should have great rigidity, I decided to make it from a piece of thick sheet metal that was found in "my scrap metal":

Since it should easily, without hesitation, move under the bed, in a space limited by the side shelves of the bearing corners, I tried to smooth out all the irregularities and round off the corners as much as possible. (Ideally, it should be made round ... But the size fit, and did not want to cut a lot)))). In the center, I drilled a hole for a bolt of a leash:
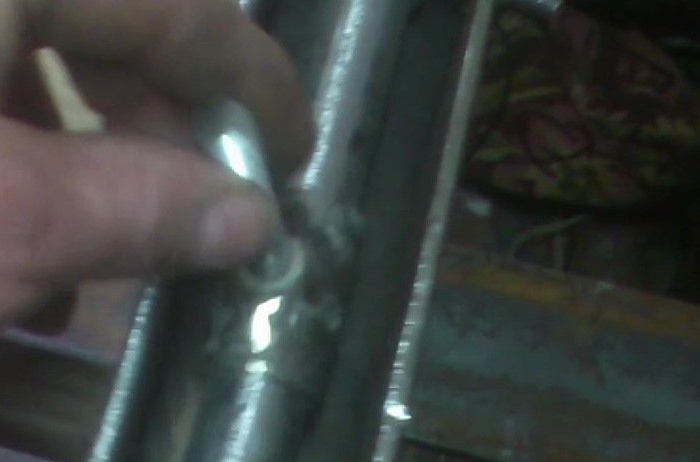
Now, putting the structure on the bed, and passing the leash into its slot, we put on this platform from below and tighten the nut. We adjust so that when turning the eccentric shaft with a large radius down, the platform is relaxed, hangs freely on the bolt of the leash and allows us to move our structure along the plane of the bed. The lateral movement relative to the bed is ensured by the sliding of the leash along the shaft, the longitudinal movement - by sliding the leash inside the slot of the bed. Having shifted the handcuff body to the position we need, we clamp the lever. The eccentric shaft at the same time rotates and pulls the leash. The lower platform with tremendous effort is pulled upward, tightly fixing the entire structure. (It's not for nothing that I used the phrase “with tremendous effort” ... After all, the difference in the radius of the eccentric is about four millimeters (and this is the short arm of the lever). And the length of the bent part of the axis (long arm of the arm) turned out to be about 160 mm. we have an increase in our strength from forty times !!! And, since you need to press down on the lever, then, in fact, the force will be limited only by your weight !!)))). So count)))) Of course, some part of it will be spent on overcoming the sliding friction force ... But still ...
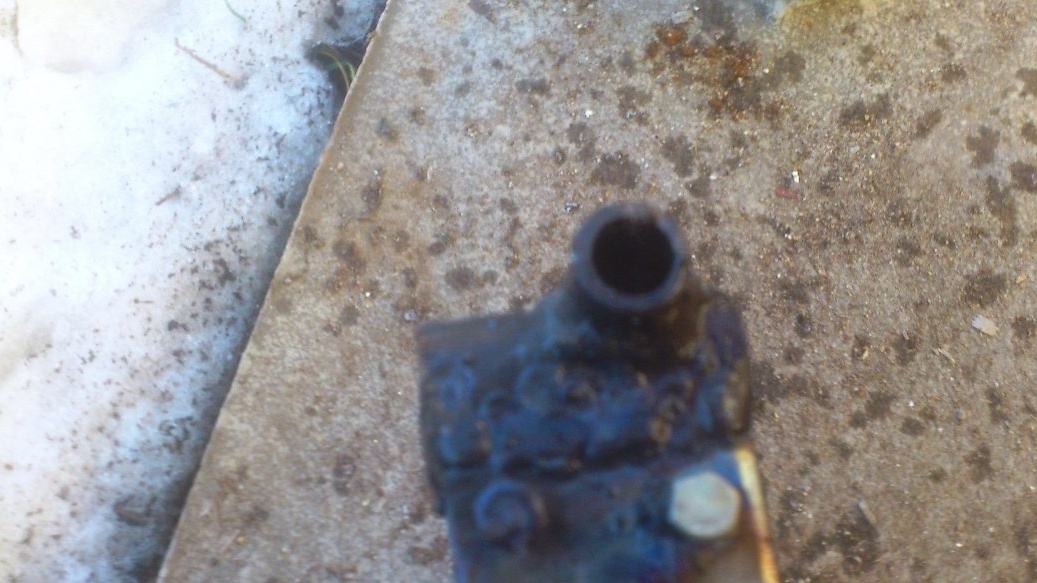
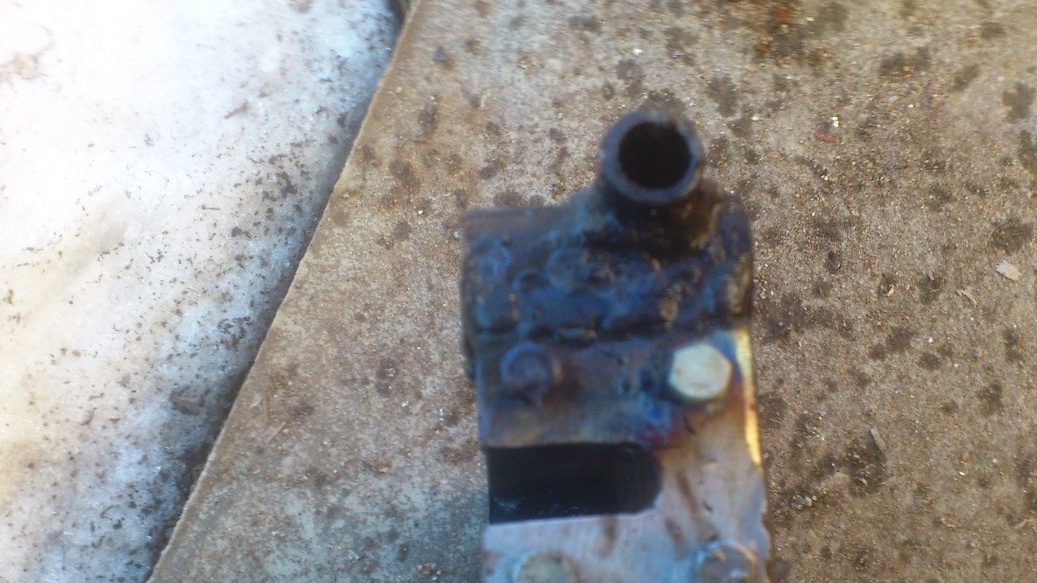
Simultaneously with these works, I made a mount for the handcuff to the body. (In one of the photos above, he was already visible))).
At first, I just wanted to weld a piece of pipe in which the hand will be clamped with a bolt ... But the idea of a quick clamp did not give rest ...))) If everything moves and is fixed in a horizontal plane by a quick motion, then it would not fit for vertical fixation twist the bolts)))).
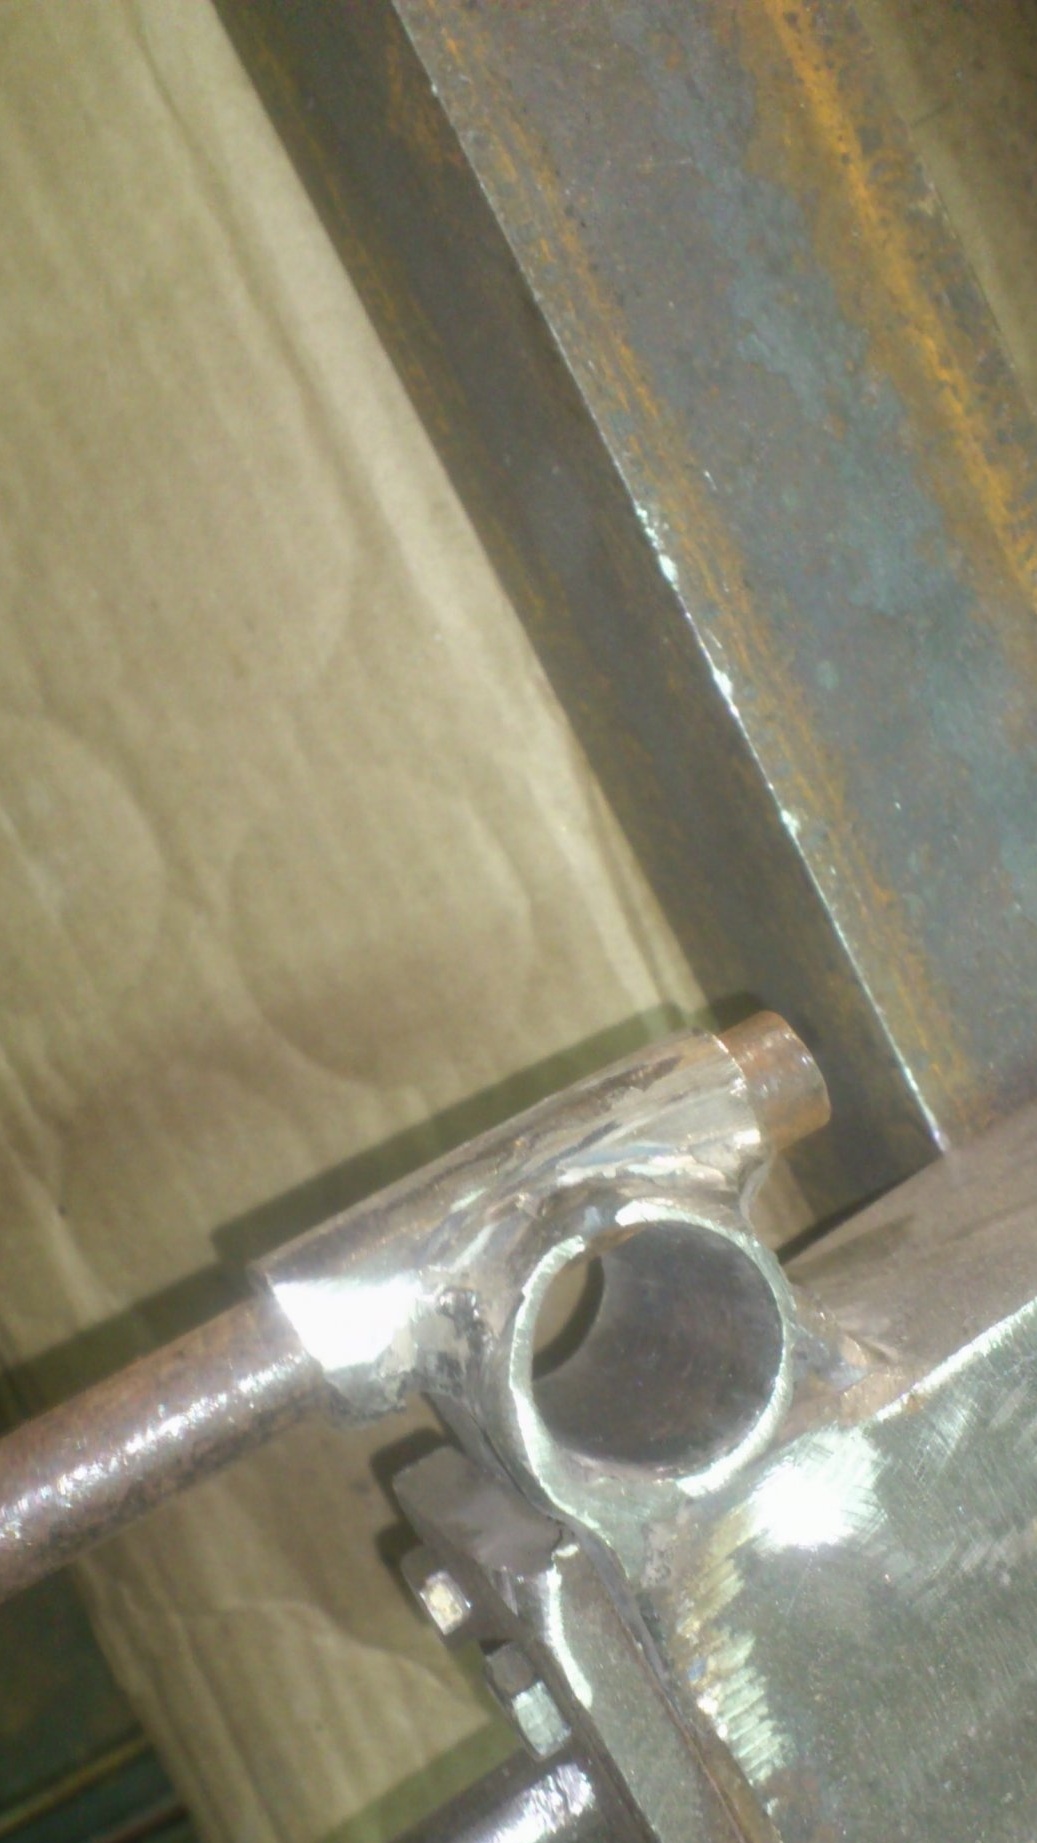
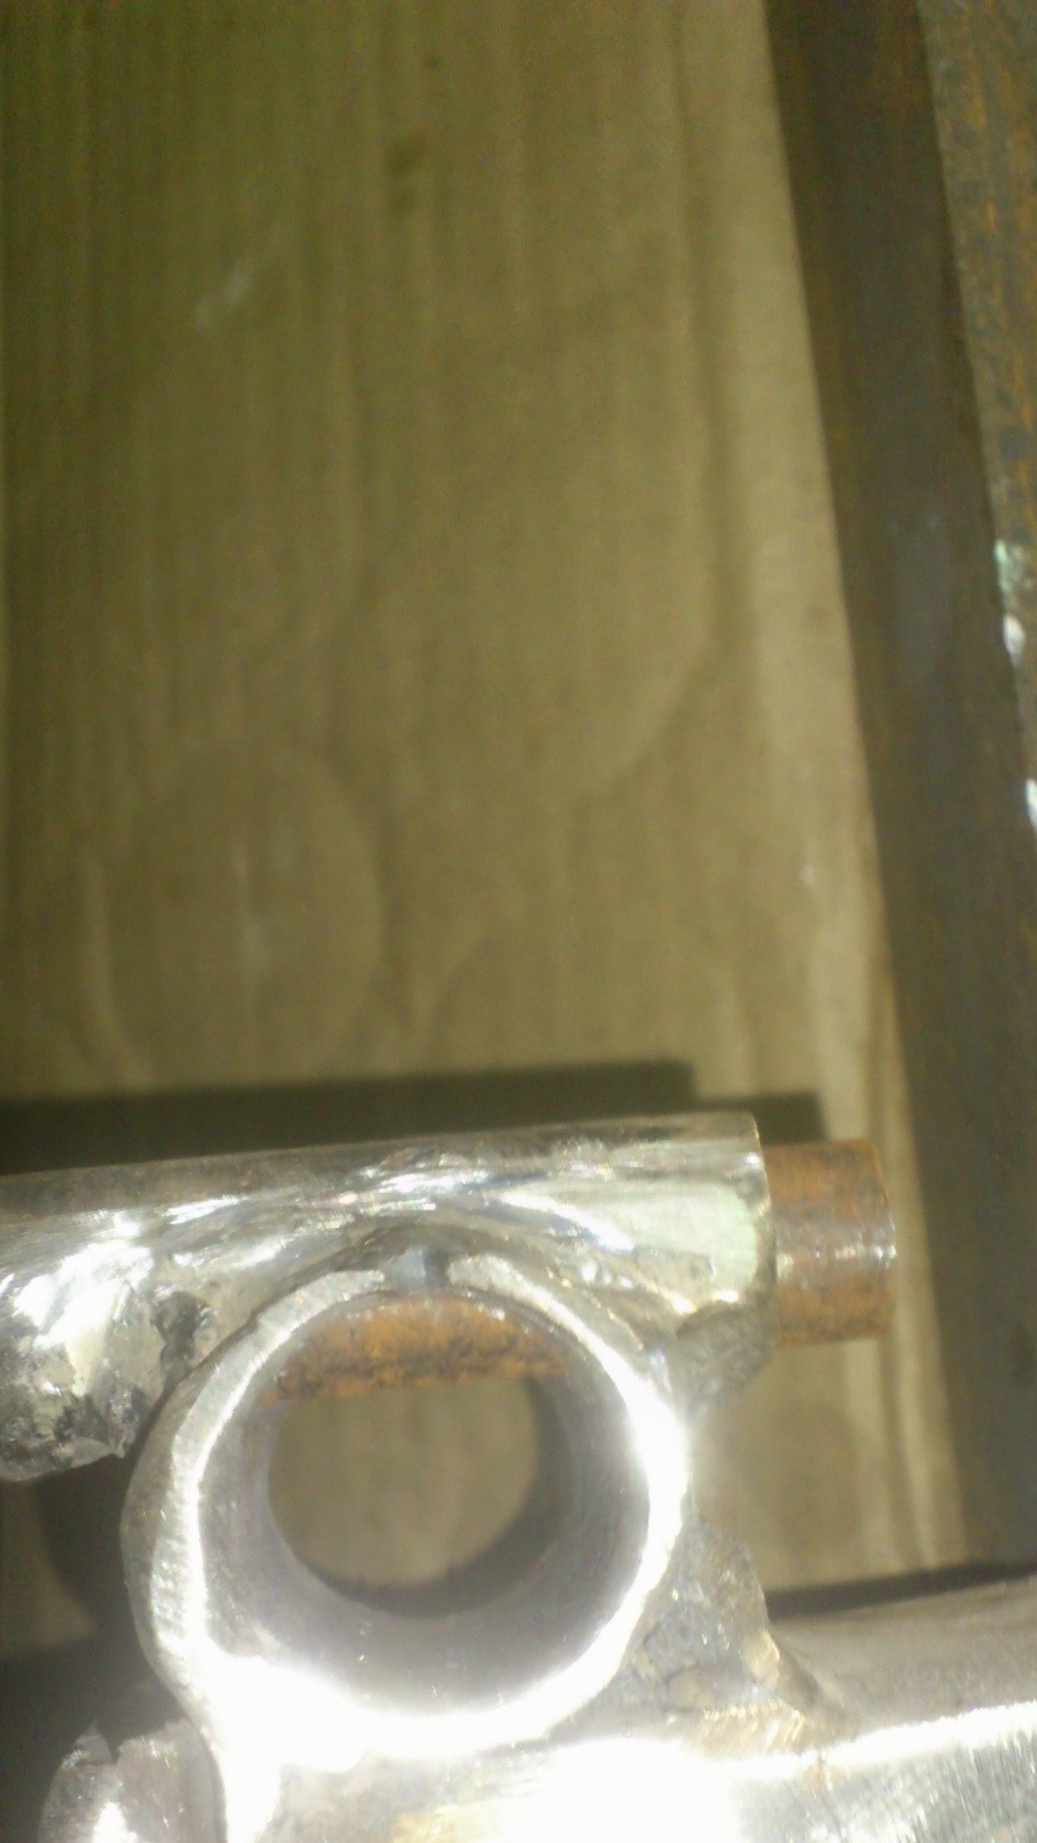
I made the mechanism from two mutually intersecting tubes. Du-20, which includes the “leg” of the handyman:
And the Du-15, which includes a 16mm pin, from which I made a shaft with an eccentric.
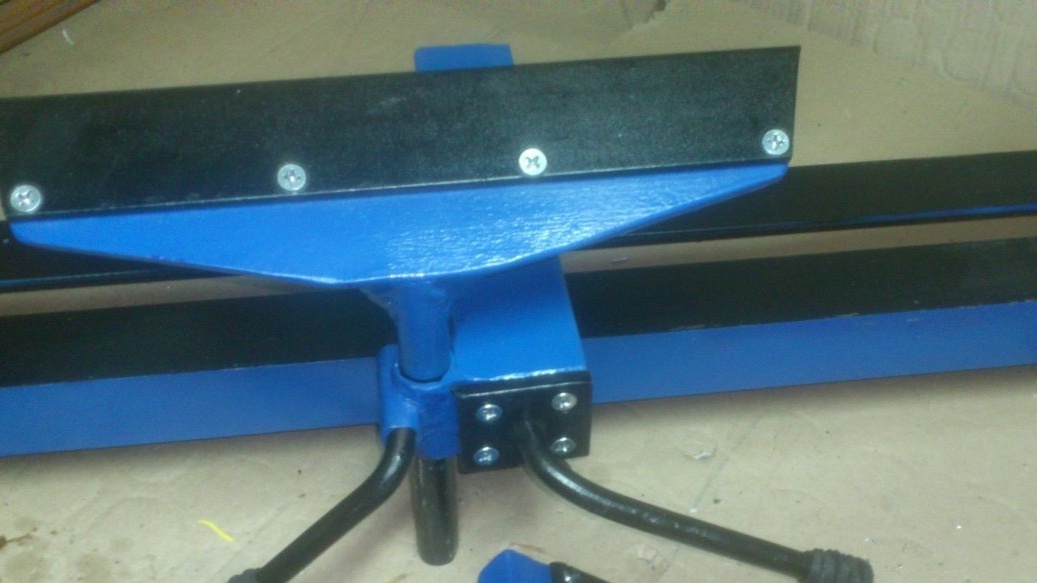
In the pipes, I made these cutouts:
If they are folded with these cutouts, then they do not overlap each other's internal passages:

Having cut off pieces of the required length, I welded them together and welded them to the body of the base of the handicraft:
Now we’ll make an eccentric lever. As already mentioned, for its manufacture I needed a 16 mm circle that goes into the transverse tube:
Having made a small incision, I, using two long pipes, bent the pin, not reaching the right angle:

Then he made a round sample.
. If you insert the shaft into the transverse tube, then the selection does not hurt to insert the "foot" of the handicraft. Having inserted at the desired depth and set it as required relative to the axis of the workpiece, we clamp it by turning the lever down.
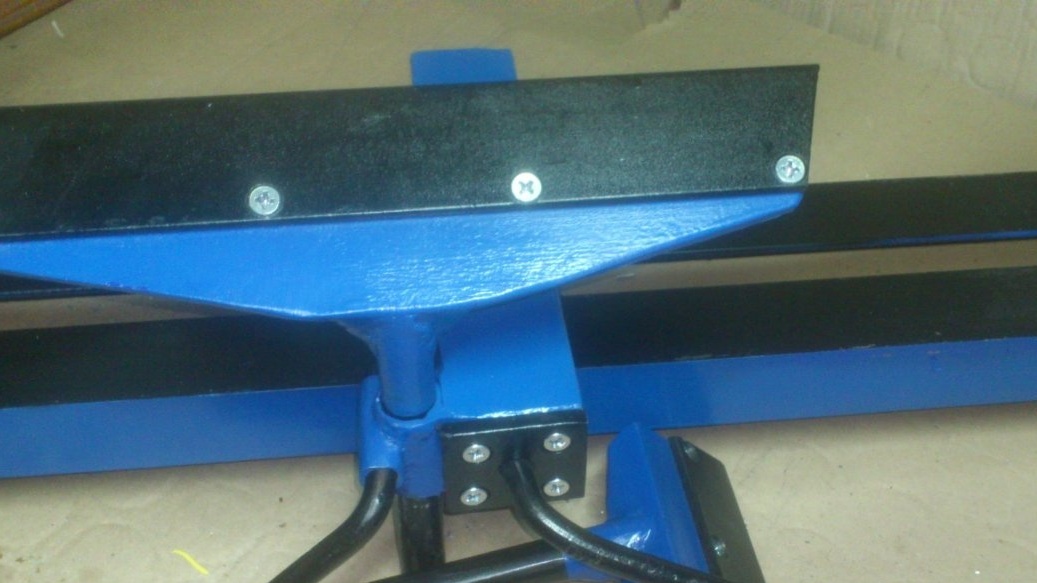
In the process, it turned out that if you push the base of the handcuff forward as far as possible (until the stop of the "foot" in the bed), its working face is quite far from the axis of the workpiece. That is, I will not be able to sharpen workpieces of small diameter. I decided to build up the plane of the handcuffs by adding a strip 50 mm wide.
I decided to attach the plane not by welding, but by four M6 bolts with nuts.
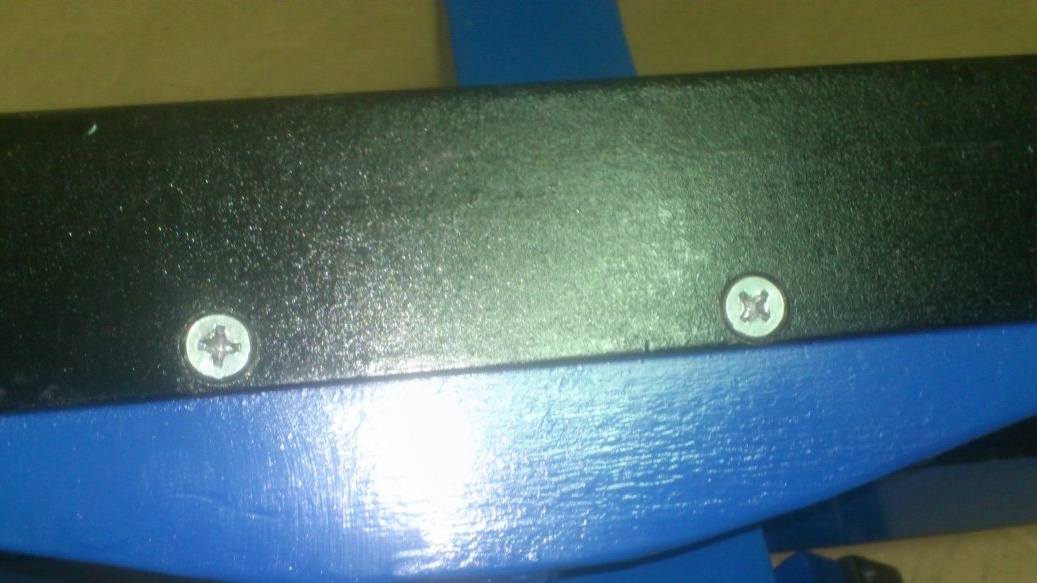
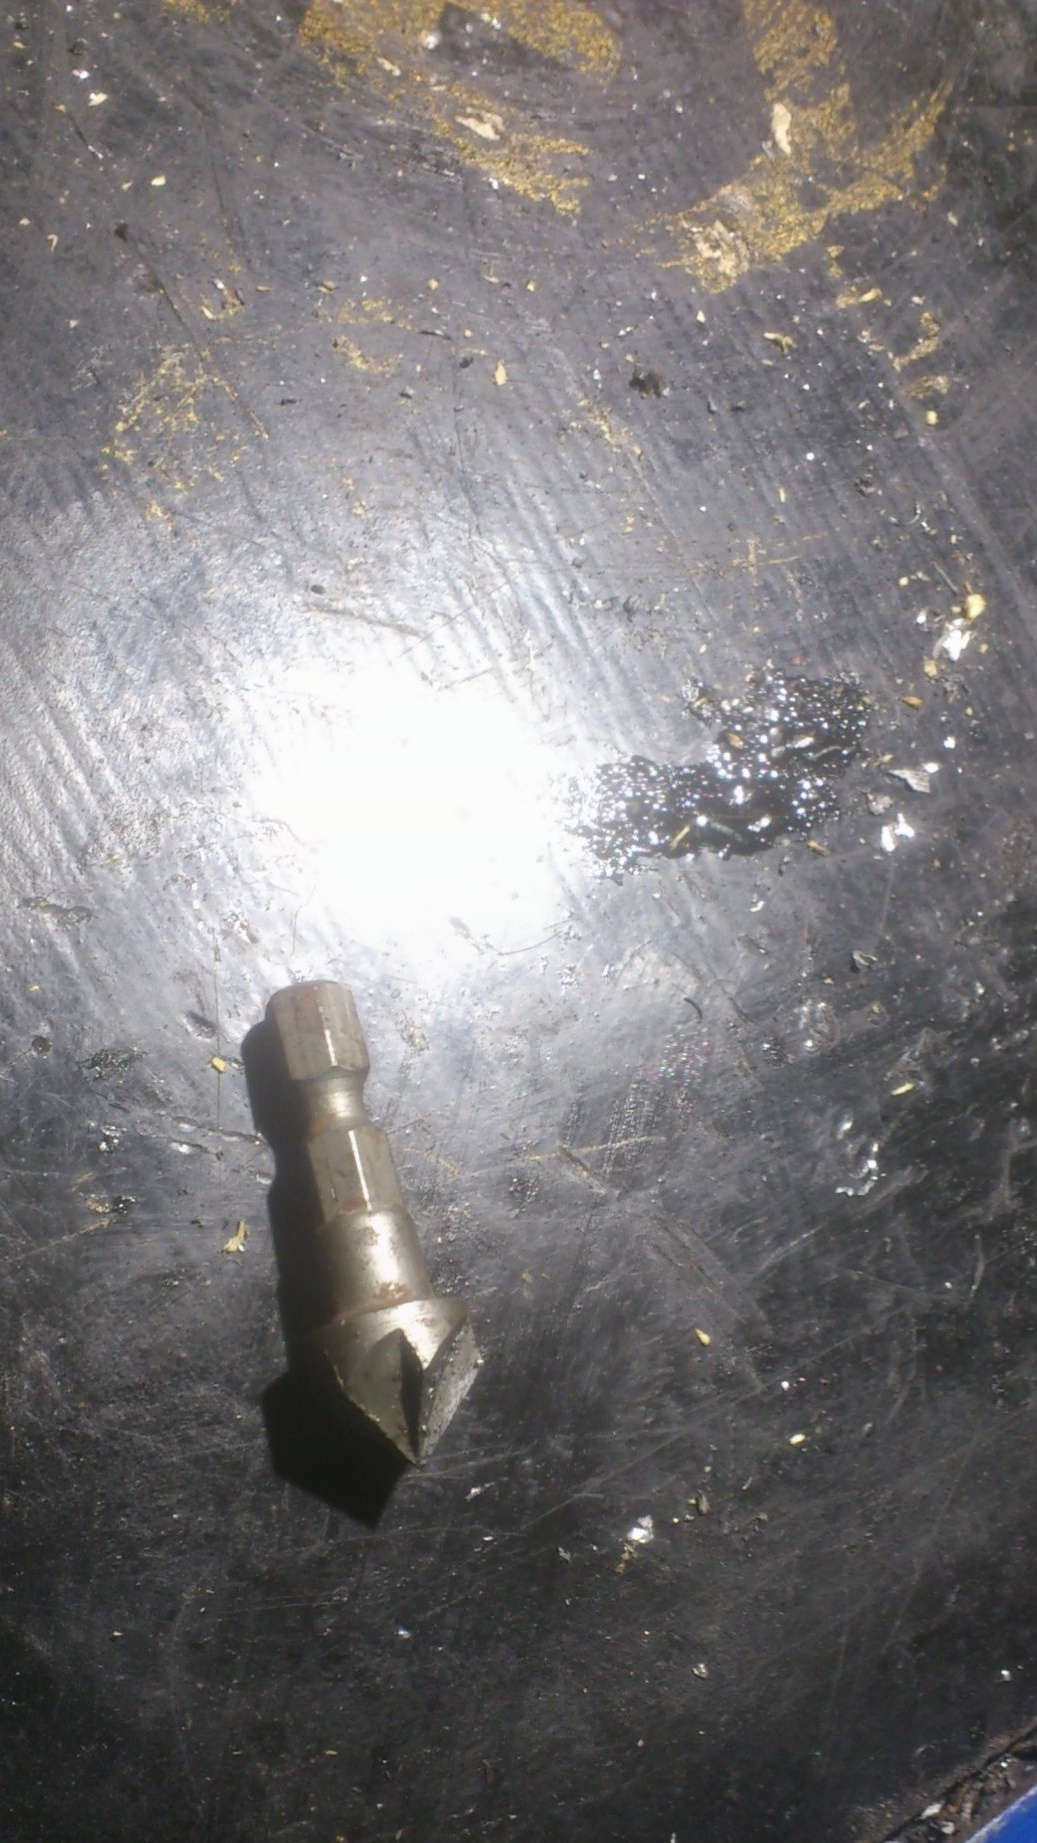
If the nuts on the bottom will not interfere with anything, then on top of the head of the bolts you need to make them flush so that they do not interfere with the movement of the cutter.Using a countersink, I drilled holes for countersunk bolts:
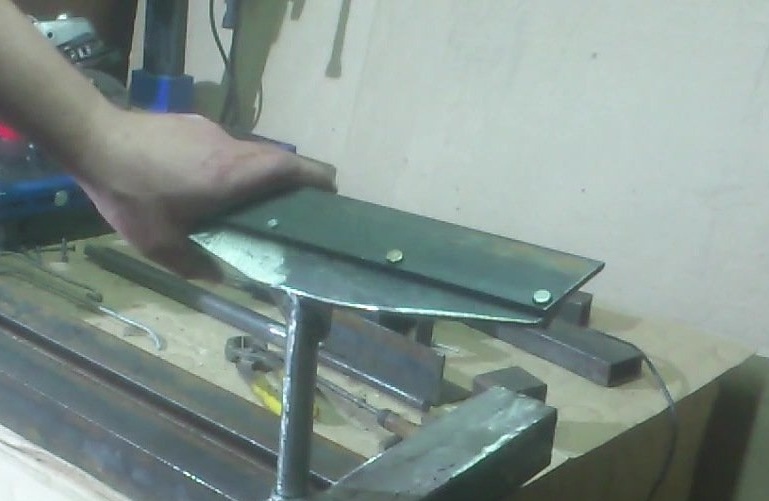
Having pre-assembled the unit, I conducted the tests and made sure that the handcuff can be quickly and easily installed with one hand in any position and, without taking your hands off, can be firmly fixed with one movement.
Adjusting the height and rotation already requires both hands ... But, anyway, this is done very quickly. No comparison with loosening and tightening a bolt. And it does not require any tools.
Then he sent all the details to be painted. (The colors I chose are all the same ... They have already become my "branded"))))
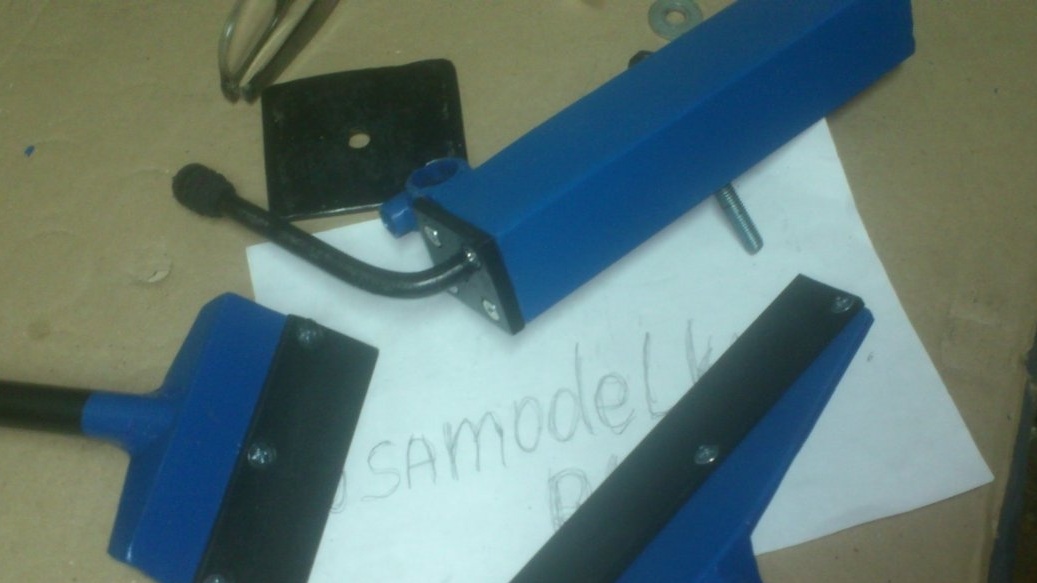
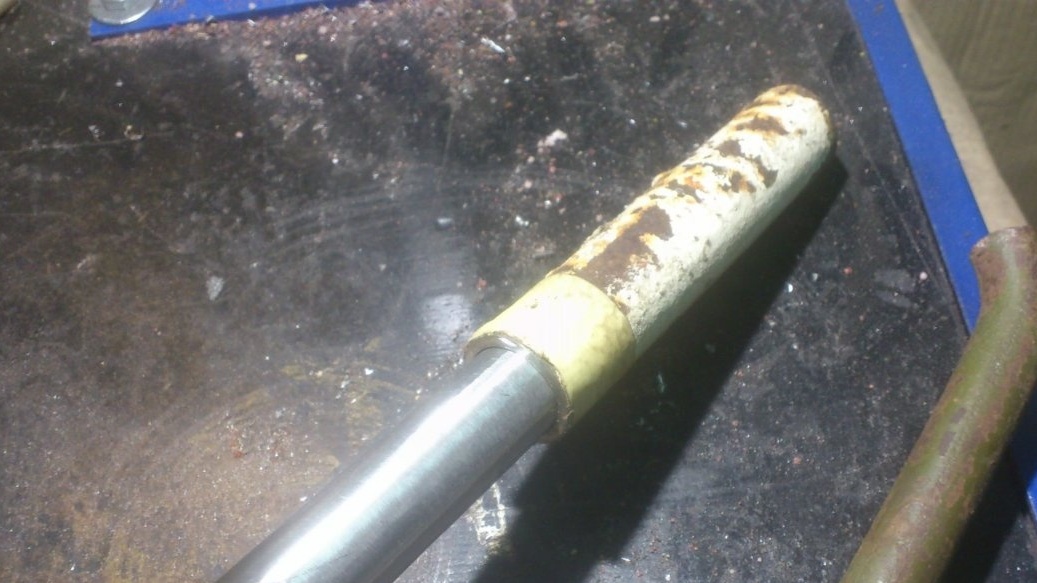
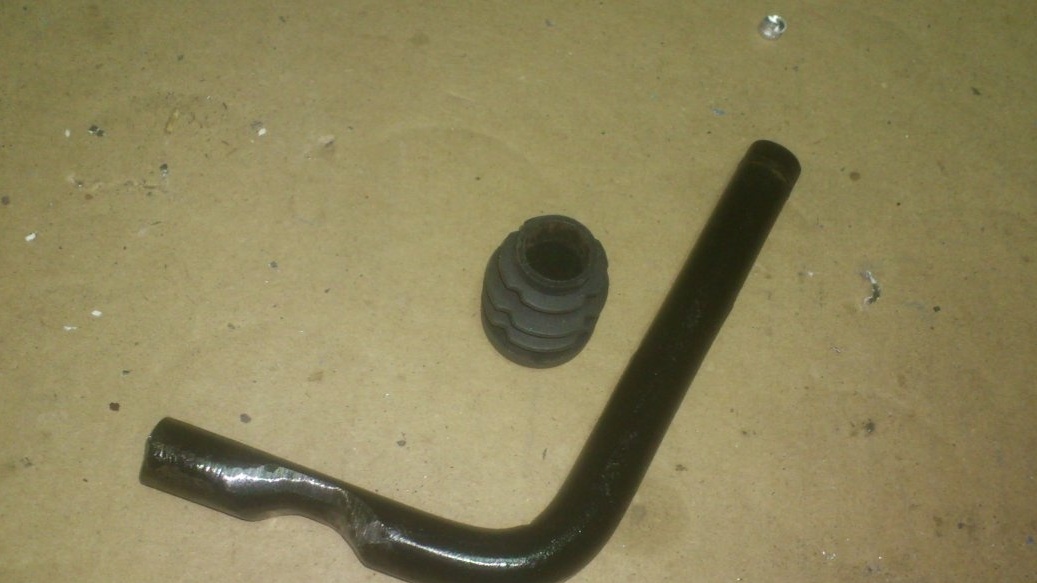
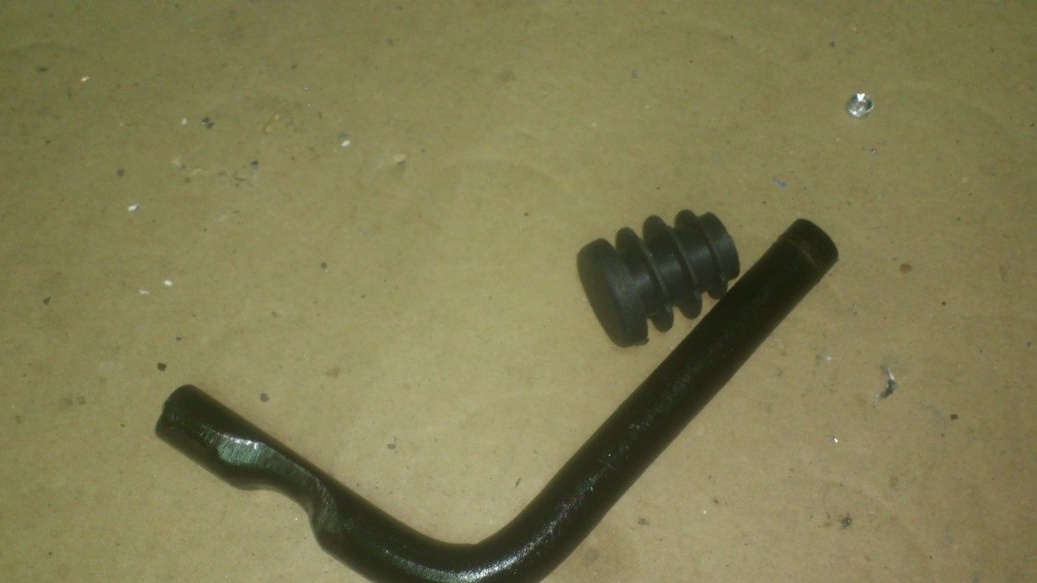
Recalling the experience gained in the manufacture of the drilling machine, I decided to make the knobs on the levers of plastic plugs for the pipe DU-15. They, as it turned out, are very firmly packed on a 12 mm pin:

That's all for now ... In the next article, I hope, I will describe a machine that is already working ...