In this article, the Wizard will show us how to make an automatic feeder for home pets. The author uses a feeder for the aquarium. Electronics The feeders are running an old digital clock.
Tools and materials:
- Holder "third hand";
-Soldering accessories;
-Screwdriver;
-Pliers;
-Tool for stripping wires;
-Glue gun;
-Sponge;
-Laser printer;
- Iron or Laminator;
-Capacities;
- iron chloride;
-Drill;
-Drill;
-One-sided laminated copper board (for DIY printed circuit boards);
-Paper for the manufacture of printed circuit boards;
- Thyristor 2p4m - 2 pcs;
- LM7805 voltage regulator - 1 pc;
- LM317 voltage regulator - 1 pc;
-Optocoupler PC817- 2 pcs;
- Resistor 1k - 1 pc;
- Resistor 820ohm - 2 pcs;
- Capacitor 47 uF 50 V - 1 pc;
-Connectors;
- Servomotor (Tower Pro-Micro Servo SG90) - 1 pc;
-Digital clock with alarm function (which does not sound an alarm every hour) - 1 pc;
-Mini push button switch - 3 pcs;
- Copper board - 1 pc;
-Wire;
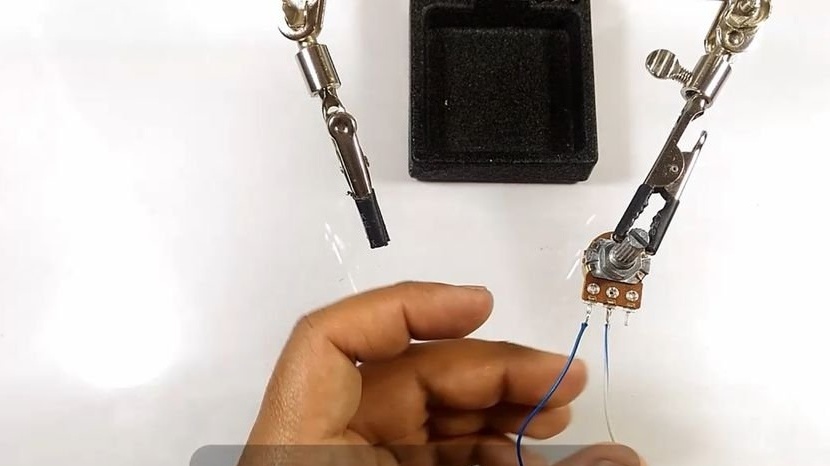
- Potentiometer 10k - 1 pc;
-Battery connector;
- Miniature slide switch - 1 pc;
-Potentiometer knob - 1 pc;
-Microswitch;
-Fasteners;
-Plastic container;
-Battery 9V;
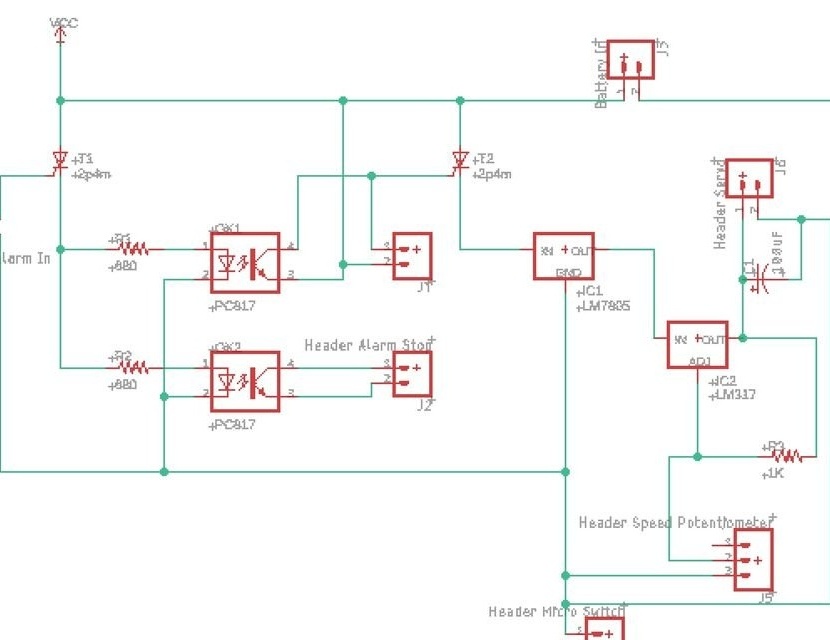
Step One: Design
The wizard designed the circuit board in Autodesk Eagle. After developing the board, I printed the result on paper.

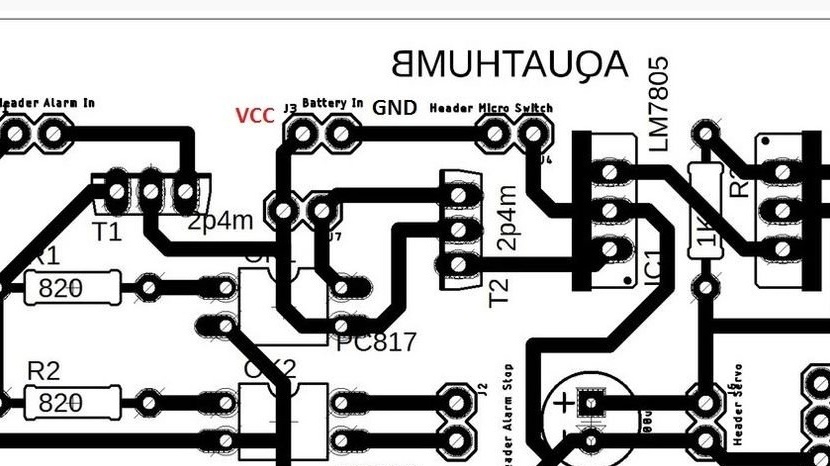
Below you can download the files necessary for work. When printing, it is necessary to set the normal size.
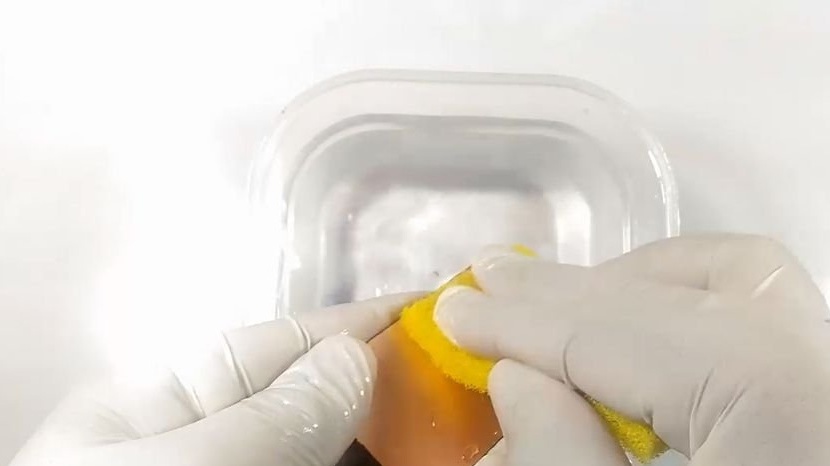
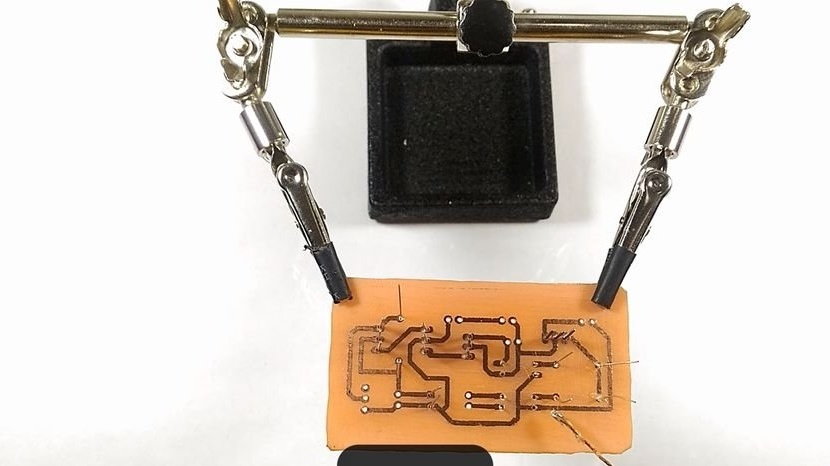
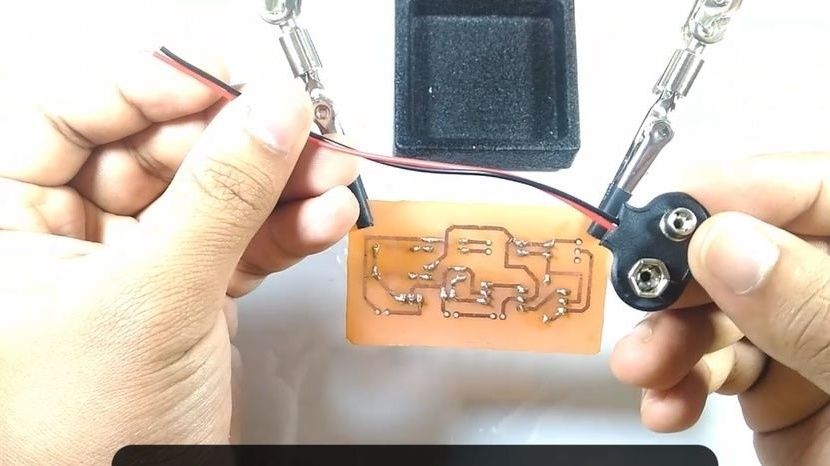
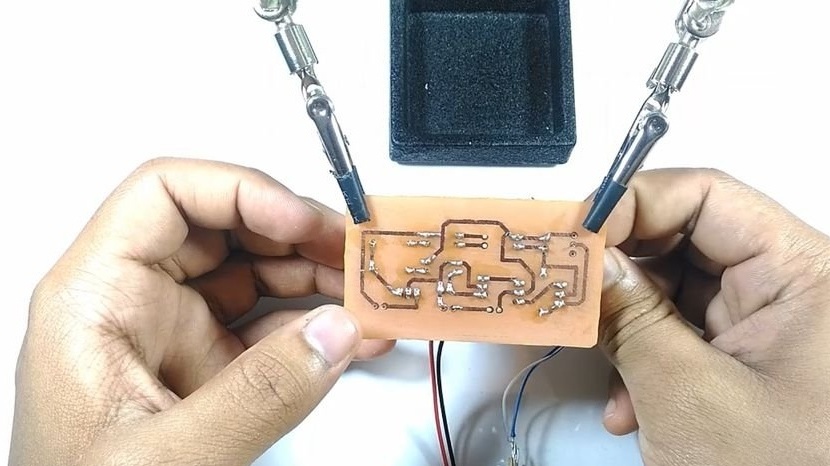
Step Two: PCB Fabrication
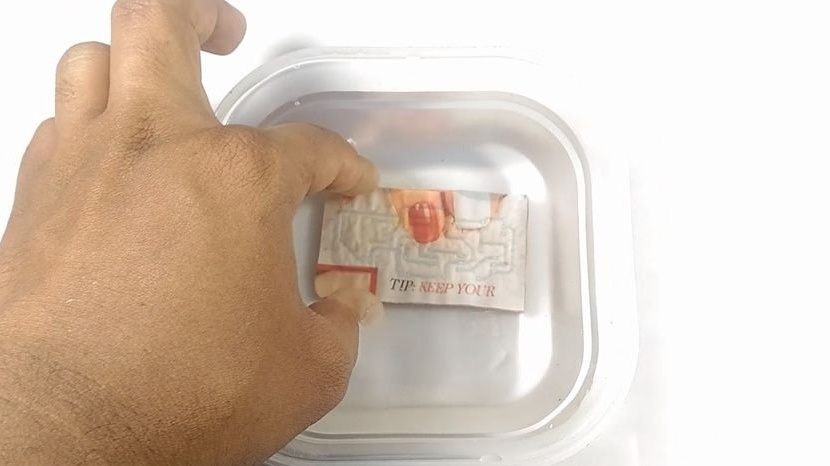
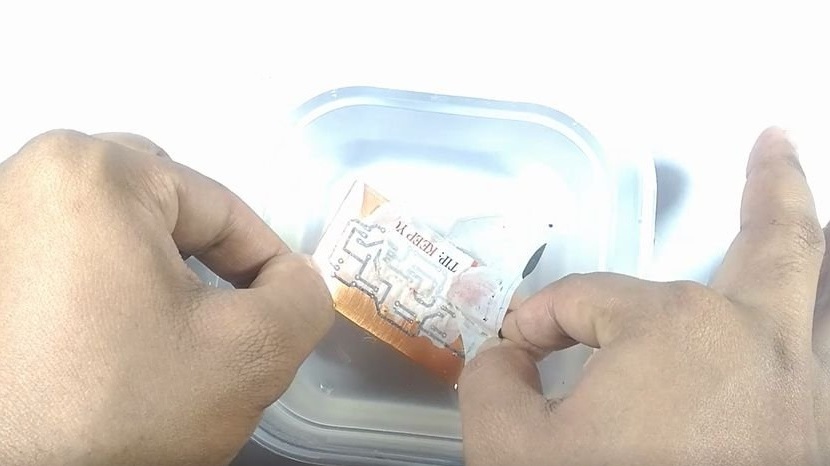
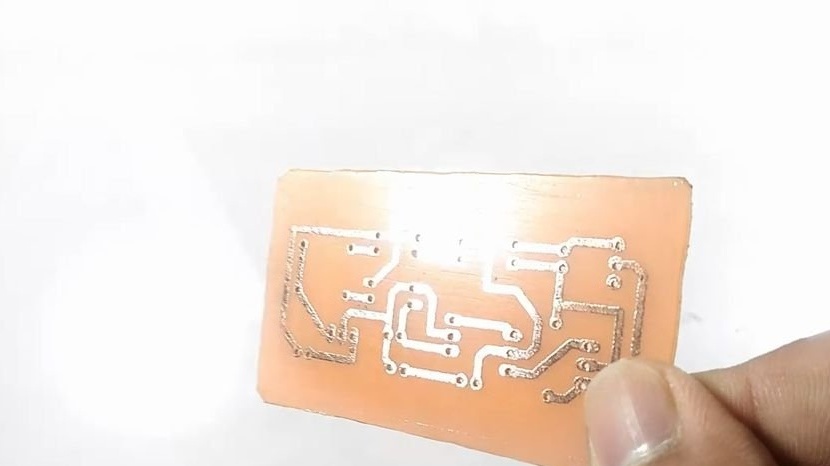
Washes a copper plate thoroughly. Dries her. Glues a circuit printed on a laser printer onto it. Iron the paper for 5 minutes with an iron set to maximum temperature. Ironing through paper. He lowers the plate into a container of water and gently rinses the paper.
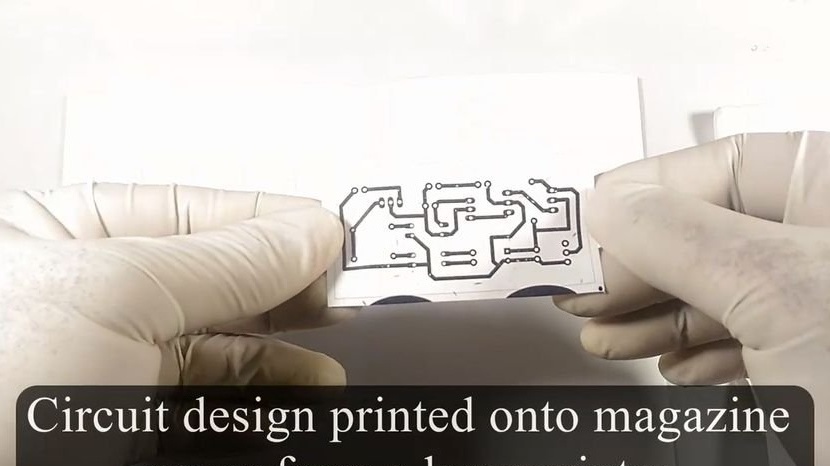

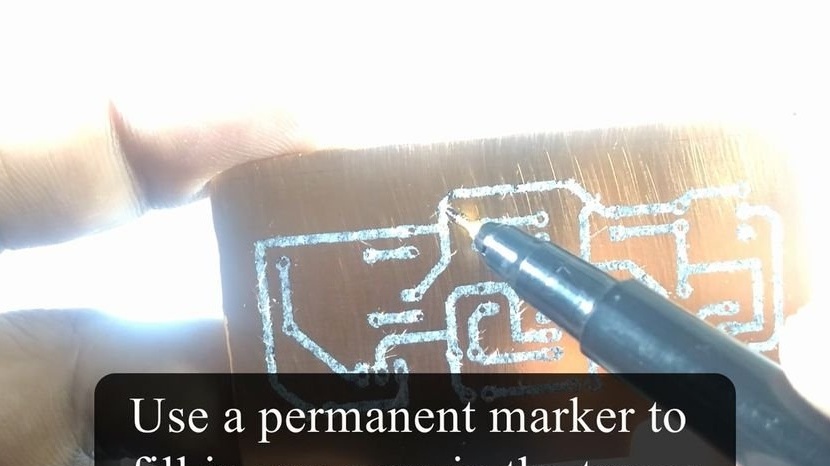
The paper is washed off and only the tracks are left on the copper plate. The master wipes the plate dry and draws tracks (where damaged) with a black marker.
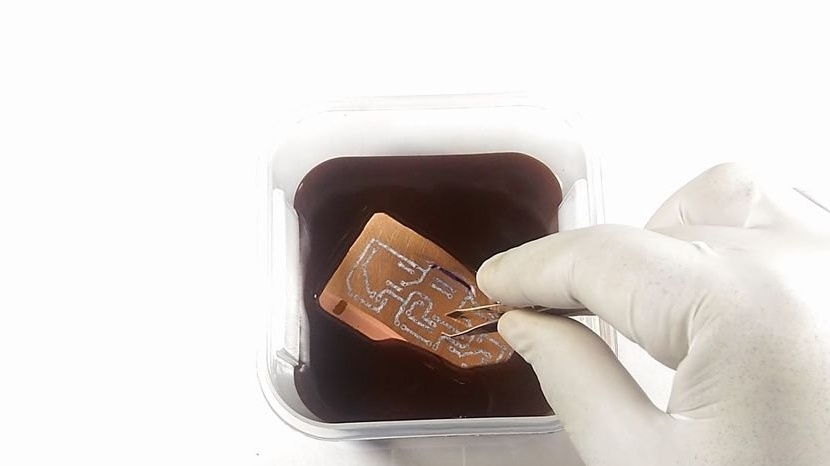
Dips the plate in a solution of iron chloride. After about 10 minutes, you need to remove the board from the solution and rinse in clean water.


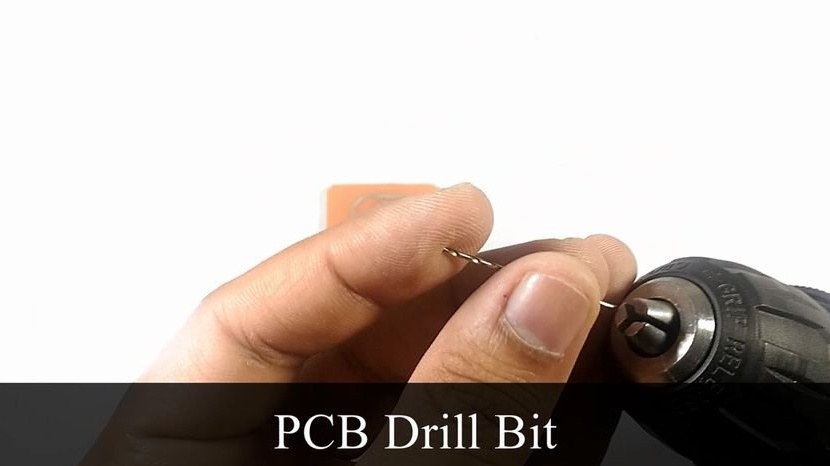
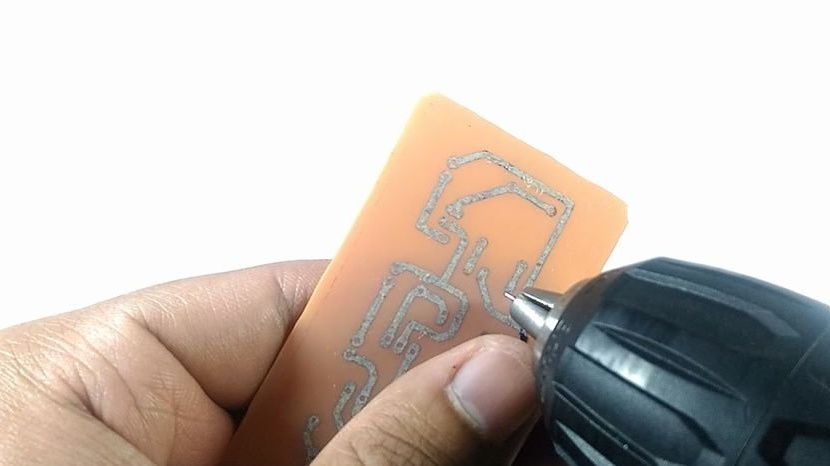
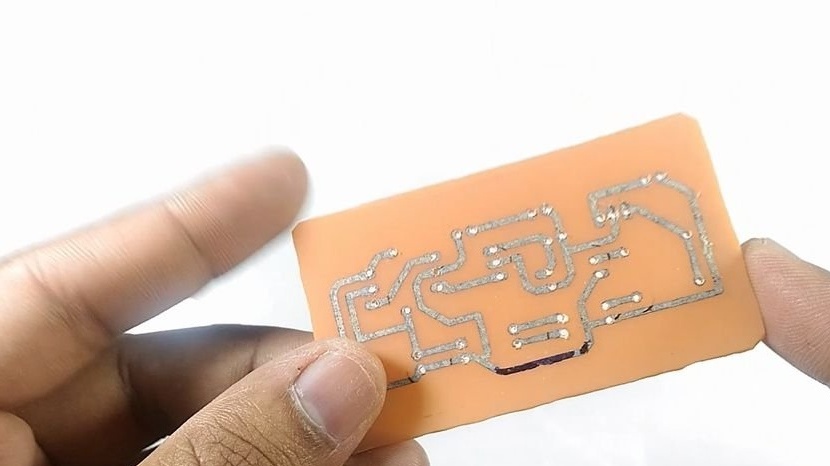
Now it remains to drill mounting holes.

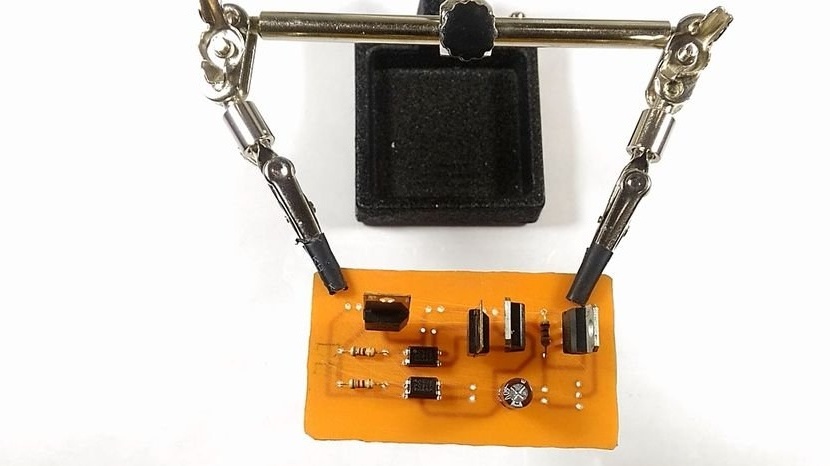
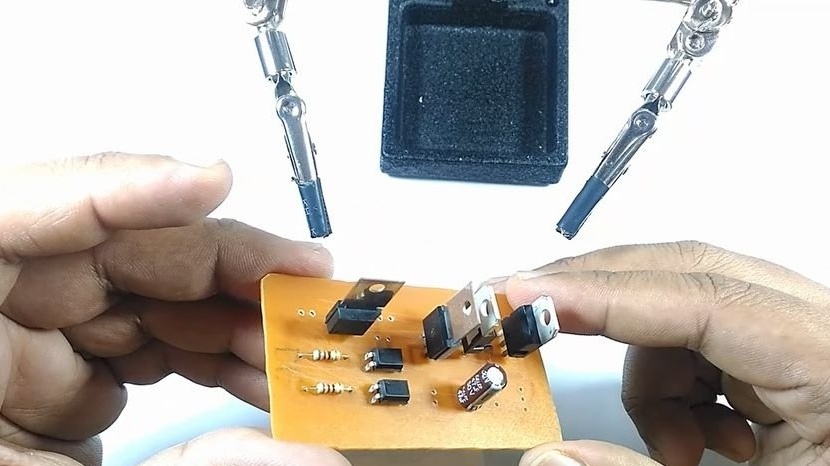
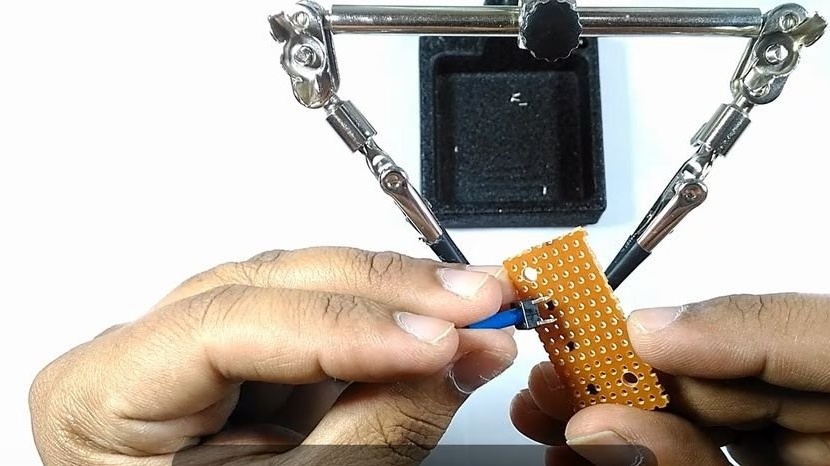
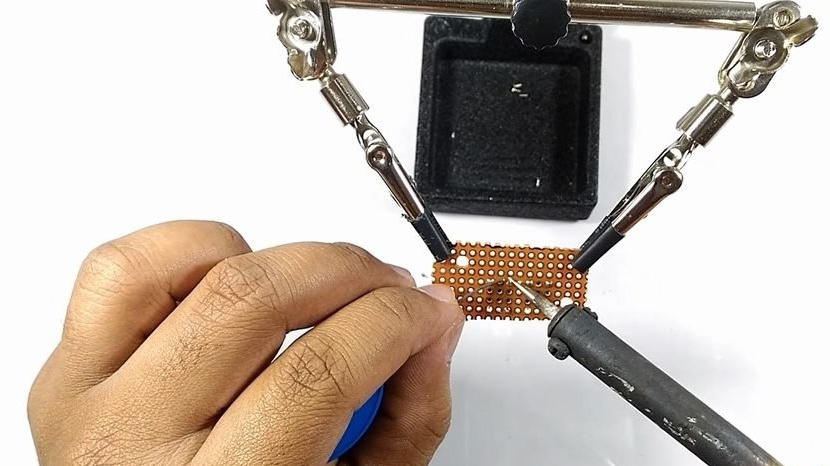
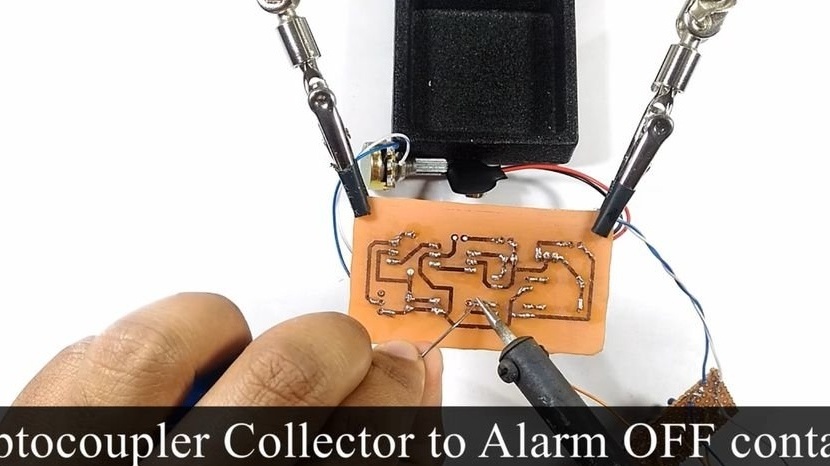
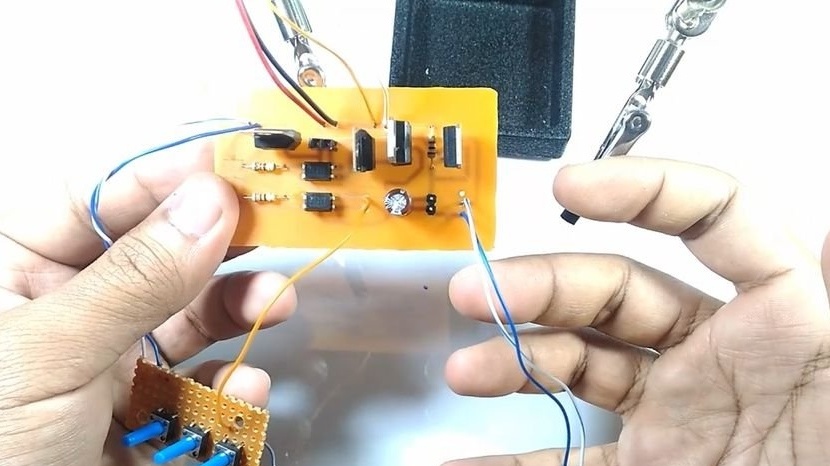
Step Three: Installing the Board
Now you need to install the board according to the scheme.

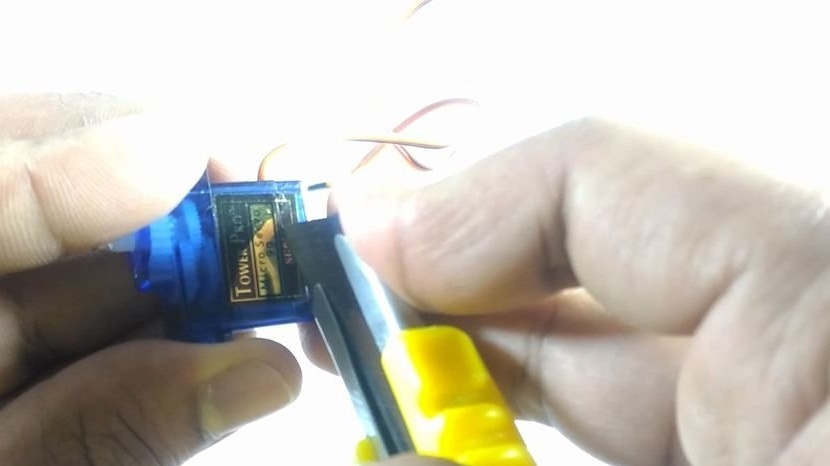
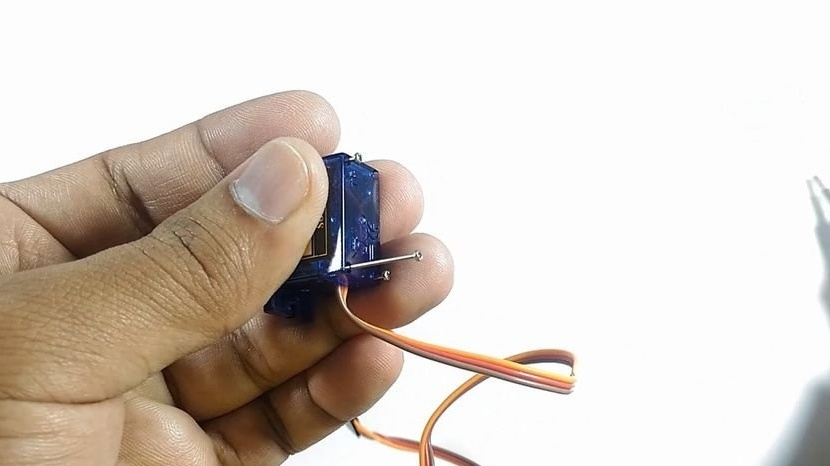
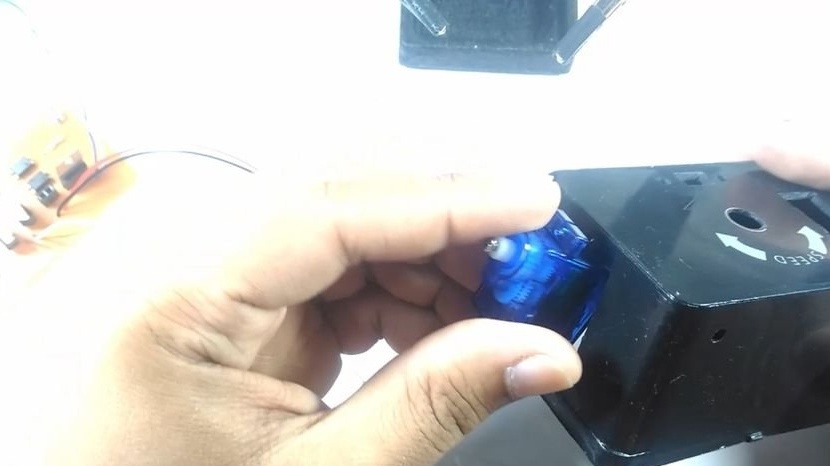
Step Four: Servo
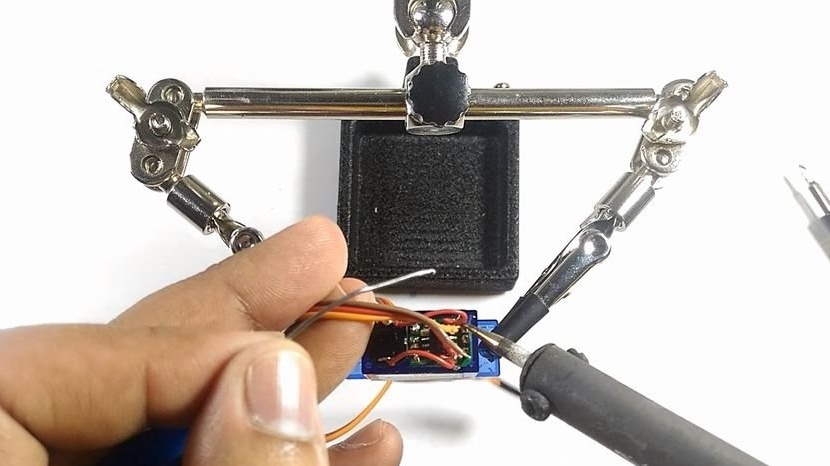
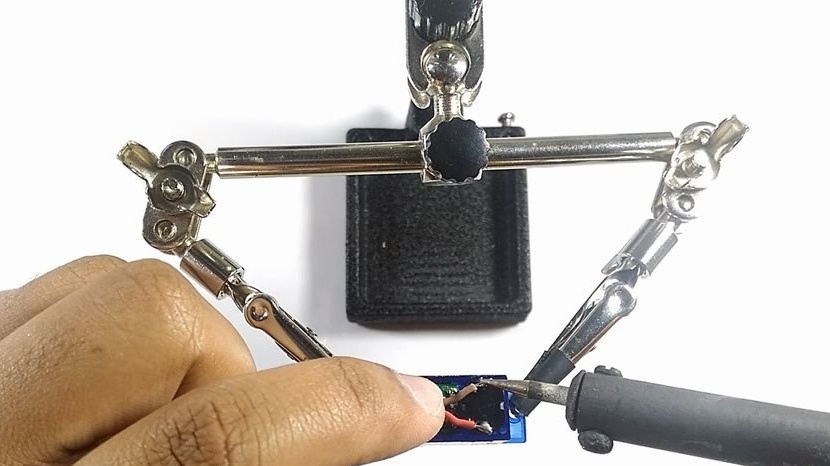
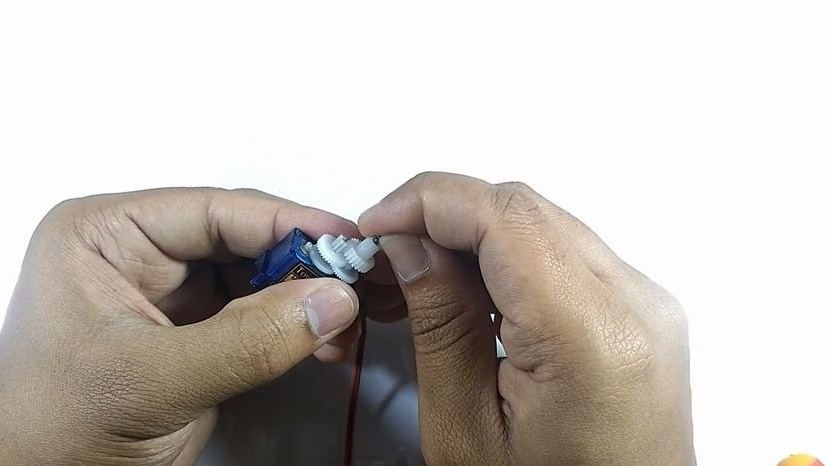
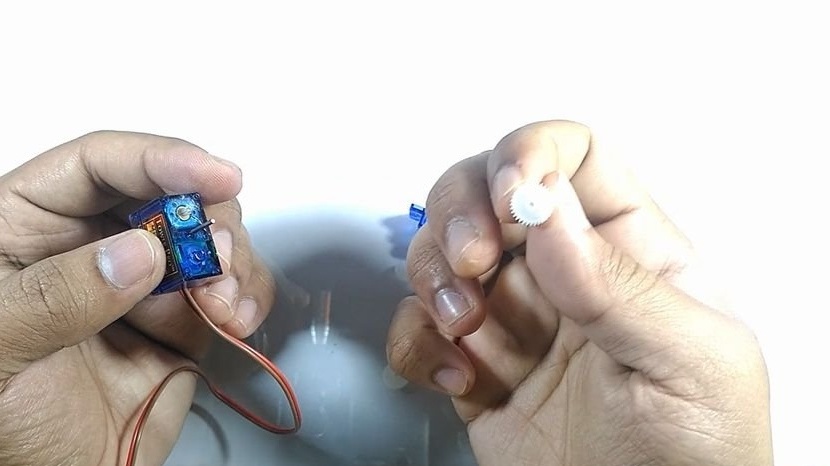
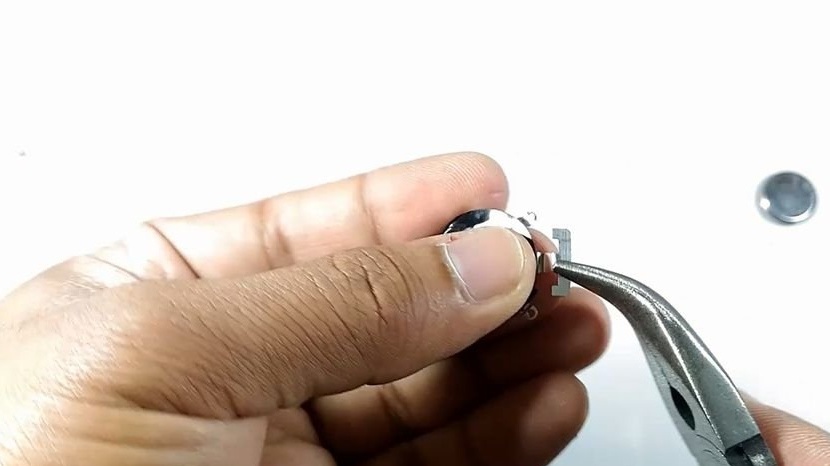
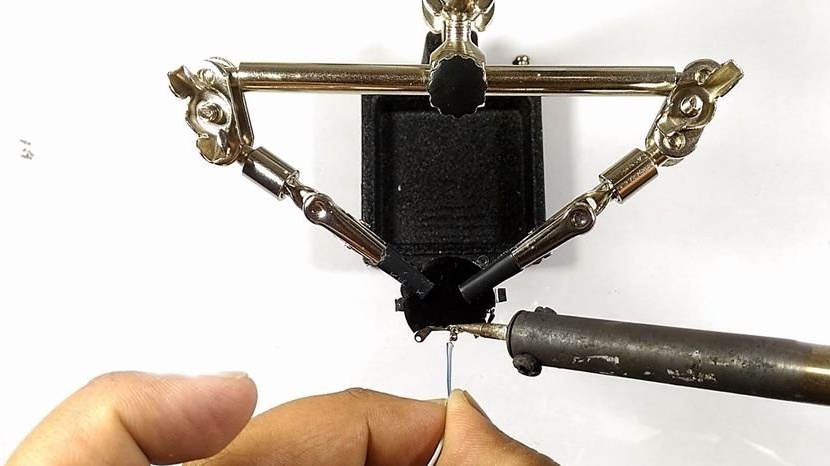
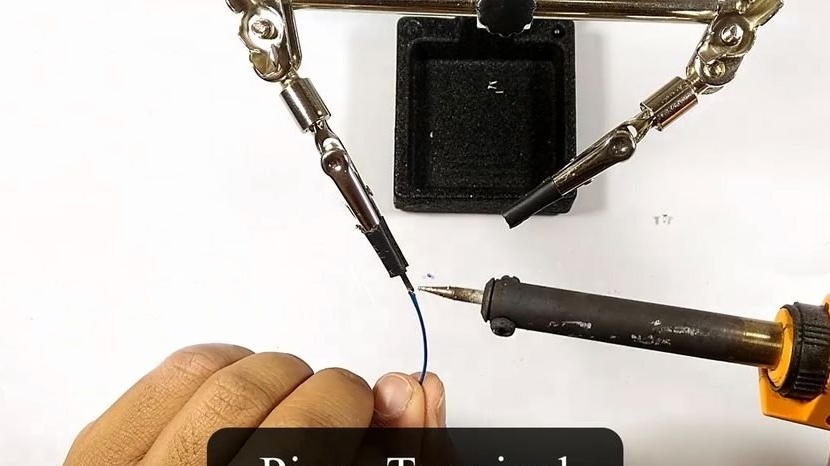
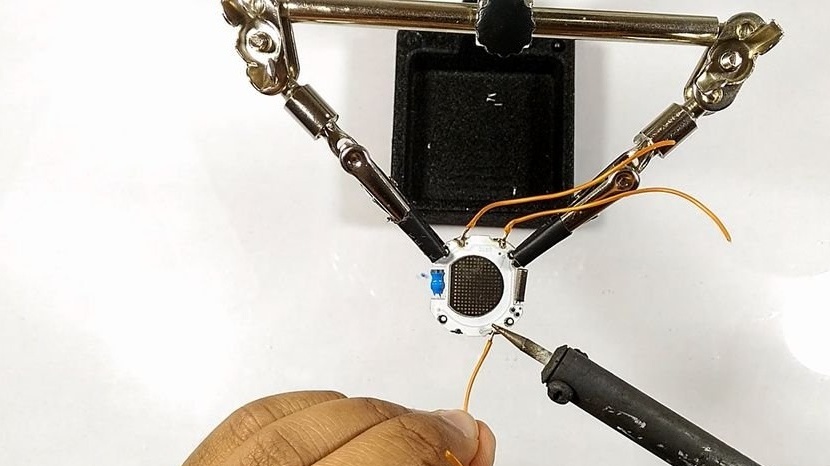
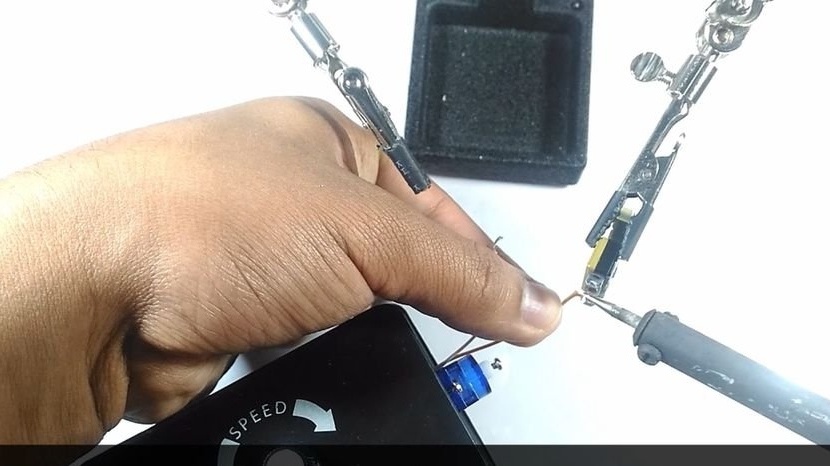
The servo needs to be redone a little.The master disassembles the drive housing and solders the connecting wires from the motor to the servo board. Then solder the wire directly to the motor contacts. Also, it removes the limiter, which prevents the servo drive from making a full revolution. In principle, for this homemade it was possible to use any similar micromotor, and, the master, chose a servo drive, only because of the convenient method of attachment.
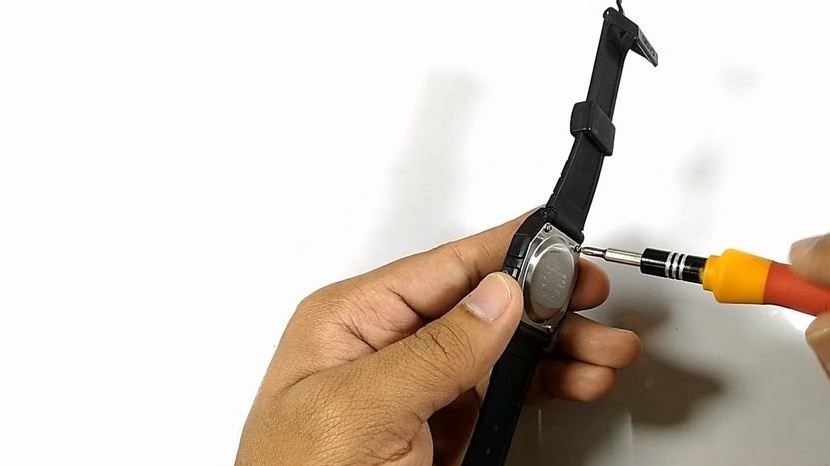
Step Five: Altering Your Watch
The device needs an electronic clock with an alarm clock. The watch should not have an audio signal function hourly (unless, of course, you need to distribute feed every hour).
Then the wizard determines the button that disables the alarm and parses the clock.

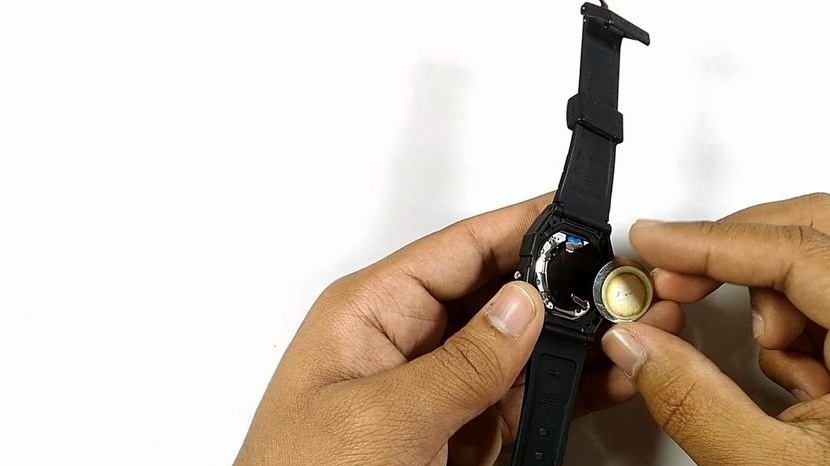
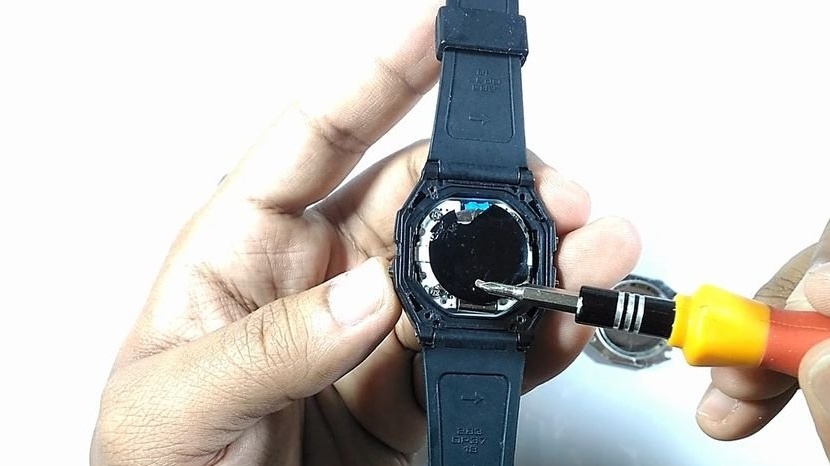
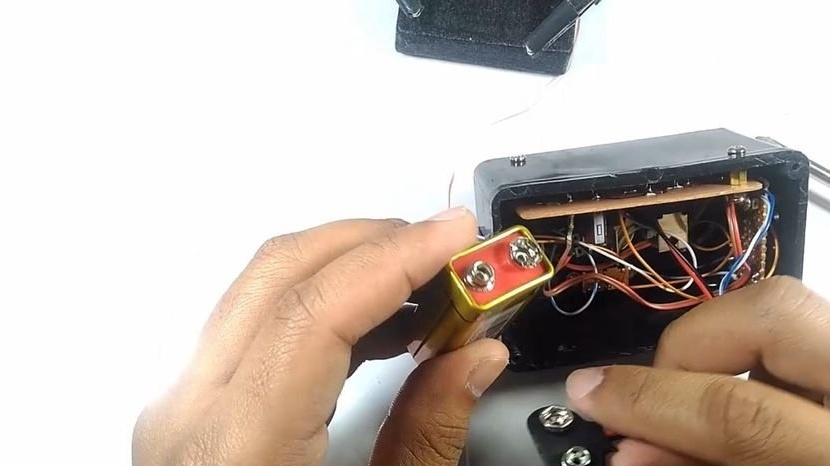
When disassembling the watch, the contact plate of the battery broke off and the master soldered it.
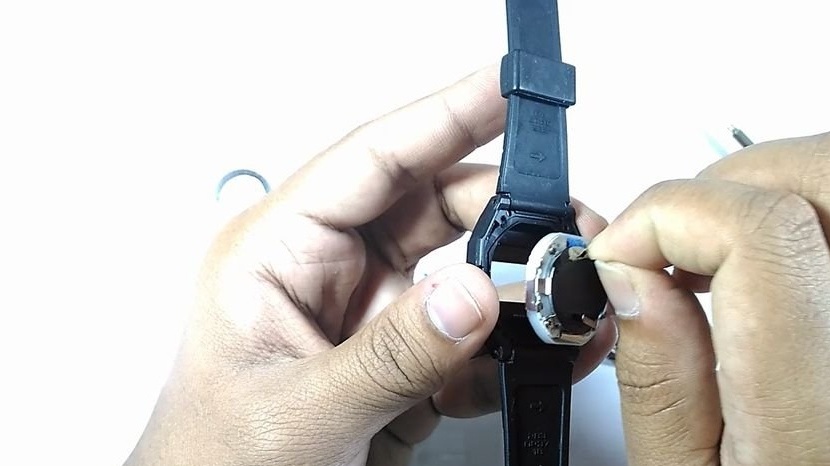
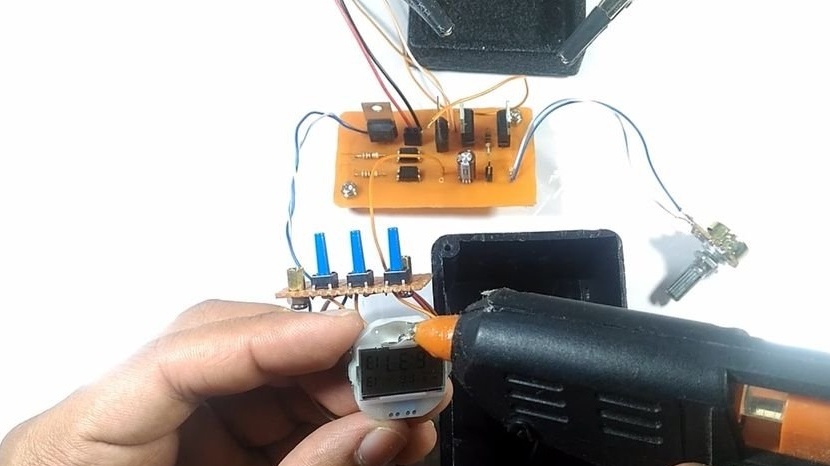
Solder wires to the contacts of the watch buttons. Mounts buttons on the breadboard and solders wires from the buttons to them. The solder wire is also soldered.
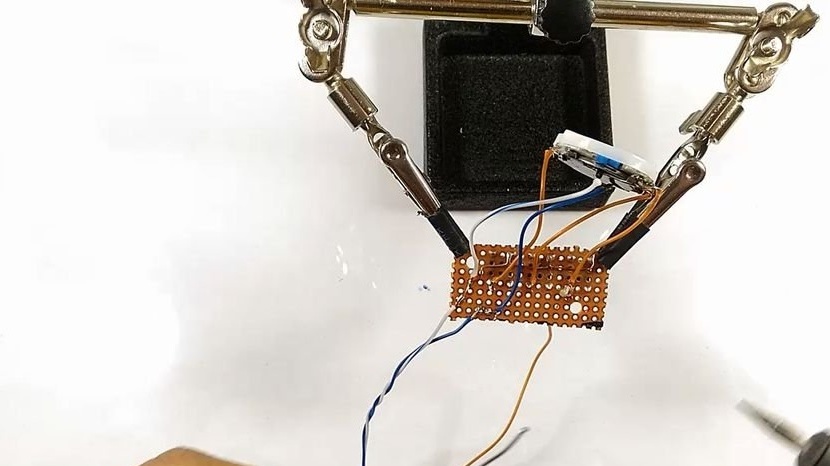
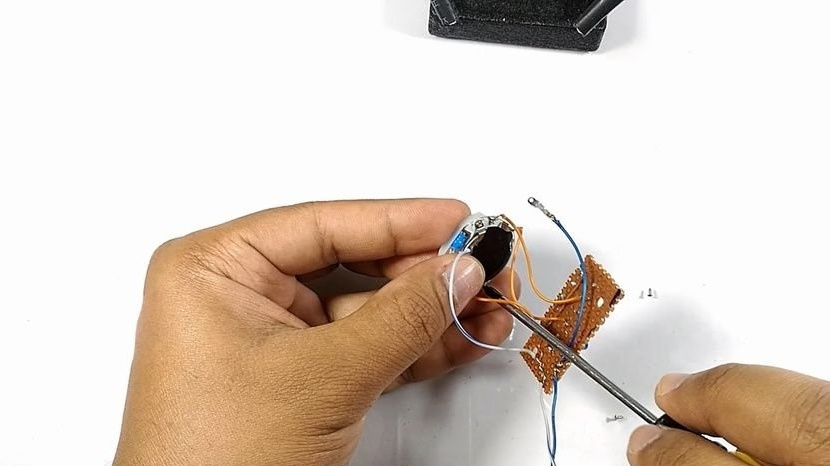
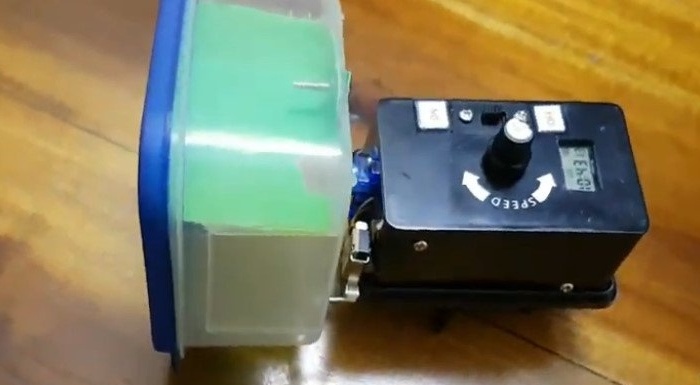
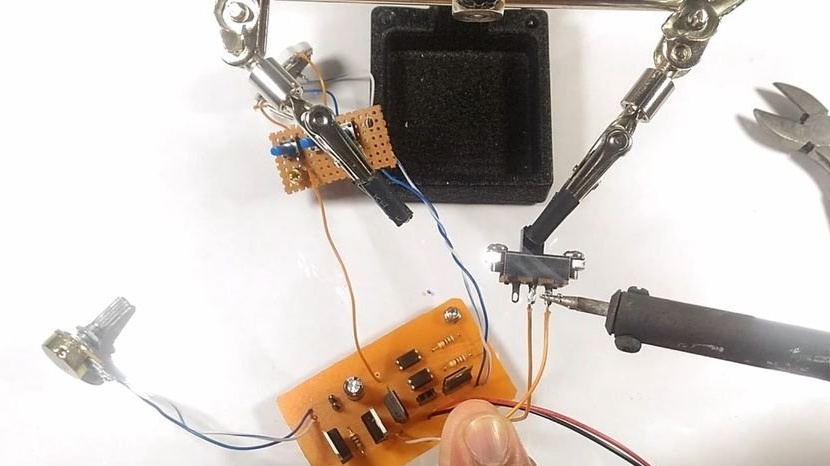
Then the master continues the installation. Mounts a potentiometer, slide switch, battery connector.
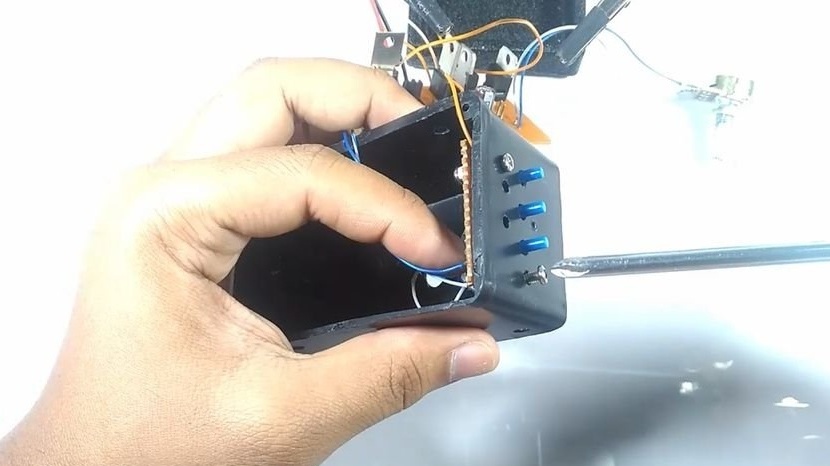
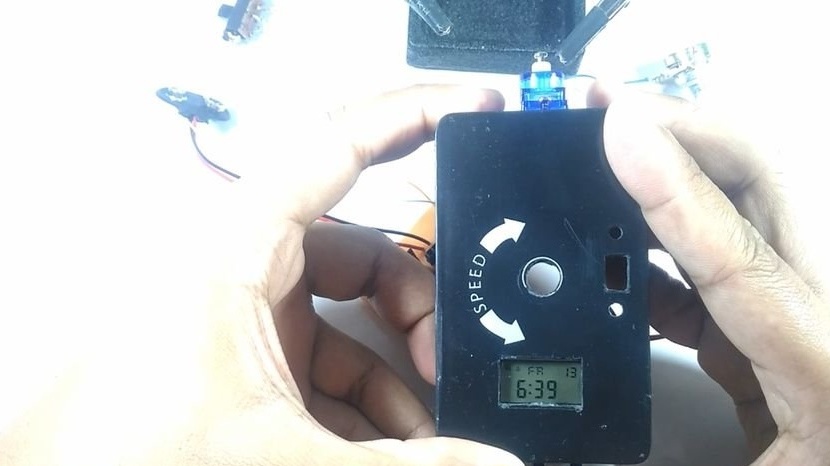
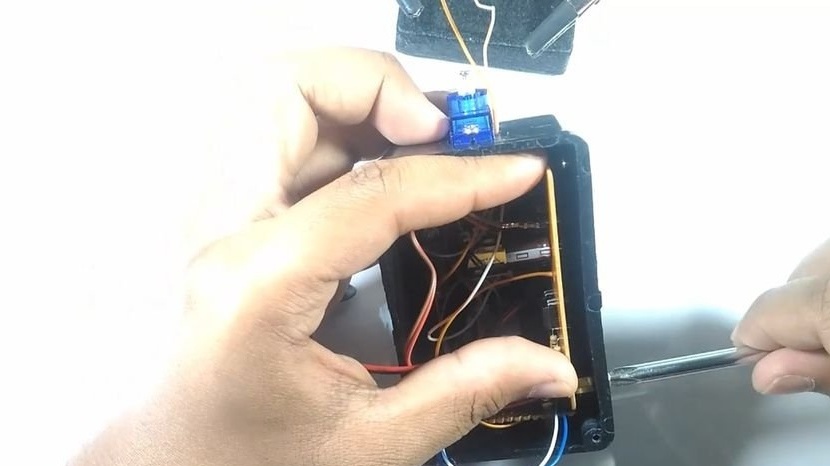
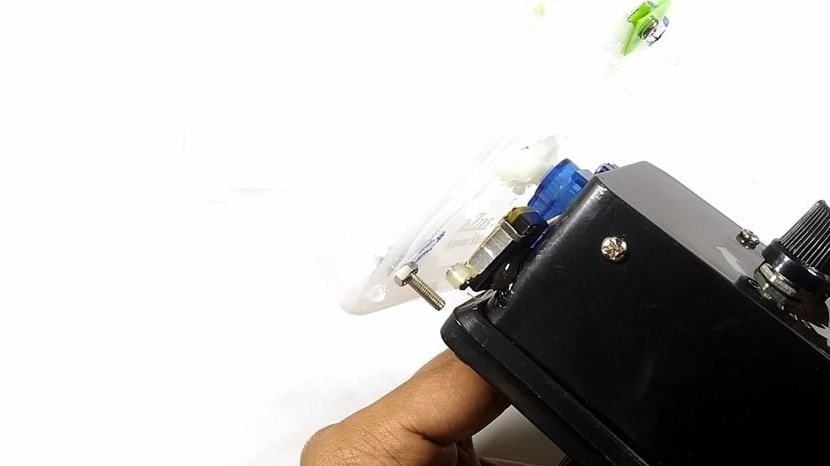
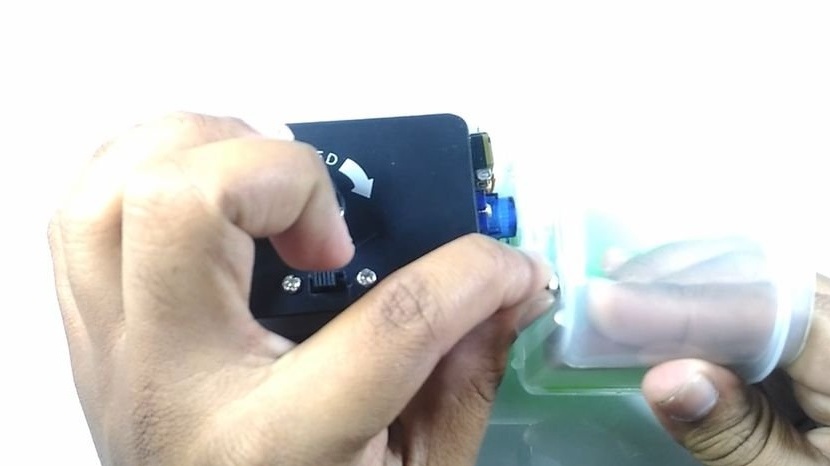
Step Six: Mounting Box
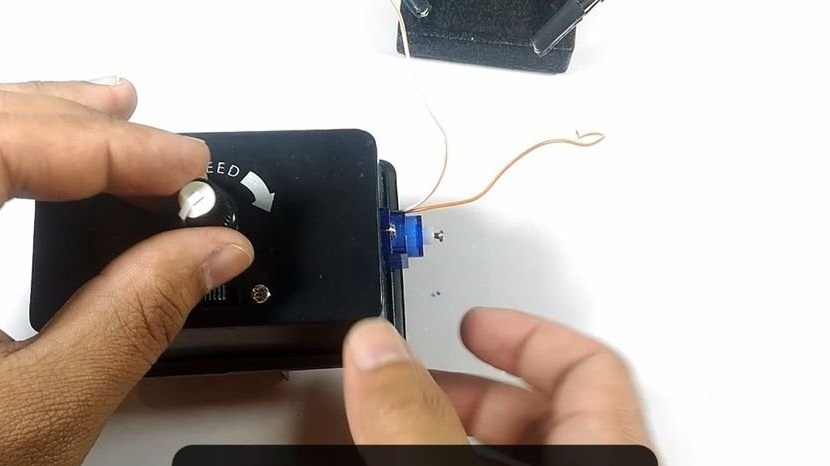
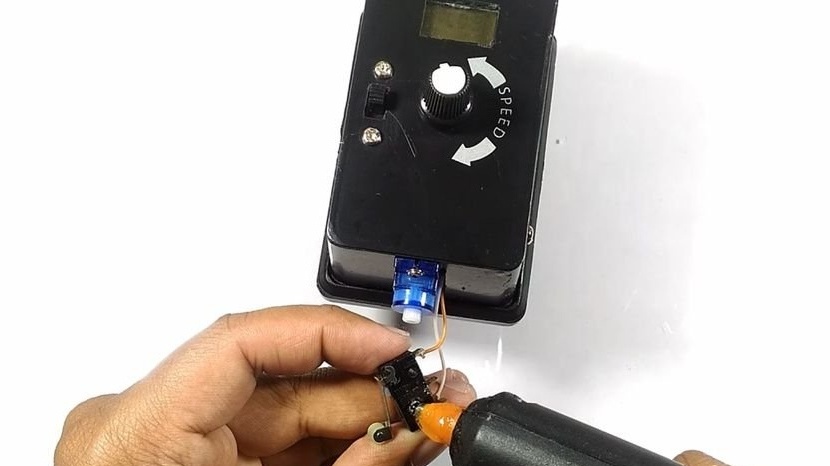
Now you need to install everything in the box. In the box, the master made holes for the switches, potentiometer, clock and servomotor drive. Secured all parts in a box. Outside, and was mounted on the body, a micro switch that will turn off the alarm after a full engine revolution.
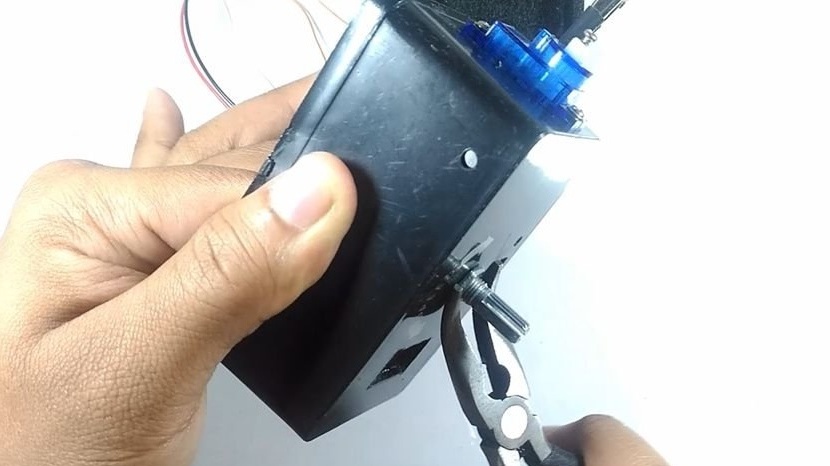

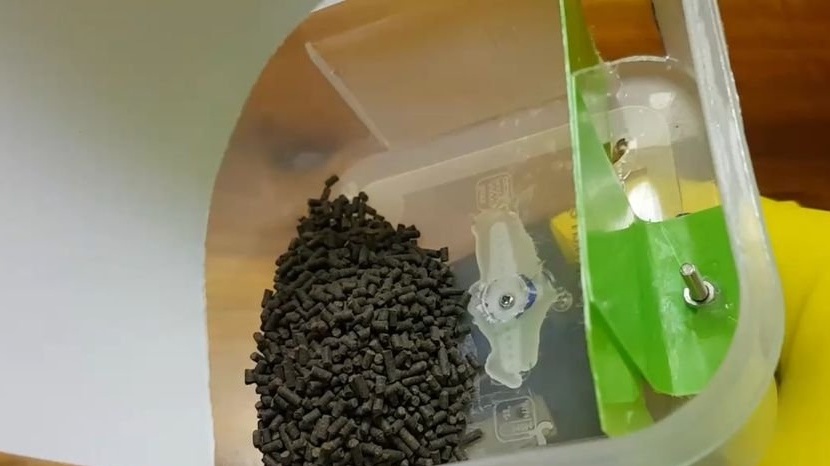
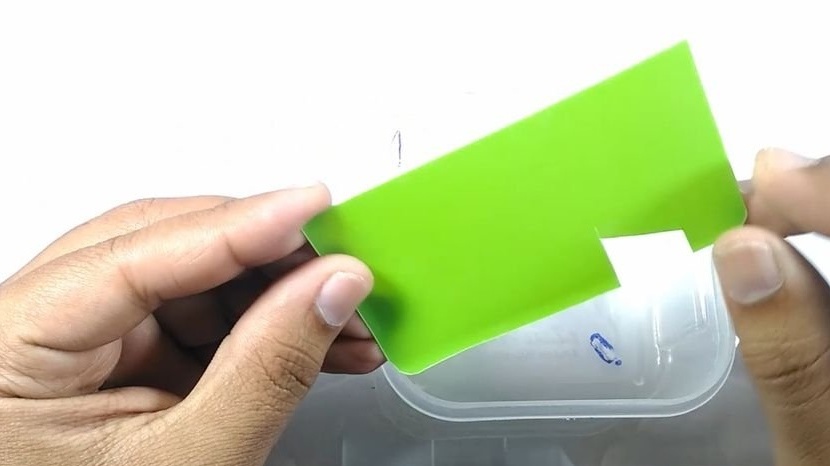
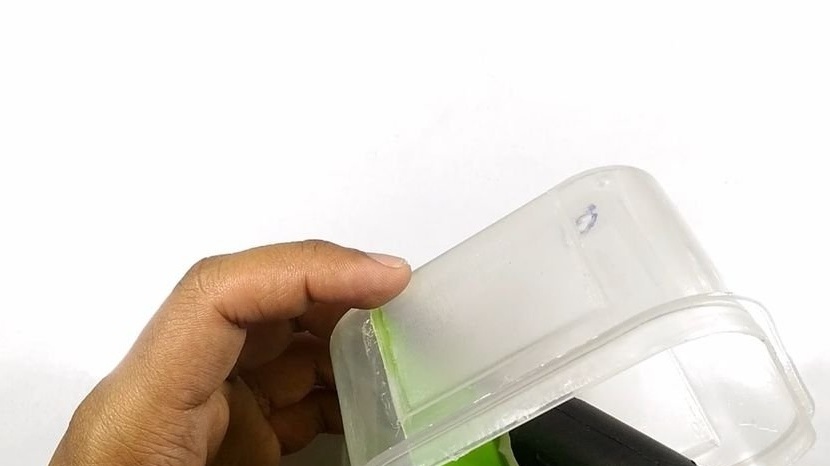
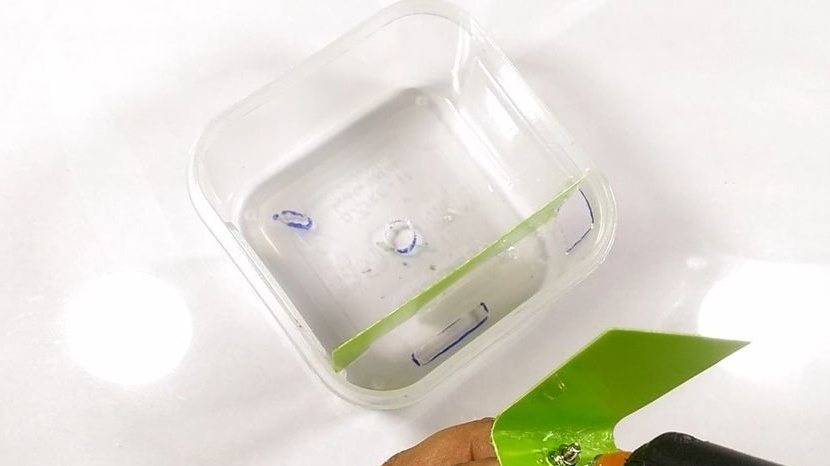
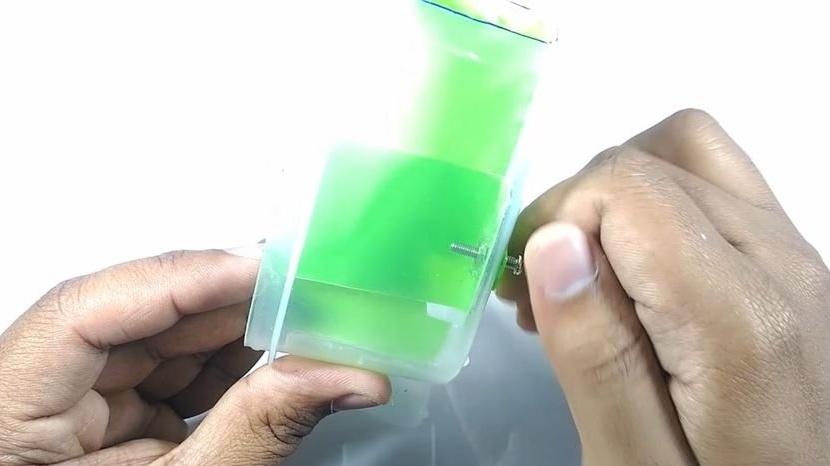
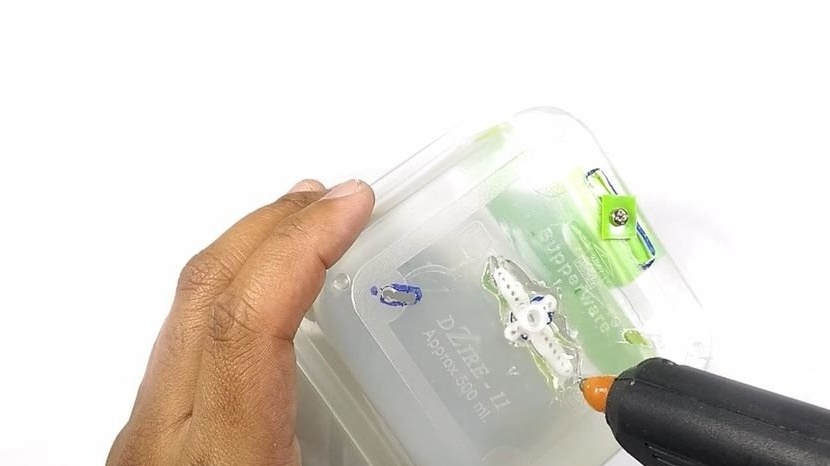
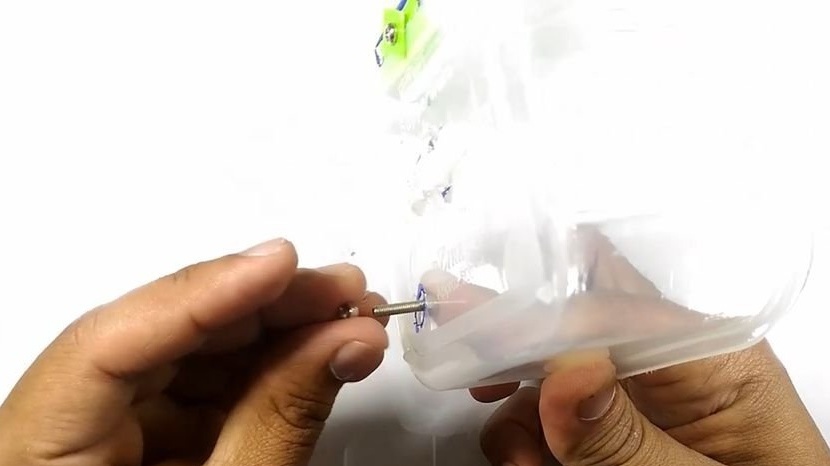
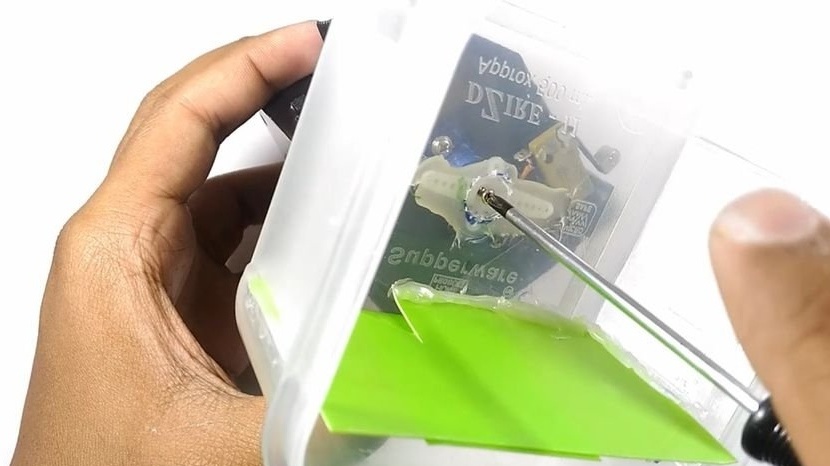
Seventh step: feeding trough
A plastic container will serve as a portioned feed dispenser. For this, it needs to be prepared. A hole is made in the center of the container for attaching it to the drive. Cut out the feed distribution window in the side wall. Installs a jumper between the main compartment of the container and the dispensing window. It also sets the curtain. With the help of the shutter, the amount of feed supplied to the dispensing compartment is regulated. Installs a screw that will press the microswitch.

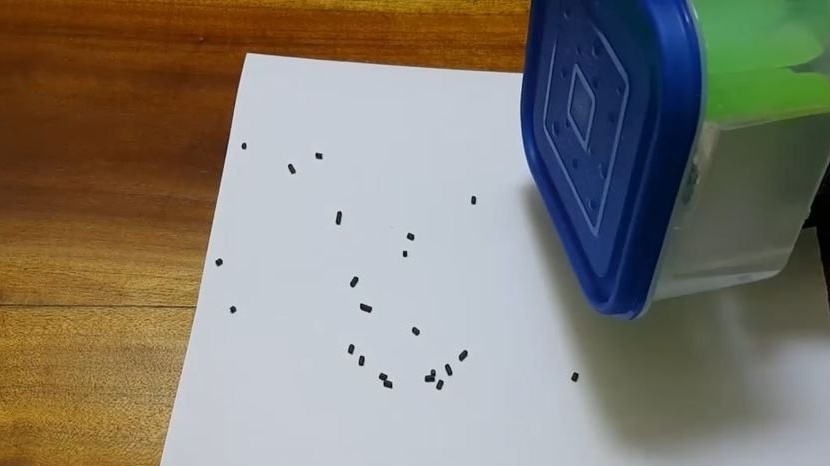
Now you need to fill the feed into the main compartment and you can begin the tests. Now let's see how the device works. You can turn on the feed dispenser using the slide switch. In this case, the engine will rotate without stopping. You can set the alarm, and then, at the set time, the feeder will make one revolution and press the micro switch with the screw, which will turn off the alarm. The rotation speed of the feeder can be adjusted with a potentiometer.