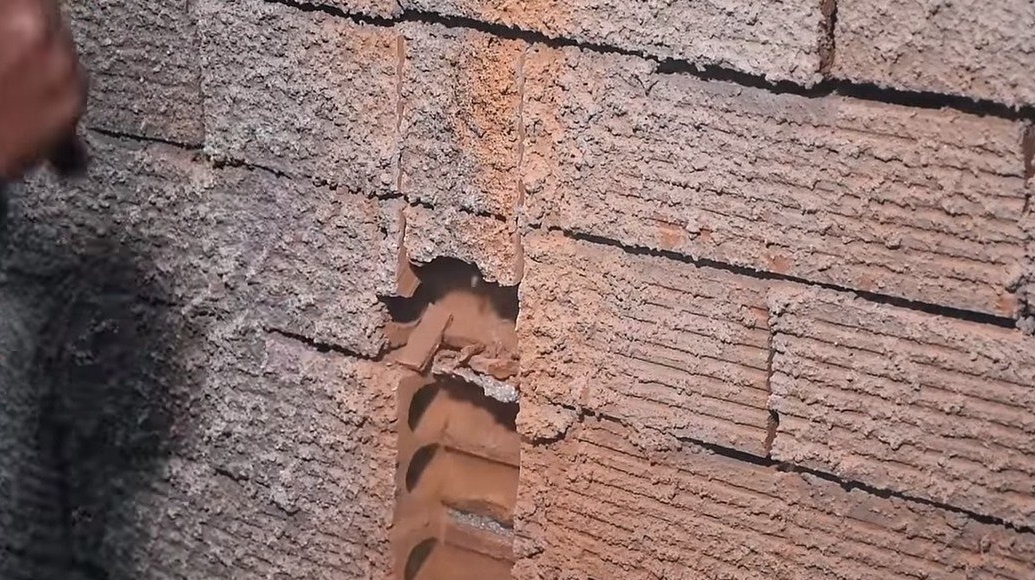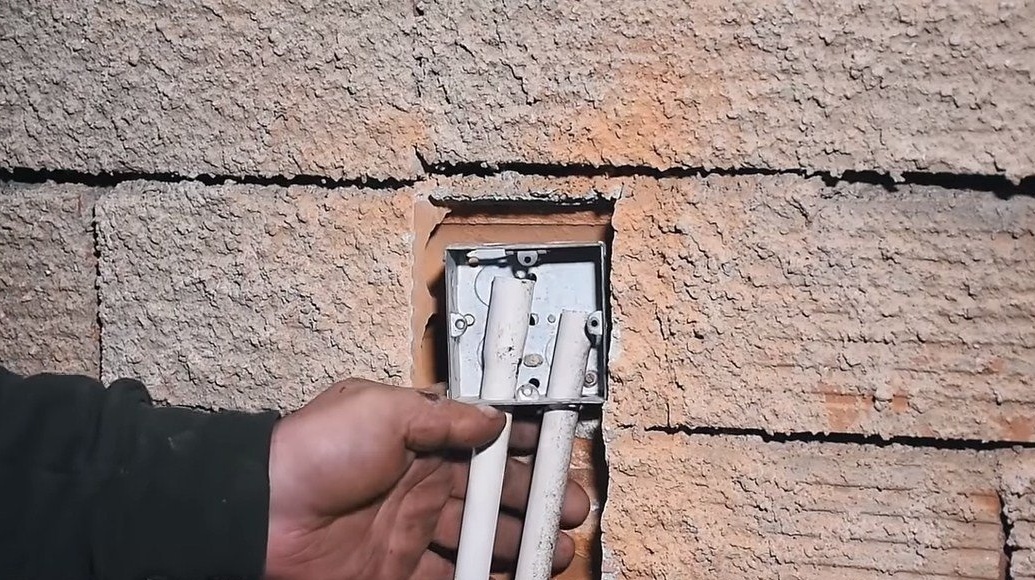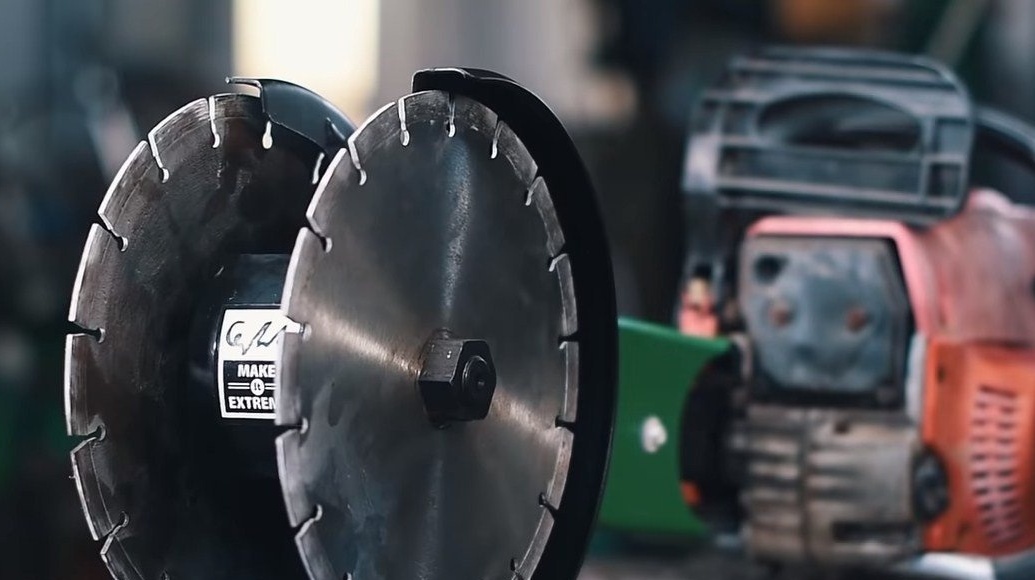
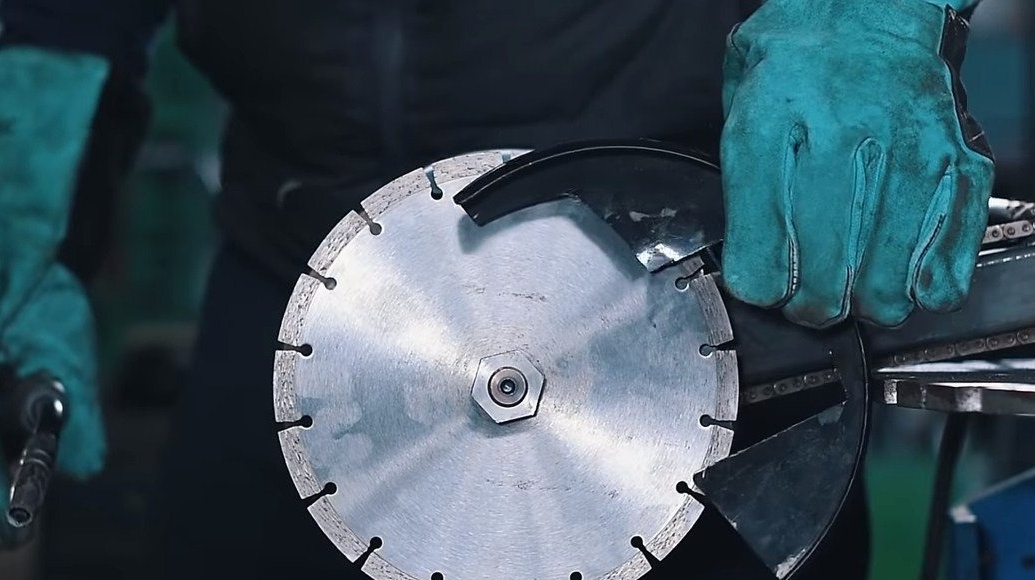
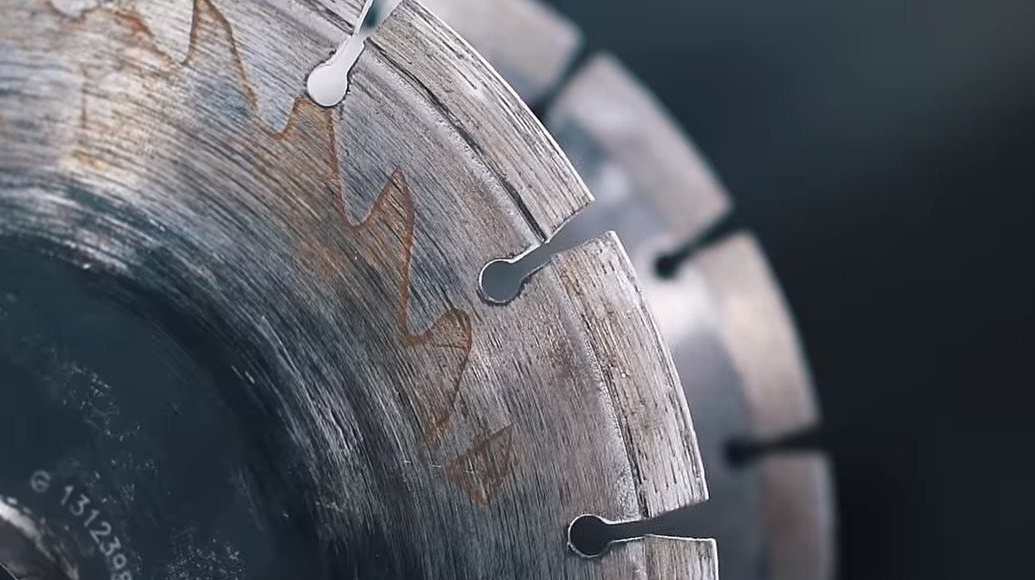
Hello fans to craft, I propose to consider interesting in my opinion homemade for the economy and not only. It will be a gas grinder, but not just a grinder, but a tool with two cutting discs mounted in parallel at once. If you install two disks on concrete at once and make an incision on brick or concrete, you get a groove, then you can lay wiring in it, conduct plumbing pipes and so on. You can also easily install a metal disc here, the tool perfectly cuts steel. If necessary, you can put on a car and wheels on wood, and two at once. Everything is going to be simple, the only difficulty is to make a shaft for the machine, here we need turning. If you are interested in the project, I propose to study it in more detail.
Materials and tools used by the author:
Material List:
- chainsaw (the more powerful, the better);
- stars from a moped, motorcycle or the like;
- two bearings;
- round timber, sheet metal (for turning works);
- thick sheet steel;
- two protective guards for the grinder;
- profile pipes;
- screws.
Tool List:
- press;
- lathe;
- tape cutting saw;
- drilling machine;
- screwdriver;
- taps for threading;
- ;
- ;
- milling machine;
- paint.
Homemade manufacturing process:
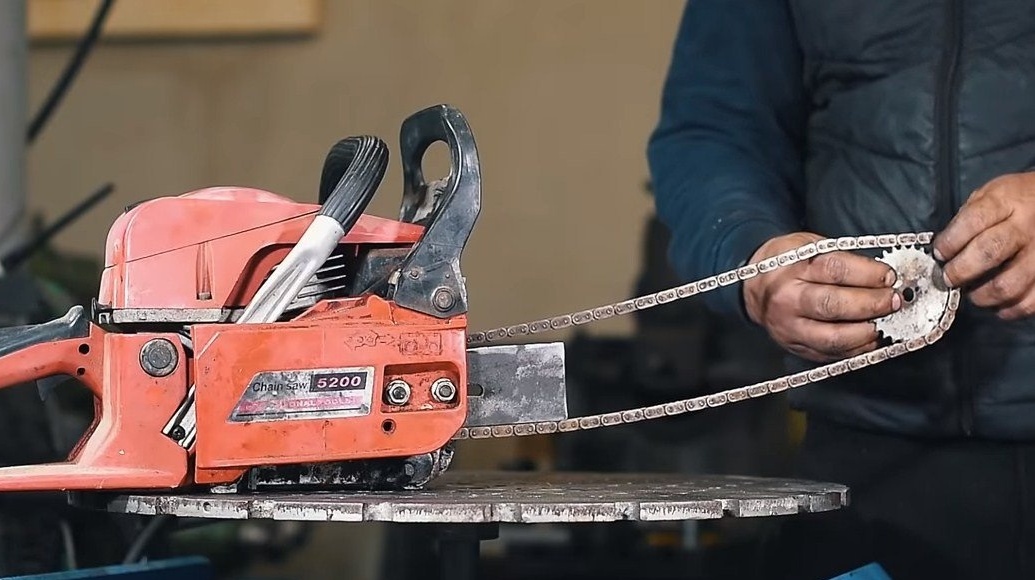
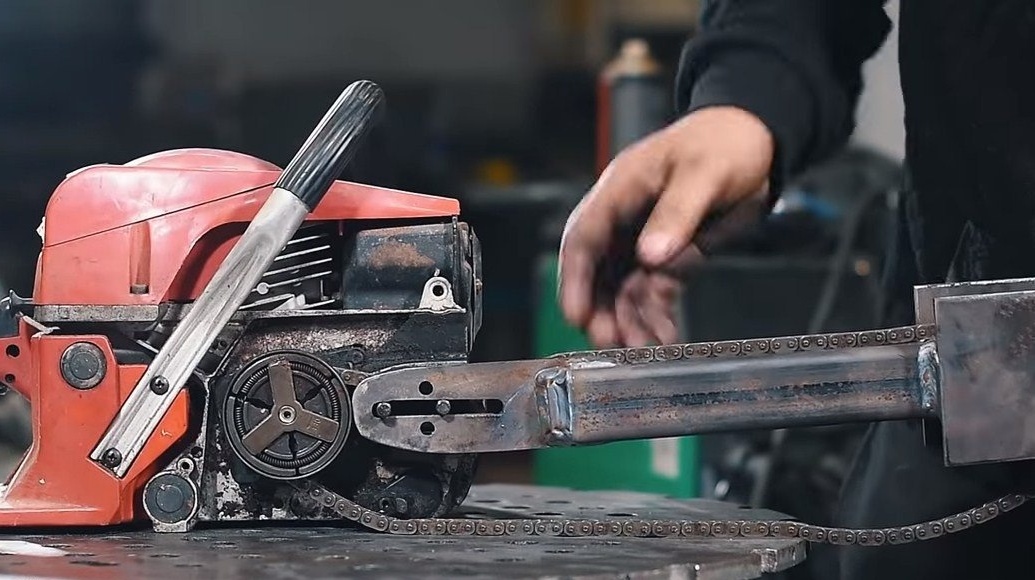
Step one. Lead sprocket
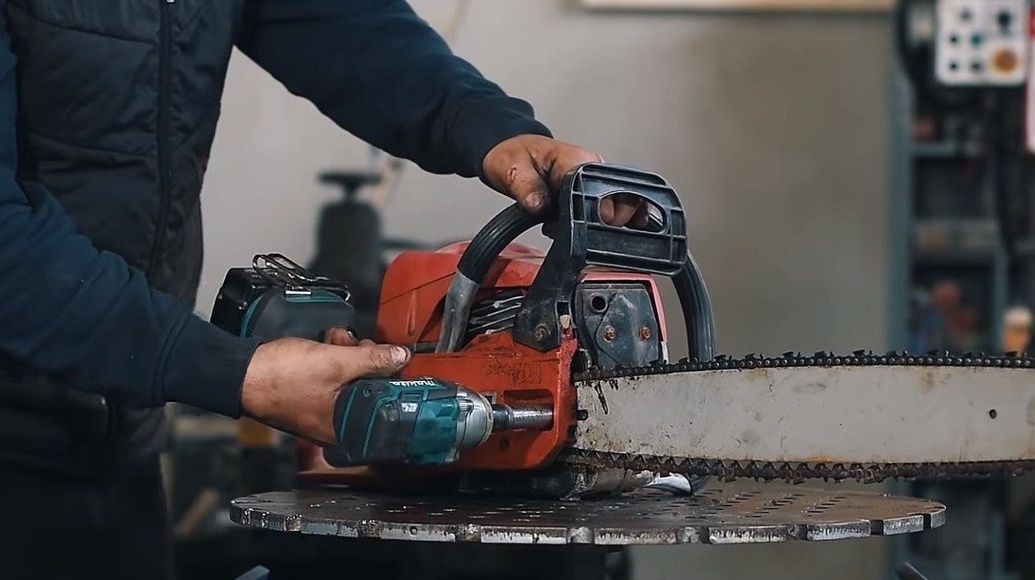
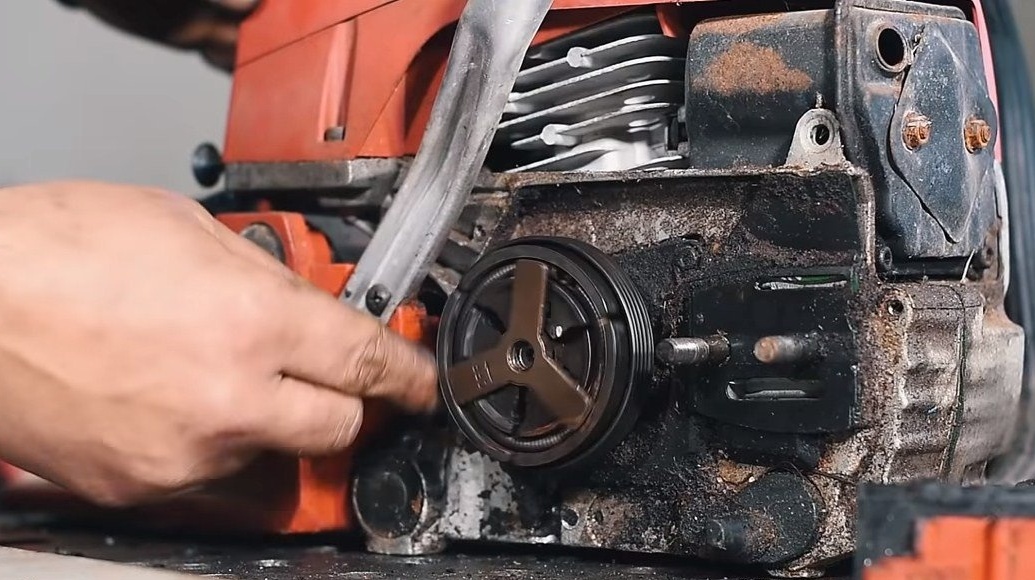
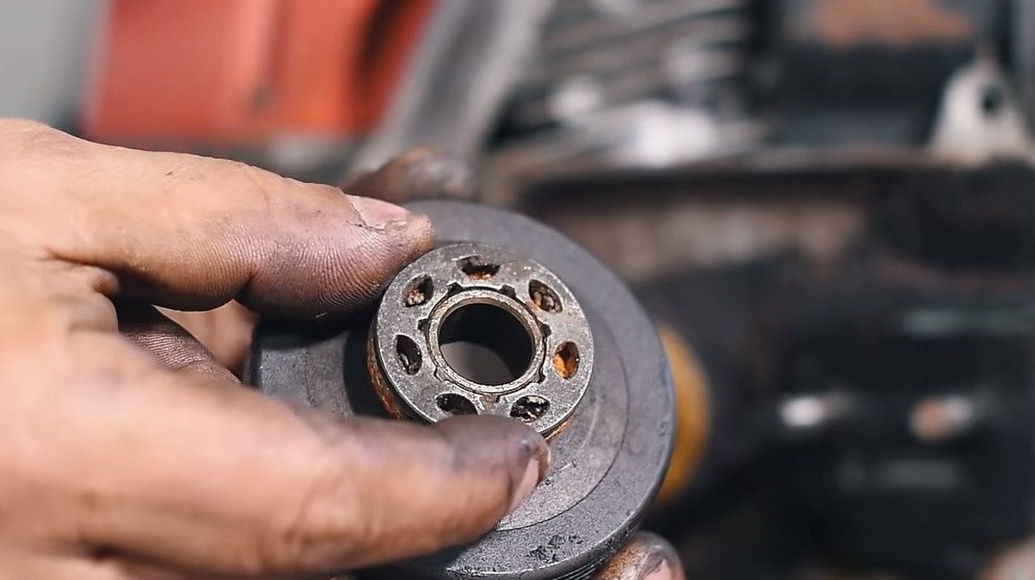
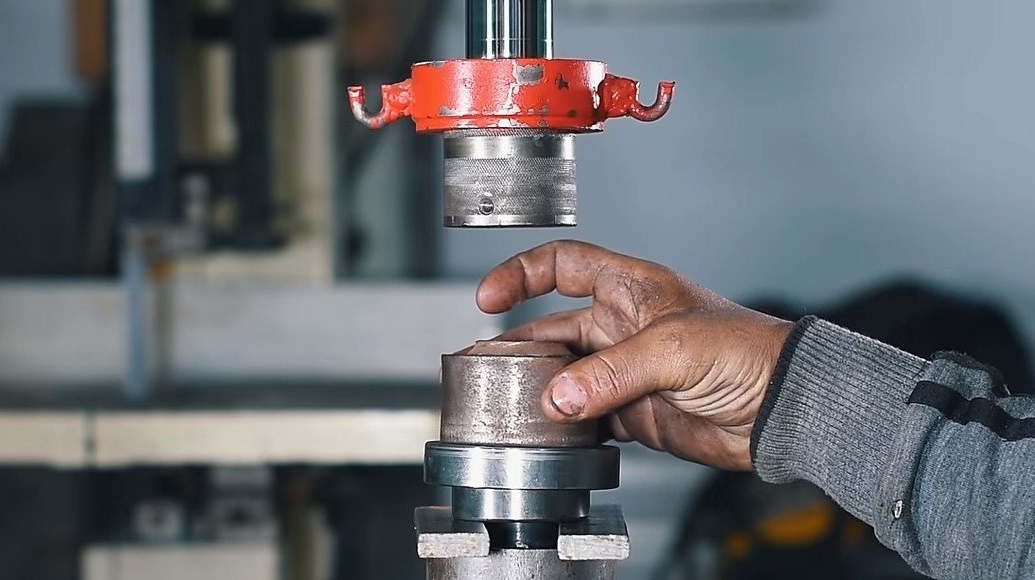
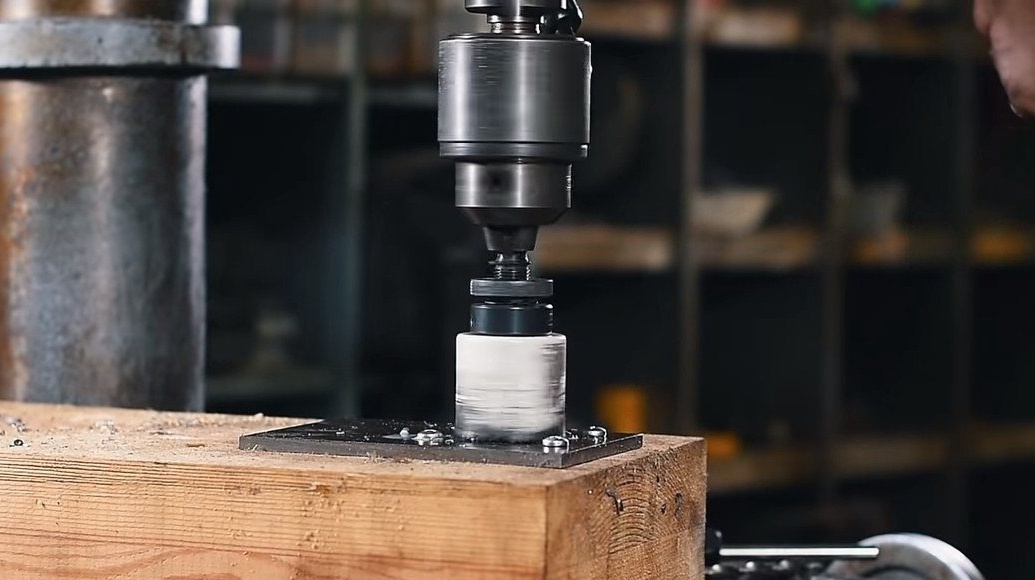
First of all, we will manufacture a leading sprocket, as stars we can use stars from a moped or the like. We remove its native asterisk from the chainsaw, our task is to press it inside the new asterisk. To do this, the author has increased to the desired size the inner diameter of the sprocket to the desired size. Well, then the press and welding came to the rescue.
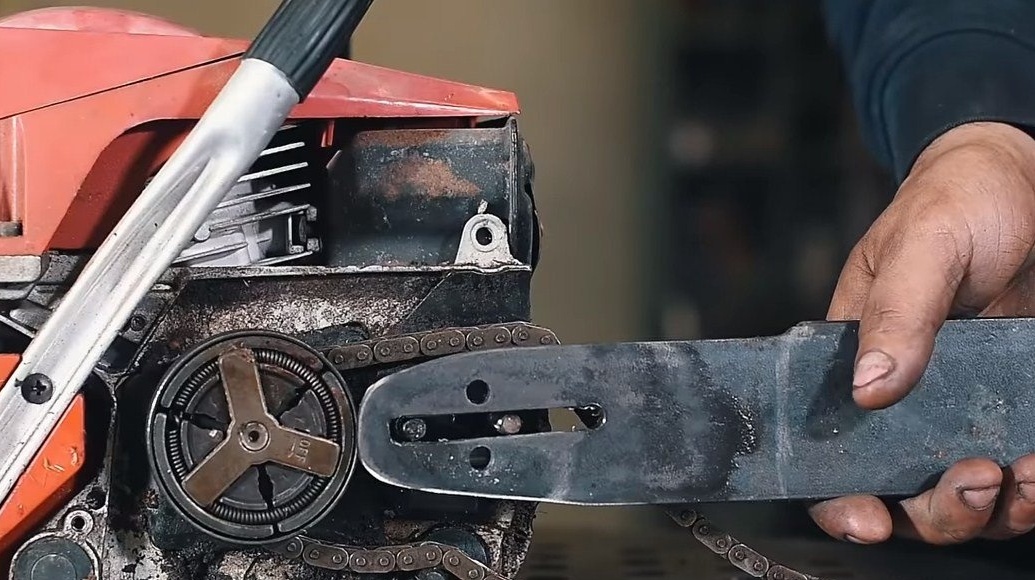
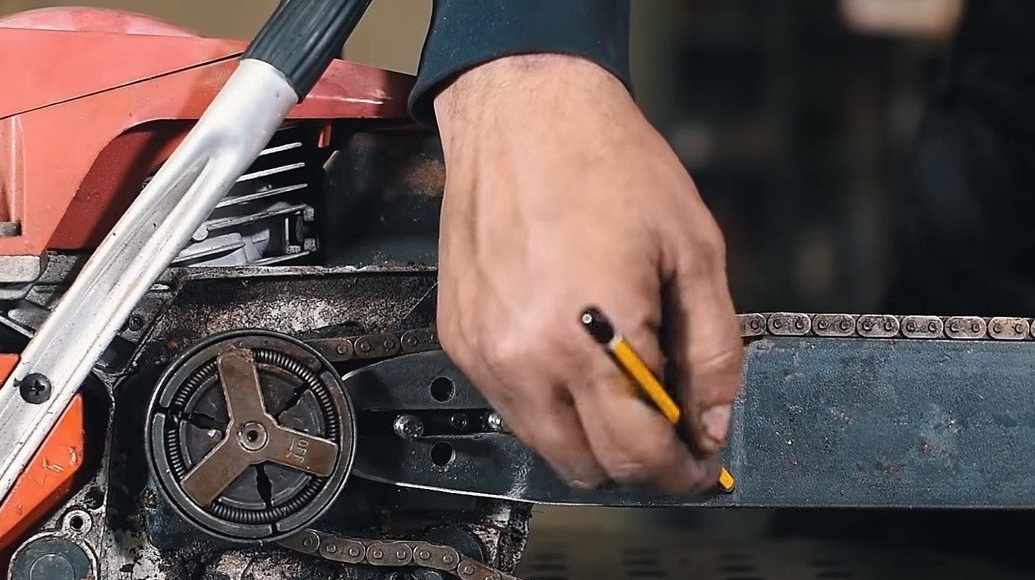
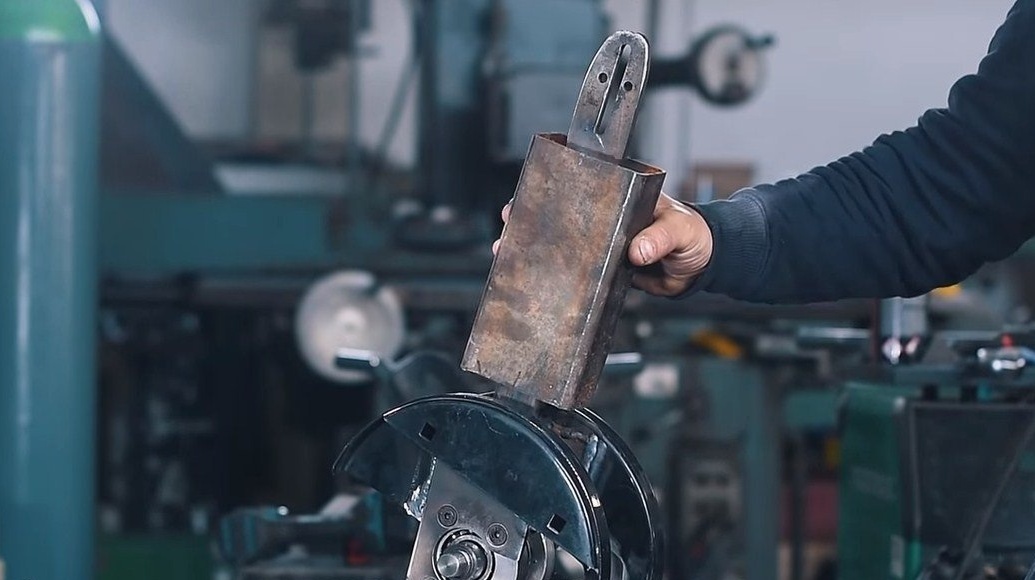
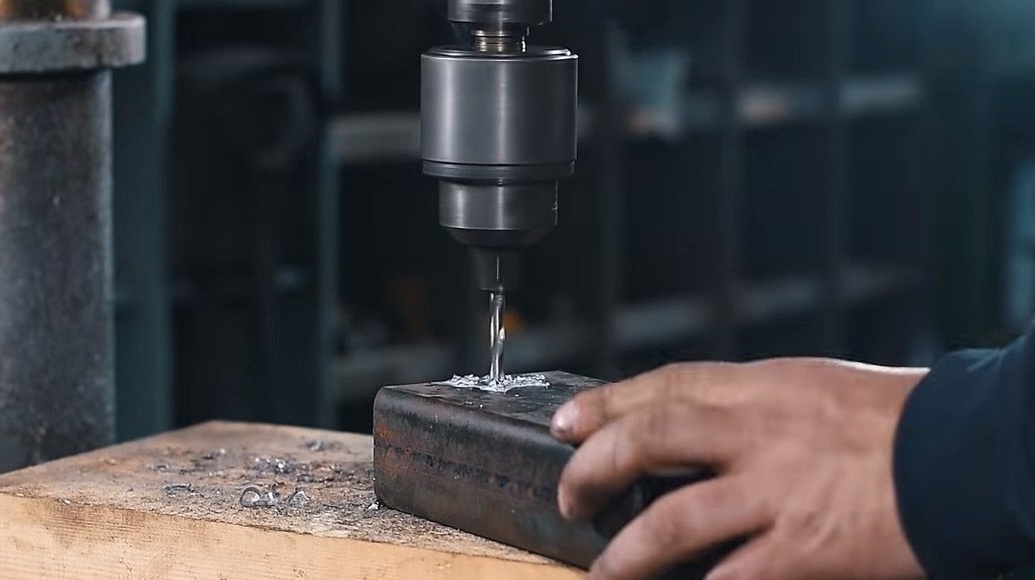
Step Two Mounting part
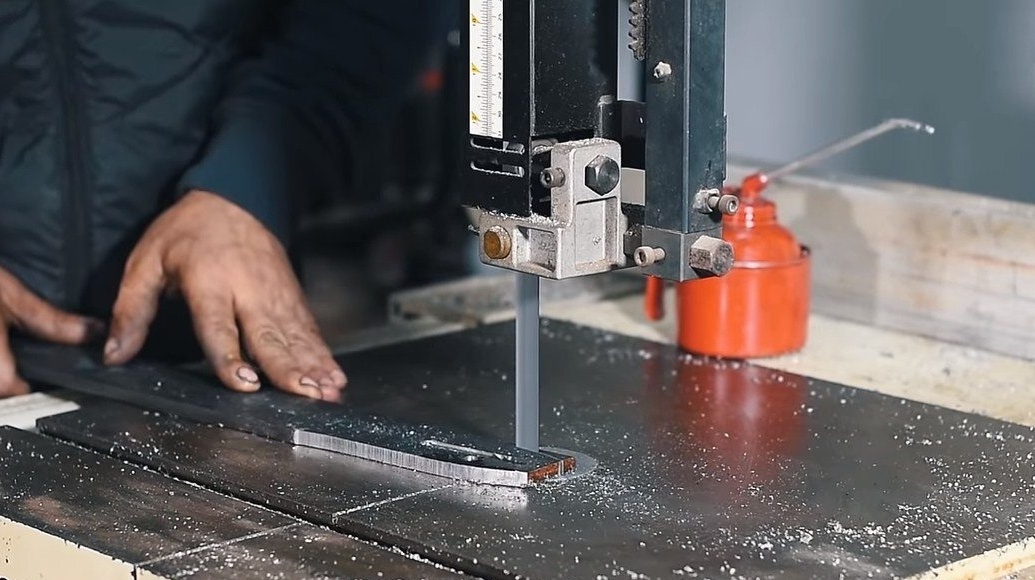
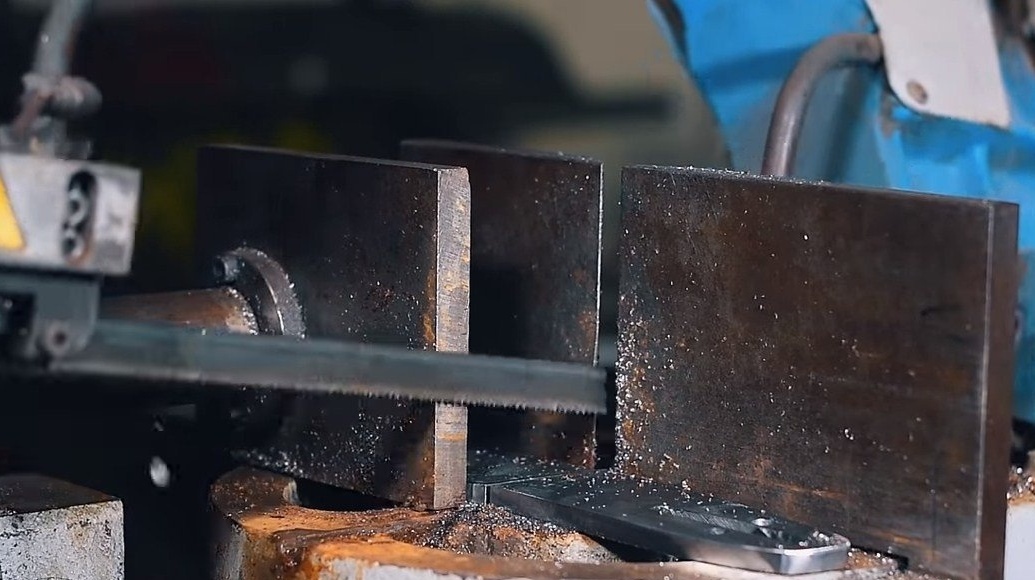
Next, we will make the mounting part, this is the part that will replace the tire. It is a piece of the back of a tire made of a thicker strip of steel. In his work, the author used a milling cutter, a band saw, and a drilling machine, but more simple tools can be used.


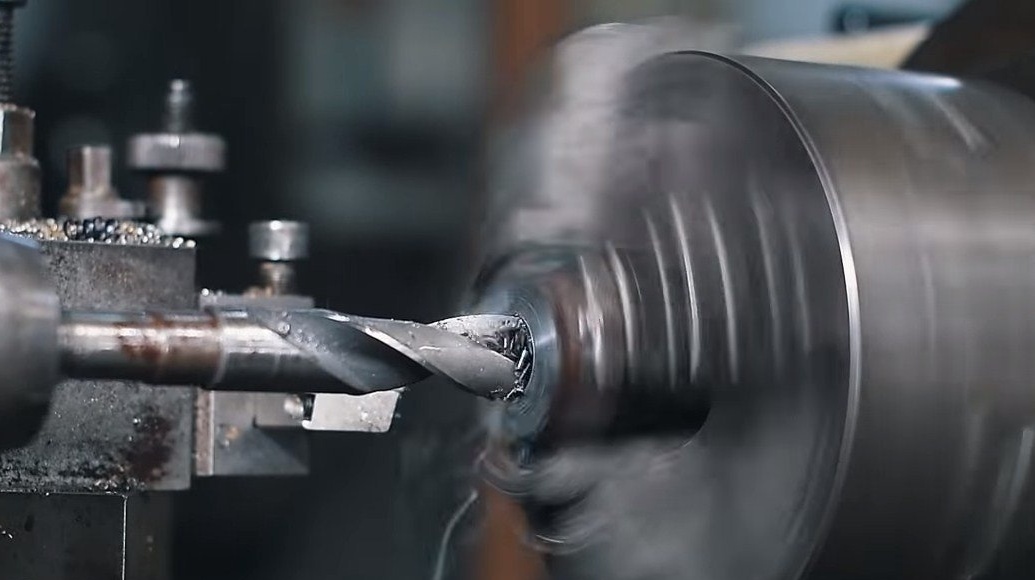
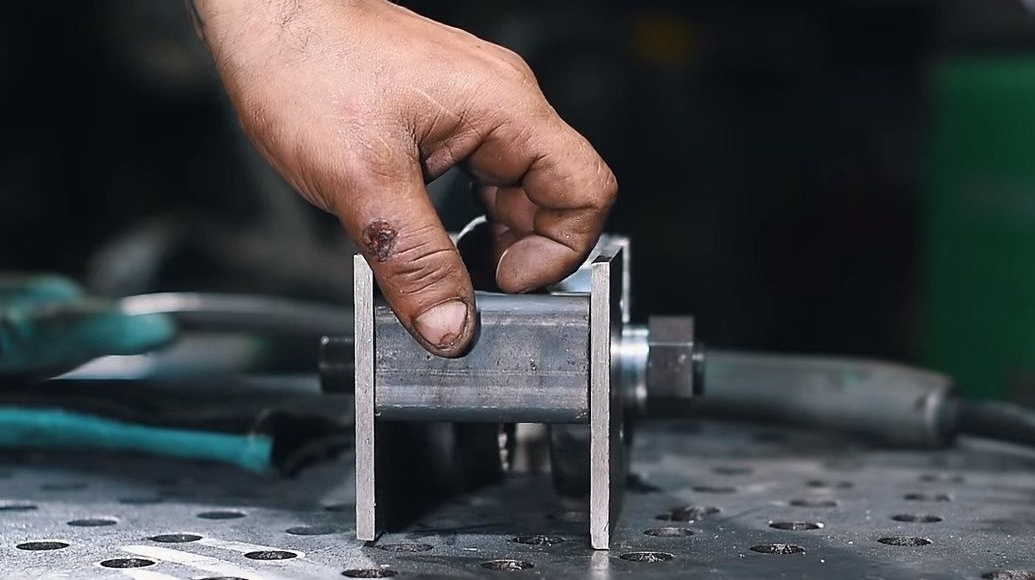
Step Three Driven sprocket and working shaft
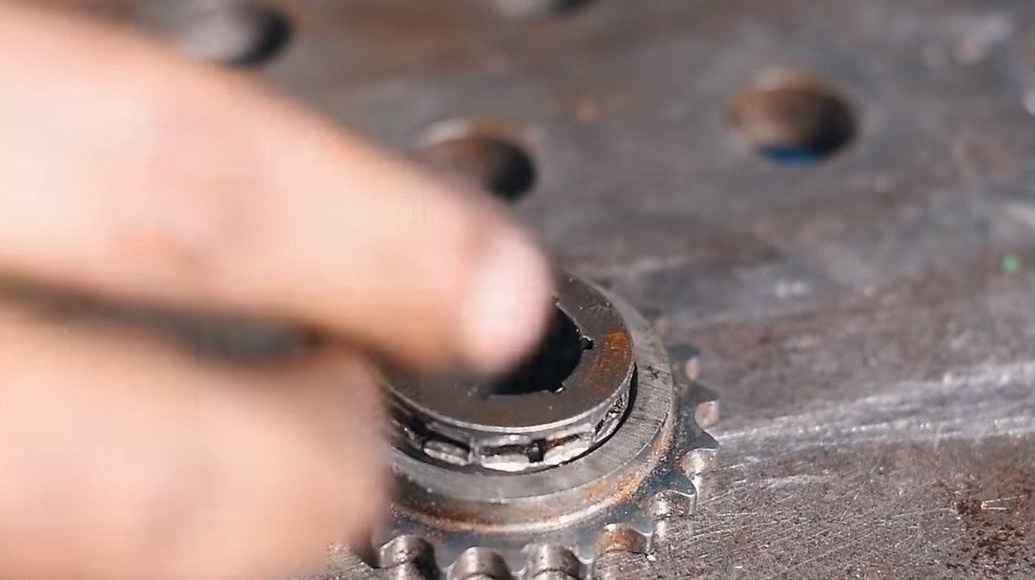
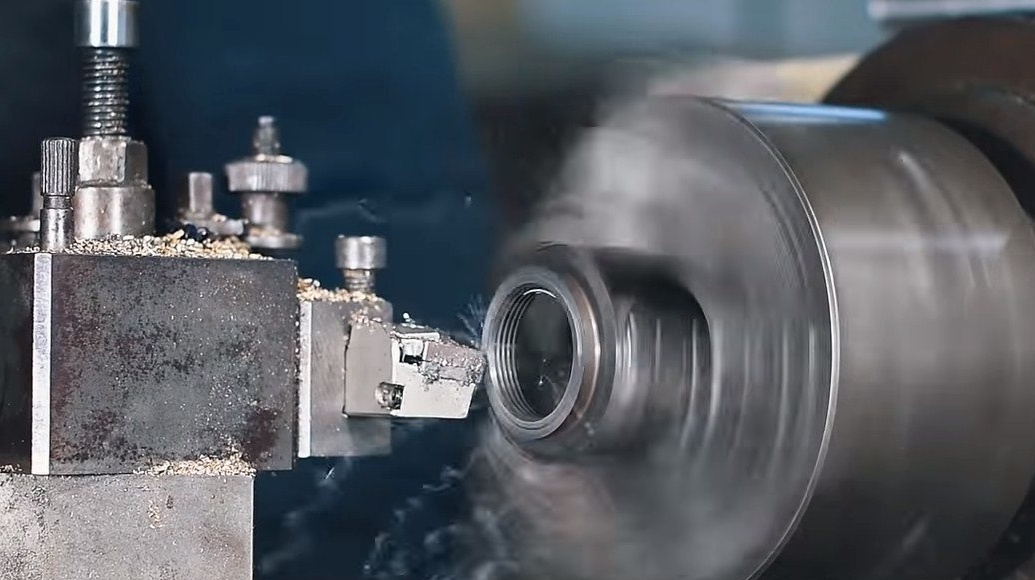
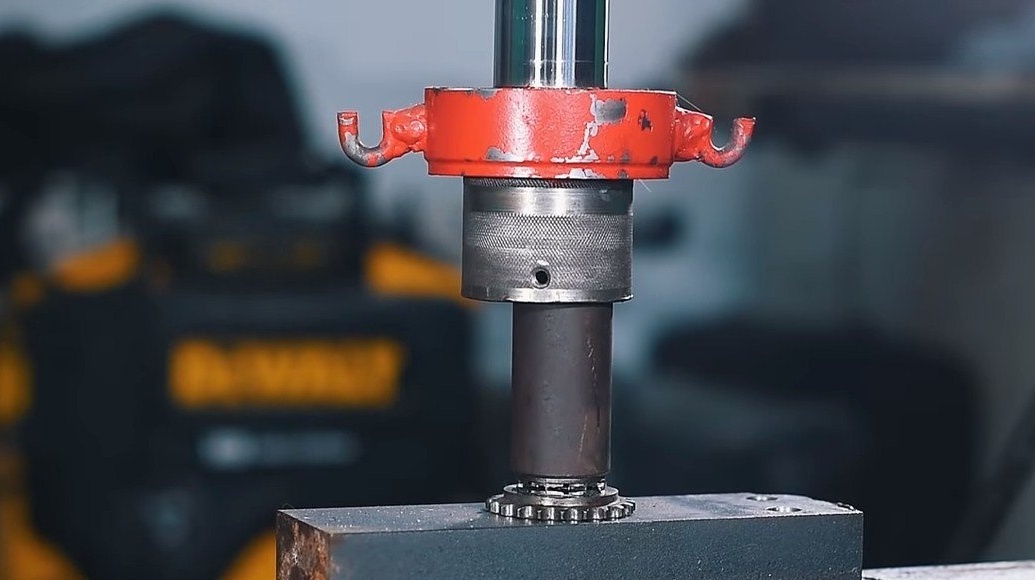
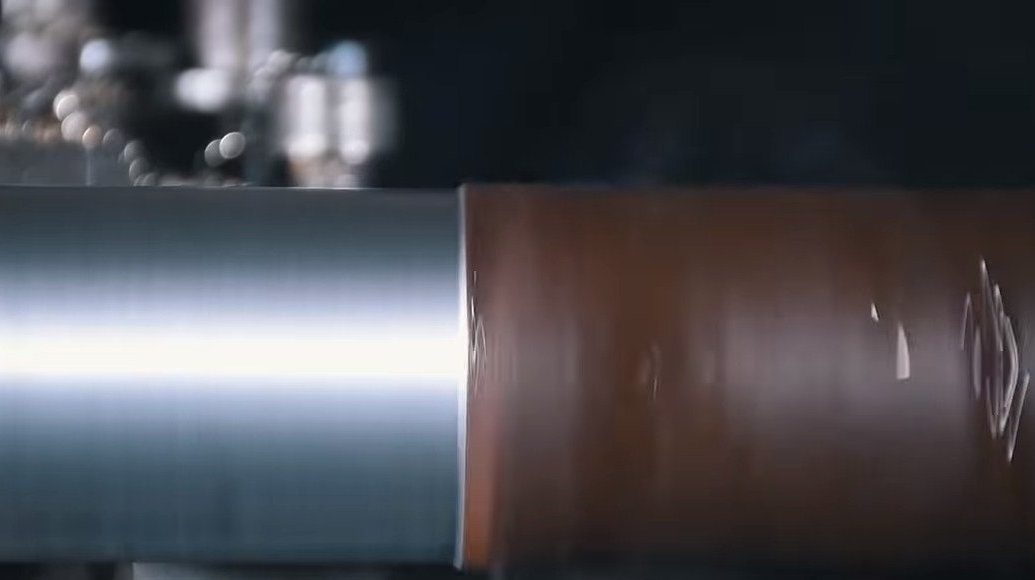
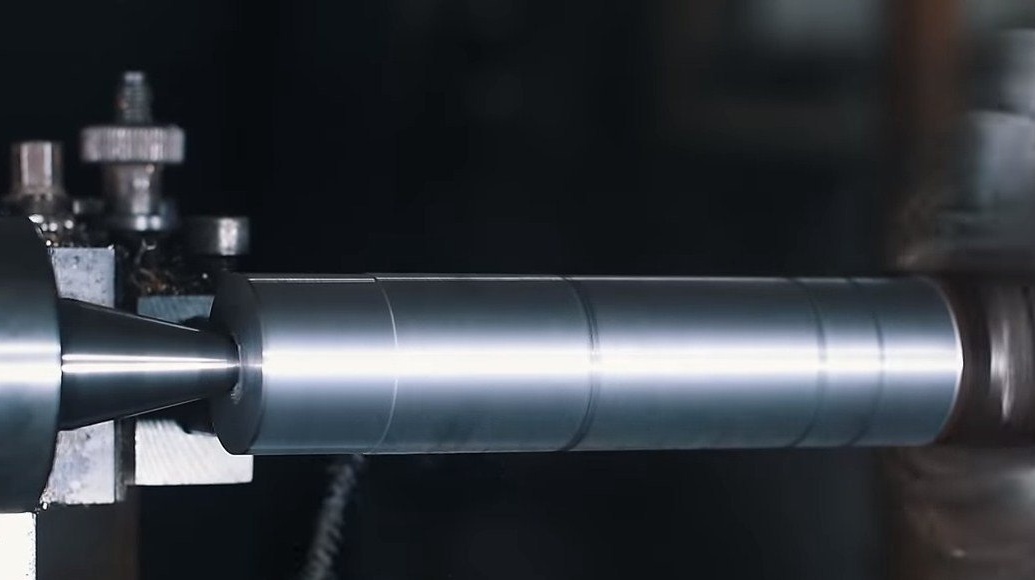
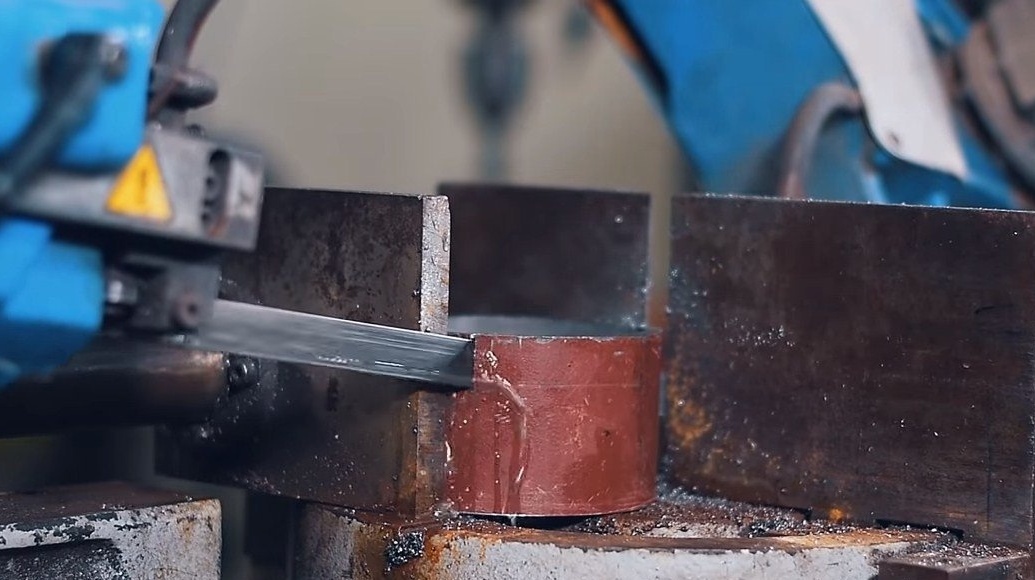
Next, you need to choose a driven sprocket, the author has a larger size than the leading one, in the end we get increased torque. Under the asterisk you need to make a working axis, on it there will be not only an asterisk, but also bearings and we will install cutting discs on the same axis.Work on the manufacture of such an axis is carried out on a round lathe. Weld an asterisk in the center of the axis.
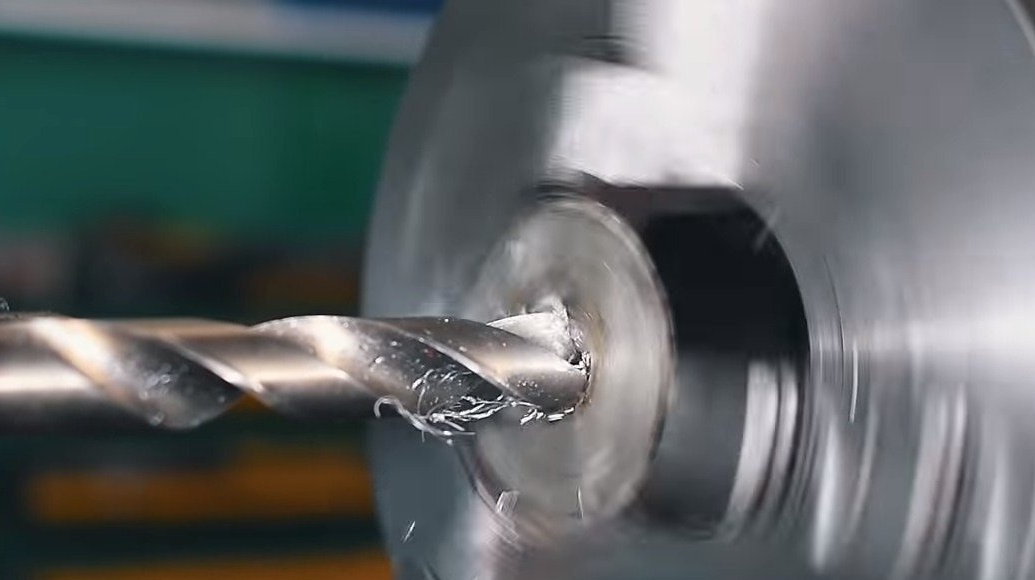
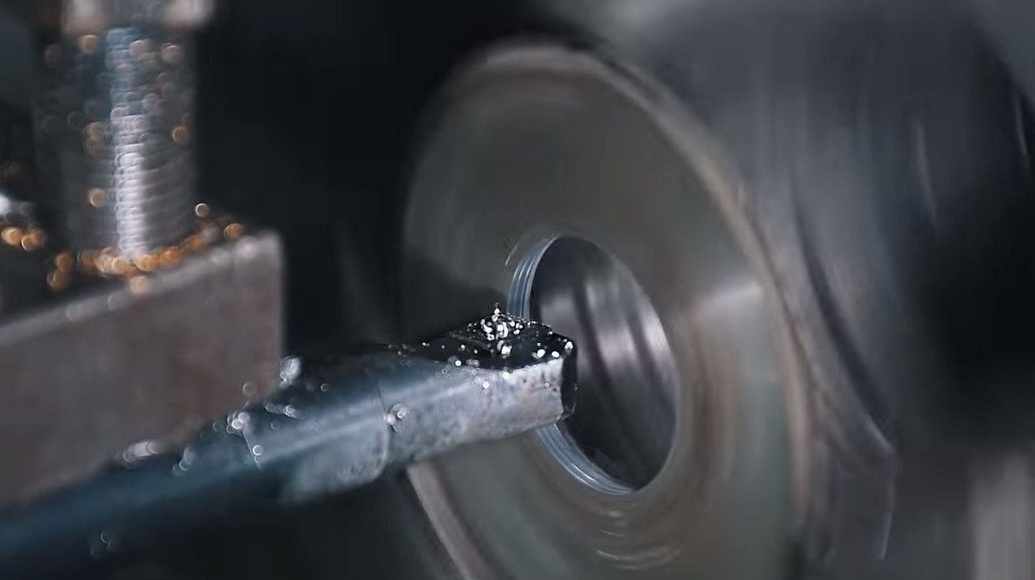

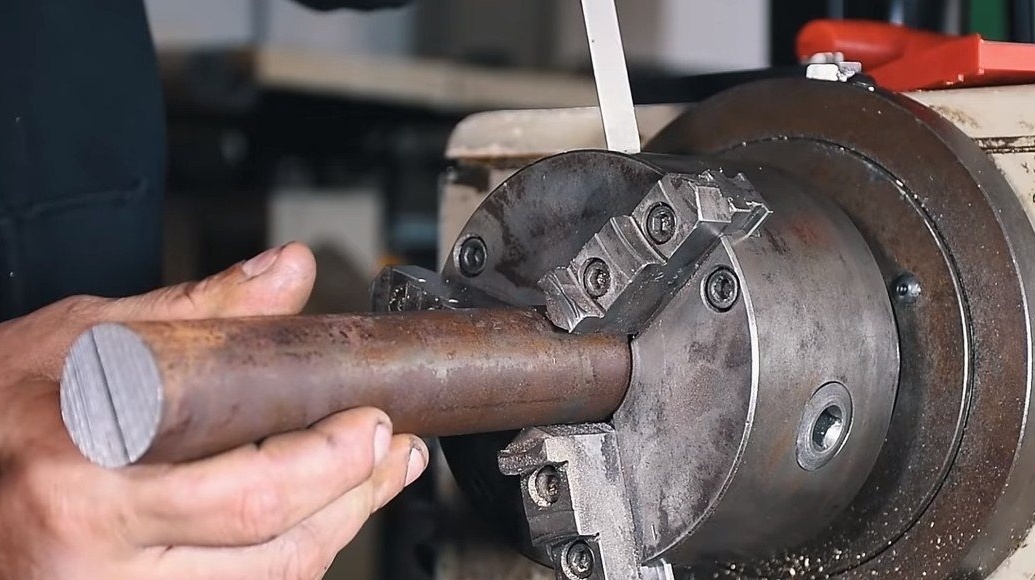
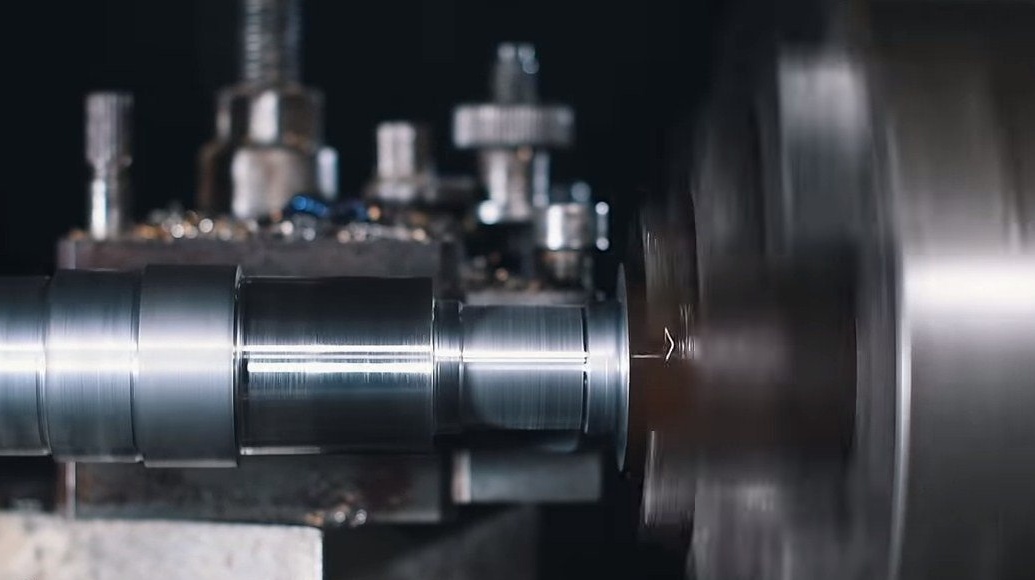
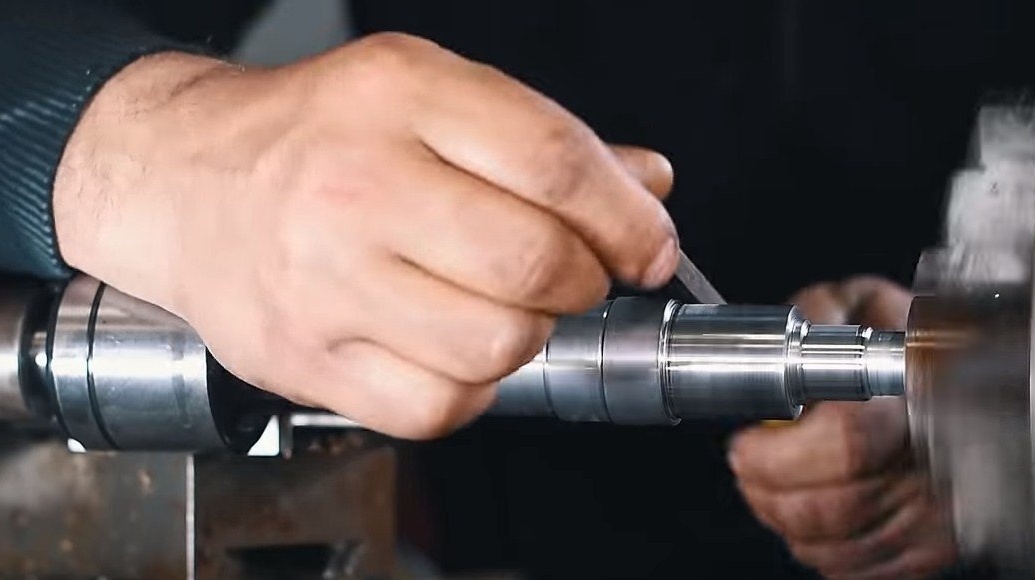
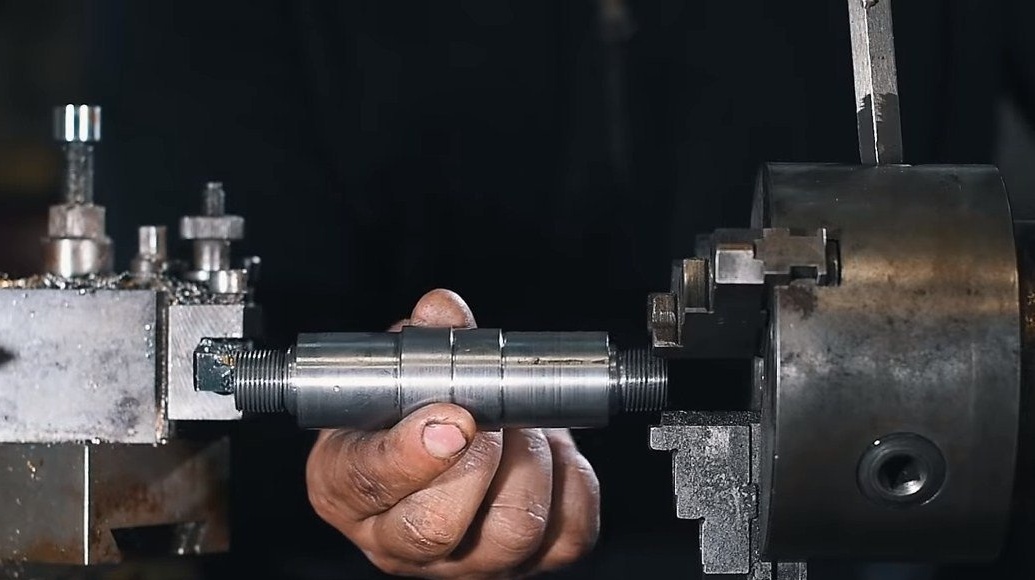
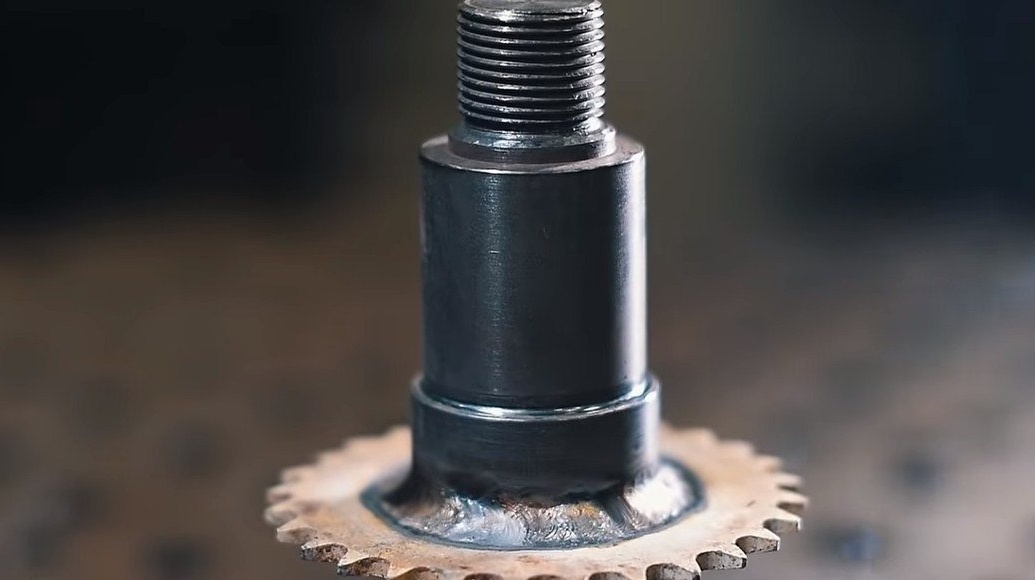
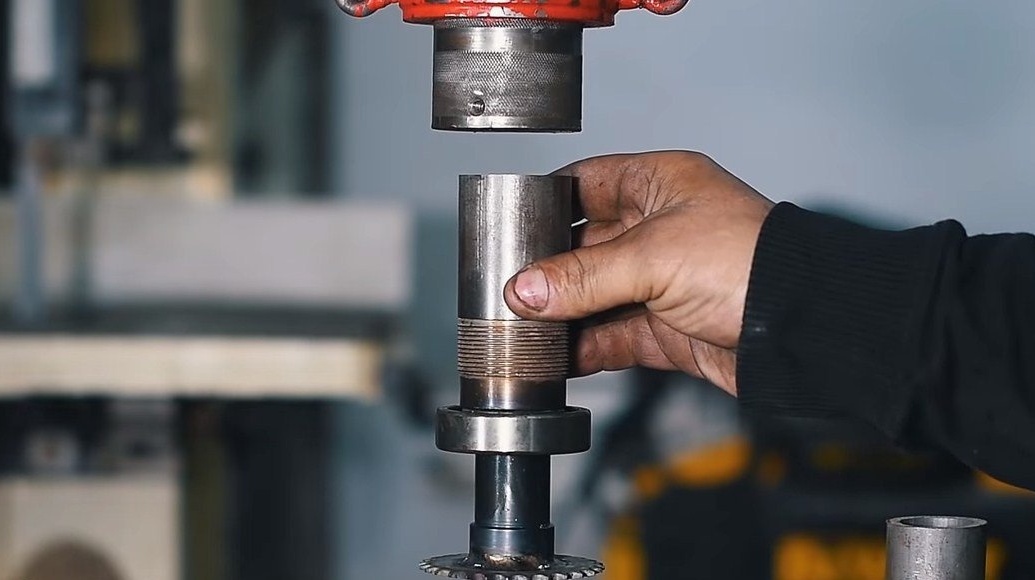
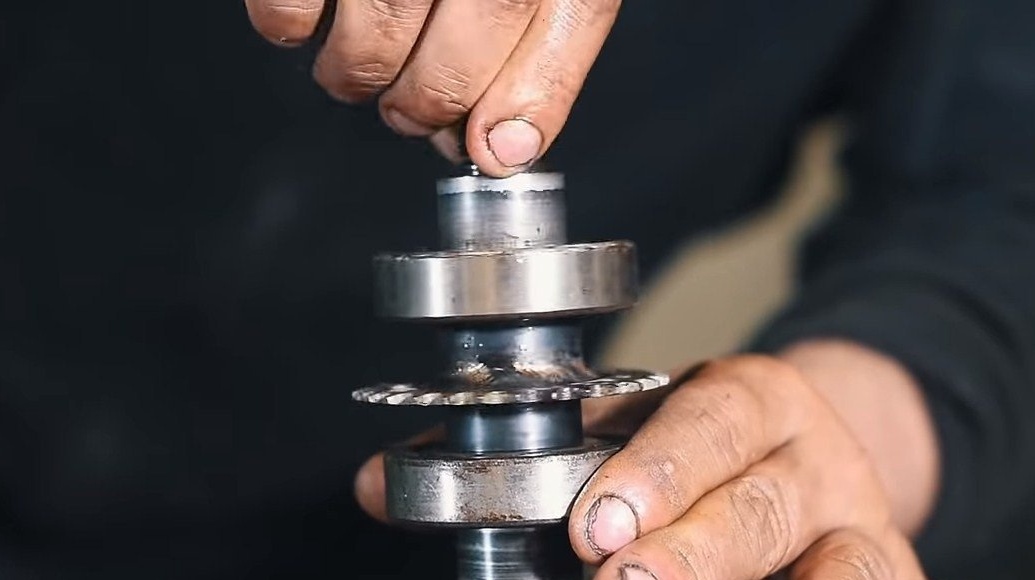
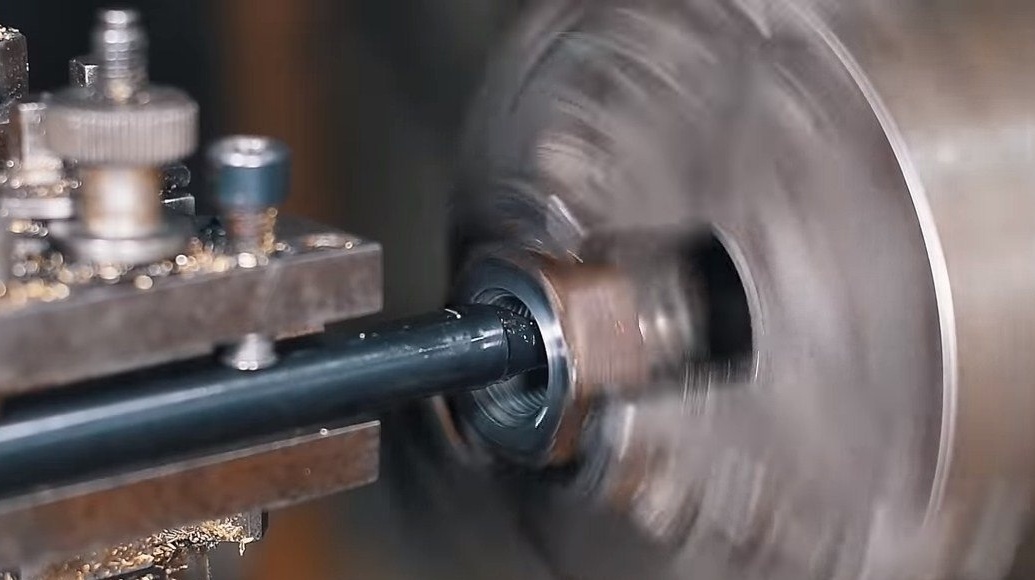

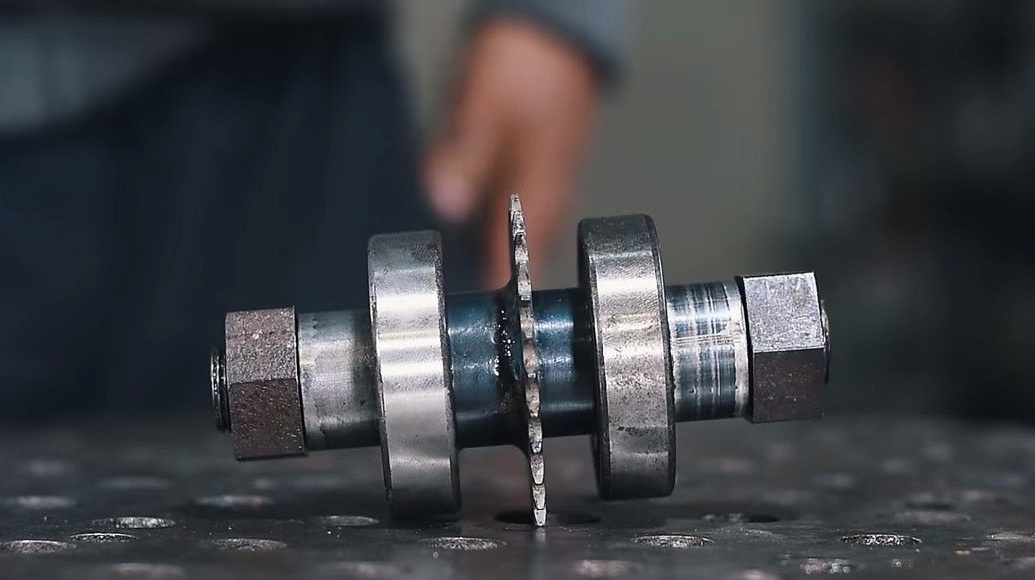
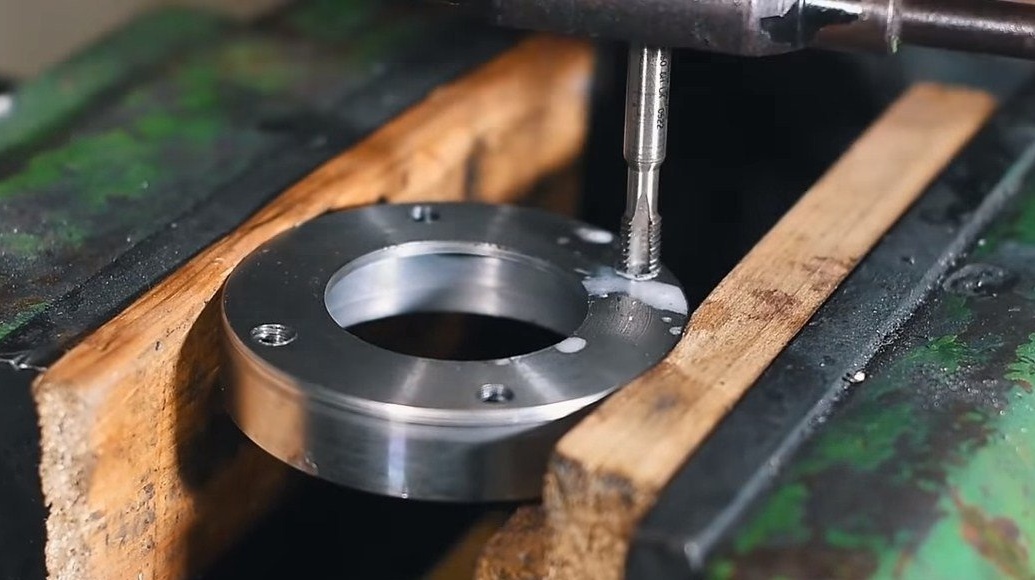
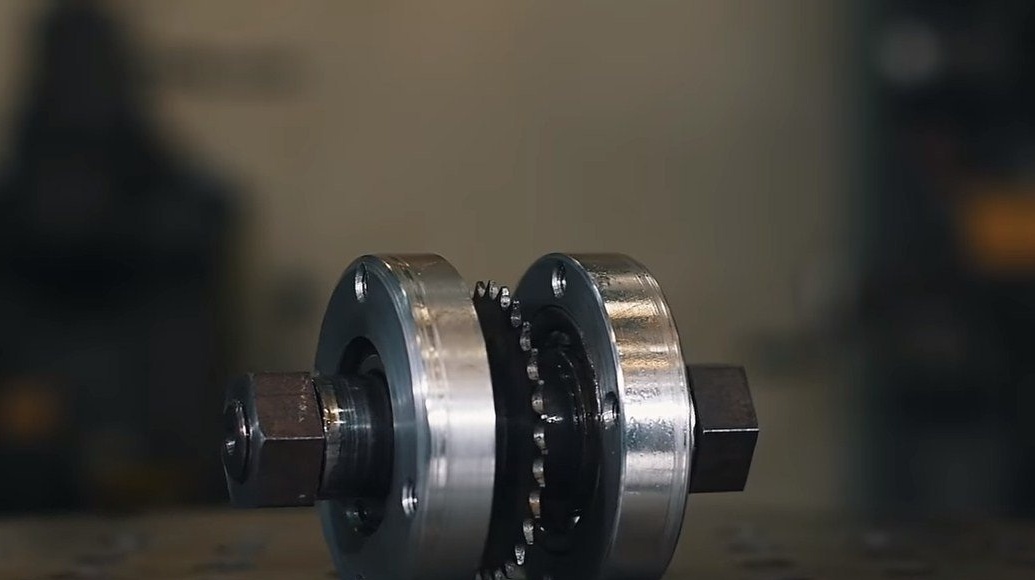
Further, bearings are pressed on the sides of the axis, and, of course, bearings must be made on bearings, their author made on a lathe. The clips have threaded holes for mounting screws. As for the nuts with which the cutting discs are screwed, the author made them himself. Regarding the thread - you need to take into account its direction so that the disks do not loosen during operation.
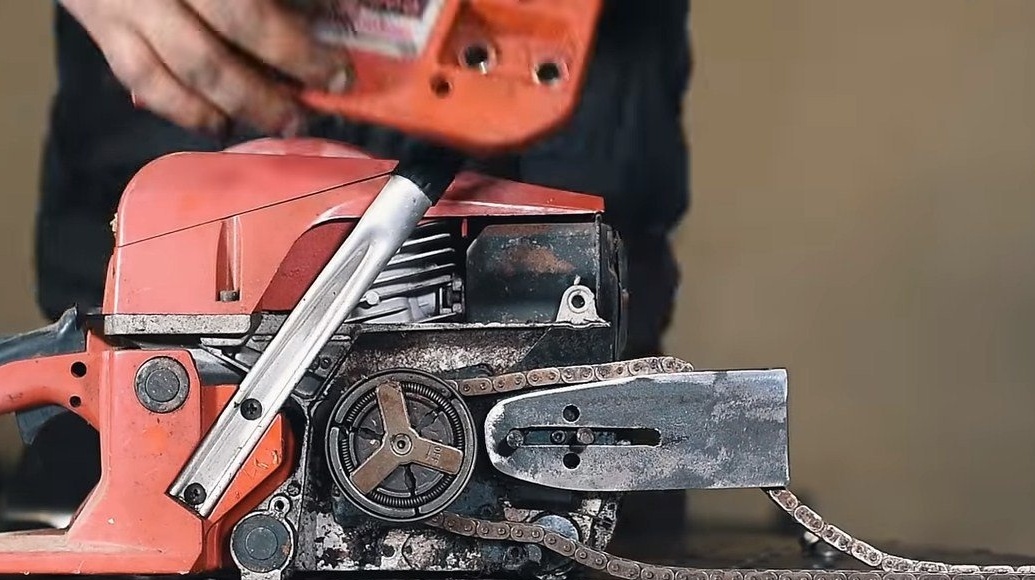
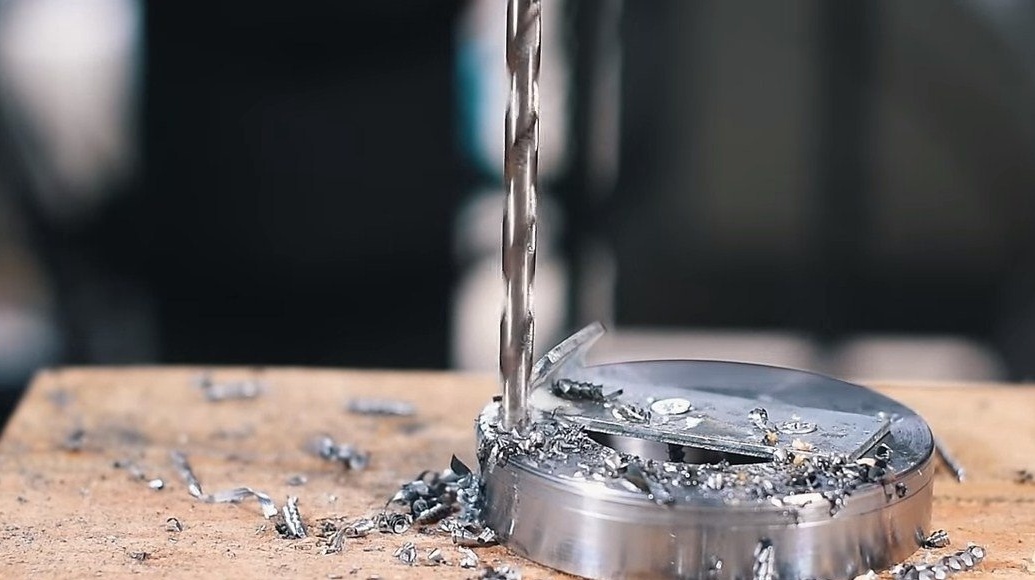
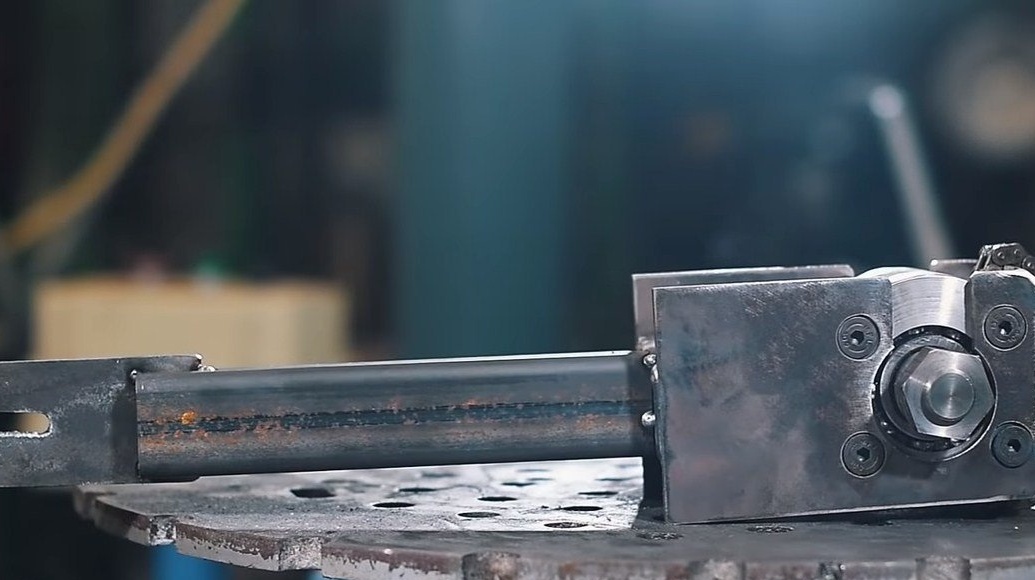
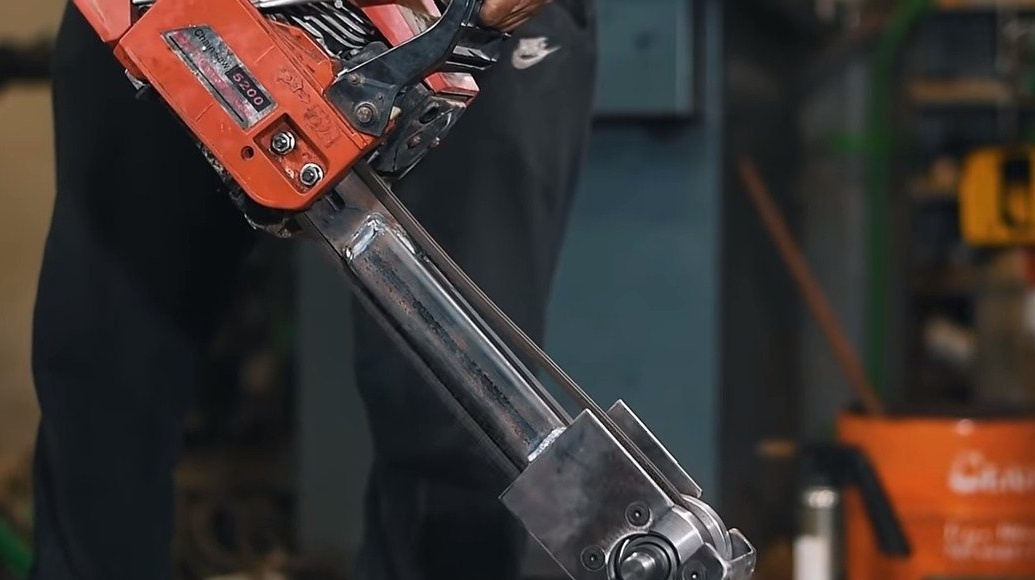
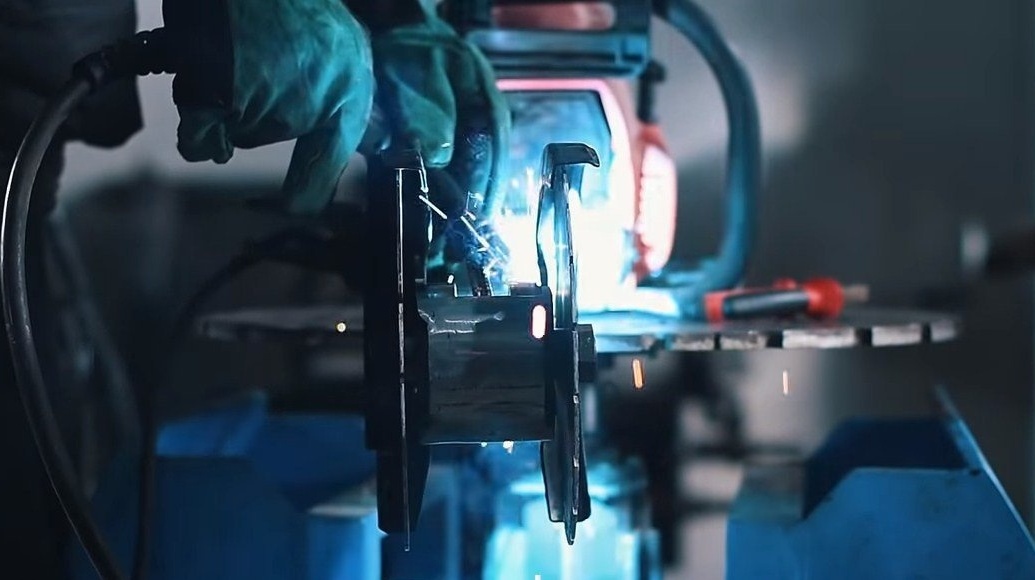
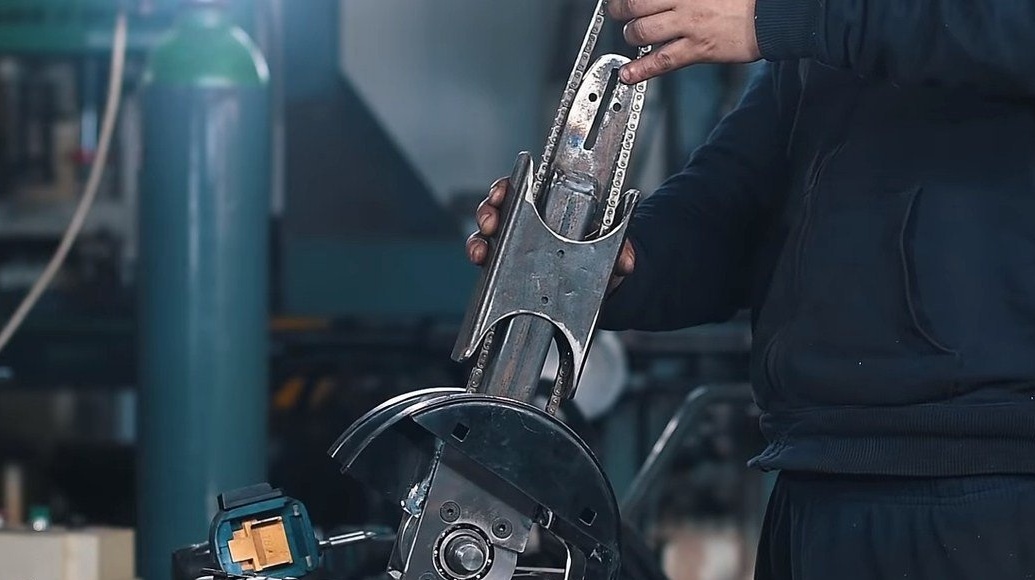
Step Four Putting the device together
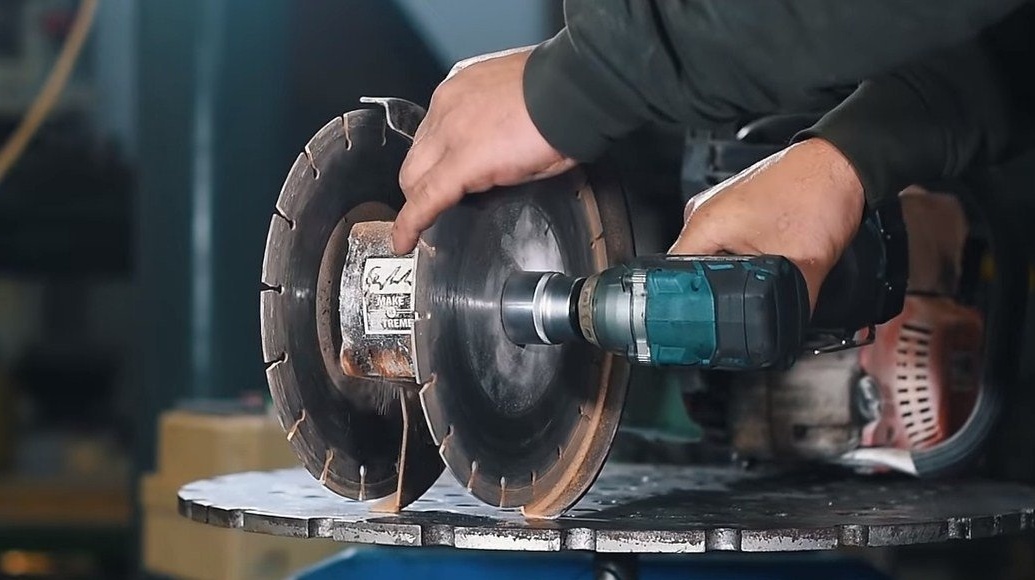
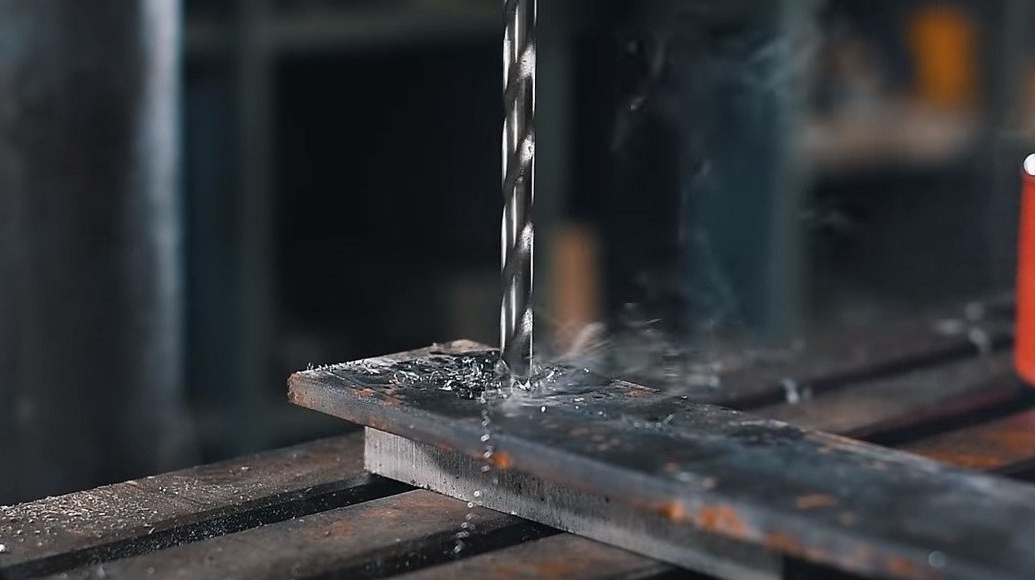
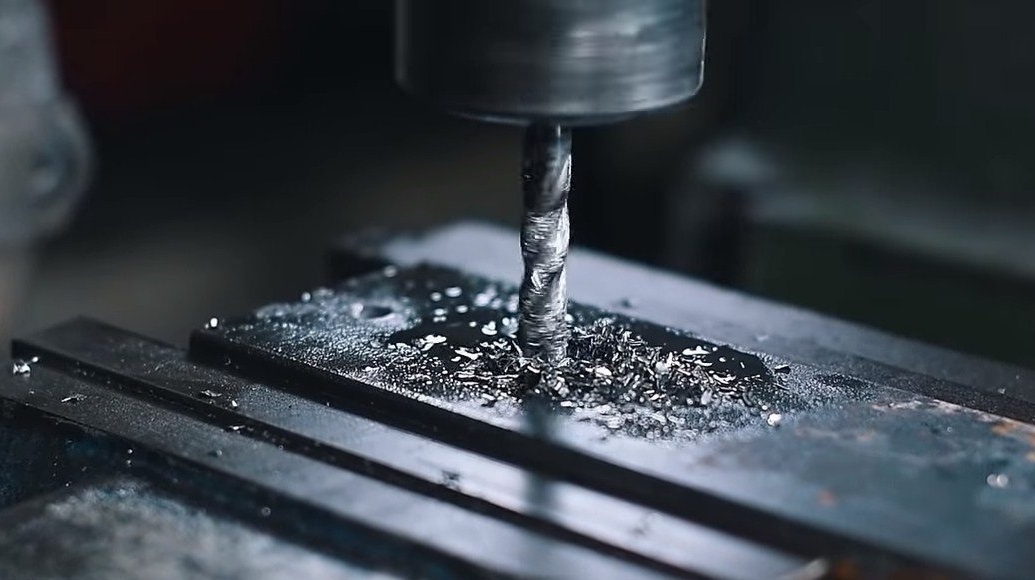
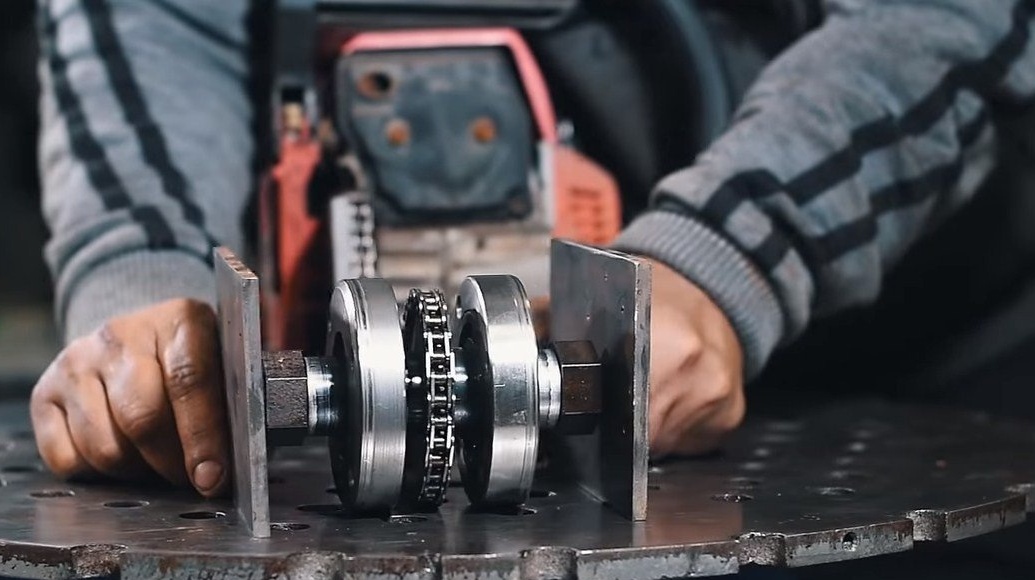
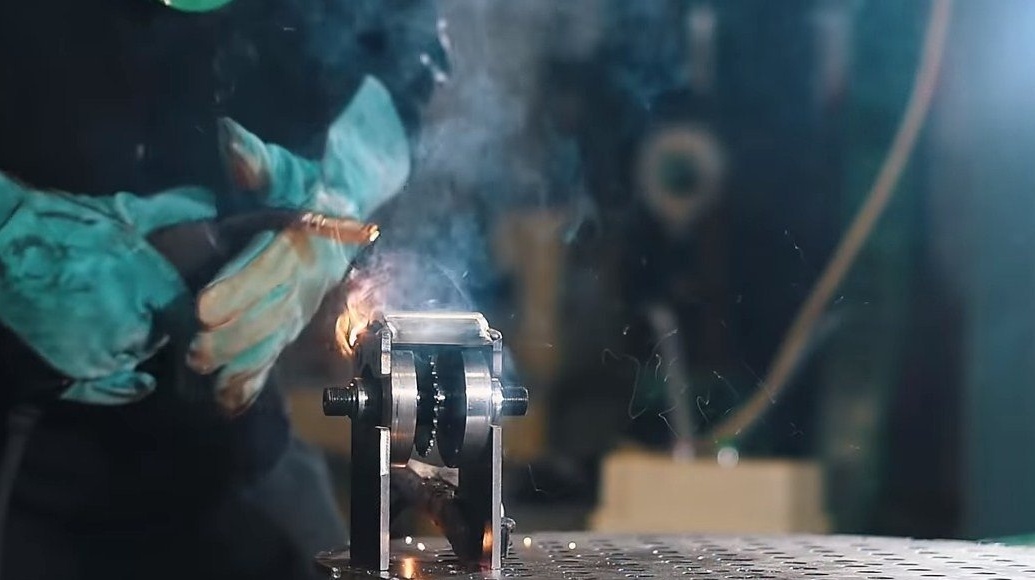
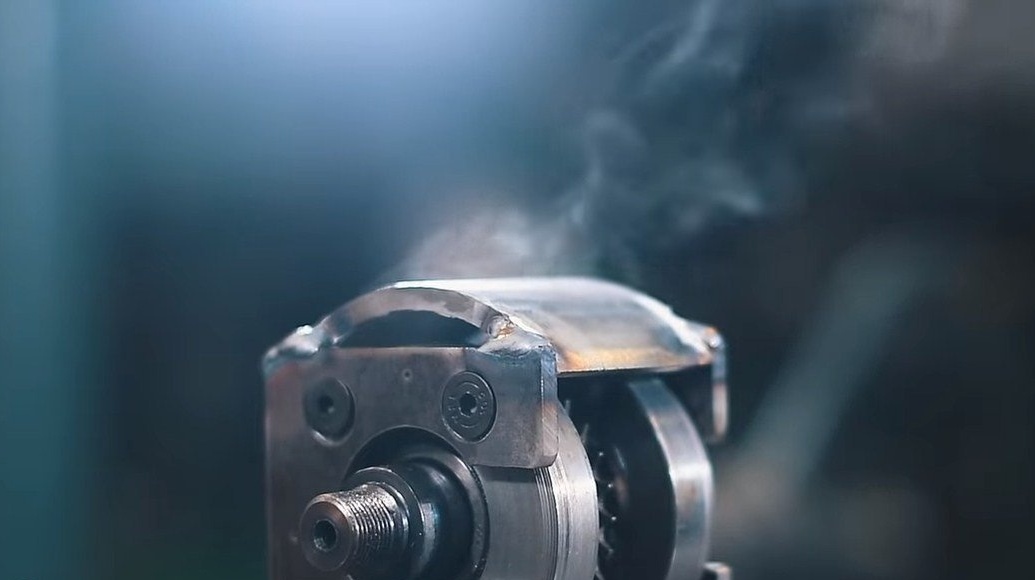
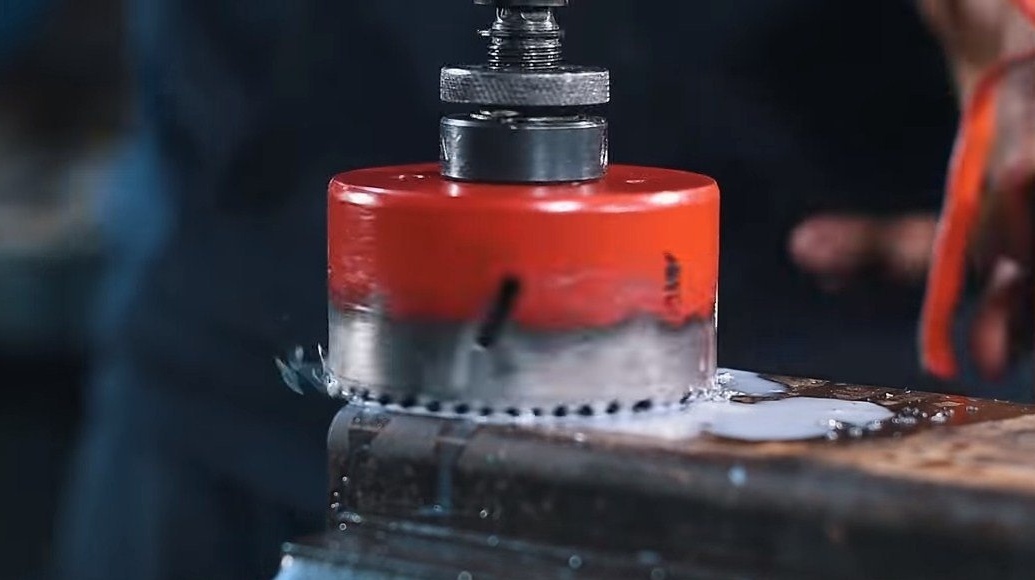
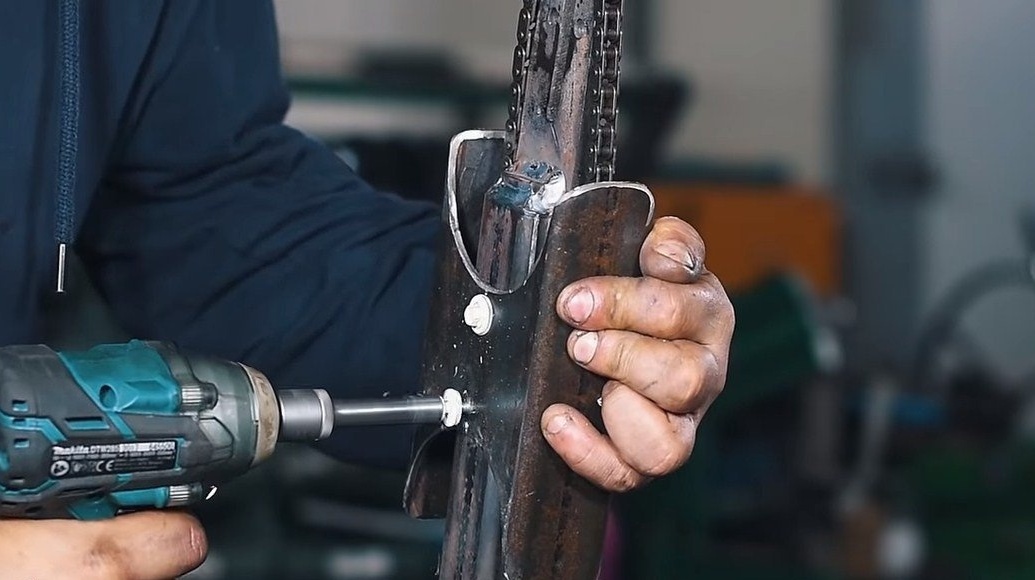
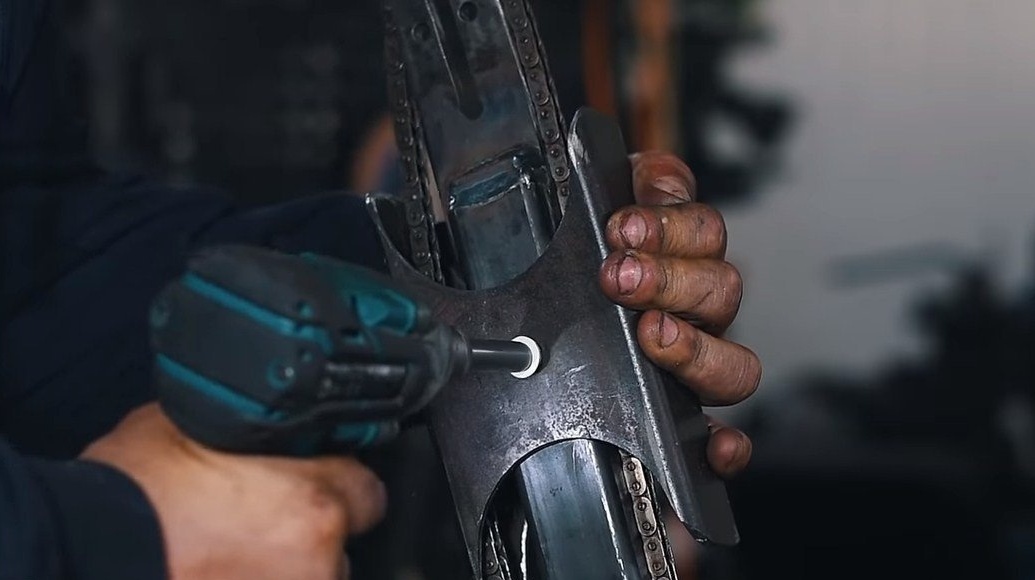
We begin the assembly from the front, first we cut off two steel plates and drill a hole for the working shaft with a crown. We drill holes in the plates and fasten our bearings with bearings. As a result, we weld the spacers, in the front part it is a piece of a round pipe, and in the back it is a piece of a profile pipe. Welds were well cleaned with a grinder with a petal disk.
At the end, it remains to combine the mounting part with the “head”, between them the author welds a piece of the profile pipe. That's all, pull the chain, if necessary, shorten. The machine is almost ready, we install cutting discs, in our case, concrete.


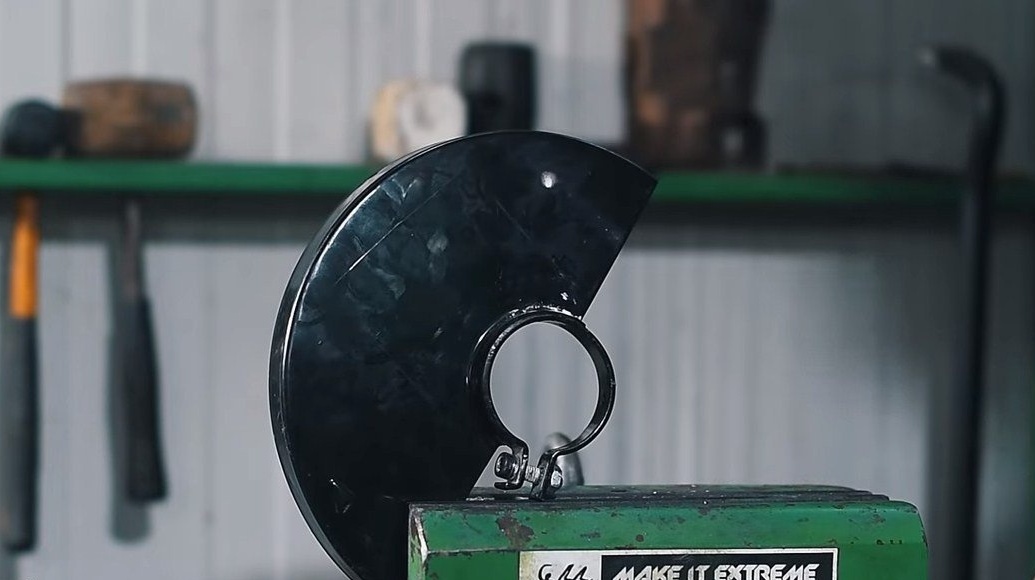
Step Five Protective shields
We got a serious car, so be sure to make protective shields for it. We will need two shields from the grinder, we install them above the disks so that dust and other particles do not fly at us. The author cut off the native mounting bracket, and simply shielded the shields to the device frame.
You will also need to make a shield over the chain, for such purposes the author used a piece of a profile pipe of suitable sizes. Semicircles were cut along the edges of the pipe with a large-diameter crown, so the shield weighs lighter, and it looks more interesting. We fasten the shield with roofing screws in the amount of three pieces.

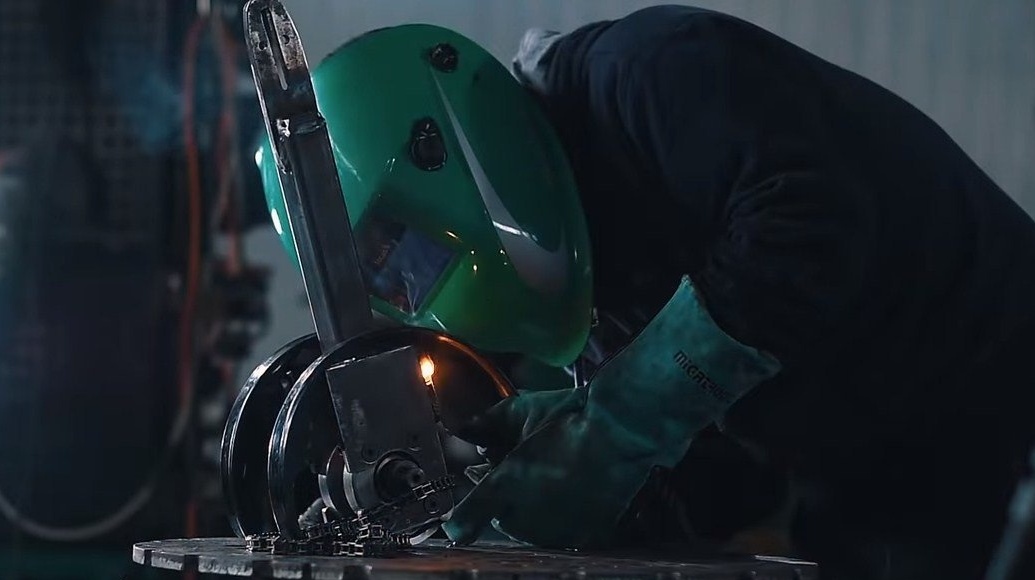
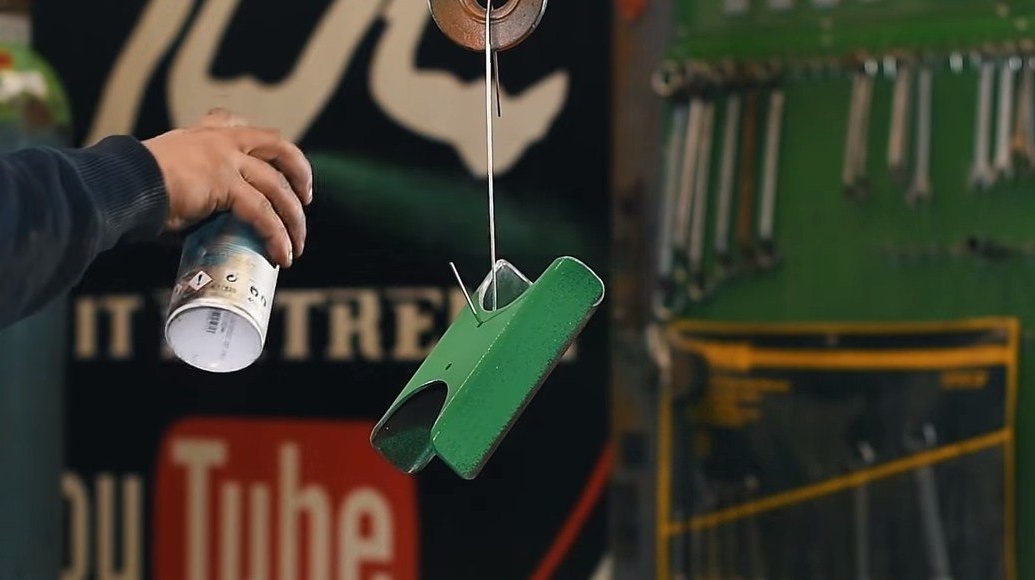
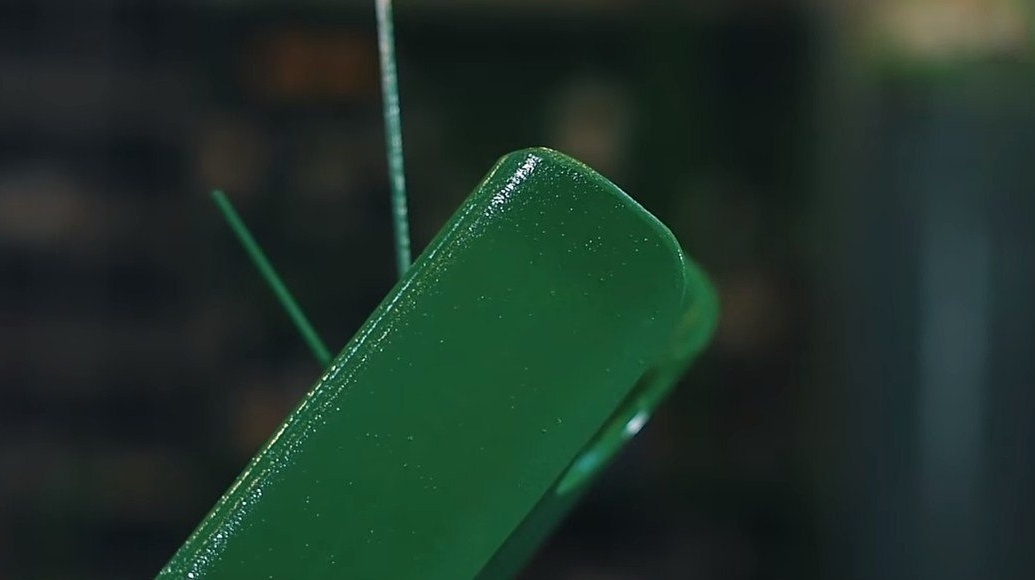
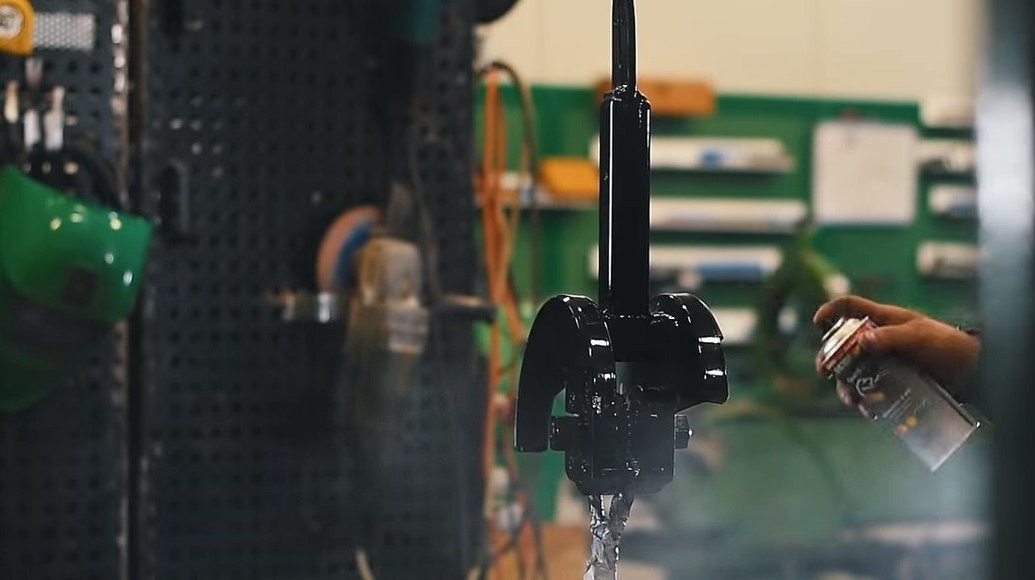
Step Six Painting and testing
We disassemble the home-made and paint, the author uses spray cans. Now everything looks great, and the metal will not rust. We collect everything back and go to the test.
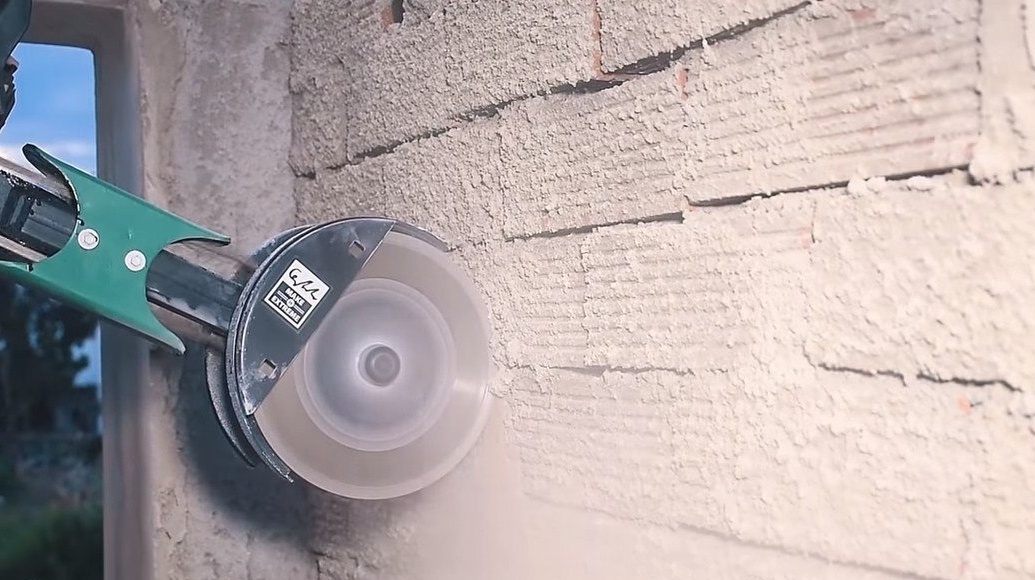
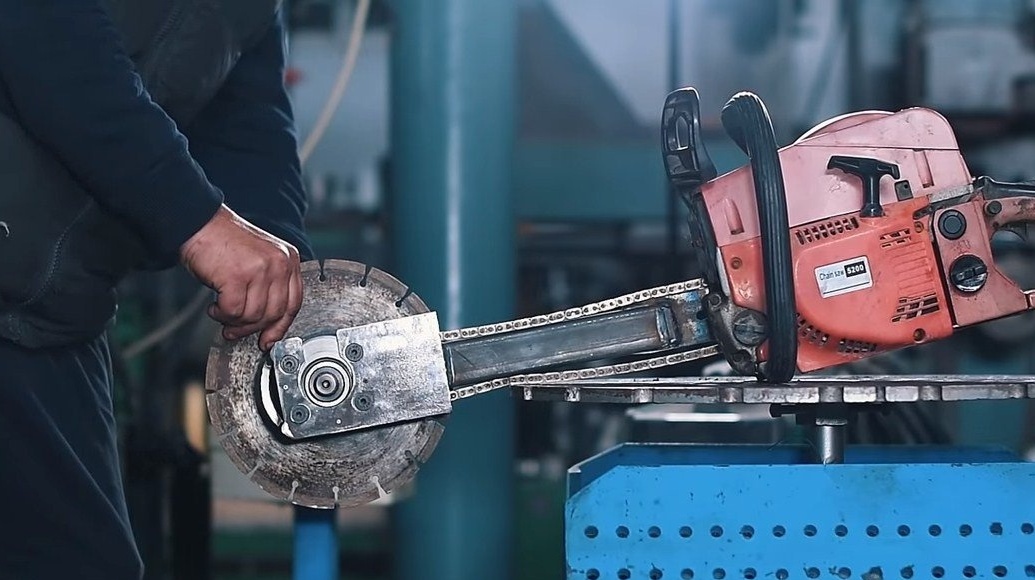
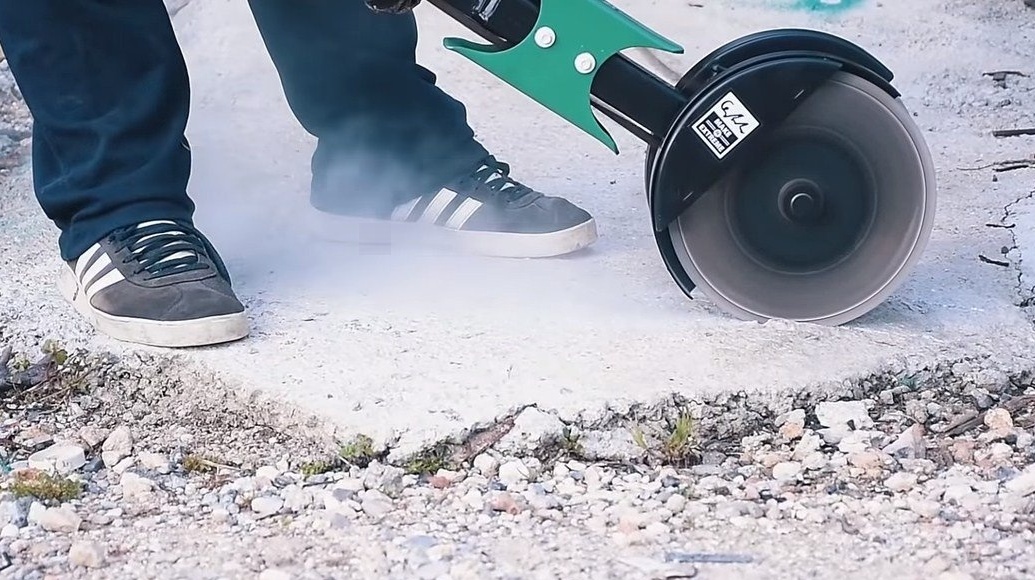
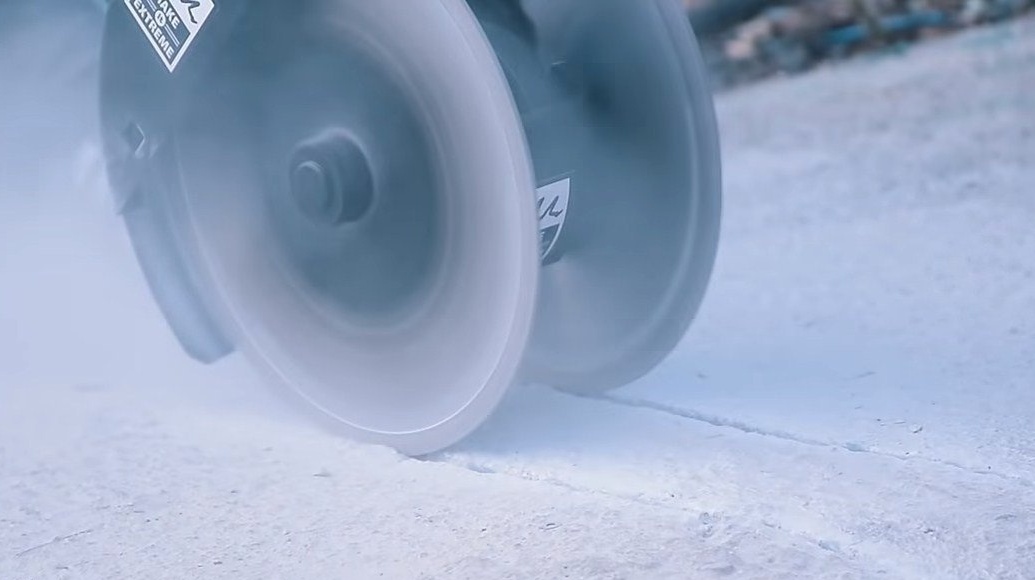
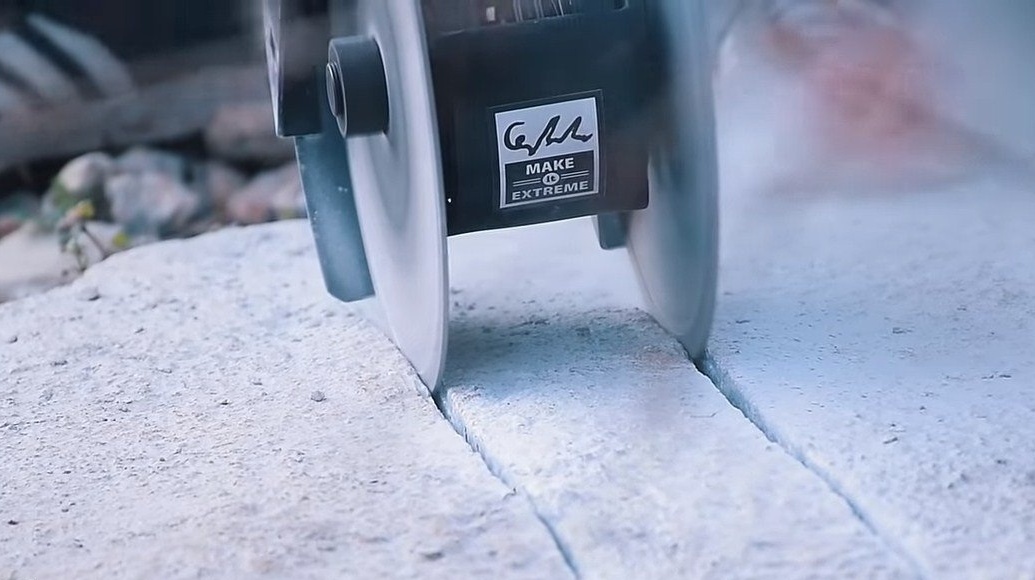
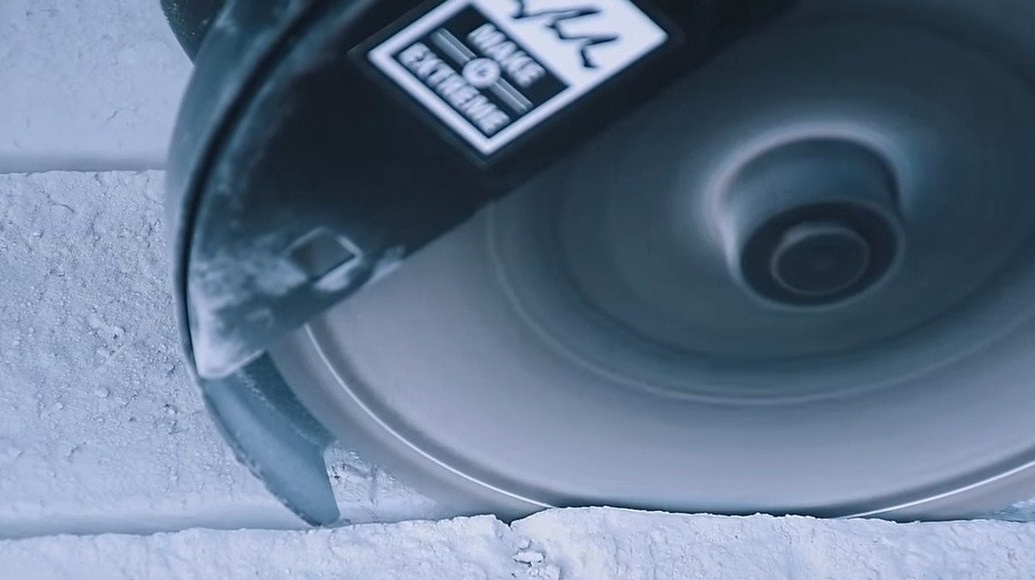
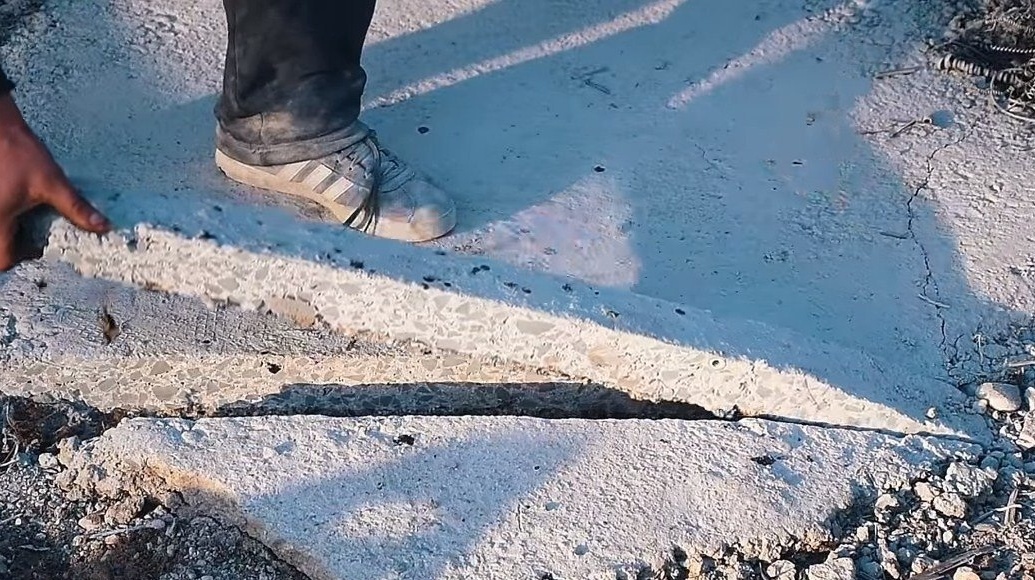
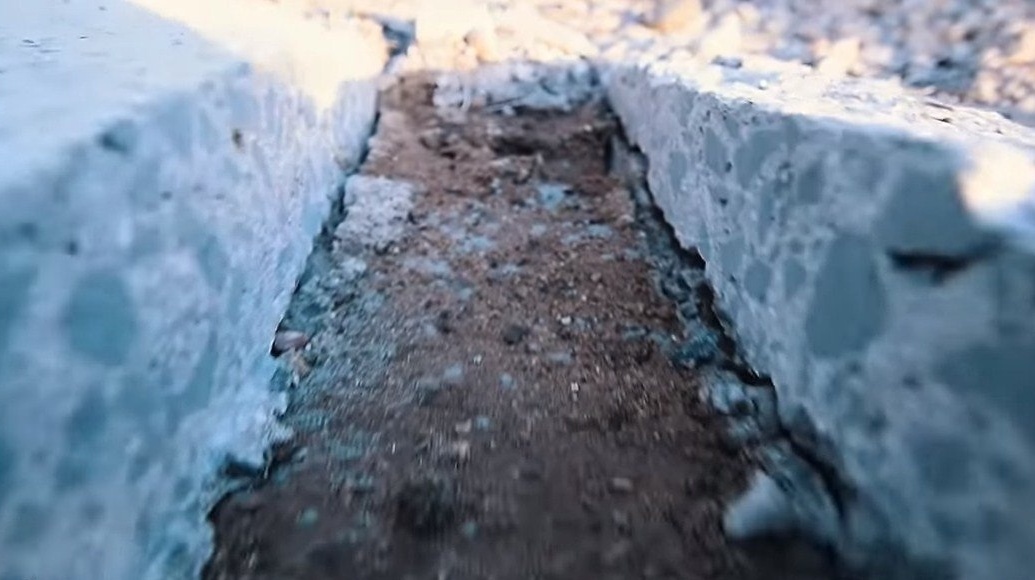
First, the author installs two disks on concrete, we try to cut a concrete path, the machine copes without problems. Cutting efficiency will depend on engine power and rpm. After sawing two grooves, now the cut part can be very easily pulled out. You can lay pipes or cable here, fill everything on top again with concrete, and so on.

The author also demonstrates the operation of the machine on a brick wall, we make a cut and knock out bricks with a hammer, as a result we get an excellent groove for pipes.
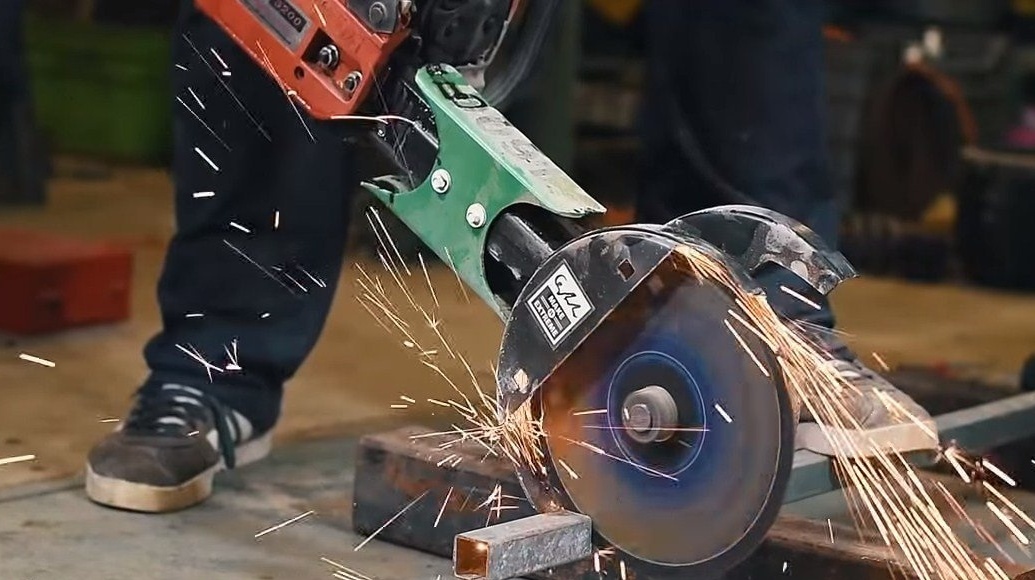
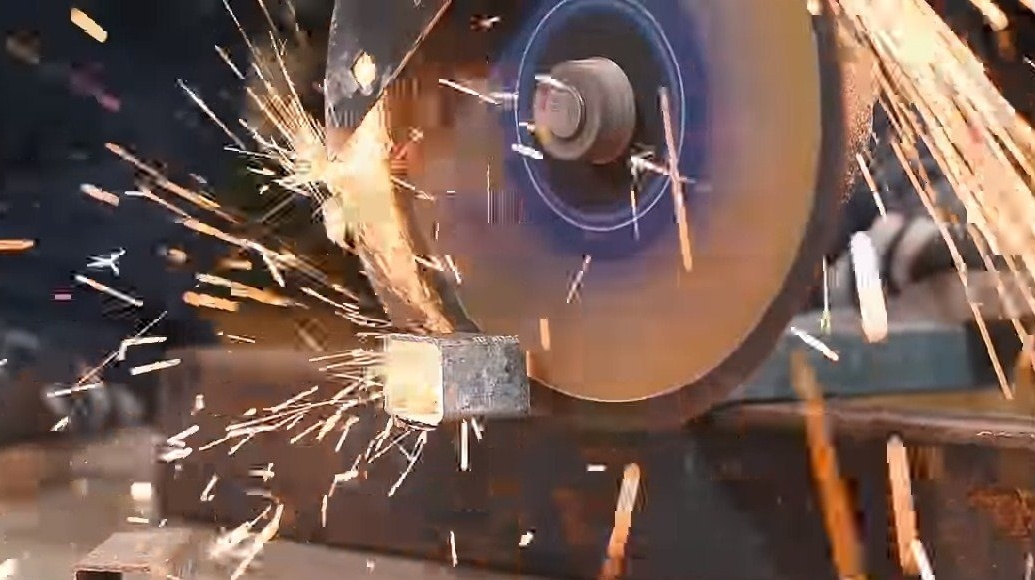
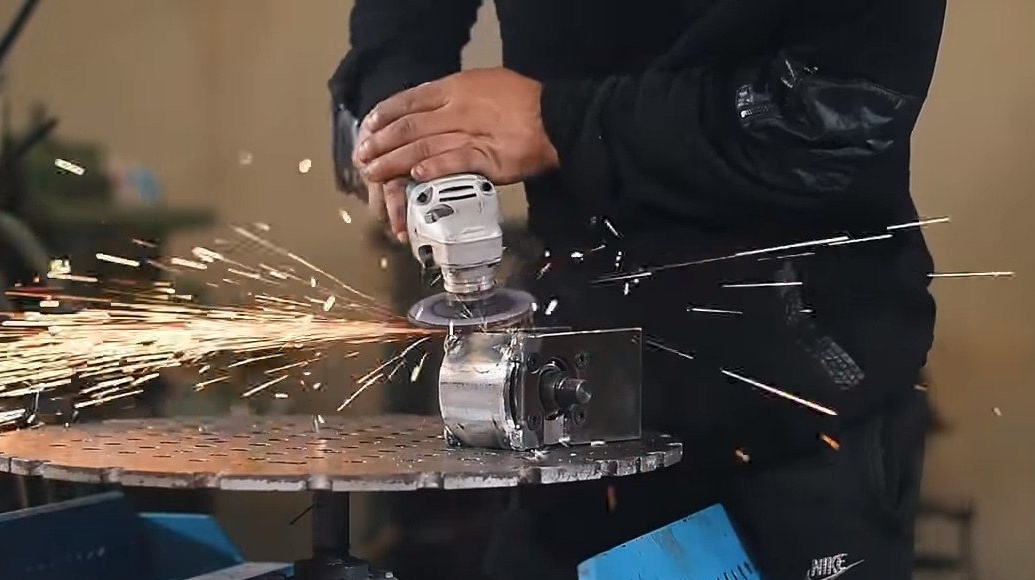
Of course, the grinder was tested and for its intended purpose - metal cutting. We install one disk for metal and cut the profile pipes, sparks fly thick, the speed of rotation of the disk is enough. This is the end of the project, I hope the idea was interesting for you. Good luck and creative inspiration, if you decide to repeat this. Do not forget to share with us your ideas and homemade products.