
Greetings the inhabitants of our site!
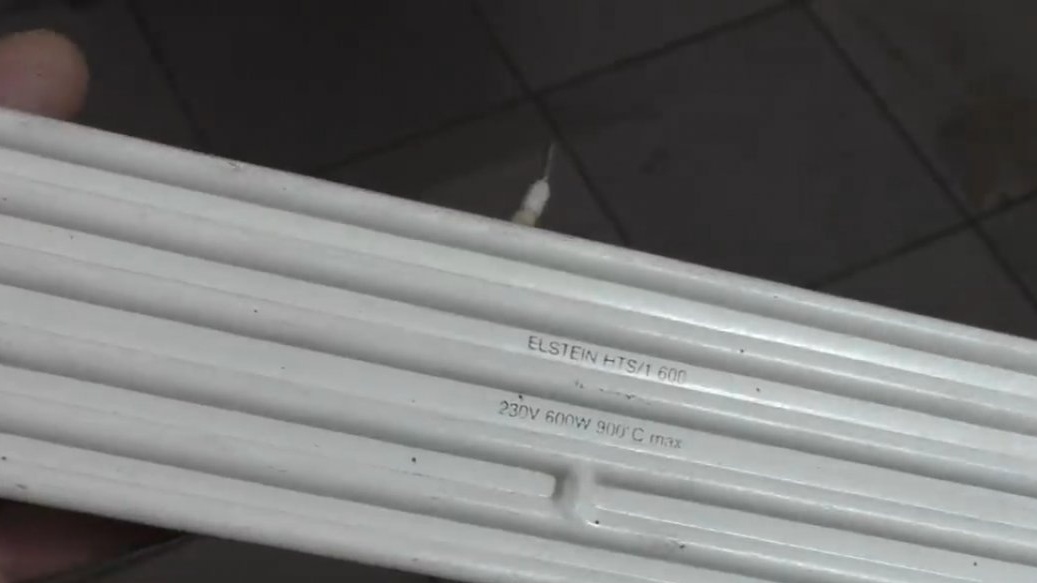
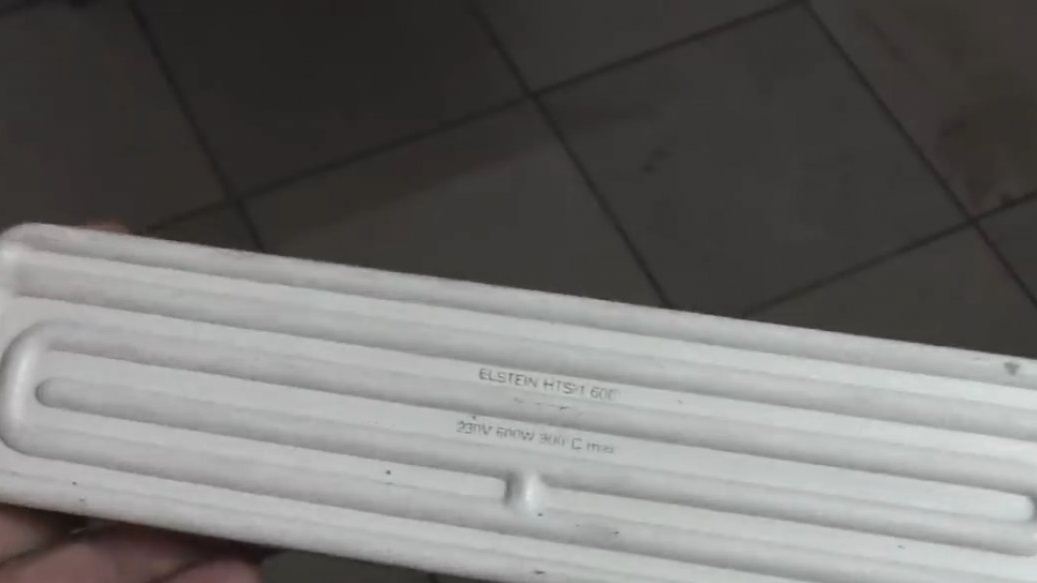
The author of the TEXaS TV YouTube channel had long wanted to make a furnace with infinitely adjustable temperature, but there were no suitable accessories. And just recently, redoing lighting in his workshop, he came across such infrared heaters with a power of 600 W and heating up to 900 degrees.
As a result, it was decided to try to make a muffle furnace out of them. Well, what happened in the end, you'll see now. Let's go!
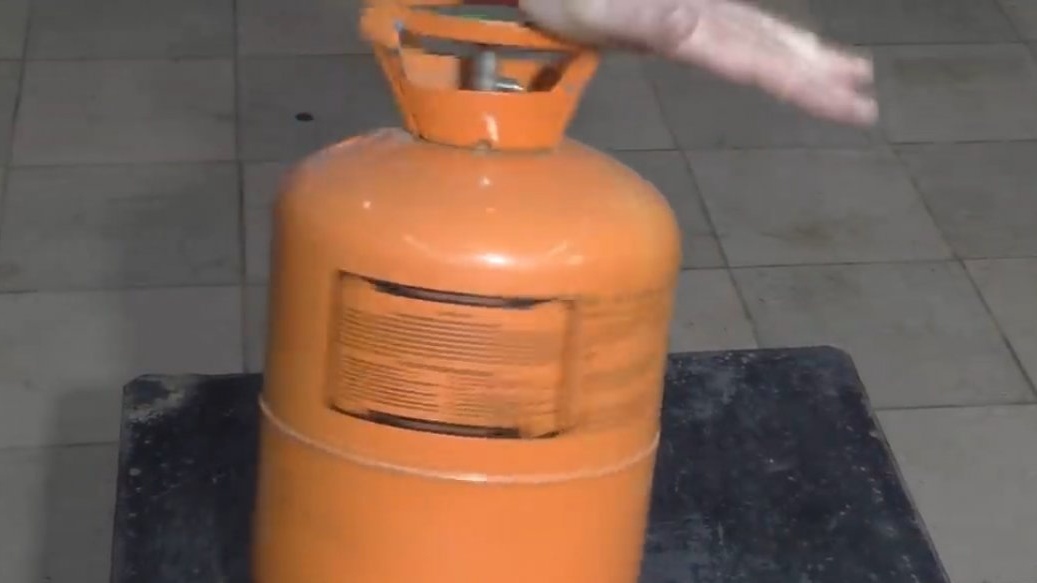
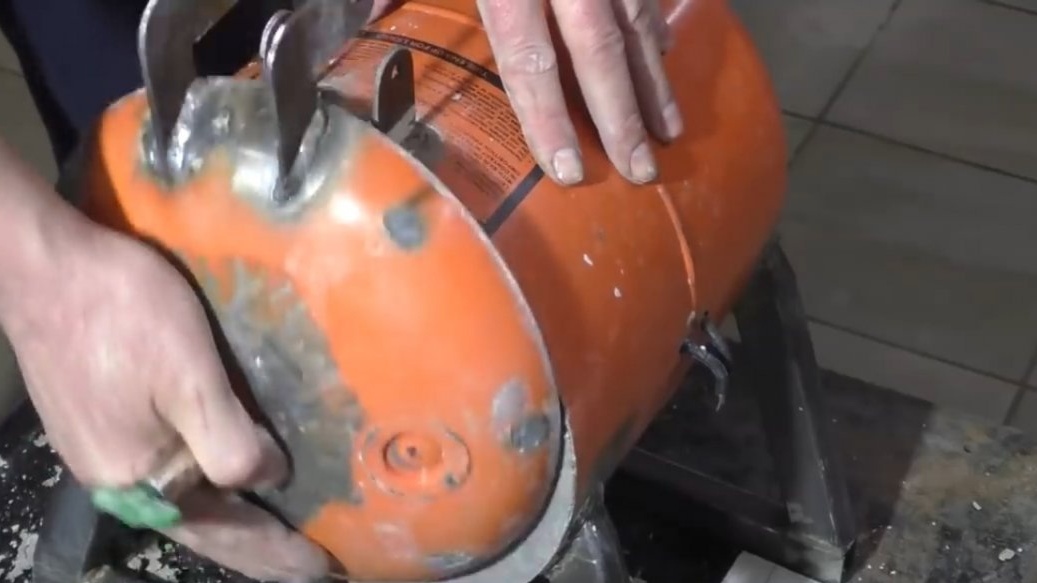
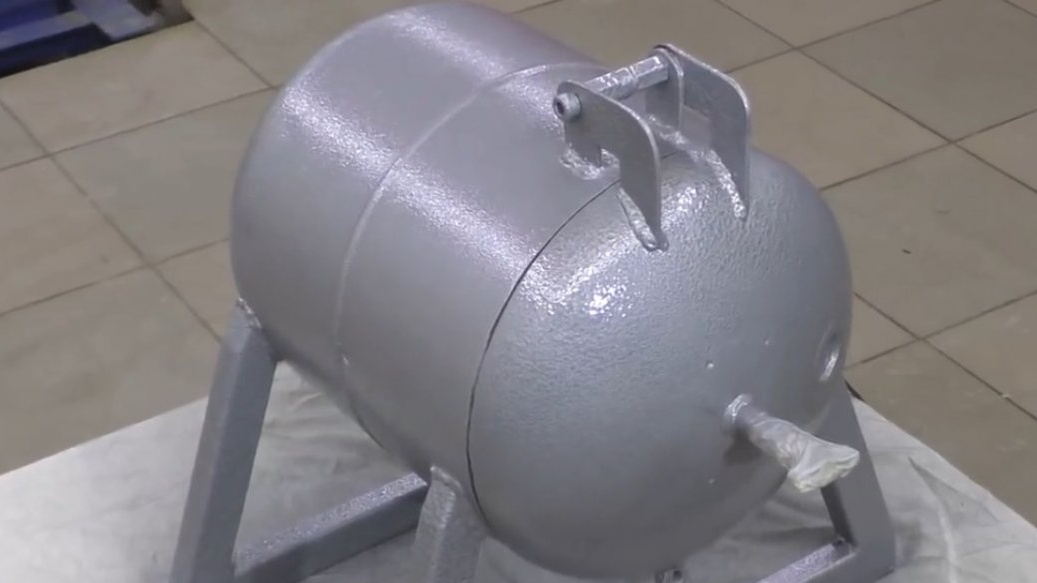
The basis is the Freon cylinder with minor modifications, which we’ll do now.
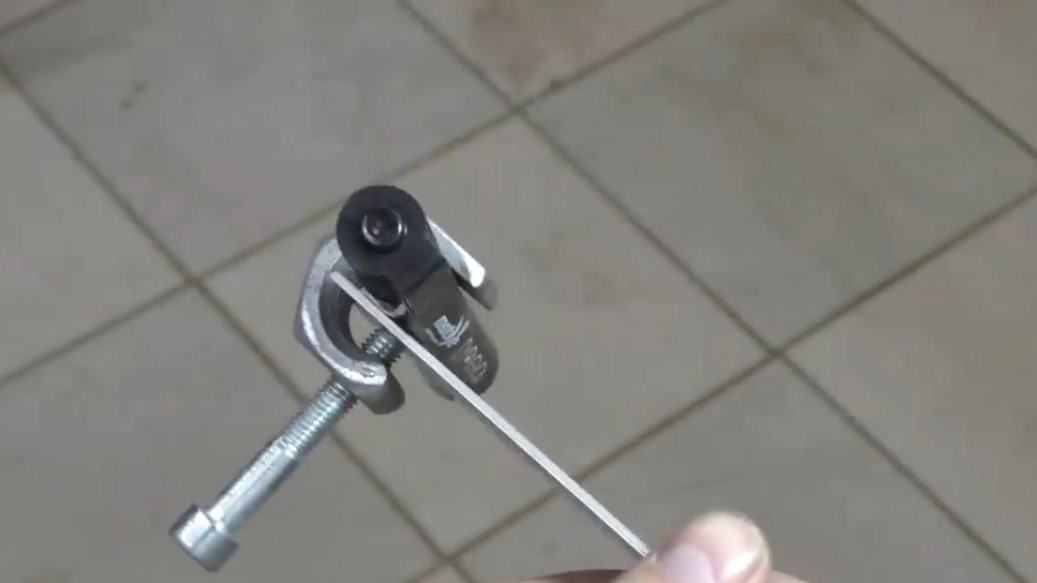
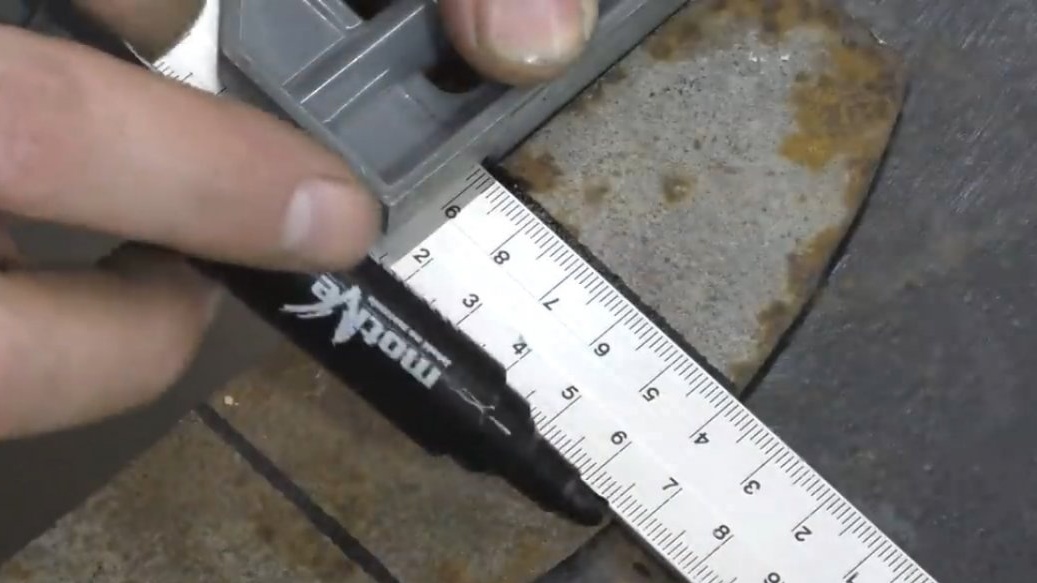
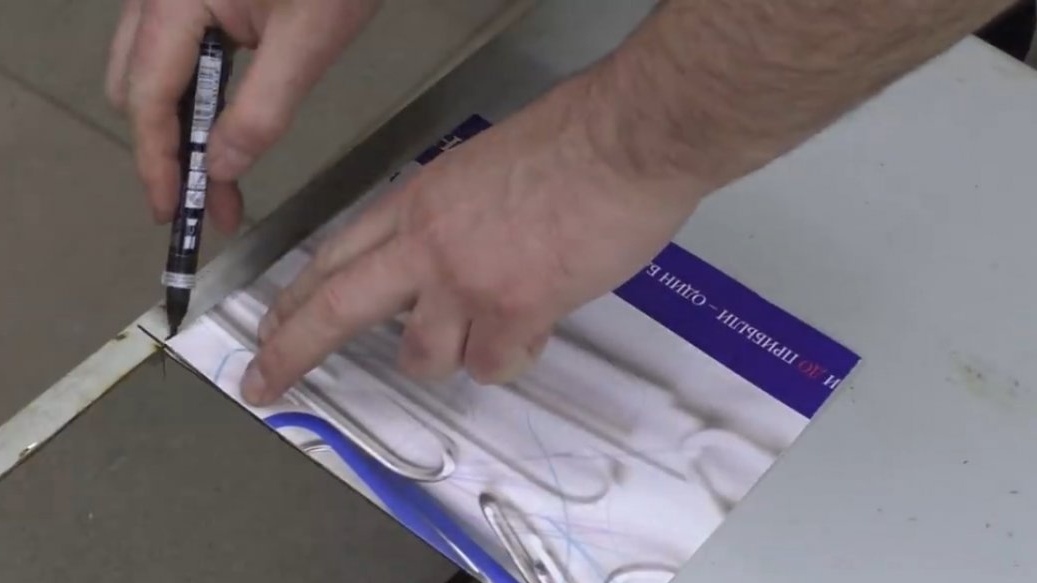
To smoothly apply markup, the author did such a simple device from square and marker:
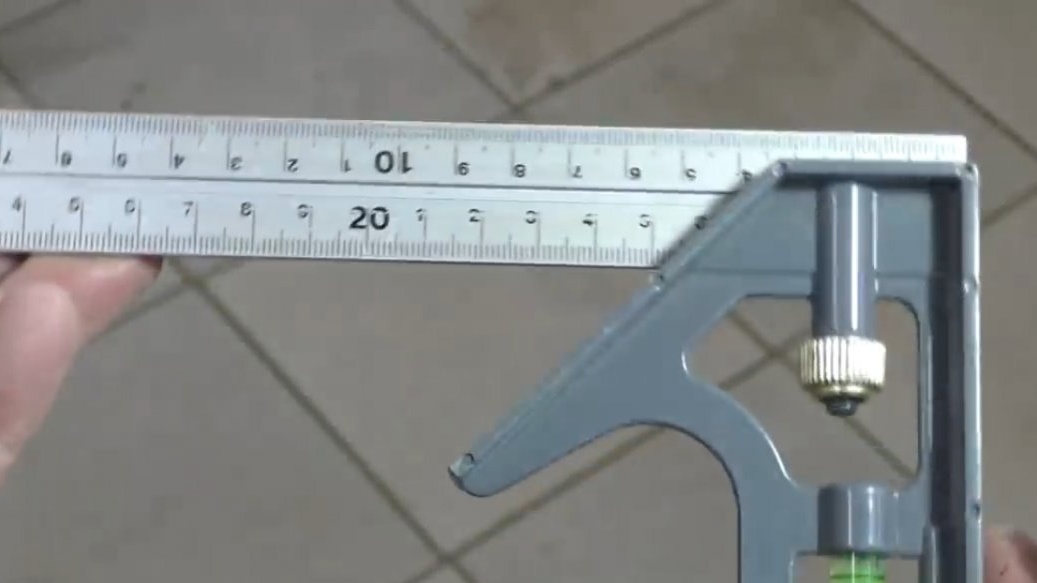
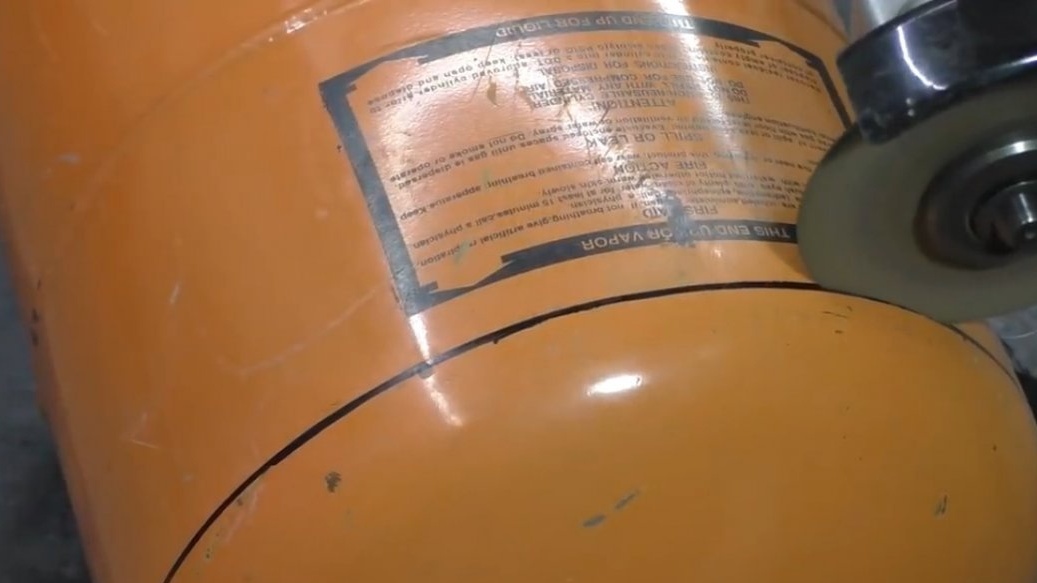
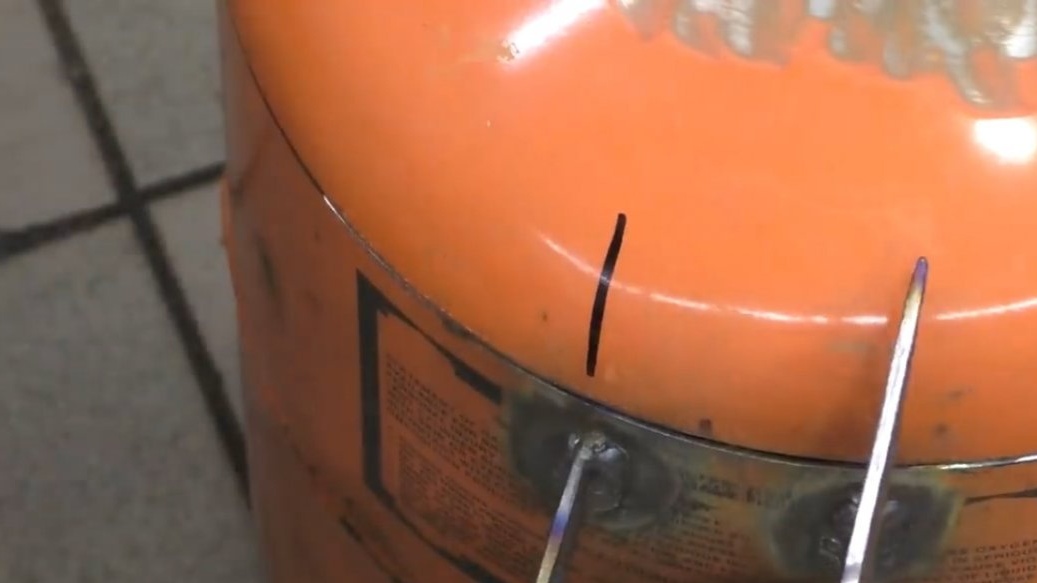
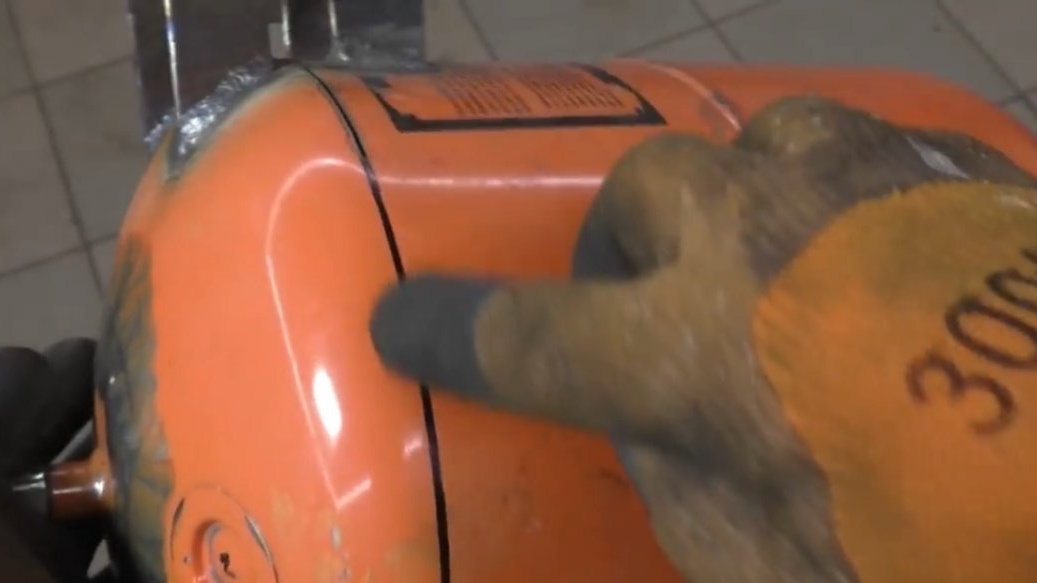
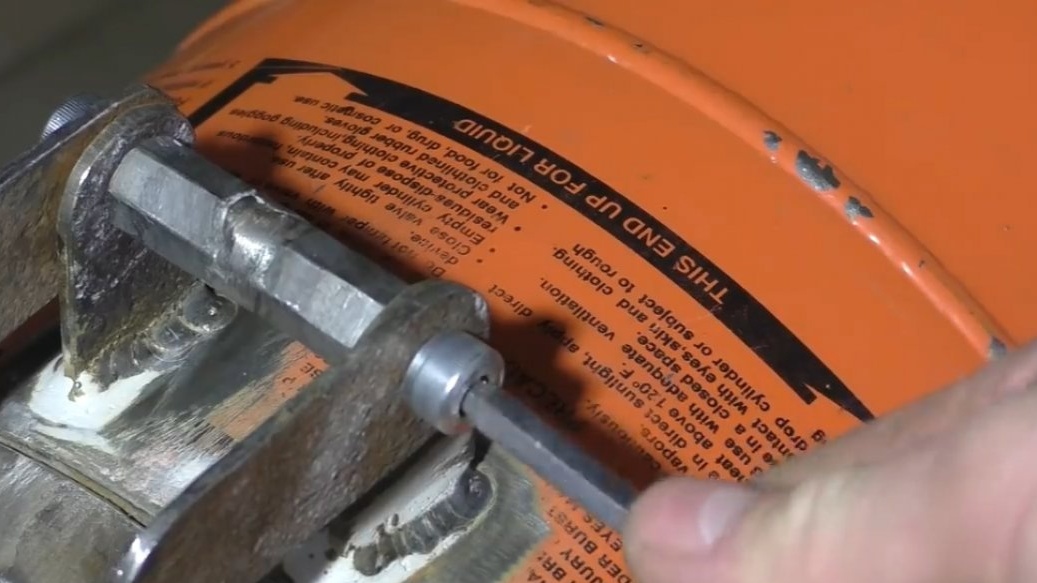
We put the balloon on a flat surface and apply a cut line.

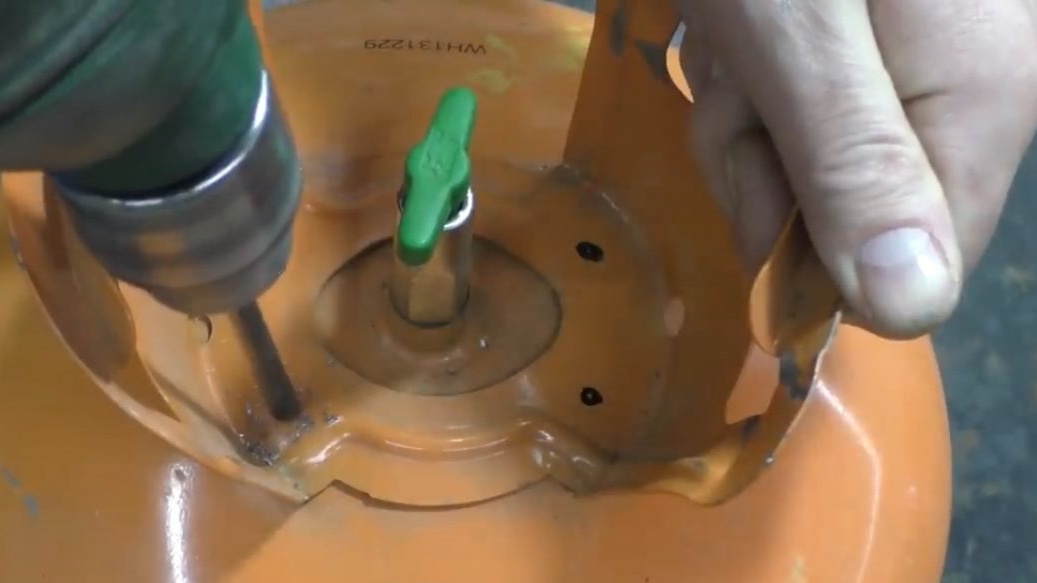
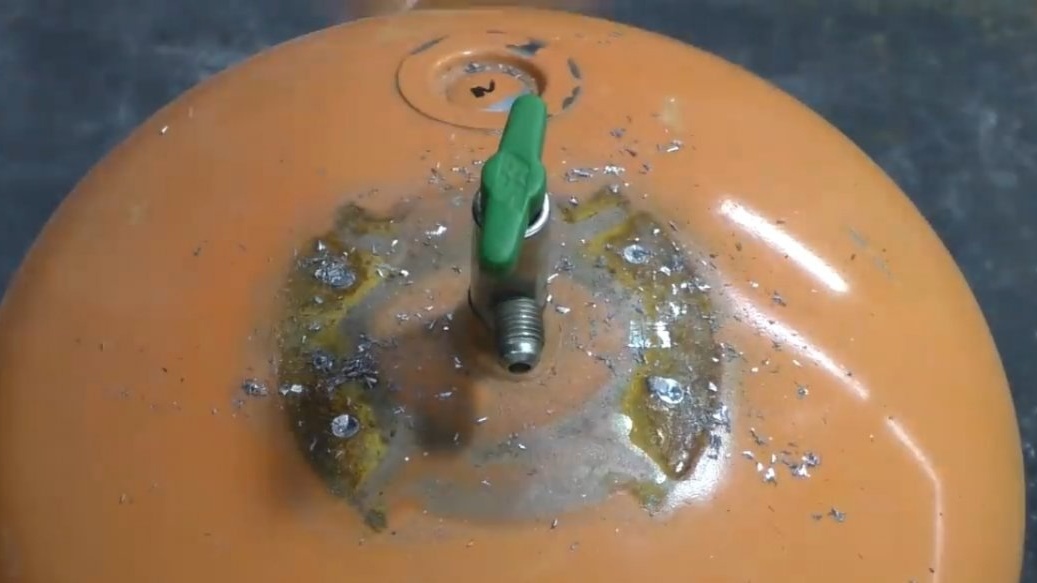
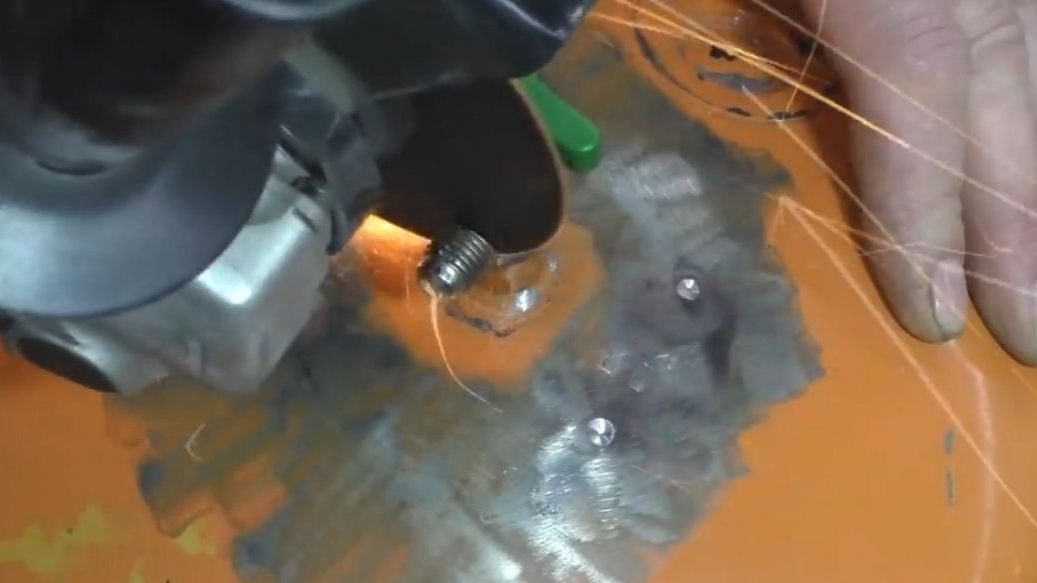
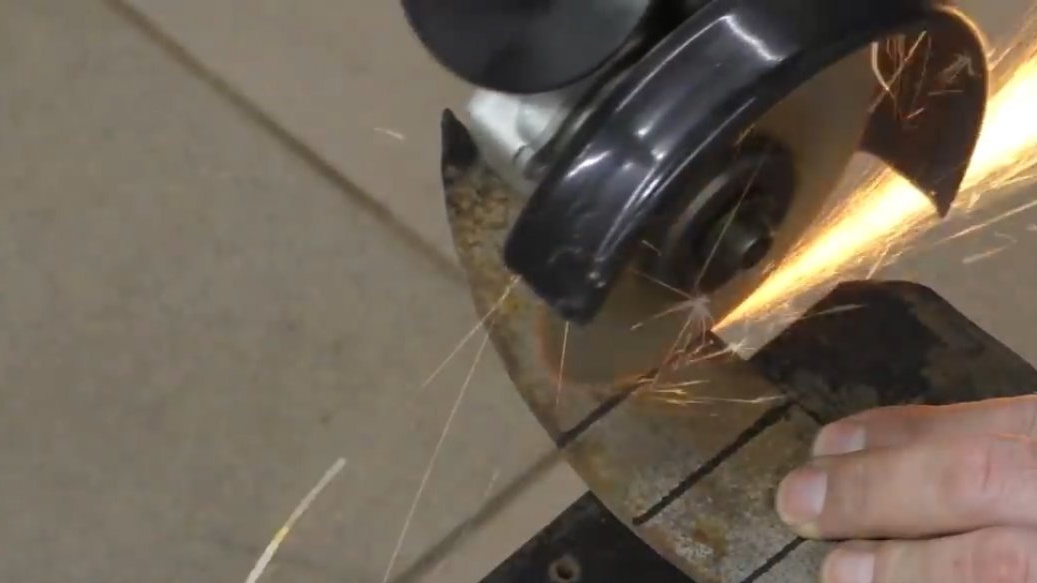
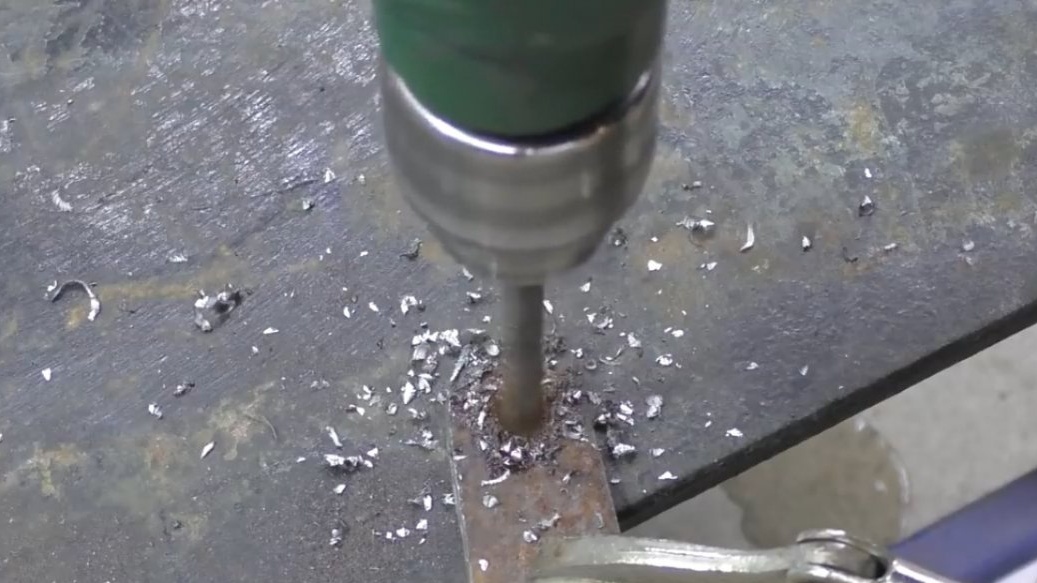
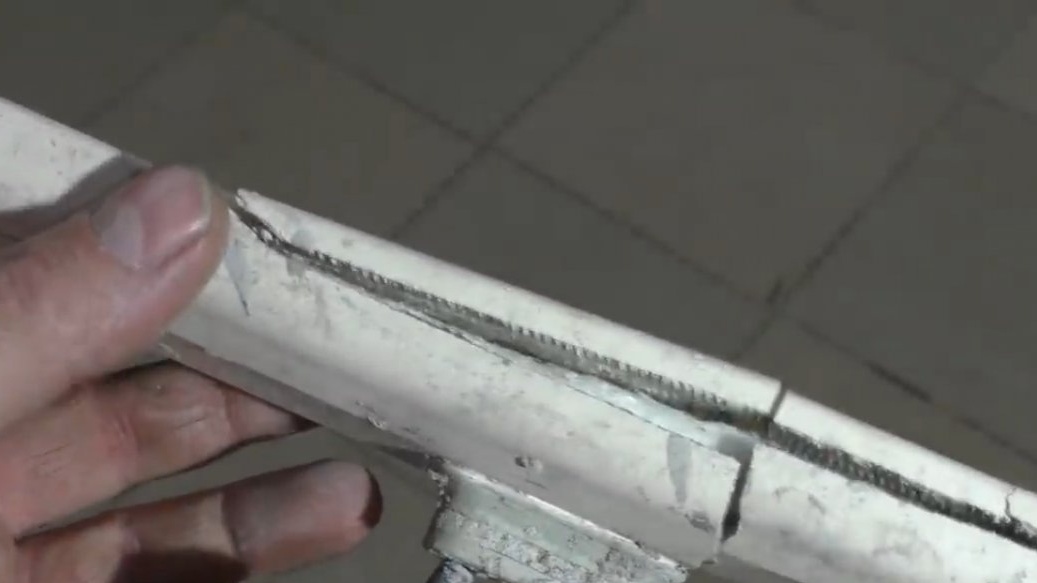
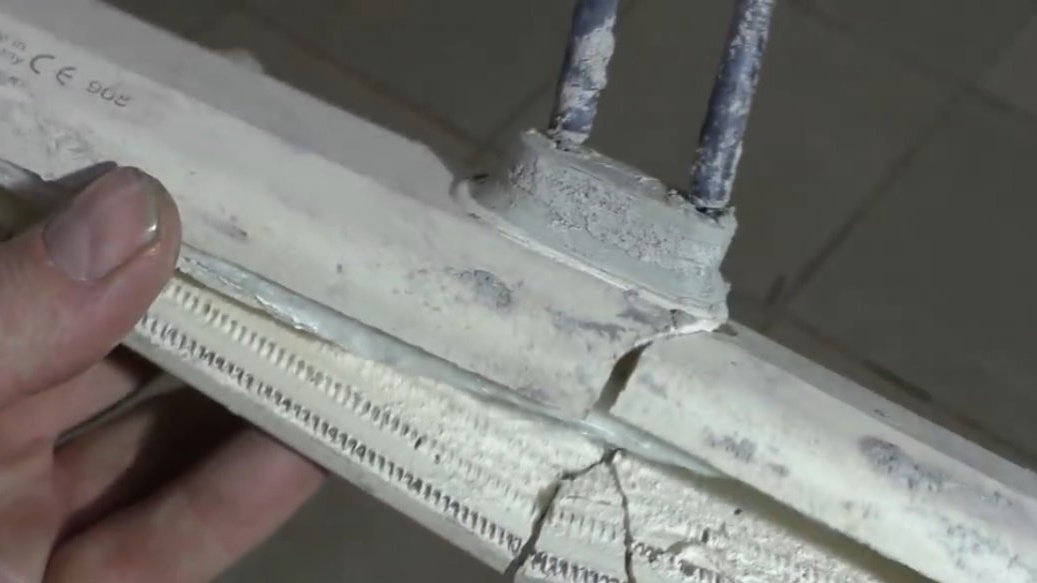
As you can see - everything is simple and accurate enough, unless of course the balloon is more or less in good condition. In places of spot welding, we make a punch and drill the handle of the cylinder, we will no longer need it. The main thing here is not to overdo it and not to drill the cylinder, so that then you will not brew it again.
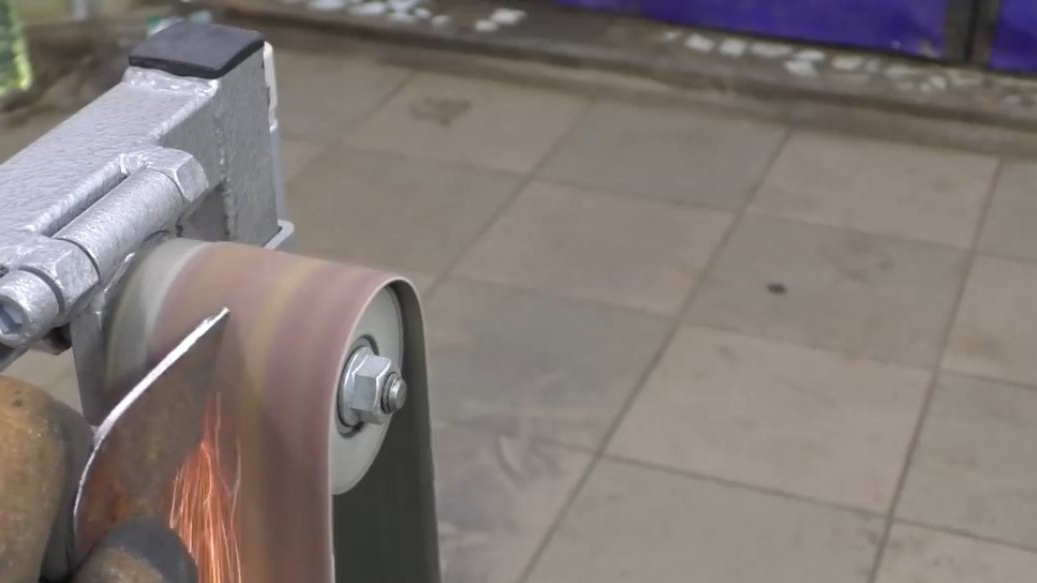
When the handle is removed, this place can be cultivated a little and cleaned with a petal circle.
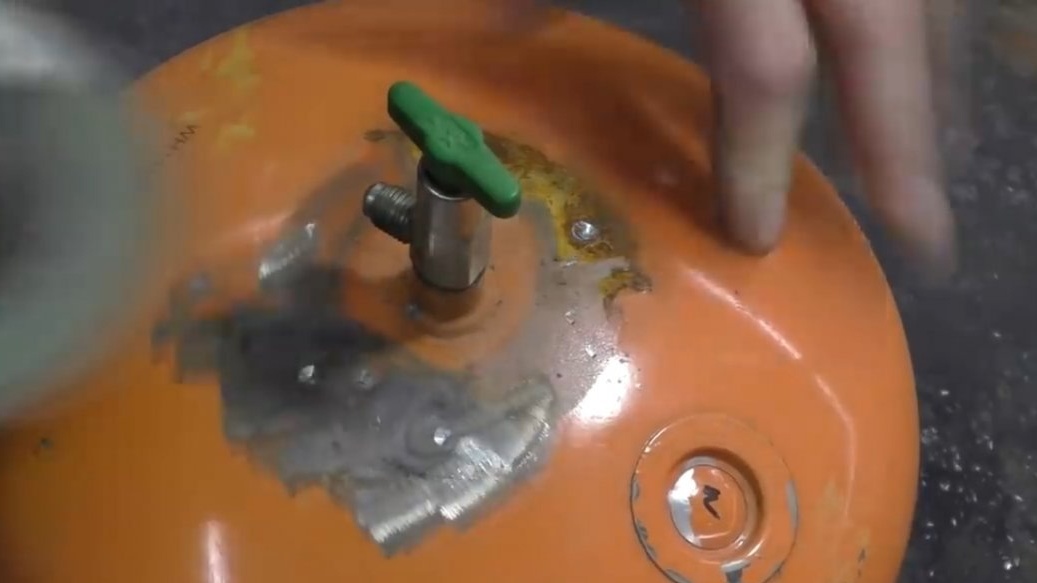
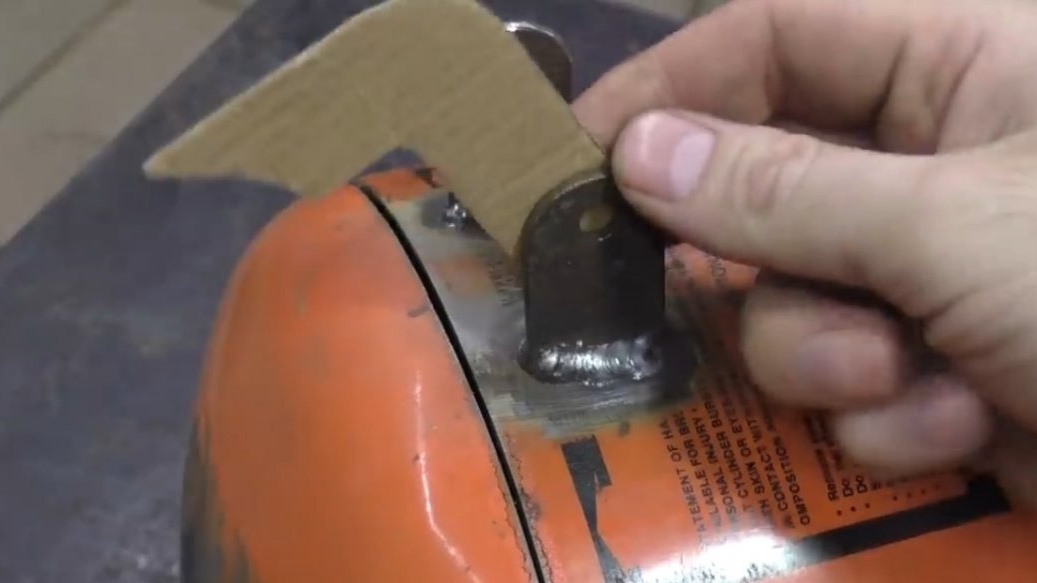
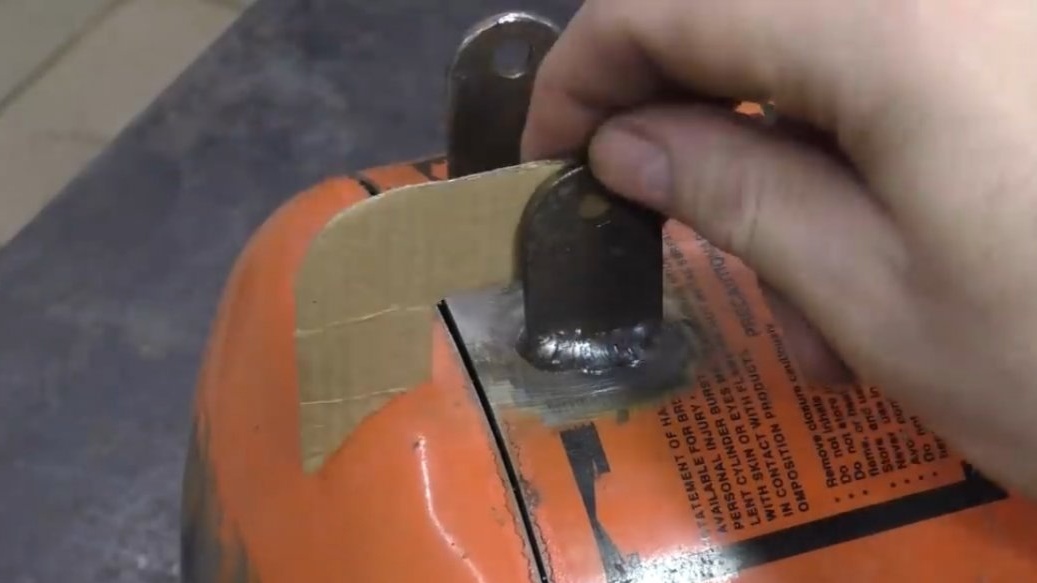
The author decided to leave the crane and use it as a handle for opening, cutting off only the unnecessary thread.
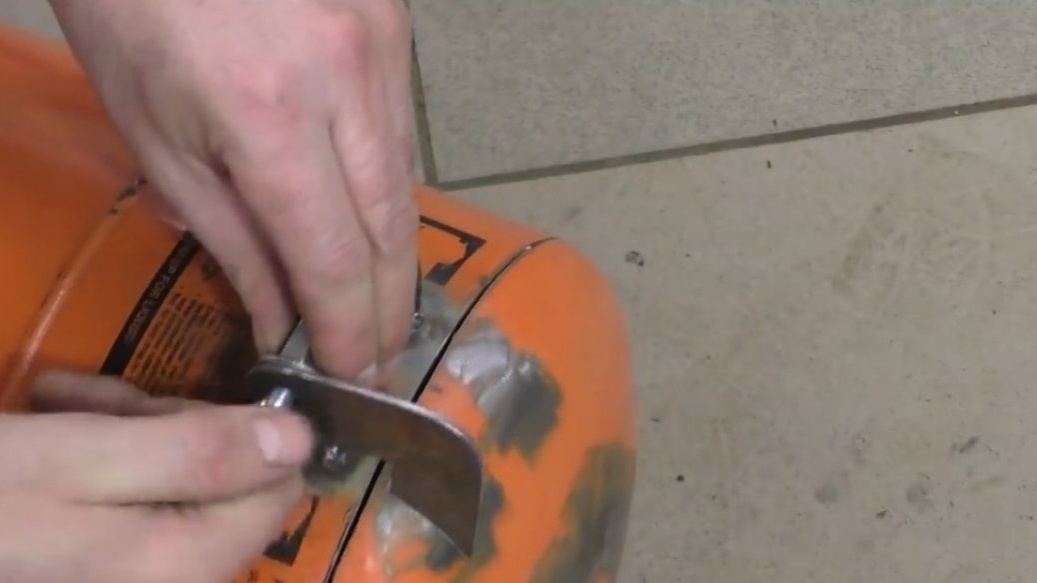
Next, we make a cut in the place where the loop will stand. Do not rush to immediately cut off the lid, so you more accurately and simply install the loop and then you will not bother with a magnet or tacks.
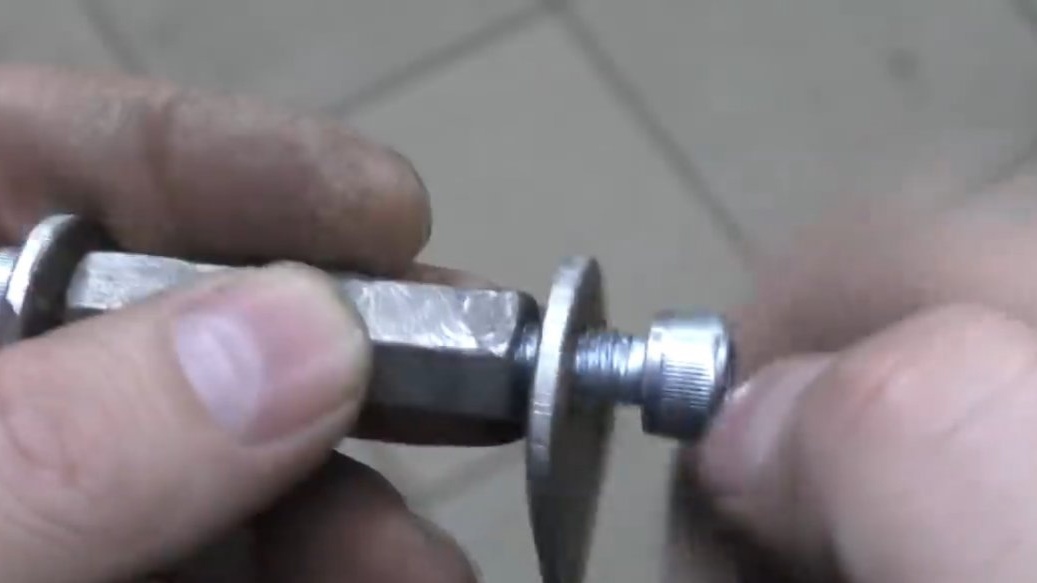
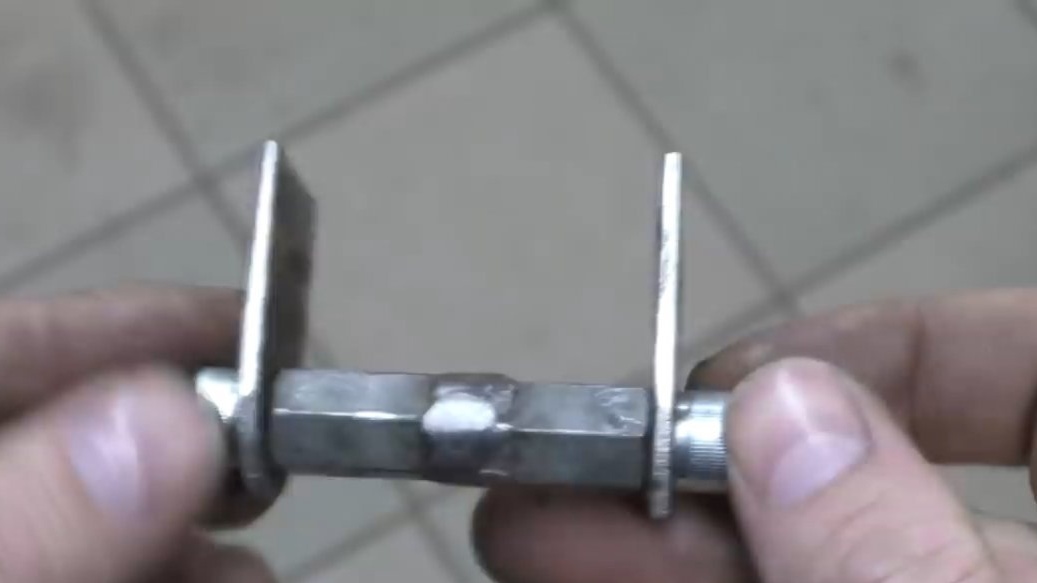
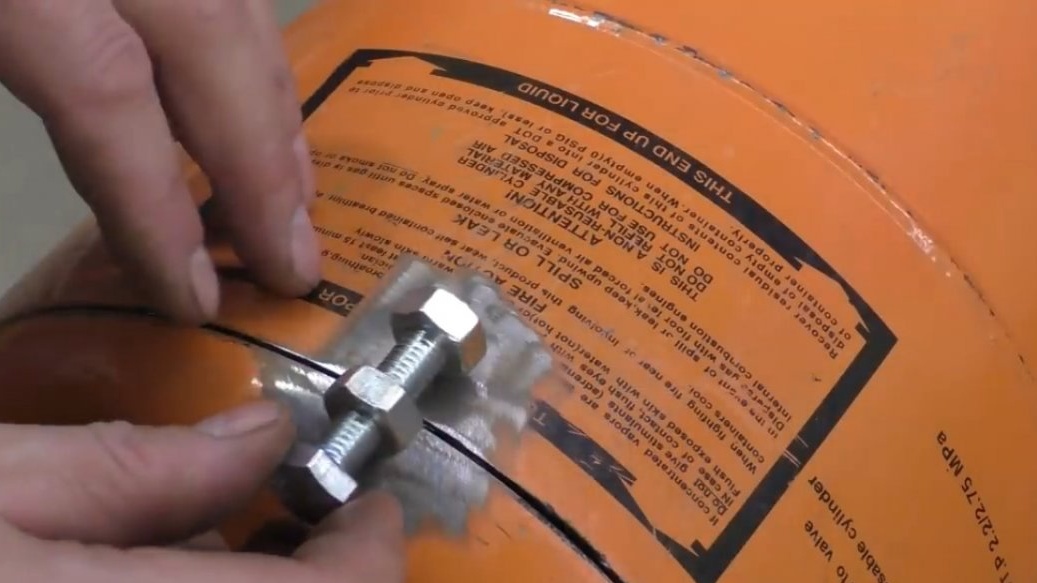
For the loop, take 2 elongated nuts and weld them into one.
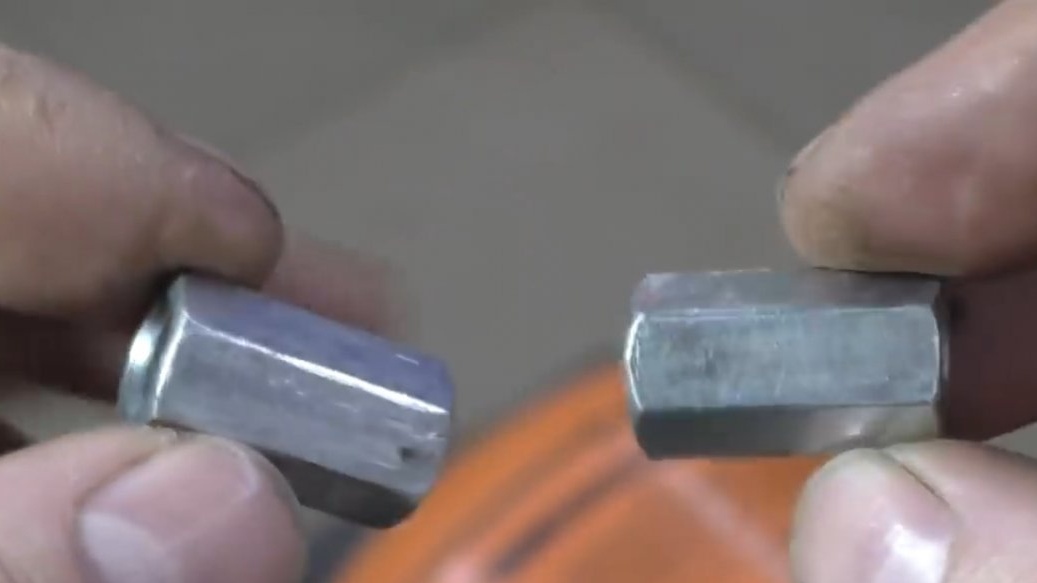
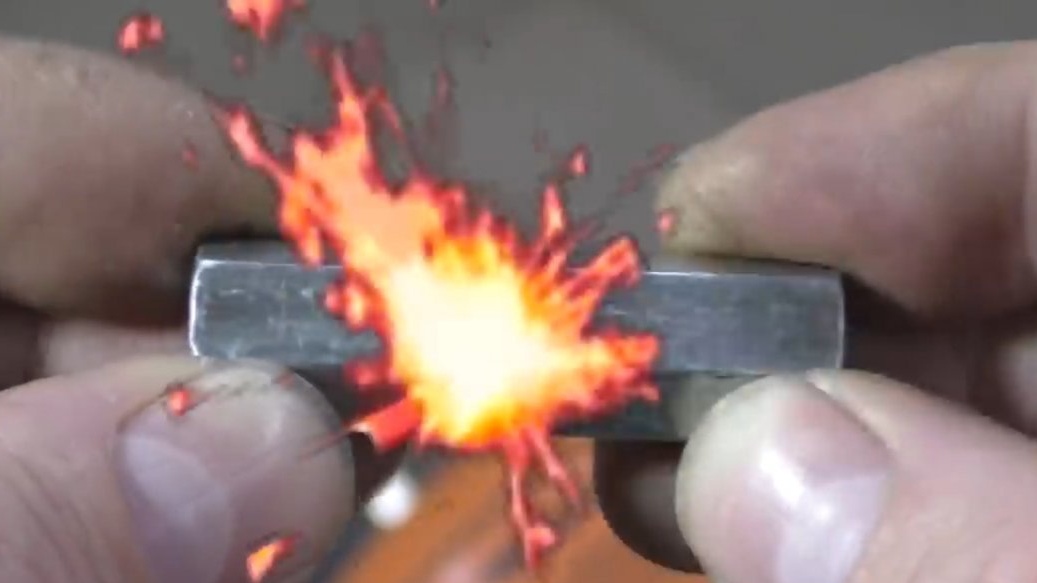
It turned out somehow like this:

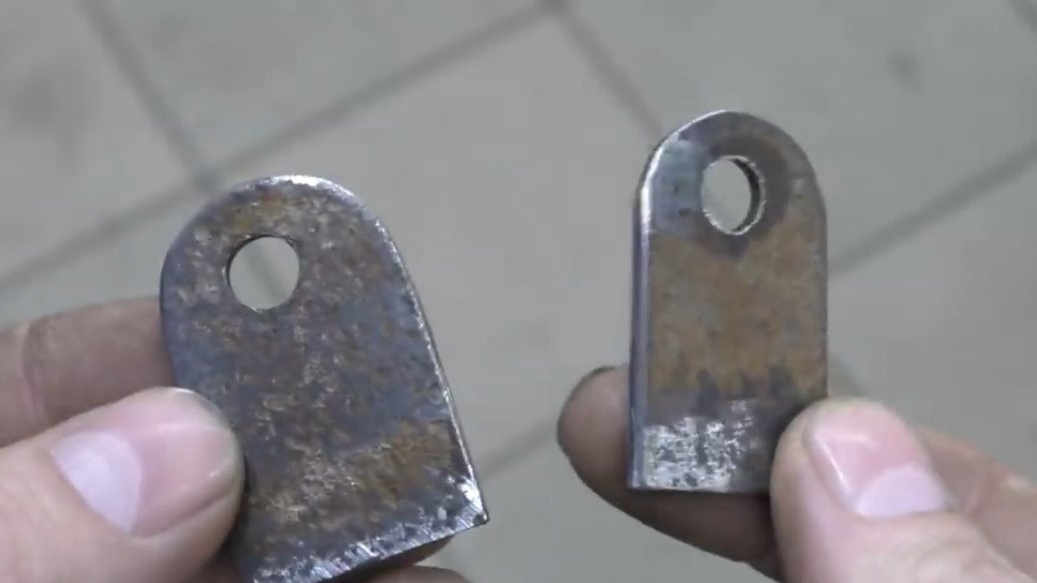
Next, take a piece of 3 mm steel and make two eyelets for the loop from it. The sizes are arbitrary, so the author did not even measure them.

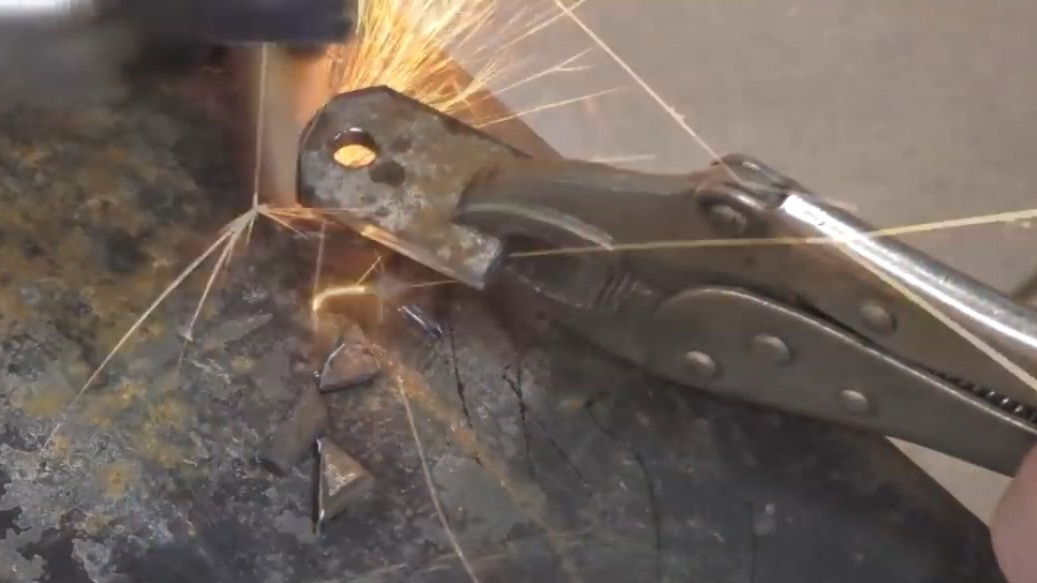
After all the manipulations done, these are the following details:
Now we fasten the two eyes in the elongated nuts. It should be something like this:
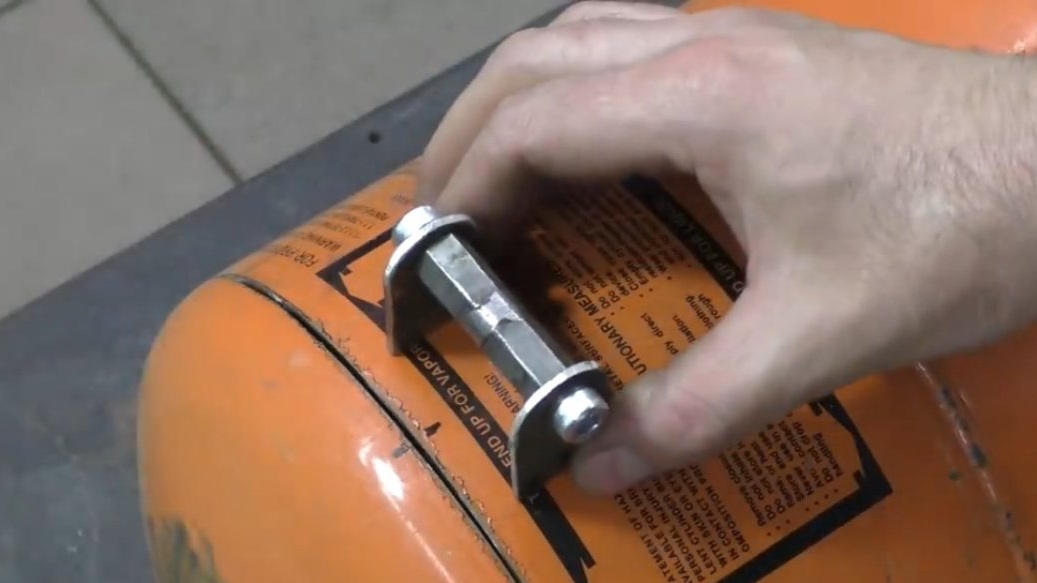
Then we select the place where the loop will be located, make markings and weld.
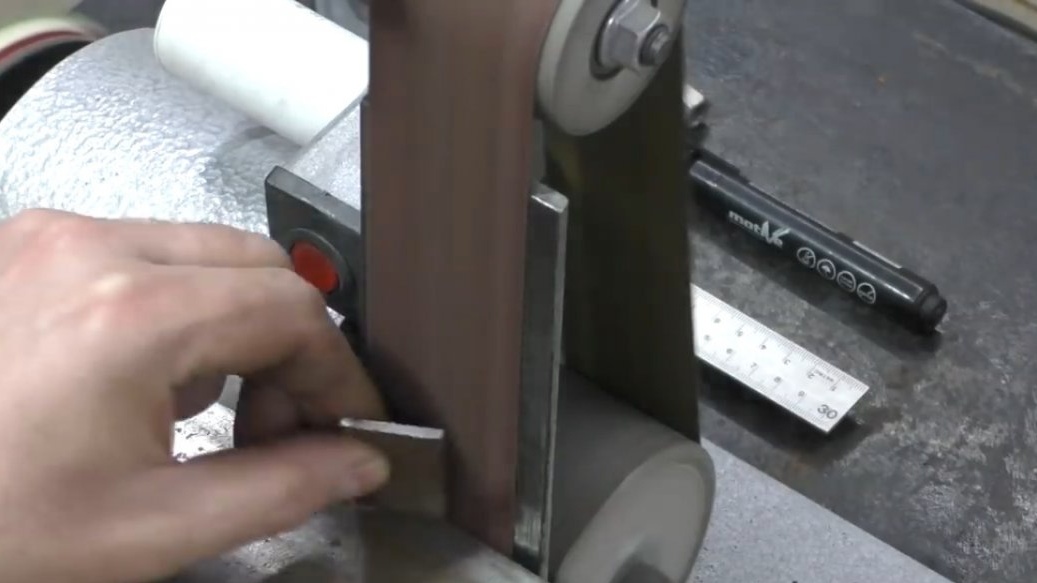
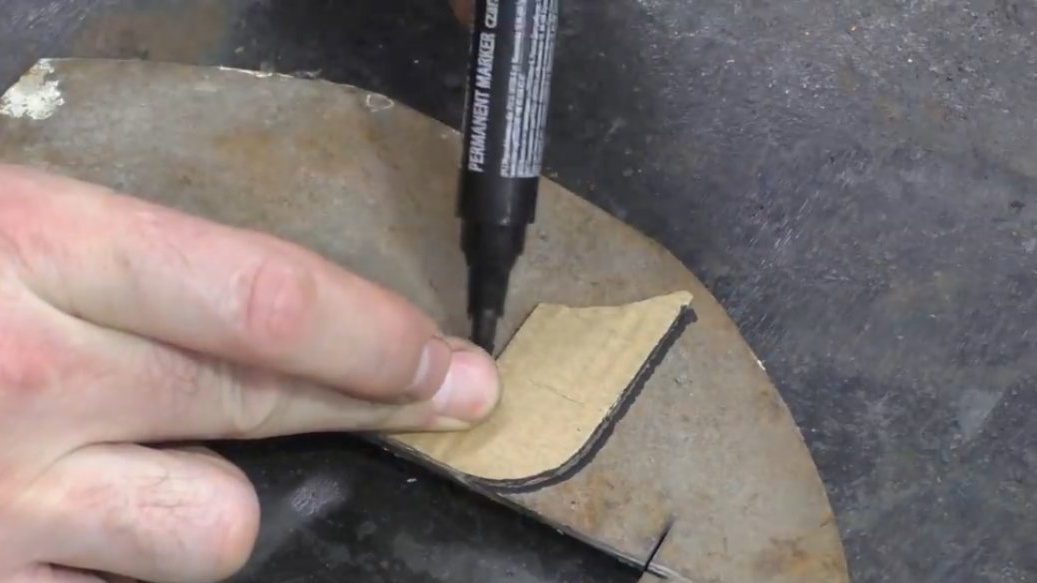
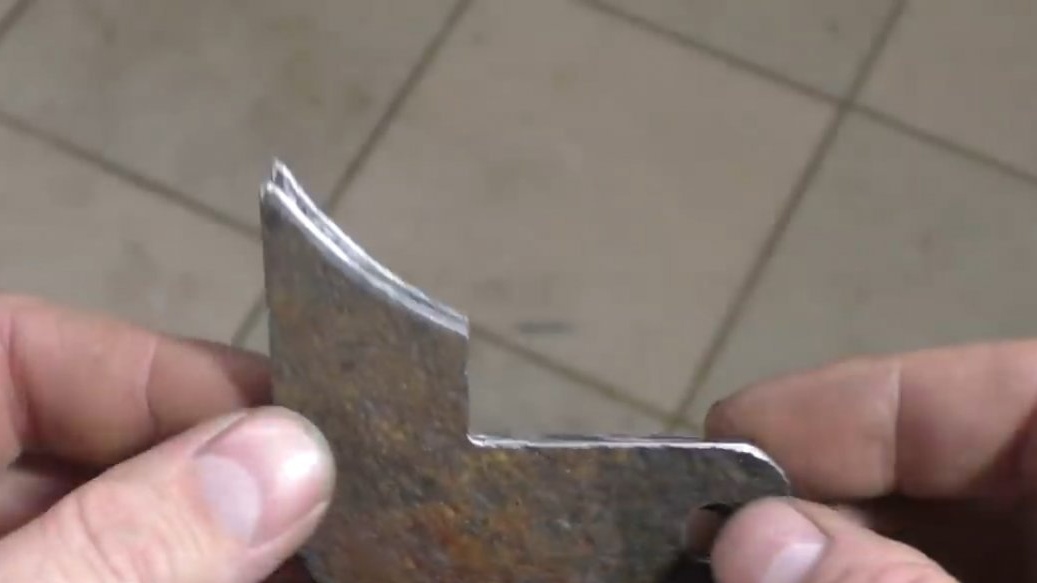
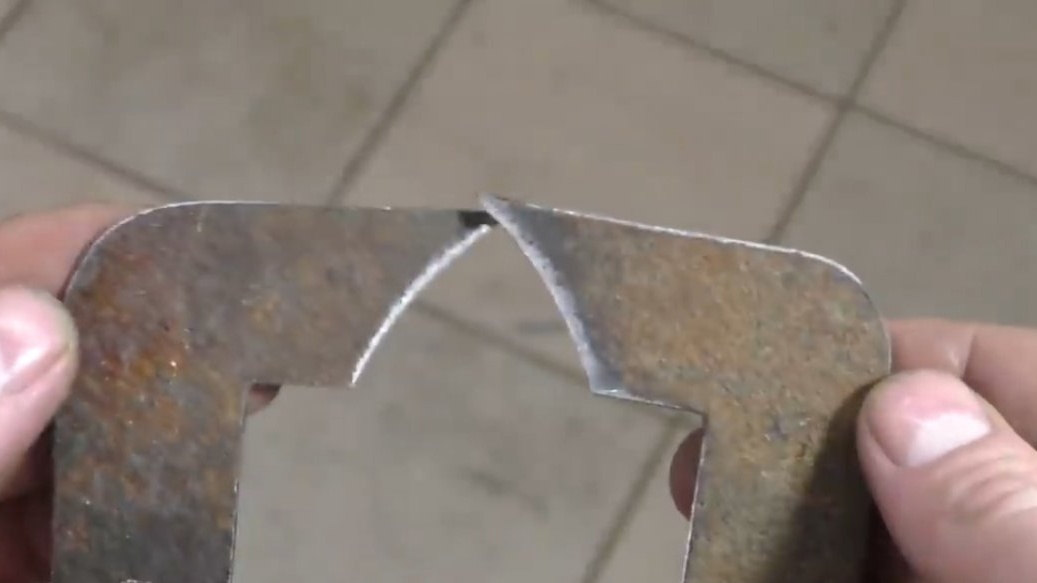
The eyes are welded, go to the mate. To do this, the master made a template in the form of a corner on a cardboard and fitted it under the bend of the lid. It will look something like this:
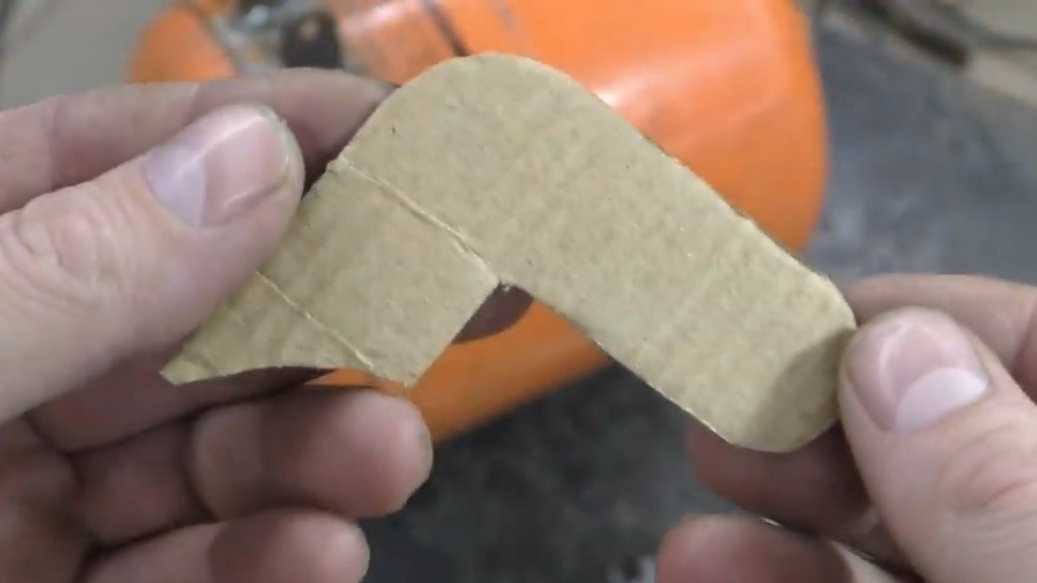
Everything is clear, can be transferred to metal and cut. It is very convenient to do all kinds of rounding on the top roller of the grinder, it turns out quickly and accurately.
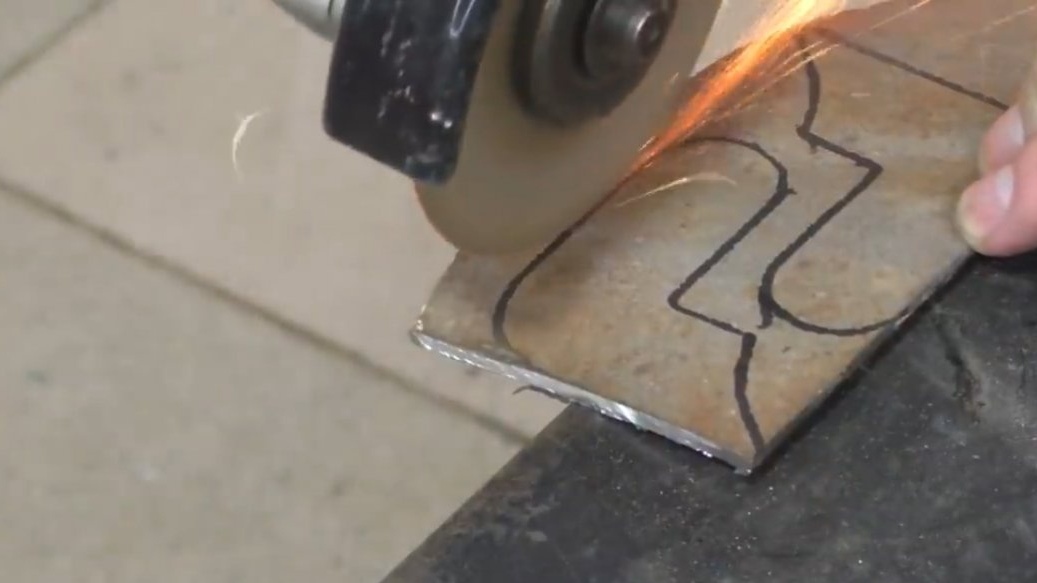
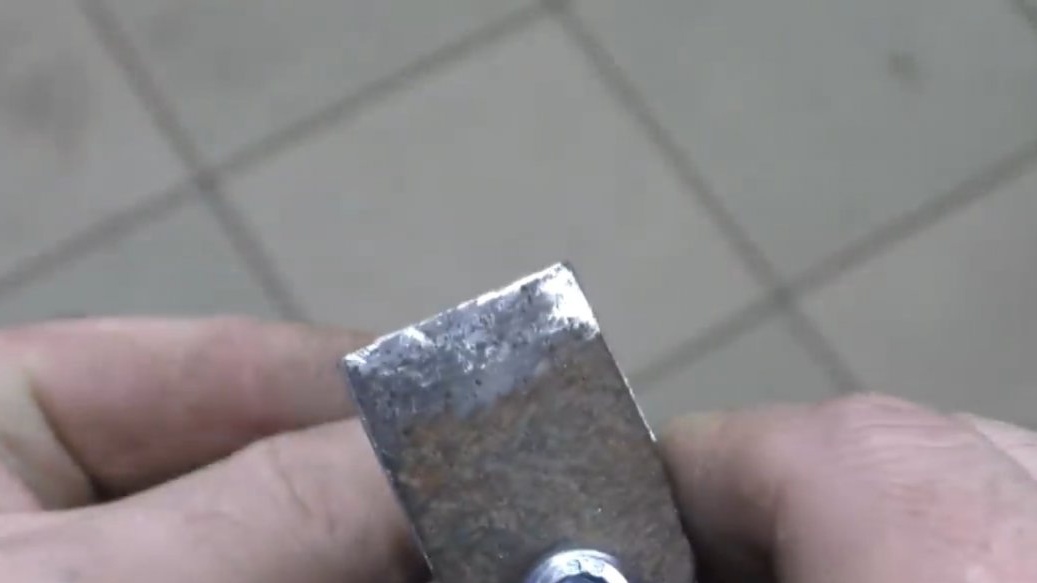
As a result, we got such details, an exact copy of the template.
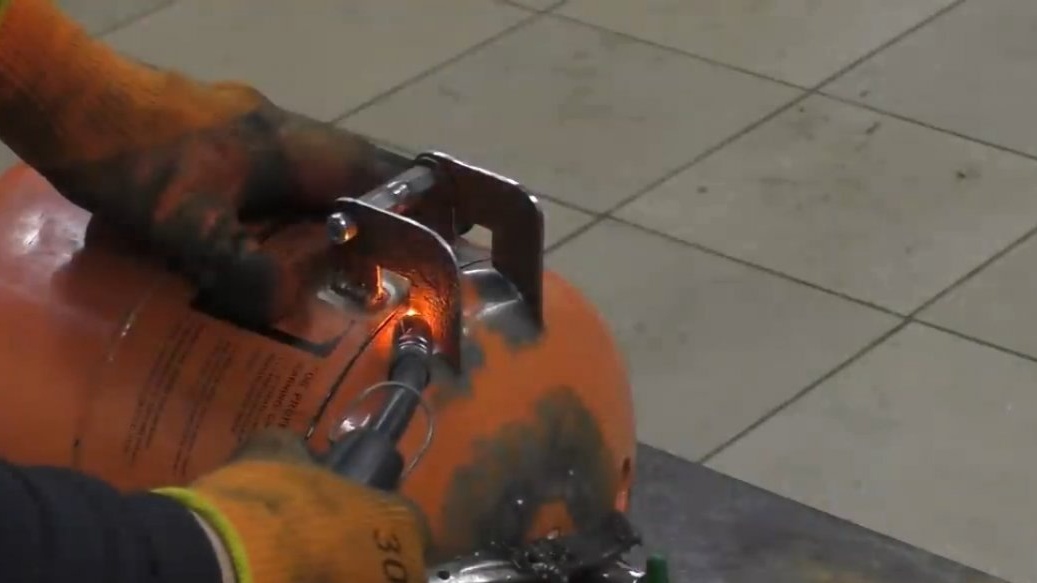
Now we do the marking, we clean it for welding, and we assemble the loop in one piece.
Well, now you can cook.
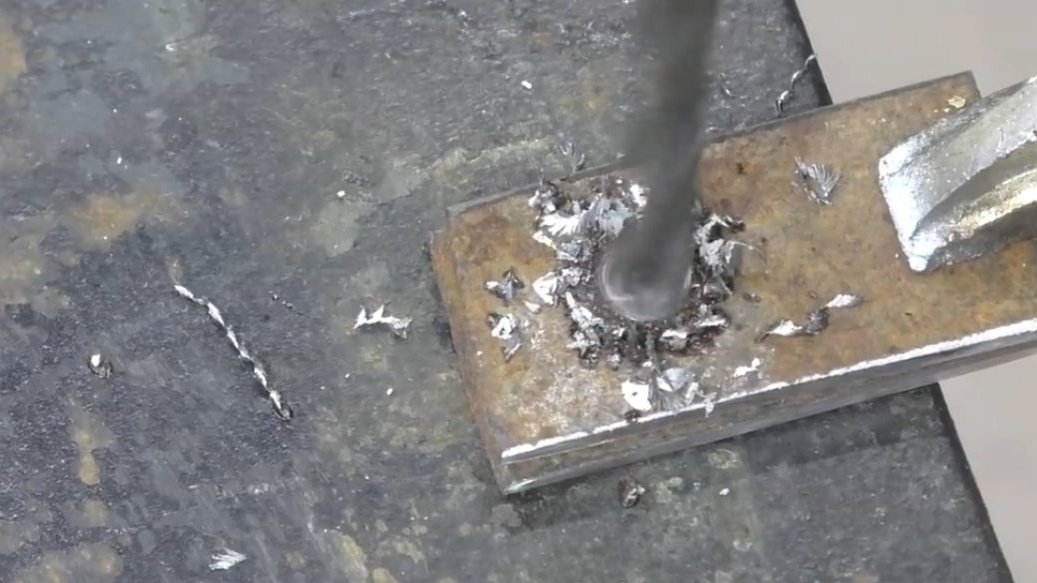
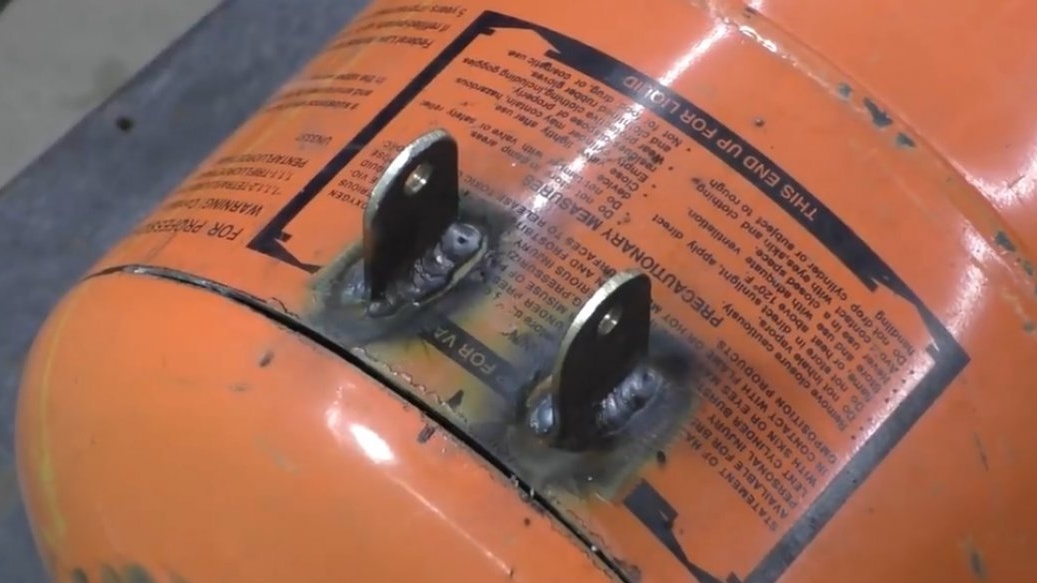
After welding, we get just such a mechanism, but to make it work, you need to cut the lid.
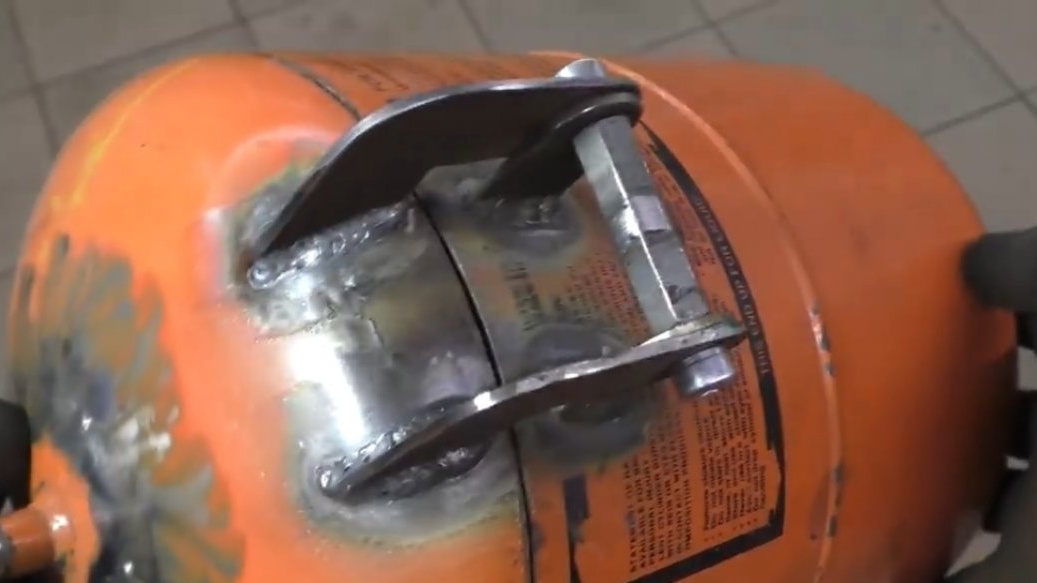
But before doing this, the author decided to weld two nuts, which will play the role of a lock, just in case.
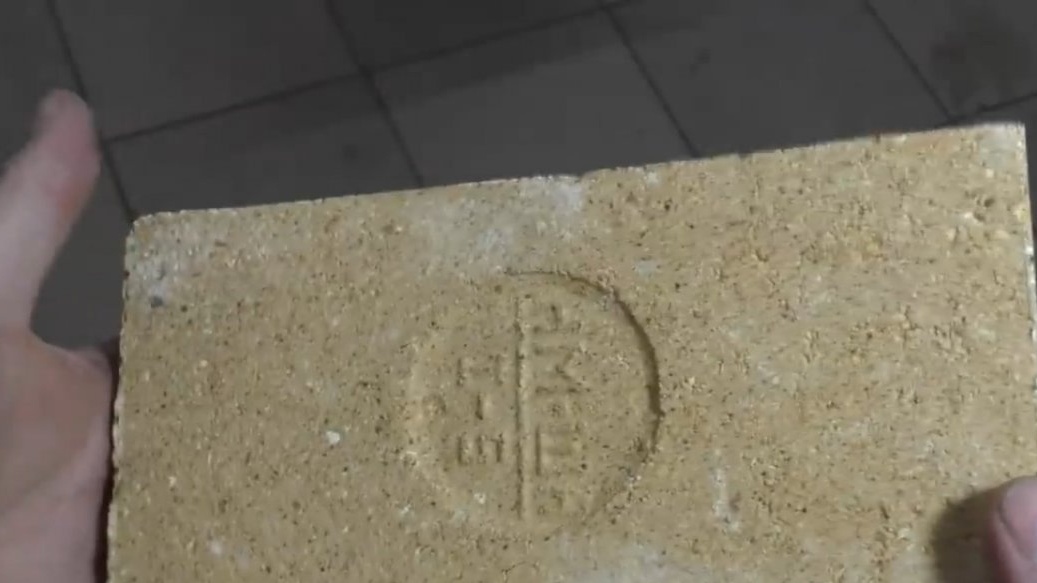
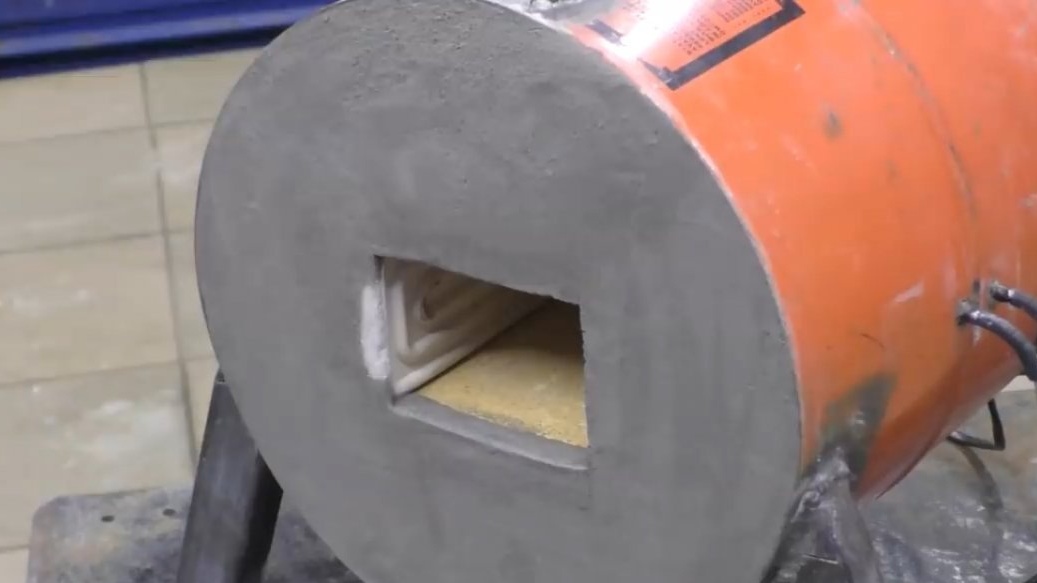
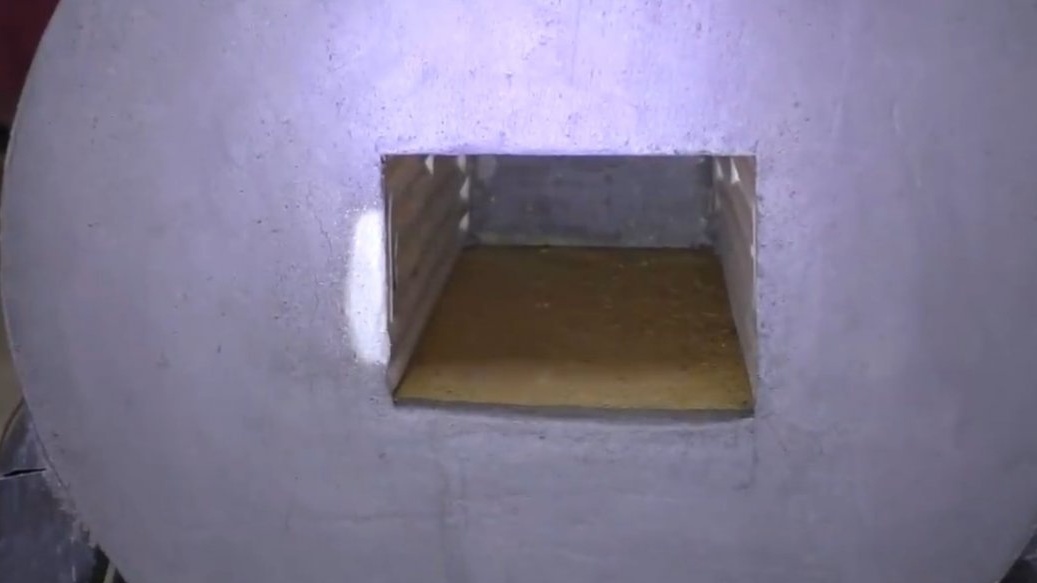
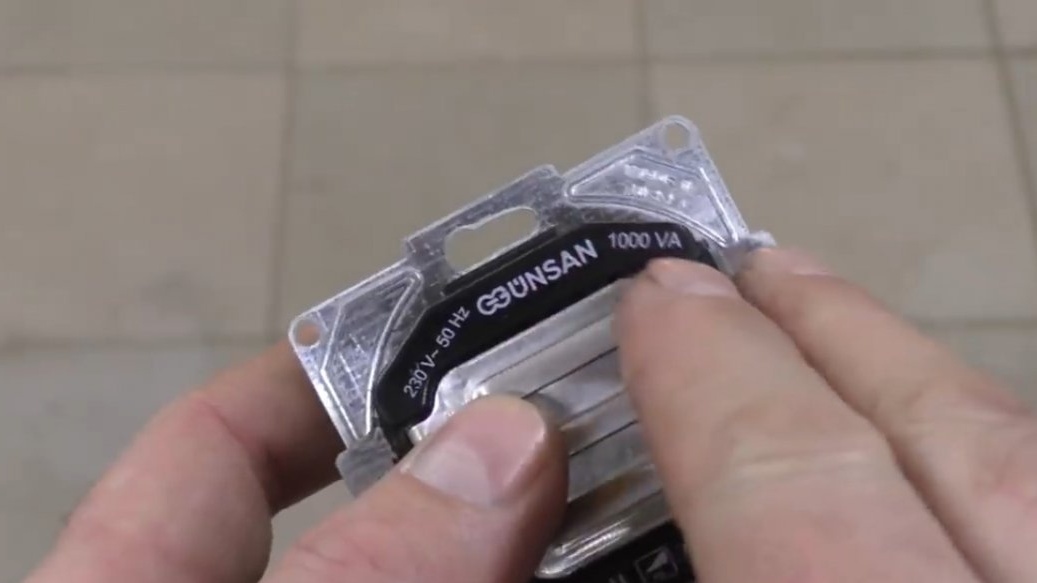
The camera will consist of 2 fireclay bricks and 2 600 W infrared panels. Also, we will use gypsum and sand in equal proportions as a filler.

As a result, we got such beauty:
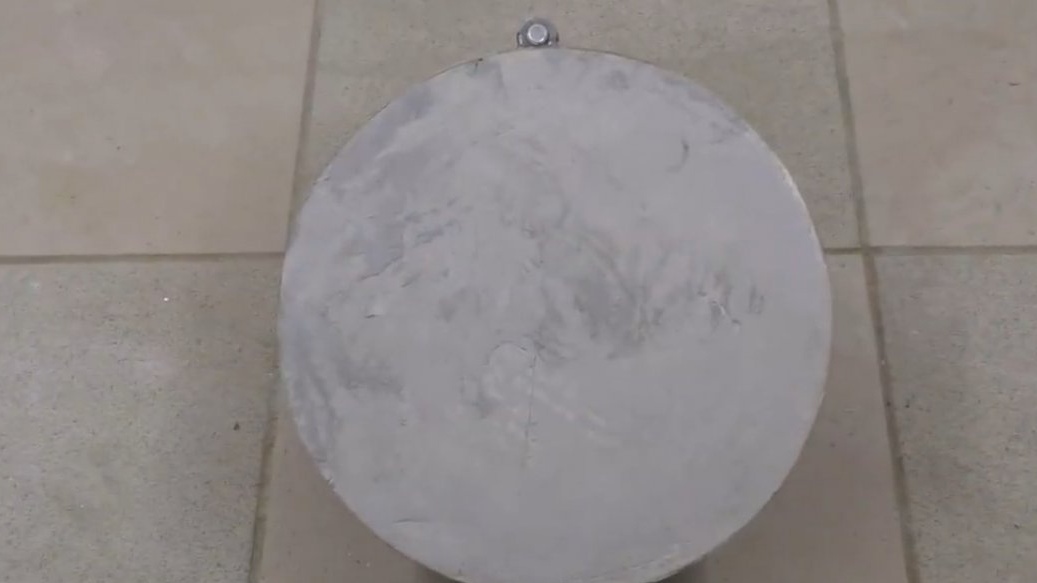
Then the author poured the lid, having previously made reinforcement, and after that he left it all to dry near the furnace until morning.

The next day, the author decided to check the heating and by connecting one of the panels, he got this result:
This happened due to the fact that moisture got inside the panel and when heated, it simply burst with steam. The rush is to blame.
You just can’t imagine how upset the master was, there were only 2 elements, and there was only one left and there was nowhere to take a spare, but still the project was decided to finish and see what would happen in the end.
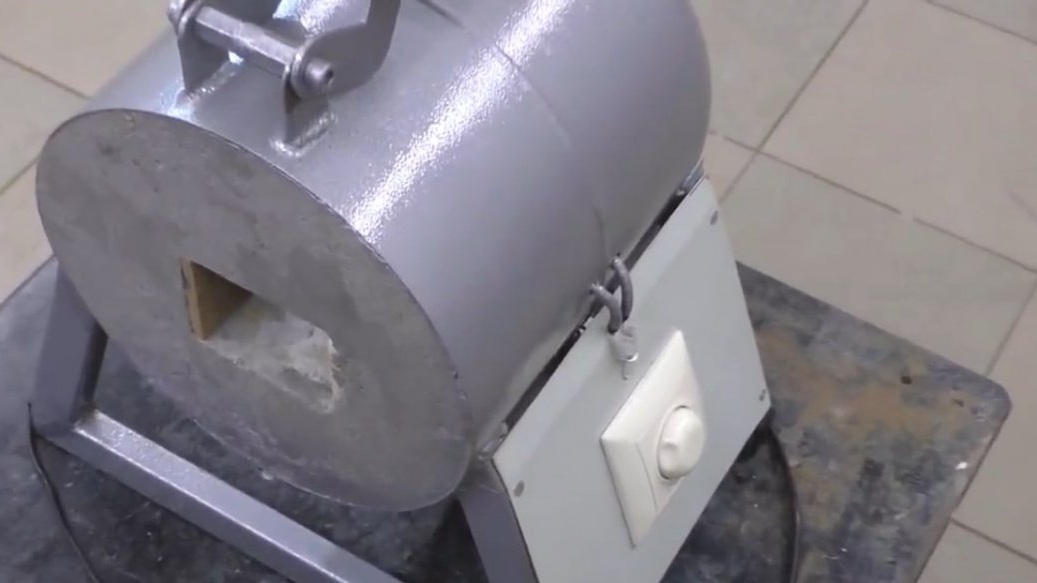
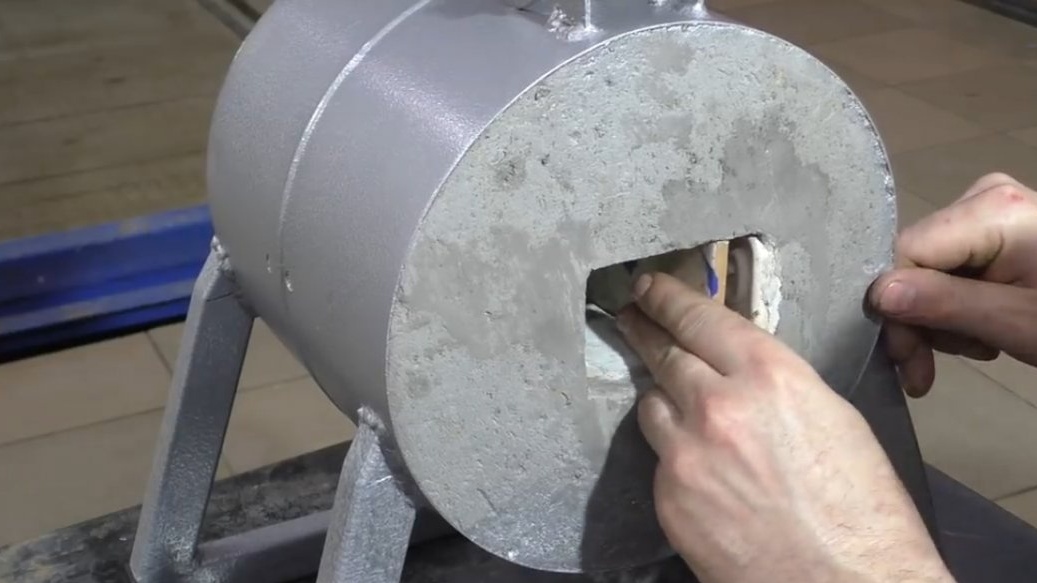
Next, you need to rub a little lid to reduce heat loss and finally fix everything in its place.
It turned out great. A couple of days passed, and the author nevertheless decided to turn on the second panel, although the gypsum did not dry completely. We do everything with short inclusions, not allowing the socket to warm up very much.
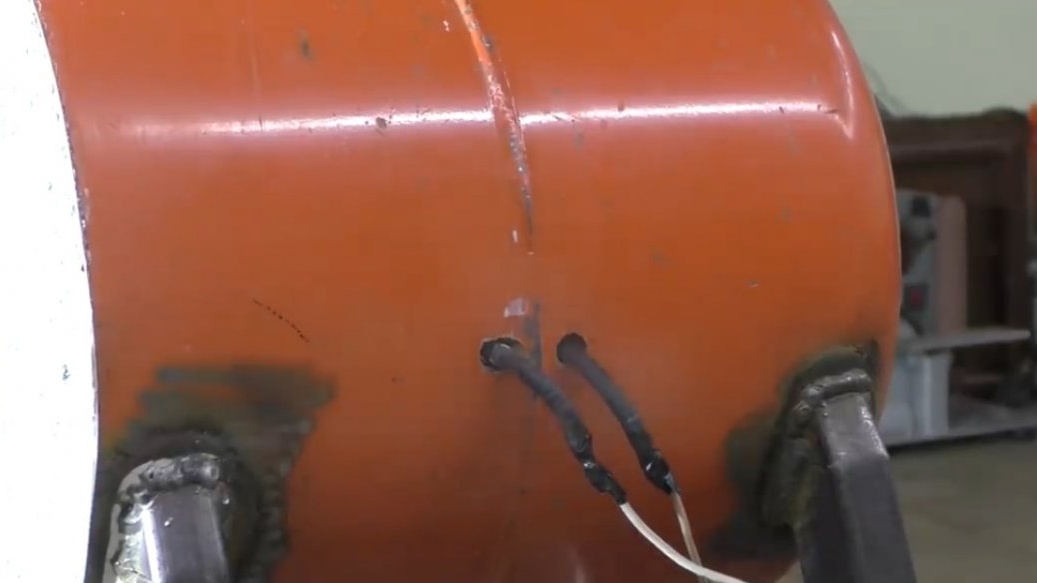
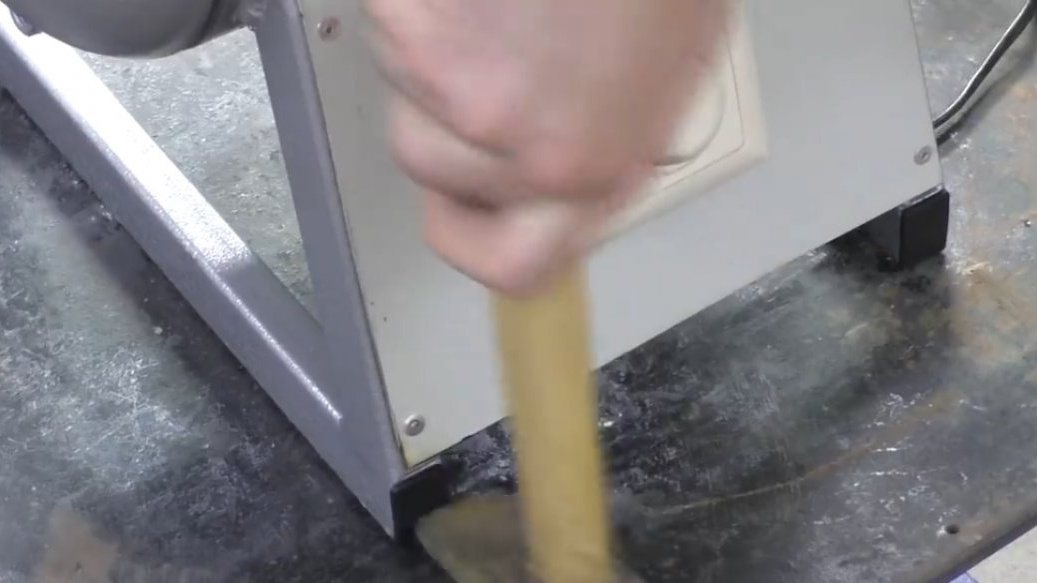
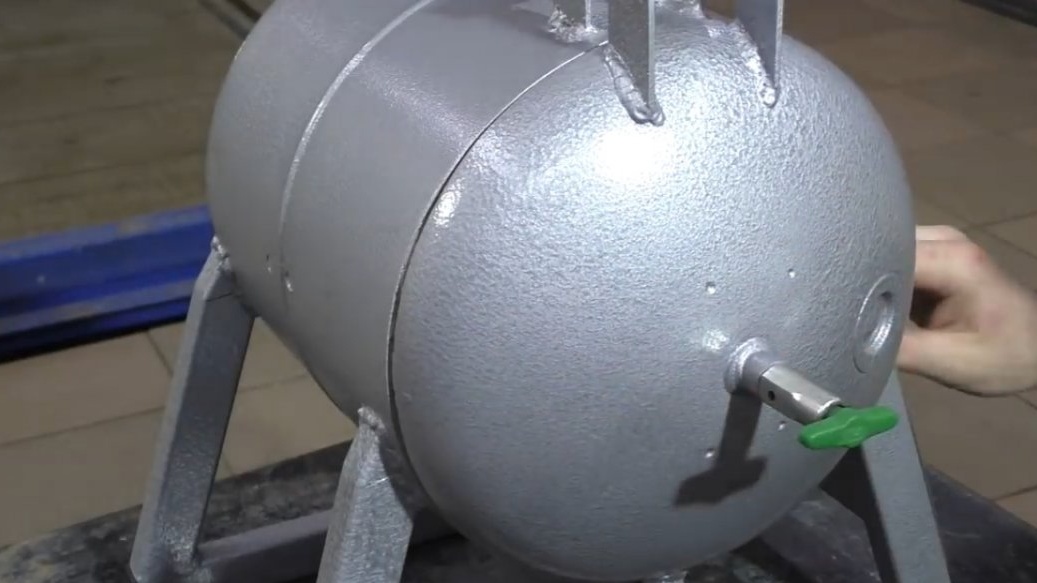
As you can see, during heating, steam comes, and even a drop of water has rolled out of the holes under the power supply. In general, while the "boar" was dry, it was decided to paint it and do the electrical part - the introduction of a dimmer for smooth temperature control.
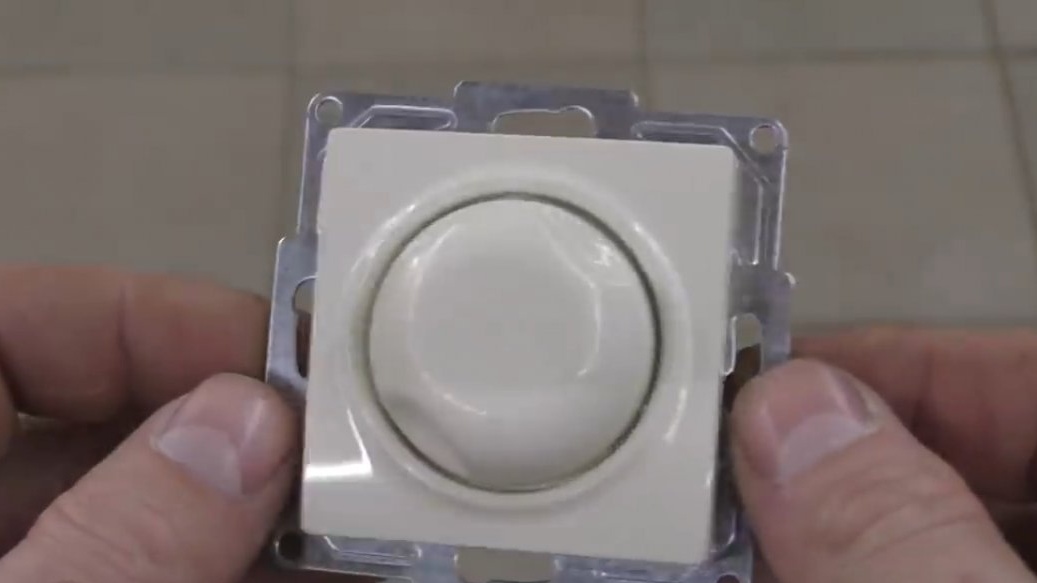
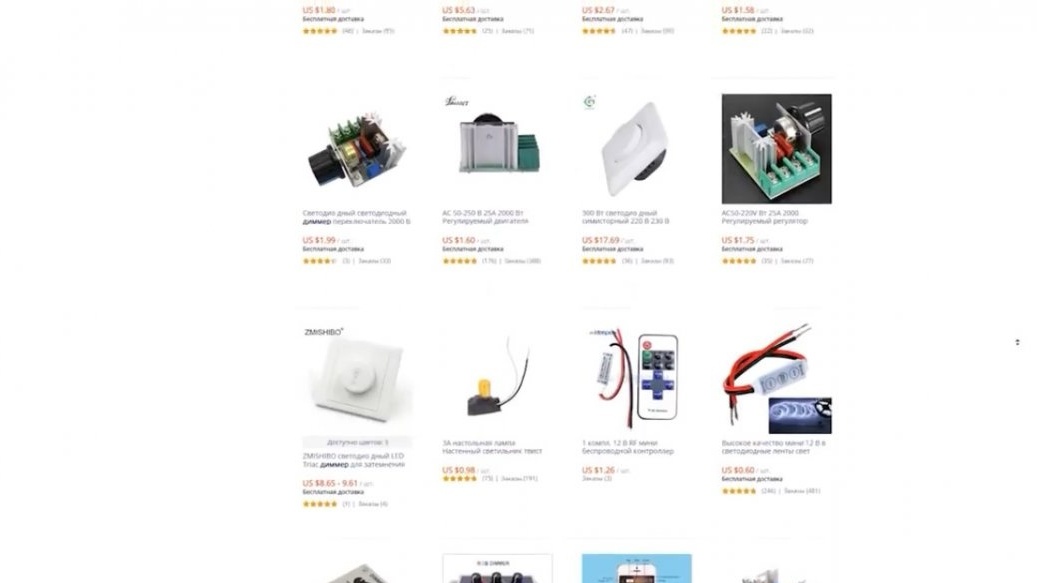
By the way, the dimmer was ordered for Aliexpress, since it’s not a secret to anyone that the choice here is quite large, and the prices are lower than ours.
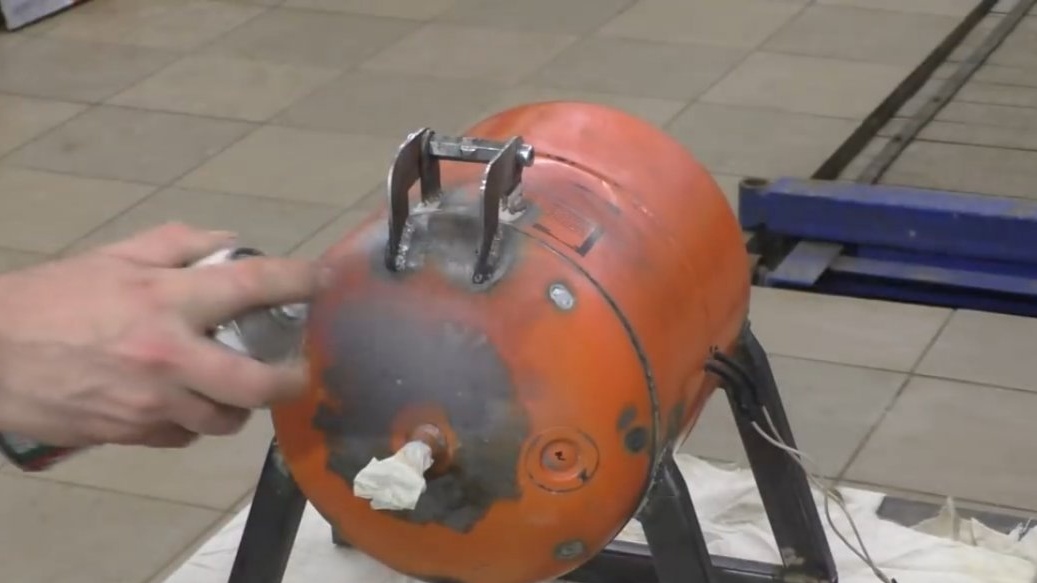
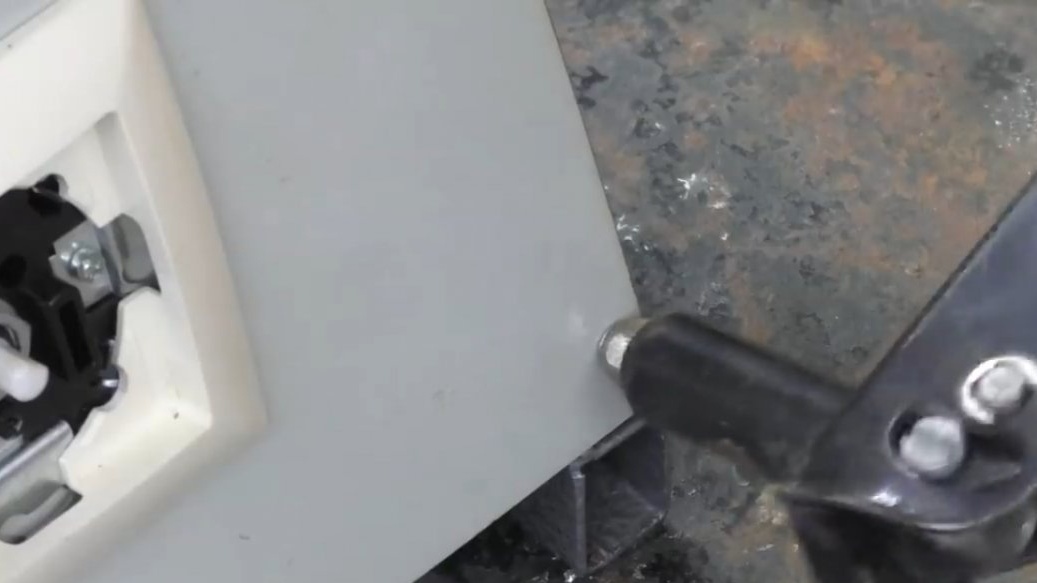
The boar is dry and a dimmer can be mounted. We will mount it on the side so that it does not interfere. For this, the author made a special template and transferred everything to a metal sheet 1.5 mm thick.
By the way, the author used metal from an old washing machine. We install the dimmer in the center of the socket and fix it on rivets to the profile pipe.

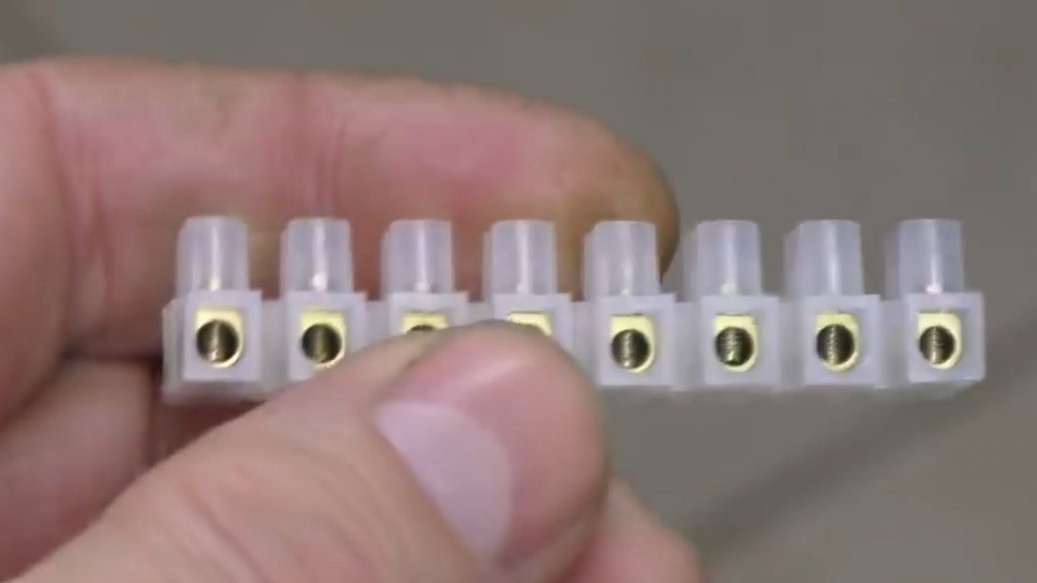
The author made the connection through such blocks:
It turned out pretty good. Well, the final touch is the installation of plugs (for aesthetics).
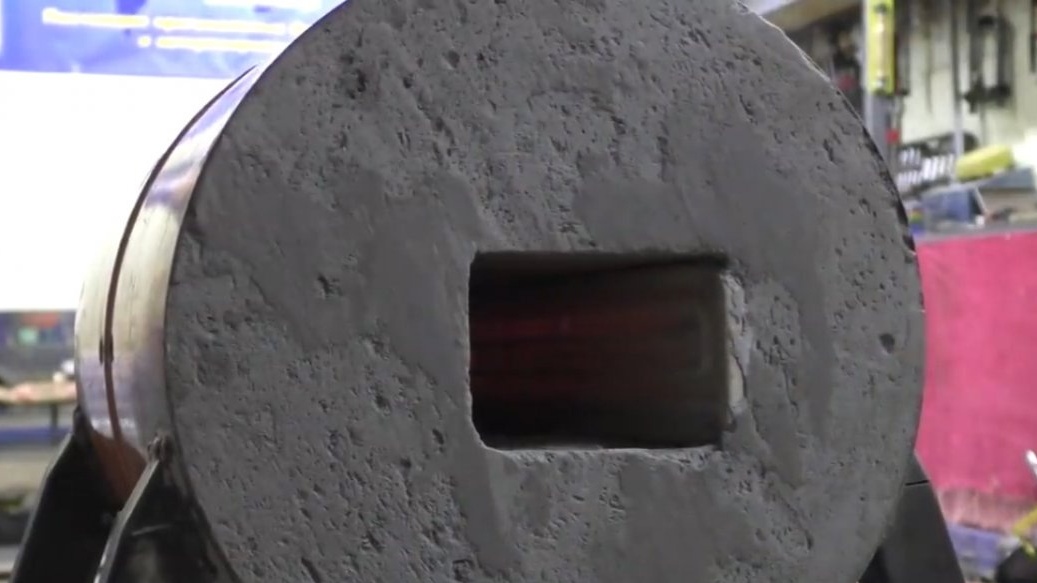
Now you can test the stove a bit and try to heat the blade, although the stove has not dried completely.
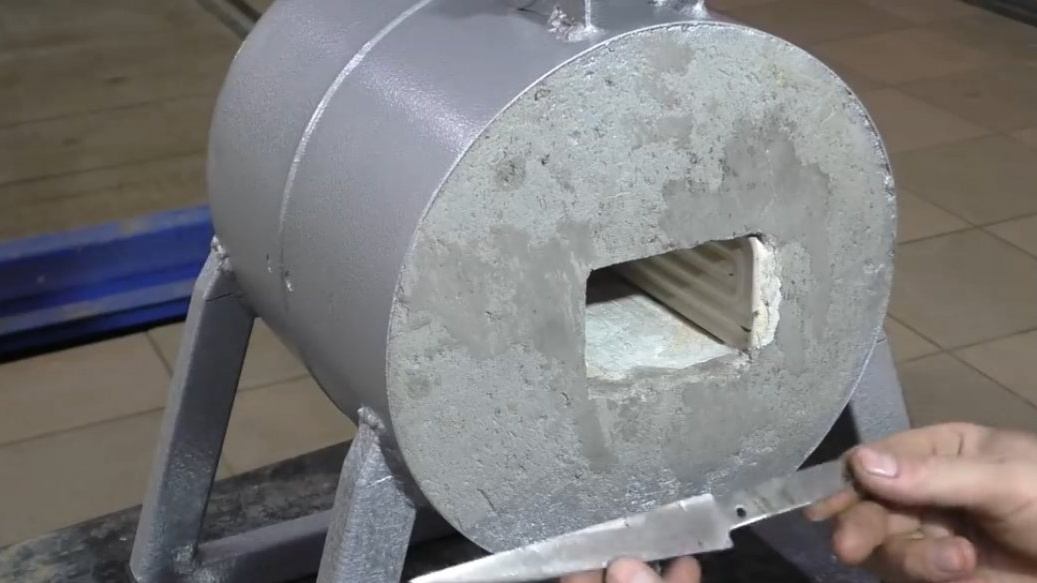
To reduce heat loss and achieve a greater effect, we install a ceramic tile partition, so it will be better until there is no second heater.
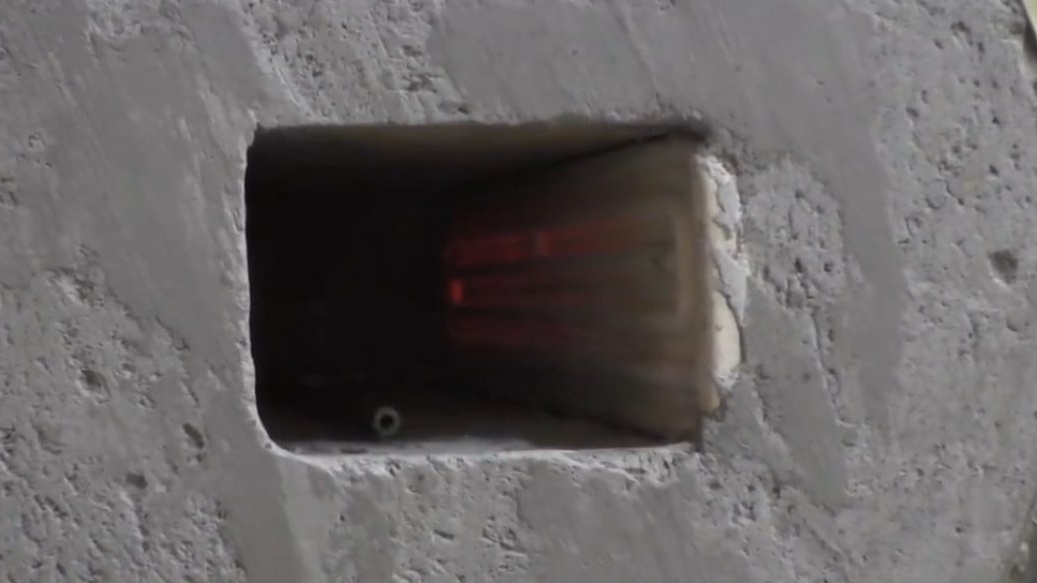
Close the lid and turn on the dimmer to the maximum.

As you can see, the steam is still oozing from the holes, although it has been drying for several days. And so, it took about 10 minutes and let's look at the result.
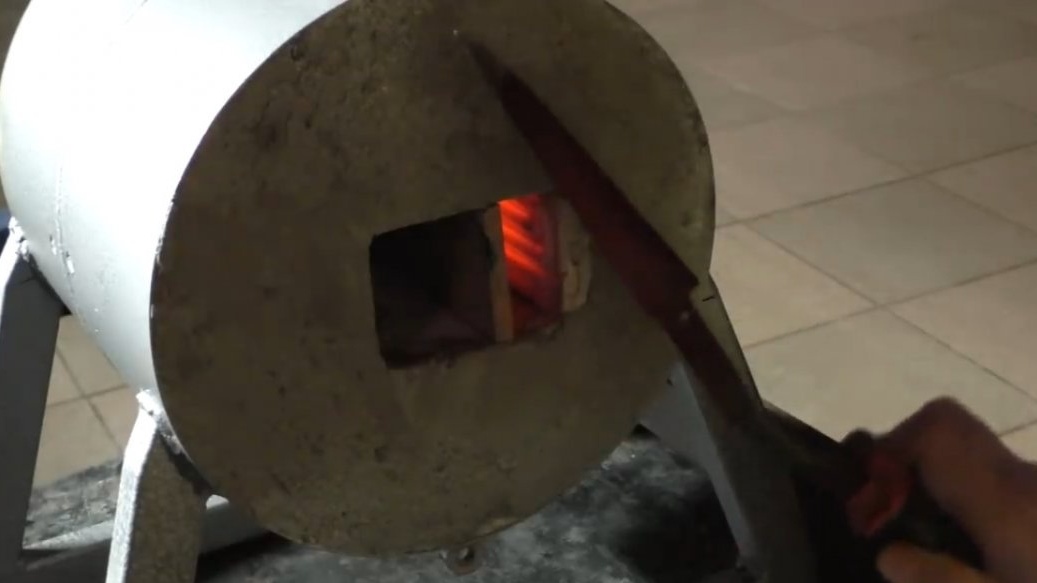
As you can see the blade becomes red hot. If you hold it for longer, the effect should be better, but this is when the oven is completely dry. It remains to install a thermometer to control the temperature and there will generally be fire.
This oven is also good for drying handles during gluing with a blade. In general, you can find a lot of applications, but for more serious things, you can make a hearth from the same cylinder, where you can melt the aluminum and the blade to be very hot.
Here we have such a stove. If not for the rush, it would be 2 times more powerful and more functional. In the future, the author will probably redo it, unless of course there are suitable details, but for now it remains to be content with what is. Thank you for attention. See you soon!
Author's video: