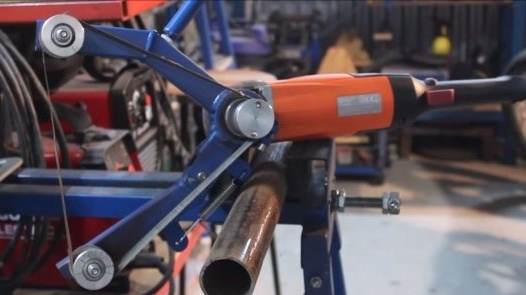
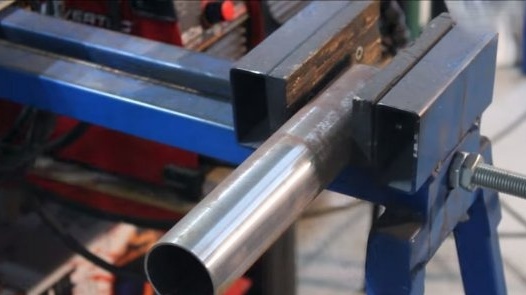
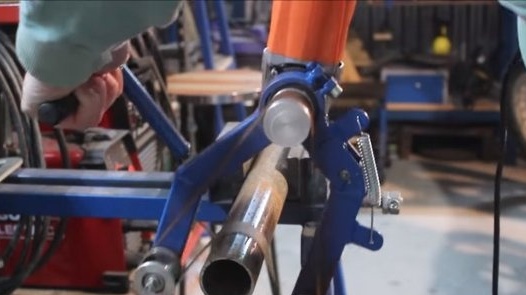
Hello everyone, in this instruction we will look at how to make a very useful tool. Using it, you can quickly, simply and safely clean pipes from rust. Now an old rusty pipe in a couple of minutes of work turns into a new, clean and shiny. The tool is assembled simply from available materials, but turning works will be needed, since the author turned the work rollers on an aluminum lathe. Homemade It is a belt sander, it is a nozzle that is mounted on a grinder.
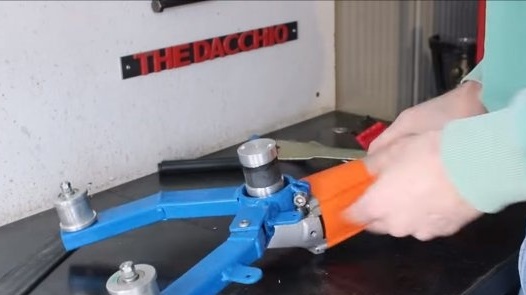
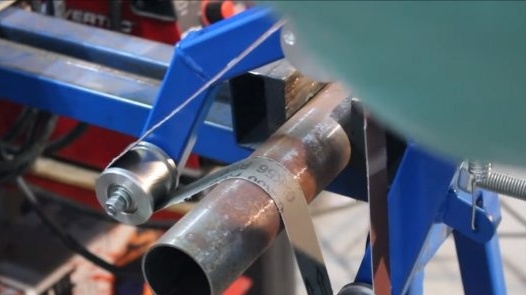
The sanding belt is stretched between two levers, one of which is pivotally mounted on the spring. As a result, when the sanding belt is pressed on the pipe, the lever bends, and the tape bends around the pipe, thereby grinding it effectively. If you need such a device, I propose to study this project in more detail!
Materials and tools used by the author:
Material List:
- profile pipes;
- Sheet steel;
- spring;
- aluminum (for turning);
- bolts and nuts;
- paint.
Tool List:
- tape cutting machine, miter saw or;
- drilling machine;
- ;
- tap for threading;
- a vise.
Homemade manufacturing process:
Step one. Fasteners
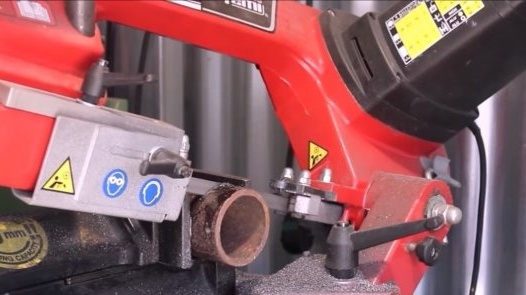
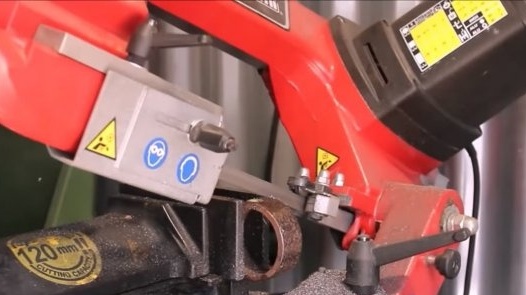
To begin with, we will make fasteners to which everything will be attached, and with the help of which we will install the nozzle on the grinder. It will be attached to the part where the protective shield is installed.
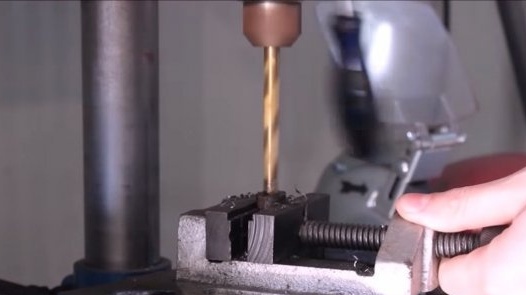
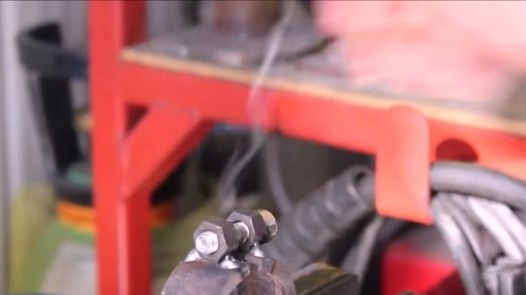
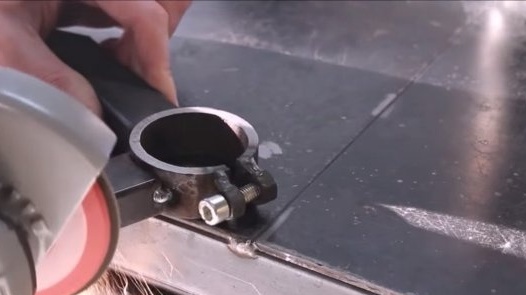
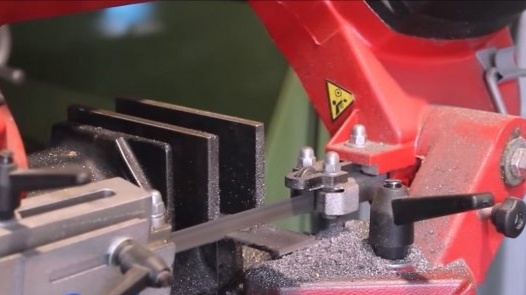
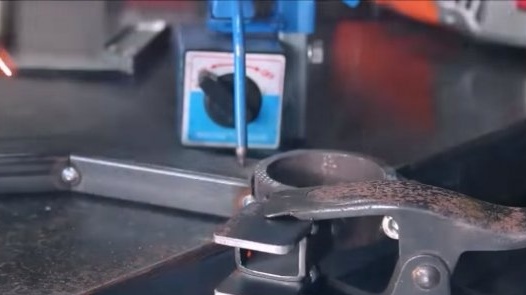
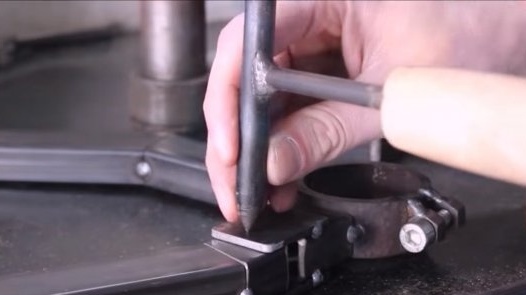
We need a piece of a round pipe of suitable diameter, its author cuts and cuts a piece to make a clamping clamp. Well, then everything is simple, we weld two nuts to both ends and drill a thread in one of the nuts. Now, turning the screw, you can clamp the clamp.
Step Two Frame manufacturing
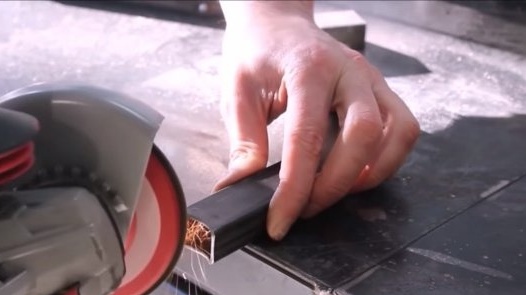
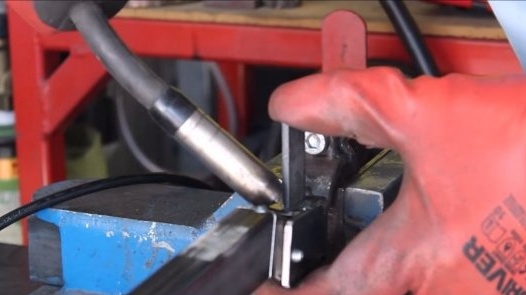
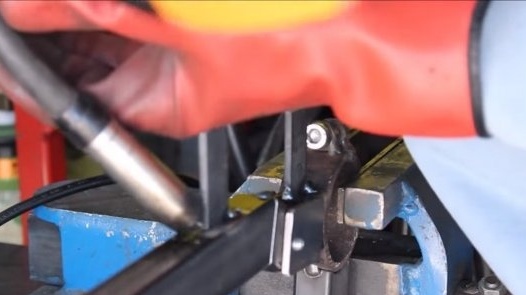
We proceed to the assembly of the homemade frame, it is made from profile pipes. First we make the first lever, cut the pipes, weld it at the desired angle and weld it to the clamping fixtures made earlier.
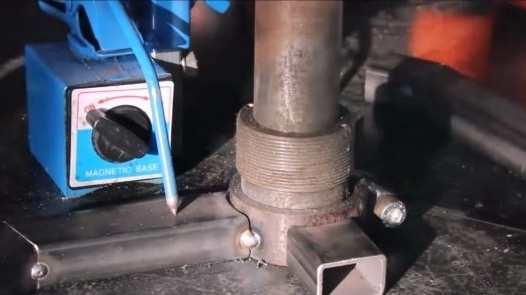
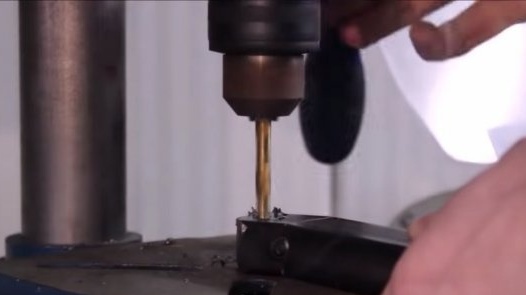
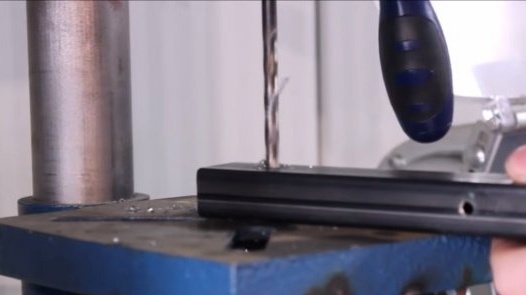
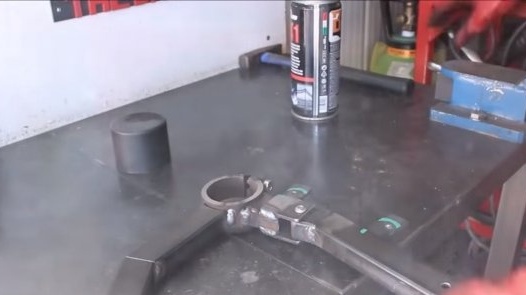
As for the second lever, it is made in the same way, but it must be pivotally attached to the clamp.To do this, we weld two plates in parallel to the clamp and drill holes, we also drill a hole in the lever. Well, then it remains to insert a bolt or other similar axis.
Step Three Rollers
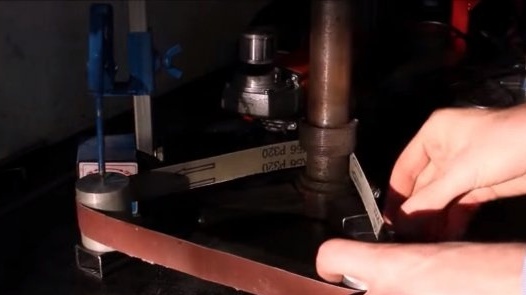
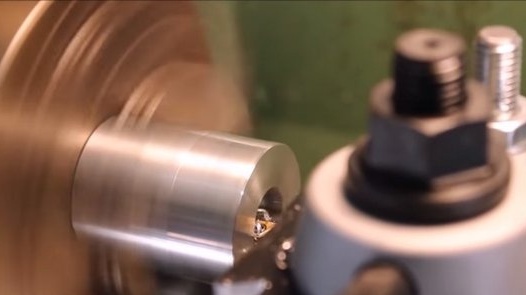
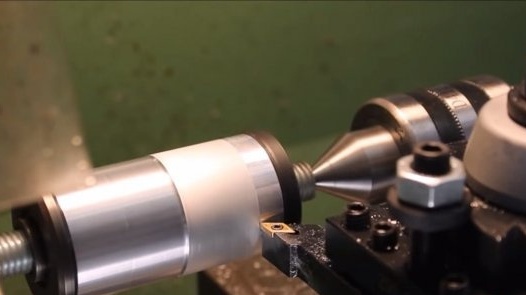
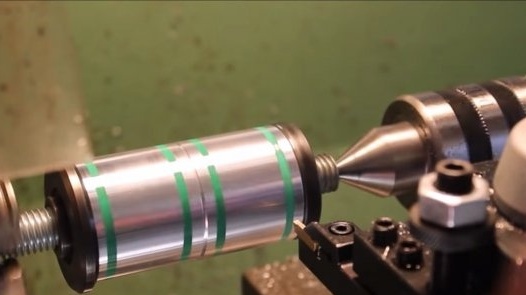
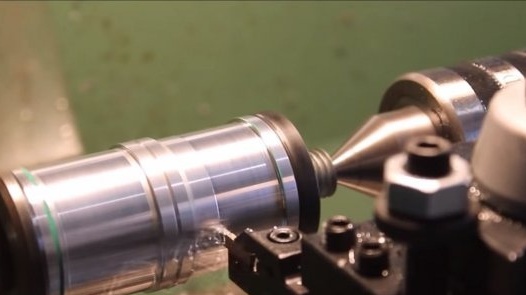
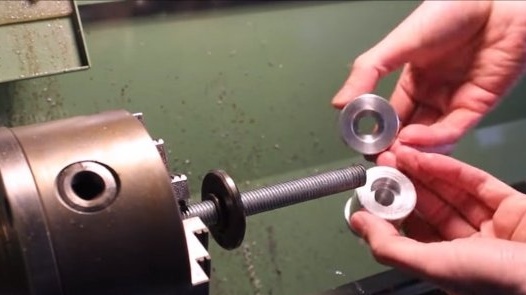
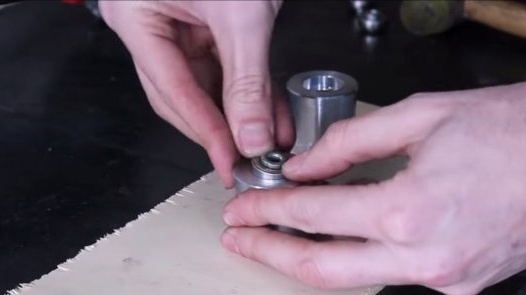
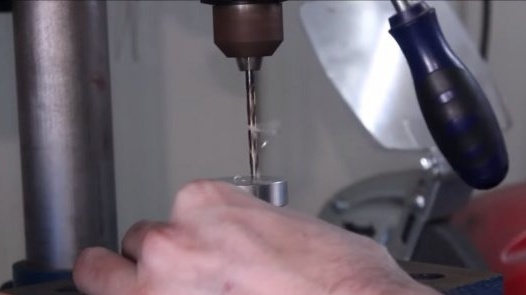
There are two rollers on the machine, their author grinds it out of aluminum on a lathe. The rollers on the sides have grooves that prevent the belt from going beyond and flying off. The advantage of such wheels is that you do not need to make a centering mechanism. But if it’s difficult to make such wheels, you can buy wheels from a skateboard, but then you have to make a centering mechanism. The wheels of the author rotate on bearings, so you need to make seats for them.
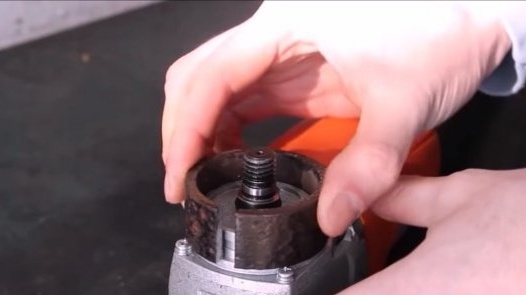
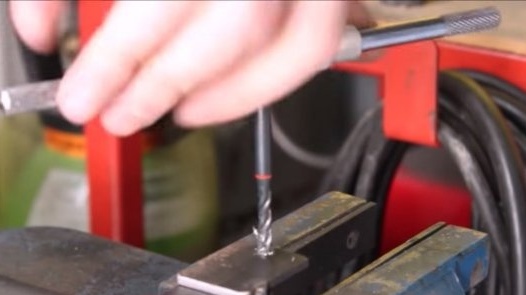
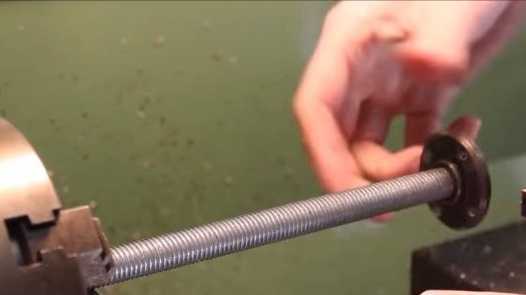
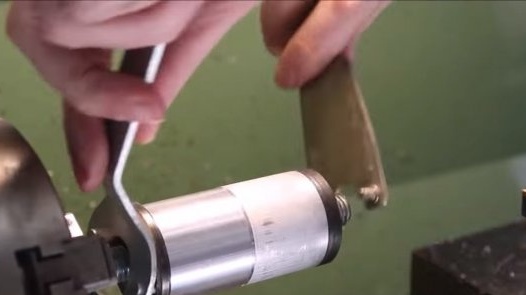
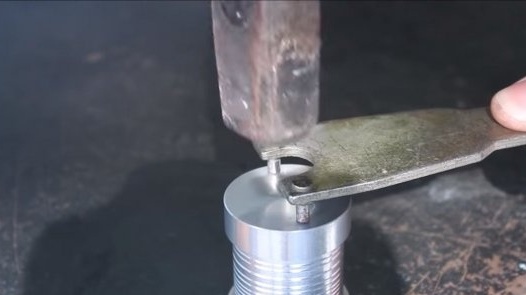
As for the driven wheel, a hole is drilled in it and a thread is cut so that the wheel can be screwed onto the shaft of the grinder. Also, do not forget to drill two blind turnkey holes with which this wheel will be removed from the grinder.
Step Four DIY assembly
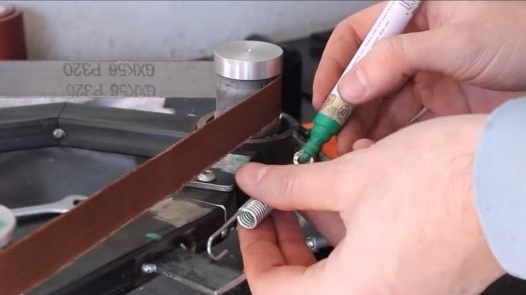
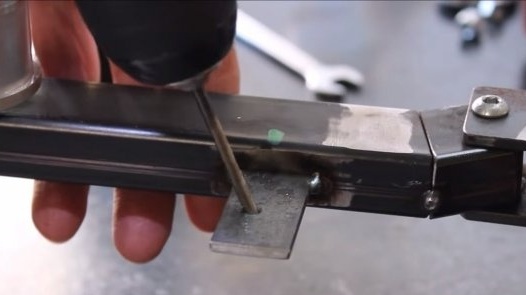
As a result, it remains for us to install the spring on the articulated lever so that the sanding belt is pulled. To install the spring, we weld two ears of sheet steel, one to the lever and the other to the clamp, and put a spring between them.
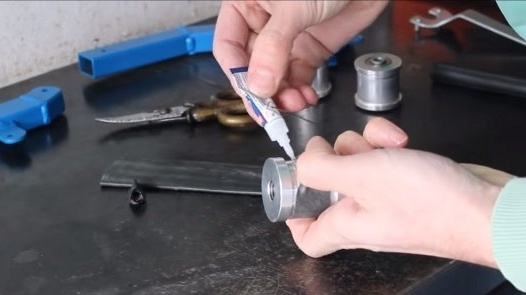
So that the sanding belt does not slip, we put a piece of the bicycle chamber on the drive wheel or glue it with rubber.
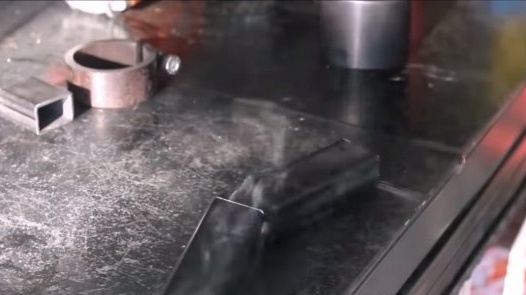
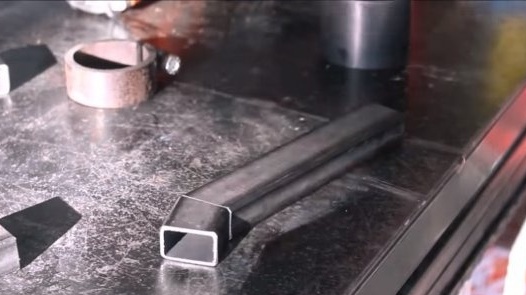
After that, the homemade product will be ready, it remains only to paint it. The author demonstrates the operation of the machine with rusty pipes, they immediately begin to shine, the tape immediately captures a large area of the pipe, this can not be done with another tool.
I hope that homemade work will be useful to you, good luck and creative inspiration, if you decide to repeat this. Do not forget to share your ideas and homemade things with us!

