

It has long been eyeing the purchased paint boxes for painting models. In terms of functionality, if you can still somehow come to terms and pick up something. That prices at all, banish all desire.
Therefore, I also looked through homemade boxes. But here, what's interesting, and rightly so, I think everyone makes boxing for themselves. Someone has one aspect, well done. Someone else. Well, there’s no such thing as a soul. Here I thought - yes, that, I can’t do for myself. What I need.
He began to proceed from his tasks.
1. Boxing should not be very large and not small. Such that it would be possible to paint the hull of ships in the 200th hundredth scale.
2. It should fit freely in the dimension of my workshop (pantry).
3. Well lit.
4. Have a turntable for painting small parts.
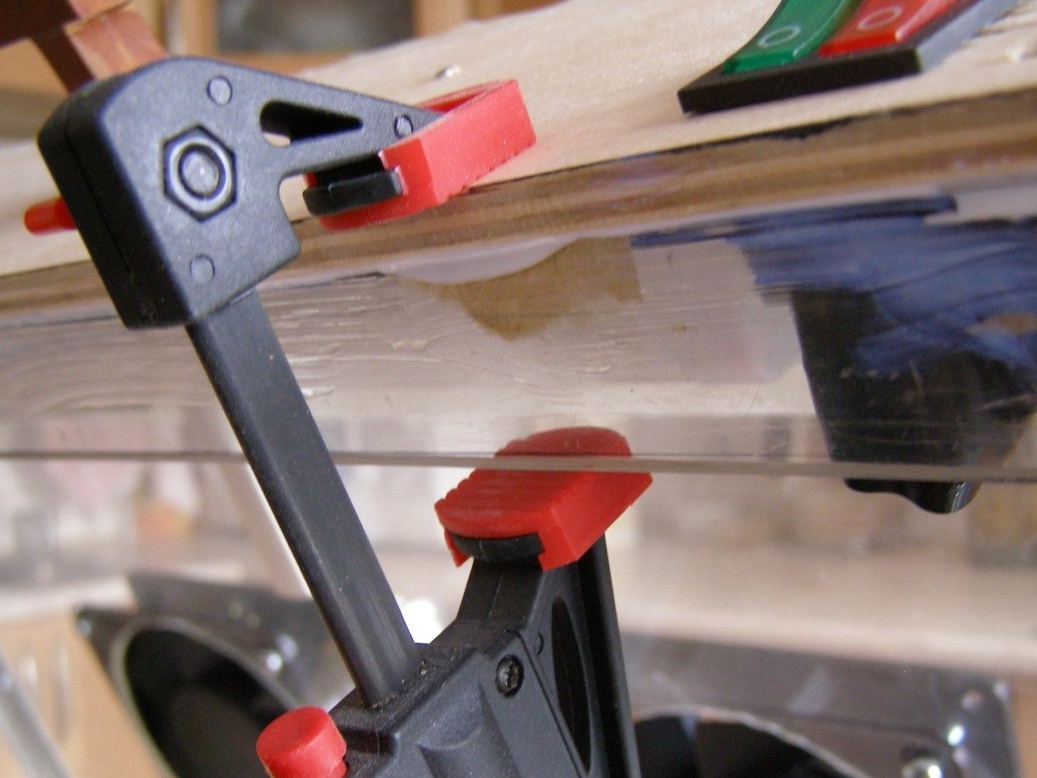
5. Have a series of clamps to hold parts during painting.
6. To have an intensive suction from the area of paint spraying.
7. That if necessary it was possible to remove purified air into the atmosphere.
8. Easy replaceable filter.
I thought it was blackened. Estimating what materials I have for building. The result was a rather interesting design, and most importantly compact and easy to assemble. Maybe not quite beautiful, but functional.
I sat down at the table, already thoroughly outlined, the assembly radii (so as not to hurt anything) of the paint box.
The result was a paint box having, assembled the following sizes:
It is long - 500 mm, width - 400 mm, height (thickness) - 100 mm.
It took me the following materials:
1. Piano loops the first length of almost 500 mm, and two short 200 mm each.
2. A corner of aluminum 10x10 mm about 2 meters.
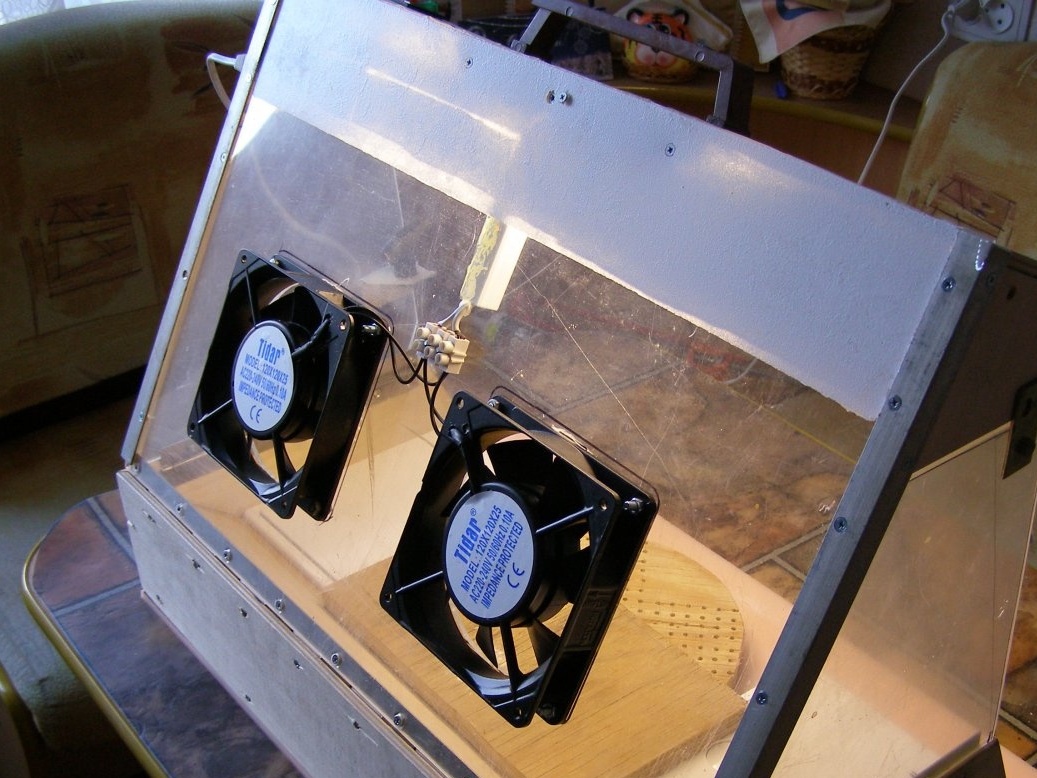
3. Double switch, for light and engines - 1 pc.,
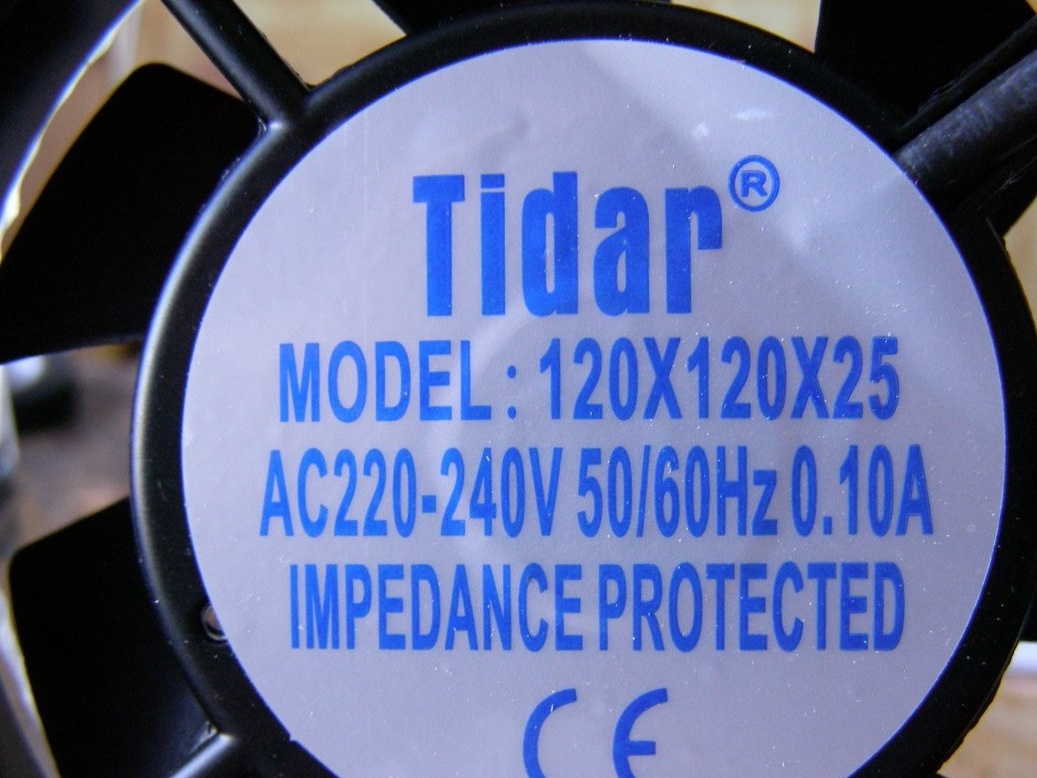
4. Two electric motors of Tidar company 120x20x25 for 220 volts - 2 pieces
5. Two connectors for connecting the cord, and connecting the compressor.
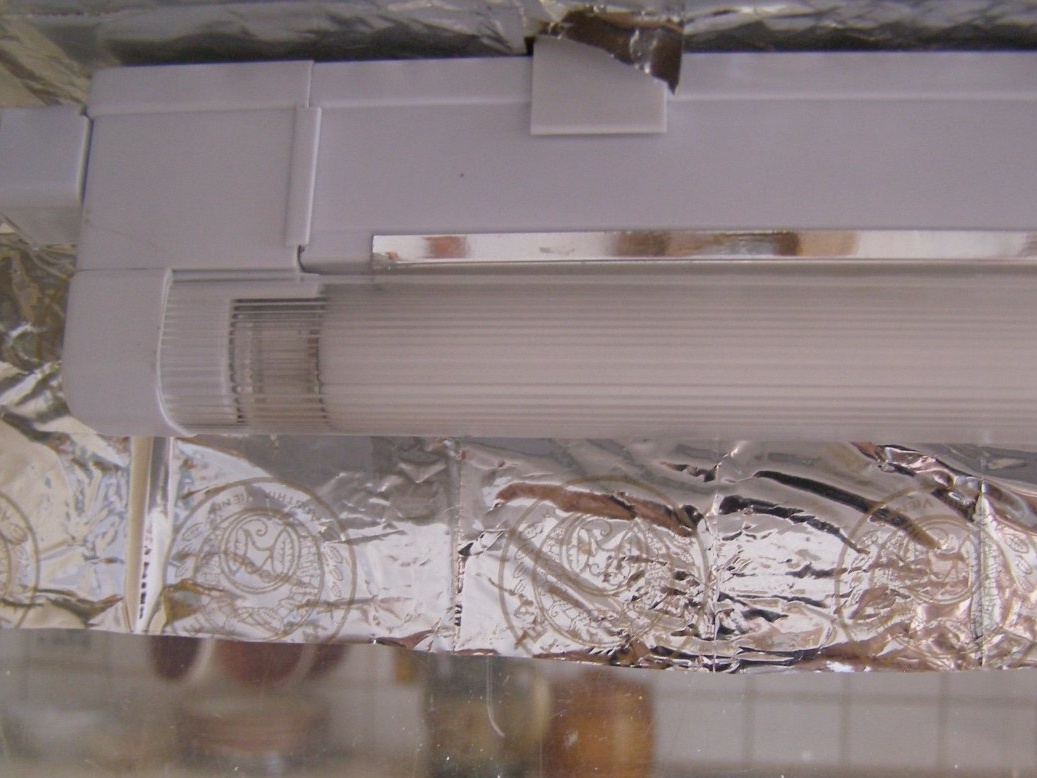
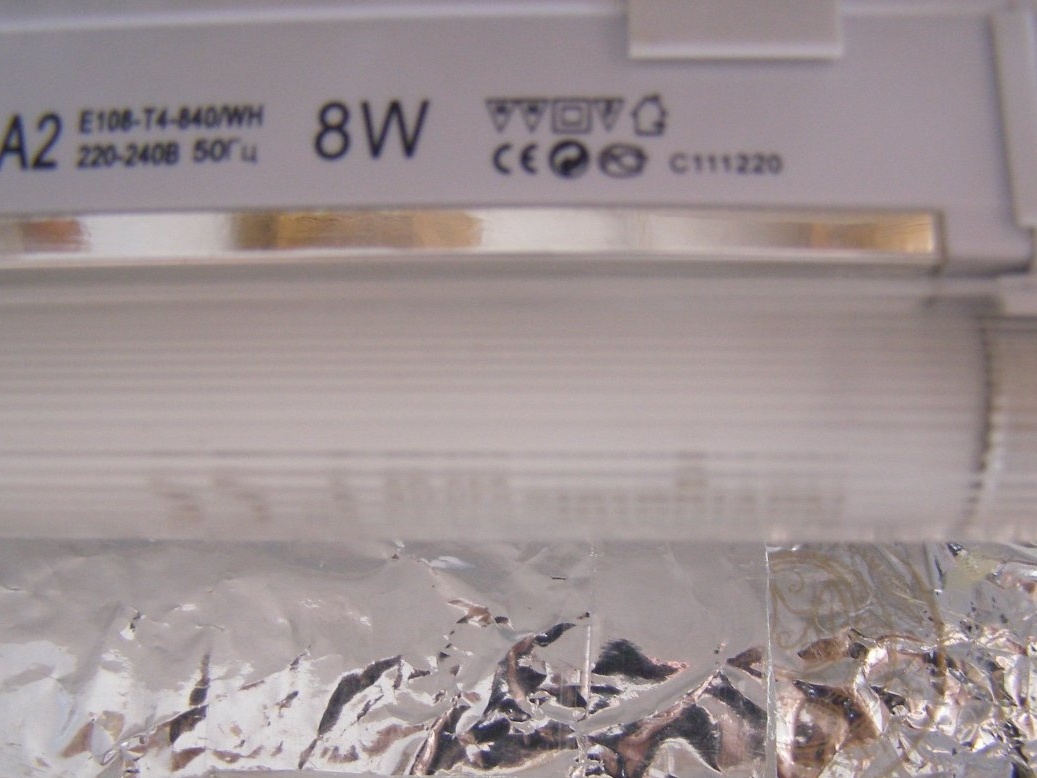
6. Daylight lamp, I used NavigatorNEL - A2, 220 v, W 8 .. But, it is possible at the discretion and LED.
7. Narrow pieces of 4 mm plywood.
8. And several different sheets of plexiglass.
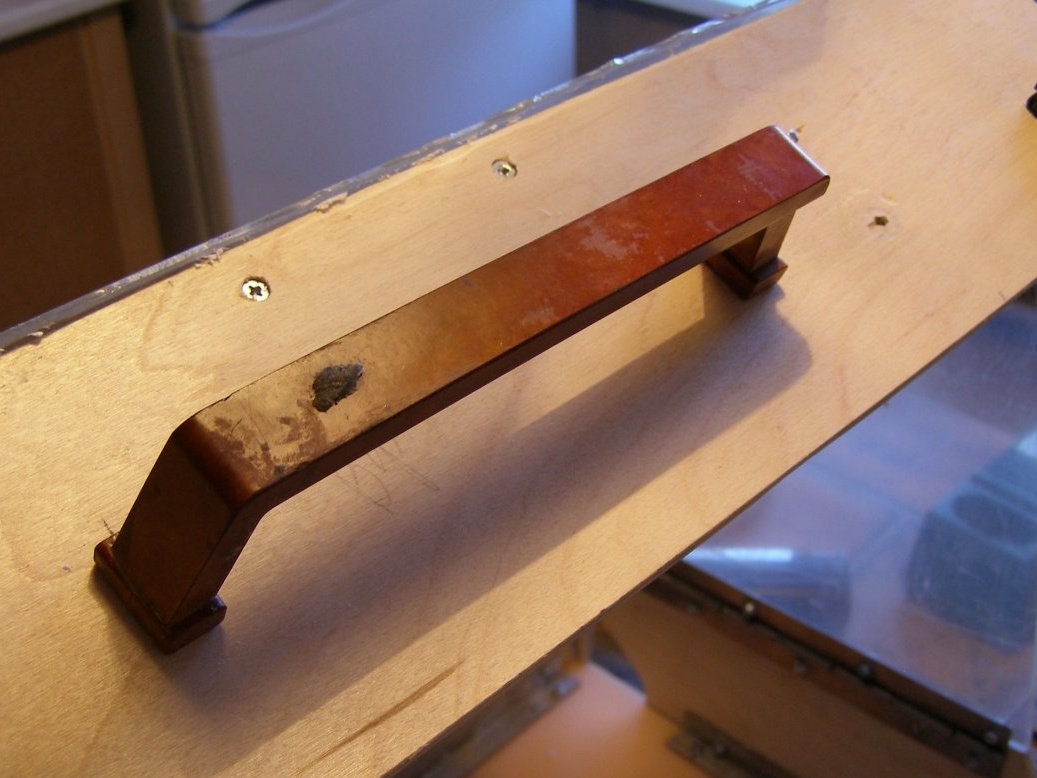
9. Handle for carrying boxing.
10. Revision hatches for plumbing 2 pcs.
11. Various fasteners. I used M3 screws and nuts of that denomination.
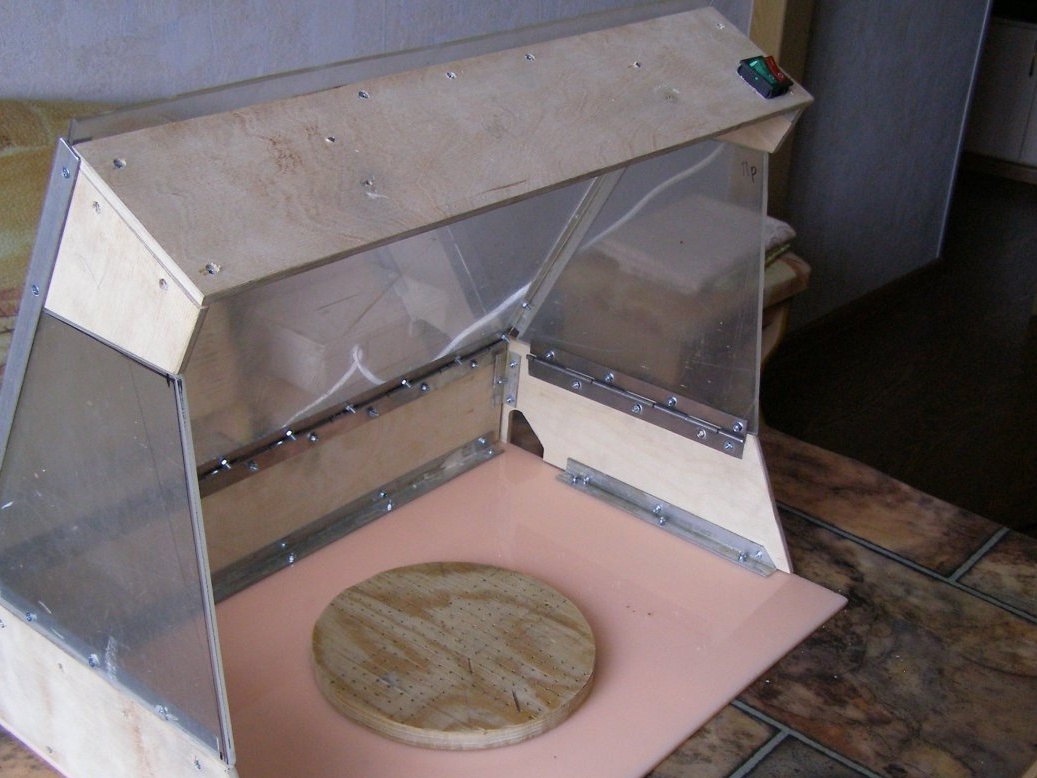
Step 1. Assembly of the housing.
The case should be assembled like this.
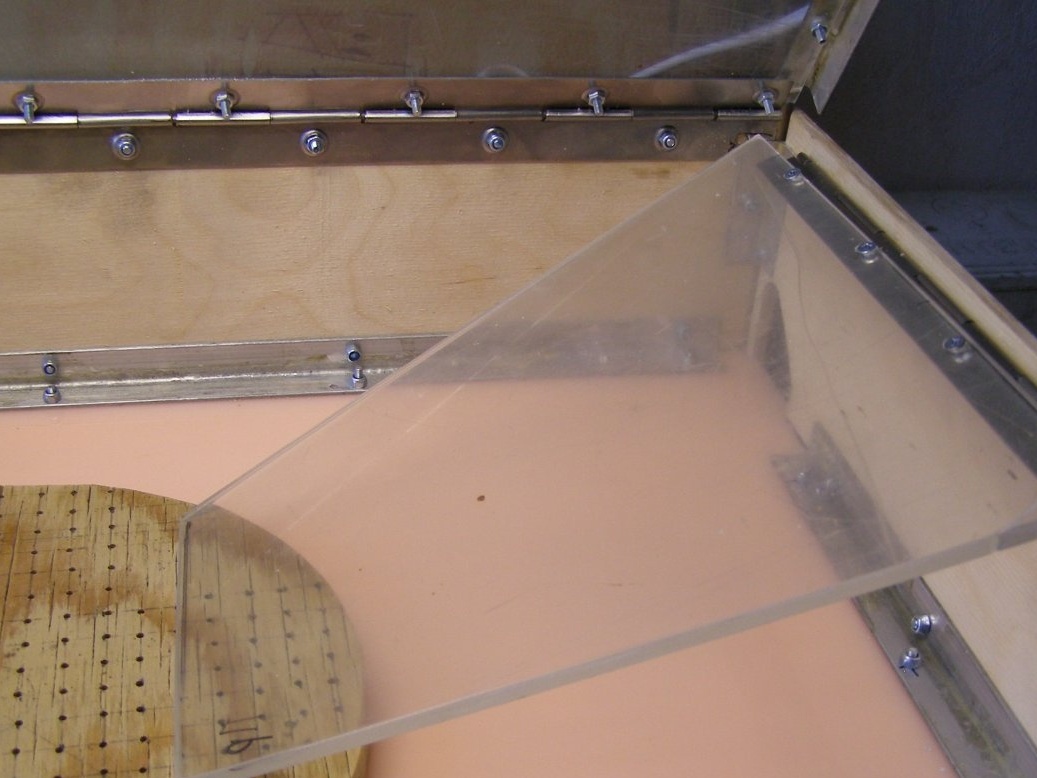
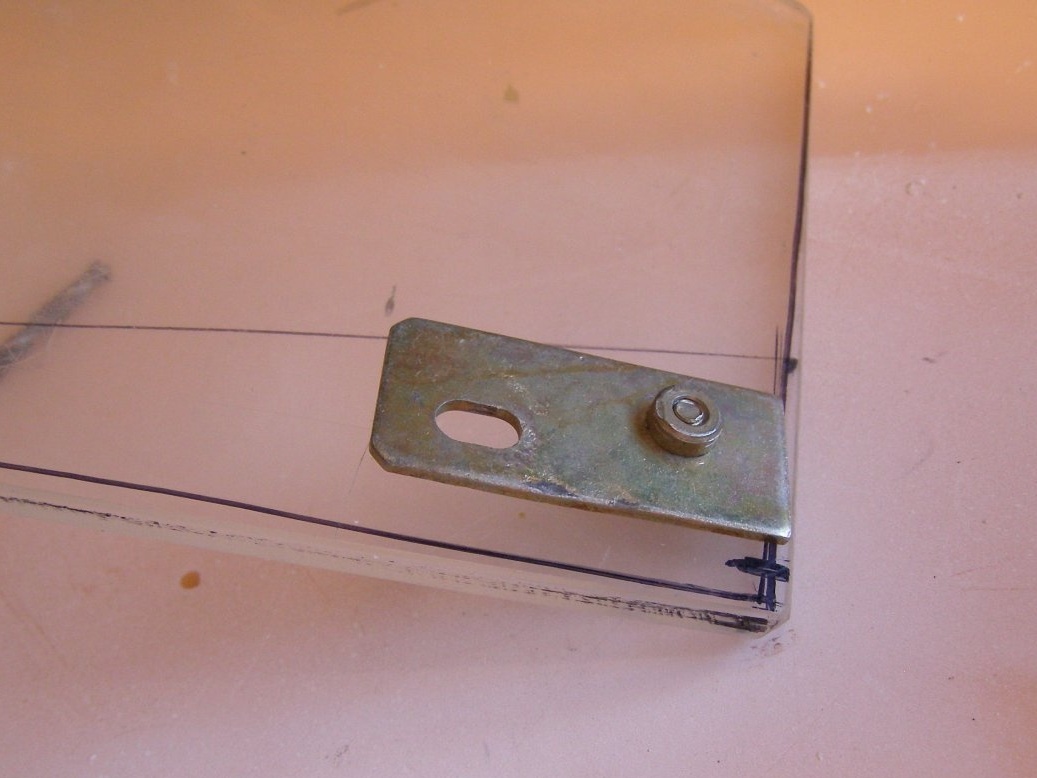
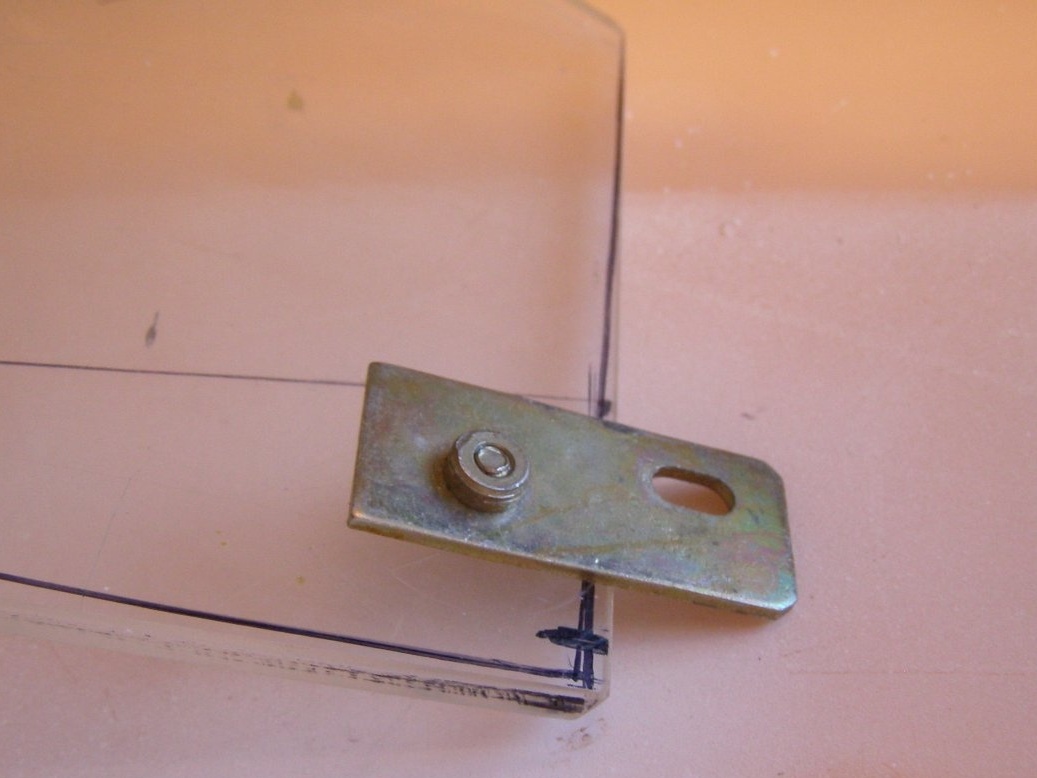
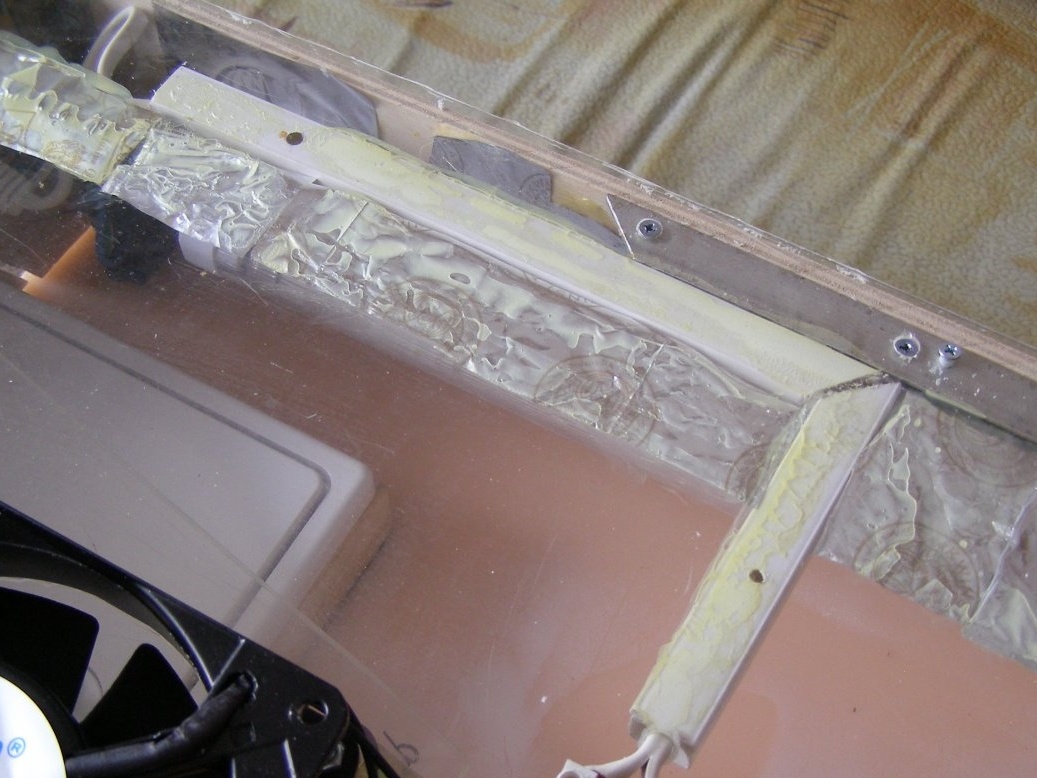
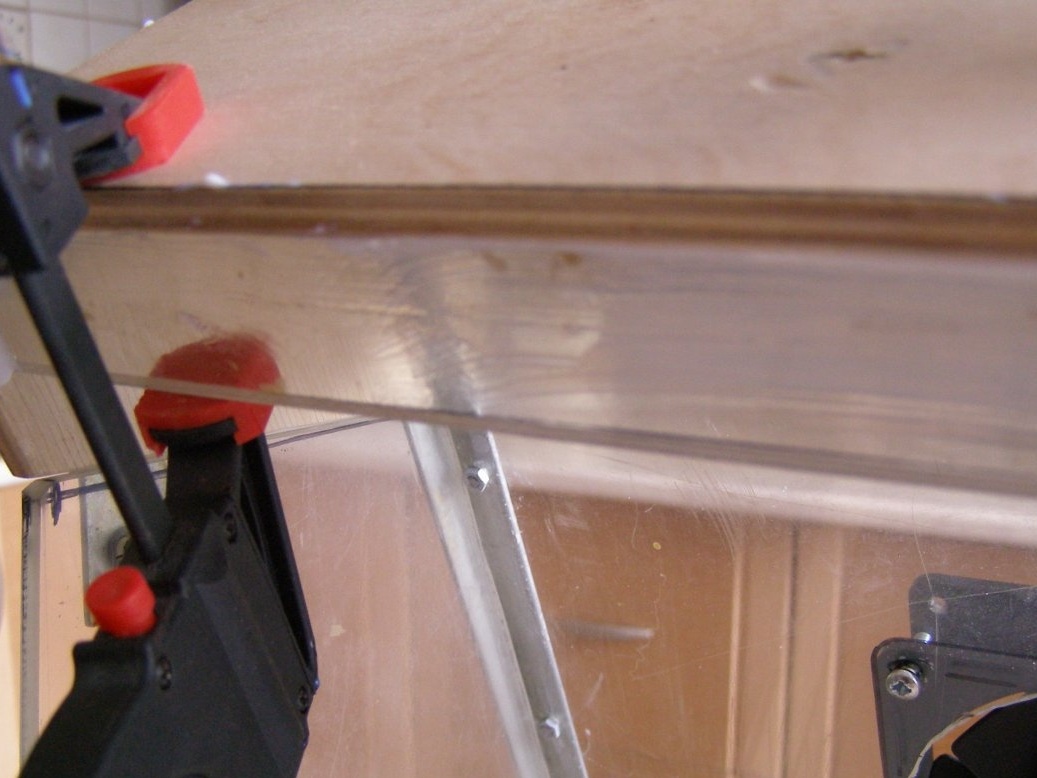
I made the base of the paint box from plexiglass 5 mm thick, well, I had it. Size 500 x 400 mm.On the opposite side of the base from me, I fixed an aluminum corner, taking into account that the back wall of plywood will still stand. On the sides of the base did the same thing, only the side walls had a bevel and did not reach the end of the base. But, the width was the same with the back wall. To the rear and side walls, attached piano loops on the screws.
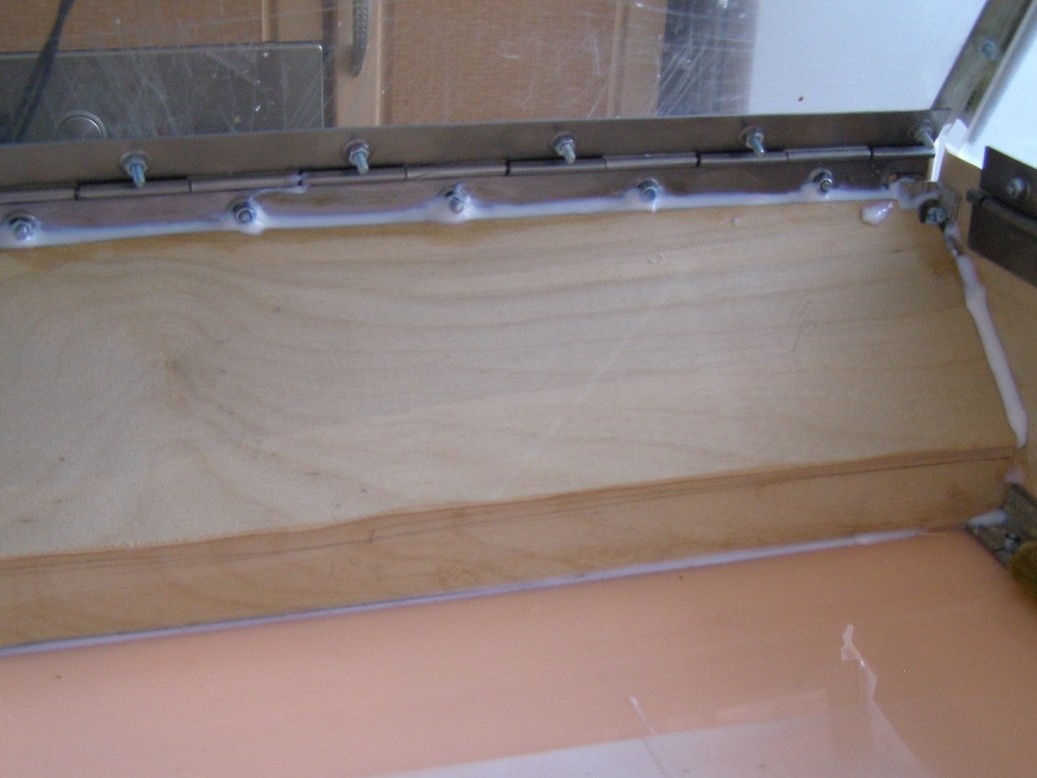
I screwed a transparent plexiglass (box cover) of the same size as the base onto a long loop. Through an aluminum corner I attached to it a frontal plane of 4 mm plywood. The width is equal to the lateral and rear planes attached to the base.
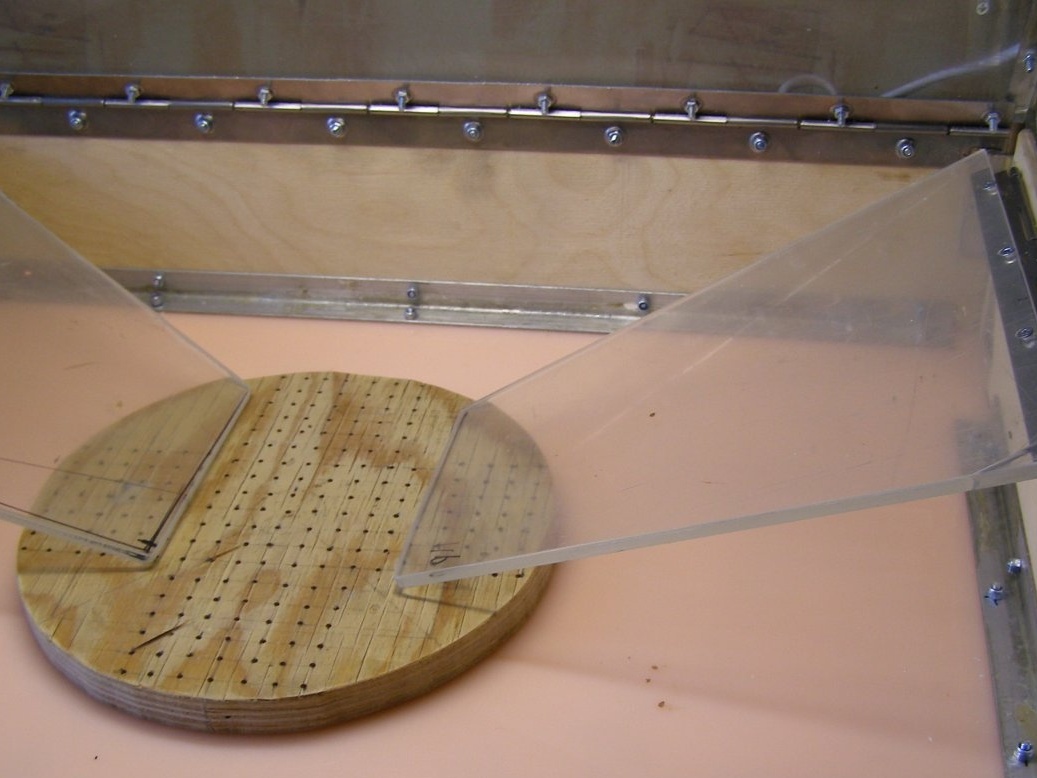
And, from the frontal surface on the sides, two oblique planes, made of plywood. Which, when closed, complement the sidewalls of the base. Trapezoidal side walls of transparent plexiglass were screwed to the side piano loops. In open form, the body of the spray booth is as follows.
The lateral trapezoidal walls when folded have the following positions.

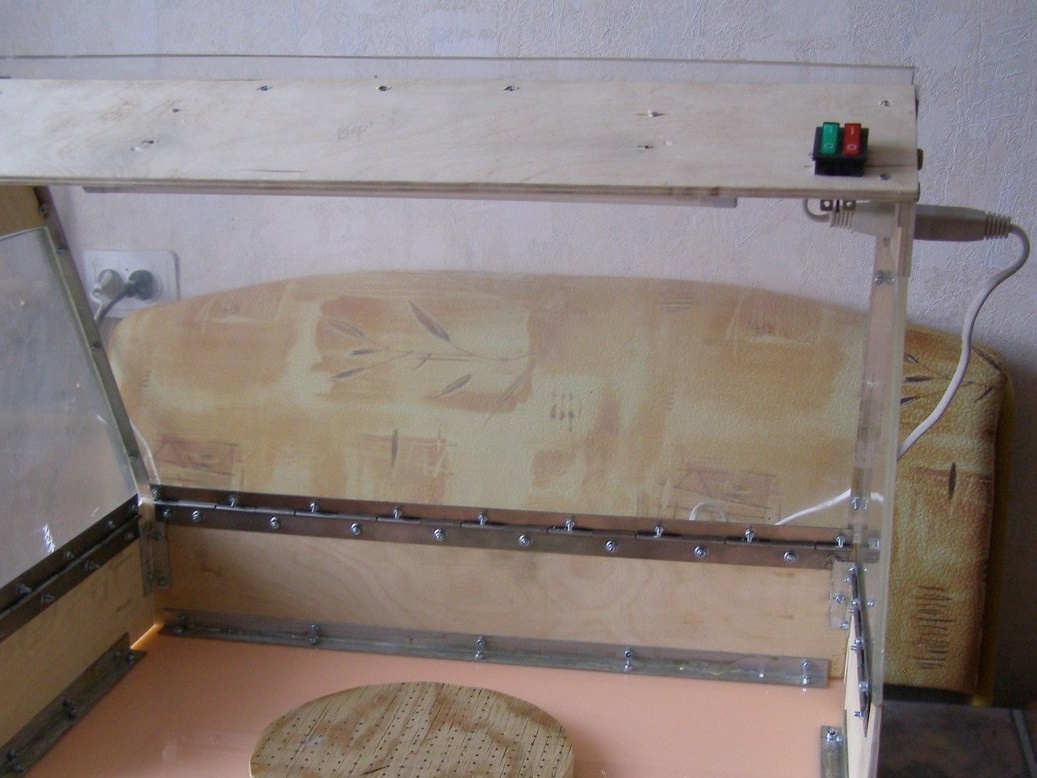
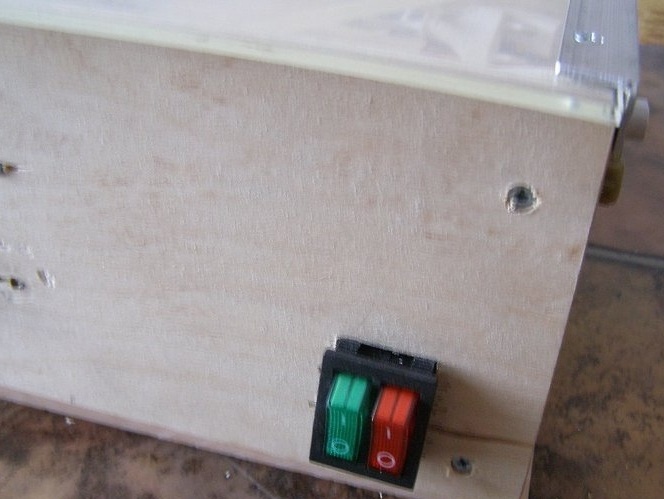
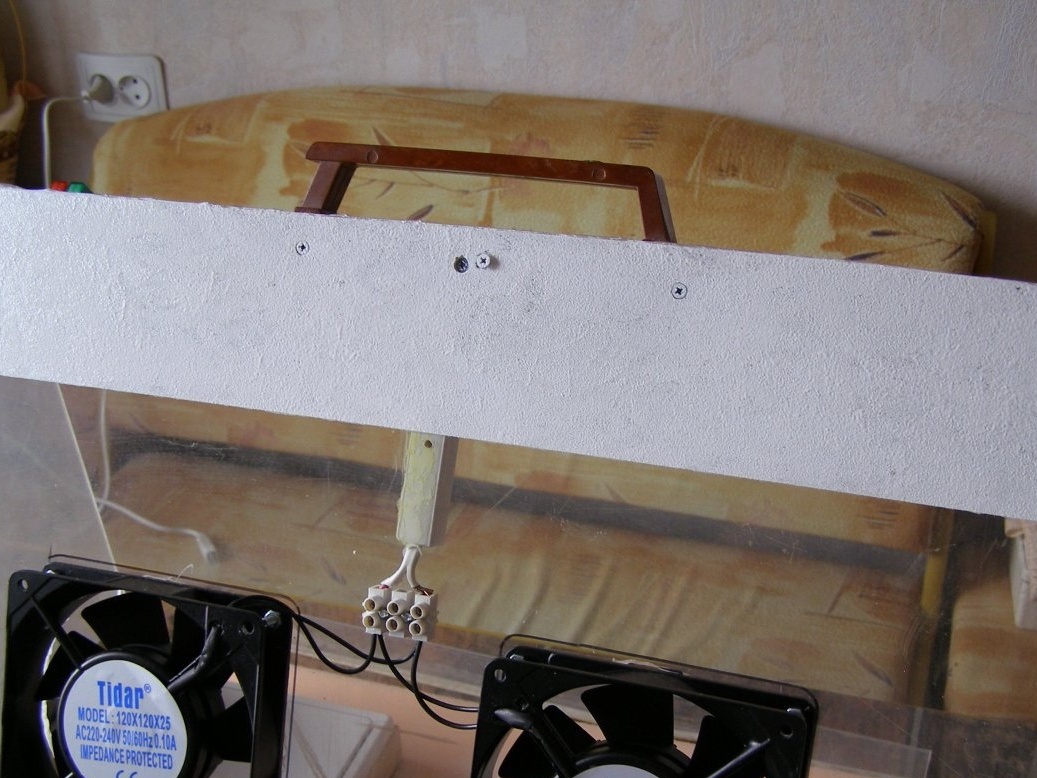
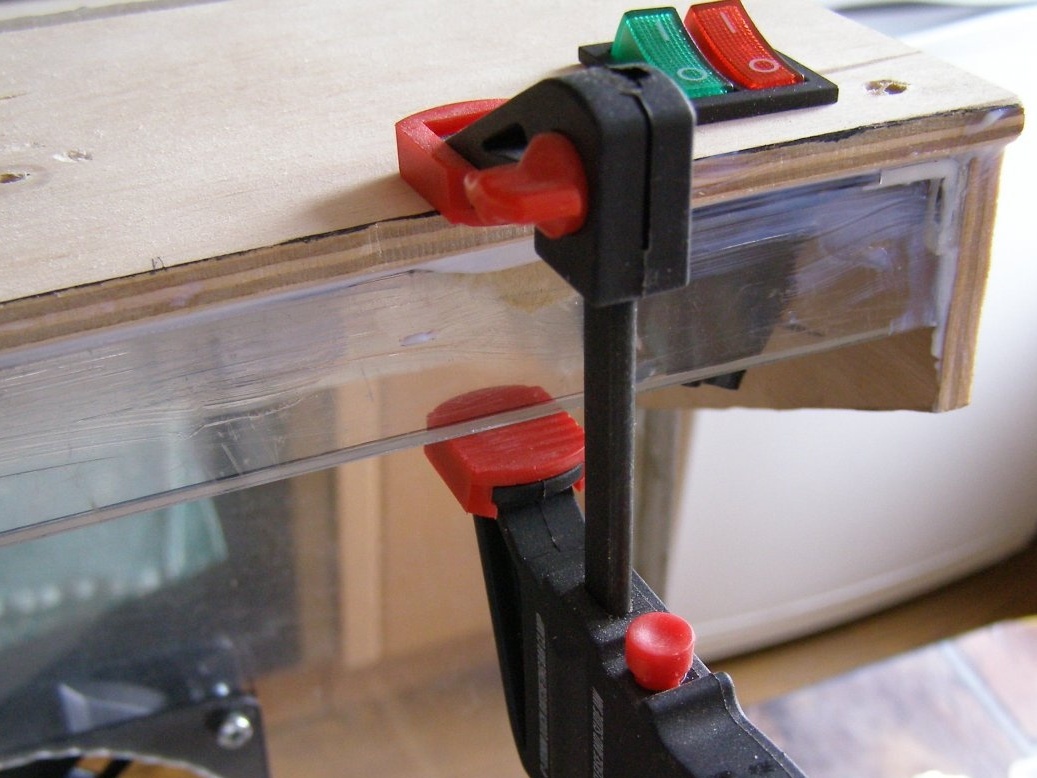
Next, a dual switch crashes into the front board under the right hand.
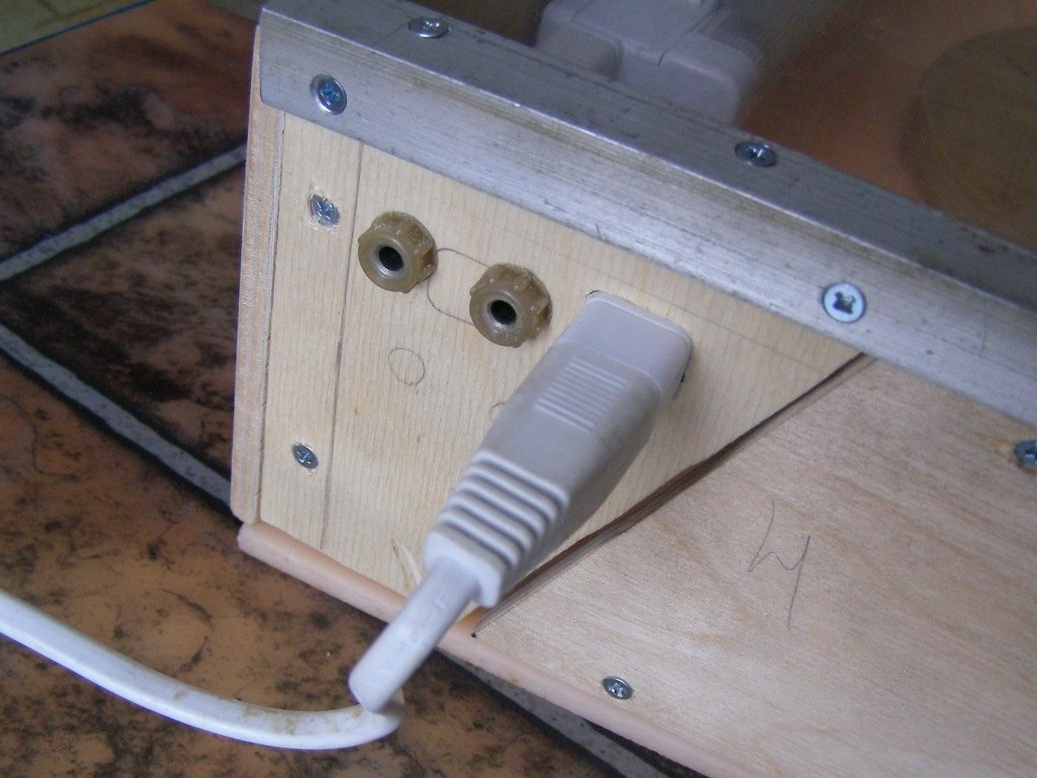
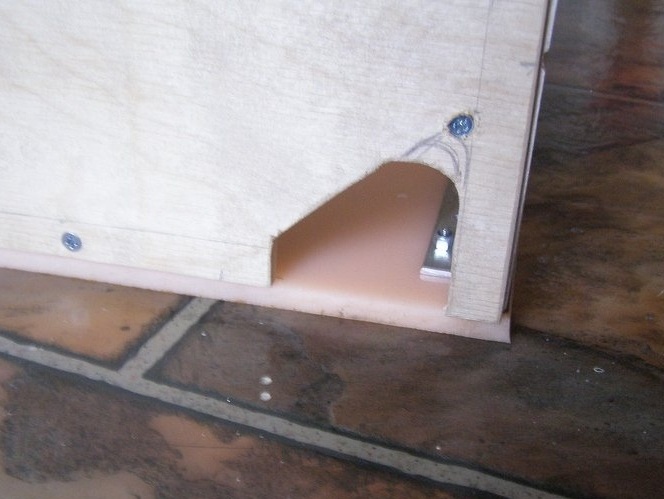
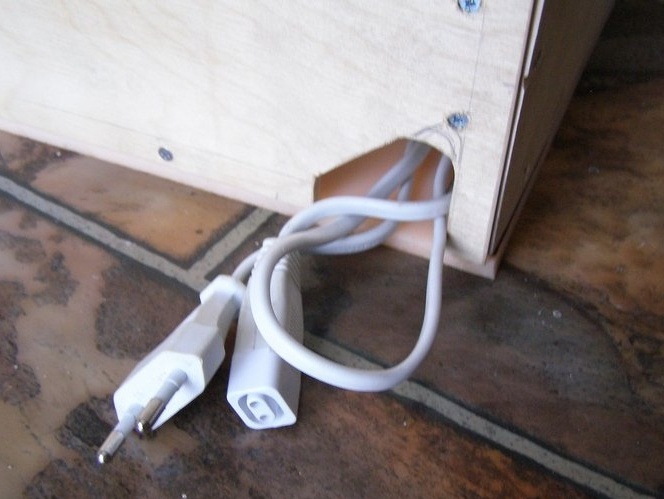
And, in the right oblique (small) sidewall, a connector for a plug for connecting a compressor and a connector for a cord are installed. In this case, I used the plug and cord from the fluorescent lamp. We put someone that is.
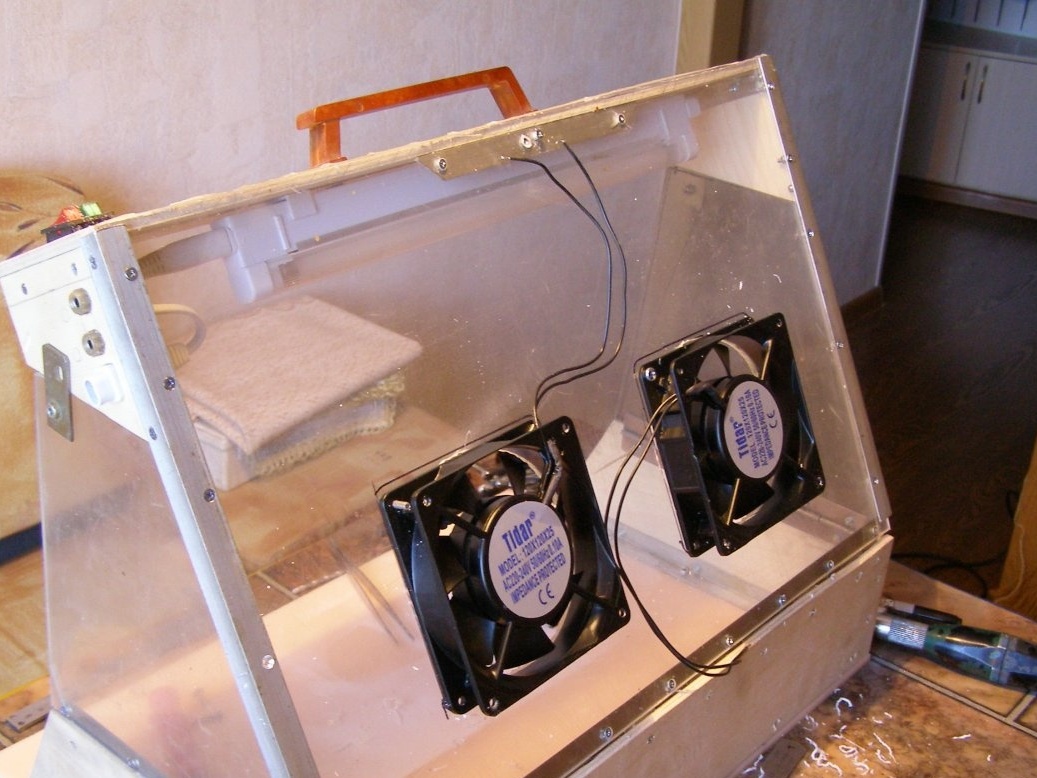
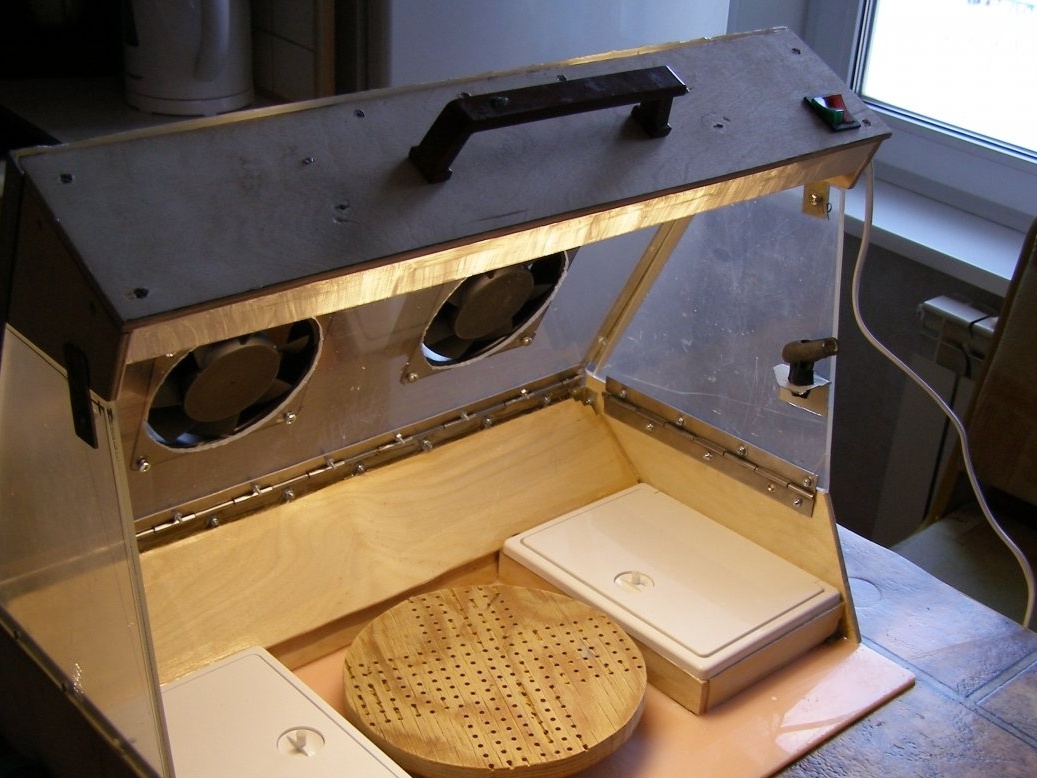
The case turned out to be of a decent volume and quite light.
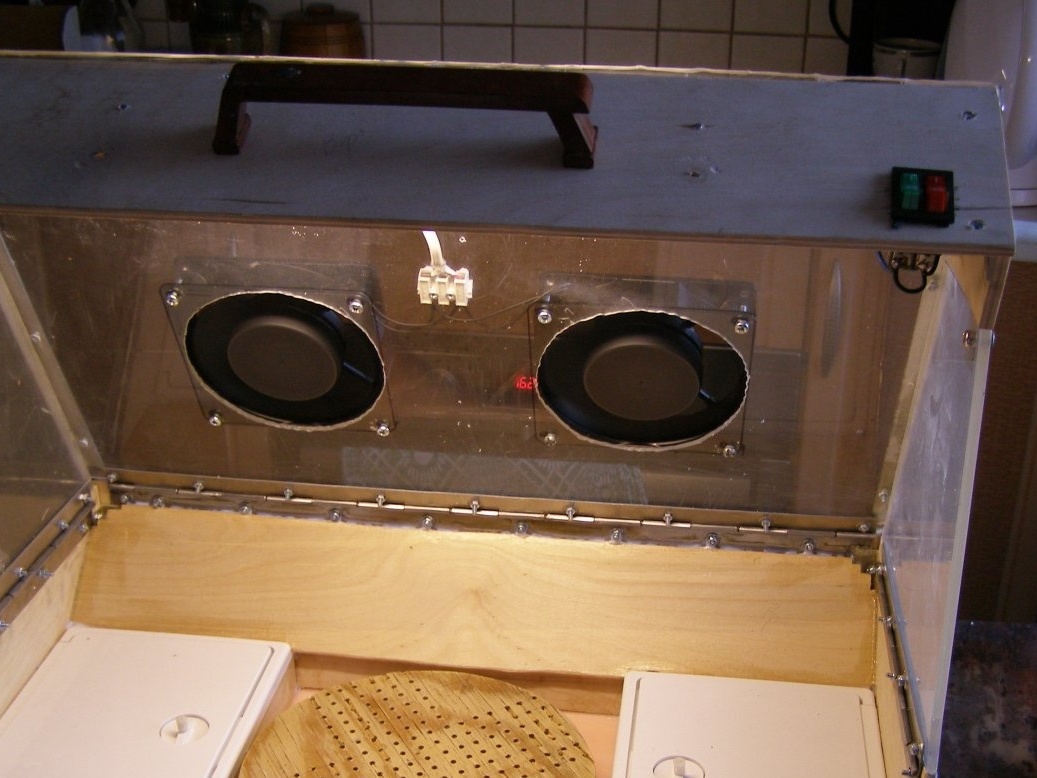
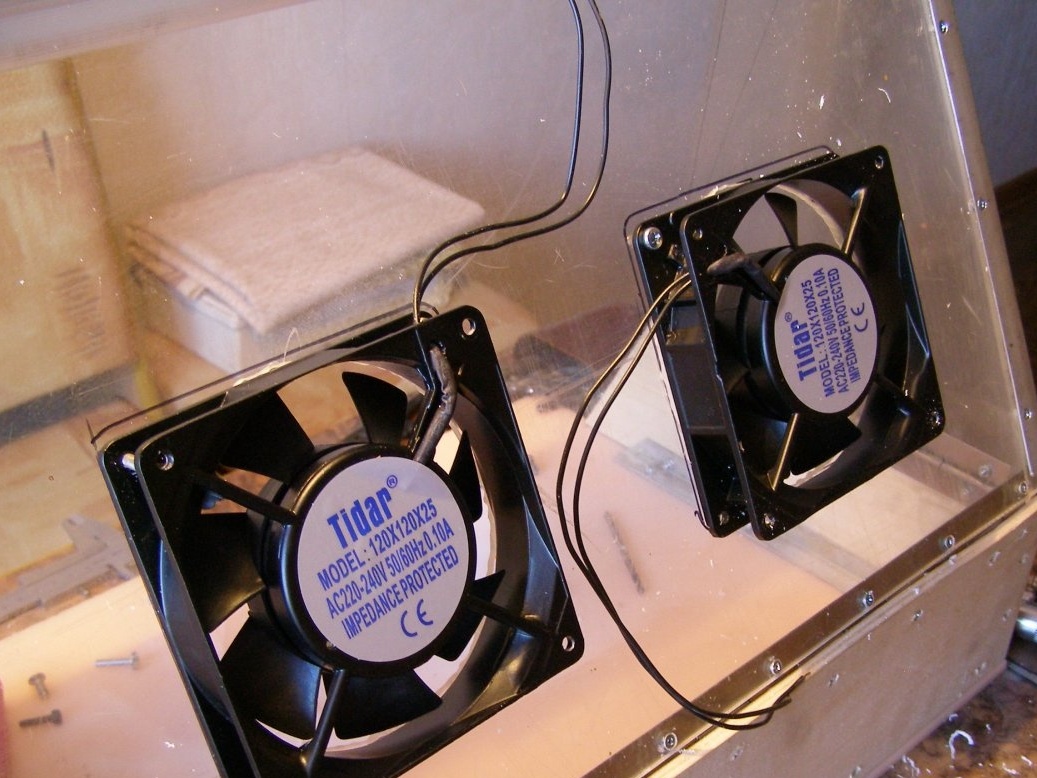
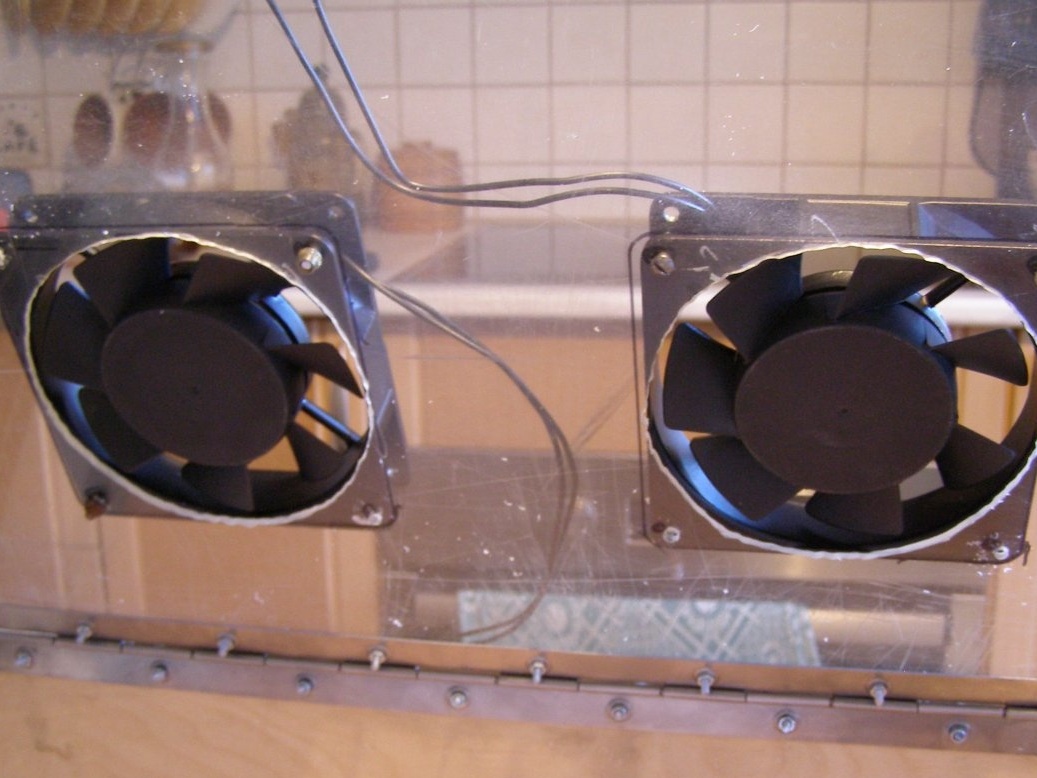
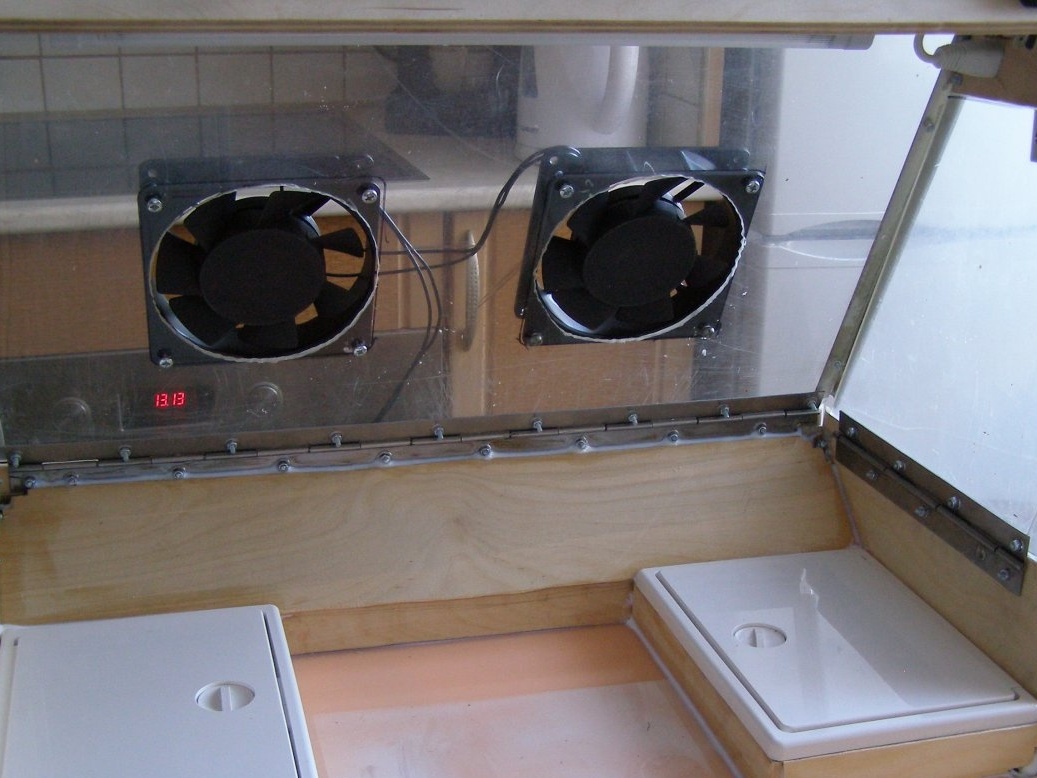
Step 2. Installing fans.
I picked up the fans so that they had a minimum height (thickness), Well, that’s understandable. And, just as naturally, the other characteristics would satisfy me, too. The choice fell on TUDOR fans. Bought them.
He made markings on the box lid and proceeded to cut holes for installing fans.


Step 3. Arrangement of boxing.
For the convenience of carrying the box on the front panel, I installed a handle.
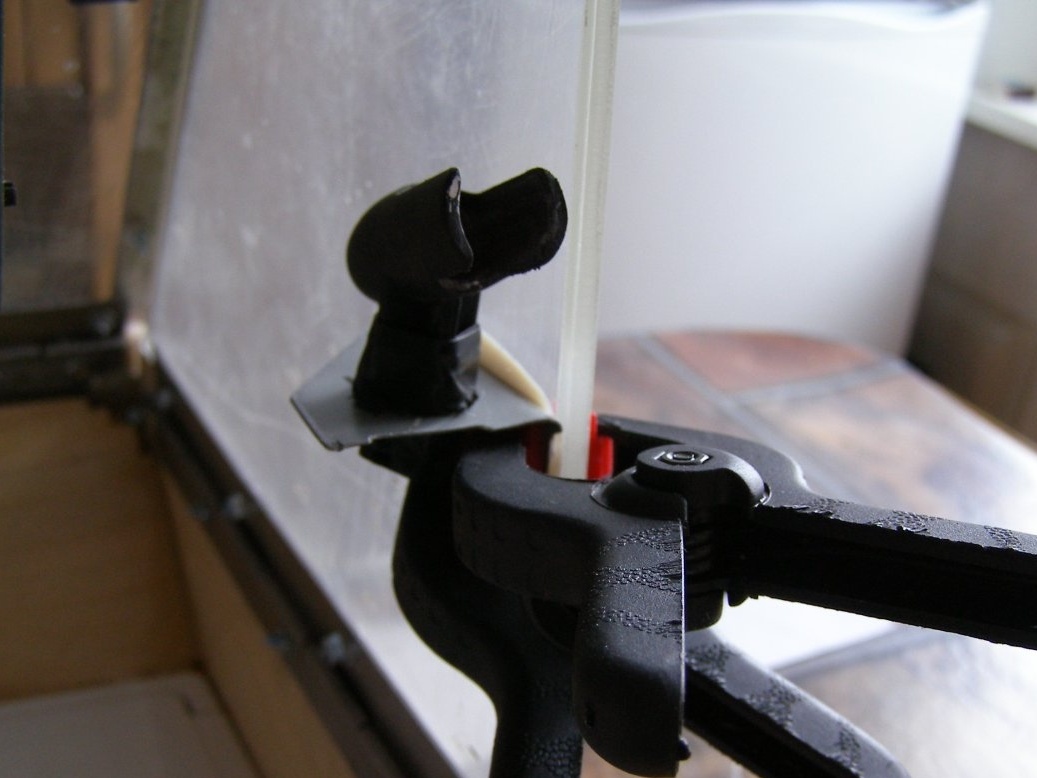
On the lateral trapezoidal walls, I installed stops to hold them upright.
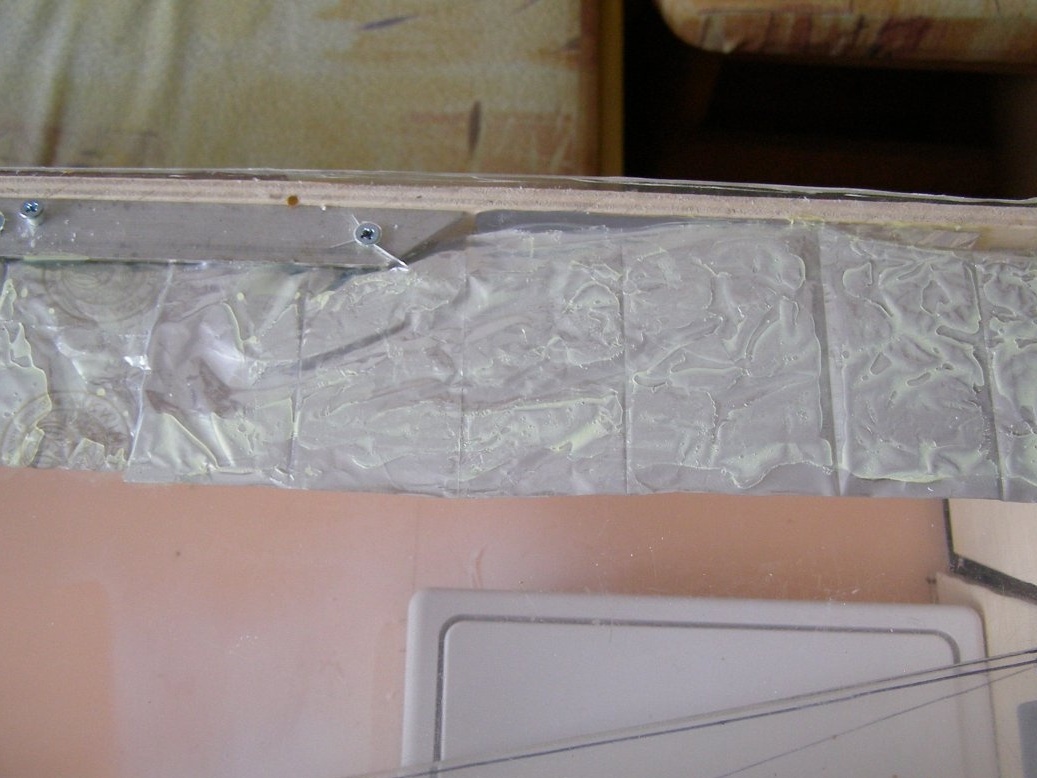
To the back wall of the box, installed a reflective box.
It carries a dual purpose. The first beats the spray painting up to the exhaust filters. The second is the enclosure of the partition for storing the boxing electric cord.
Close to the plywood side walls of the box and the reflective box, I installed sanitary inspection hatches on the left and right, making small bases to increase the volume.
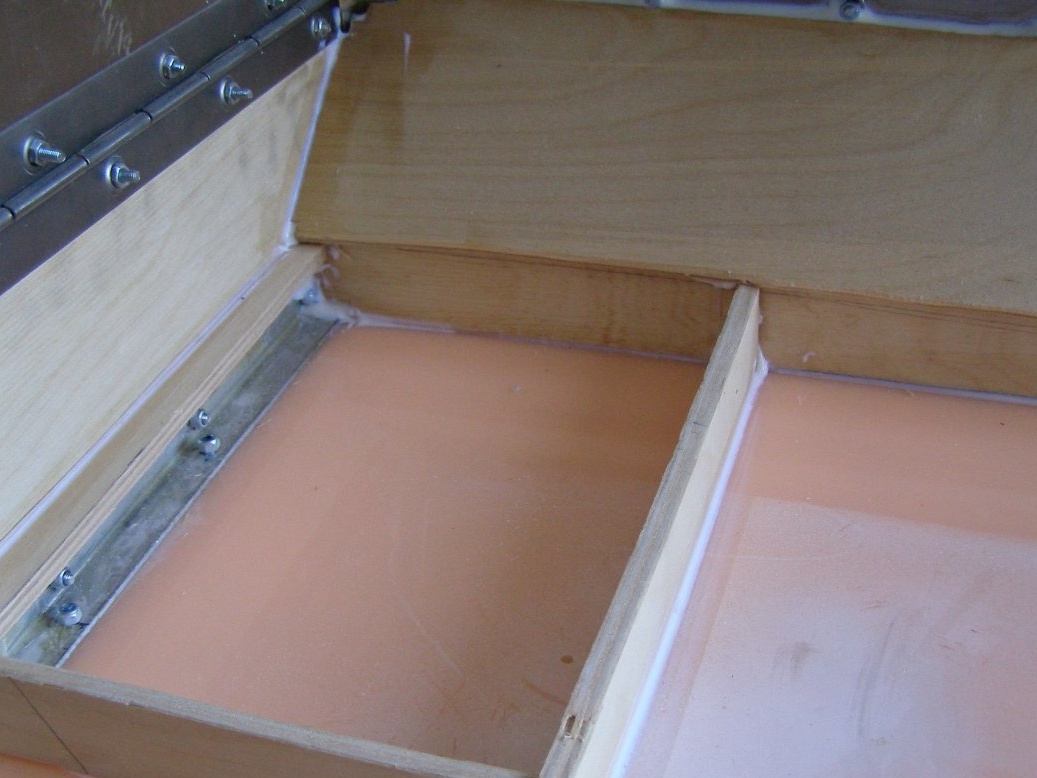
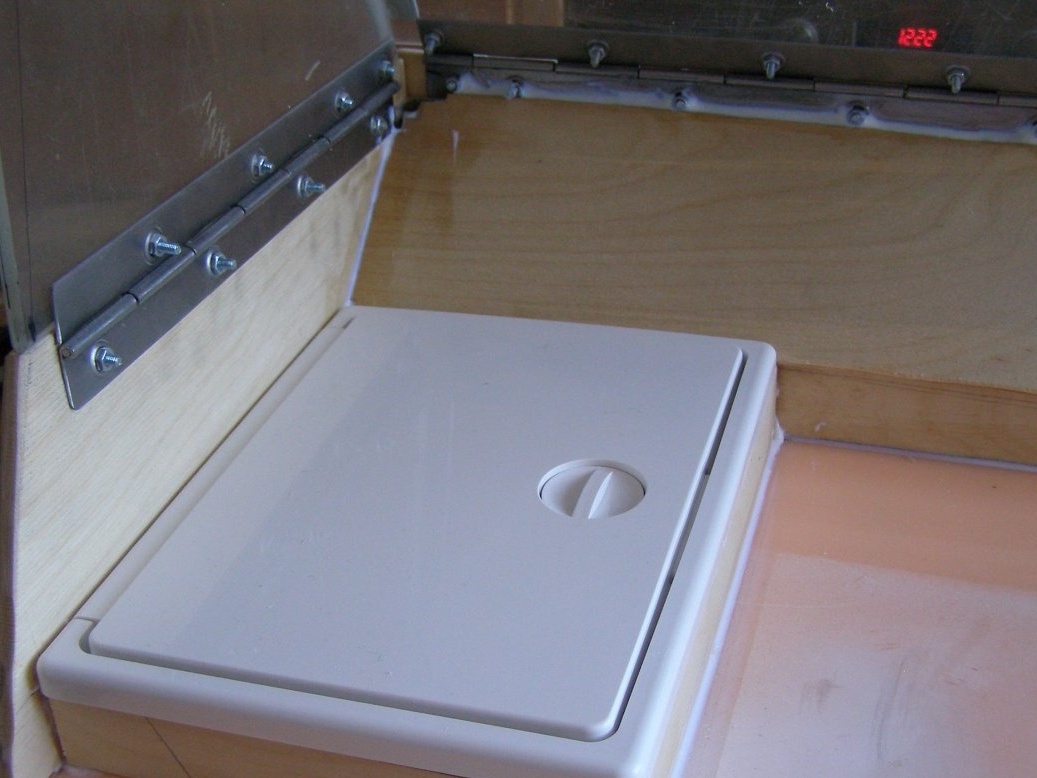
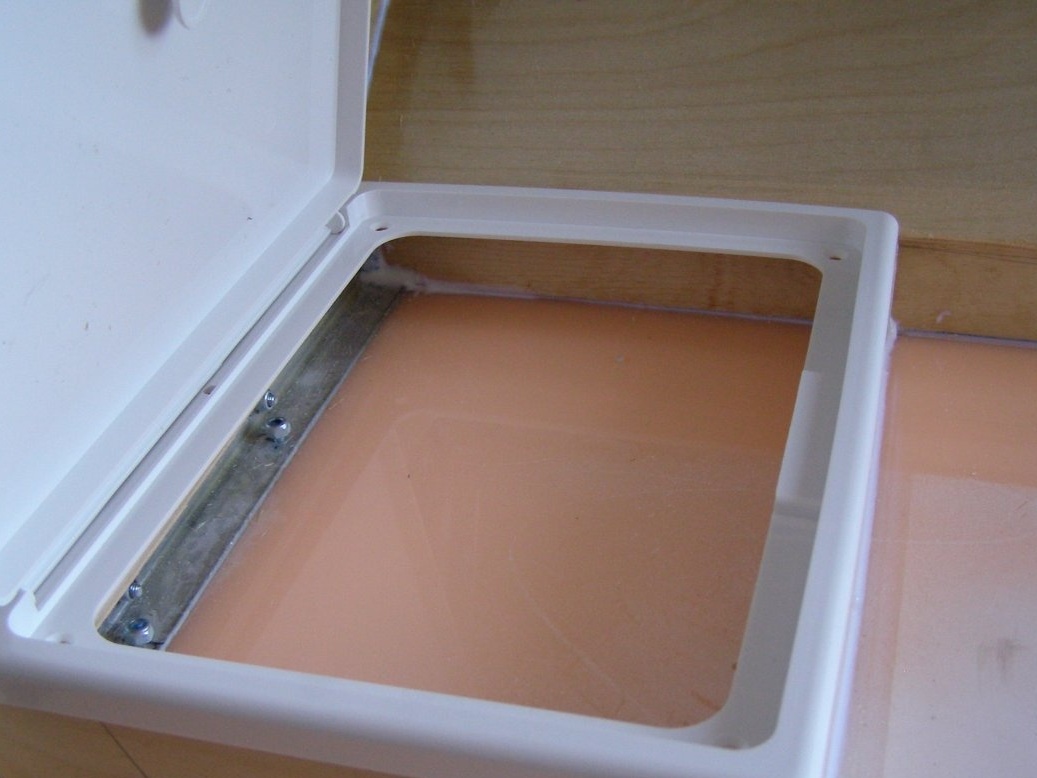
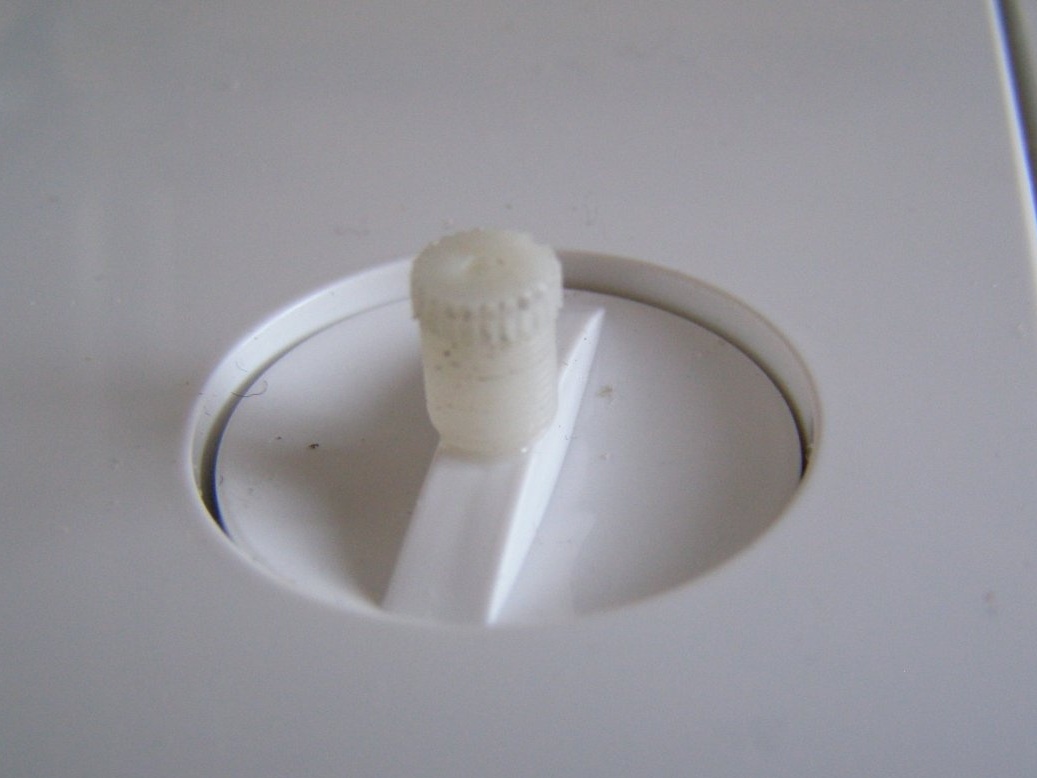
For the convenience of lifting the manhole covers, I glued small bosses taken from used old gas lighters to their gate valves.
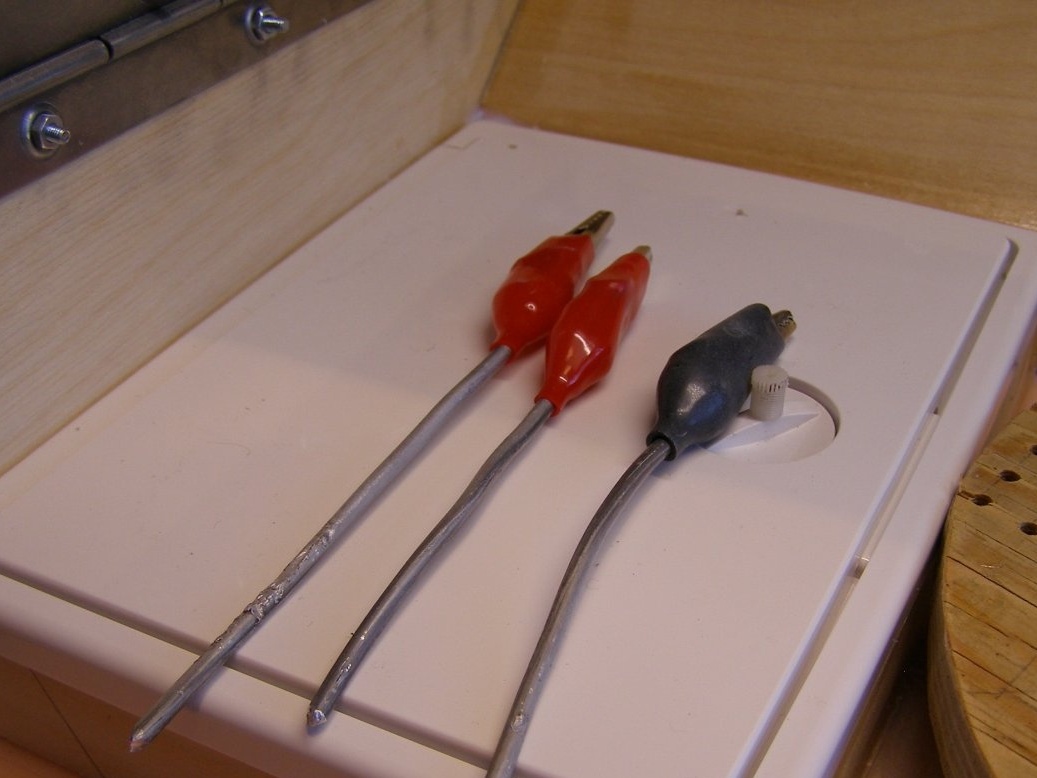
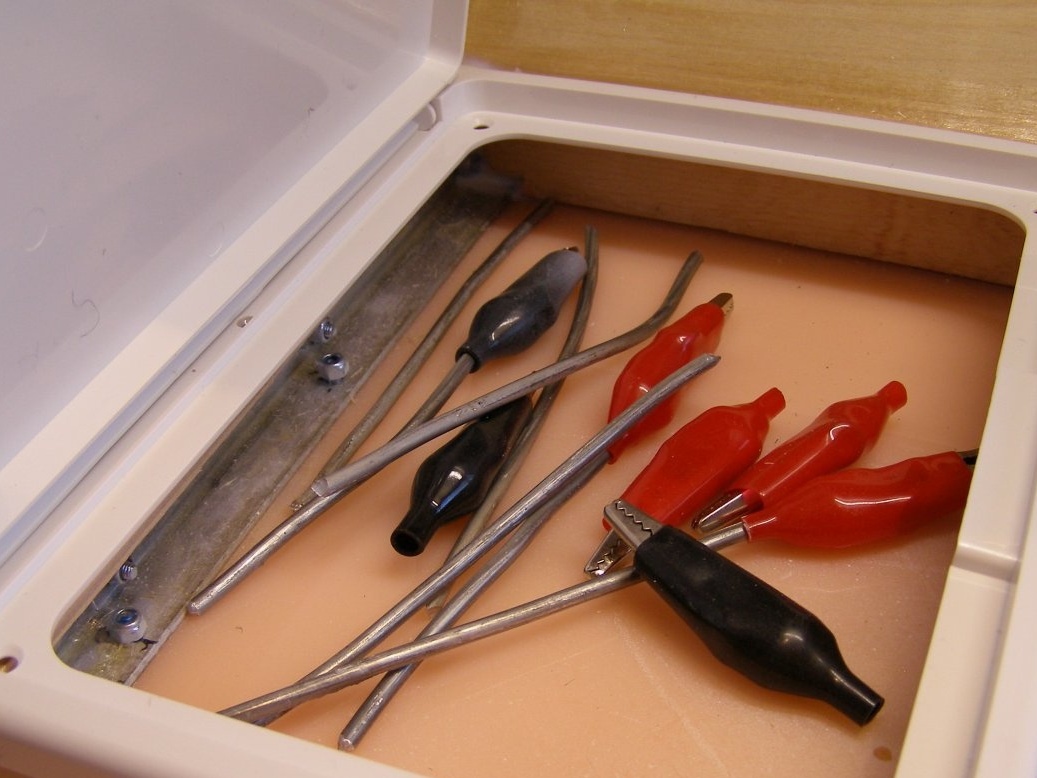
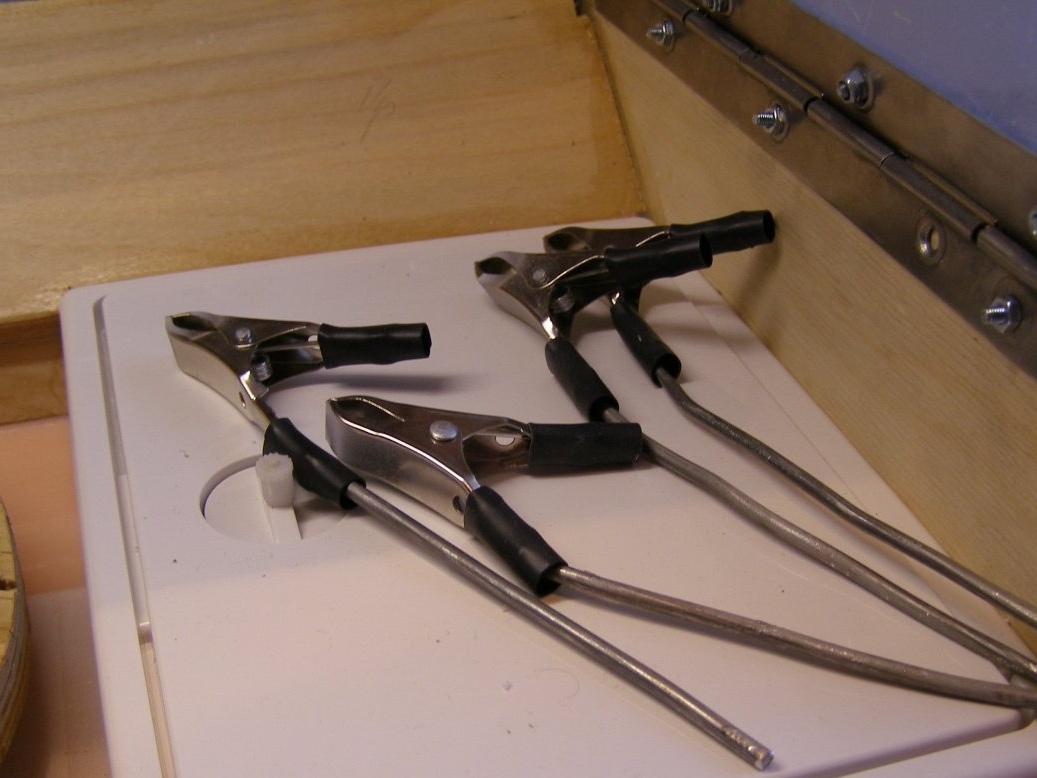
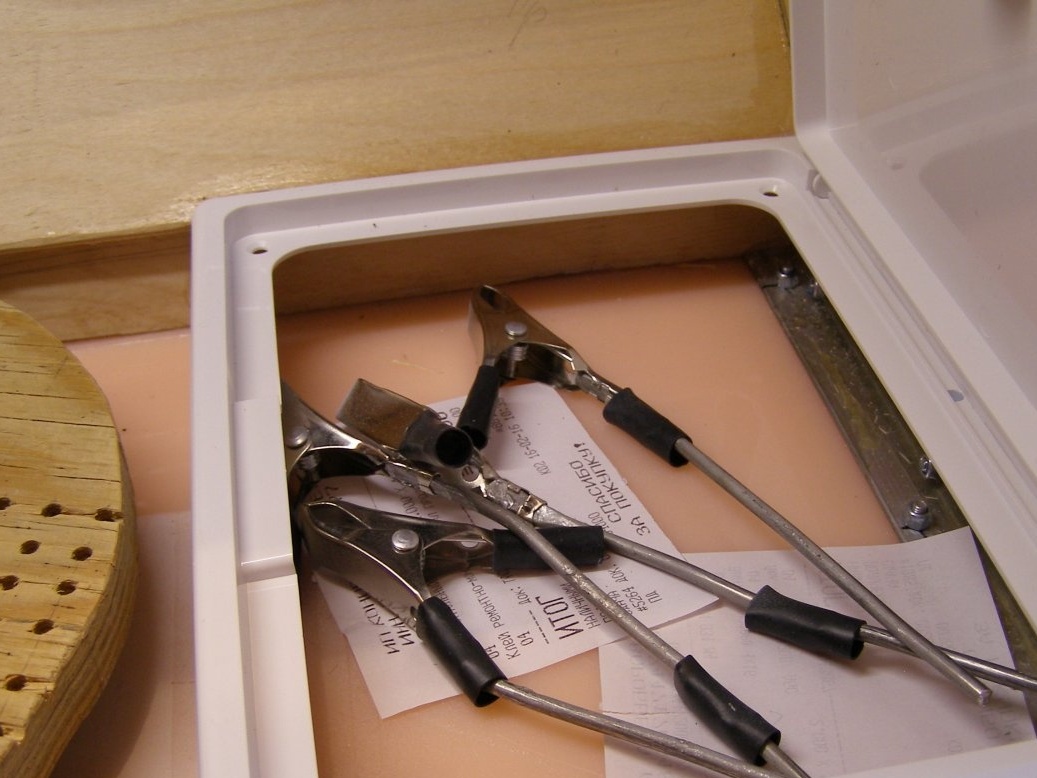
These hatches are intended for storage of holders of parts during their painting.
Holders with teeth are stored on the left, without teeth with flat jaws on the right. They (holders) are made of so-called "crocodiles." Which are fixed on an aluminum wire, allowing them to bend in the desired position. Holders are mounted on a turntable. The design, which I will give below.
Further, I cut the box lid for under the face with the front panel, since it protruded much. On the inner side of the front surface where the fluorescent lamp is installed, the free areas were pasted over with silver foil for better reflection of light. He installed wire ducts and wired and connected the fans to the switch. One switch works to turn on the light, the second to turn on the fans. On the box cover at the top, against the lamp, he painted.


On the front side, from the bottom I made a paste of a strip of plexiglass. It is possible from plywood. It is designed to concentrate the light of the lamp on the painting table, and also, so that the light does not hit the eyes.
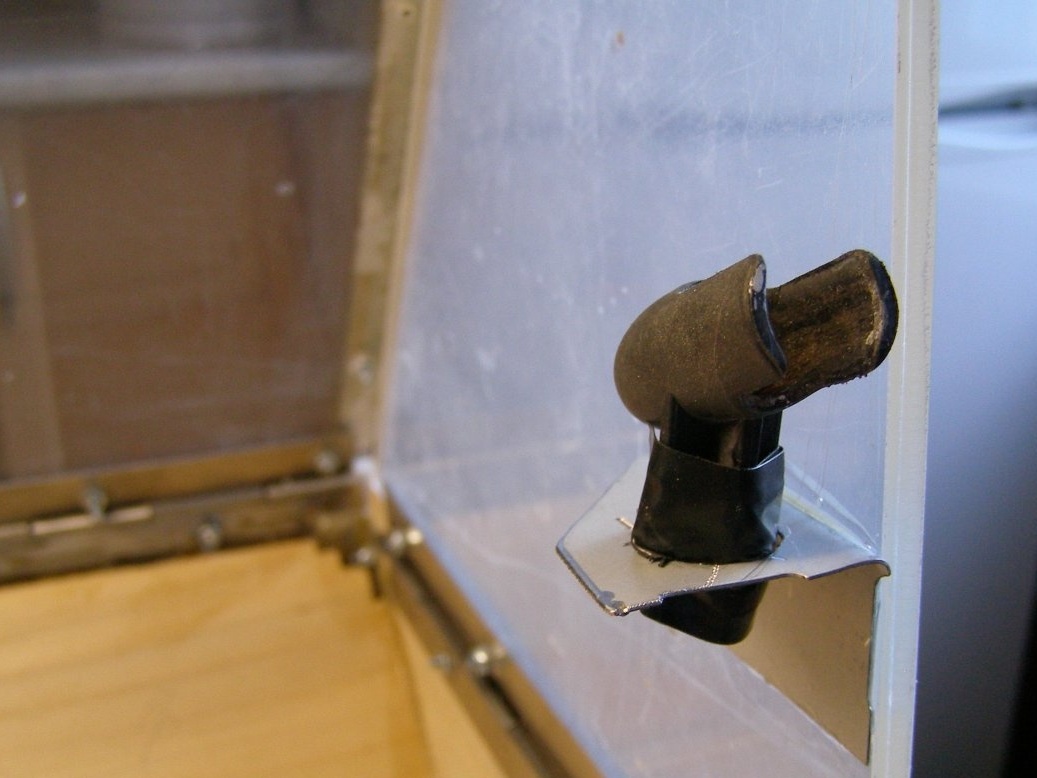
On the right trapezoidal wall mounted a holder for the airbrush.
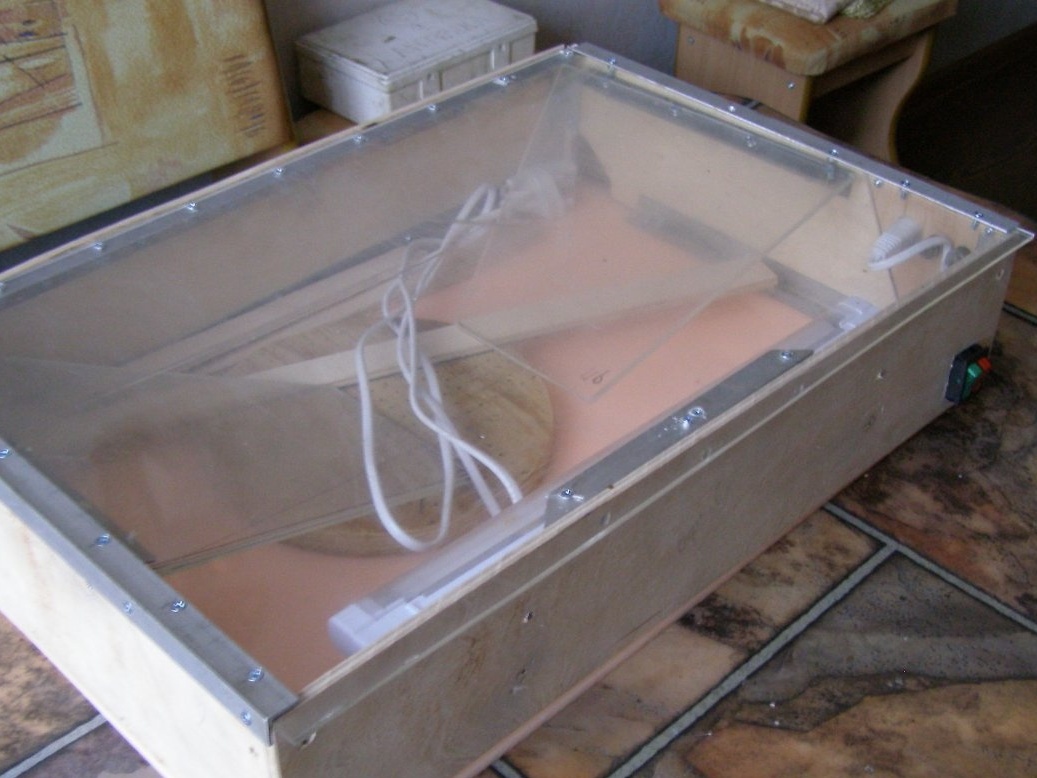
This is how the paint box looks after finishing work on it.
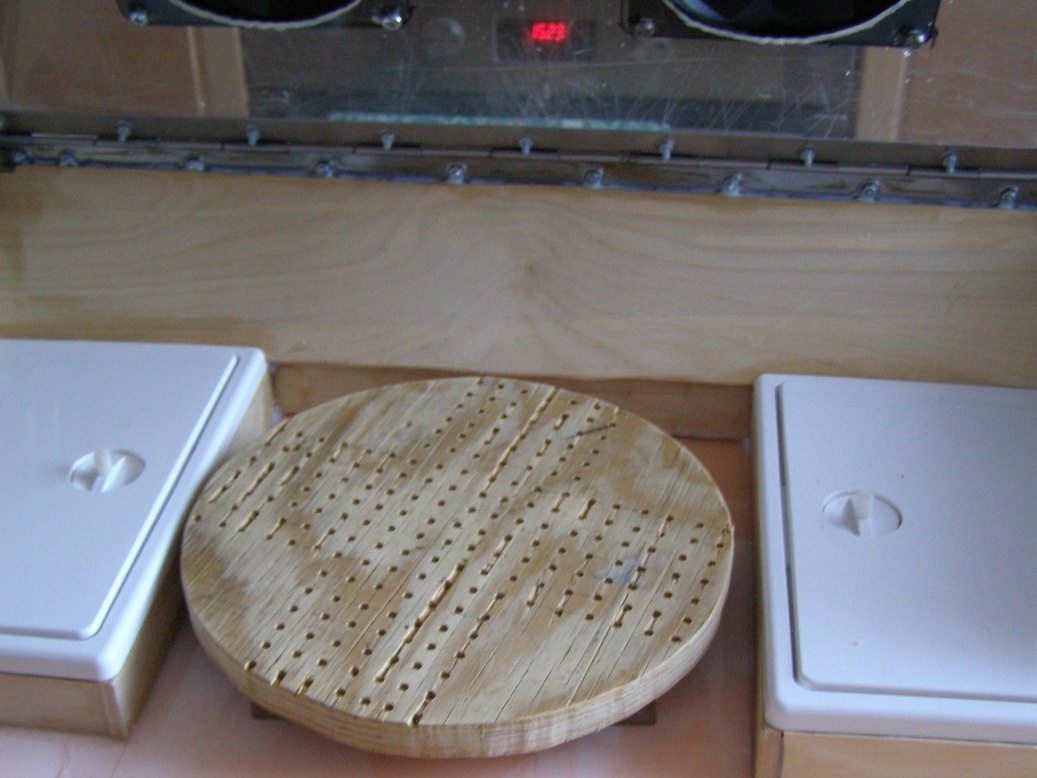
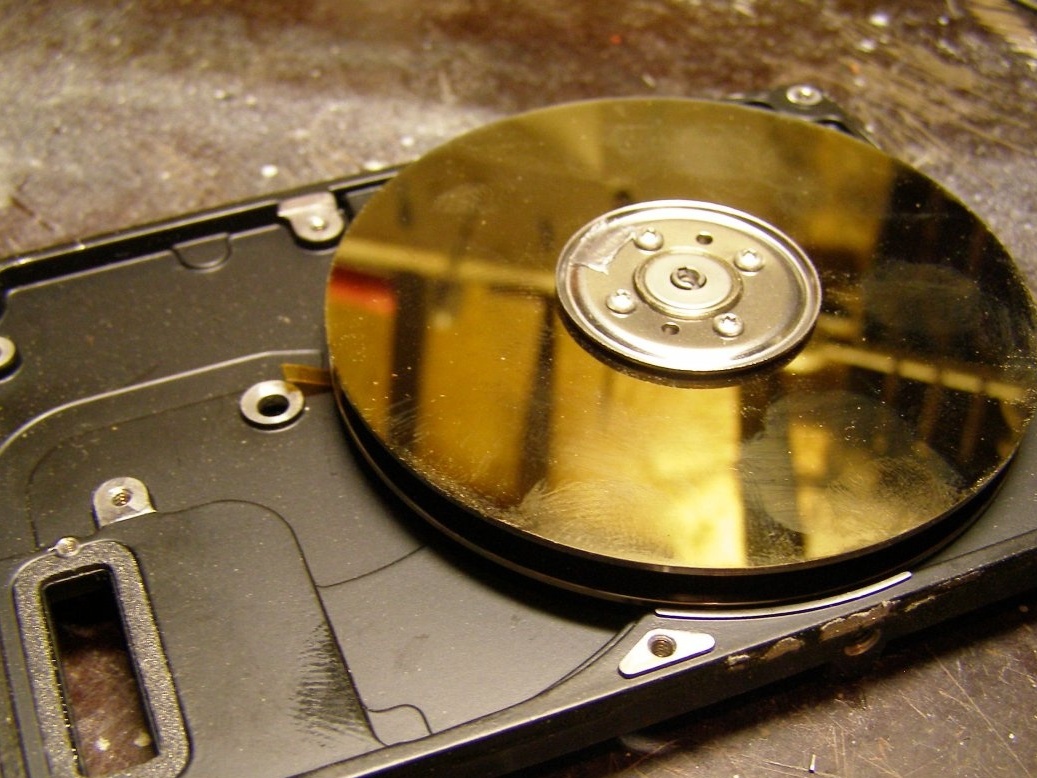
Step 4. The turntable.
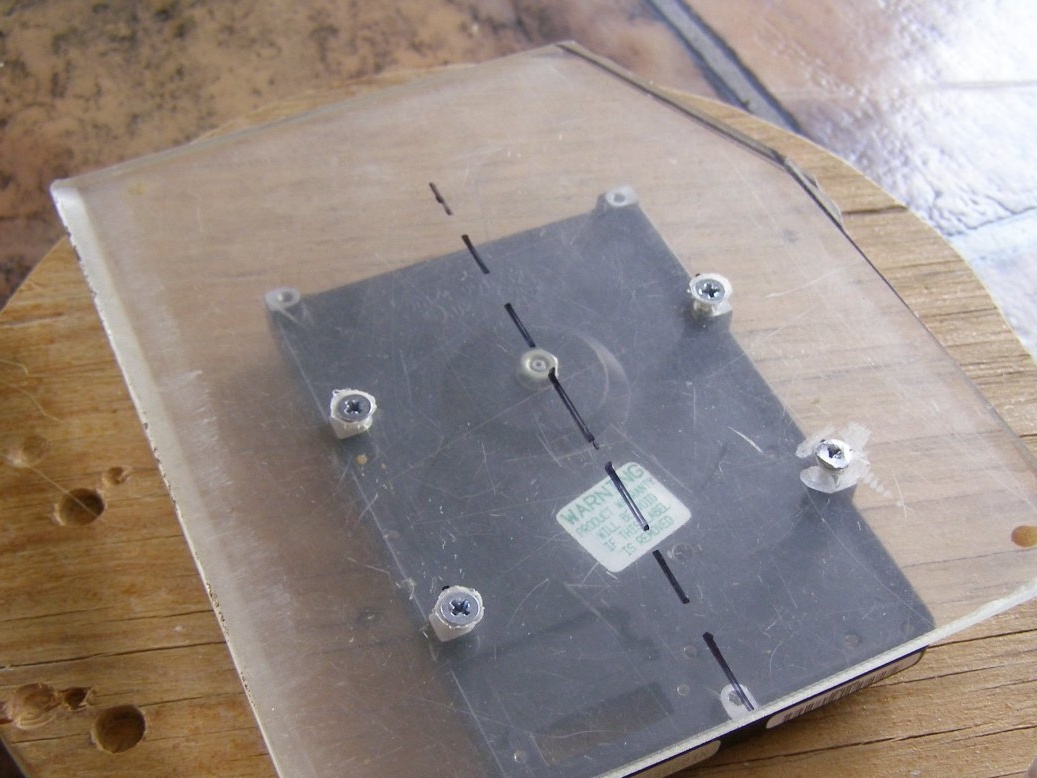
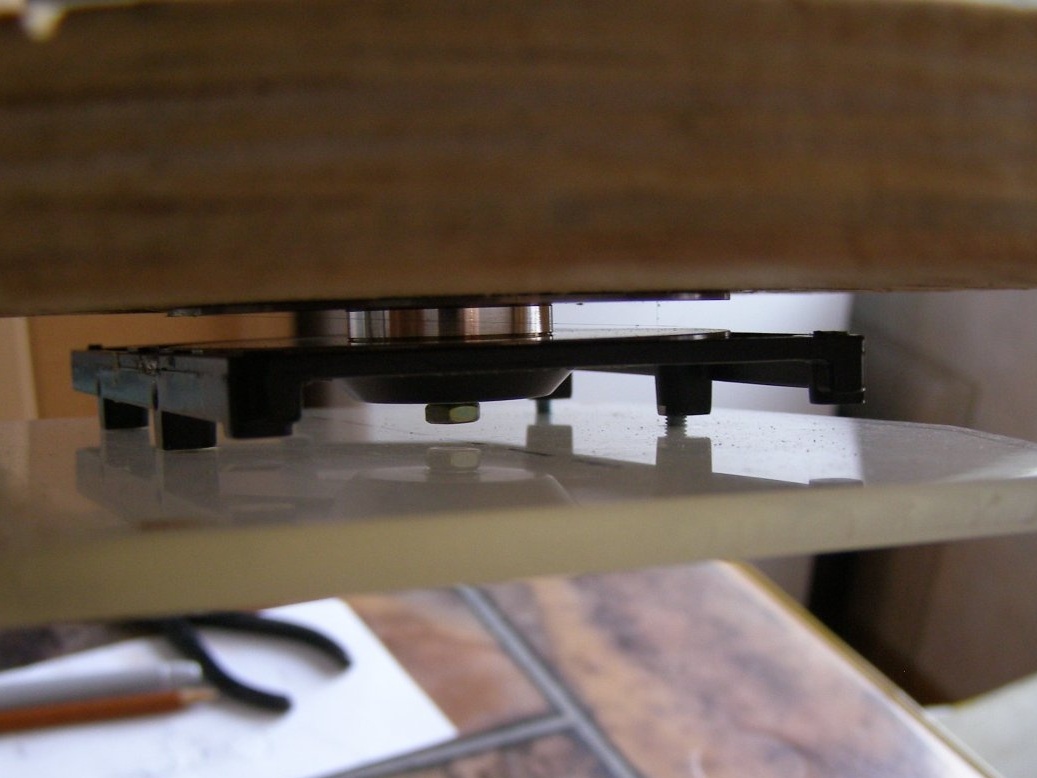
I found the construction description on the Internet and decided to try to do it. Fortunately, an old hard drive was available.
I disassembled the hard drive and took out a hard drive.
On thick plywood, I made holes for holders and cut a round tabletop.
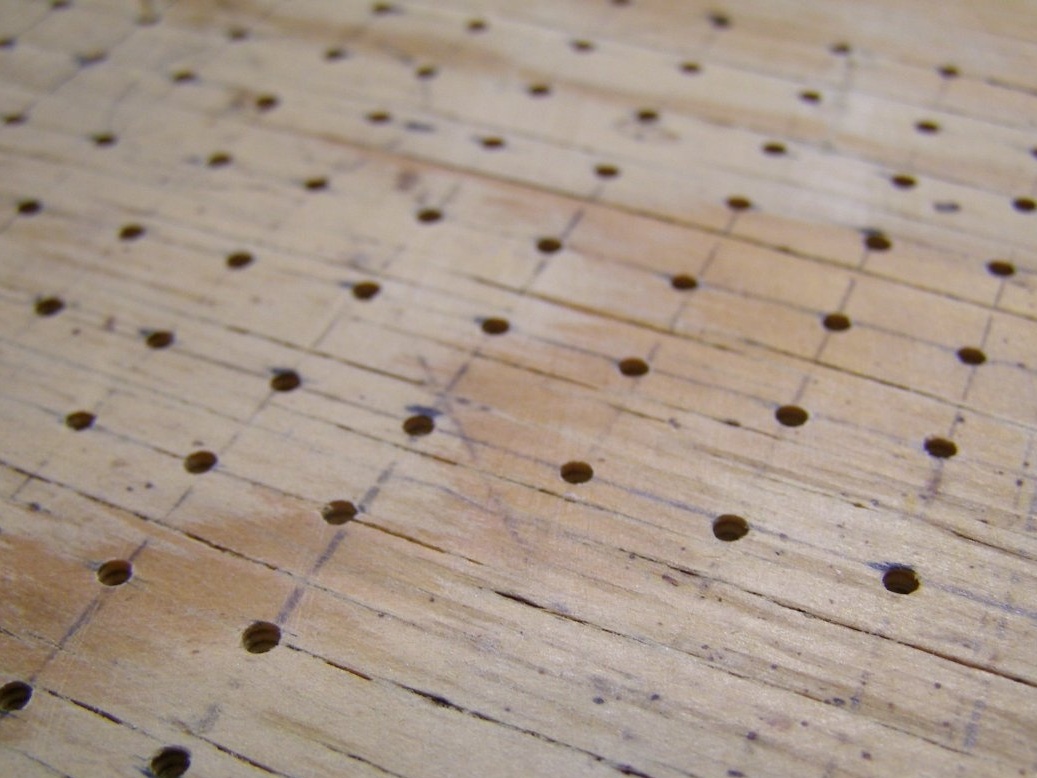
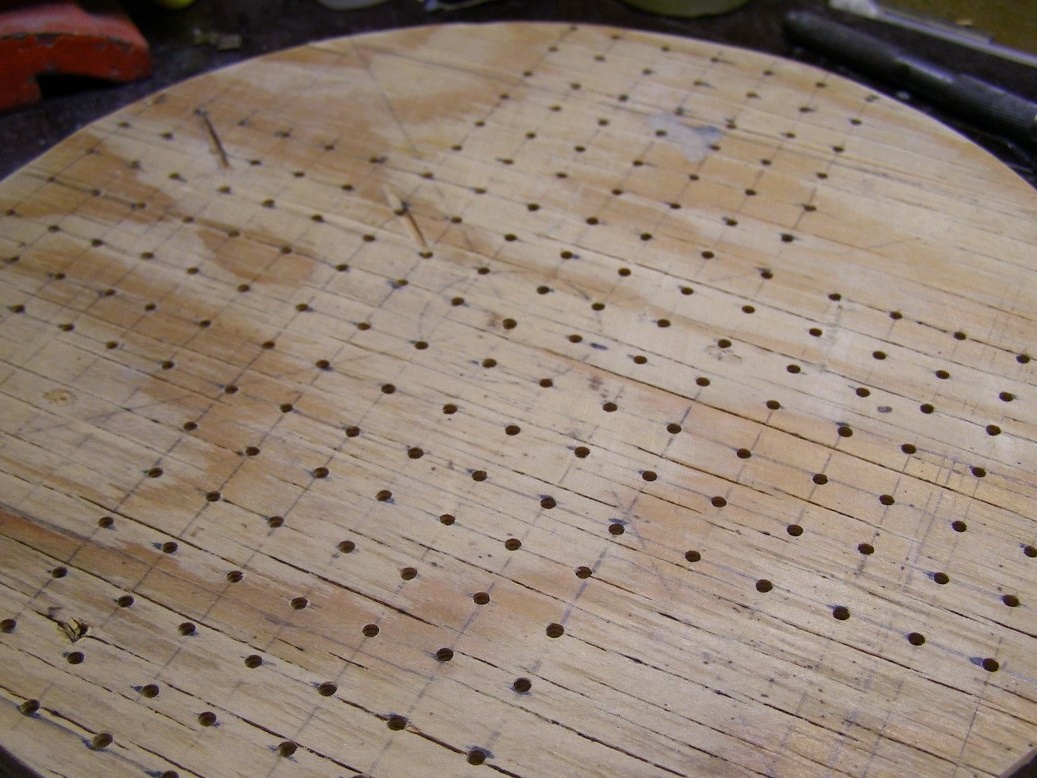
I cut a round recess from the bottom of the countertop, since the hard drive mount did not allow it to sit tightly on the disk.
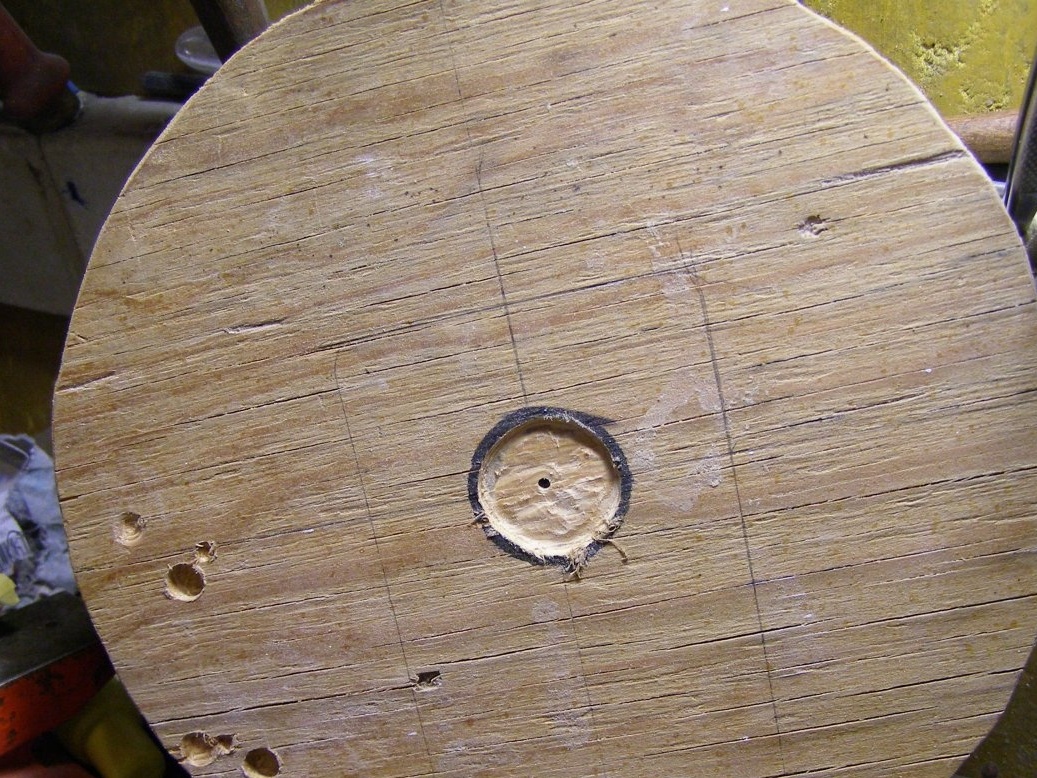
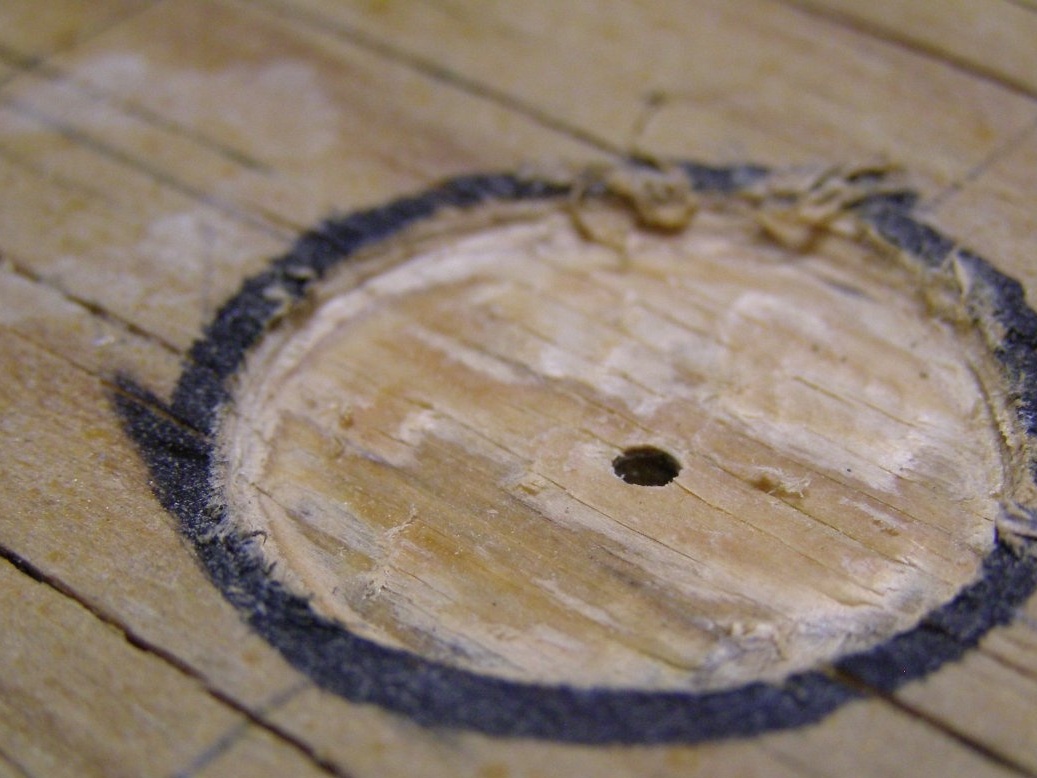
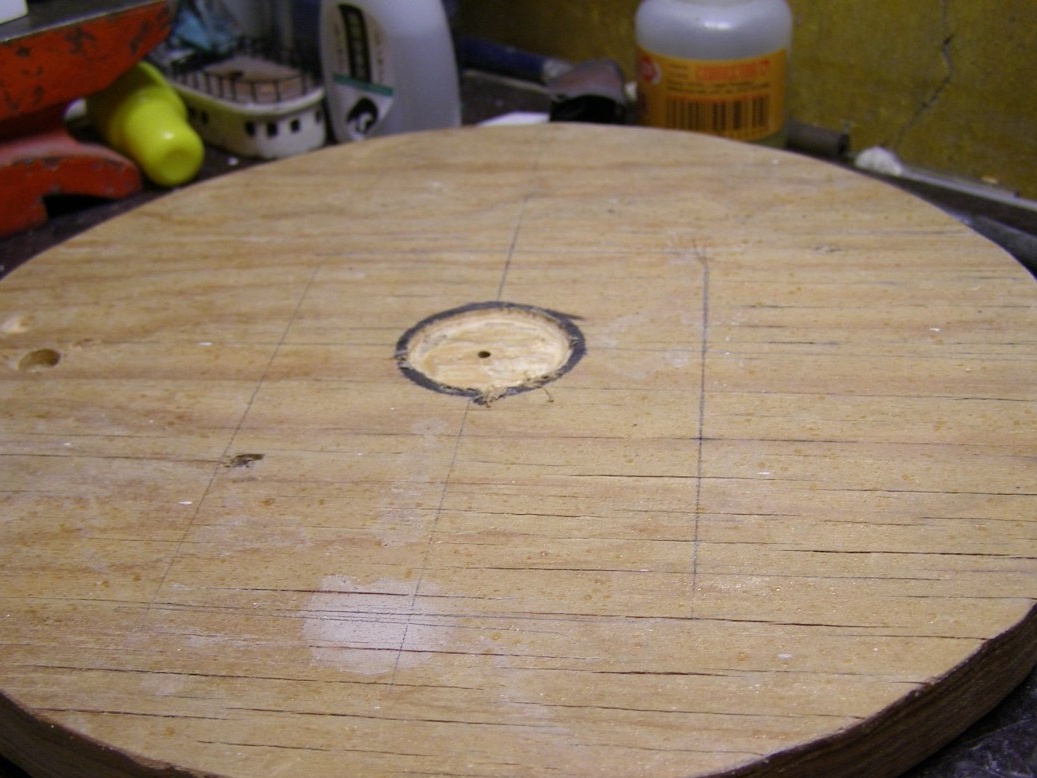
The tabletop is attached to the hard drive disk for glue.
Bottom to the base of the disk, screwed the base from plexiglass, for a stable position of the rotating table
Well, here is the paint side and ready. The very first painting of models and details showed my correct conclusions and decisions on its creation.
For example, it was freely painted on the hull of the cruiser "Varangian" in scale
M 1: 200, 630 mm long, not to mention other details.
Well, you can improve and upgrade ad infinitum.
I hope the description was useful to someone.
Watch, criticize, advise.
Regards, Starp.