Interesting case for Raspberry style steampunk made by Master. The Mini PC wizard uses it as a game console, but everyone can use the idea for their own purposes. For example, make a multimedia center. According to the master, everyone can do such things, the main thing is to simply want to.
Let's watch a short video with an example of the device.
The master published this article not as a step-by-step guide to action, but as a way to show some ideas in the steampunk style.
So, for the manufacture of such a device, the following
Tools and materials:
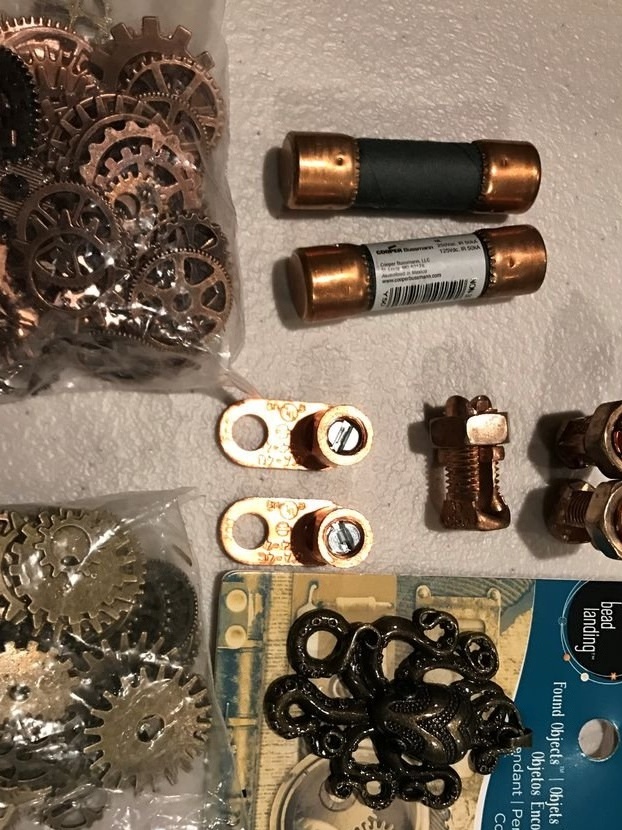
-Gears;
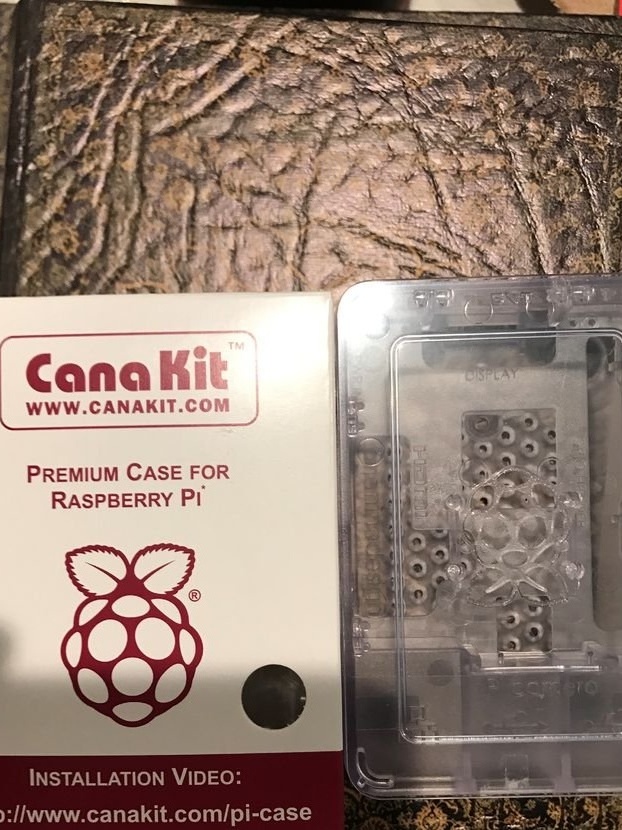
-Raspberry Pi;
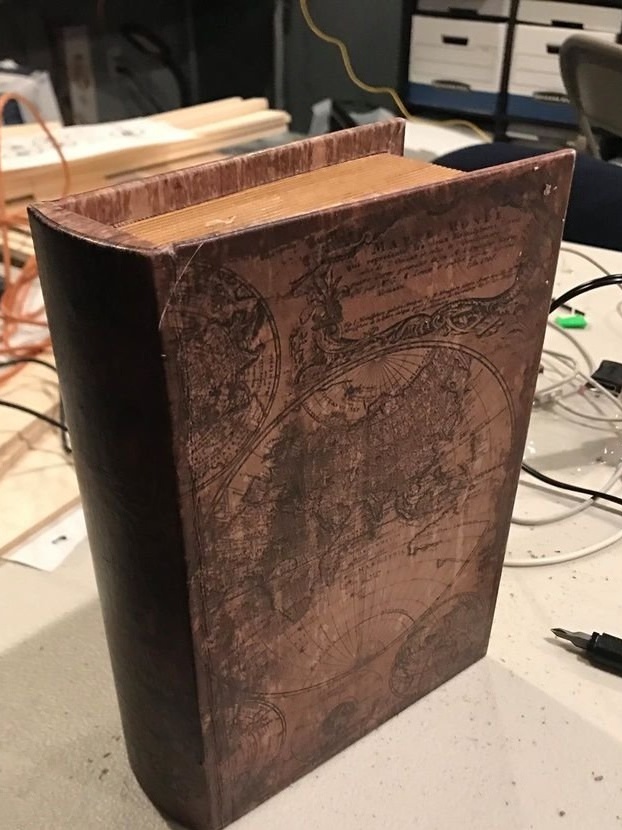
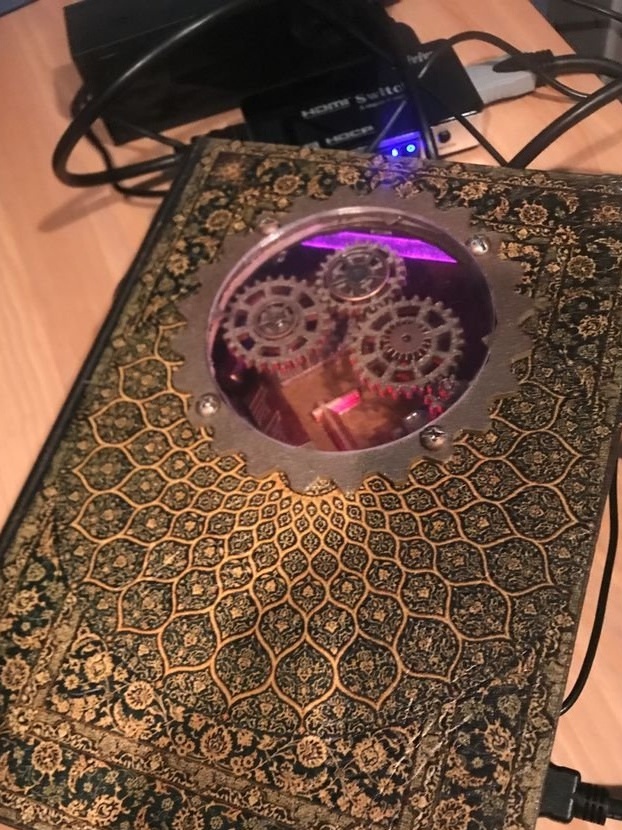
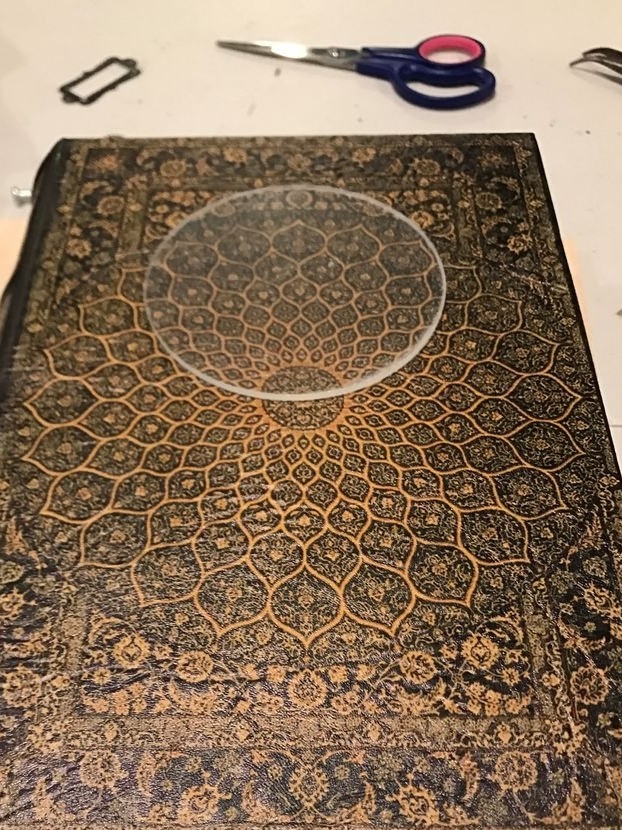
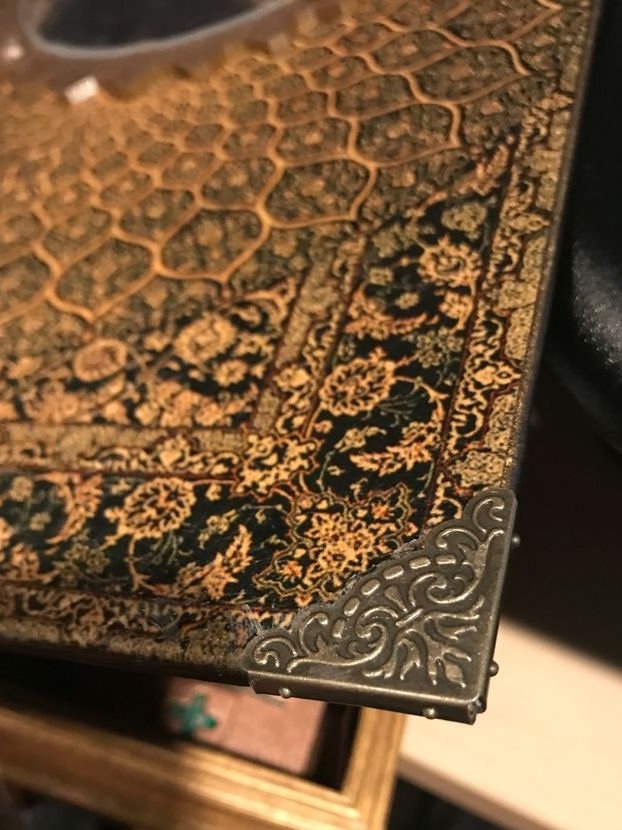
-Box in the shape of a book;
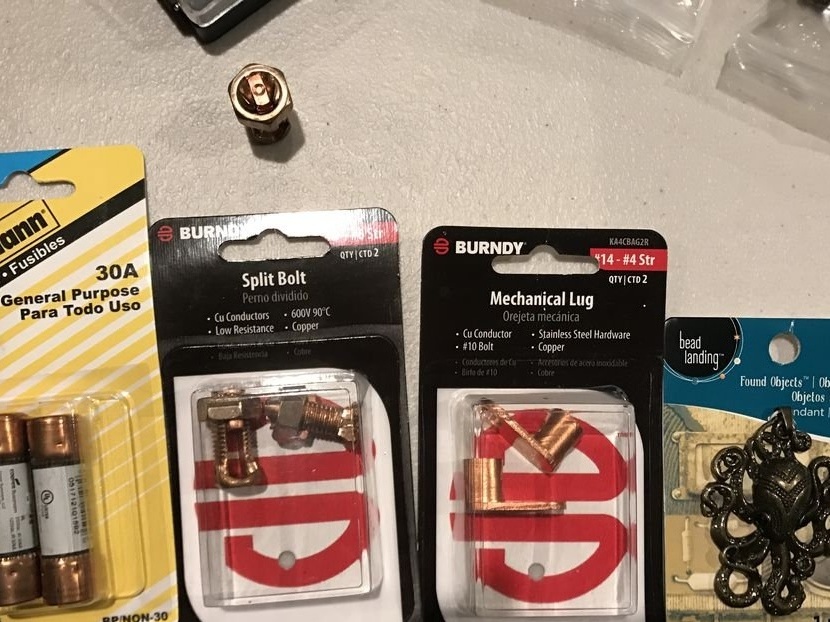
-Various items for decoration;
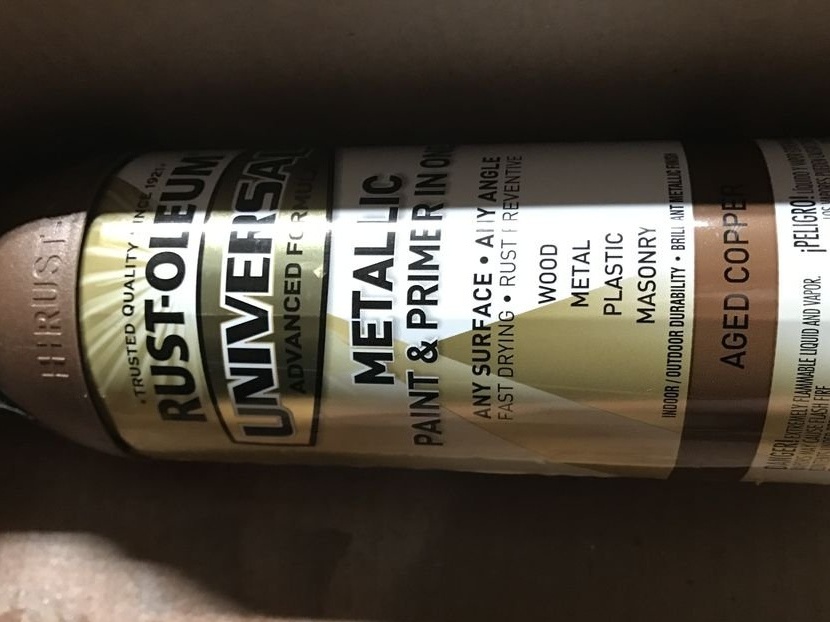
-Aerosol paint;
-Copper tape;
-3D printer;
-Wire;
-Transparent plastic tube;
-Address LEDs;
-Arduino;
-Servo;
-Plexiglass;
-Fasteners;
-Glue gun;
-Super glue;
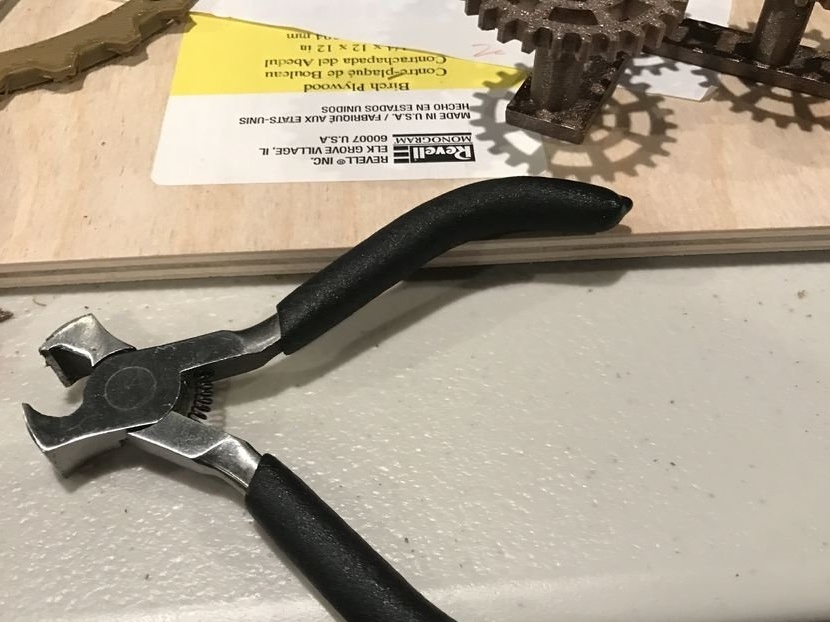
- Jigsaw;

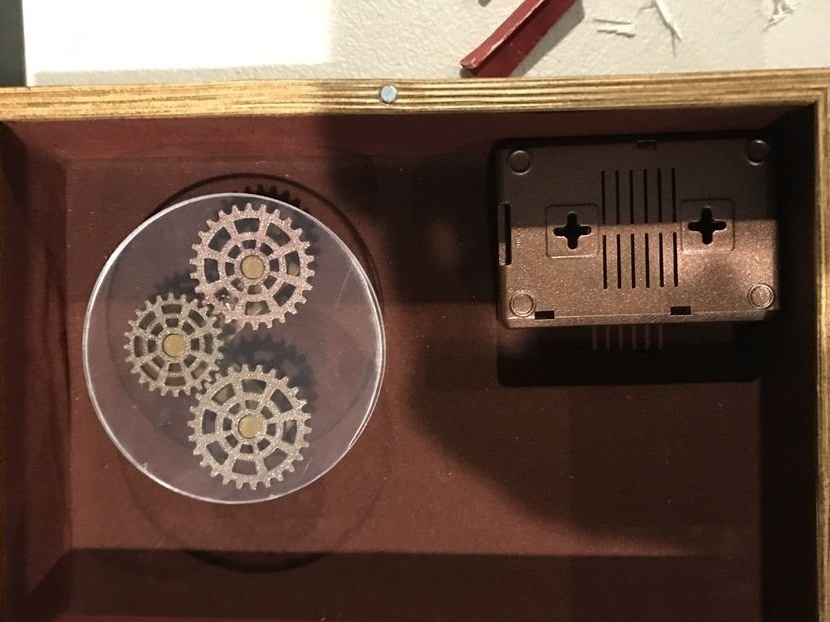
Step One: Markup
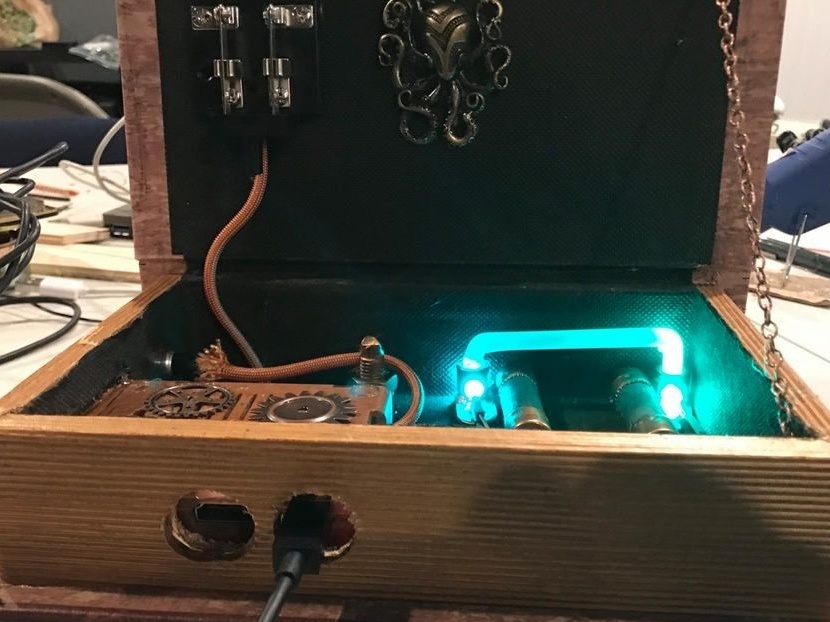
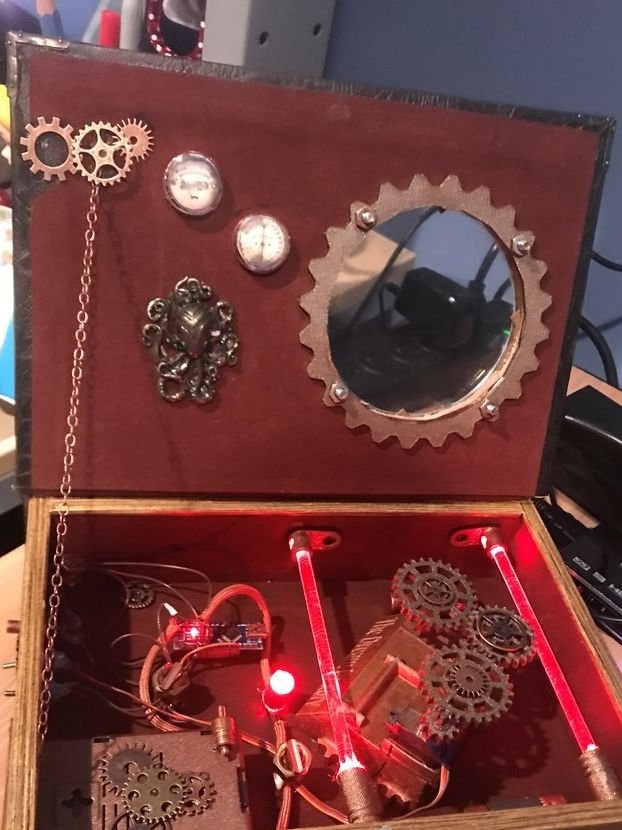
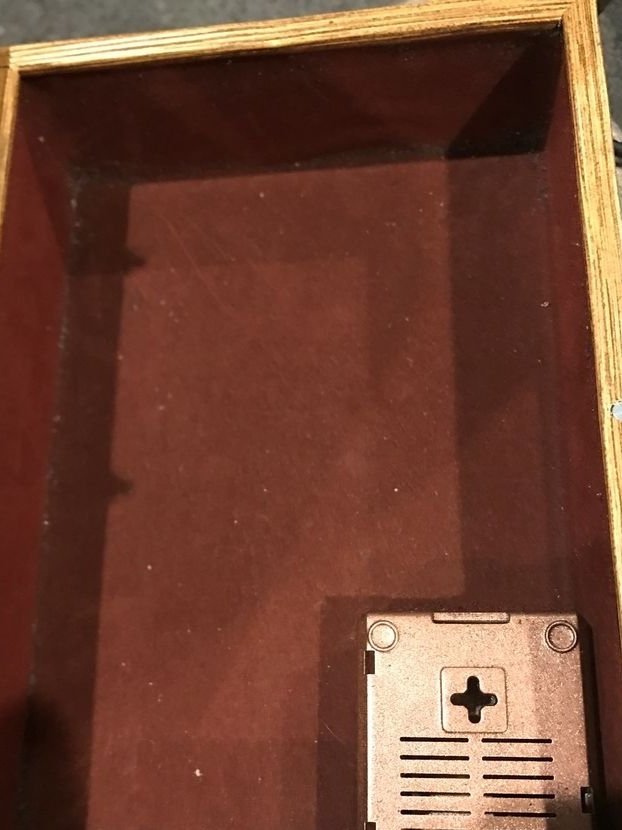
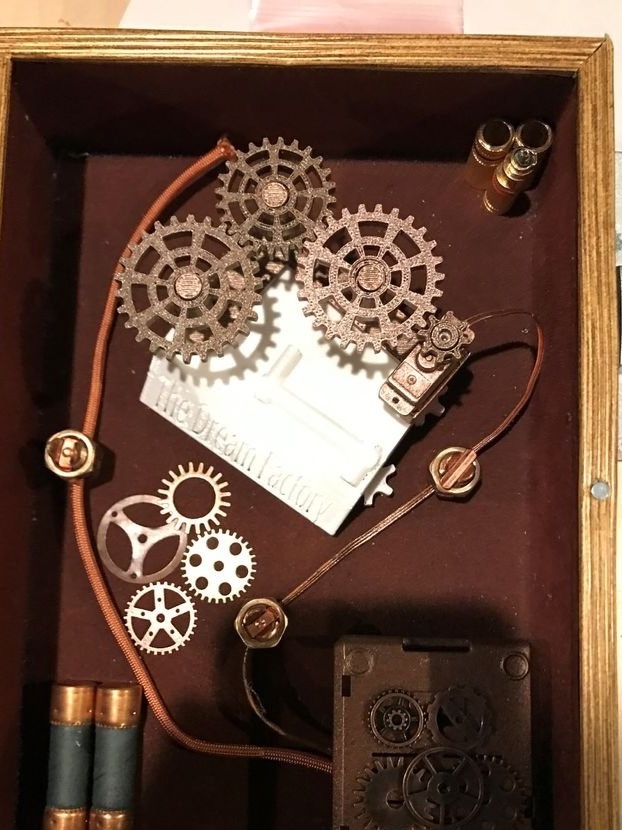
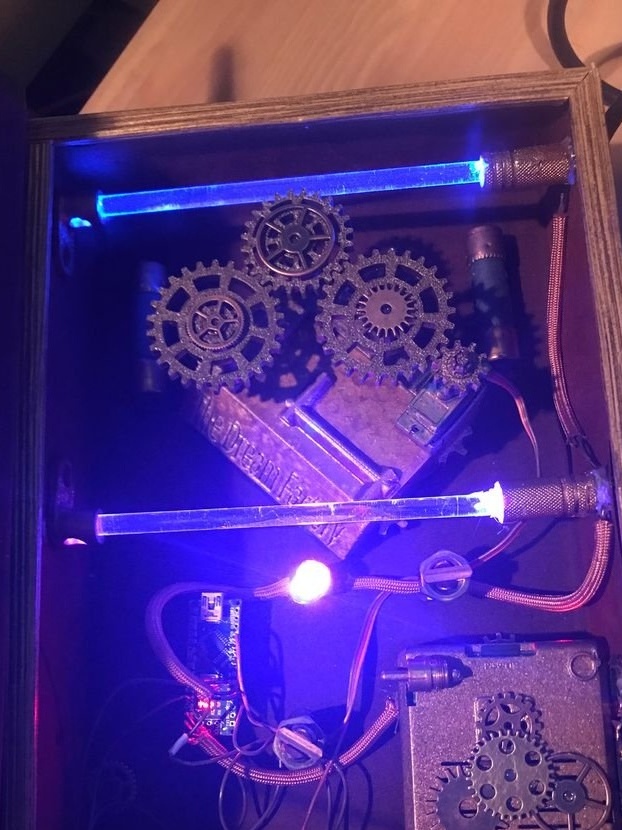
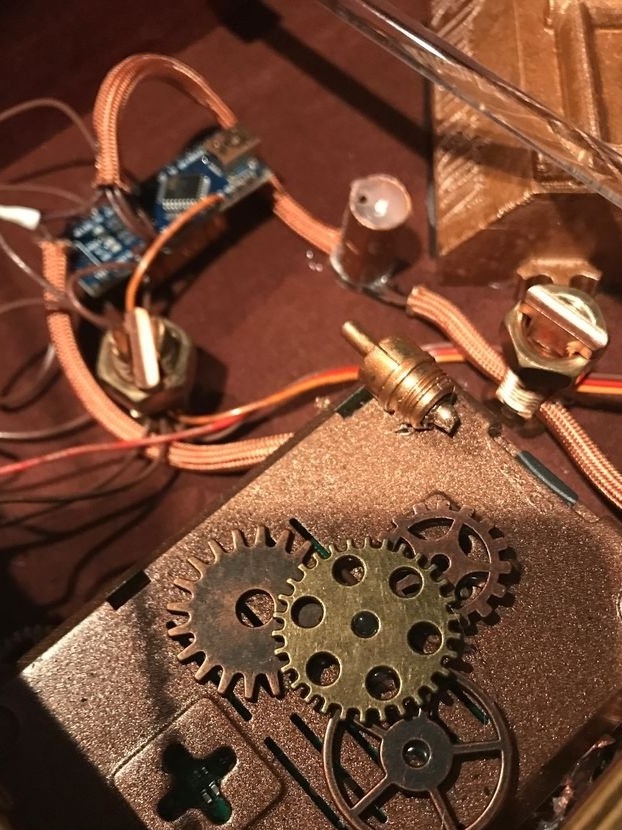
The wizard begins by placing in the box the parts that will be installed in it. You need to understand how best to place this inside the box, where to make holes for connecting peripheral devices, how the viewing window will be placed, etc. Particular attention should be paid to how, after installing all components, the lid will close.


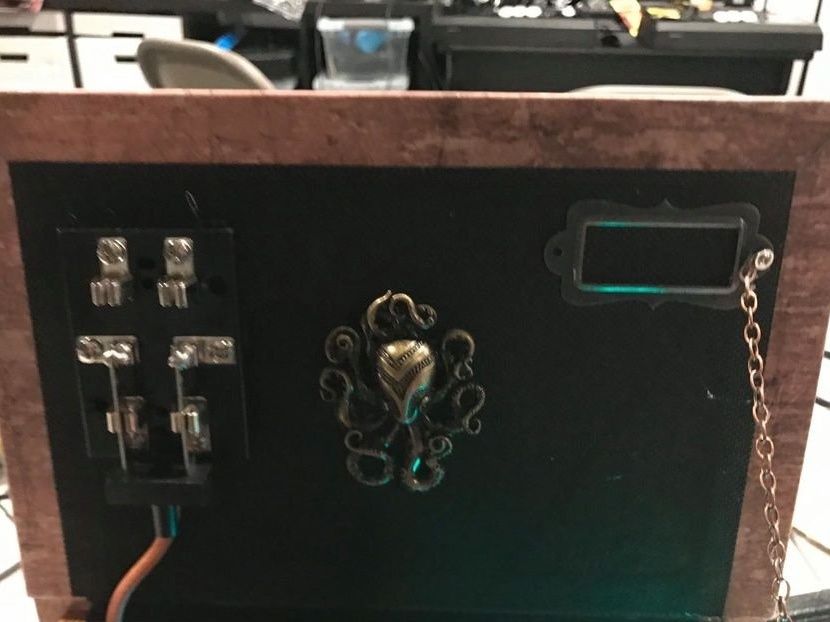
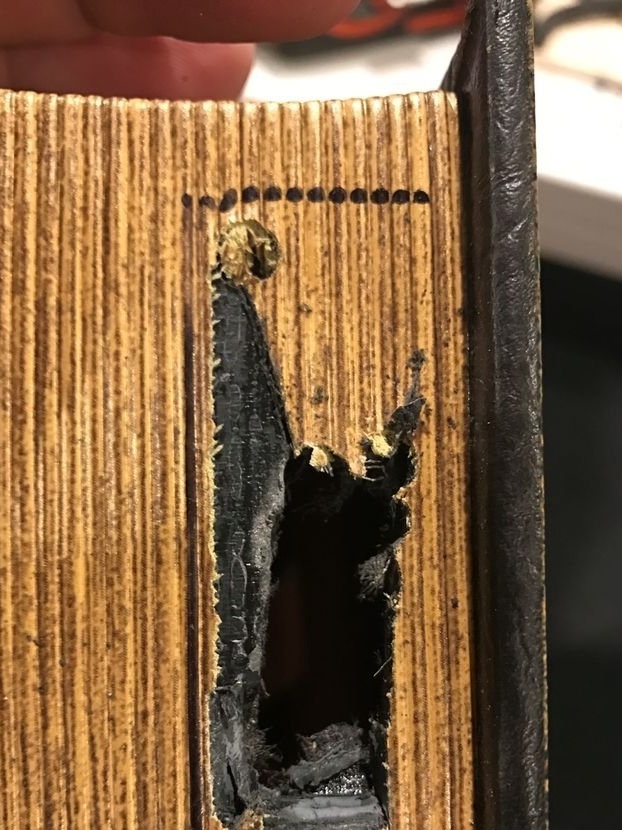
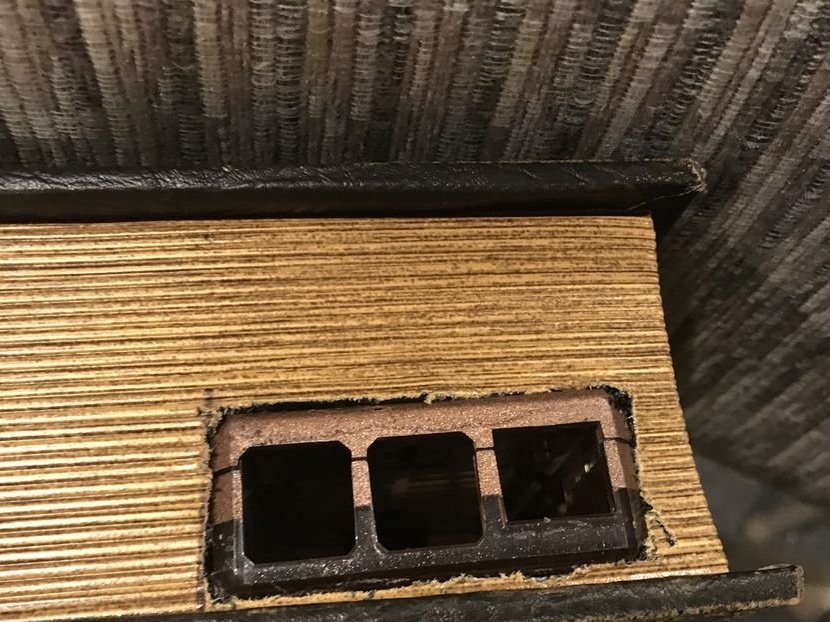
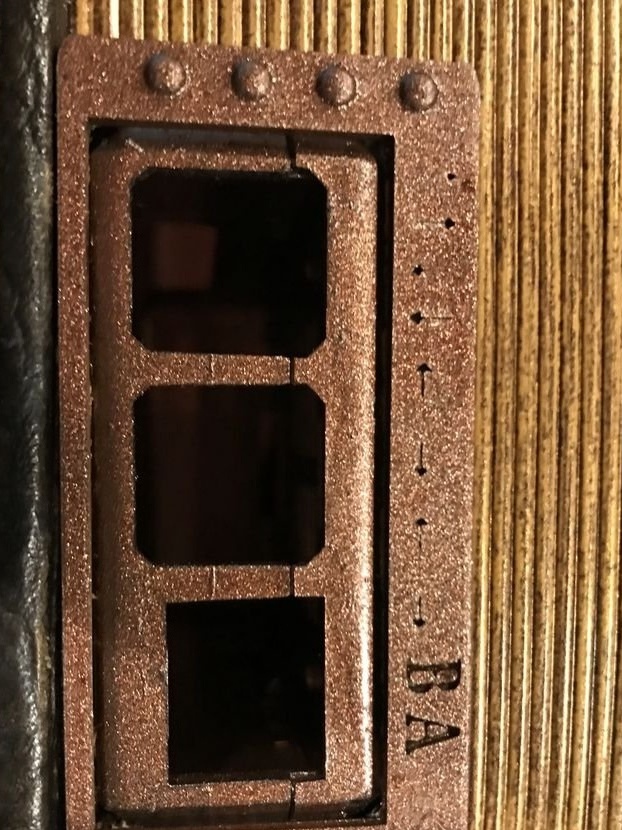
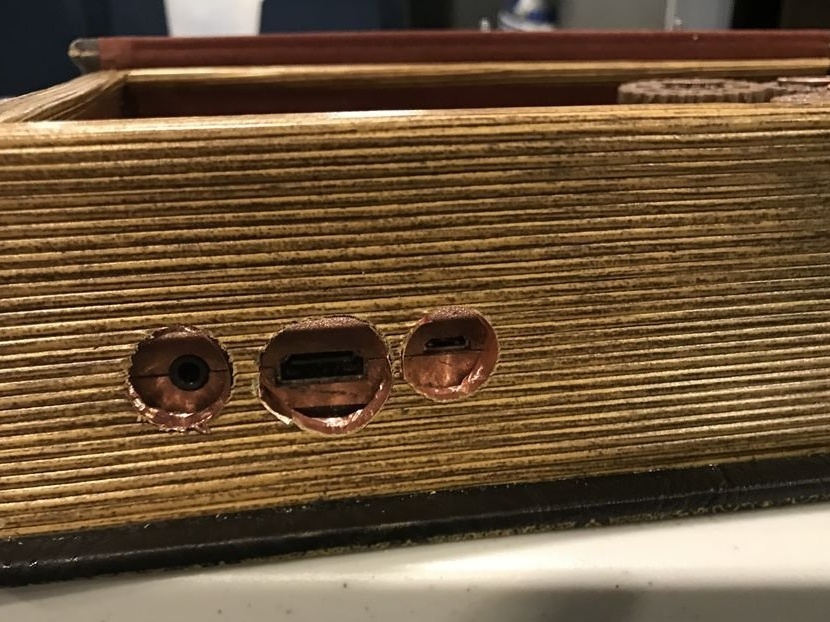
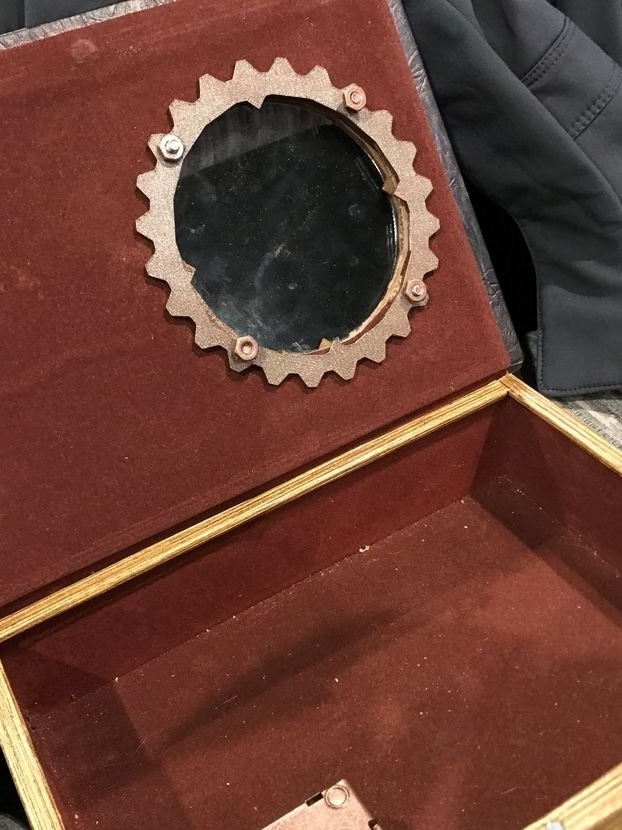
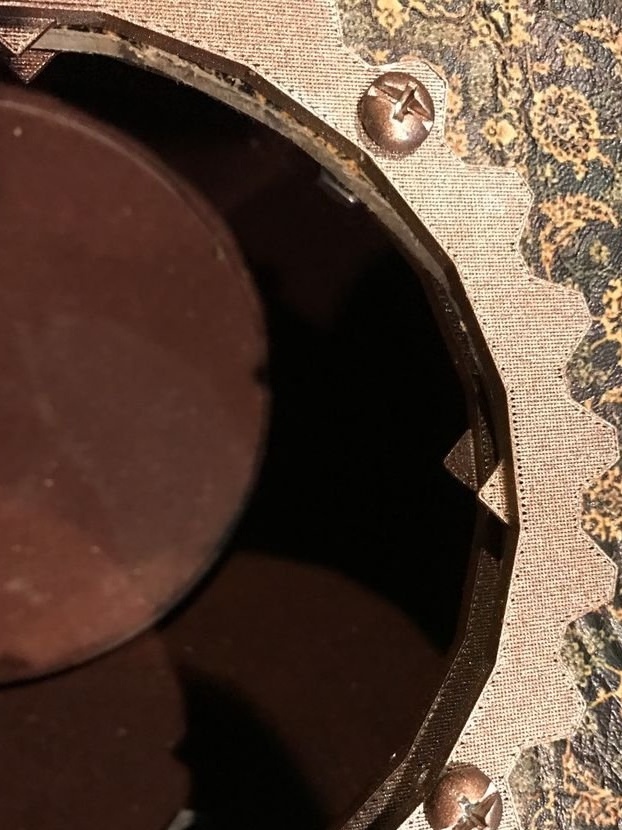
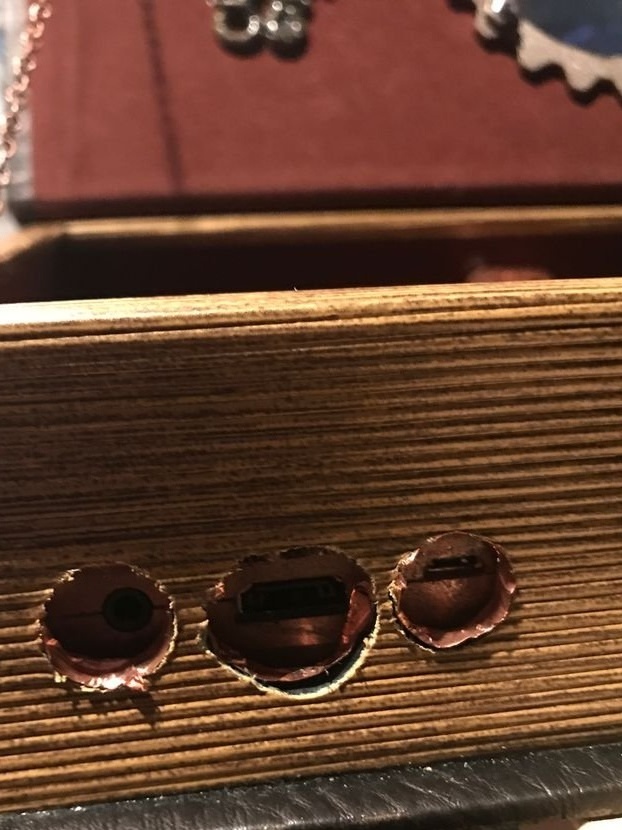
Step Two: Cover and Raspberry Holes
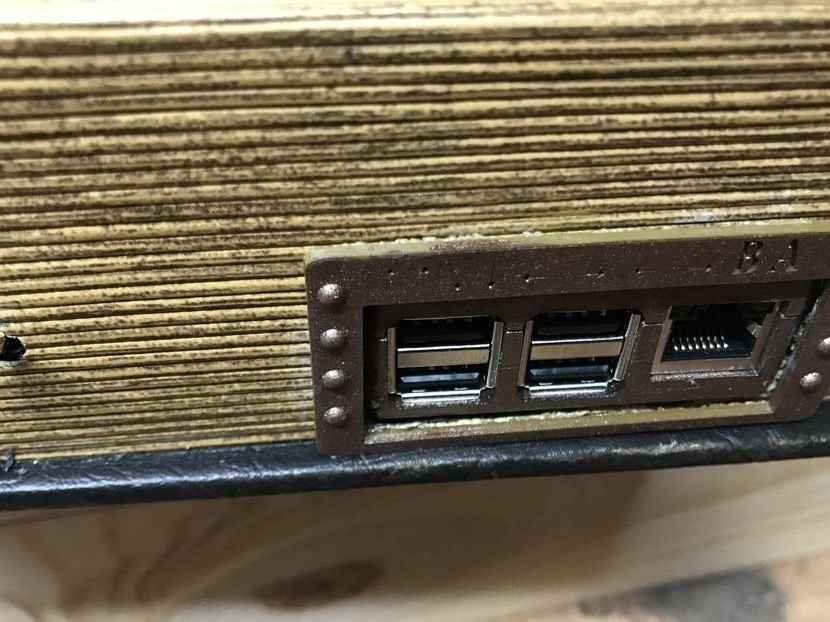
The master painted the lid under the "metal". On the side of the box, I made holes for the ports and set a decorative strip.

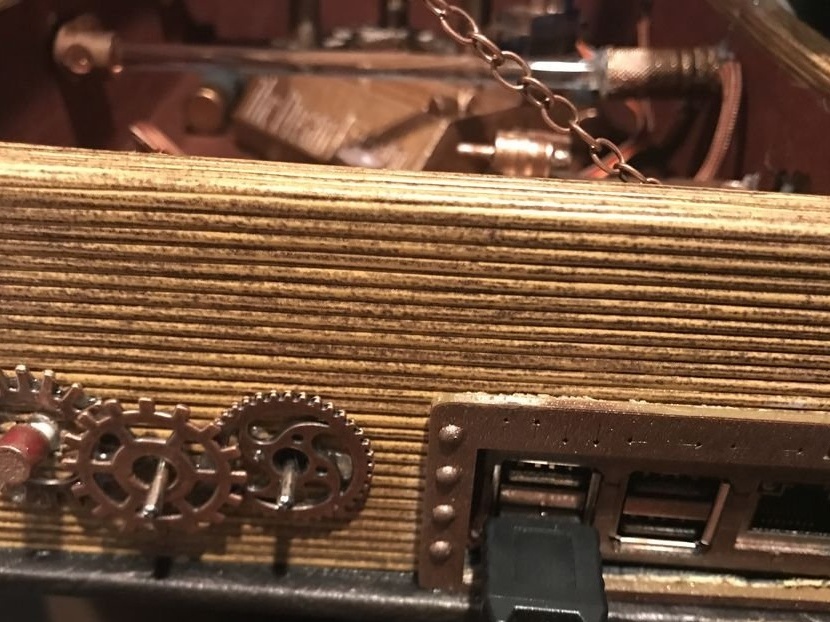
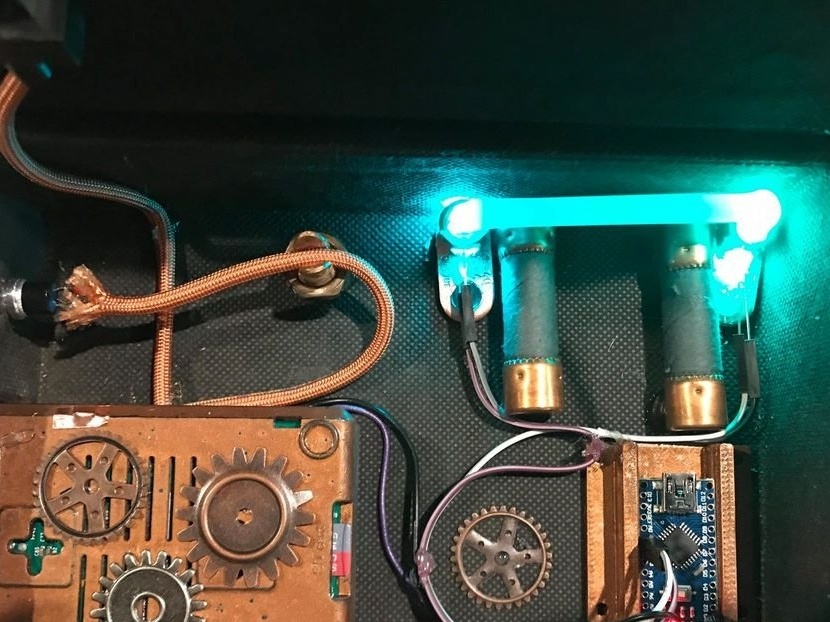
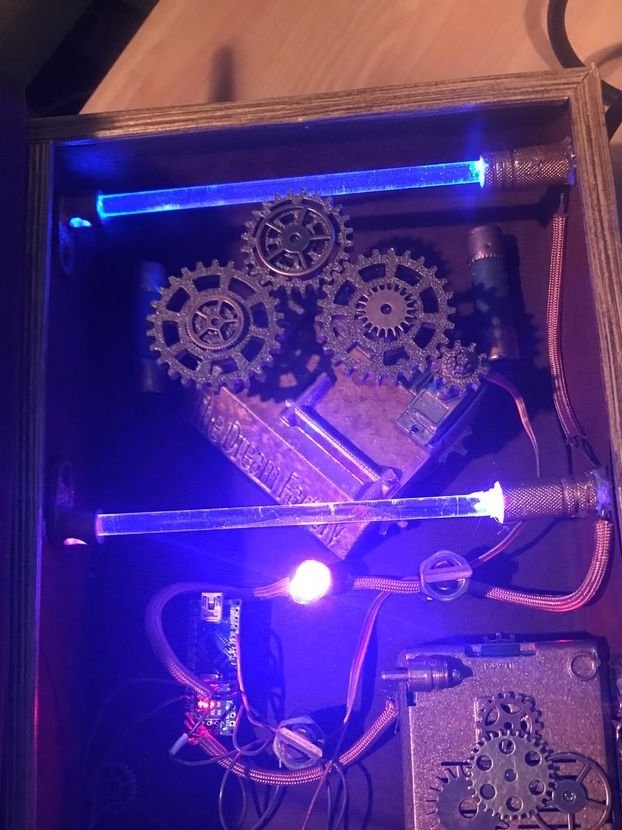
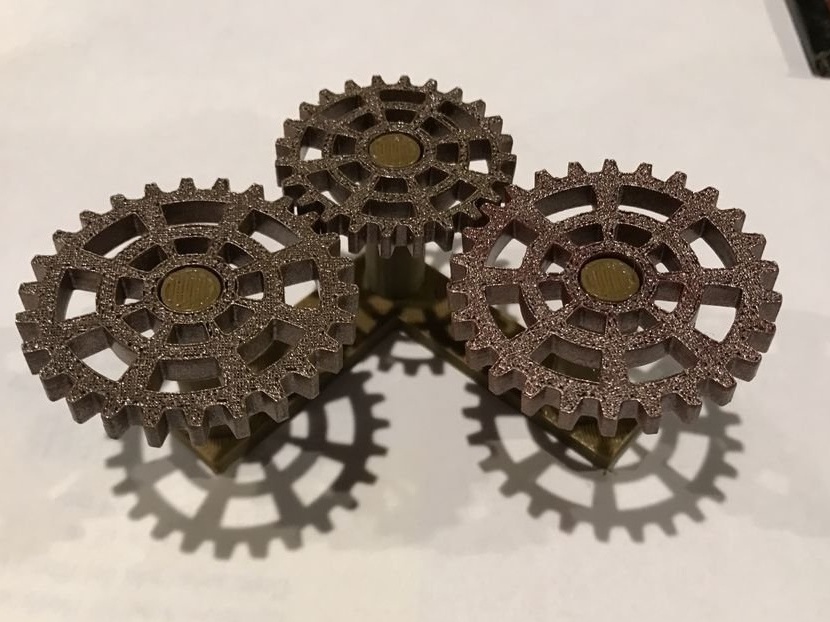
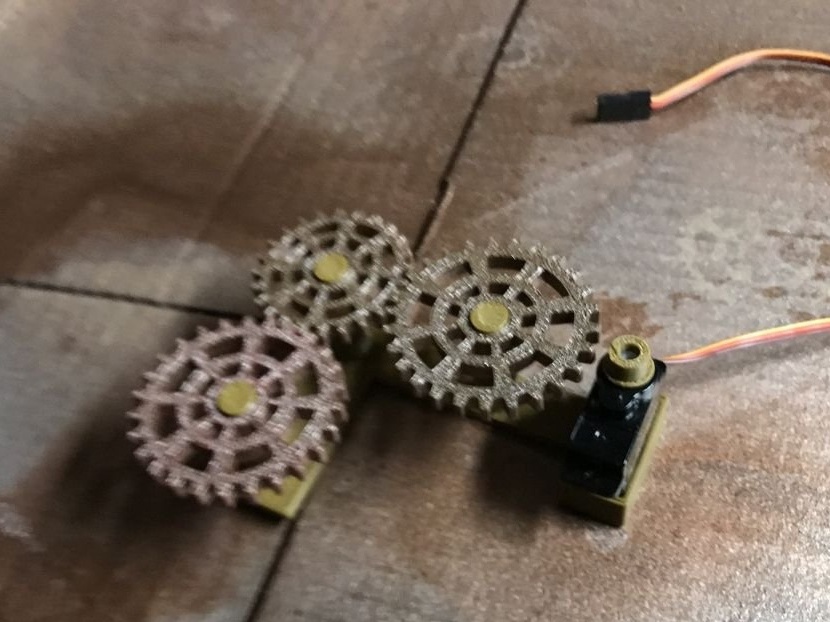
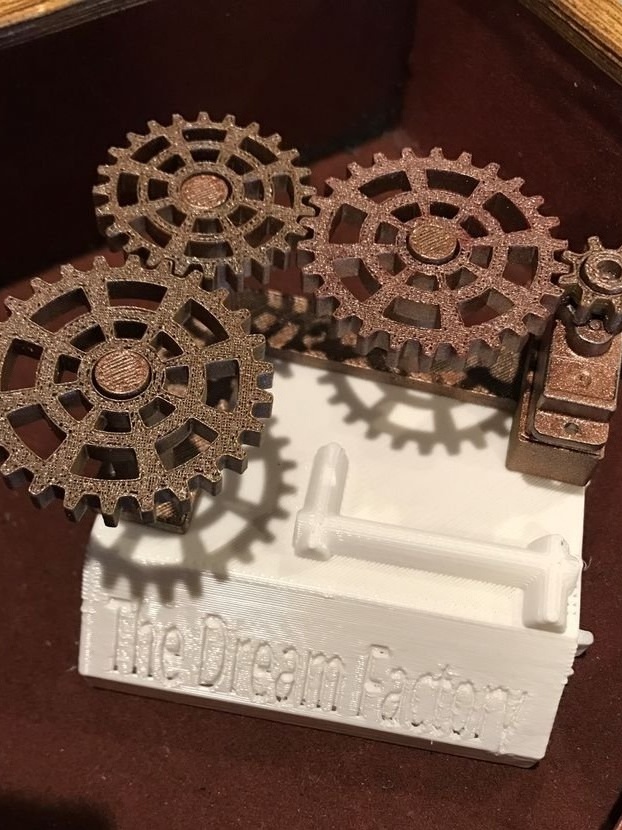
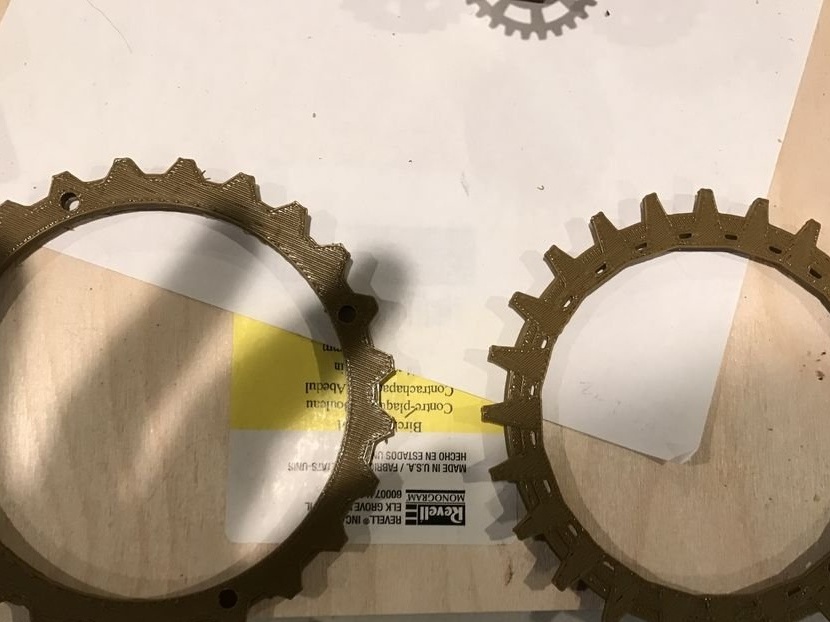
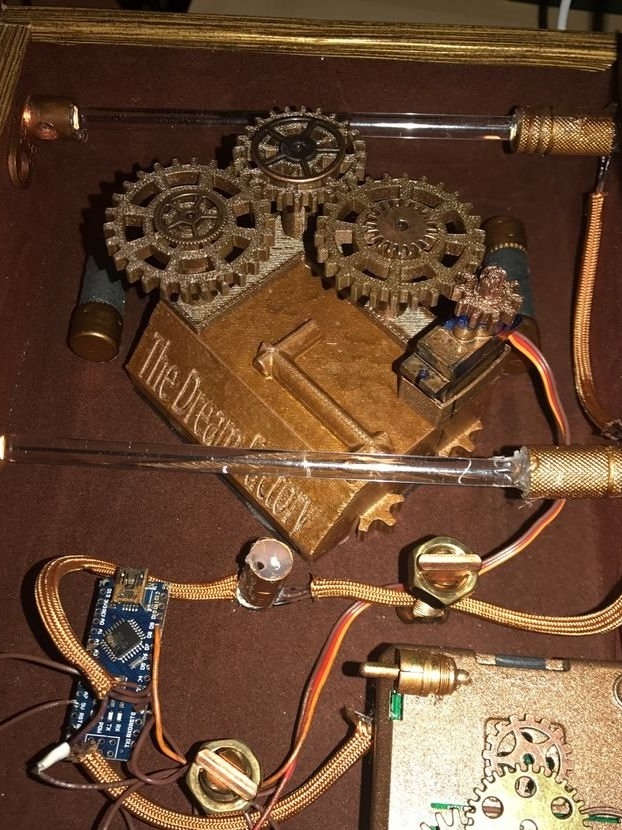
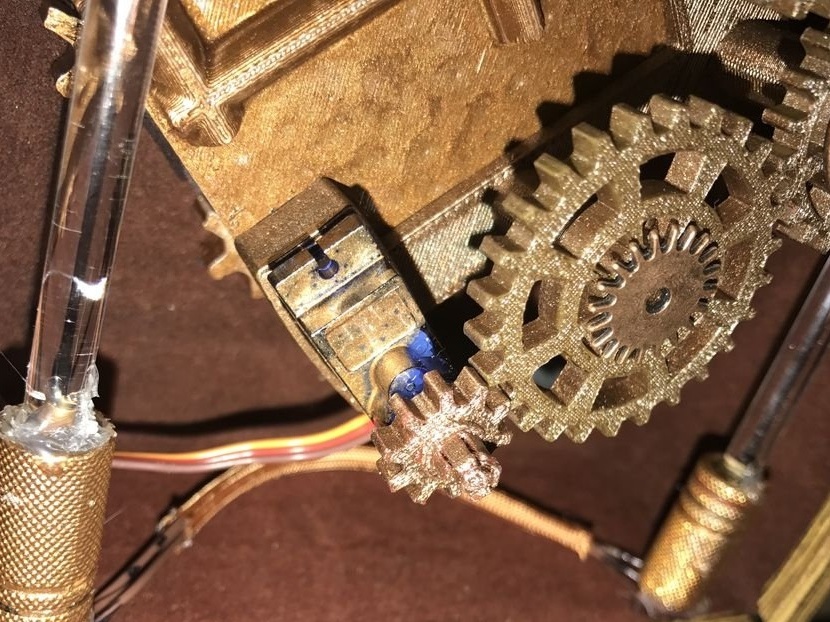
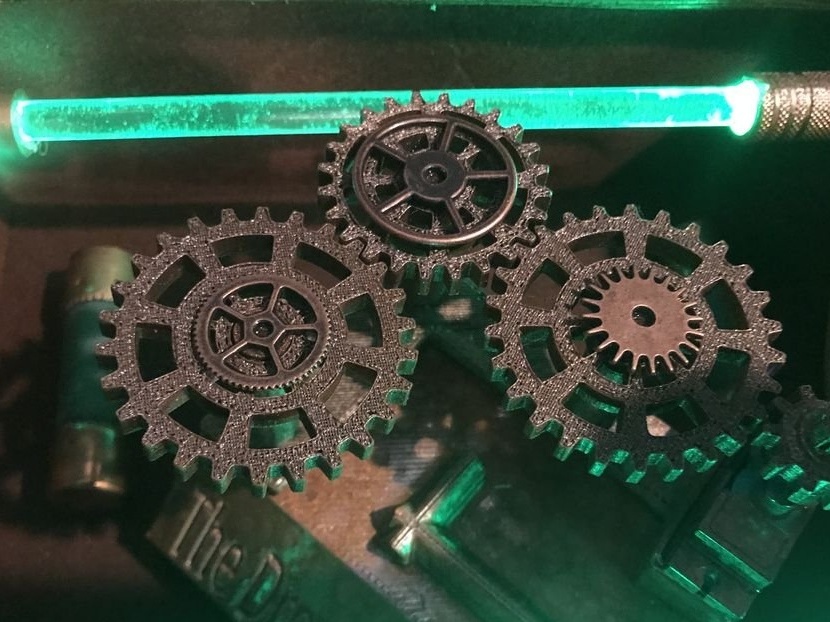
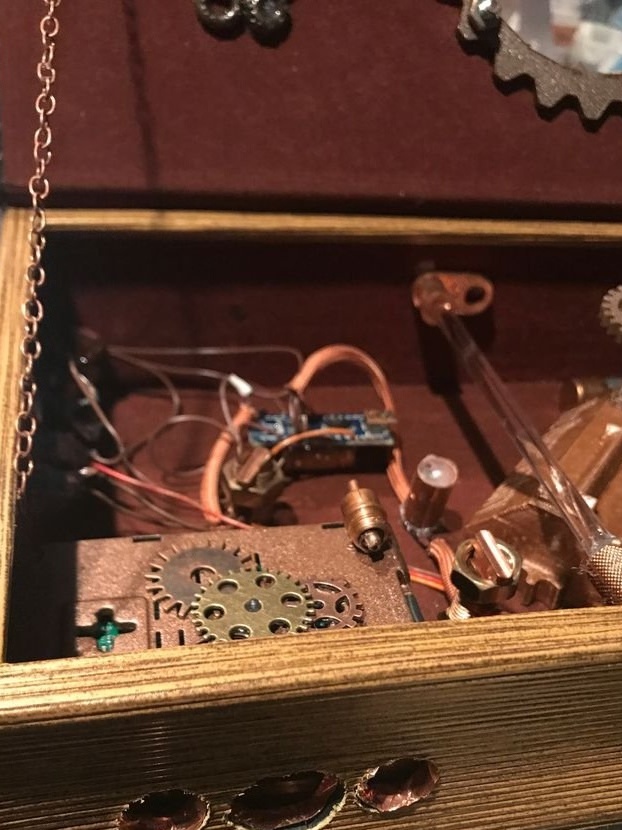
Step Two: Gears
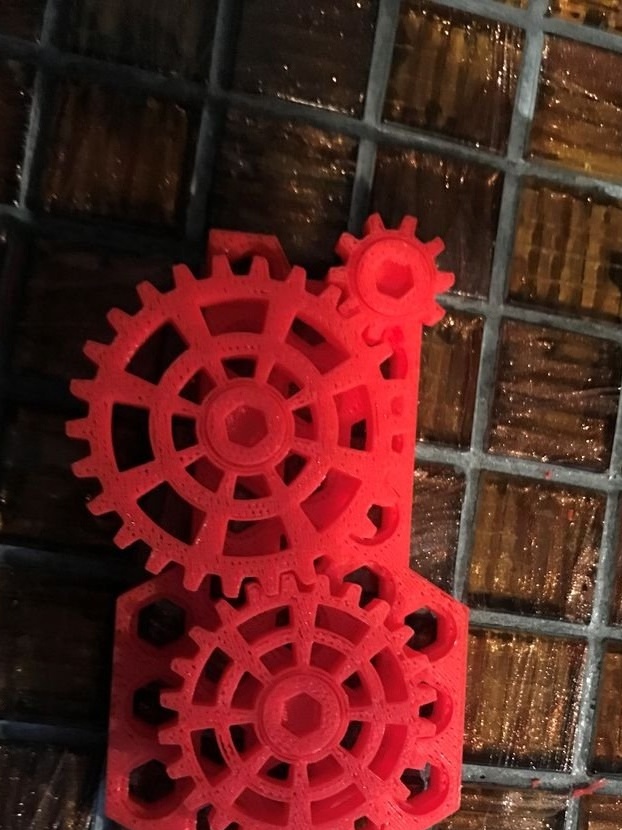
As conceived by the master, gears should be installed inside the case. The gears are driven by a servo drive and their operation is visible through a window closed by plexiglass. Gears do not have a payload and simply perform a decorative function.
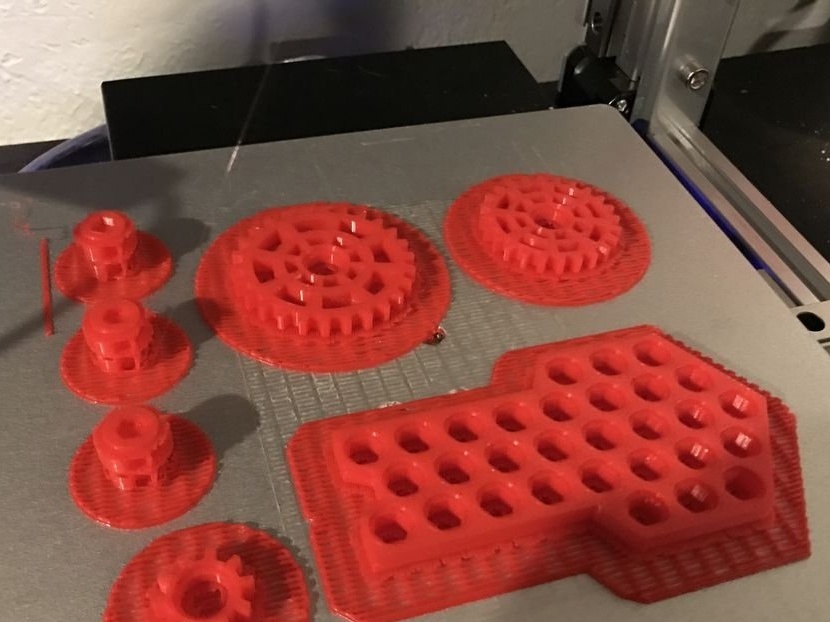
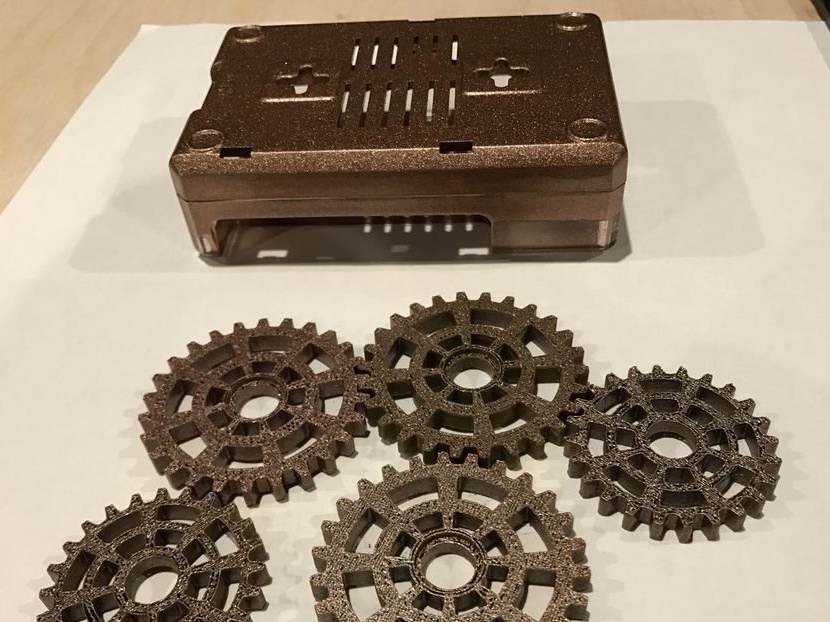
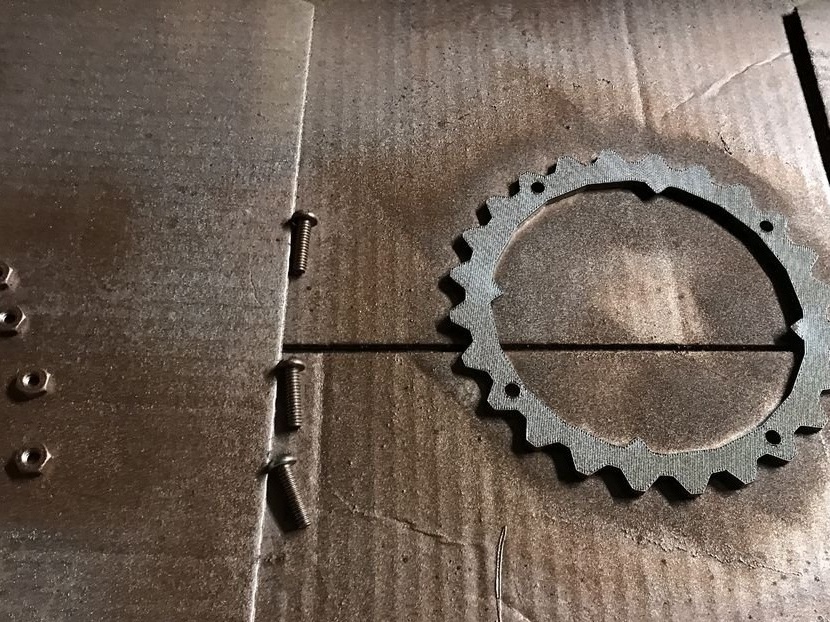
Gears master printed on a 3 D-printer and painted.
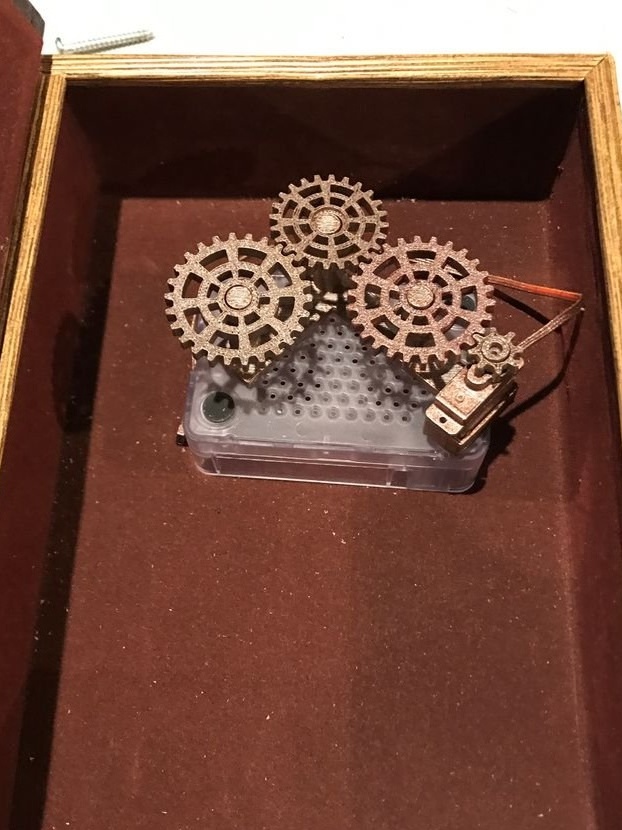
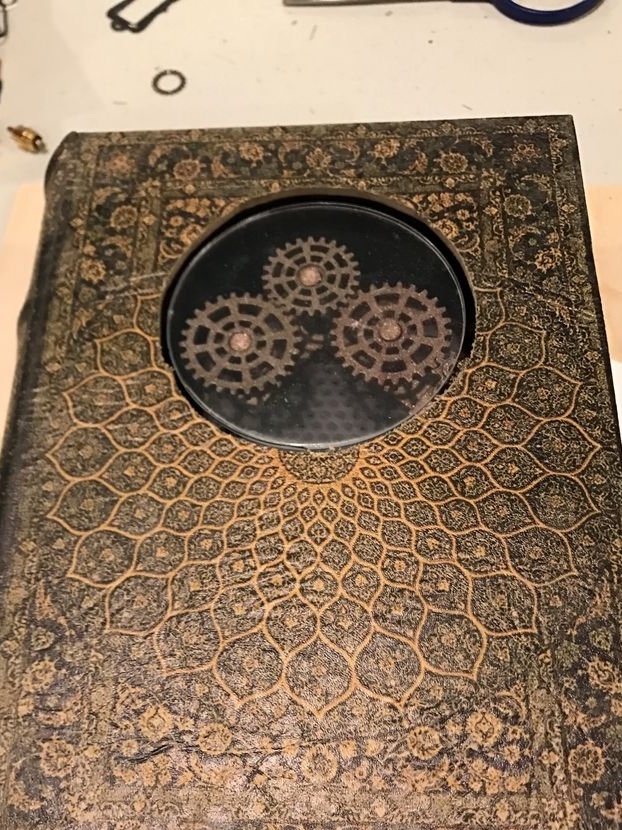
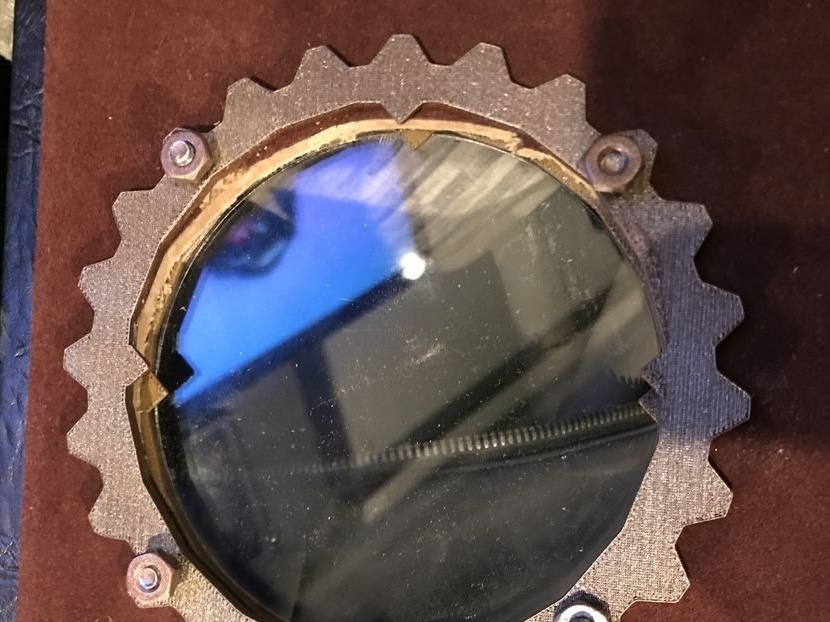
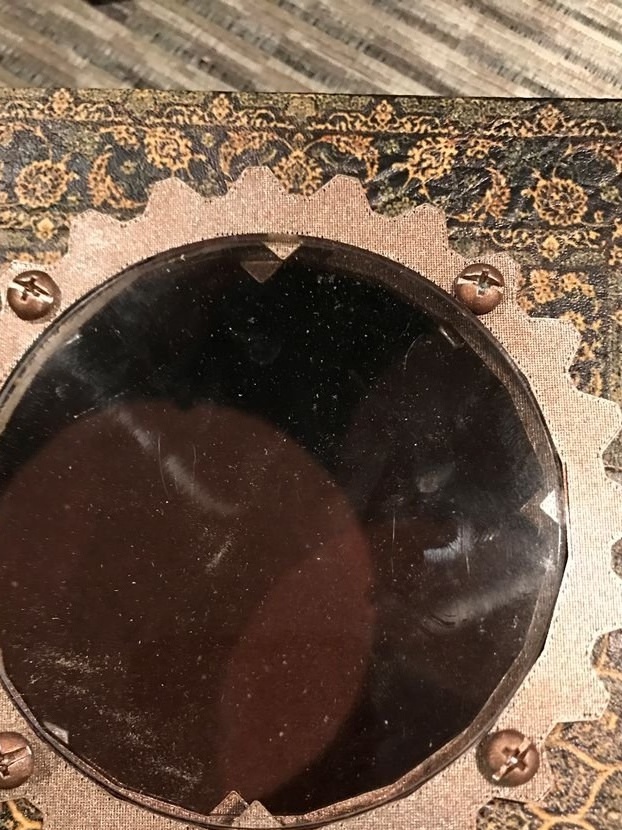
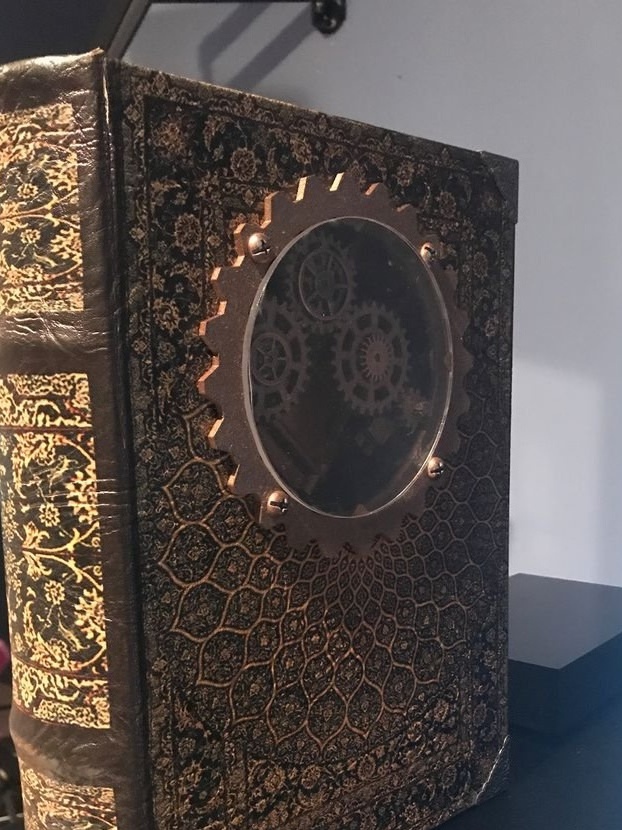
Step Three: Window
The master also printed the frames for window framing on a 3 D-printer and painted it. Cut a hole under the window. I inserted a plexiglass, fixed it with a frame.


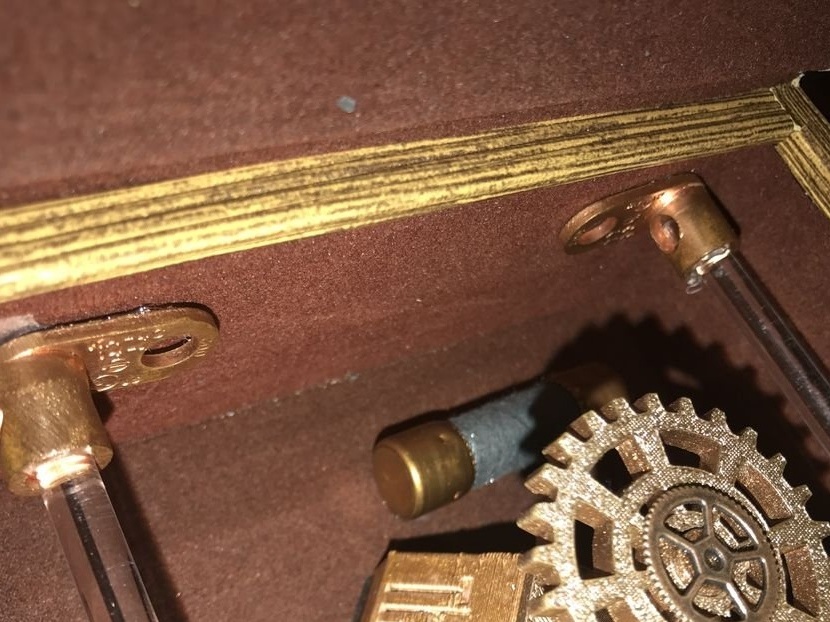
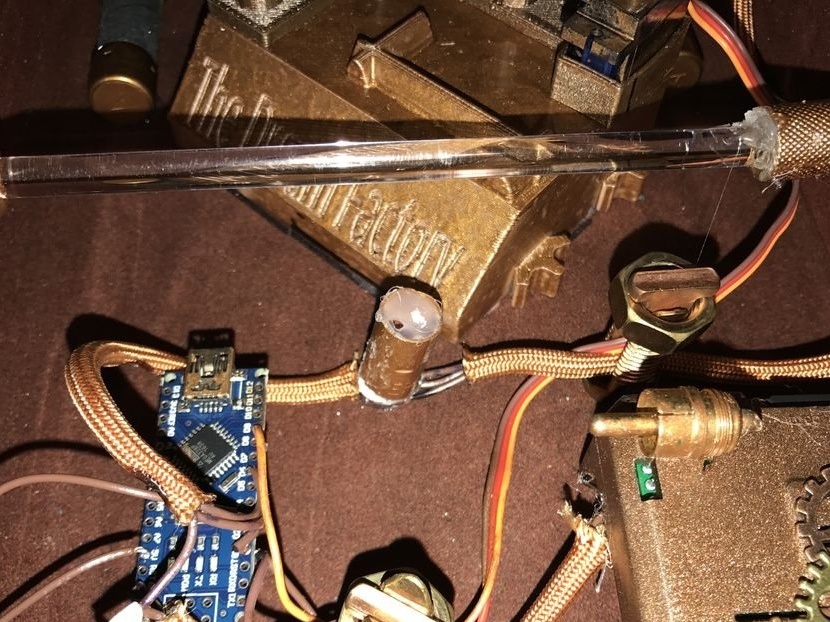
Step Four: Light Tubes
LEDs are installed at the ends of the plastic tubes. The tubes are fixed inside the housing. Operated by Arduino-micro.The master did not do Raspberry LED control due to the fact that the system has been loading for a long time, and the LEDs work on the arduino immediately. Arduino eats from rassberi.
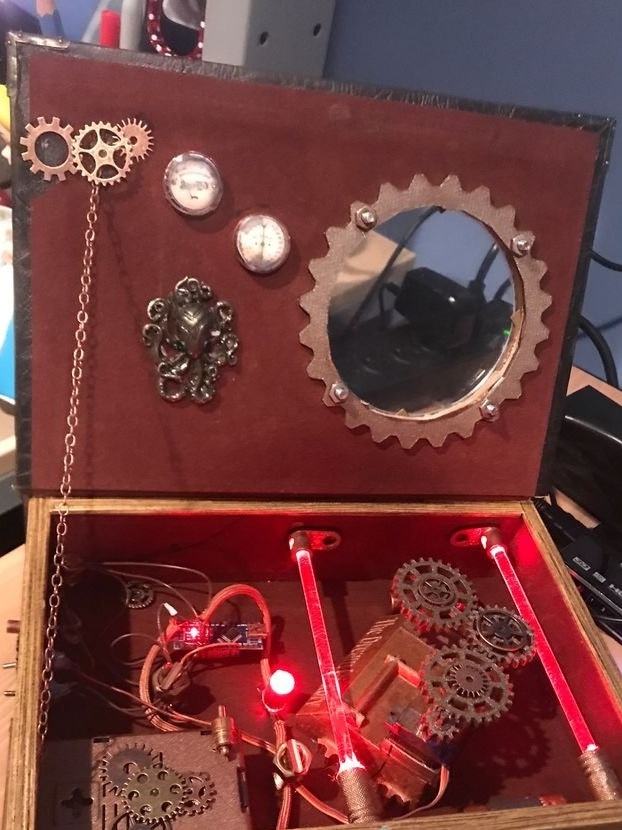

Step Five: Scenery
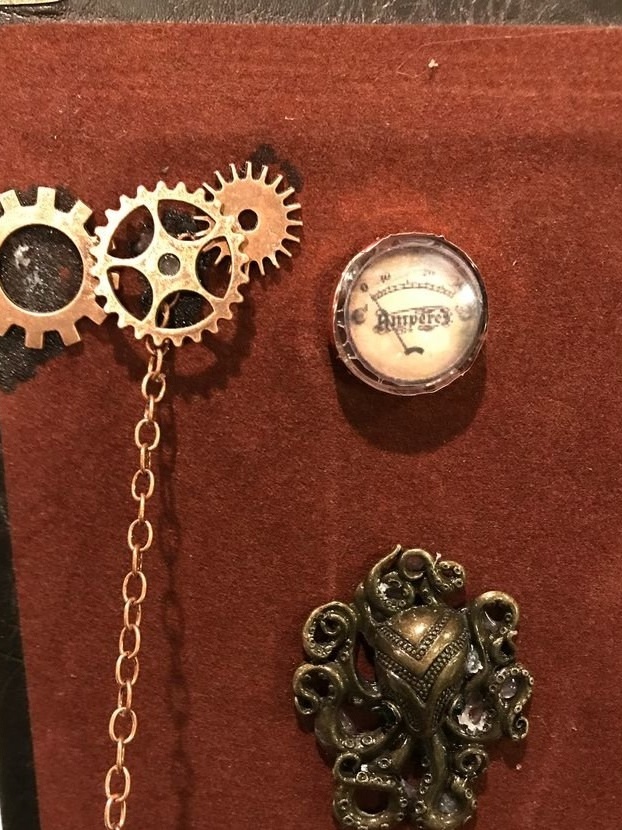
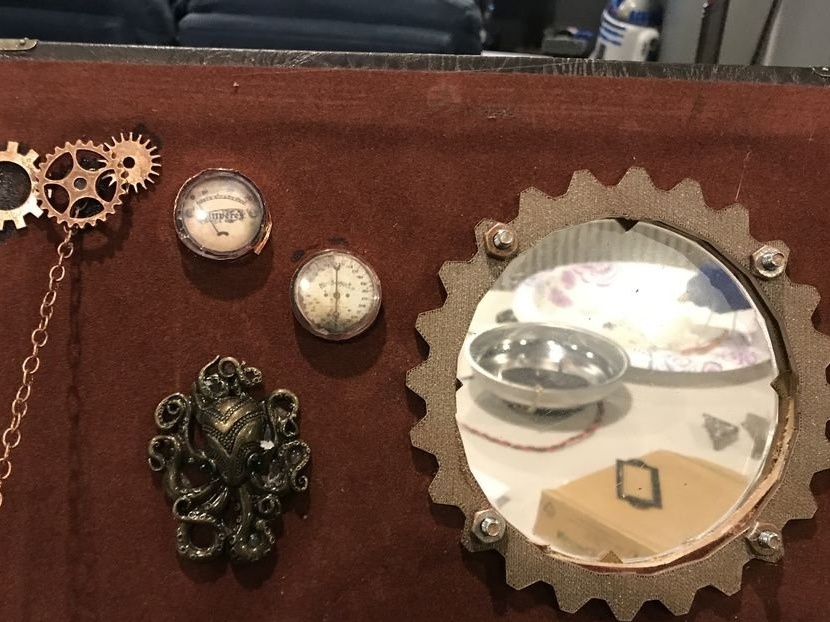
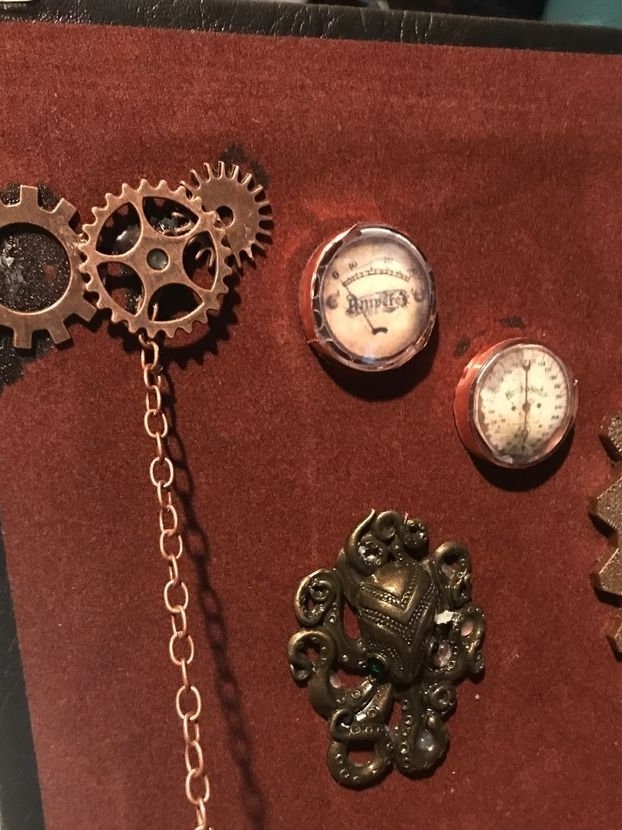
After installing and connecting all the electrical components, the master adds decorative items. It can be any items that fit into the design of the case.

Here's an interesting device from the master. As already mentioned, this is a general concept. and only you can choose what your device will be.