
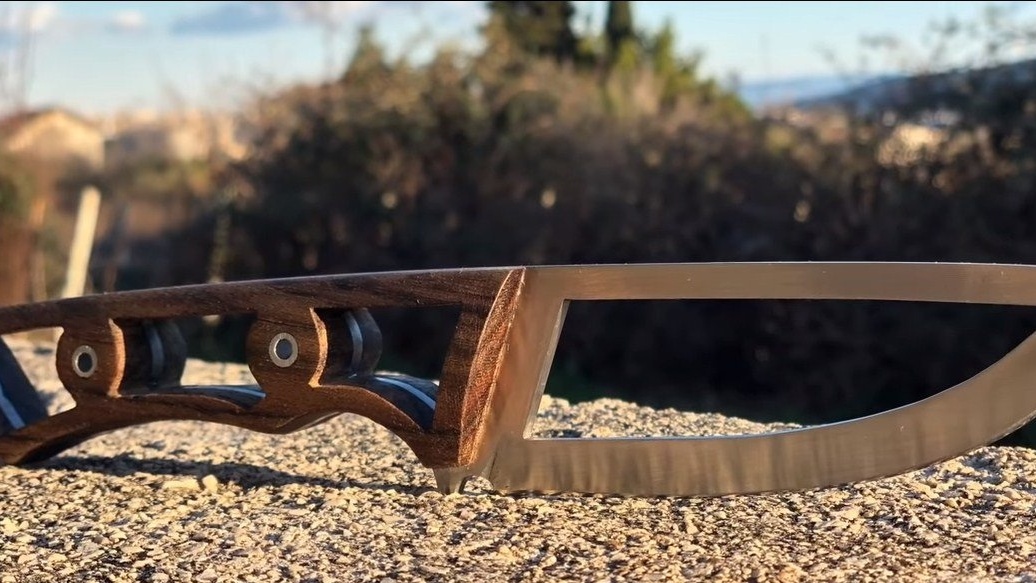
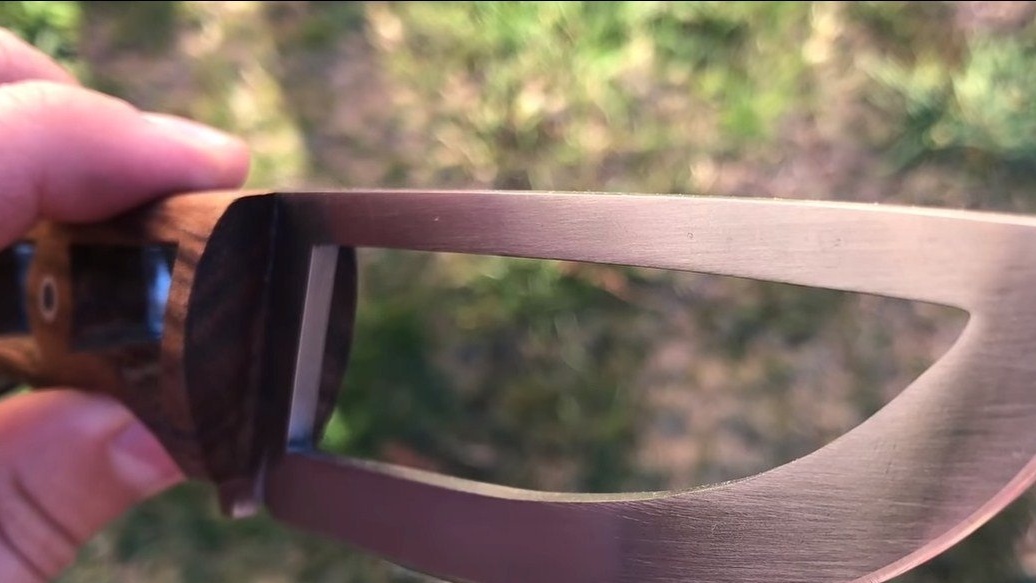
Hello everyone, this time we will analyze how do it yourself make an unusual knife called "Skeleton". A lot of windows have been made in such a knife, including the blade itself is hollow inside, there is little practical use in such a design, except that the lightness of the knife, and it looks very interesting. The knife was made with fairly simple tools, not counting the small grinding work on the tape machine, which can be done manually. If the project interests you, I propose to familiarize yourself with it in more detail!
Materials and tools used by the author:
Material List:
- high-quality steel;
- a tree for overlays;
- tubes for pins;
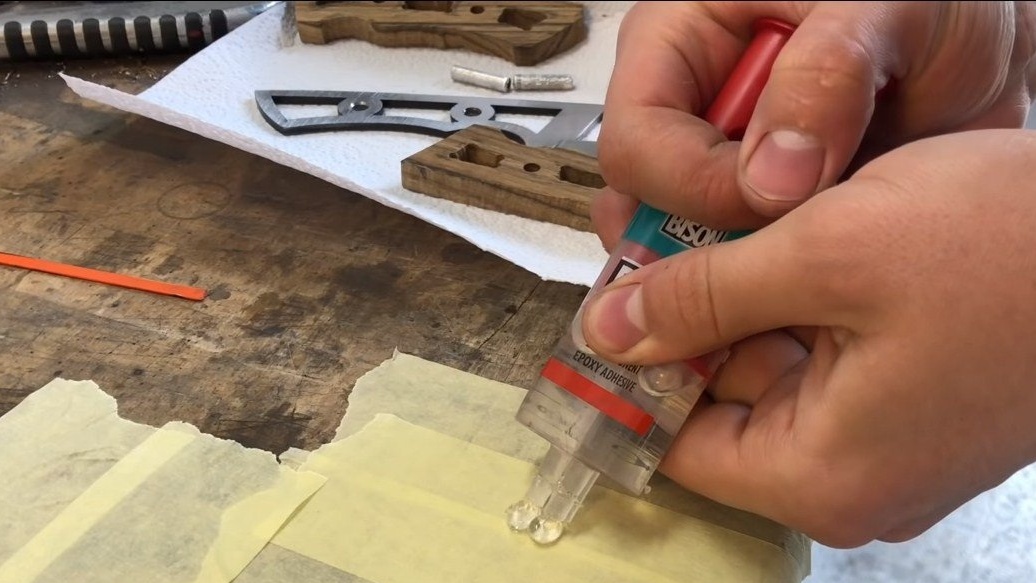
- epoxy adhesive;
- oil for wood.
Tool List:
- a set of files;
- drilling machine;
- jigsaw;
- ;
- vise;
- drill;
- belt sander;
- oven, oil, oven (for heat treatment).
The process of making a knife:
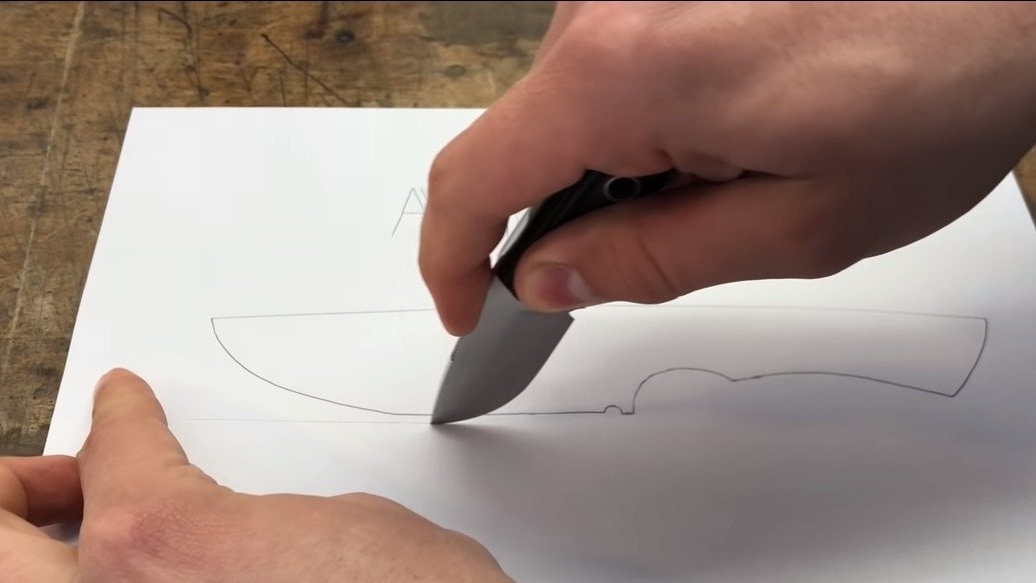
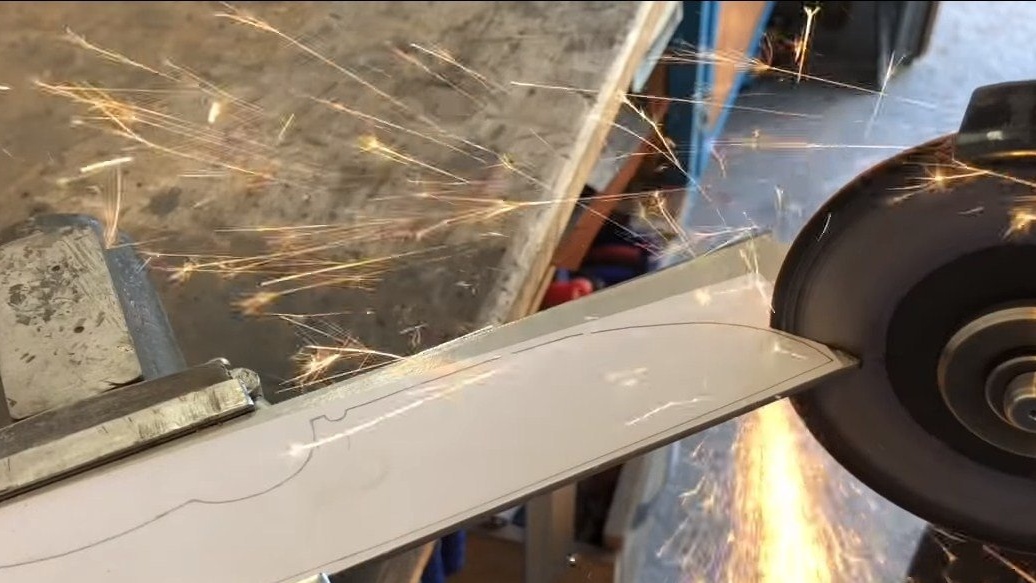
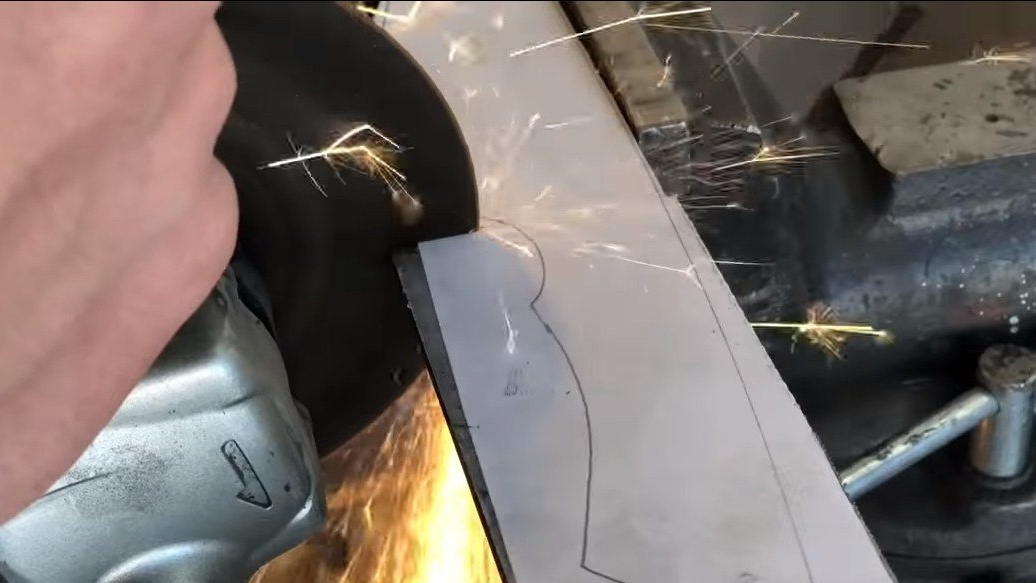
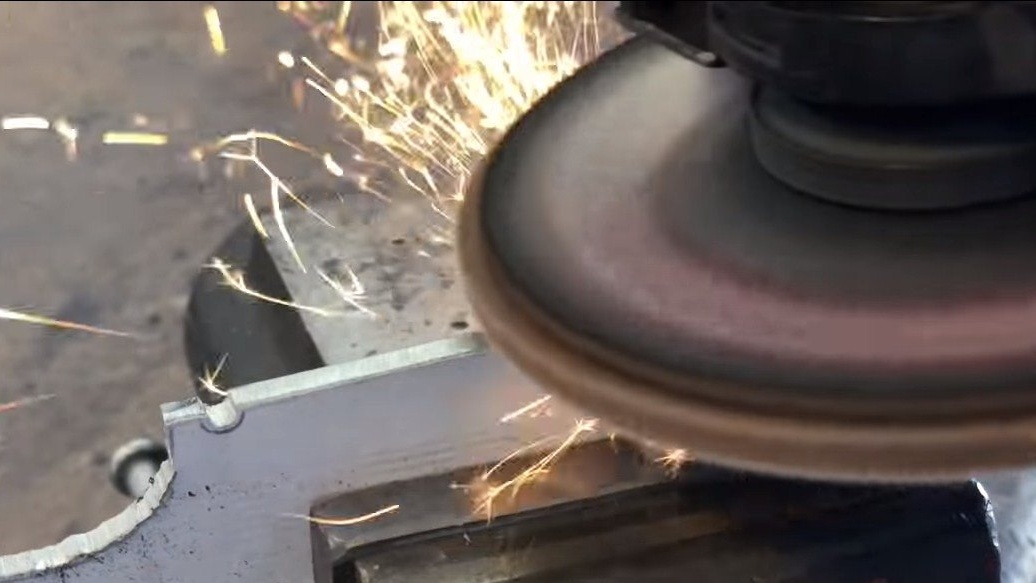
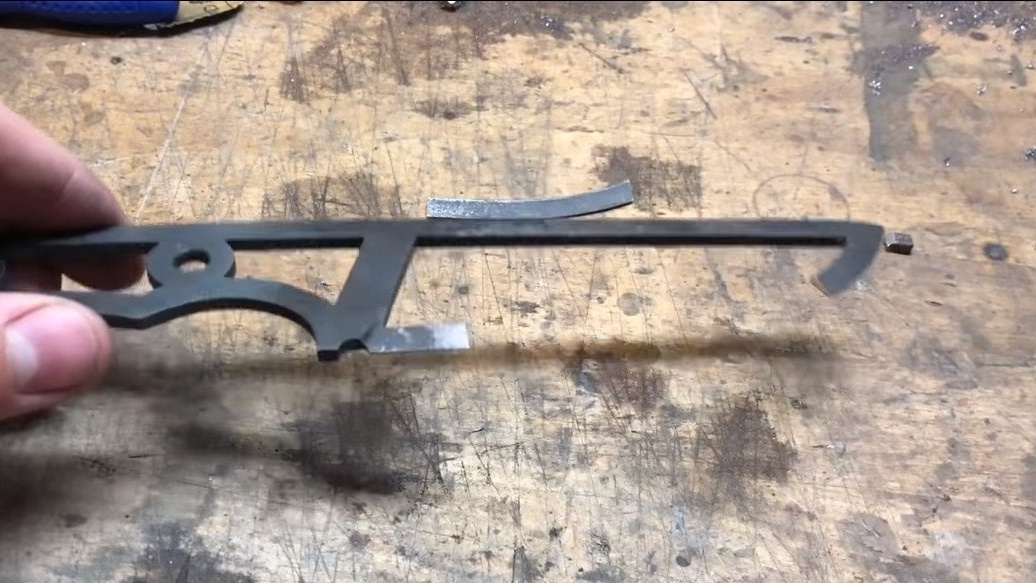
Step one. Cut the main profile
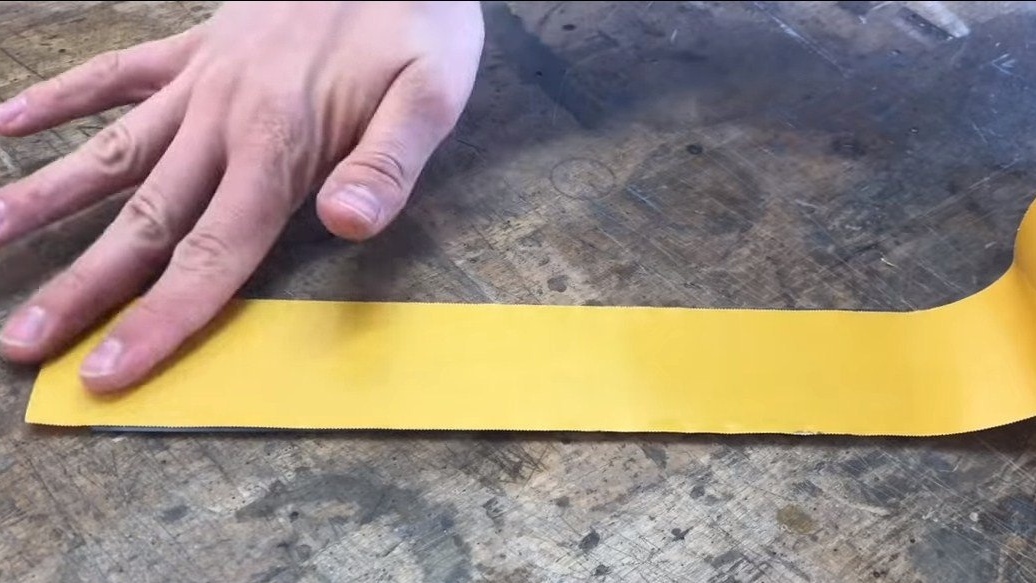
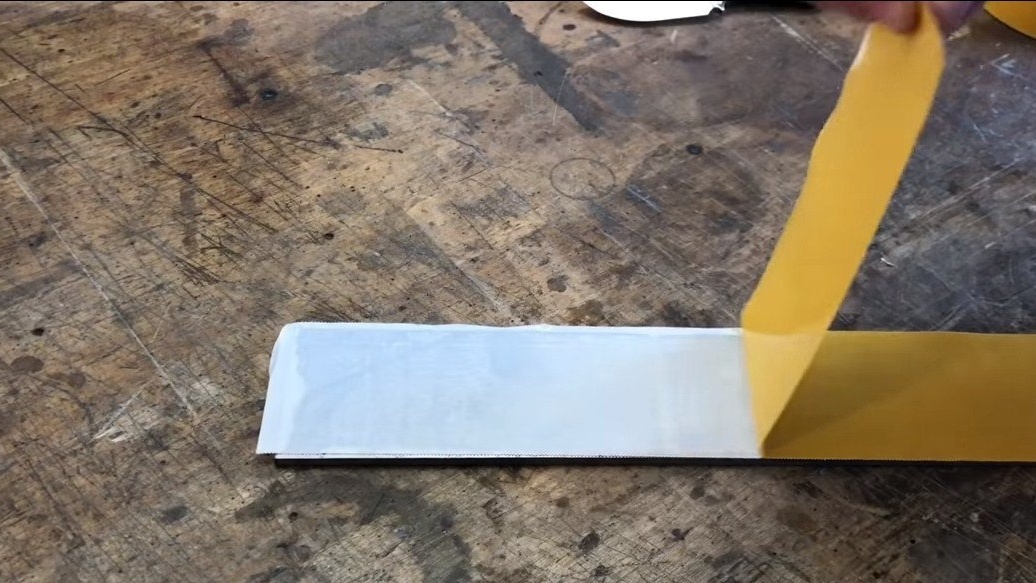
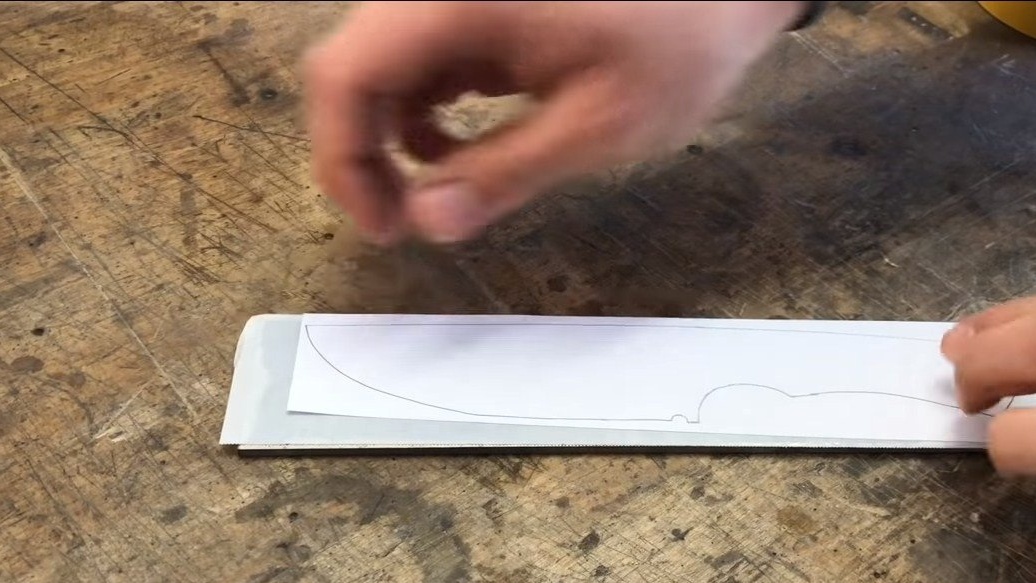
First, cut out the main profile of the knife, for this it is advisable to initially make a template from paper. We glue the template to the metal and cut out the profile, the author works as a grinder. Having cut out the main profile, we refine it with a petal nozzle, and the author also walks on a belt sander.
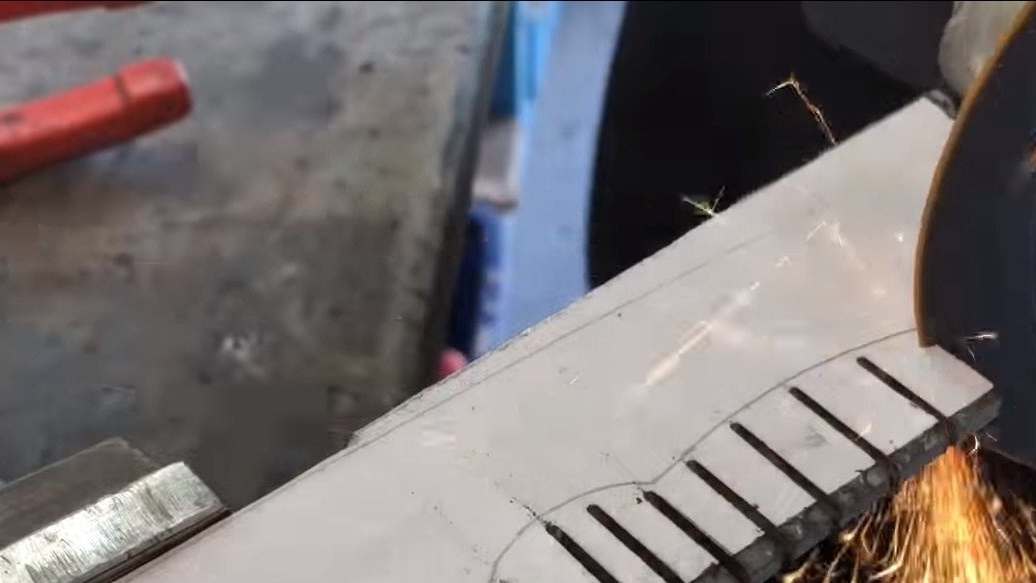
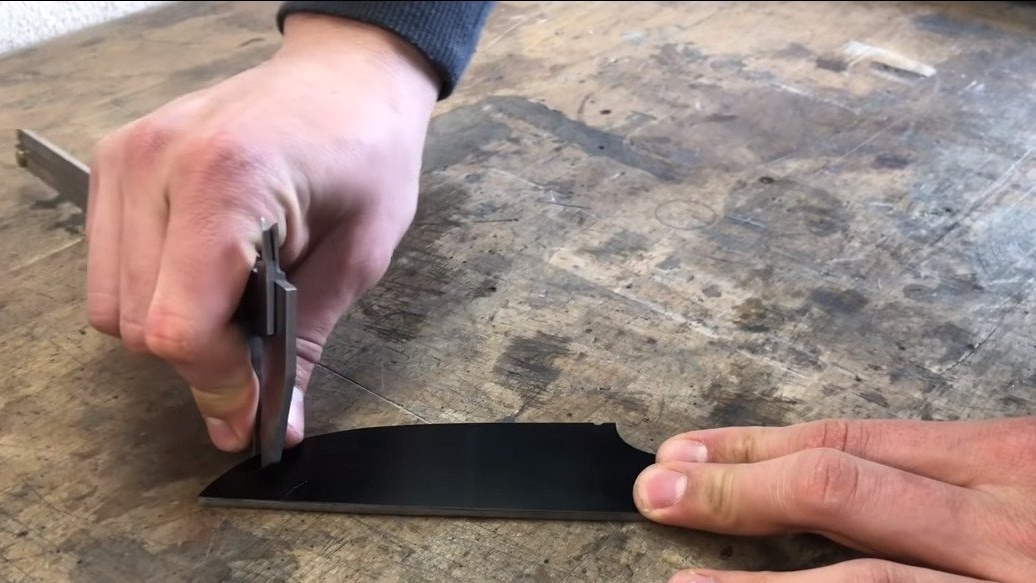
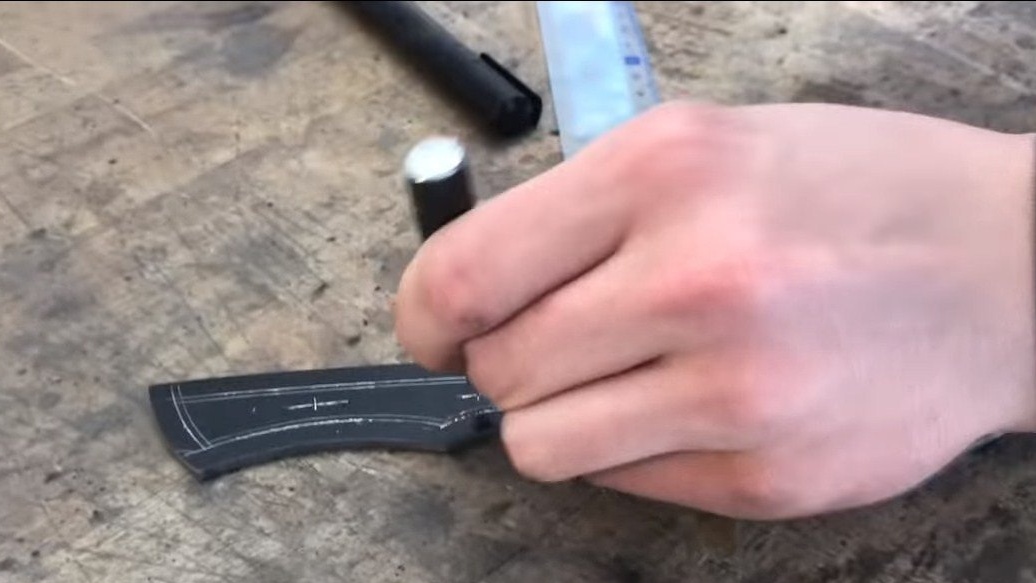
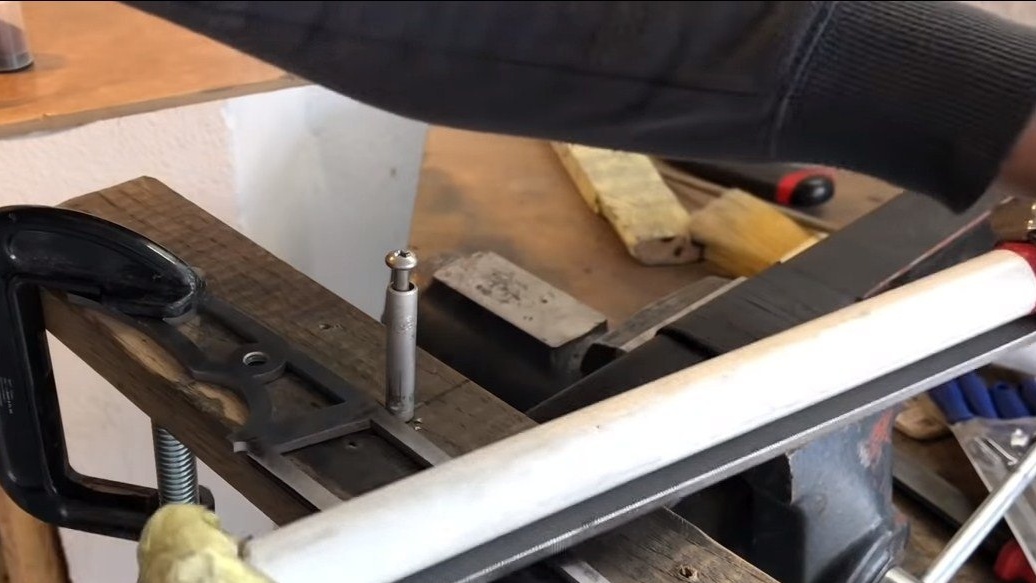
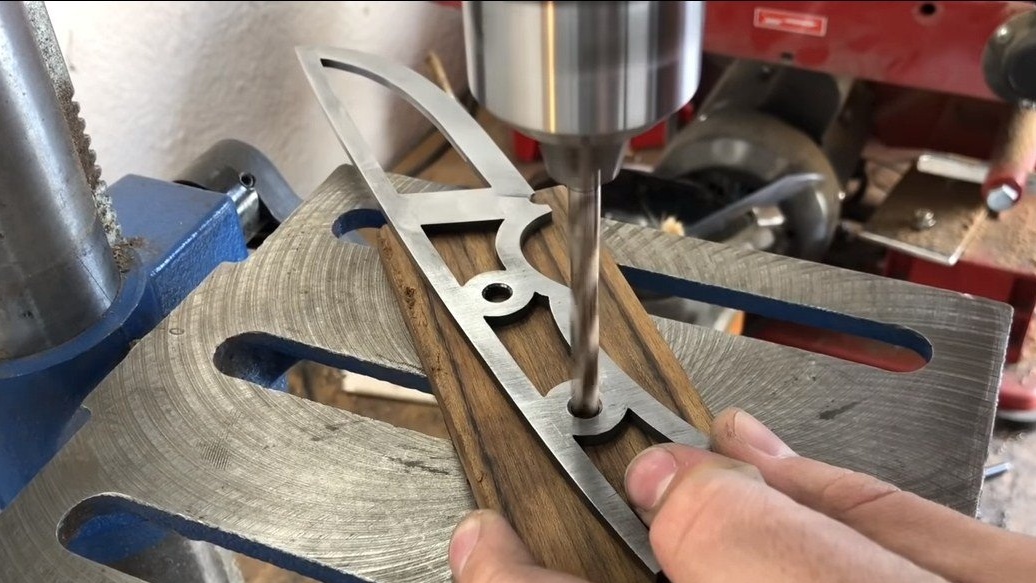
Step Two Cut holes
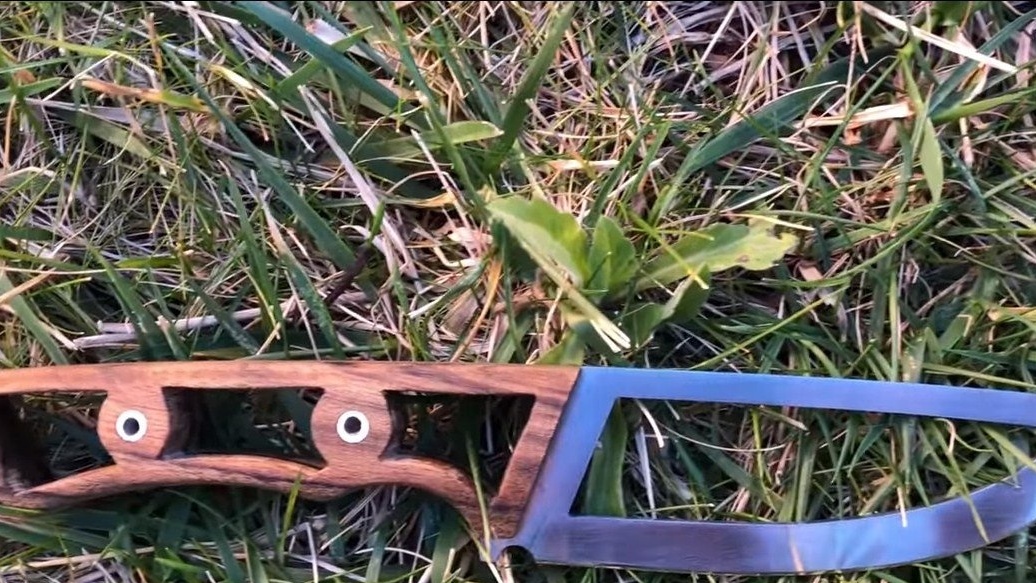
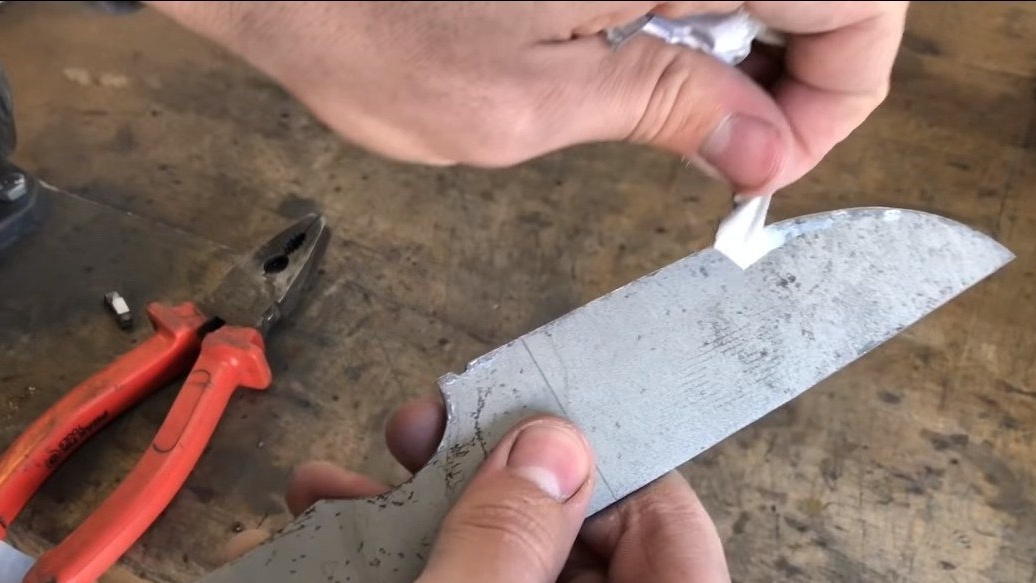
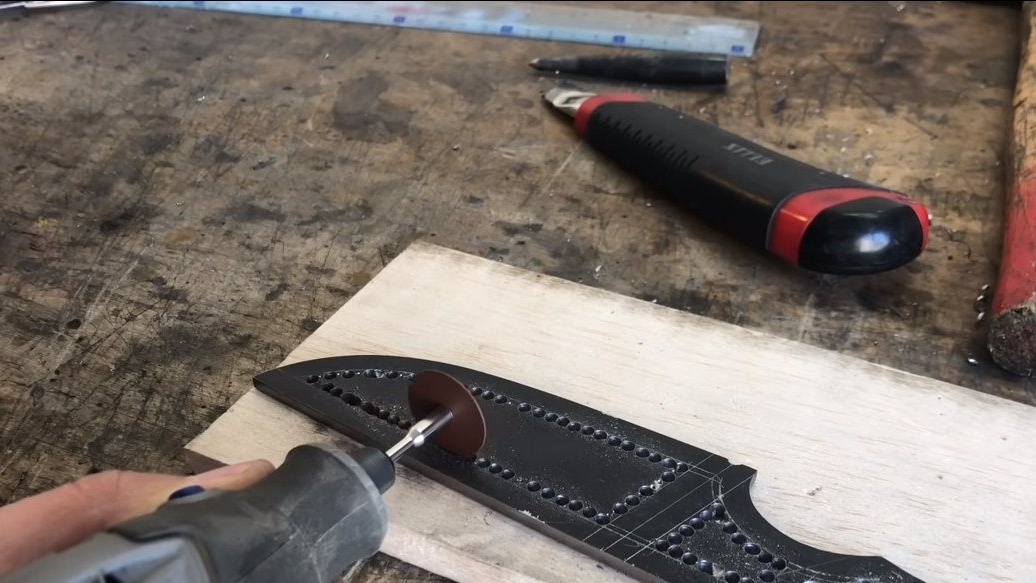
Next, we turn an ordinary blade into a "skeleton", for this initially everything needs to be marked out. For marking, the author paints a blade from a spray can in black, and then makes a marking with a vernier caliper.
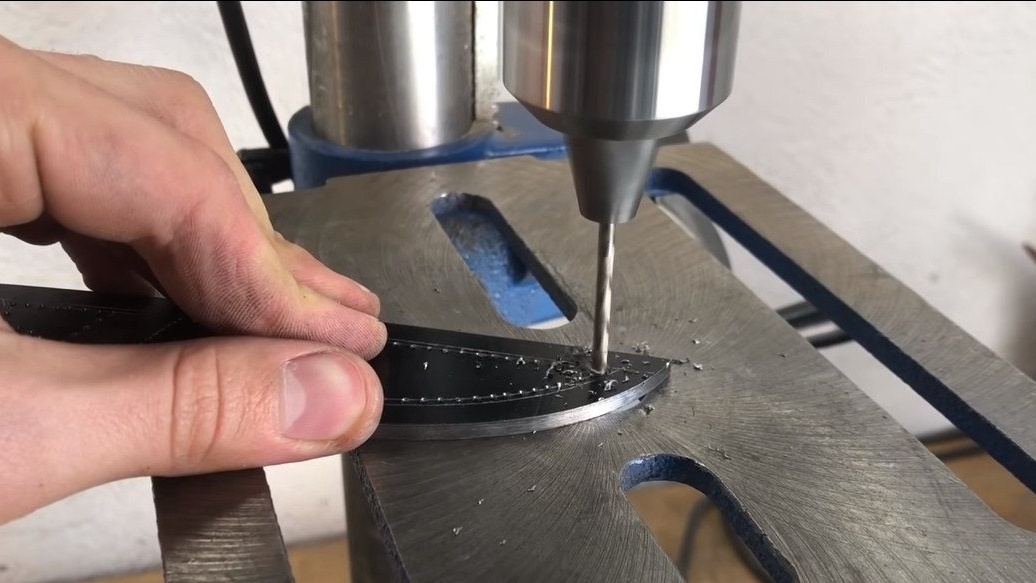
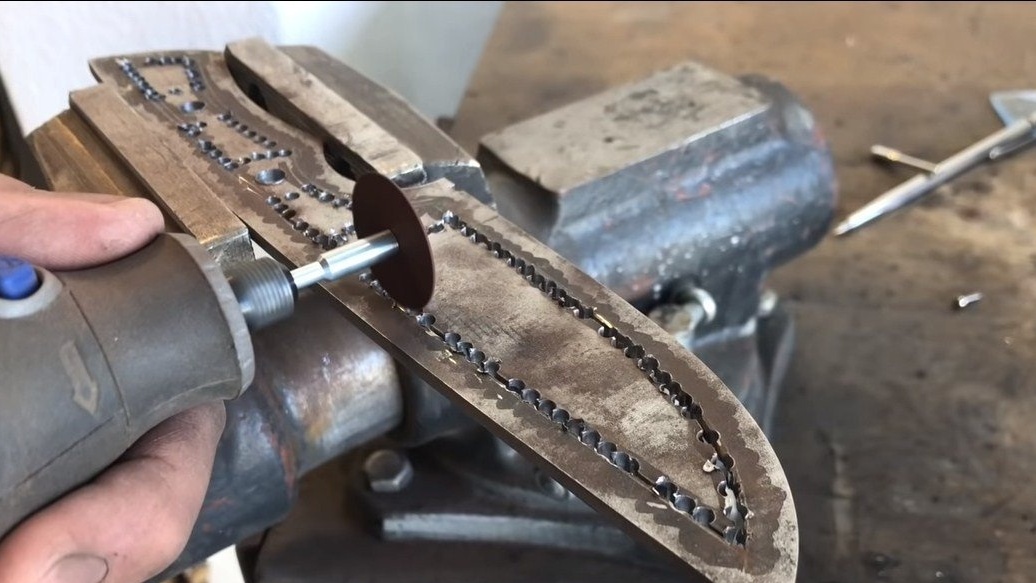
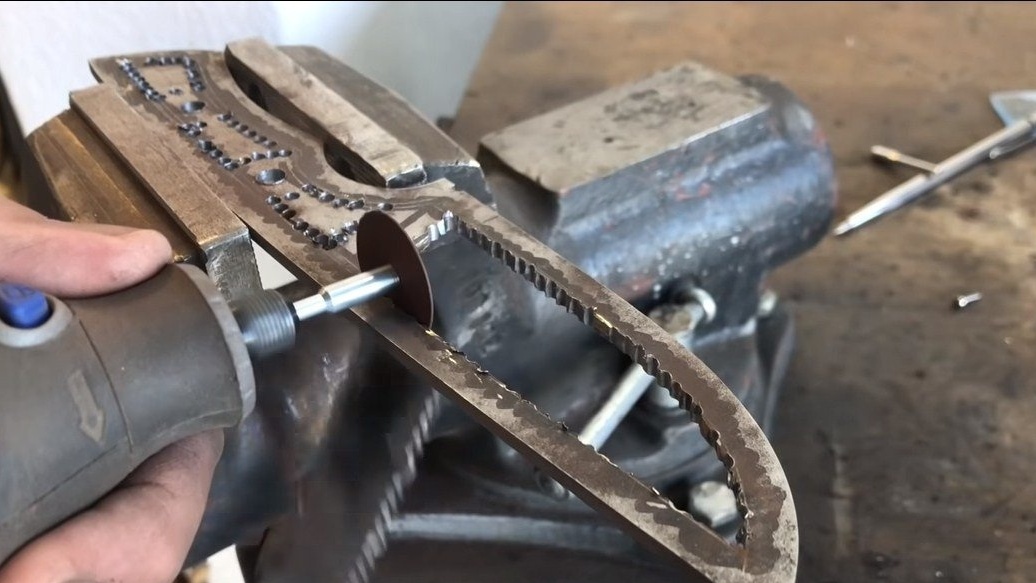
The author carries out the main work using a drilling machine, we just drill a number of holes, and the final cutting work is carried out with a drill with a cutting wheel for metal.


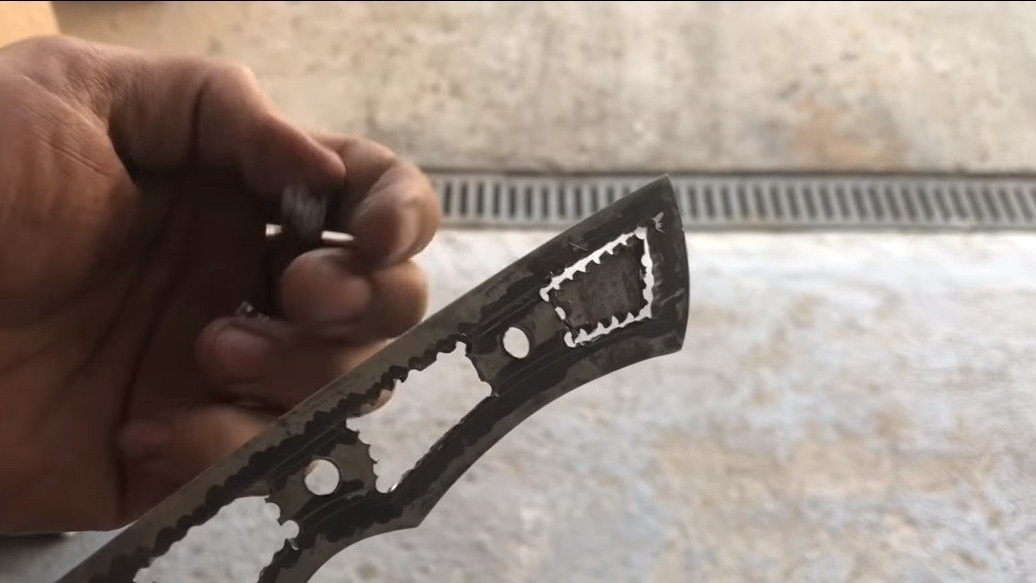
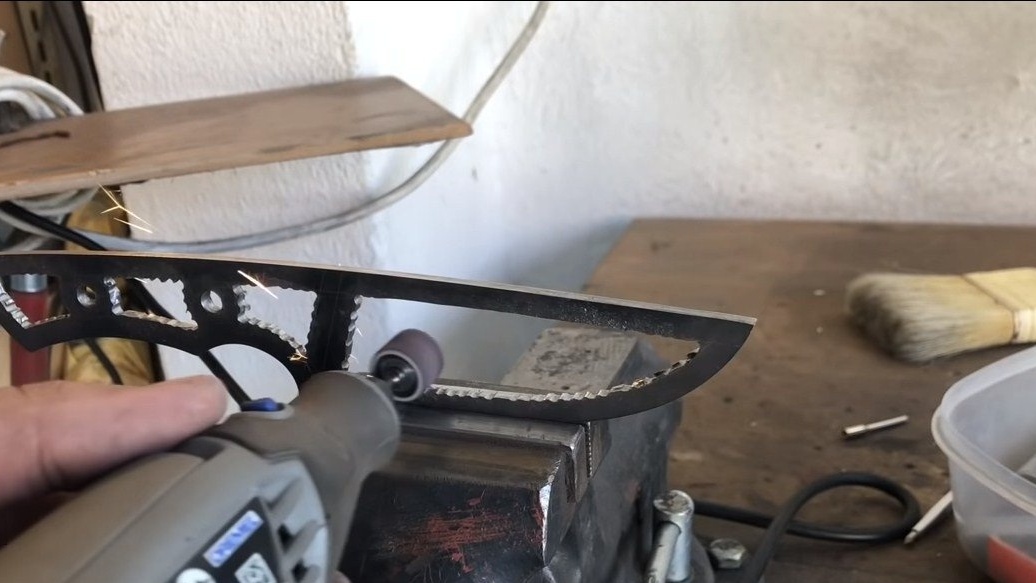
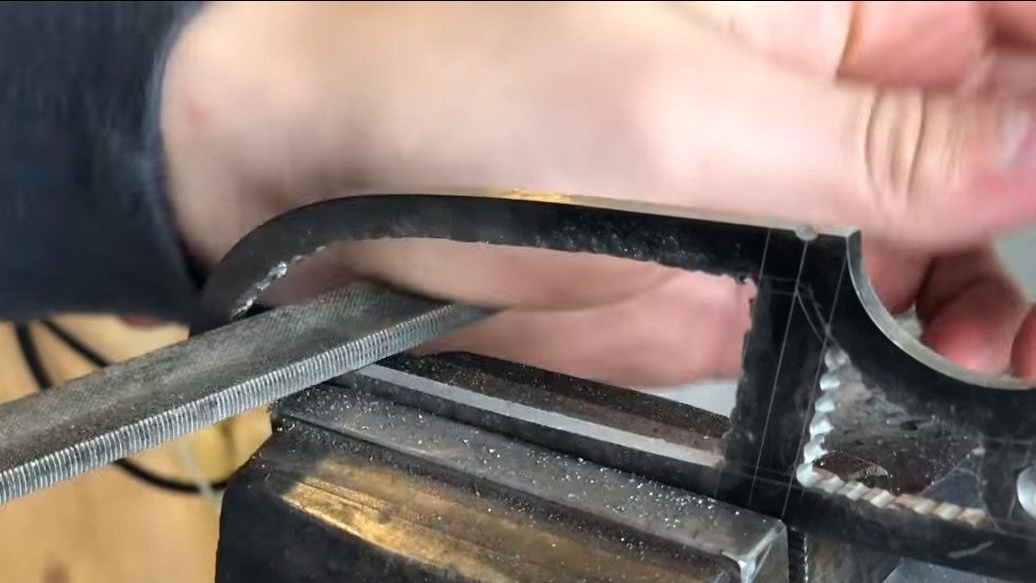
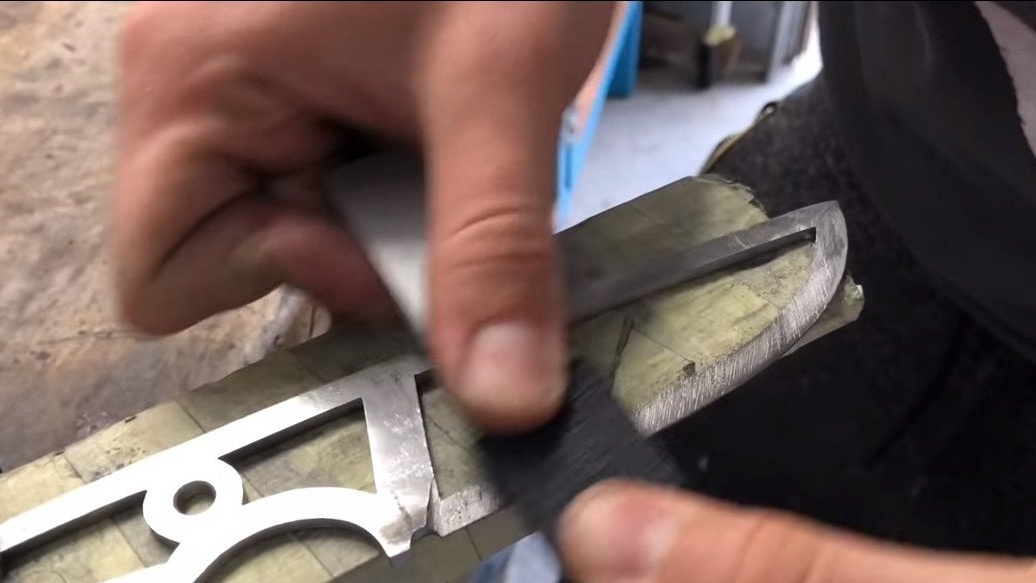
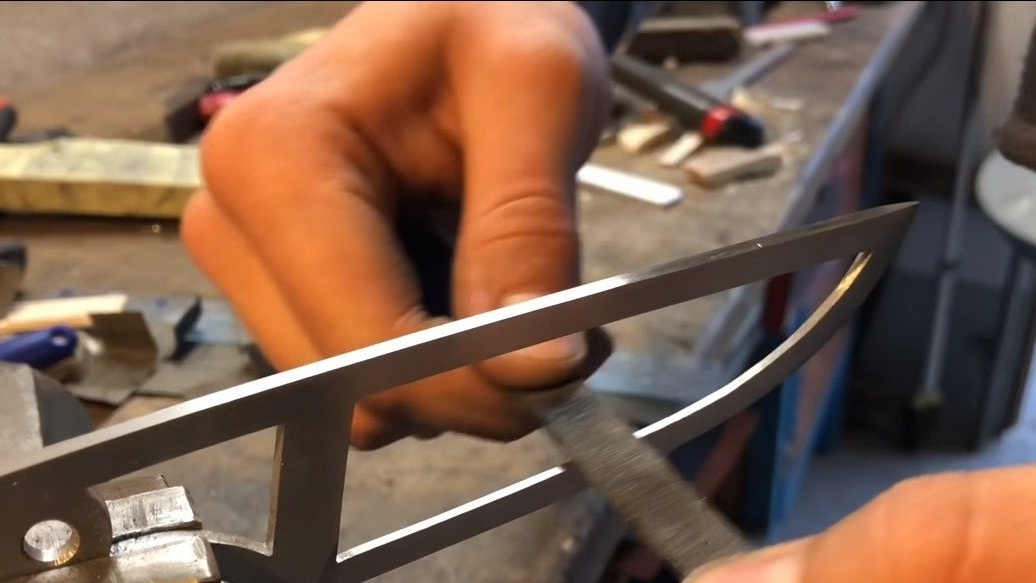
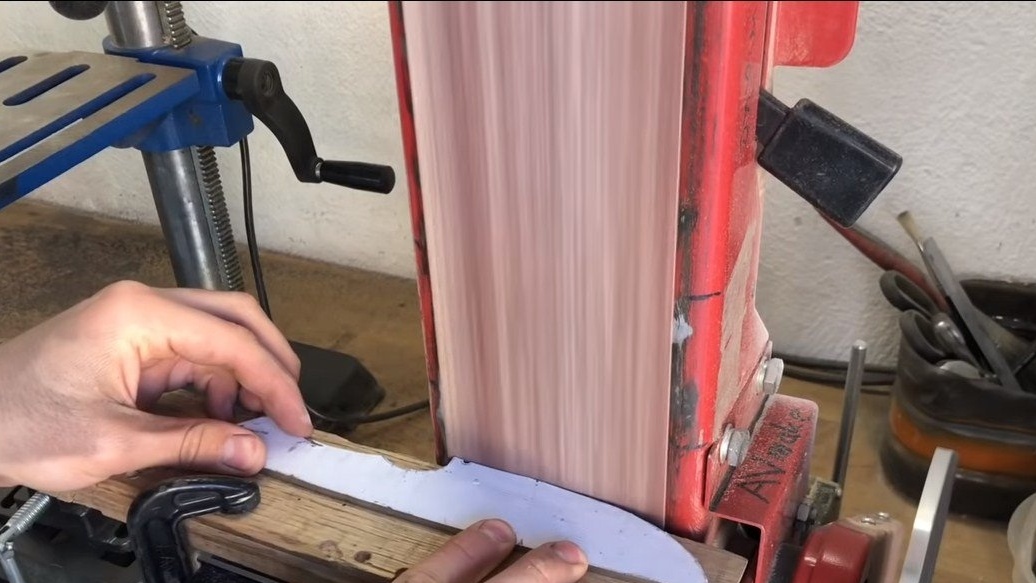
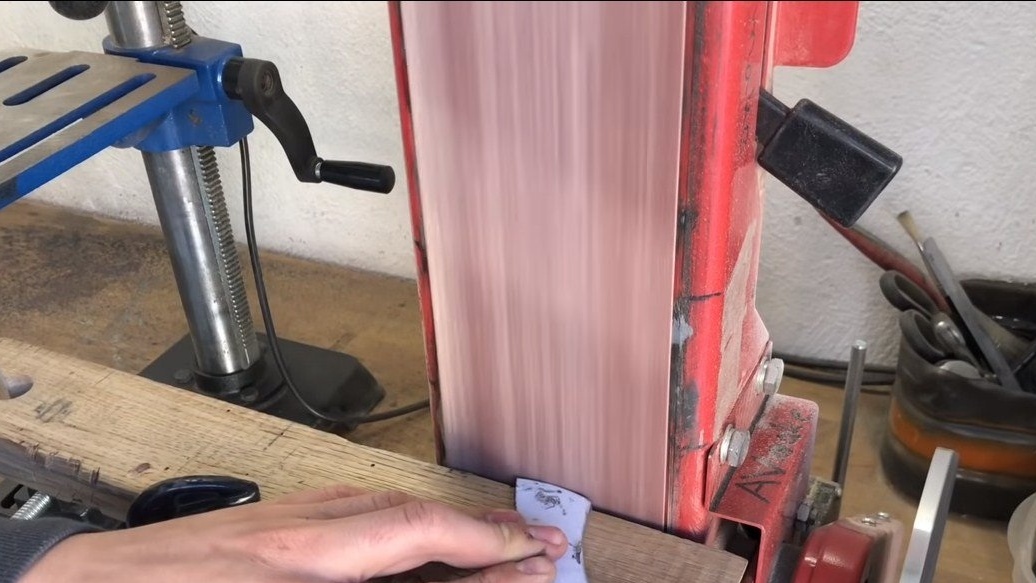
After that, we grind the formed cloves with a file, a drill and other available tools. We carefully polish the blade, bring it to the desired shape. We also draw the bevels of the blade, for ease of work, the author secured a flat file on a piece of PVC pipe. Sharpening the blade is not yet necessary, as further hardening remains to be done, and thin metal has high chances of being overheated.
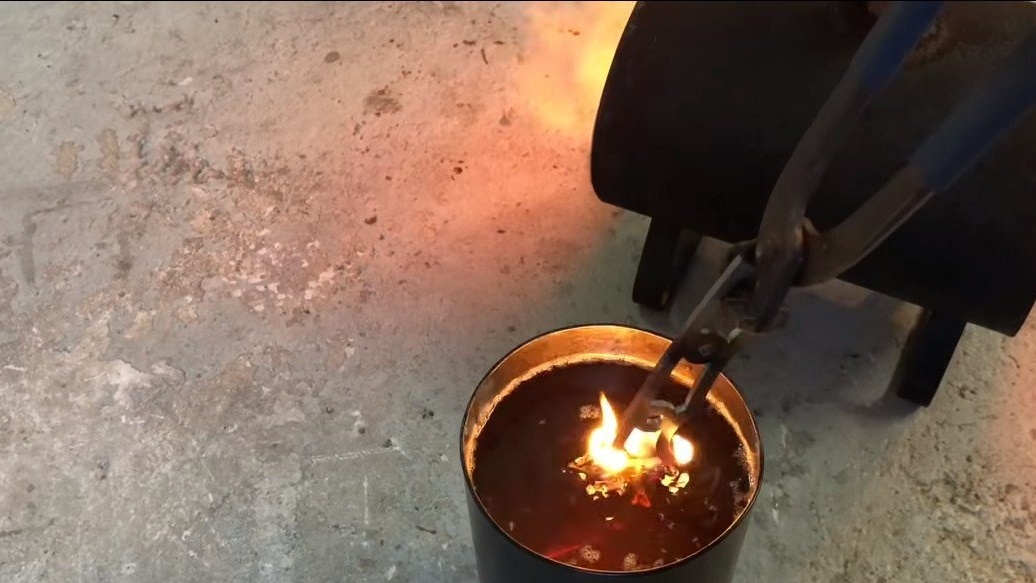
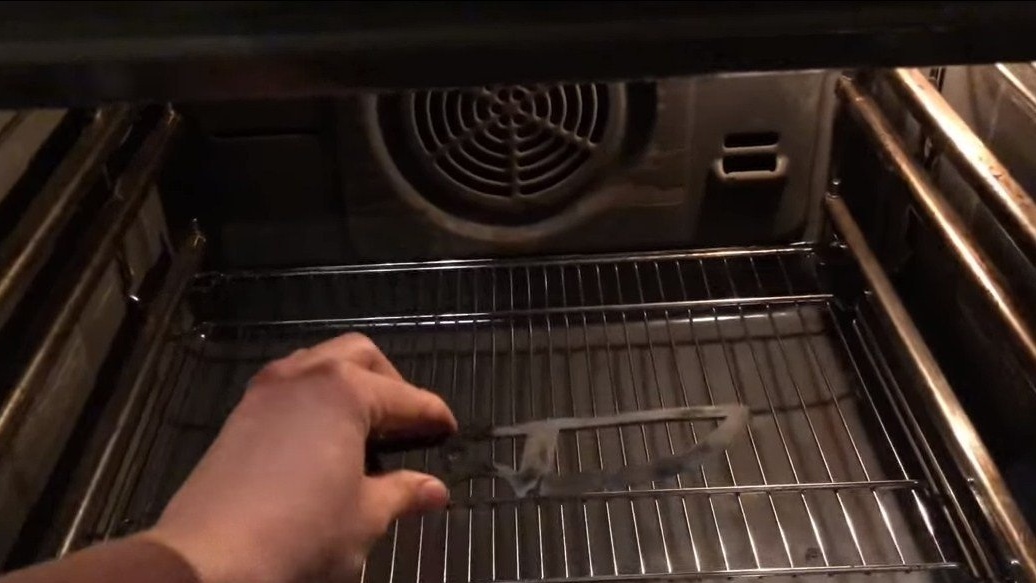
Step Three Heat treatment
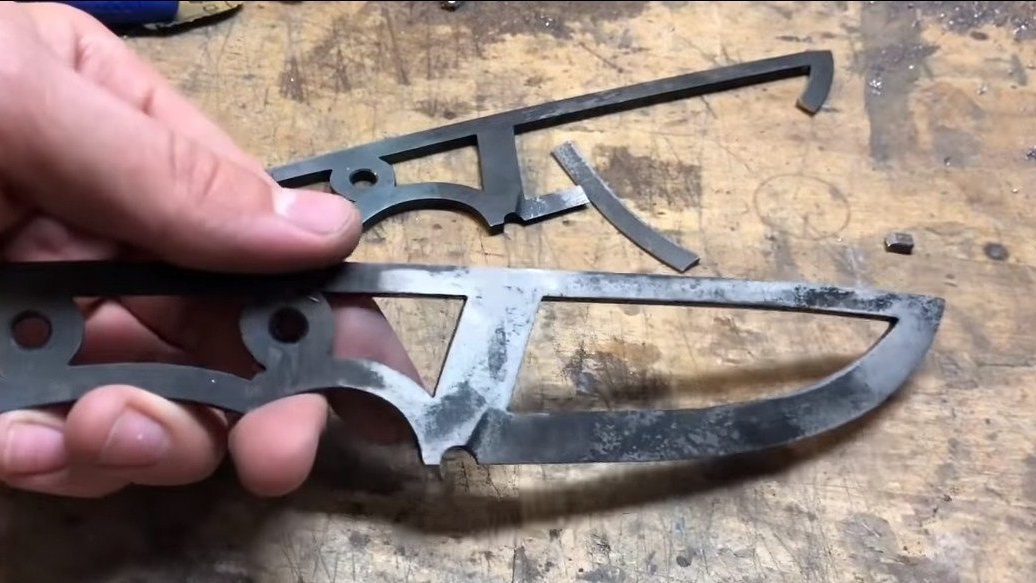
If good steel has been used, the blade can be hardened so that the blade holds the sharpener well. We heat the blade in the oven and dip in oil. The author did not succeed in the first knife, the blade cracked during hardening.
As a result, a new knife with a wider blade was made, hardening was successful. To minimize such cases, it is advisable to heat the oil during quenching.

Next, the knife must be released, the temperature regime depends on the grade of steel and the size of the blade. Thanks to the release, the blade will become durable, it will spring and will be able to withstand considerable bending loads. The author heats the blade in the oven for 2 hours at a temperature of 200 degrees Celsius.
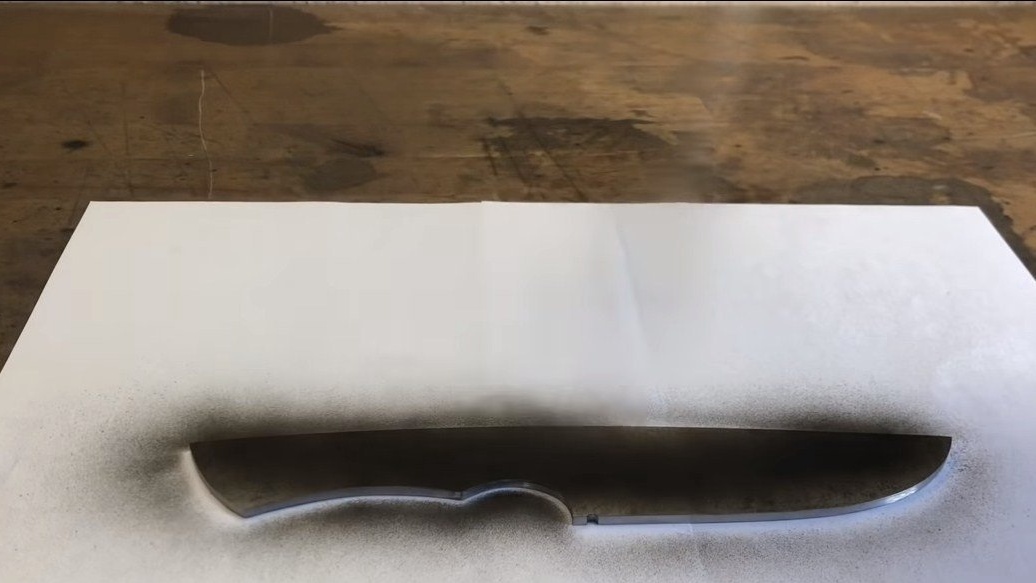
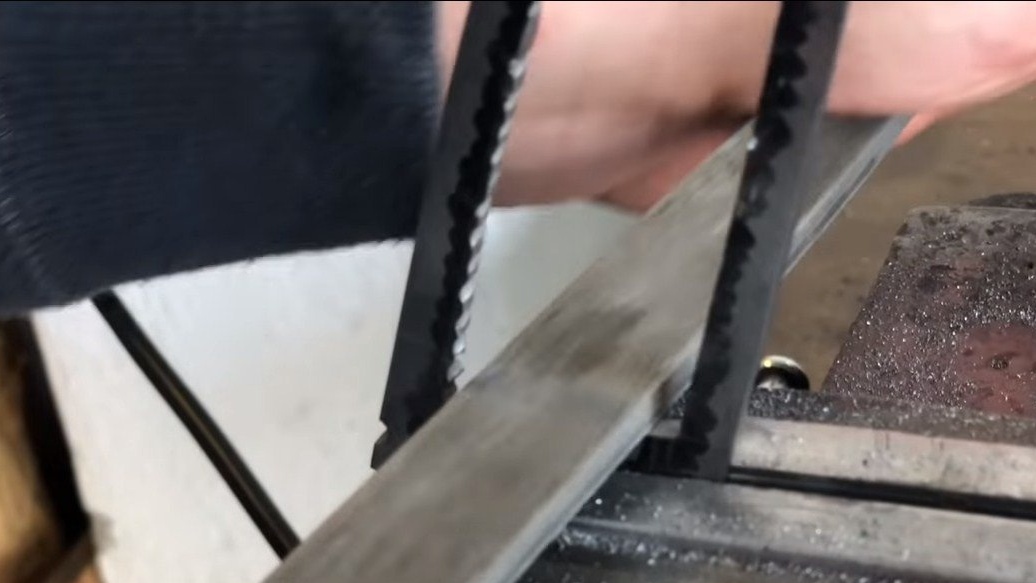
At the end, the blade must be sanded again to a shine, as it will be in burnt oil and scale.
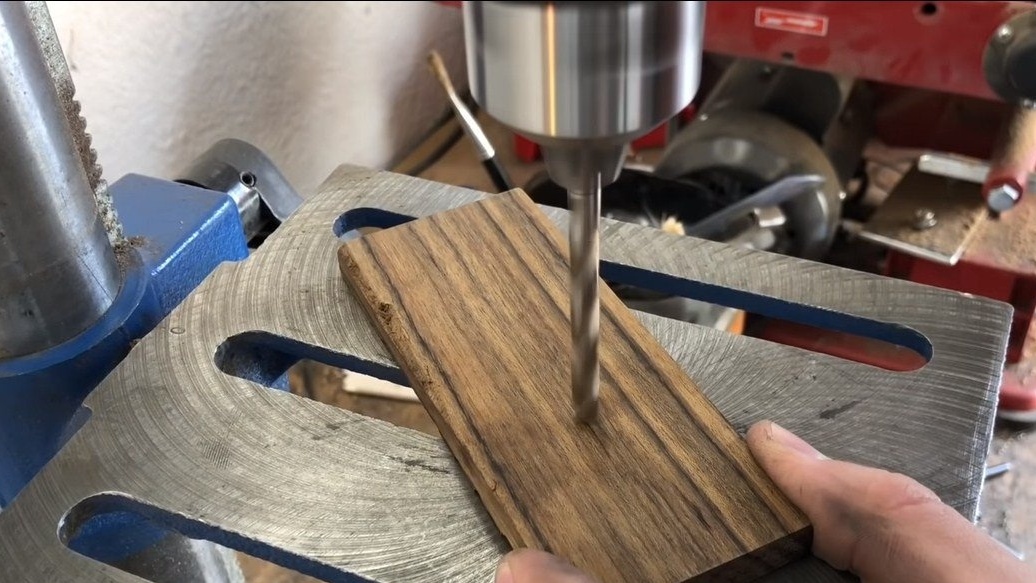
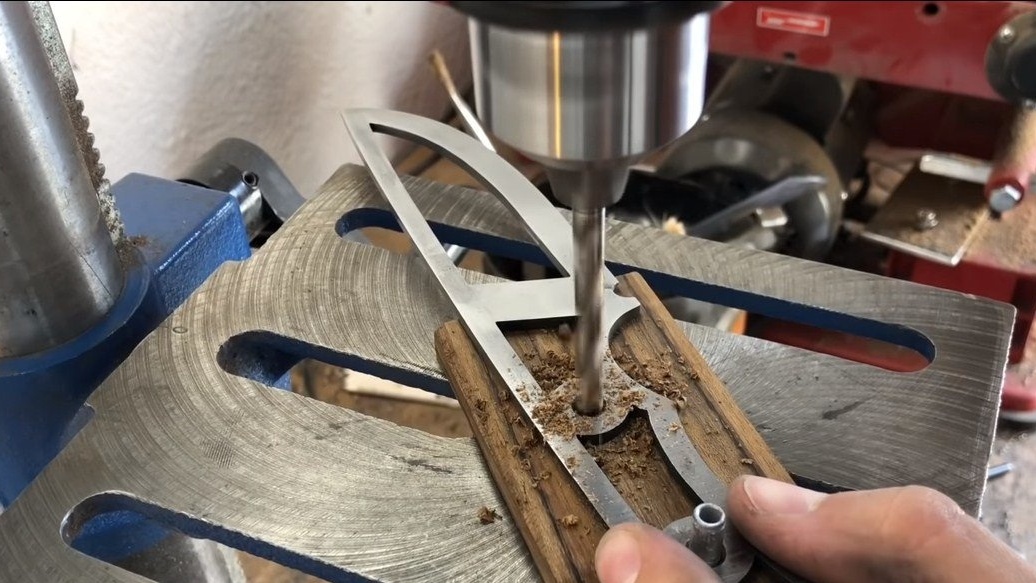
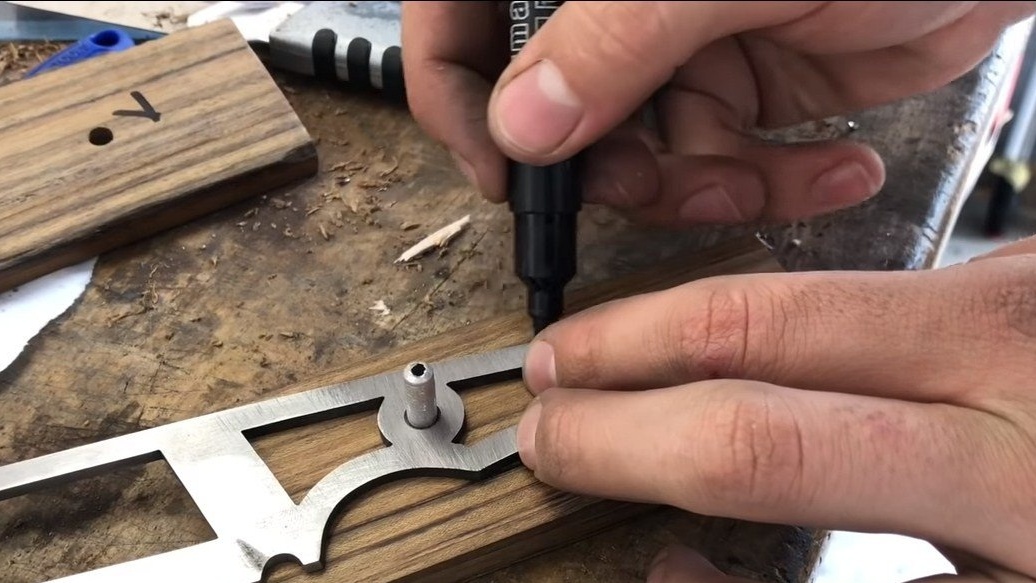
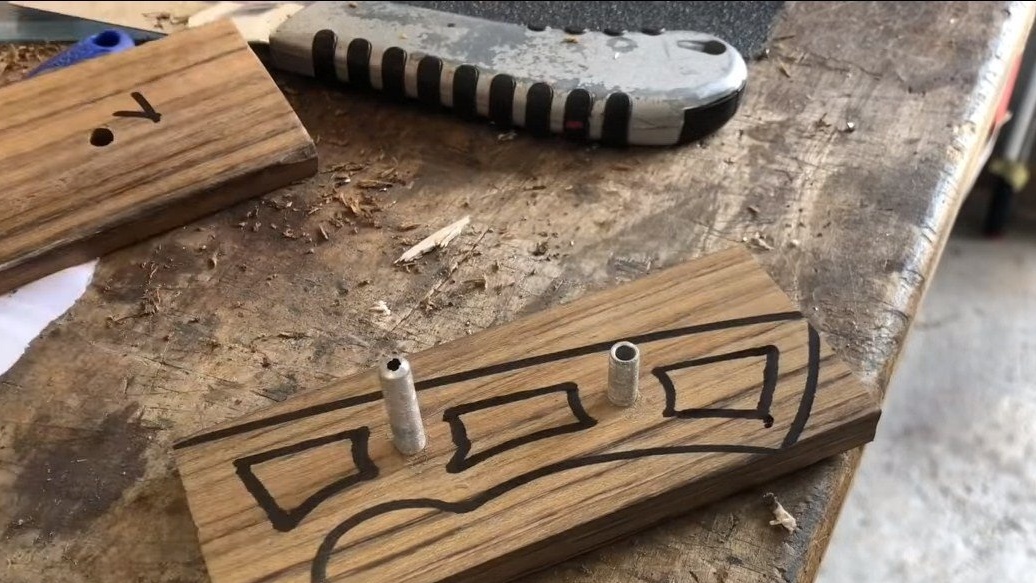
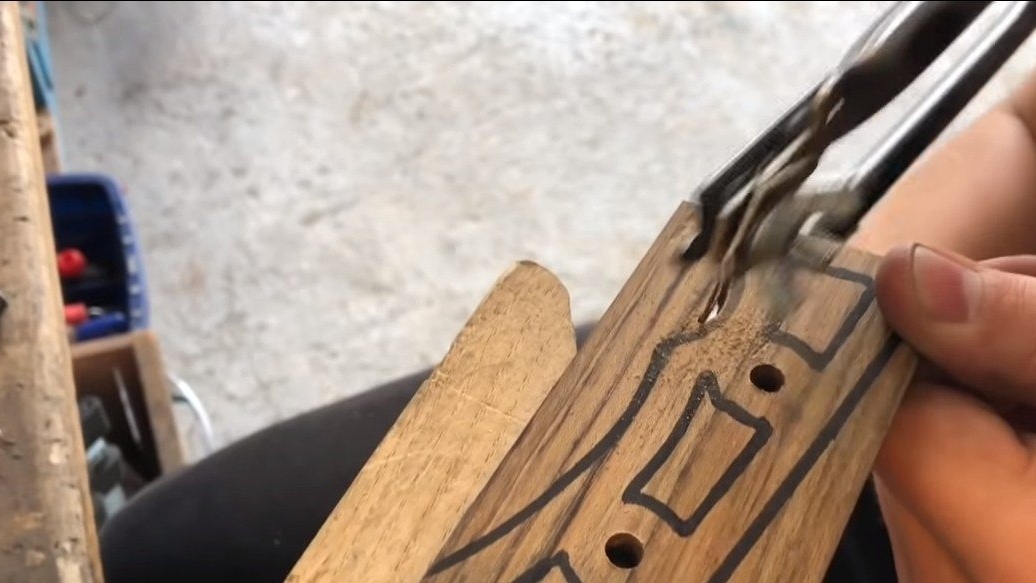
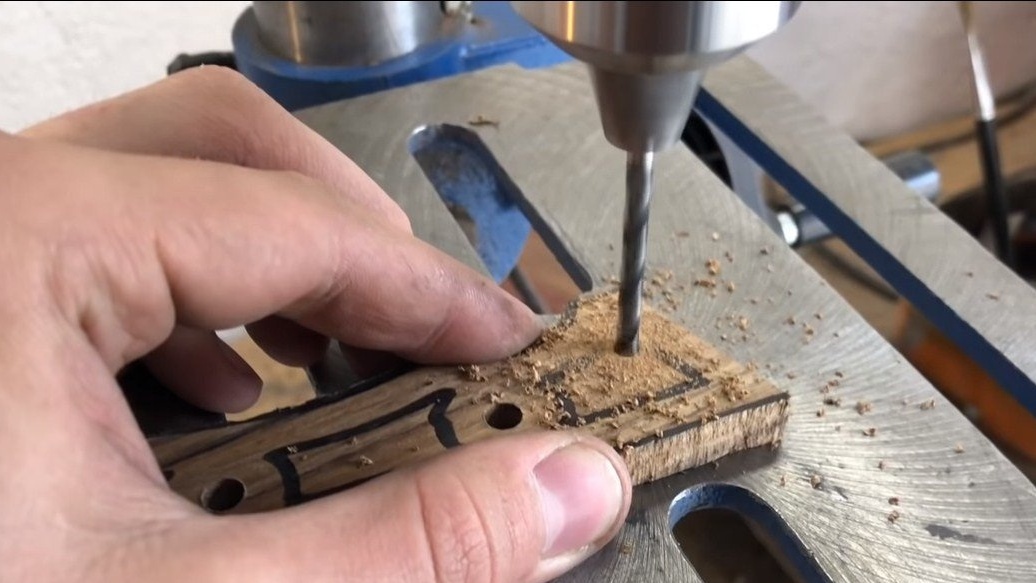
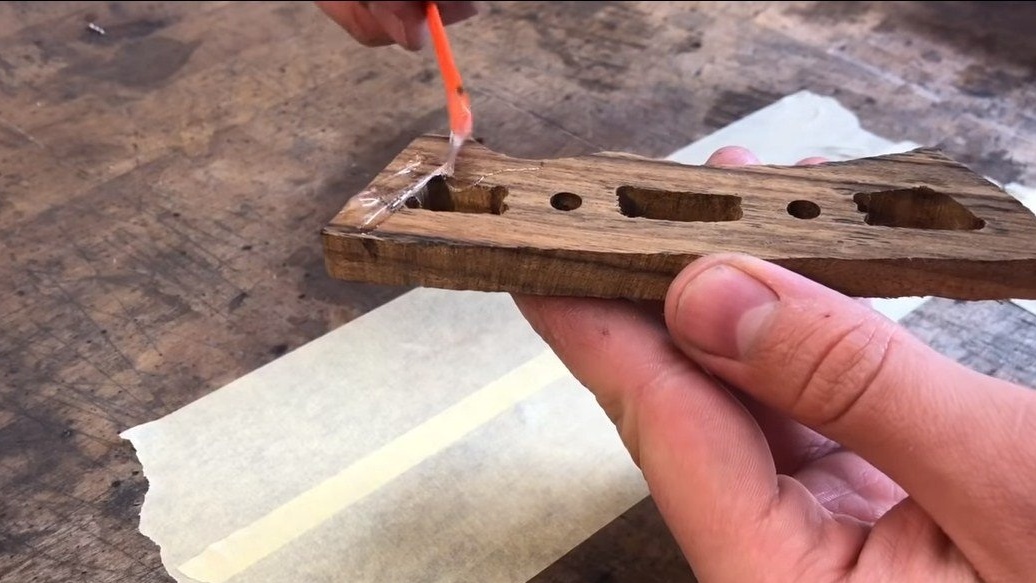
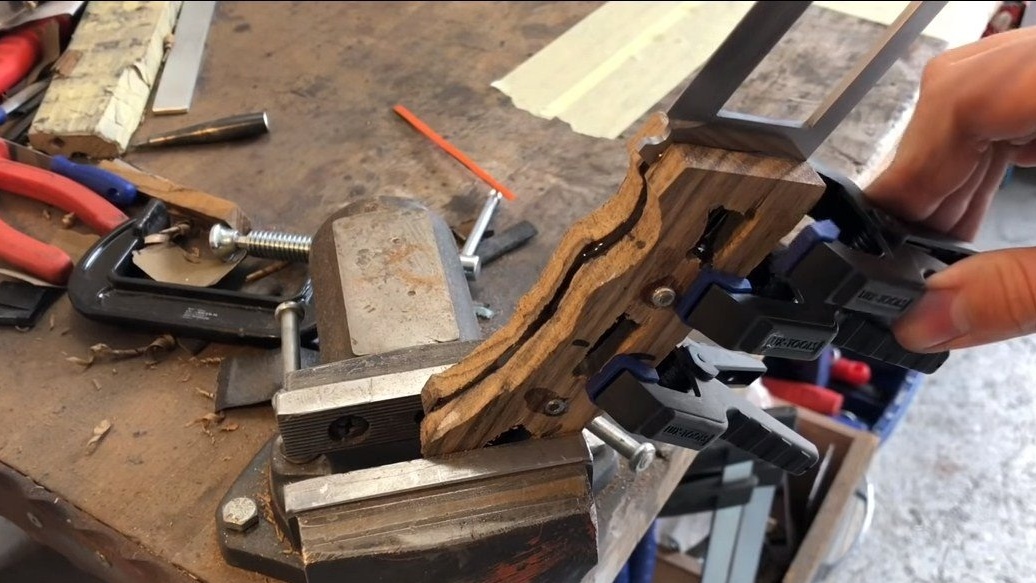
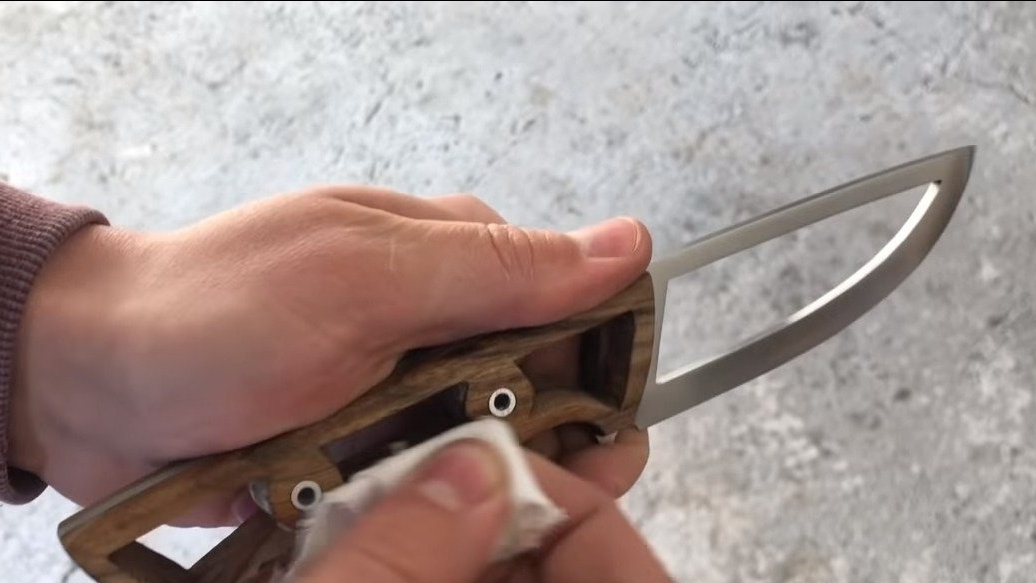
Step Four We make and install linings
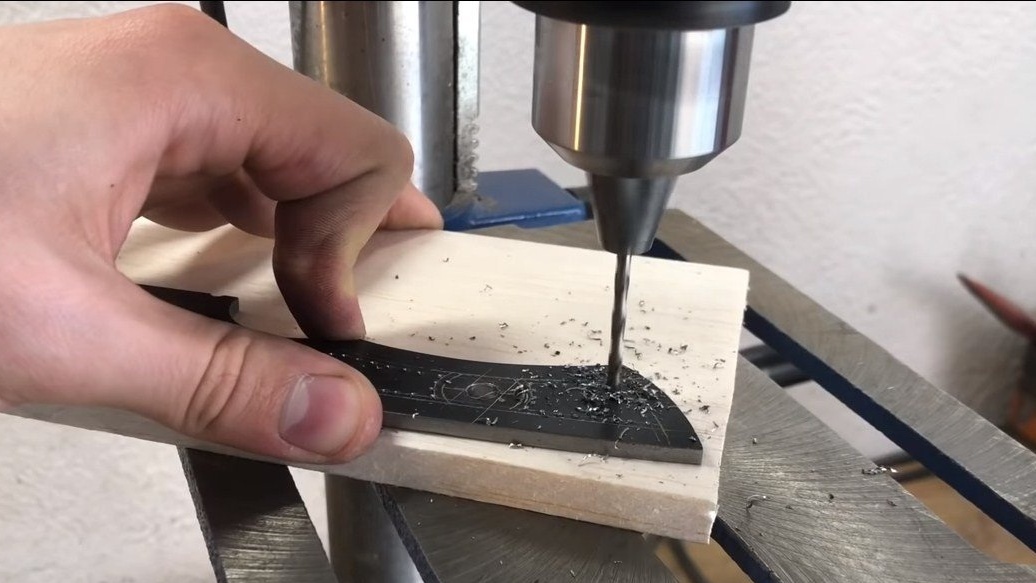
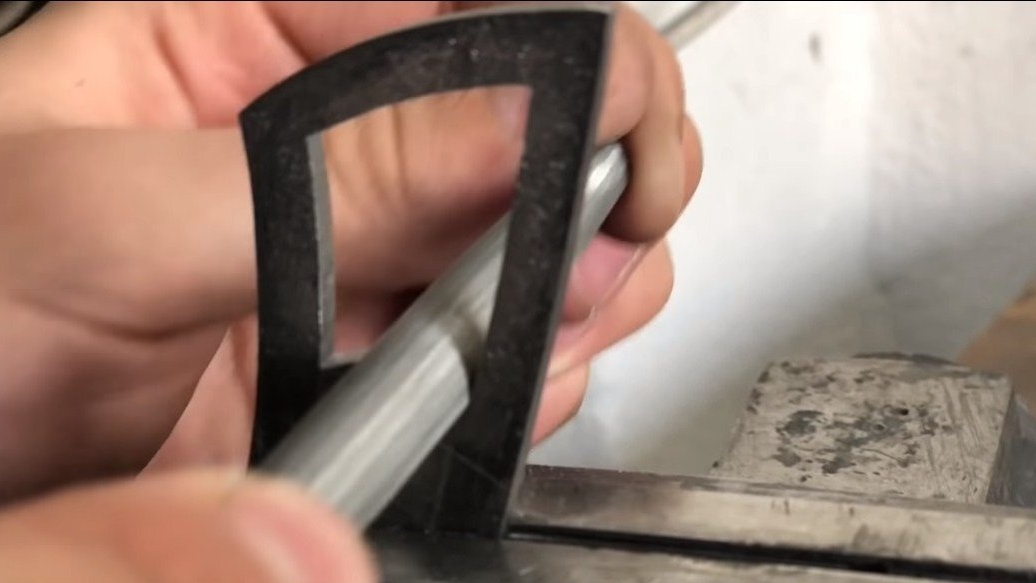
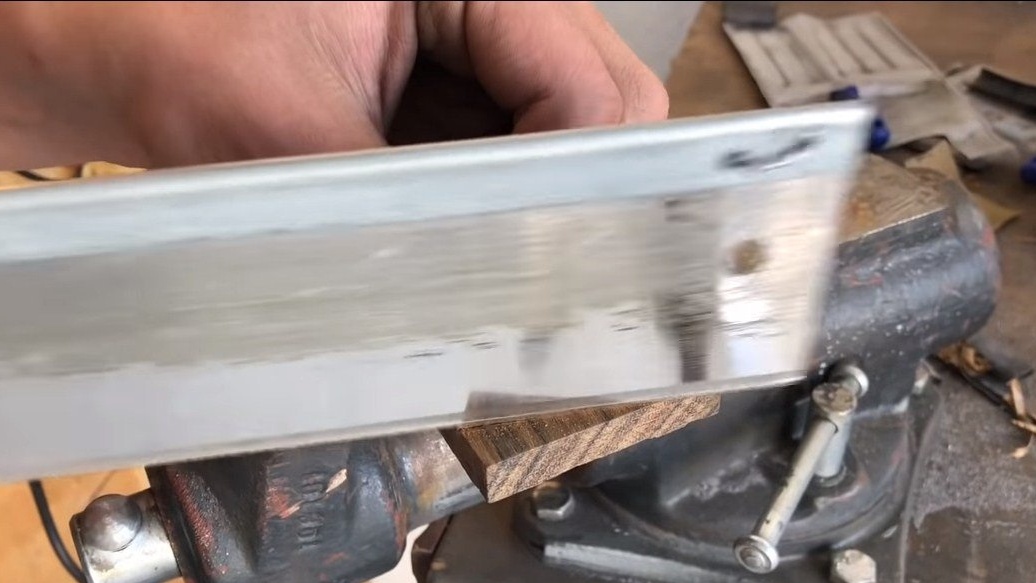
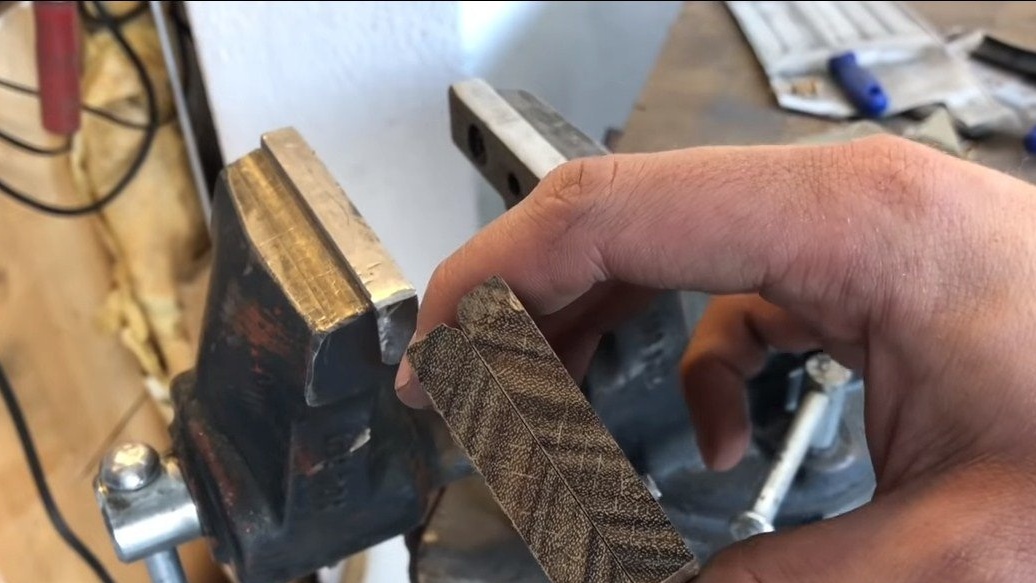
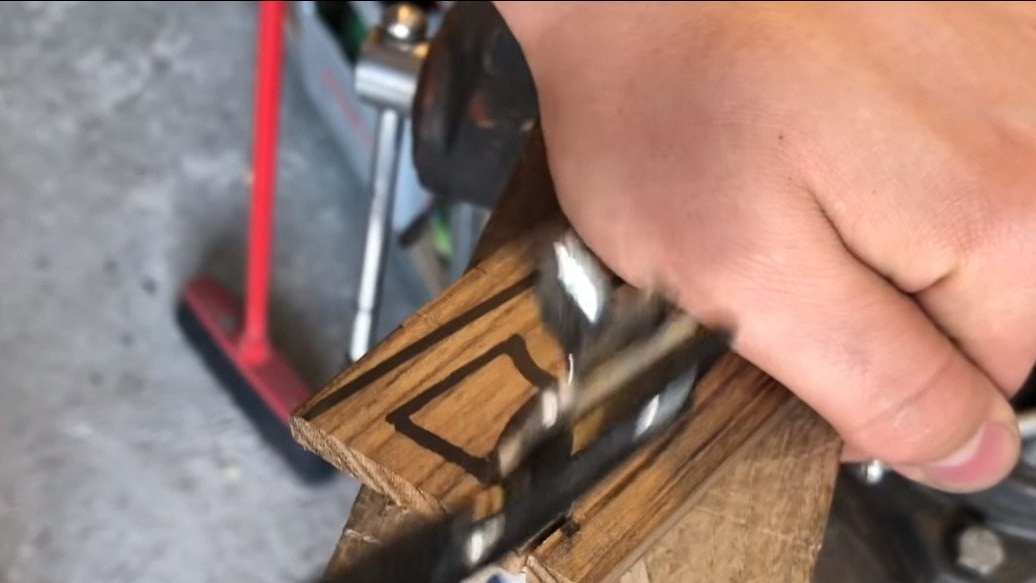
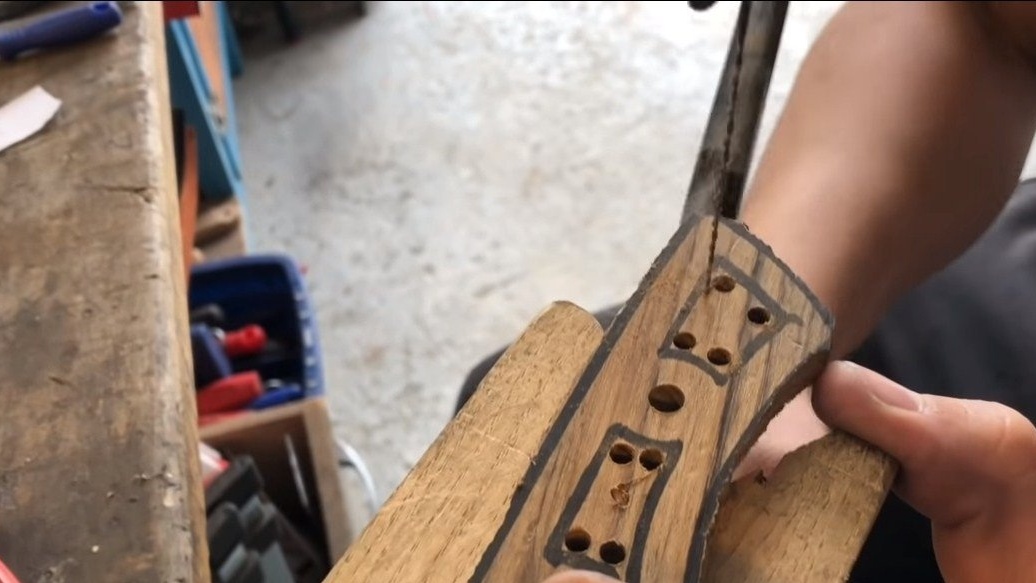
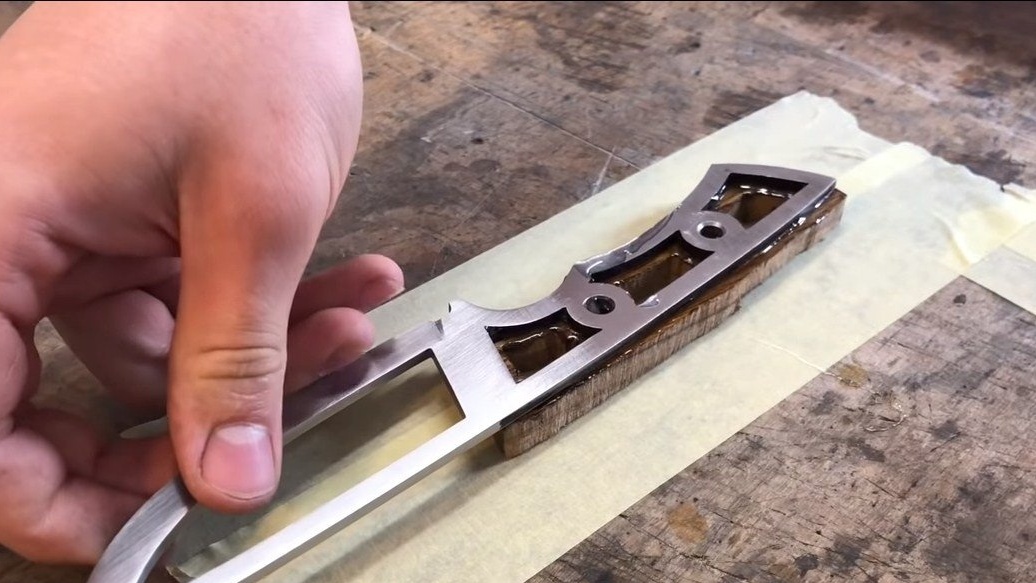
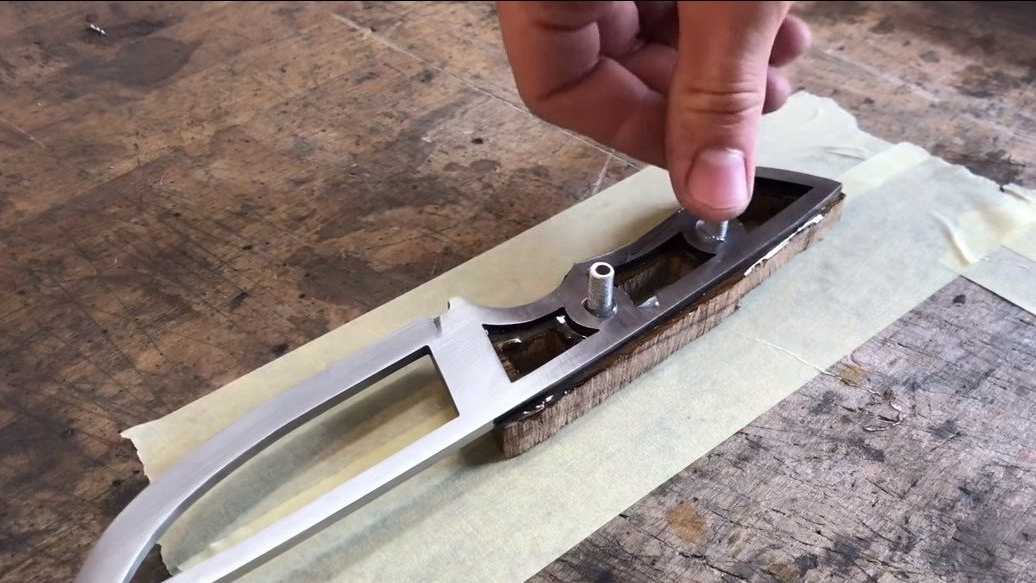
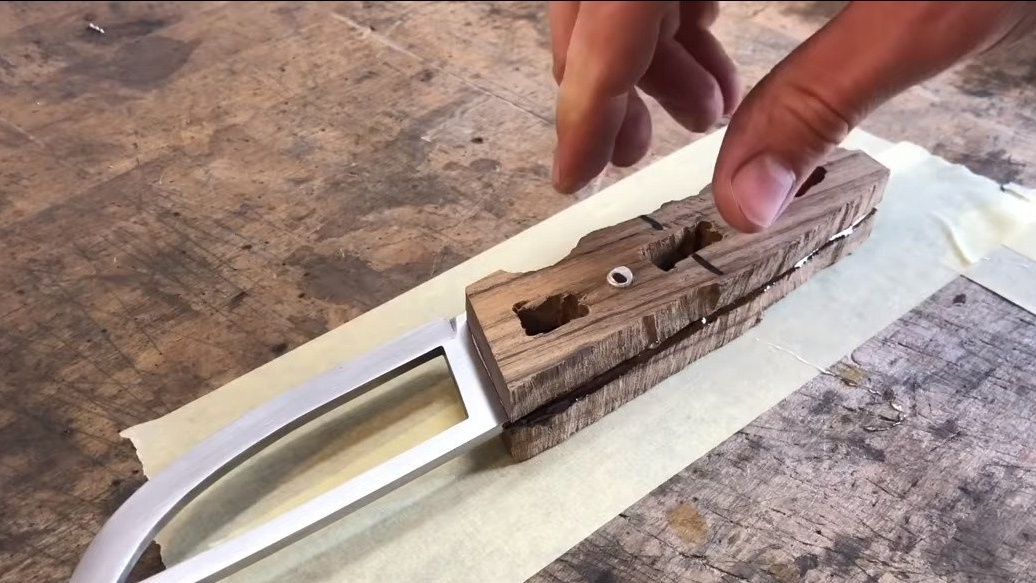
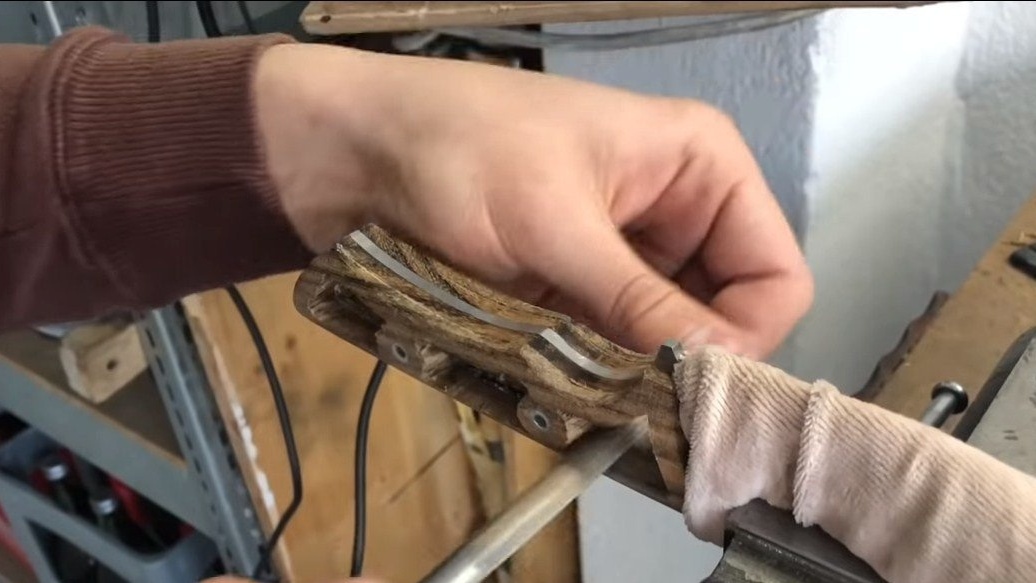
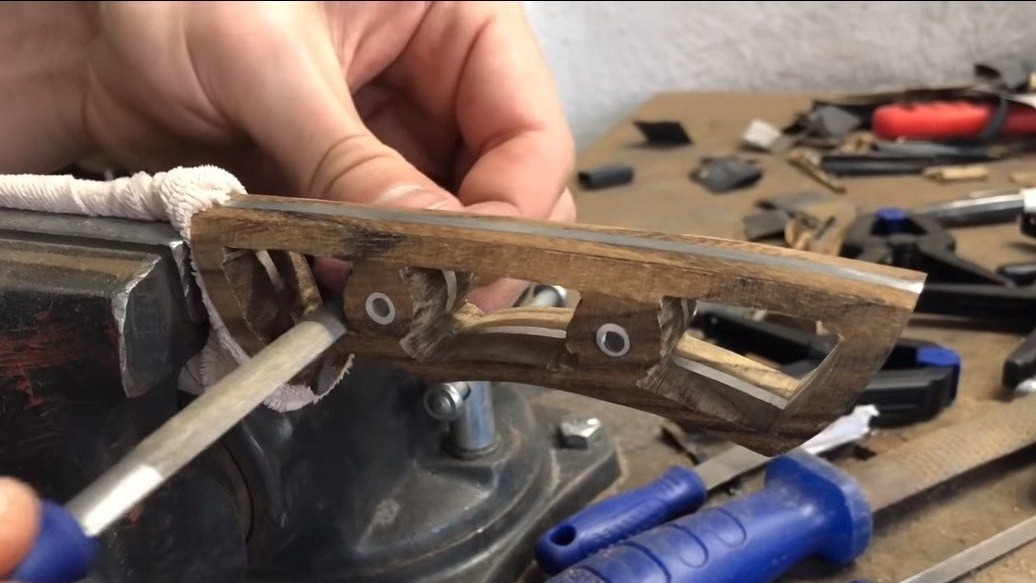
Next, we will make the plates, here we need sockets with a beautiful wood texture. We outline the places for the holes, drill and select the pins, in our case these are tubes. Well, then you need to cut exactly the niches in the overlays, as in the handle of the blade. We drill holes and work with a manual jigsaw.
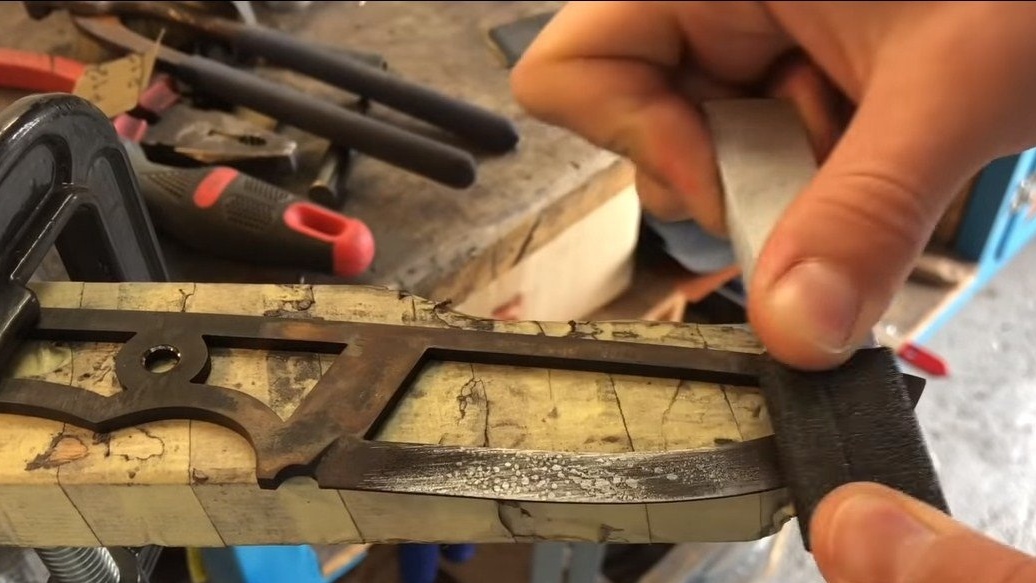
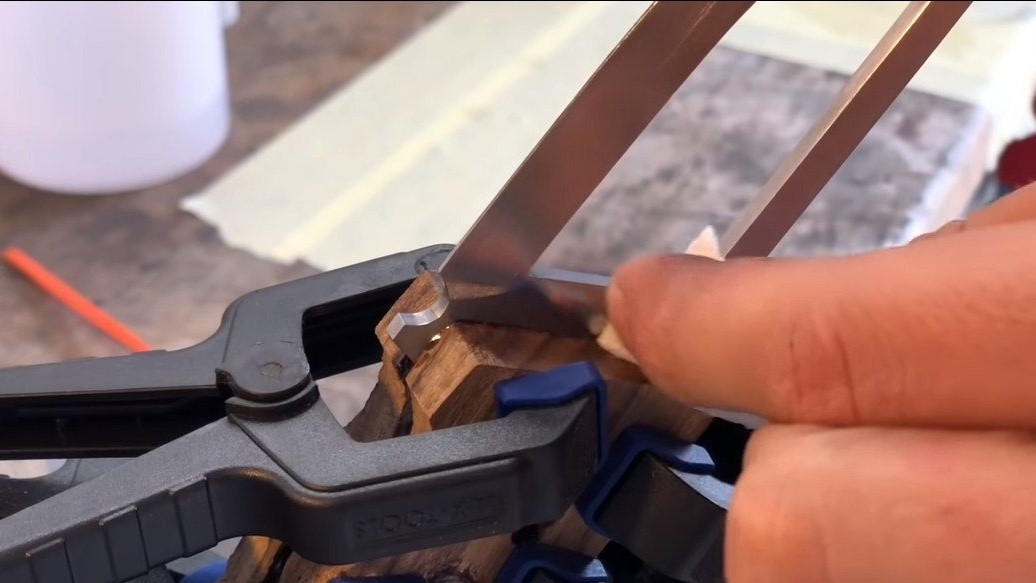
When the pads are ready, install them on the blade using epoxy glue. We carefully compress everything with clamps for high-quality bonding of overlays.
Step Five Final work
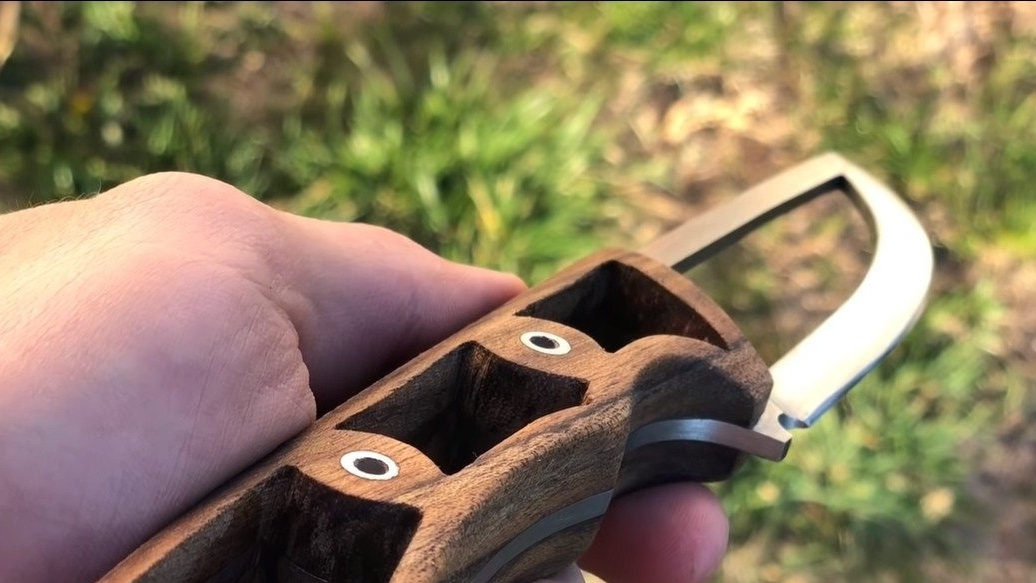
When the glue dries, we polish the handle, bring its shape to perfect. Here we need both files and sandpaper, and for rough processing we can use a belt sander or orbital.
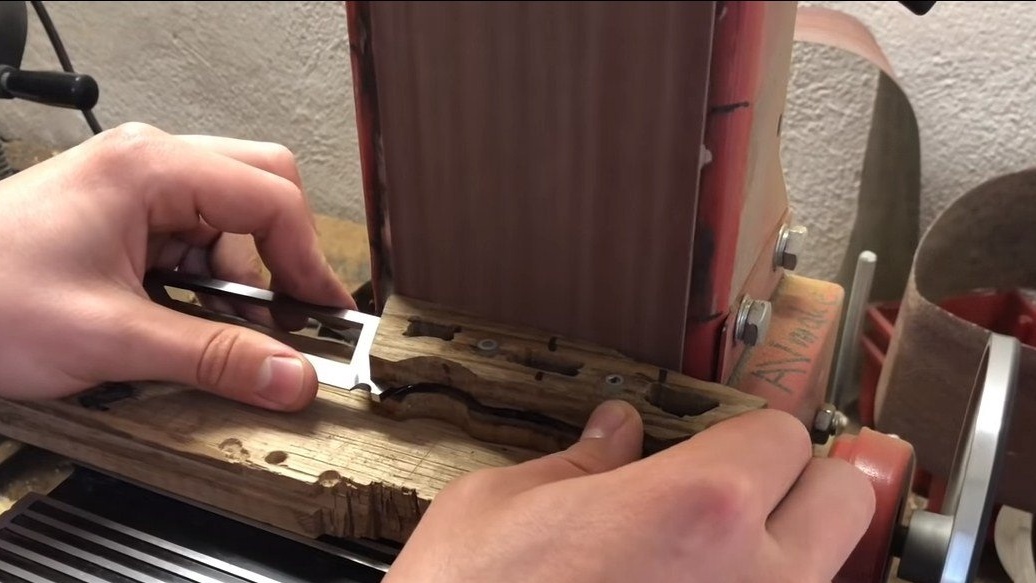
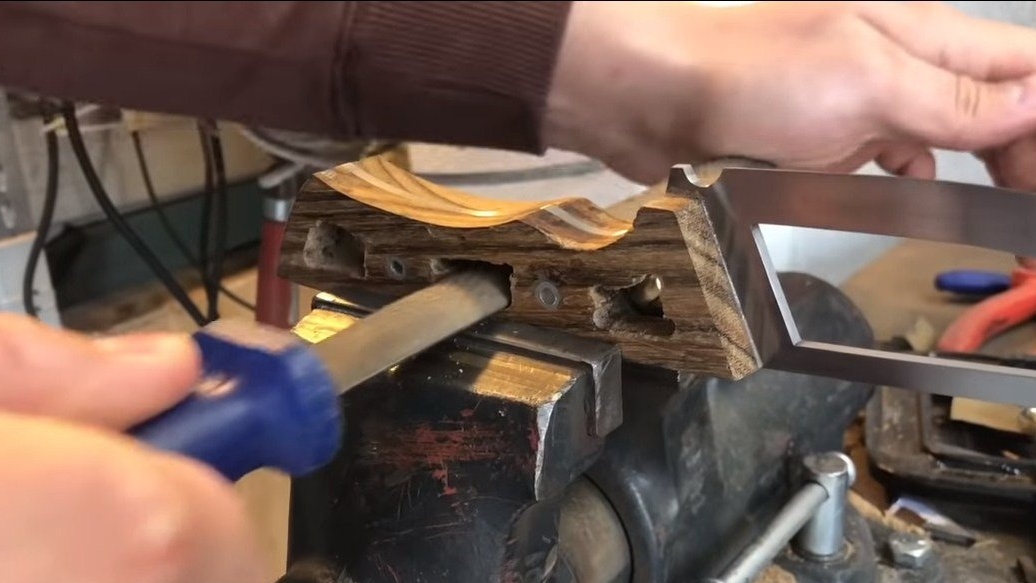
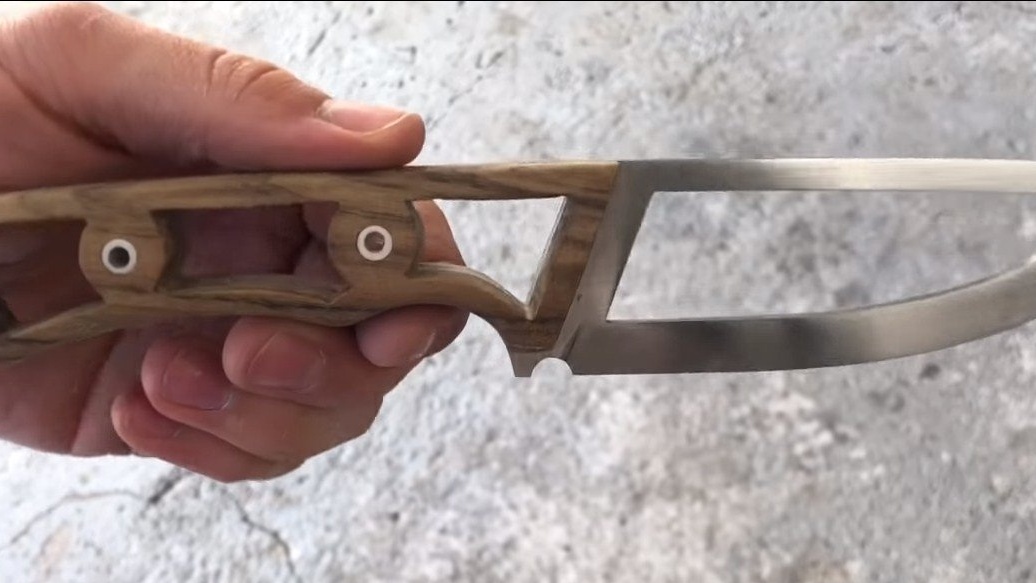
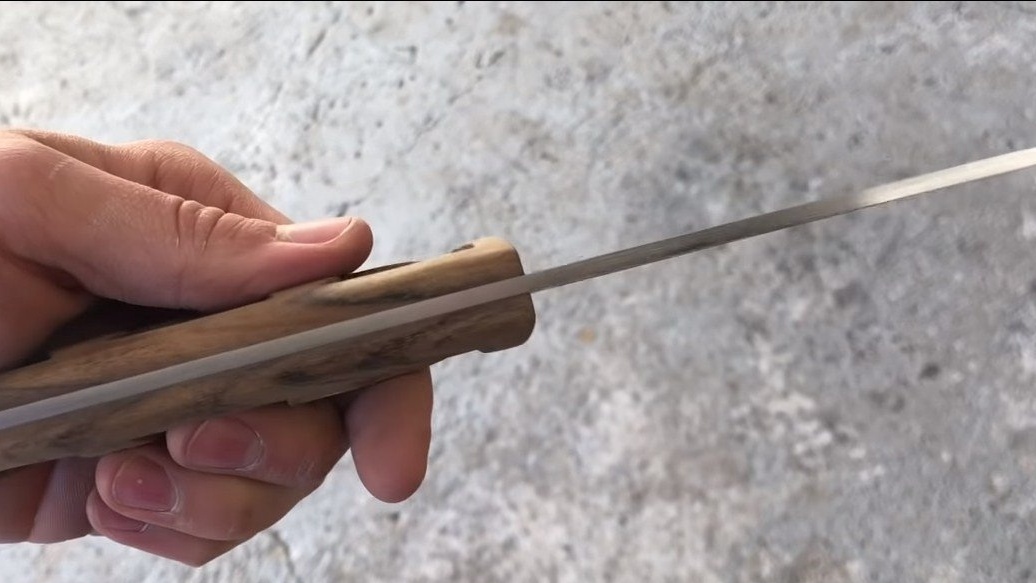

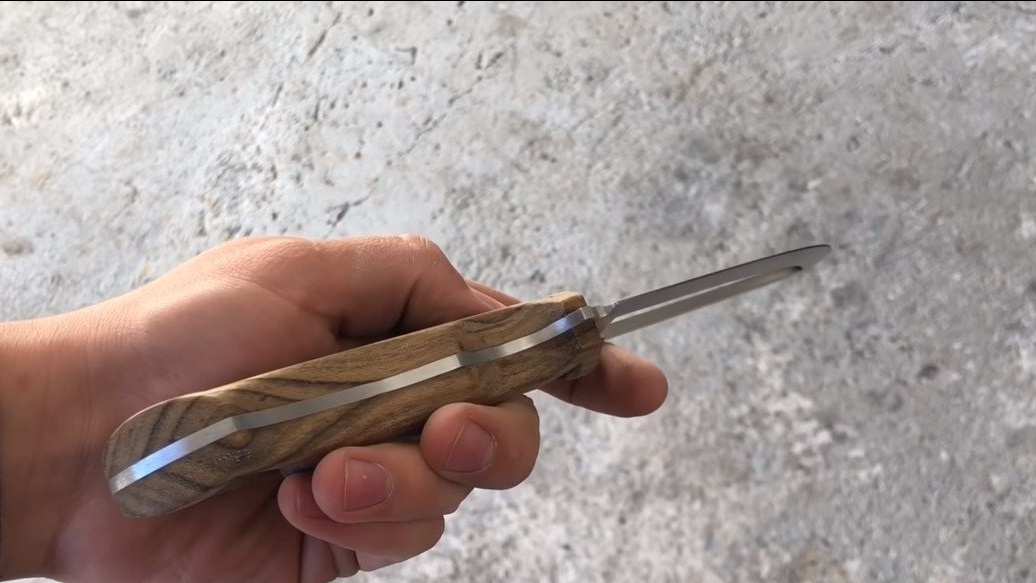
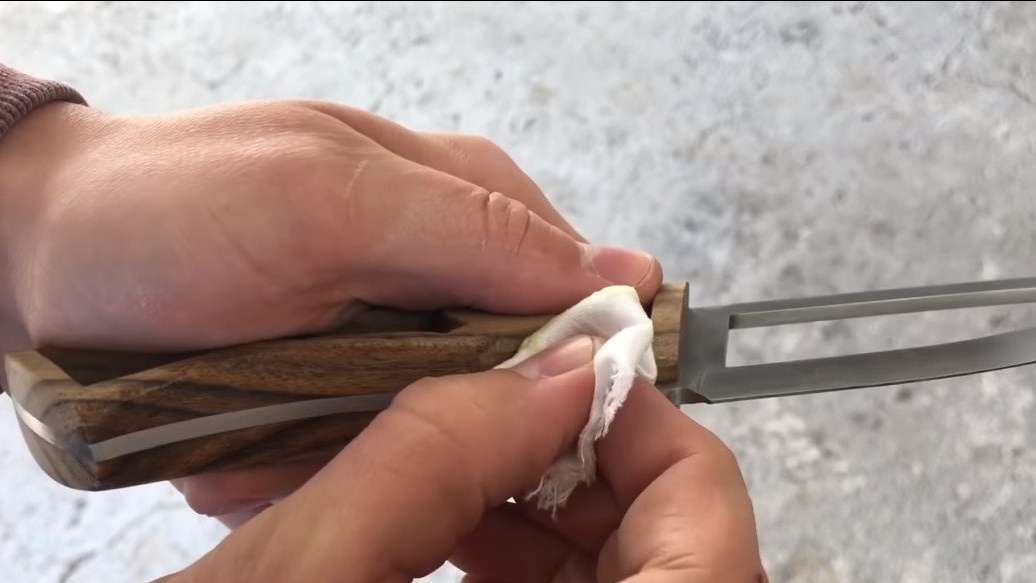
A tree can be brought to a perfectly smooth state, it will look like a bone, under oil this whole thing looks very beautiful. And oil will protect the tree from moisture. The knife is ready, it remains only to sharpen the blade, for sharpening, you can use the machine with grinding stones, they can bring the knife to the state of the blade.
The project is ready, I hope you homemade I liked it. Good luck and creative inspiration, if you decide to repeat this. Do not forget to share your ideas and homemade things with us!