
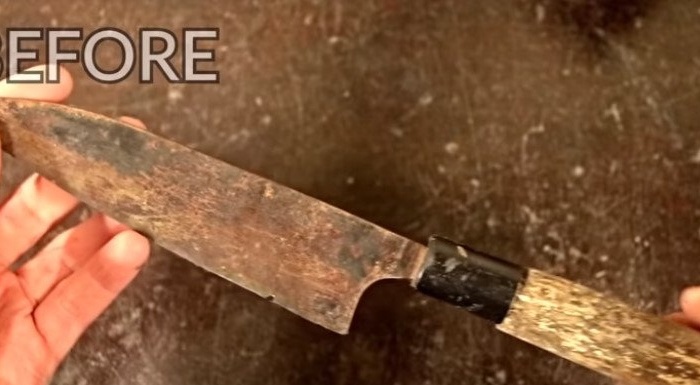
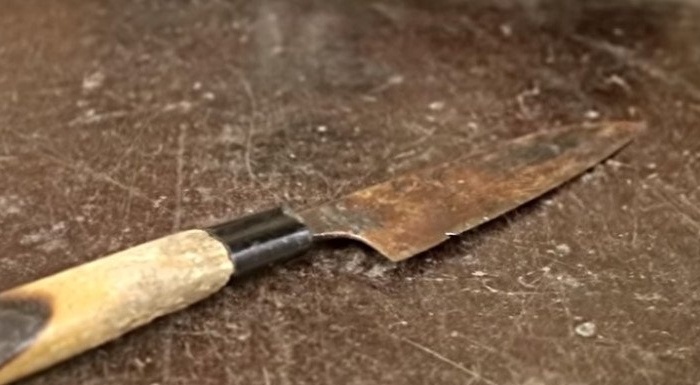
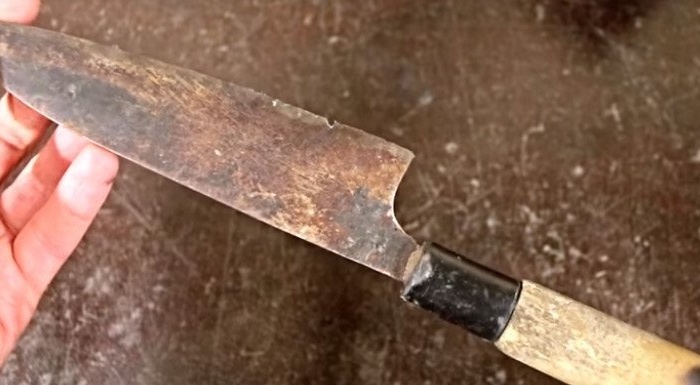
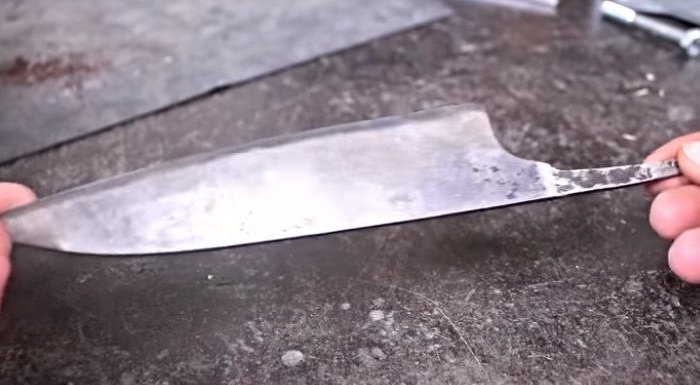
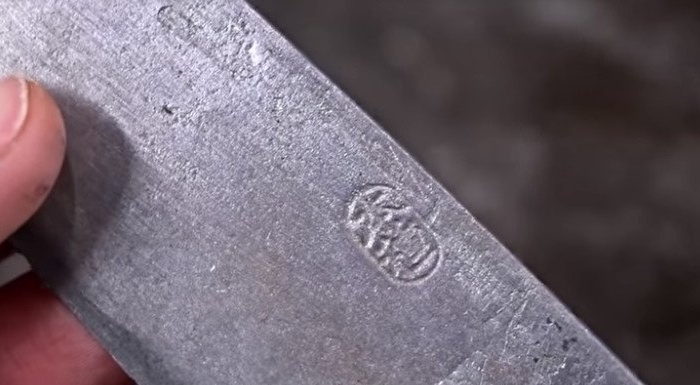
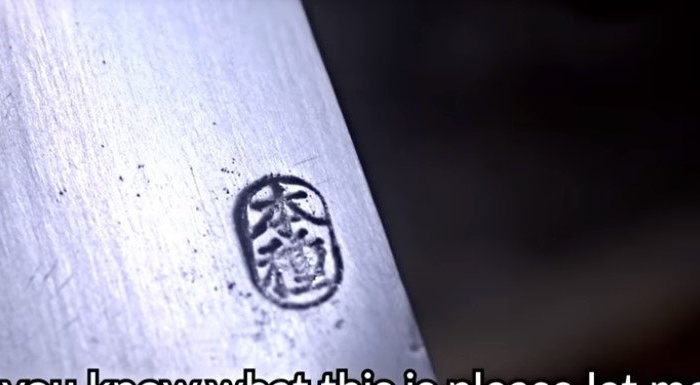
The master bought this Japanese knife at a flea market for several dollars. The knife was in poor condition rust, burnt handle, poor sharpening. After restoration, the knife received a second life.
Tools and materials:
-Knife;
-Board;
Epoxy resin;
-Dye;
-Vise;
-Sandpaper;
-Drilling machine;
-Polishing wheel;
-Polishing paste;
-File;
-Tape grinding machine;
-Bandsaw machine;
-Capacity;
-Vinegar;
-Toothbrush;
Step one: handle removal
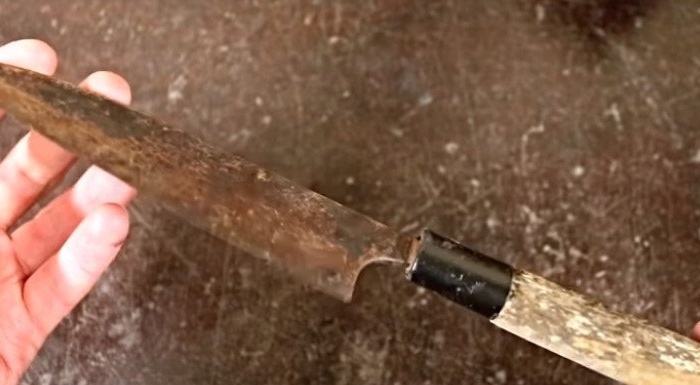
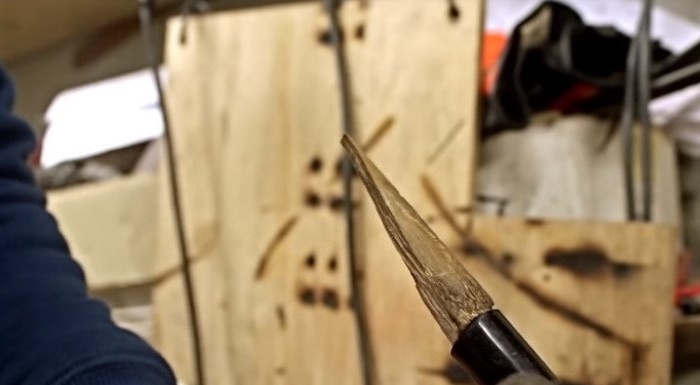
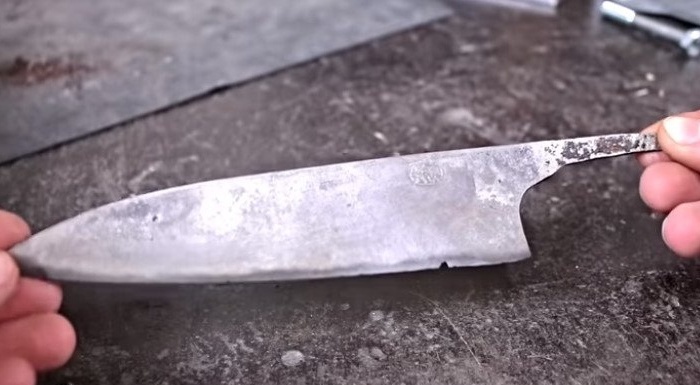
The knife fell into the hands of the master in an unsightly form.
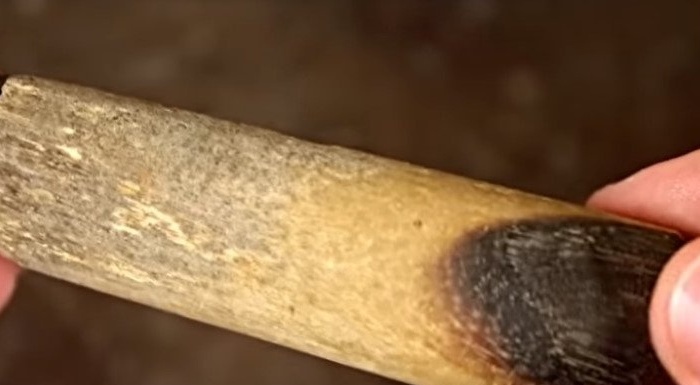
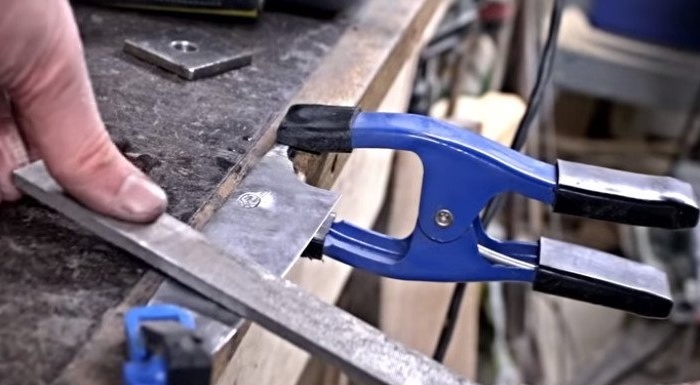
He begins to repair the knife by removing the handle. Clamps the handle in a vise and a chisel splits the handle.
Cuts and removes a plastic ring.
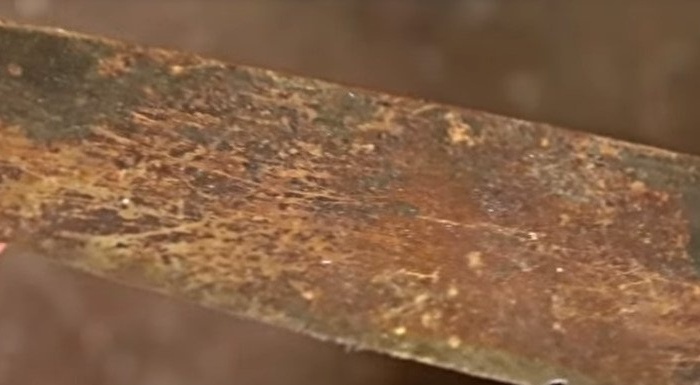
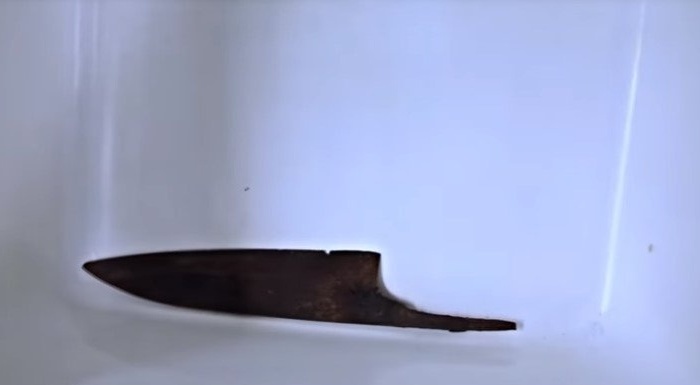
Step Two: Rust Removal
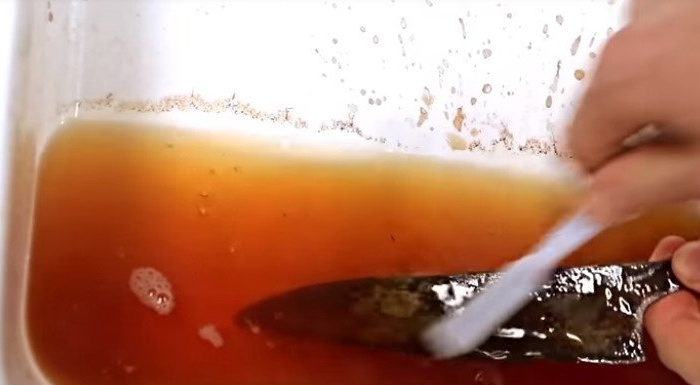
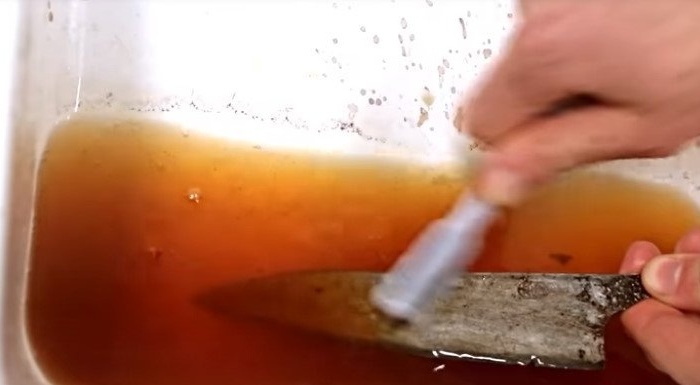
The entire knife, and especially the handle, is covered in rust. The master puts the knife in a container and pours vinegar overnight.
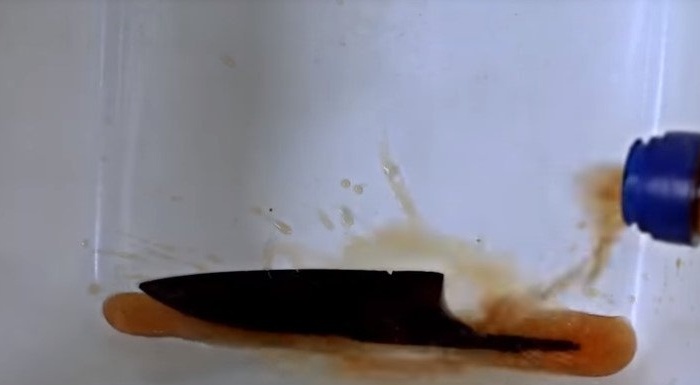
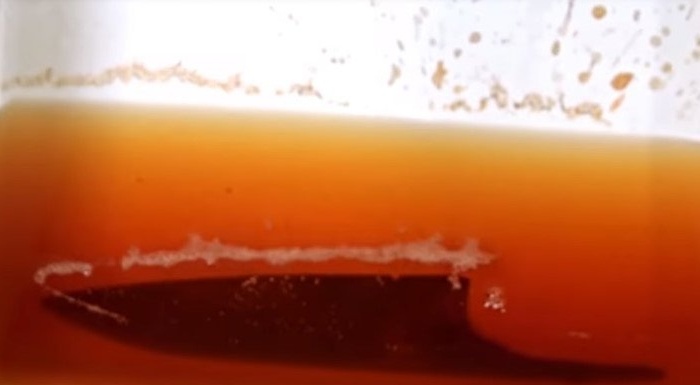
Overnight, the vinegar corroded the rust and it is easily cleaned with a toothbrush.

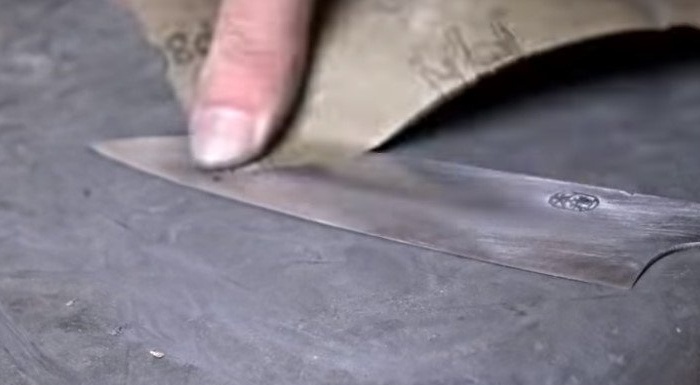
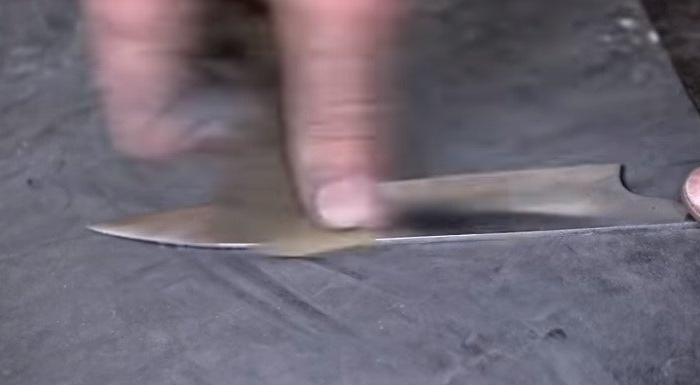
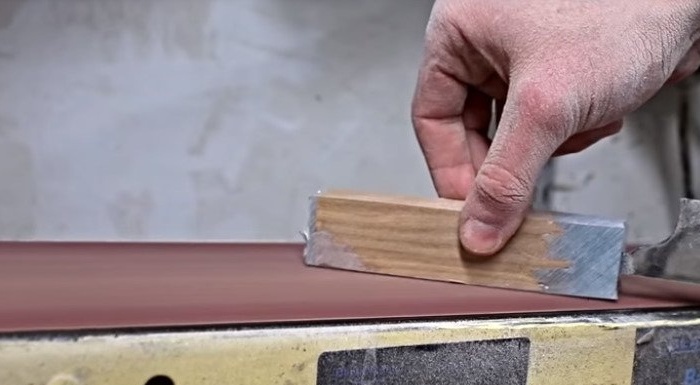
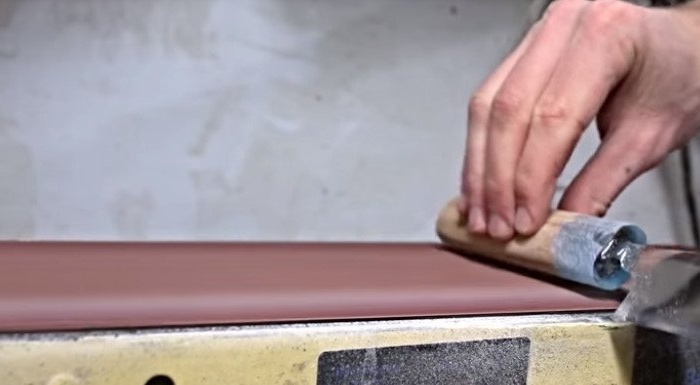
Step Three: Grinding, Polishing
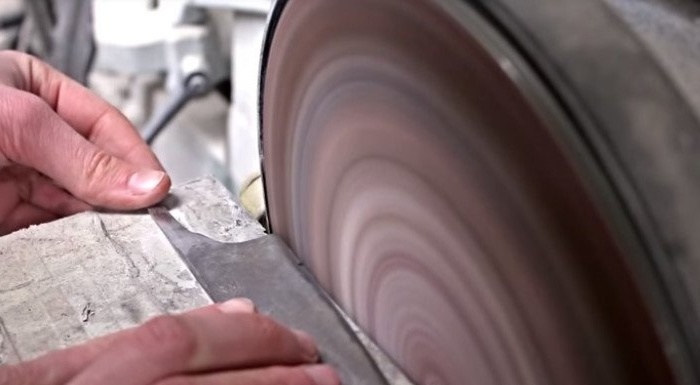
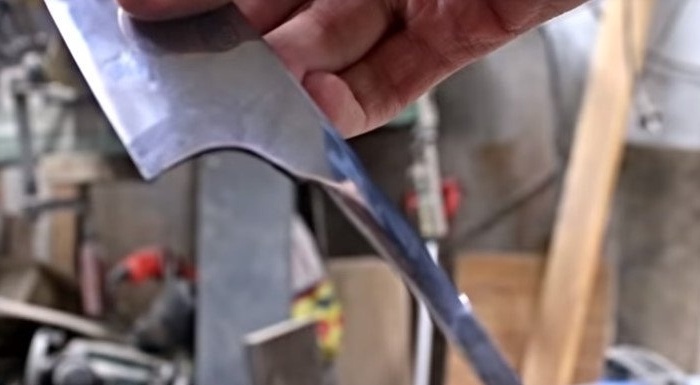
On the grinding machine makes rough grinding of the knife, the alignment of the blade.
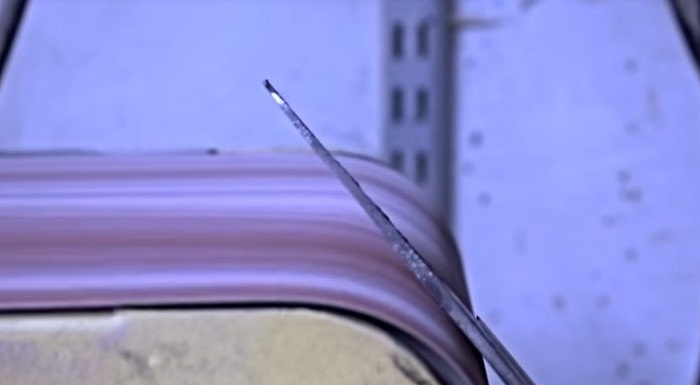
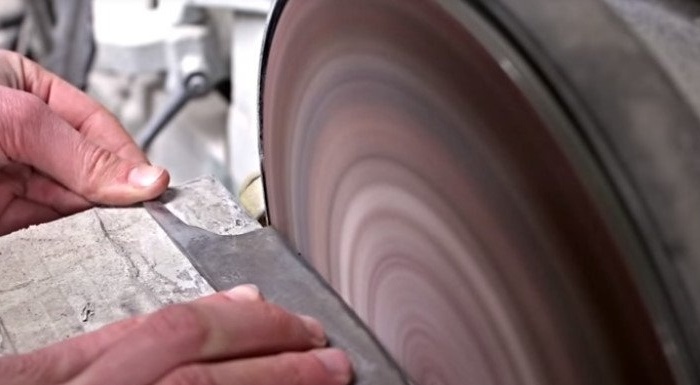
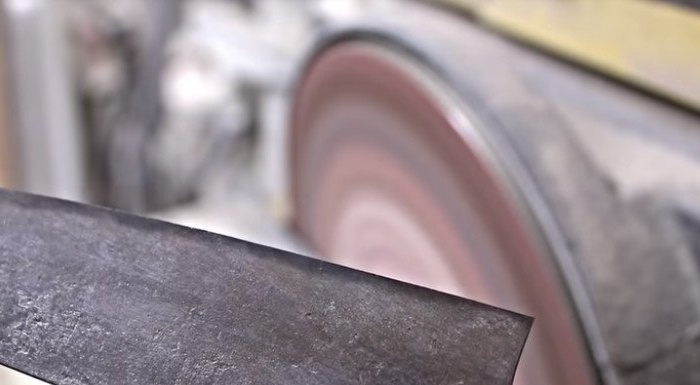
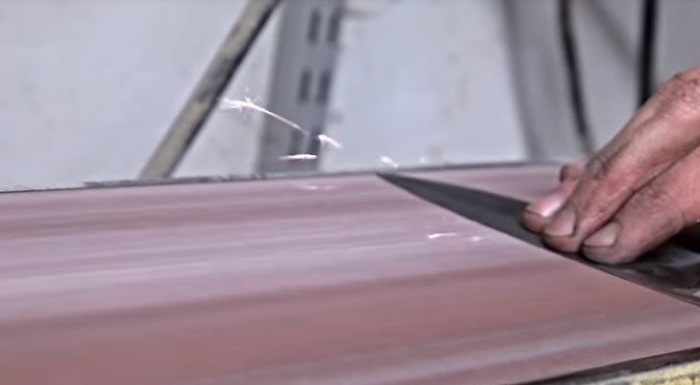
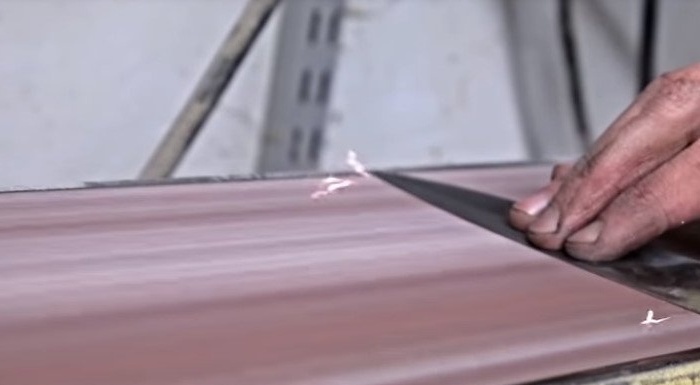
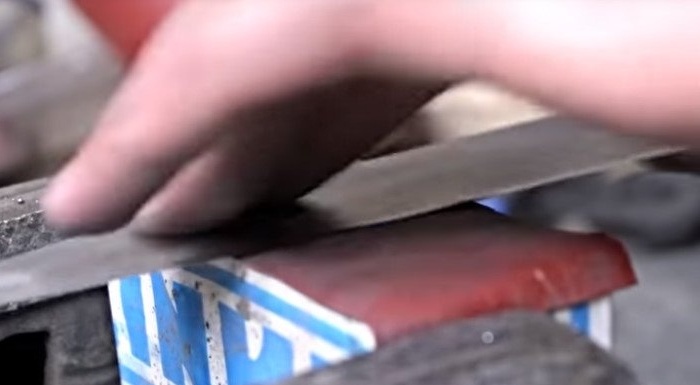
He corrects the sharpening with a file.
Then polished with sandpaper, from 120 to 2000.
It polishes using polishing paste and a polishing wheel sandwiched into the drill chuck.
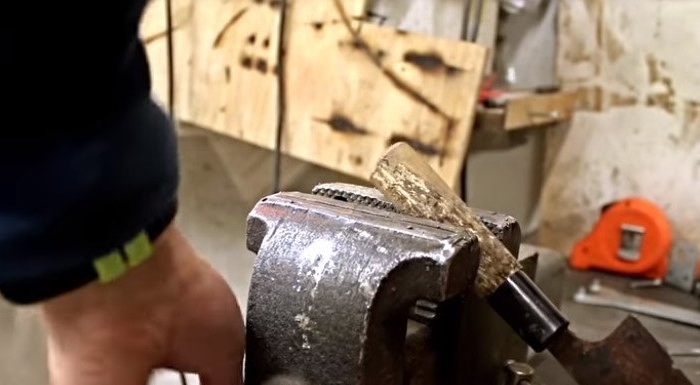
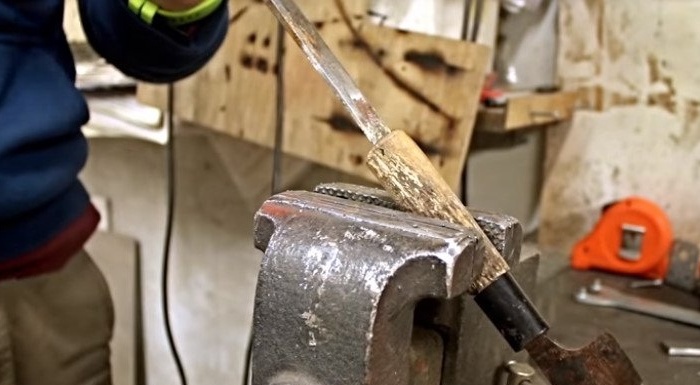
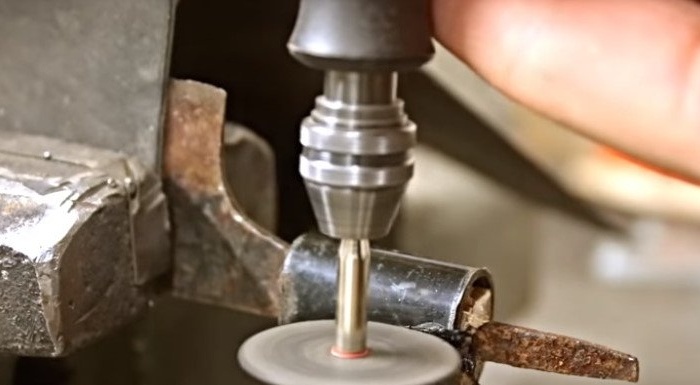
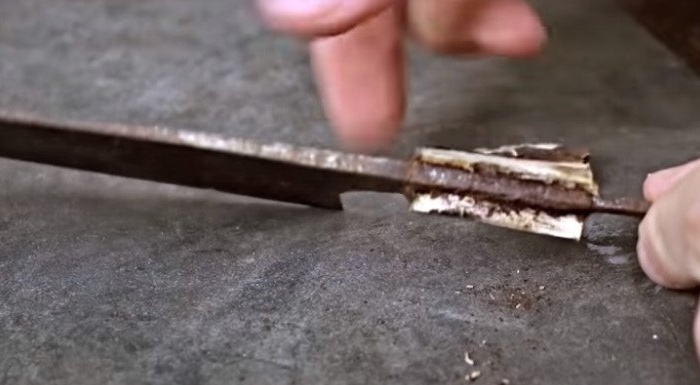
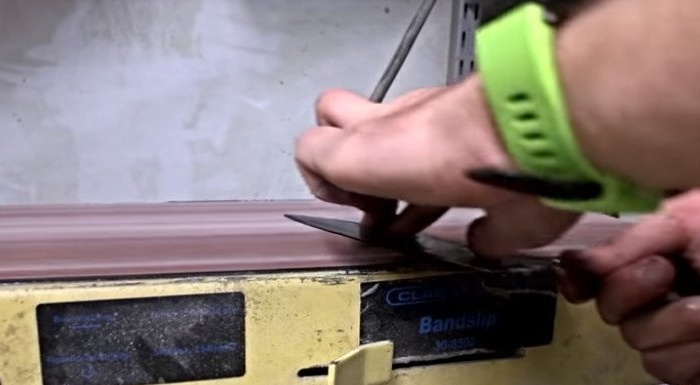
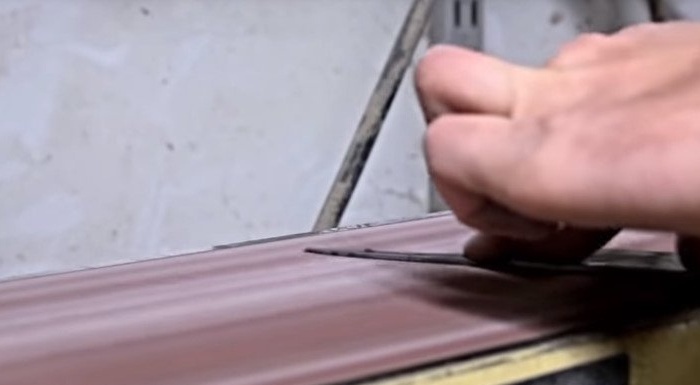
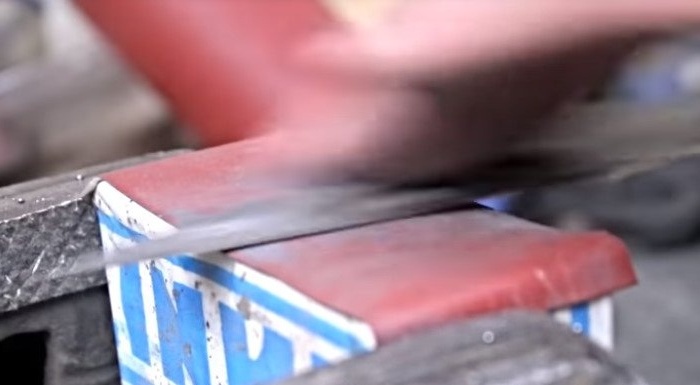
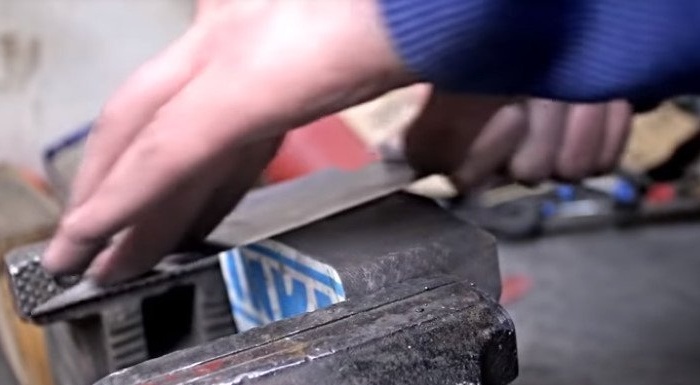
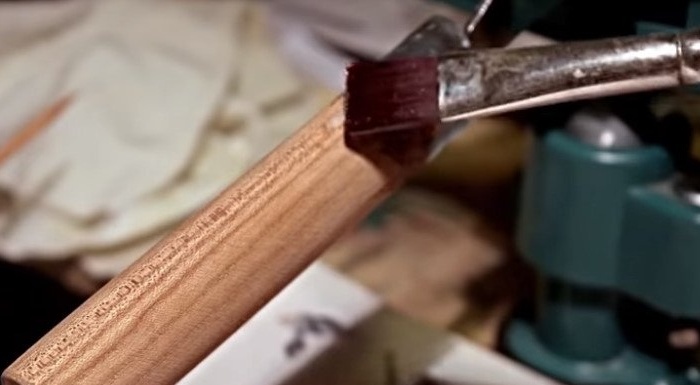
Fourth step: handle preparation
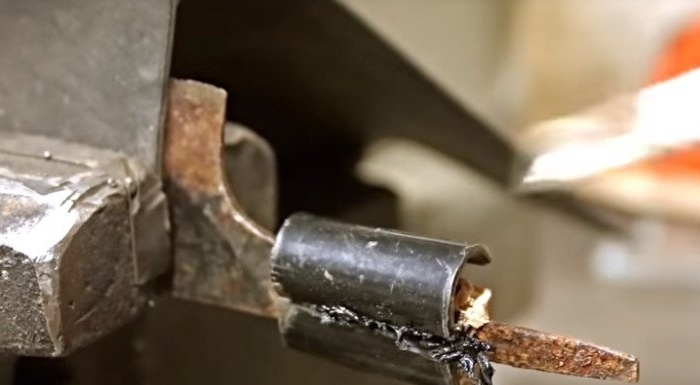
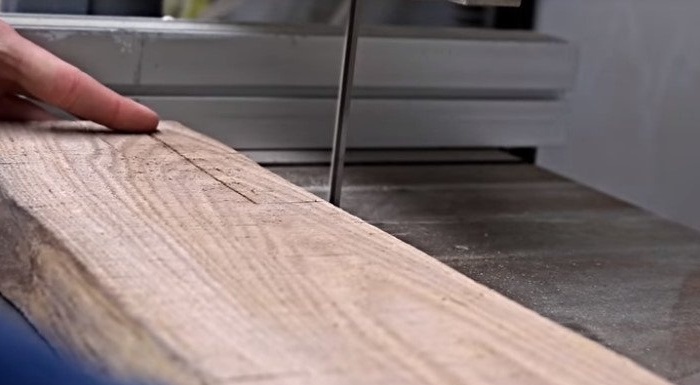
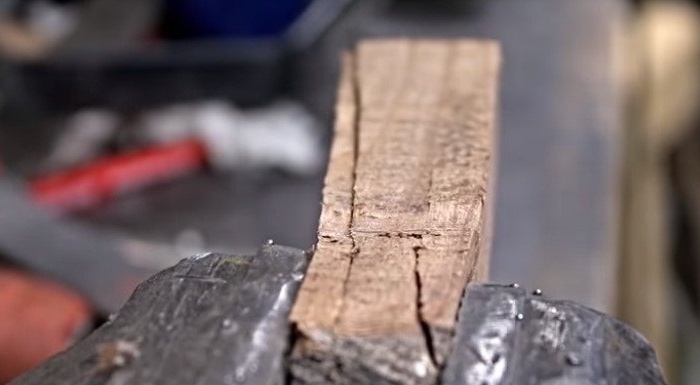
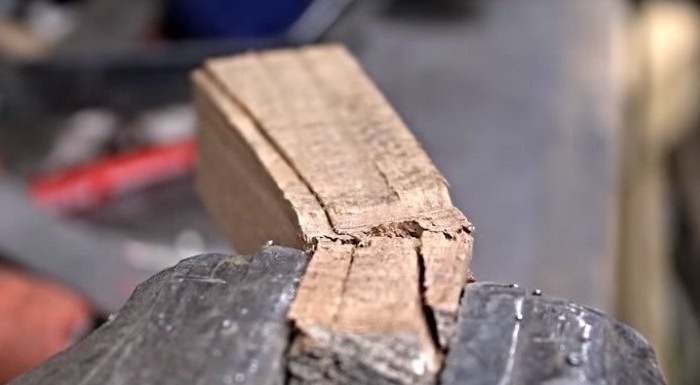
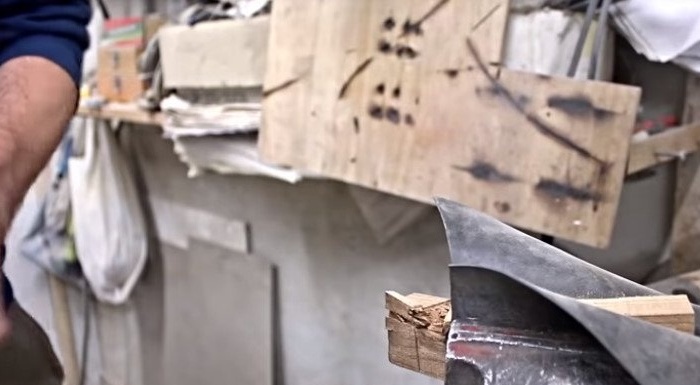
The handle is made of suitable wood. Slices a workpiece from the board.

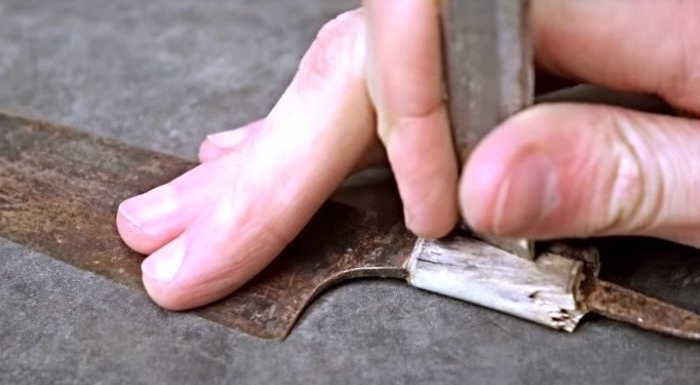
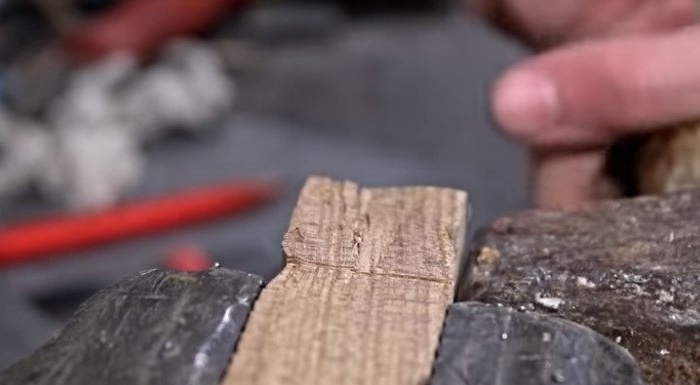
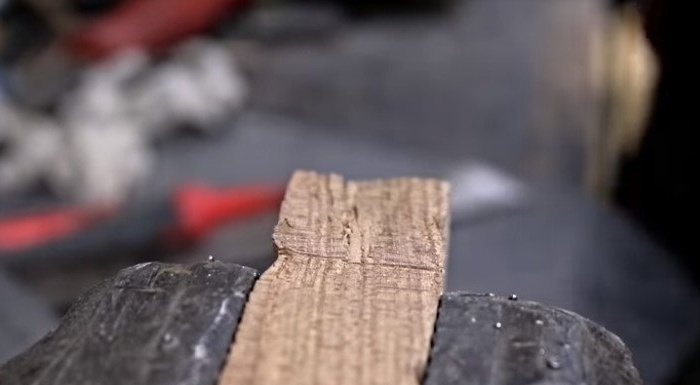
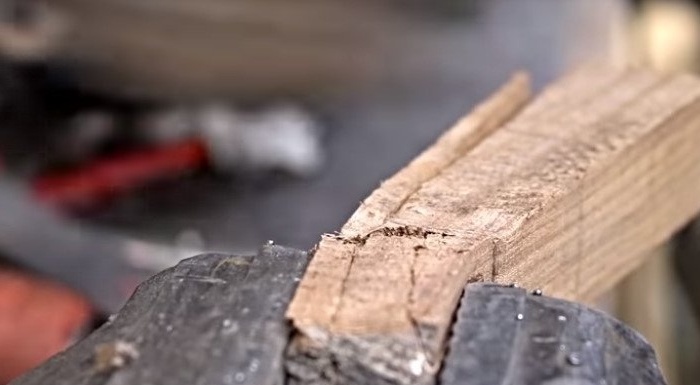
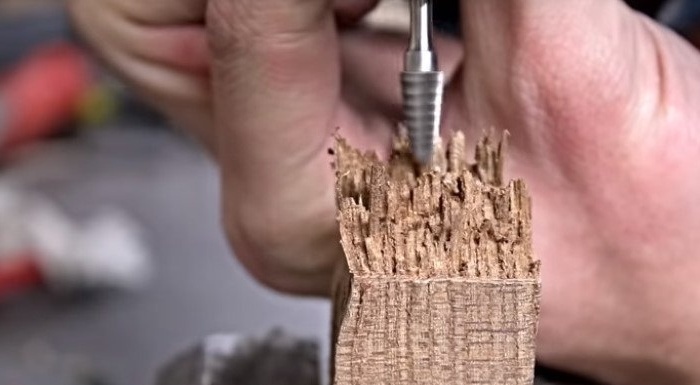
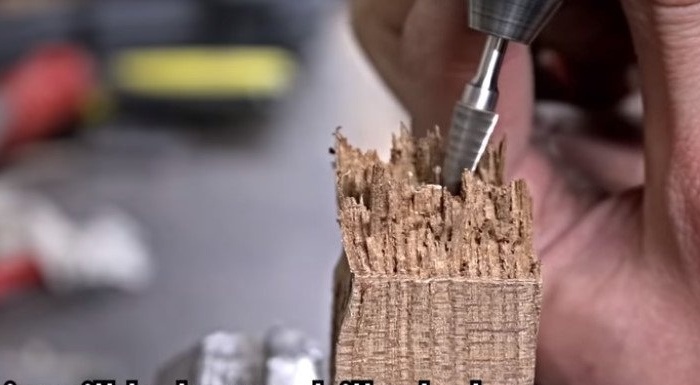
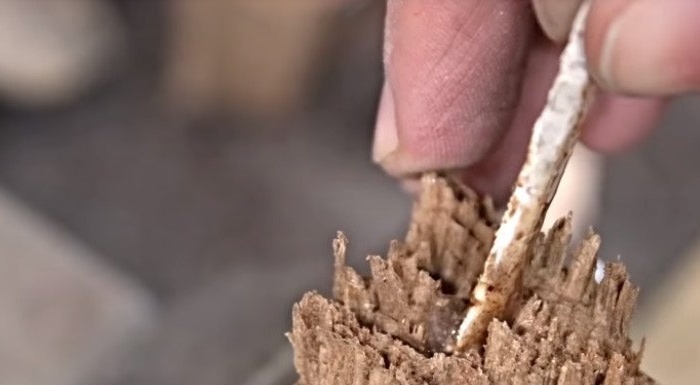
Clamps the workpiece in a vice, so that the edge looks out. Hammer breaks off the end of the workpiece.
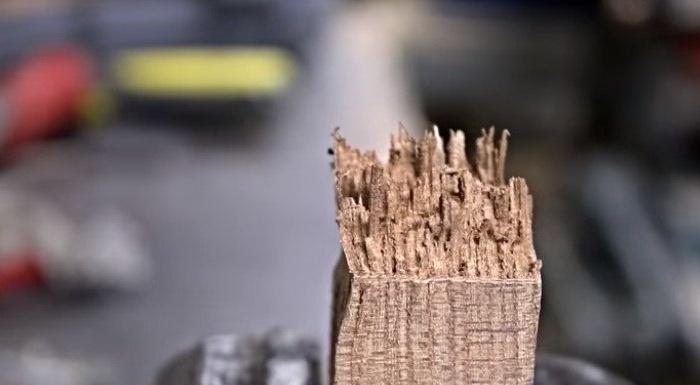
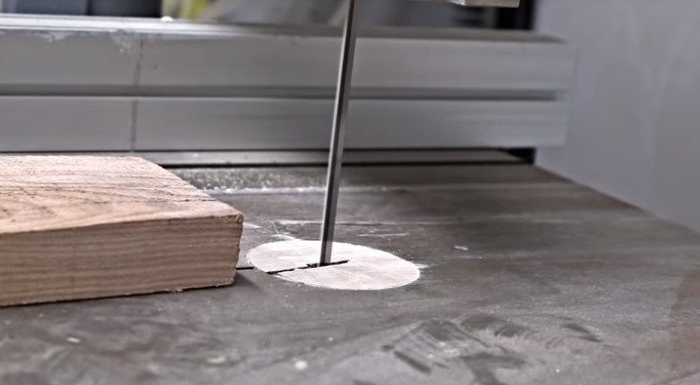
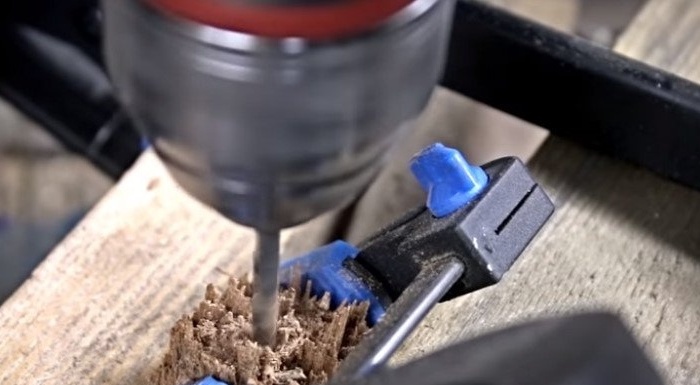
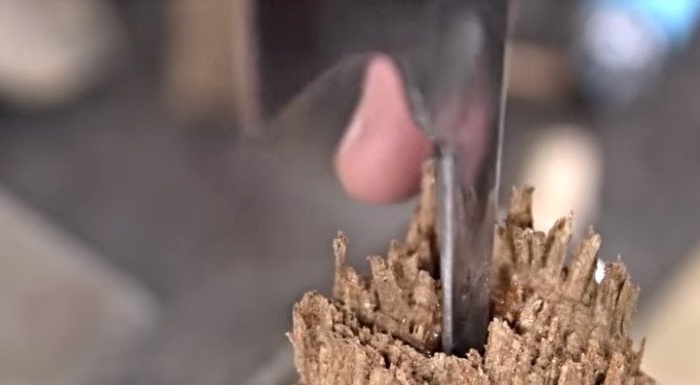
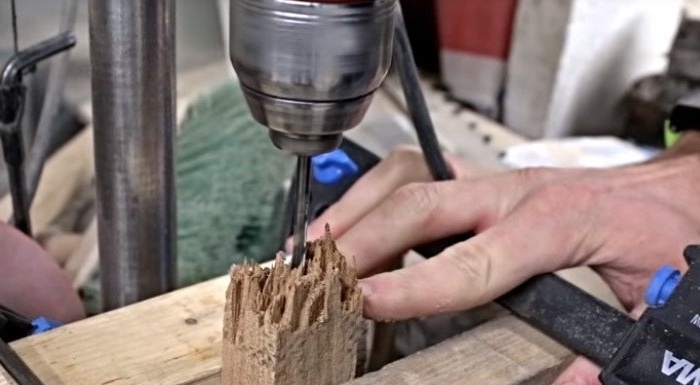
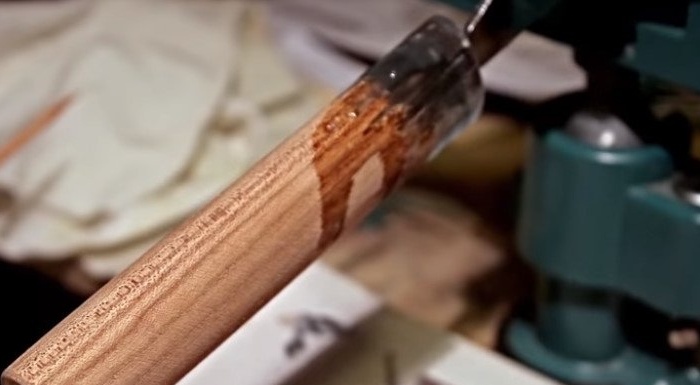
Further, the master drills a hole in the center of the end part.
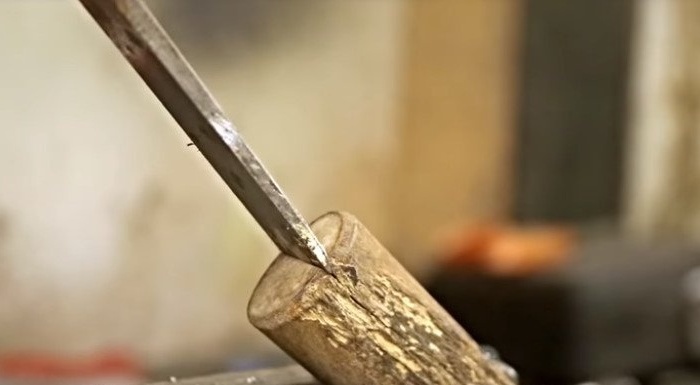
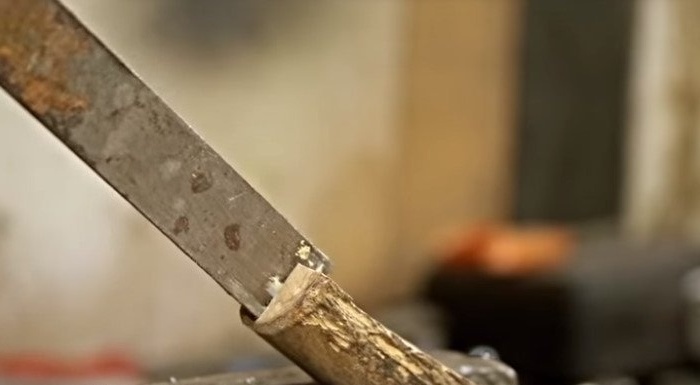
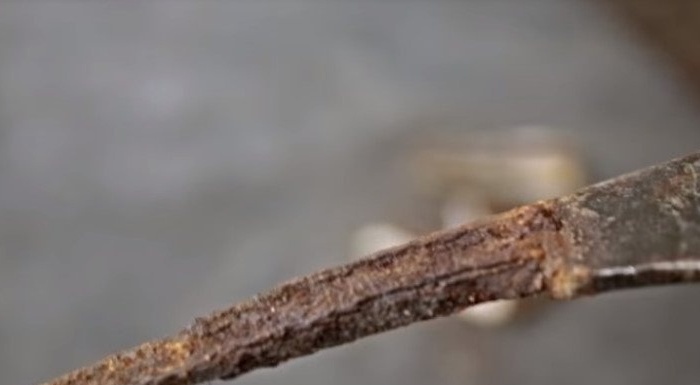
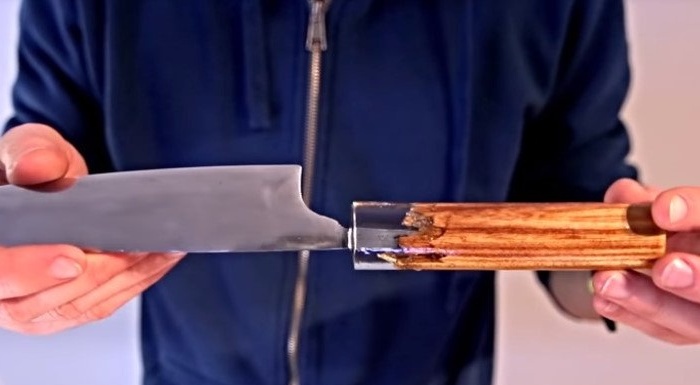
Step Five: Install the handle
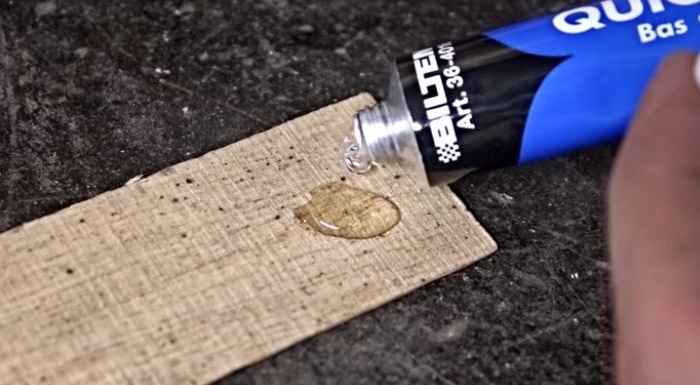
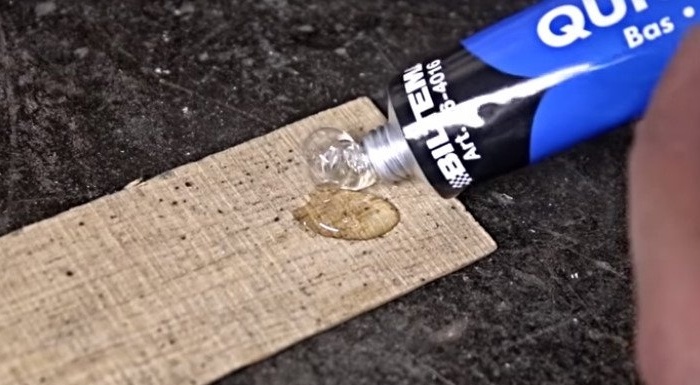
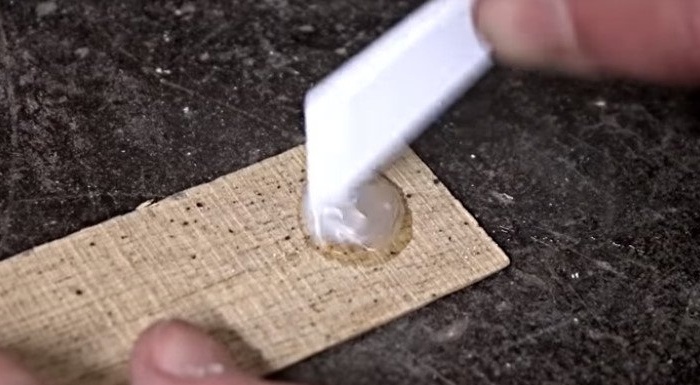
Applies glue to the hole and inserts the shank of the knife.
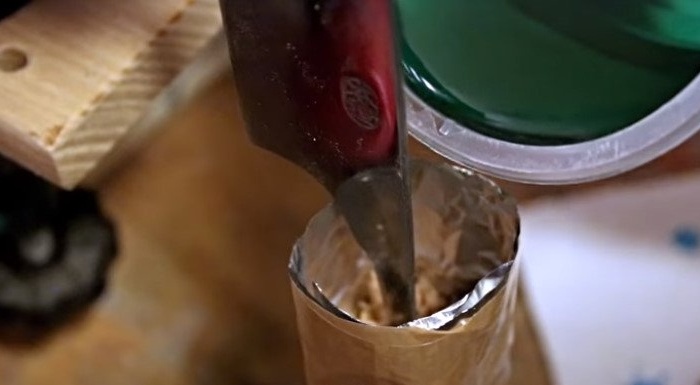
Step Six: Epoxy Fill
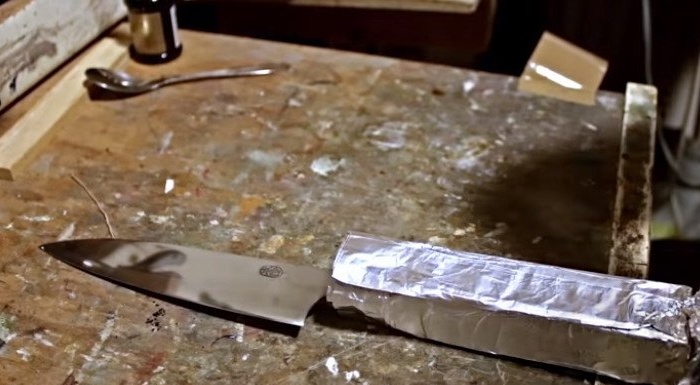
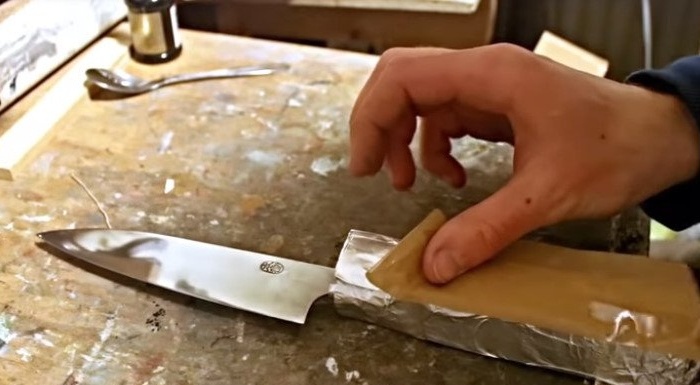
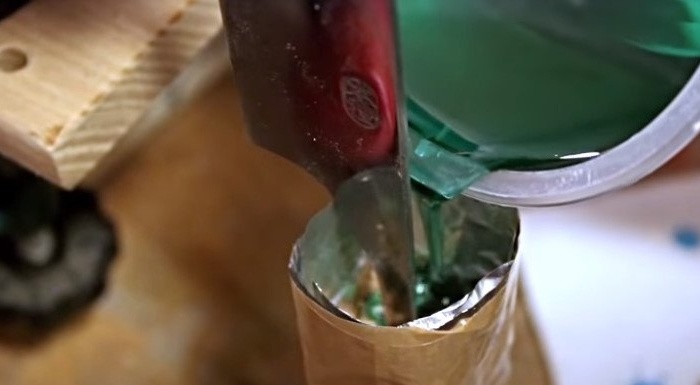
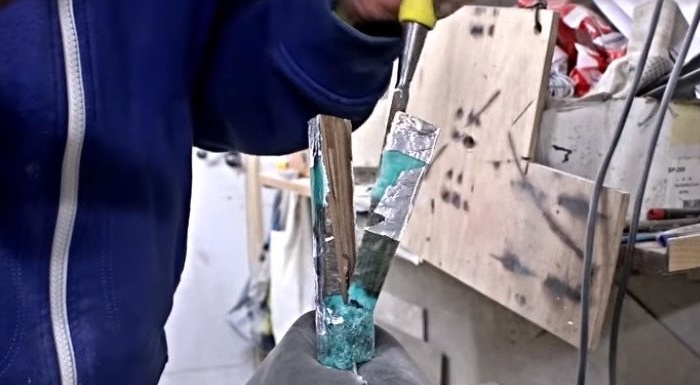
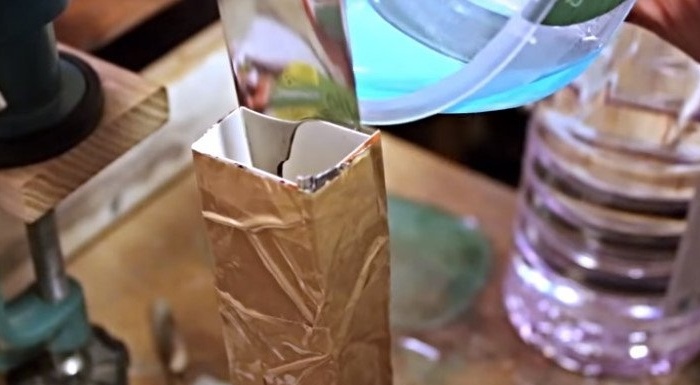
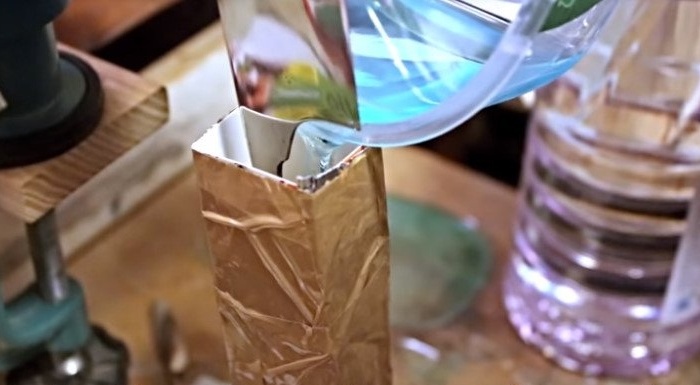
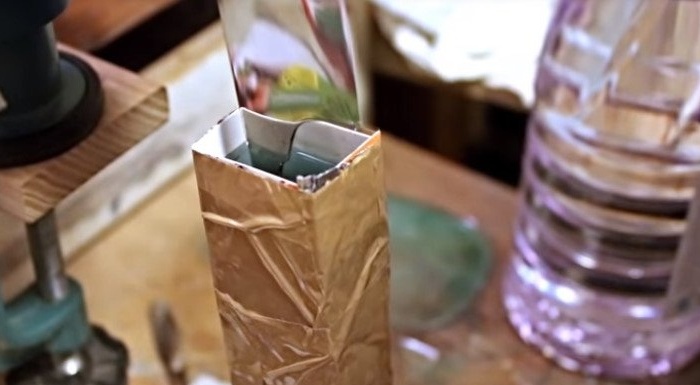
Foil wraps the handle, leaving one part open. Fixes the foil with tape.

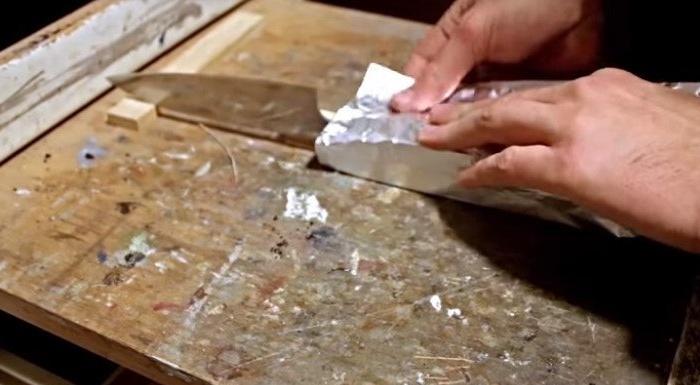
Knead epoxy and add dye to it.

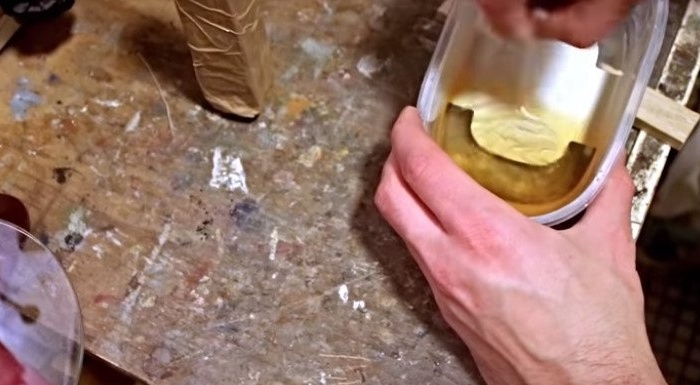
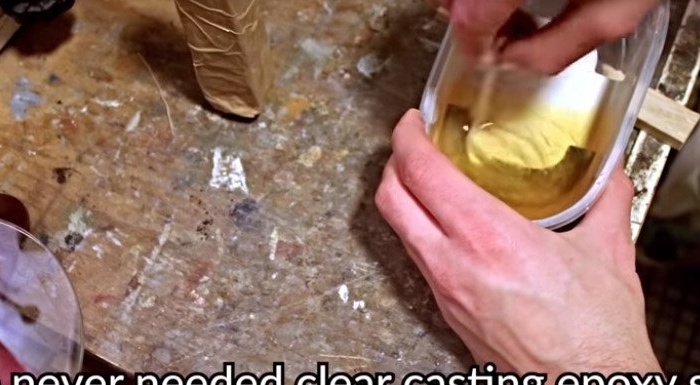
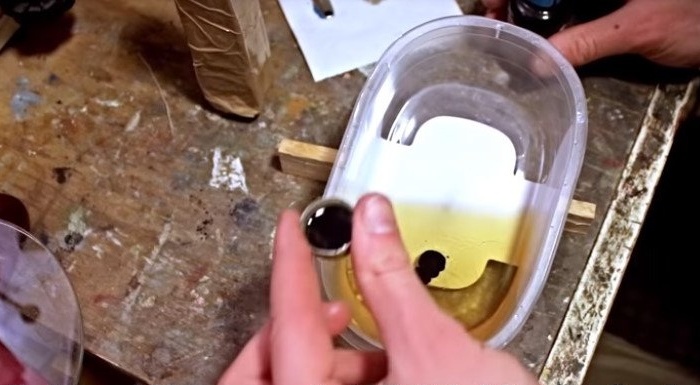

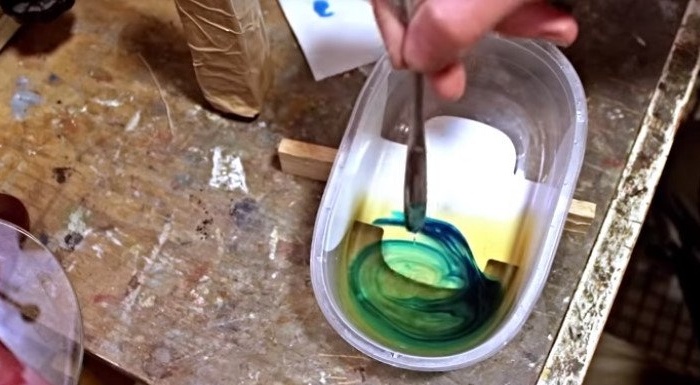
Pours resin into the mold.
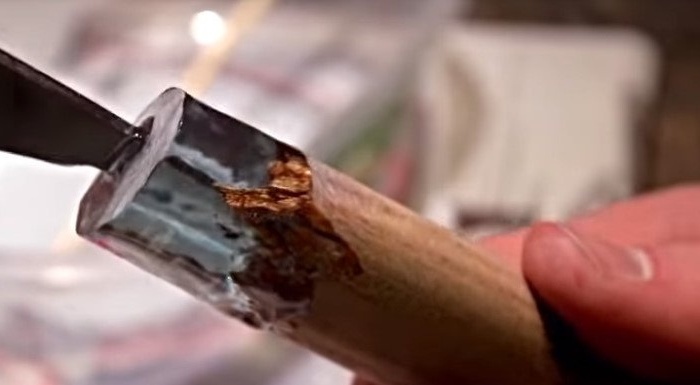
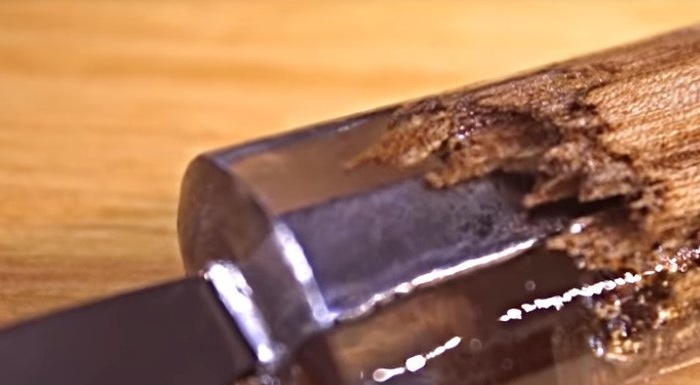
Step seven: work on the bugs
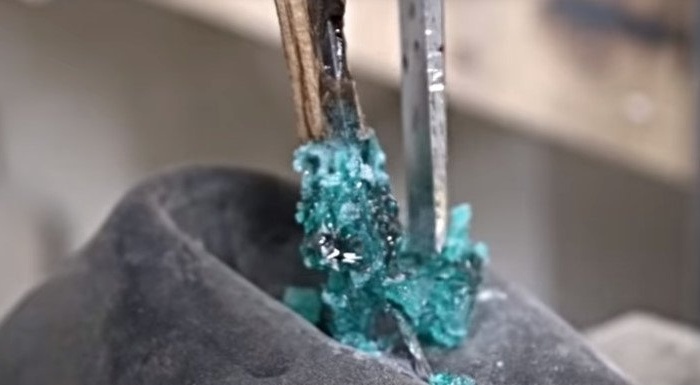
At the first pouring, something went wrong, either the proportions of the ingredients of the epoxy were incorrectly calculated, or the dye gave such a reaction. In general, the resin began to bubble and eventually froze like these bubbles.
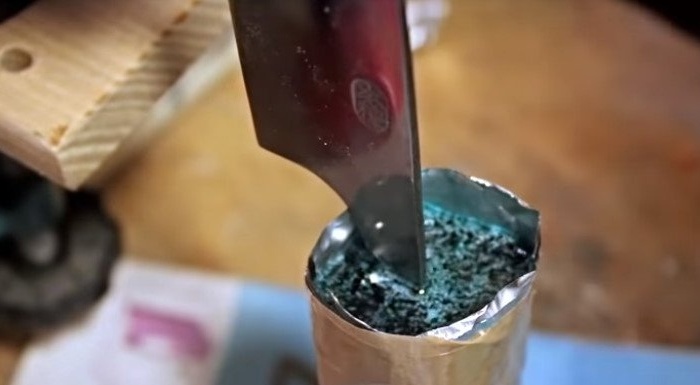
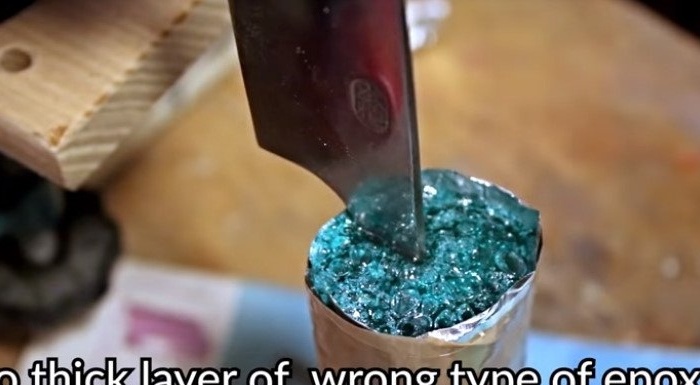
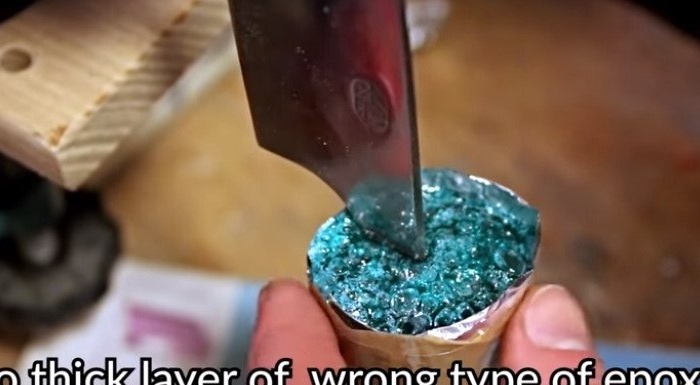

Perhaps this reaction gave the remains of vinegar. In general, the master had to redo the handle.

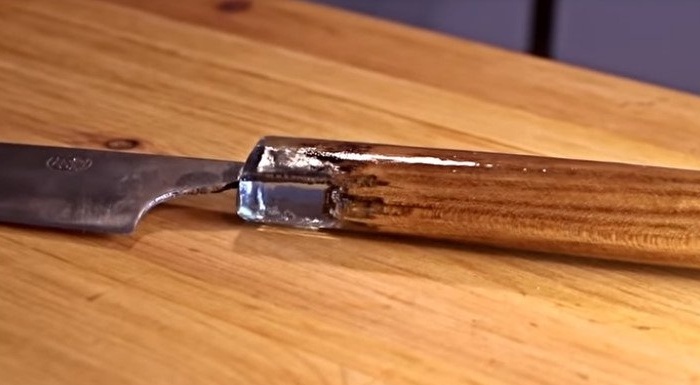
The second attempt was more successful.
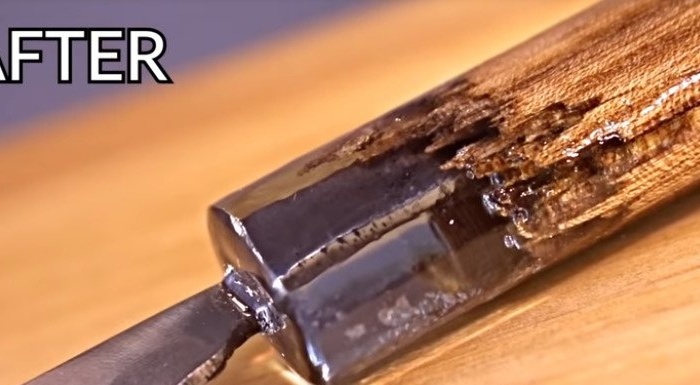
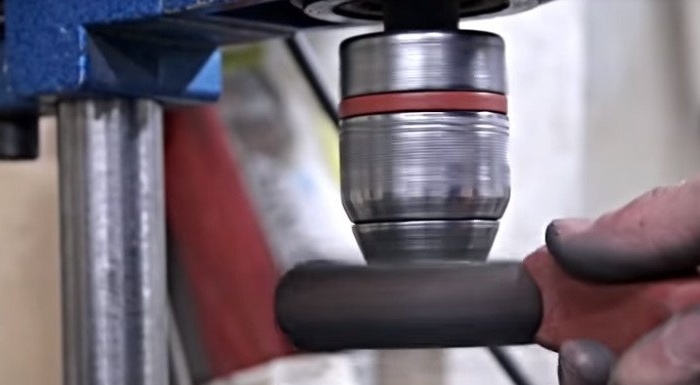
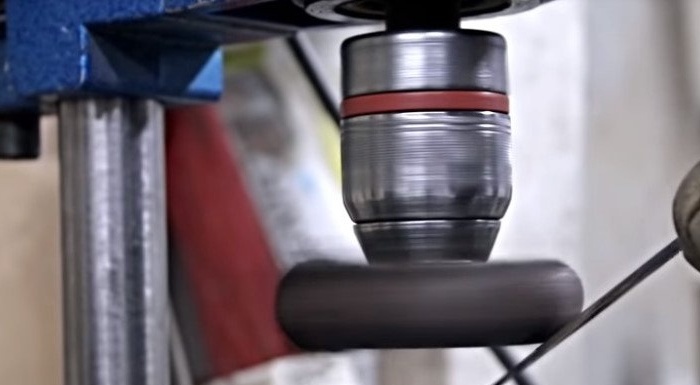
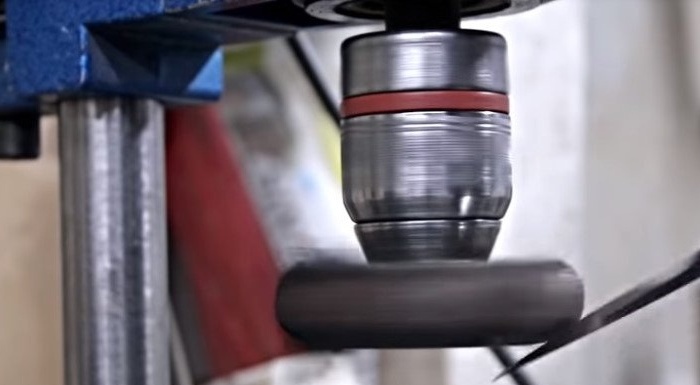
Step Eight: Handle Processing
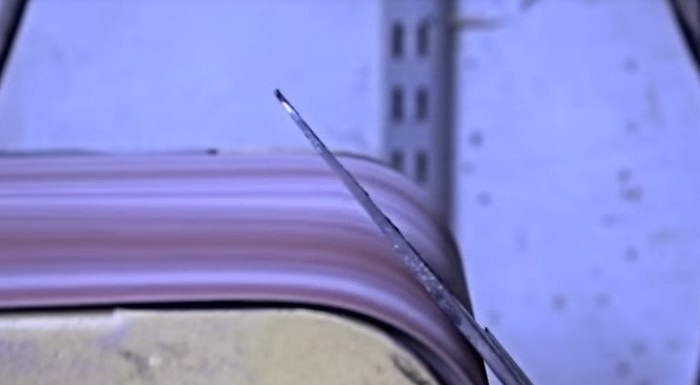
Next, the master processes the handle on the grinding machine.

And the final step, coating the handle with epoxy.
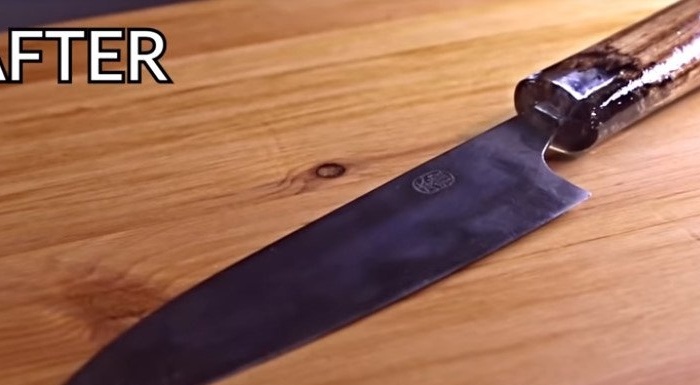
Here's a knife after restoration.


The entire process of knife restoration can be seen in the video.