
Today we will try to make a simplified and improved version of the classic “slow mo” frame, or a frame that enlivens plants. How is this possible if magic outside Hogwarts is prohibited? Read on.

The author of this homemade product is AlexGyver (YouTube channel "AlexGyver").
A couple of years ago, vidos and gifs with a Slow Dance frame scattered across the Internet, a slow dance. This frame literally enlivened the plants and generally any objects placed in it.

It looks more than magical, agree. But there is no magic here, sheer deception, an illusion created by electronics. This deception is worth 300 bucks, or 20 thousand in terms of wood. Today we will make an analog of this thing for about 800 rubles.


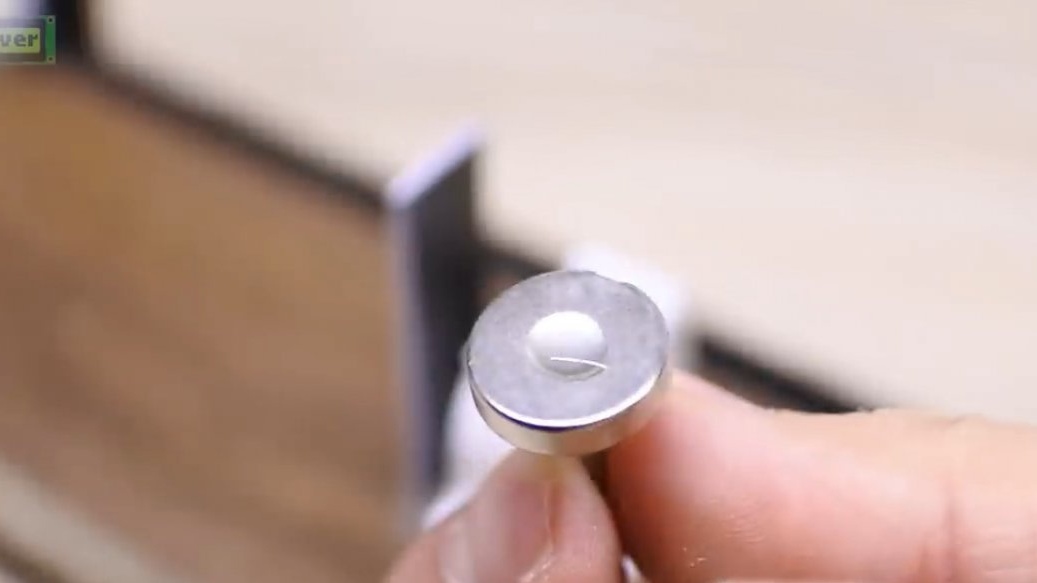
The classic “slow mo” frame works almost silently, this is achieved by magnetic coupling between the fixed coil and the movable magnet, which is attached to the object. The magnet is certainly powerful rare earth, you can pull it out somewhere or buy a heel from the Chinese.

It was decided not to wind the coil, but to take a ready-made electromagnet from the Chinese, since it costs slightly more than shawarma.

A very popular scheme of such a framework is on the instructions website.
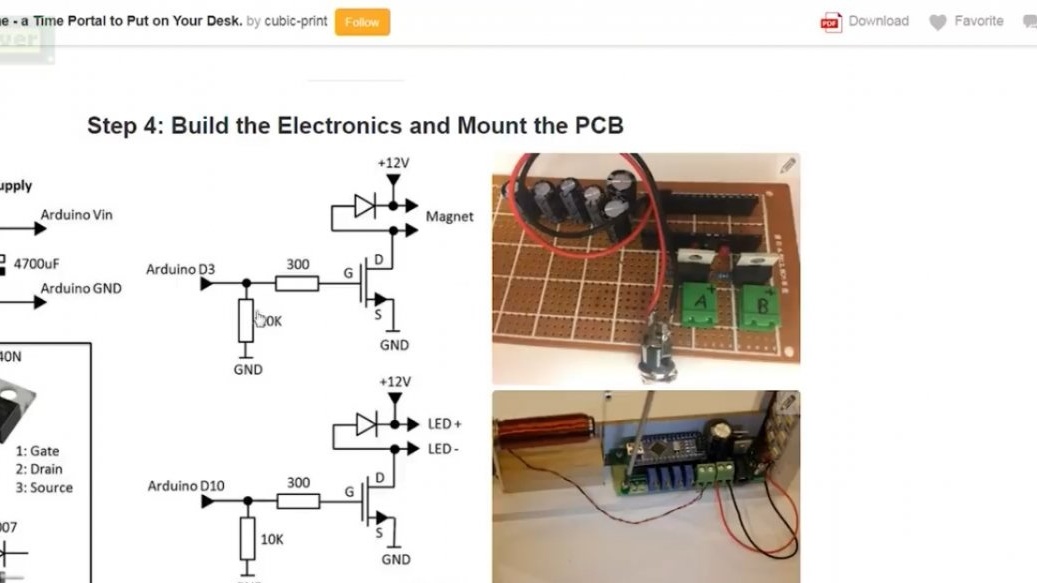
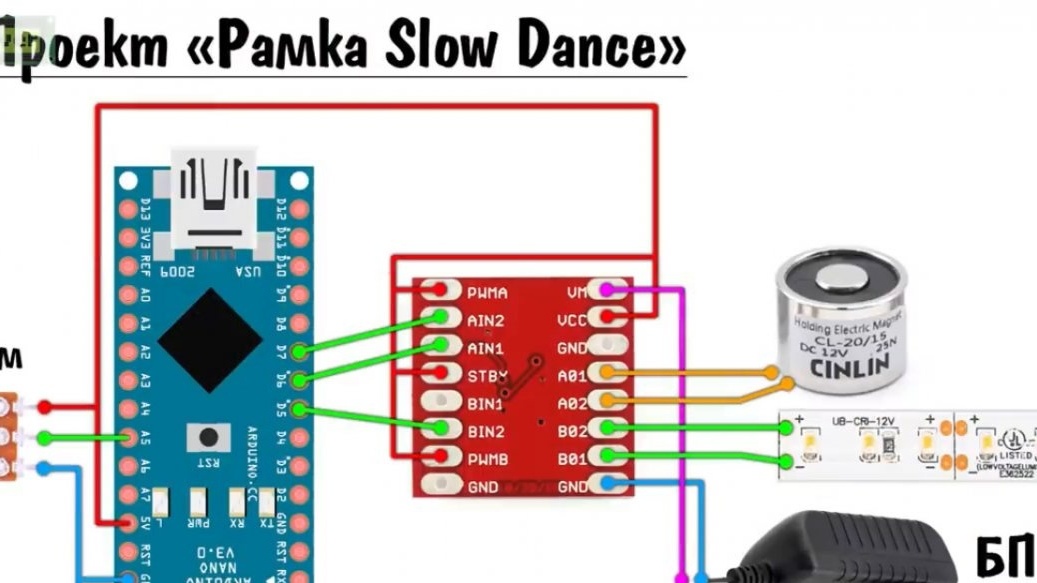
Here, a transistor is used to supply voltage to the coil, which allows you to turn on the magnetic field from the coil in only one direction. If instead of a transistor we take a driver to control the motor, we can force the coil to turn on the field in both directions, that is, to attract and repulse the magnet, which will double the magnitude and symmetry of the plant’s vibrations or what we’ll be shaken in the frame there. Moreover, from the second channel of the driver we can power the LED strip for stroboscopic illumination. Thus, this very driver and arduino will remain in the circuit, but no more is needed. Well, in addition to the 12V power supply and optional twists for adjusting the speed of slow motion.
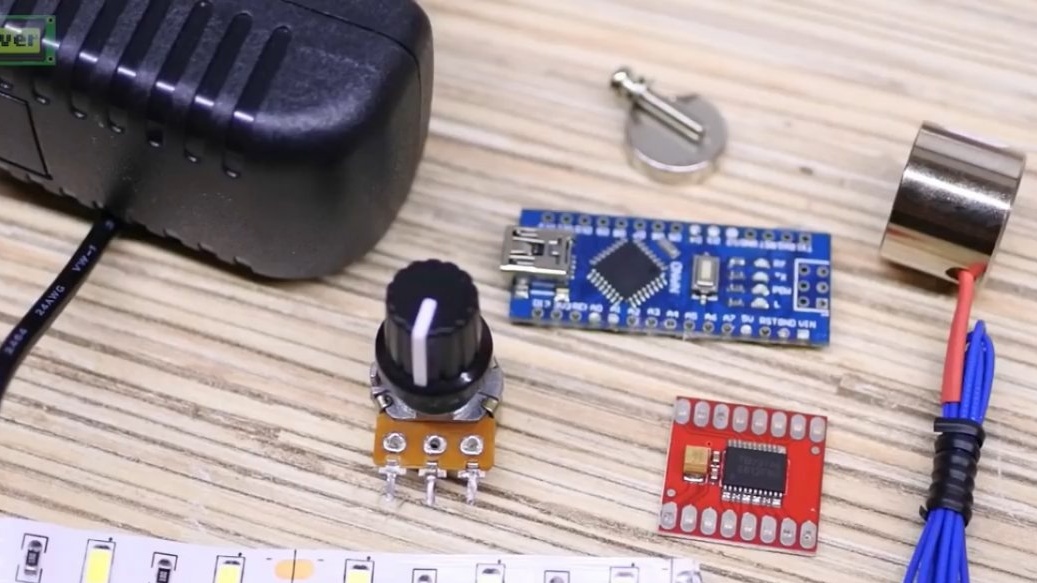
All this business can be bought on Aliexpress, the necessary links to.
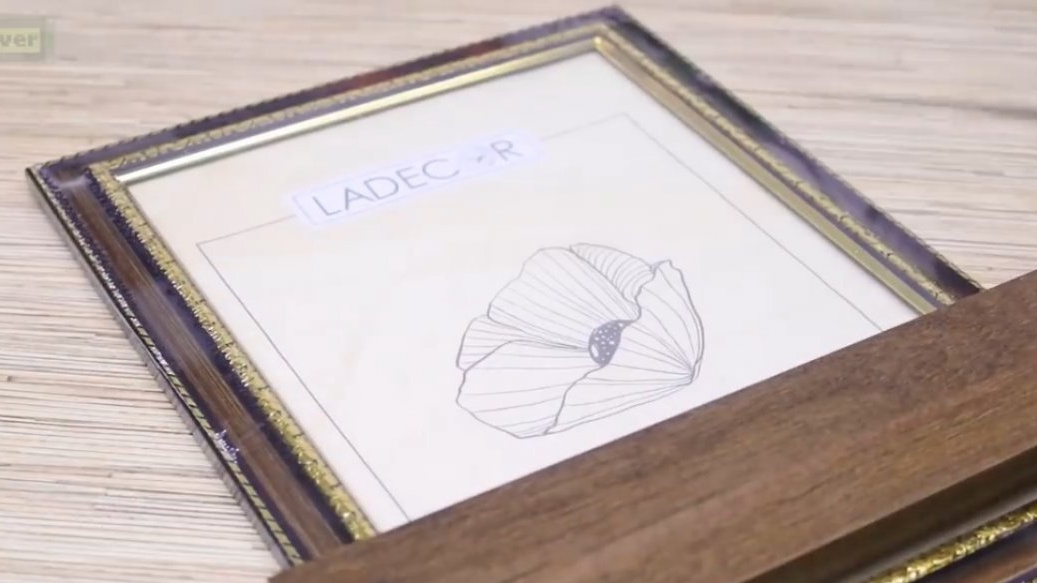
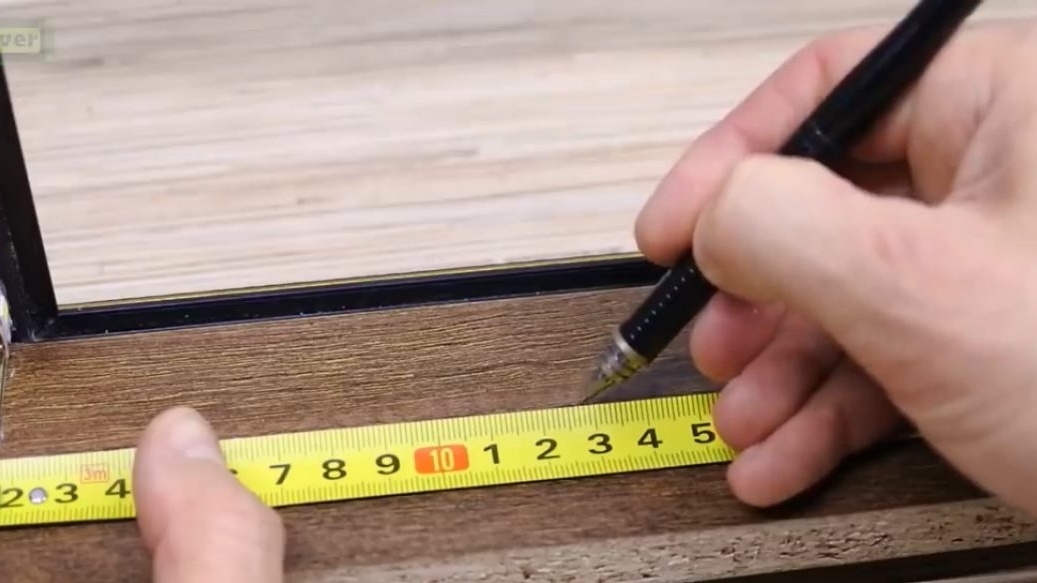
We also need the frame itself, which we will make magical. The author took a photo frame in A4 format.
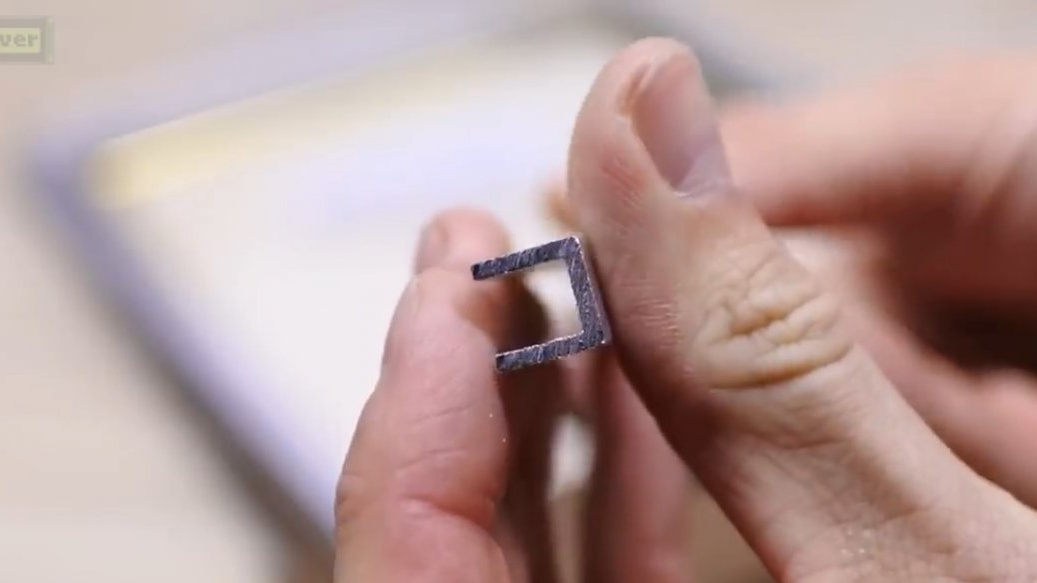
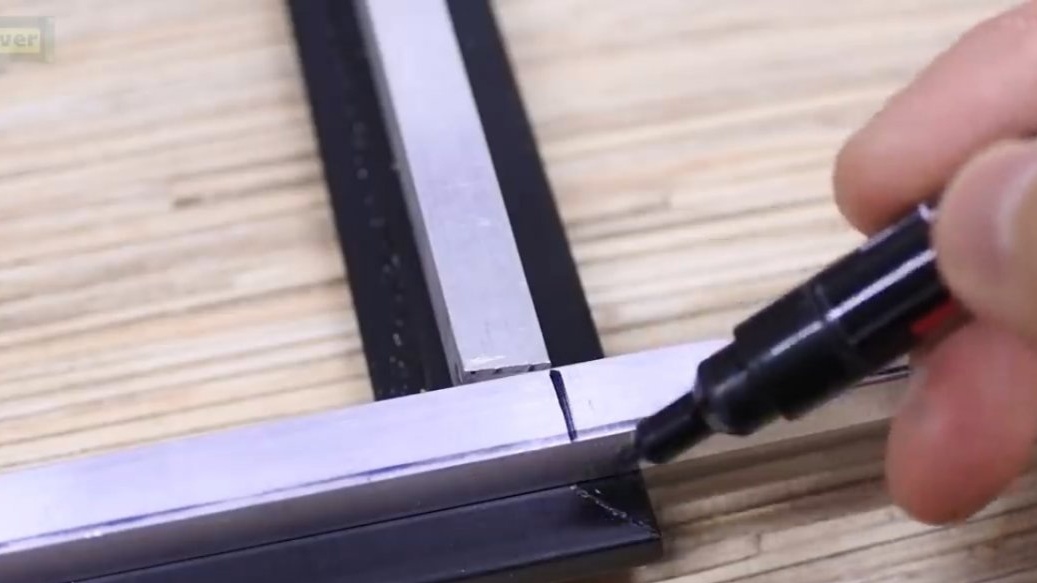
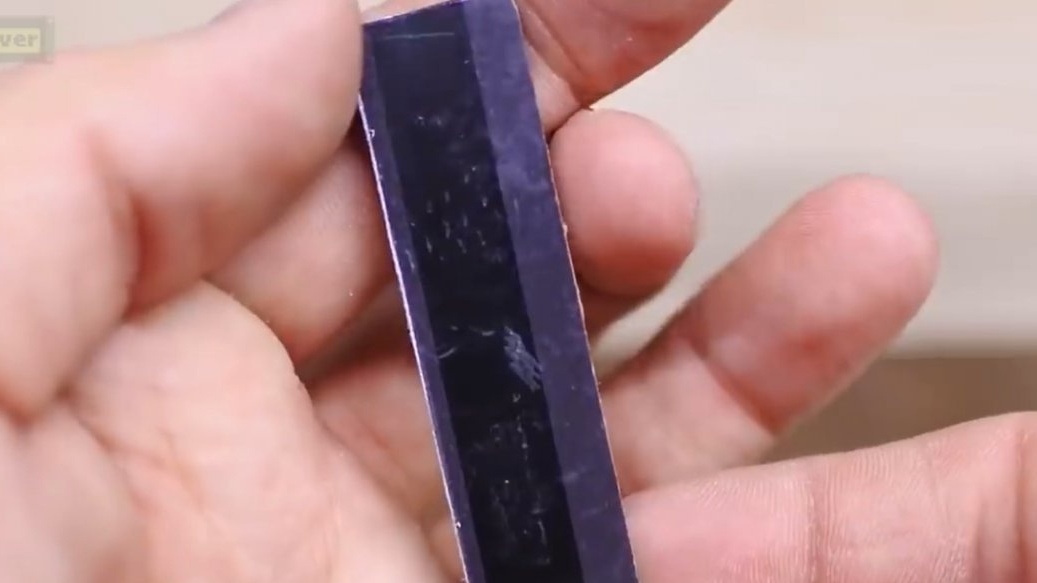
Also useful is a tree as an addition to the frame. For fastening the tape, you can take an aluminum corner 10 by 10, the author did not have such, but there were U-shaped profiles of the same size, well, it makes no difference.
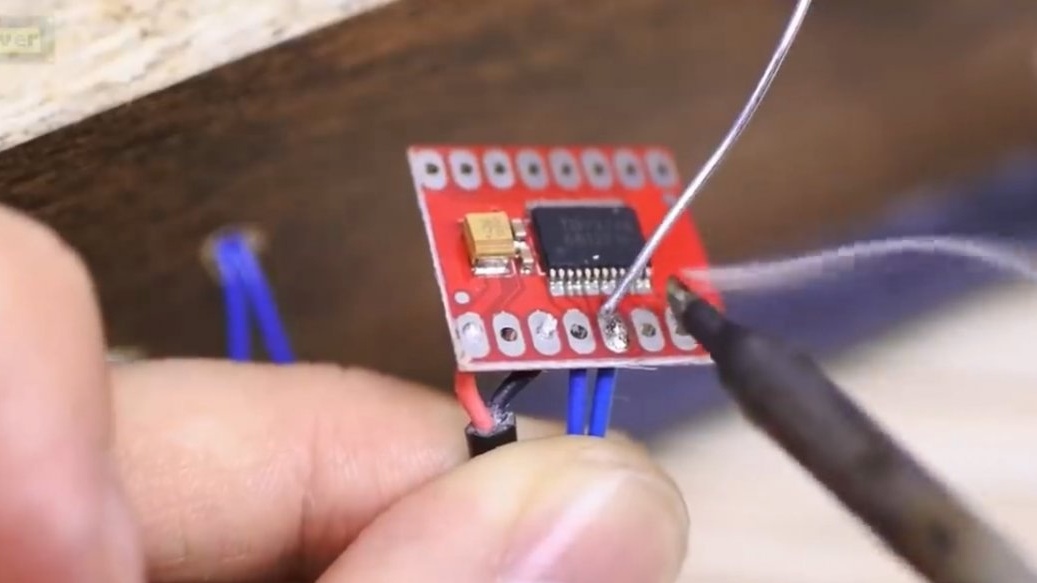
Components are connected here according to this scheme:
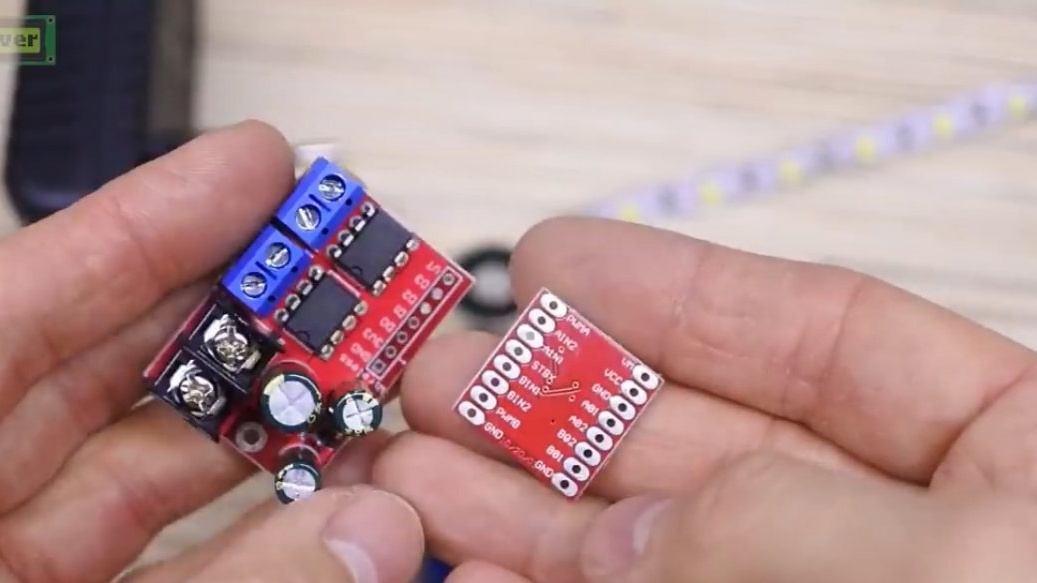
It seems to be nothing complicated, but it spoils the number of wires to the driver.If you do not like or do not know how to solder, then instead of this miniature driver you can take model larger, from another seller and a little more expensive, but connecting it is much easier.
The scheme for him is this:
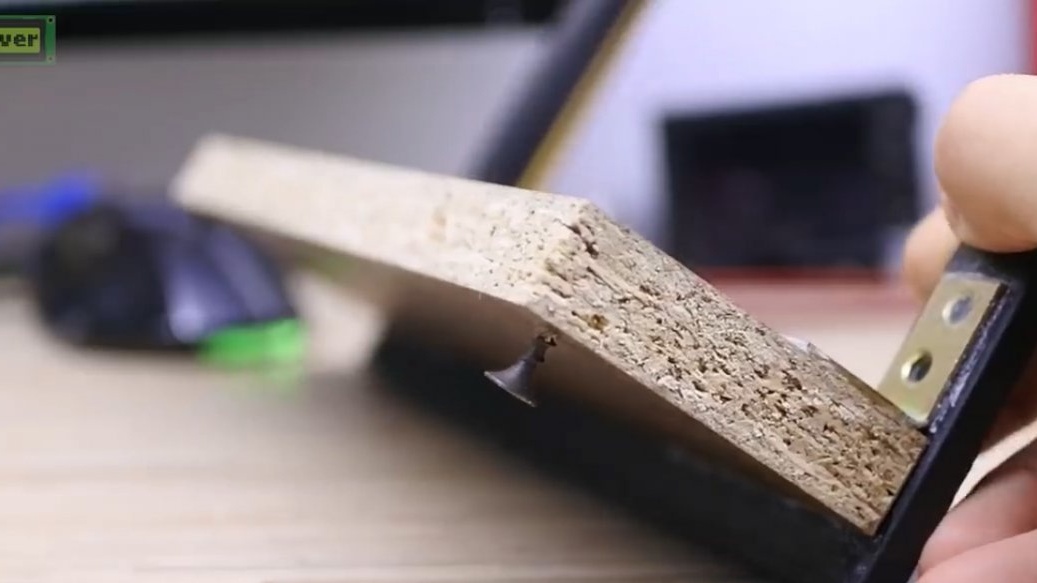
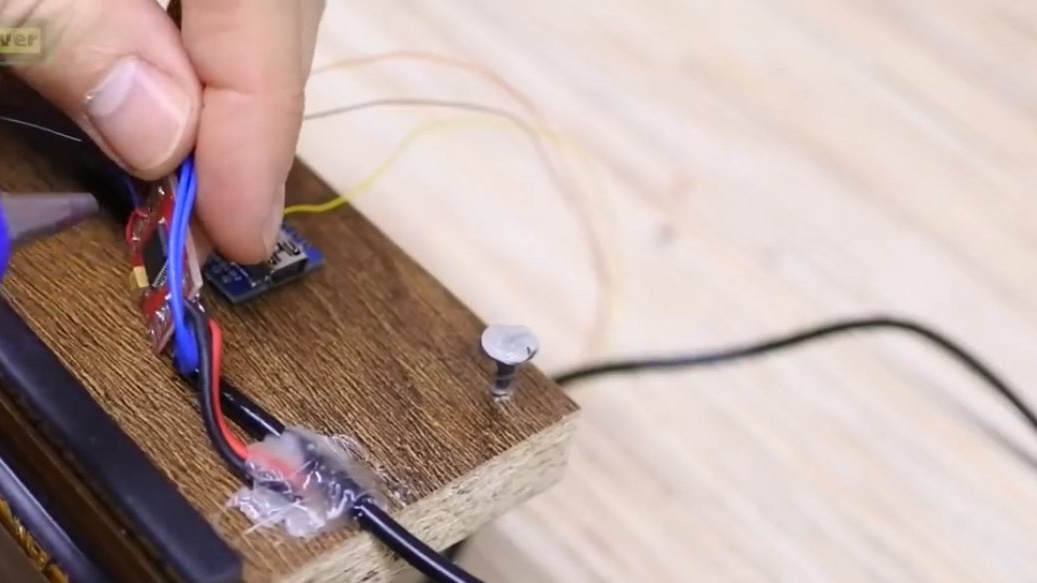
There are other drivers, but they are rather weak for almost a meter of bright tape. As conceived by the author electronics will be under a piece of chipboard, so he chose a small driver. We will attach it to the corners, we glue the corners onto superglue, due to its fluidity, it will flow under the corner and will grab it very firmly.


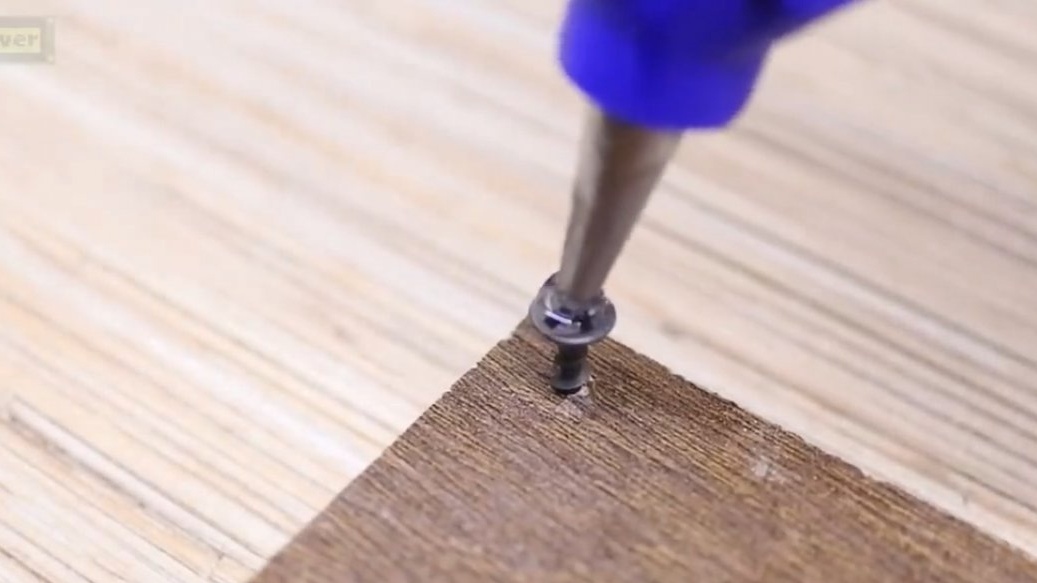
For reliability, you can sprinkle soda, it acts as a hardener. The rear legs will be made of self-tapping screws. For greater stability, we organize soft legs with a hot glue gun.
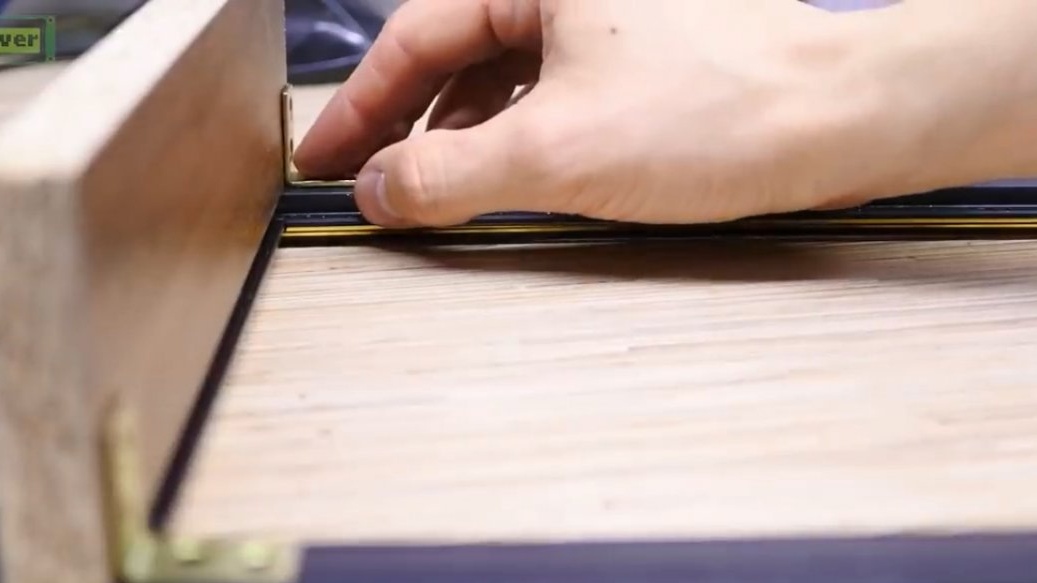
Next is the profile for the tape. We’ll also not be wiser with superglue him.
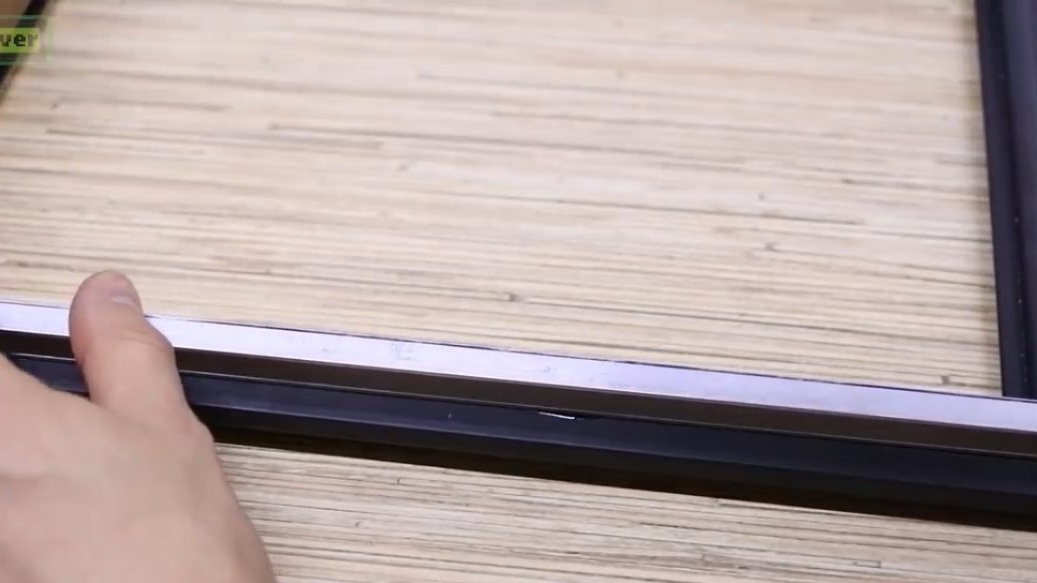
The tape has its own adhesive layer, glue it inside the frame.

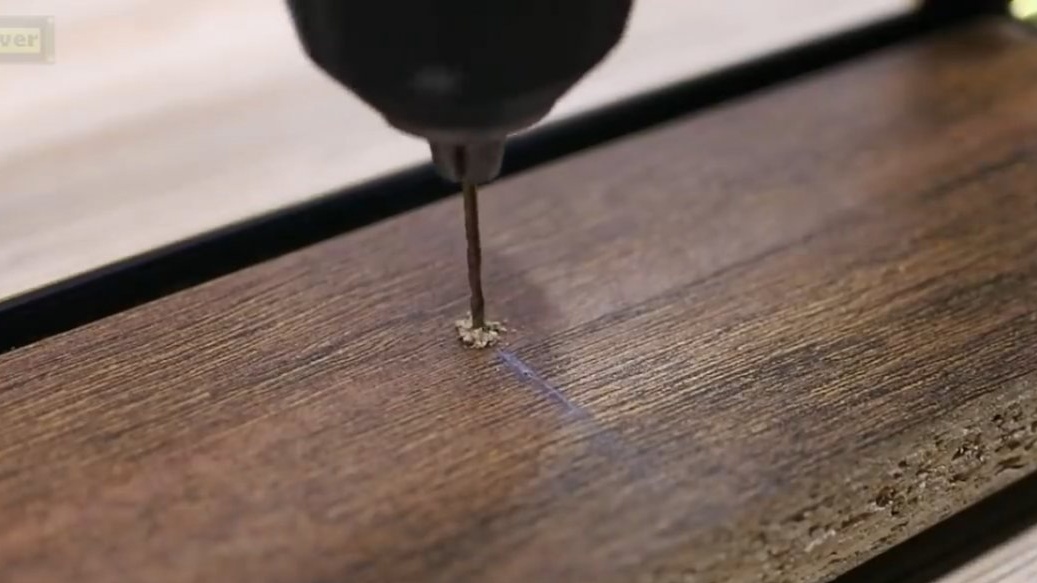
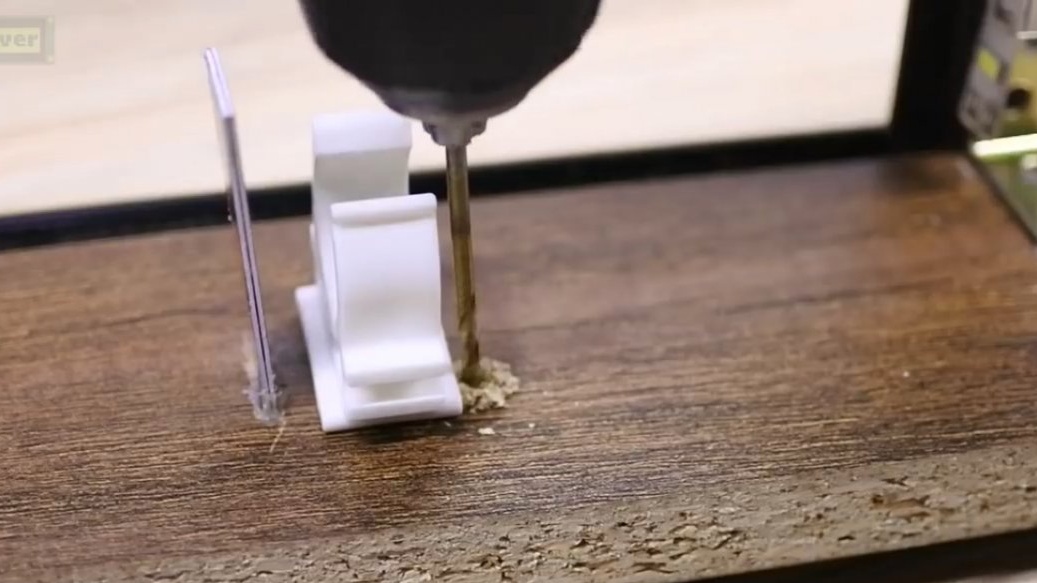
In the center there should be an elastic mount for the flower, we will make it out of a plastic card. For greater rigidity, the author glued two strips from this same card. We will mount in the gap, which will have to be drilled.
Excellent. Fix with a thermal gun.
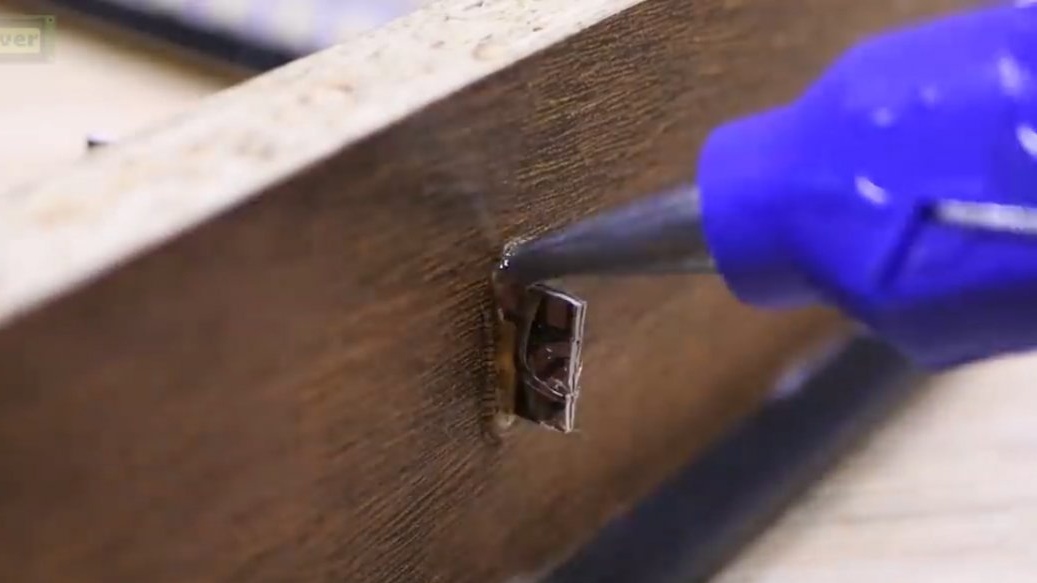
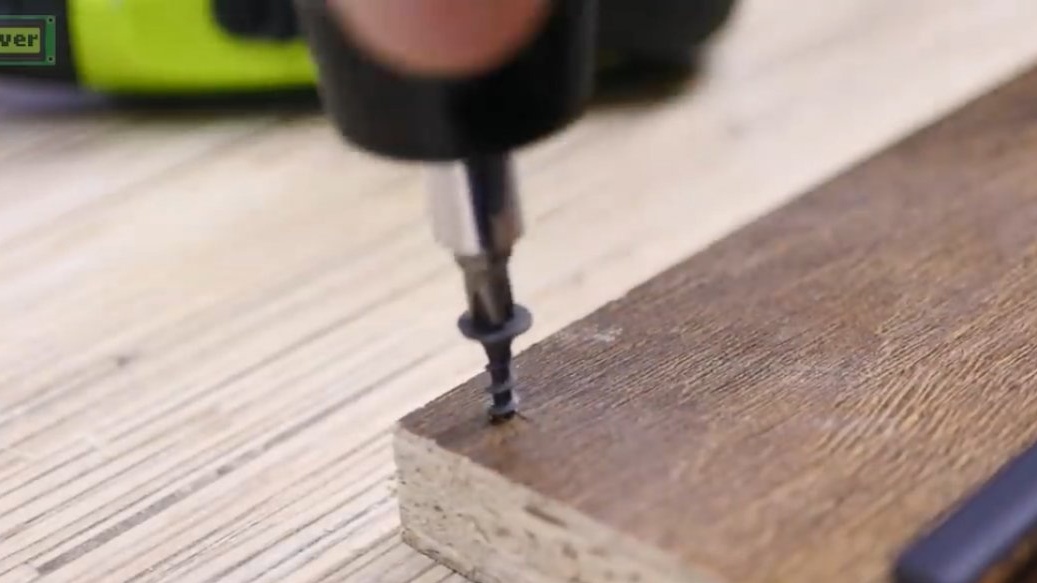
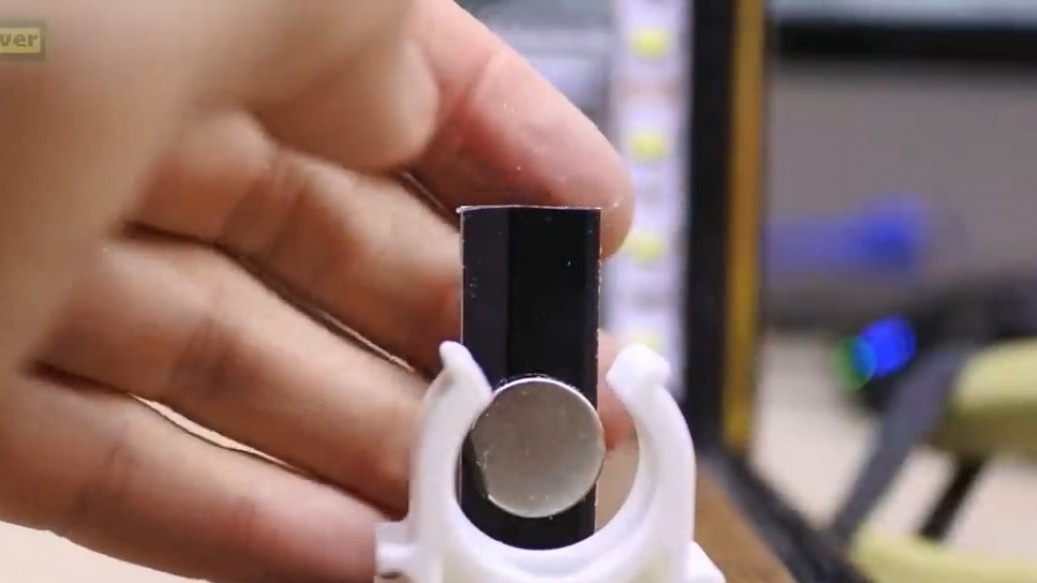
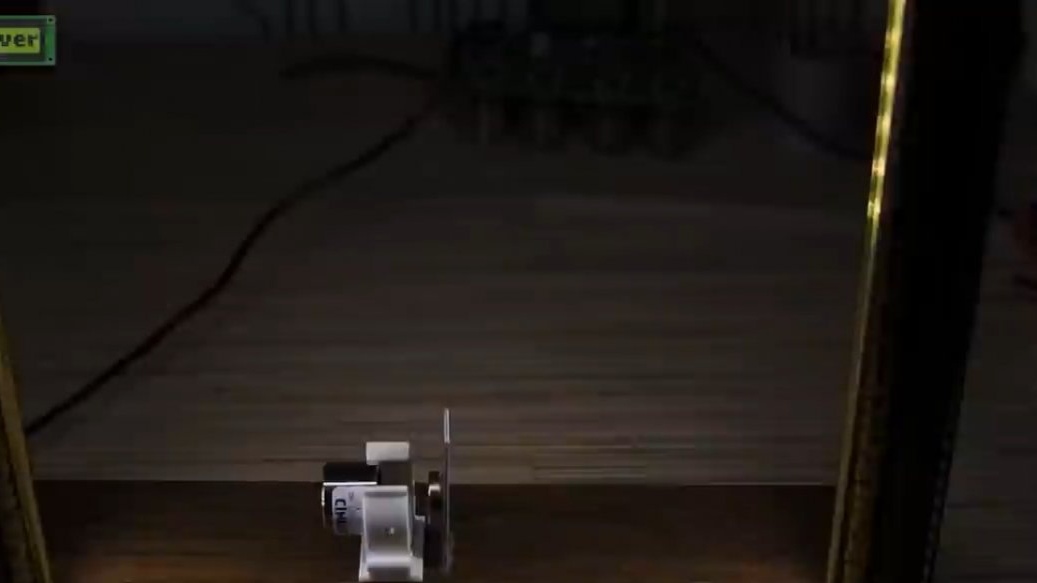
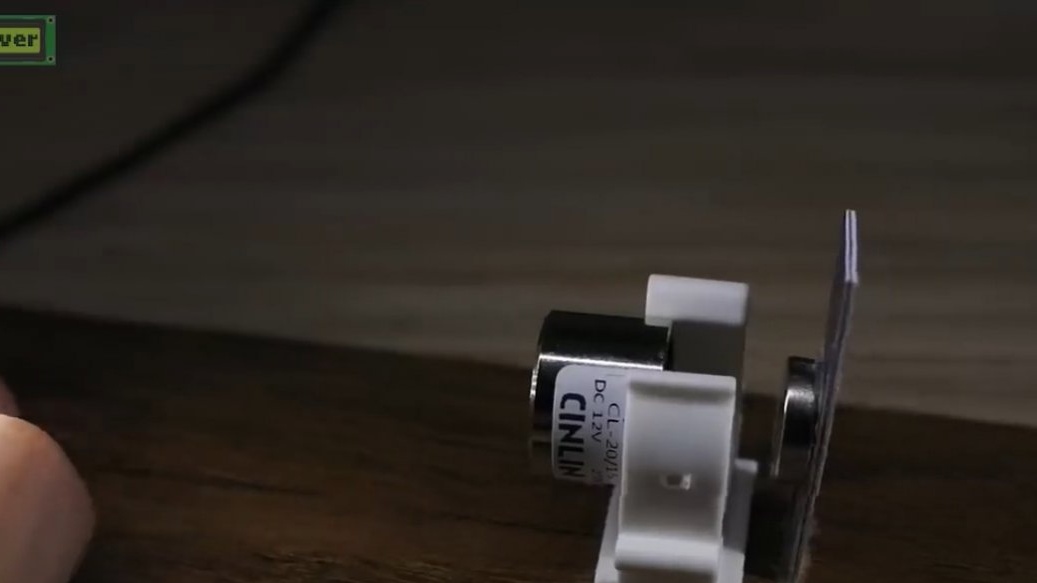
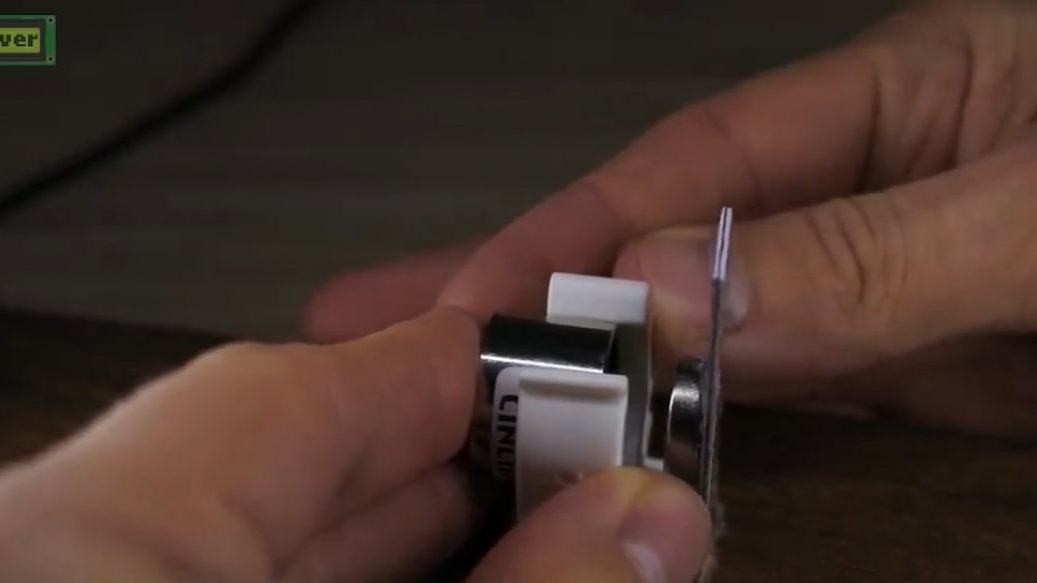
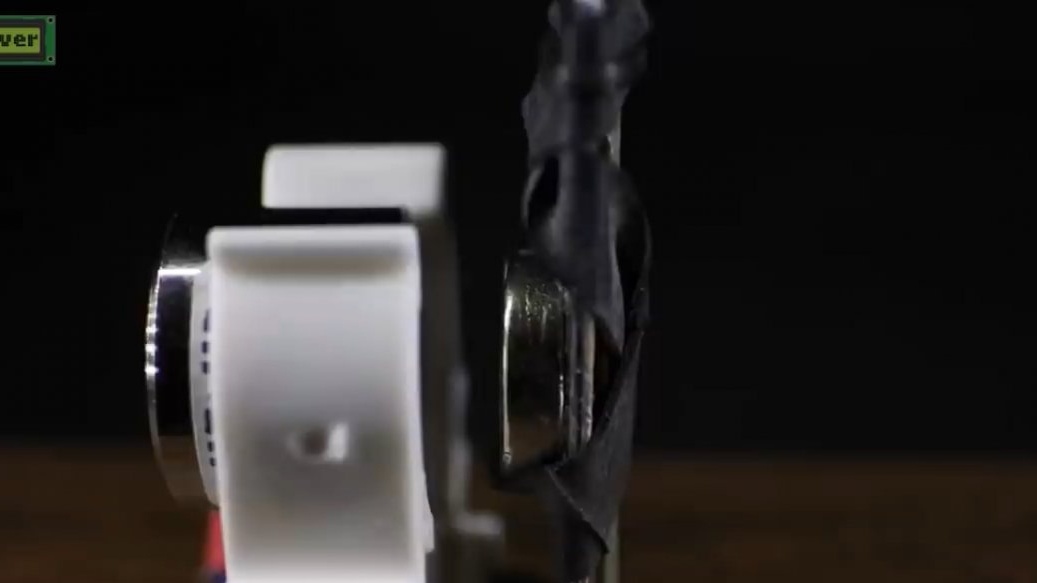
Next, you need to fix the electromagnet. Do you know why the author chose a diameter of 20 mm? Because under it there is a mount for water pipes. The electromagnet in it moves freely, this can be solved with a drop of glue or a piece of rubber. There is also a mount for the 16th pipe, it holds better, but it will be too low, the shoulder will be small.
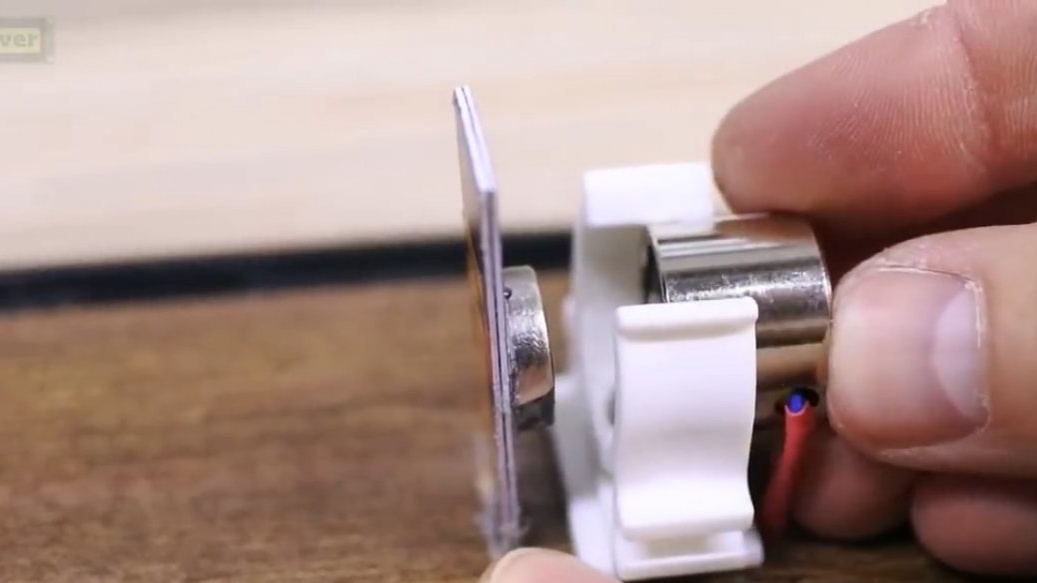
The holder must be fixed to the board so that there is about 7mm between the magnet and the electromagnet.

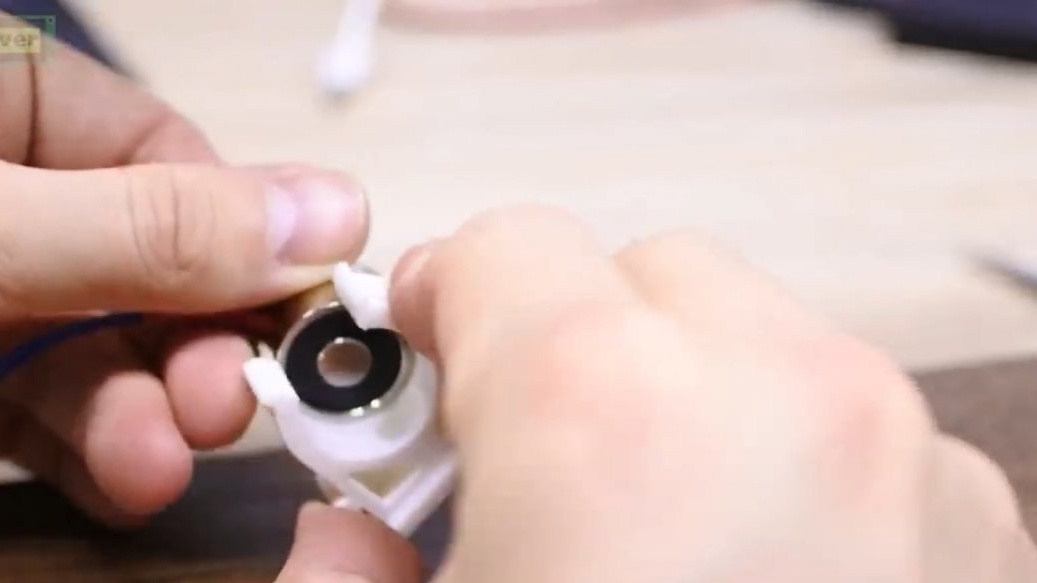
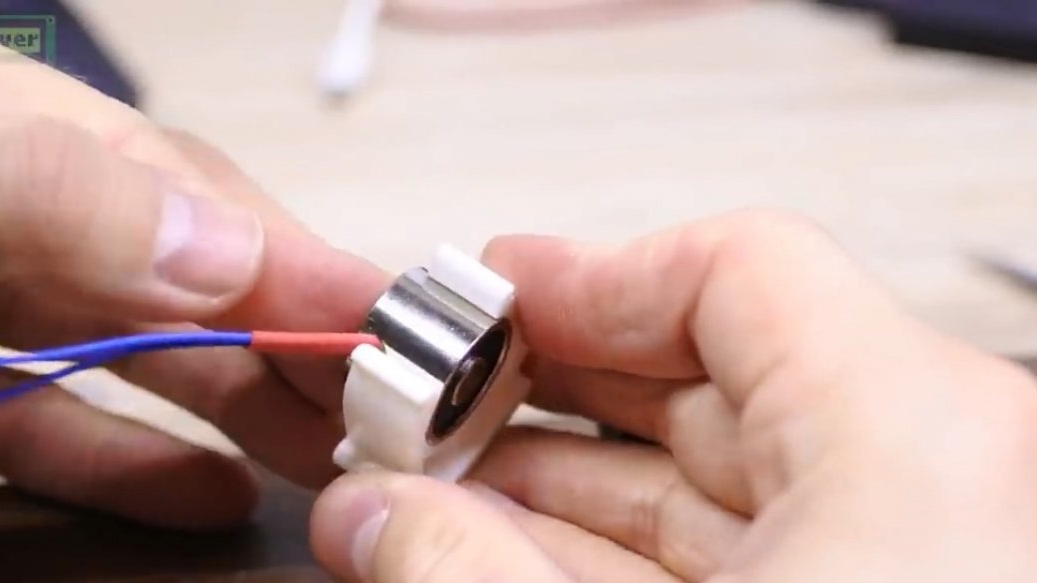
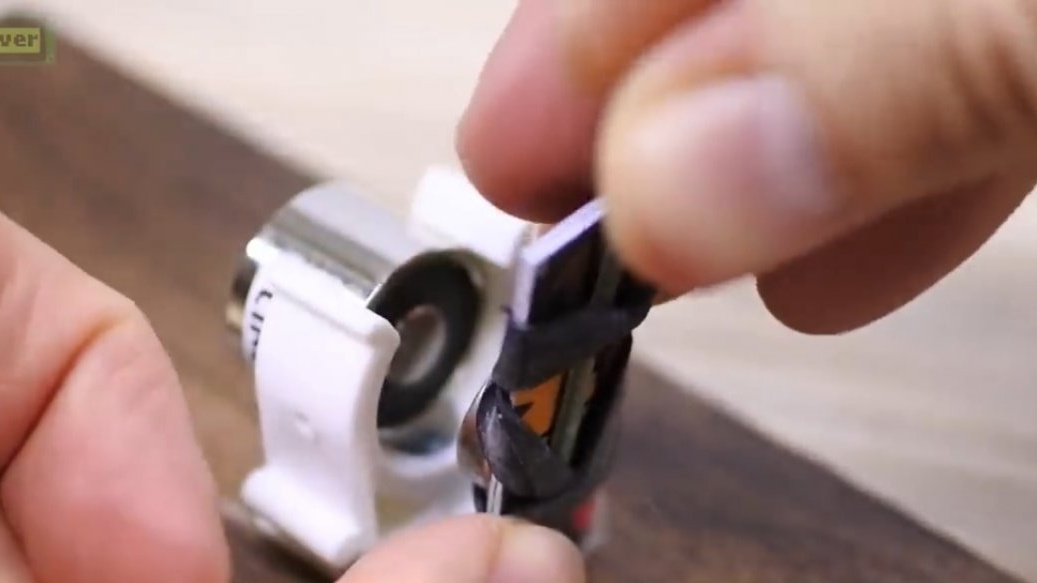
We also drill a hole for the wires of the electromagnet. We attach the magnet to a drop of superglue, exactly in the center of the holder for the pipe, that is, it is aligned.
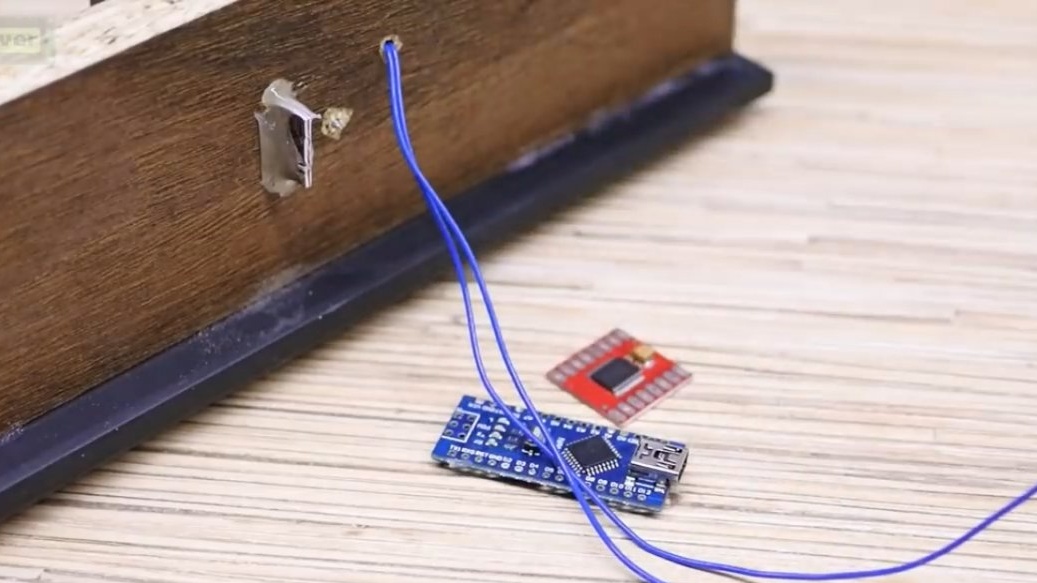
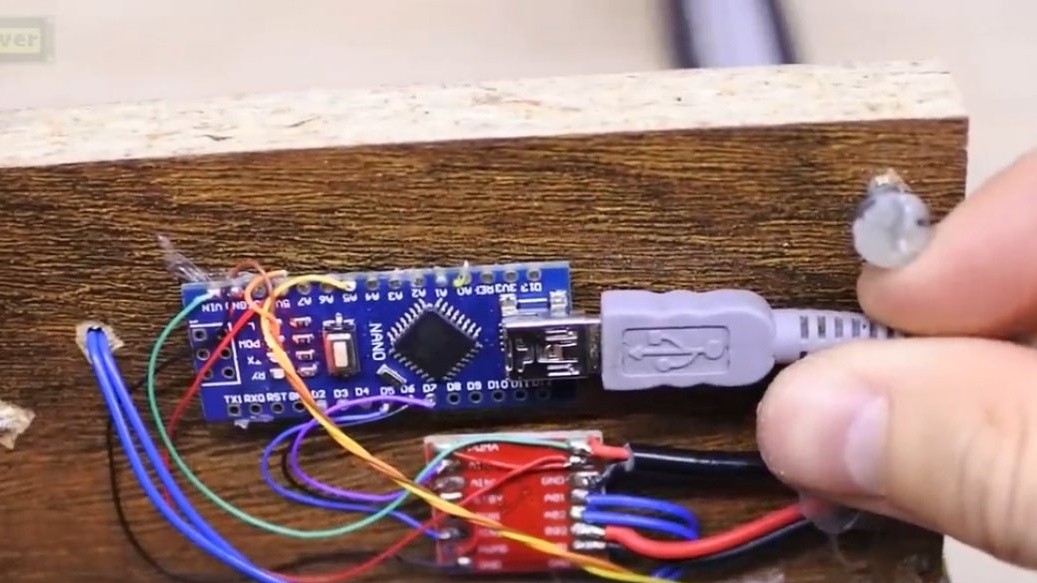
It remains to solder everything according to the scheme and fix it to hot glue.
Glue the twist here, it is not visible, and it’s convenient to twist.
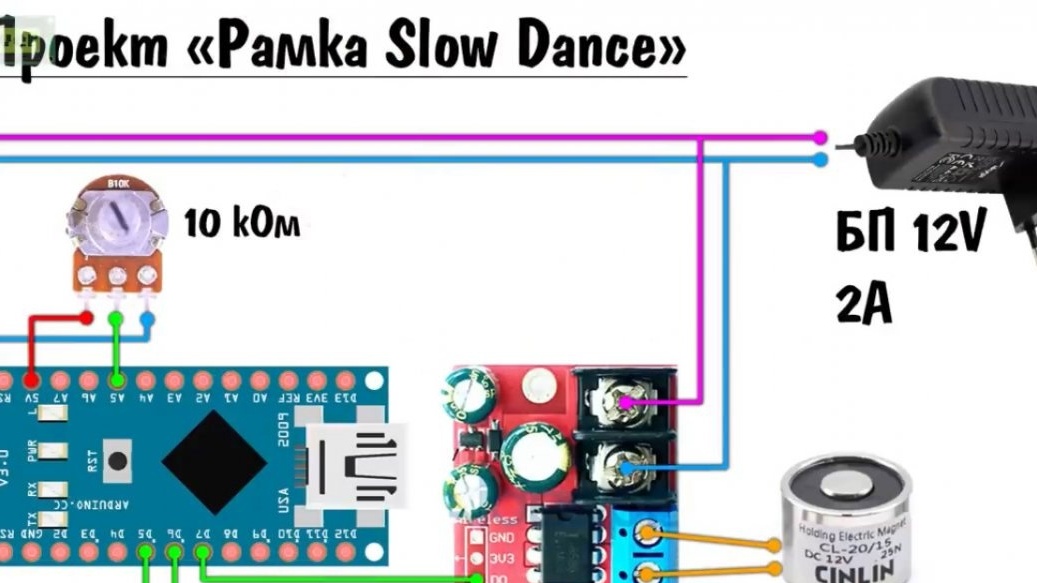
Let me remind you that the twist in the scheme is not required, you can without it. Now we connect the arduino to the computer and we will download the firmware.
With download the archive. If this is your first experience, be sure to read the instructions and do everything as it says.

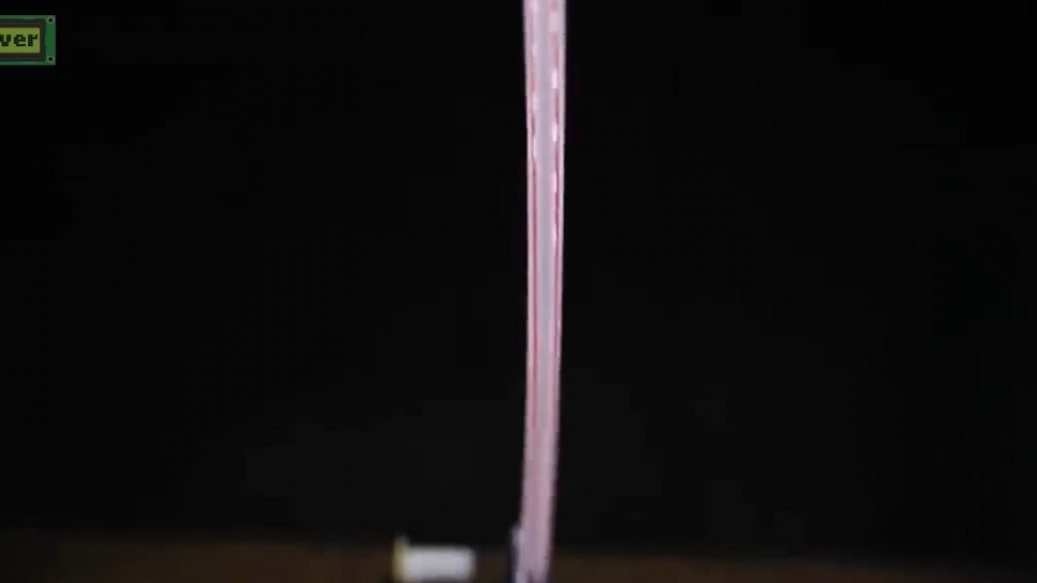
Click the download button. Done. We plug the power supply into the outlet and the magic begins, we see how the magnet slowly sways, we can adjust its speed with the twist. By moving the magnet we can adjust the amplitude of the oscillations.
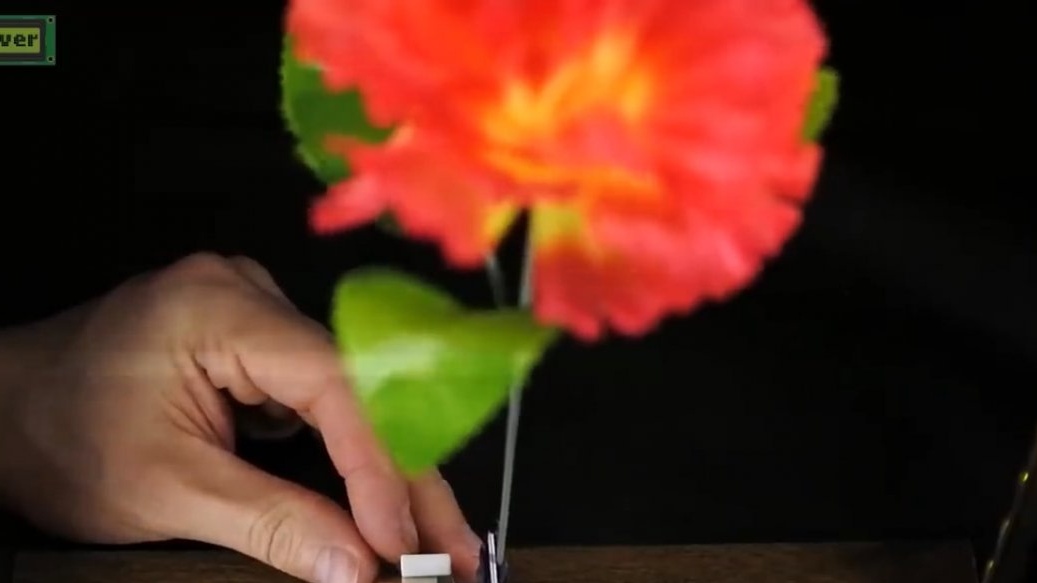
For this experiment, the author took the flowers dead, because the frame will allow them to be revived. Here it is. We fix the flower on the ring from the bicycle chamber, in this way.

It is better to press the upper part, otherwise there will be a loud cracking sound. We start. More clearly in the original Author’s video:
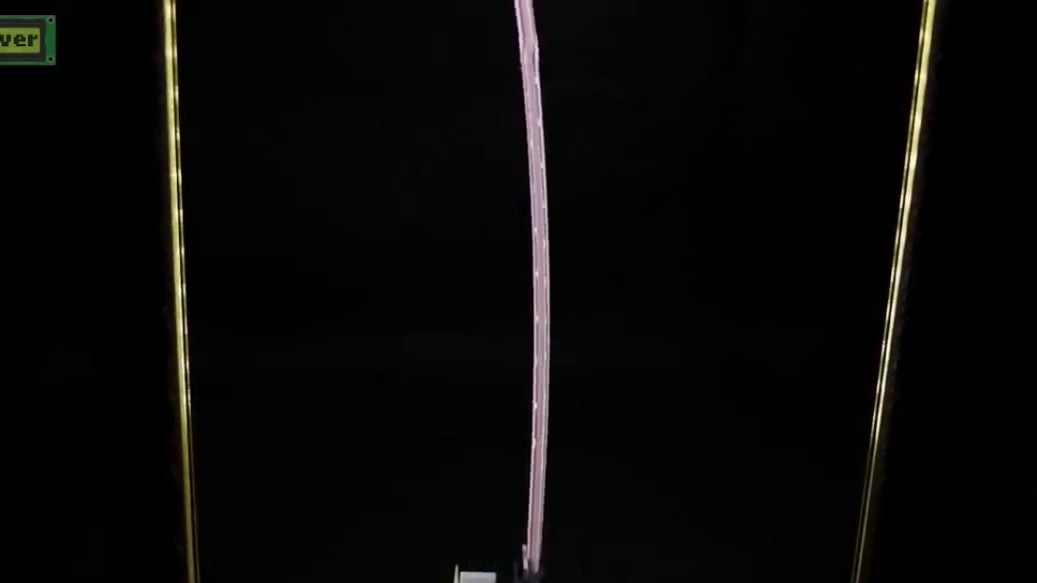
This is really magic outside of Hogwarts. Let me remind you that the effect is observed with the naked eye without defects in the form of black stripes, there are stripes only when shooting with the camera and at certain frequency settings. With a twist, you can set the discrepancy between the frequencies of light and the electromagnet, due to which the speed of the flower changes. By changing the position of the electromagnet, you can adjust the amplitude of motion.


The author delivered a more massive bouquet, and he expectedly dances not so famously, because he has a large mass.

Instead of plants, you can put just an elastic object and observe the forms of its vibrations.
The electromagnet is not very designed for continuous operation, so it is heated to 70 degrees.
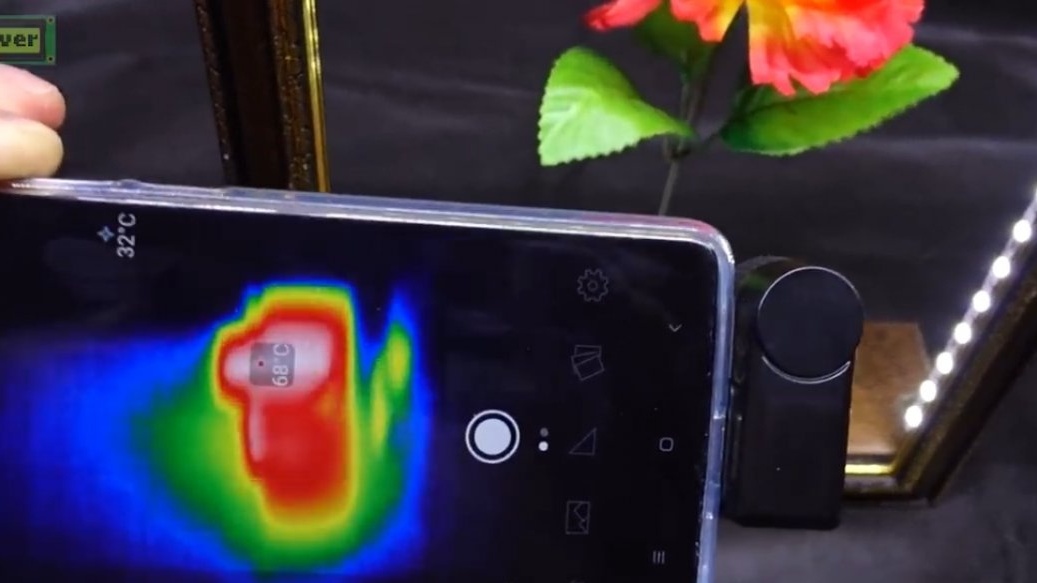
In principle, there’s nothing wrong with that, absolutely nothing will happen to him. Let's see how the switching frequency of the electromagnet affects the visual effect. Now the period costs 2000 microseconds, which corresponds to a frequency of 500 Hz.

The effect is not observed, because the flower does not have time to swing in such a short time. 4000 μs, 250 Hz - that’s it. In general, 4-5 thousand is the best option. That’s basically it. Thank you for attention. See you soon!