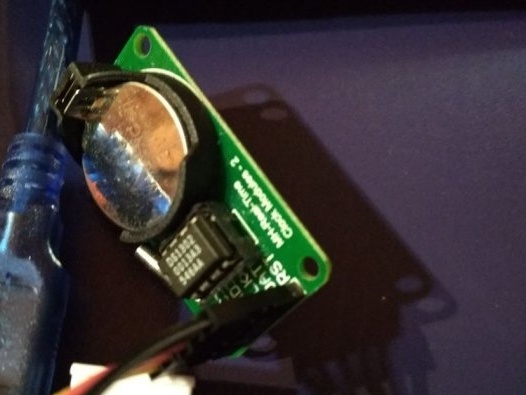
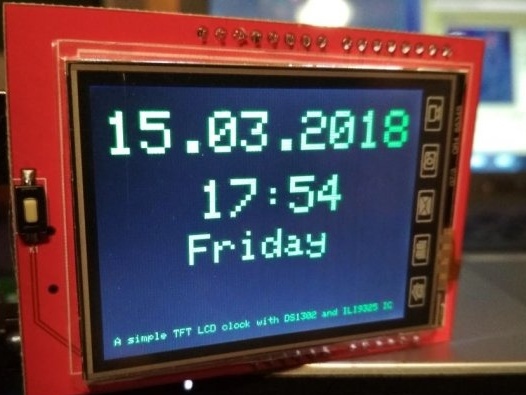
The author of Instructables under the nickname Lacybad made a watch on Arduinodisplaying the date, time, day of the week, and even a short description of one line in length on a TFT display in pixel font. Thanks to the RTC-module on the DS1302 with battery support, you can turn off the power of the watch when leaving home. The brightness of the display backlight is enough to work as a night lamp, which will help not to stumble in the dark.
The RTC module used in watches is relatively inexpensive, and is also well suited for working with Arduino. It is more convenient than modules on DS3231, 1307, connected via bus I2C.
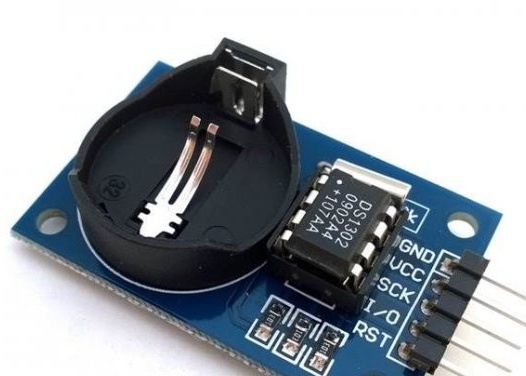
The DS1302 module has five pins: power, common wire, reset, clock, data. The first two were connected by the master to the corresponding Arduino buses, the remaining three can be connected to any digital data exchange lines, Lacybad chose the following: 10 - reset, 11 - data, 12 - clock pulses.
Due to the lack of temperature compensation, this module is not very accurate; at room temperature, an error of two to four minutes is typed in a month. But you can adjust the time using the Arduino IDE, it is much faster than doing the same with the buttons, like most other digital watches.
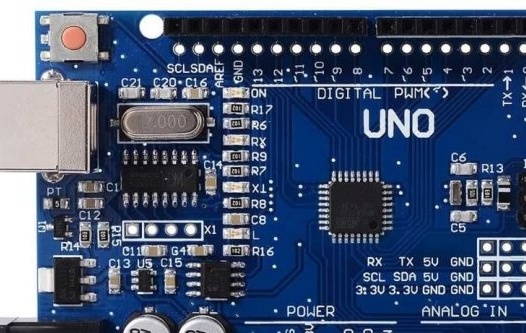
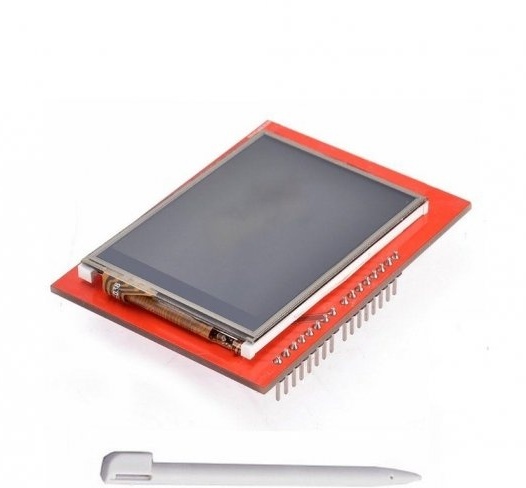
Below are the modules needed to build the watch. This is the RTC module described above, as well as the Dupont jumpers, Arduino Uno (Mega, etc.) and the 2.4-inch TFT display on the ILI9325 chip.
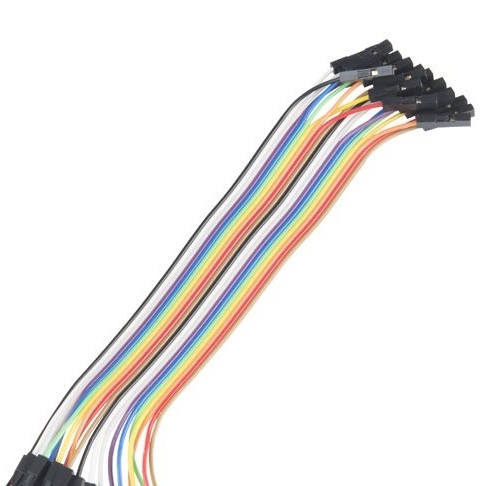
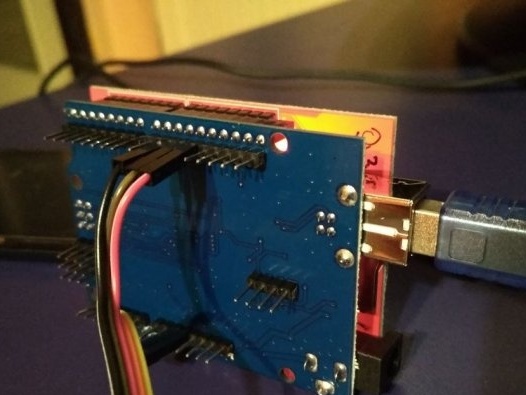
The developer came across not such a display as in this photo, but with icons at the bottom (now on the side), originally intended for fake NOKLA phones. But when they went out of fashion, they decided not to be discontinued, but instead found a new market - the Arduino. You can now buy such a display both separately and in a bundle with a riser board that turns it into a shield, which the master did. Well, he connected the RTC module with jumpers "dupont" (see above, where to connect). You can simply solder ordinary wires.
After downloading it, written by the developer, you need to uncomment the following lines in it:
//rtc.setDOW(FRIDAY);

//rtc.setTime(17, 15, 00);

//rtc.setDate(15, 3, 2018);
Replace the time and date in them with the current ones with a slight lead, fill the sketch in Arduino, then comment these lines back and fill the same sketch again. At each need for adjustment, these operations must be repeated.
The watch works:
But so far only "in principle." And it is necessary that in the case. What it will be is up to you.


