
The recycling of polyethylene is a long overdue and painful issue for our country. Of course, manufacture bracelets the situation cannot be changed, but the technology of such processing of recyclables is important. Following the guidance in this article, you can make other products.
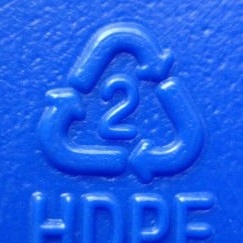
For the manufacture of bracelets, the author uses recycled plastic labeled HDPE.
Such polyethylene is most often used in the manufacture of all sorts of cans, barrels, bottles. Those. finding it is not difficult. The master previously melted such polyethylene and made sheets and blocks out of it. Subsequently, the master made various products from sheets and blocks and used them as building materials.
Tools and materials:
-Waste high density polyethylene HDPE;
-Dishwashing liquid;
- Means for removing glue;
-Scissors;
-Can-opener;
-Container;
- Furnace with temperature control;
-Saw for metal;
-Wooden drive;
- Capacity from under canned products;
-Clamp;
-Scissors for metal;
-Pliers;
-Hammer;
-Chisel;
-Drilling machine or drill;
-Lathe;
-Sandpaper;
-Rule;
Grinding machine;
-Construction hair dryer;
Step One: Material Procurement
As already mentioned, it is necessary to use recycled materials labeled HDPE or, in some countries, PEHD. The number 2 in the triangle also matters. This is the safest polyethylene.
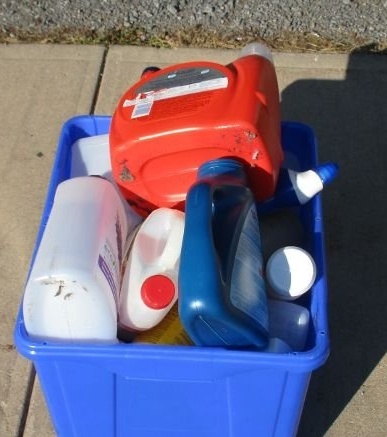
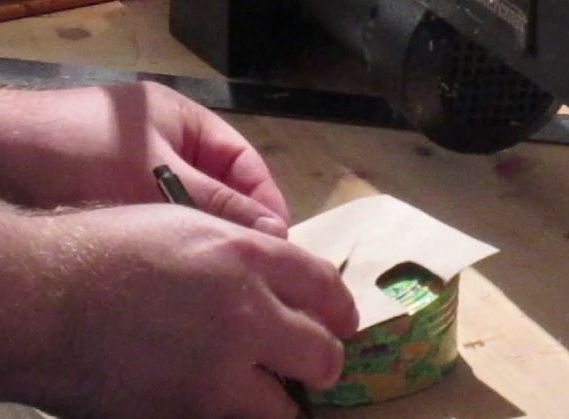
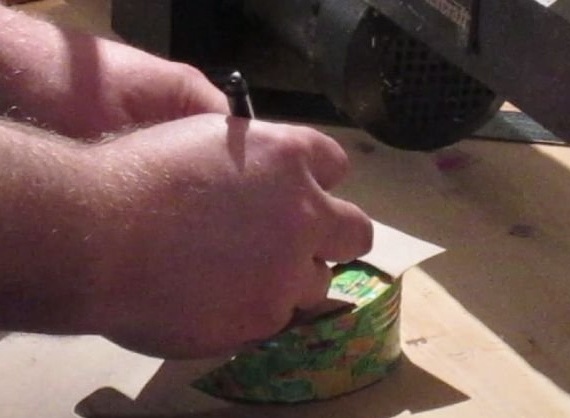
First rinse the containers thoroughly with detergents. Then rinse. Remove label from surface. To dry.
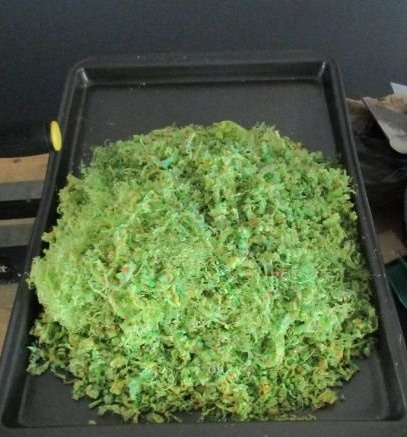
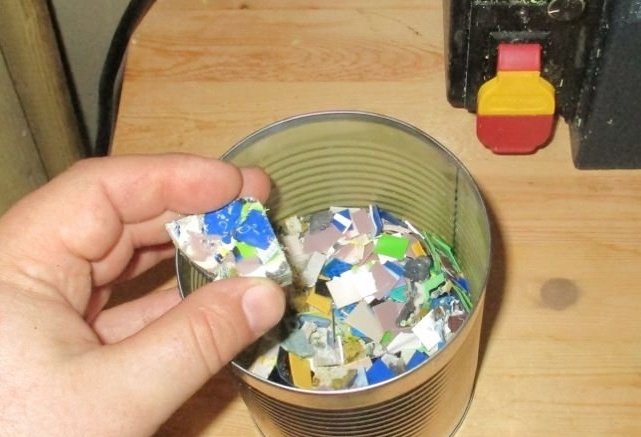
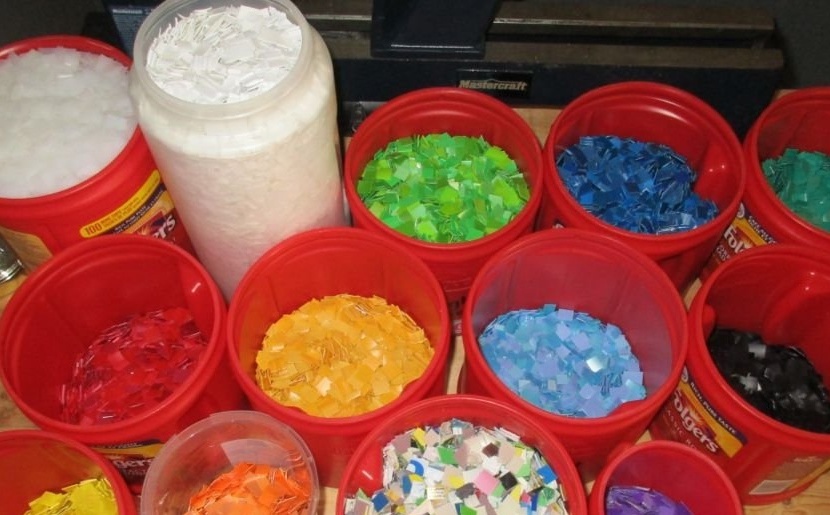
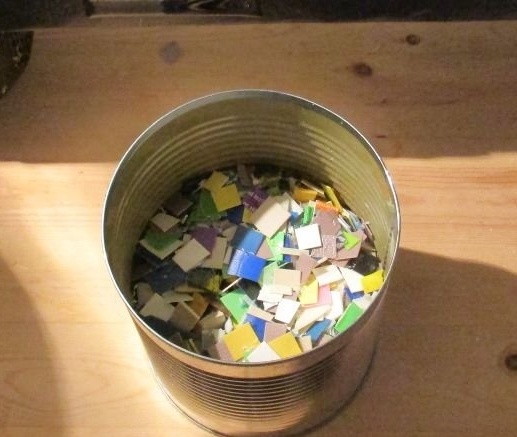
Then the polyethylene is cut into small pieces, approximately with a fingernail. It is advisable to separate the material by color.

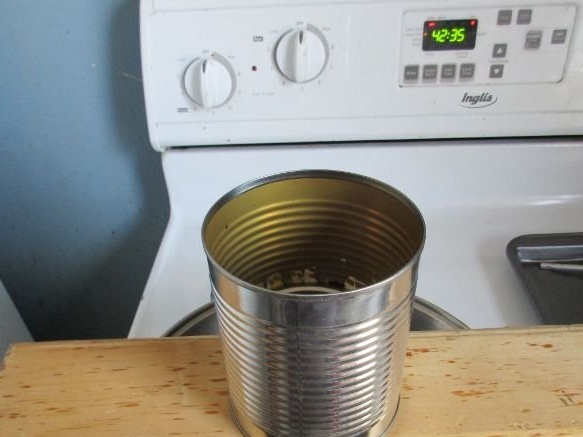
Step Two: Smelting
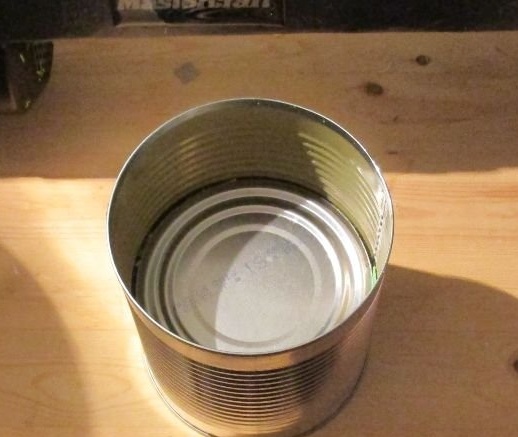
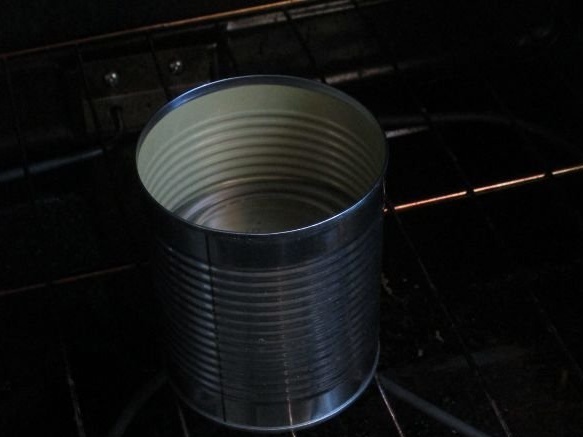
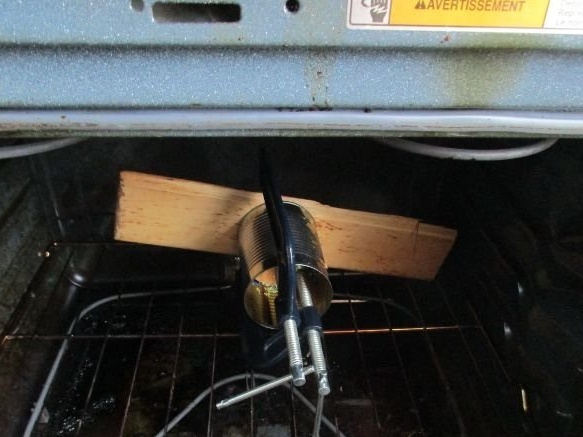
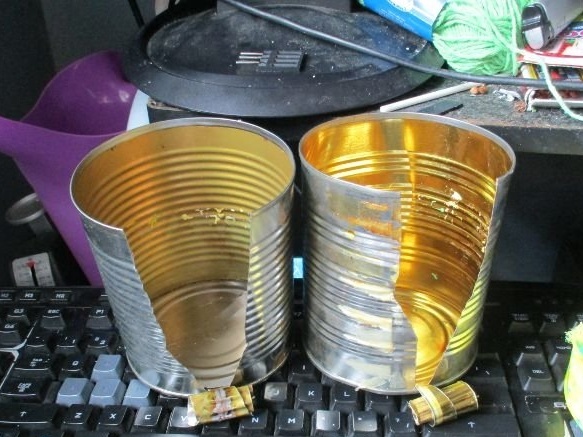
For smelting you need a clean, dry metal can. The diameter of the can is about 10 cm. Pieces of polyethylene are placed on the bottom of the can (about a third of the can). A metal cover is placed on top.
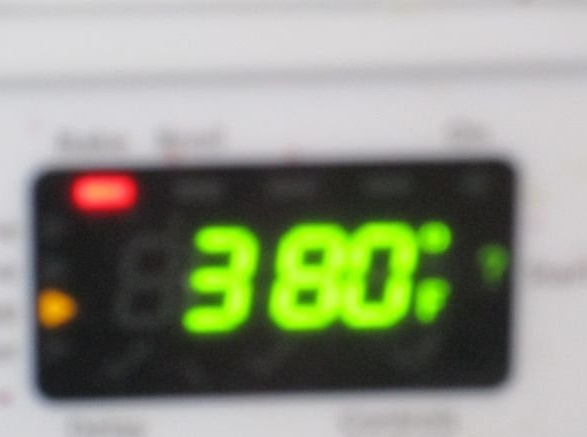
Now the can is placed in the oven.The temperature in the cabinet should be 190 ° C. Melting time two hours.
The temperature that is usually recommended for melting HDPE is 350 ° F (180 ° C), but the master sets it a little higher. Time is also longer than usual. This is based on his past experience with HDPE melting.
In one of his previous HDPE melting experiments, he placed HDPE in an oven at 176 ° C for an hour. Later, he sawed the resulting block on a band saw, and was surprised to see how pieces of candy spilled from the block. Only about 12 mm from all sides melted, while the rest of the block remained in the form of loose pieces of HDPE.
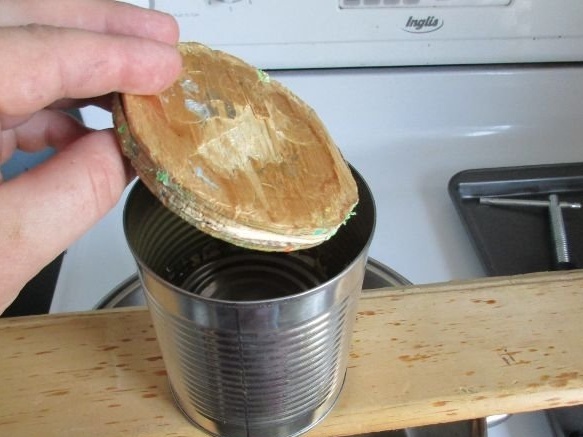
Step Three: Forming
HDPE used in bottles does not melt into a liquid fluid like other materials when heated. Instead, it becomes softer with a chewing gum-like consistency.
In order to turn it into a usable solid, it is necessary to compress HDPE with significant pressure to remove air bubbles and compress it to the desired shape.
Insert the wooden disc into the jar on top of the lid.
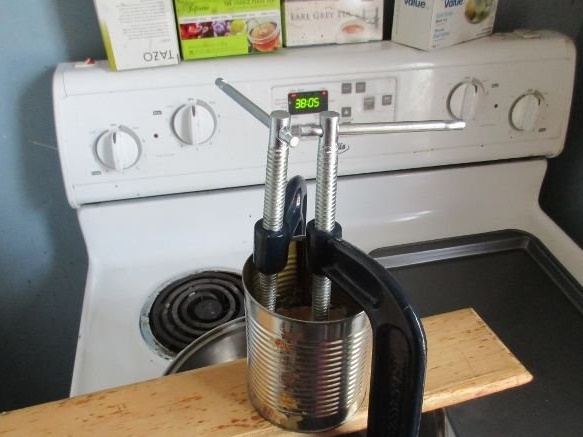
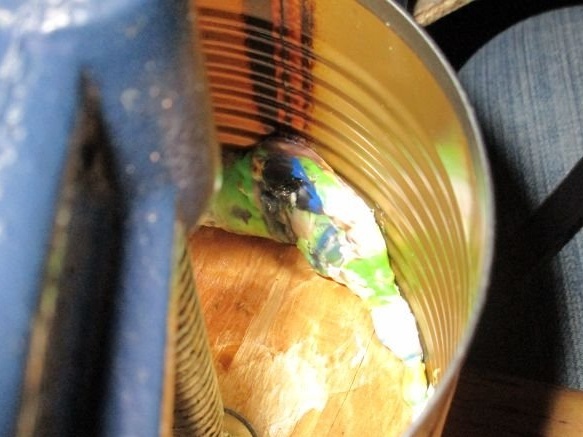
Using a C-clamp, apply pressure to the polyethylene. Use a piece of wood between the clamp and the bottom of the can. If there is no suitable clamp, a jack can be used in combination with a suitable compression frame.
A wooden disc tends to tilt in one direction or another when pressure is applied. In this case, you must use a second clamp to reduce this skew. After installing the mold, place everything in a warm oven and allow to cool naturally.
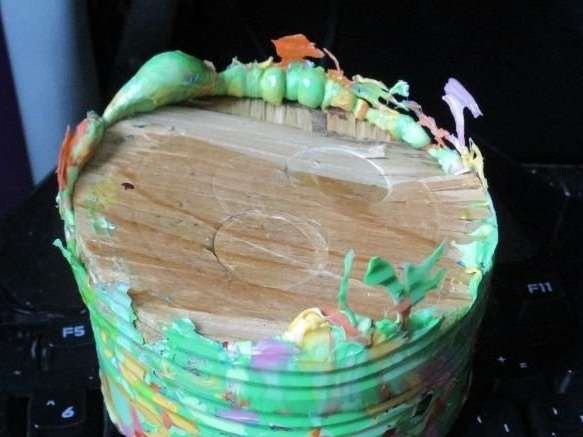
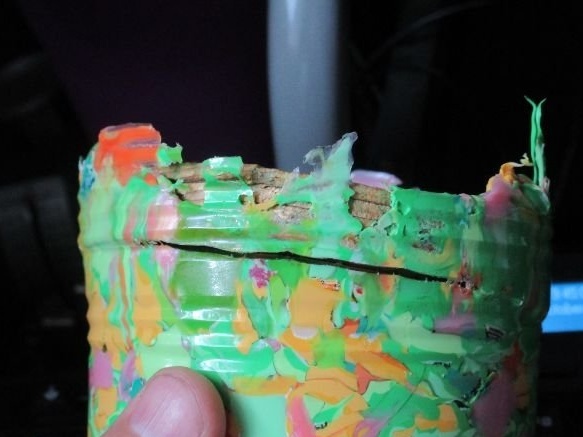
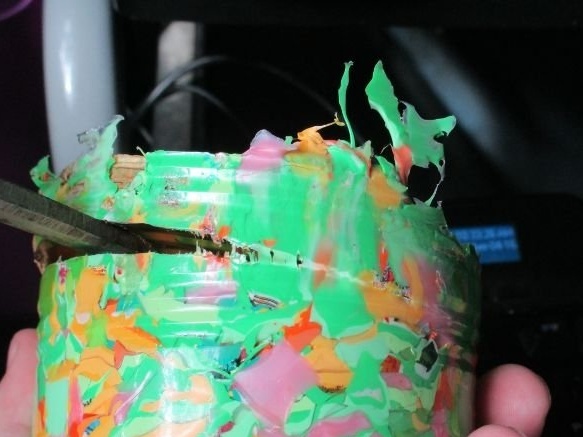
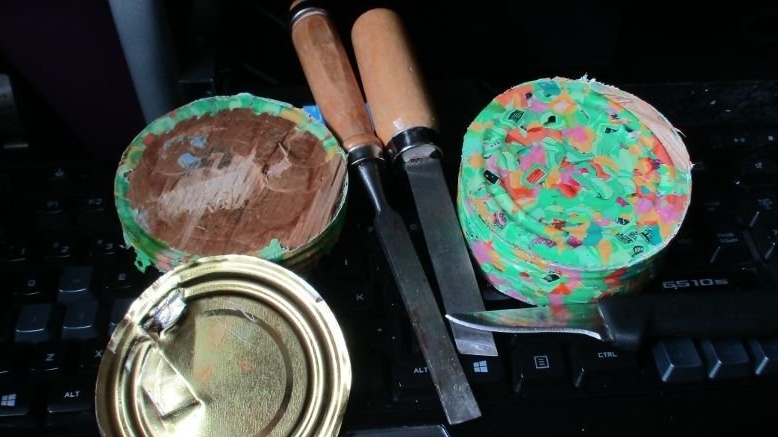
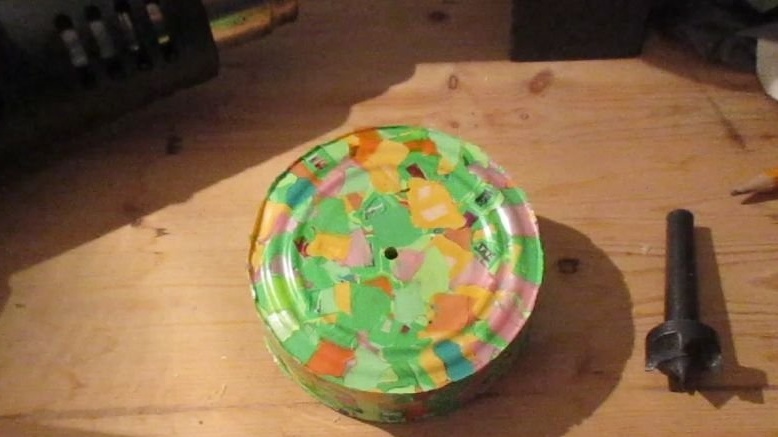
Once the workpiece has cooled, you can remove it from the can. In most cases, the workpiece is firmly stuck in it. To remove the workpiece, you need to cut the jar along the seam and try to pull it out. In some cases, this does not work, and then the author cut the jar literally in pieces. Maybe if you grease the walls of the can, the workpiece will come out easier?

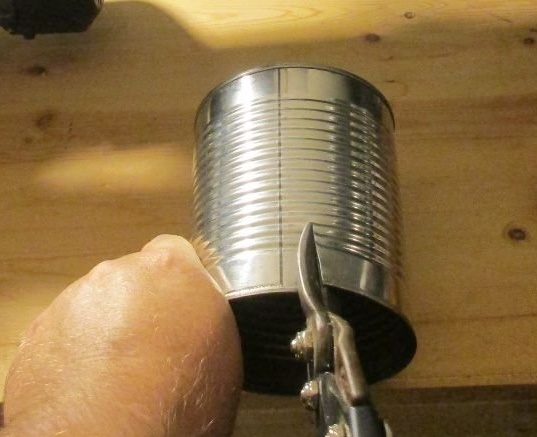
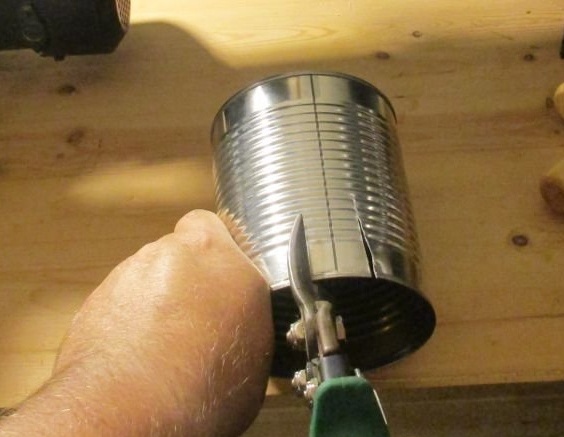
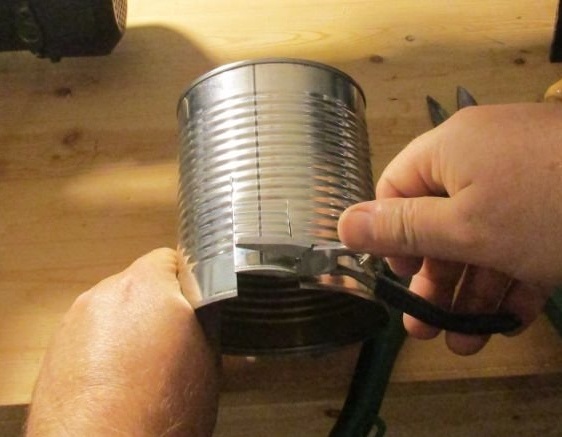

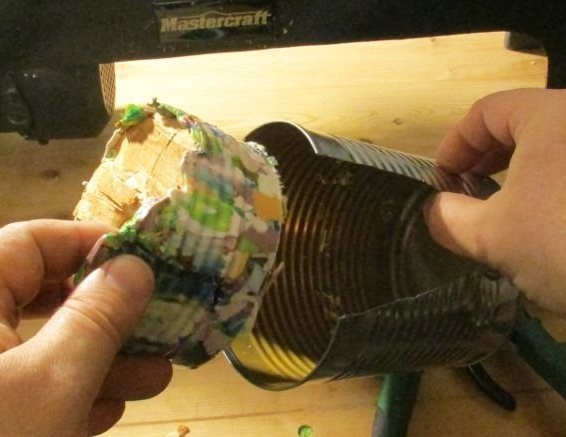
The workpiece is removed and now you need to remove the wooden disc and cover.
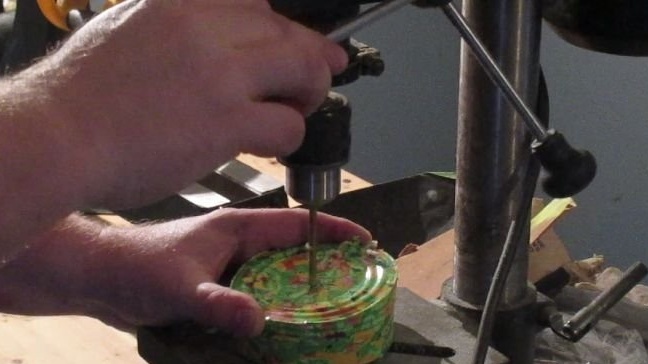
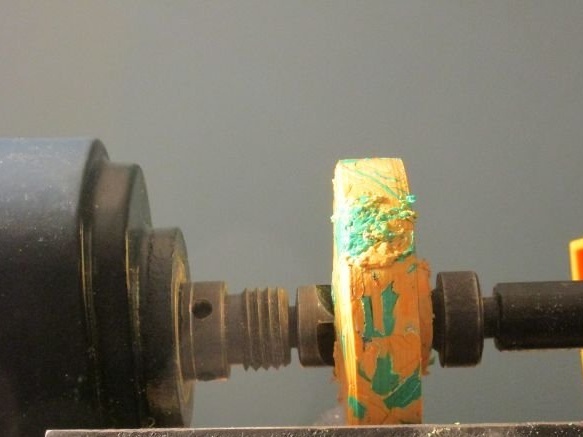
Step Four: Workpiece Center
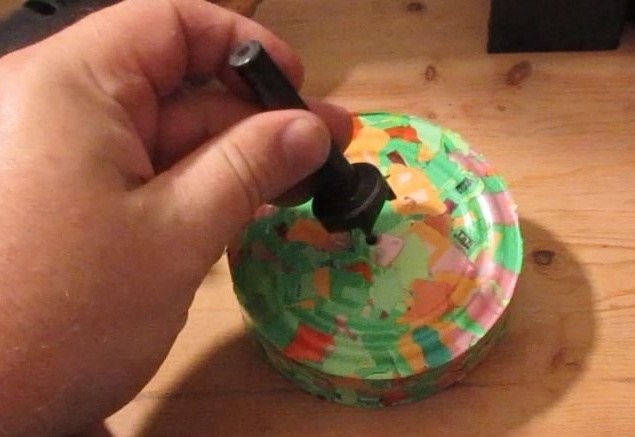
For further processing, you need to find and mark the center of the workpiece.
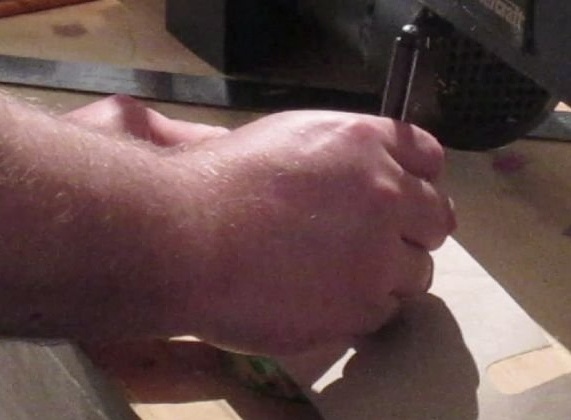

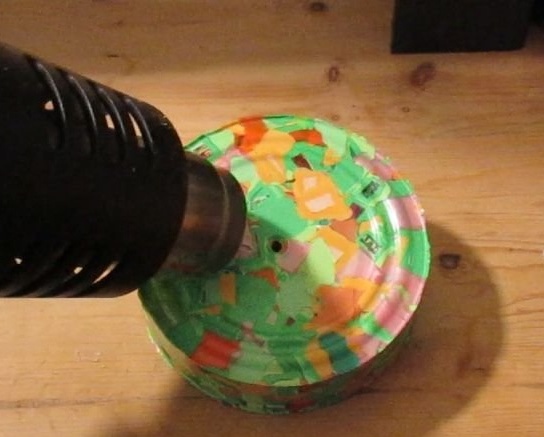
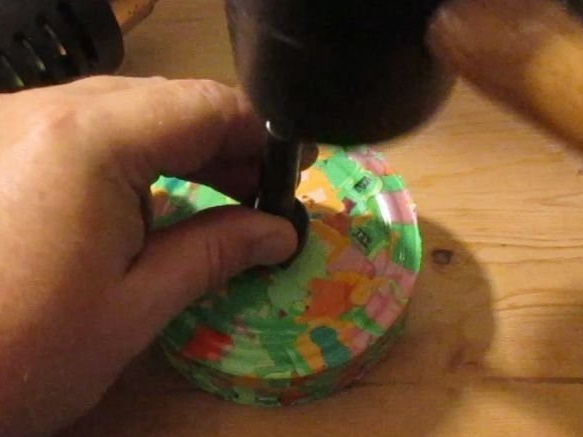
Then drill a hole in the center.


Then the master warms up the workpiece with a hairdryer and stuffs the recesses.

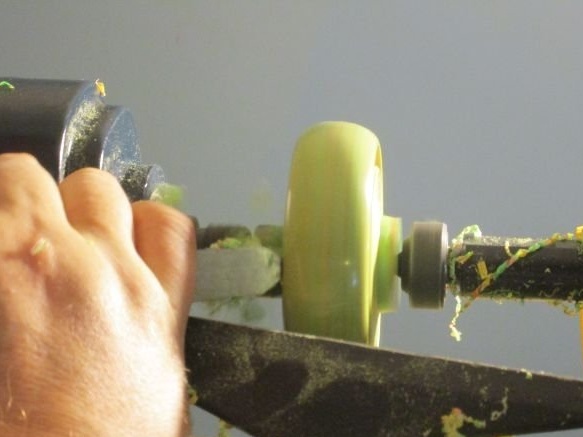
Now you can install the workpiece, for further processing, in a lathe.
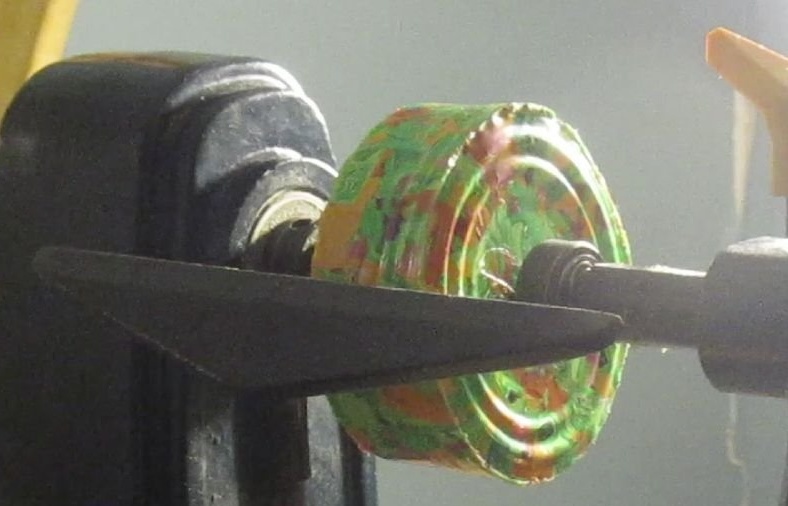
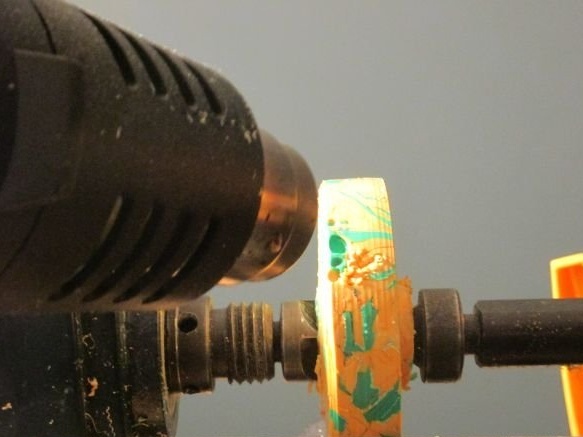
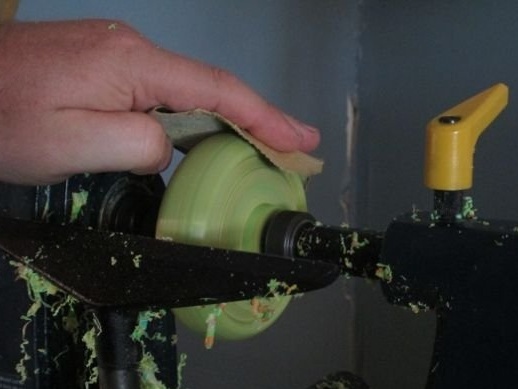
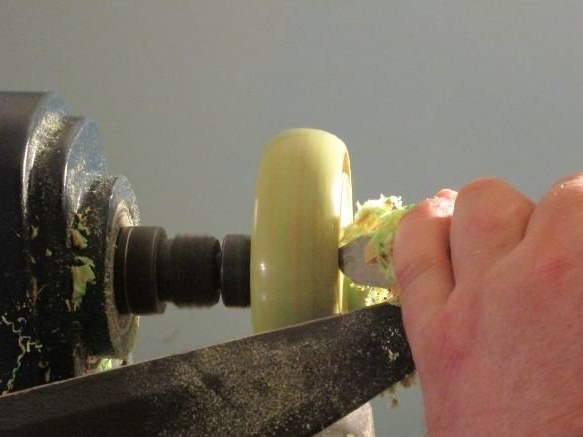
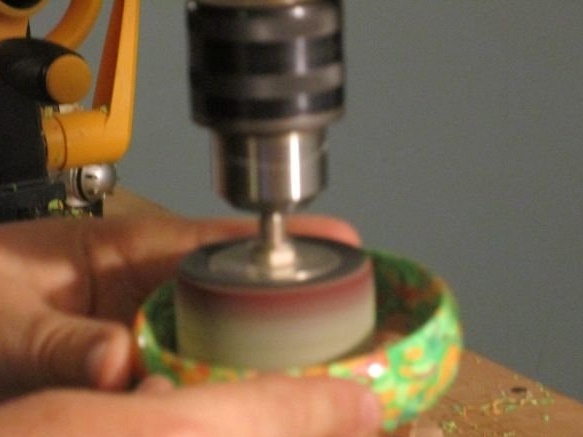
Step Five: Turning
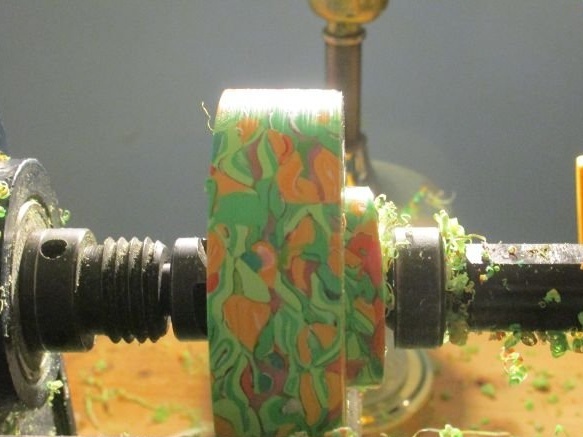
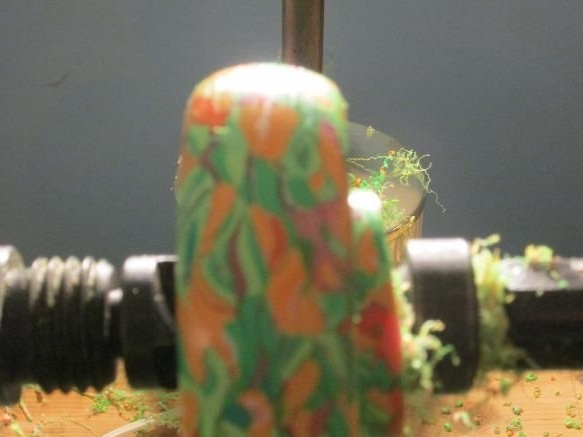
Next, the master grinds the workpiece to the size of the bracelet.
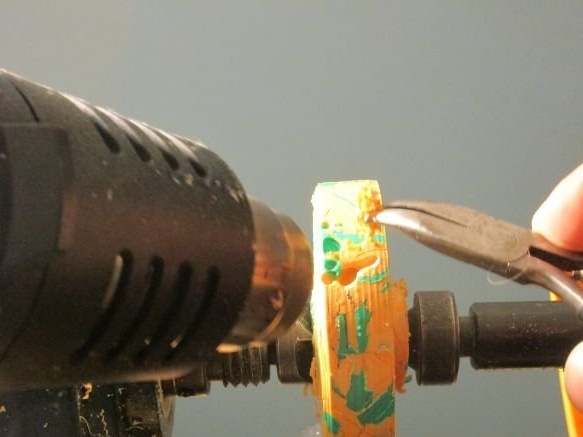
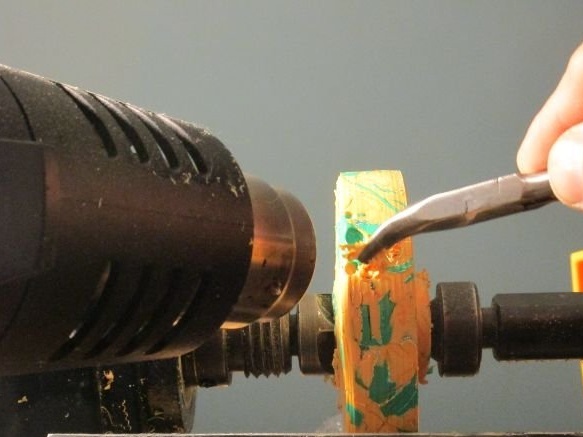
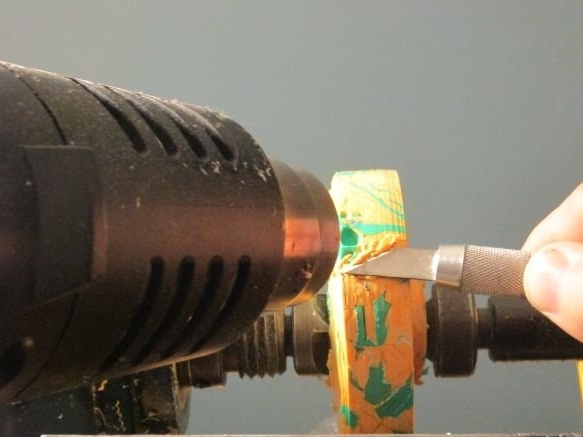
Step Six: Sinks
When grinding, shells will inevitably appear on the workpiece. Next you need to do the following operations. You need to start by heating the area around the hole with a hairdryer until the plastic around the hole begins to melt.
Using pliers or tweezers, place some chips in the hole and melt them with a hairdryer. Use pliers or tweezers to push the chips into the hole hole. Perform this operation until the sink is completely full.
Then, using a flat metal object, such as a knife or chisel, press on the molten shavings.

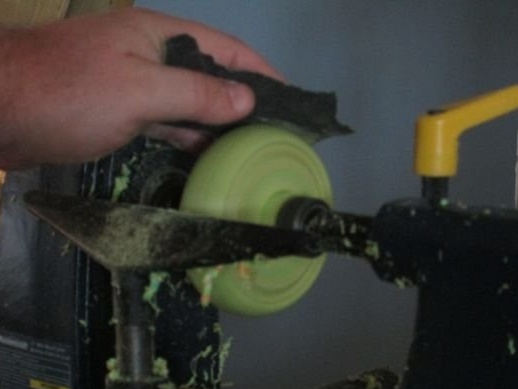
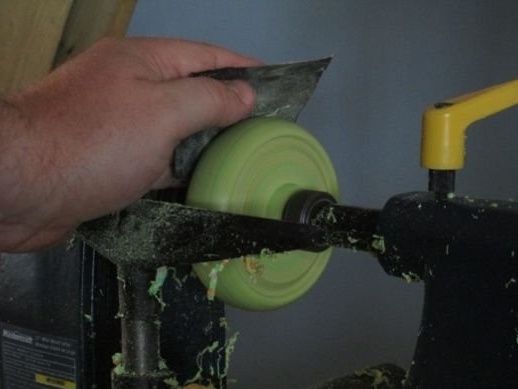
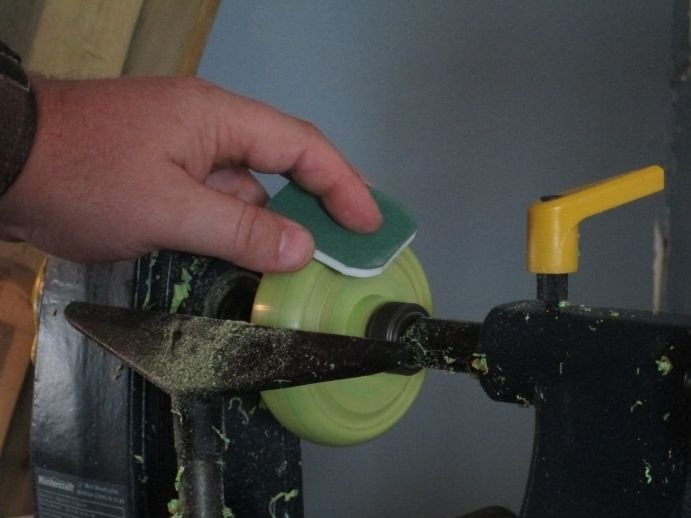
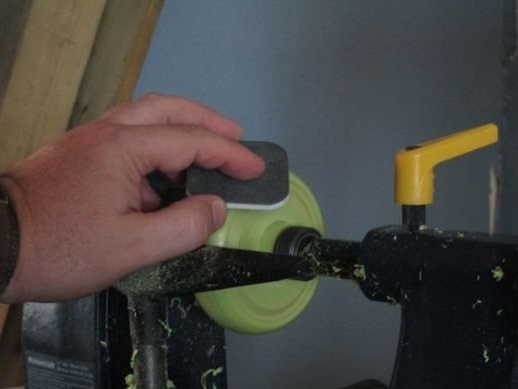
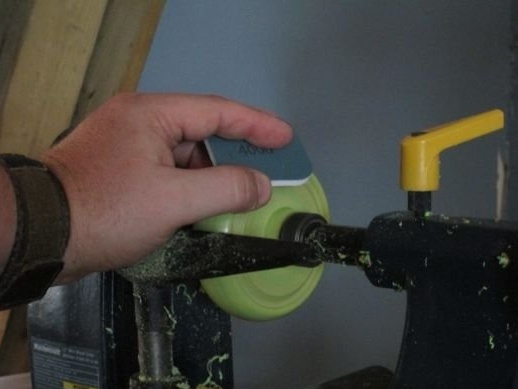
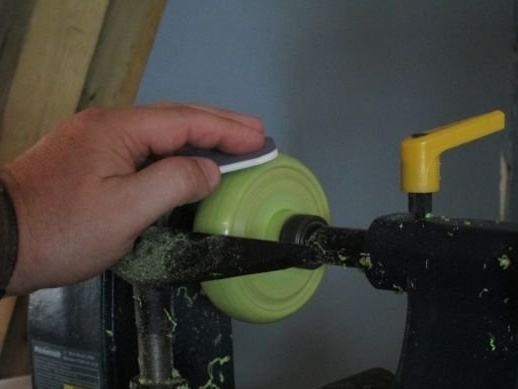
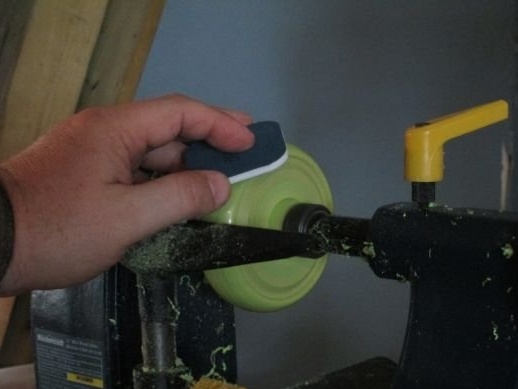
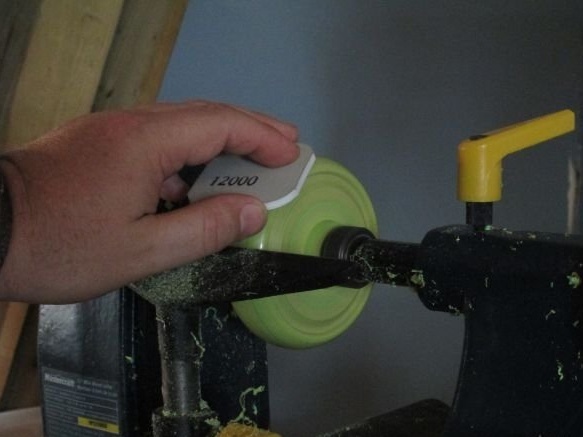
Seventh step: grinding
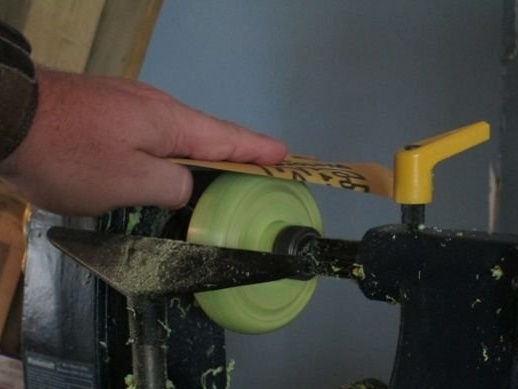
Grinding must be done at low speed. The master begins grinding with 80 sandpaper, gradually reducing the grain size.
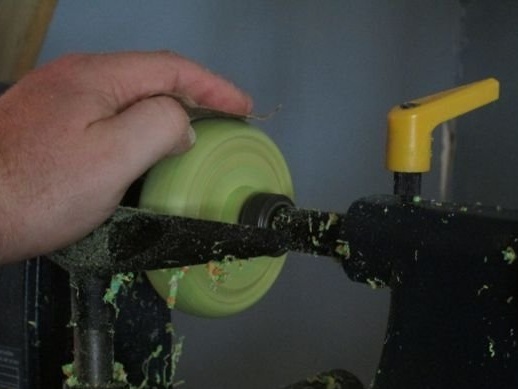

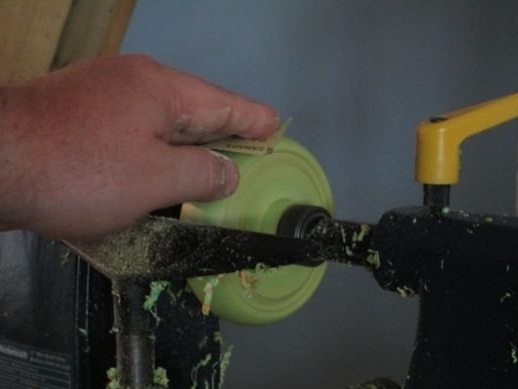
Next is P600, P800.
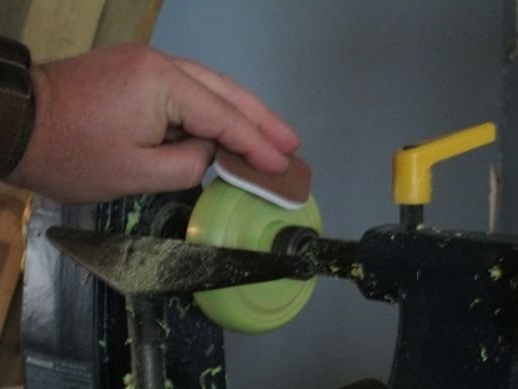
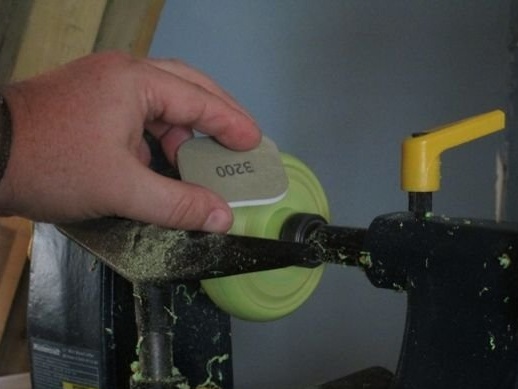
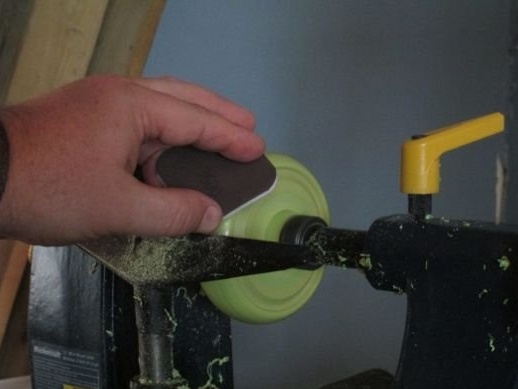
And finishes grinding the P12000 with sandpaper.
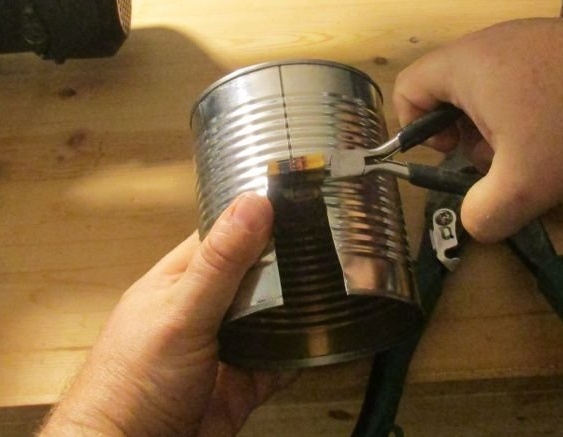
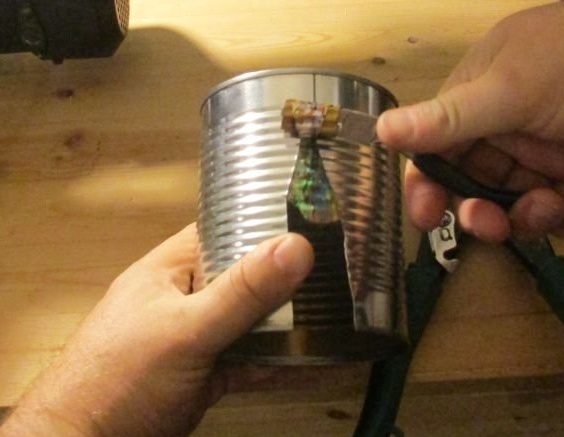
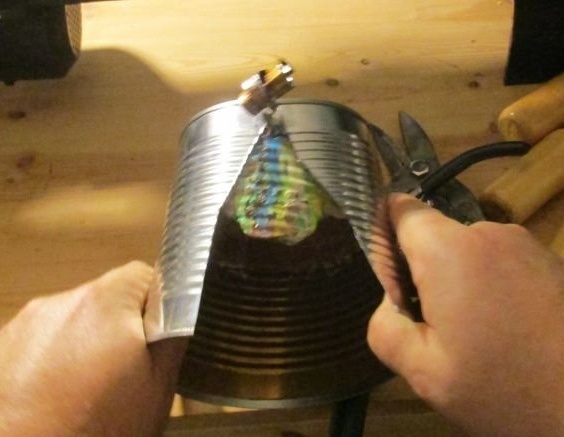
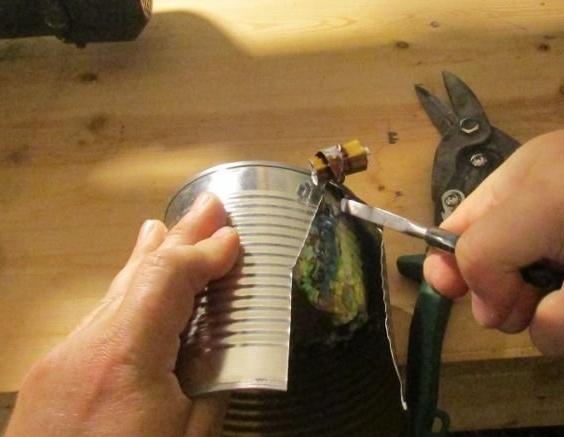
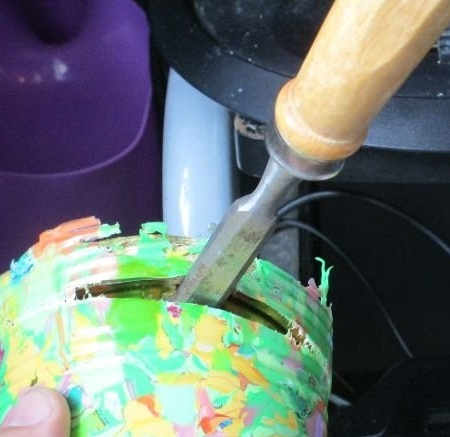
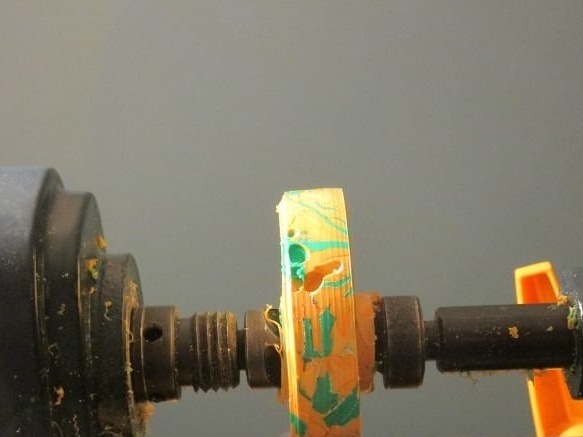
Step Eight: Cut
Now you need to cut the bracelet, separate from the inside.
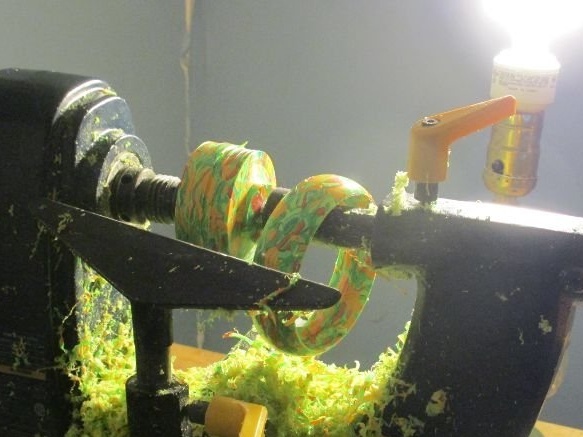
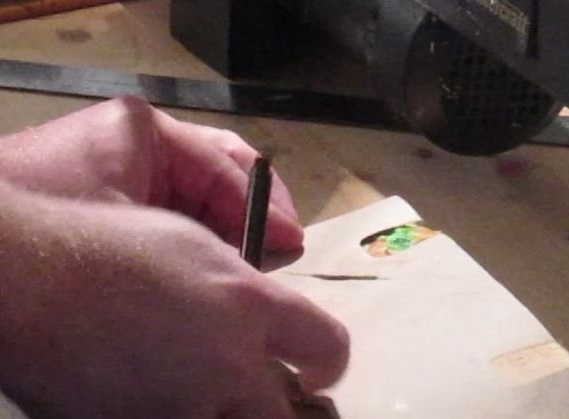
Step Nine: Internal Grinding
After cutting, in the center of the inner part, there will be a thin influx of material. It needs to be cut with a knife.
To grind the inner surface, the master used a grinding drum mounted in a drilling machine. This can also be done with a drill or with manual grinding.
With this operation, the inner diameter of the bracelet is also adjusted.
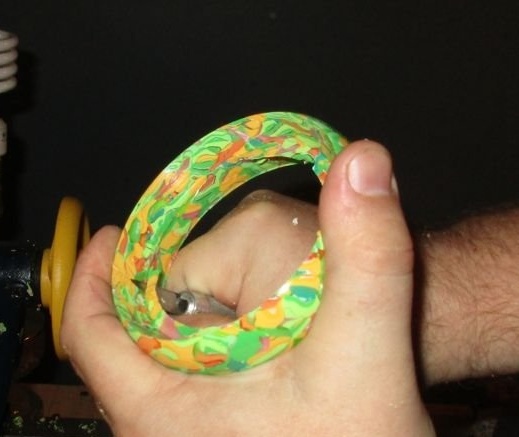
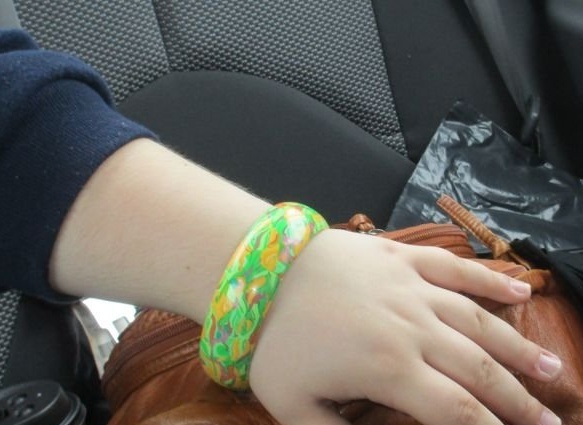
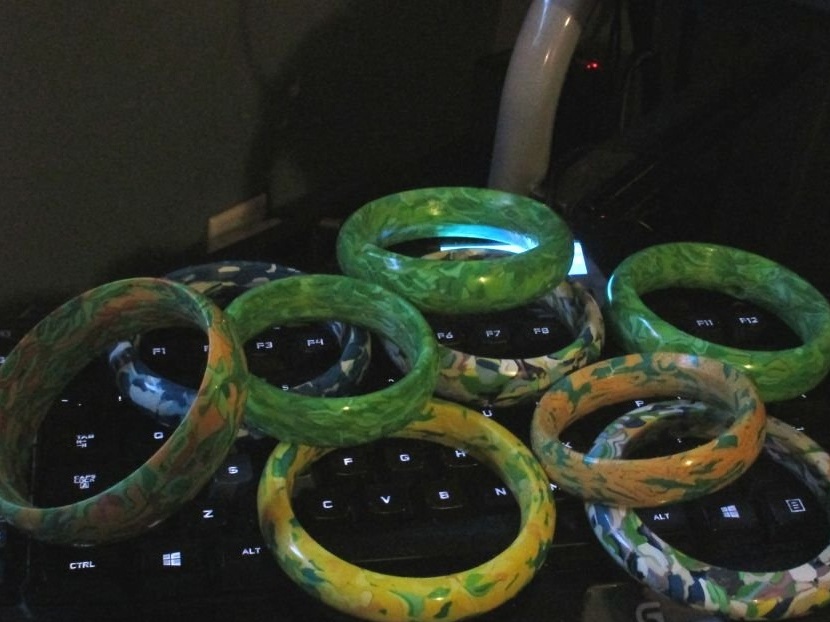
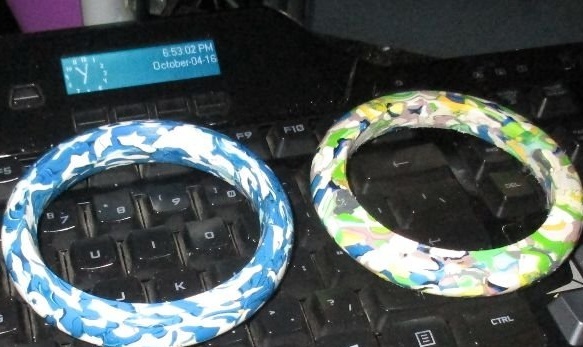
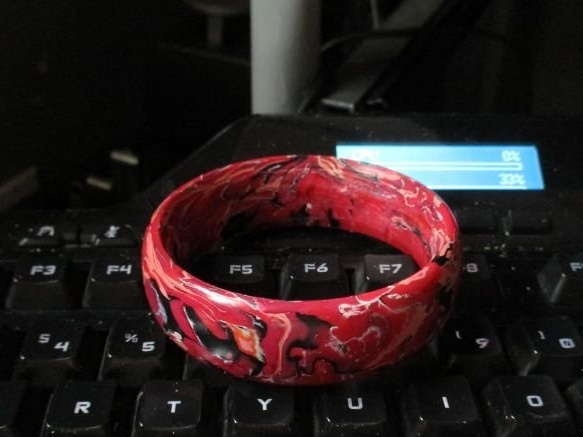
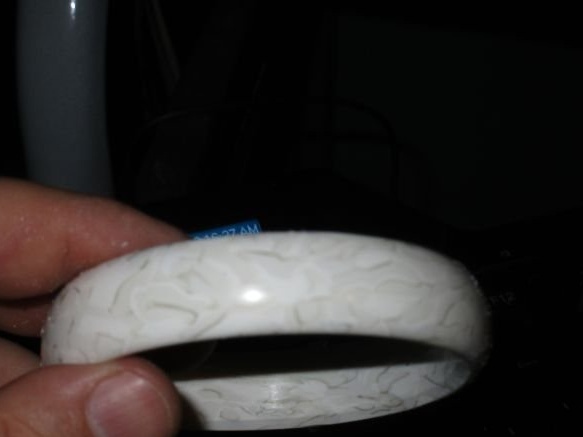
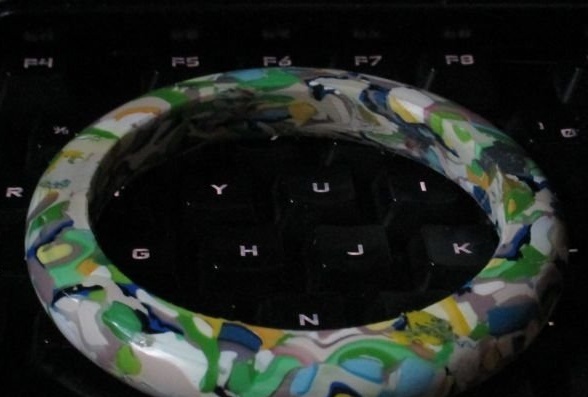
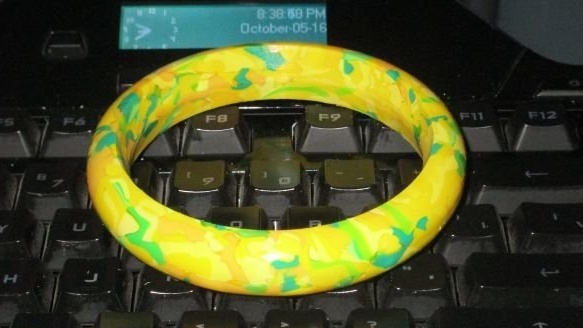
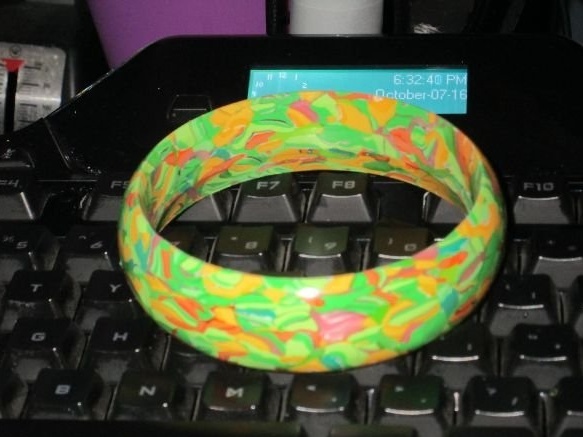
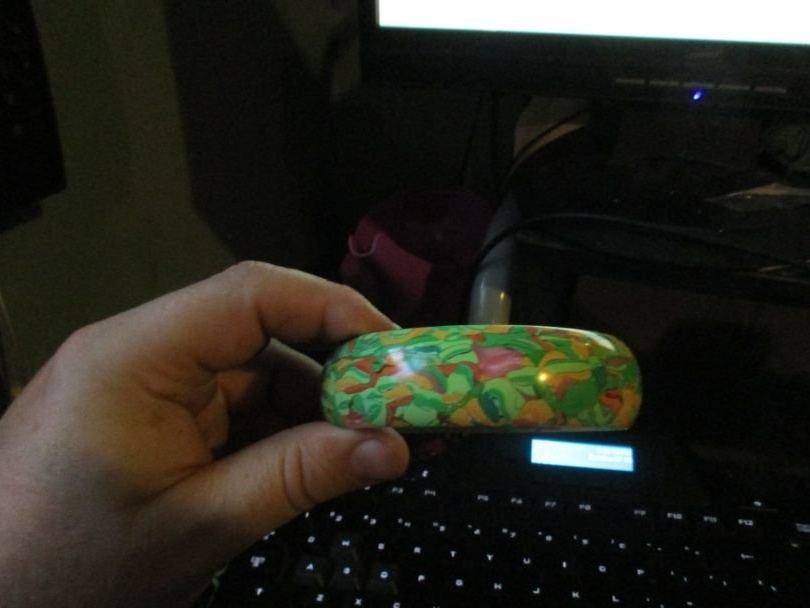
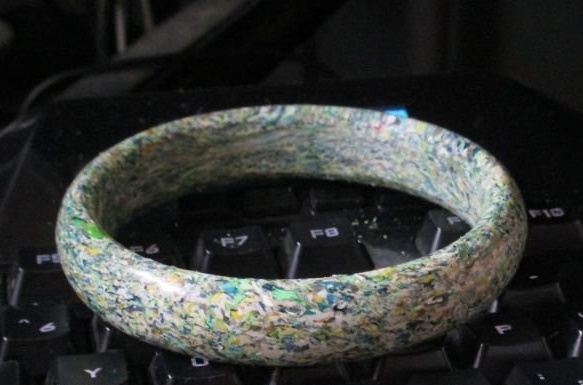
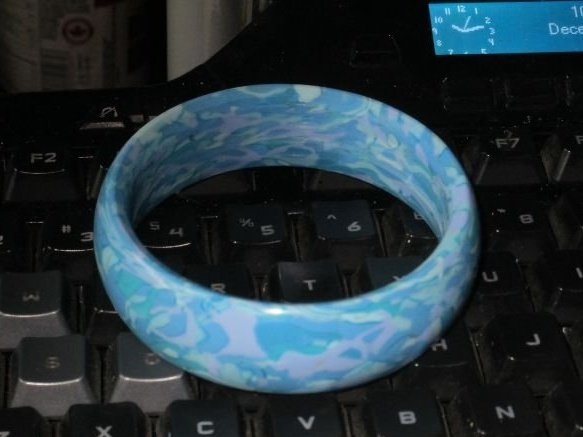
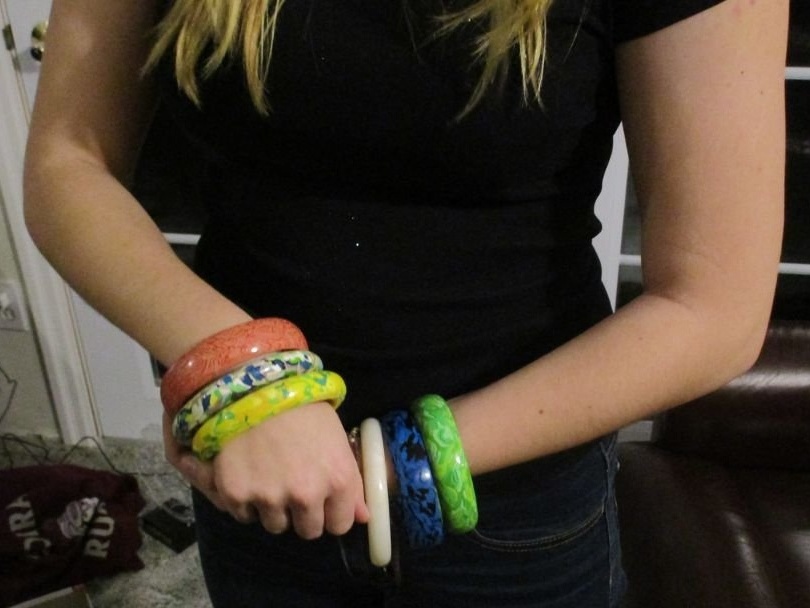
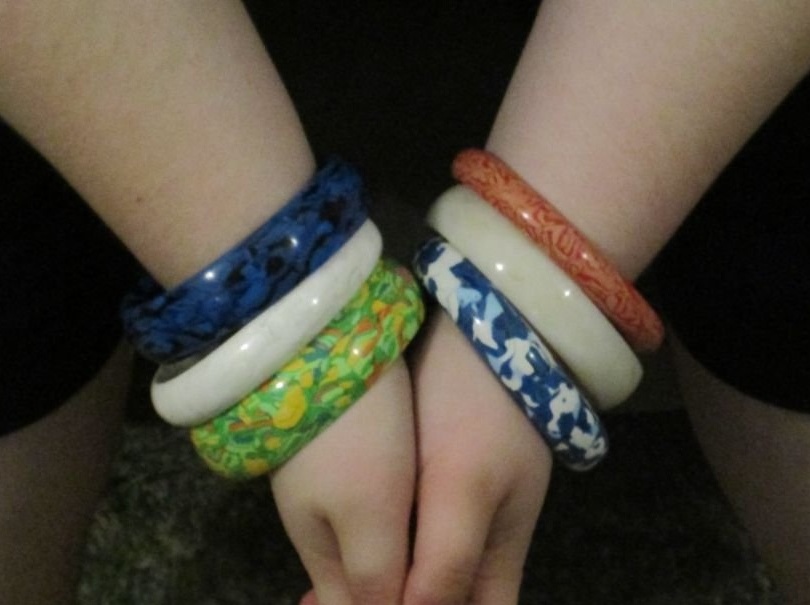
These are the finished products from the master.According to the master, such bracelets are in demand, and he has already made about 30 of them. Mostly for their relatives.
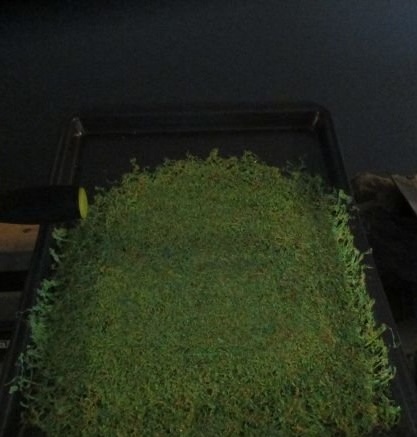
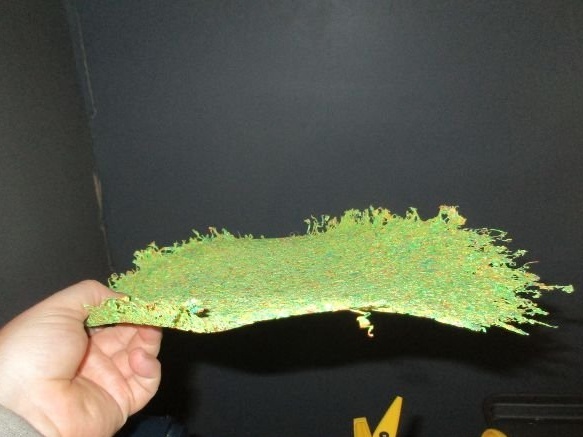
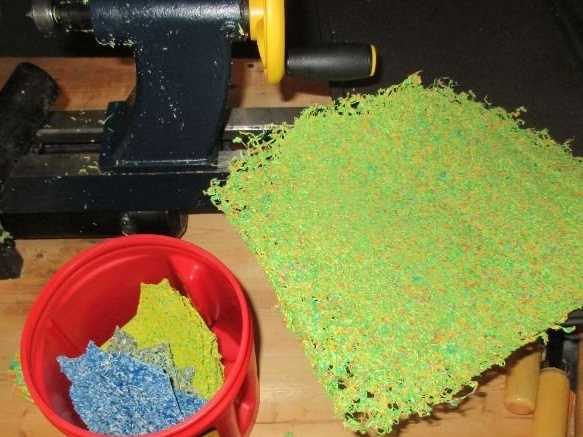
P.S. After processing the workpiece, a lot of chips remained. No need to throw it away. It can also be recycled for whatever you need. For convenient storage, the master places the chips on a metal pan and puts in the oven, heated to 170 ° C for 10 minutes. The chips will melt slightly and can be pressed and cooled. In this form, it is easier to store, no need to fear that it will crumble.