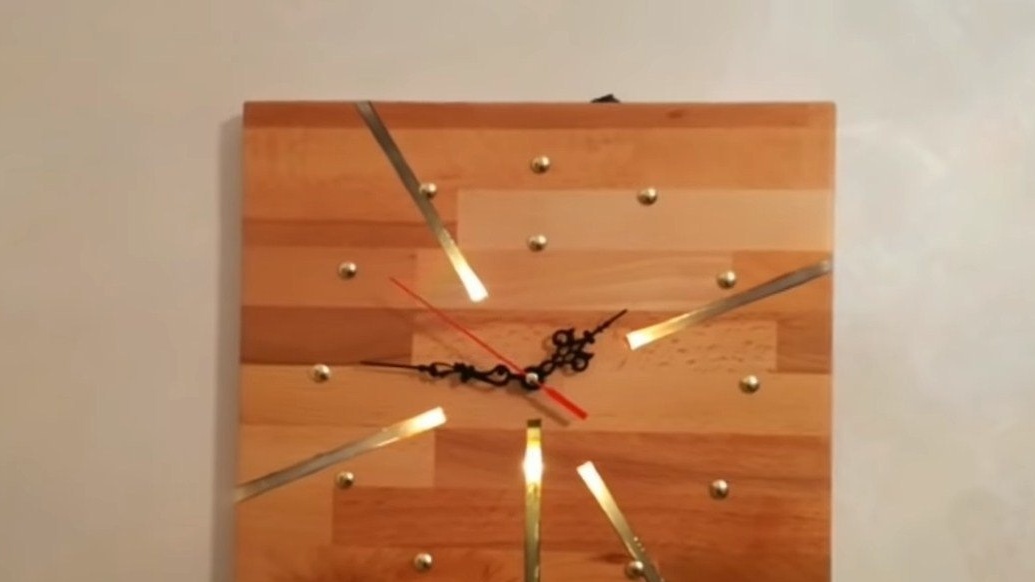
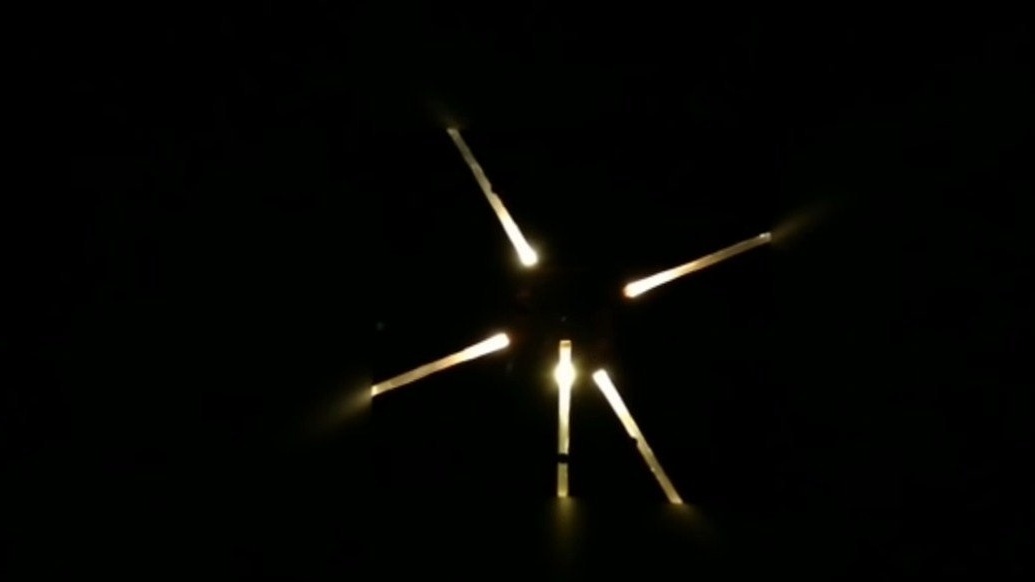
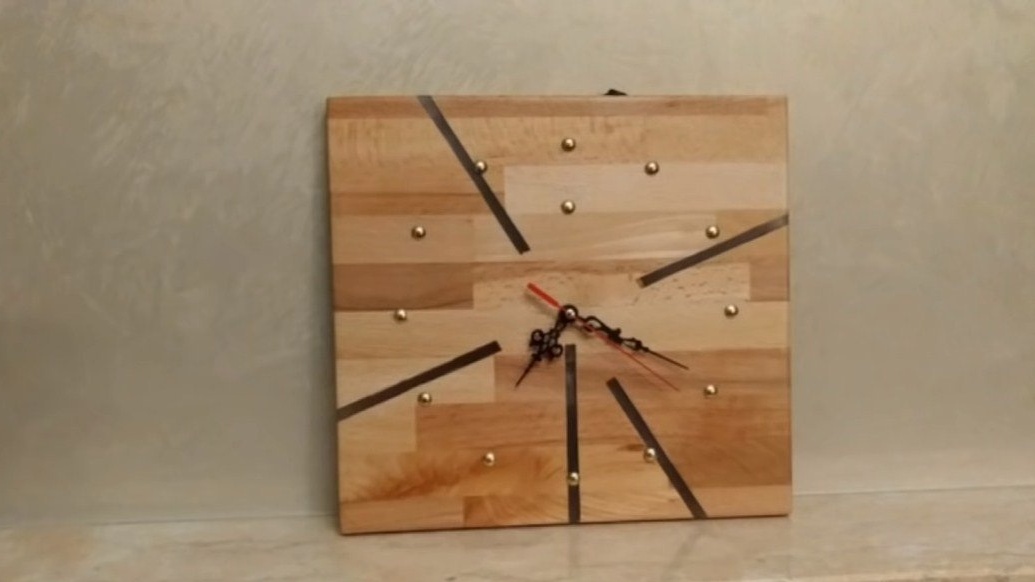
Hello everyone, in this instruction we will look at how to make a pretty stylish watch. The highlight in their design was the presence of backlight, so that such a watch can also work as a night lamp. Homemade The assembly is simple, and the materials used are quite affordable. Since our watches are quite large, it would be nice to power the backlight from the power supply, and place the switch on the wire by the bed or table, so that it is easy to turn it on. As a result, the batteries do not have to be constantly changed or recharged. If you liked the idea and want to do something similar, I suggest exploring the project in more detail!
Materials and tools used by the author:
Material List:
- boards (of which the author glued the shield);
- LEDs;
- wires;
- switch;
- battery pack for two finger batteries;
- furniture decorative nails;
- plexiglass;
- glue (suitable epoxy);
- oil or varnish for wood;
- .
Tool List:
- glue gun;
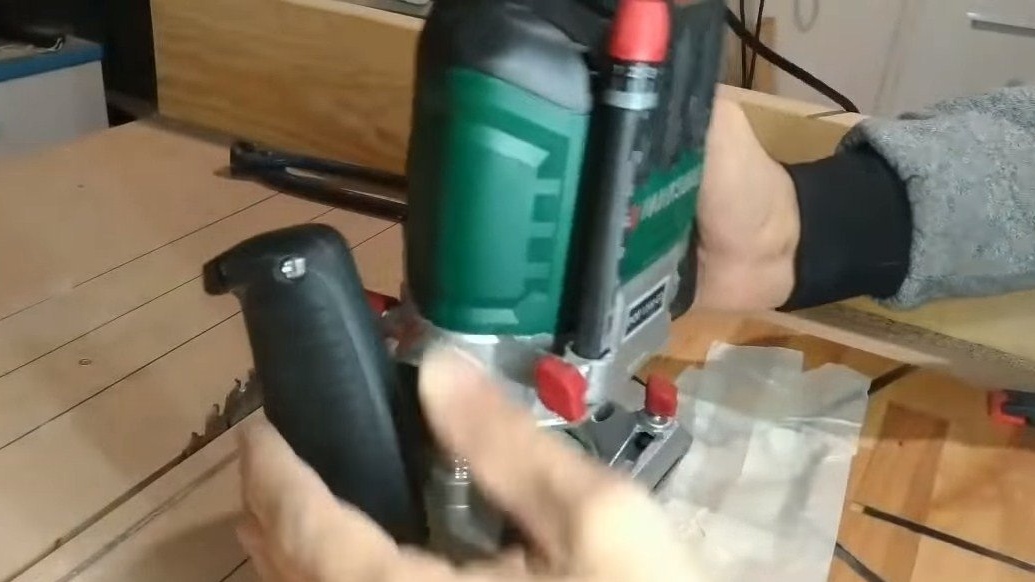
- milling cutter;
- tape cutting machine;
- drill;
- sandpaper;
- soldering iron;
- a circular saw;
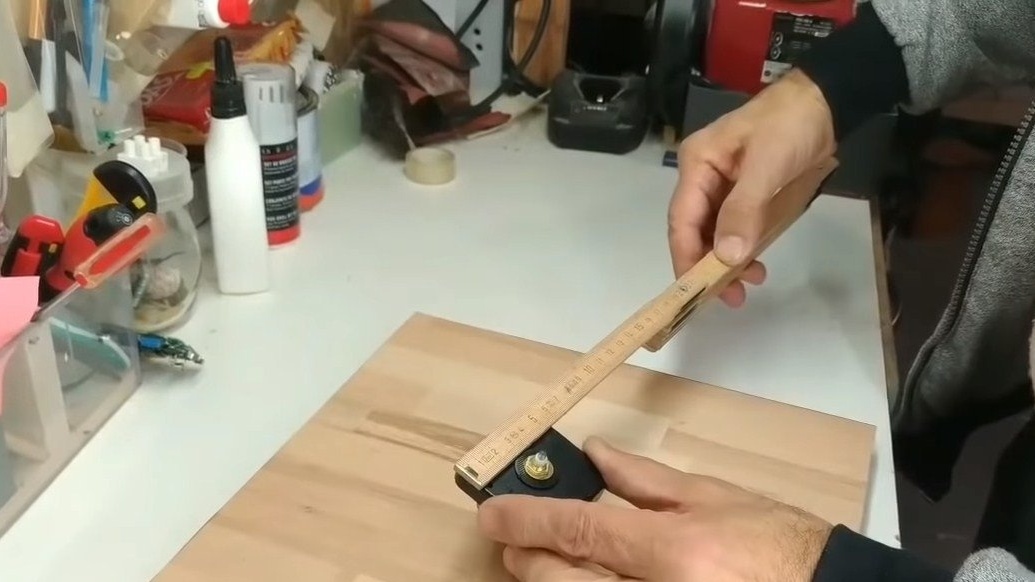
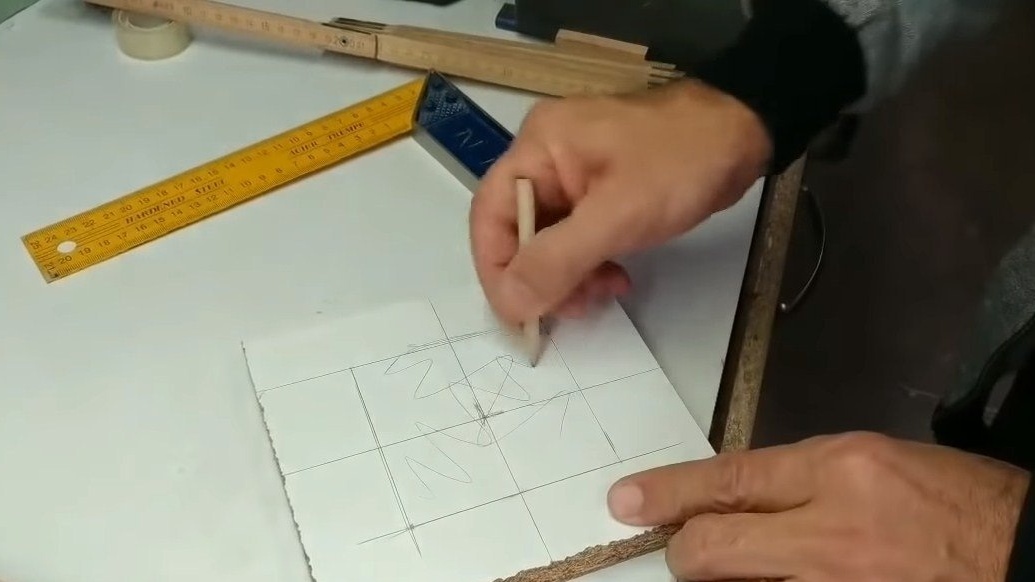
- ruler, compass, square, pencil.
Watch making process:
Step one. Foundation preparation
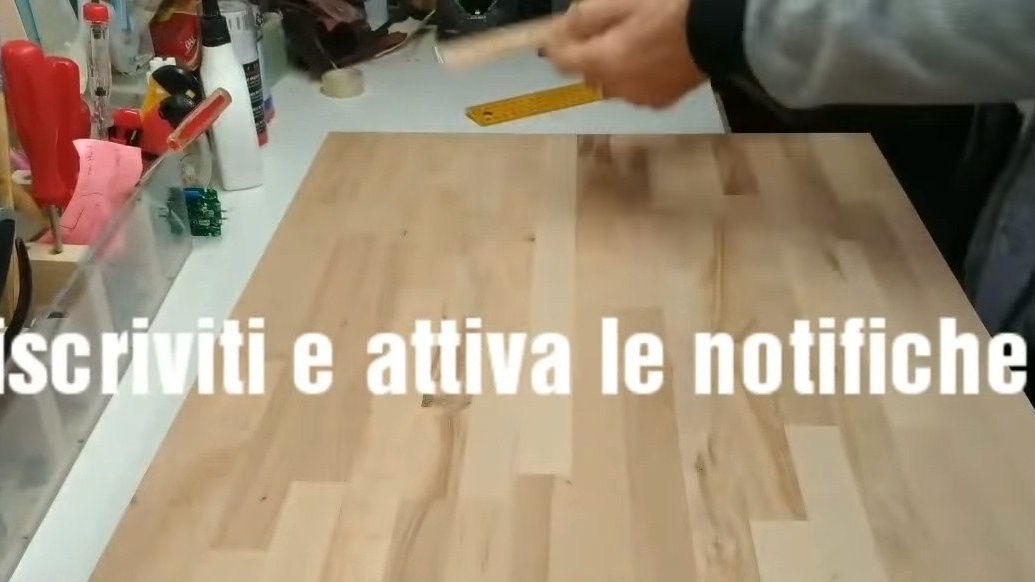
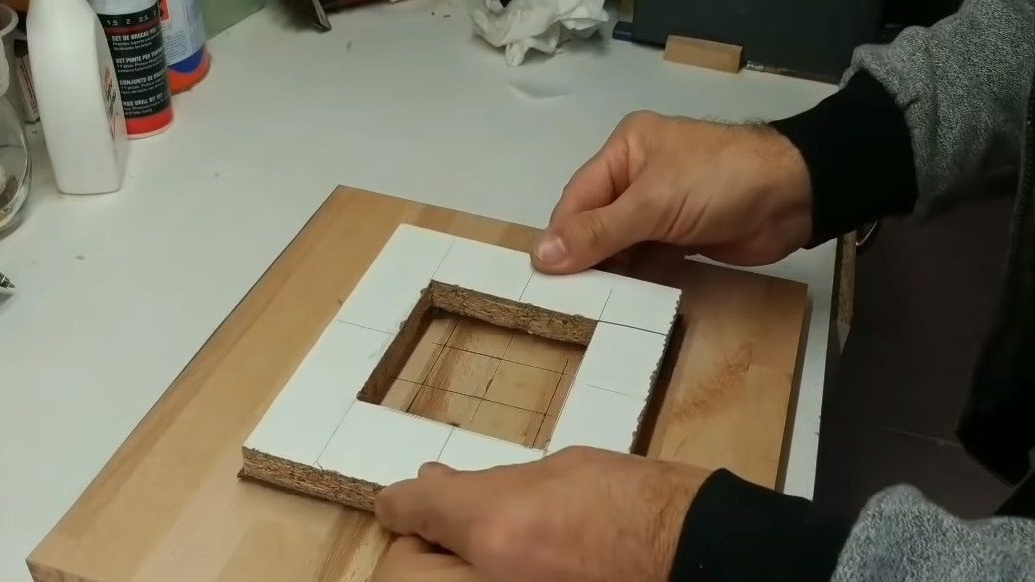
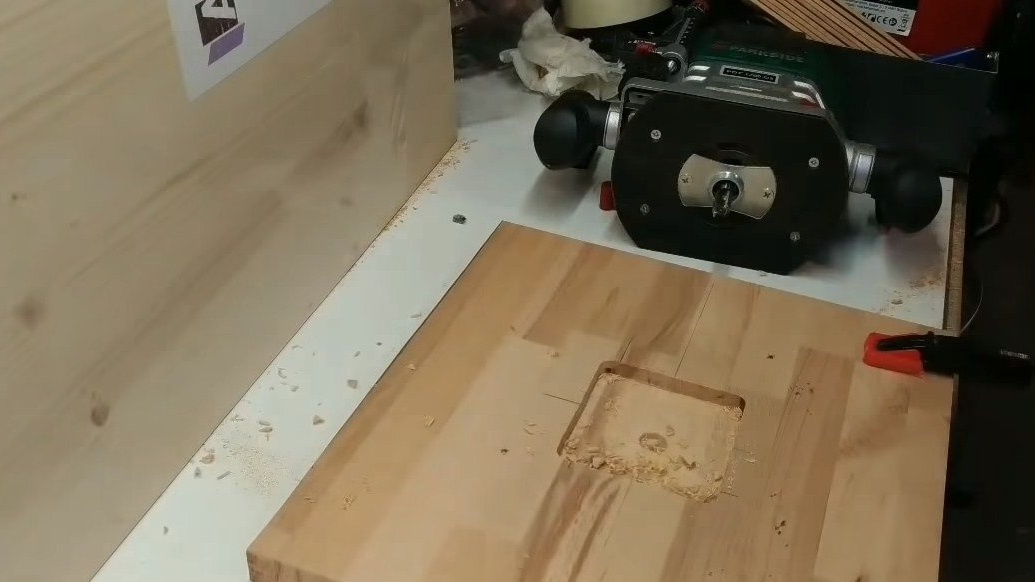
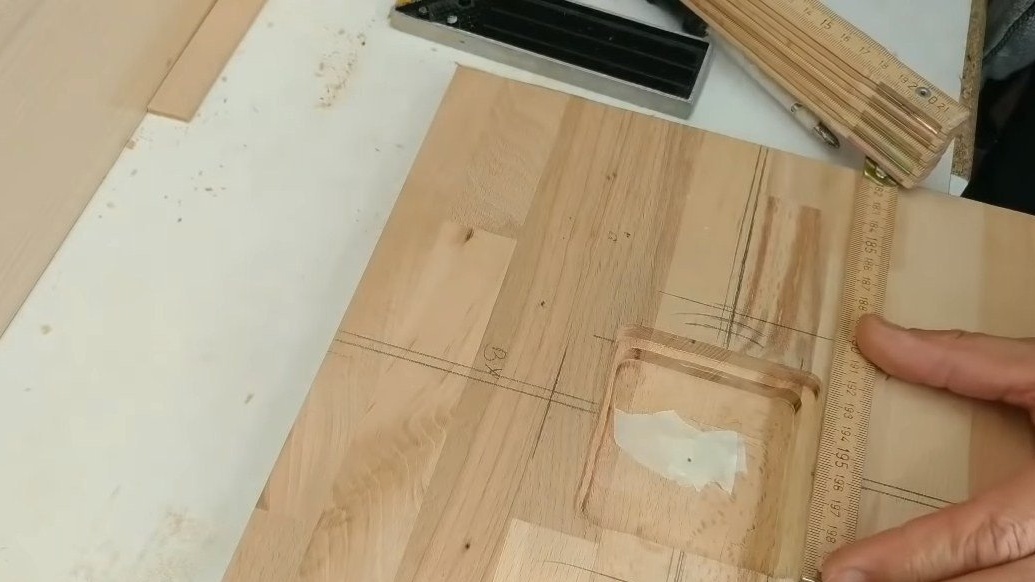
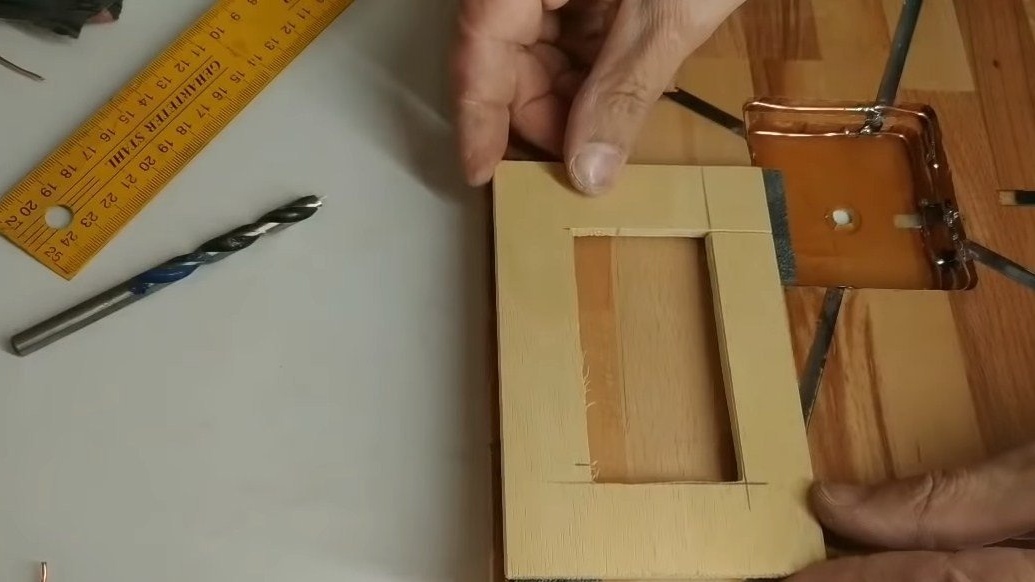
Let's start with the basics, the author did not show the process of its manufacture. Visually, it looks like glued boards, you need to cut them quite smoothly for this, you need a circular saw. The thickness of the shield is such that neither the clockwork nor the battery compartment protrude above the surface of the shield, they are all inside it.
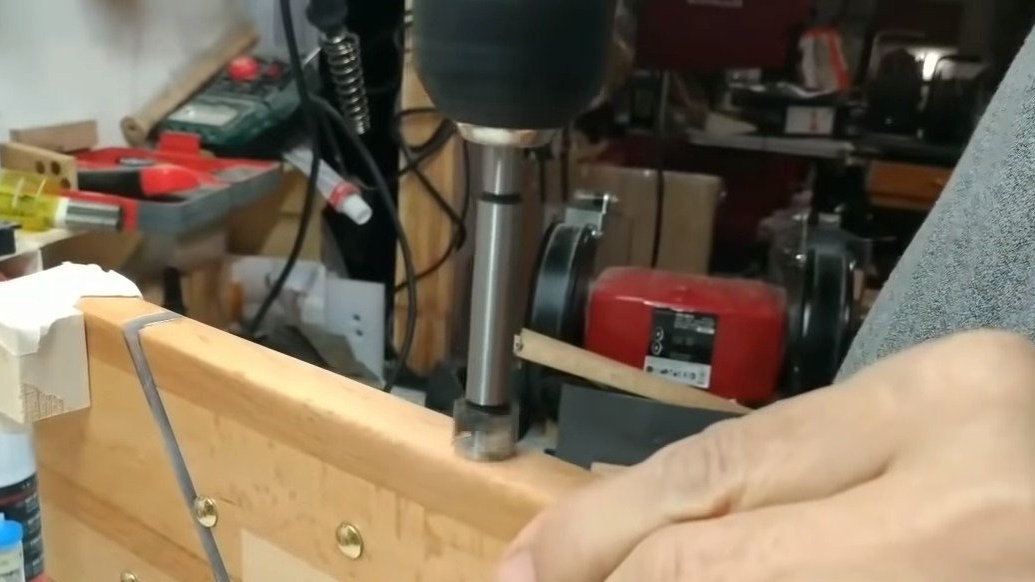
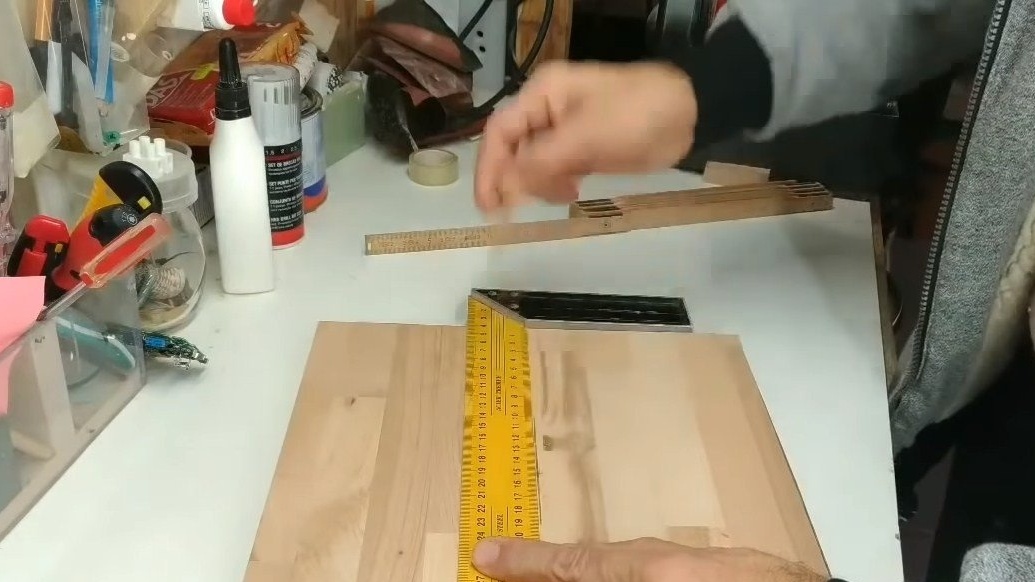
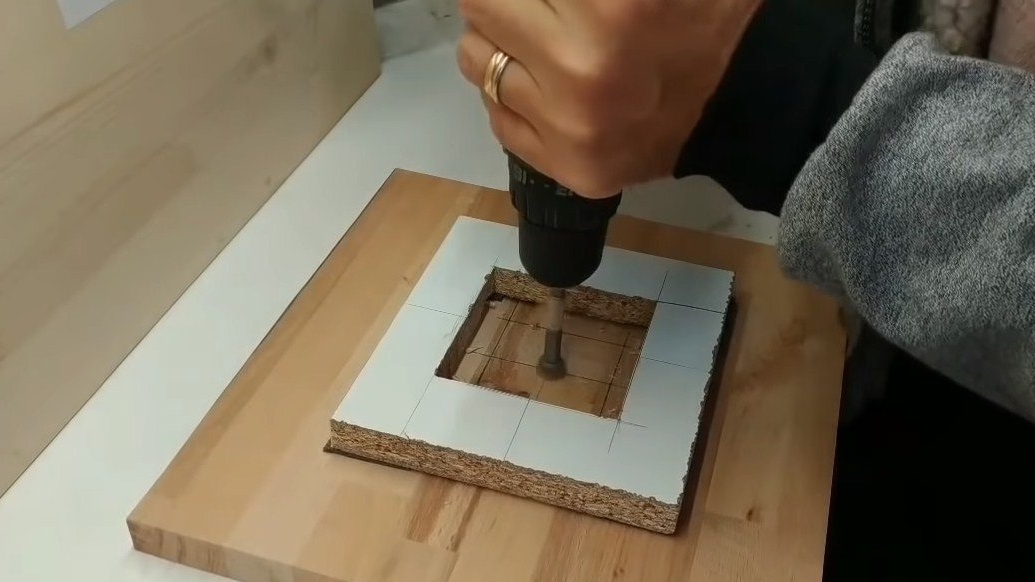
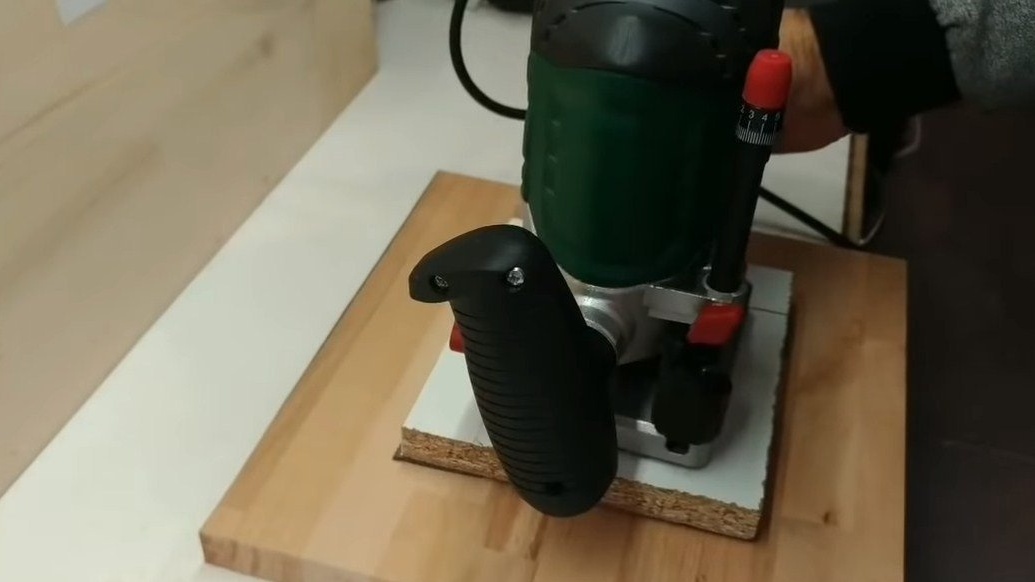
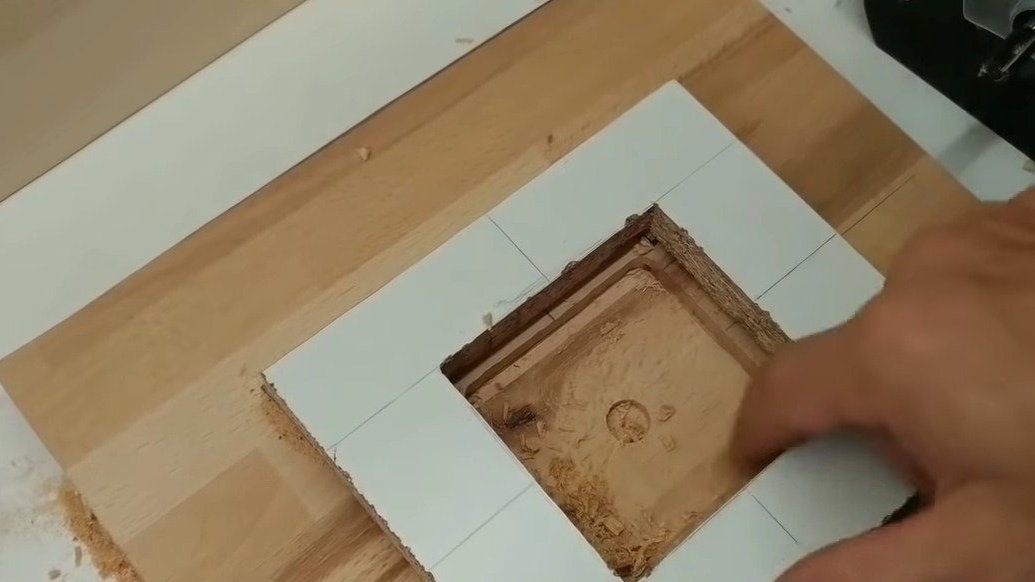
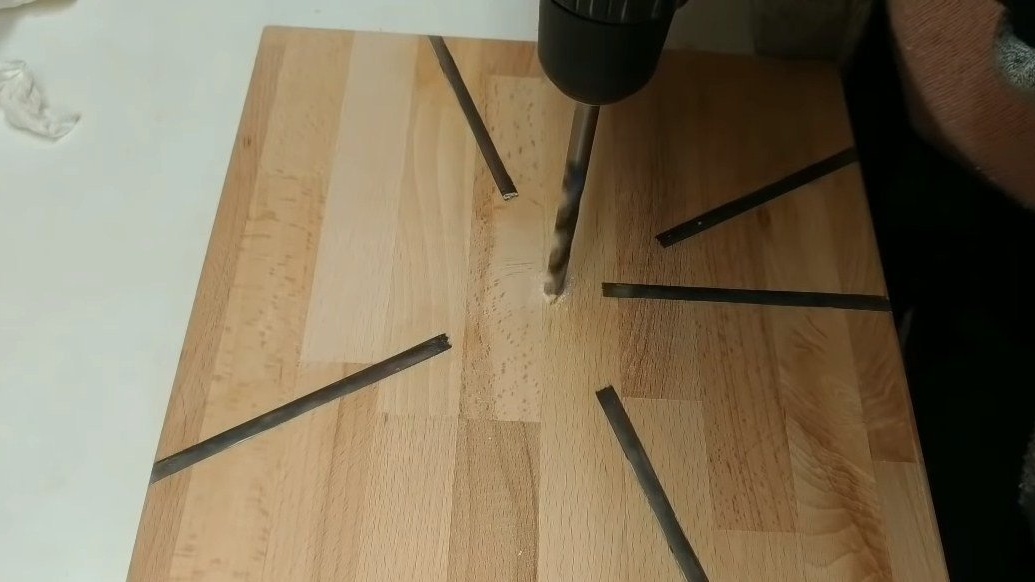
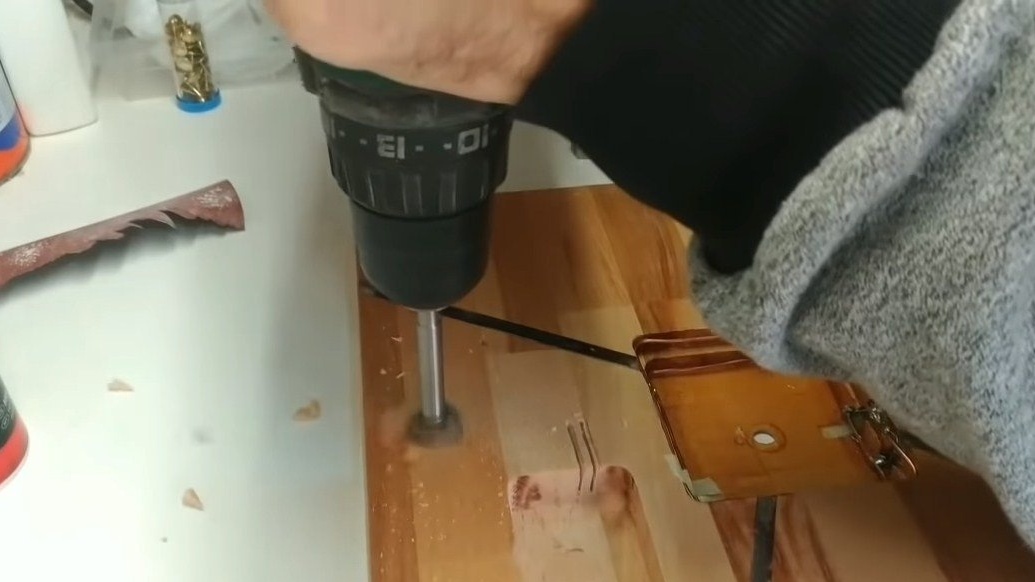
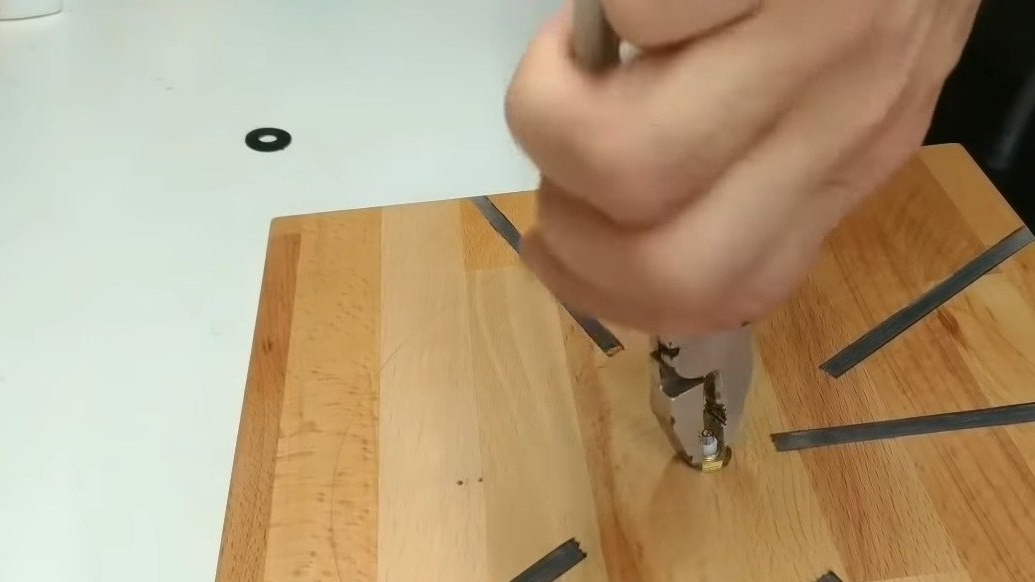
We trim the shield to the desired size and mill the niche for installing the clockwork. The author made a rectangular guide for this and worked on it for the first time as a milling cutter. As a result, our watch mechanism will be hidden in the case, which is pretty nice. Finally, drill a hole in the center to bring out the axis with the stock rods for the arrows.
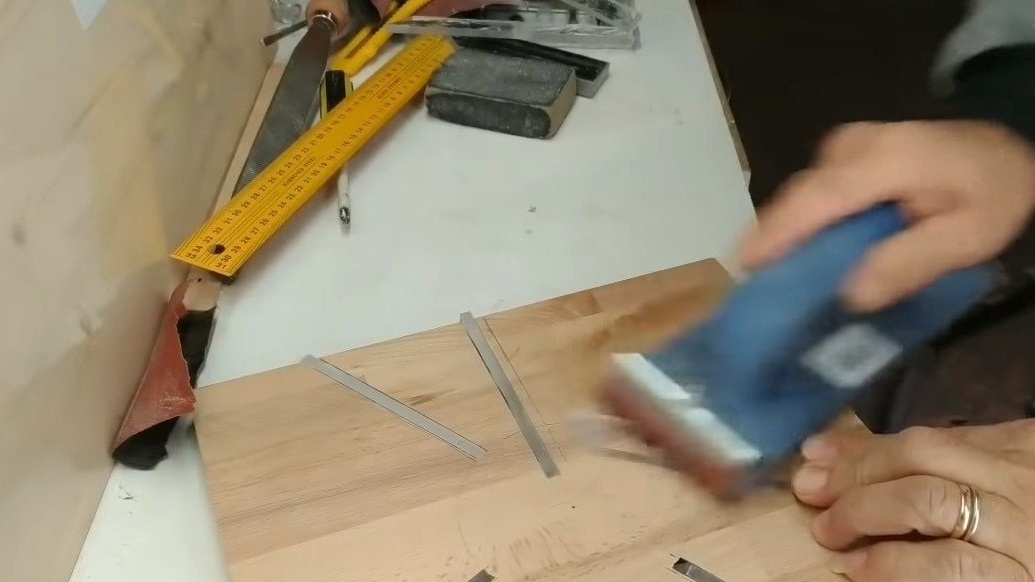
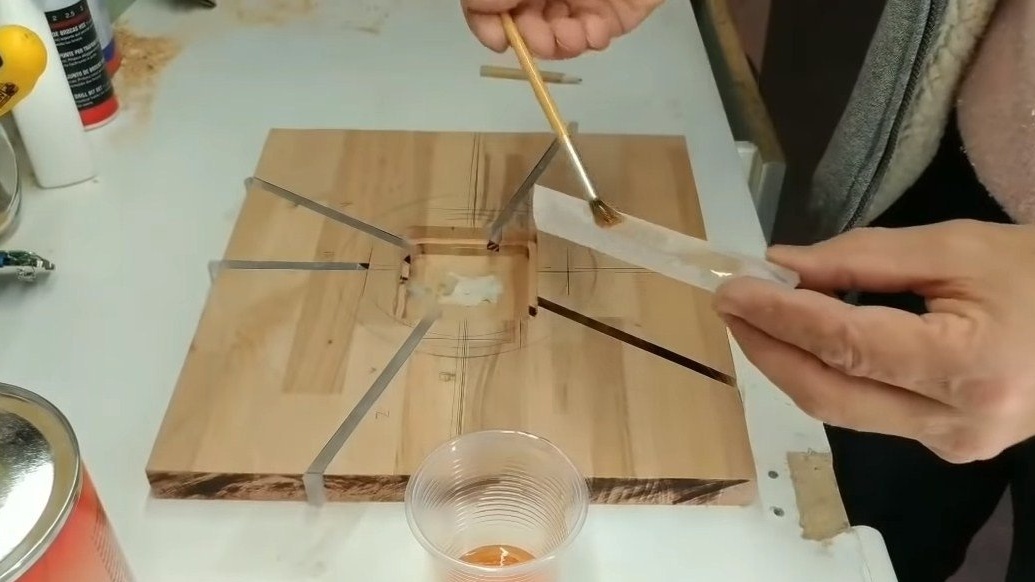
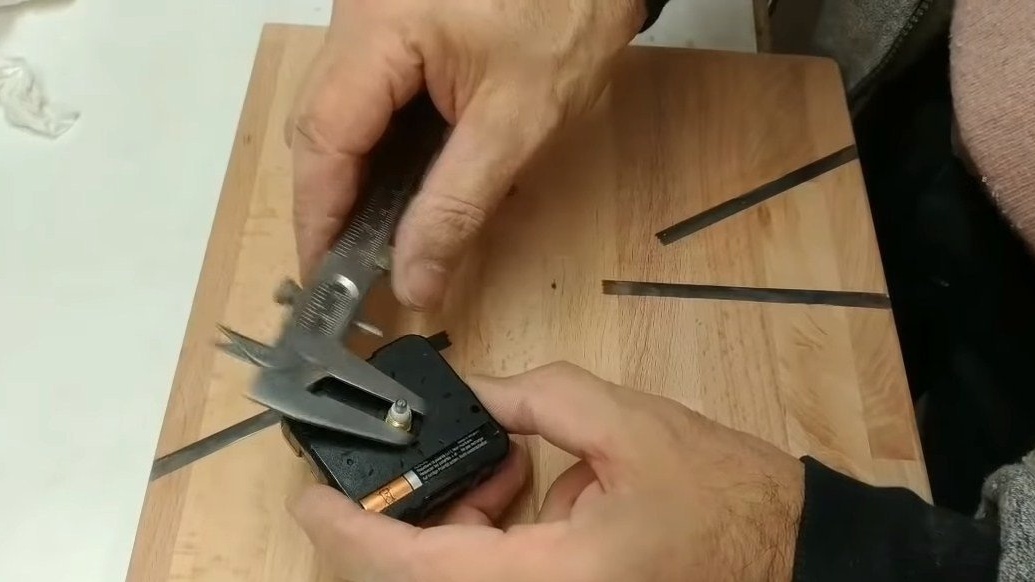
Step Two Plexiglass
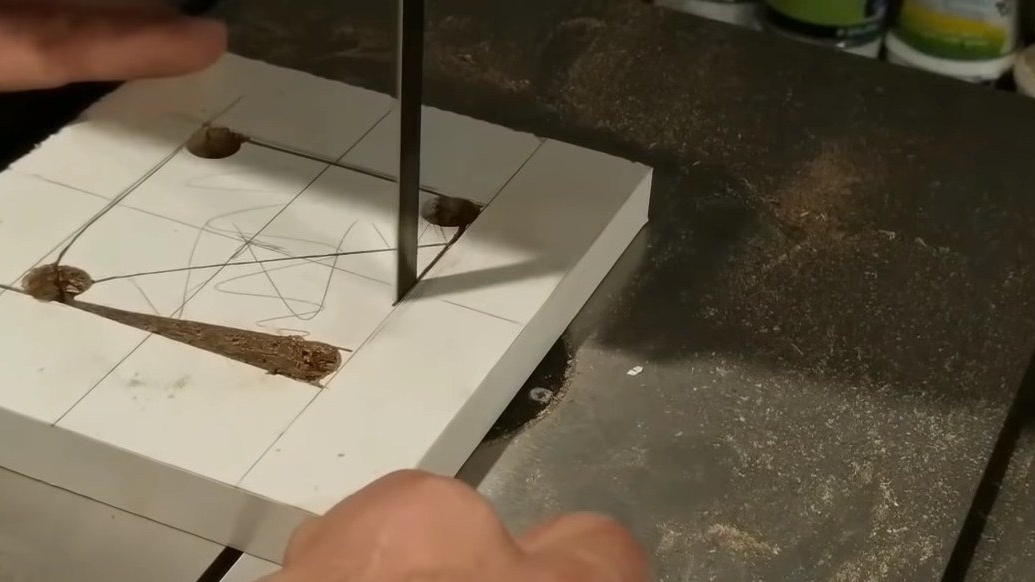
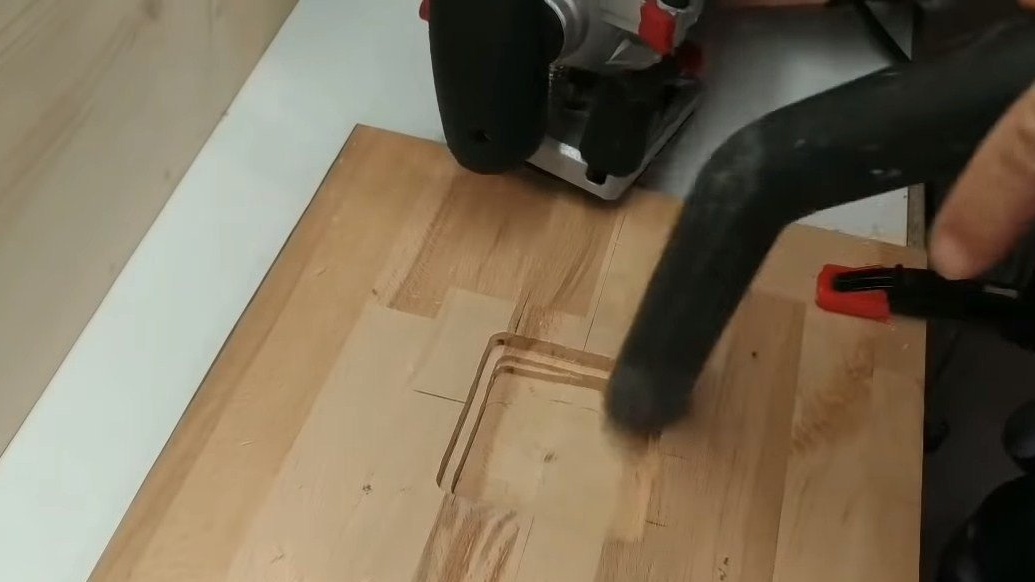
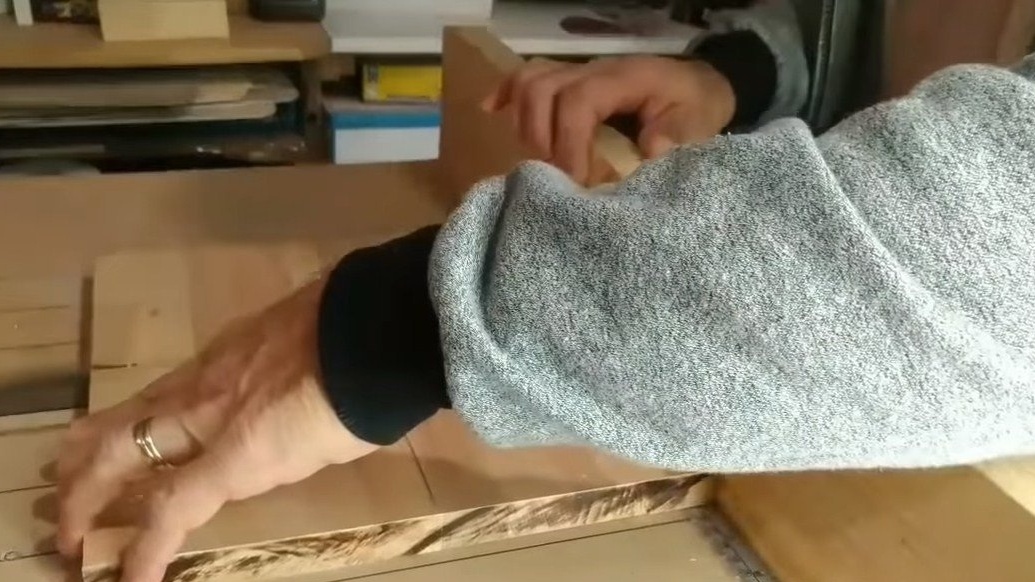
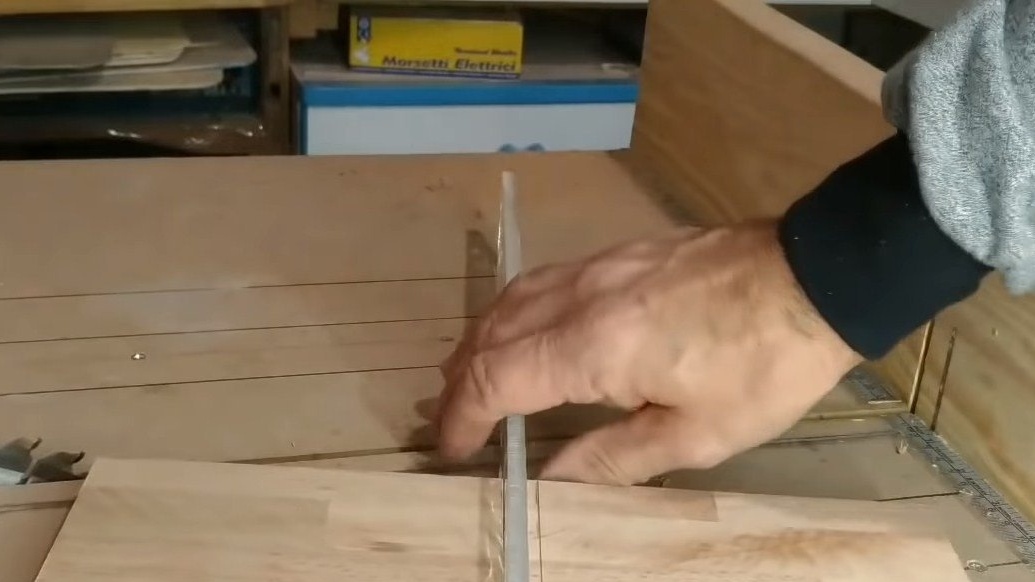
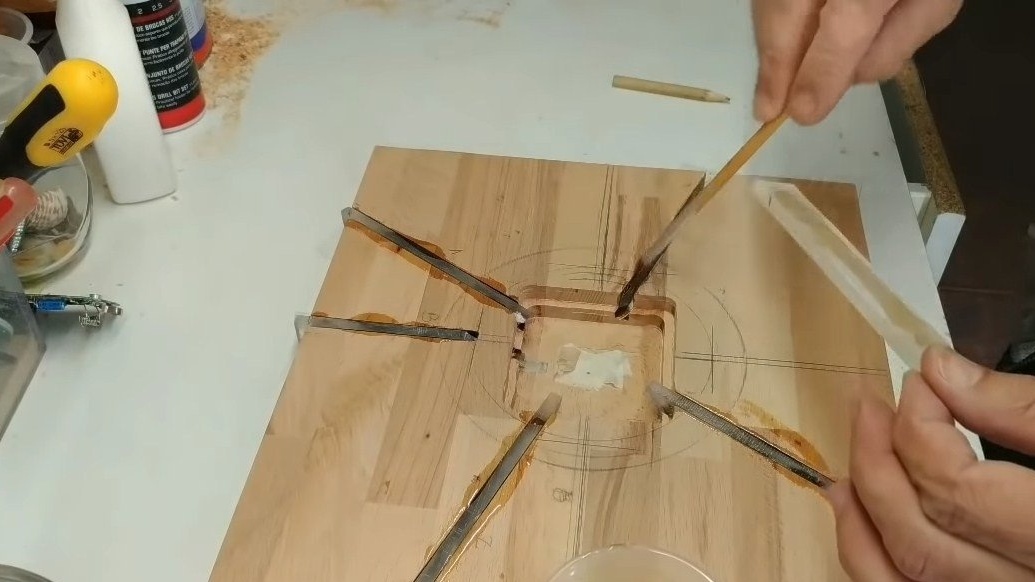
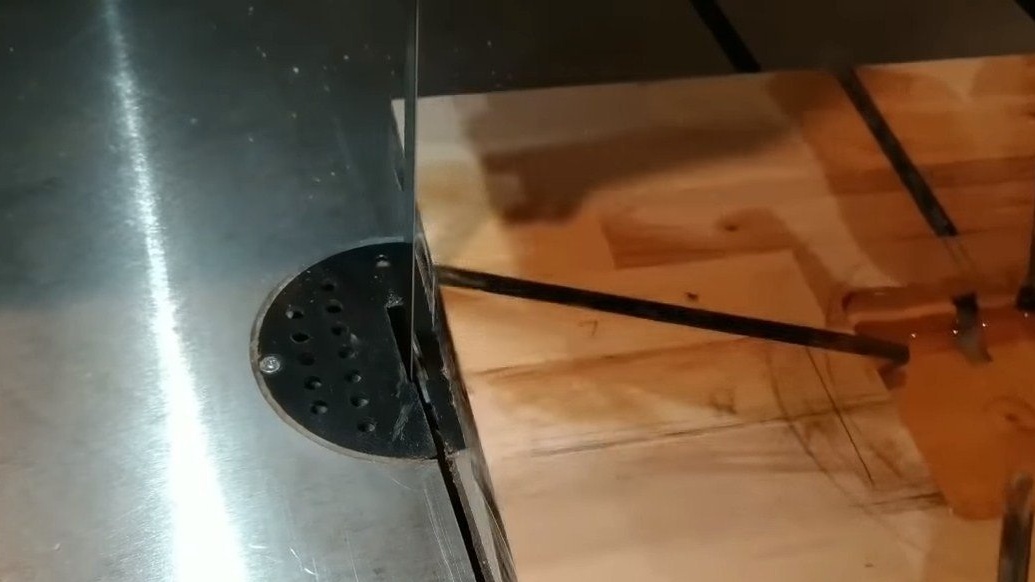
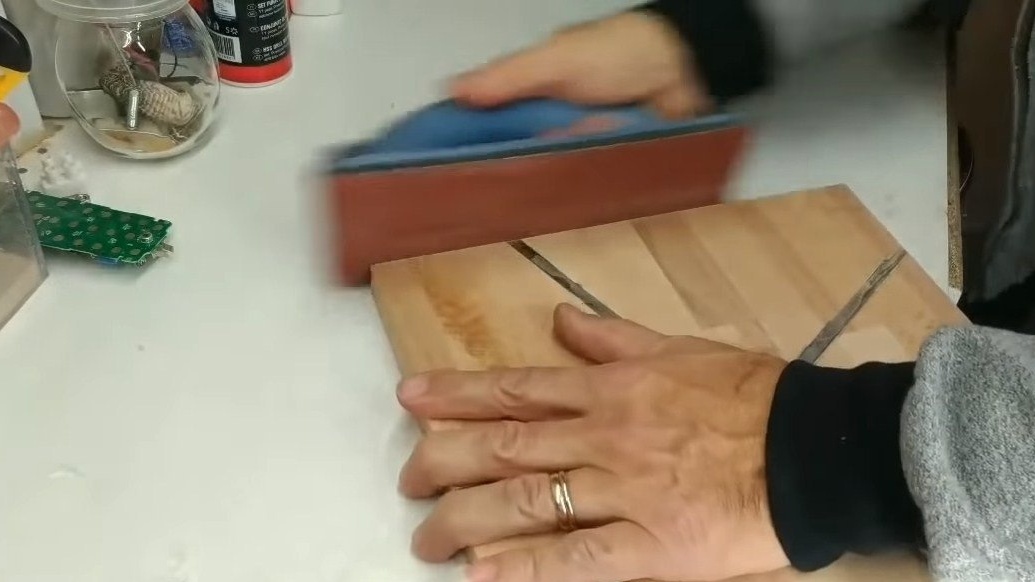
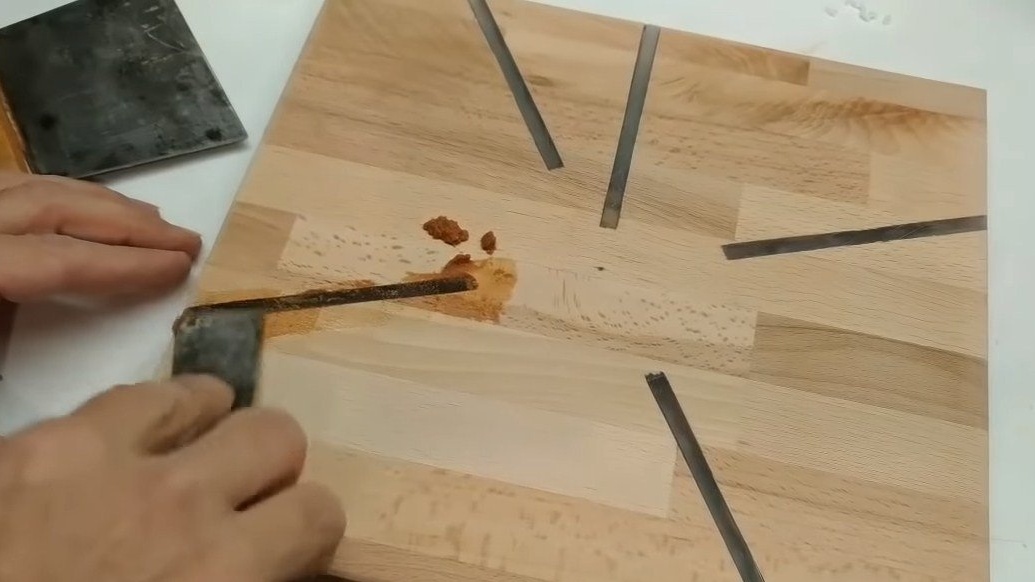
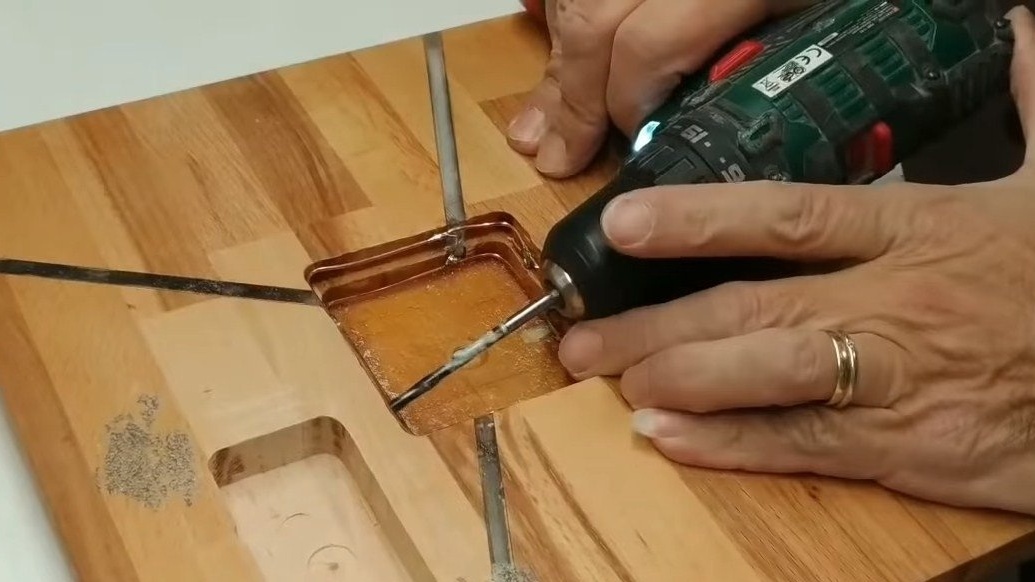
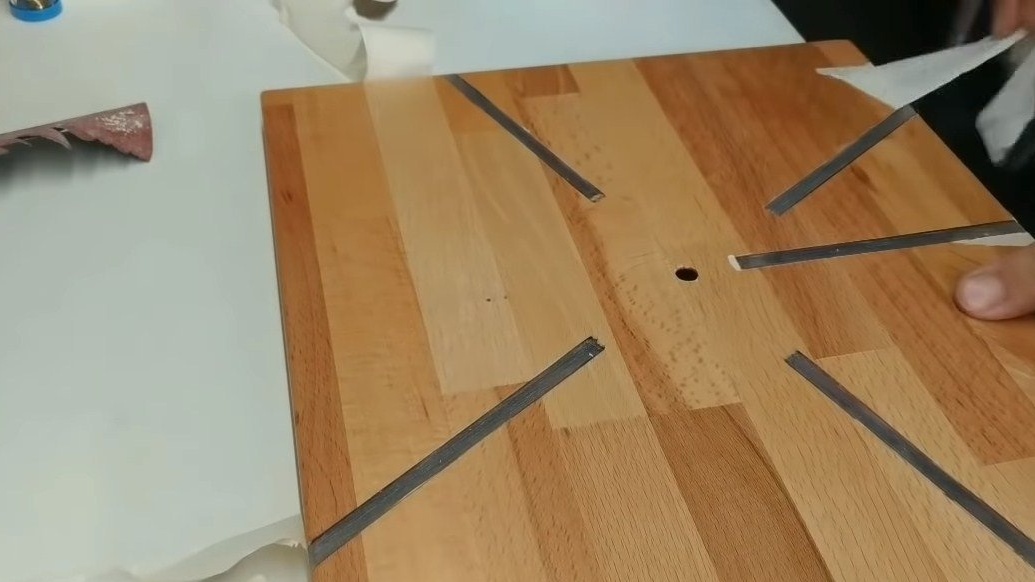
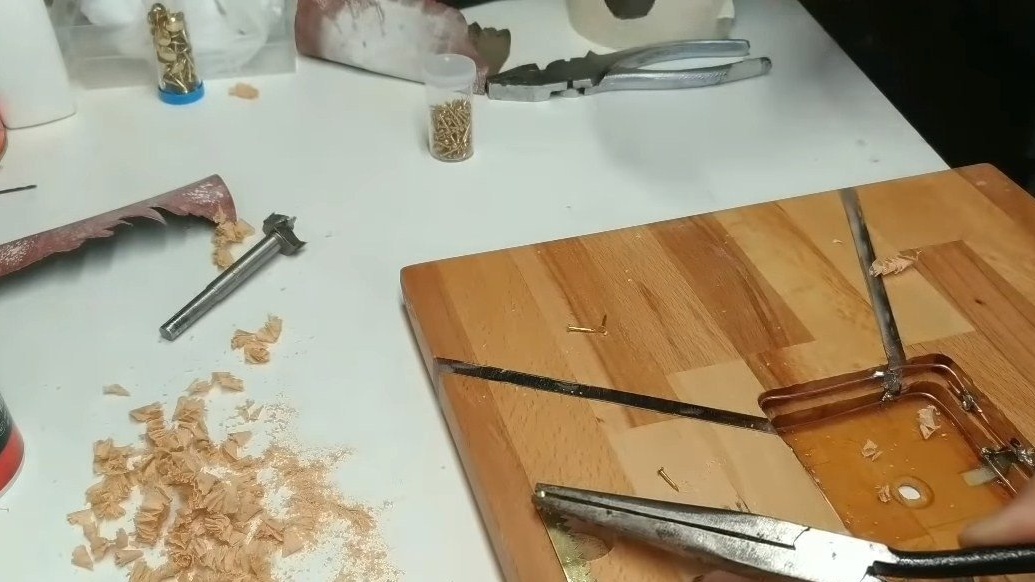
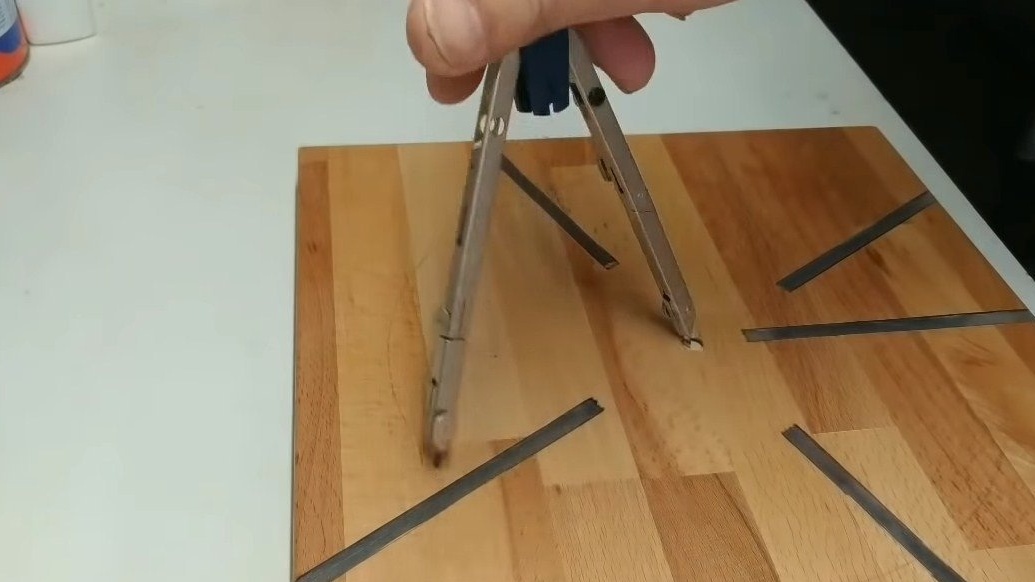
There are plexiglass inserts in the clockwork, thanks to this, the author arranged the backlight. Under these inserts, you need to cut the cracks with a circular saw. We also cut strips of plexiglass, and then glue these parts into the base.As an adhesive, epoxy or another, which will not be visible when solidifying, is suitable.
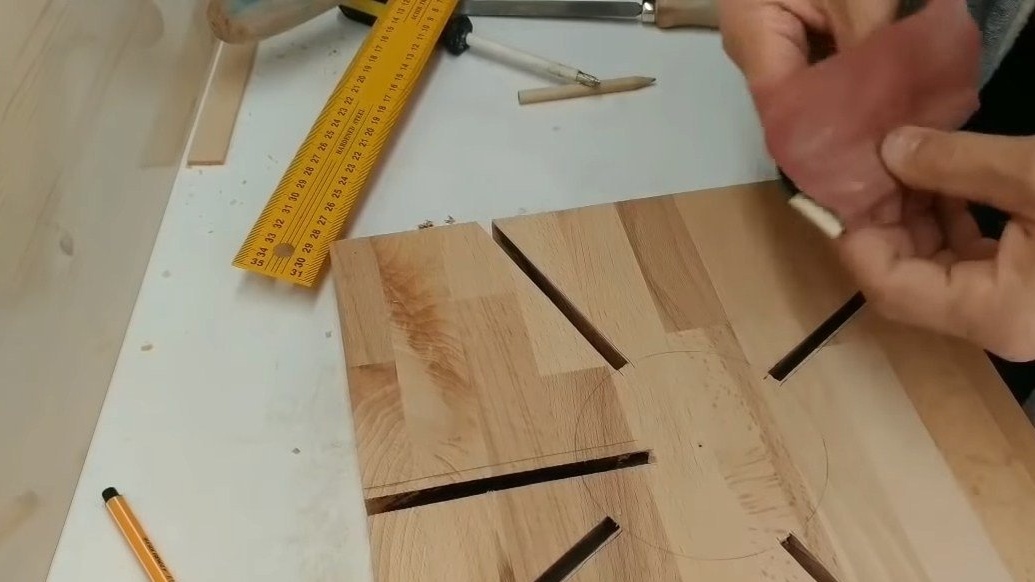
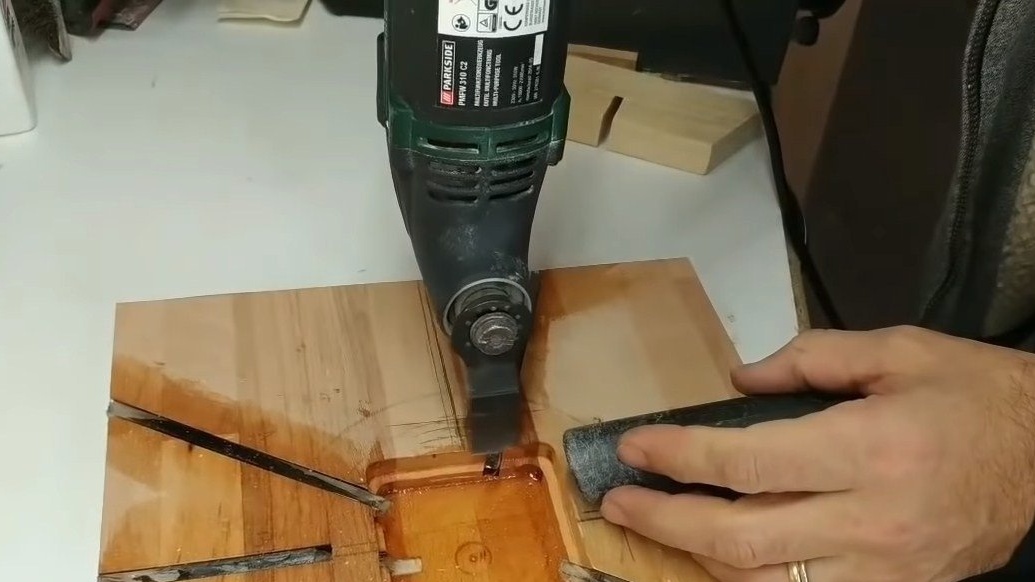
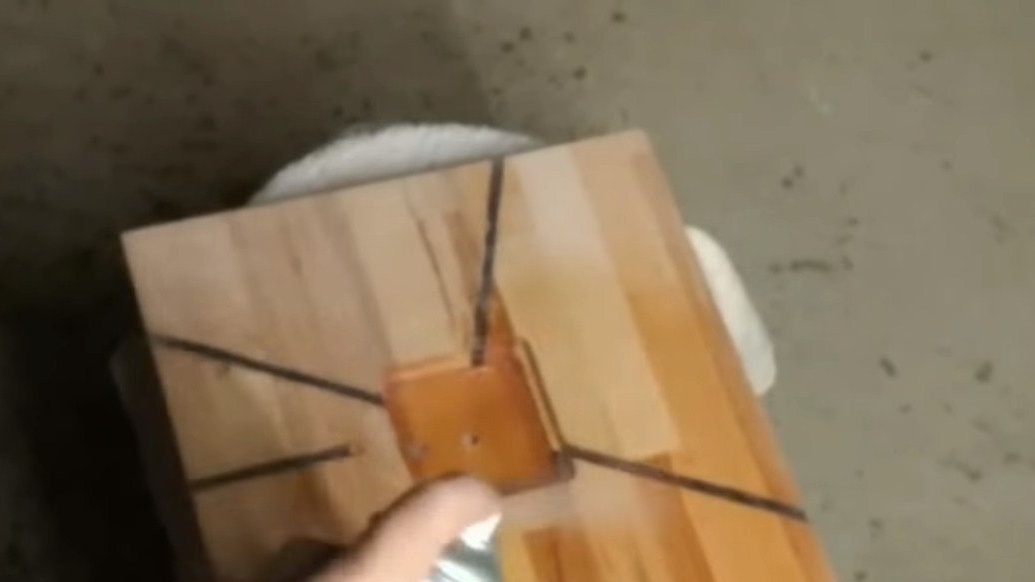
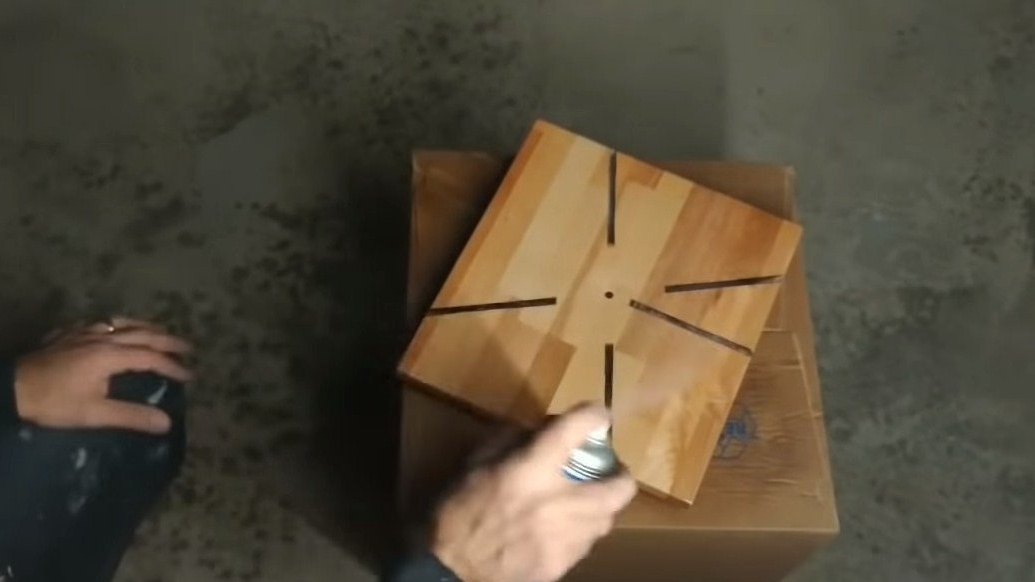
When everything dries, cut off the excess pieces of plexiglass and carefully sand the watch with sandpaper. To cut off excess inside, the author used a vibration saw. In the end, we cover everything with the first layer of varnish, and it is better to soak it with oil or wax, so the tree will look natural.

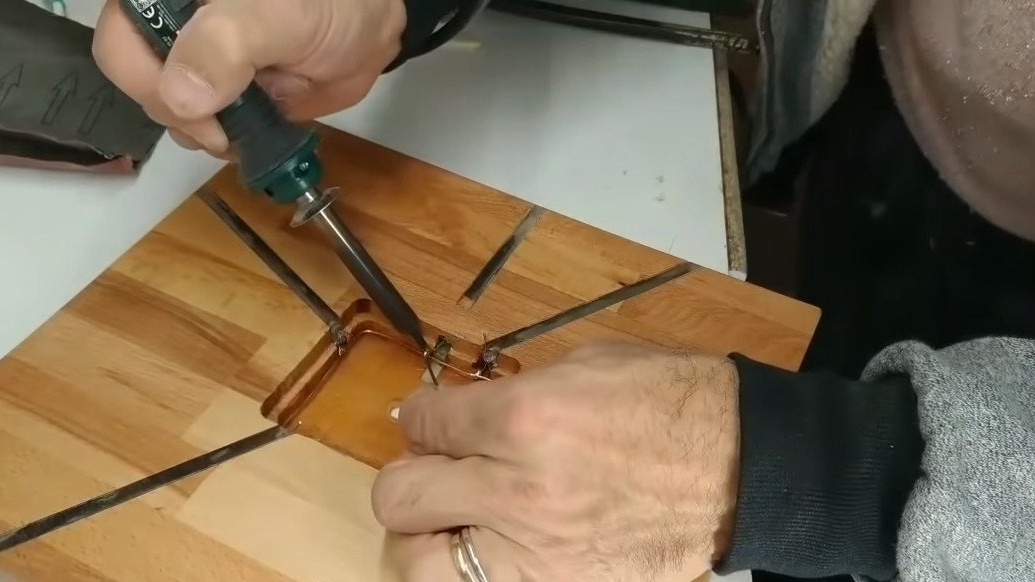
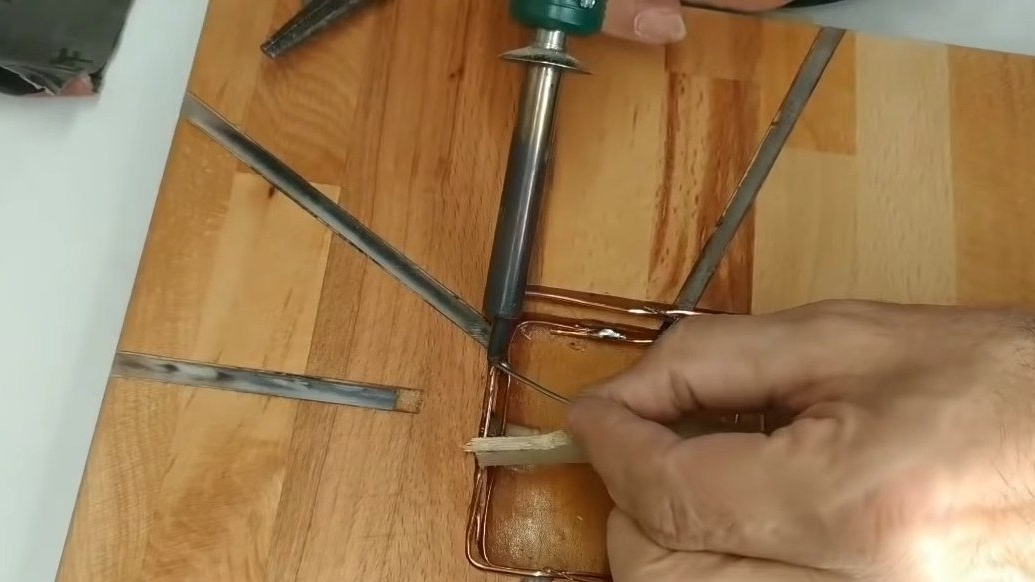
Step Three LED installation
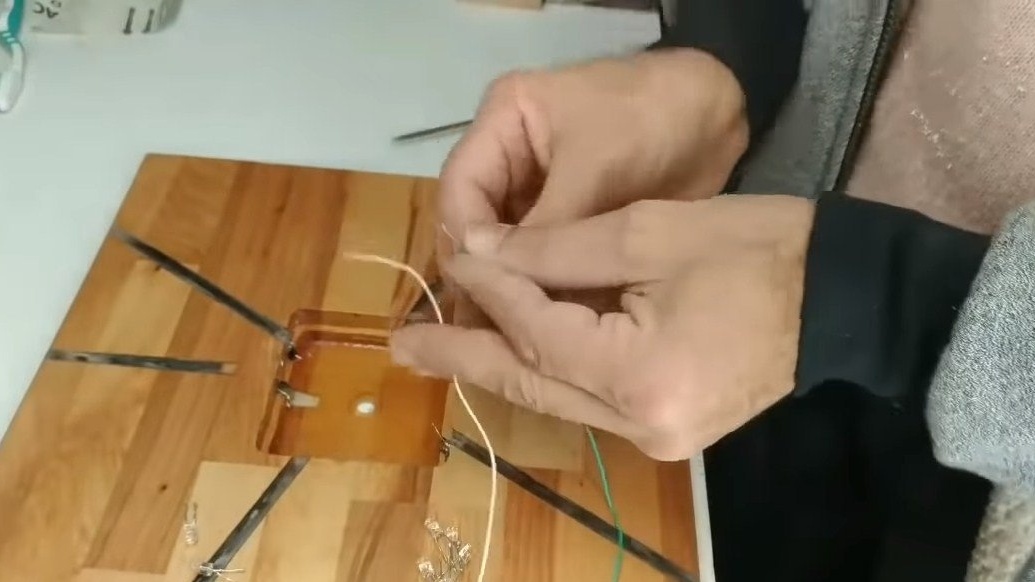
We proceed to install the LEDs, for them you can drill seats in plexiglass, and then glue it. The author connects the contacts of the LEDs with a copper wire, as a result, two circuits are obtained, where we connect the “+” and “-” from the battery pack. Also do not forget about the resistor for LEDs, otherwise they will not last long.
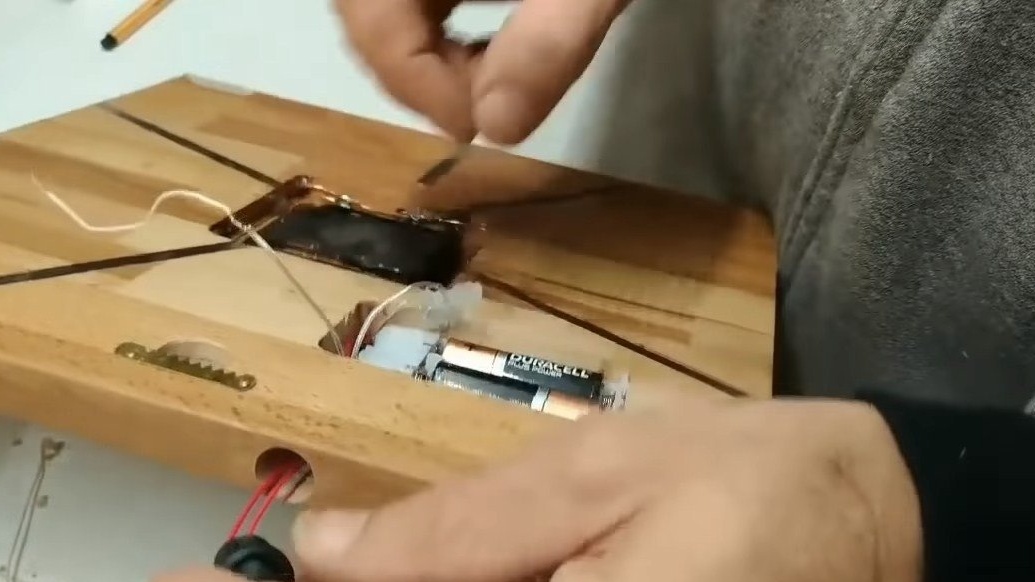
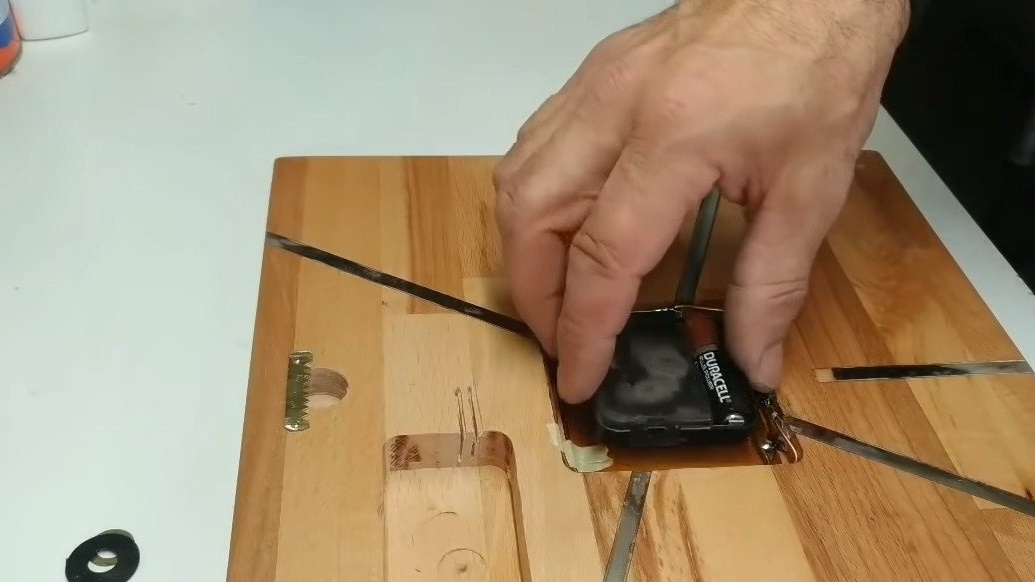
Step Four Battery pack
We select a convenient place and mill a niche for installing the battery pack, it can be screwed with screws or just glued. From the battery pack, drill a hole in the area of the clockwork to guide the cable.
Step Five Final processing
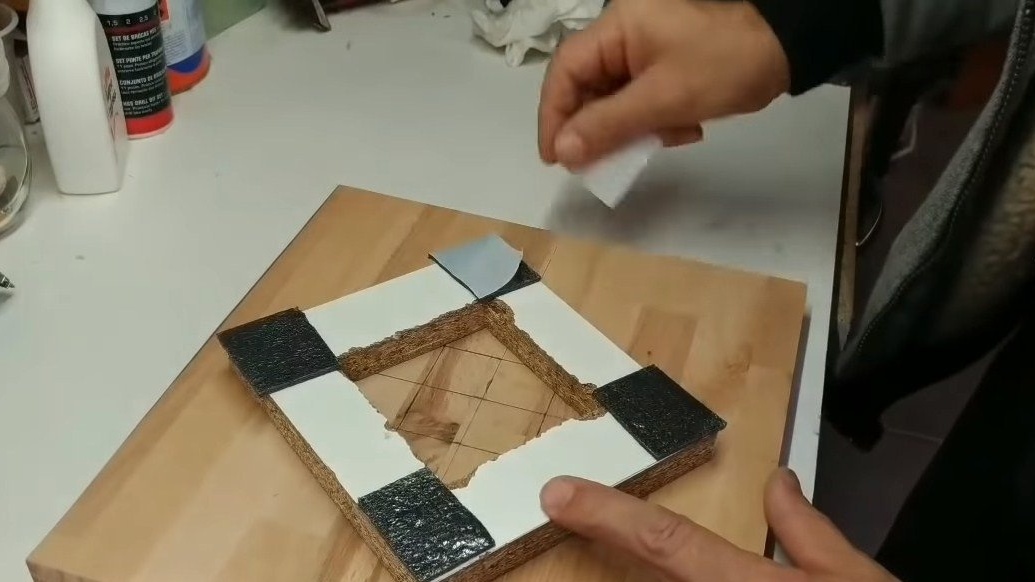
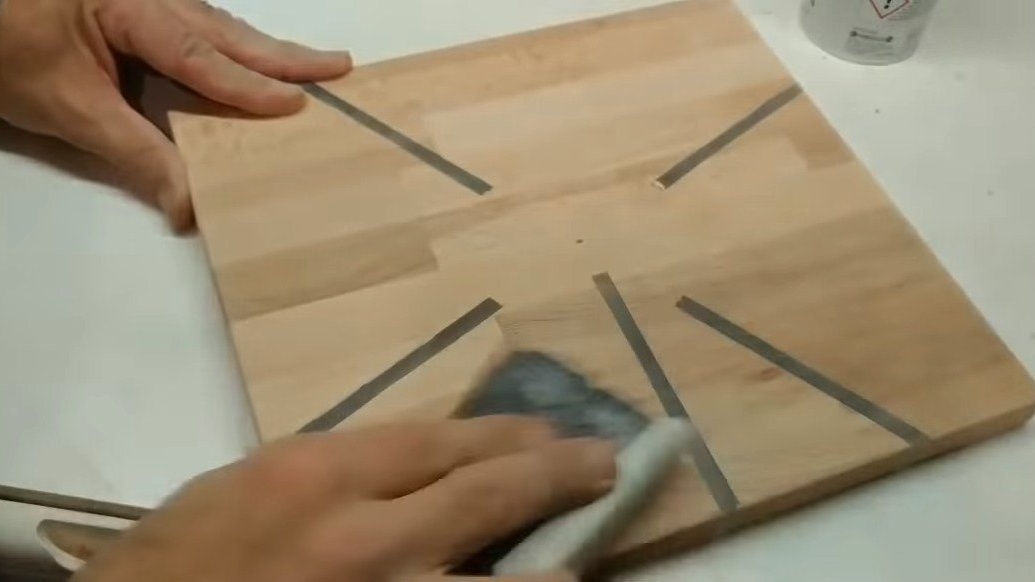
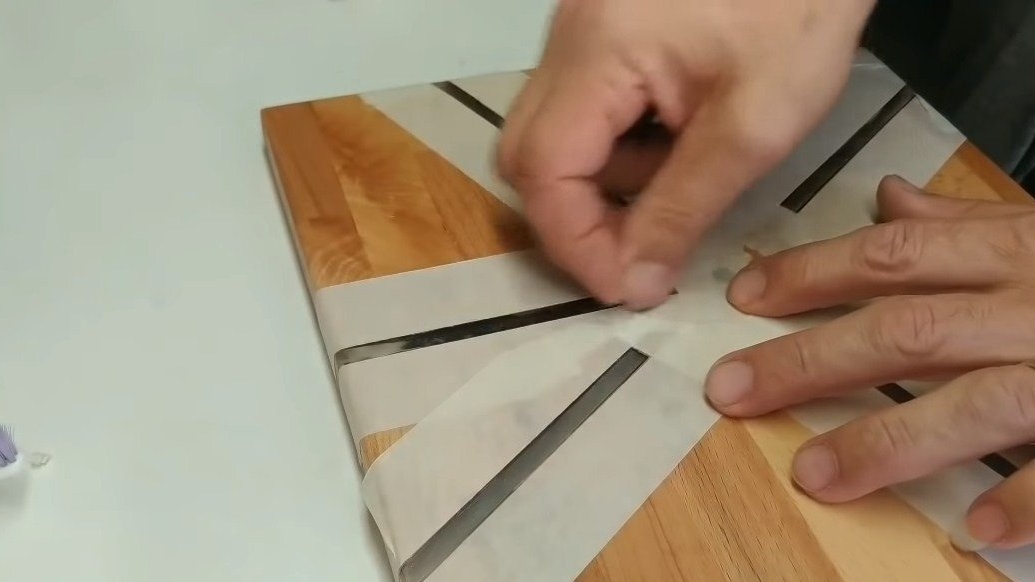
We apply a second layer of impregnation to the tree, now the wood looks amazing. After that, we need to refine the pieces of glued acrylic, namely, to make it matte for good light scattering. We glue the acrylic with masking tape so as not to damage or smear the wood, and then we sand the inserts with sandpaper, they will become dull. After that, the clock is no longer necessary.
Step Six Fasteners, dial and clockwork
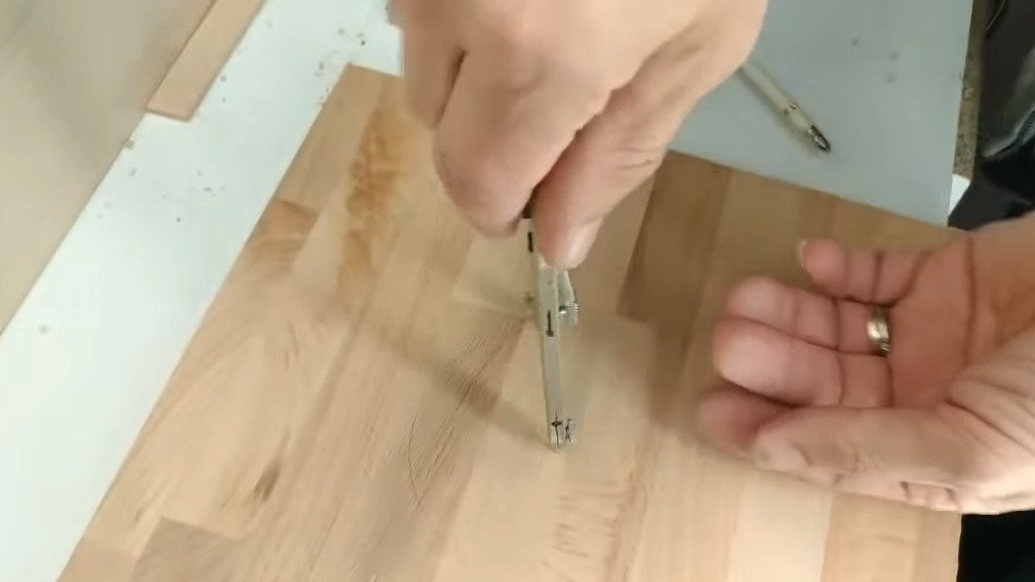
We make fasteners so that the clock can be hung on the wall. To do this, drill a recess and screw or nail the plate with cloves.
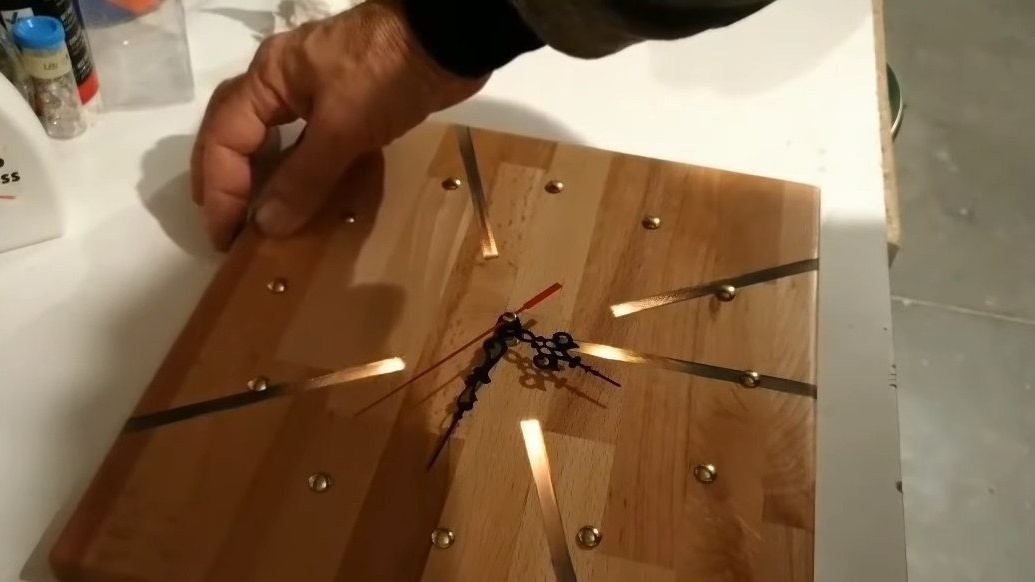
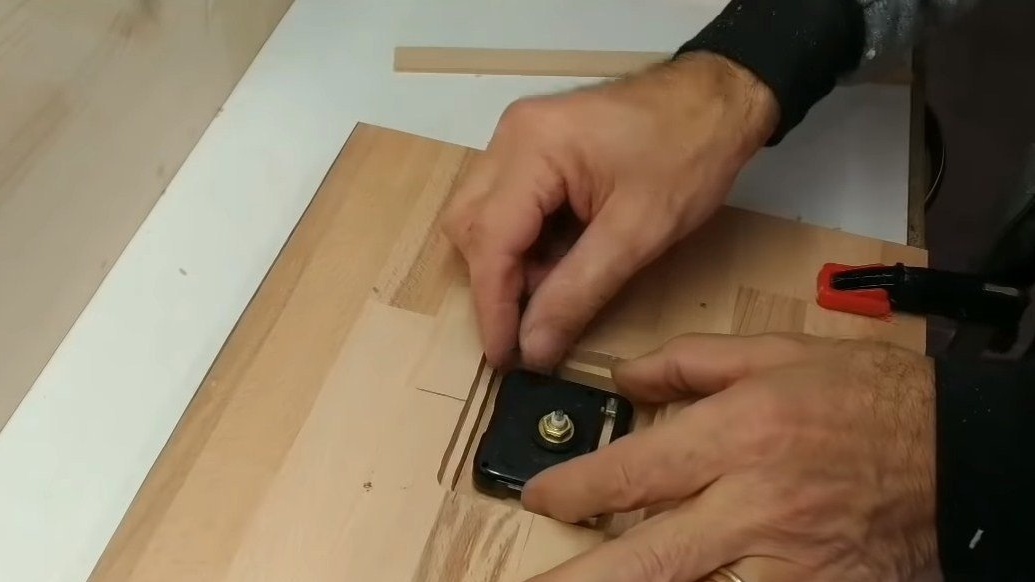
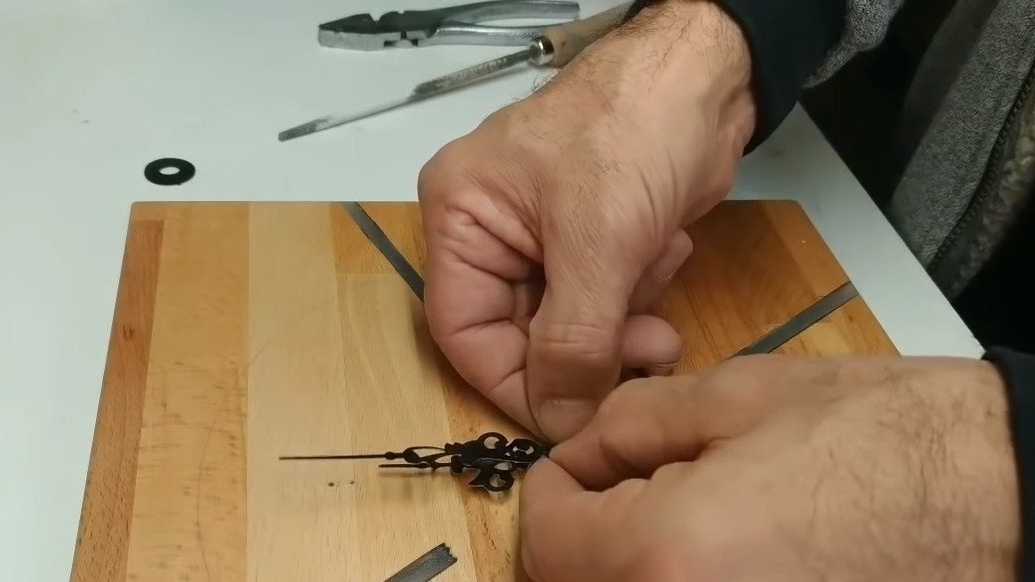
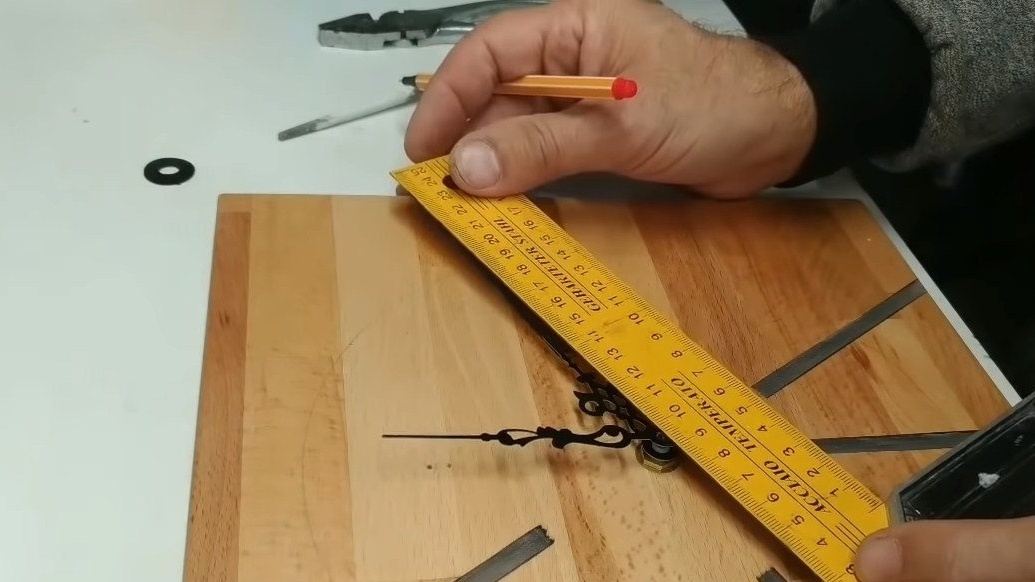
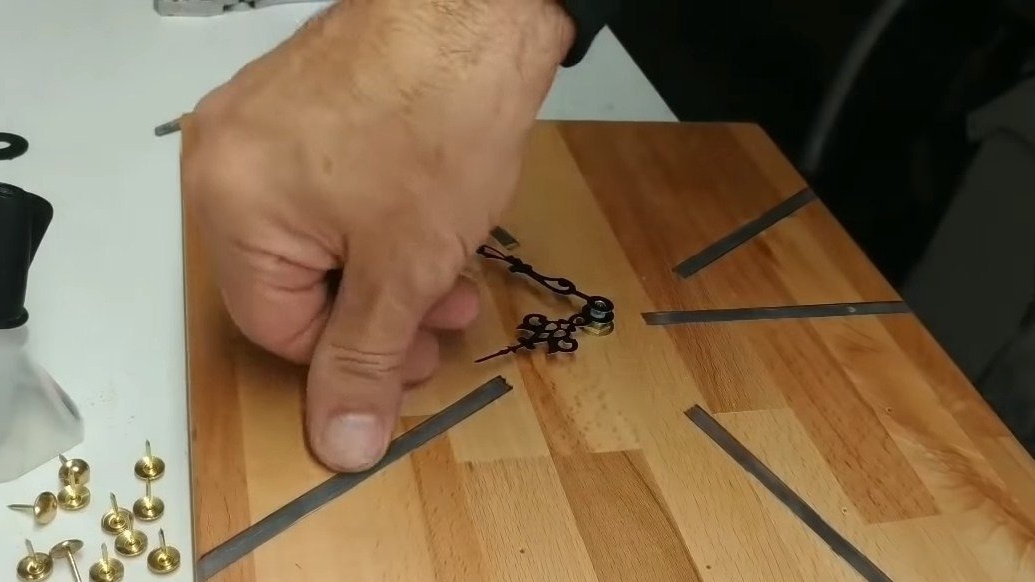
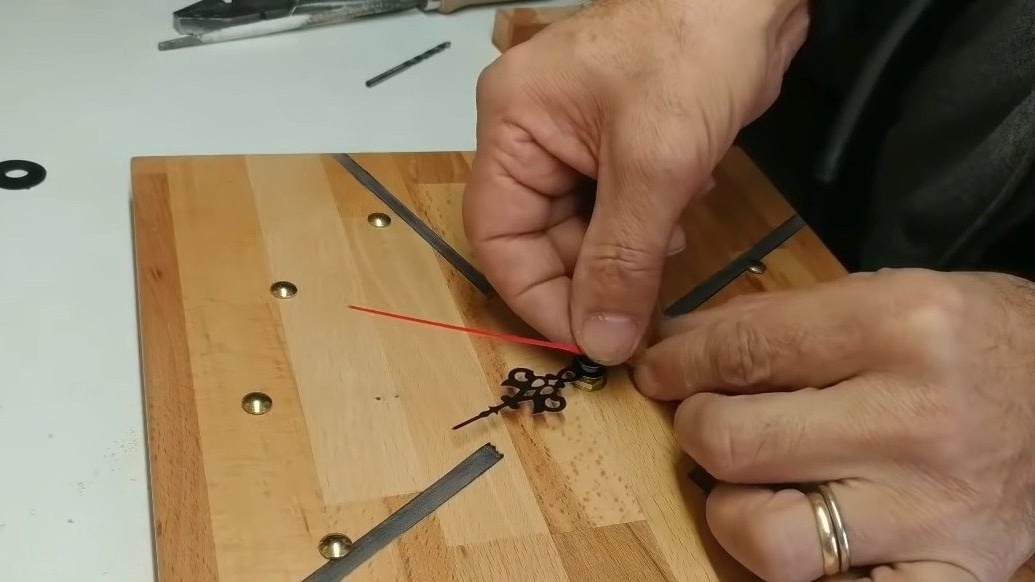
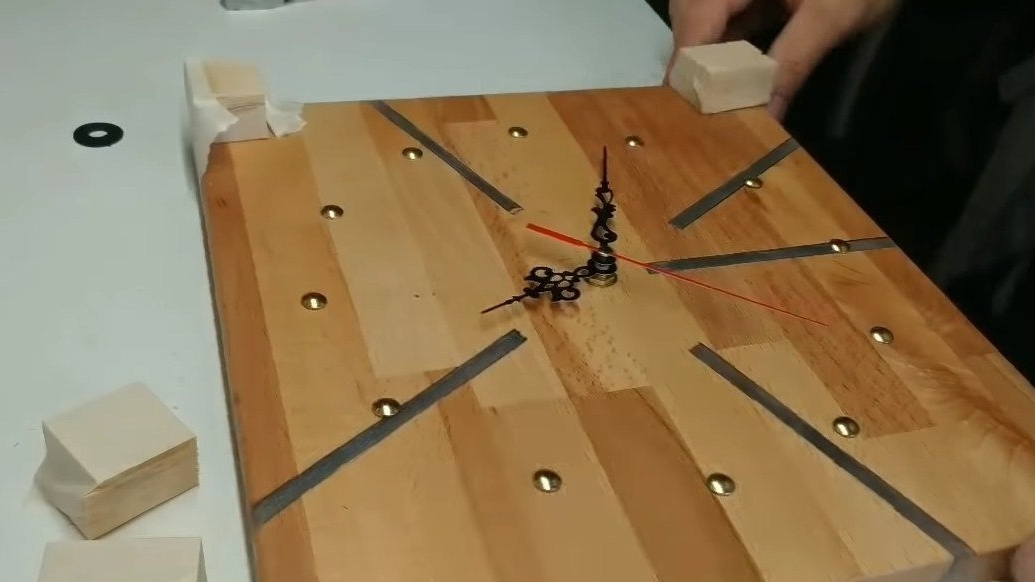
After that, you can install the clockwork, it is mounted on the front side with a nut. Set the arrows and then apply the dial. Instead of numbers, the author uses furniture decorative nails, and to understand where to hammer them, we reduce all the arrows at 12.00 and then, turning the wheel behind, set 1:00 and so on. For cloves, it is better to drill holes and glue them on the glue, so as not to hammer the clock.
Seventh step. Assembly
The clock is ready, it remains to set the backlight, glue the battery compartment on hot glue, solder the wires to the LEDs, and also install a switch in the case. That's all, the homemade product is ready, the light turns out to be pretty beautiful, but you can make inserts at your discretion.
I hope you enjoyed the project, good luck and creative inspiration, if you decide to repeat this. Do not forget to share your ideas and homemade things with us!