
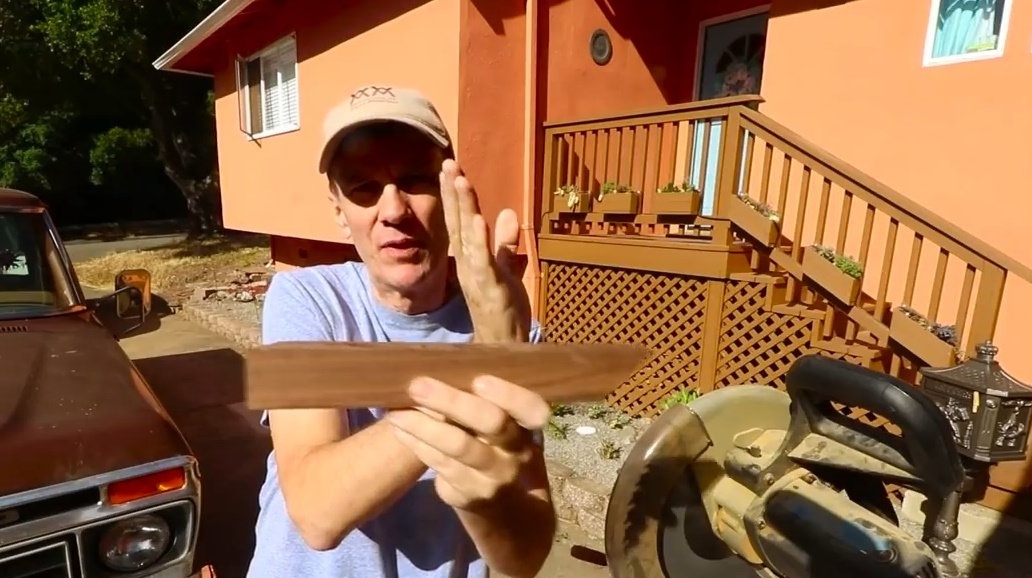
In this article, Steve, the author of YouTube channel "Steve Ramsey - Woodworking for Mere Mortals", will tell you how he made the original frame for the picture.
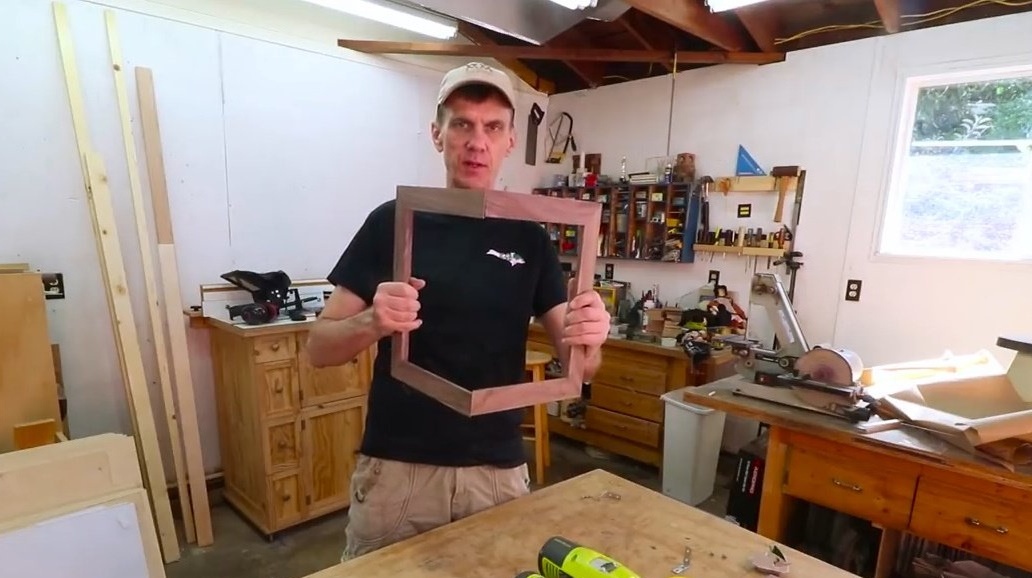
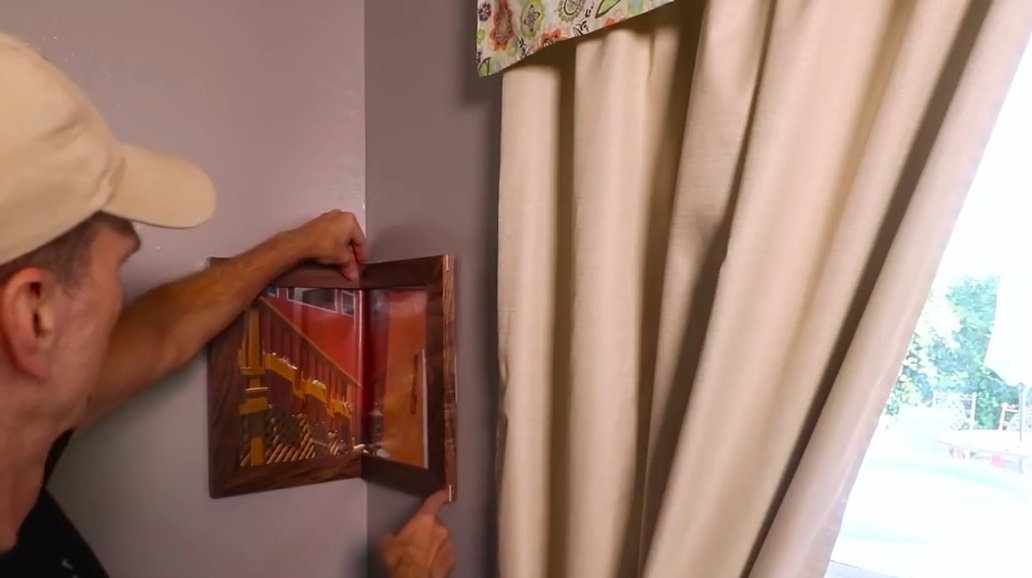
In it, you will come across a rather extraordinary project, which, perhaps, will somehow remind you of the famous painting by Salvador Dali, "The Persistence of Memory." It's about a picture frame wrapping around a corner. A kind of geometric puzzle! The author admitted that he had long dreamed of "getting out of his comfort zone" and creating something unusual, amazing to the imagination. And here he is the project:
Materials
- Hazel board
- Maple board
- PVA glue
- Plexiglass
- Aerosol varnish.
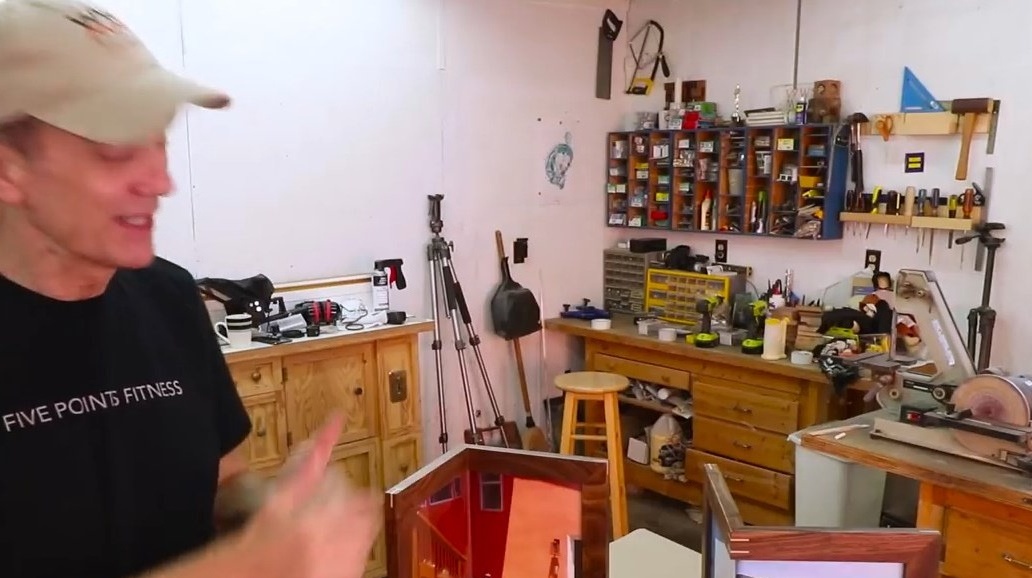
Instruments, used by the author.
- A circular saw
- clamps
- Orbital sander
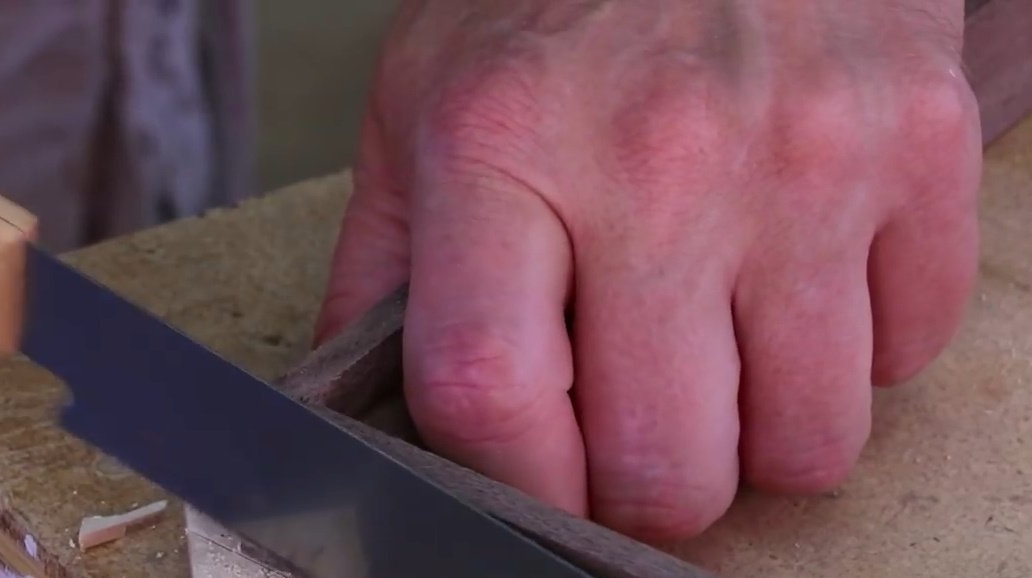
- Hacksaw for wood
- Miter saw
- Technical hair dryer
- Roulette, square.
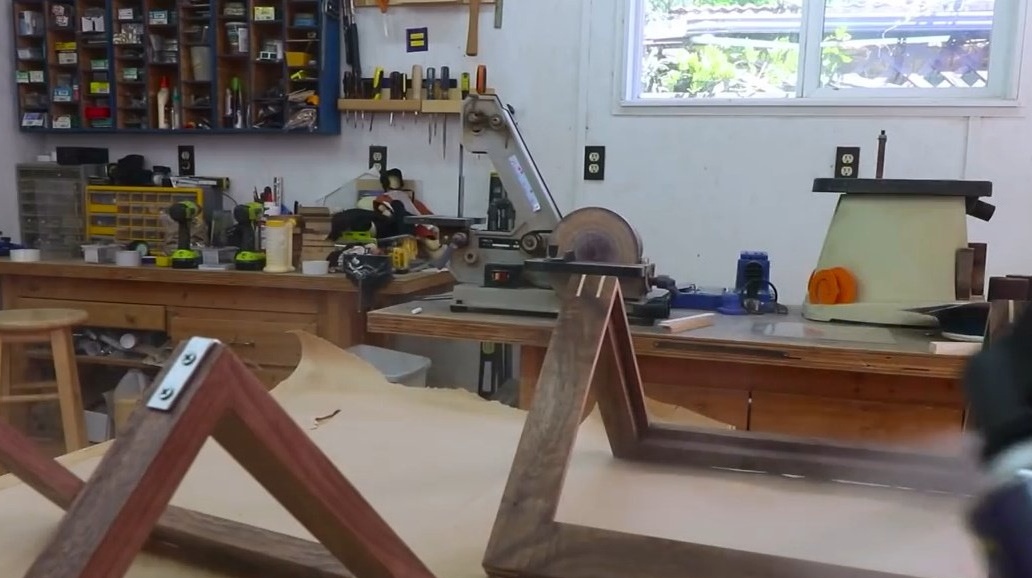
Manufacturing process.
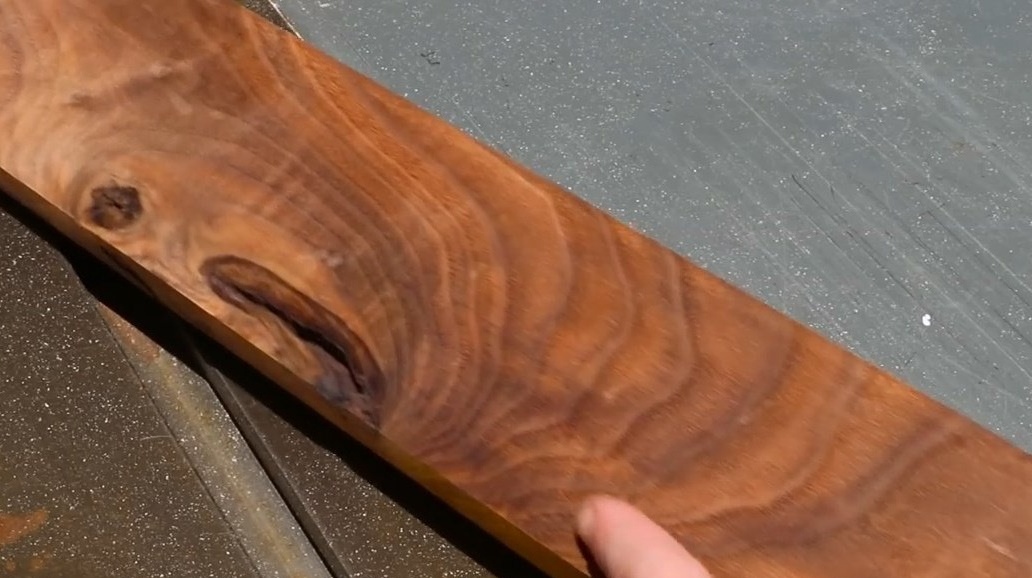
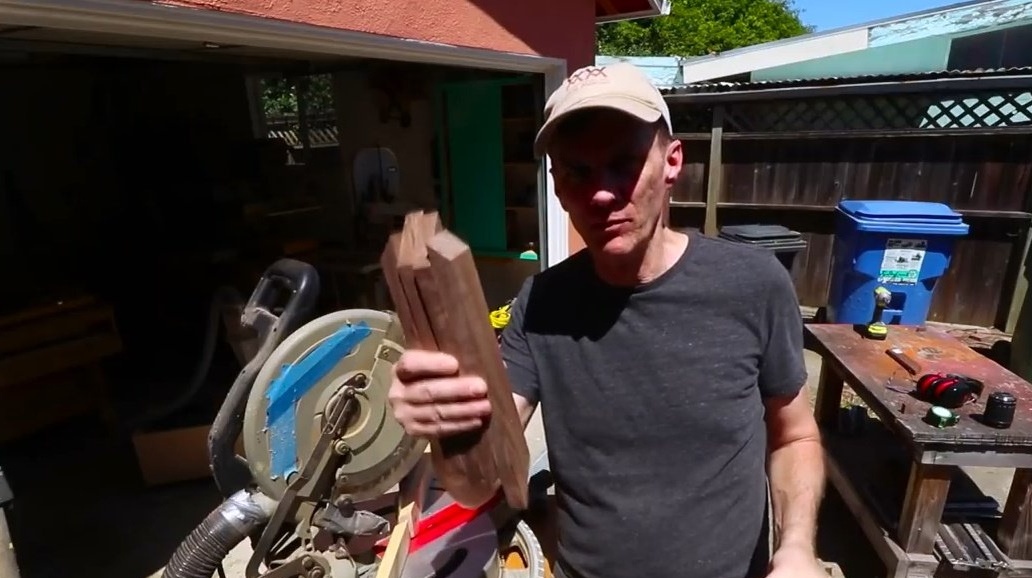
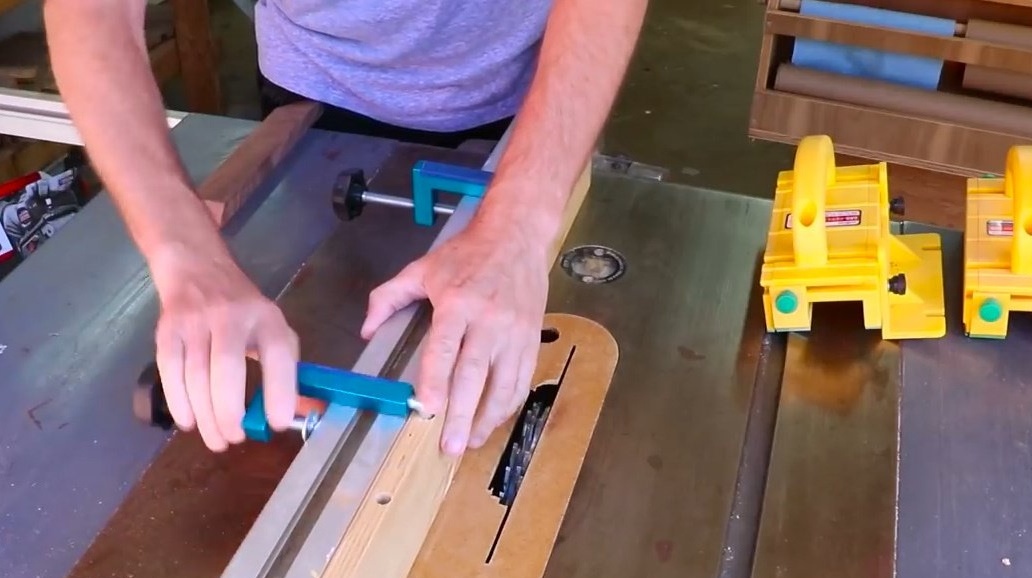
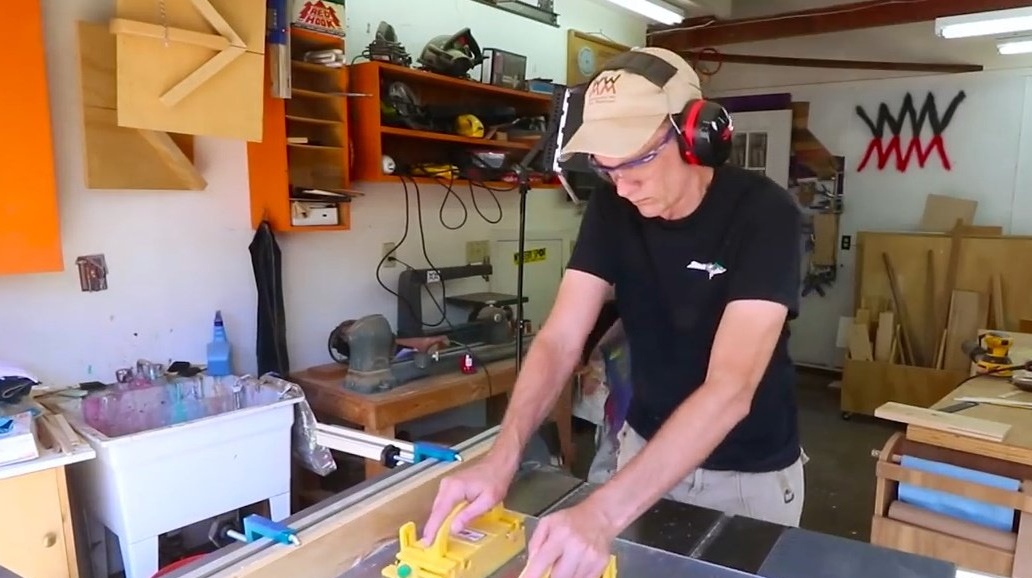
The author selects a beautiful board made of hazel wood with an amazing pattern of wood fibers. There are several problem areas on it, but they will be cut down while Steve cuts
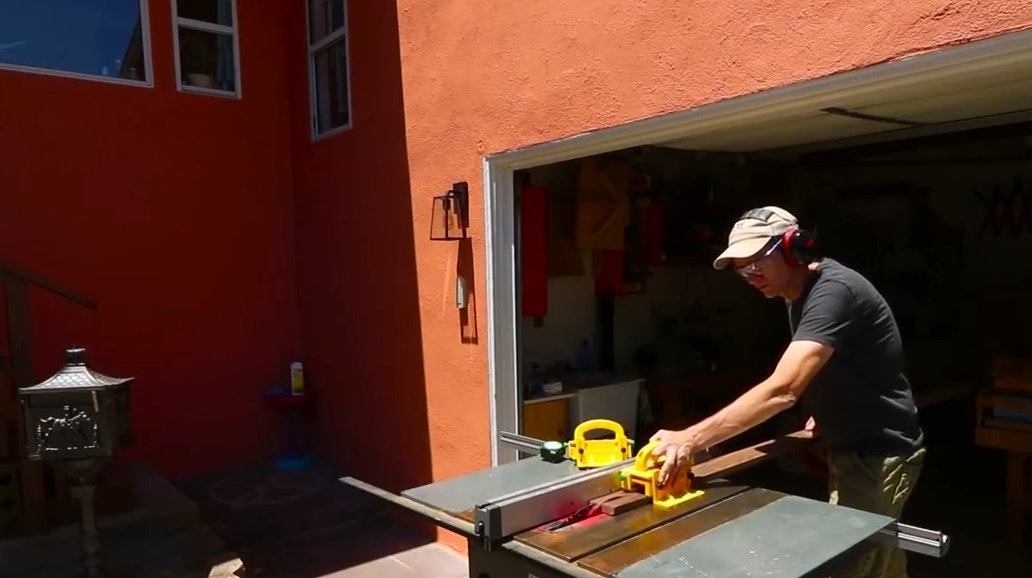
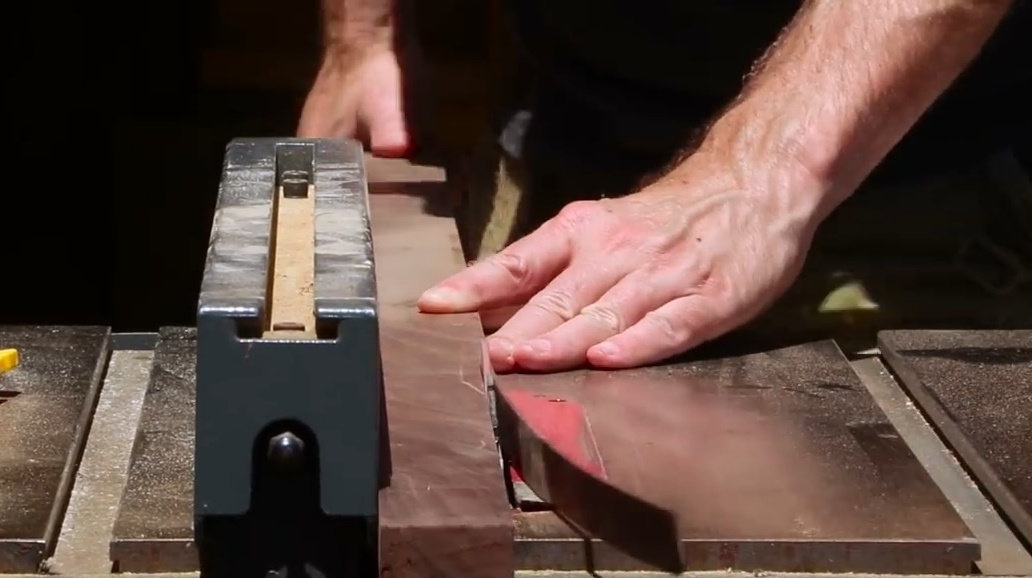
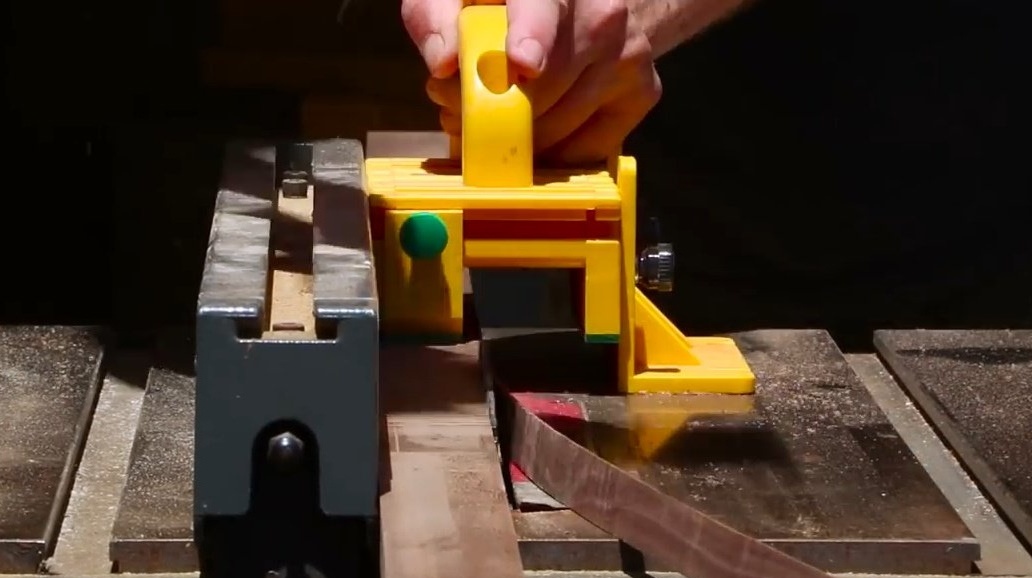
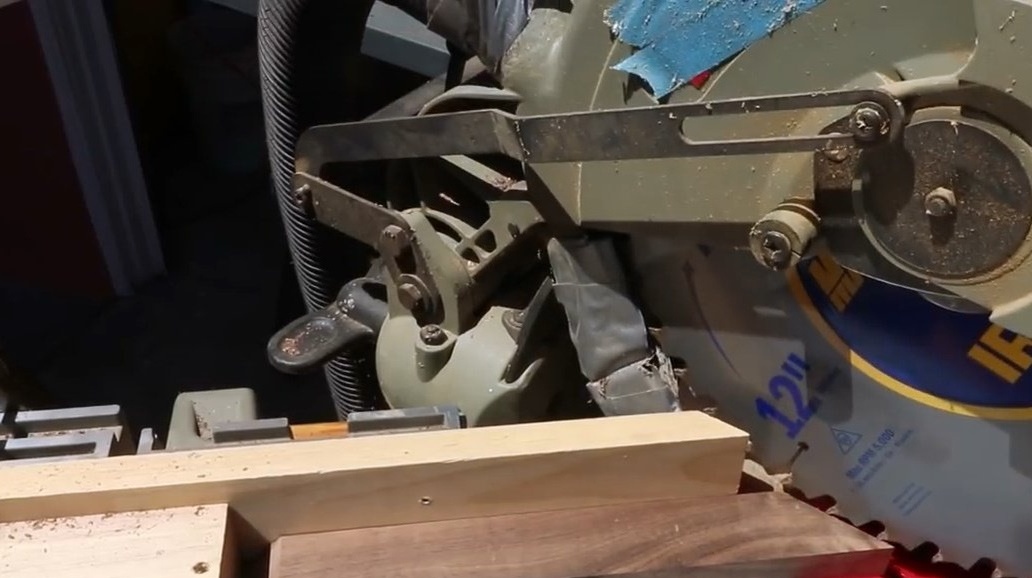
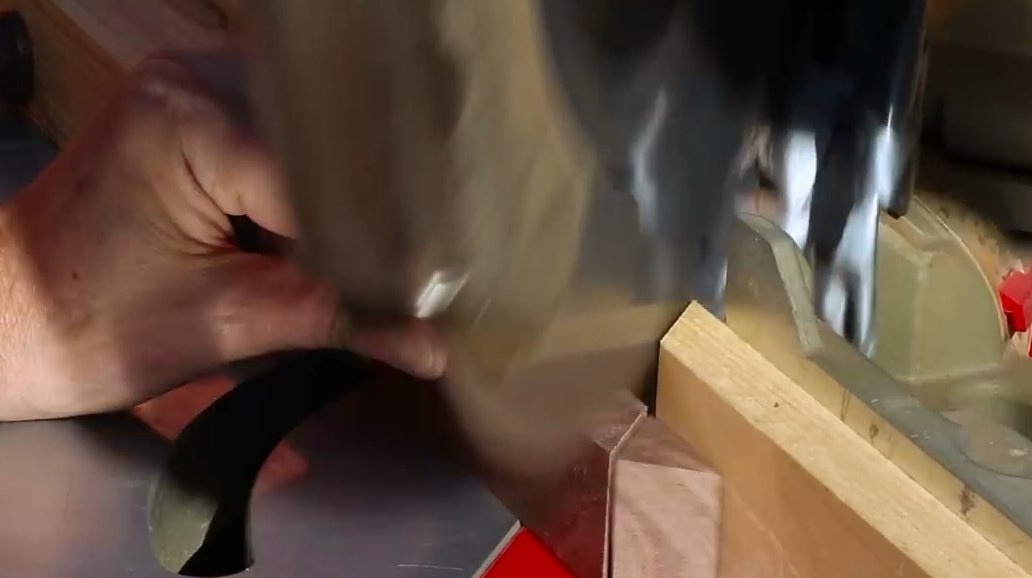
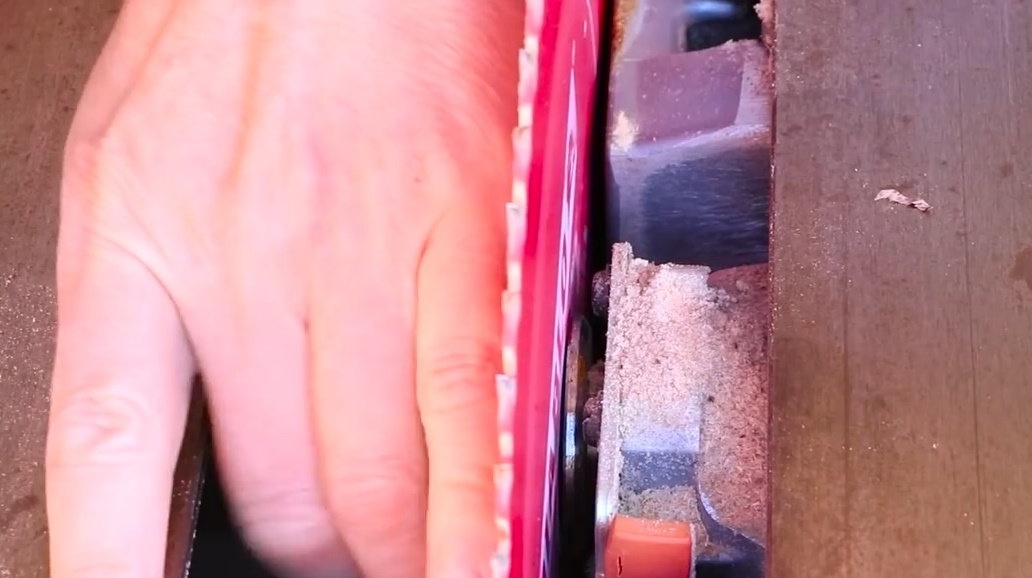
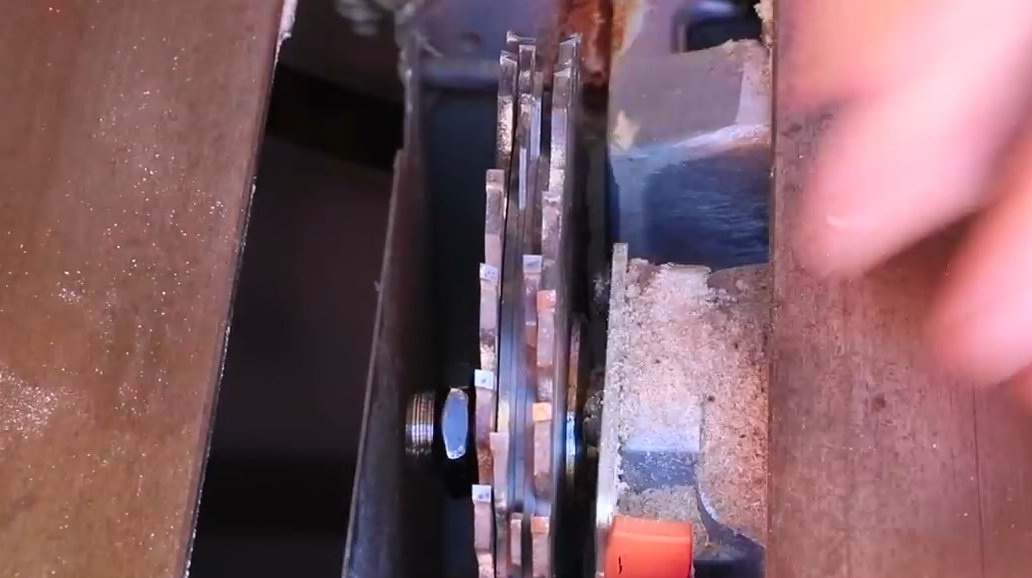
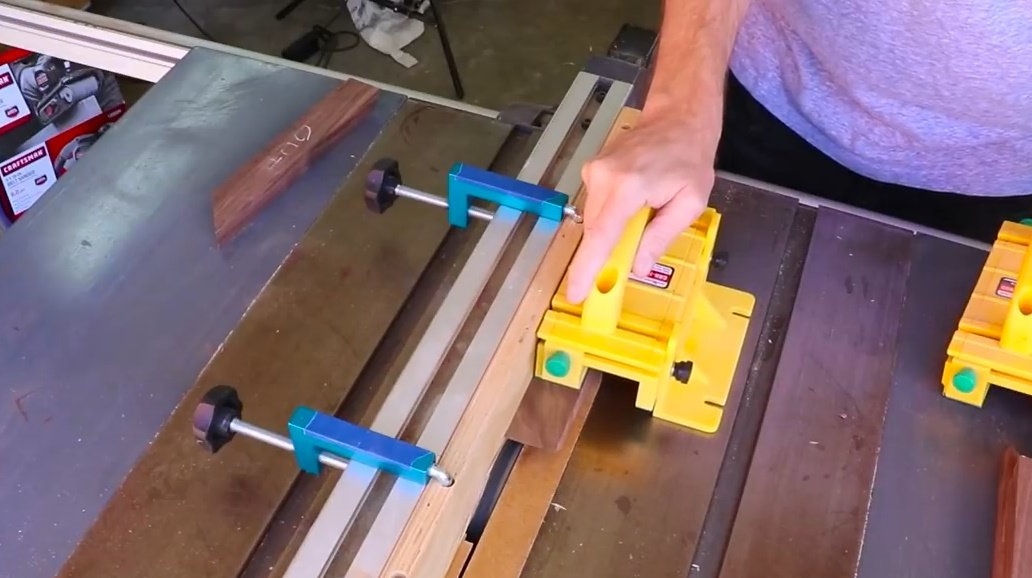
The author has to cut planks of only two different lengths. The fastest way to do this is with a miter saw.
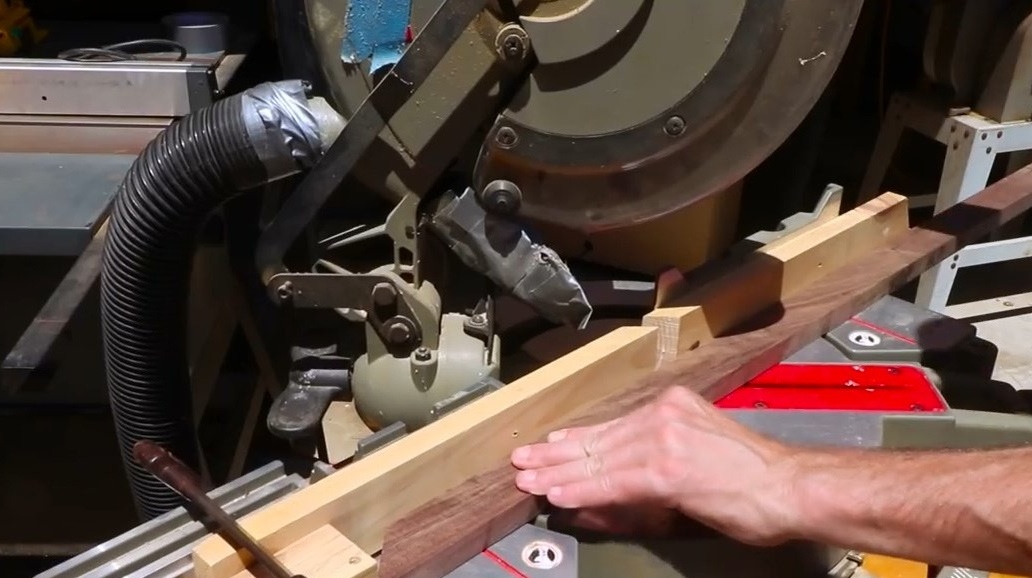

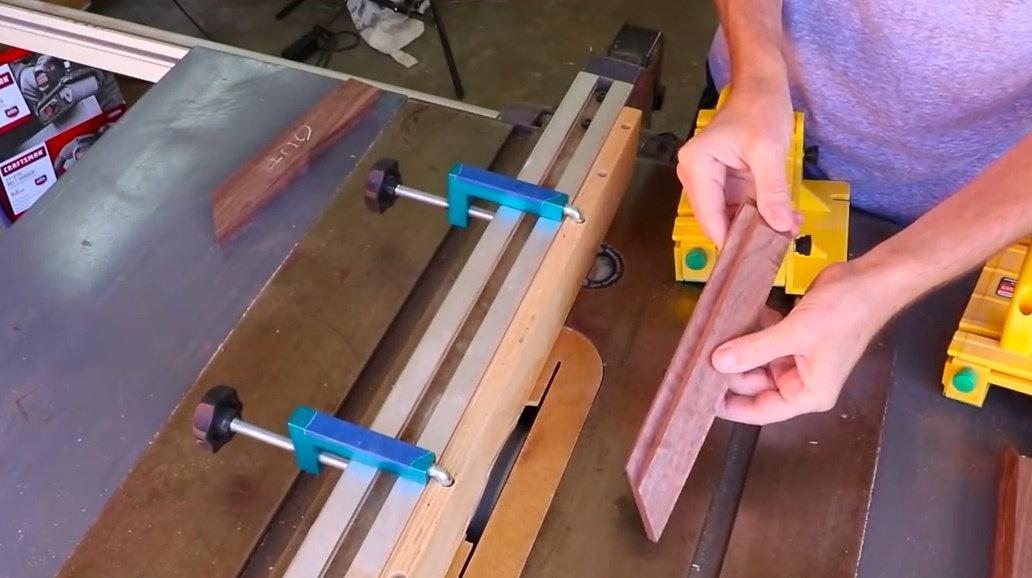
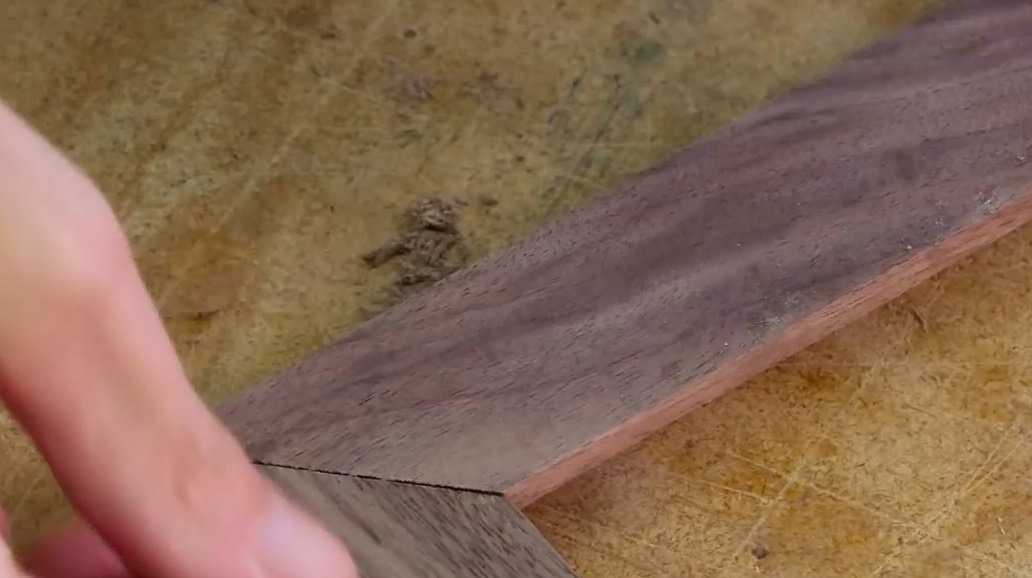
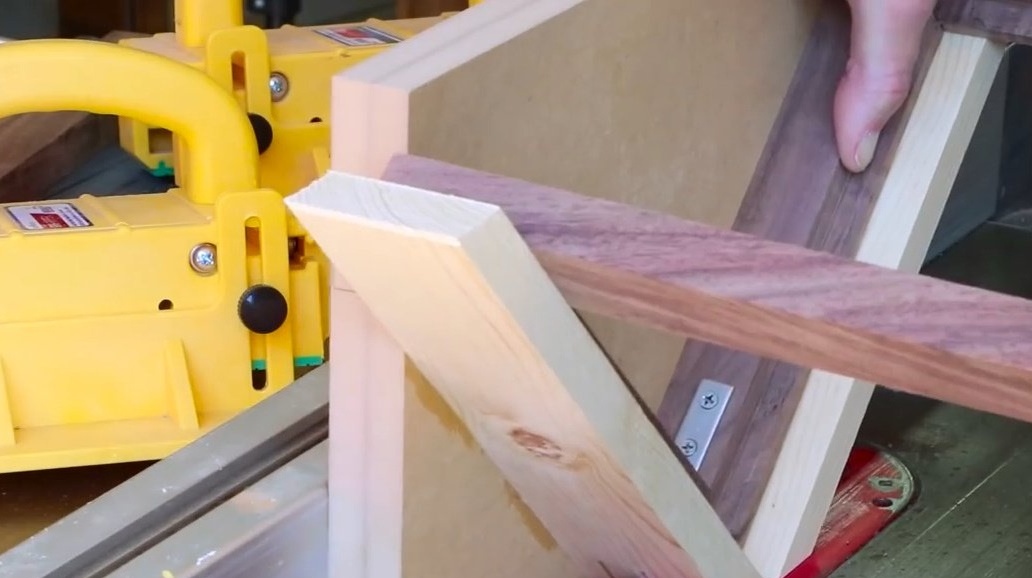
And now, cutting the bevels, and turning the planks back and forth, Steve noticed an amazing thing: half of the planks were of the right size, while the other half found an excess in length. The master attributed this circumstance to the thickness of the board, which he had not previously taken into account. If you cut in this direction, you get the desired length, but if you turn the board in a position in which its front edge abuts against the thrust block, the cut length exceeds the required.
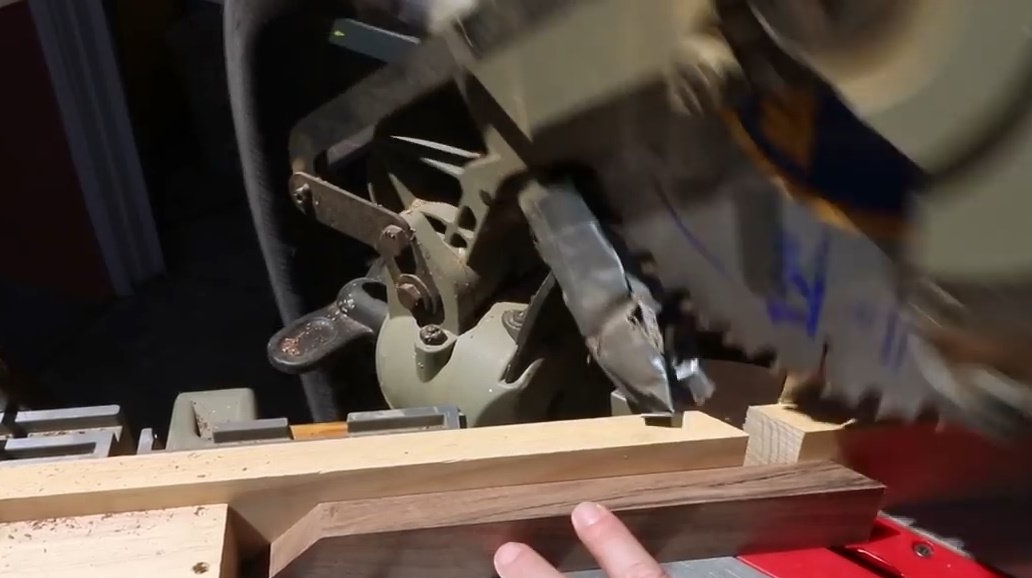
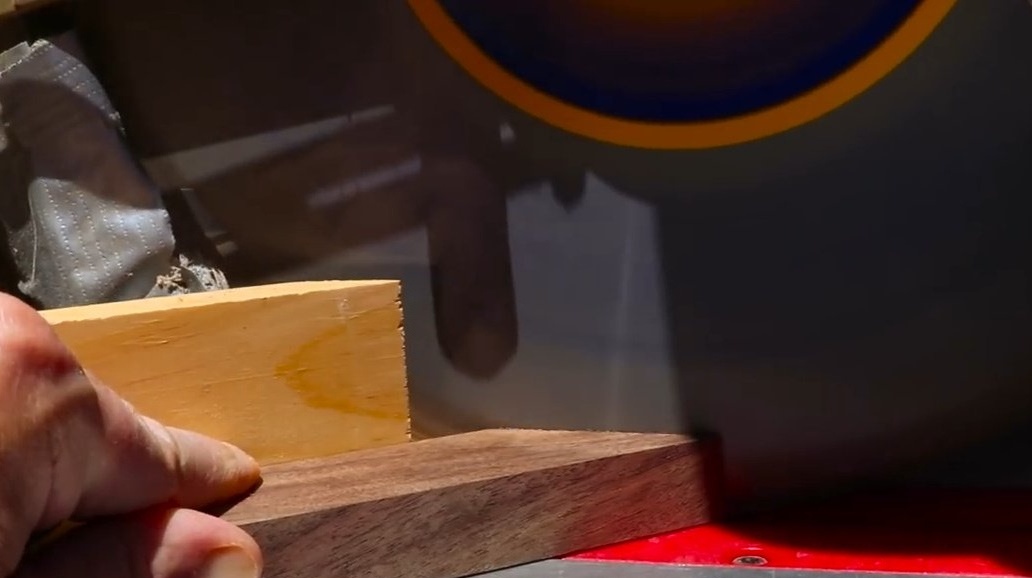
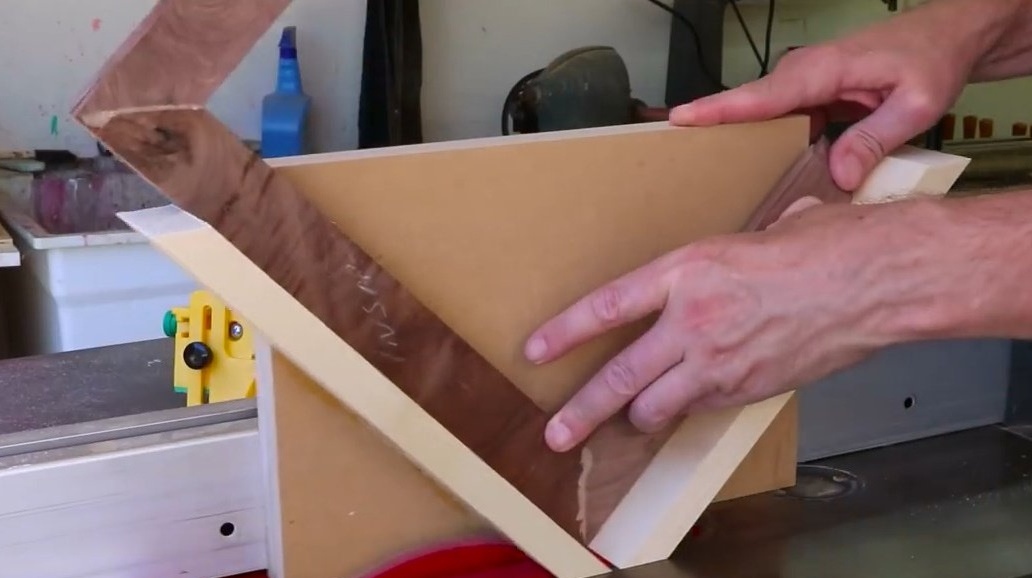
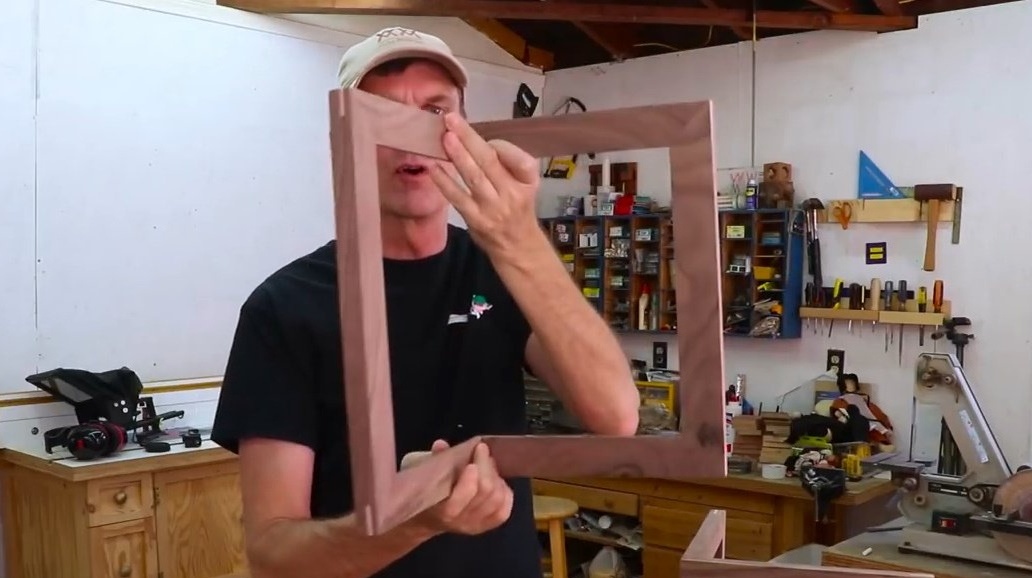
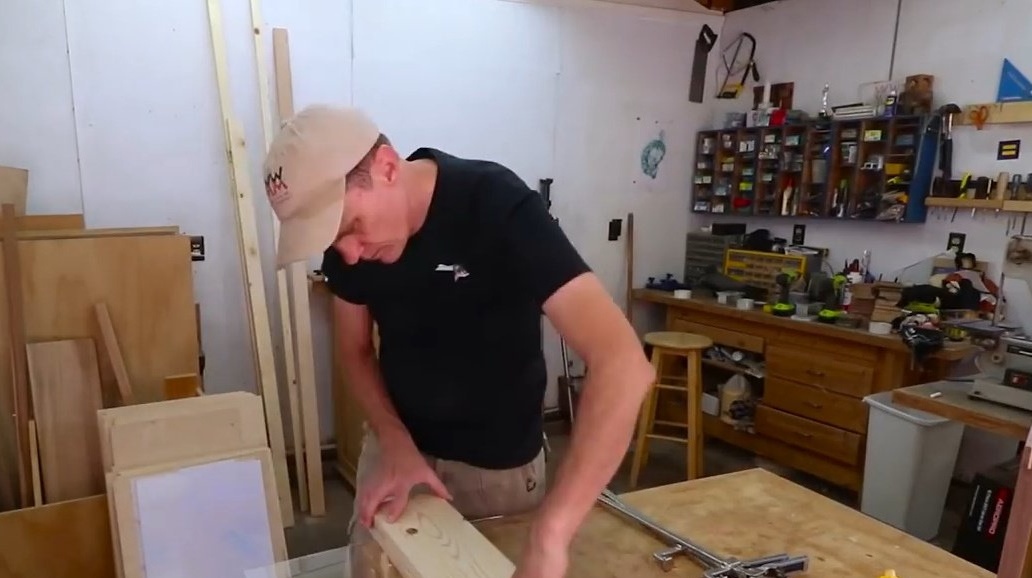
Thus, by cutting out all the elements of the frame in exactly one form, the author made a mistake. And it became apparent when the assembly phase began. On some segments of the frame, the bevels should be deployed half a turn.
During assembly, it is noticeable that one bevel "lies" in the other, while the second looks up.
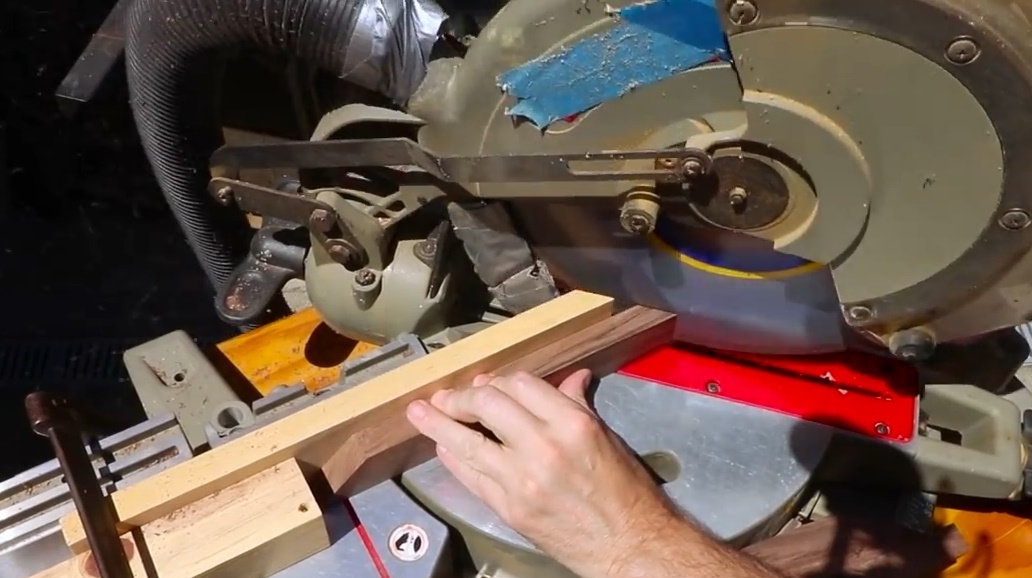
To fix things, you just need to re-cut all the details.
But instead, the craftsman decides to re-cut only the beveled sections, since there is less distance, and the loss of material will be negligible.
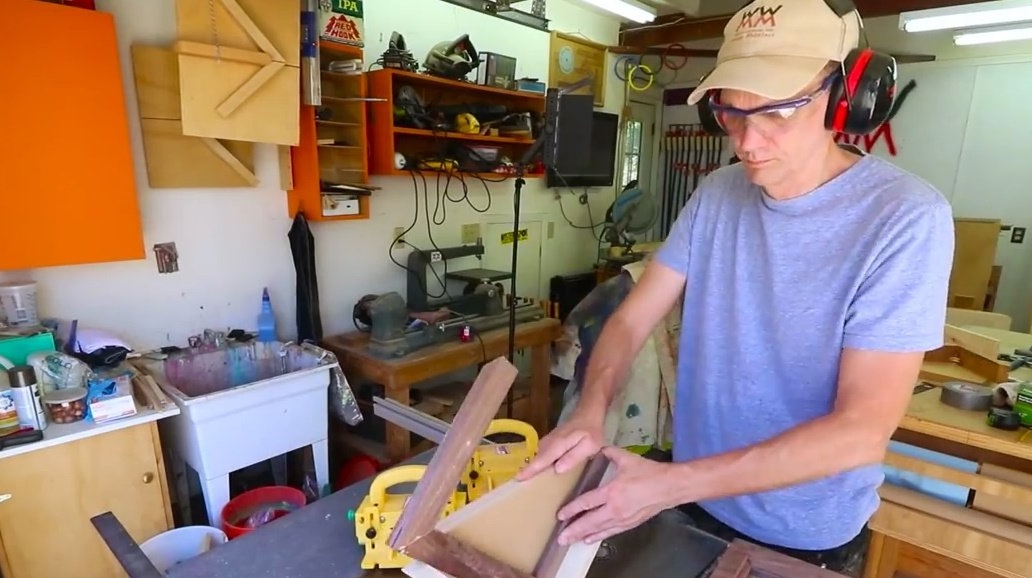
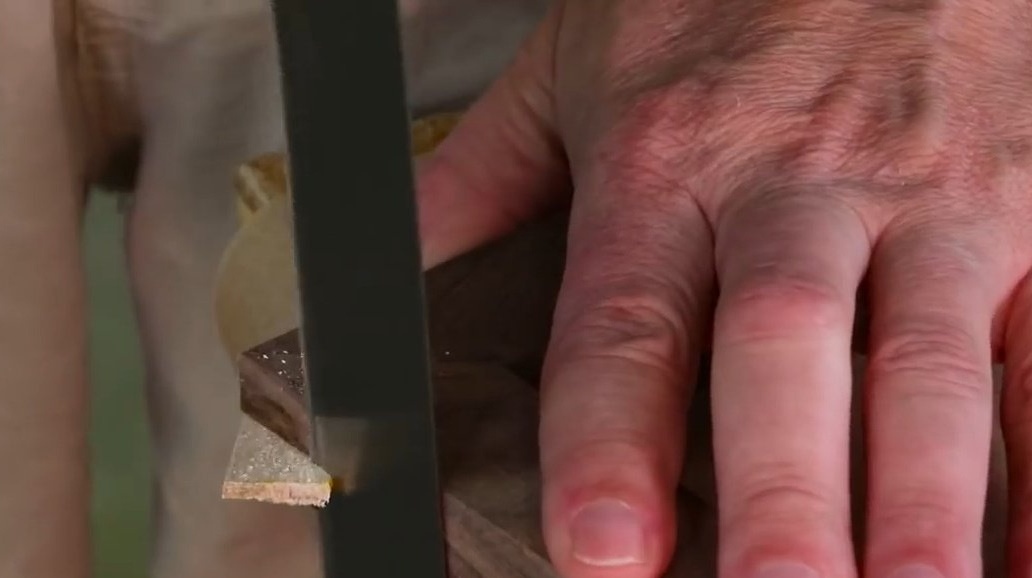
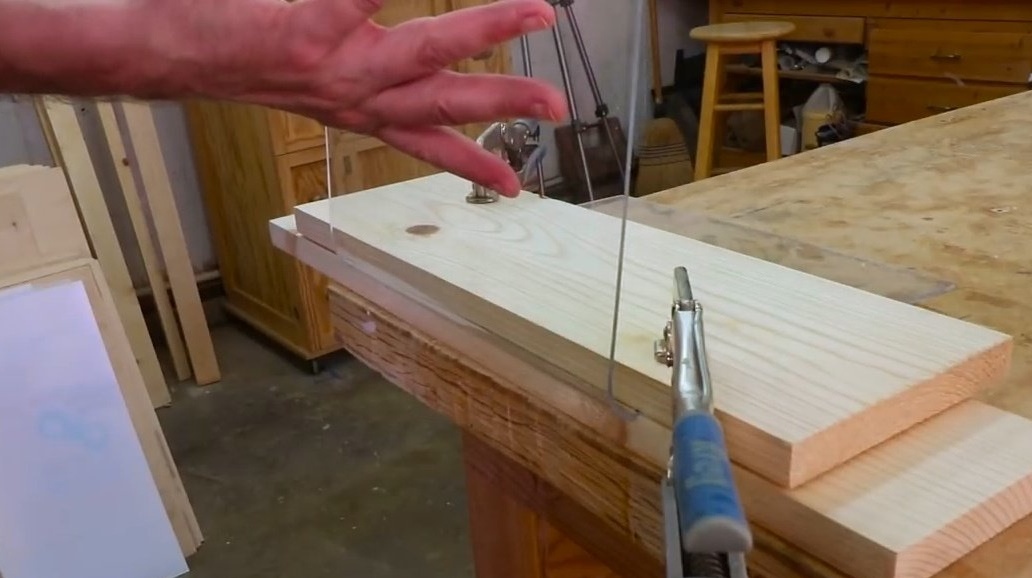
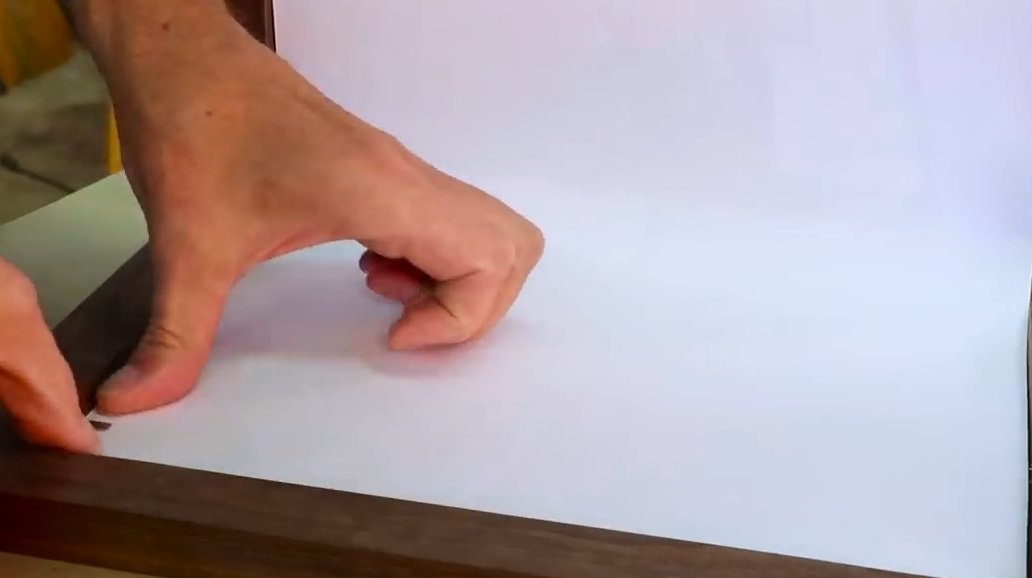
Now you have to cut out the grooves to cover the picture with glass. The author marks with chalk all those sides and edges where the groove will be made.
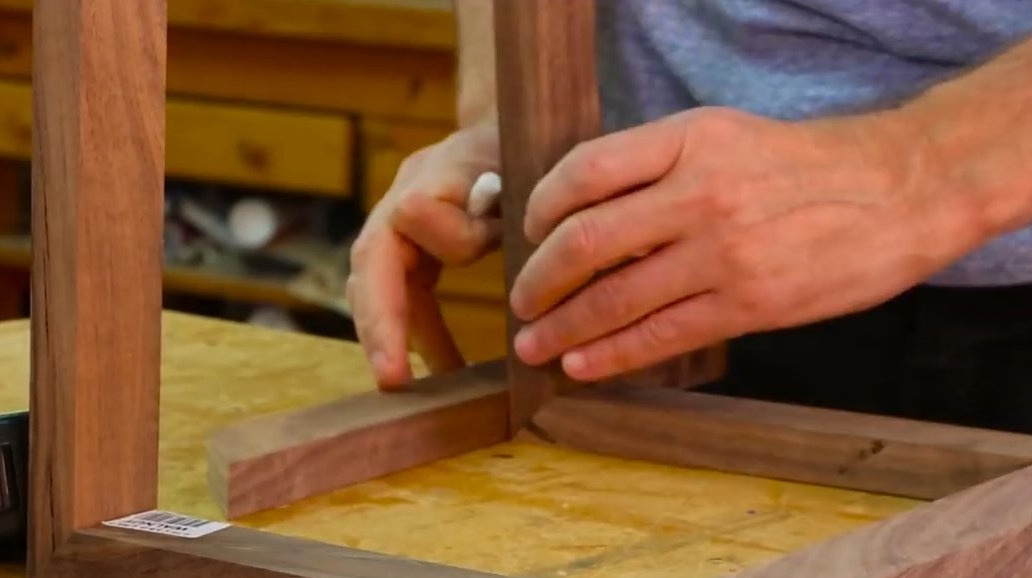
He will use the Dado disk, but the same work can be done with the help of a milling cutter.
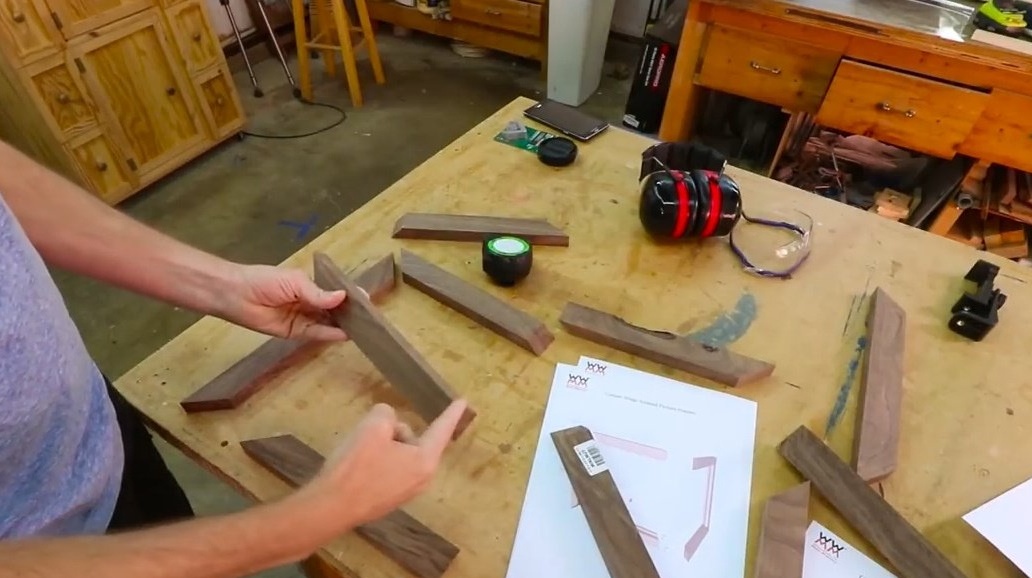
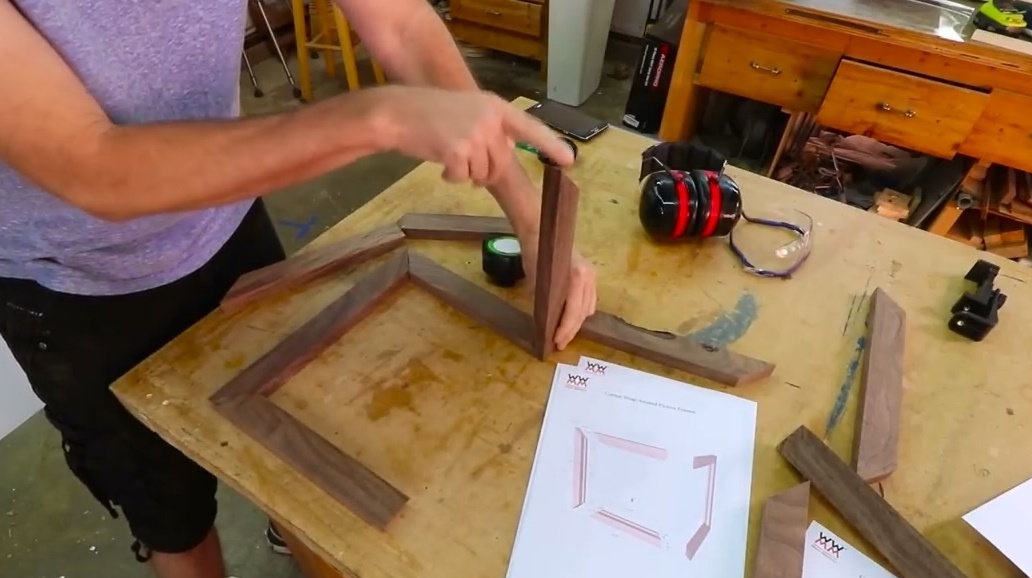
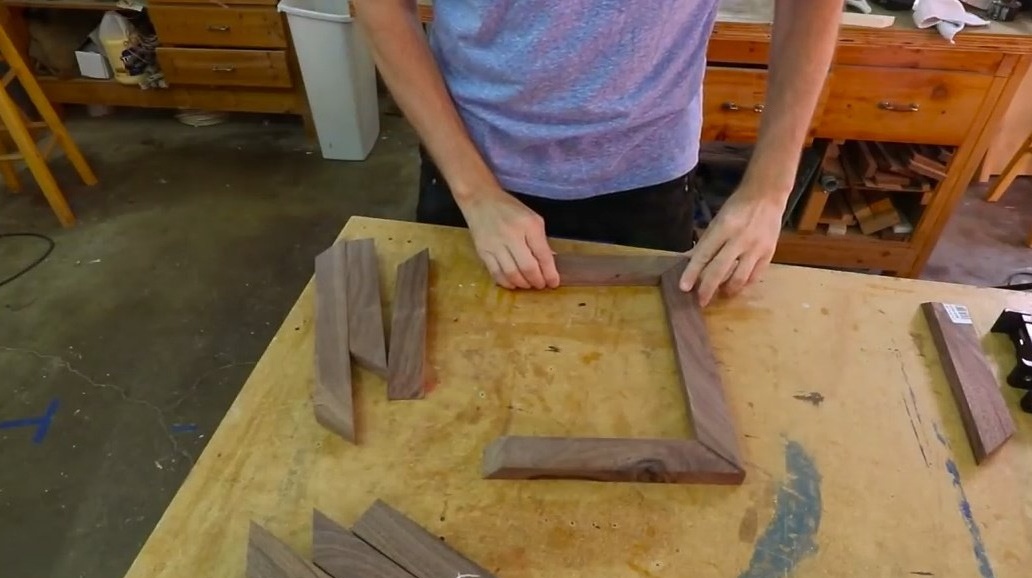
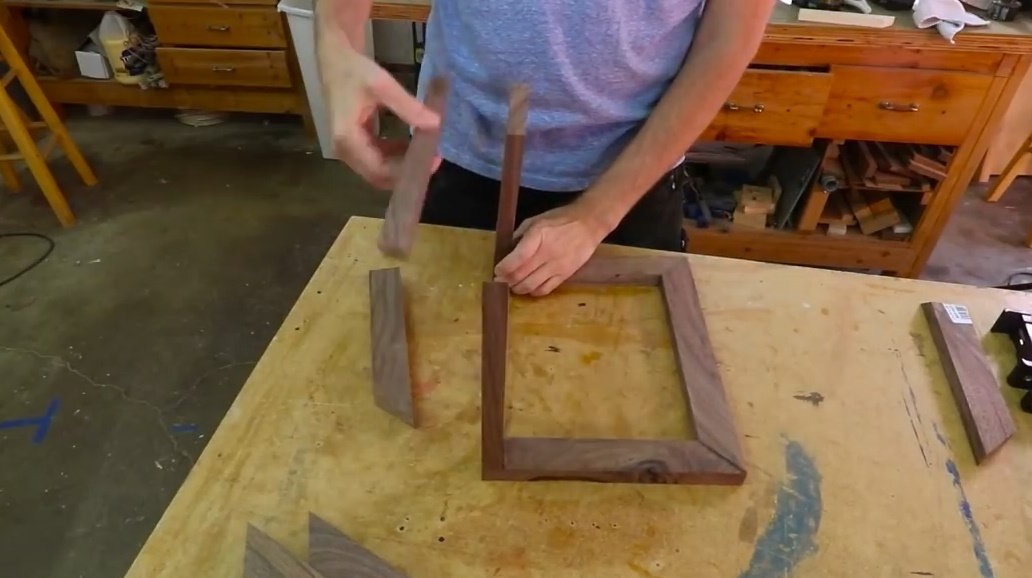
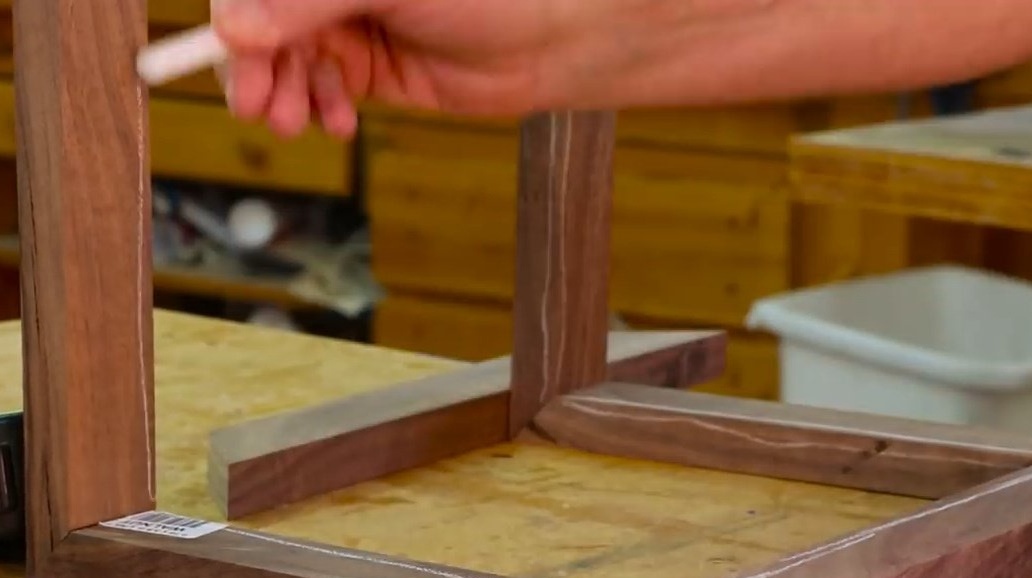
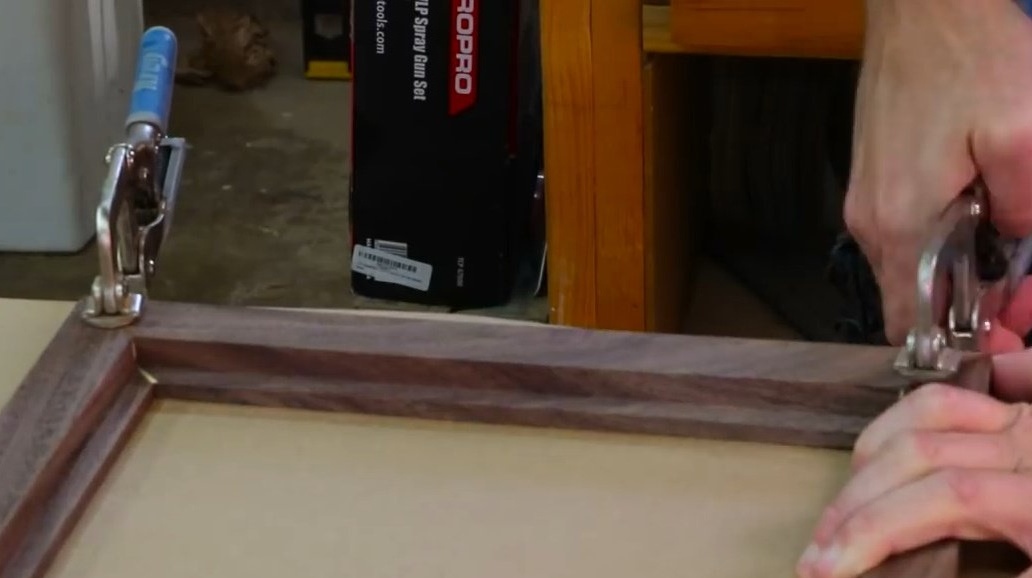
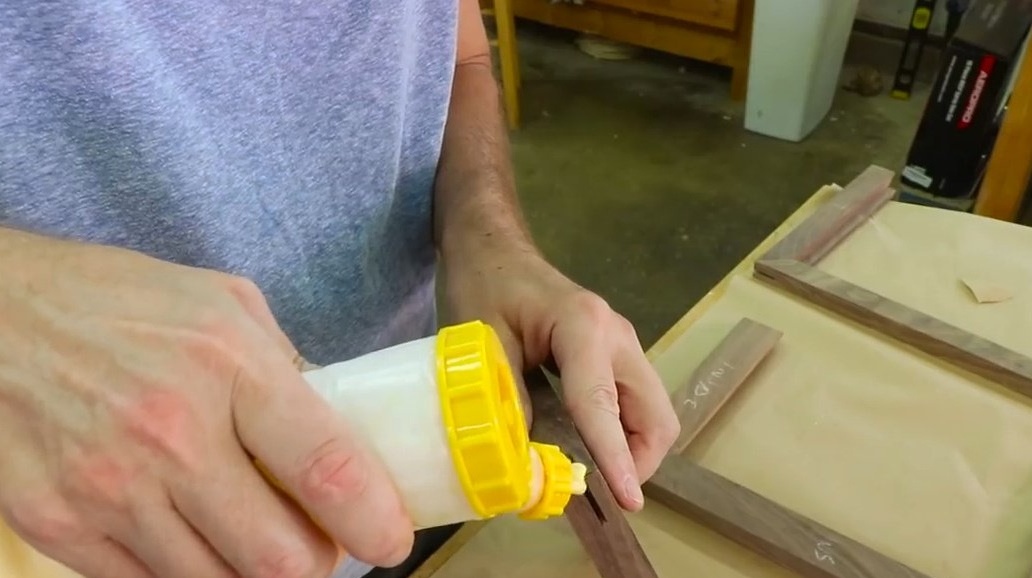
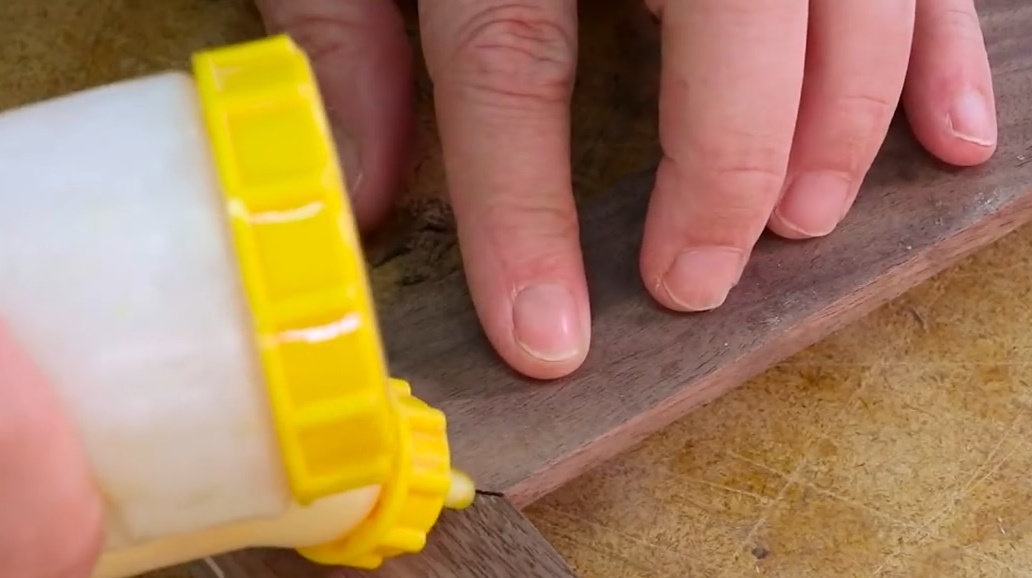
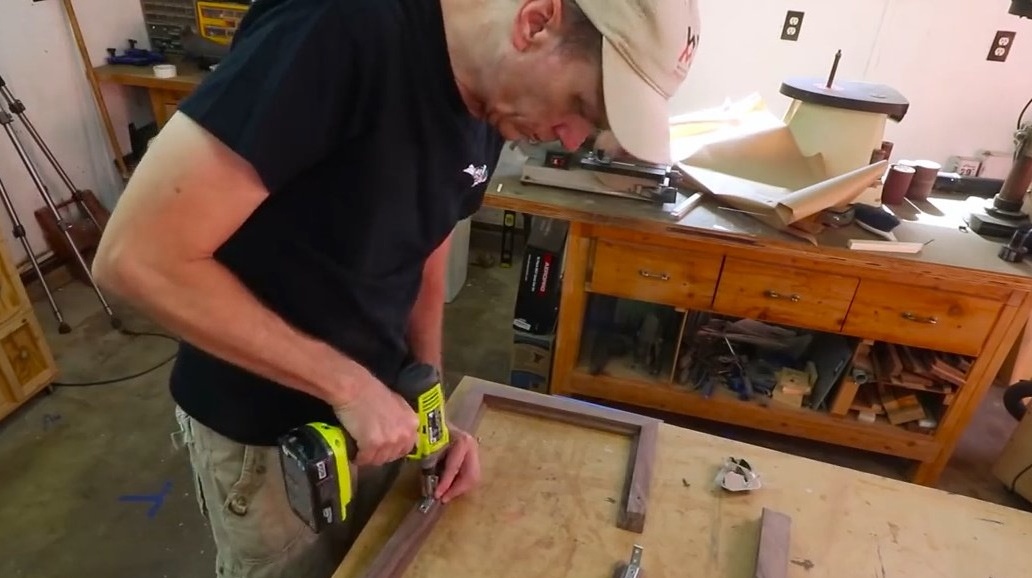
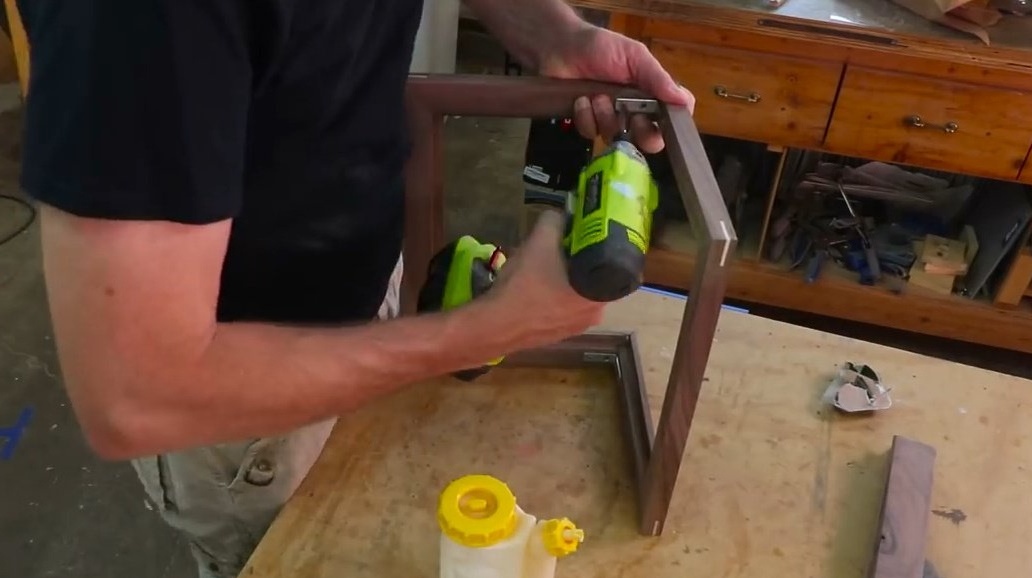
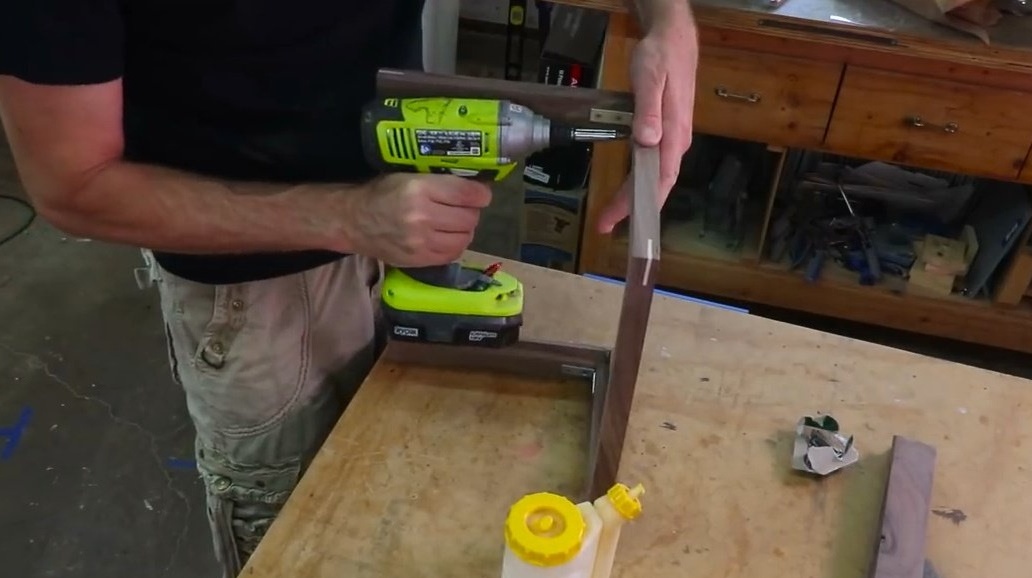
To glue all of these together - the task is not an easy one! First of all, the author glues two short halves.
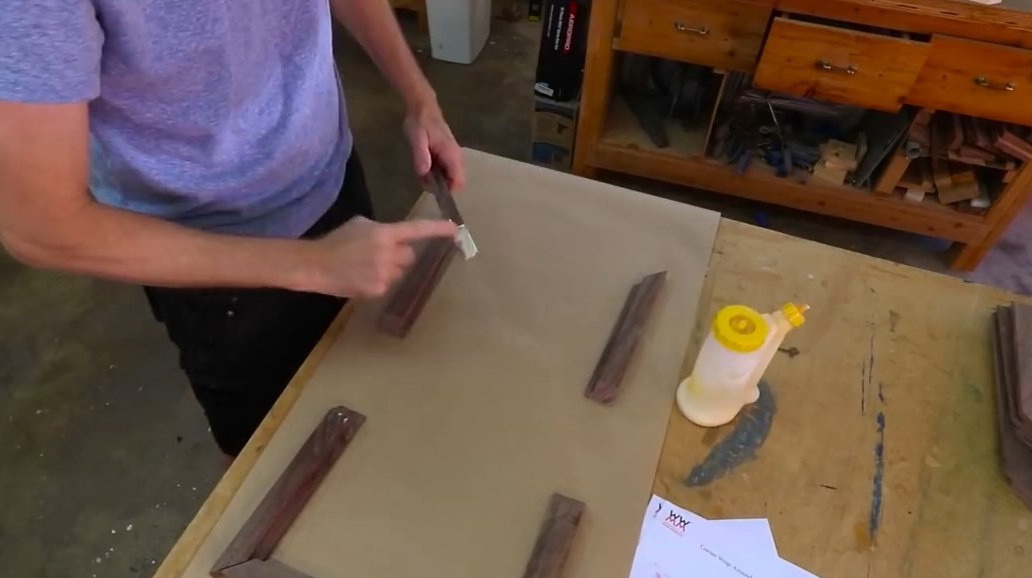
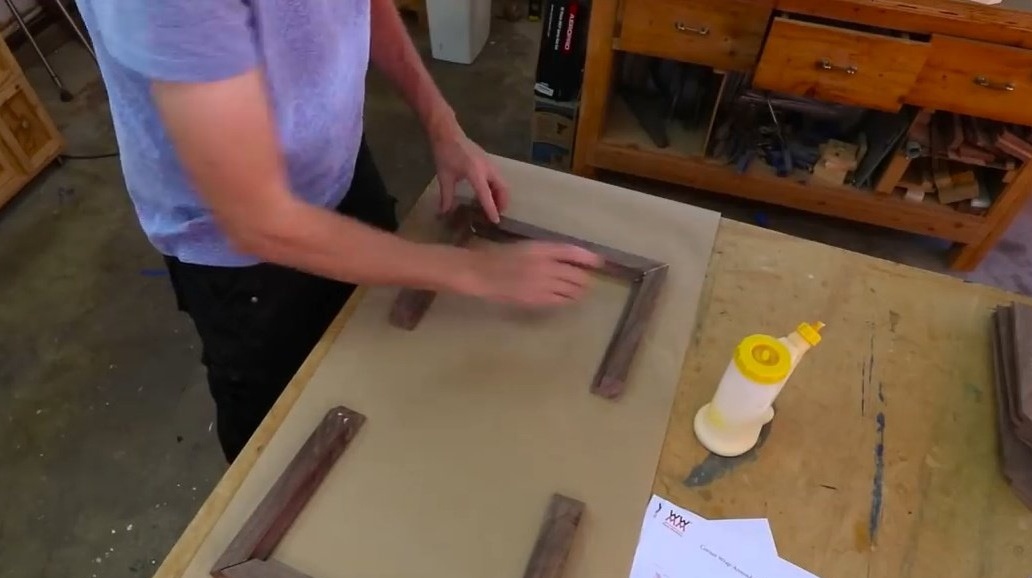
At the same time, he presses the parts with clamps just at the joints.
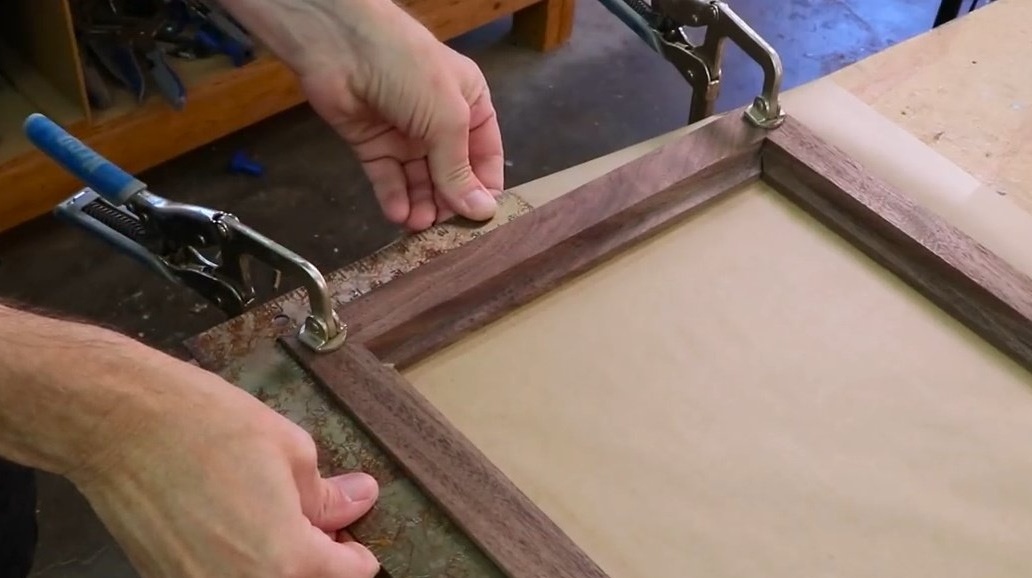
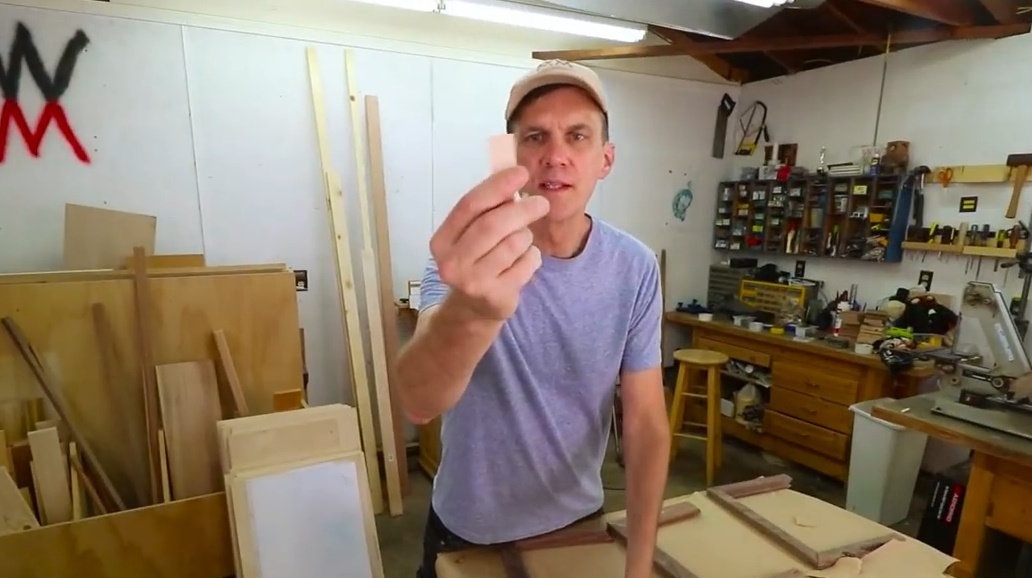
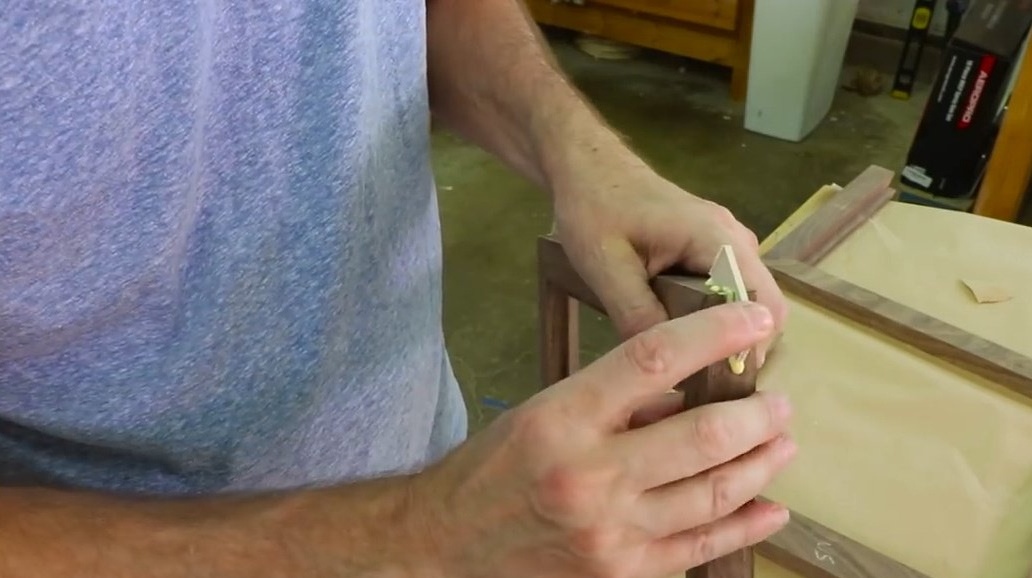
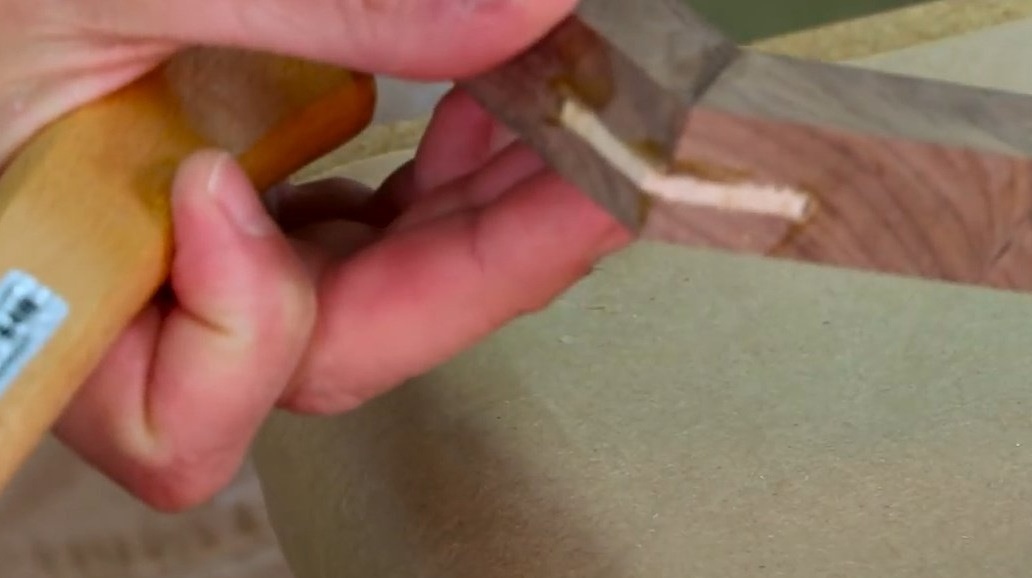
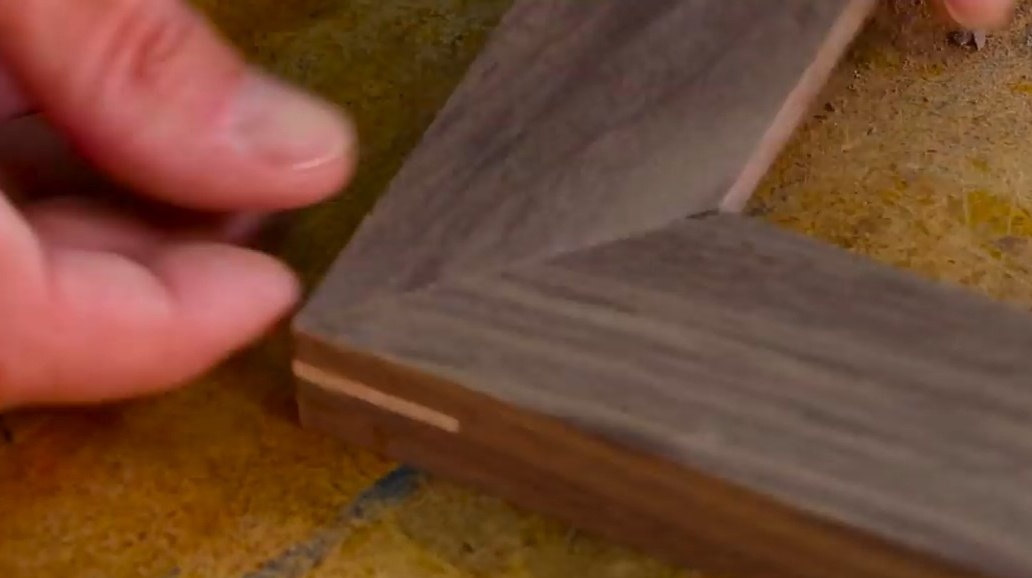
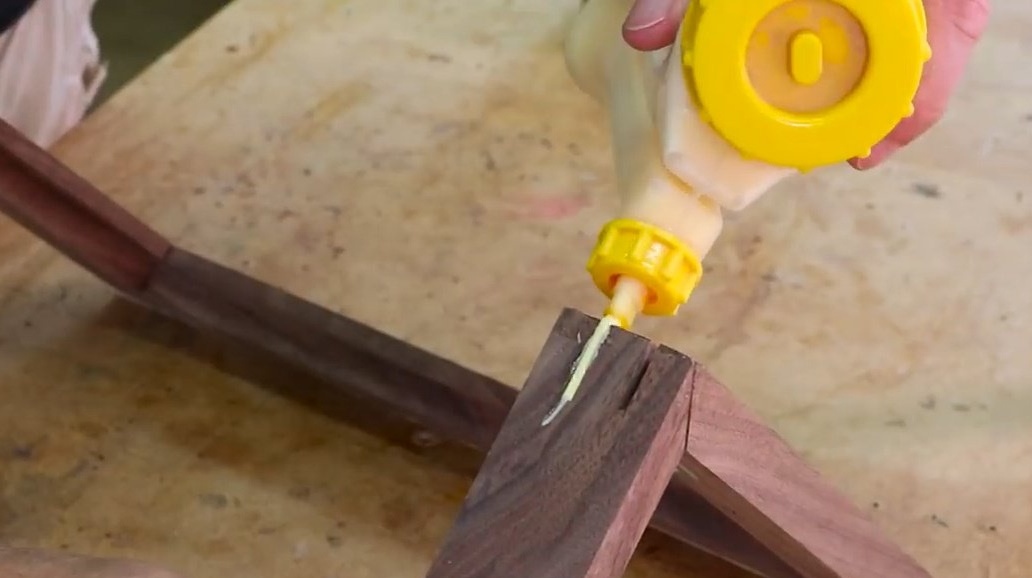
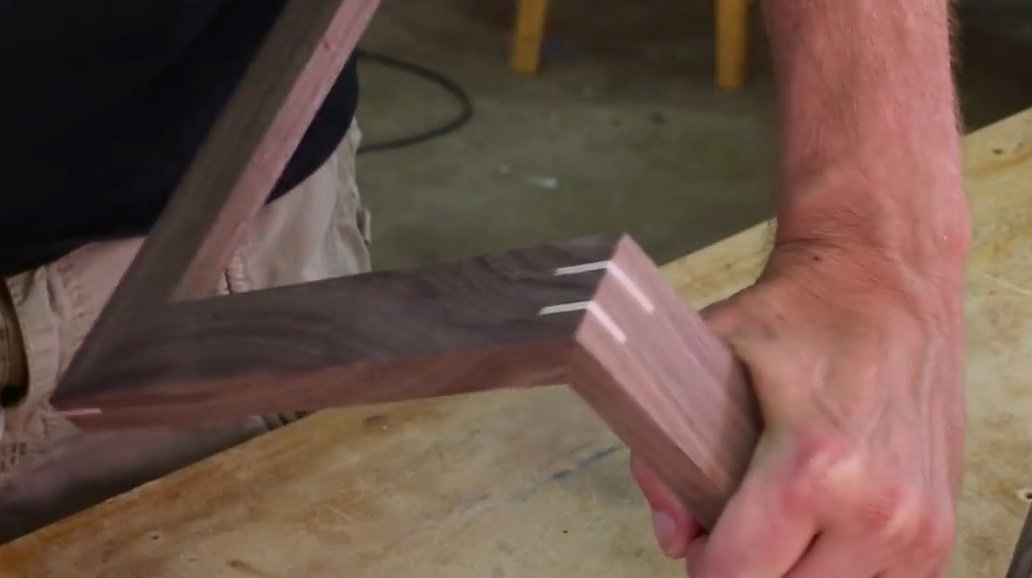
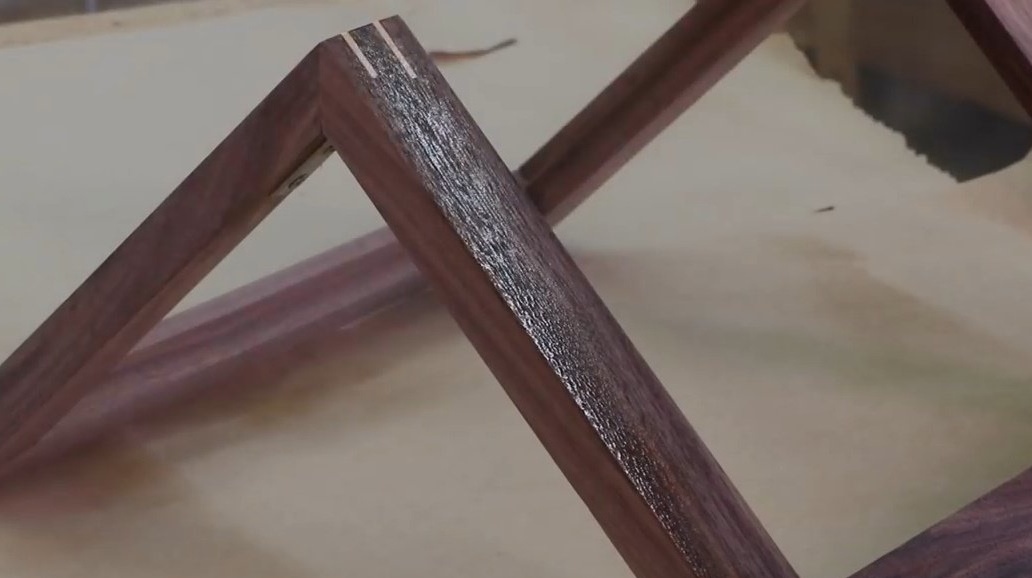
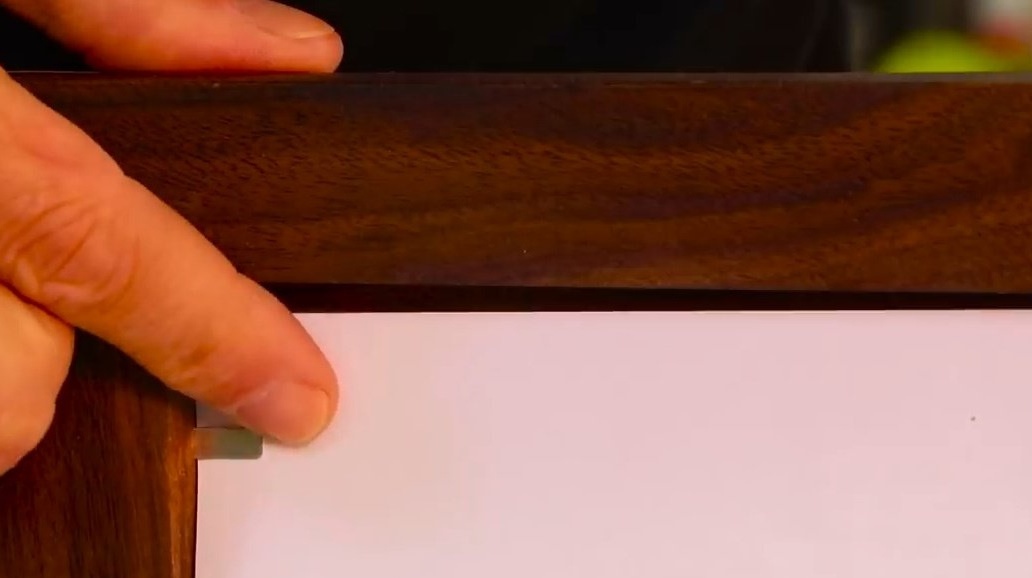
The master is not sure of the strength of these compounds. Therefore, he decides to strengthen them with the help of dowels. Steve easily makes such dowels thanks to his simple invention (there is a separate article about this).
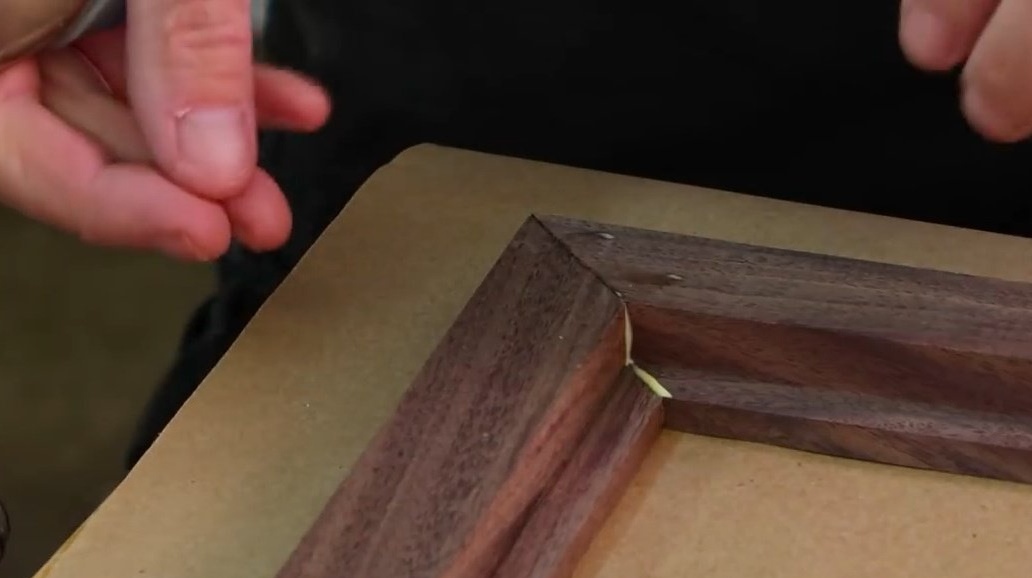
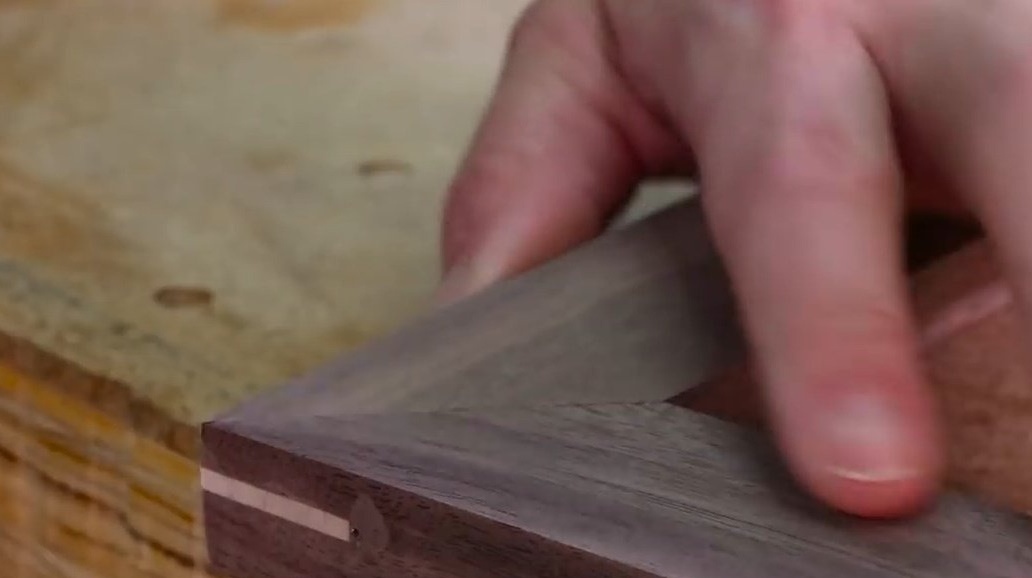
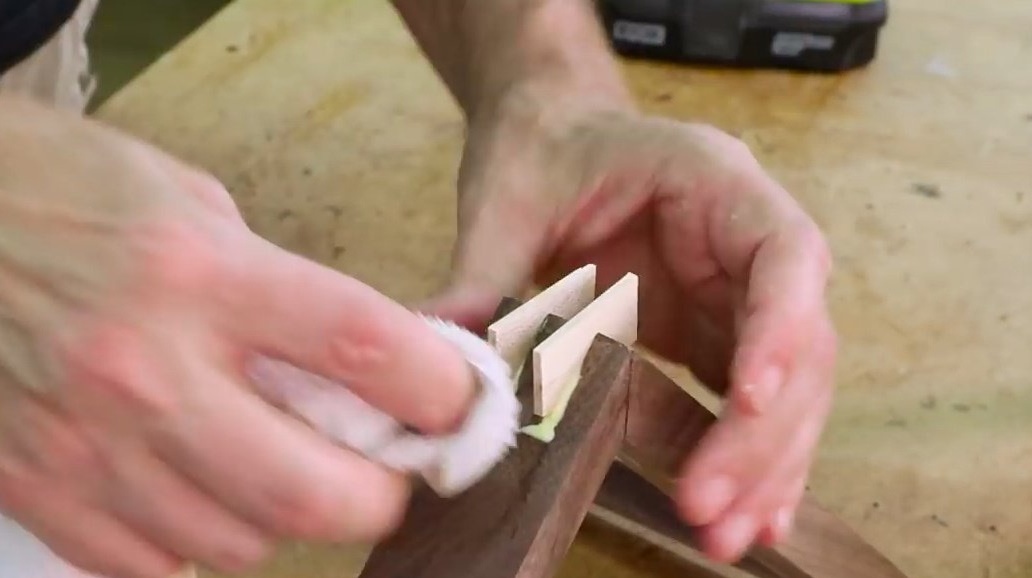
He cuts thin strips into small pieces so that they fit into the grooves of the joints. Such dowels not only strengthen the joints, but also add aesthetics to the whole structure.

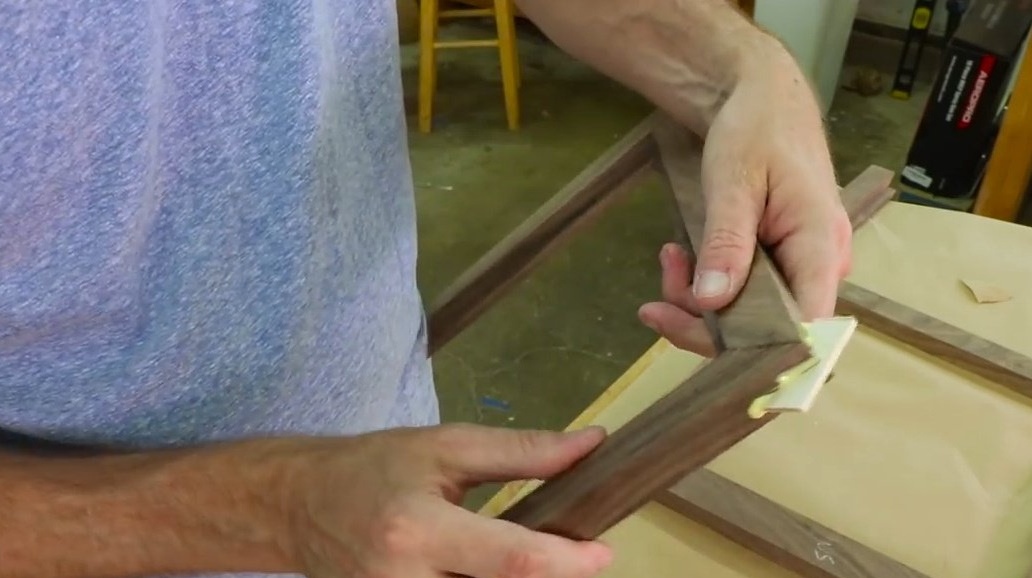
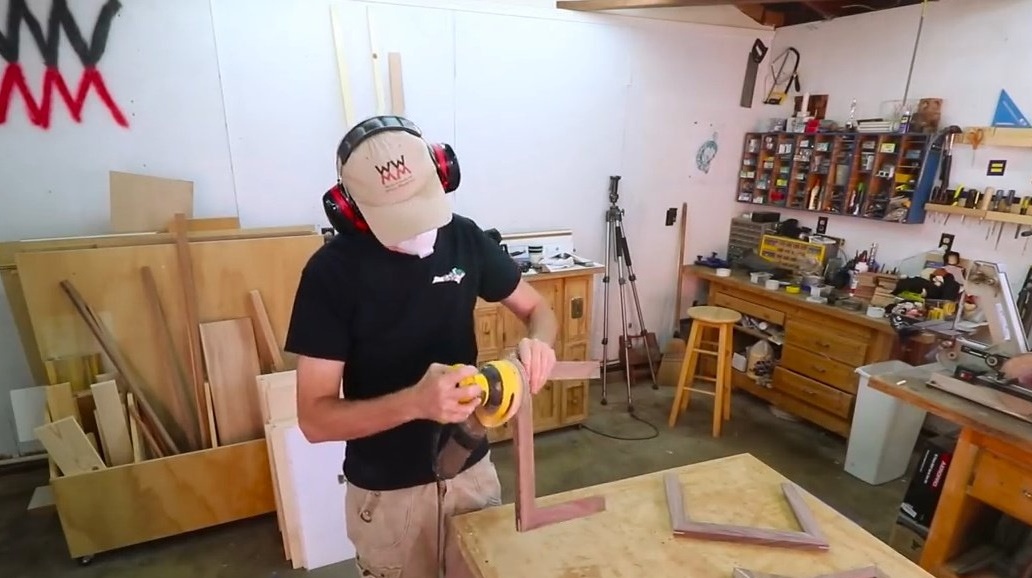
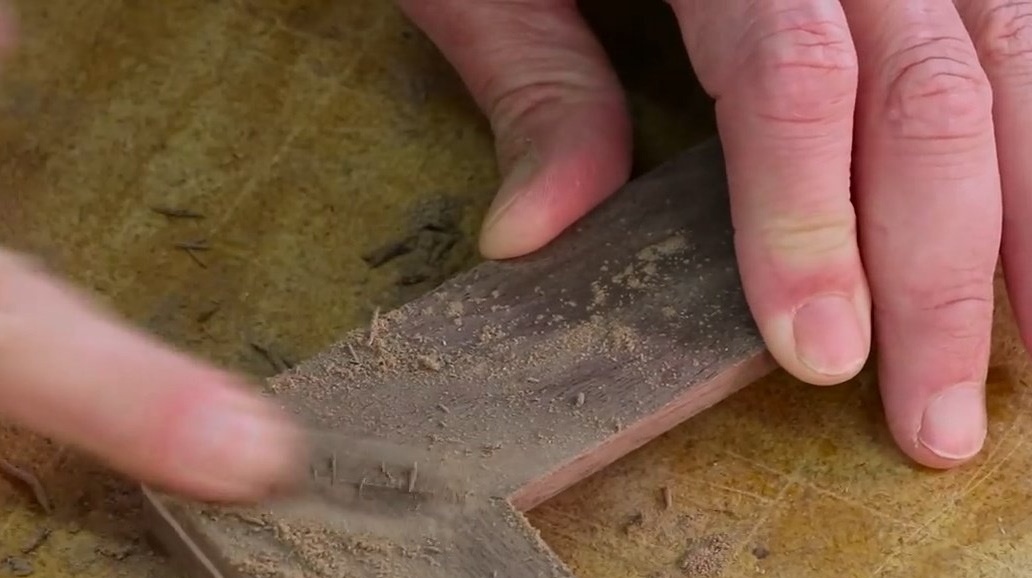
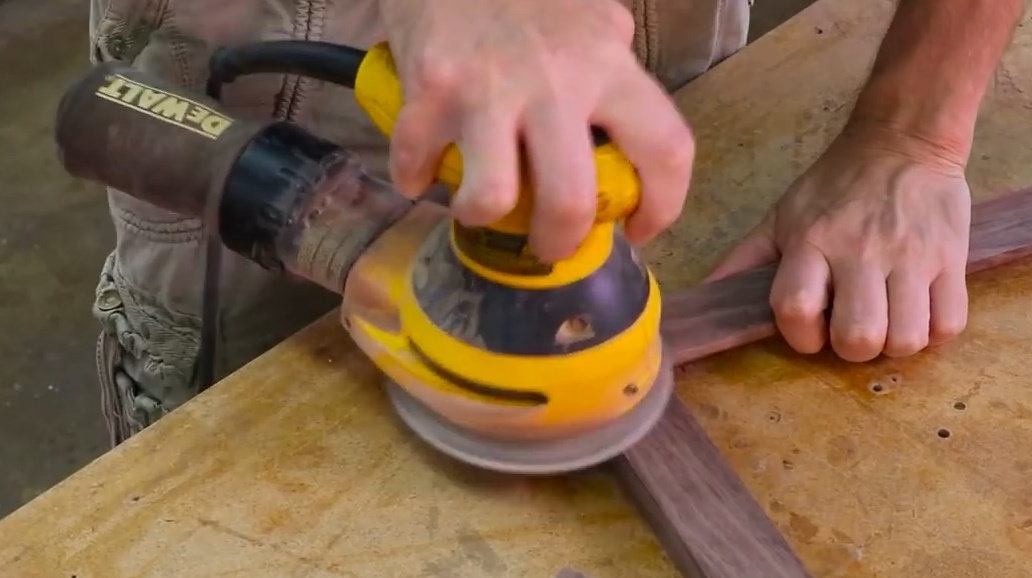
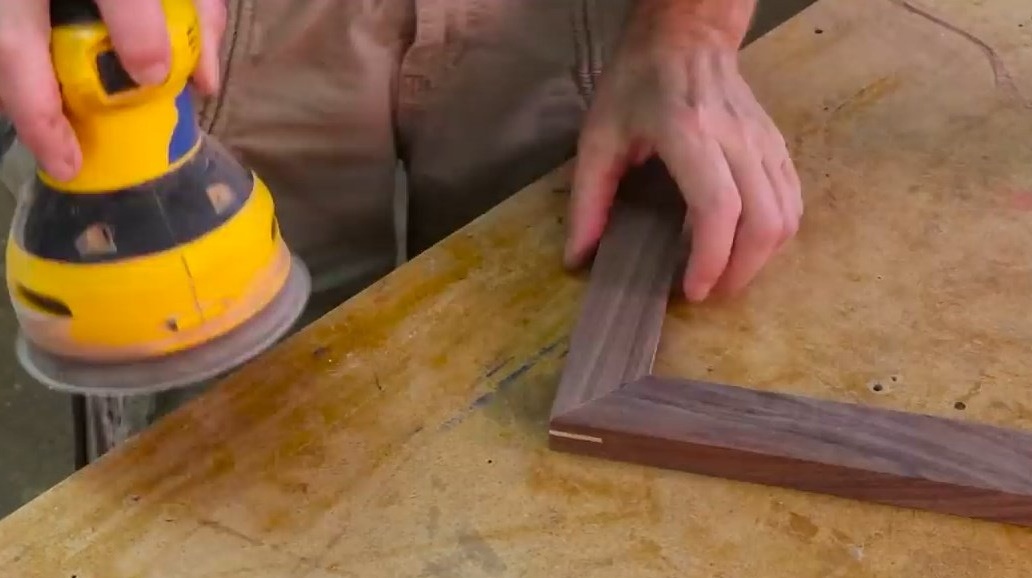
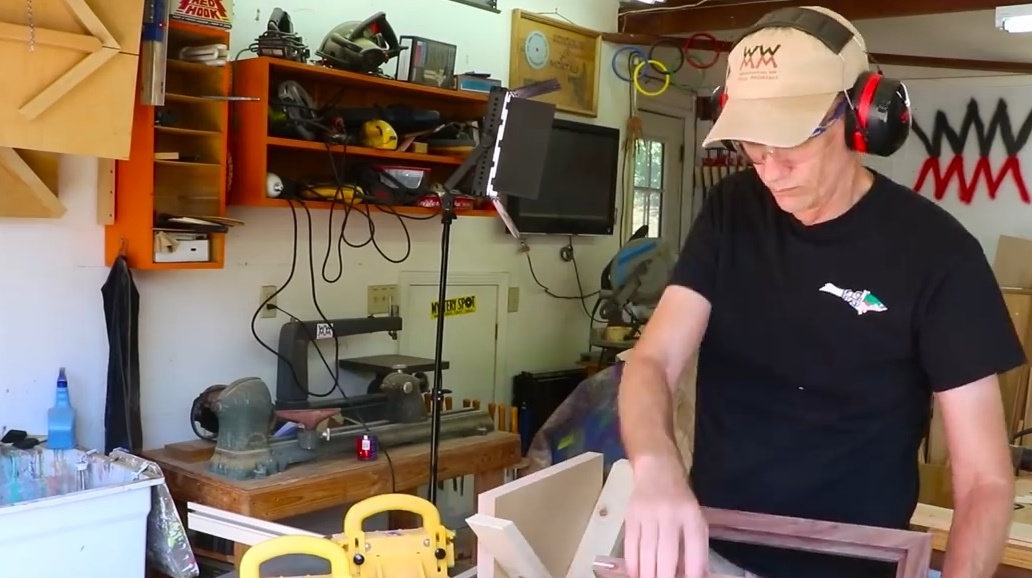
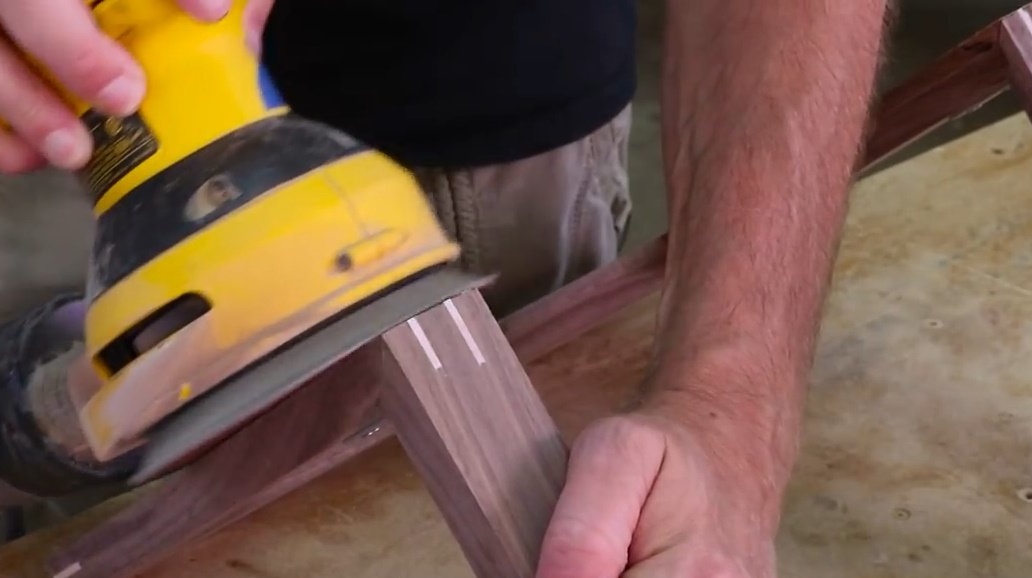
After the glue dries, all the excess is cut off and polished with an orbital machine.
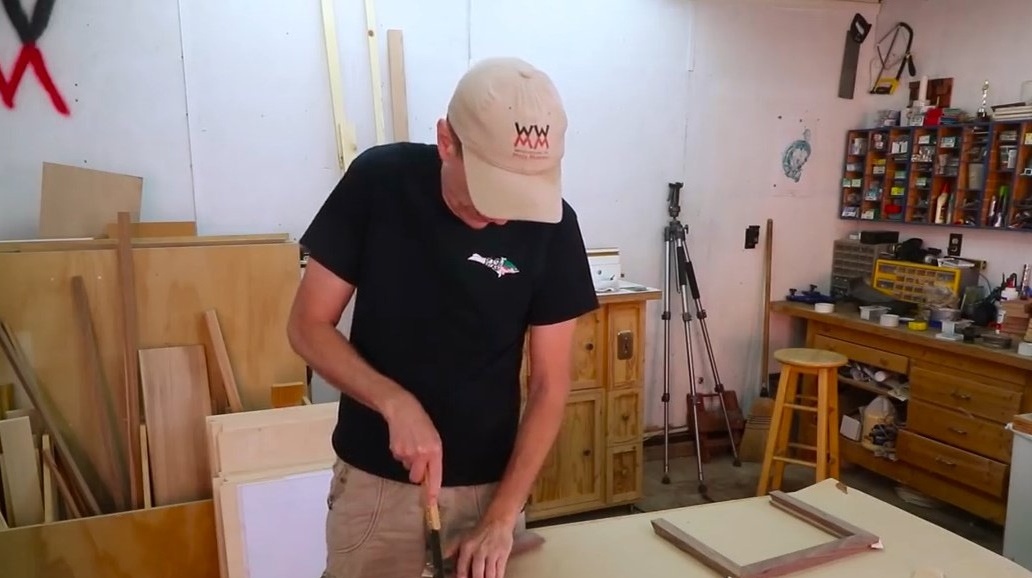
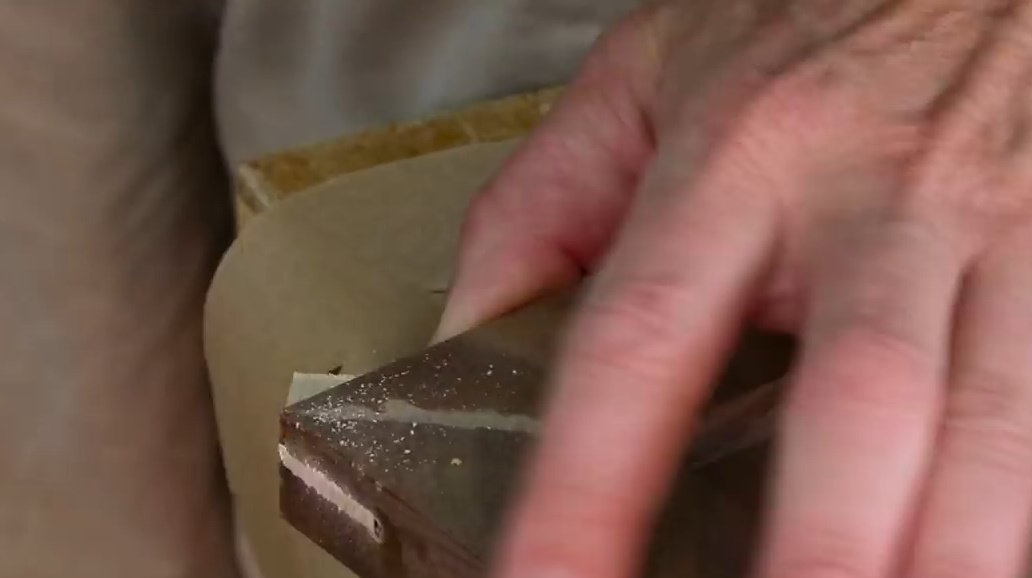
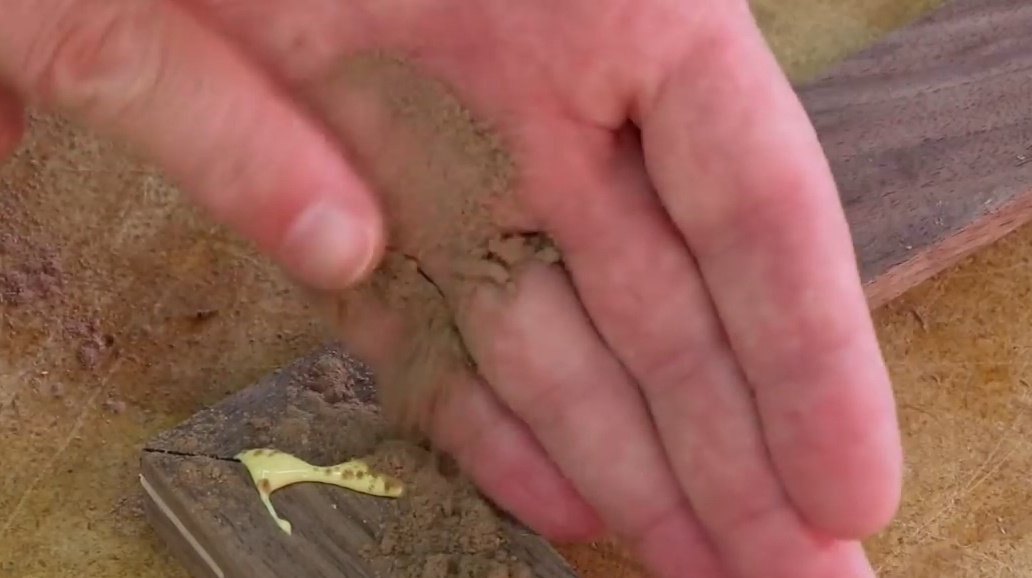
A couple of joints were not fitted tight enough. The craftsman decides to fill the gaps formed with a mixture of glue and small sawdust formed during work on the frame.
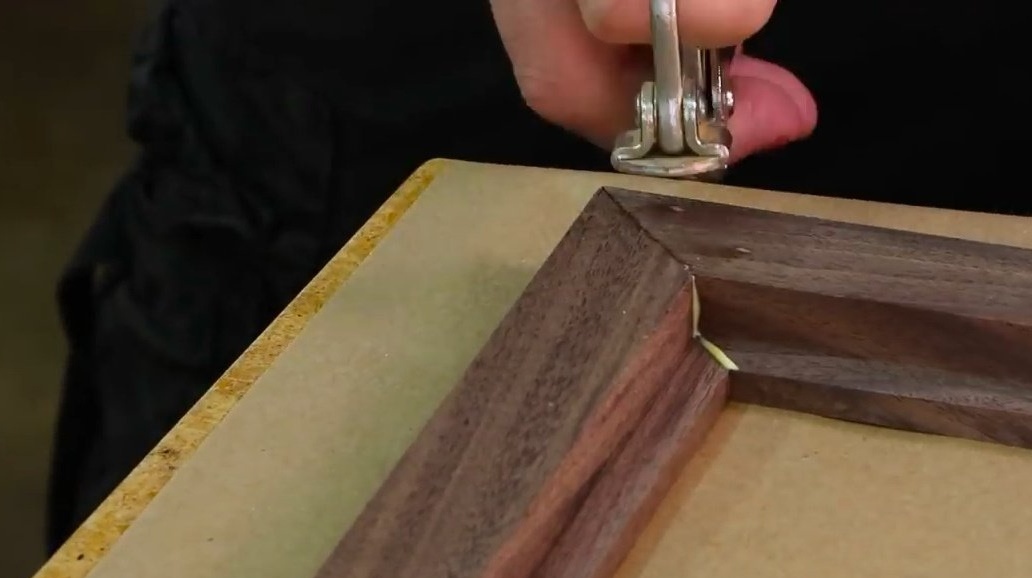
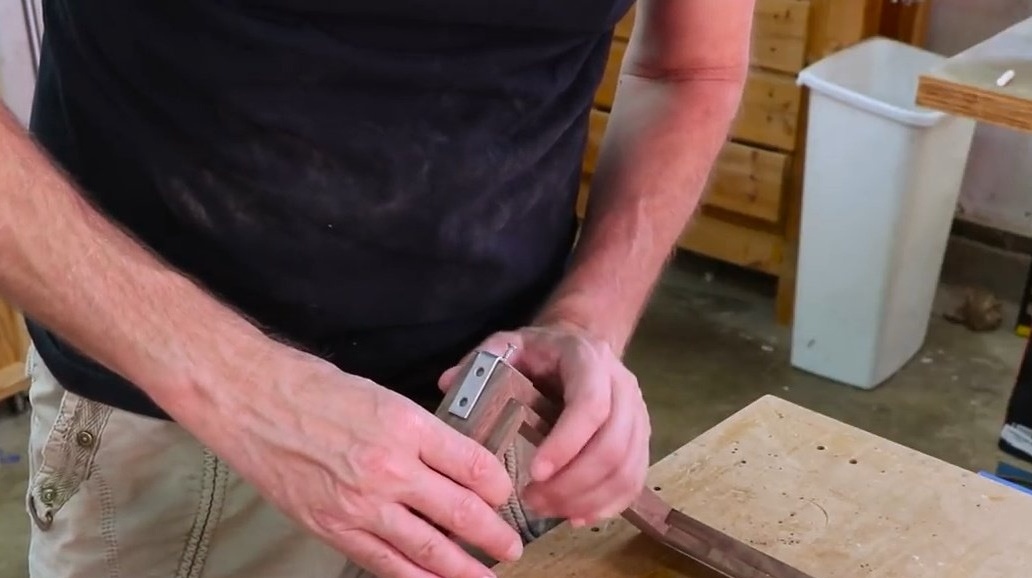
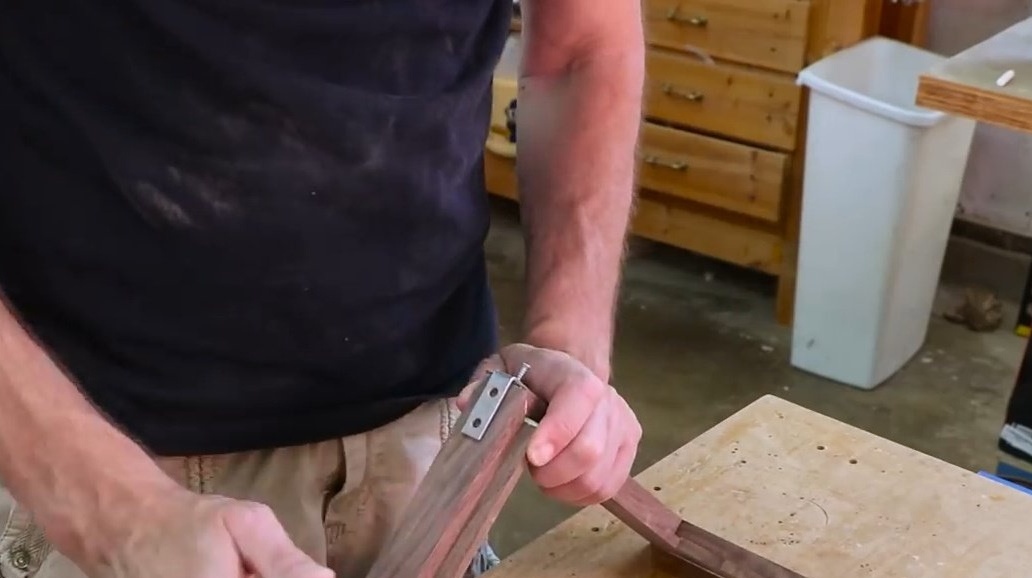
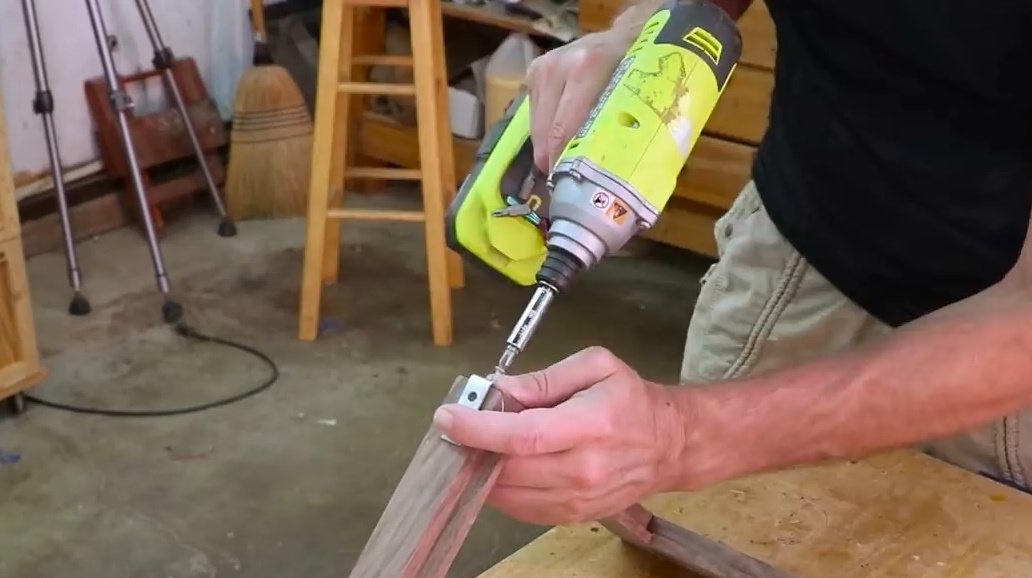
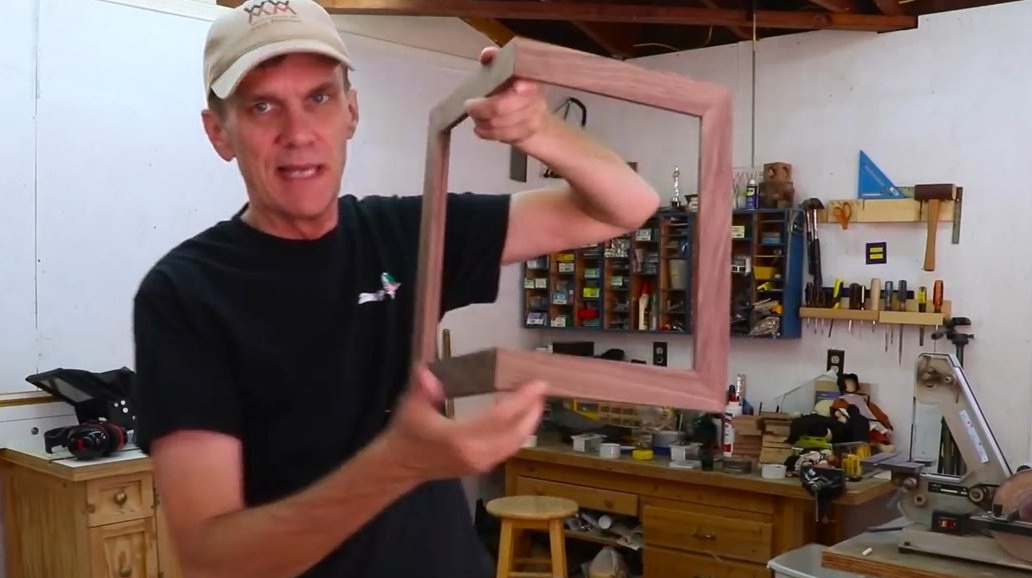
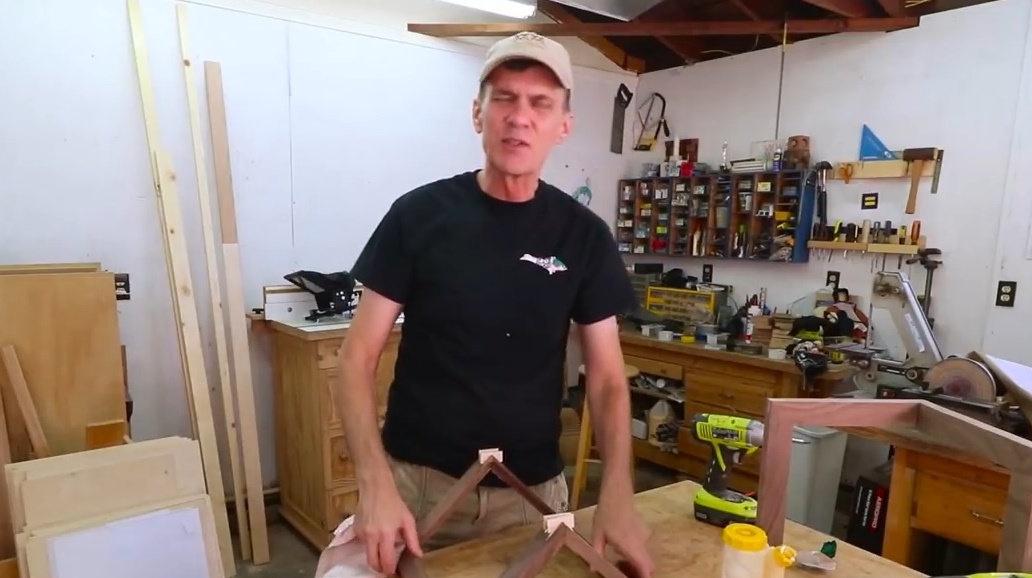
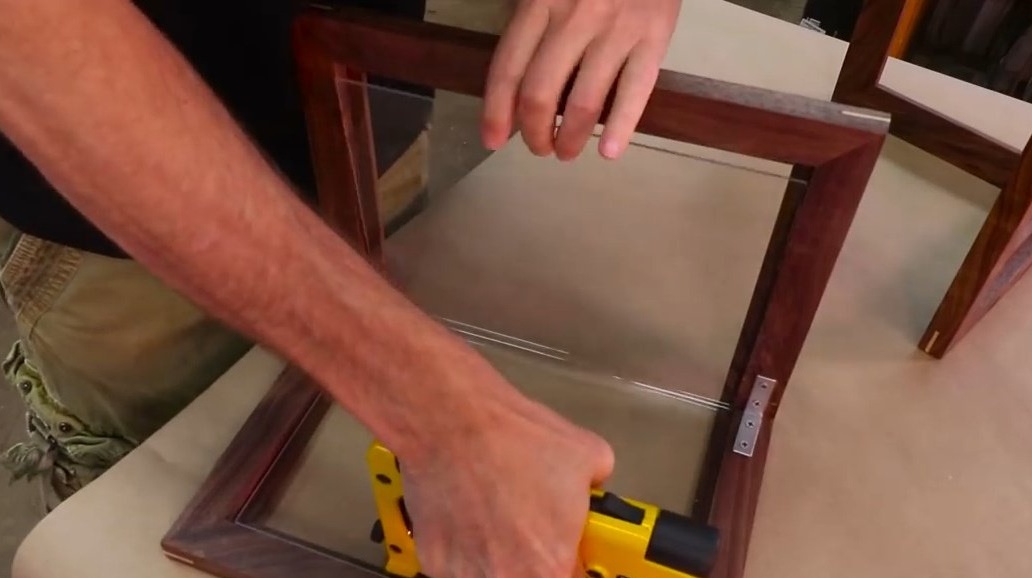
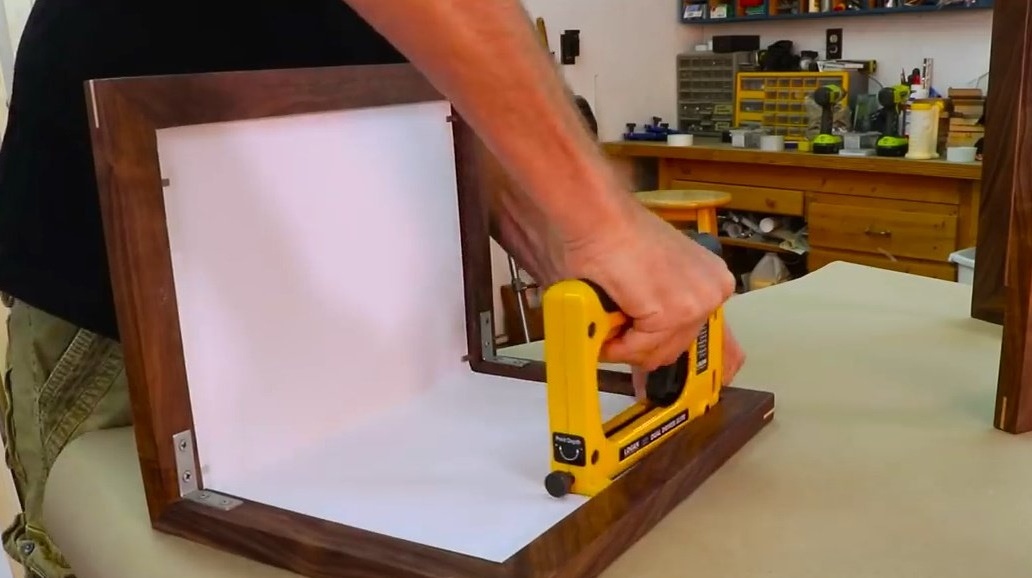
Usually the author does not use mechanical clips to assemble picture frames, but in this project this area would be a really weak point. Steve uses steel corners, and additionally sits them on glue.
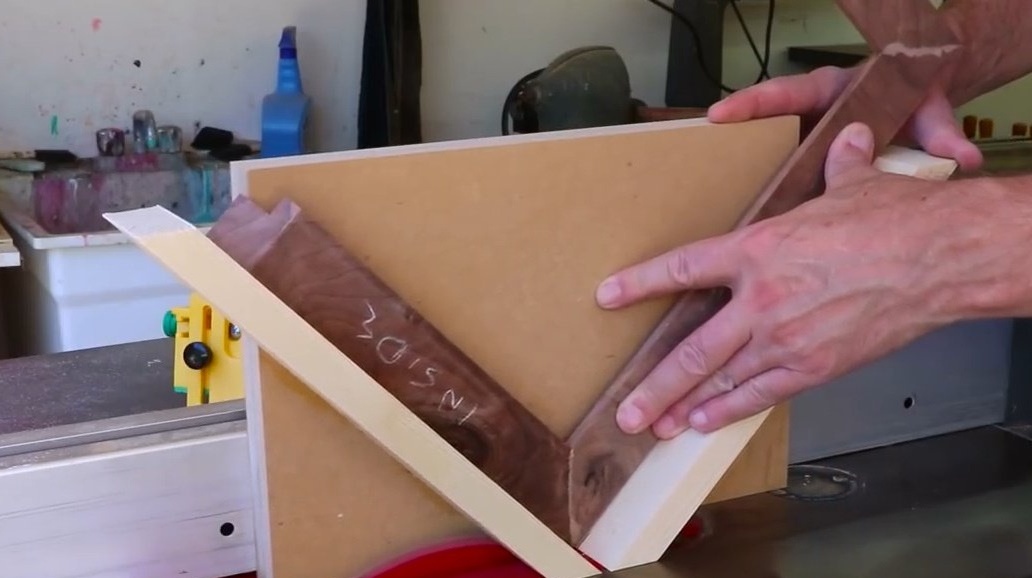
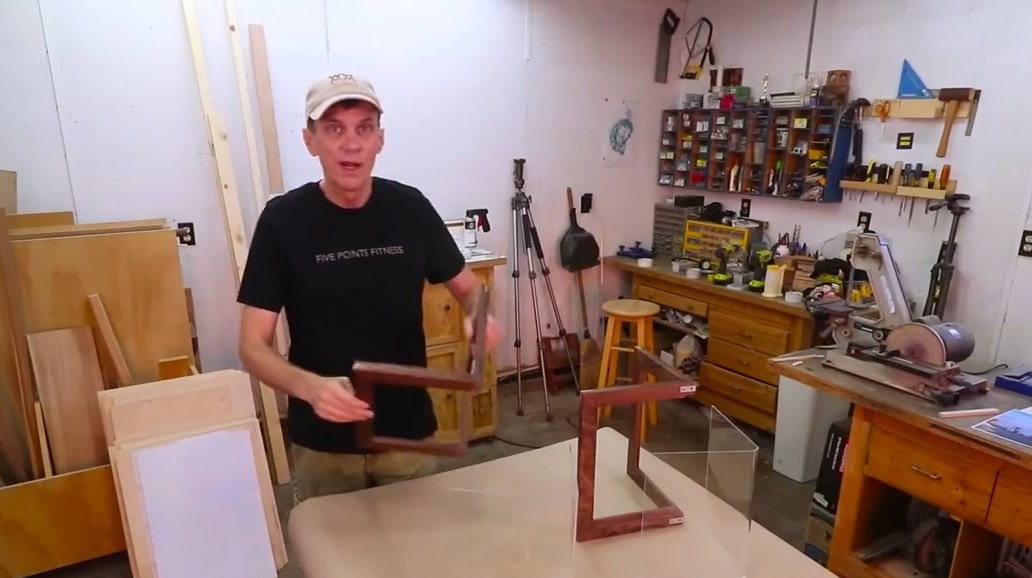
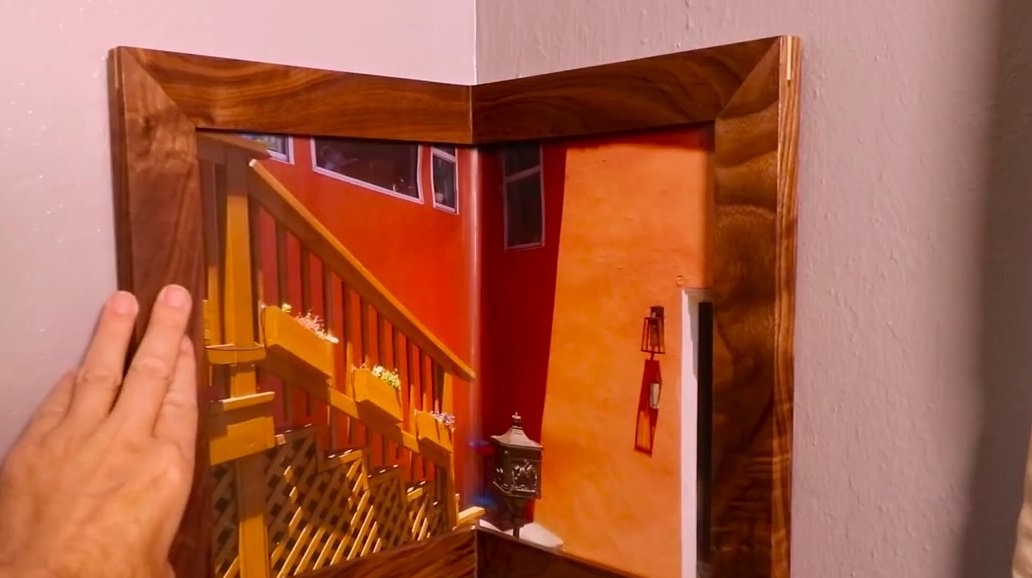
The author did not put dowels in the inner corners of the frame, but it should hold tight due to the brackets.
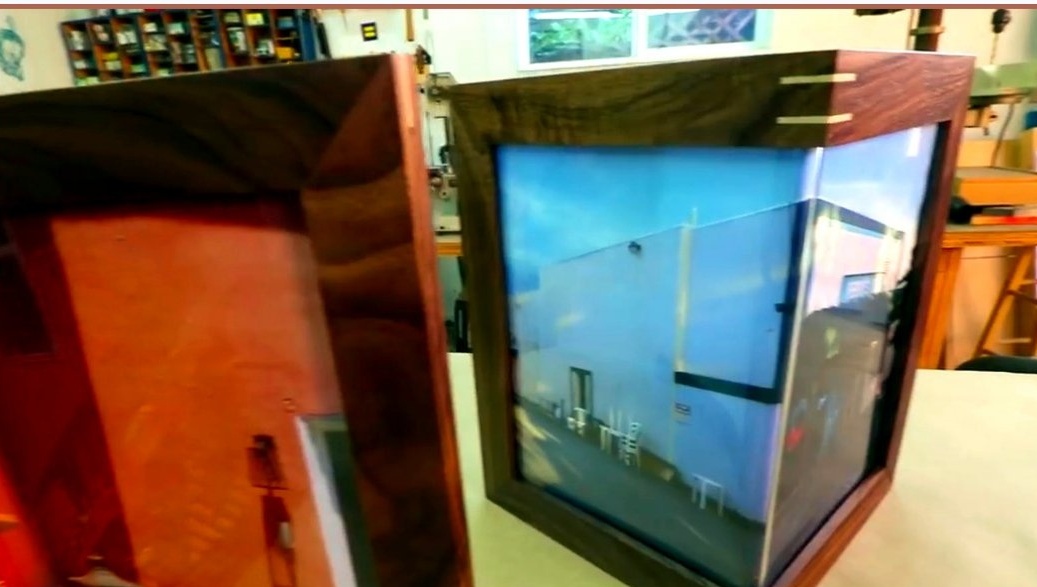
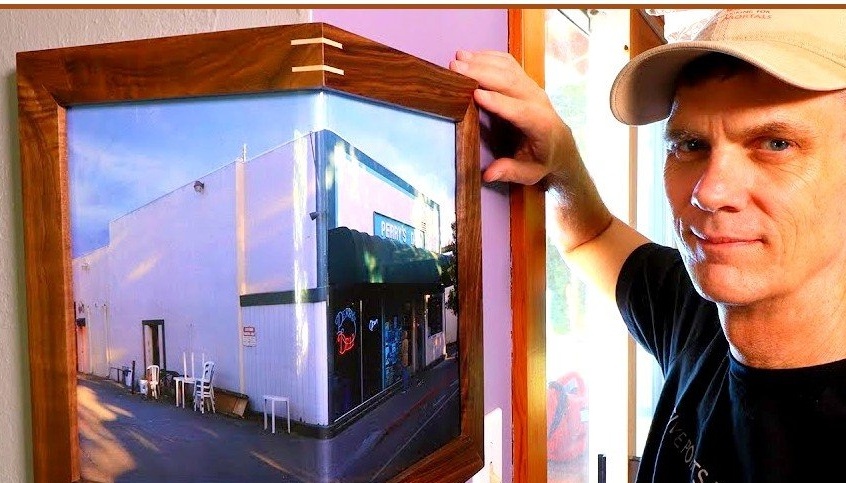
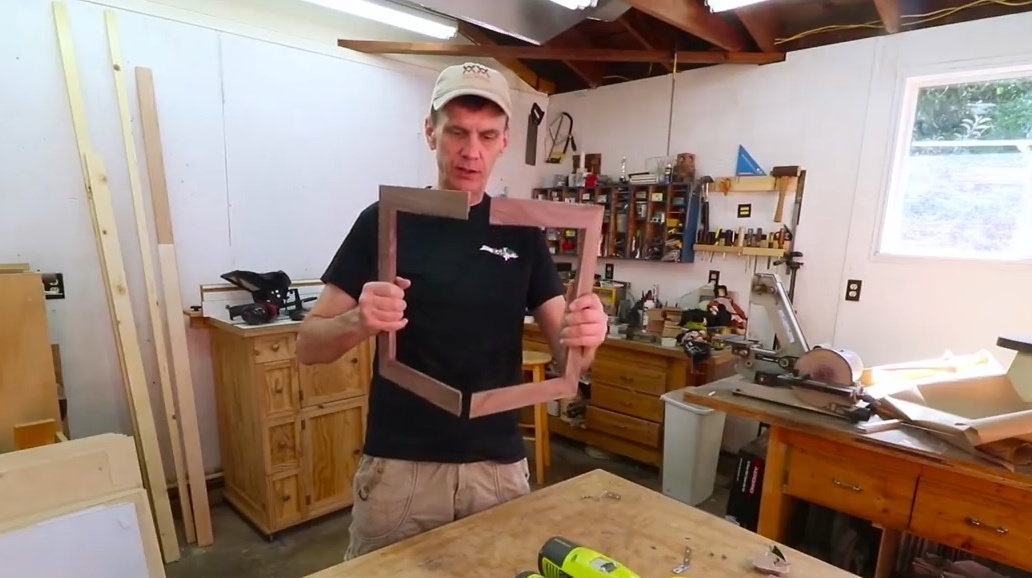
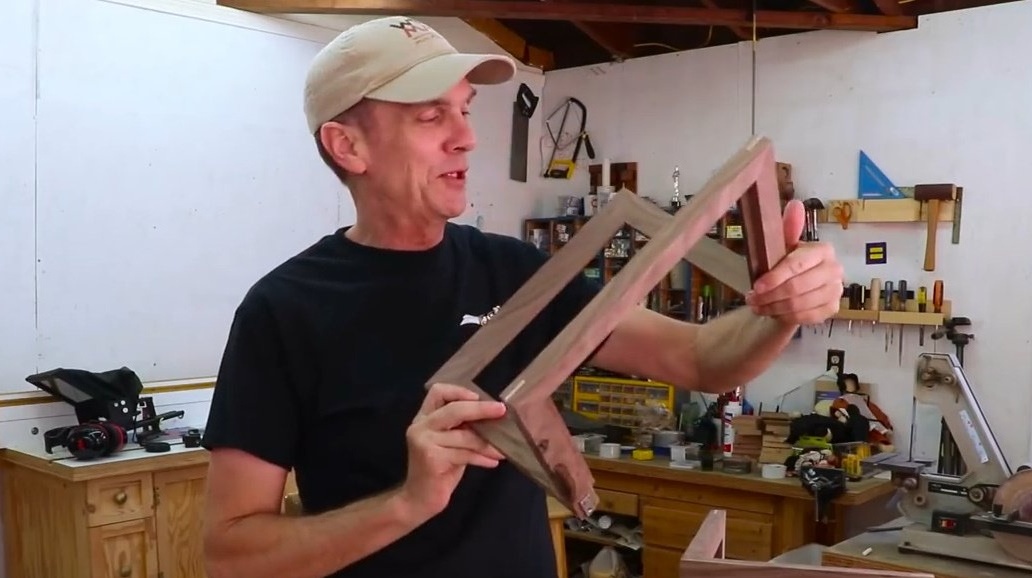
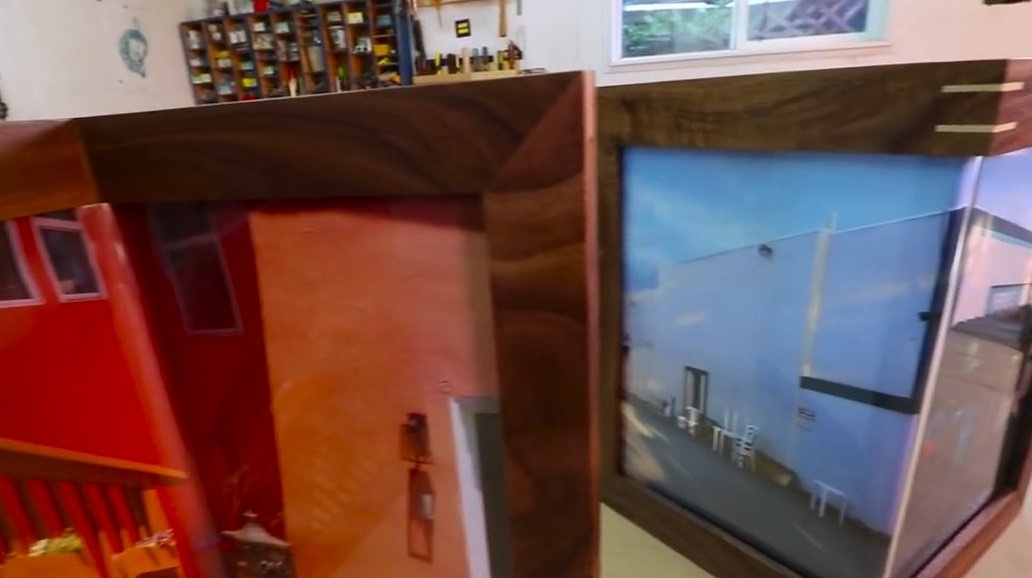
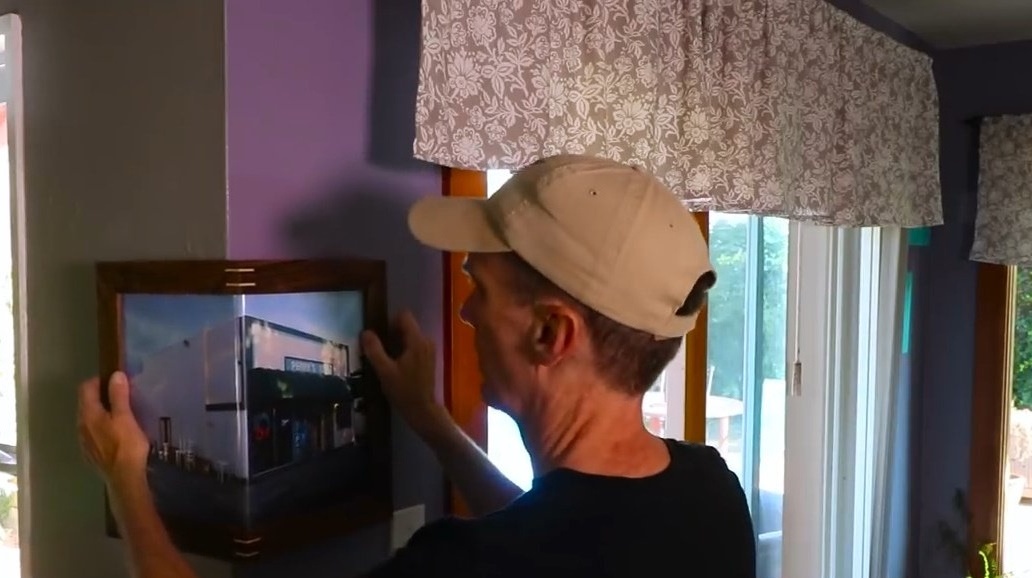
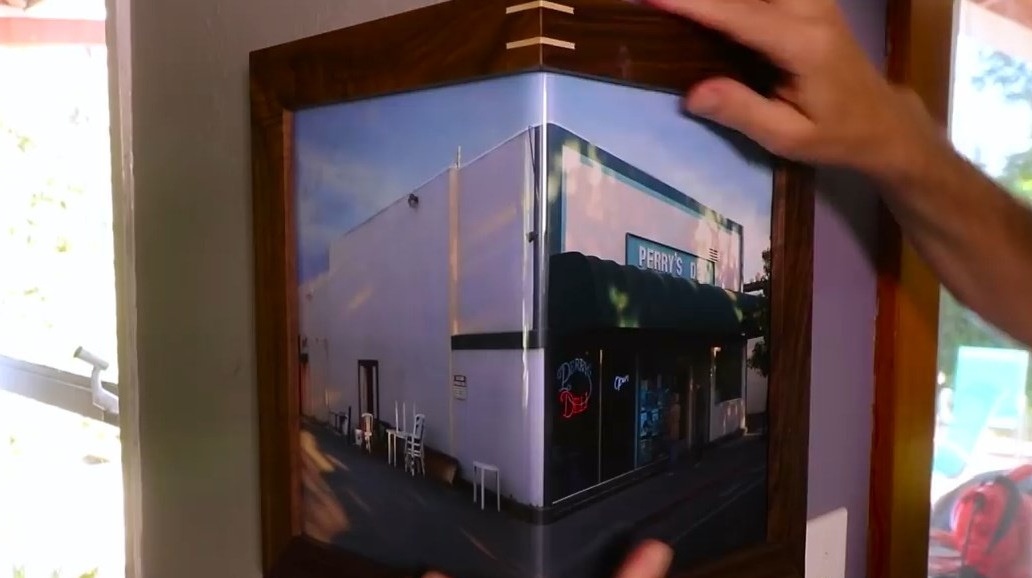
So one frame will go to the outside of the corner, while the second will lie inside the corner.

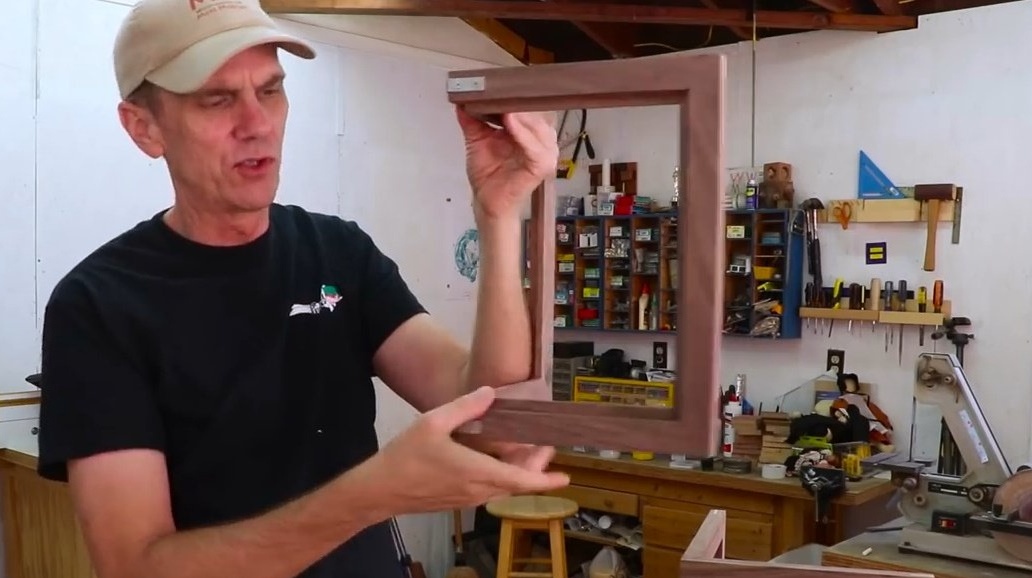
On the one that will be outside the corner, the master also makes keyways for the keys, and glues them.

Most likely, both frames are not perfect at 90 degrees, but the corners of the house themselves can hardly boast such accuracy. Excess cuts and polishes.
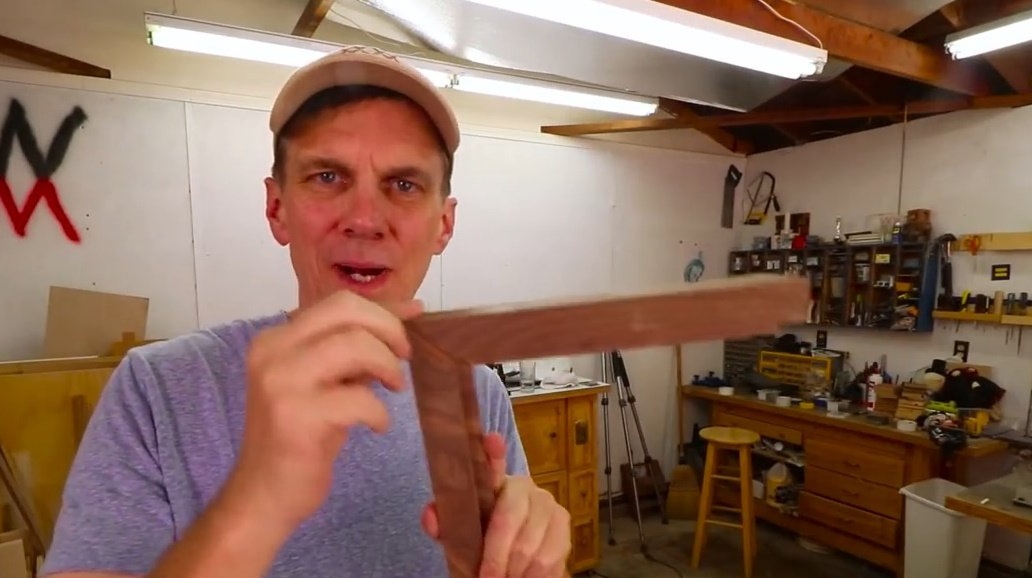
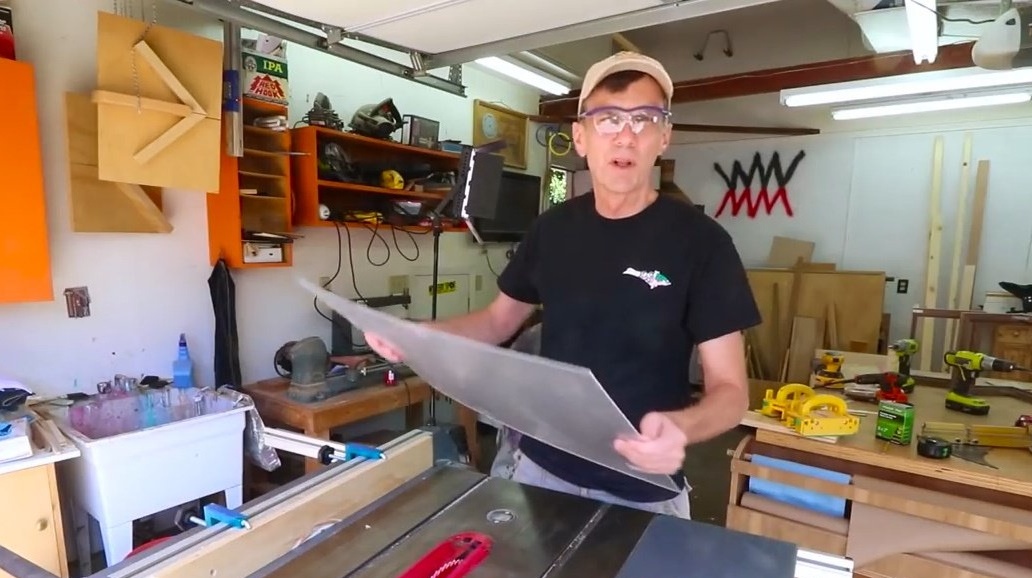
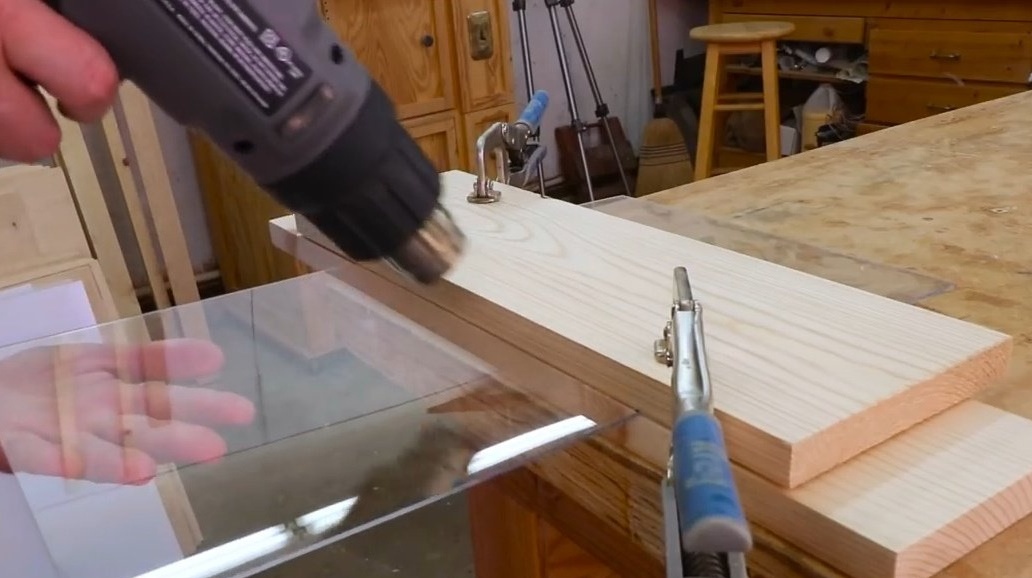
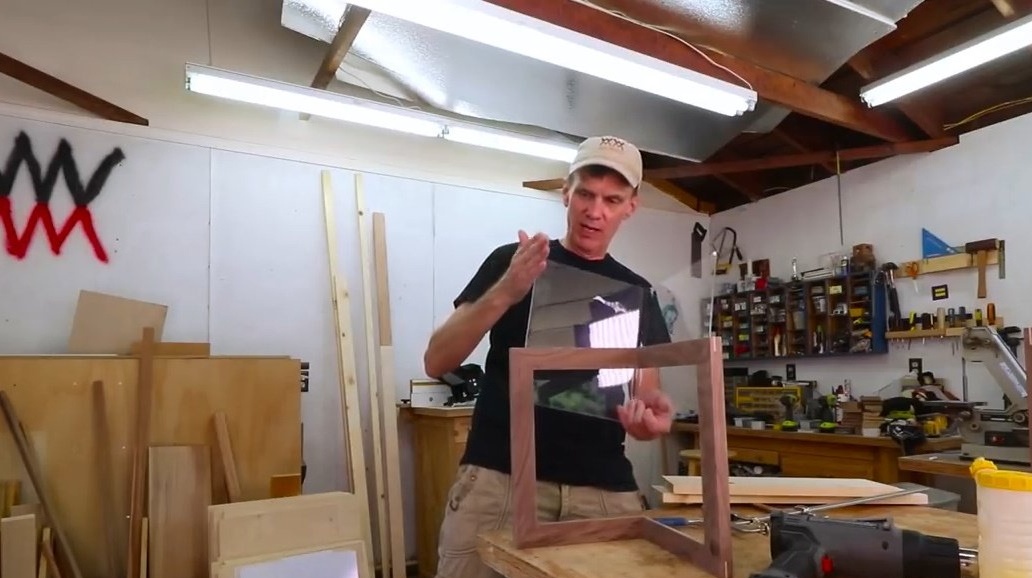
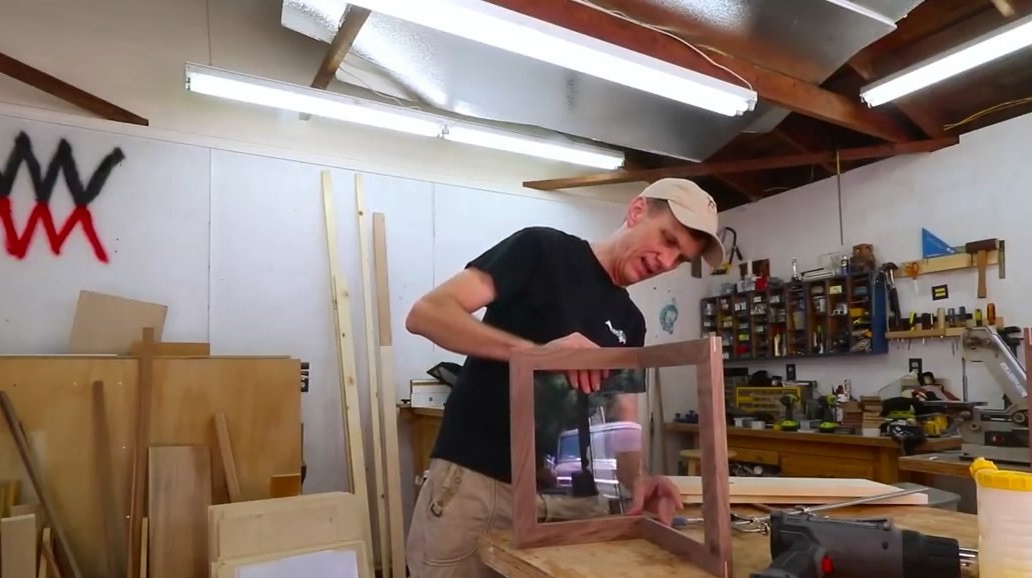
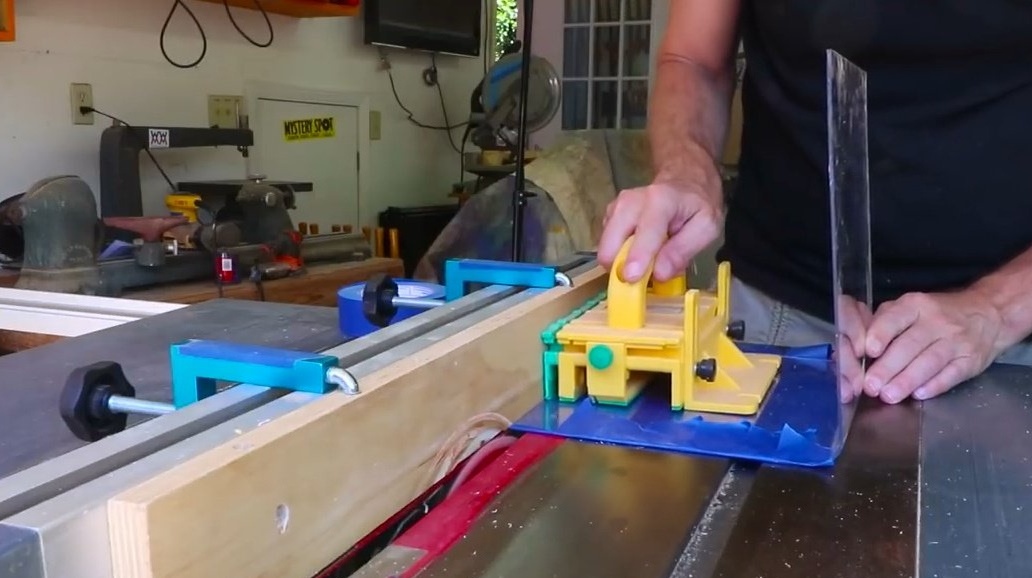
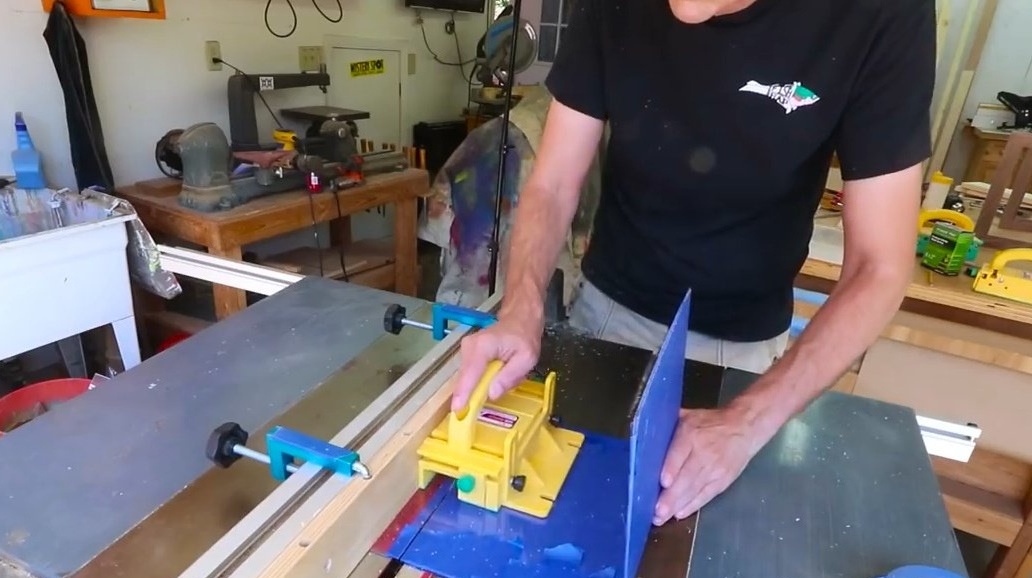
Next, the author cuts a piece of plexiglass to the desired size.
Now he is trying to bend it using an industrial dryer. However, he is not at all sure that he will eventually get a fairly sharp angle, and that this bend will turn out exactly in the middle of the acrylic sheet. It had to be cut out with a margin in order to reserve the opportunity to make a slight error.
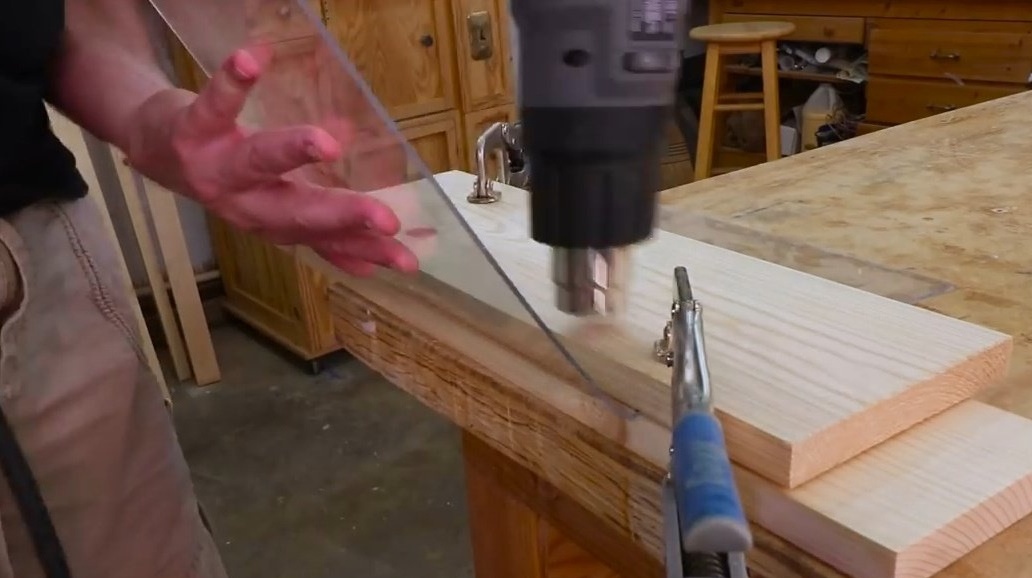
After fitting, the excess is cut off. But first, the author seals the plexiglass with a masking tape to avoid scratches.
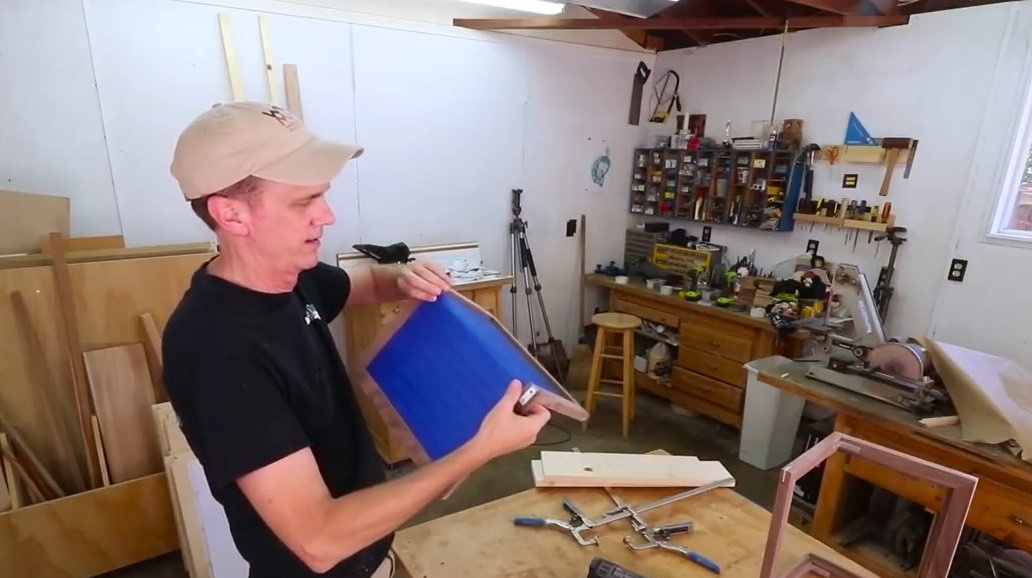
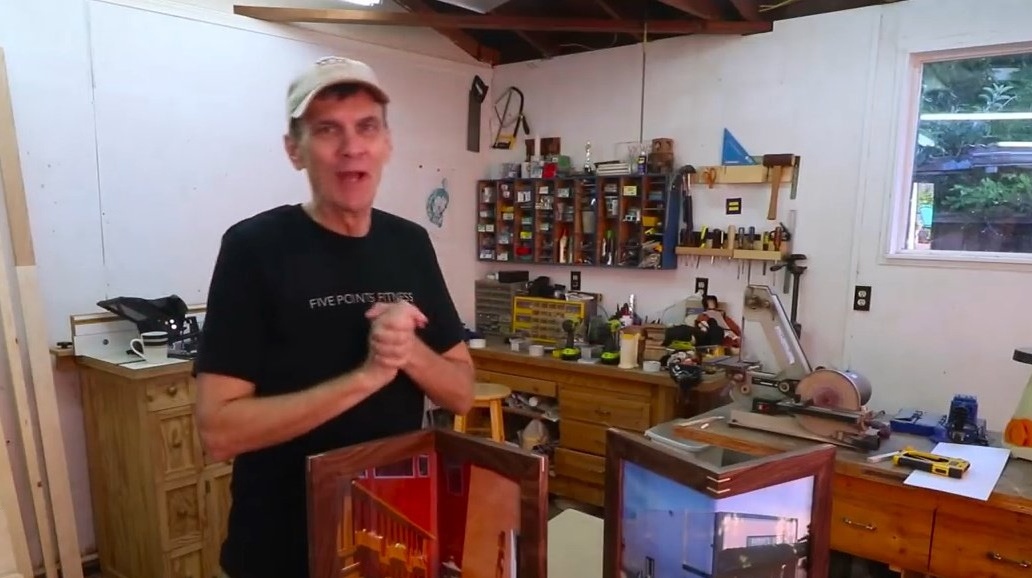
In conclusion, Steve covers the frames with several layers of varnish.
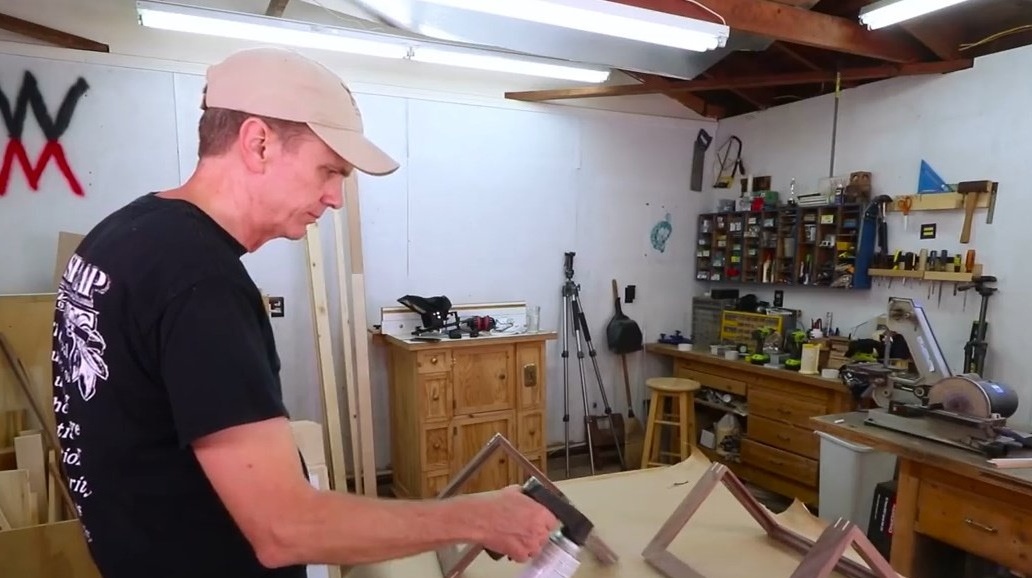
After the varnish dries, it remains only to collect all the parts.
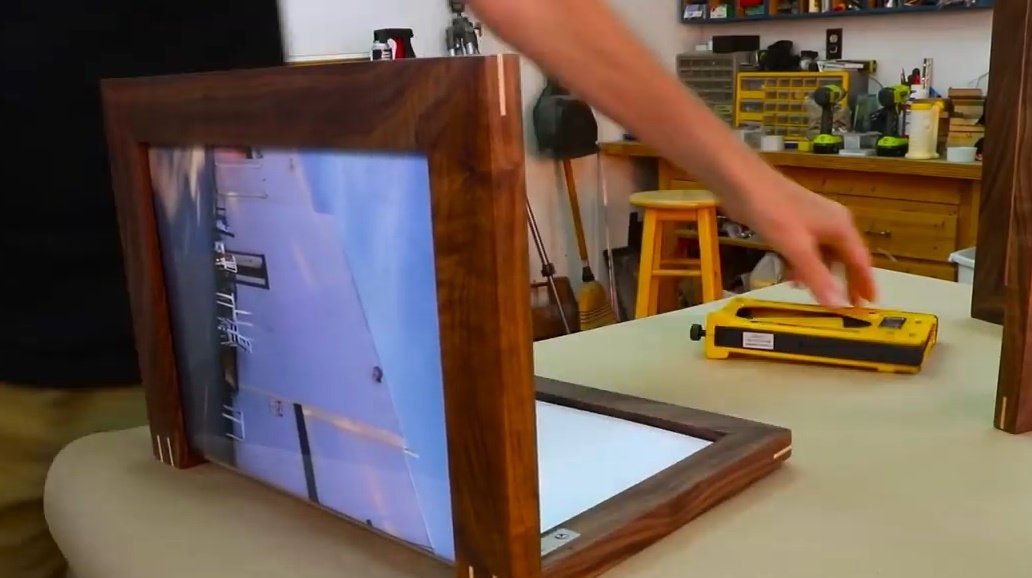
Look, these pictures are bent around a corner or, on the contrary, placed inside a corner, emphasizing the bulk of the image, bizarrely refracting it. The frames are made of walnut, and the slots are made of maple.
Make your corners cozy! And bolder! Challenge familiar forms.
Thanks to the author for a simple but interesting idea for designers!
All good mood, good luck, and interesting ideas!