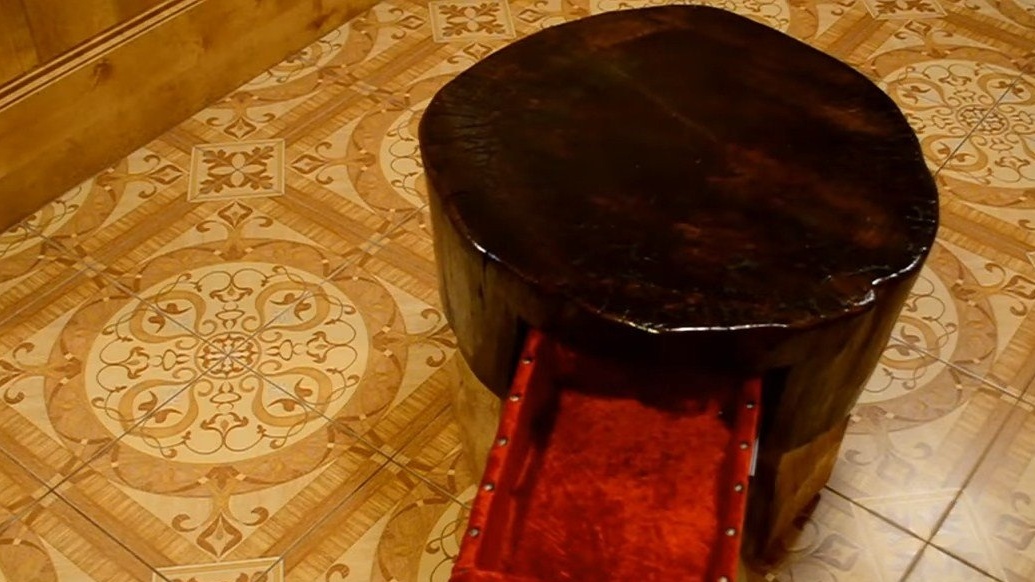
Greetings to fans who like to craft, I propose to consider an interesting design of a table made of natural materials. A feature of this table is that the countertop is made of a large diameter tree trunk, and there is also a secret drawer in it. The legs of the table are also interesting, they are made of an old oak pillar. Despite the sophisticated design, the table is assembled quite simply, all the rough work is carried out with a chainsaw or electric saw. So we stock up on patience and make wonderful furniture, and to begin with, I suggest studying the project in more detail!
Materials and tools used by the author:
Material List:
- oak column (for legs);
- a piece of wood table (preferably softwood);
- carpentry glue;
- furniture sliders for a drawer;
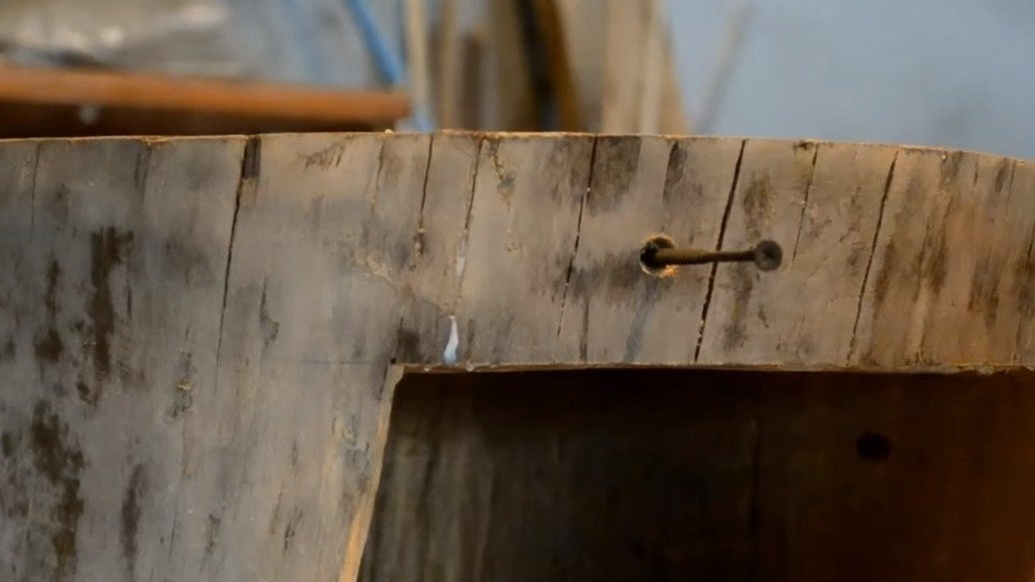
- decorative furniture nails;
- red velvet or other material for box upholstery;
- plywood;
- self-tapping screws;
- oil, wax, stain or other impregnation as desired.
Tool List:
- chainsaw;
- power saw;
- a circular saw or other tool (for cutting plywood);
- ;
- screwdriver;
- hammer;
- ax;
- chisels;
- ;
- belt sander;
- a hacksaw;
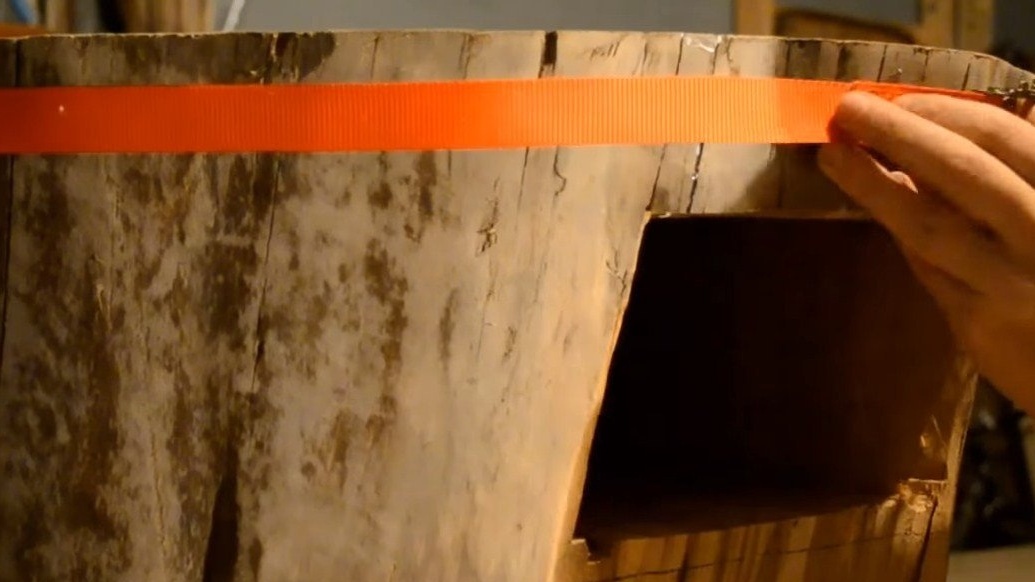
- roulette;
- marker or pencil.
Manufacturing process homemade:
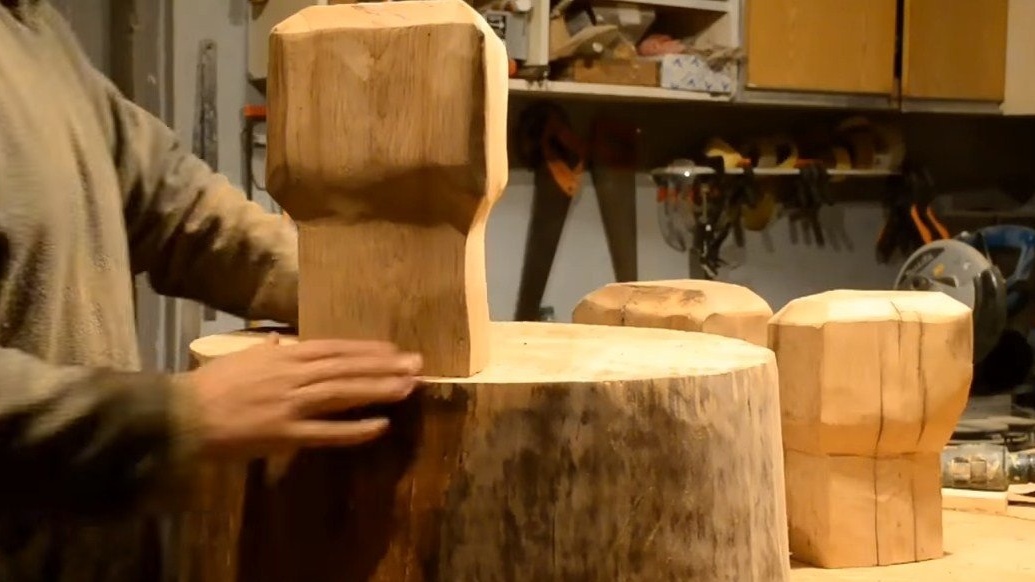
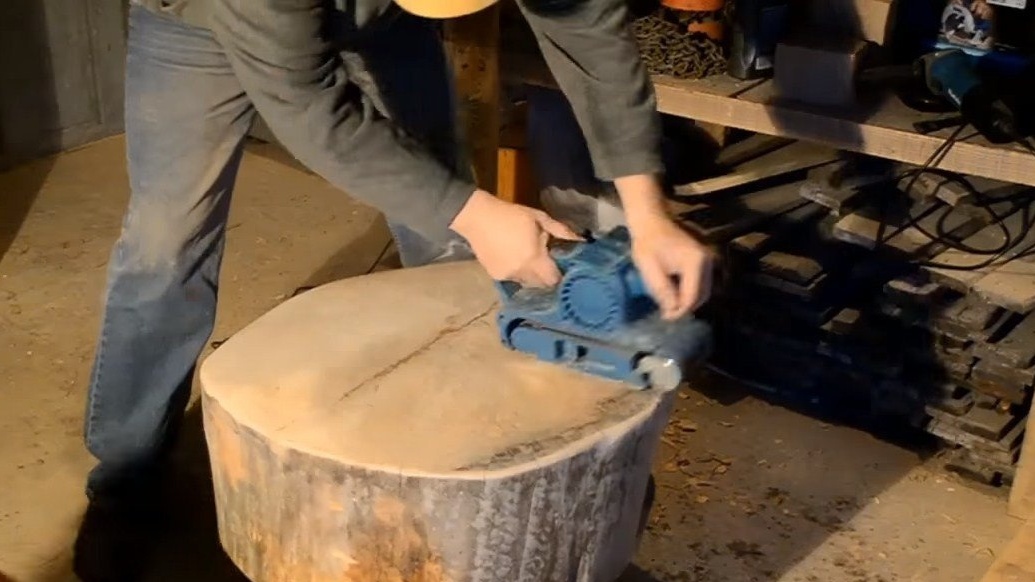
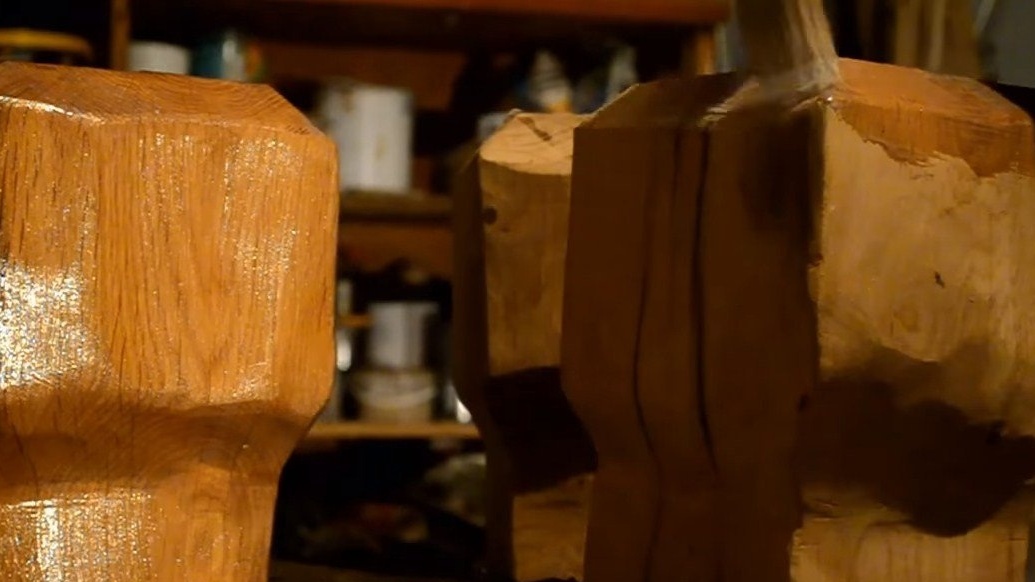
Step one. Make legs
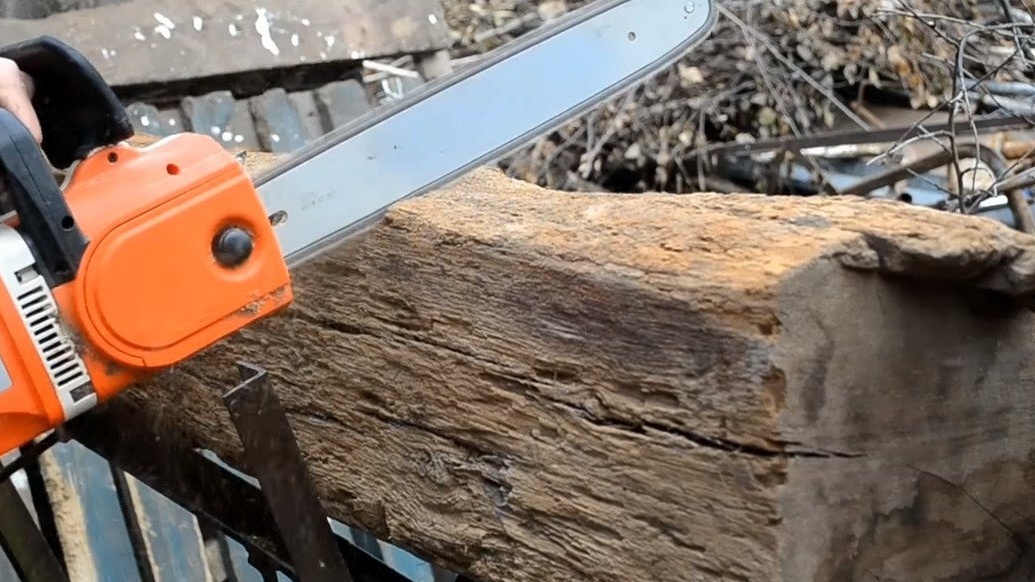
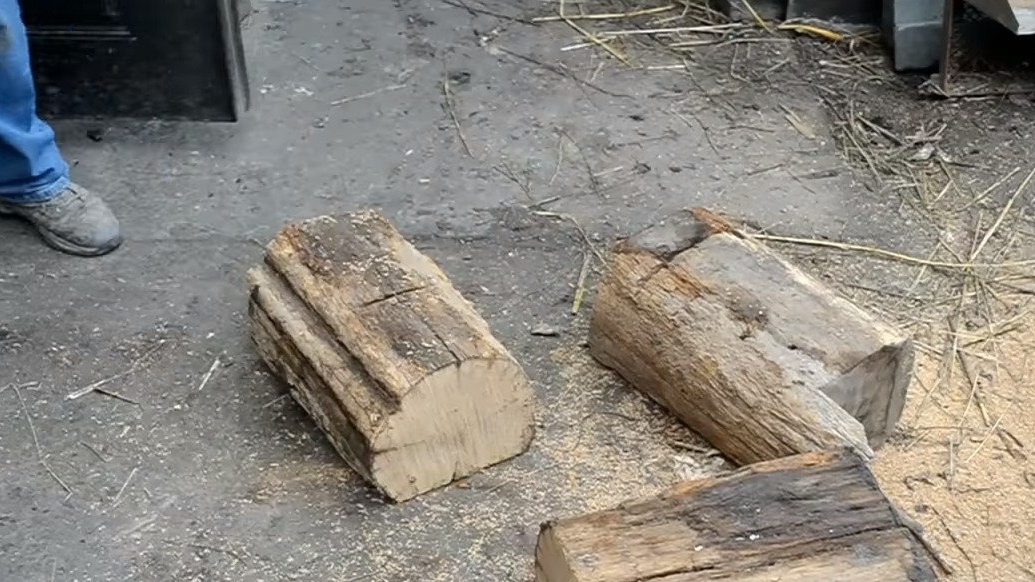
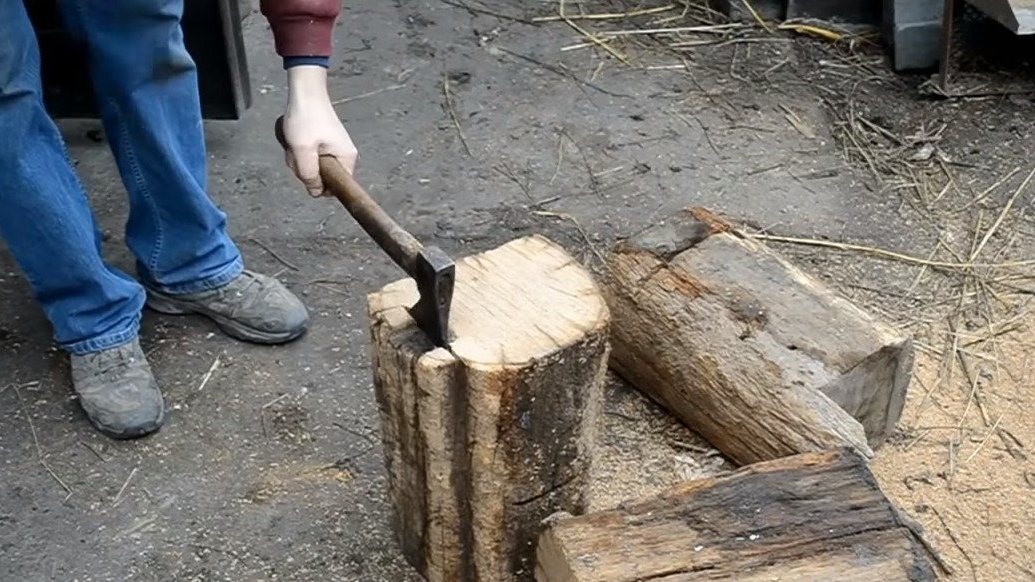
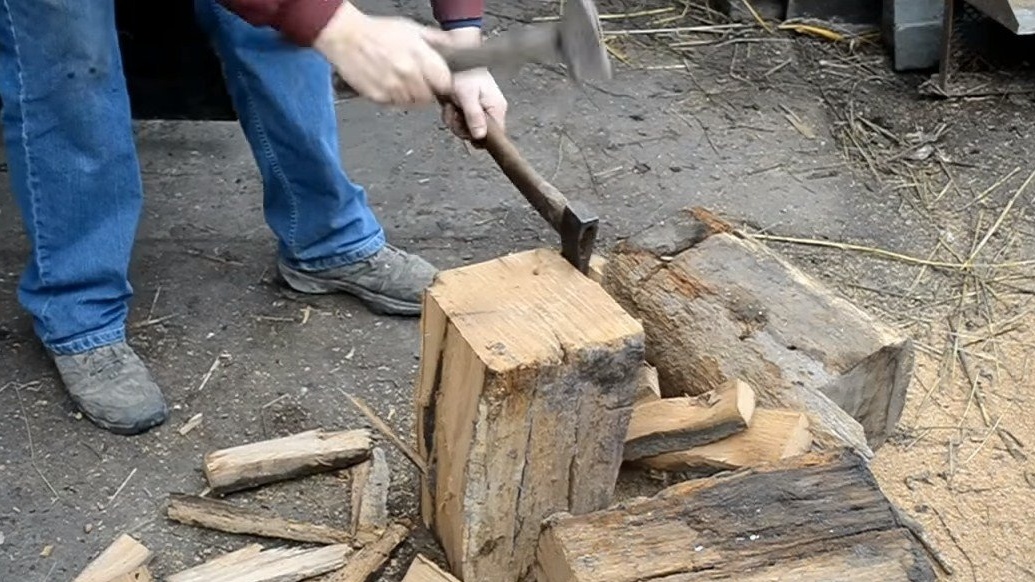
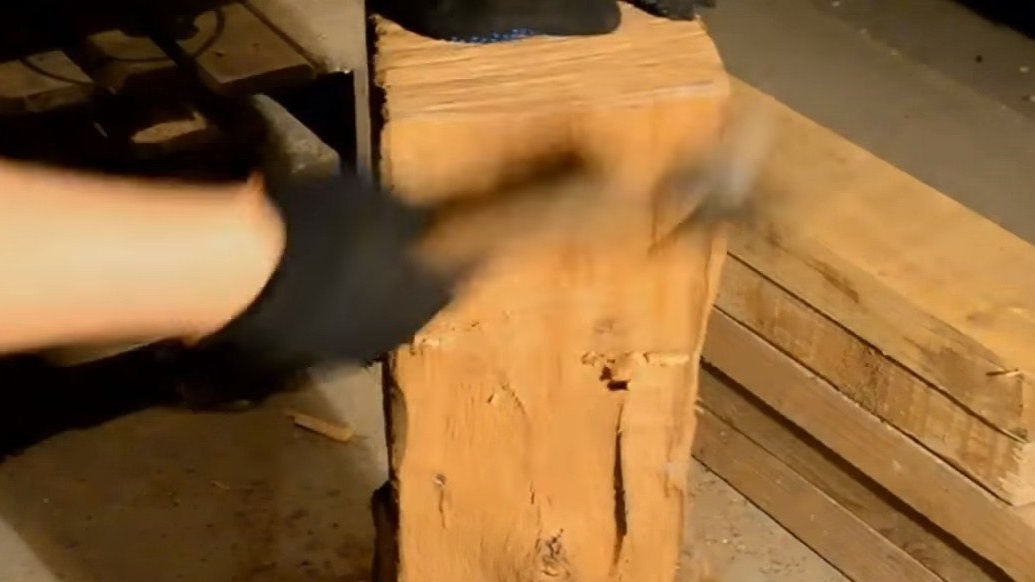
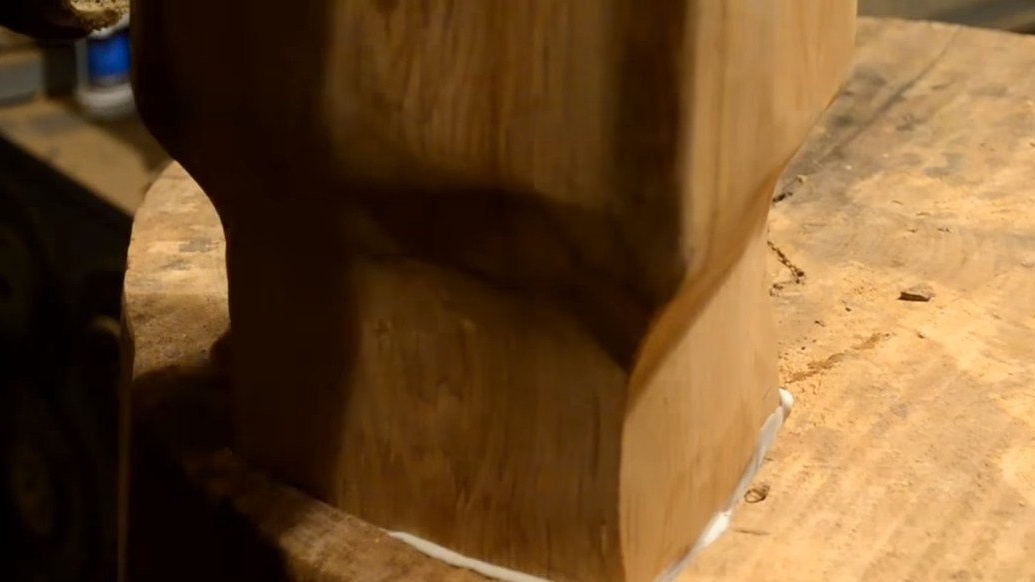
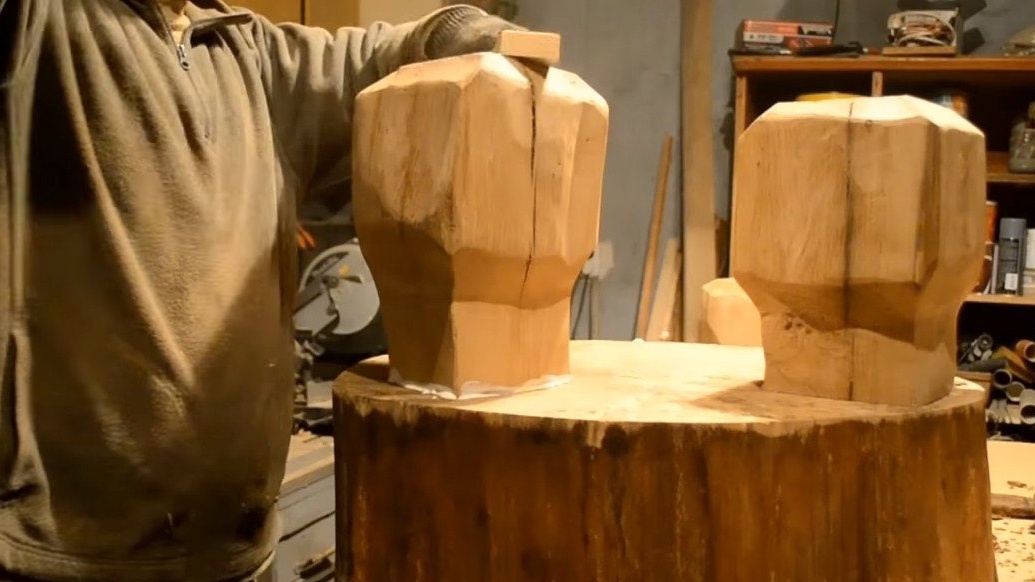
Let's start making a table with legs. The author used an old oak column as material; these can often be found in old courtyards that were used for gates. We cut the column into three parts, and then we arm ourselves with a cleaver or hatchet and set the primary profile for the legs. The oak is pricked very easily, so there should not be a problem with this. The author carries out further work already in the workshop, we slightly suspend the legs with an ax and then grind. For rough grinding, the author uses a drill with a fixed disk nozzle.
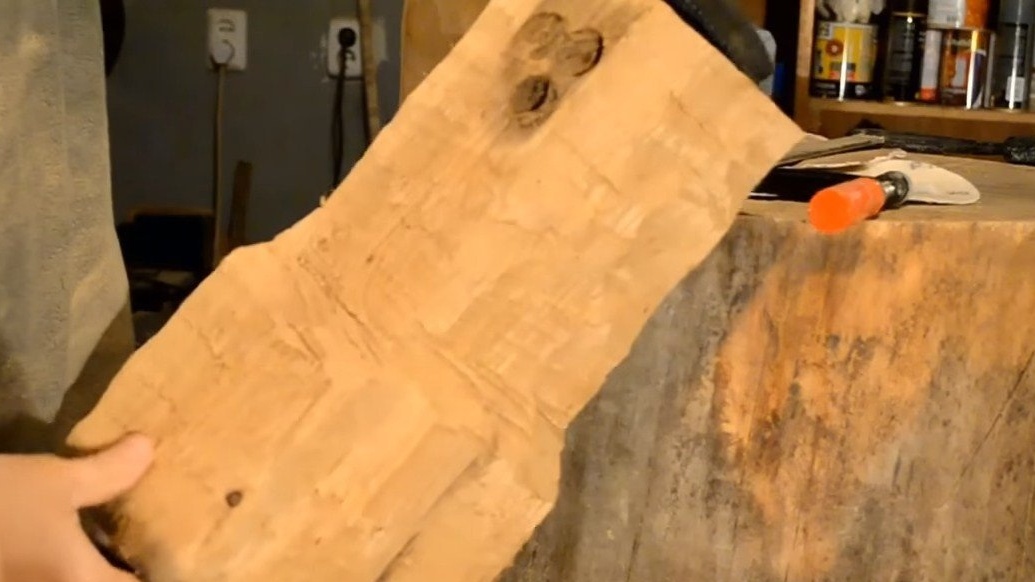
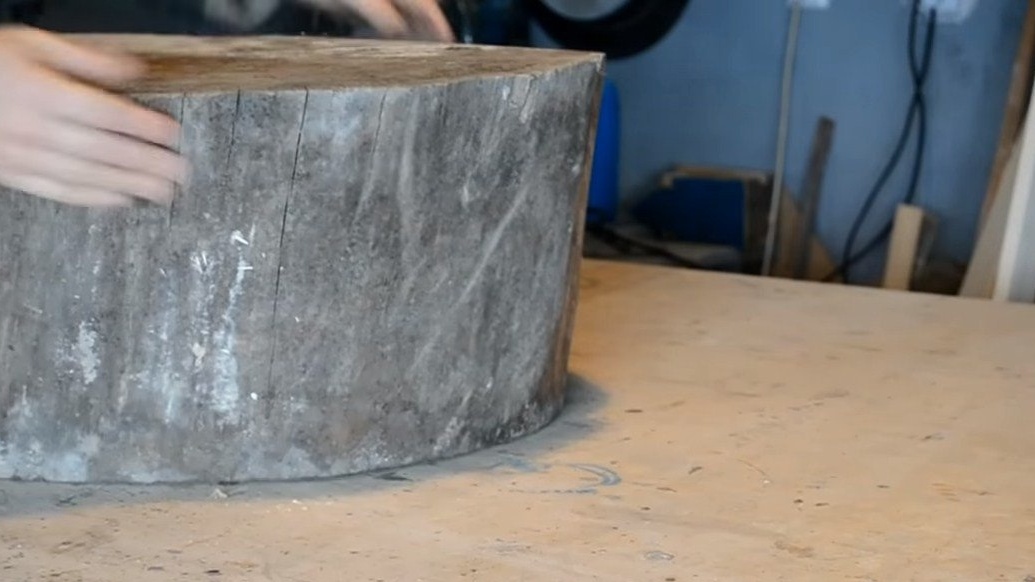
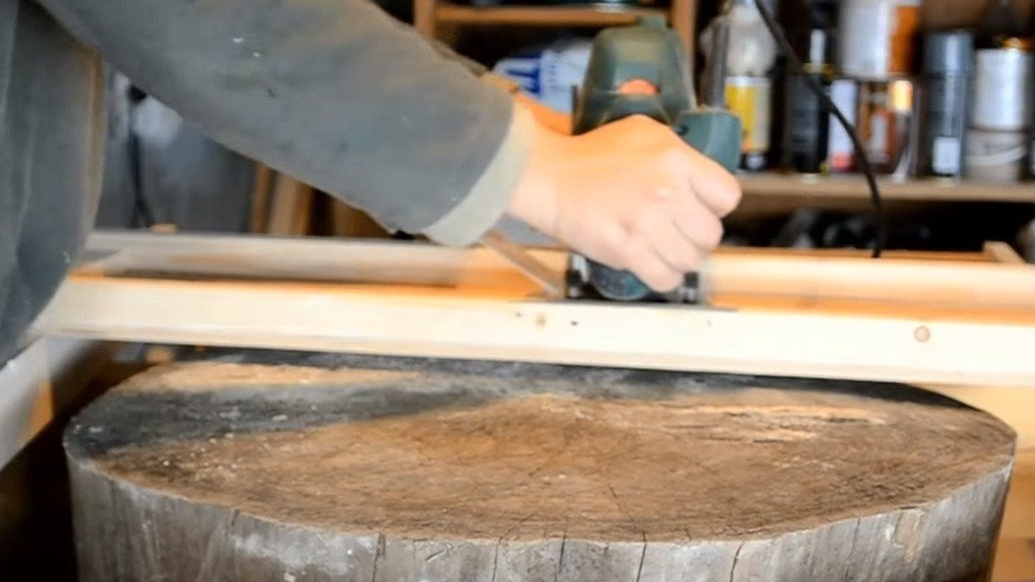
Step Two Rough worktop processing
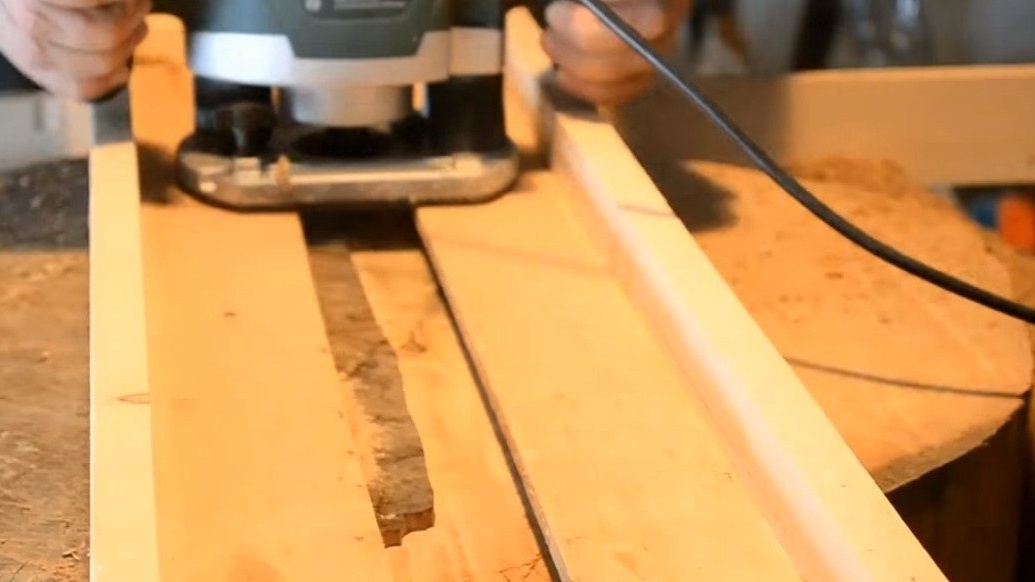
The author chose a rather old piece of the trunk, crooked and cracked, so the first thing to do is to align it. To process the planes, the author used a manual milling cutter; the frame for emphasizing the milling cutter was assembled for an ambulance, from which there is at hand.
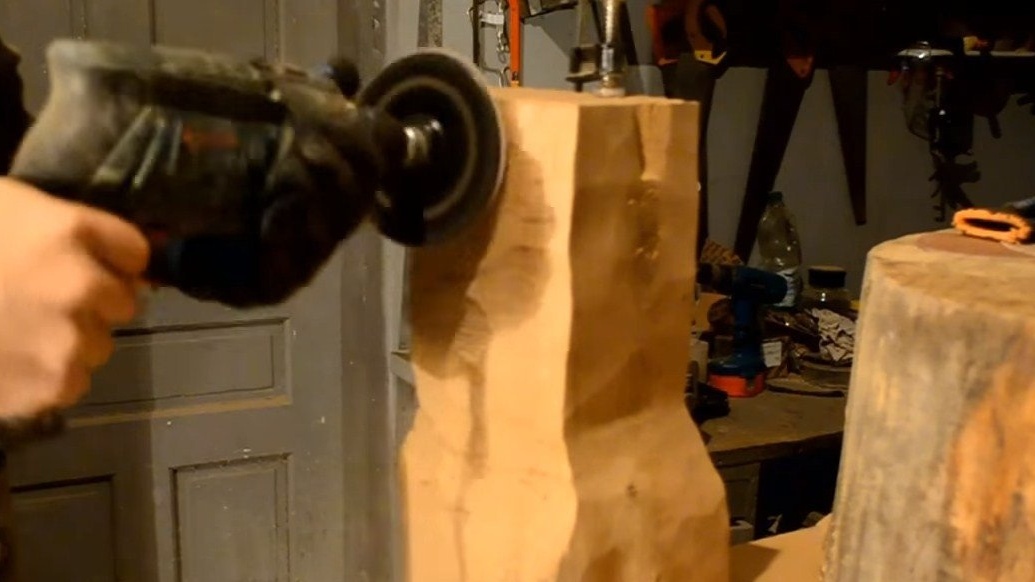
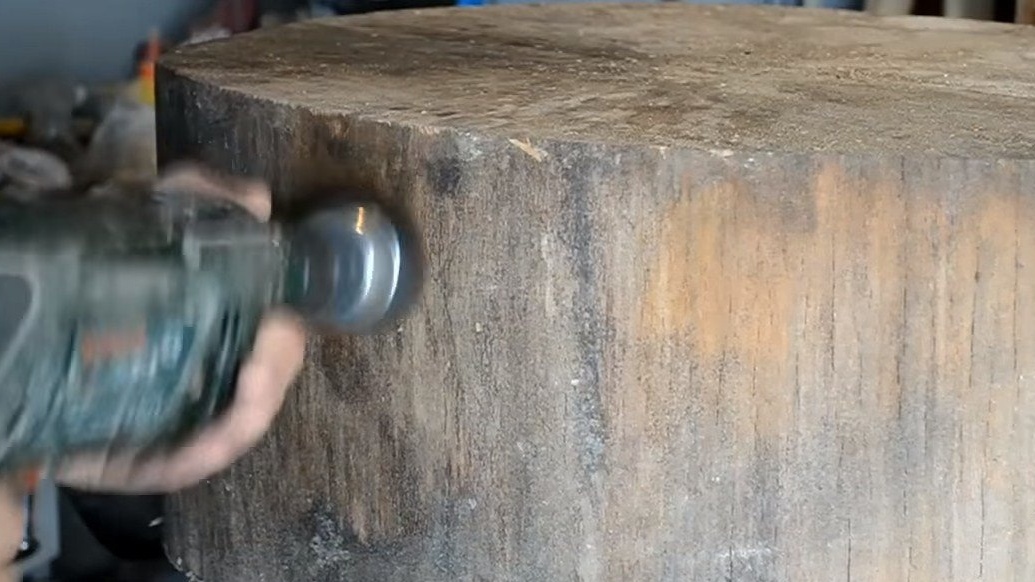
As for the part where the bark used to be, its author processed using a drill and a wire nozzle.
Step Three Foot installation
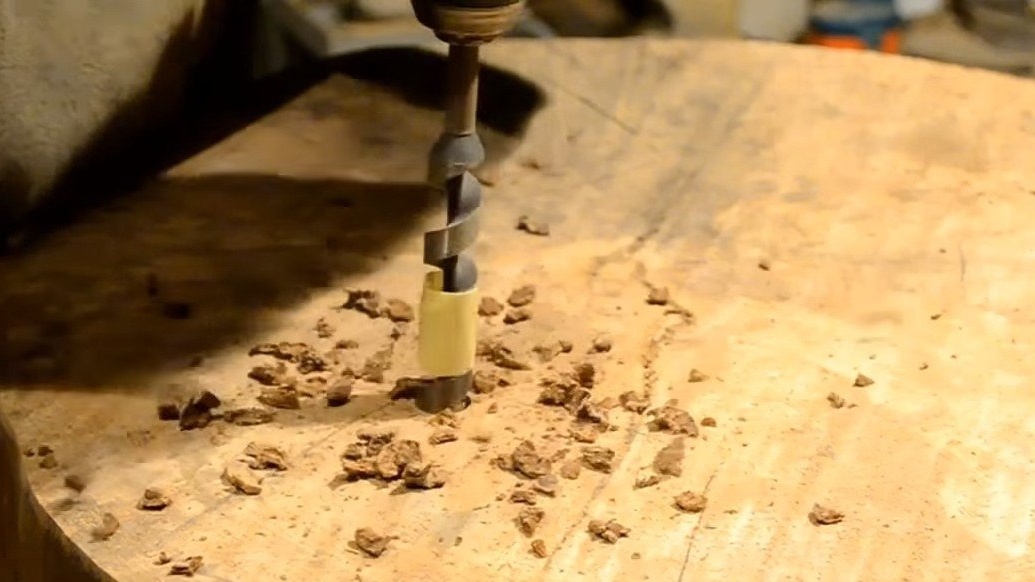
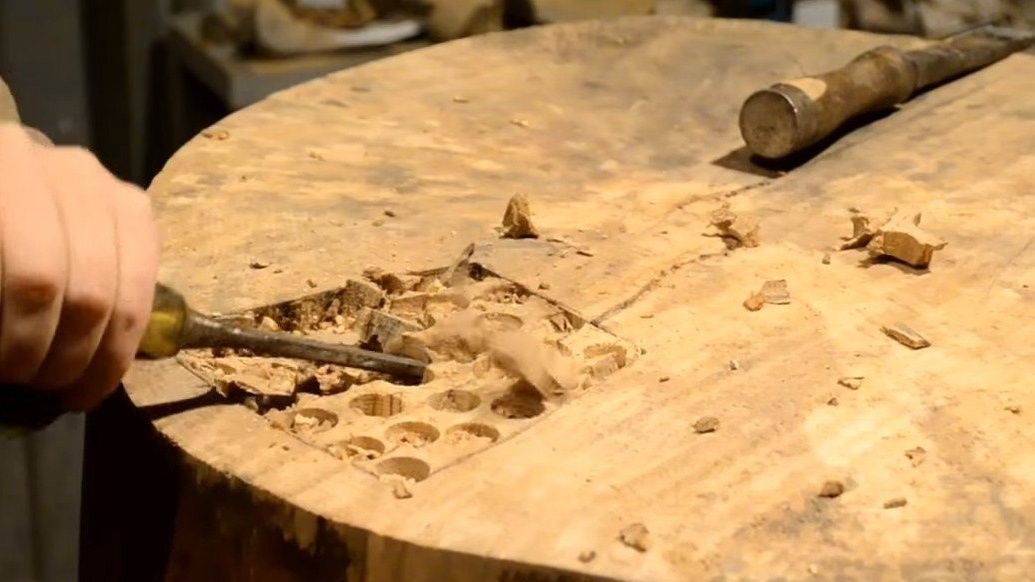
You can install the legs, for this you need to make seats under them. We drill rows of holes, and then we hollow out the rock with a chisel.The legs are glued to the carpentry glue, the bonding area here is large, so everything will hold tight.
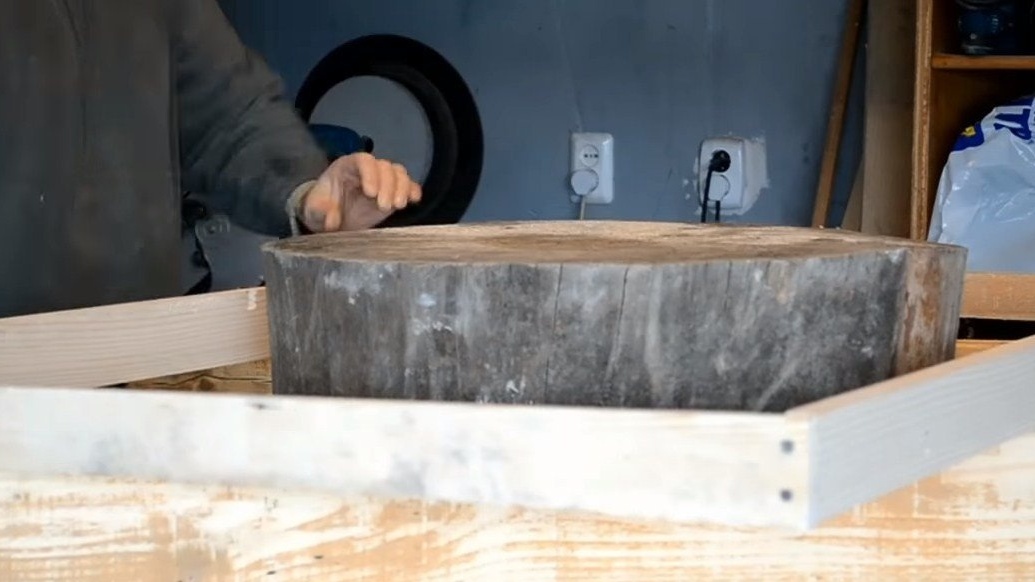
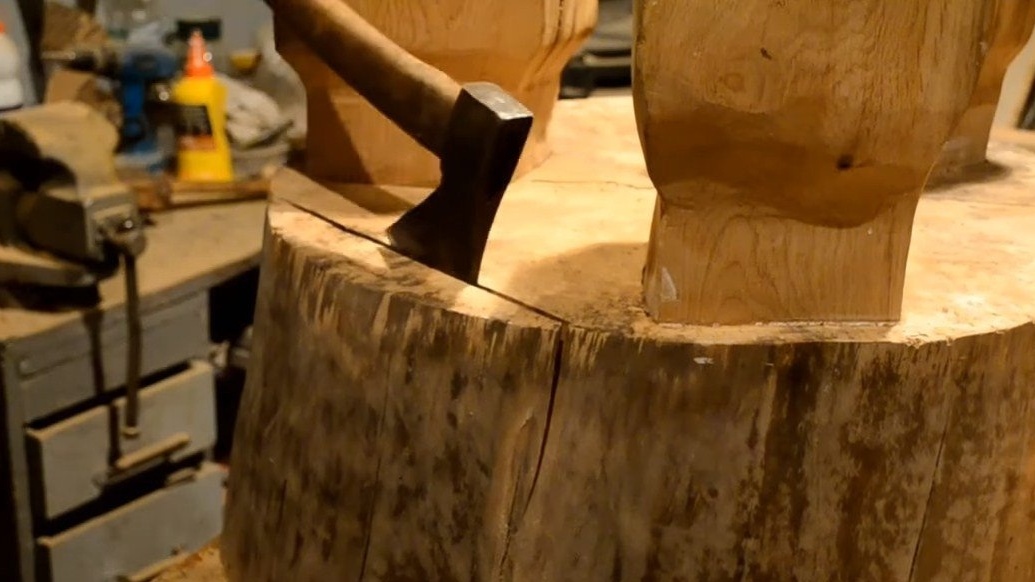
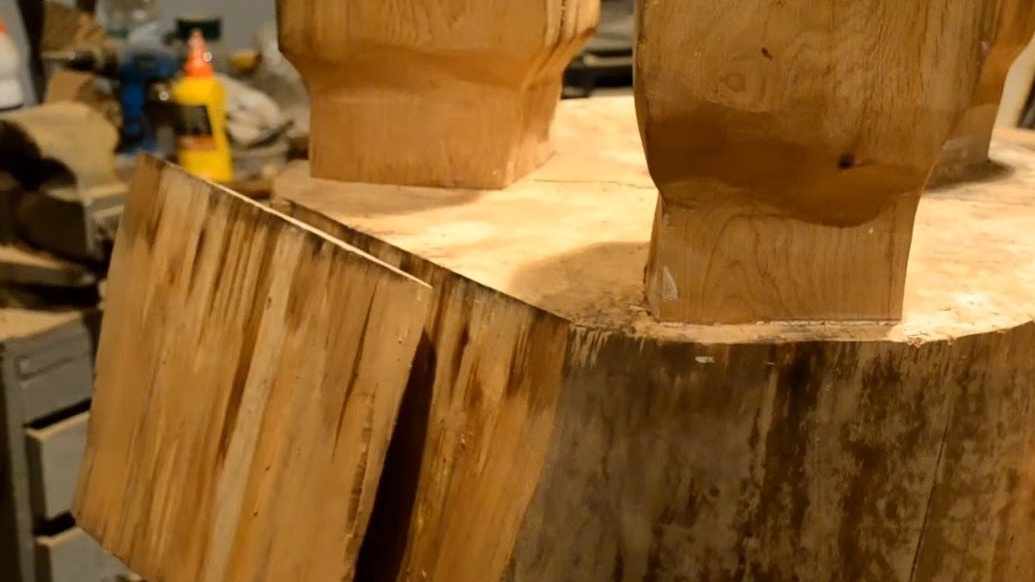
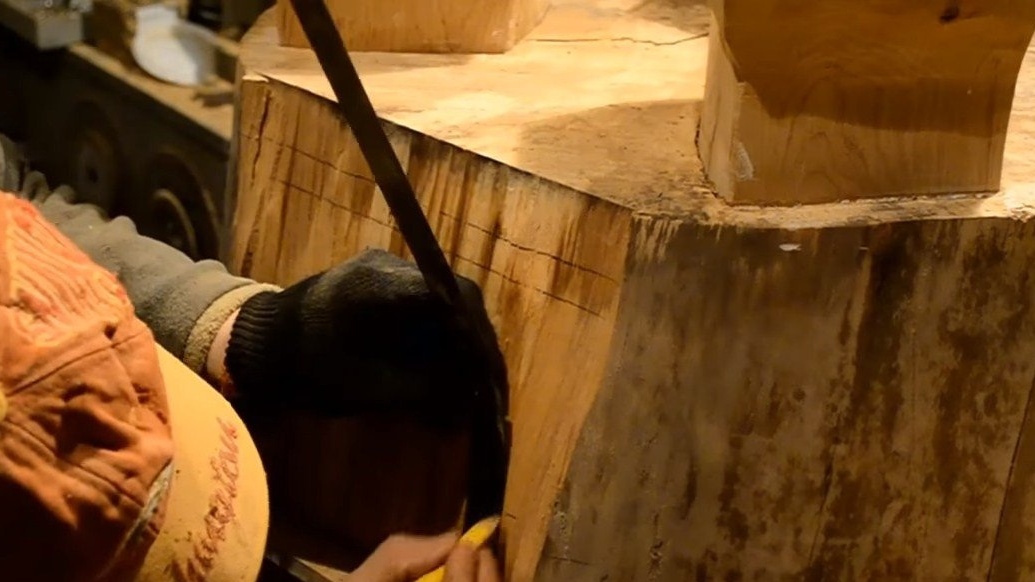
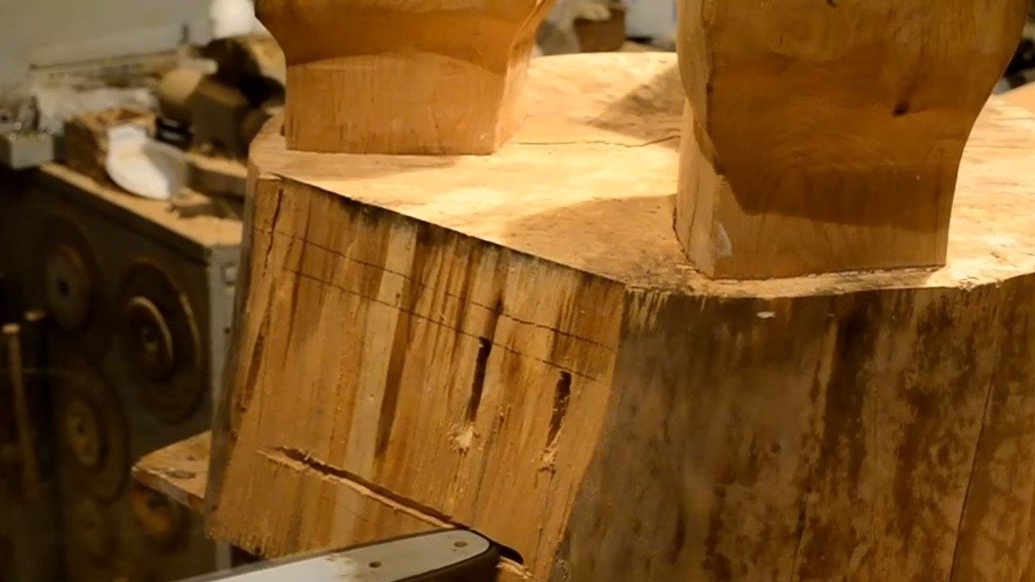
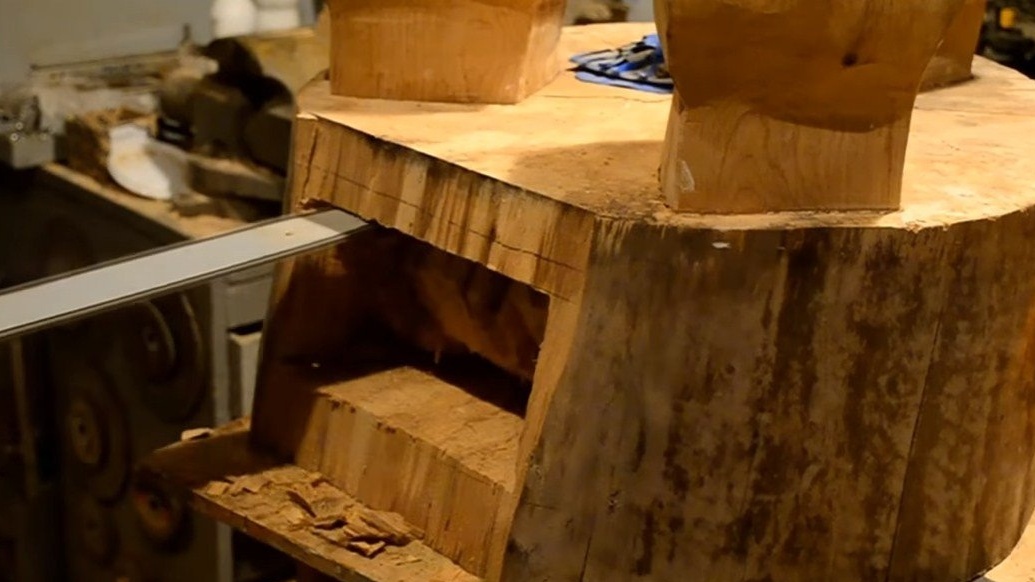
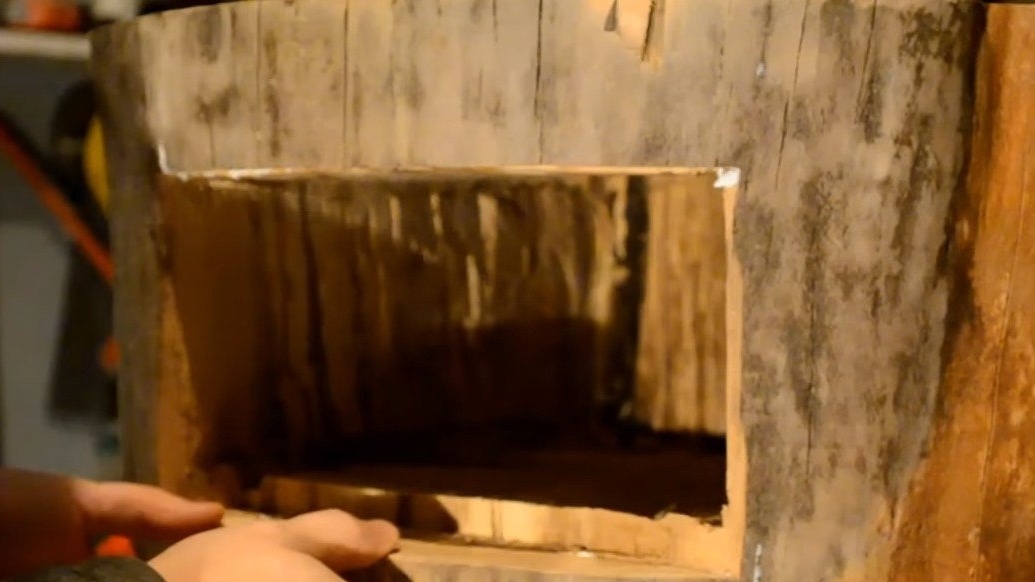
Step Four Niche under the box
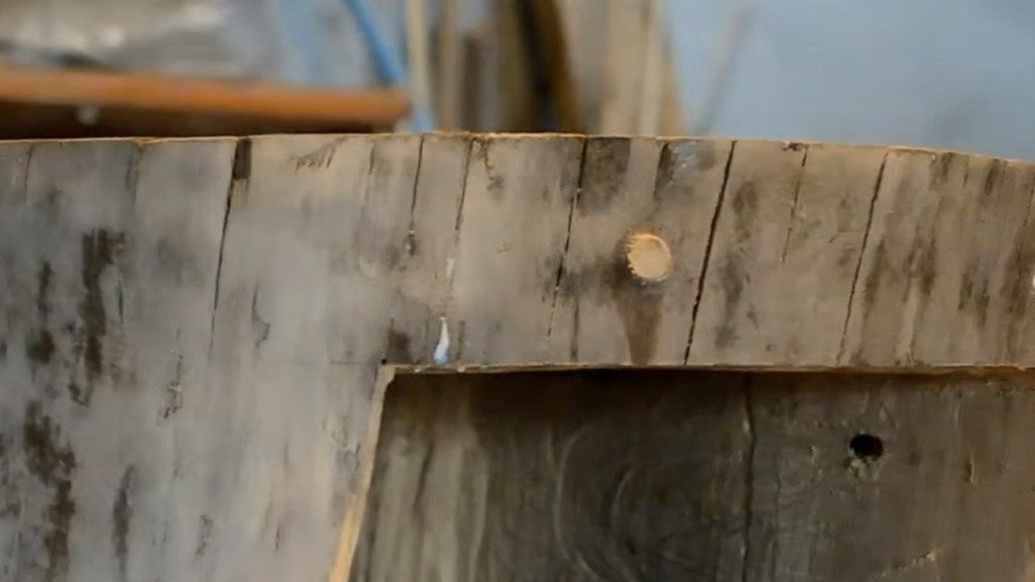
We begin to make a niche in the countertop for the drawer. First, we break off a piece of the countertop and cut out the core from the chipped piece, this part will be attached to the drawer, and then the other two pieces will have to be fixed in place, to the countertop. As a result, the box with us will be secret.
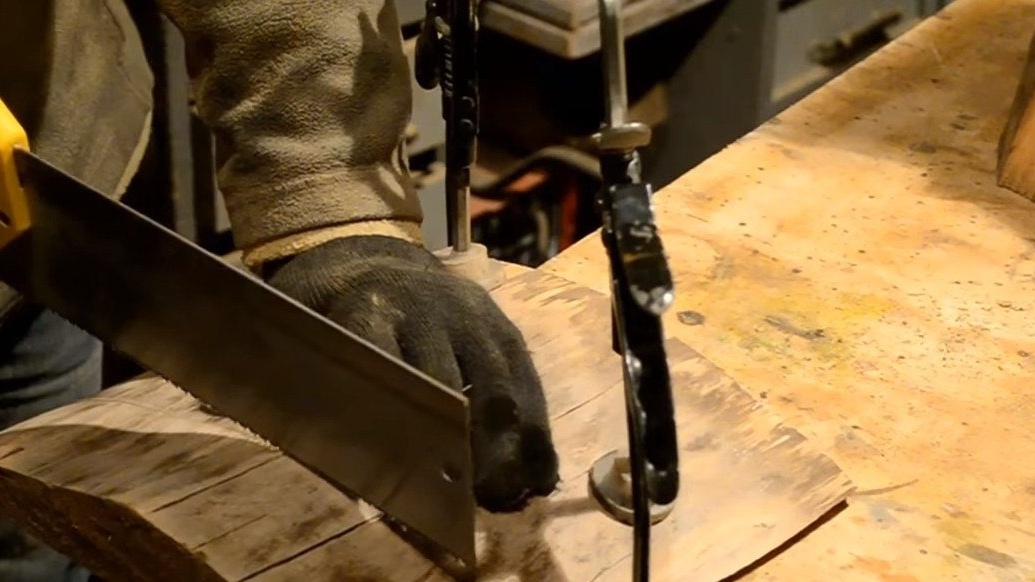
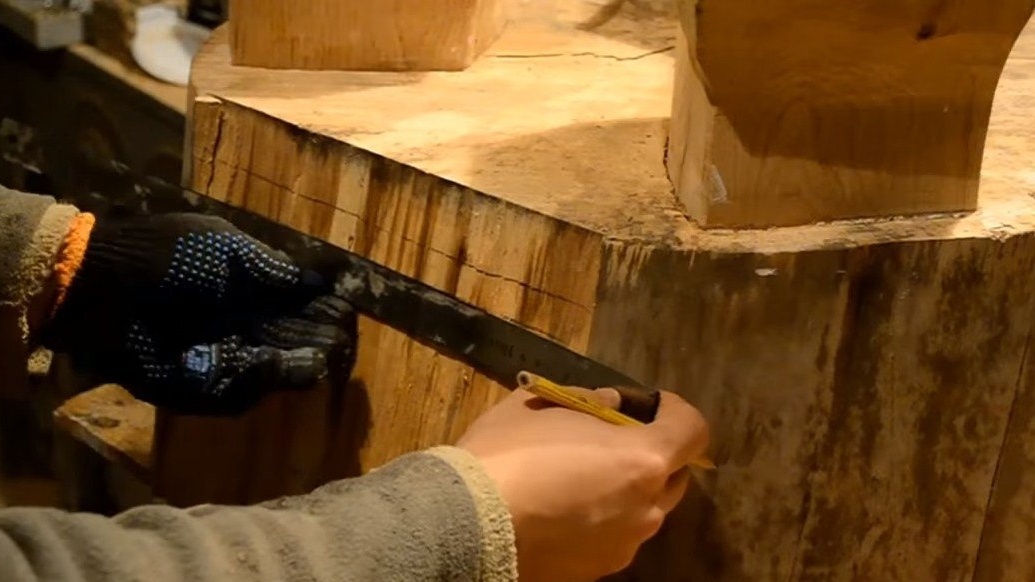
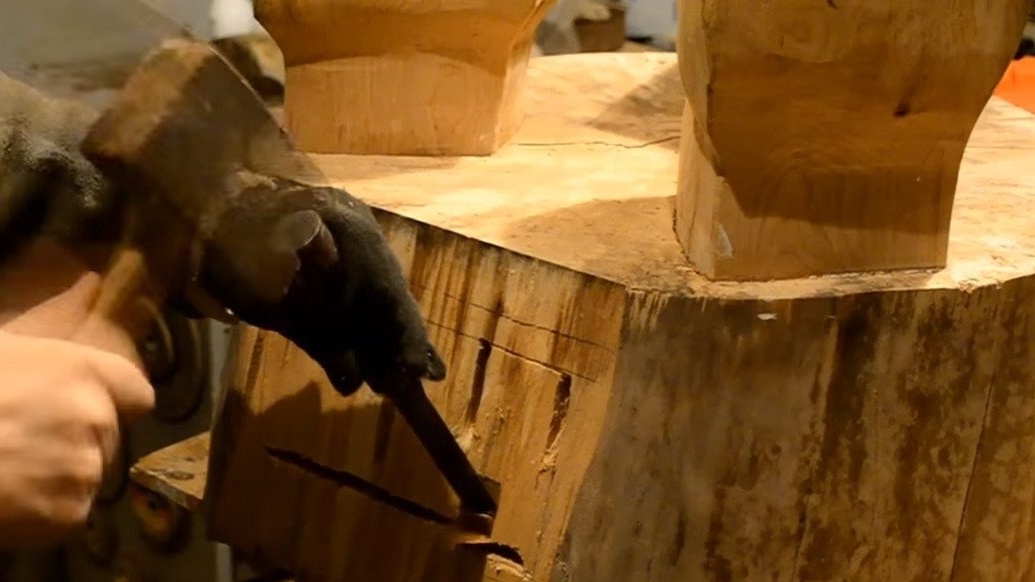
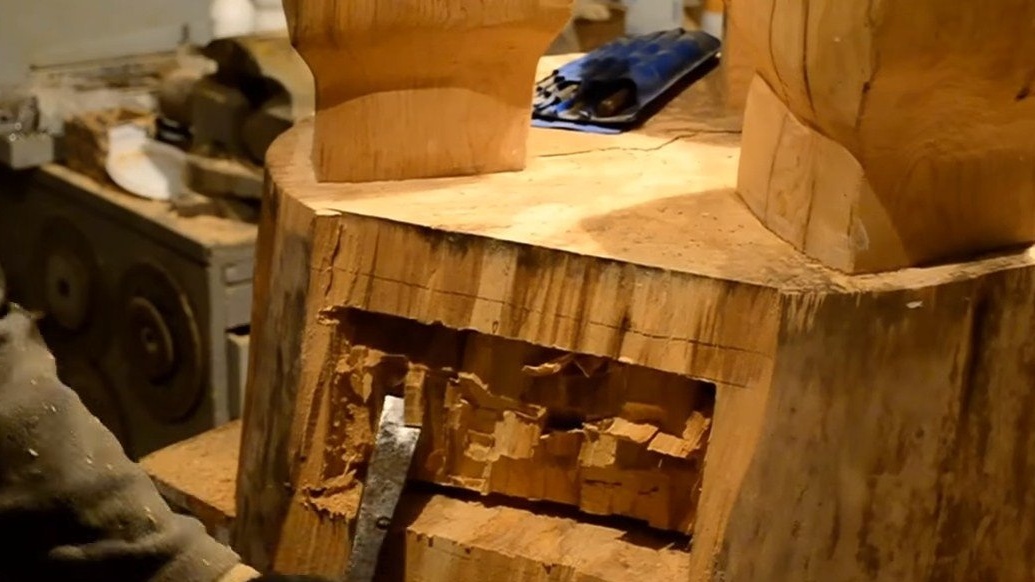
It is not difficult to make a depression in the tree, but here it is desirable that a soft breed of wood be chosen, since it will be much easier to work. First, we make cuts with an electric saw, and then it works with a chisel. So gradually, step by step, the author poked a rather deep window in the tree under the box. At the end, we glue the upper and lower parts of the chopped wood to the countertop, the author additionally fastens the parts with screws. And so that the screws could not be seen, wooden dowels are clogged from above.
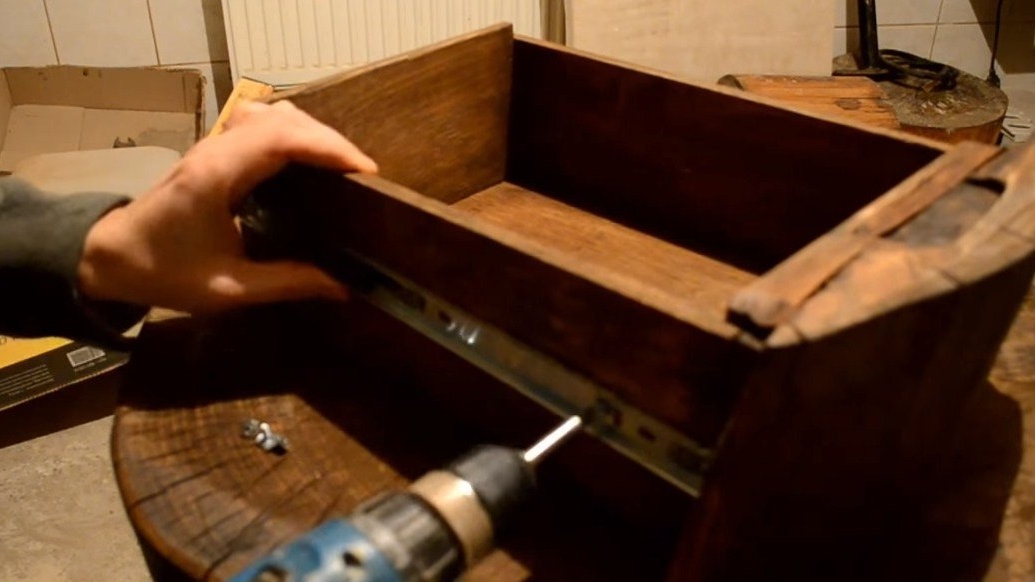
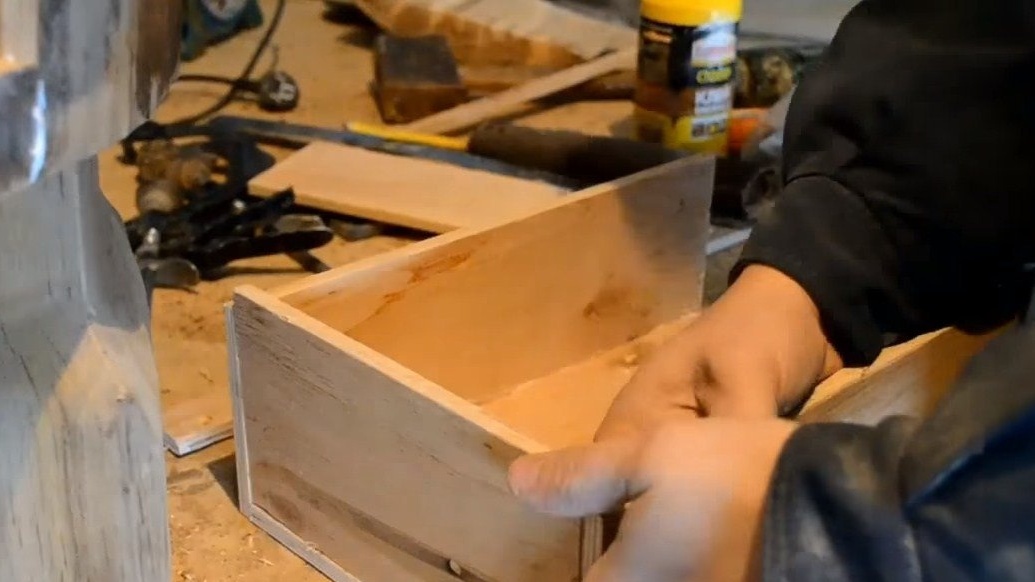
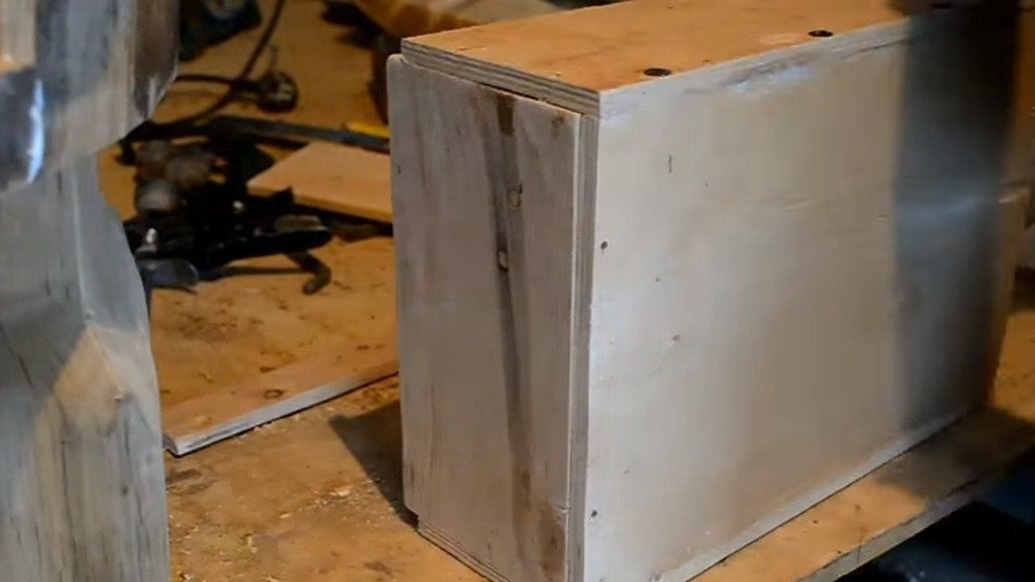
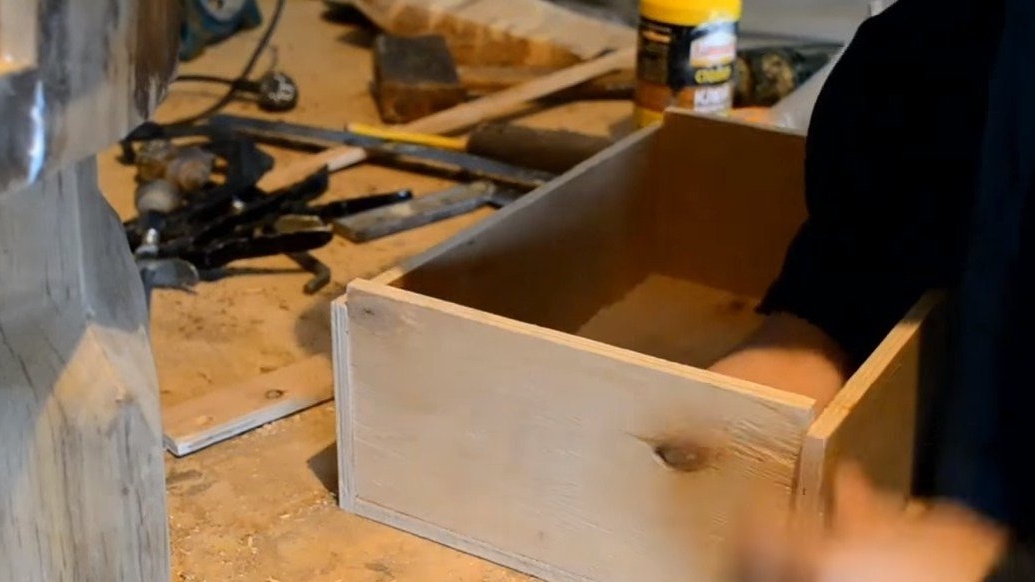
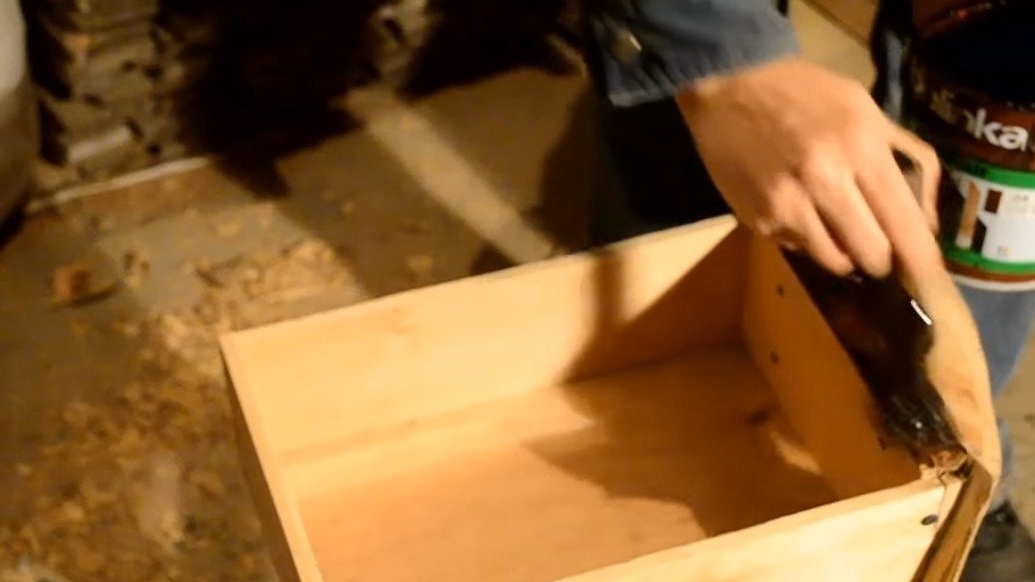
Step Five Crate Making
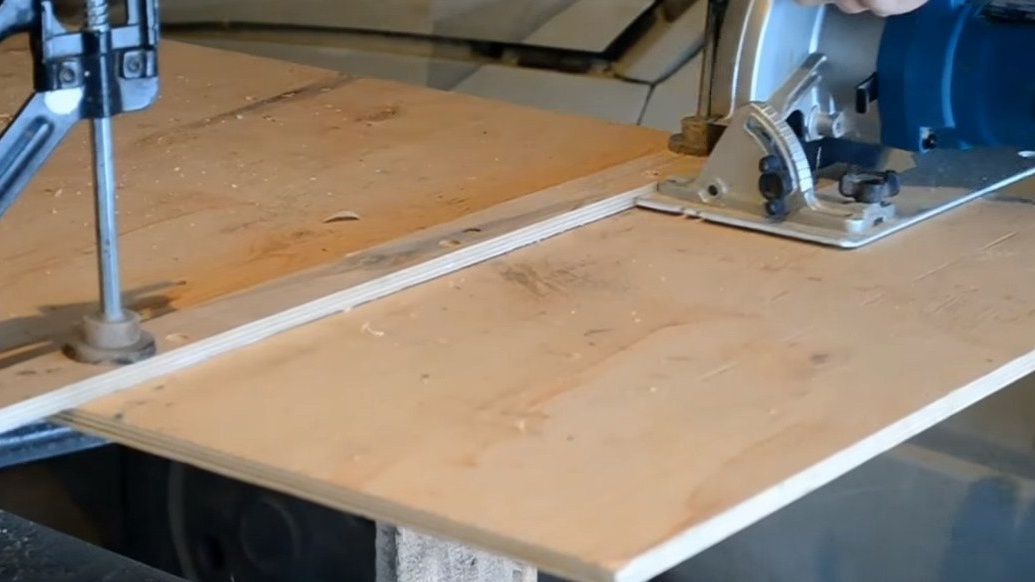
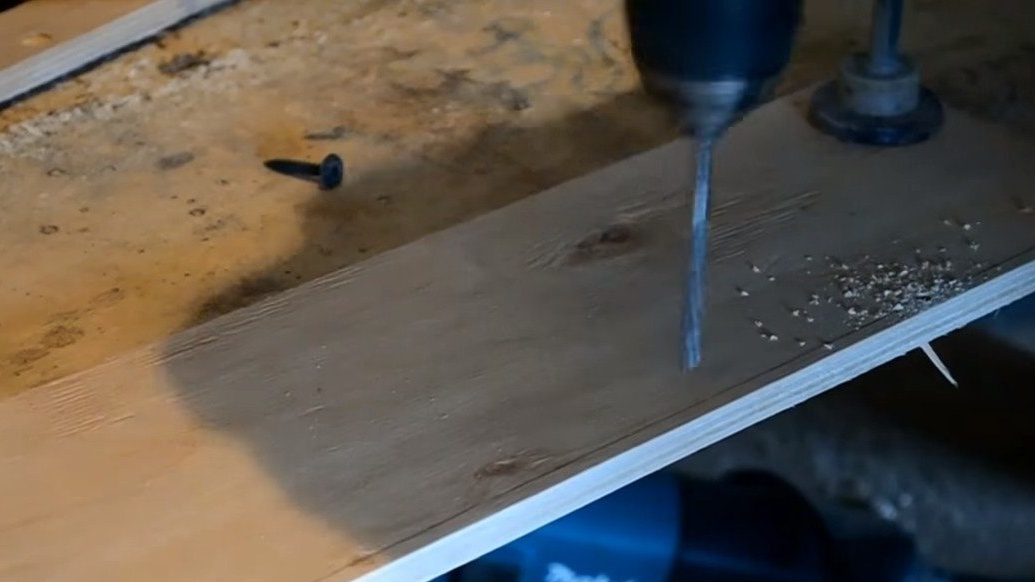
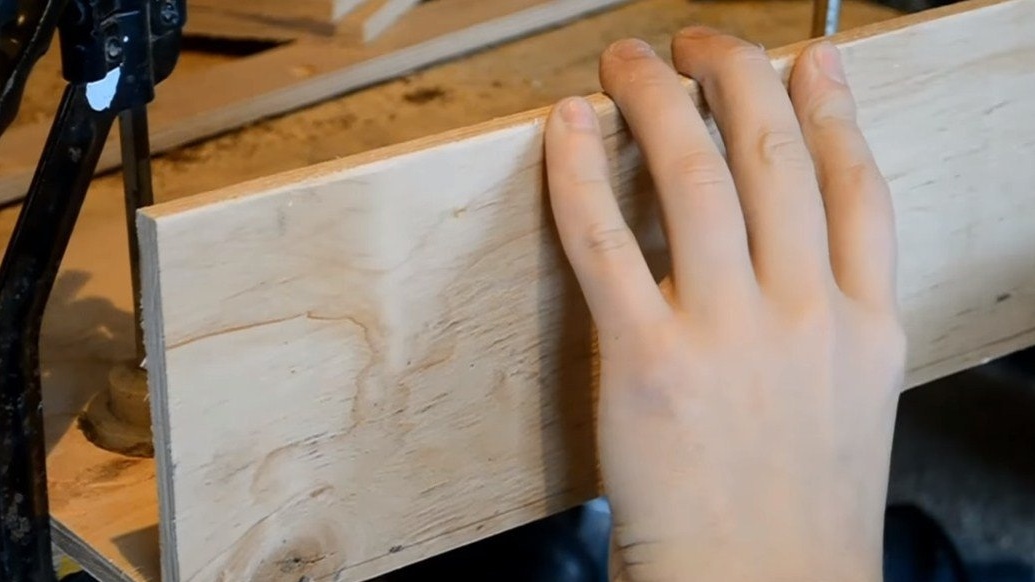
The box is made in the classical way, we cut the plywood to size and twist it with screws, having missed the joint at the glue. As a result, it remains to stick to the box that part that we broke off the countertop.
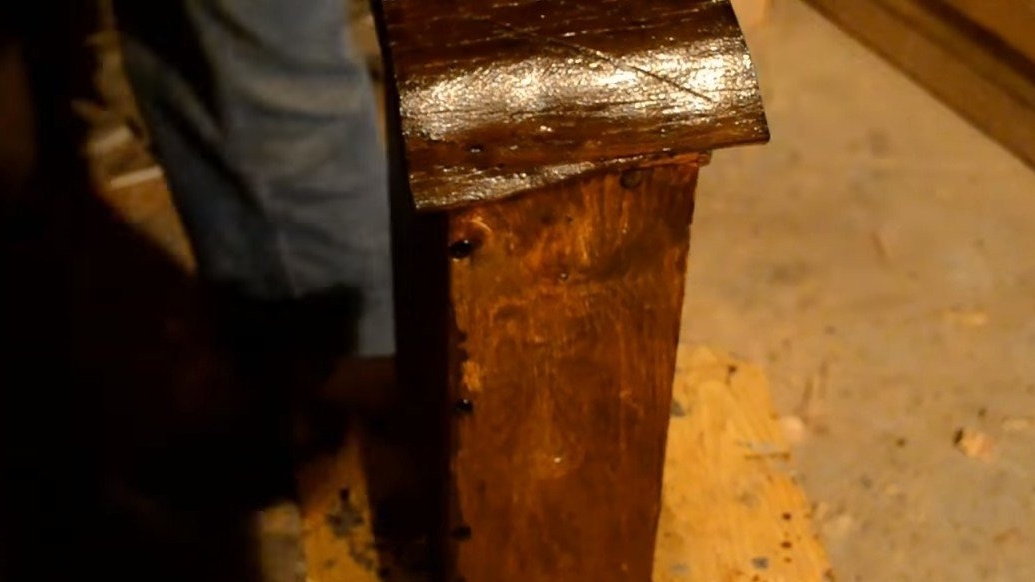
Step Six Impregnation
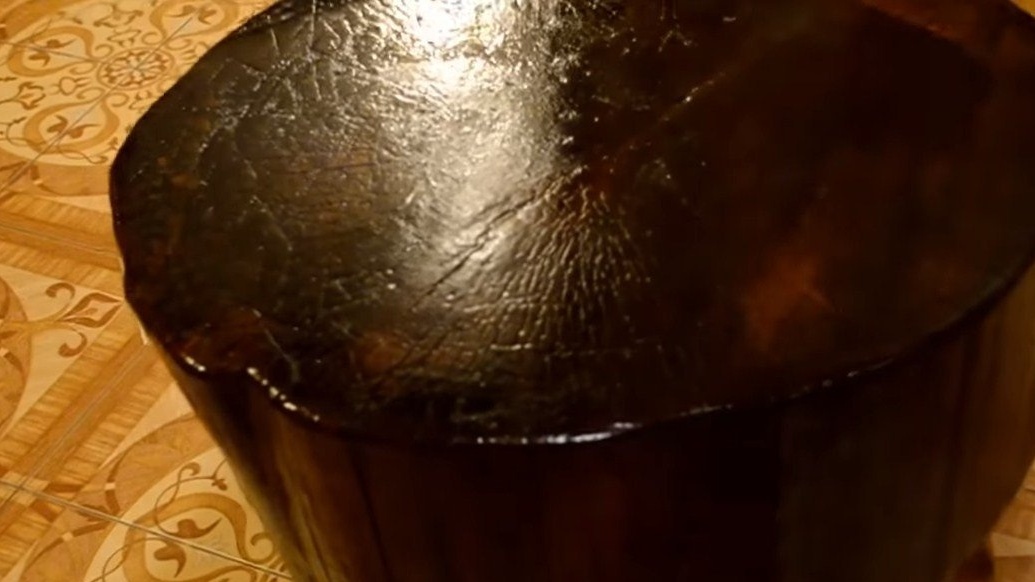
We begin to impregnate the wood, cover the legs with oil, varnish or wax, but as for the tabletop, then we used not oak, but another species of wood and already tired. It would be nice to soak such a countertop with varnish or epoxy glue. If desired, we use stains for the tree, the author chose a dark color for his brainchild.
Now the table looks great, it will be easy to wash, and moisture will not harm it.
Seventh step. Assembly
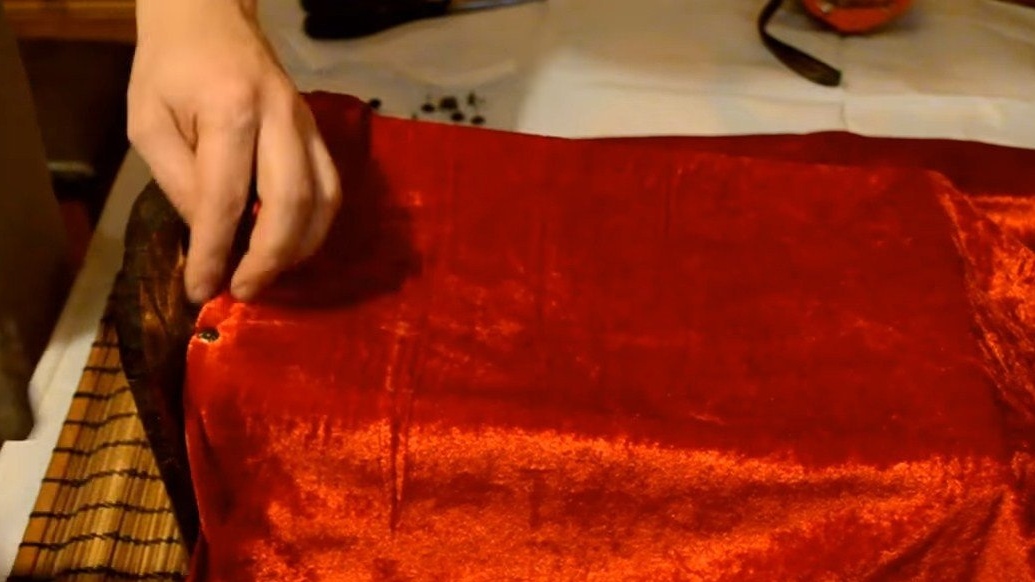
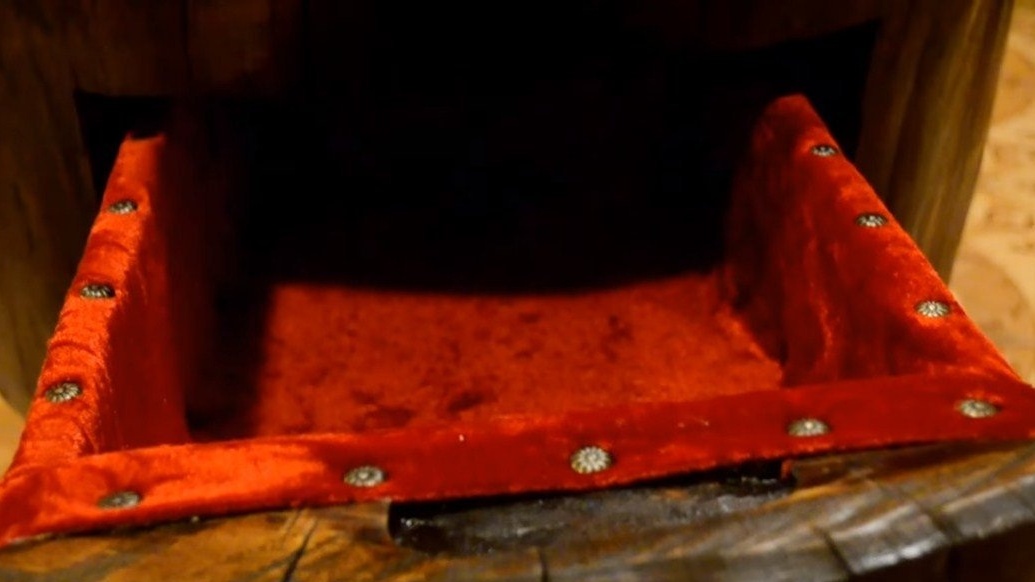
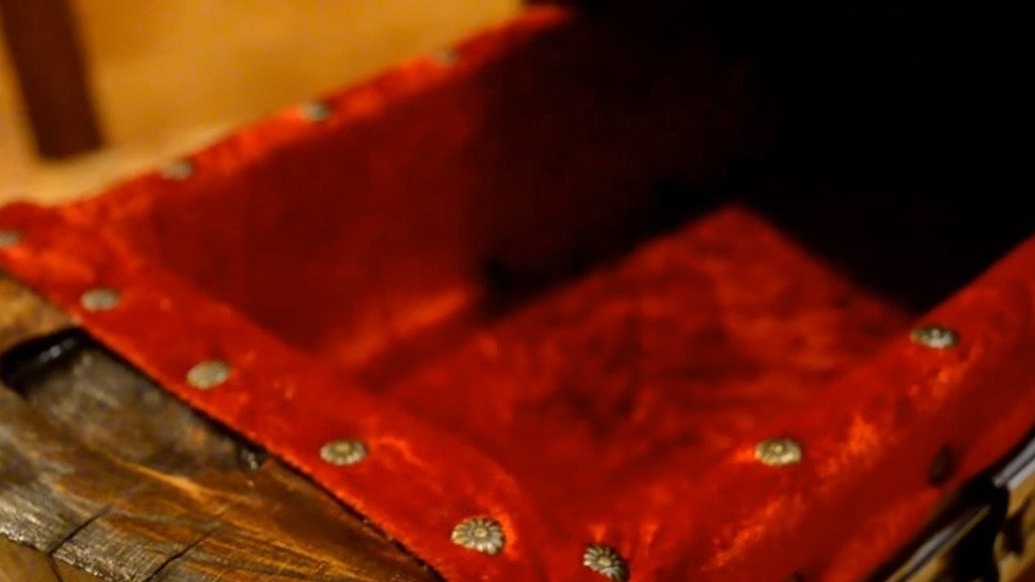
We assemble the table, this includes the installation of the box. The author himself encases the drawer itself inside with red velvet, in combination with a dark table, all this looks quite interesting.
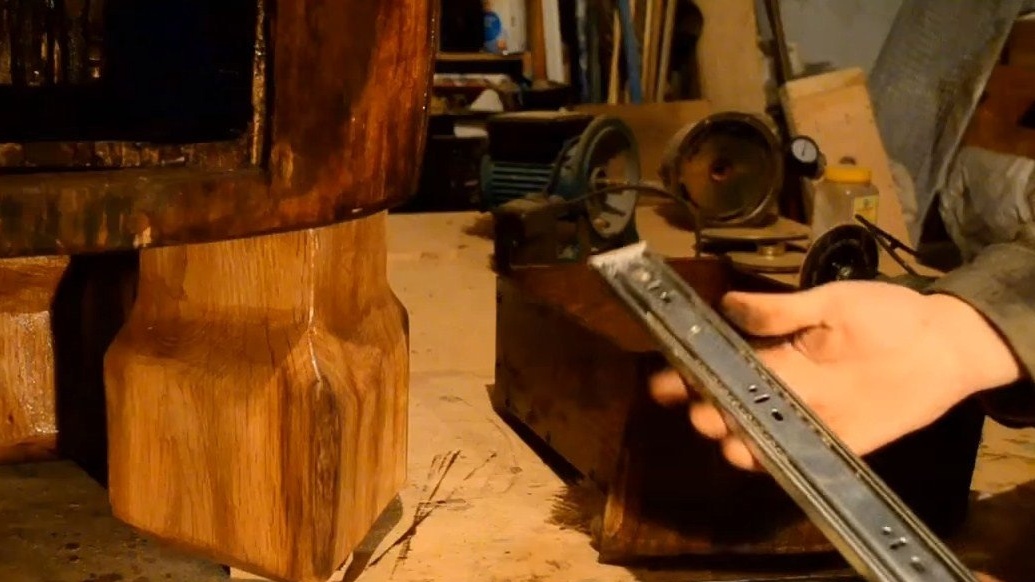
To make the drawer slide in and out well, the author used a furniture slider. The box opens by itself if you press it a little with your hand. Similarly, it is fixed - with a light touch.
On this project is over, I hope you liked the homemade. Good luck and creative inspiration, if you decide to repeat this. Do not forget to share your ideas and homemade things with us!