
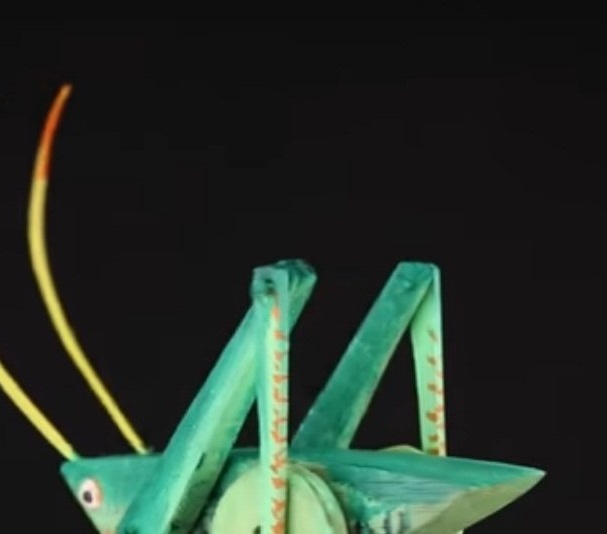
An ideal toy for a child at any age is considered a toy made of wood. It is an environmentally friendly, gentle natural material that is approved even for infants. Toys made of wood have been known since ancient times. Initially, all the toys were slightly corrected knots of various trees, which, with the help of improvised means, were given figures of various animals. Over time, the shapes and figures of toys became more and more complicated. Specialized workshops appeared that made only children's wooden toys. Toys with moving parts of the body also began to be manufactured. These toys still cause children a sense of delight and joy due to the fact that they have a movable mechanism. It is so simple that the children will soon master the actions with them on their own and will, for example, swing the bears on a log, carefully observe how severe woodcutters chop wood and many more different actions. Surely the appearance of such a toy is connected with the desire of adults to show and express all their love to their children in a peculiar way. Surely, inspired by the history of the emergence of a wooden toy, the author of the YouTube channel Young DIY decided to create his own toy, a grasshopper on wheels that moves its legs when riding.
For the manufacture of crafts The author uses the minimum set of tools available in every home:
hacksaw,
ordinary knife
chisel,
hammer,
wood drill and drill bit,
sandpaper,
glue of instant setting.
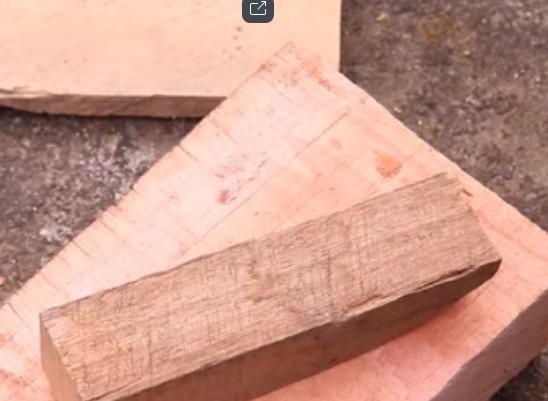
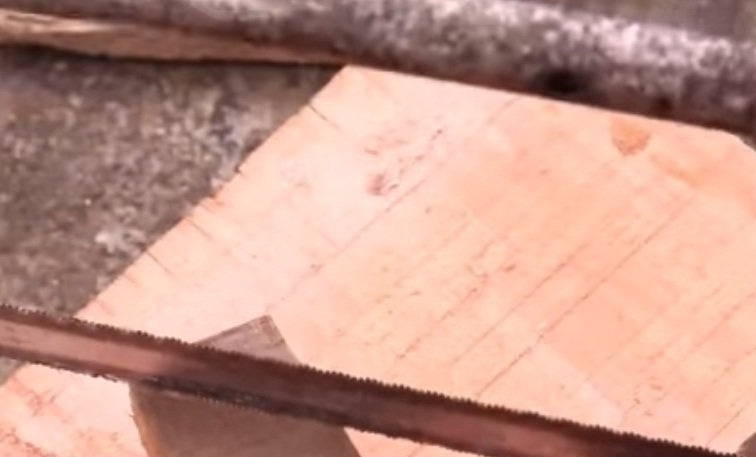
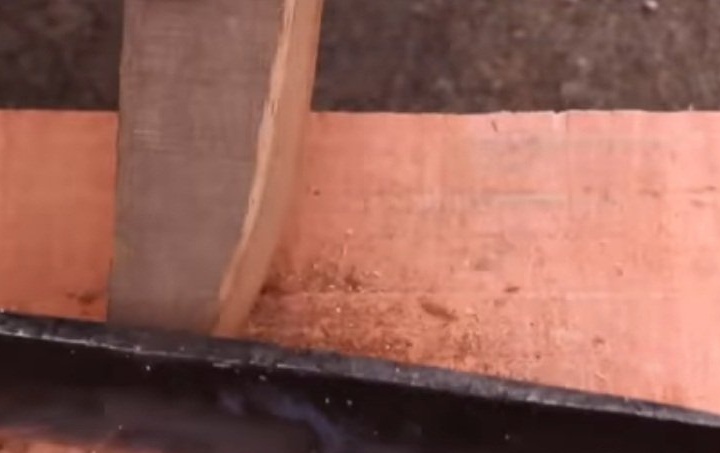
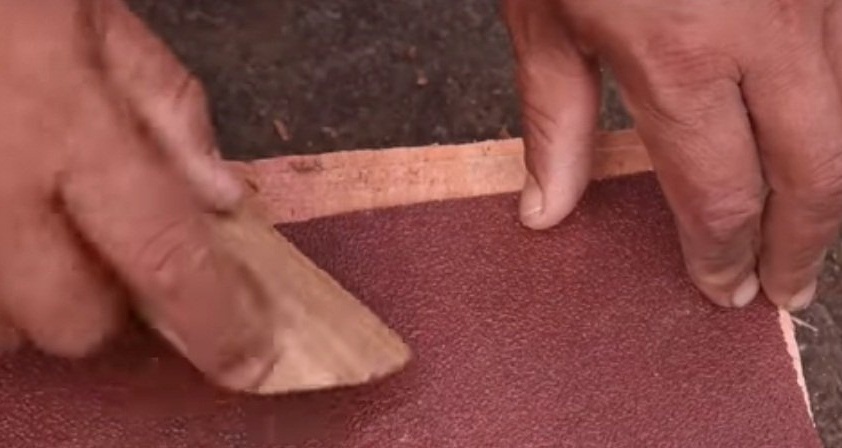
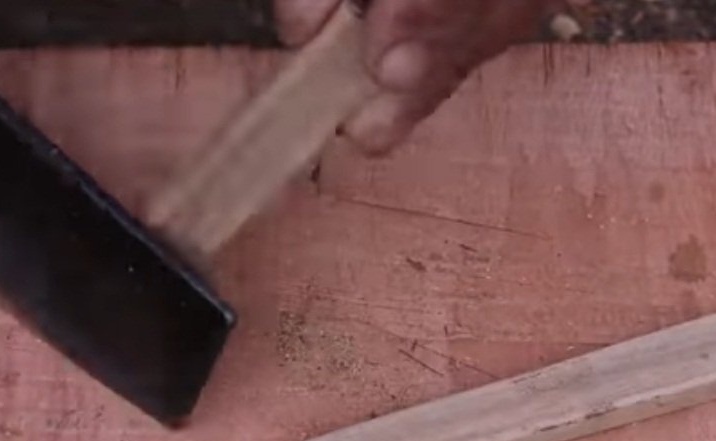
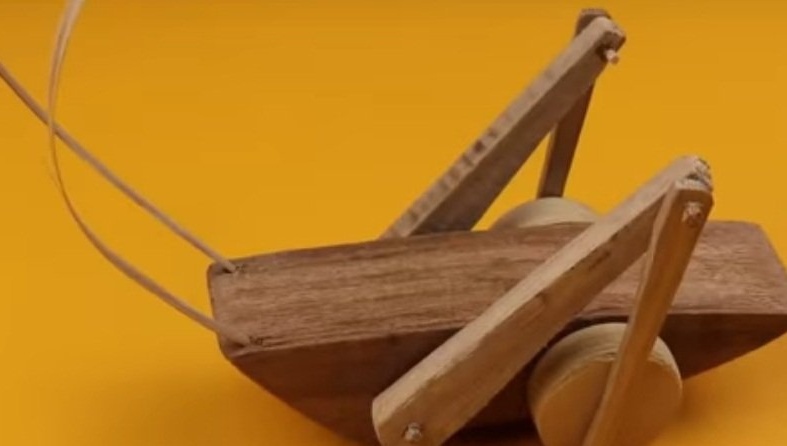
In order to make a toy, the author needed an ordinary wooden block, to which he, using a metal saw, gives a shape reminiscent of the grasshopper's body. Next, the side edges of the form are cut with a knife, giving it a more streamlined appearance. The resulting shape is brought to mind with sandpaper, polishing the edges of the product.

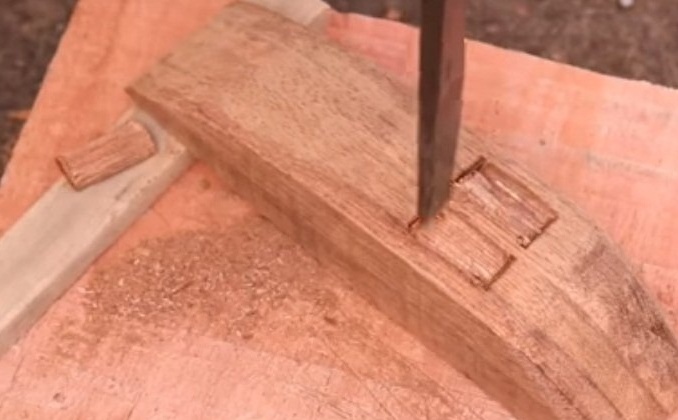
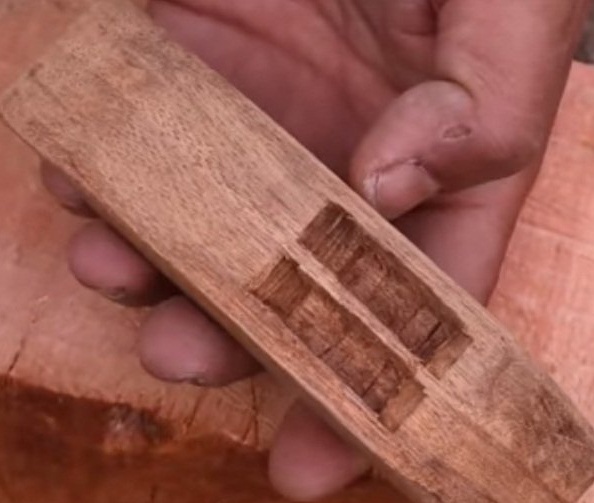
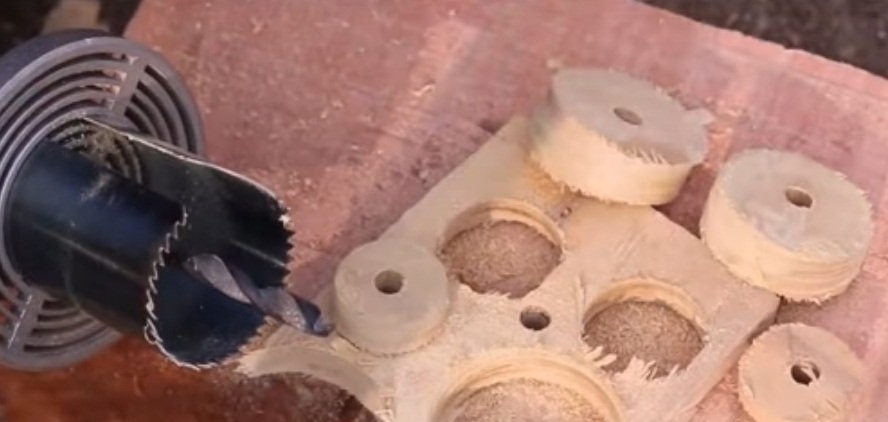
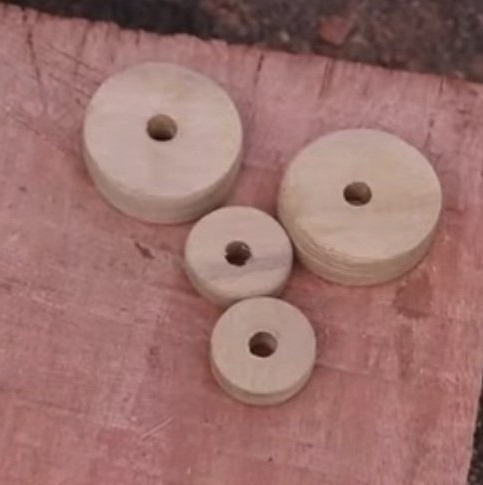
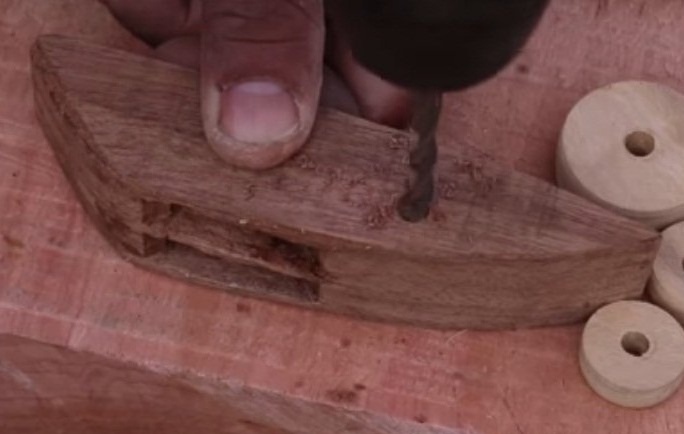
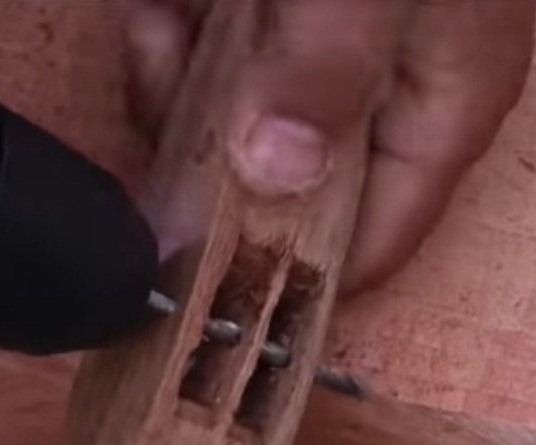
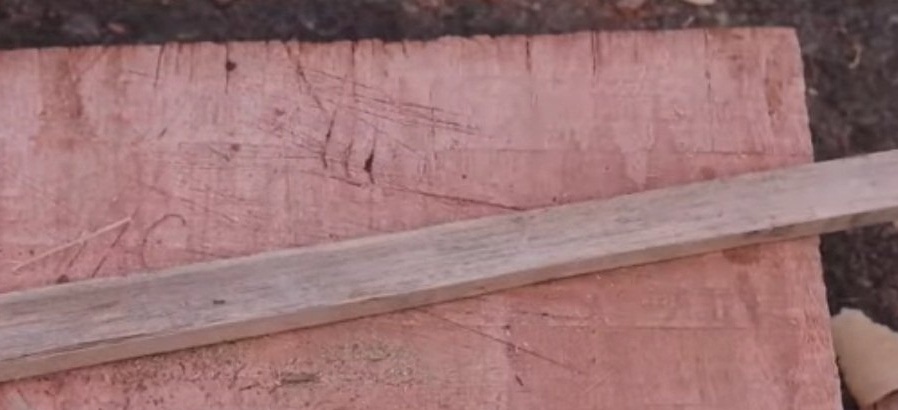
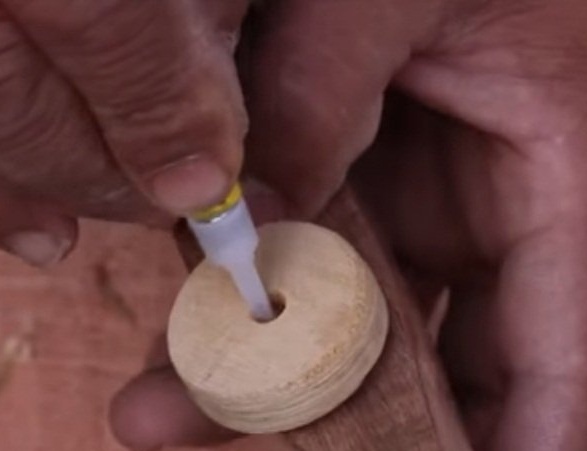
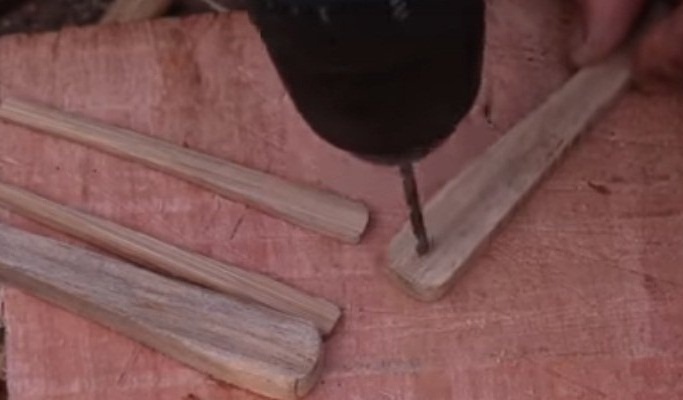
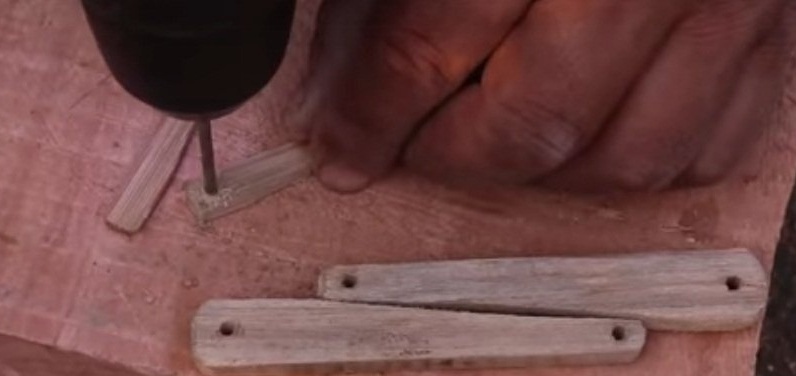
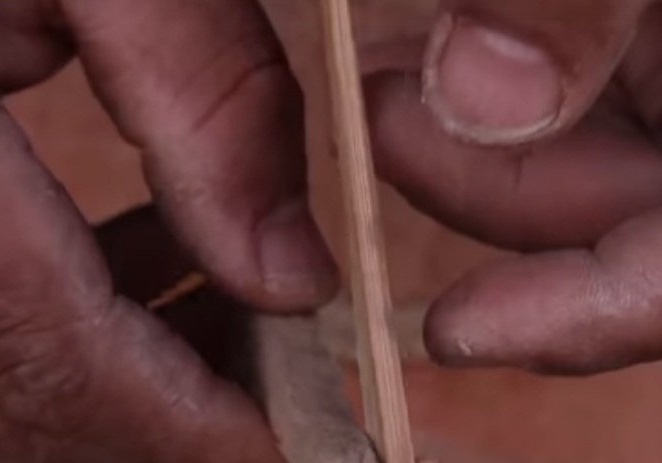
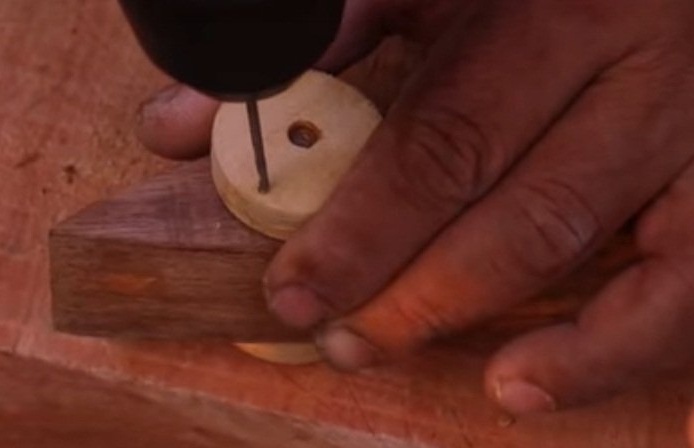
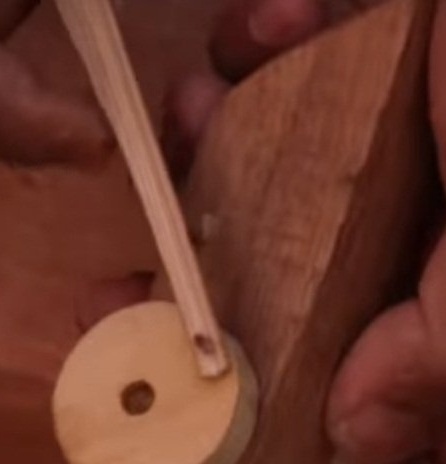
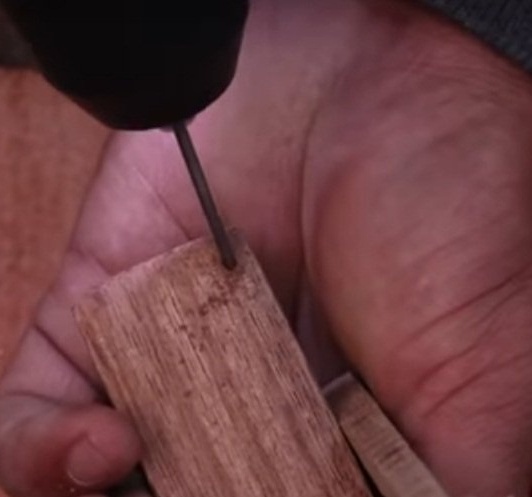
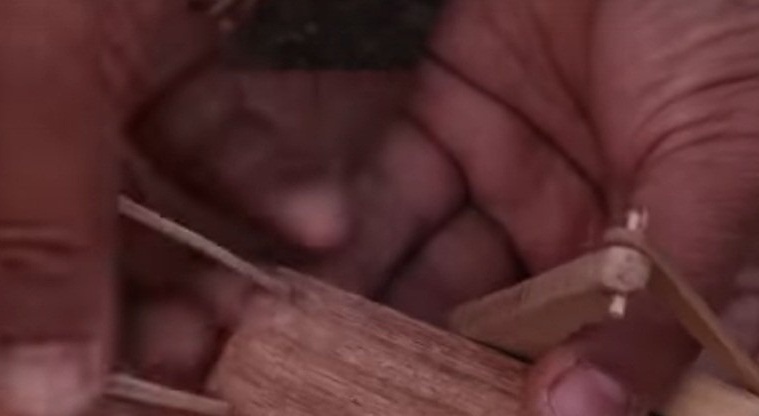
After that, a chisel cuts out two recesses located parallel to each other in the front of the body. They need to be cut down very carefully, becausea thin jumper between them can be broken. This, of course, is not critical, but nevertheless it is necessary to invent something that would separate the wheels from each other. The wheels will be placed in them. The next step from the plywood, the author drills two pairs of wheels, one small, which will be placed in the recesses in the inner part of the workpiece, and the second a little more. All wheels are carefully sanded with sandpaper. Since the author used crowns on wood with a guide drill in the middle, the resulting wheels already have holes for the axles. Having finished this work, the master drills through holes in the front of the body, passing through both the recesses and the jumper, and in the back of it. After that, blanks are made from the bar under the legs, and axles for the wheels are also planed. The axles are inserted into the holes prepared for them and put wheels on them, fixing them with quick-setting glue.

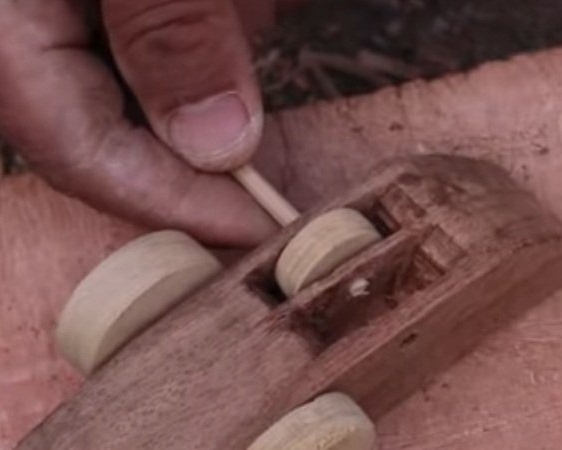
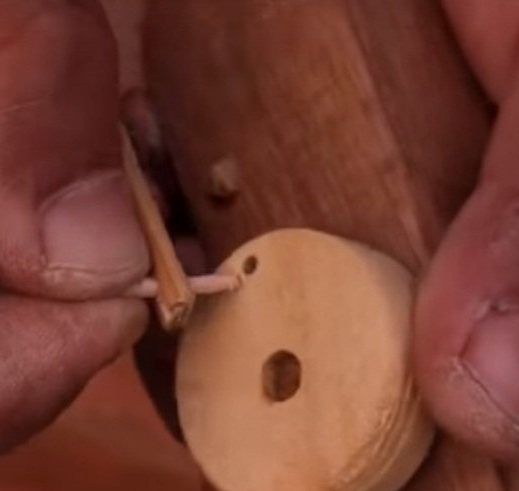
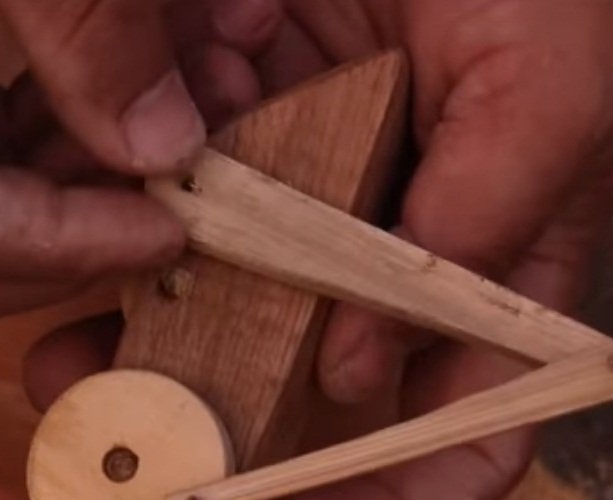
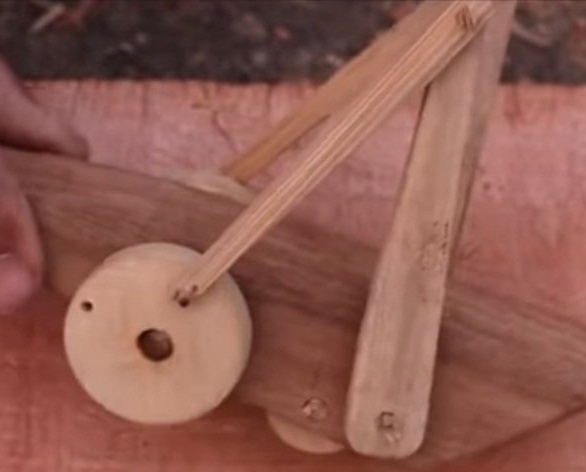
In the prepared legs, the author drills holes on each side of the parts. Between each other legs are attached using all the same planed knitting needles. The fastening must be done in such a way that all parts can move freely on their mounts. The final result of all the work depends on this, namely whether the legs will move during the movement of the toy. After the parts are interconnected on external, large wheels, holes are made near the edge of the wheel. Holes on both sides are also made in the front of the torso. The holes are not through. They are needed in order to insert studs made of wood into them. Grasshopper legs are set on these studs. The backs of the legs, which are thinner, are mounted on studs to the wheels. The front parts of the legs are attached to the body. They must be connected in the same way as the previous parts, i.e. be able to move. All main parts are connected. We proceed to verify the almost finished product. When riding a toy, the rear wheels drive the grasshopper's legs. It turns out that he seems to be jumping!
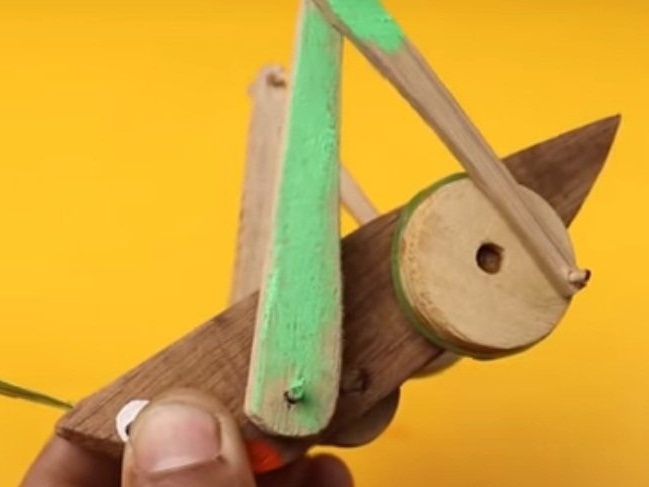
It remains to bring gloss. In the front of the torso, which serves as a grasshopper's head, the author makes two holes and inserts the shavings left after the work. They play the role of antennae. Now the most interesting thing is the coloring of the finished product.


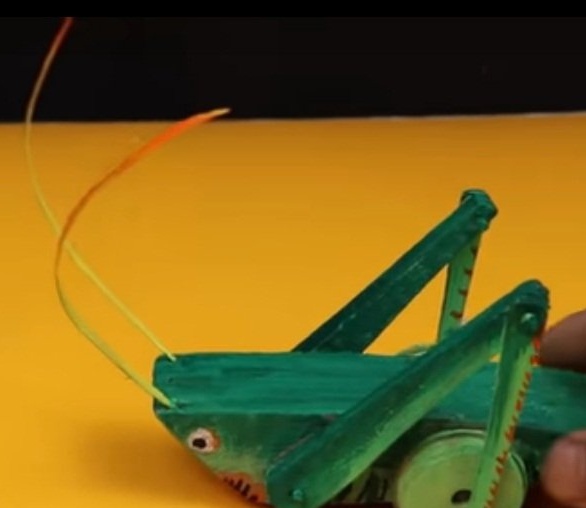
This is such an interesting toy, to create which it took only a small block of wood and a minimum of tools. Any parent can easily assemble such a toy for their child. Or with him, which will give her even more charm in the eyes of your child!