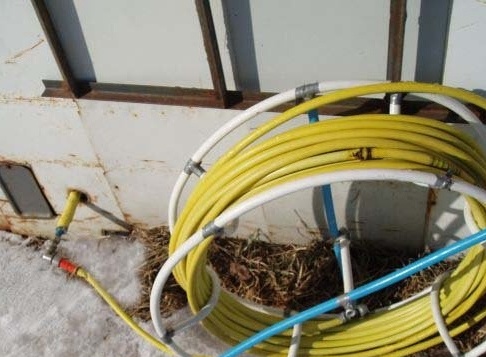
I think that many of you, dear readers and the inhabitants of our sitethere is a bathhouse.
I have it too. Recently I built it myself. But I will tell about the construction of the bath later, and now I will share the experience of its operation in winter conditions.
Everyone who has a bath solves the problem of its water supply in their own way. Someone drags water in buckets, someone flasks, someone digs a 2 meter deep ditch and puts water pipes there, someone mounts an electric heating system for water pipes. On the Internet, I saw a photo of the “air” water supply, when the master simply hung the hose from the house to the bathhouse on a cable, and supplied water to it to fill the tanks in the bathhouse.
Personally, these methods do not suit me. I don’t have any health to carry water by hand, it’s problematic to hang up a water hose, my bath is 40 meters from the house, I’ll get too heavy a water hose, dig a two-meter trench 40 meters long - even young and healthy people don’t take it, pay electricity for heating I don’t feel like pipes either. And the cost of 40 meters of heating cable is too big for a simple villager.
Actually, I have a water supply in the bathhouse, even at the stage of its construction, I personally dug up a 40-meter trench and laid a metapole pipe there. An electric cable and other wires were laid in the same trench. But the depth of this trench is only two bayonet shovels, and for the winter this water supply is turned off and blown.
Therefore, to reliably provide my bath with water, I came up with the following system.
The main principle of action is taken from ... the railway. There, if you remember, when the train arrives at the station, special people connect the wagons to the water supply and fill the tanks with water, which is then used in washbasins and toilets.
To implement the plan I needed:
Metapol MP16 - 25 meters
Thermal insulation for a 20mm pipe - 10 pieces of 2 meters
Adapters plastic from irrigation systems - 2pcs.
Irrigation hose 20 meter - 2 pcs.
15 mm hose connector - 1 pc.
Fittings, tees, adapters MP16 - different, as needed
Spherical water tap 1 \ 2 inches - 4pcs.
On the water pipe in the house, I made a tee with a faucet and led through the foundation, at an angle, a metropolis pipe into the street. Just in case, I put this pipe in thermal insulation and wrapped it with electrical tape. At the end, I installed a square with a thread of 1 \ 2 inches.
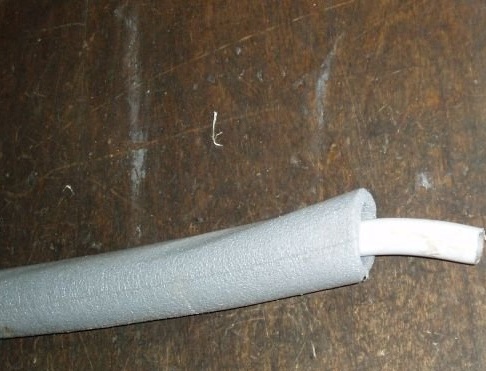
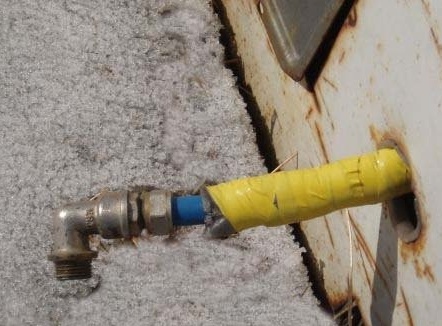
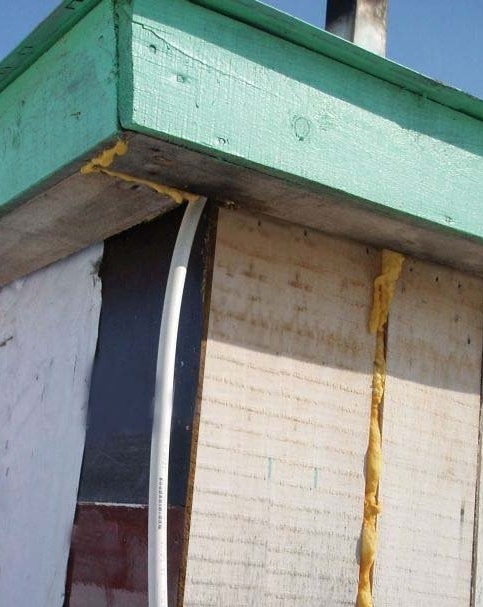
In the bathhouse, even during construction, he laid a pipe from metapol, which slopes through the attic of the bathhouse and goes down to the corner.The other side of this pipe, also at an angle, is led directly to the water tanks. Just like in the house, I put this pipe in thermal insulation.
To connect the bath to the house, a regular 40 meter long irrigation hose is used, to which I connected plastic adapters with 1/2-inch thread from the irrigation systems from both ends.
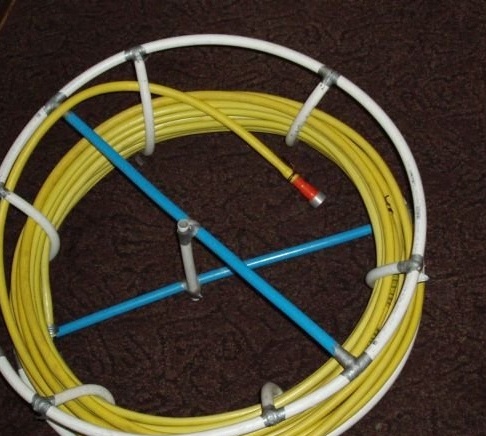
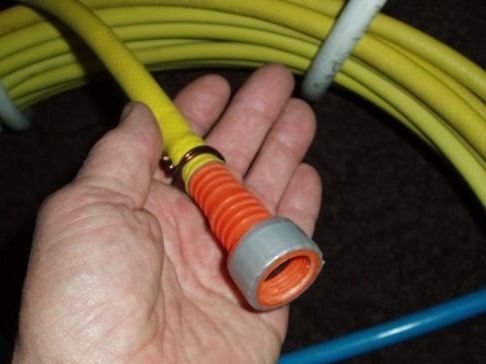
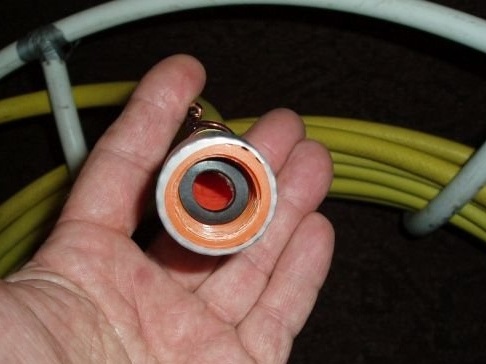
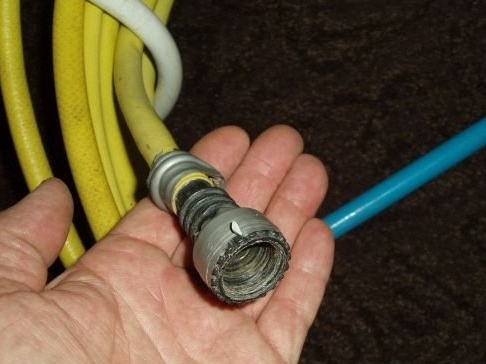
At first he made metal fittings, but in severe frost, water quickly froze in them and his fingers froze very quickly too. Therefore, I switched to plastic. The hose on the adapter is loose, and slightly tightened with a wire clip so that the adapter can rotate freely. It turned out something like an American. Tightness in this case is not needed, even if the water leaks, it’s okay, it will not spill over the earth. The hose is wound on a special reel, which I made specifically for this case from scraps and waste of metapole tubes.


Along the way, I note that in the summer this hose lies in the garden and is used for watering the beds.
To get water, we connect the adapter to the pipe near the house, and unwind the coil on the way to the bathhouse.

There, at the bathhouse, we connect the second end of the hose to the bath pipe with a 1/2 inch tip and return home to open the tap.
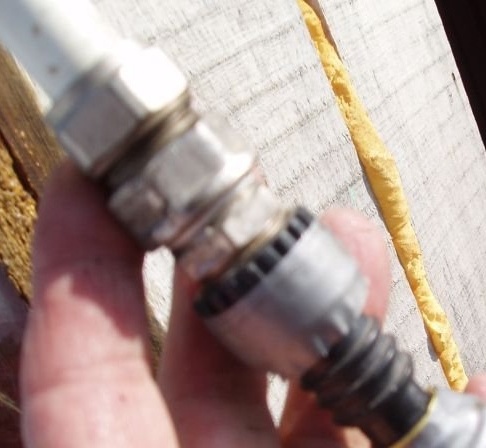
After the tap is open, pressurized water from the water supply is pumped directly into the tanks that stand under my ceiling in the bathhouse. It fits about 300 liters. Using a simple dispenser, you can draw up to one hundred liters of water into the “hot” tanks from two gas cylinders, which are walled up directly in the sauna stove.
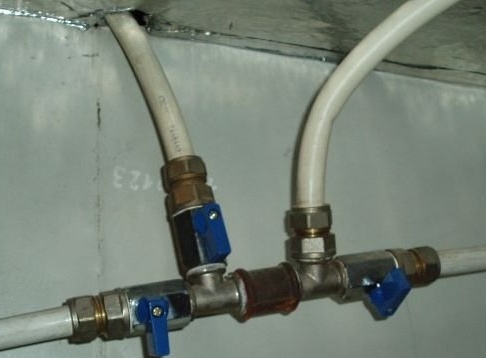
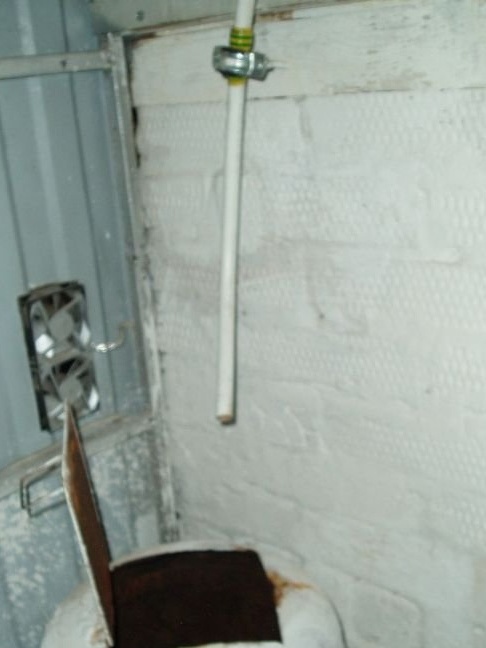
The tube on the left is pouring water into the "hot" tanks, the tube on top, from the attic is the set of water from the house through the hose, the tube to the right, and up - it supplies water to the "cold" tanks that are hidden in the steam room, under the shelf, the tube to the right, what goes into the wall is a summer water supply from the house.
When almost all the water has been collected, we go into the house and close the tap on the water supply. Then we go outside and disconnect the hose from the pipe.
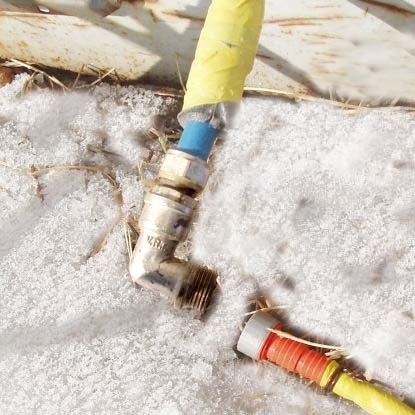
The rest of the water is poured out. Next, go to the bath, and disconnect the hose from another bath tube. The rest of the water on one side pours onto the ground, and on the other hand - into the tanks. For insurance, I additionally blow this tube so that the water in it does not remain and does not freeze.
We return to the house and begin to reel the hose on the reel. Water also comes out of the hose itself, in the process of winding it. In any case, even if the water remains in the hose, I put it in storage for storage in the corridor, it is warm there.
The entire procedure for collecting water in the bath along with unwinding and winding the hose takes half an hour.
The minimum temperature at which I used this "plumbing" was -32 degrees. Of course, in such a cold, everything becomes faster, and the reel is unwound and reeled up in a run, otherwise the hose will freeze. So what, once you can run.
Given the fact that the winter in our area lasts for six months, and for these six months I’ve heated the bath about 24 times, it is much easier and cheaper for me to unwind and wind the hose so many times than to dig a 40-meter trench 2 meters deep. Can you imagine how much electricity it would take to heat 40 meters of water supply throughout the winter?
