


Vryatli it homemade can be called useful for many or in demand.
Only needed for testing and tuning computers. At first, I didn’t really need it either.
But over time I gained experience and more and more friends and acquaintances brought me to garage Sistemniki in the prevention, replacement of the operating system, cleaning, upgrade, repair and more.
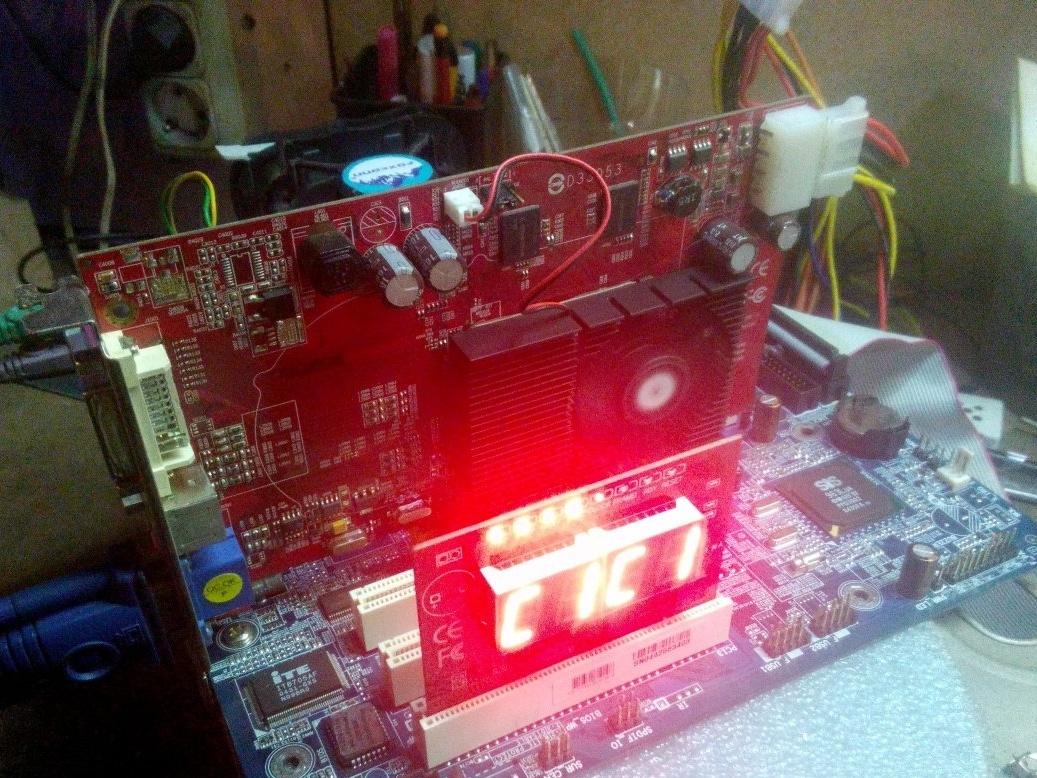
And I was always furious to check several components in the system unit itself.
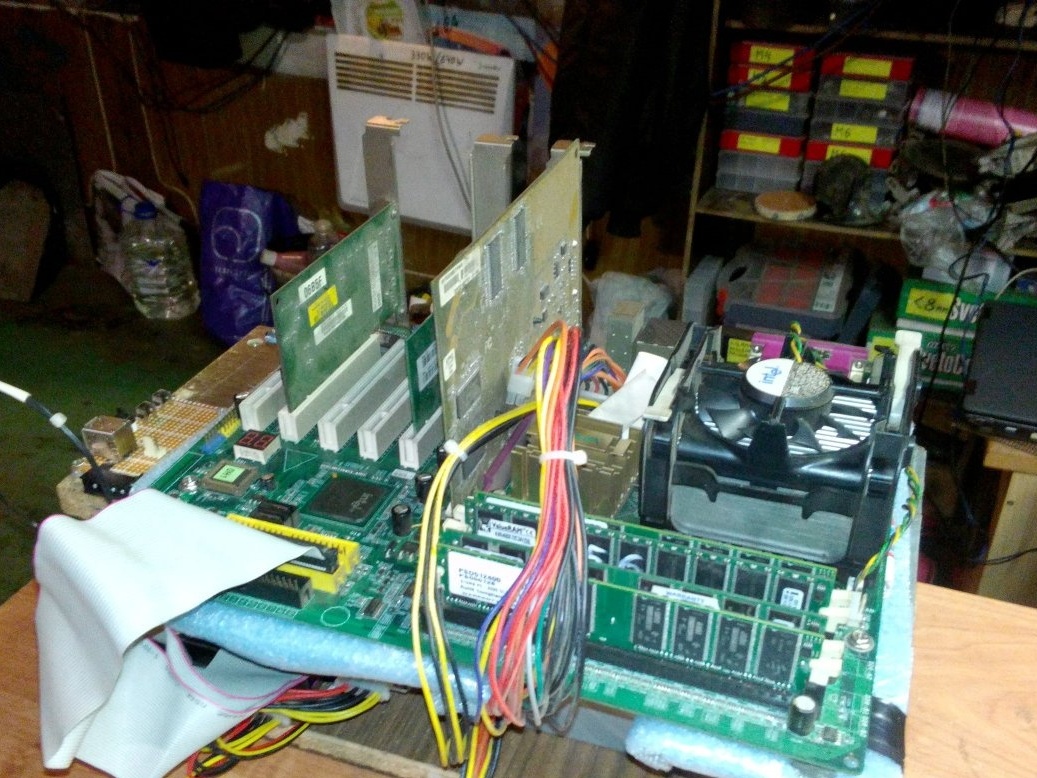
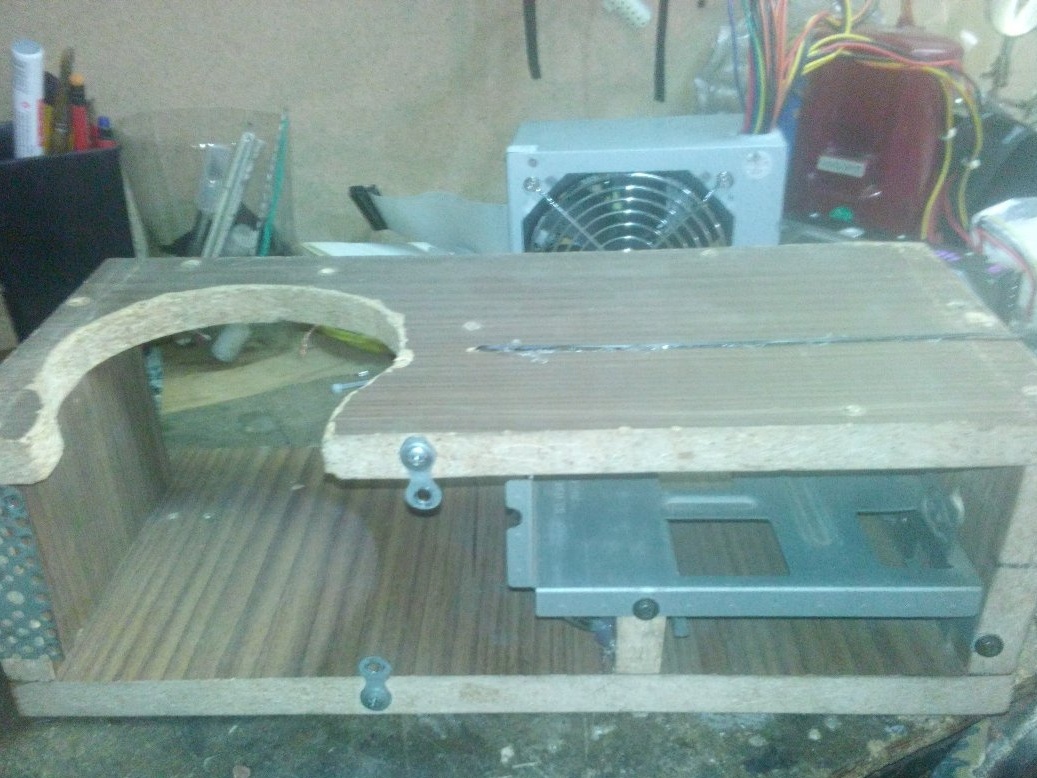
Little space, everything is in the wires, the connectors are hard to reach. And at one point, I decided to make some kind of stand. There were not many criteria, compactness and easy access to the motherboard.
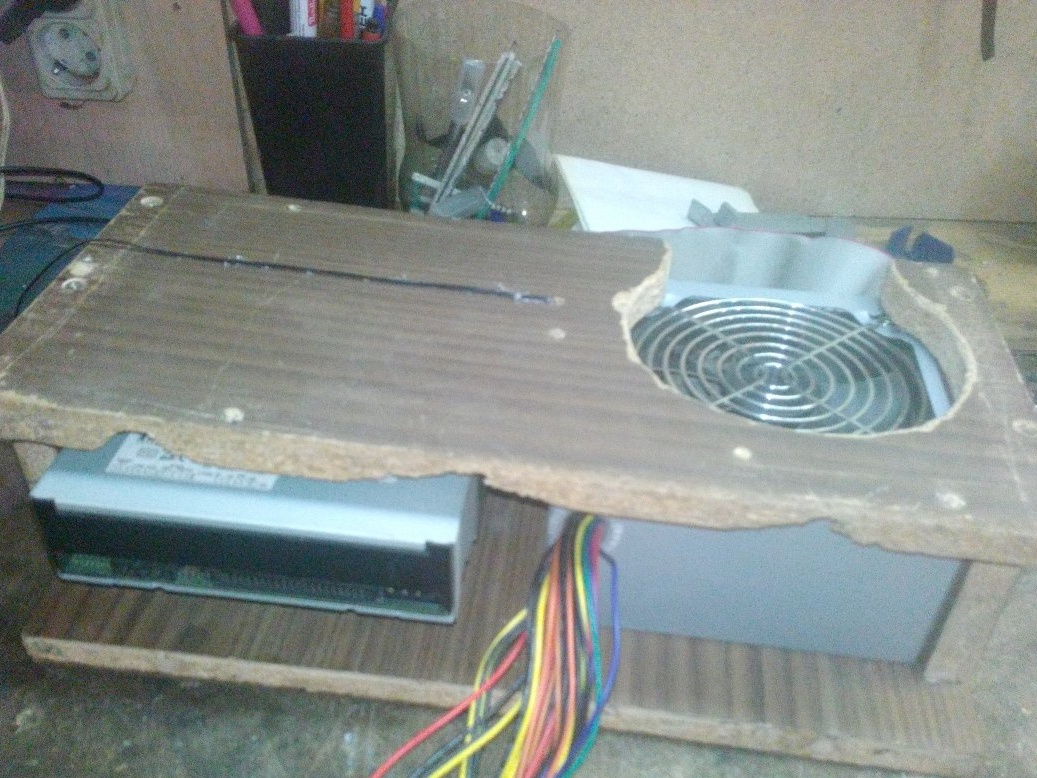
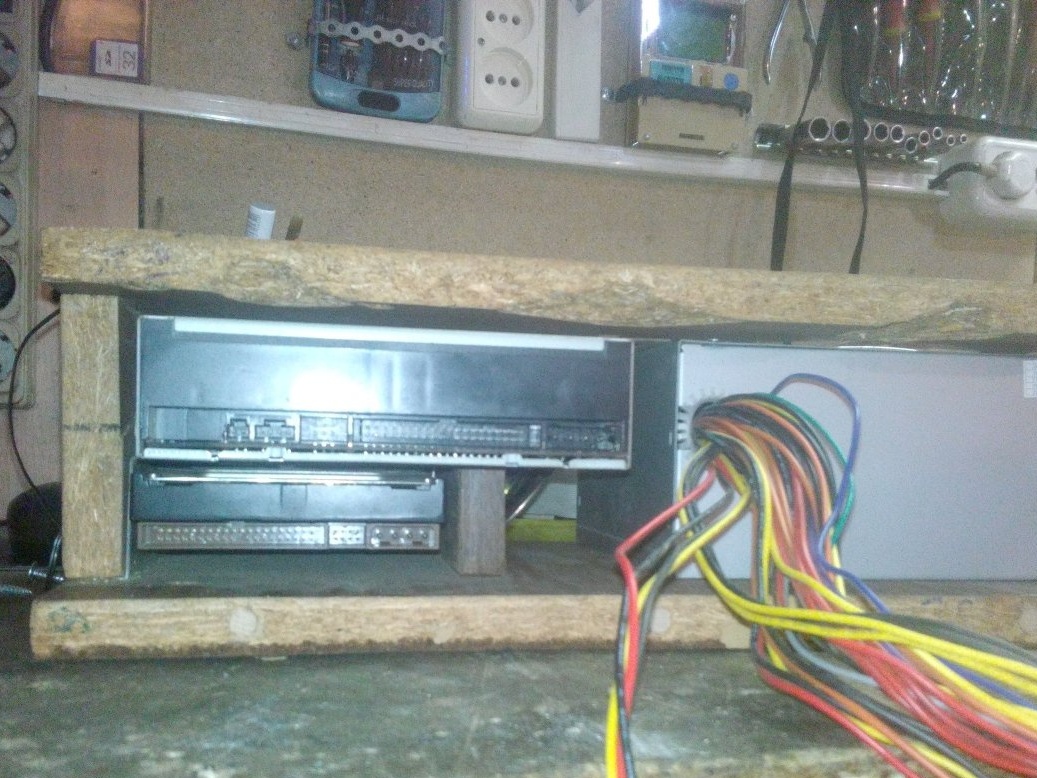
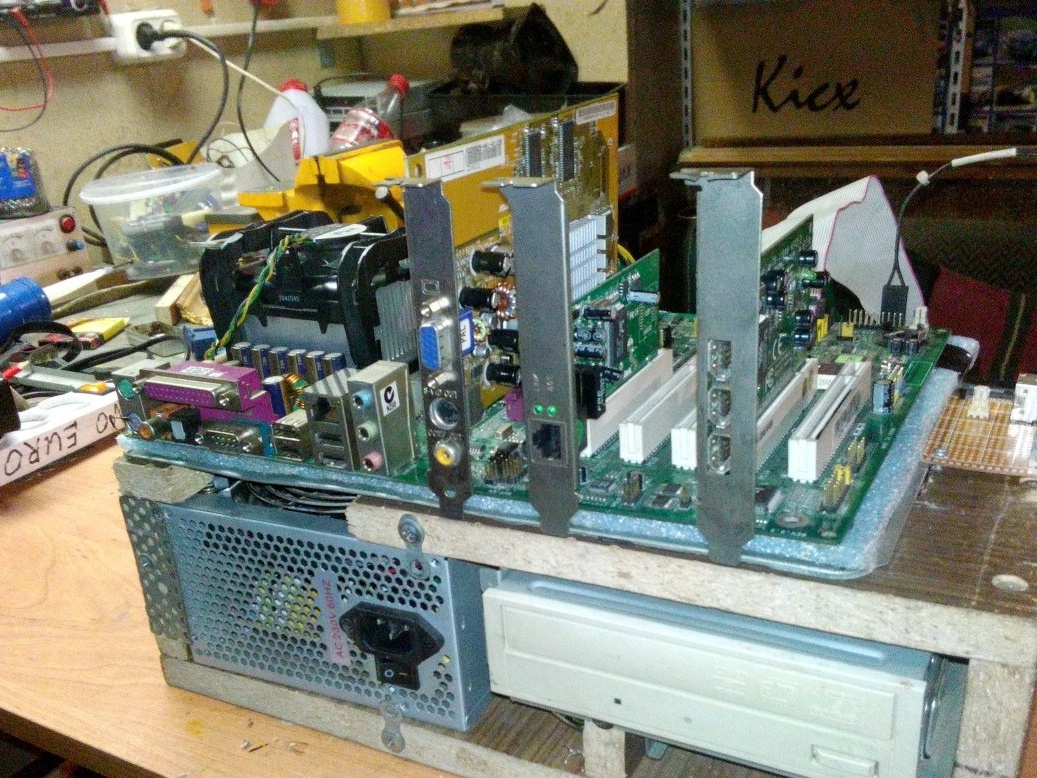
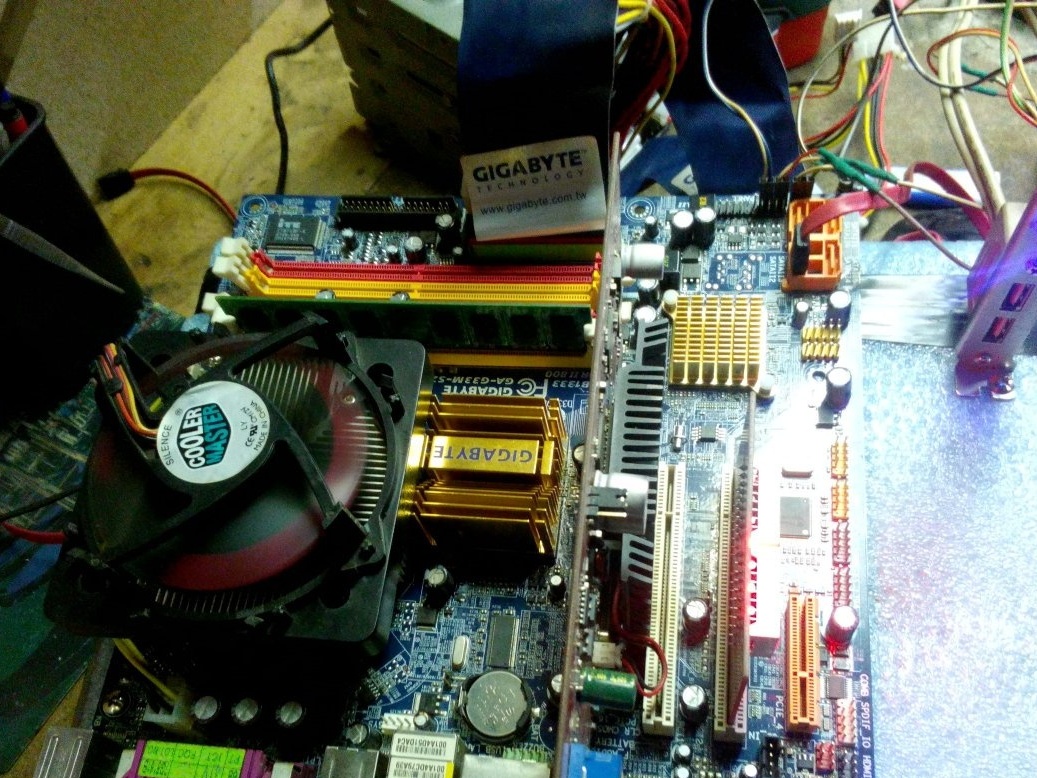
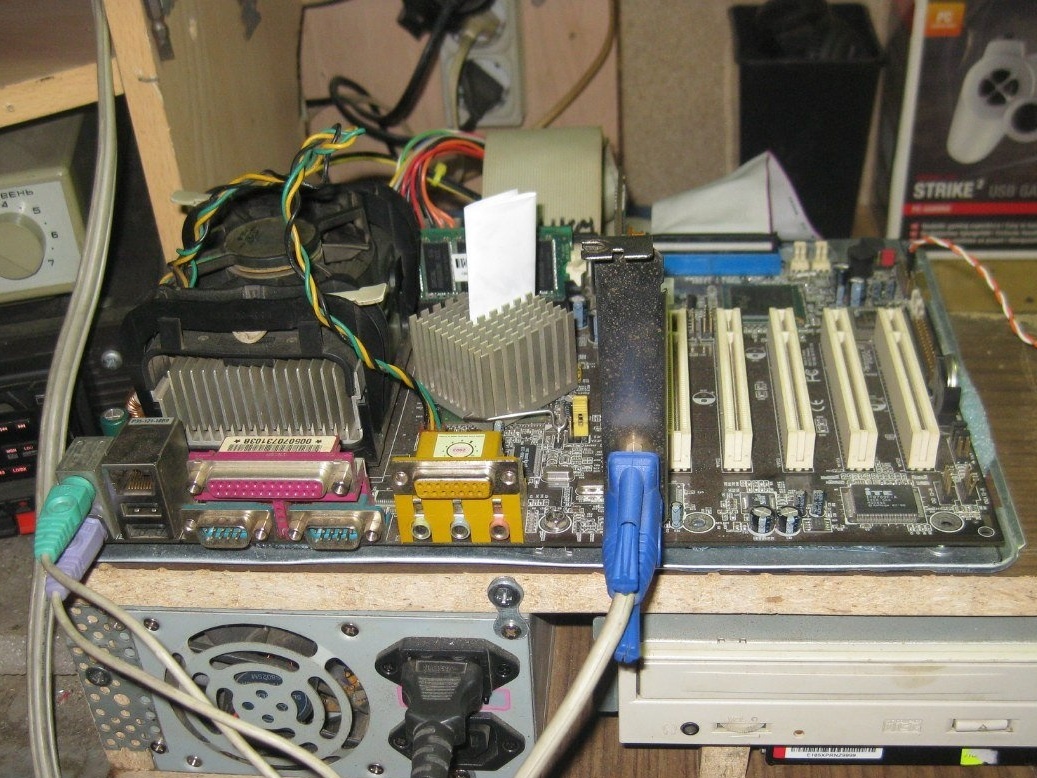
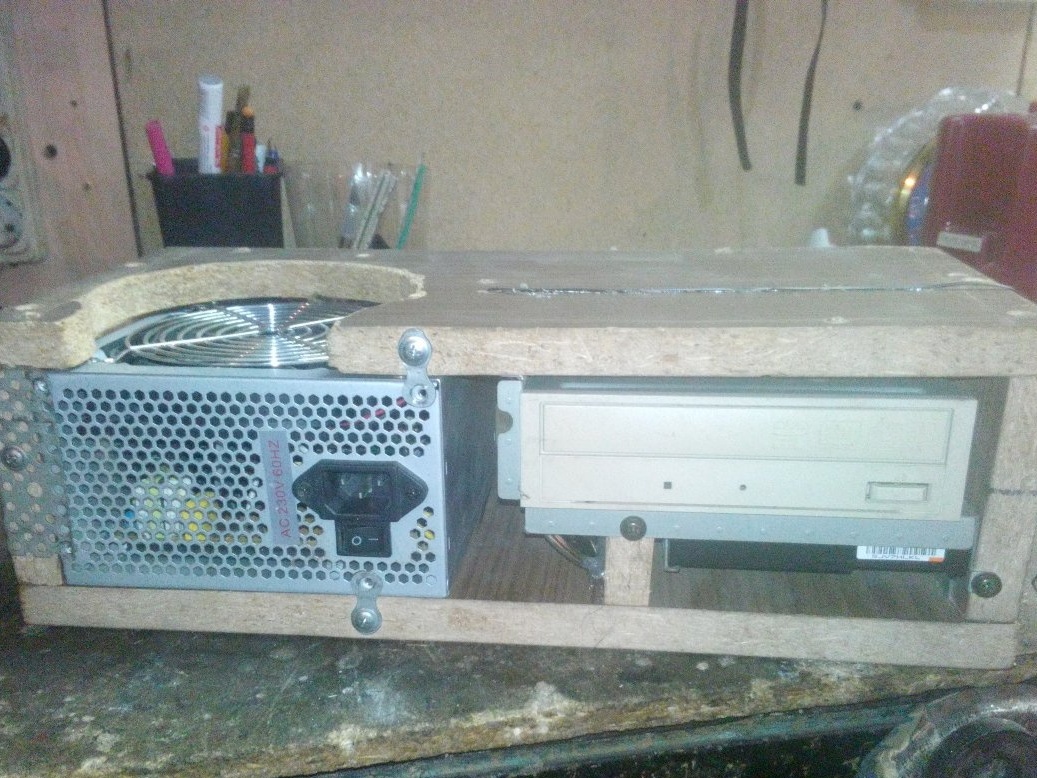
I decided to make a 2-level box, on top of the motherboard, below the power supply, CD-DVD drive and a hard disk for the system. Everything was collected in one evening. And in the first version, the stand existed for a couple of years, then it already made an opening for air, taking into account new power supplies, where 120 x 120 fans stand horizontally, and not 80 x 80 on the side. I also laid an isolon under the motherboard, made a small imitation of the front panel with buttons "start", "restart", the LEDs of the hard drive and power.
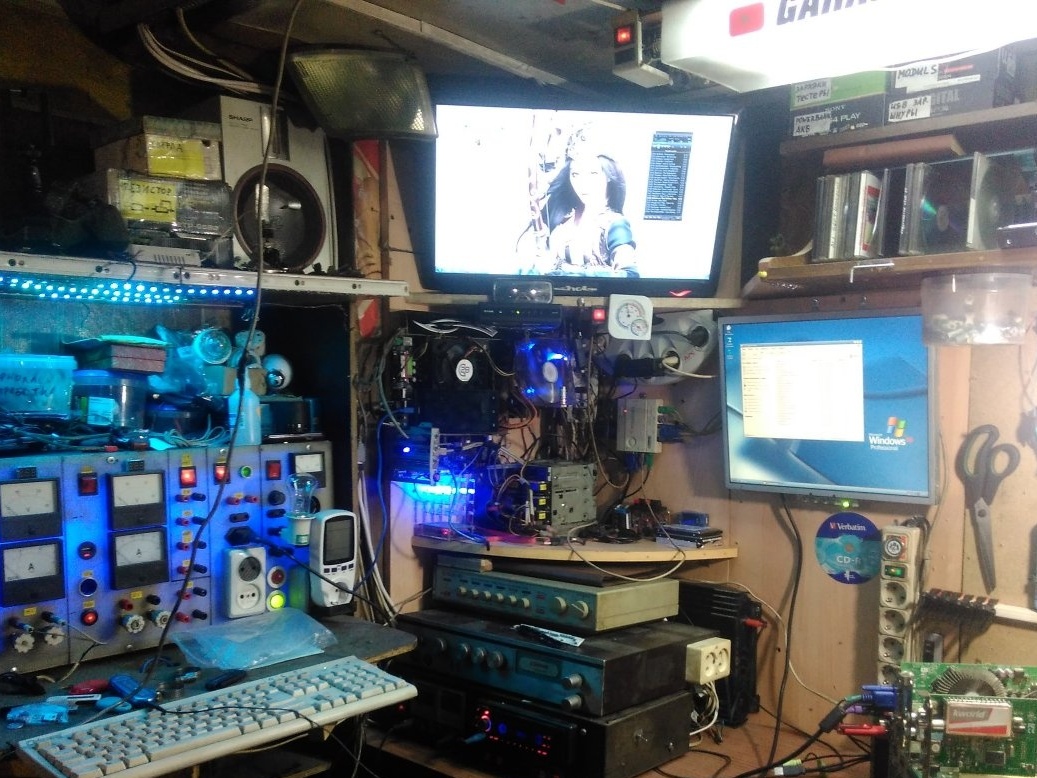
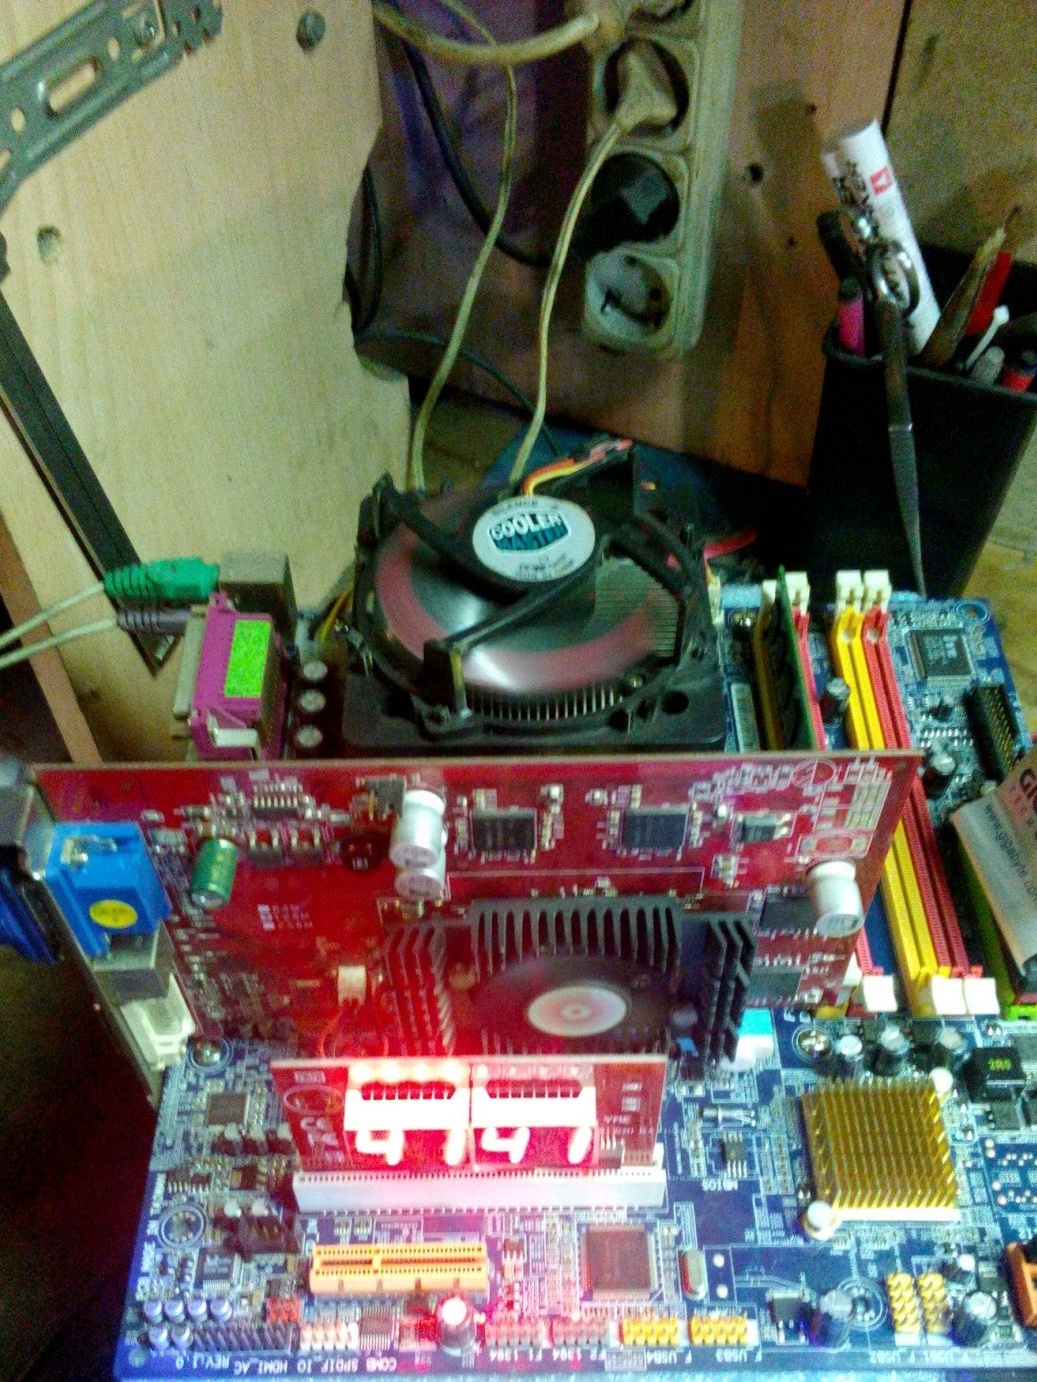
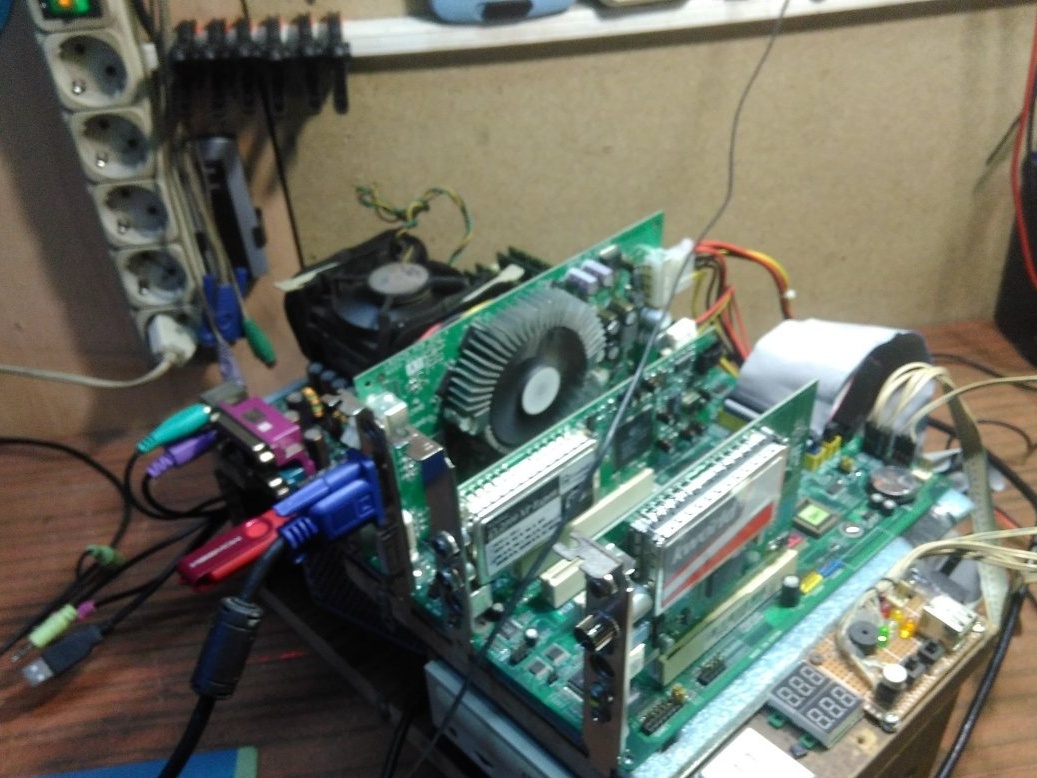
Later, digital indicators of voltage on molexes, 5 volts and 12 volts were added. Well, the last rework at the moment, it fixed 2 more usb ports from the end and placed an amplifier with two speakers at the lower level. The PAM 8403 amplifier is two-channel with 5 volt power supply, power is taken immediately from the USB connector, a 3.5 mm stereo jack is connected to the amplifier input to check the sound on the motherboards.
Everything is compact, I took out two connectors from the inside of the stand, stuck it in the USB and an audio connector and you can immediately check the sound.
Many homemade people will not like it, because it is of little use, but they did it for themselves, and are very pleased with it, except for its appearance)))) The main practicality and not beauty. For many computer reviewers, some kind of box from under the motherboard serves as a stand, everything hangs out, the board can move out at any time. And this is in home then conditions.And in the garage, under the motherboard, a bolt or screwdriver can easily roll up and close all the tracks there. And here the stand itself is quite heavy, because it has both a power supply and a hard drive with a double drive. Nothing flies anywhere, the motherboard is screwed to the chassis. I hope this homemade product is useful to someone, too, and will facilitate its work. In terms of appearance, I hope you get more accurate. Write your opinion in the comments about such a stand for motherboards. By the way, I never even looked for stands for sale, maybe there are some factory-made ones.
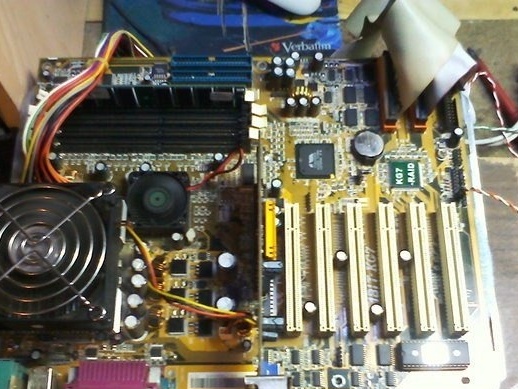
The photos below do not have the latest version of the stand, but there is an initial view, a view from different sides and subsequent changes.
An important factor for creating a stand was, by the way, a bunch of unnecessary system units to choose a normal chassis for the motherboard and guides for the hard drive and DVD drive.
In the near future, I will probably be collecting one more, maybe a reviewer will also appear later.


Well, of course there are video reviewers on this stand.
True, the old one, a year ago I shot, there is just an intermediate version of the stand, digital indicators and an amplifier have not yet been made. If someone is interested in the latest version, look at the computer assembly on the channel, there often this stand falls into the frame.