

Today I want to share with you the production of another souvenir, so to speak, for home needs I made a present for my daughter.
For this we need:
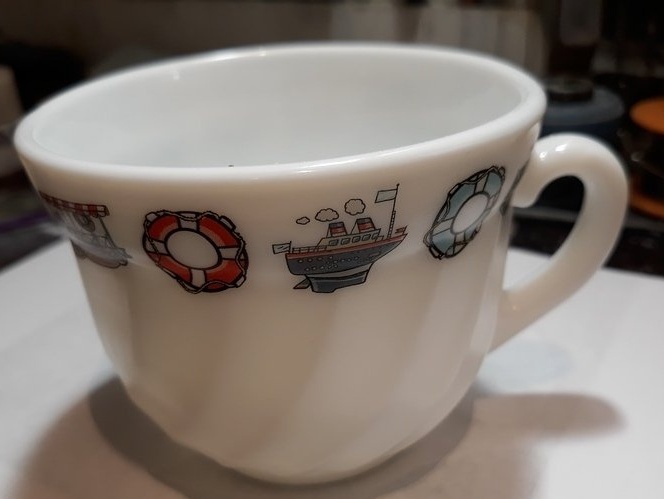
- A simple cup, preferably with a picture on board, with a nautical theme.
You can saucer, but not necessary.
- a tube (small) of transparent sanitary silicone sealant,
- a piece of thin plexiglass or transparent plastic (1-2 mm thick),
- glue super-moment (3 gr.),
- acrylic paints (white, blue, blue, green ....),
- a dolphin pattern from the Internet on the right scale (who can’t find, write
I will send)
- if it is a gift, a beautiful gift wrap.
Tool:
- Caliper (columbus),
- scissors
- model knife (sharp),
- a drill with various nozzles,
- clamps.
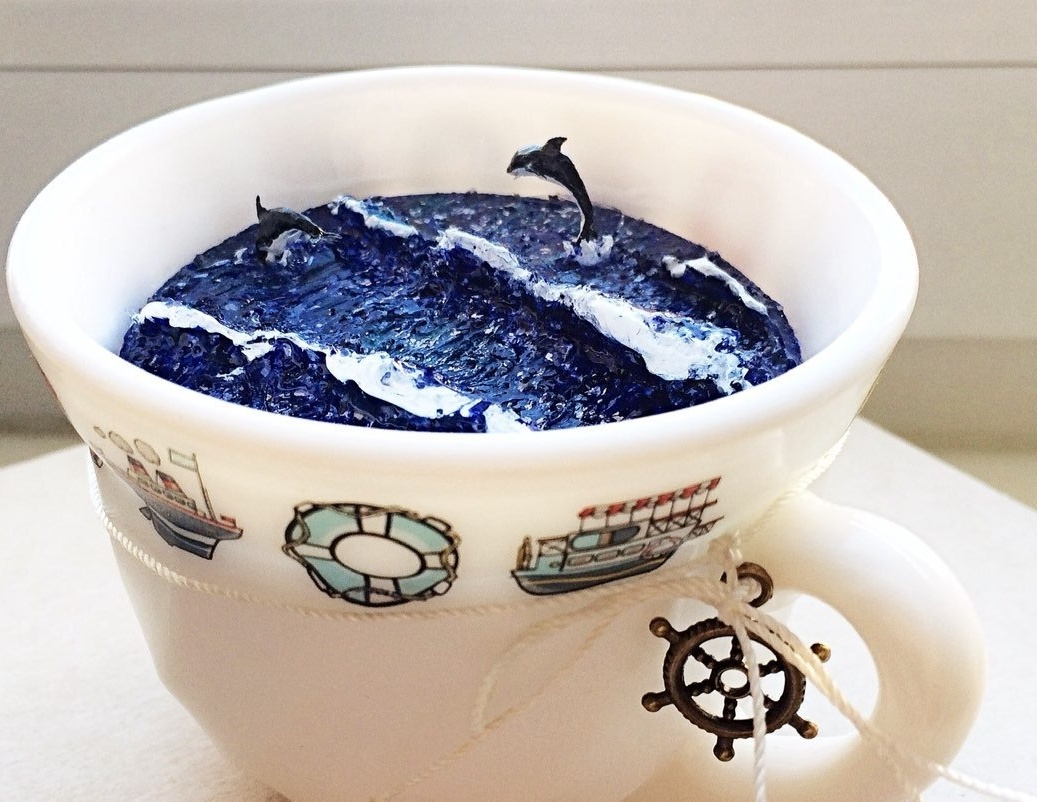
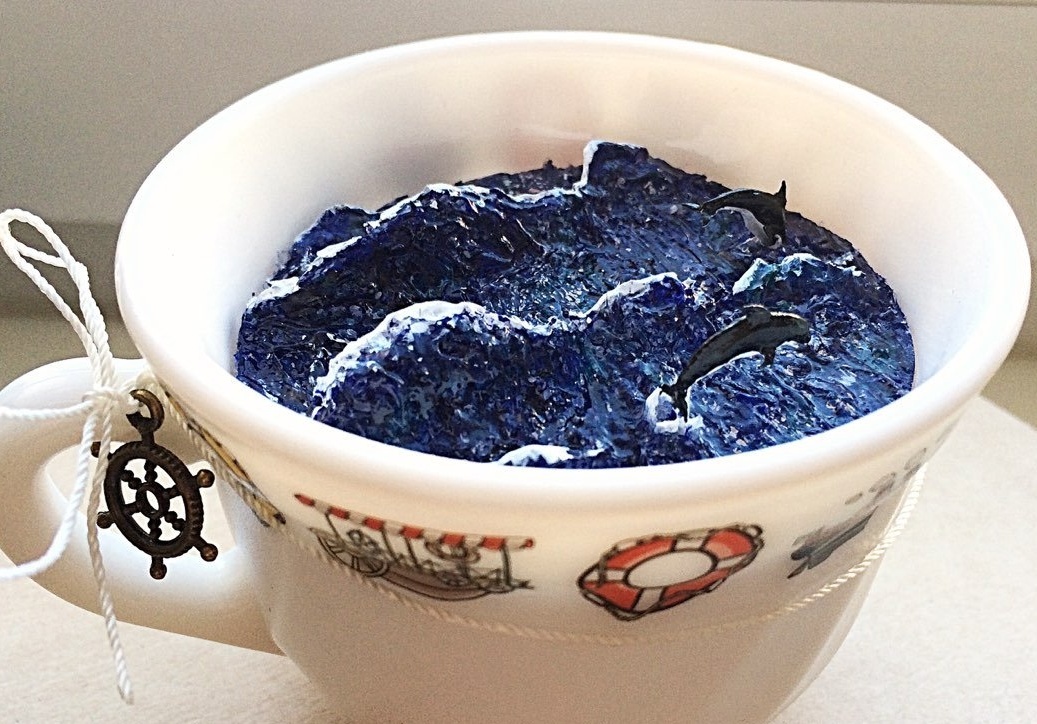
Encouraged me to create a cup picture on the Internet. I just came up with the technology and revived it by adding a couple of dolphins. To start, we select a beautiful cup, you can with a saucer, you can without a saucer. Since there will be sea in the cup, I have been looking for something with marine symbols for a long time. I got this one, without a saucer.
Further from the top of the cup on the inside, back down 20-25 mm and measure the inner diameter of the cup with a columbus. Then he made a sketch on paper, so for himself.
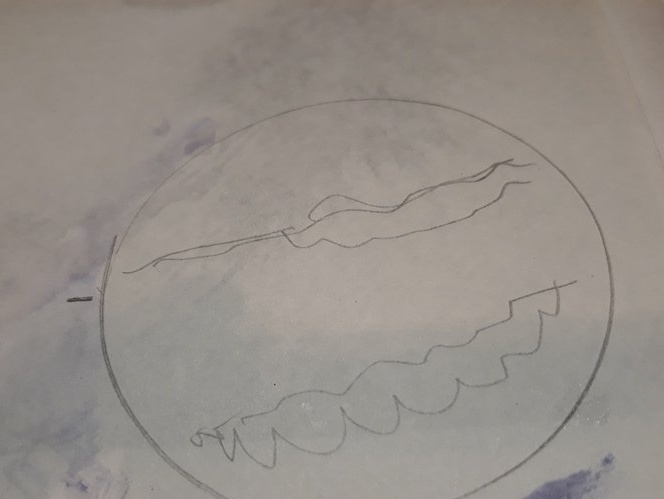
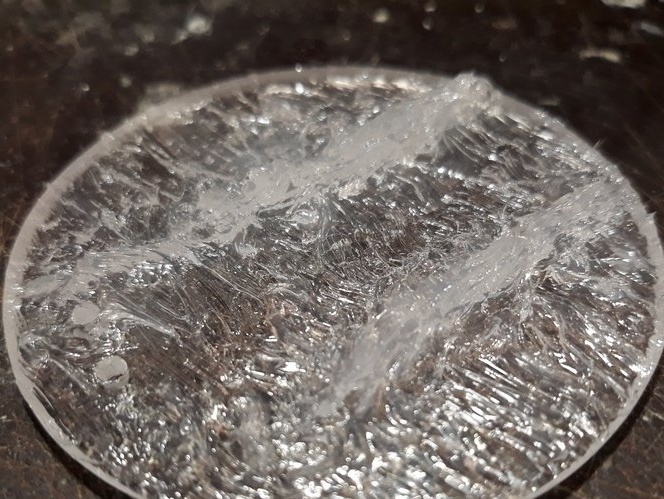
Cutting plexiglass to size. And he made a cut with a slope inward to the center, so that the fit to the wall of the cup was complete. Applied according to the sketch, silicone sealant forming a water surface and not large waves. I warn you right away. Do not try to create a big wave and its bend at once, it will fall, and everything will have to start all over again.
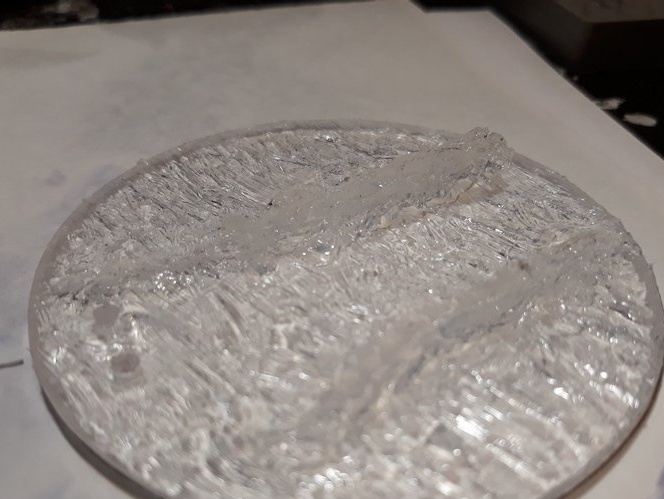
The sealant layer must be applied not large up to 2 mm, maximum 2.5 mm. The thinner the sealant layer, the faster it polymerizes (dries). Therefore, one must be patient. The wave must be formed gradually as the sealant cures.
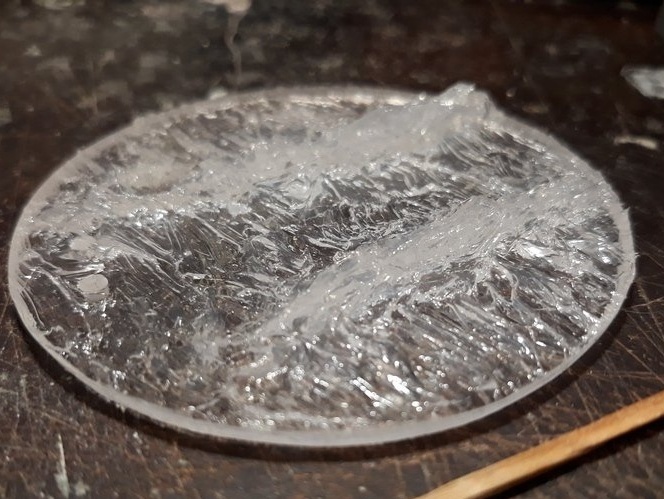

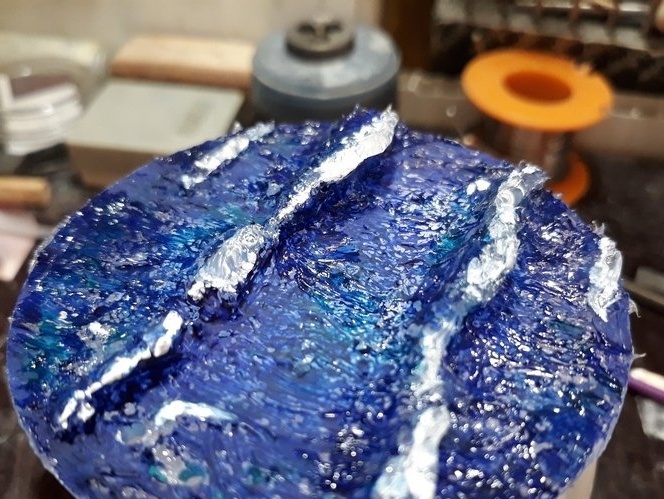
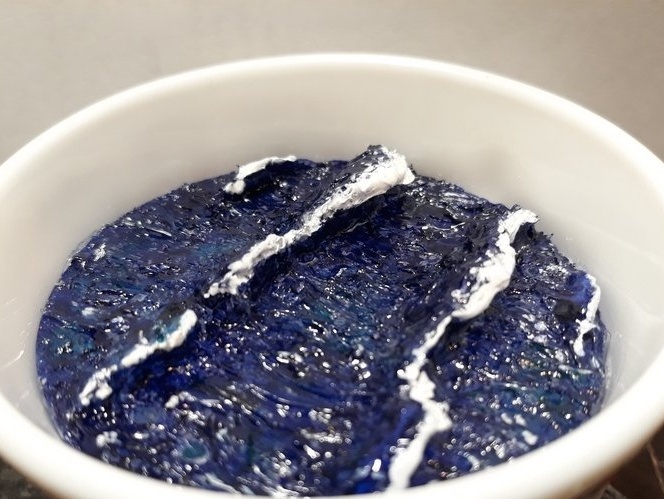
The sealant should be applied along the wave from the bottom up to the crest, try not to make passes so that there are no depressions on the crest of the wave. When the water surface is already more or less formed, and in order to see flaws (which may be present), we paint it (water surface) with acrylic paints. Selecting immediately the color of the wave and the color of the troughs of the waves. In this case, those who are not vlade with imagination, it does not matter. I recommend in this case, to prepare for the earlier picture of the wave in color and adhere to its color scheme. The paint will not go down in a continuous layer, but as if streaked.
This is visible in the photo. And this is wonderful, because there is such water.
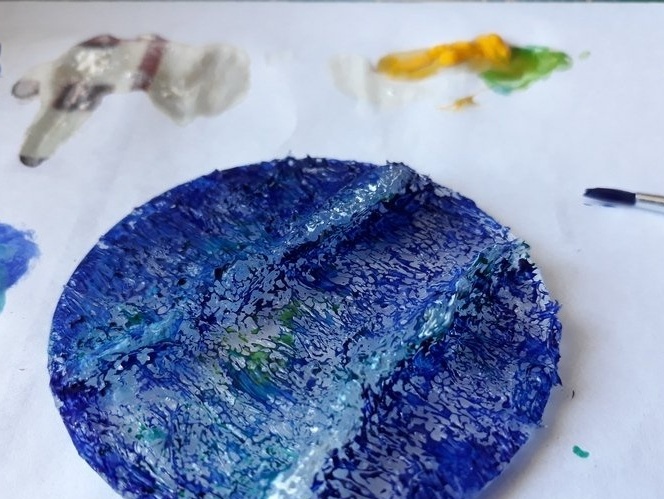
Then draw the foamy scallops of the waves with white paint.
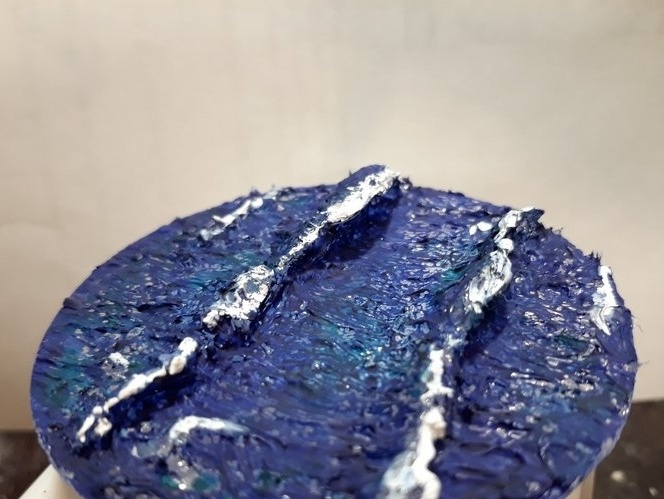
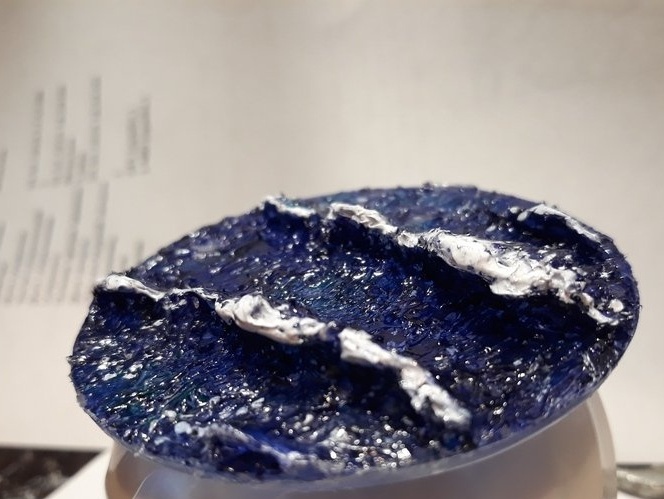
After the paint dries, it will be visible on the matte surface of the painted areas, it will be clearly visible how you formed the wave. Whether there are dips on the crest, or whether the wave itself is sufficiently bent. Do not be discouraged if something is wrong. Everything is fixable. You take the same sealant and, as if puttying, remove the troughs on the crest (nape) of the wave. You can add the coolness of the wave and the foam cap, or even next to the wave you can add a small foam scallop. Only after that it is necessary to paint the corrected places again.
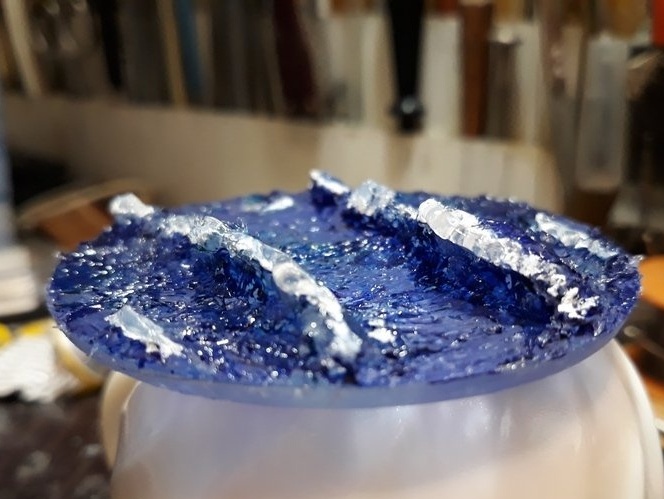
When everything is formed and painted, as you need (the paint should dry). It is possible to cover the water surface with glossy acrylic varnish.
Next, take a cup and mark where the water surface will be inside. We make 3 - 4 lugs from plexiglass and glue to the inner wall of the cup. We glue the lugs at the super moment. Clamp with clamps.
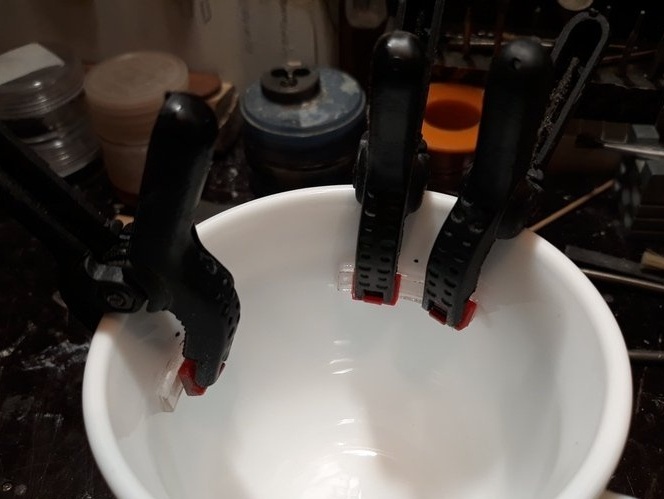
It should be like this.
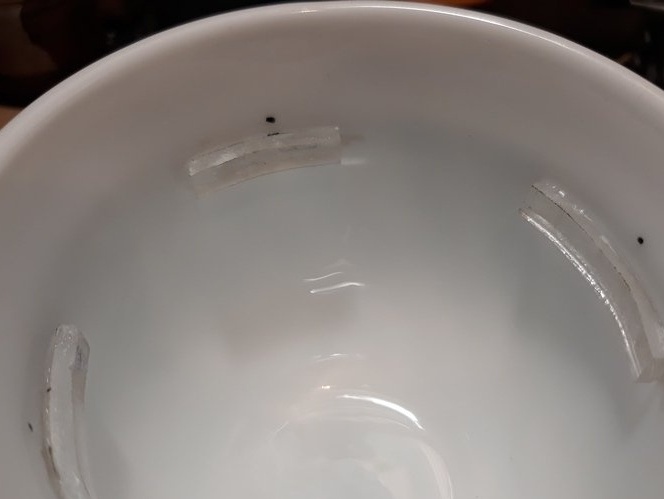
It is important that the water surface stands evenly, without gaps and inclinations to the walls of the cup.
In preparation for this work, I found on the Internet a leaflet with a dolphin pattern of 15-18 parts. I will say right away that I did not use all the details given on the pattern.
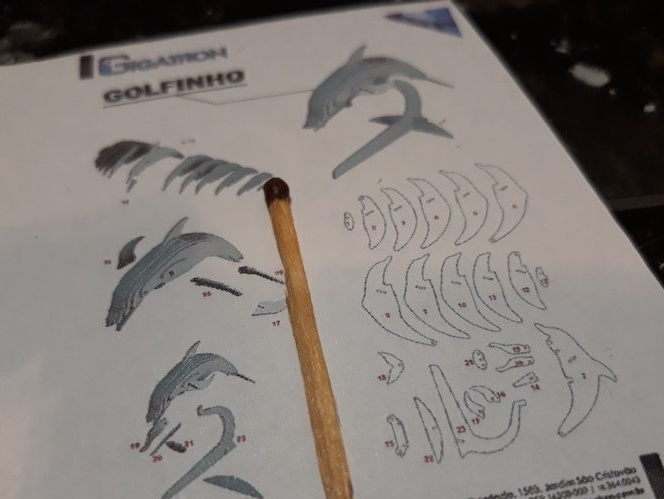
This pattern is for those who are engaged in cardboard modeling or sawing from plywood. I downloaded the pattern and reduced it to the size of the dolphin I needed. I cut out the blanks and began to collect it (dolphin), or rather two. Here I want to say who can do without patterns. Himself can mold a dolphin figure, do it your own way.
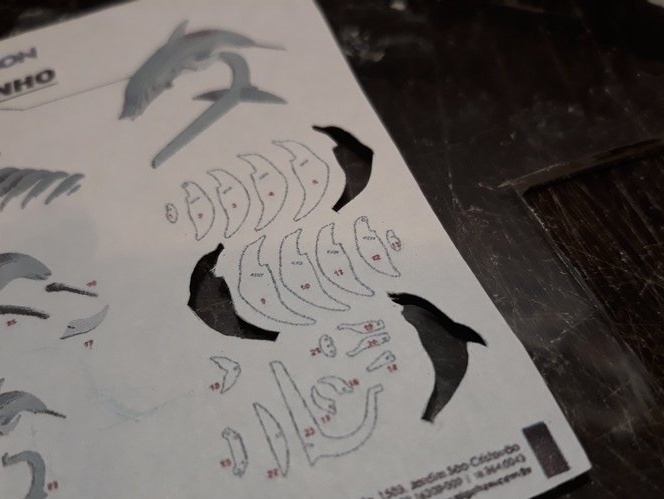
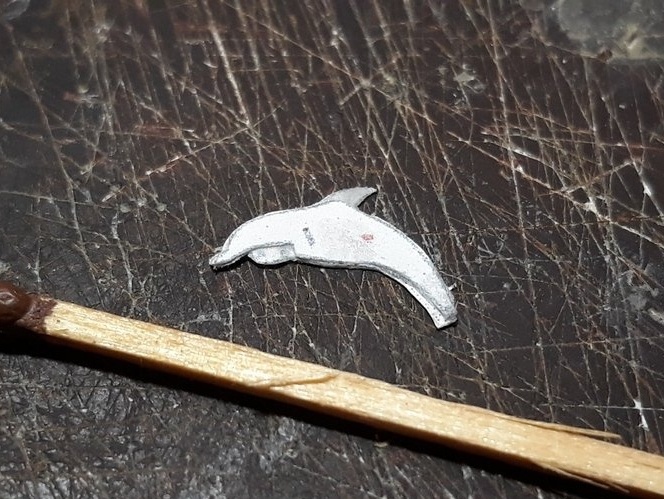
I glued the figures in layers on one side, then on the other with super-moment glue. When using this glue, the paper is impregnated with it. And when the glue dries, it turns out like a plastic figure.
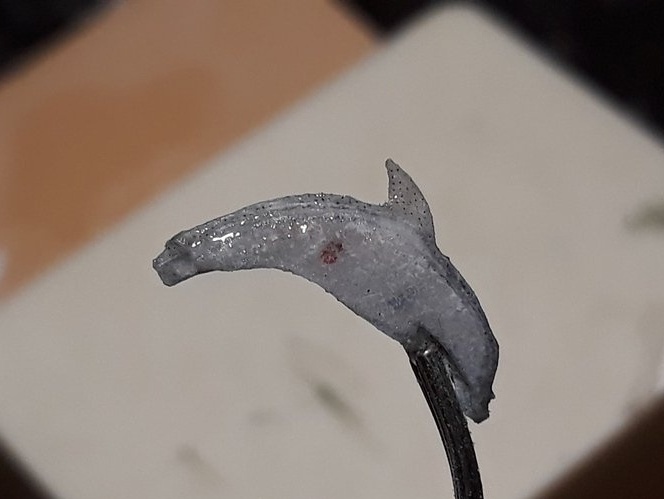
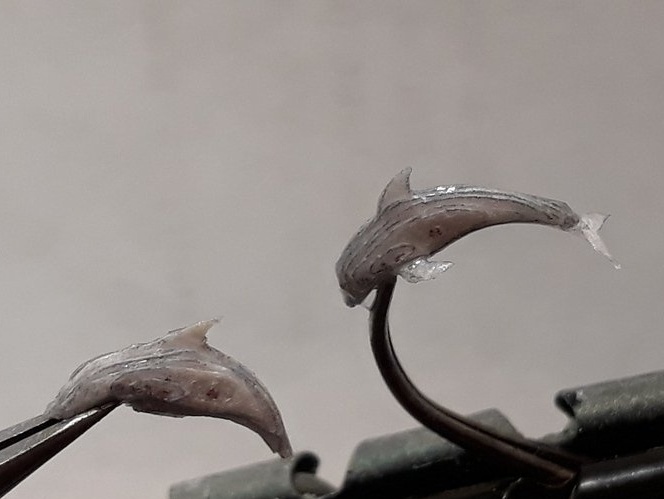
I want to note that when assembling one dolphin (which will jump out), I inserted an auxiliary copper wire into the tail, for its subsequent installation on the water surface. Accordingly, I drilled a small hole for a jumping dolphin and a hole for a diving dolphin a little more to enter the nose. By organizing splashes of the water surface around the figures of dolphins.
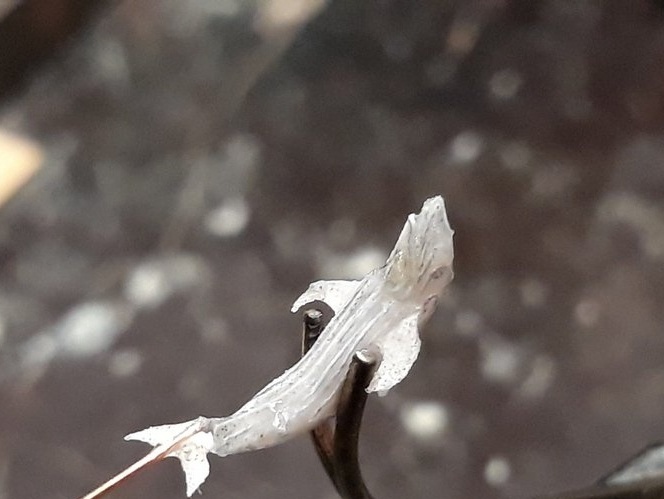
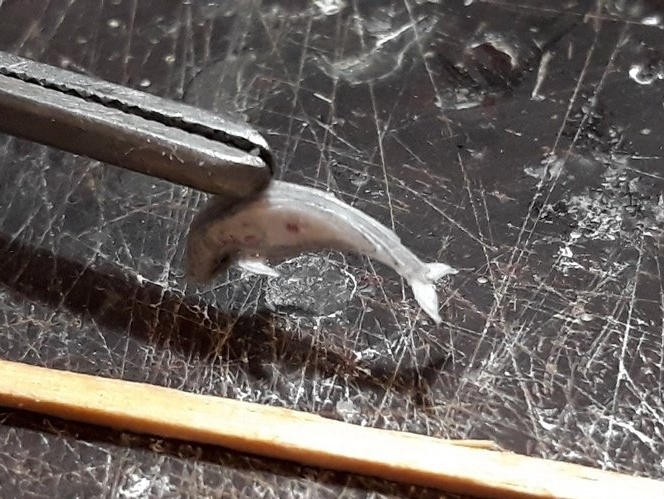
Then he painted the dolphins with acrylic paints: - bottom - white, top - black. And set them in place on the glue.

And the last one.
Packed in a gift bag, which beat a little in meaning.
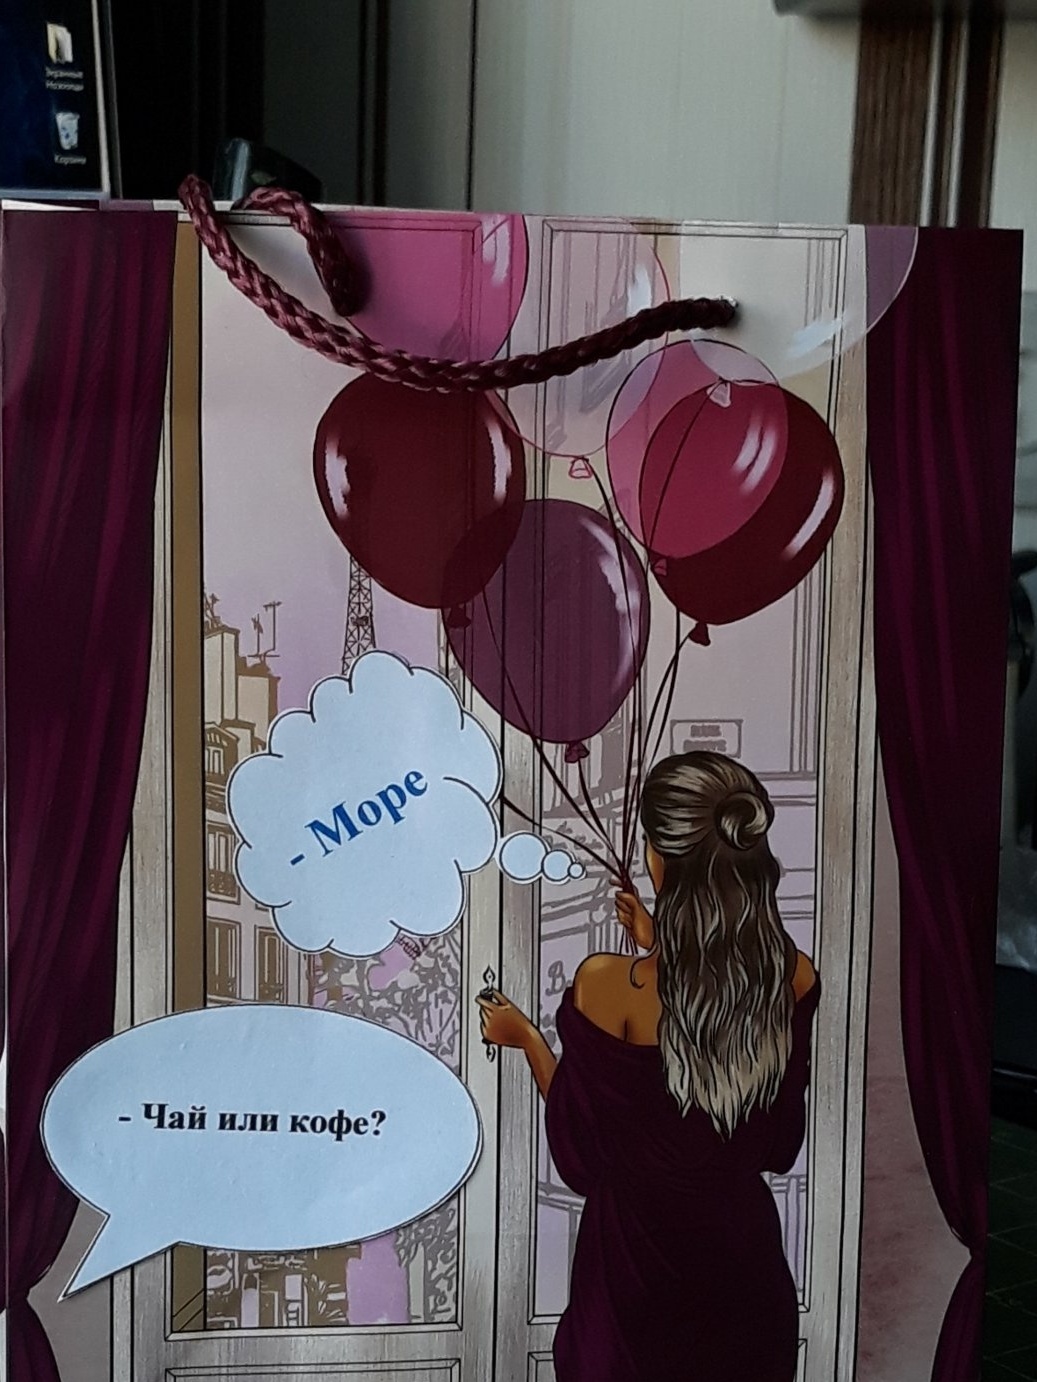
That's it.
I will say this, I really liked the gift, right up to tears.
See, criticize, advise, ask.
Regards, Starp.