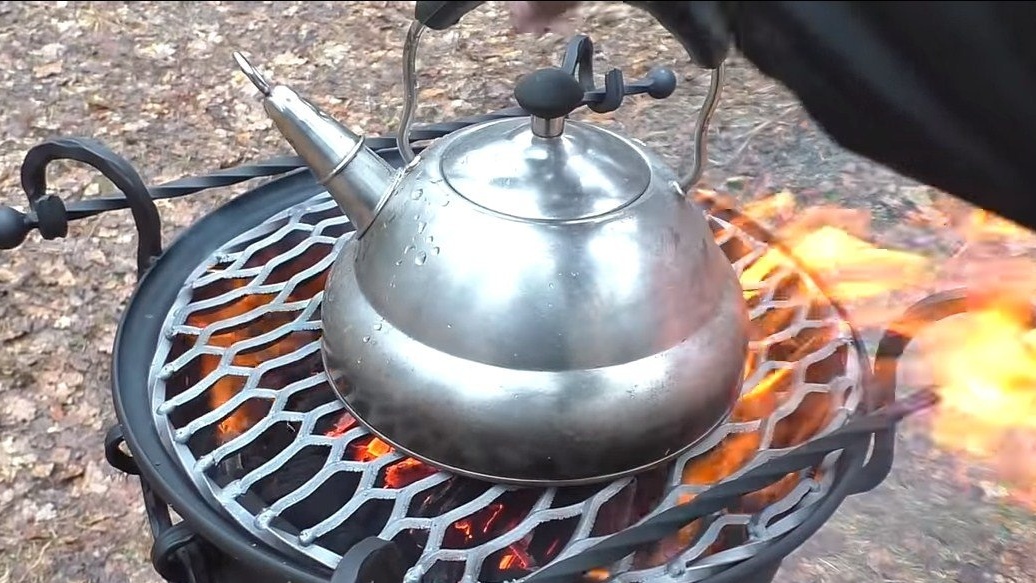
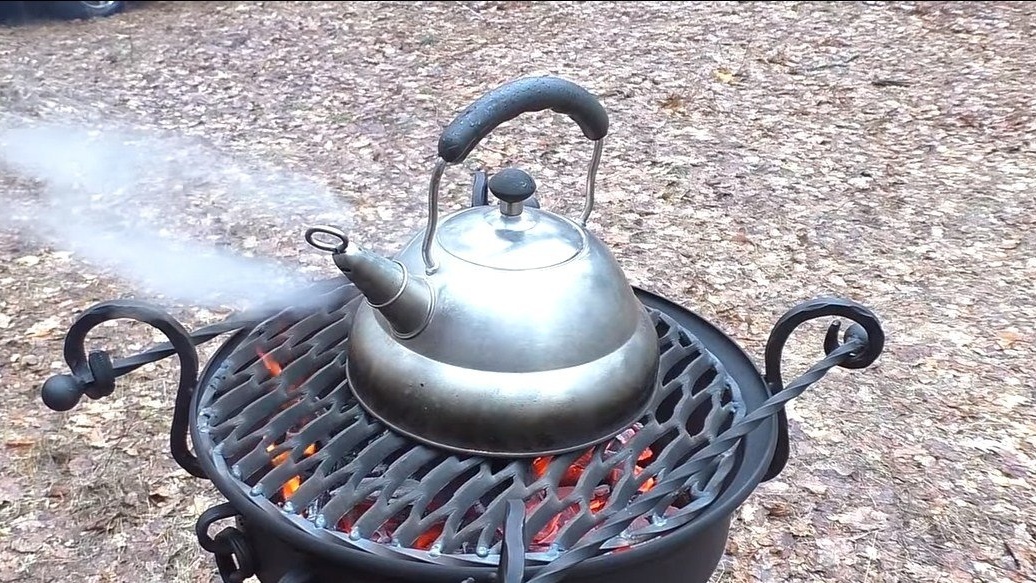
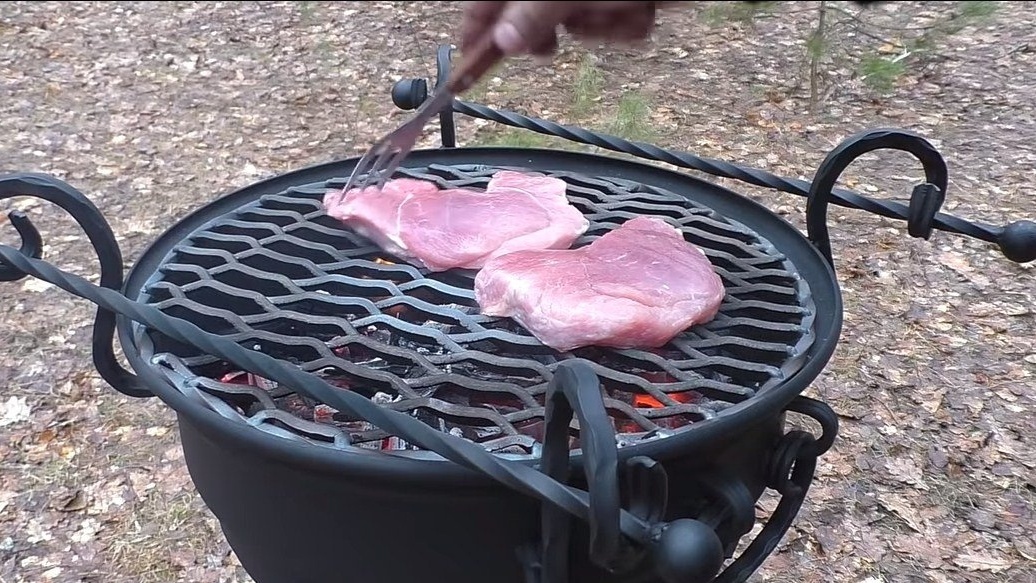
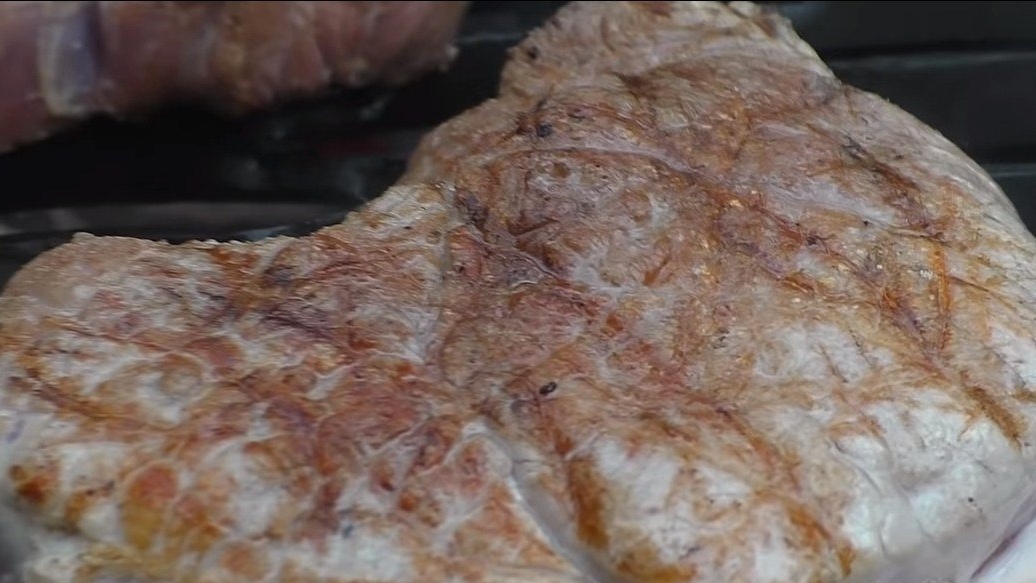
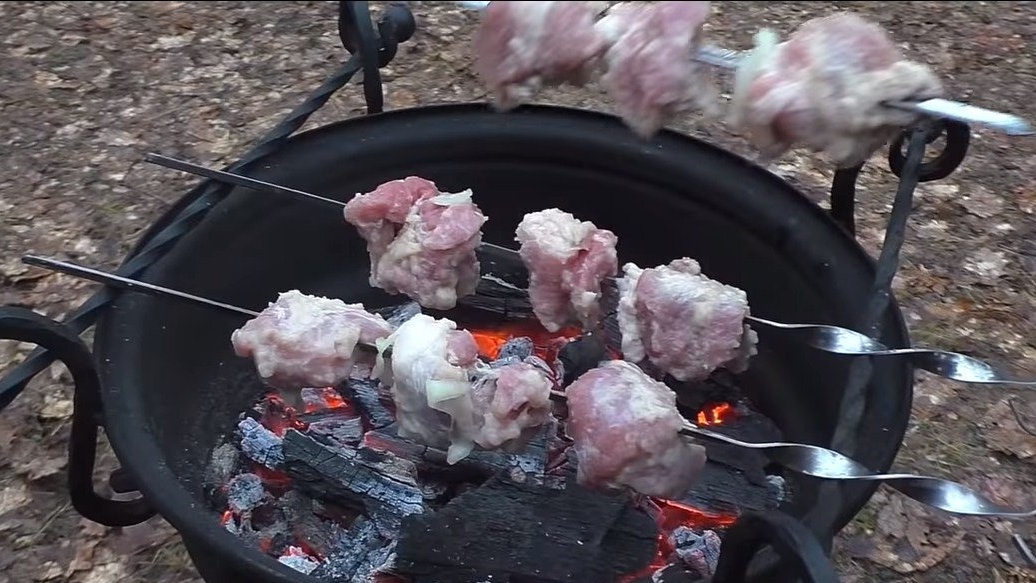
Hi to fans who love to craft, in this instruction we will look at how to make a beautiful and convenient grill. A car disk was used as the main material, and if you want everything to look even more original, you can make a bar rack from a car rack. The author easily cooks kebabs on his grill, and also grills meat on a grill. And if you wish, it’s not difficult to boil a kettle of water or boil your ear by putting the dishes on the wire rack. Everything looks very beautiful and unusual. If the project interests you and you want to put together something similar, I propose to study the project in more detail!
Materials and tools used by the author:
Material List:
- car drive (iron);
- car rack;
- washers, bolts and nuts;
- iron grate;
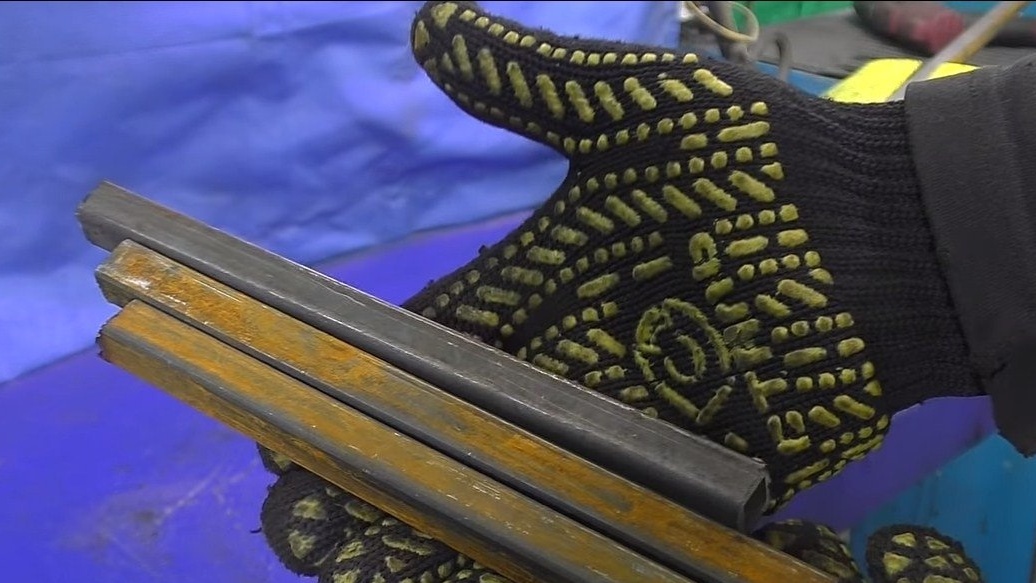
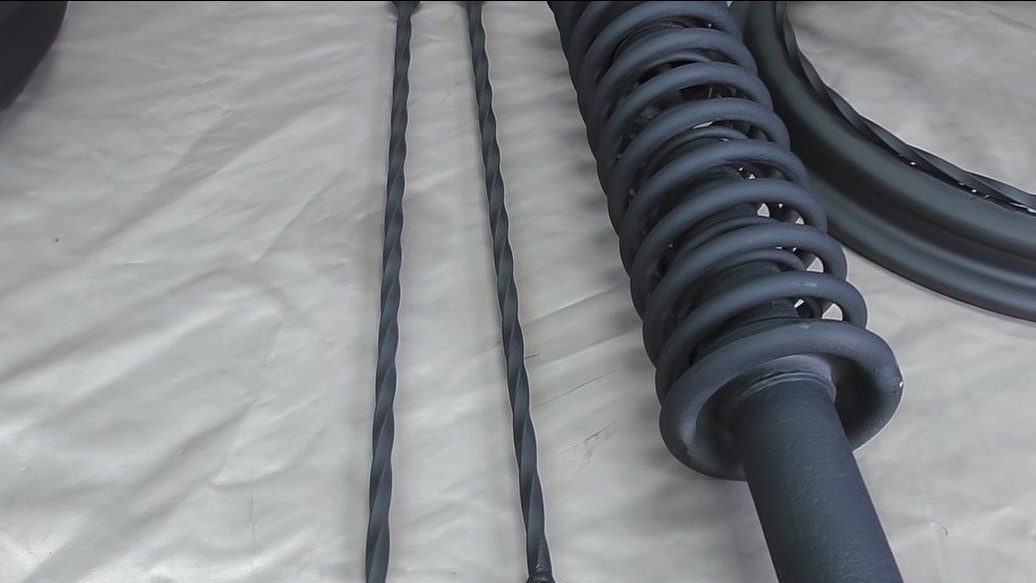
- twisted square rod;
- profile pipes;
- some forged products (pens and so on);
- iron balls;
- skewer;
- heat resistant paint.
Tool List:
- ;
- ;
- ;
- vise;
- roulette;
- marker;
- spanners.
Manufacturing process homemade:
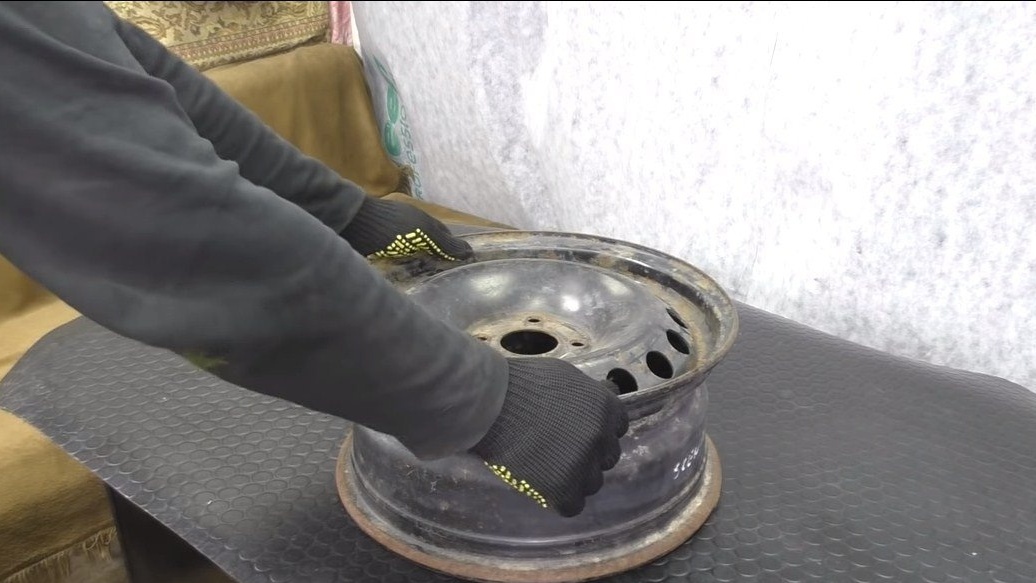
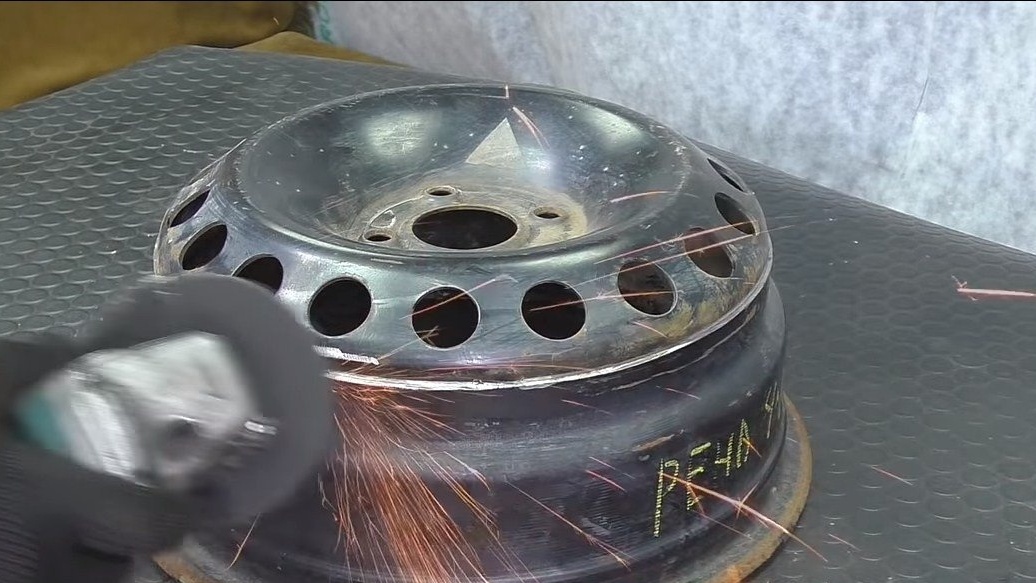
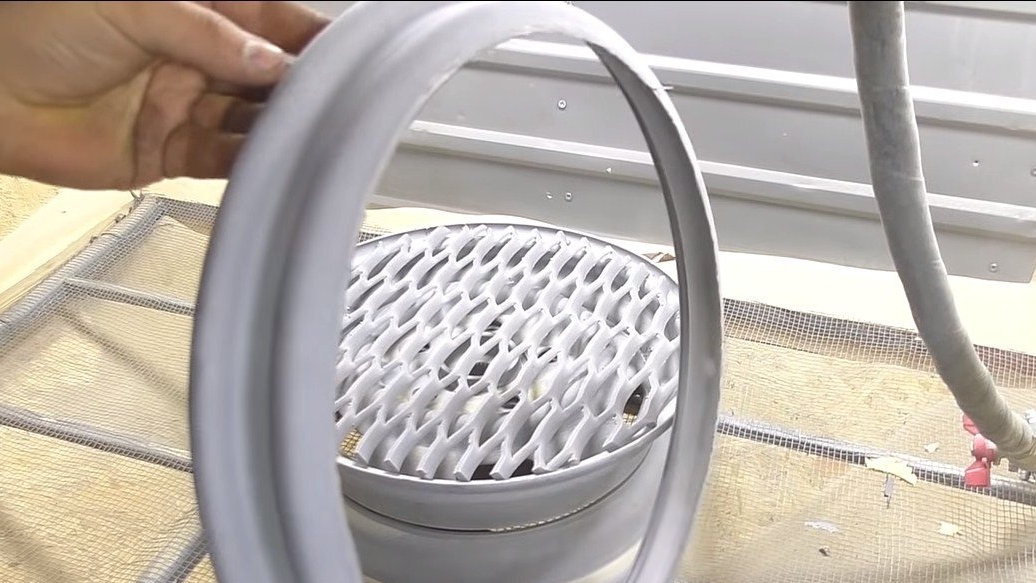
Step one. Disk preparation
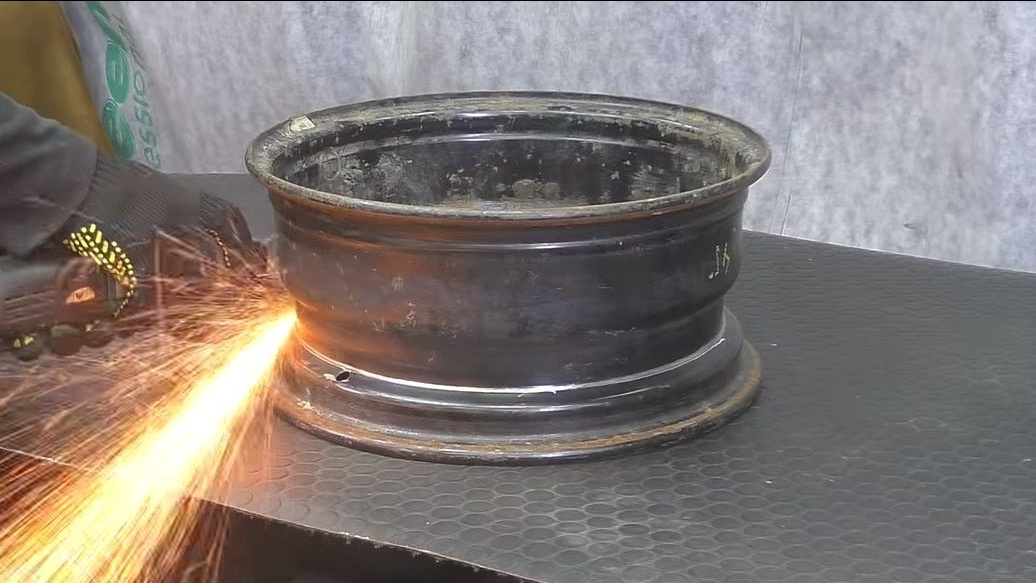
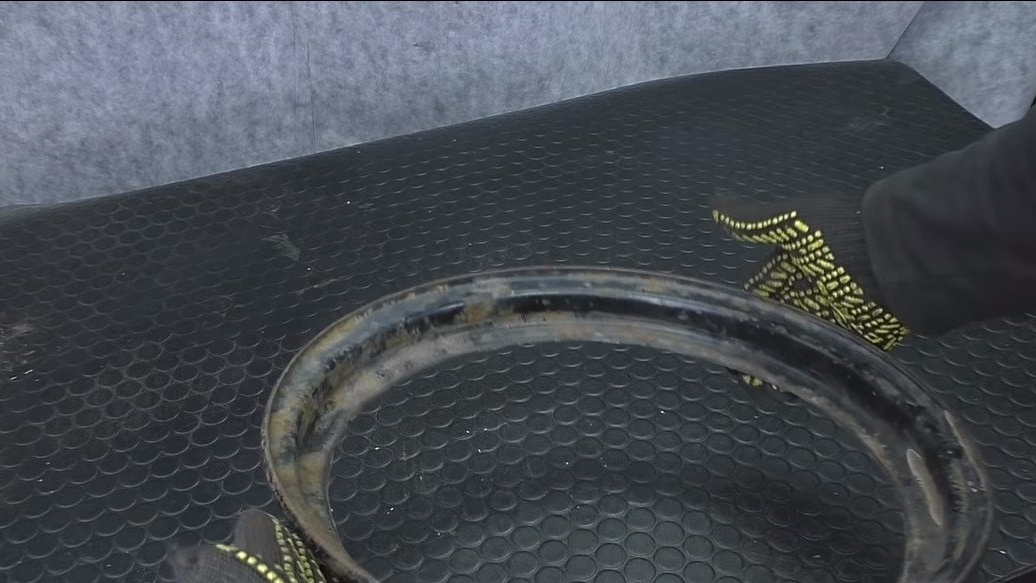
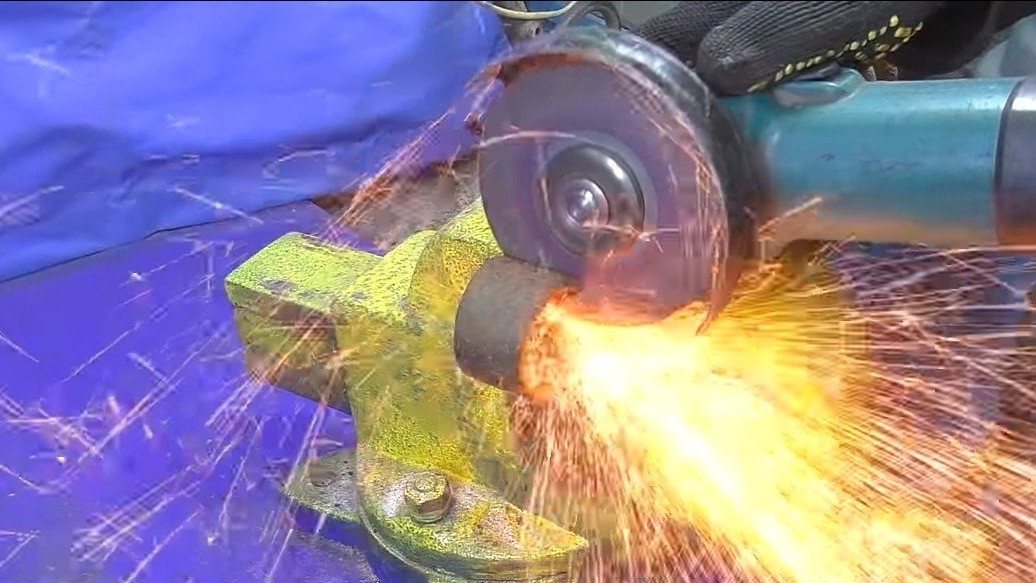
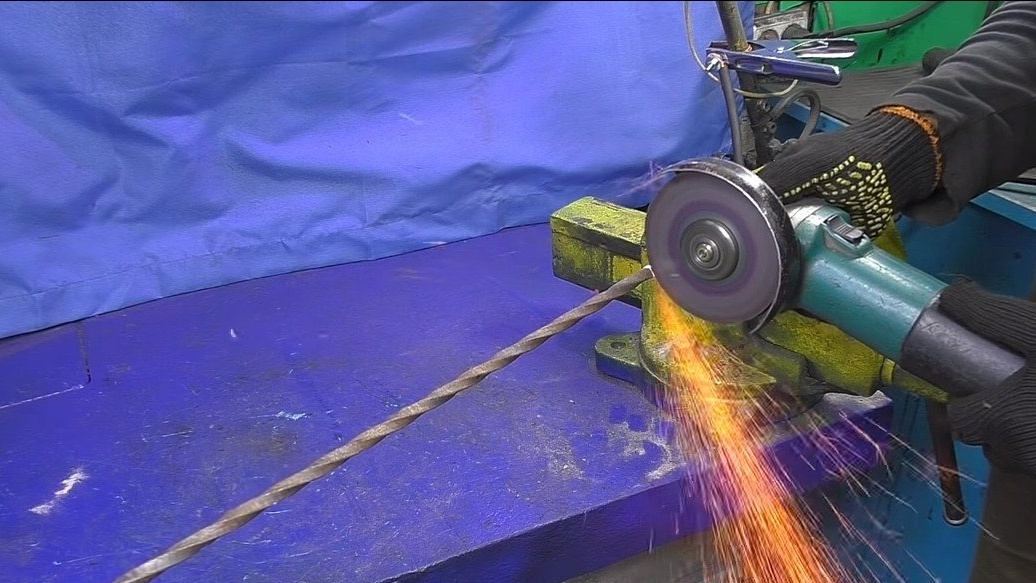
We take a disk and, armed with a grinder, cut one of the rims. It’s better to draw a line first so that everything works out smoothly. The author cuts the disk slowly, in a circle. We do not throw out the cut-off part, we will still need it.
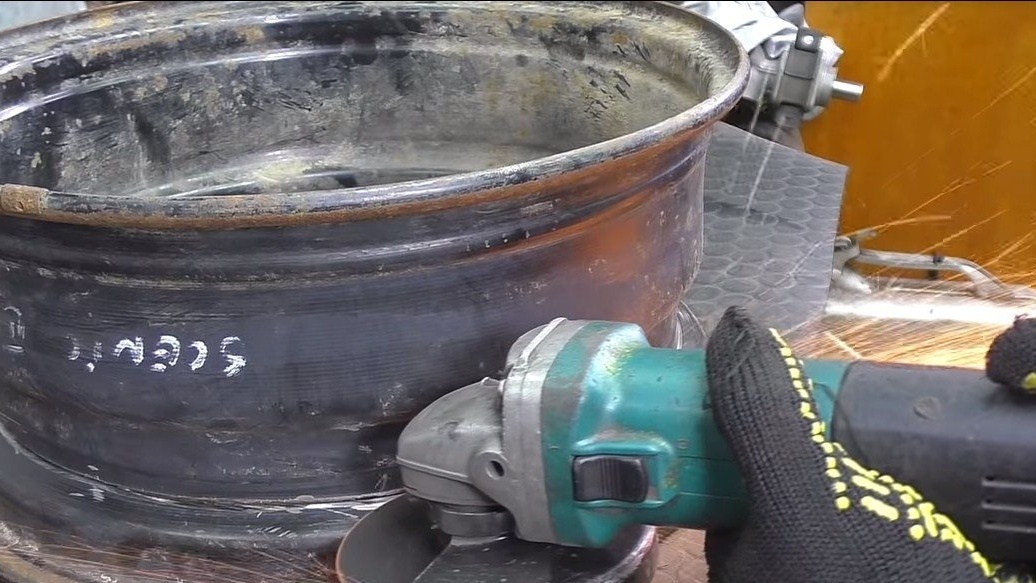
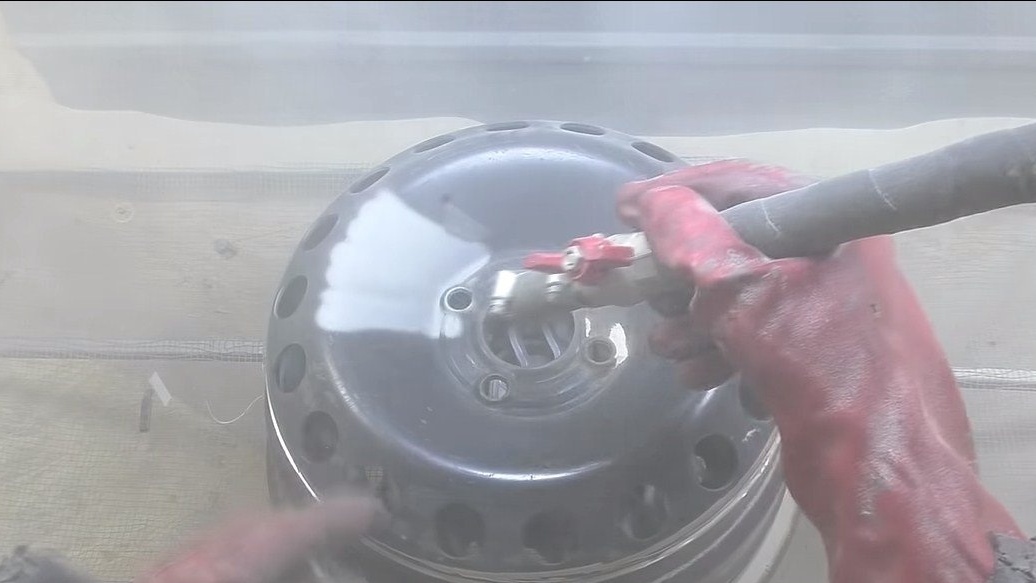
Next, the parts need to be cleaned of old paint and rust. The sandblast is suitable for such purposes. But if there is no such machine, you can try to burn the disc in a fire, so the paint will then be cleaned up much easier.

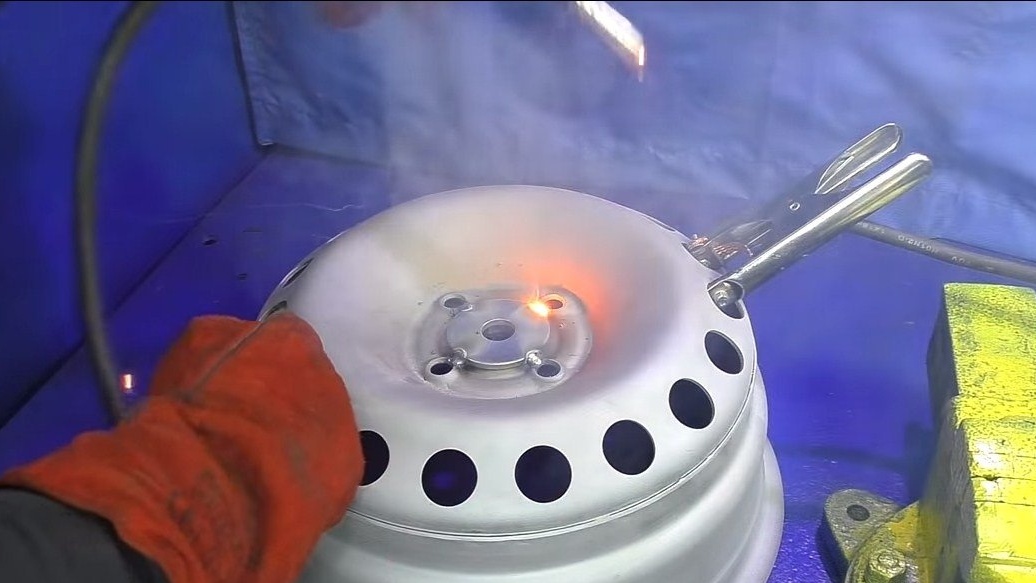
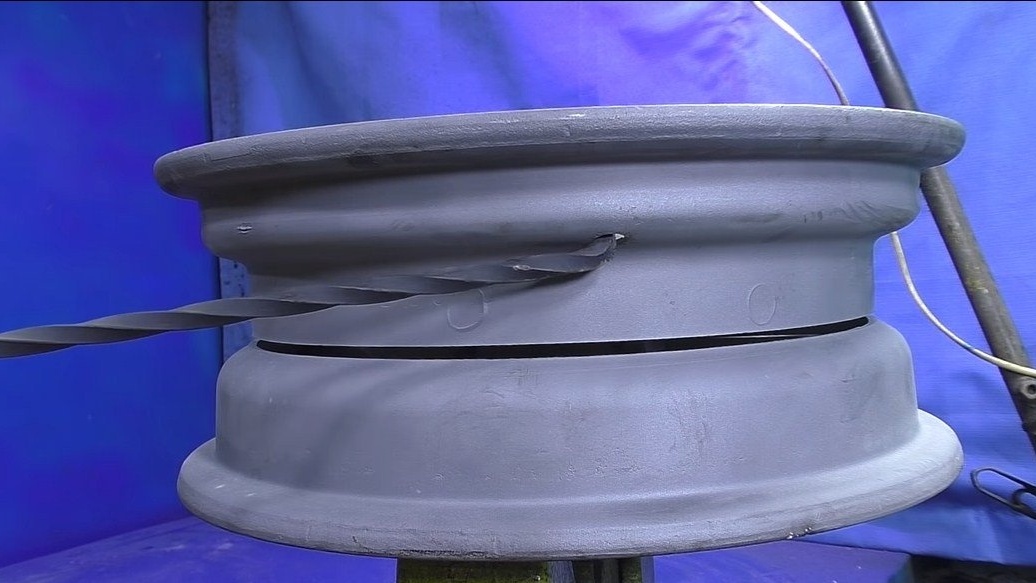
Step Two Holes and Mounts
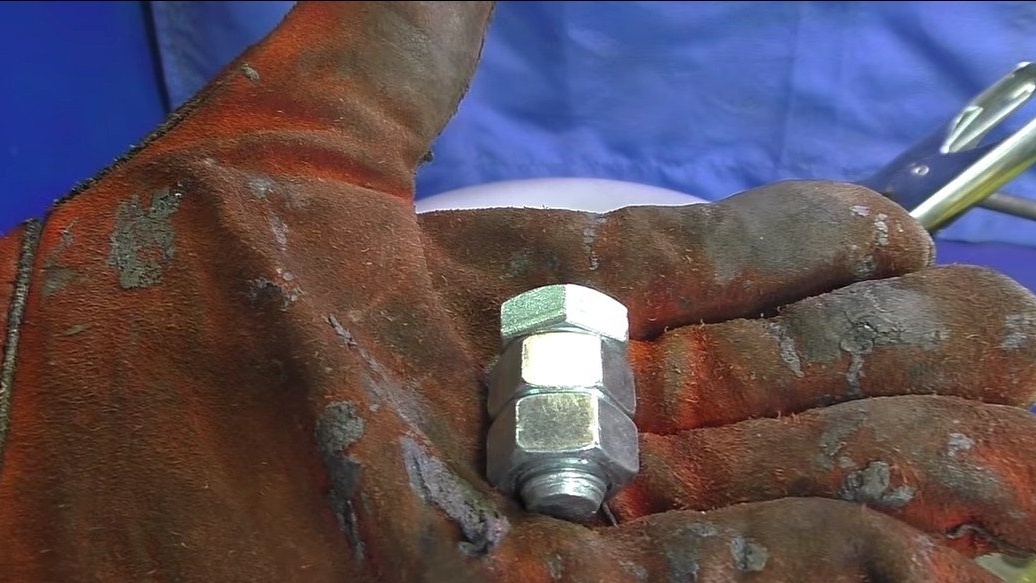
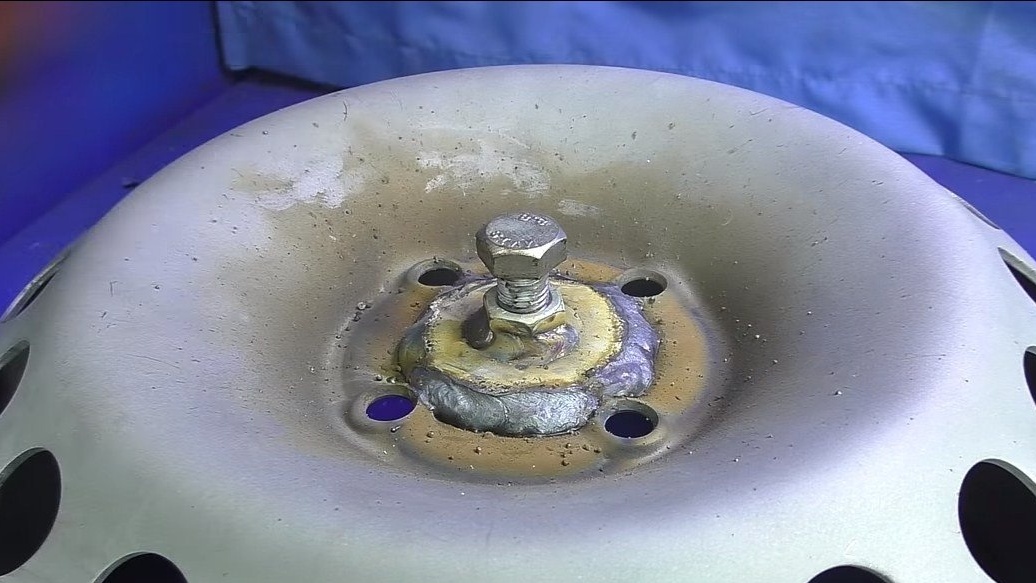
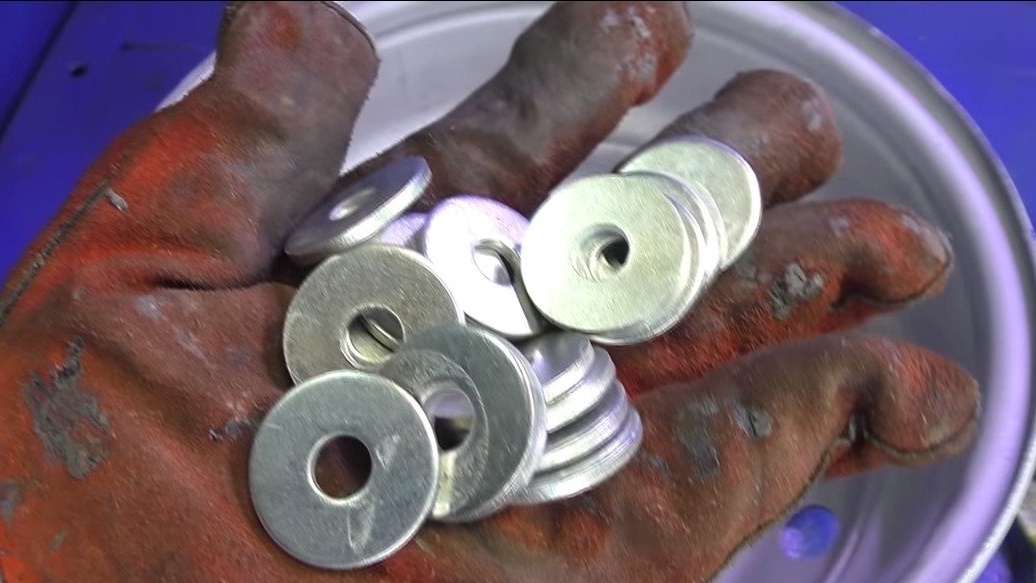
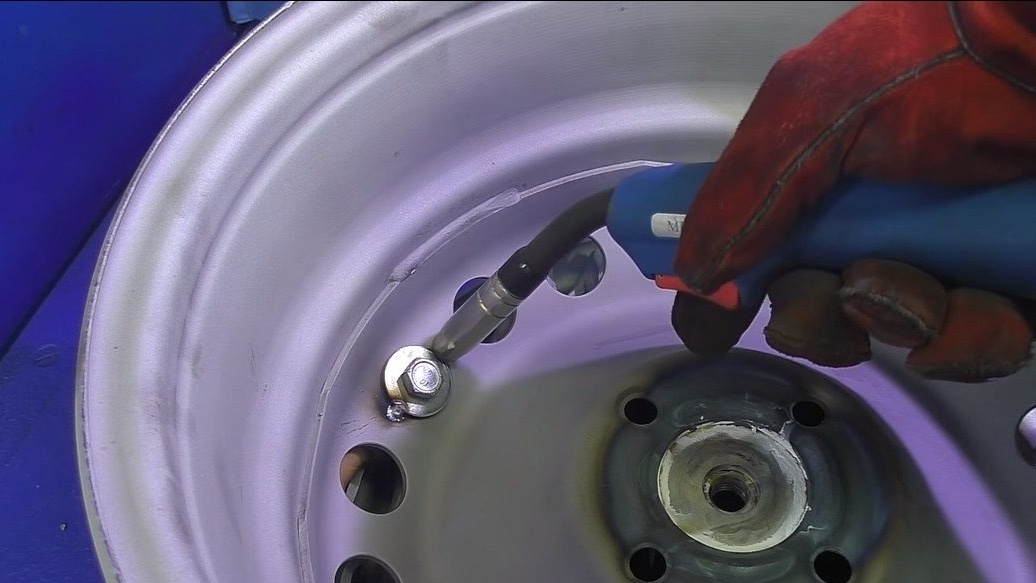
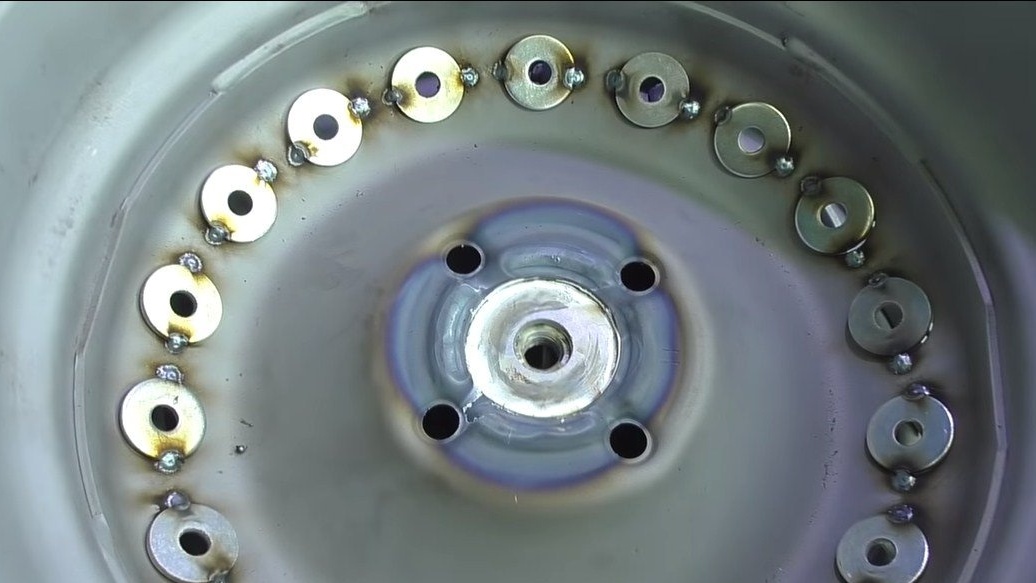
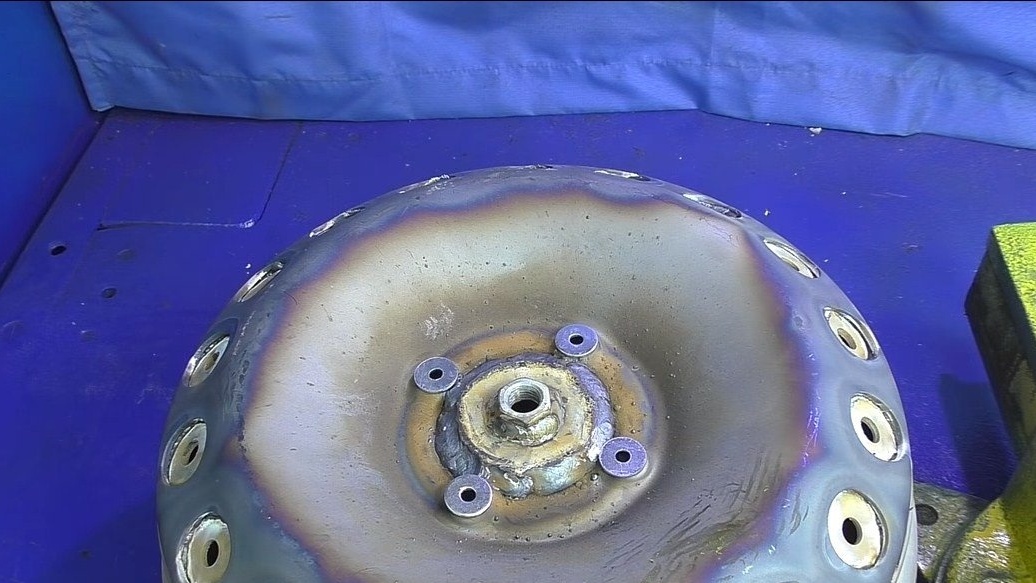
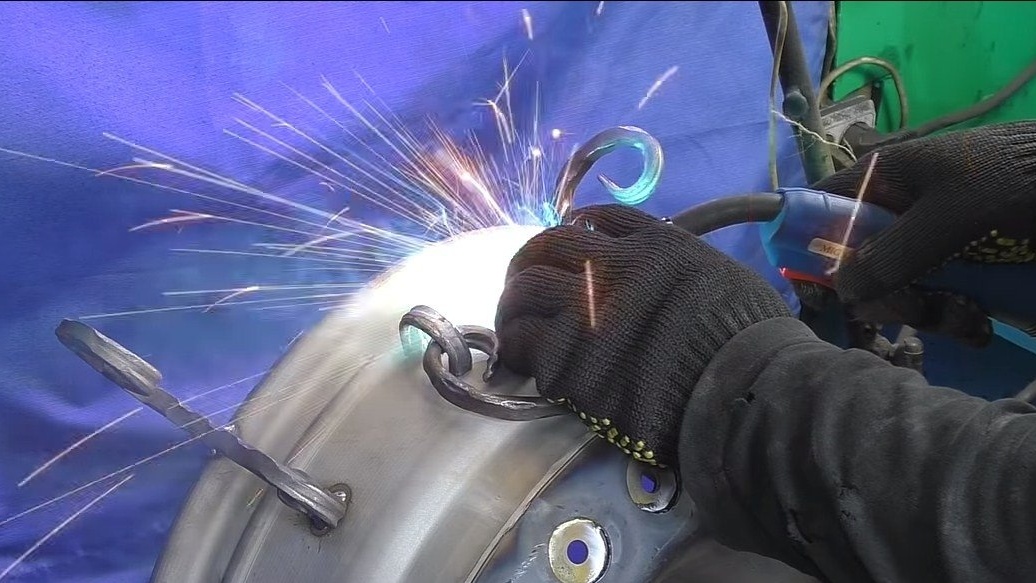
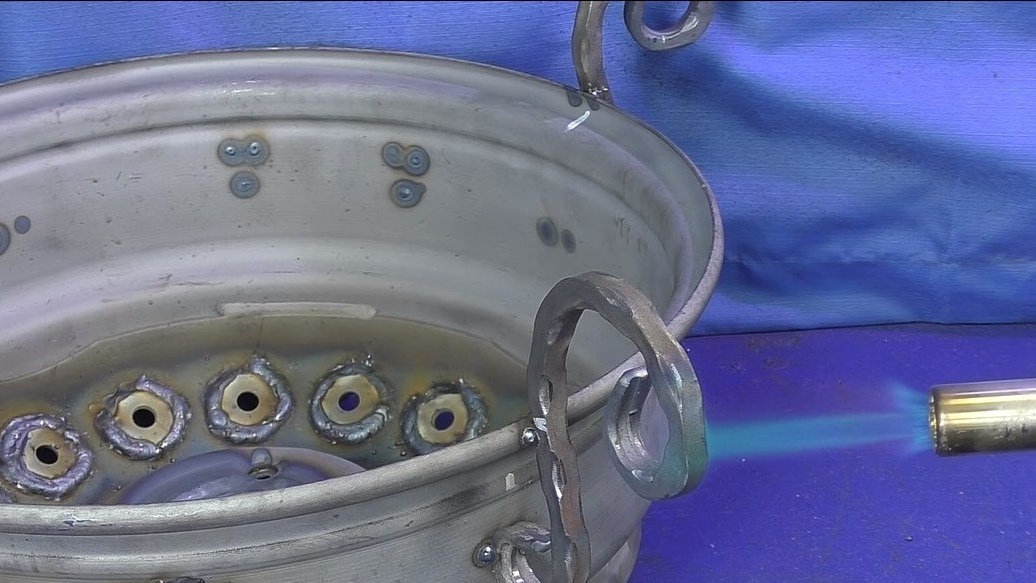
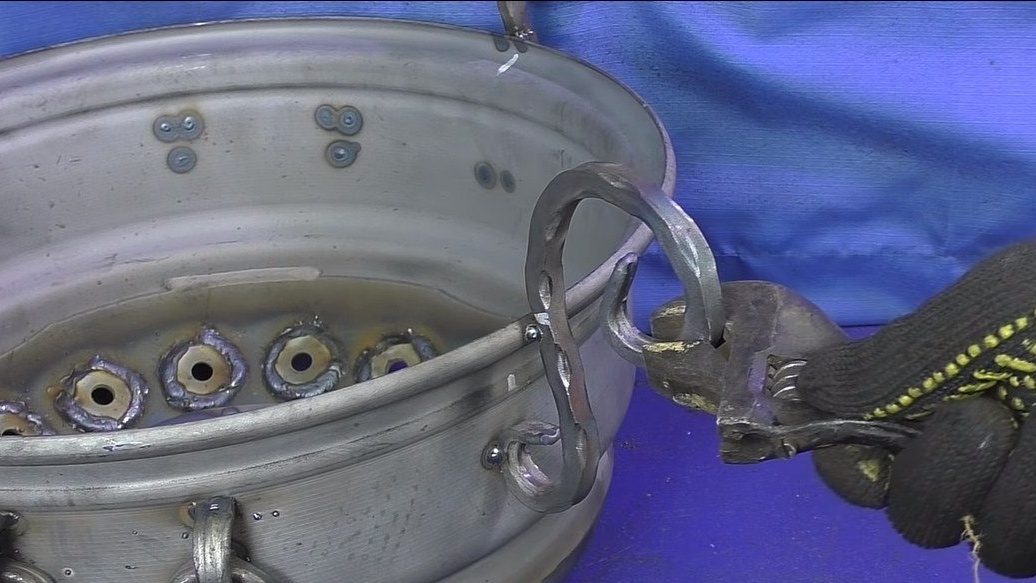
The holes in the disk are too large, we need to reduce them, otherwise the coals will fall out. To solve the problem, the author uses washers of suitable diameter, we weld them into the disk. You also need to weld a mount to install this entire structure on a rack. In the center of the disc, weld the washer and weld a nut to it so that the rack can be screwed into it.
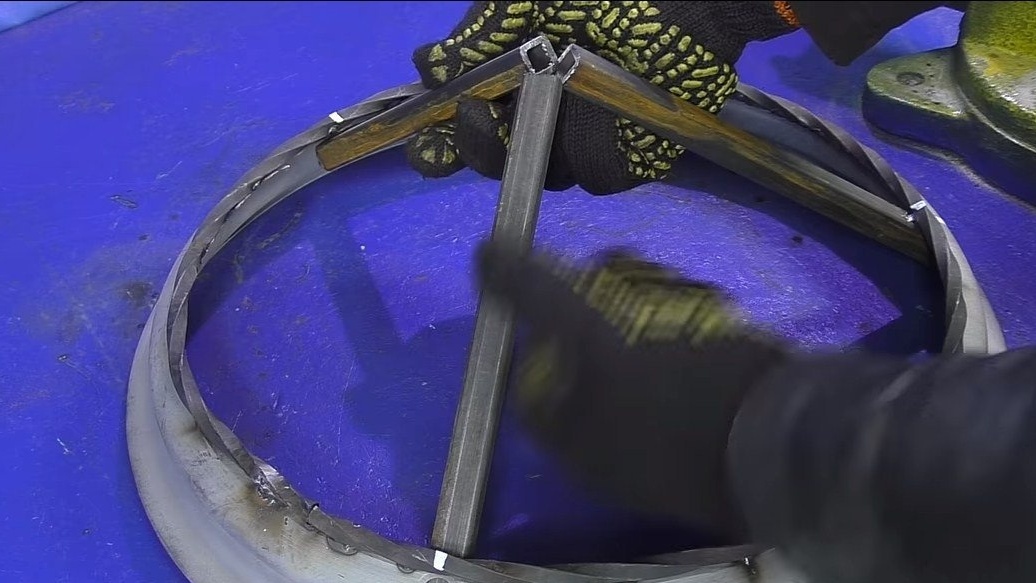
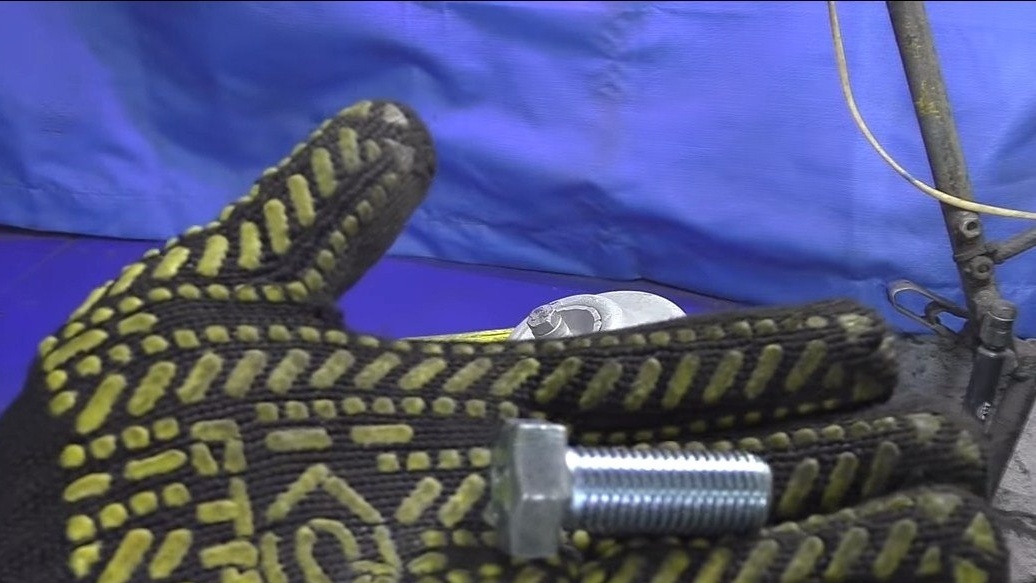
Step Three Base manufacture
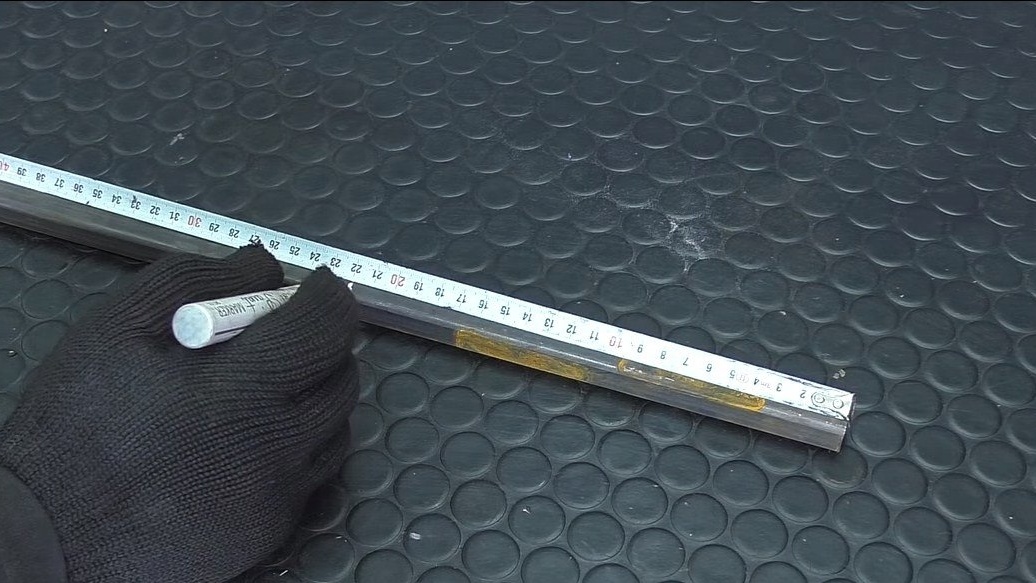
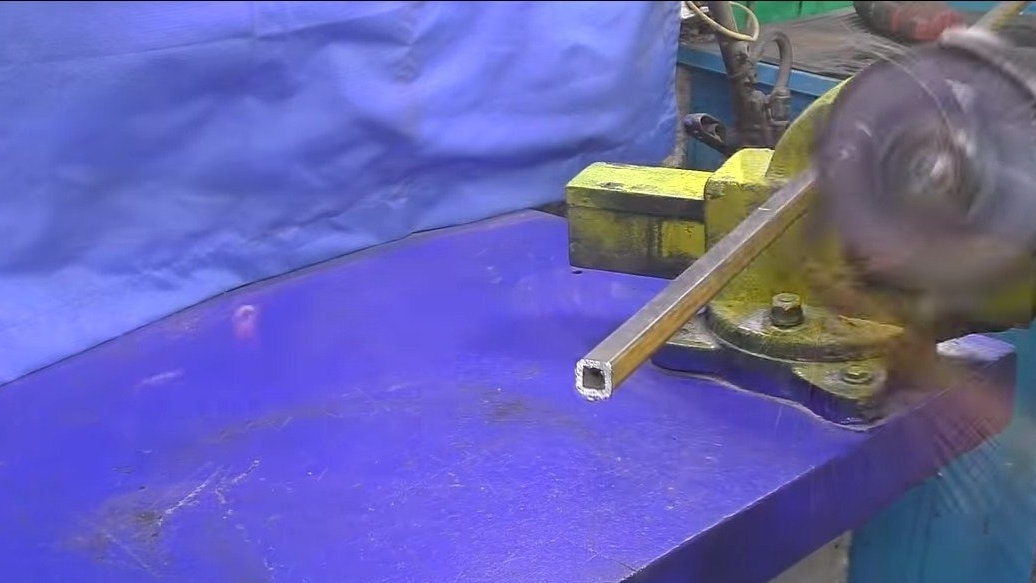
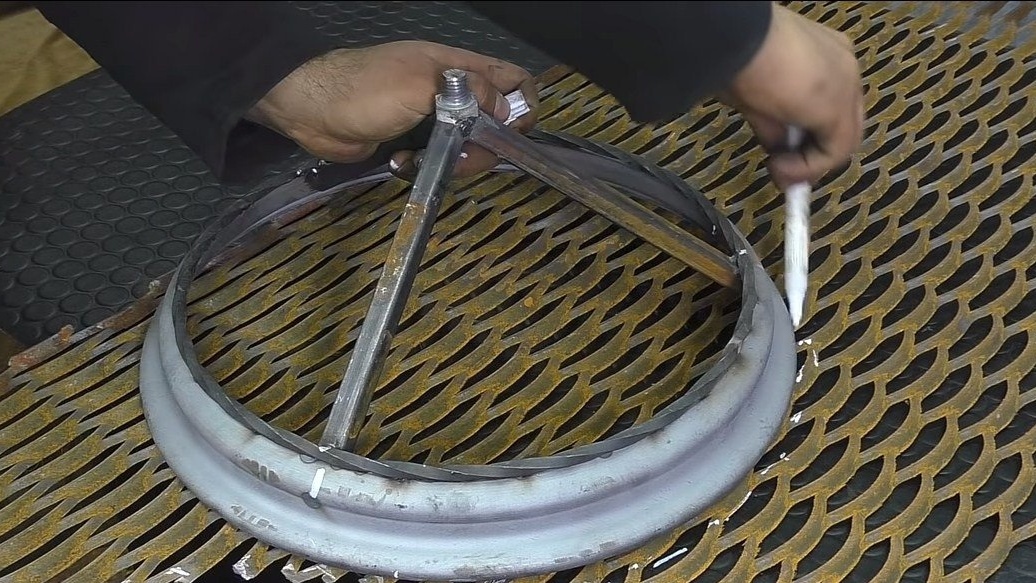
Now we will make the base, for this we need a part cut off earlier from the disk. We clean it with sandblasting or another tool. For decorative purposes, we weld the part with a twisted square bar. To bend the bar, the author used the same car disk.
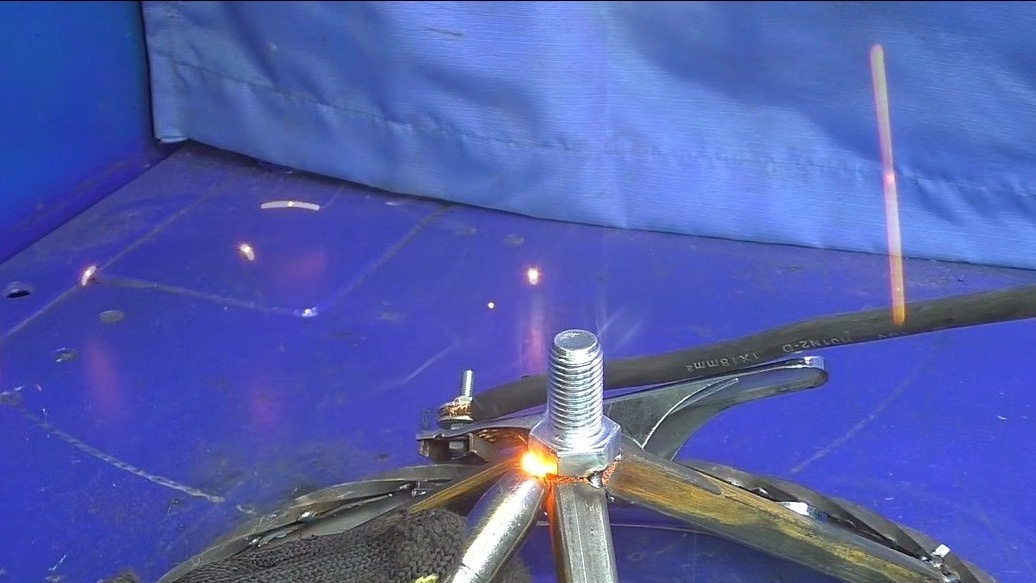
Next, you need profile pipes, you need to cut three pieces of the same length, we weld them to the base to get a "pyramid".Well, we weld a bolt to the top of the pyramid, it is needed here for attaching the same rack.
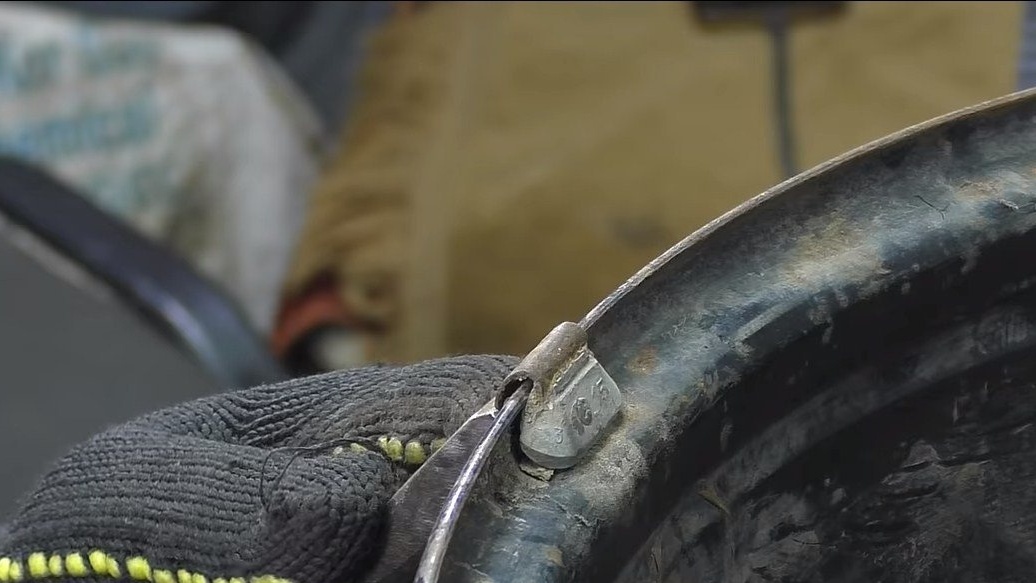
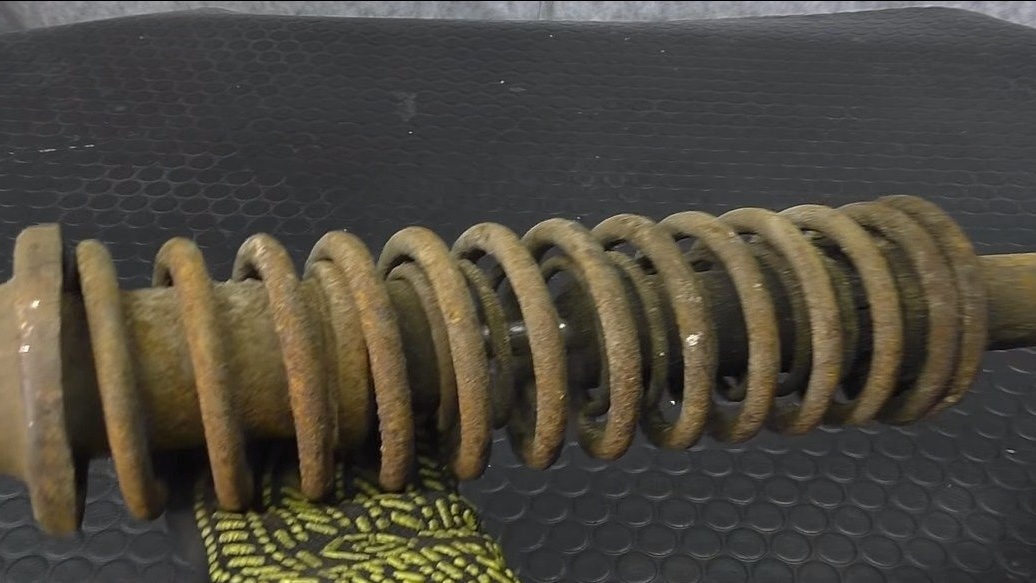
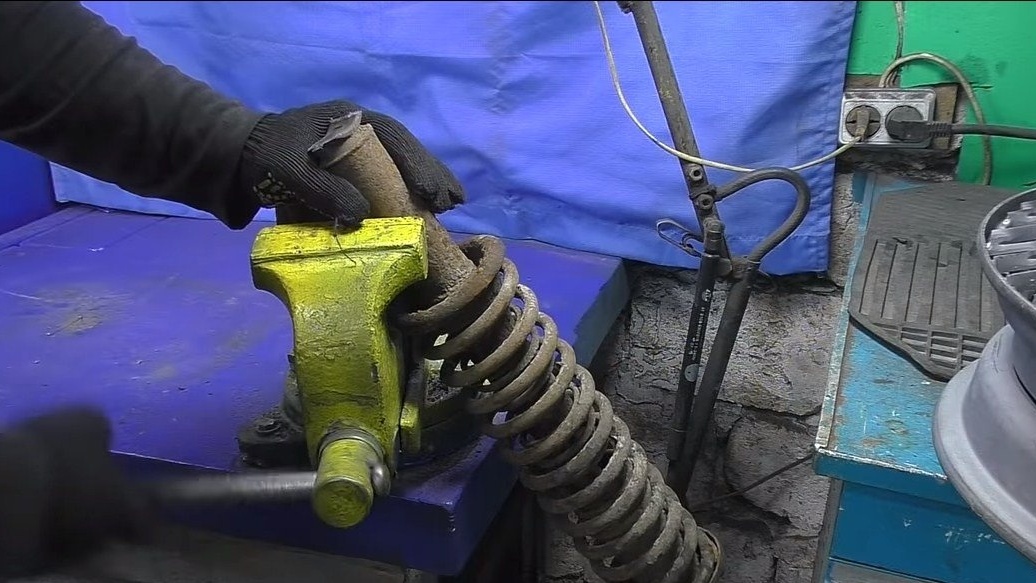
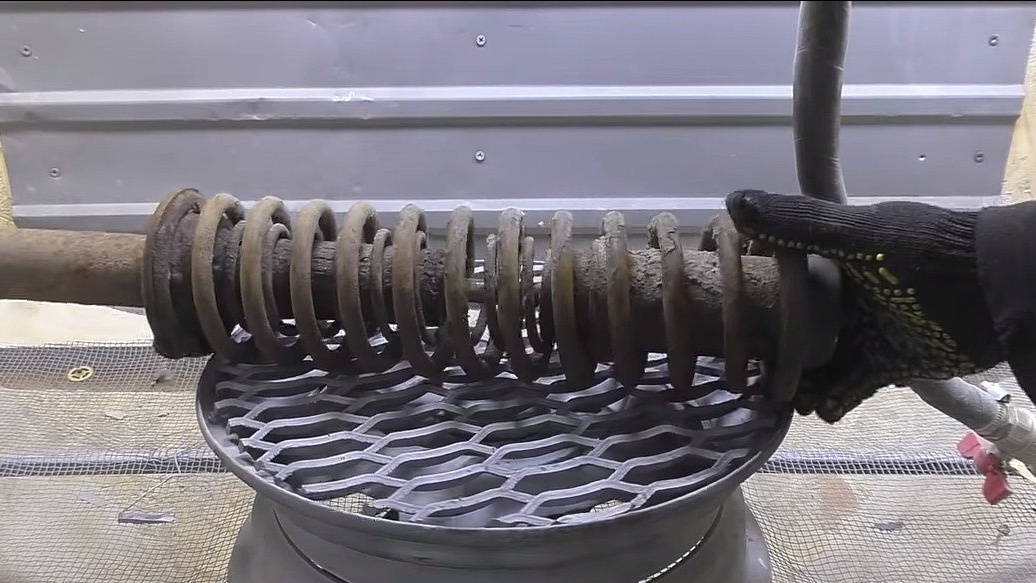
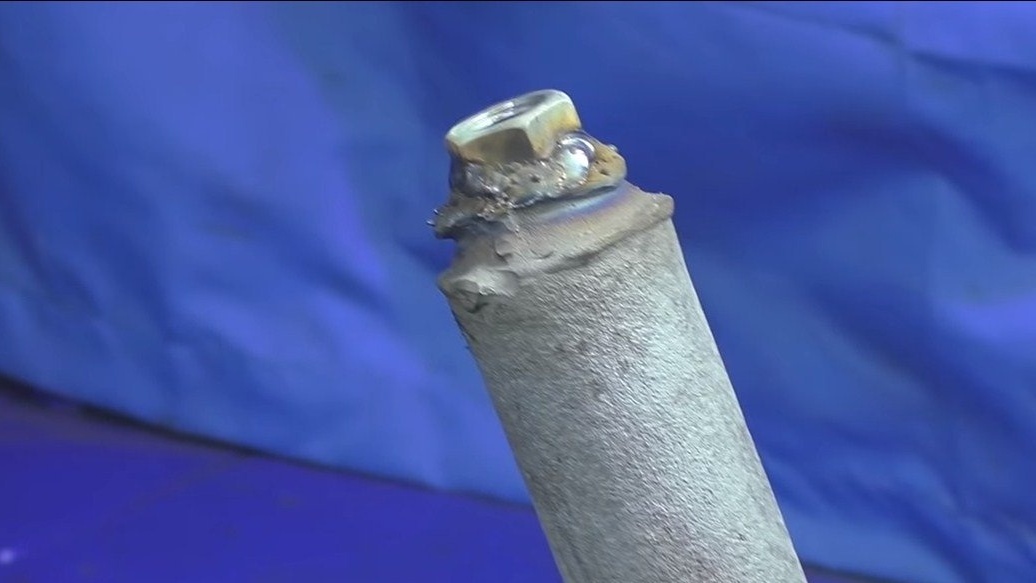
Step Four Rack
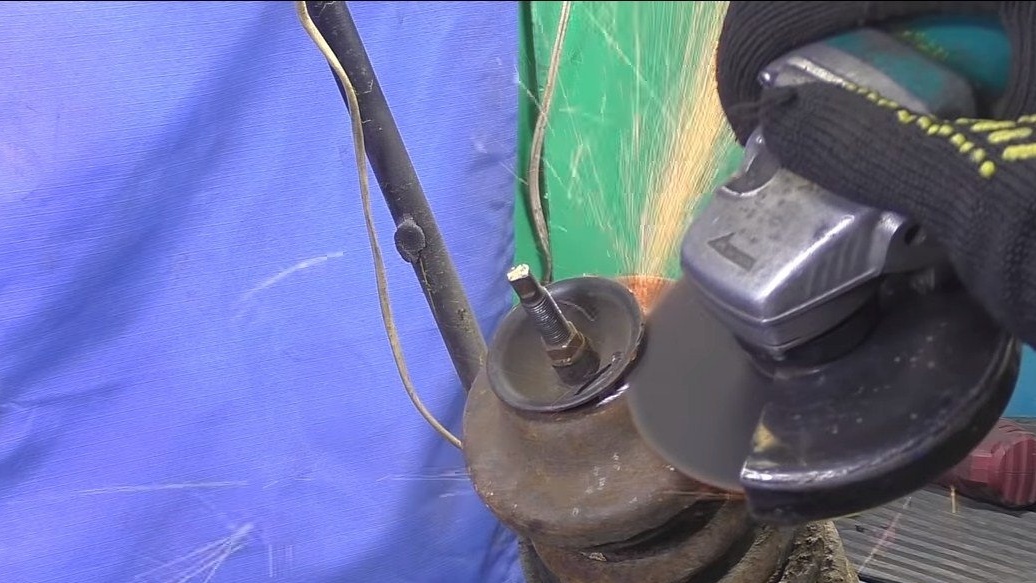
We will prepare the stand for homemade work, for a start it needs to be cleaned of dirt, oil and so on. To do this manually will be quite difficult, but using a sandblasting task will not be difficult.
Next, cut off the mounting ears of the rack and instead of them weld a nut on one side and a bolt on the other. As a result, the stand can now be screwed to both the upper part and the base.
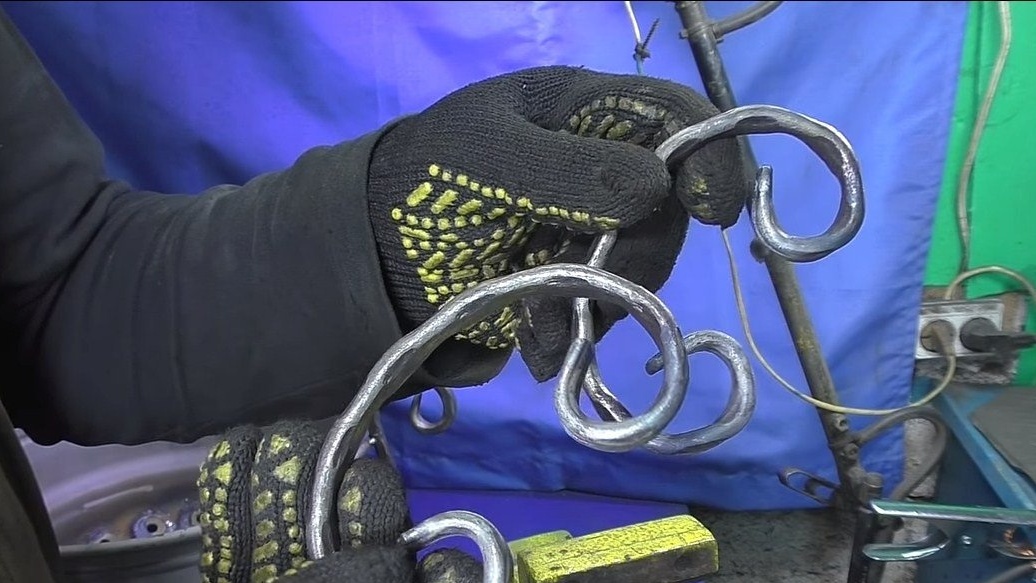
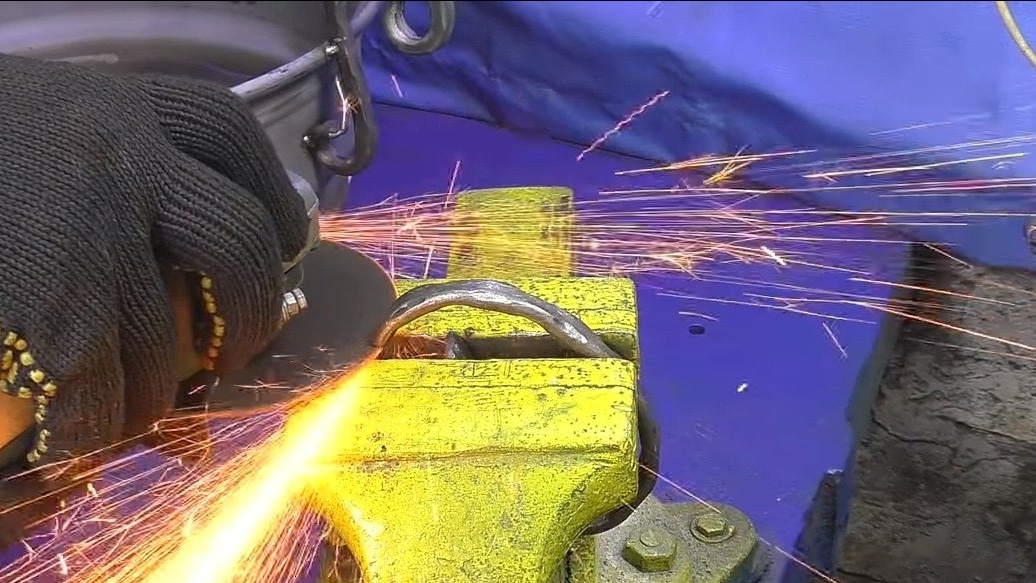
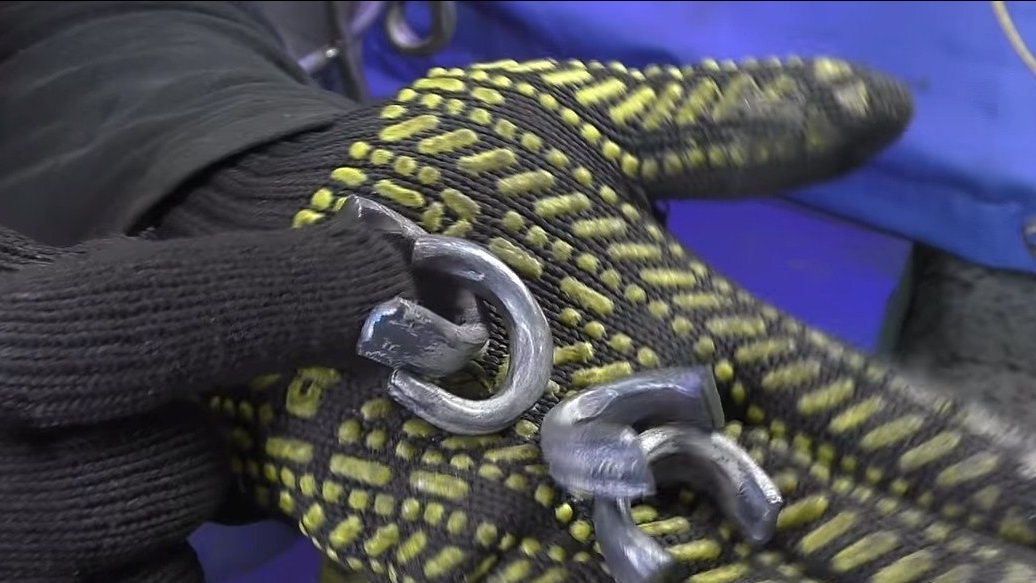
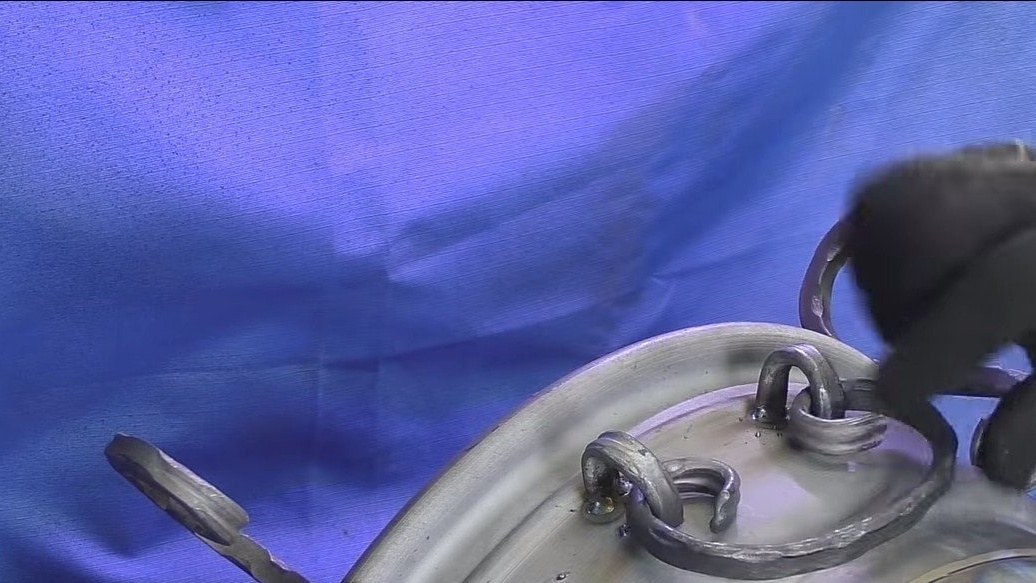
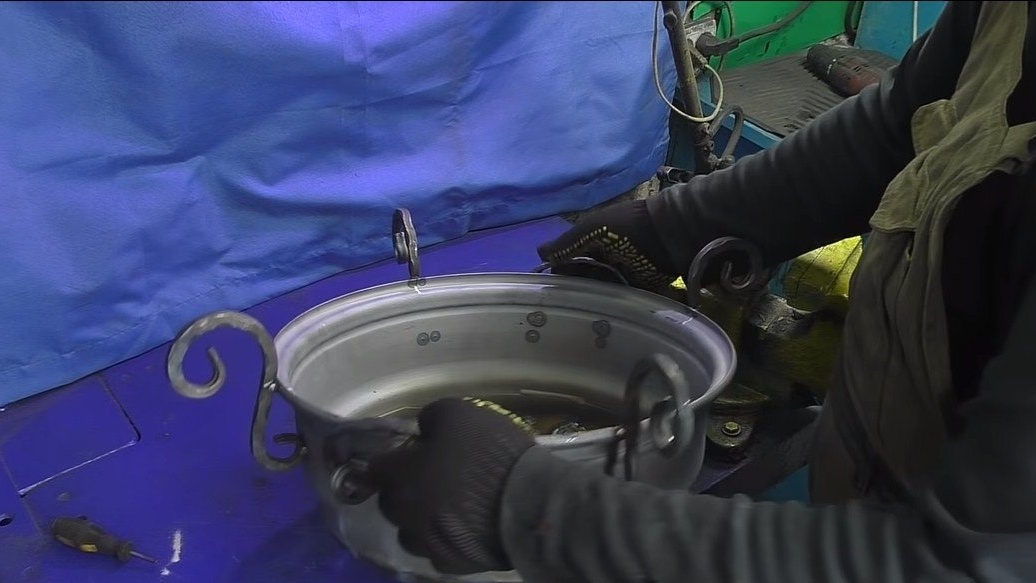
Step Five Handles and hooks
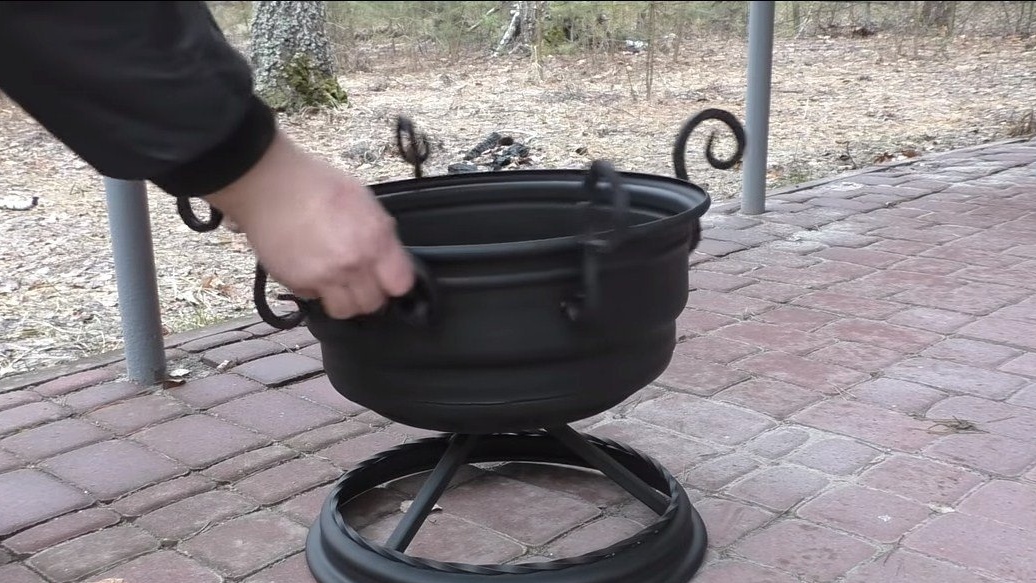
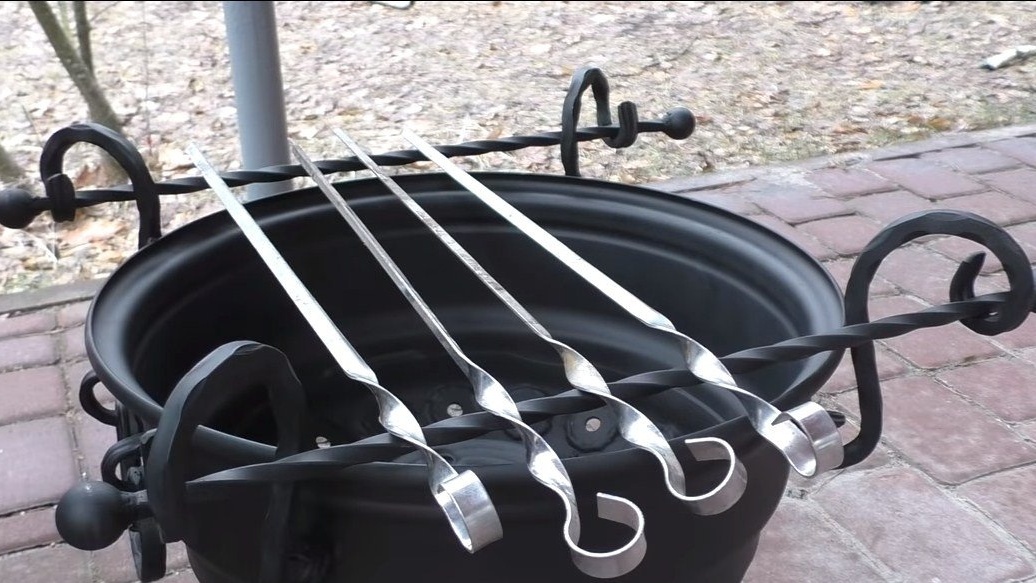
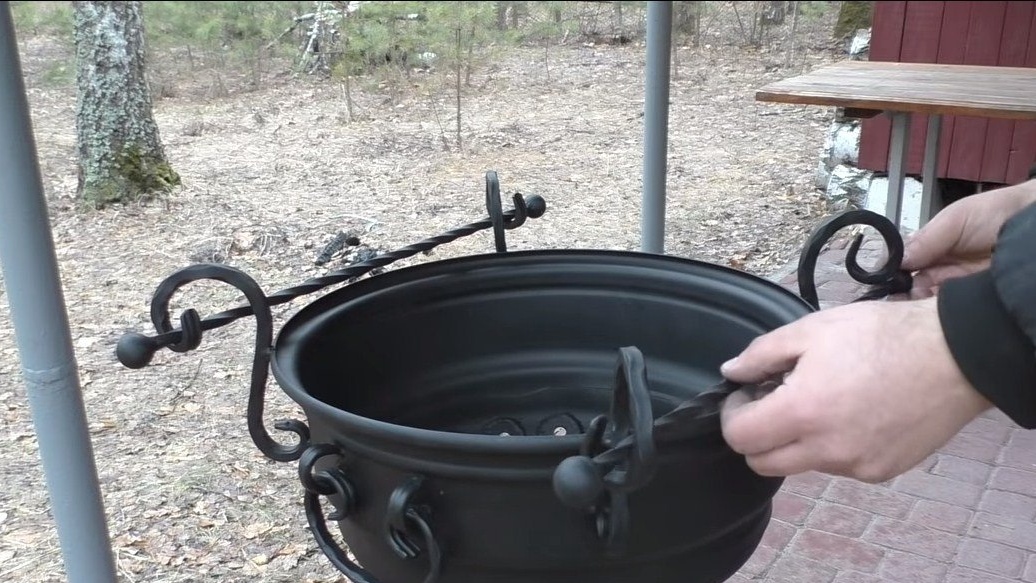
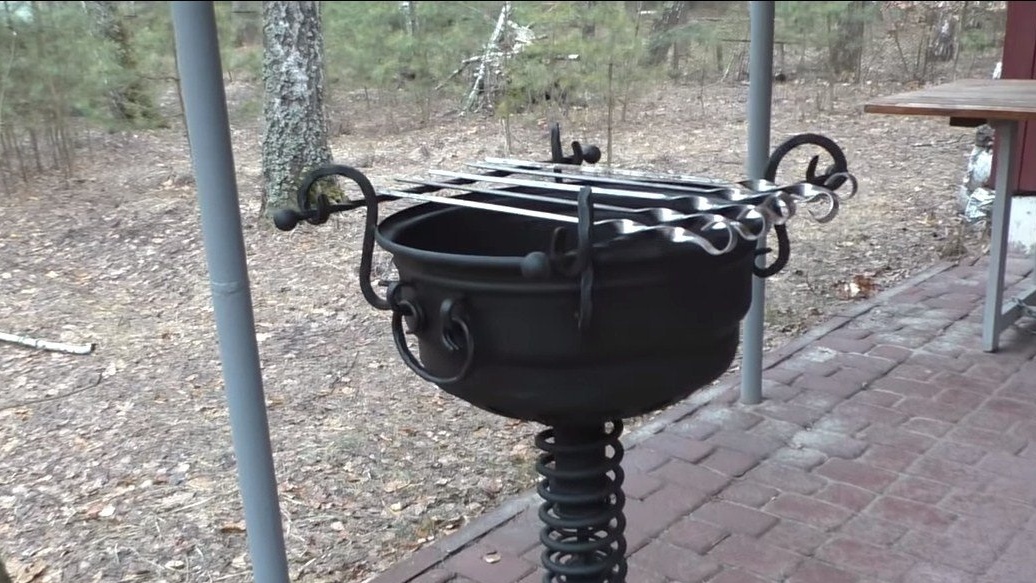
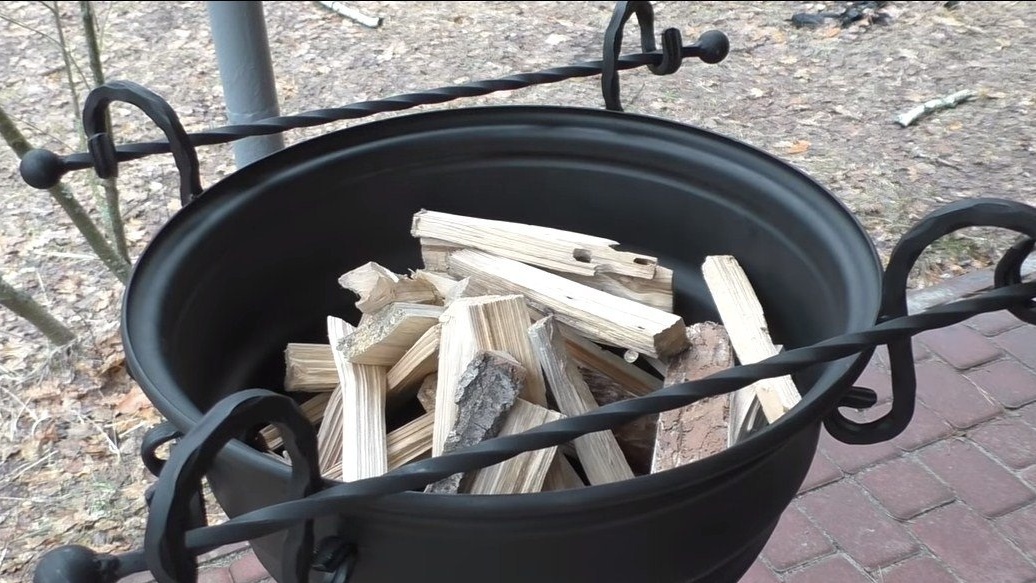
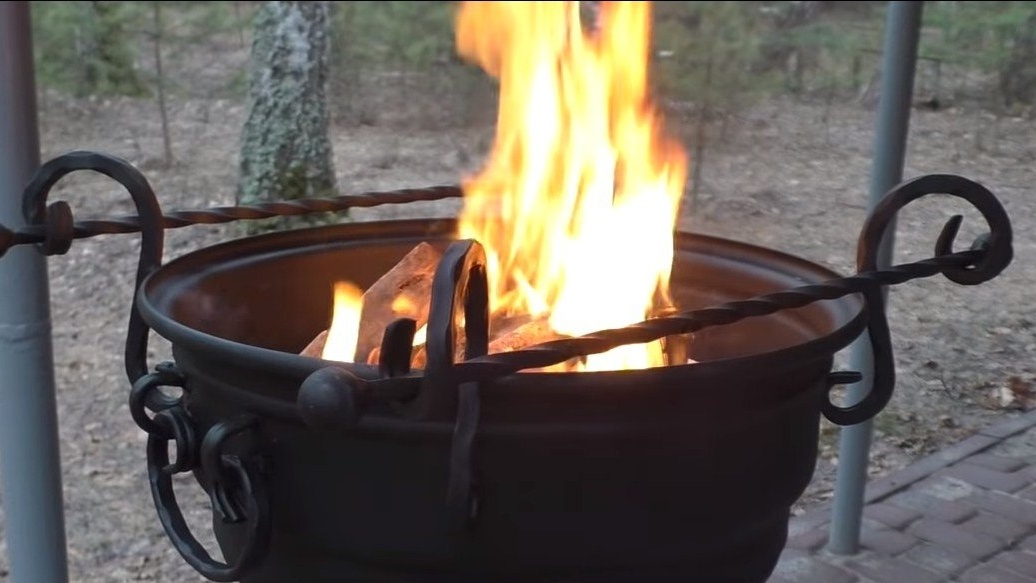
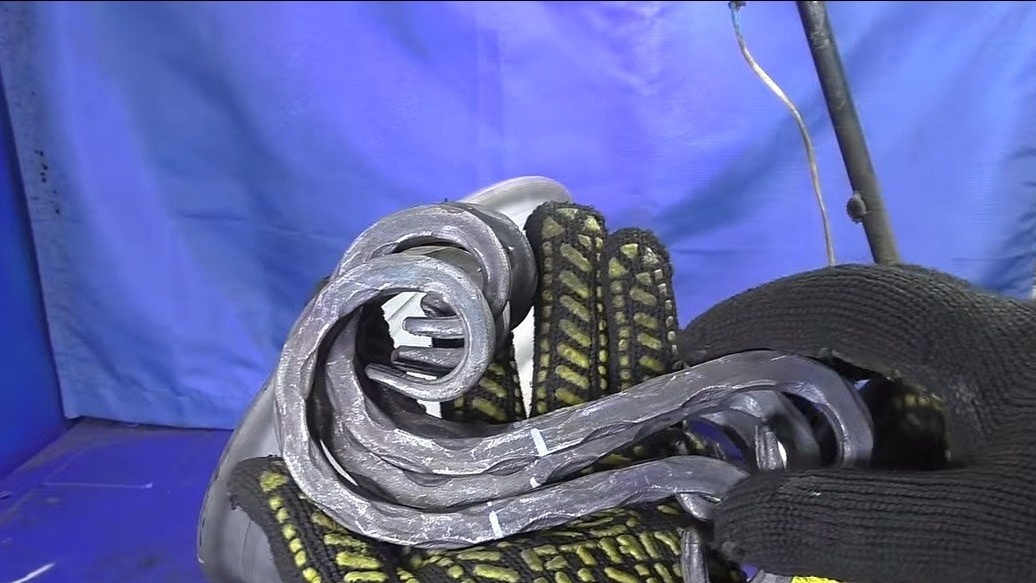
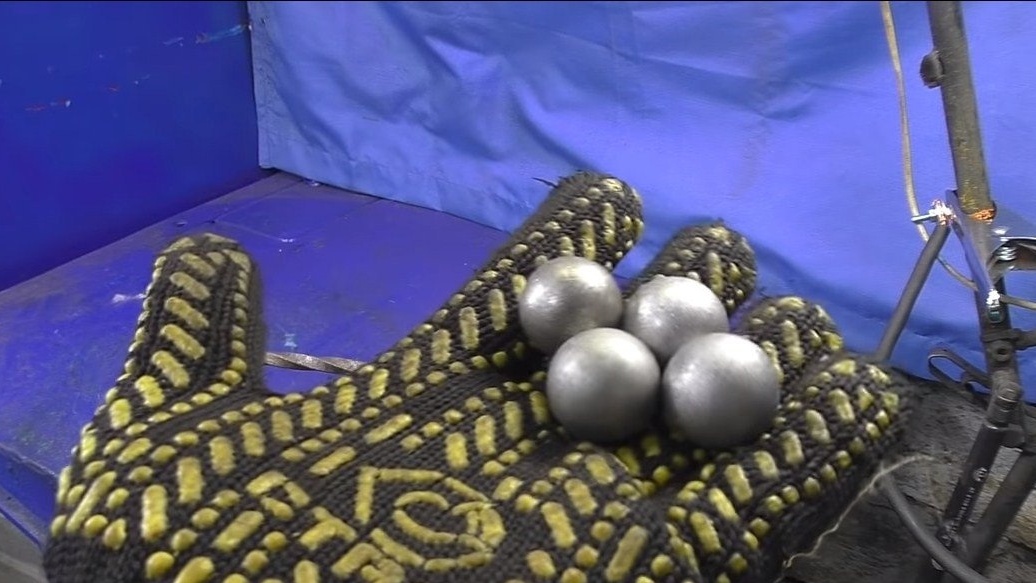
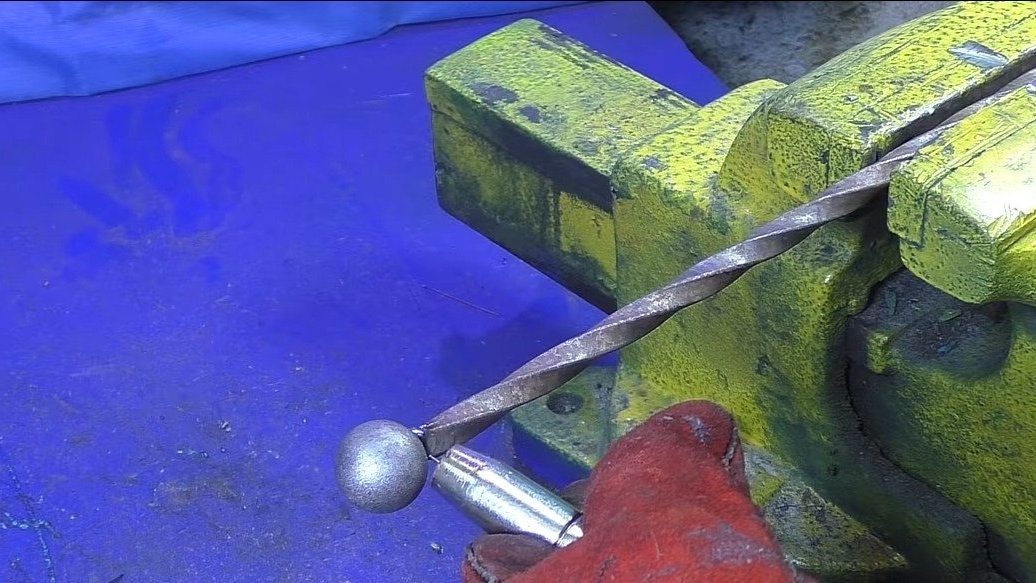
We weld handles to the disk so that the oven can be transported, forged products were used here, with them the homemade product looks amazing. We also weld the hooks that will be needed to cook the kebab. On these hooks the crossbars are laid, and already on the crossbars it will be possible to lay skewers. The crossbars are made of a twisted square bar, to the ends of which the author has welded iron balls.
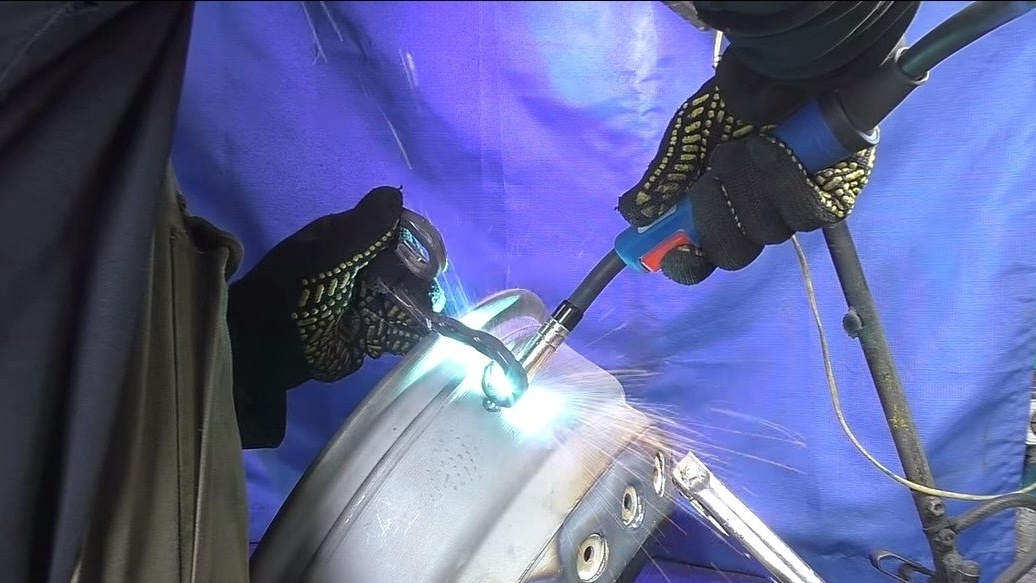
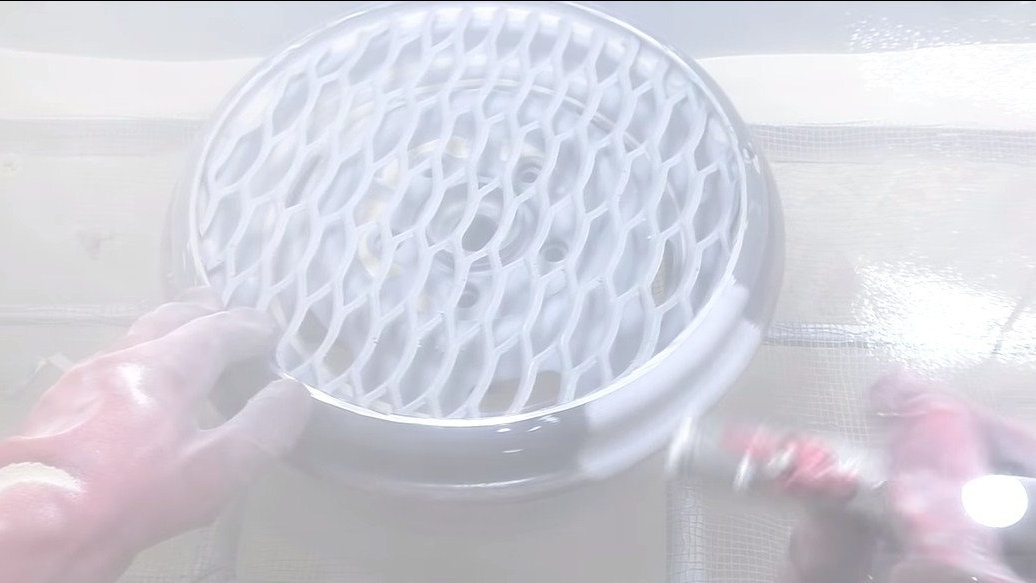
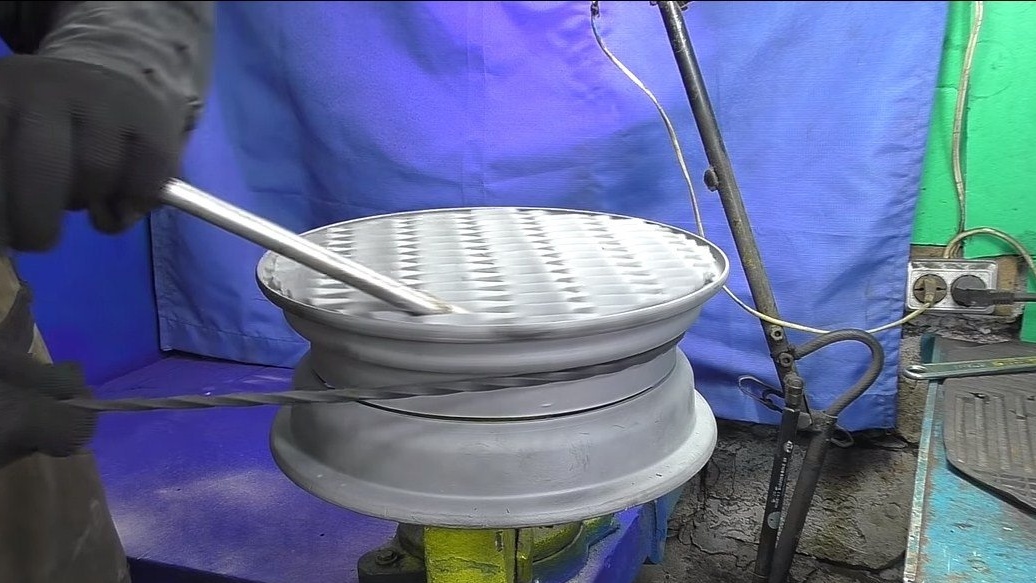
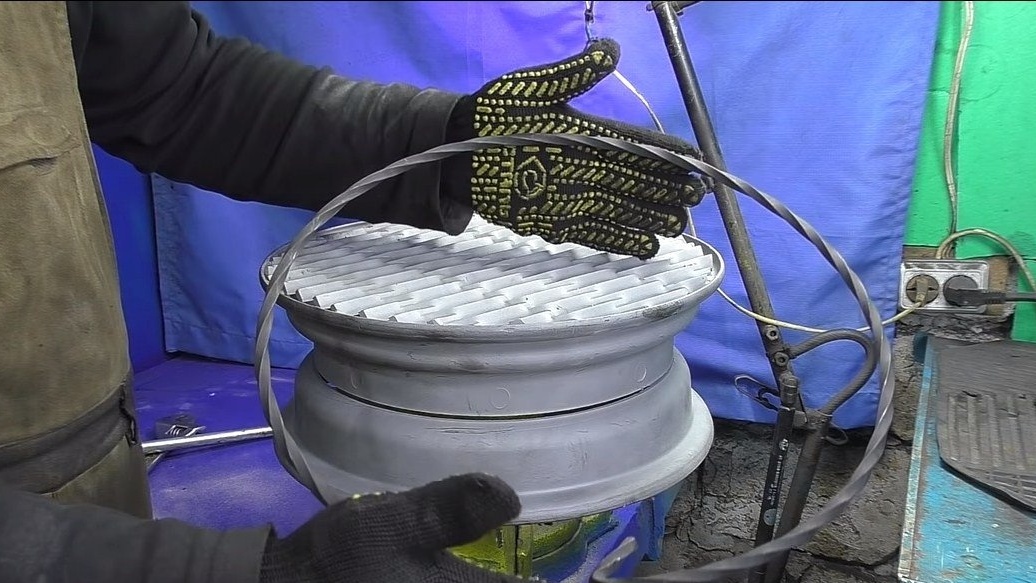
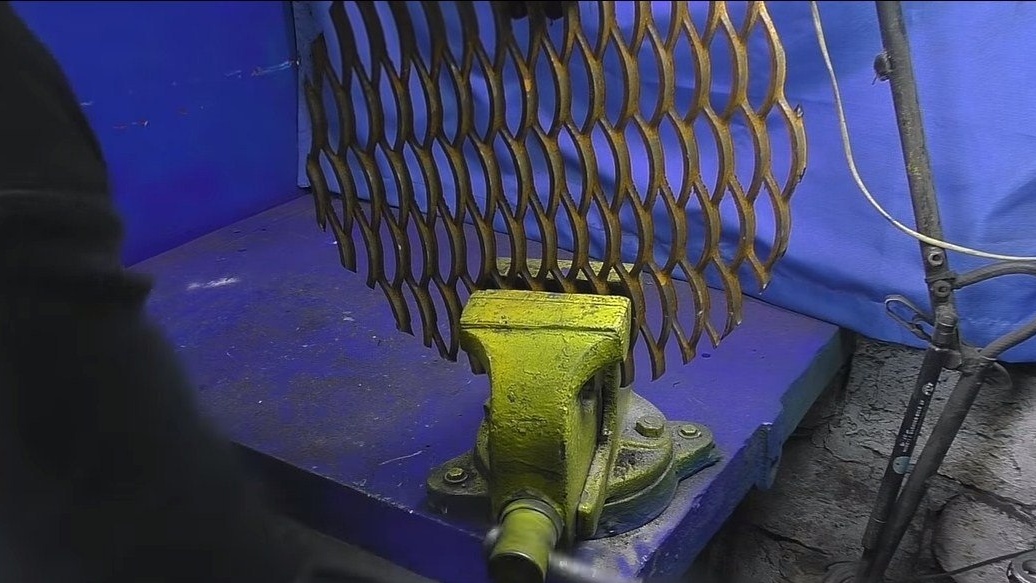
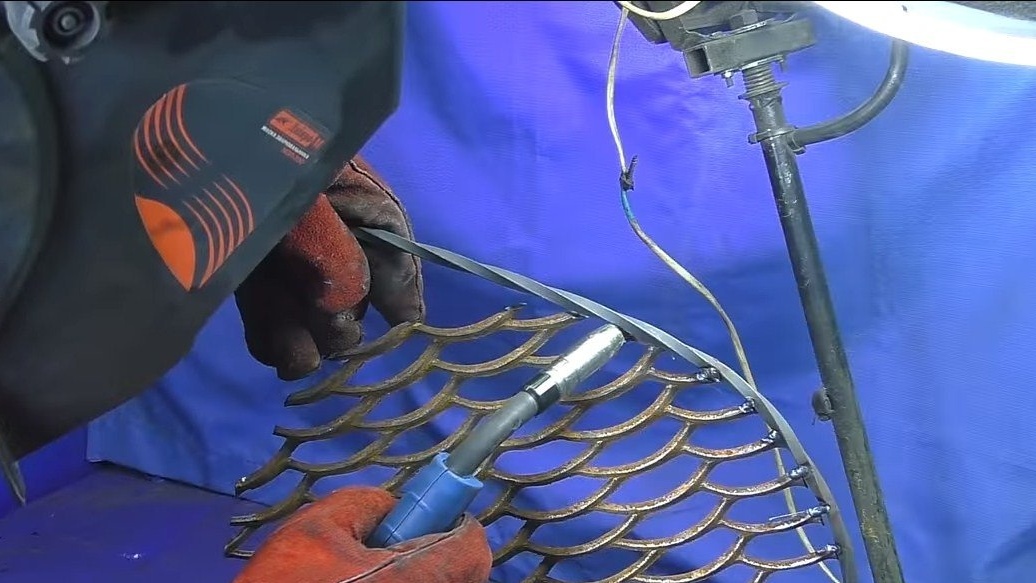
Step Six Lattice and painting
We make a barbecue grill, cut a circle of the desired diameter and scald with a rectangular bar, as in other cases.
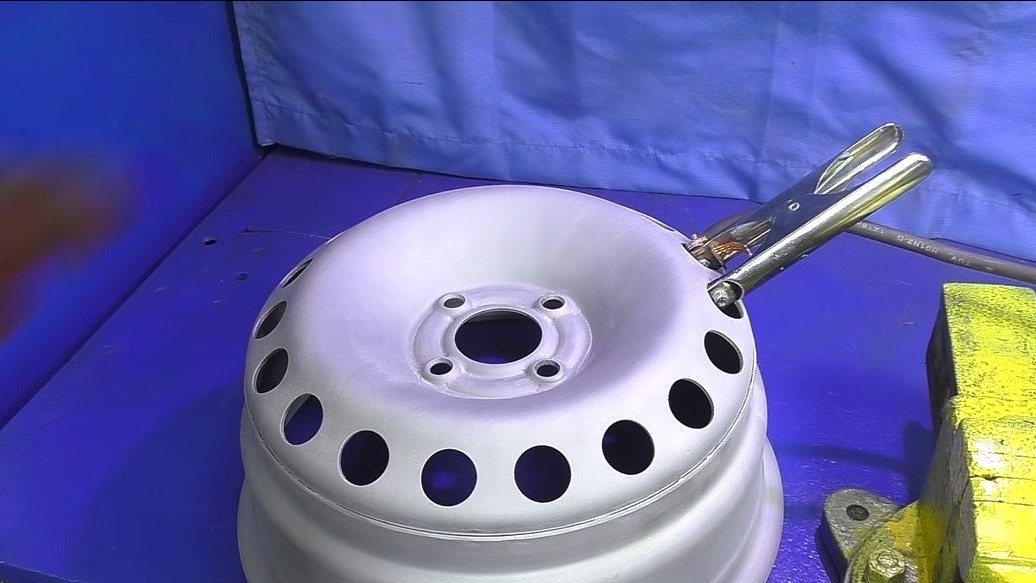
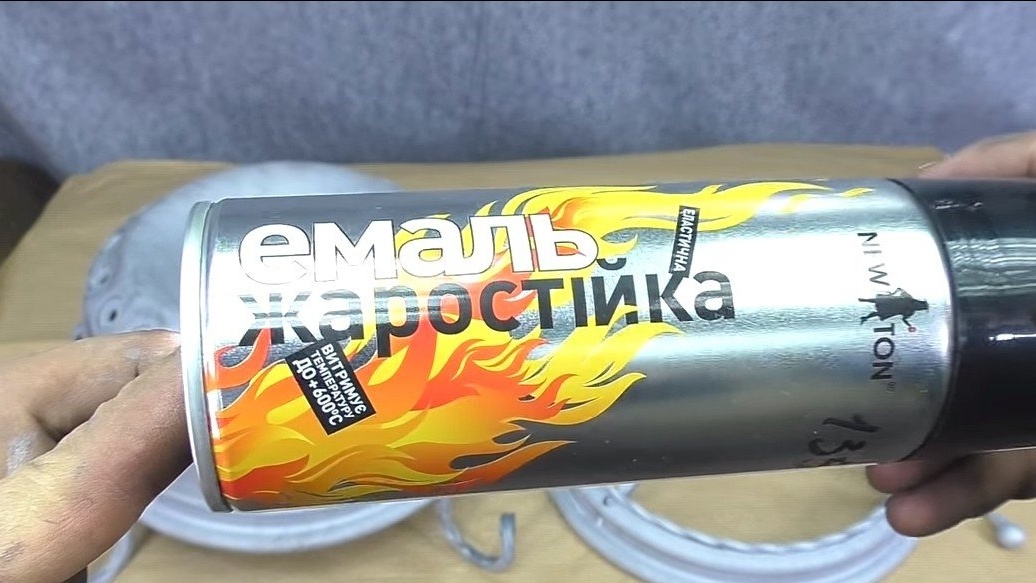
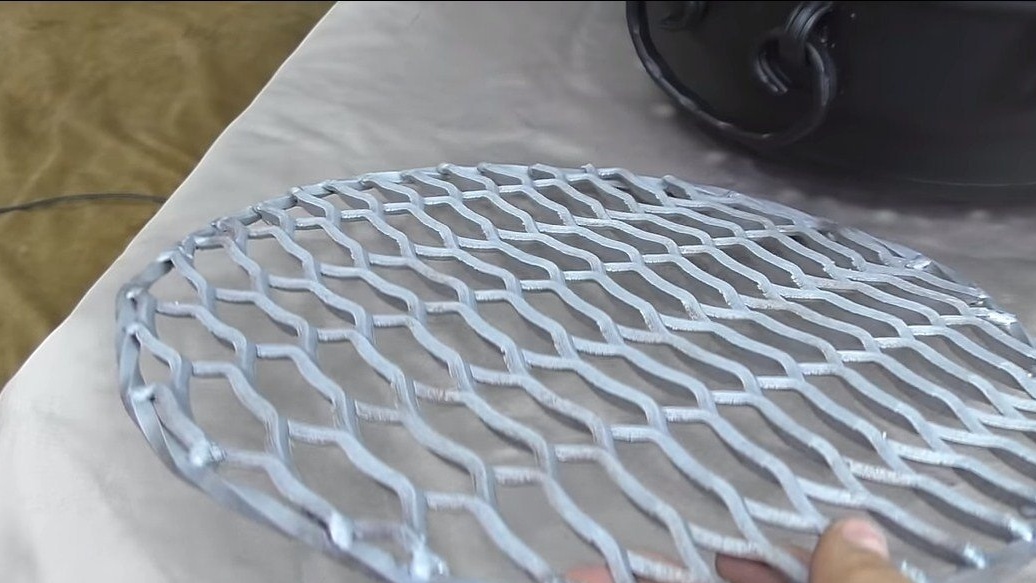
That's all, the oven is ready, it remains only to paint all the parts before assembly. The paint needs heat-resistant, the author is able to withstand temperatures up to 600 degrees, which is unlikely to ever be achieved.


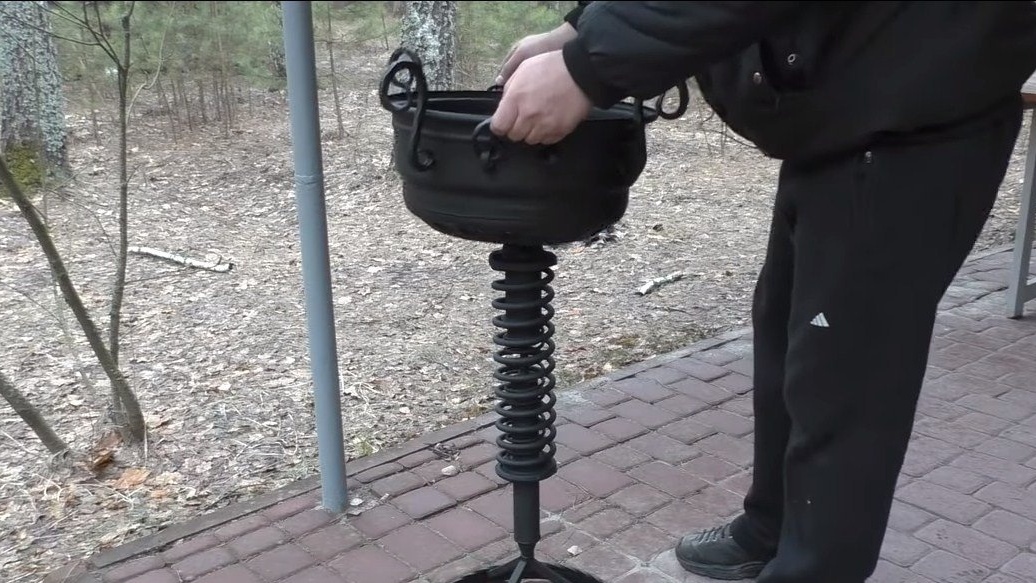
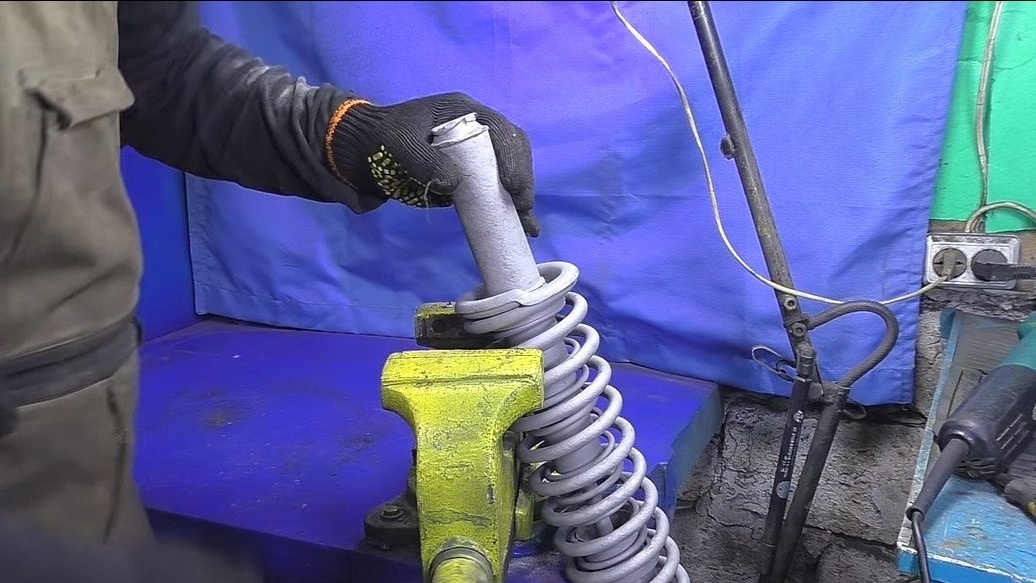
The stove can be assembled, and it is assembled depending on the needs. If the grill should be at a high height from the ground, we attach it to the base through a car rack. If the grill should be near the ground, just screw the top to the base without a rack.
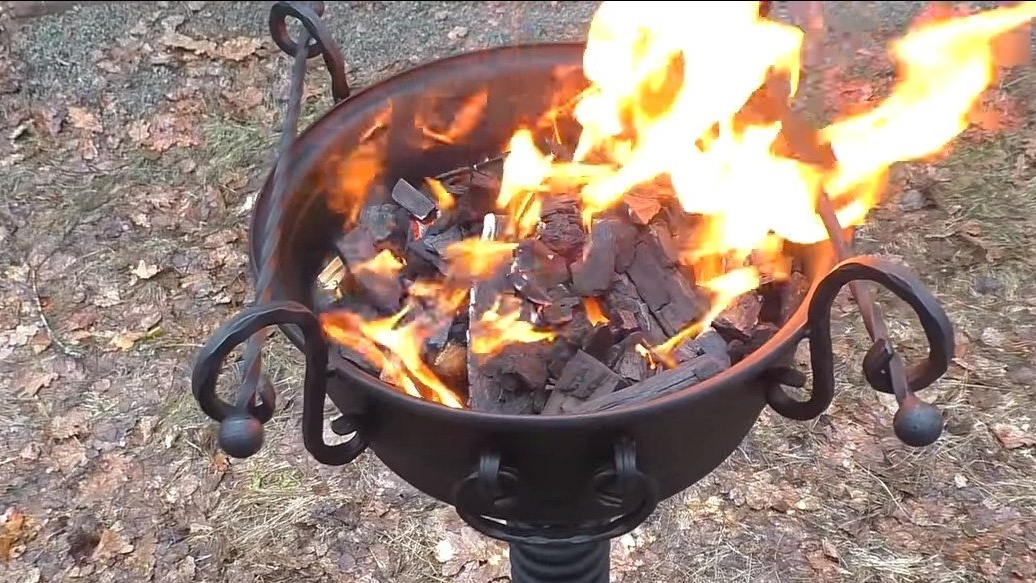
To cook the barbecue, we install the crossbars and you can lay the skewer. If you need a barbecue, install a grill. You can also put a pot or kettle on the grill. This is such a stylish and multifunctional tool. I hope you enjoyed your homework, good luck and creative inspiration, if you decide to repeat this. Do not forget to share your ideas and homemade things with us!