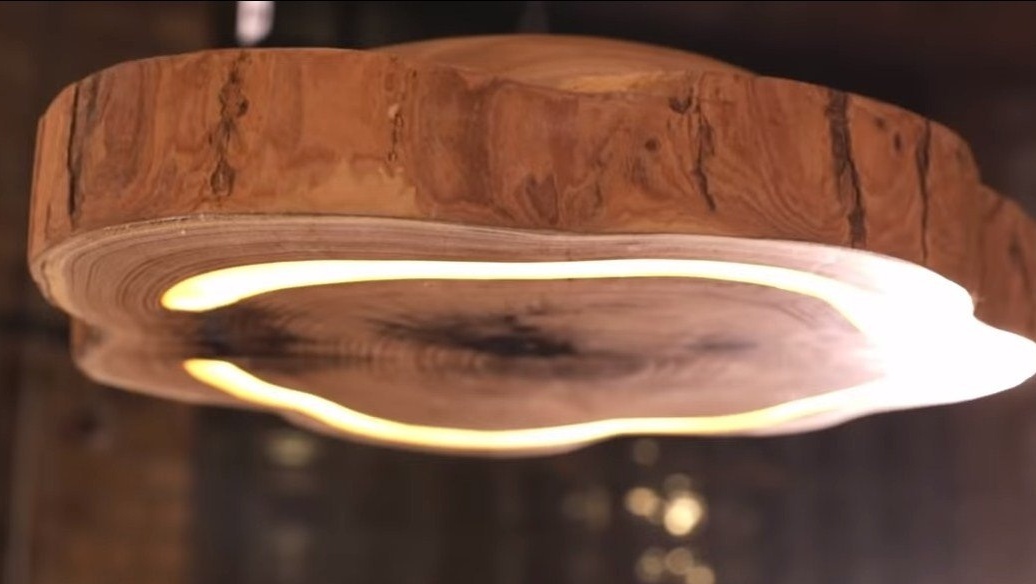
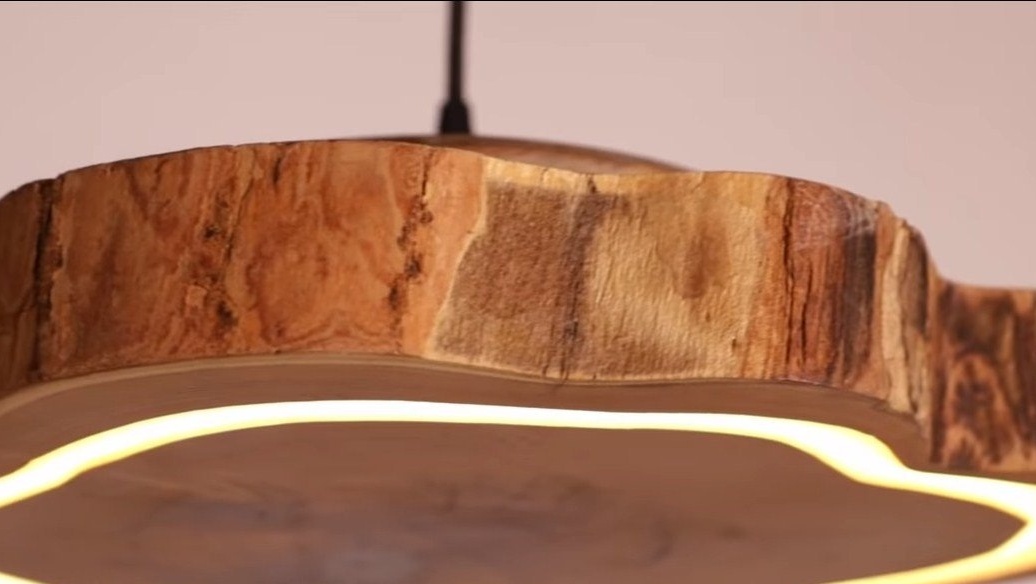
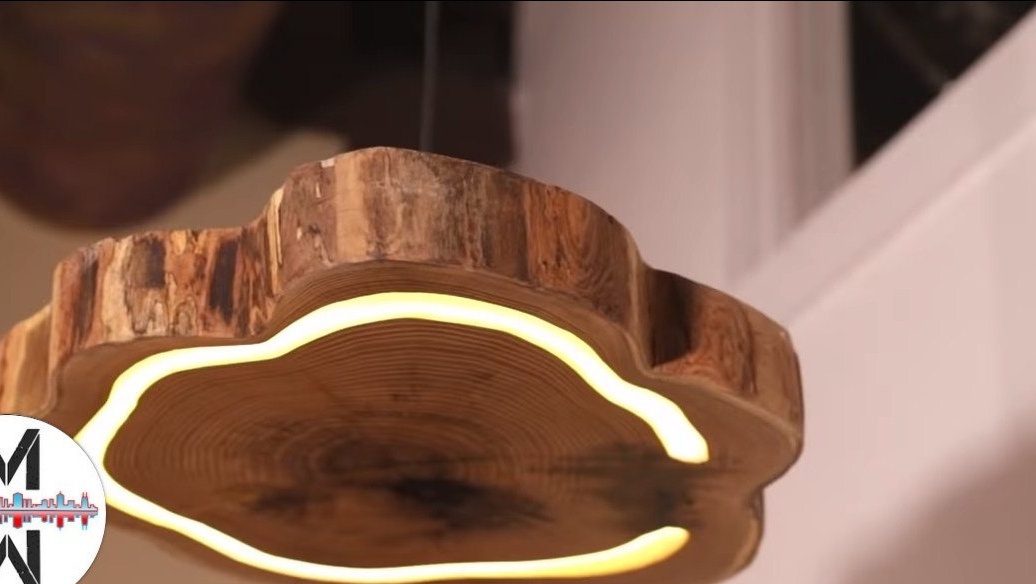
The introduction of modern technology in natural materials can sometimes create quite interesting things. This time we will look at how to make an original lamp made of wood cut. He hangs himself on the ceiling, like a chandelier, looks pretty impressive. A groove is cut in the saw, where the LED strip is laid, and on top of this whole thing is flooded with epoxy resin with dye. If installed in such homemade RGB LEDs, it will also be possible to include different colors as desired. The "chandelier" also shines quite well, it can work not only as a night lamp, but also as a small lamp for a cozy evening pastime. If you are interested in the project, I propose to study it in more detail!
Materials and tools used by the author:
Material List:
- cut a tree;
- epoxy resin for pouring;
- white dye for epoxy;
- , Power Supply, ; wires
- wood oil or varnish;
- self-tapping screws;
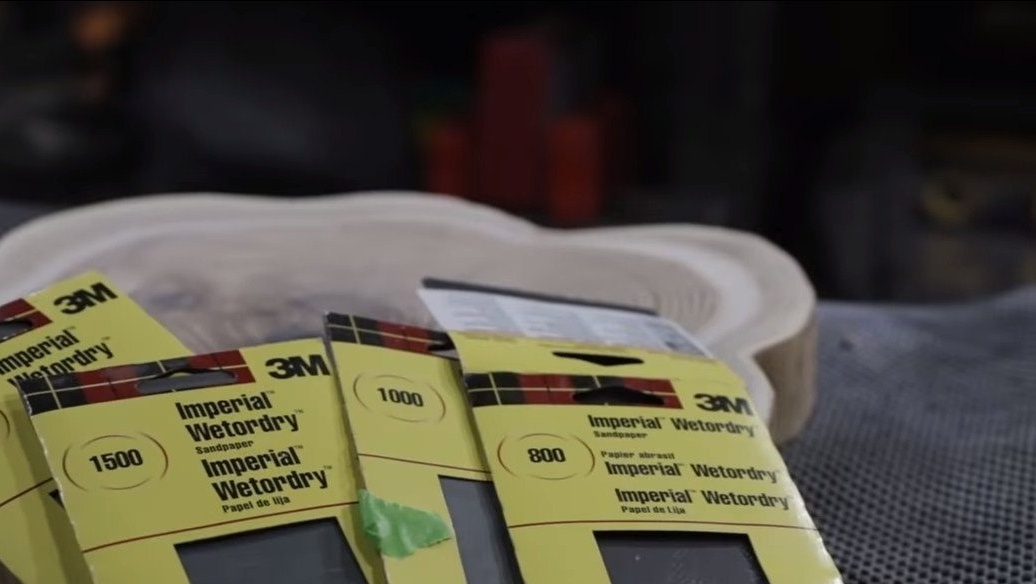
- sandpaper from 800 to 2000.
Tool List:
- glue gun;
- soldering iron;
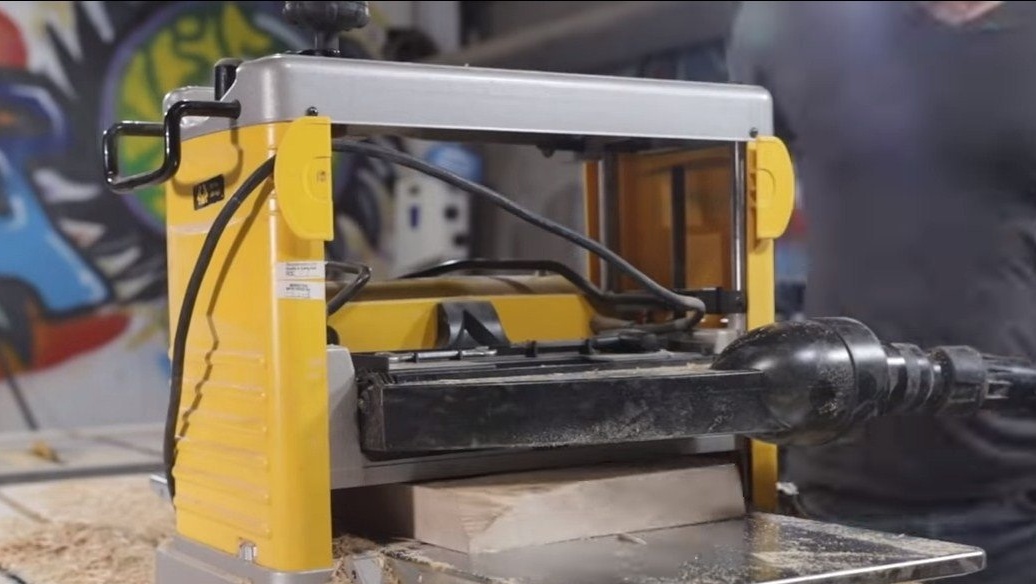
- milling machine and milling machine;
- orbital sander;
- building hair dryer;
- a chisel, a hammer;
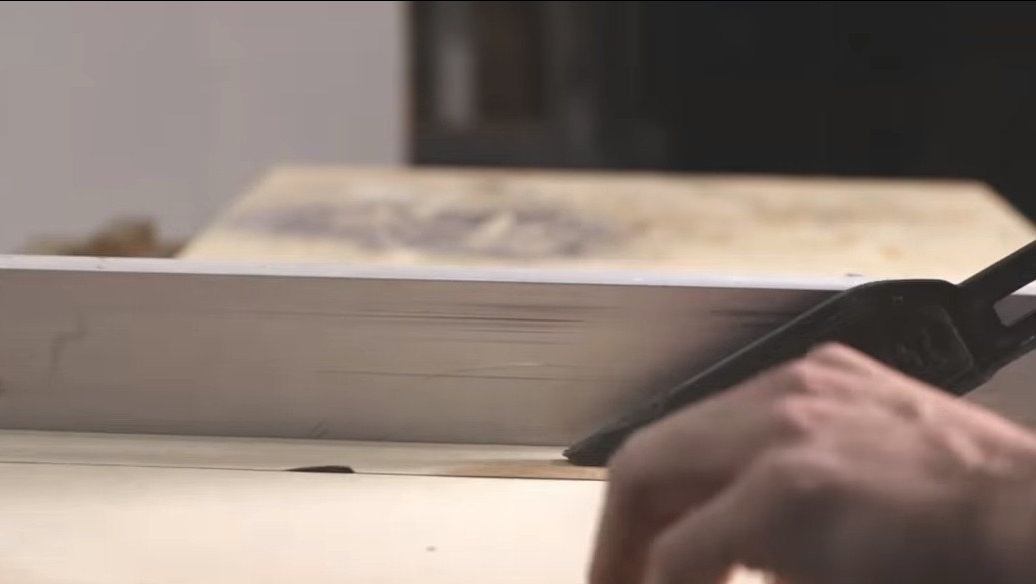
- circular saw, etc.
The process of making a homemade lamp:
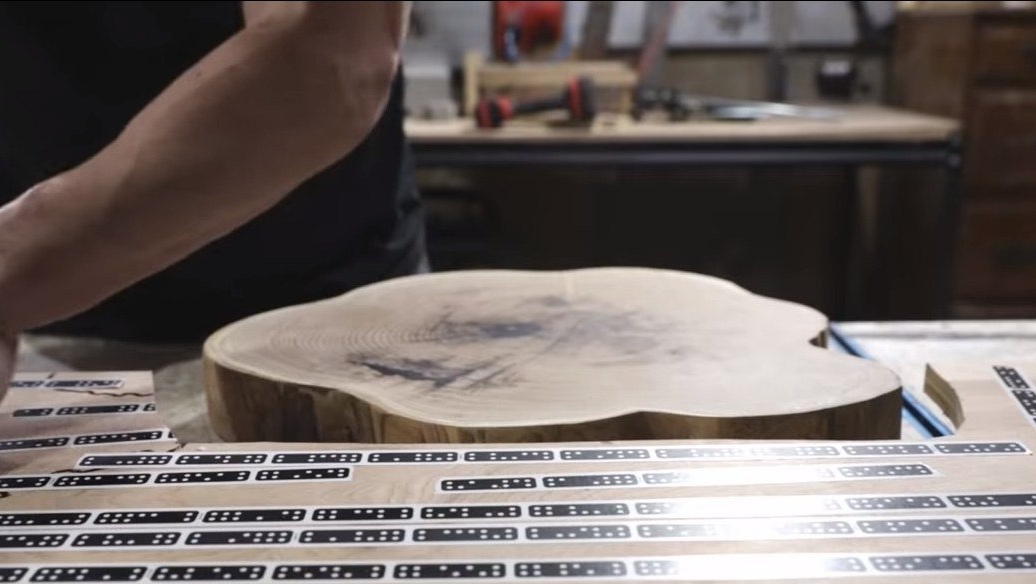
Step one. Preparation saw
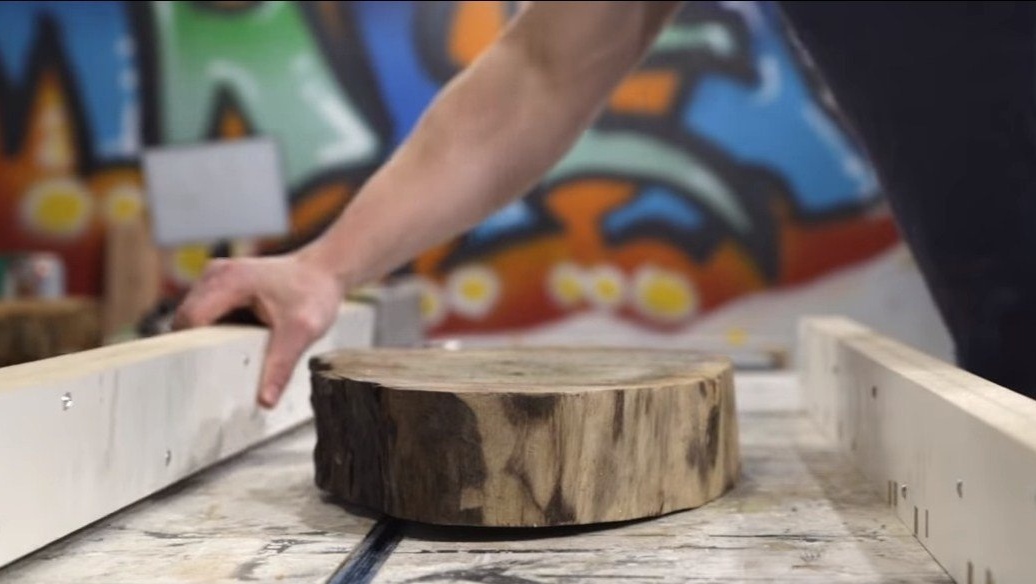
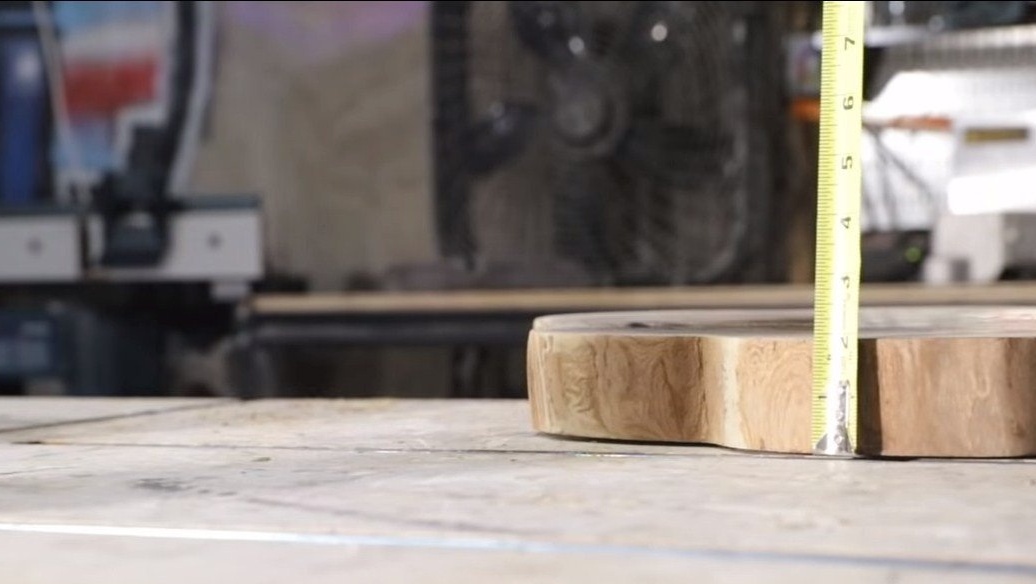
Let's start with the saw cut, the most important thing in this matter is that the wood be used already "dead" and well dried. If you take a saw cut from a “living” tree, it will dry for a very long time and crack very much, so it’s better not to risk it.
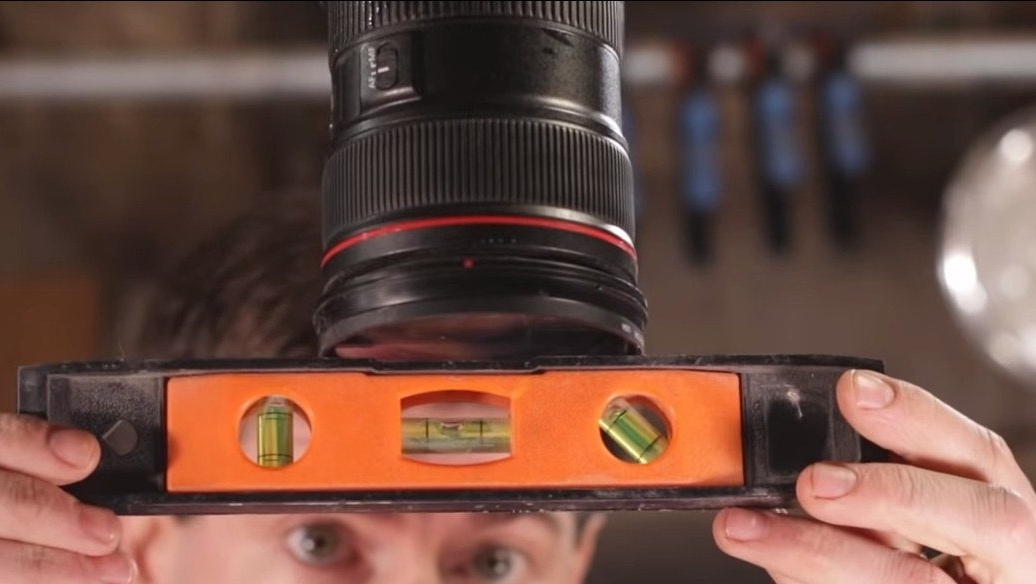
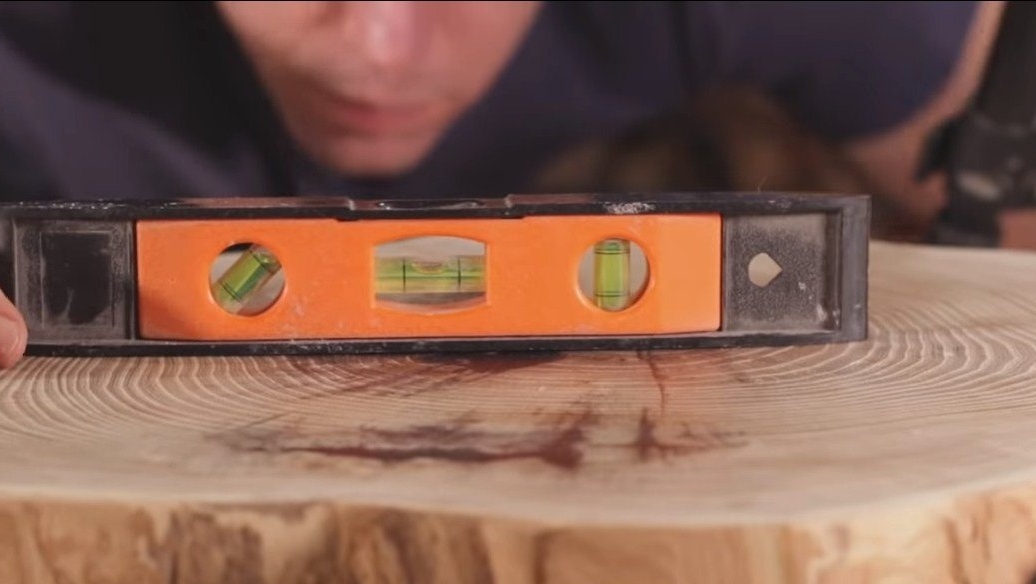
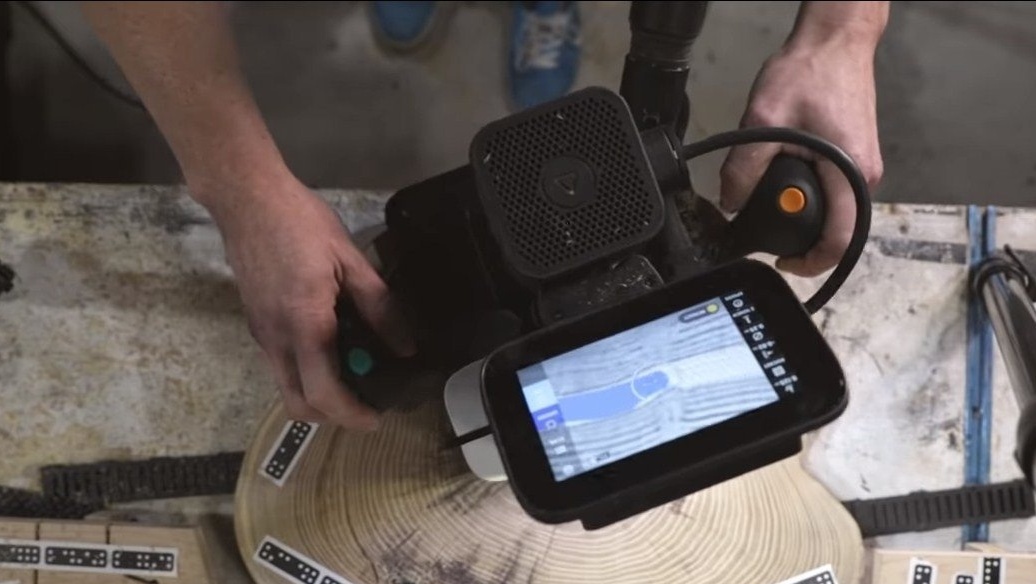
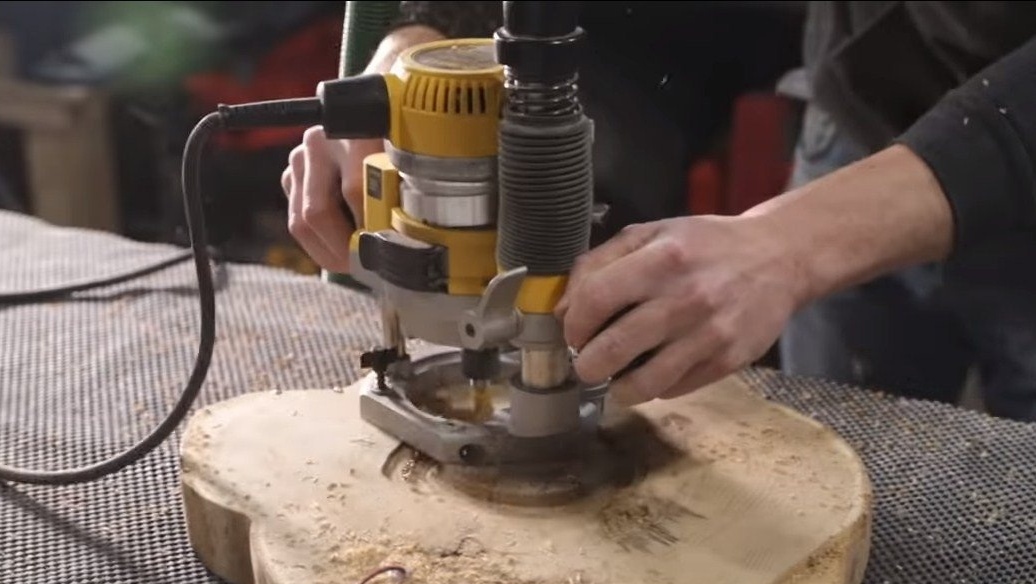
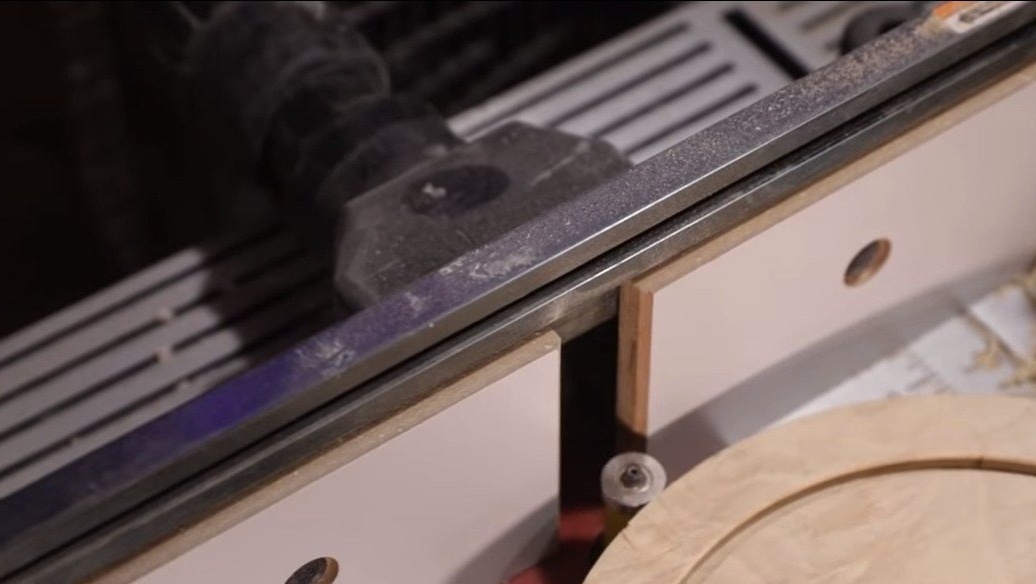
To begin with, we need to align the planes; the hand milling machine is best suited for such needs. We make an improvised frame under it and align the plane. As for the bark, we peel it off so that nothing would fall from the homemade sweat on the head.

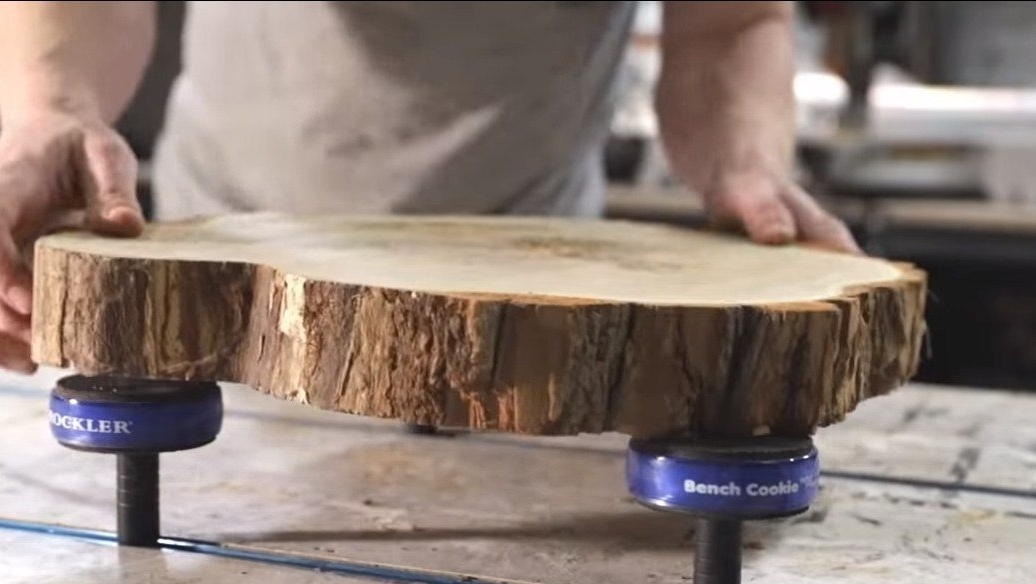
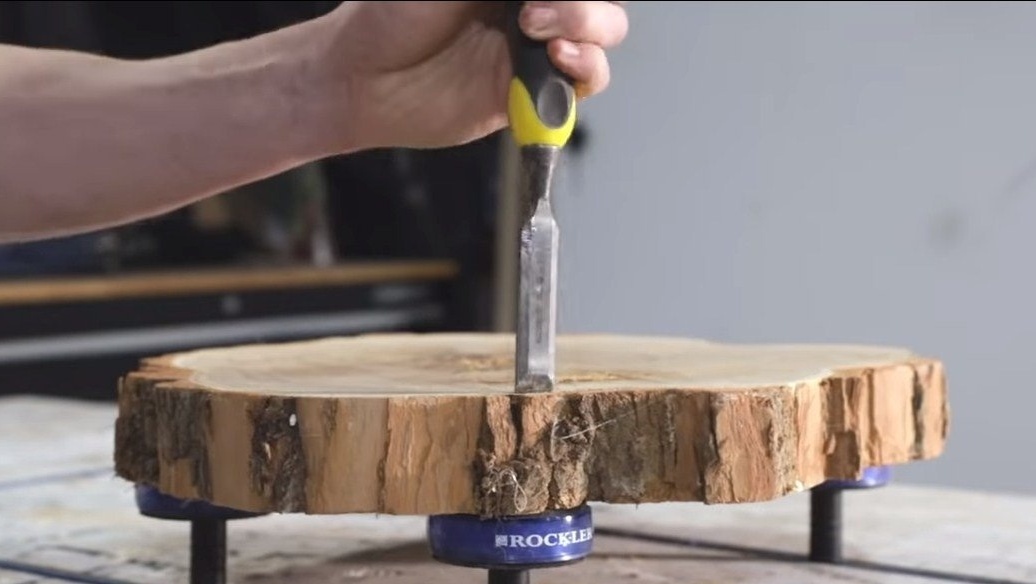

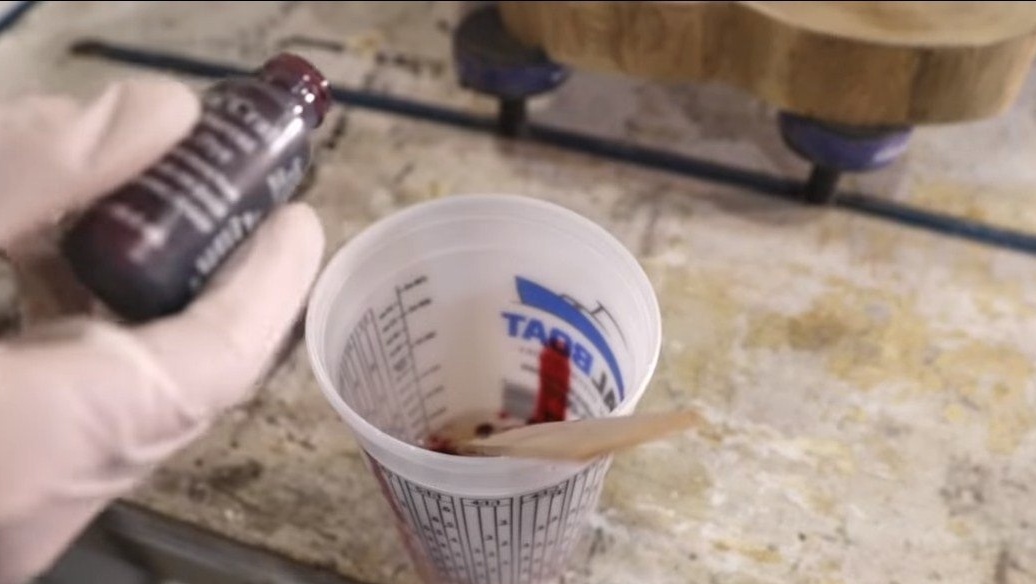
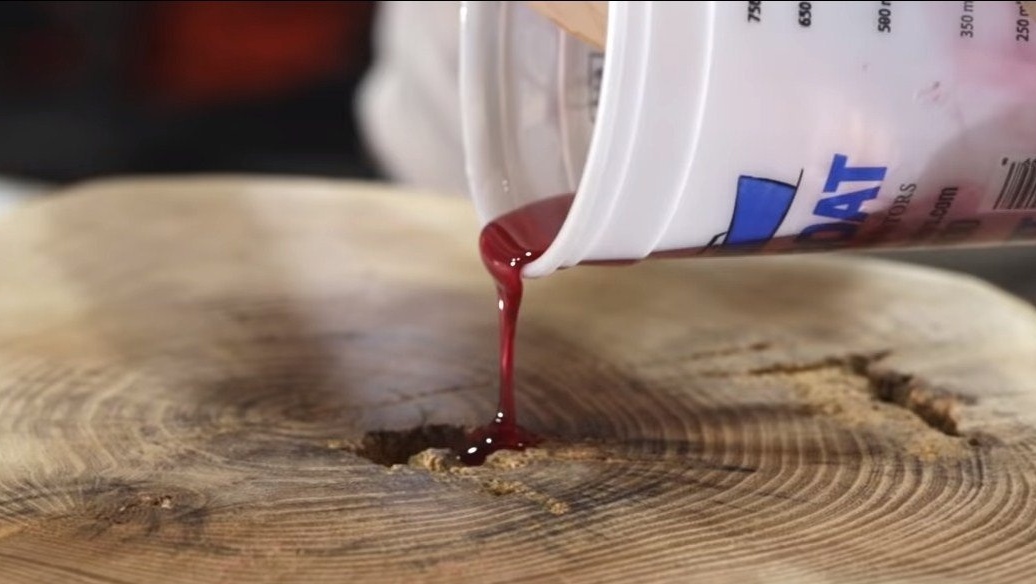
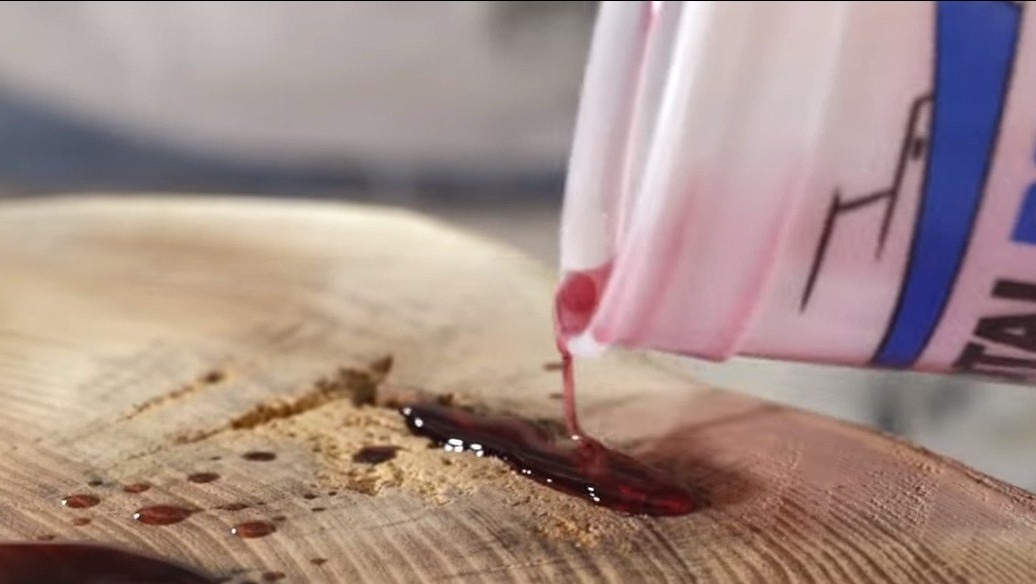
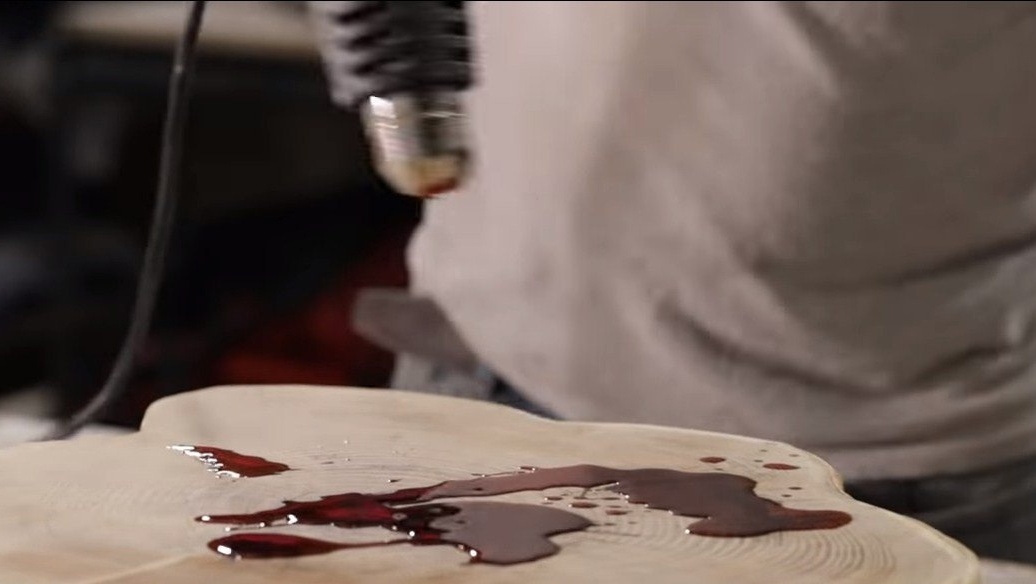
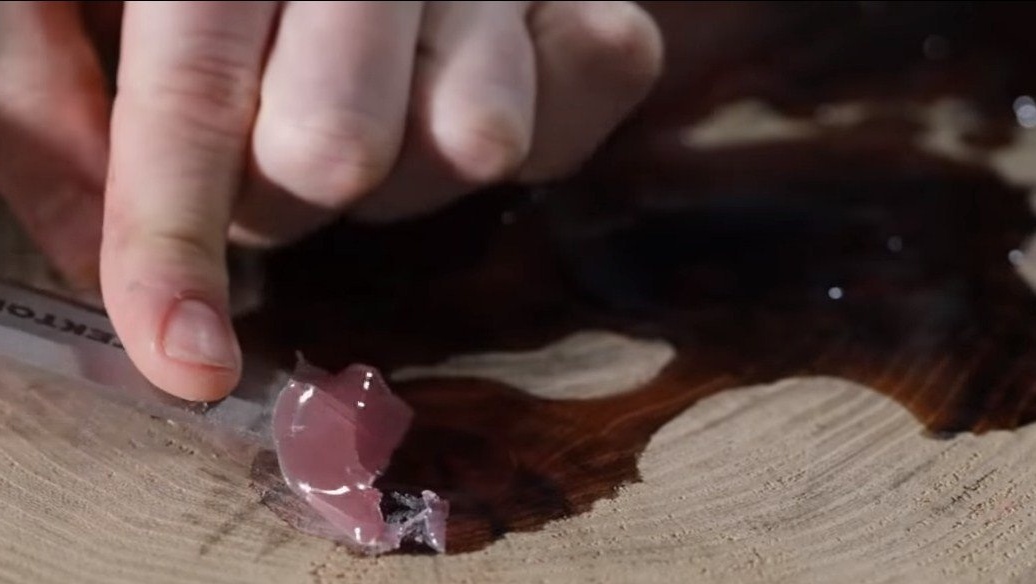
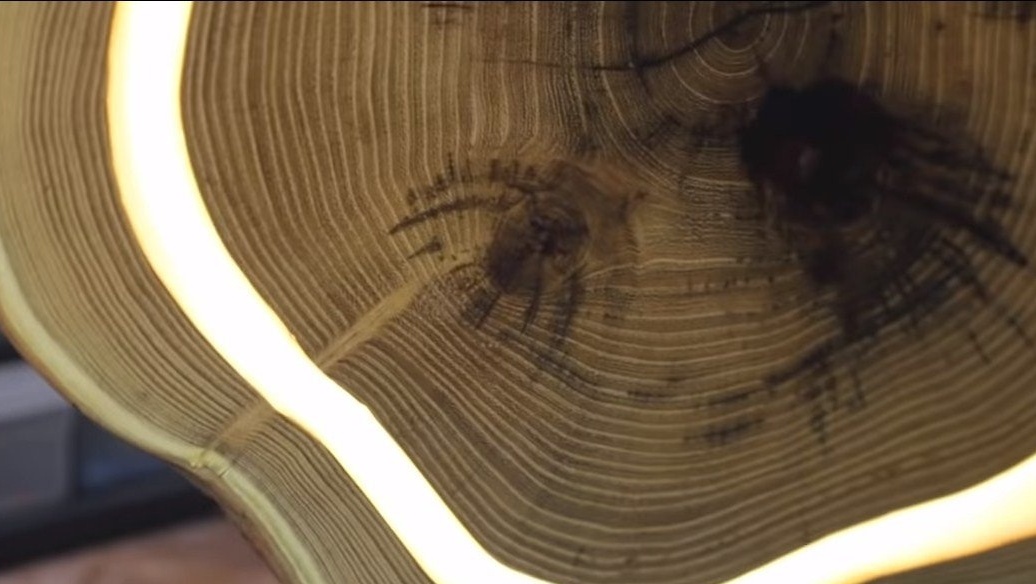
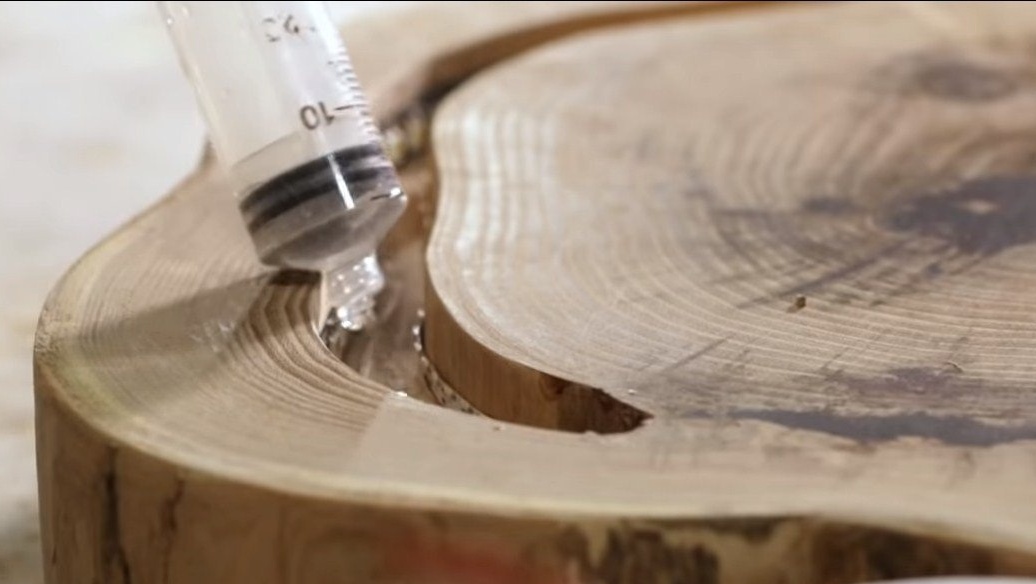
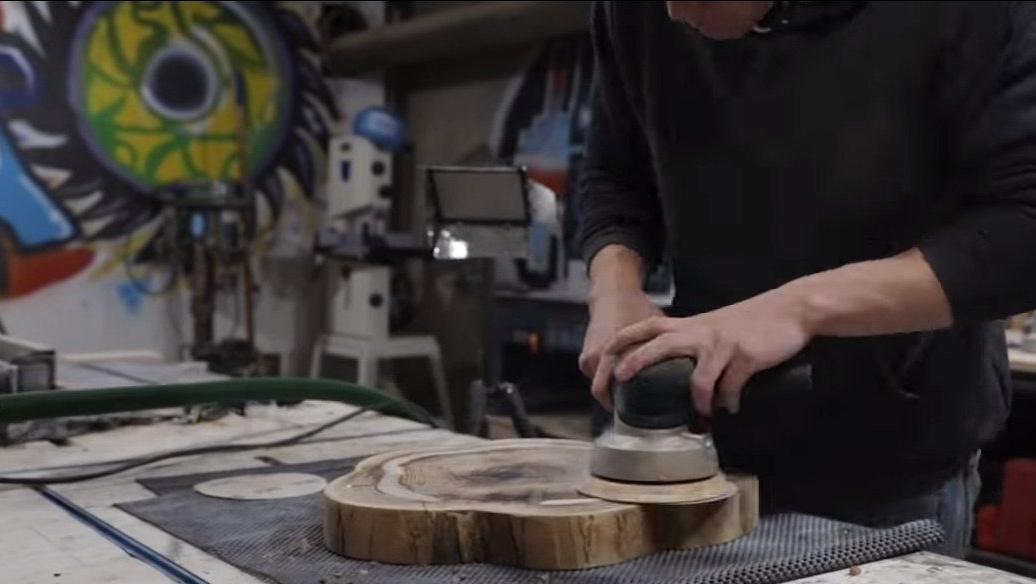
After this, you can proceed to eliminate the defects, it can be cracks, rotten areas and so on. All such places need to be filled with epoxy, especially for cracks, which we will strengthen in this way. The author added a red dye to the resin.When the resin hardens, we clean off the excess with a chisel by heating the resin with a construction hairdryer. Well, then we grind the plane well with an orbital sander.
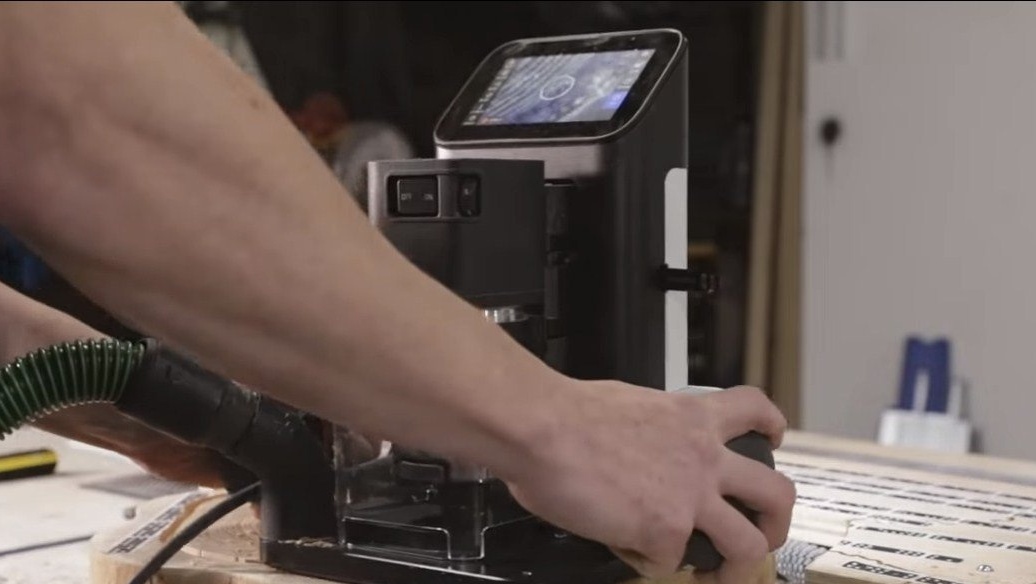
Step Two Ribbon milling and installation
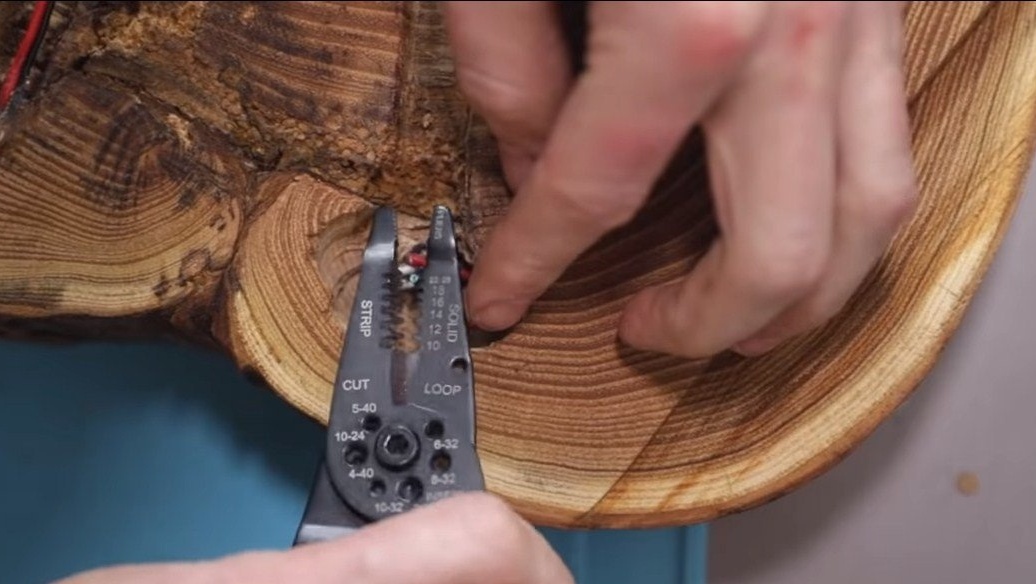
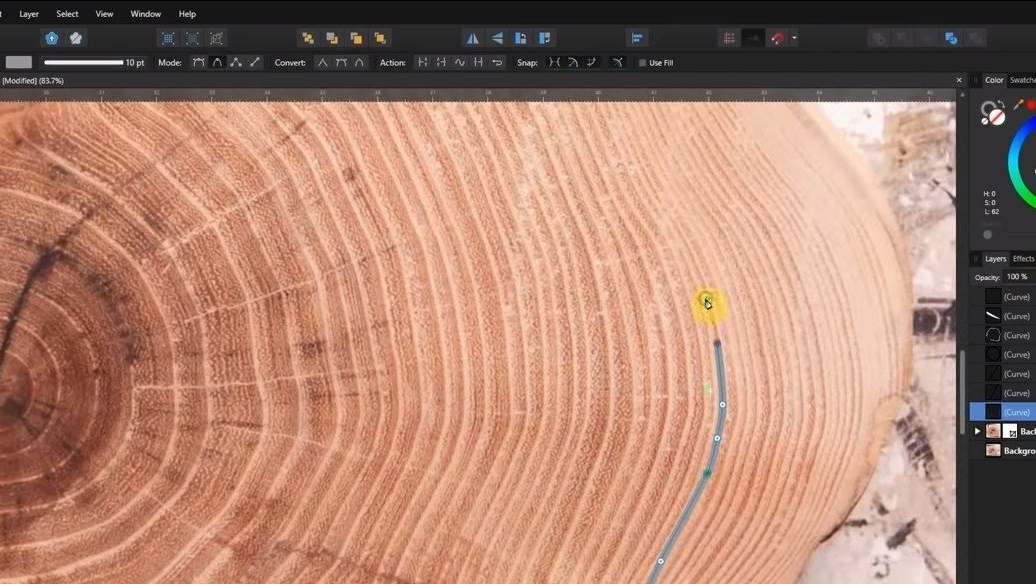
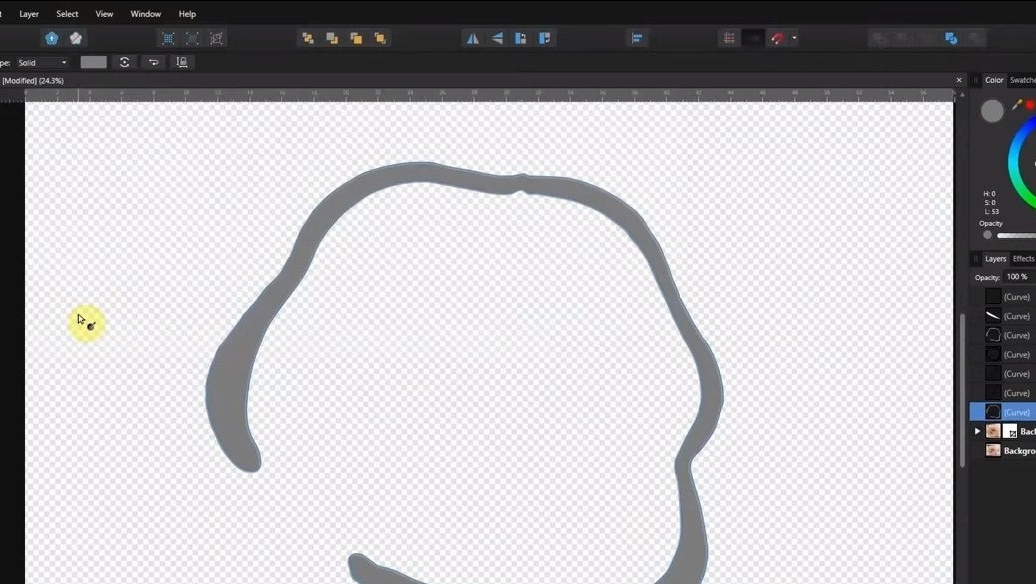
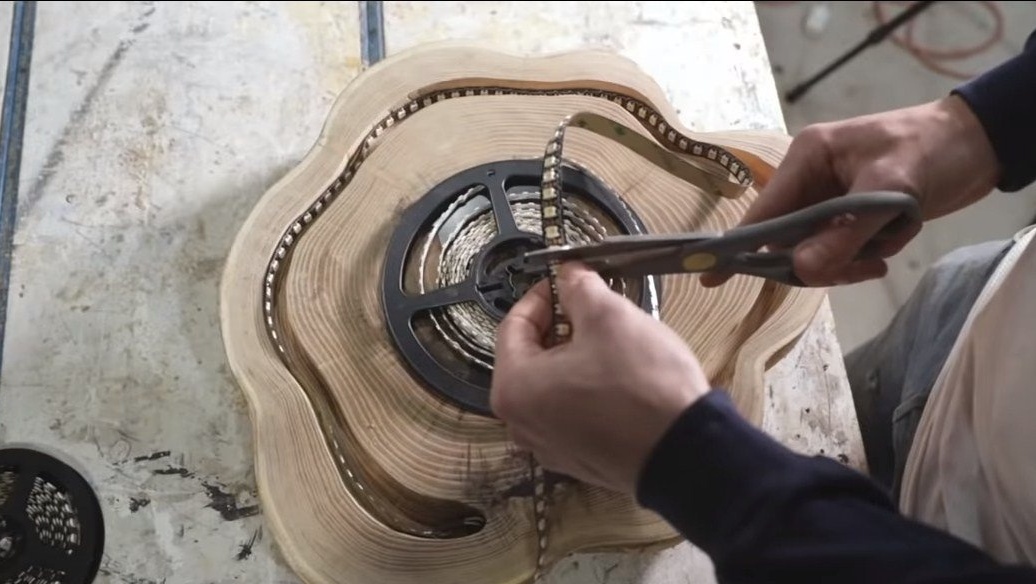
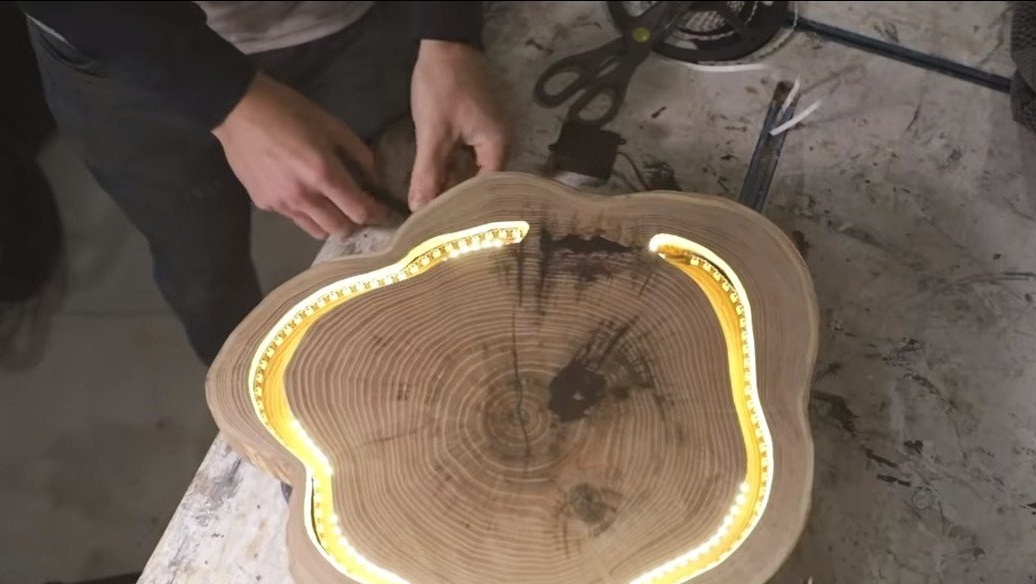
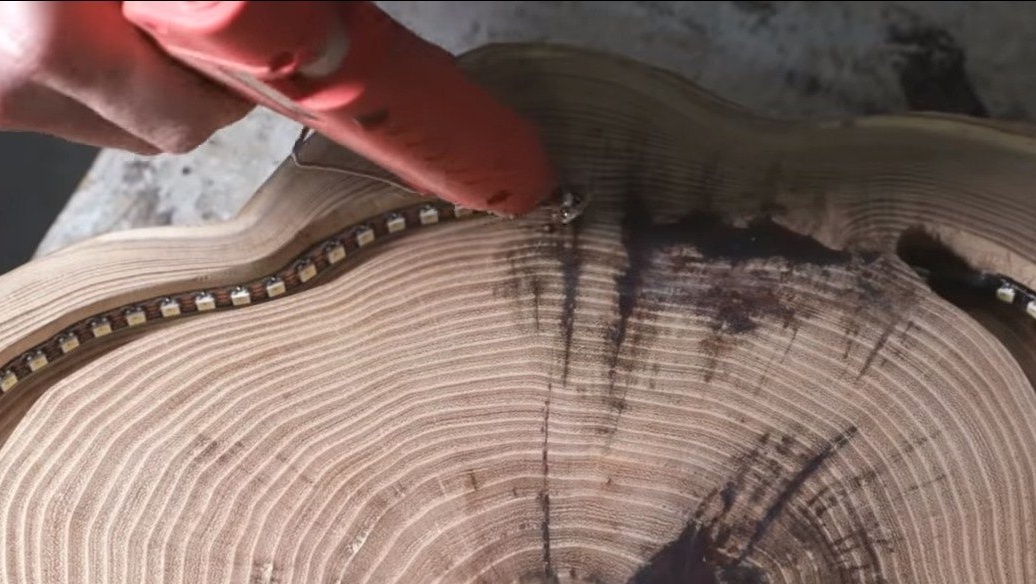
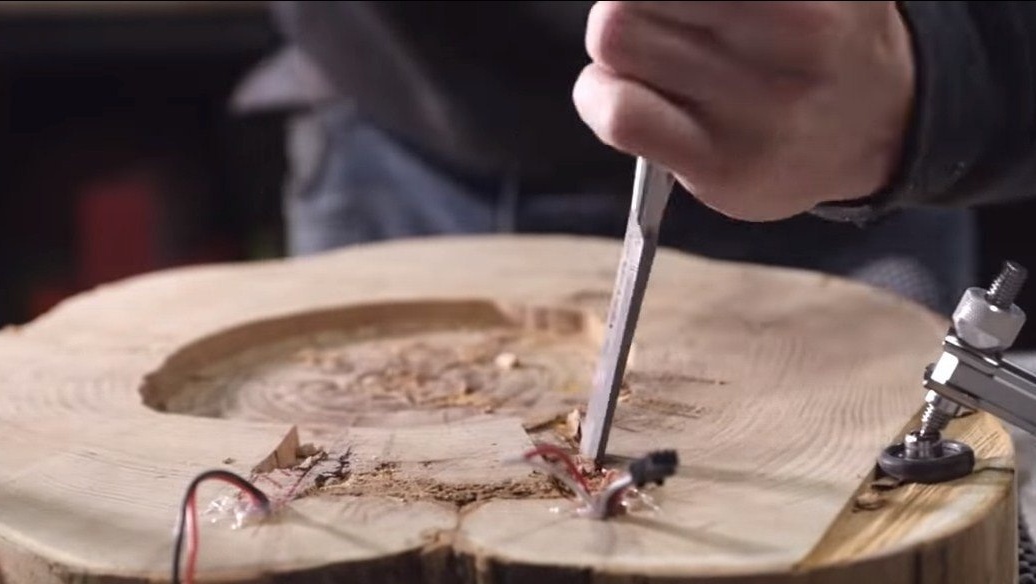
Next, we proceed to milling, we need to make a groove for pouring and laying the LED strip. You can do this with a milling cutter, or you can do it the old fashioned way, using a hammer and a chisel, all the same, the curvature will not be visible under the matte epoxy. In addition to this, we also need to carry out milling work, and on the other hand, wiring will be laid here, as well as a power supply and other electronics.
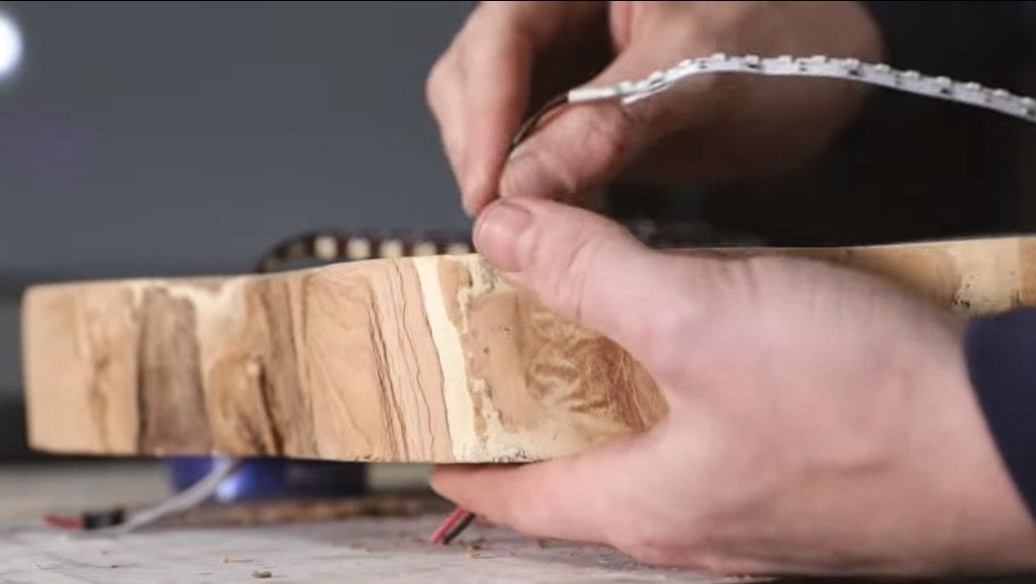
We put the LED strip in the groove and fix it with a glue gun, we also fix the wires on the other hand with hot glue, otherwise epoxy will leak through the holes.


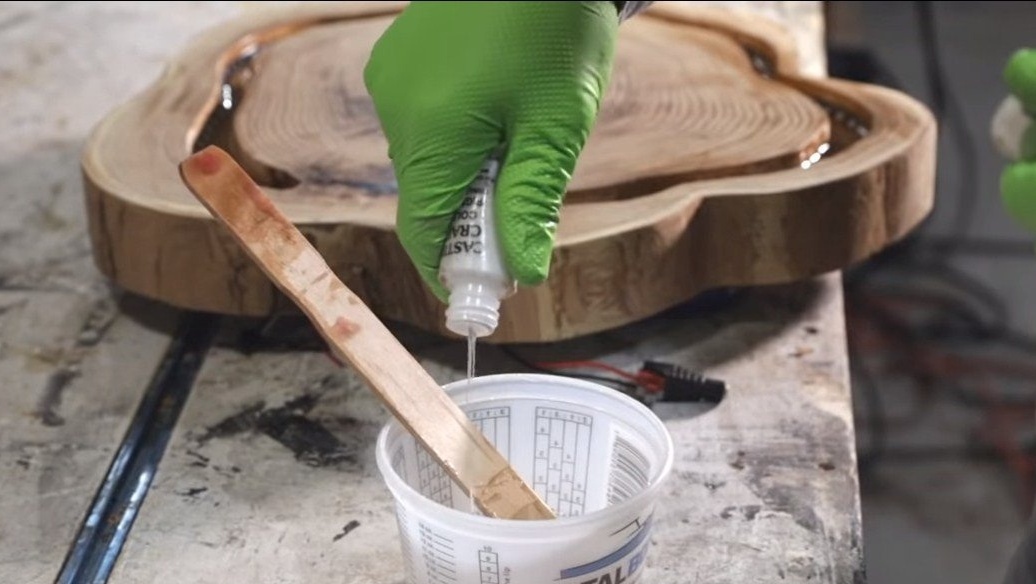
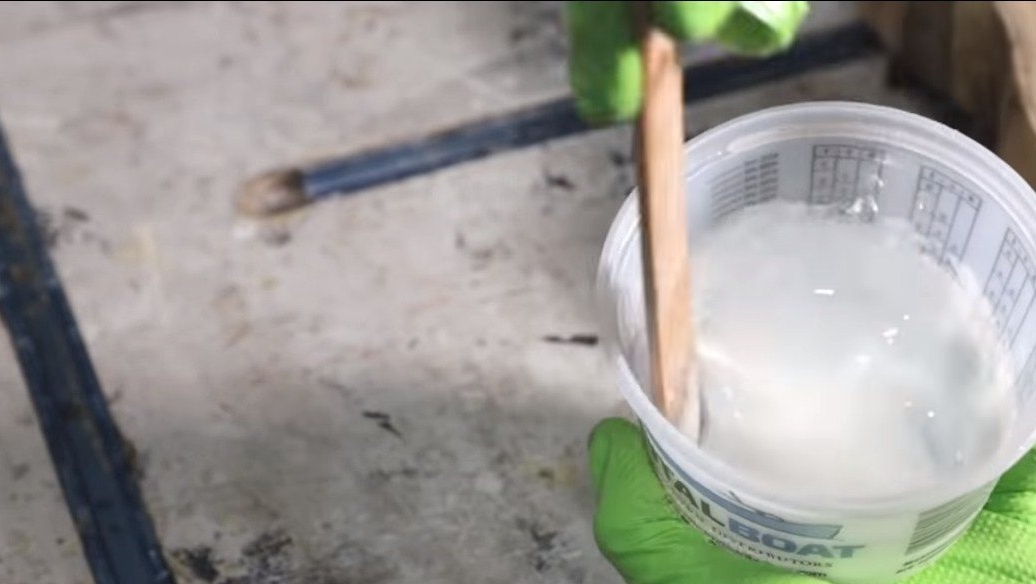
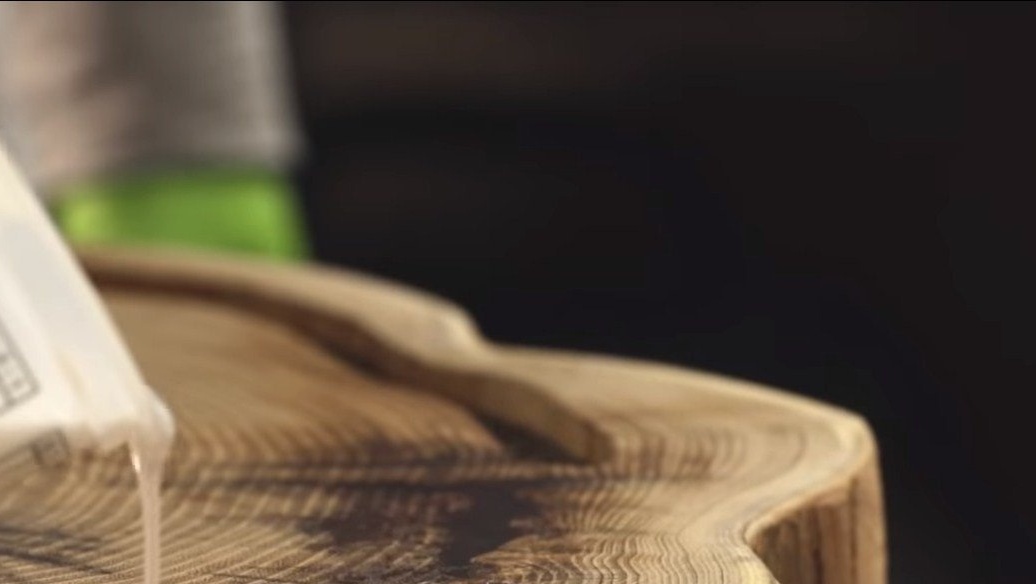
Step Three Pouring
You can pour epoxy resin, the author does this in three stages. First, fill the first layer, the resin is used without dyes. Then the second layer is poured, the author adds a white dye here, as a result, the LED strip will not be visible, and the light will be pleasantly scattered. Well, the third layer of resin is also used transparent.


Step Four Back cover
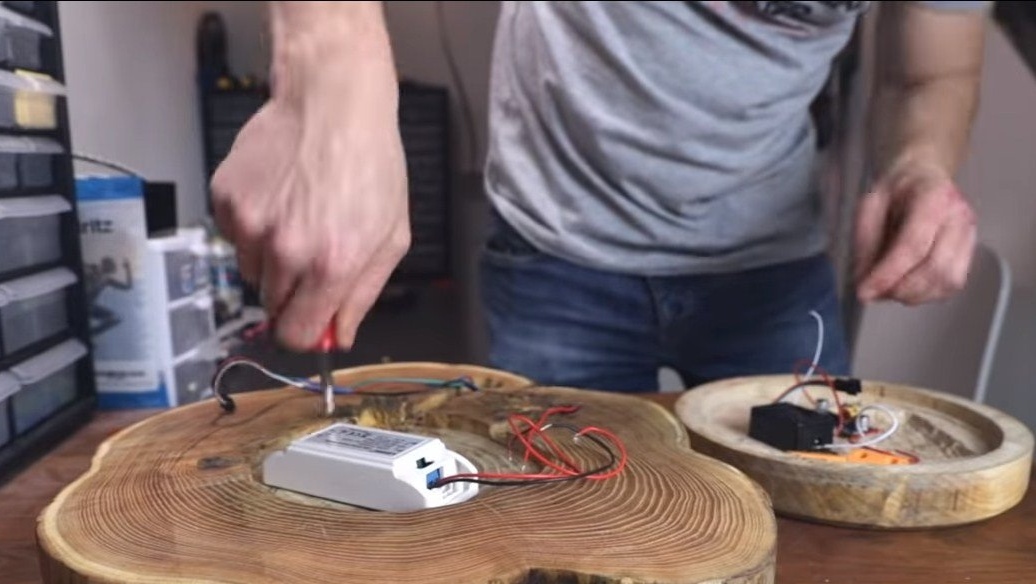
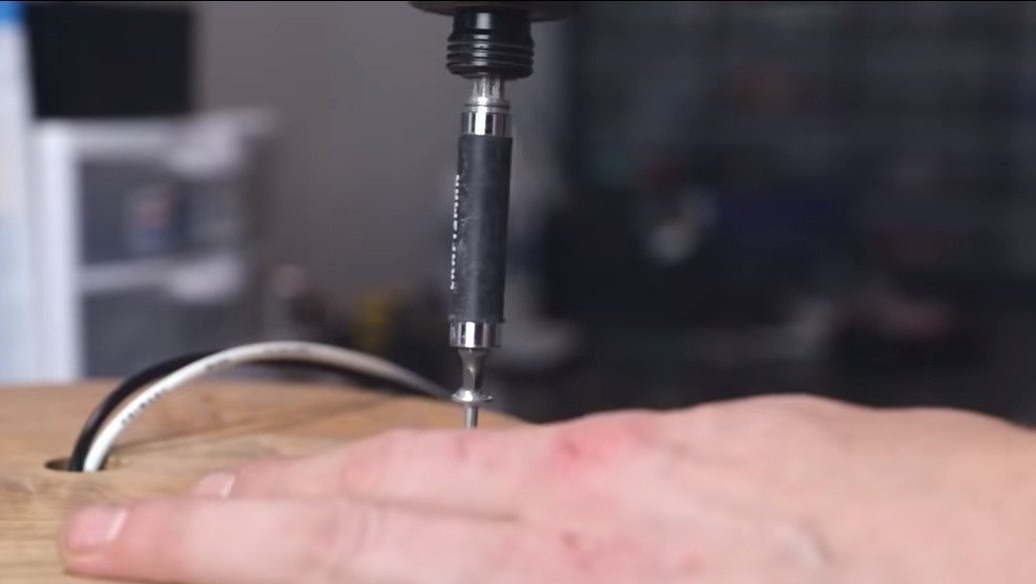
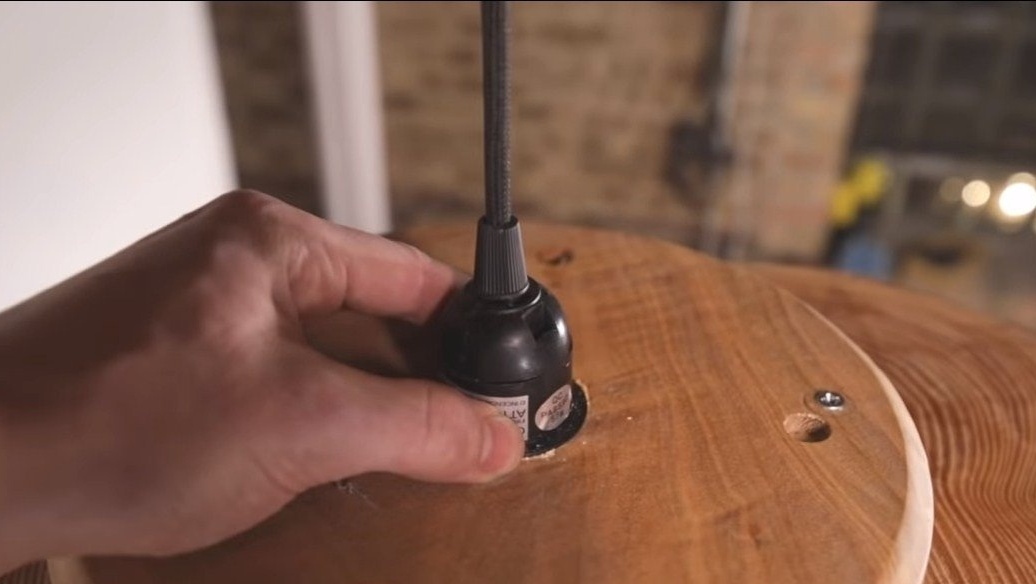
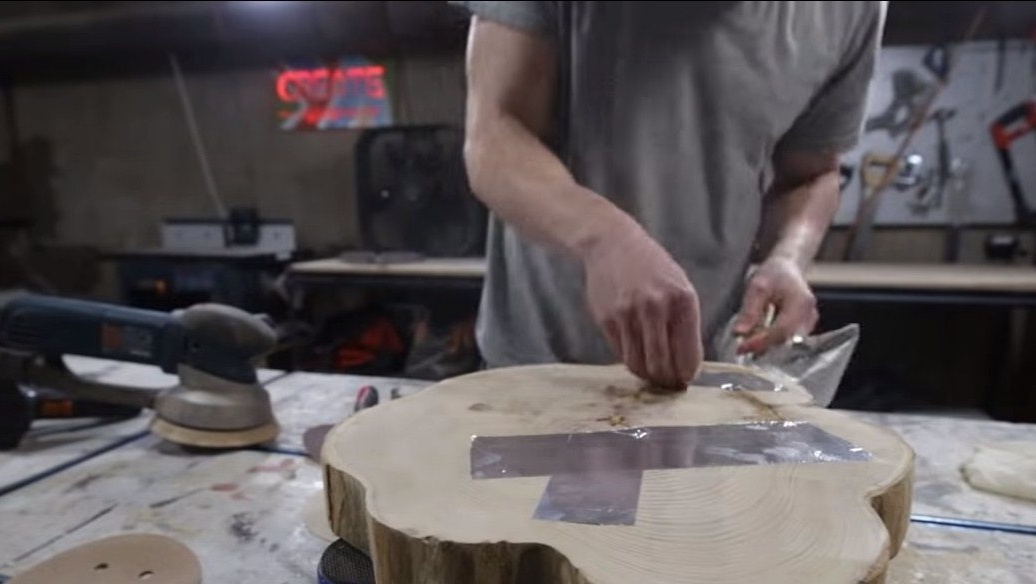
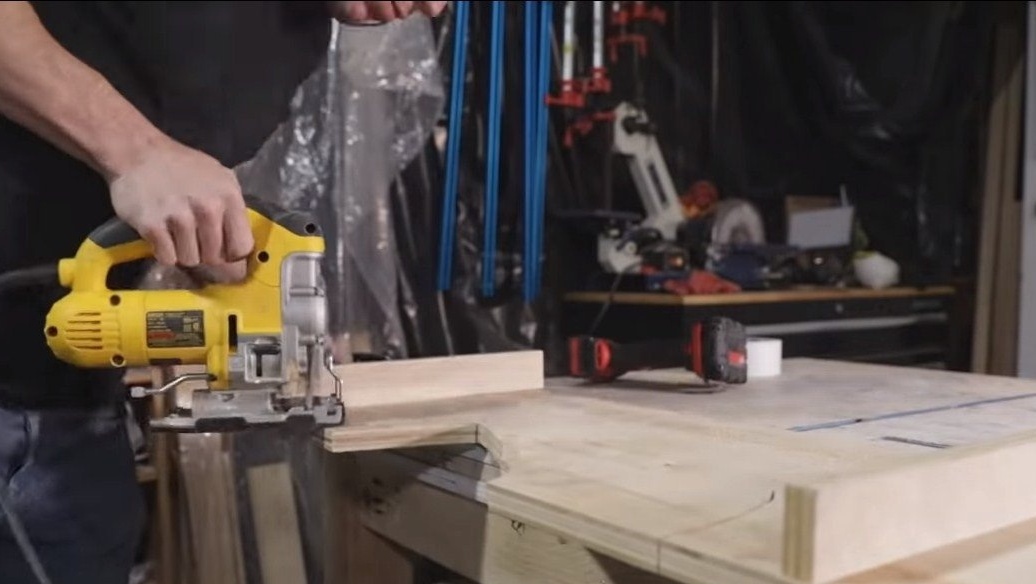
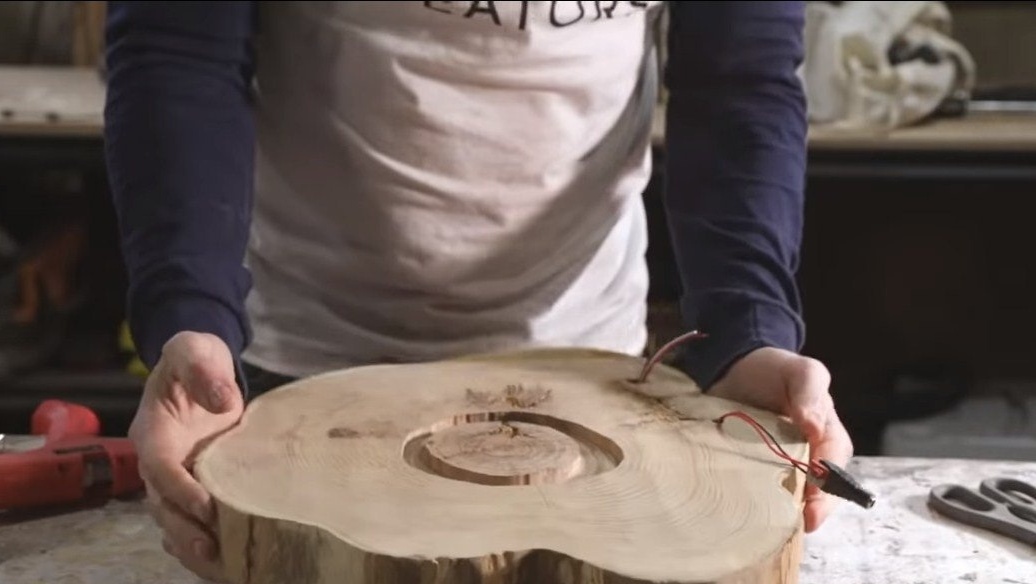
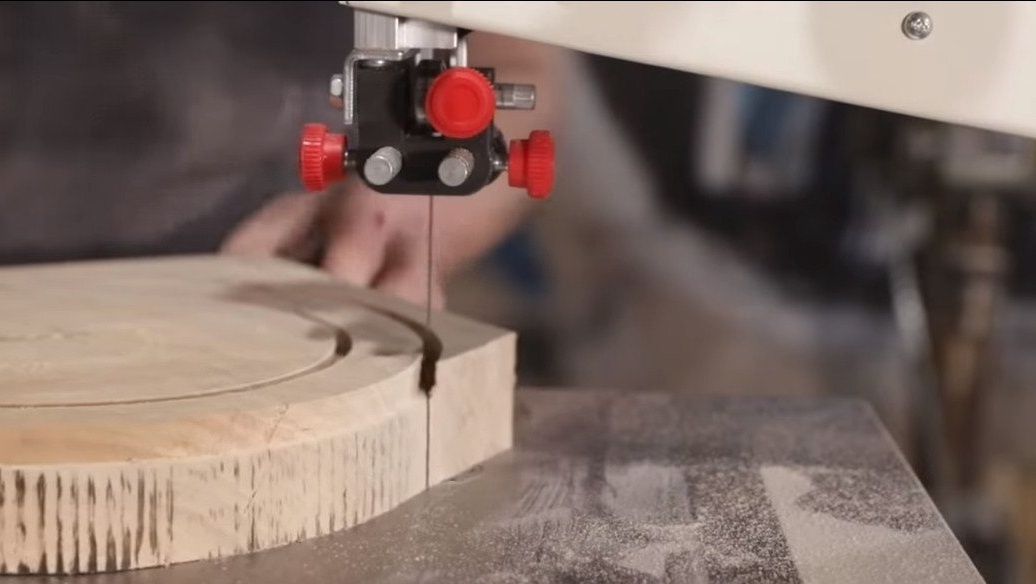
On the back of the saw there will be a power supply that will power the LED strip. Of course, this whole thing needs to be hidden in the case. It is necessary to make a cover, for which the author uses a thick board. From the board you need to cut a circle, and inside the milling cutter to make a recess. In the center of the cover, we drill a hole for the incoming cable, and three more holes at the edges are needed to fix the cover with screws to the lamp.


Step Five Final processing
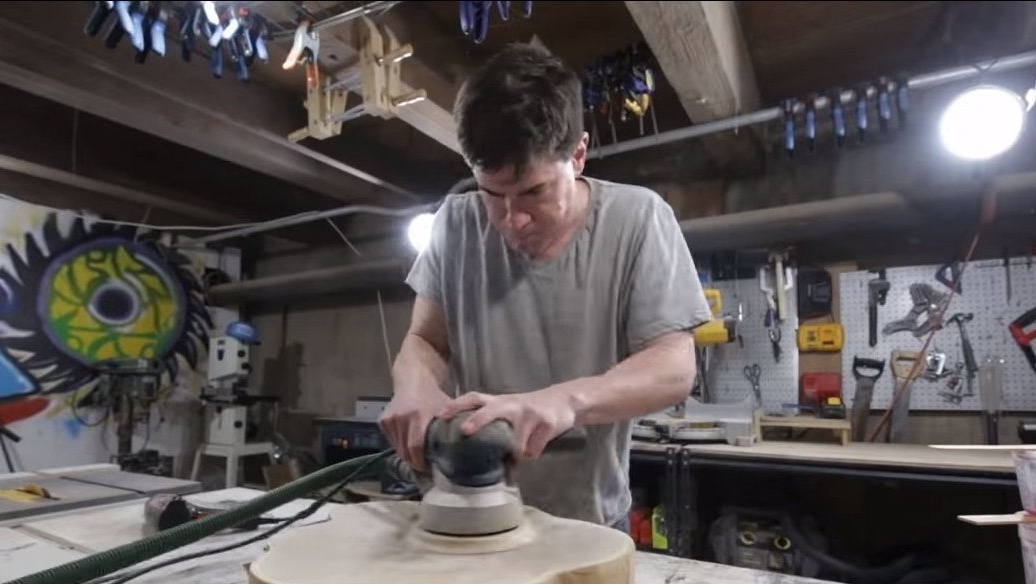
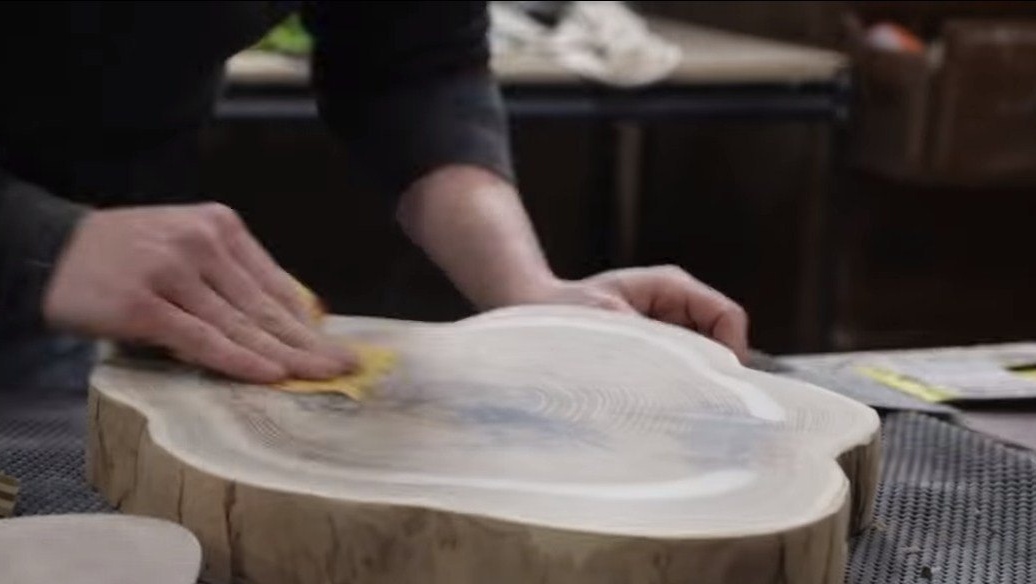
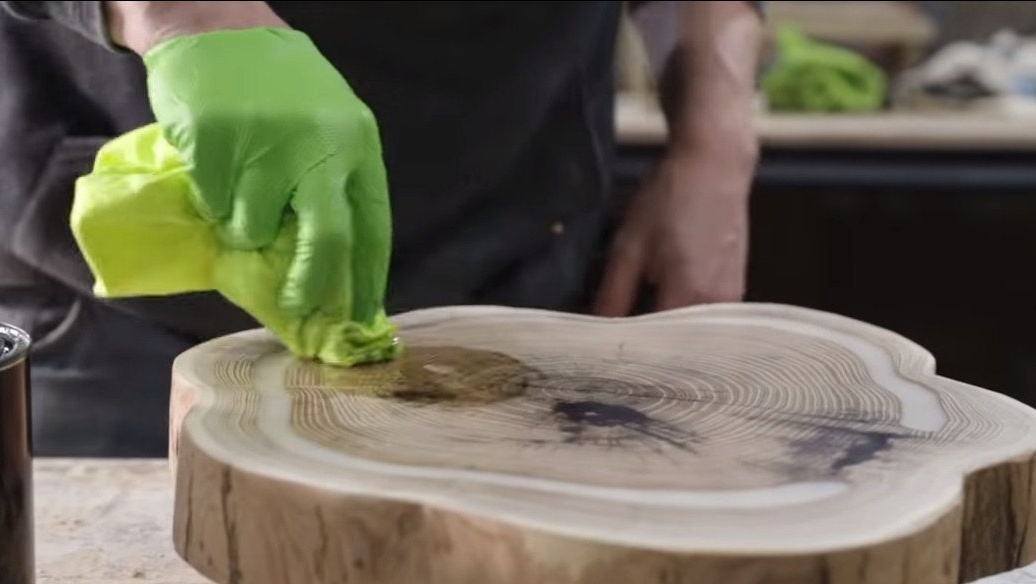
We proceed to grinding and polishing the lamp. It needs to be made perfectly smooth, then the tree will look very beautiful. First we use an orbital machine, and then go to manual processing. For fine processing, the author uses sandpaper from 800 and then lowers it to 2000 grit. At the end, we cover the tree with oil, varnish, wax or another coating to your taste, now everything looks at its best.
Step Six Assembly
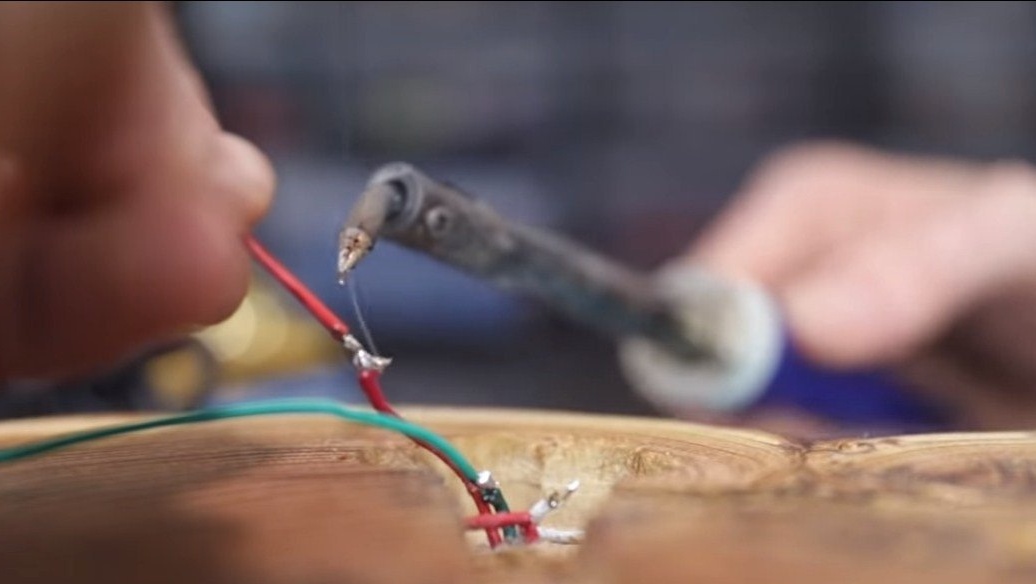
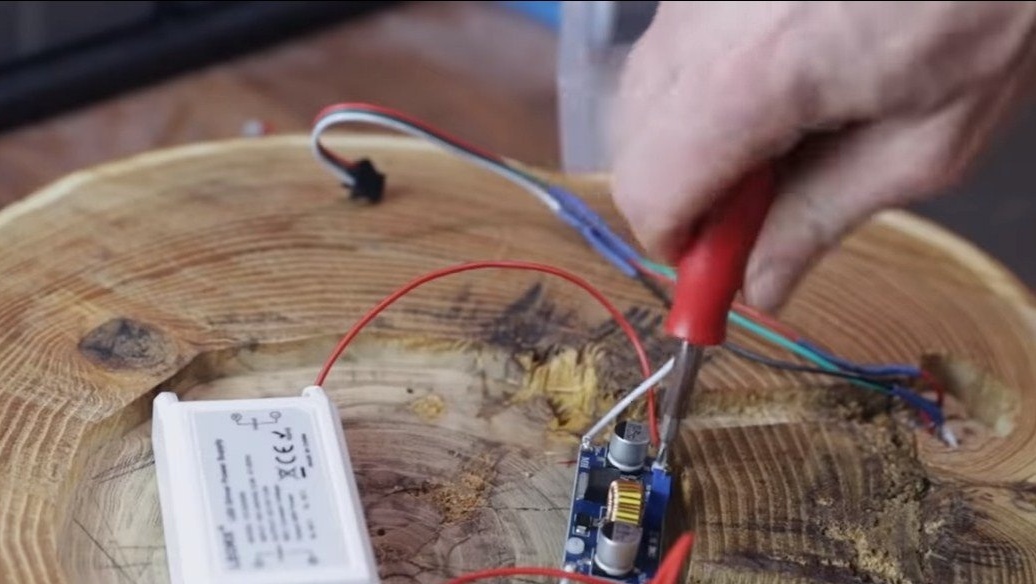
We install the power supply and, if necessary, put the converter. If there is no suitable power supply, using the converter you can increase the voltage to the desired value or underestimate. Solder the wires and fasten the back cover with screws. And as a decor, you can mount a bulb holder in the back cover, but here it all depends on the style you choose.
That's all, the lamp is ready, it turns on with a wall switch, which turns on the chandelier and other ceiling lights. The homemade look looks original, I hope you liked the project. Good luck and creative inspiration, if you decide to repeat this. Do not forget to share your ideas and homemade things with us!