
Hello friends the inhabitants of our site! In today's article, we will consider a very interesting homemade product, which is useful to someone who is engaged in amateur photography, and does not want to spend money on expensive equipment. Namely, today we will consider how to make two axial stabilization for a video camera. Everyone can assemble this homemade product, firstly, because it has a simple structure, and secondly because it will consist roughly of garbage, from what can be found at hand or at the nearest flea market. In general, the homemade product is very interesting, so let's not pull with a long introduction, let's go!
Links to some components are left at the end.
For this homemade product we need:
- PVC pipes, adapters and corners to them
- Old computer hard drive
- Some kind of speed control.
- Rechargeable batteries 18650 3pcs (you can any on 7.4 - 12v)
- Connector for battery
- Old wired headphones (or any other 4 four-wire cable)
- Small metal corners
- Bolts, cogs, studs, washers and nuts
- Bearings. With an outer diameter equal to the inner diameter of the PVC pipe.
- Mount for the camera.
- Foam handles (optional)
Of the tools we will also need:
- screwdriver
- Drill with a set of drills
- scissors
- soldering iron
- solder
- marker
- Drill
- Ruler
- Plastic ties
- Nippers
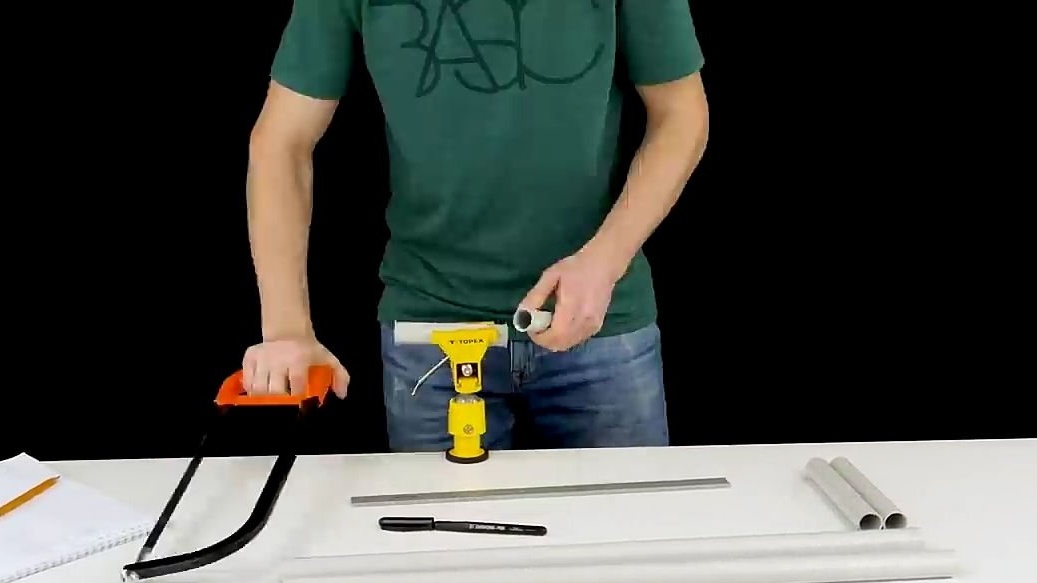
- Hacksaw
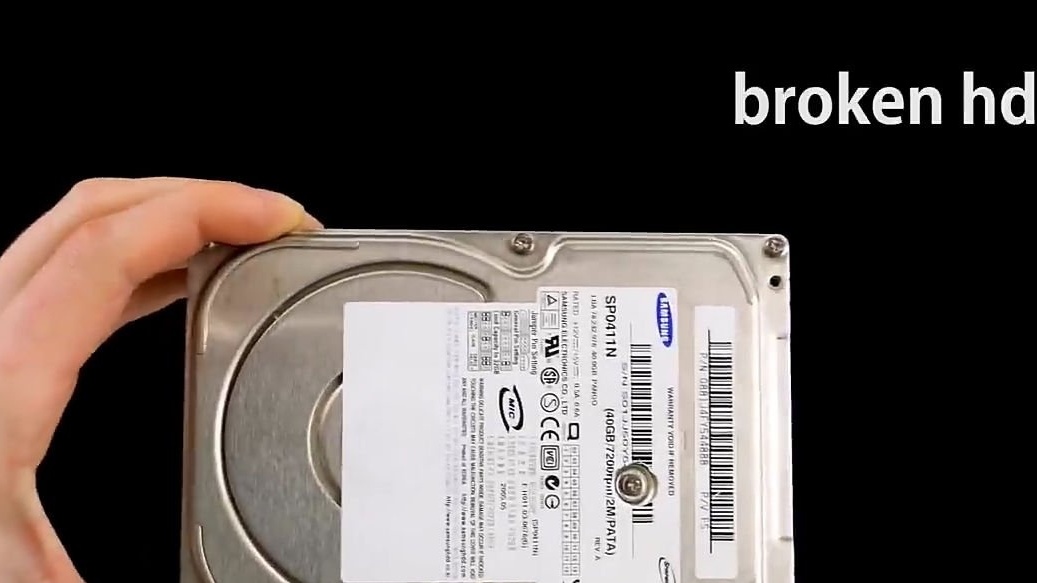
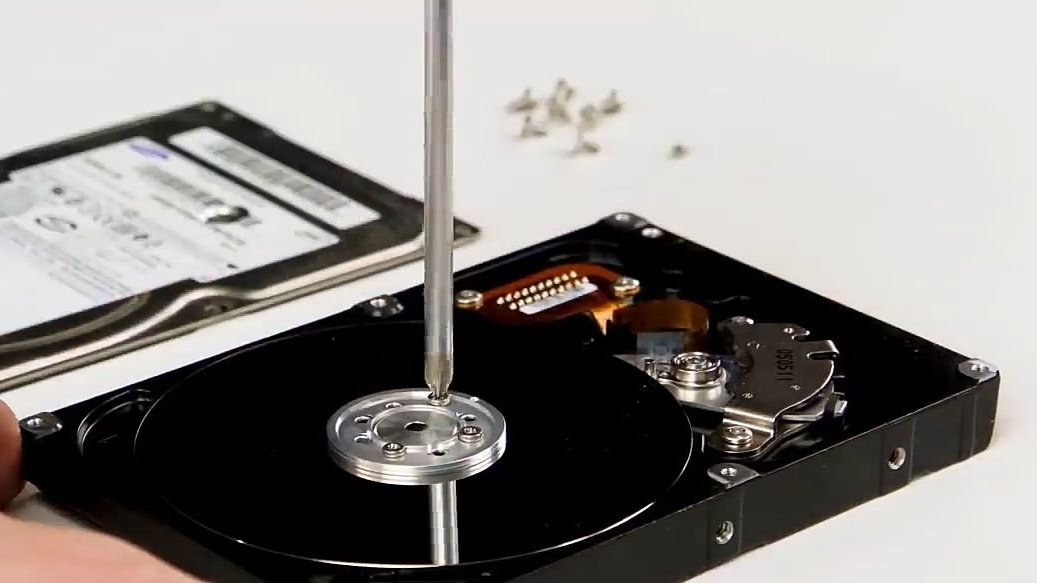
Well, let's get started. To begin with, we should take the most important and basic element, namely the hard drive. The disk can be used absolutely any most important thing, so that the electric motor inside it can rotate. If you don’t have such a drive, then it doesn’t matter, you can find it on the radio markets, in places where equipment is received or repaired for a penny.
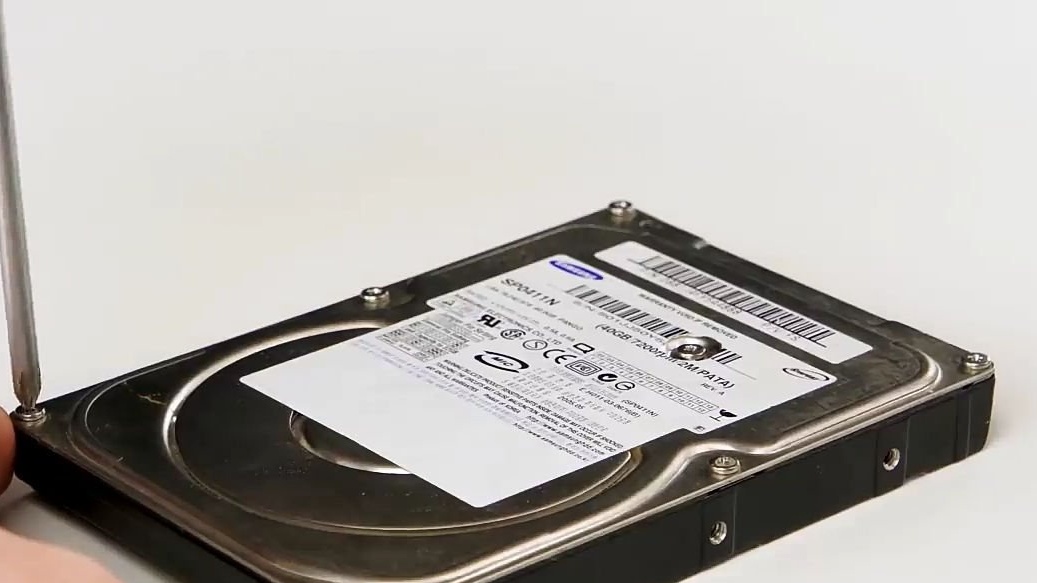
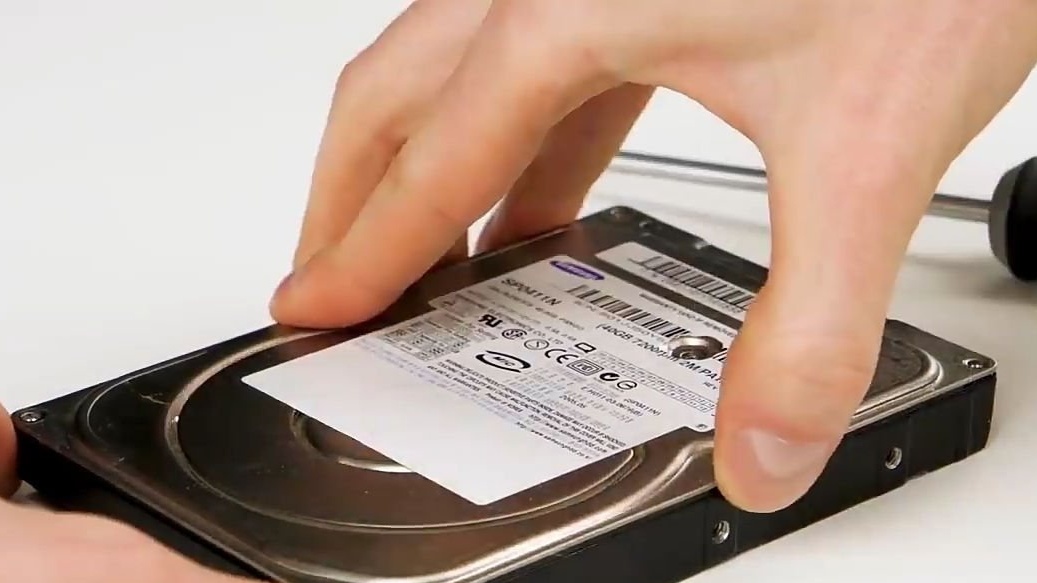
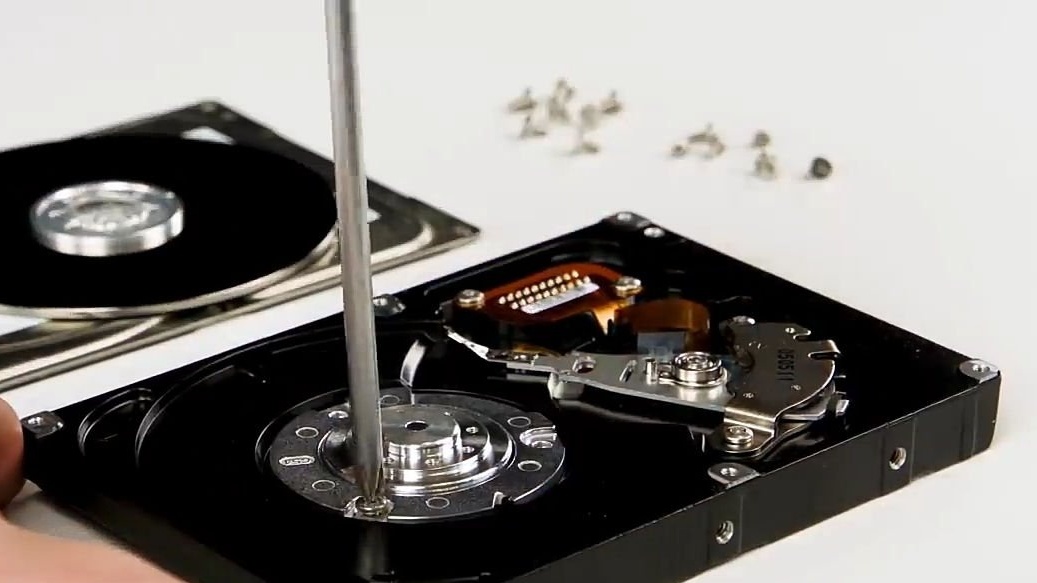
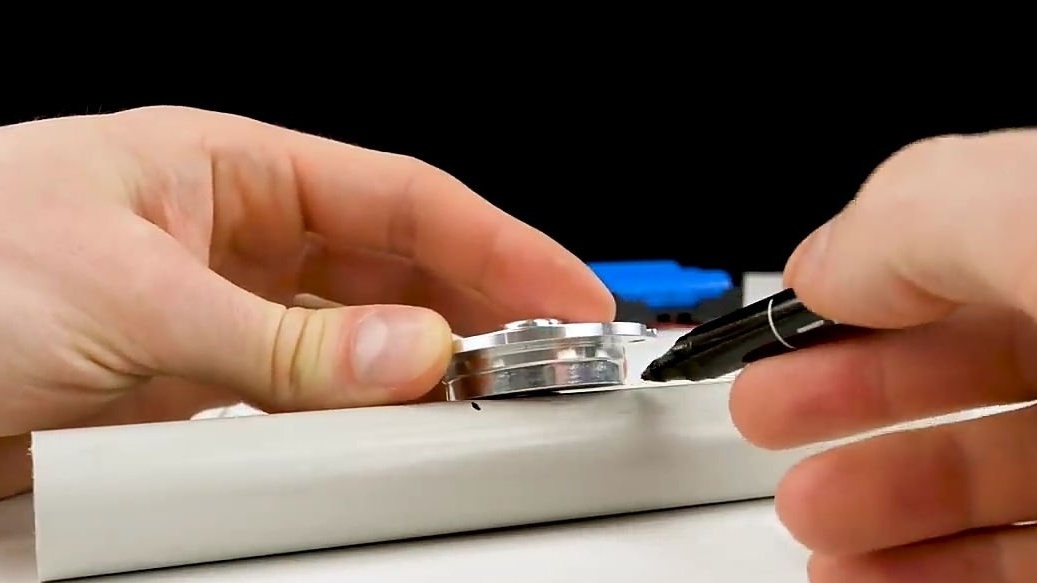
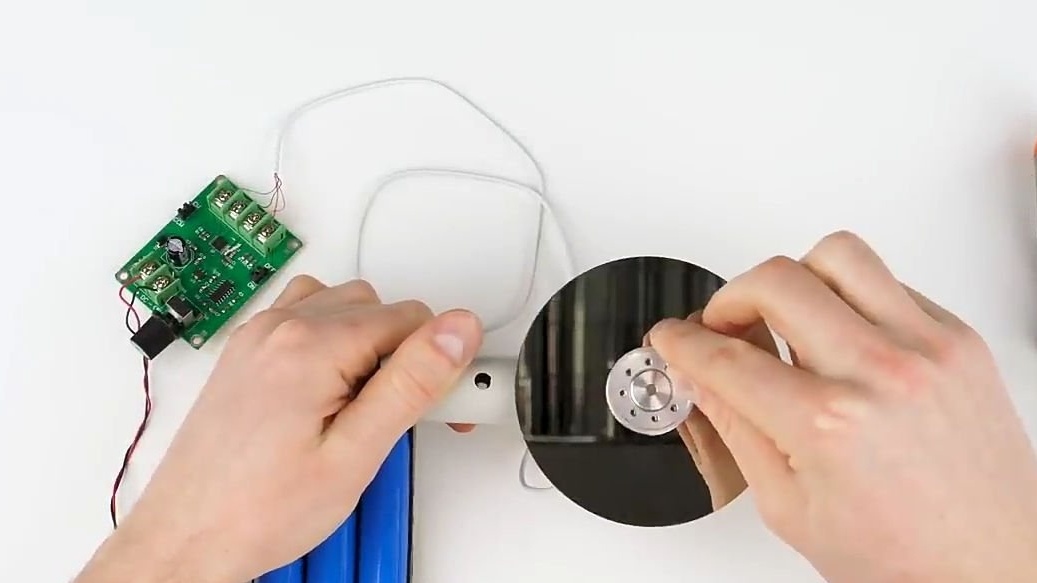
We disassemble the disk with a screwdriver, then first remove the disk itself from the engine, and then the engine itself. Then, on the engine in the area where the recording disc is mounted, we drill a through hole opposite the mounting hole. These holes will also serve as fixing holes.
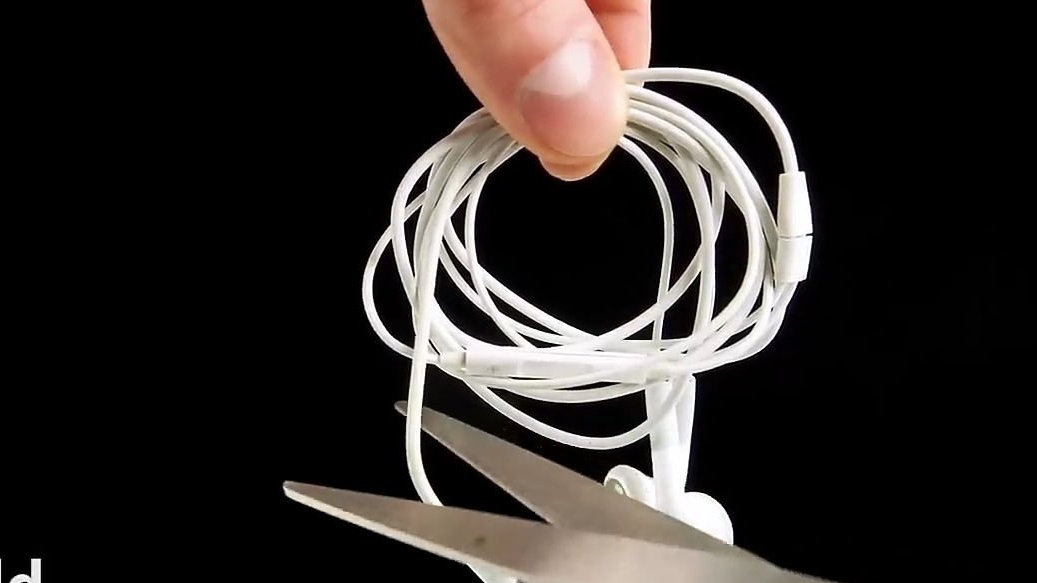
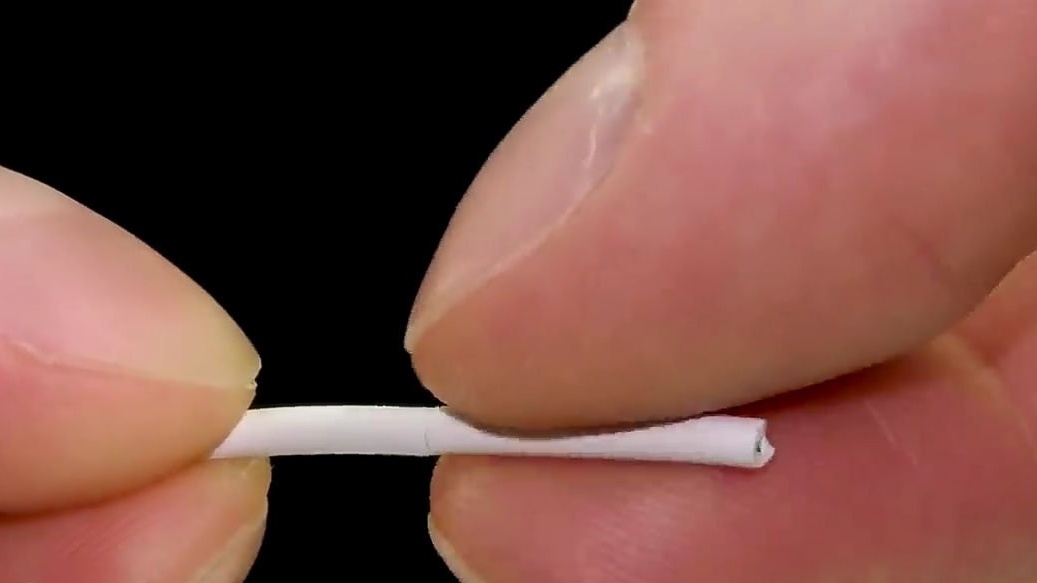
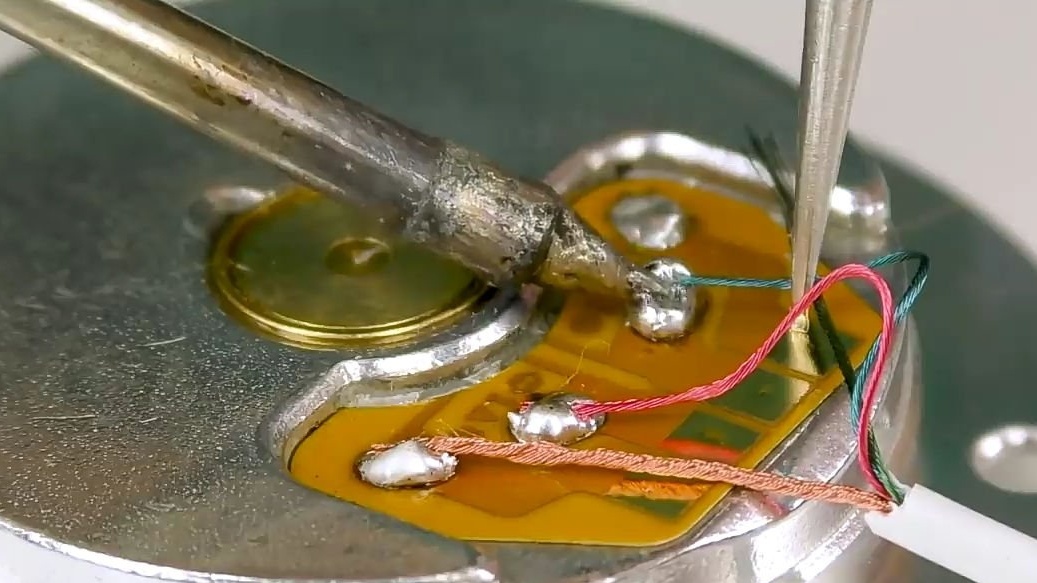
Then we need to take the old wired headphones, and cut off the wire from them, going from the mini-jack to the branch. You can use any other four wire wire, but I think everyone has old and not working complete headphones. We remove the insulation from the wire by 2-3 cm, and solder the contacts to the contacts on the electric motor (see photo).

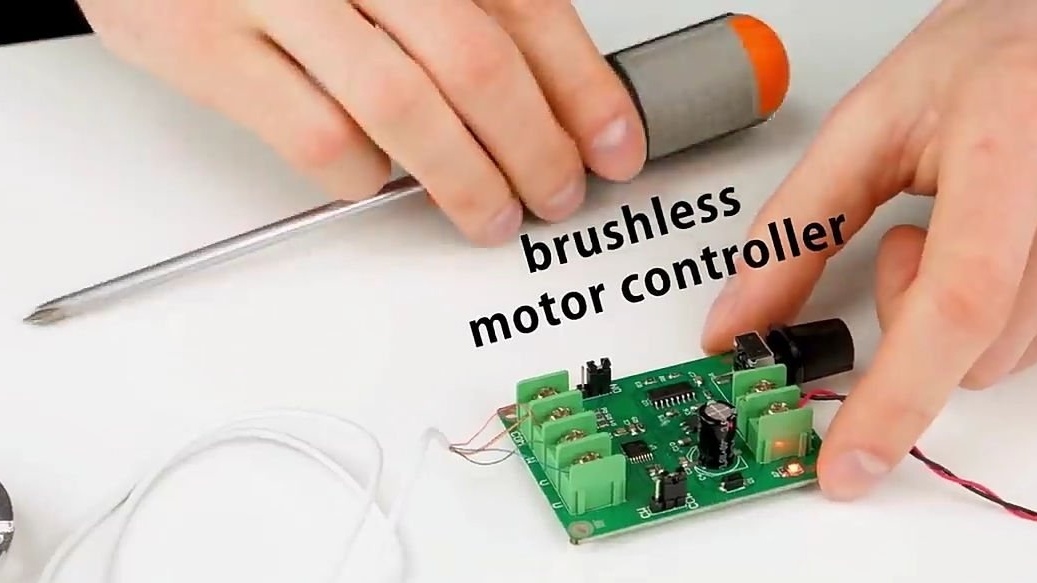
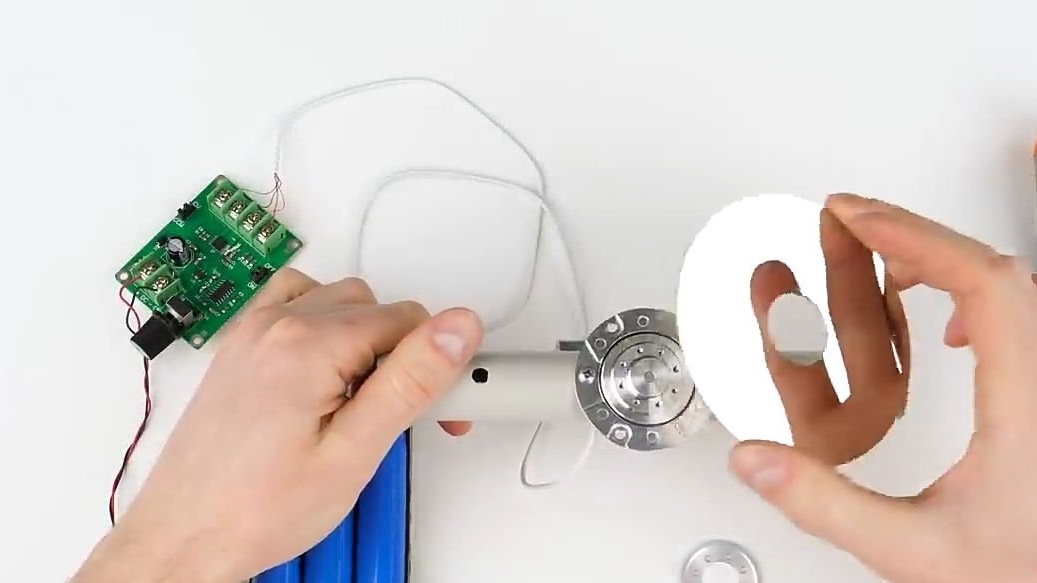
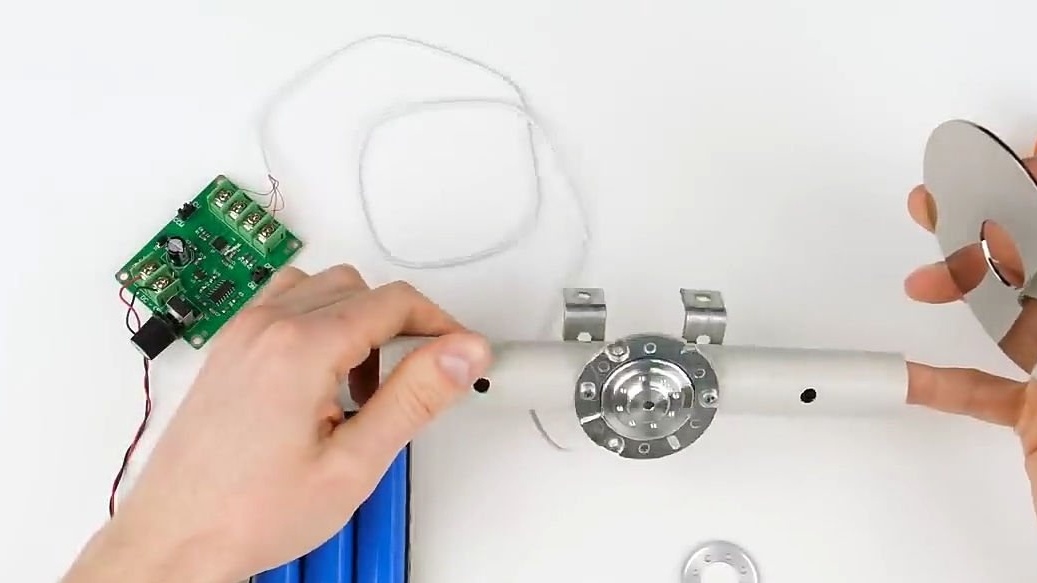
The wire that we soldered to the electric motor should be soldered to the contacts on the motor control controller (speed controller). Speed controllers for these types of engines are very diverse, a link to the most common and affordable controller is at the end of the article. The specified controller is powered from 5v to 12v, direct current. I recommend using just three rechargeable batteries of the 18650 format, they will be quite able to spin the engine, and do this for a long time. We connect the above elements in electronic chain, approximately the same as shown in the photo below, and check the design for performance by unscrewing the potentiometer.

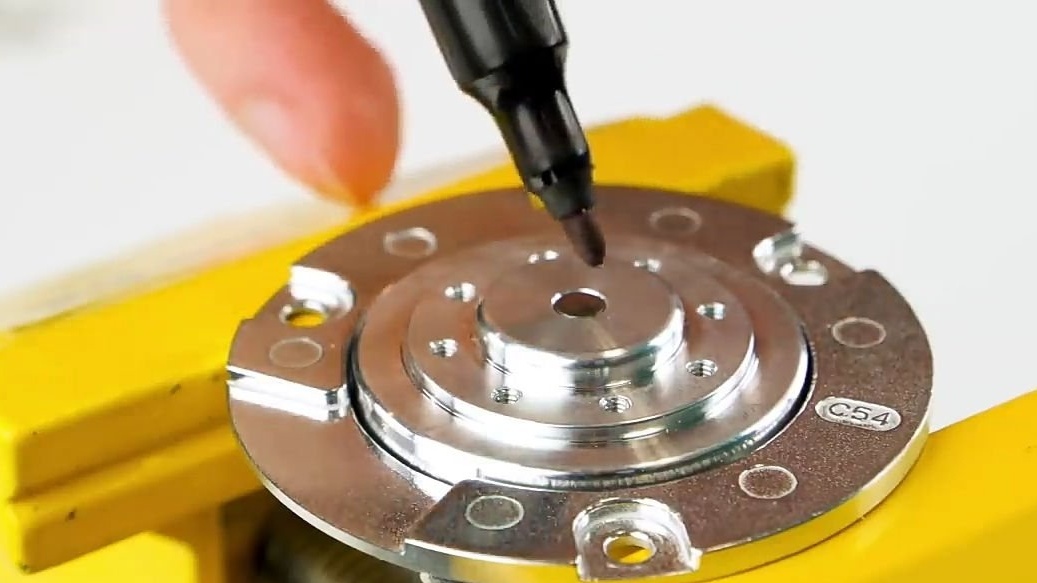
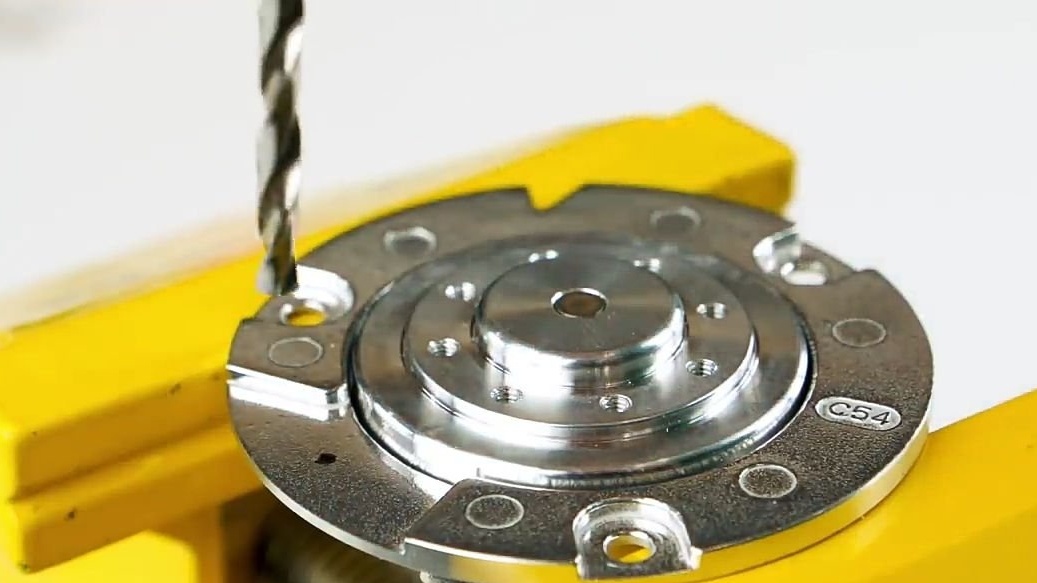
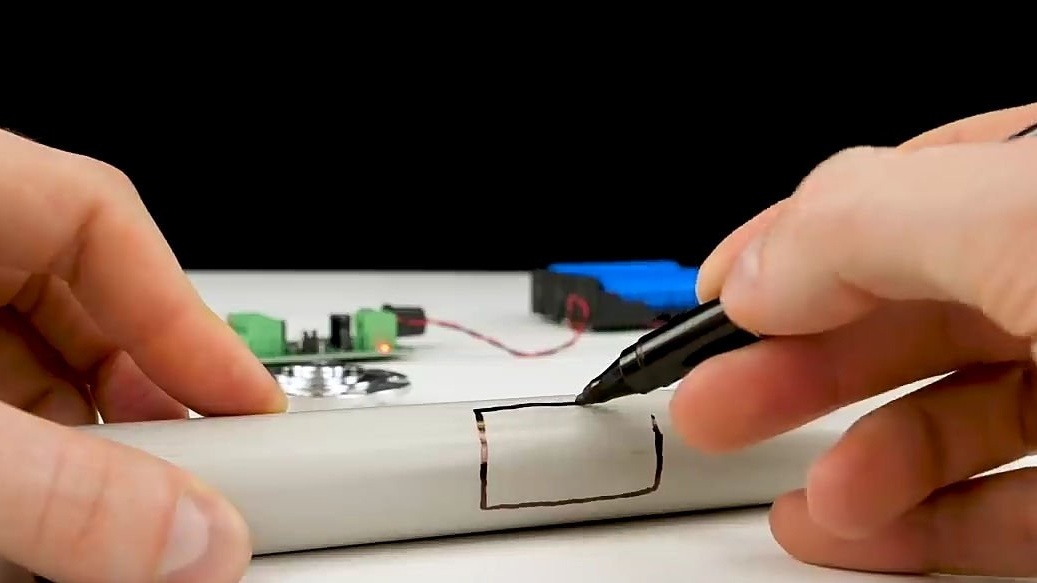
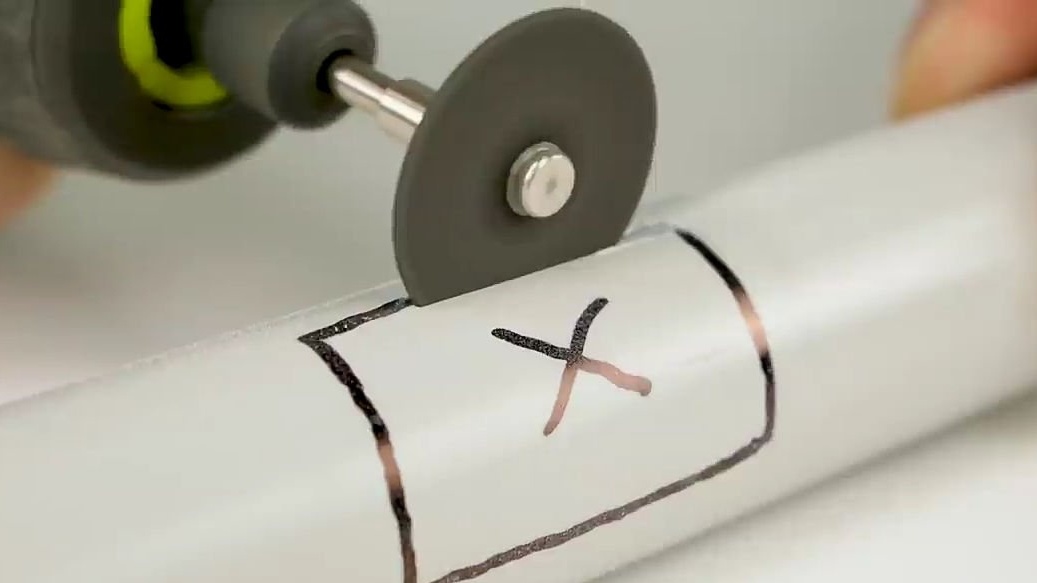
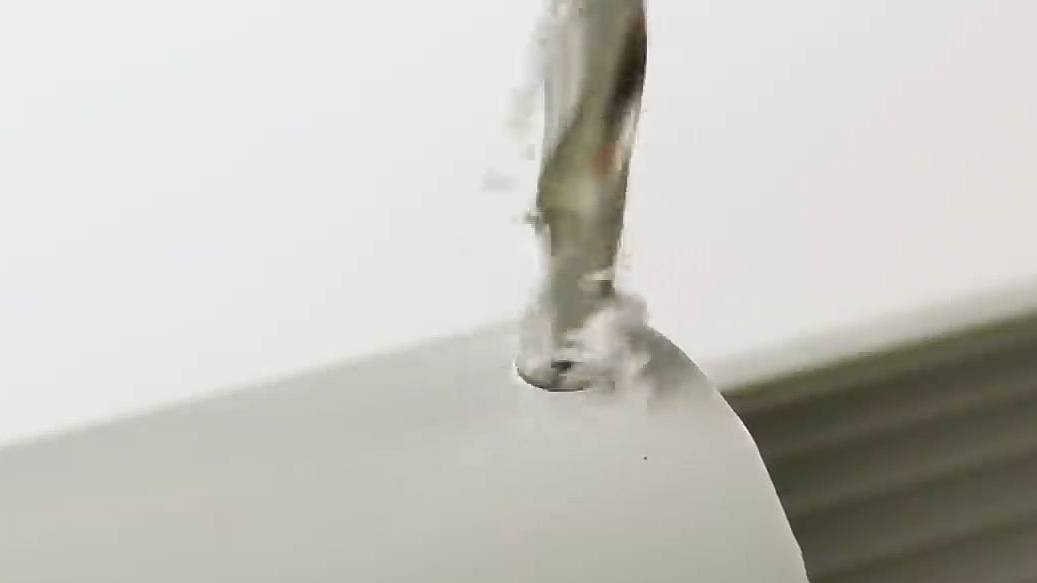
After that, take a piece of PVC pipe about 20 cm long and apply our electric motor to it as shown below. Leave a marker a couple of marks for making holes. The hole should be such that the inside of the engine does not touch the pipe, and the engine itself is attached to the pipe with an external rim. Having done the marks, we cut a hole with the help of a machine bur, if you don’t have one, you can do it for example with a hot knife.
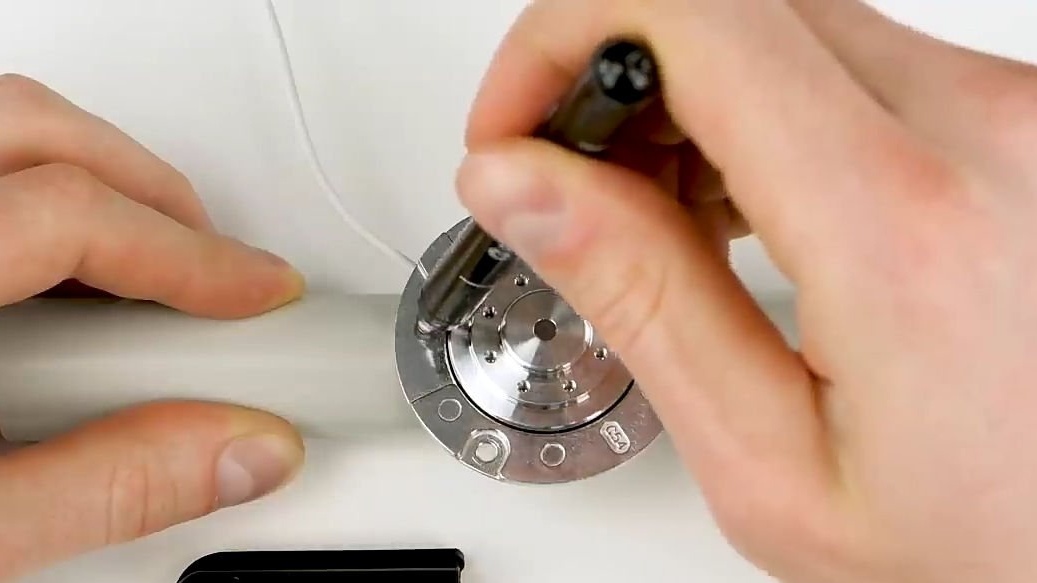
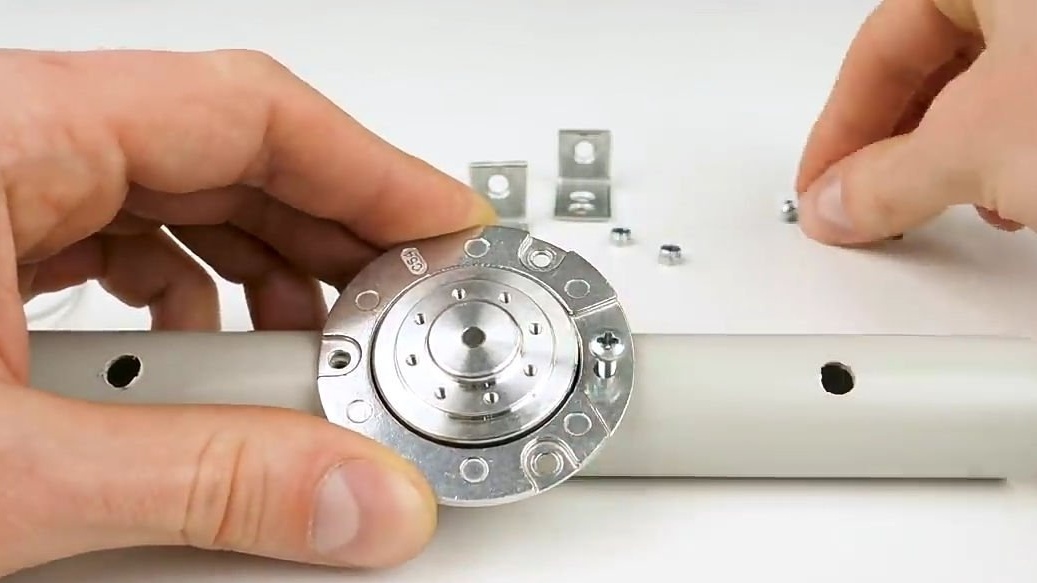
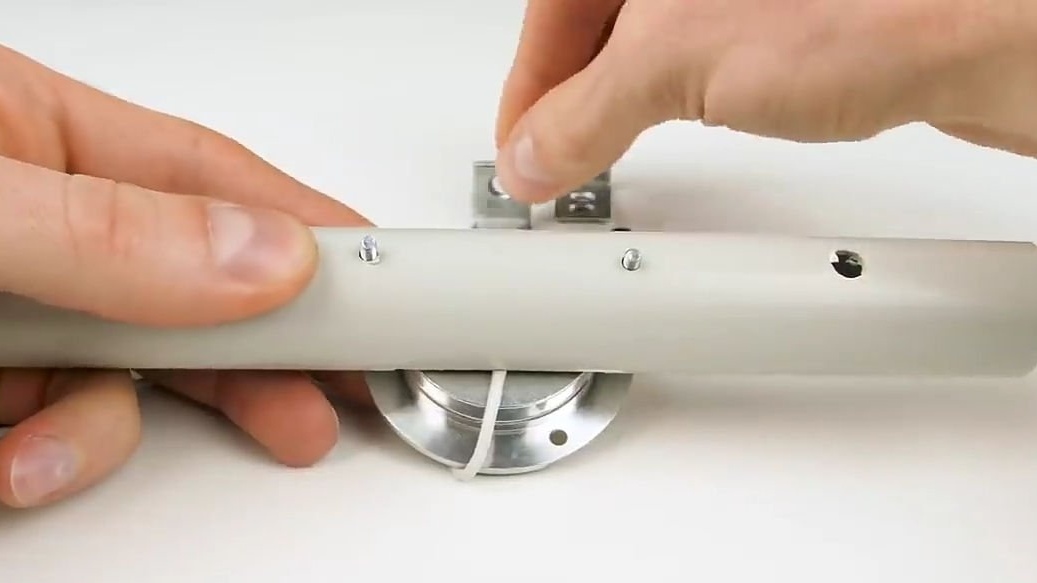
We insert the engine in its place, or rather, in only one hundred done mounting hole in the PVC pipe. And we put marks in the places of the holes on the rim of the engine, and drill two through holes. And we fix the engine with a pair of screws and nuts, but a pair of corners should be placed between the pipe and the nut (see photo), they are needed to mount the platform for mounting the camera.
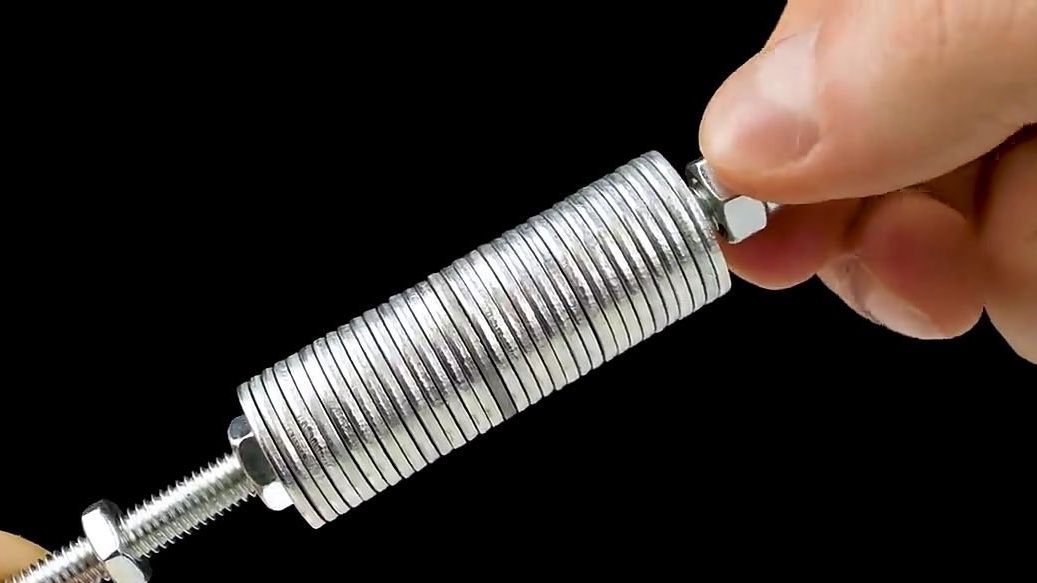
Then we fix the recording disc in its place, or rather, on the newly installed electric motor. Then we should take a pair of hairpins with a length of not more than 20cm.
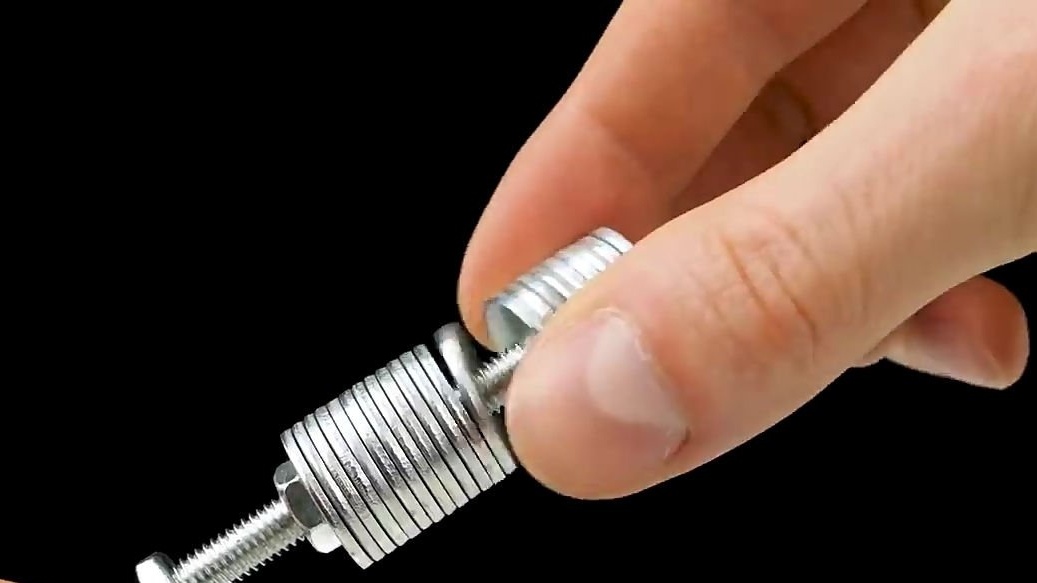
Of the studs of nuts and errors, we should make balances, that is, the number of washers should be put on the studs themselves so that their total mass is equal to the mass of your camcorder. And secure the washers with suitable nuts. Then the balances should be installed in the through holes that should be drilled on both sides of the hard drive. You should install the counterweights, stand on the side where we have installed the rotating disk.

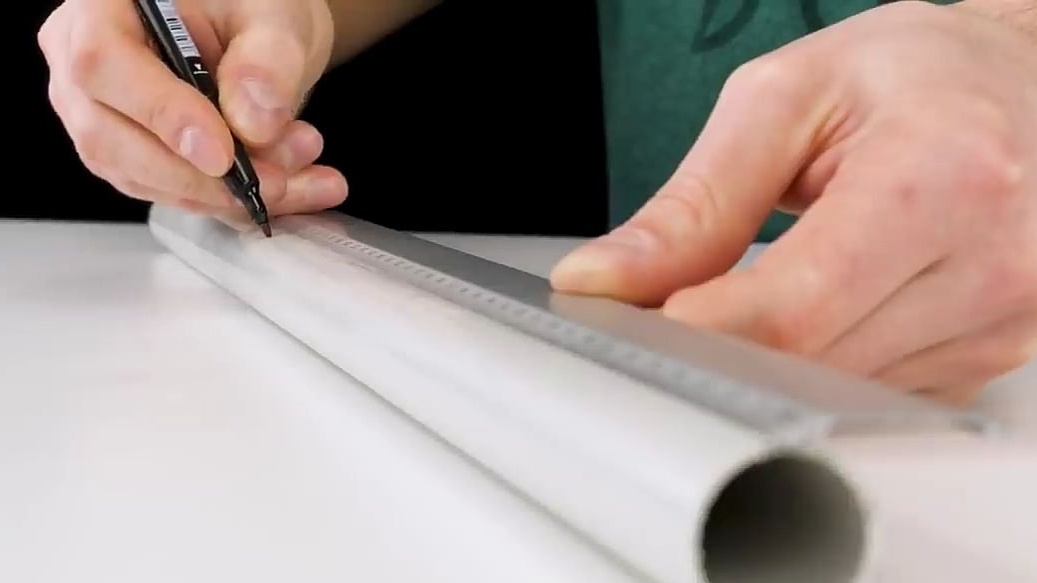
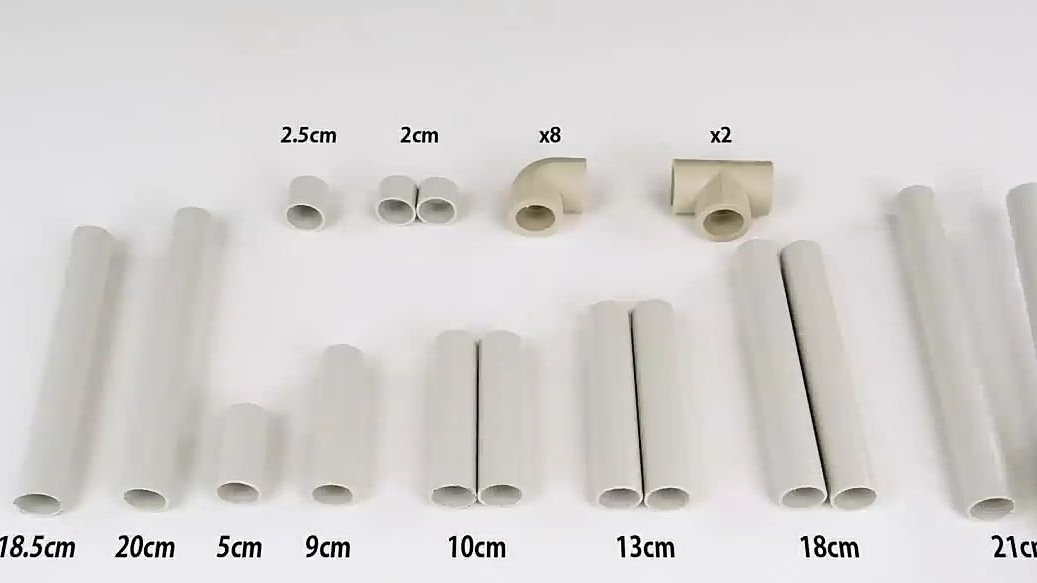
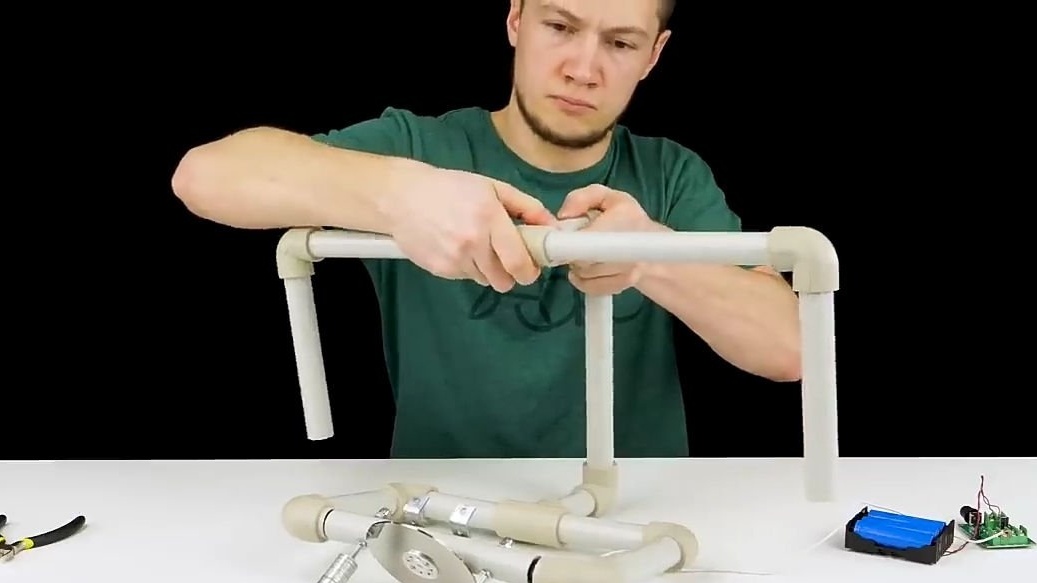
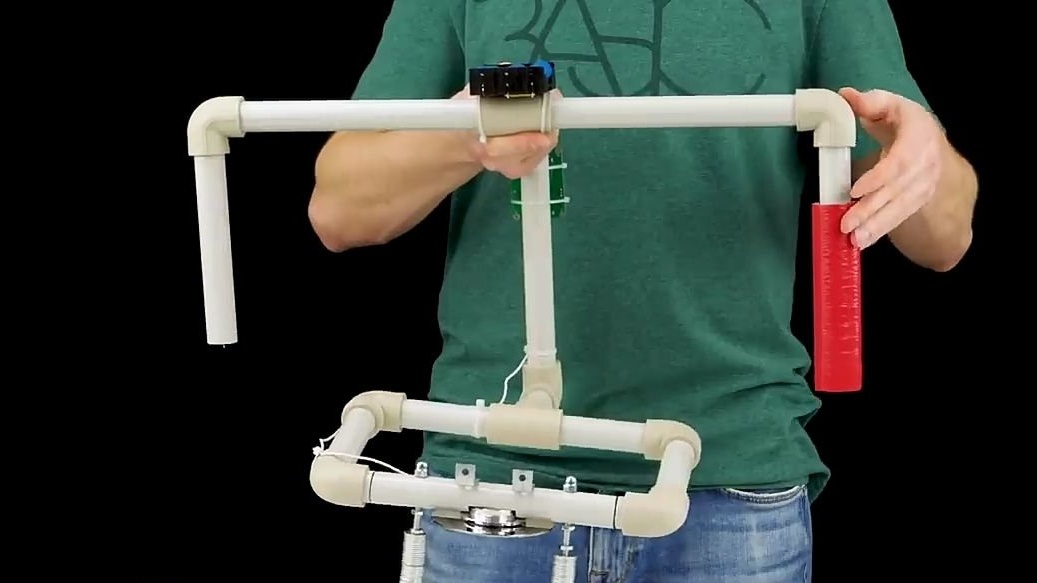
Then, from a PVC pipe using a hacksaw, we should cut out all the necessary elements that we will need to assemble the structure. All elements of their quantity and size are shown in the photo given below.
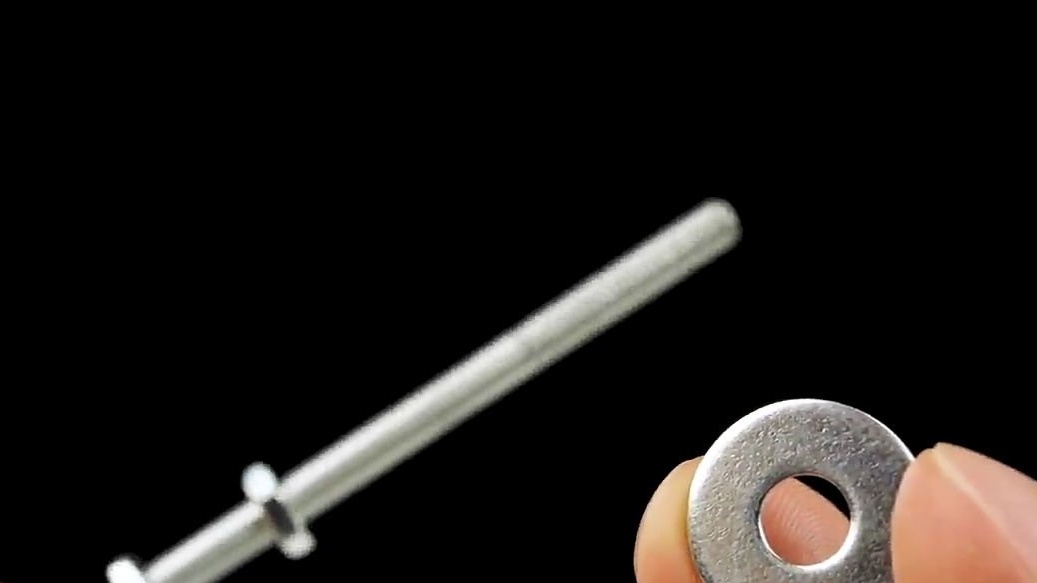
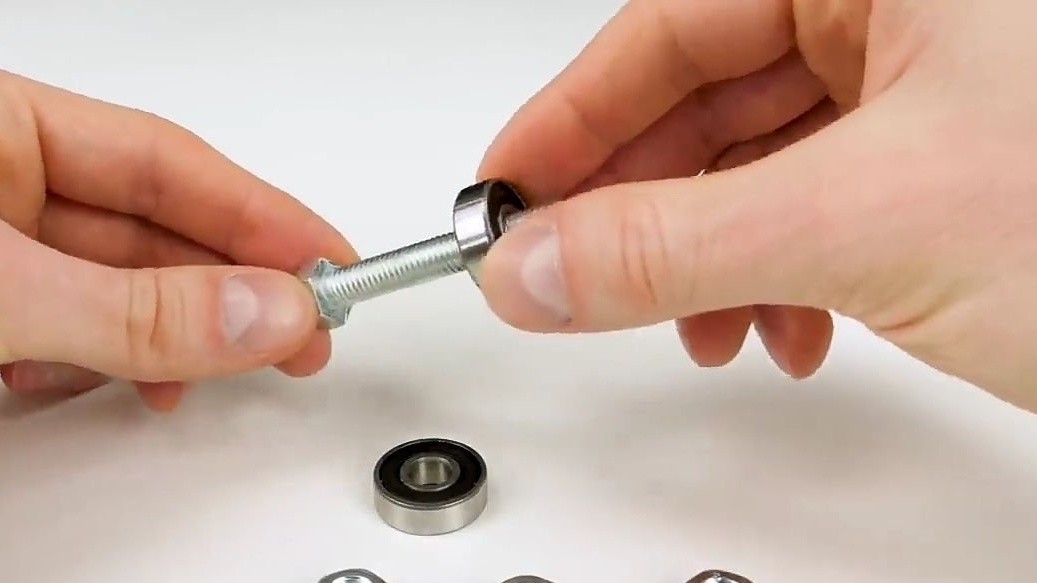
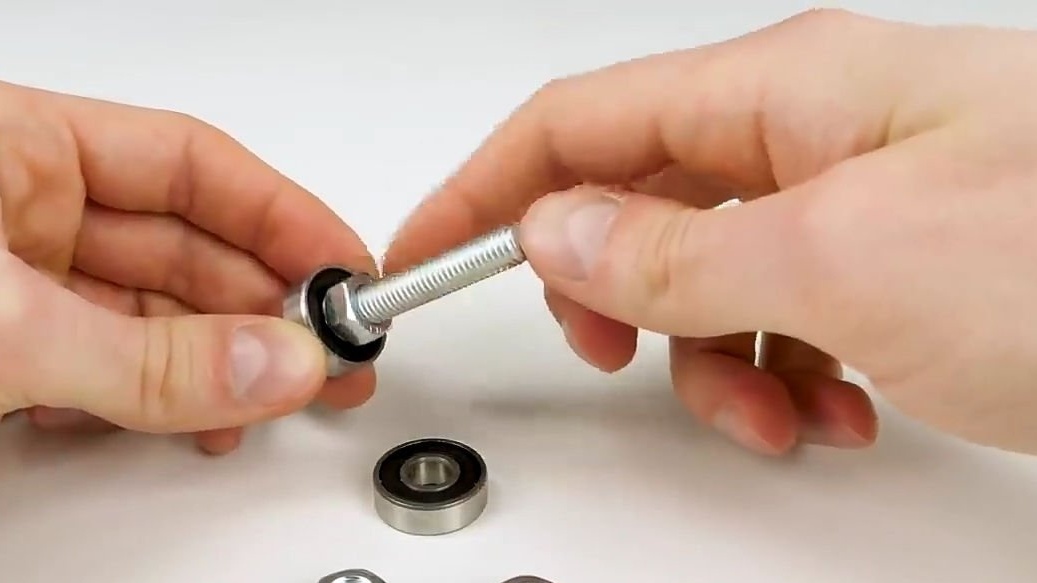
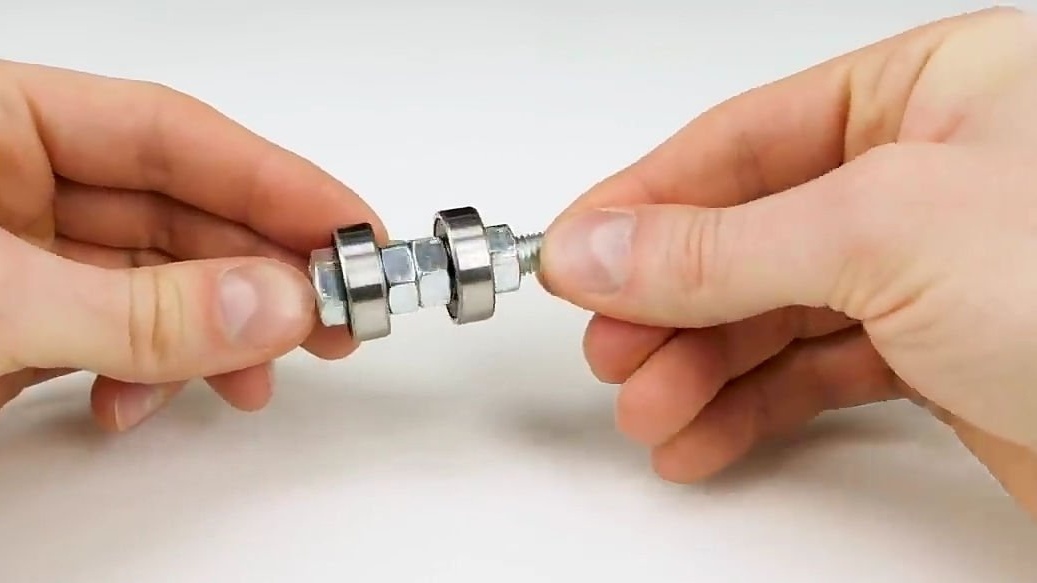
Then we will need nut bolts and bearings. From which we should make parts, with which we will connect pipes to each other and rotate around our spine. Namely, we need to do the following. Take a bolt with a length of 5 cm and put a suitable bearing on it. It should be noted that the bearings must fit tightly into the PVC pipe and sit there. Having put the bearing on the bolt, we twist the two nuts in the photo below, then again the bearing and again the nut. As a result, we should get 3-piece blanks, exactly the same as the blank shown below.
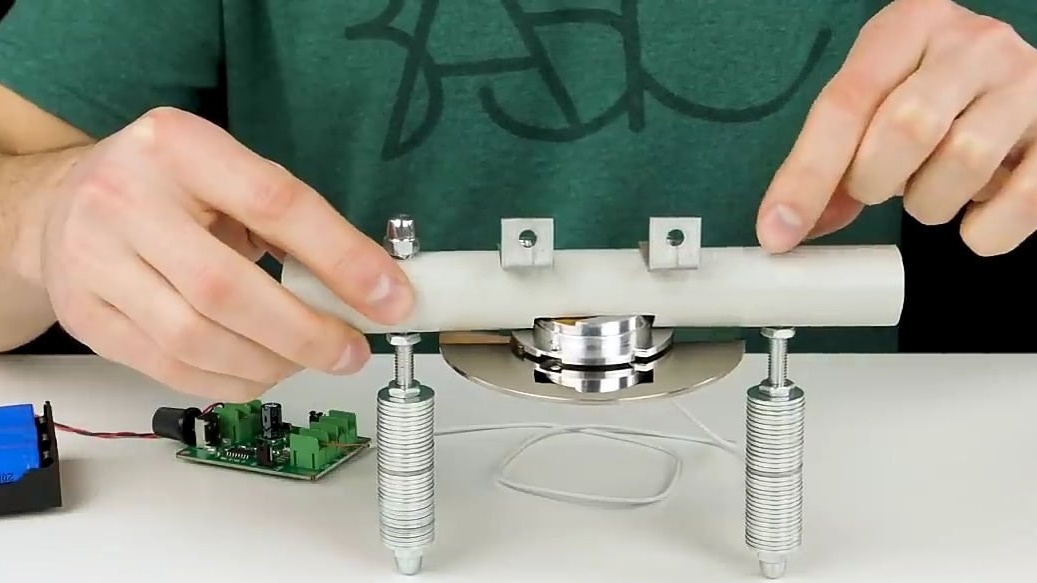
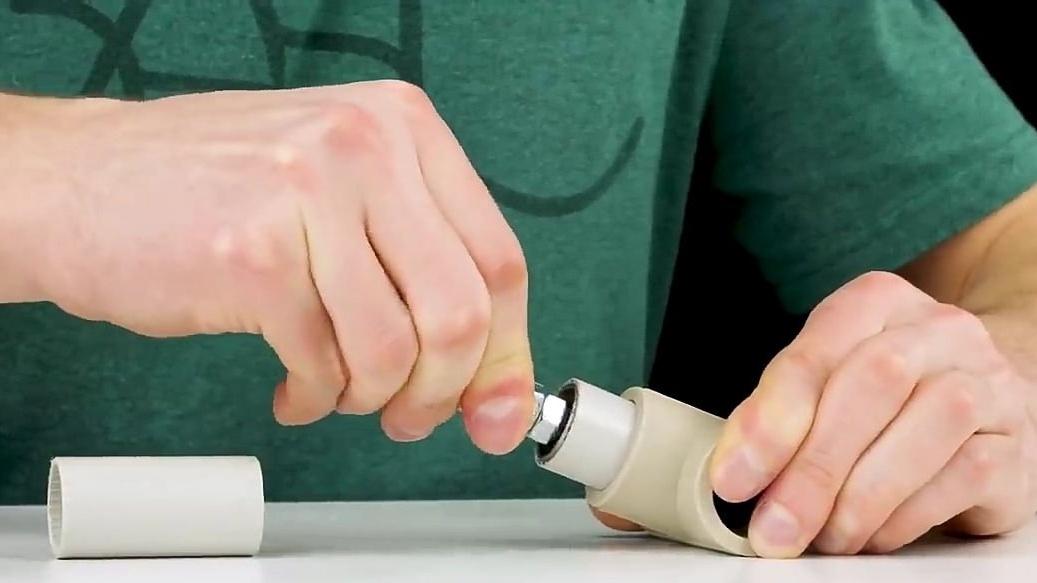
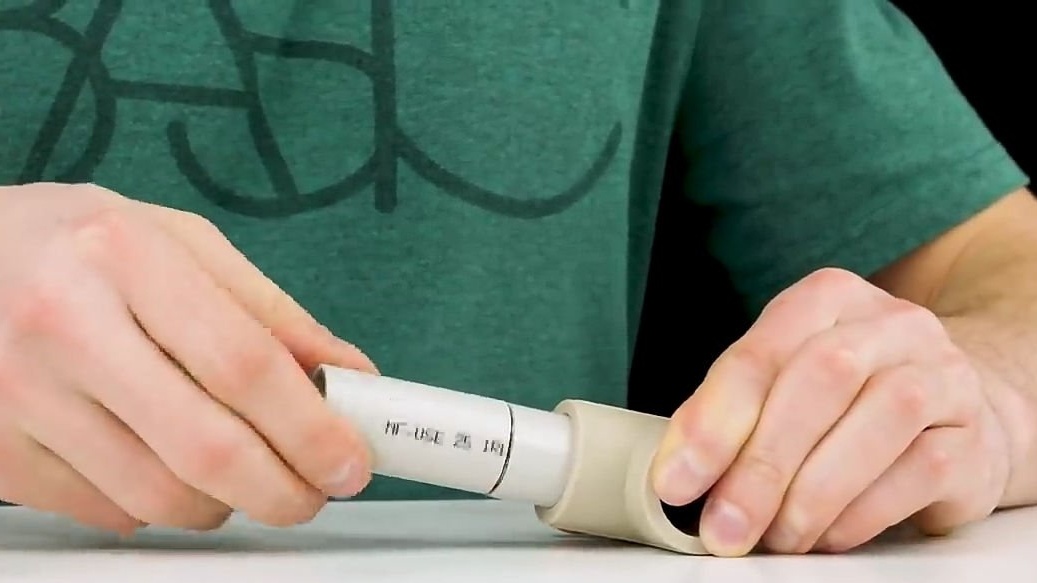
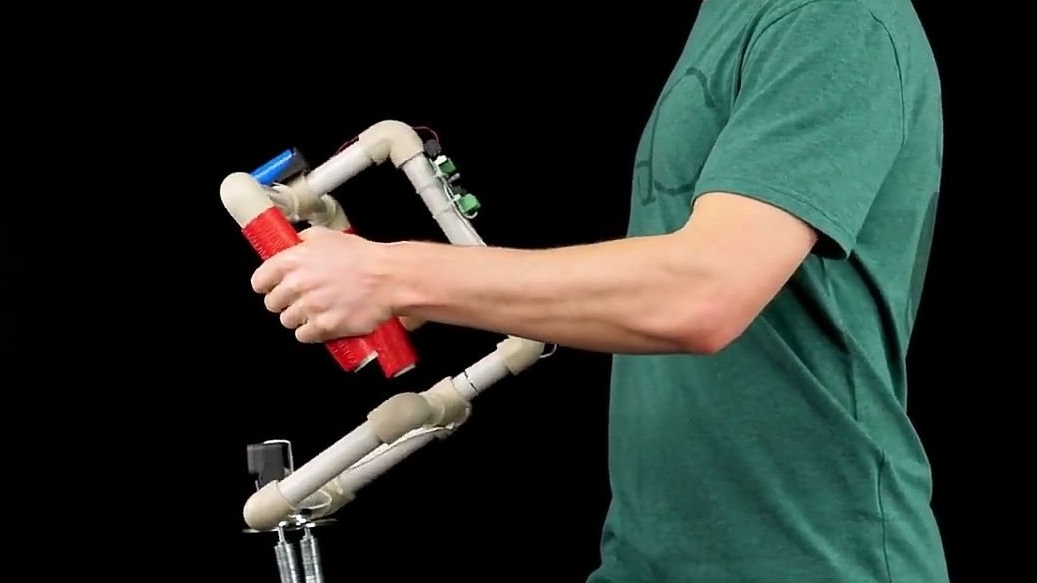
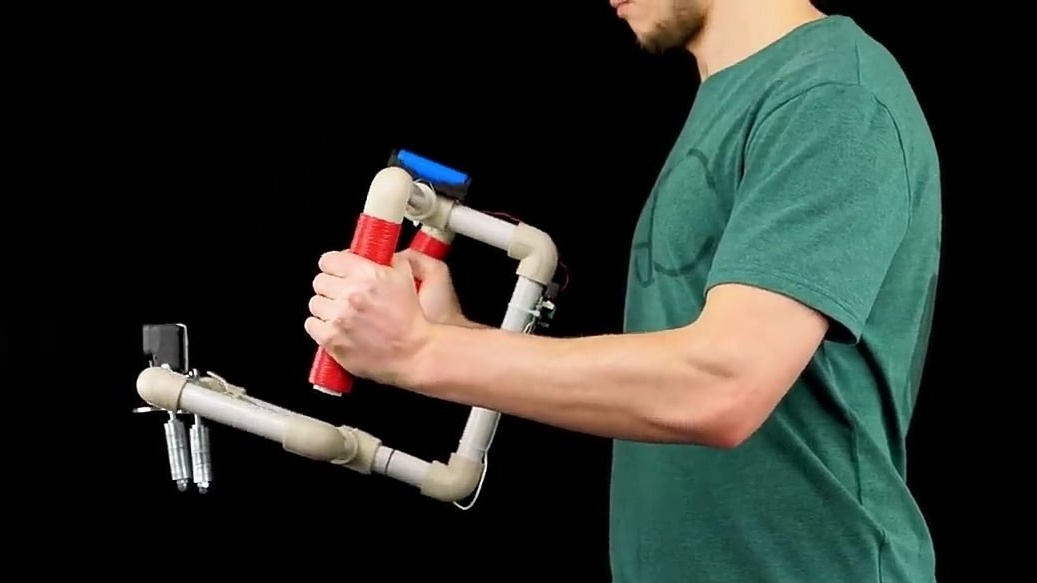
After that, we just insert the prefabricated workpieces into a pipe with a rotating hard disk. And we assemble the entire construction of PVC pipes in the same way as shown below in step-by-step photos.
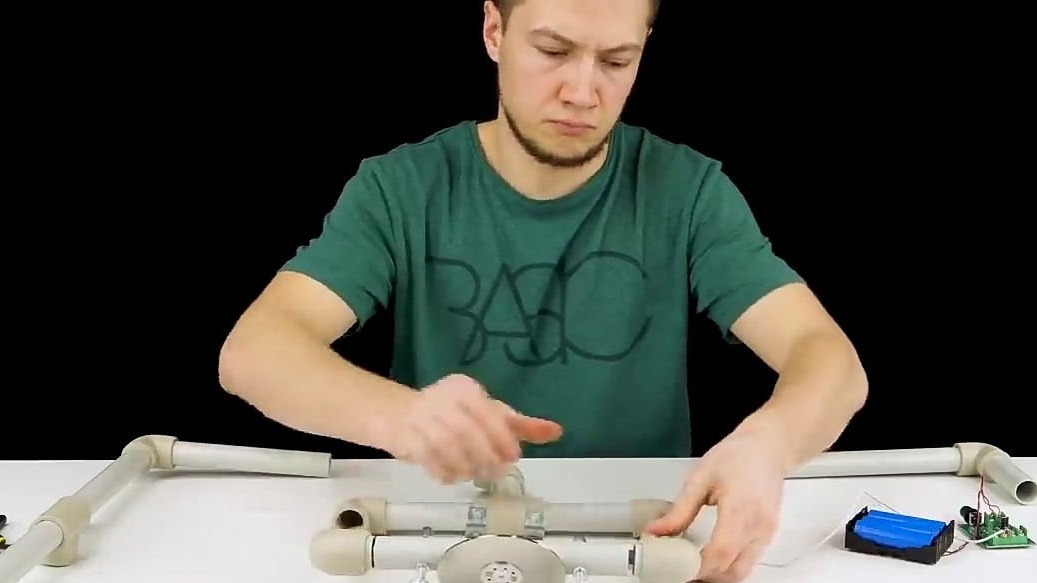
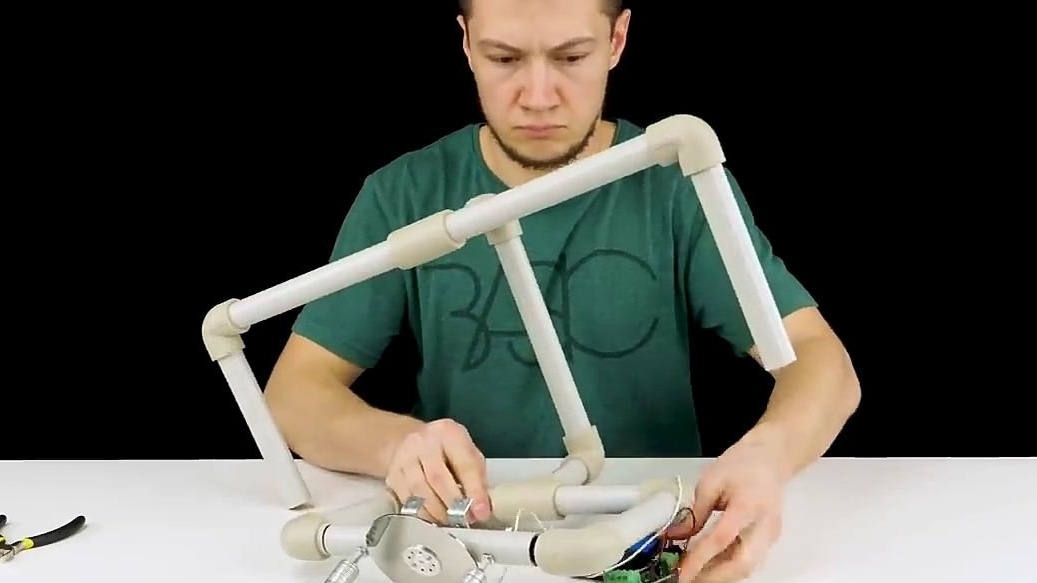
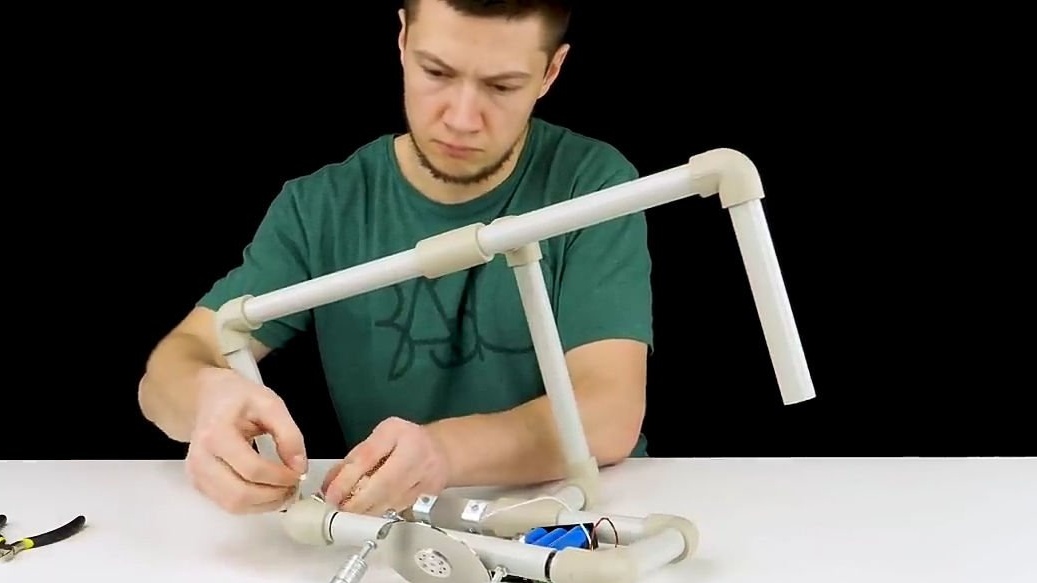
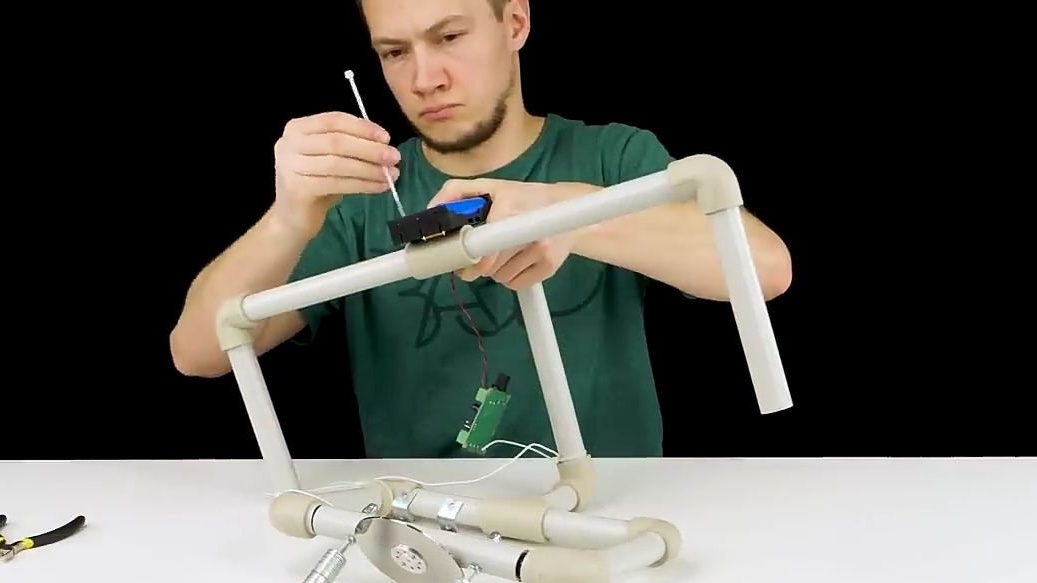
Then we should install our electronic filling on the construction of PVC pipes. And for this, plastic ties are perfect. It should be noted that the wire from the engine should be attached to the structure so that it does not interfere with the rotation of the moving structural elements. Well, I recommend attaching the battery compartment to the top of the structures so that it is easier to move the suspension in space.
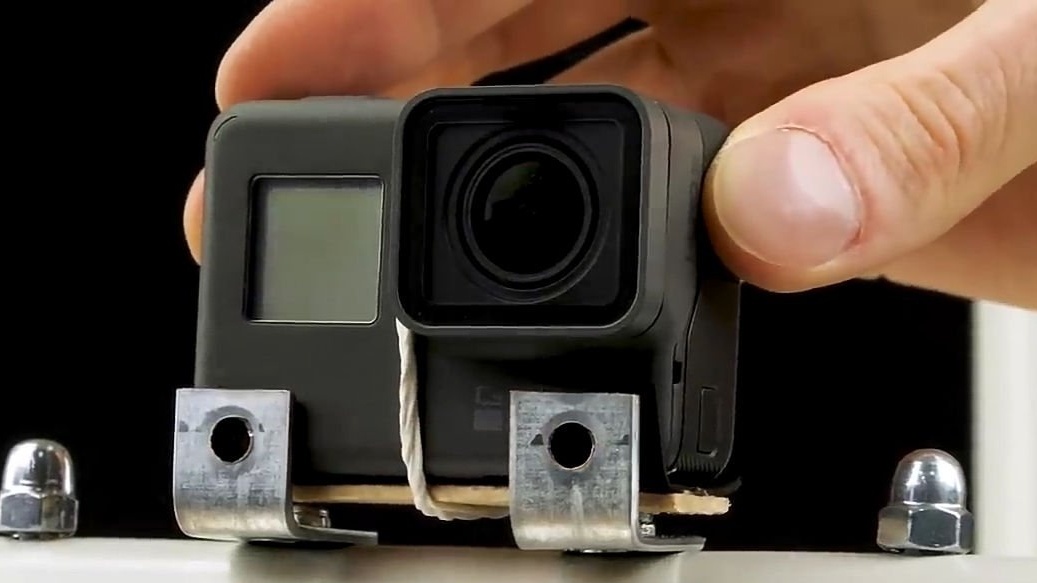
Then if you don’t have a suitable mount for your camera. You can do it the way its author did, namely using a wooden stick of ice cream, a pair of rubber pads and an elastic band (see photo).It is recommended to use rubber gaskets to reduce vibration during rotation of the hard drive, which is likely to appear after opening it.

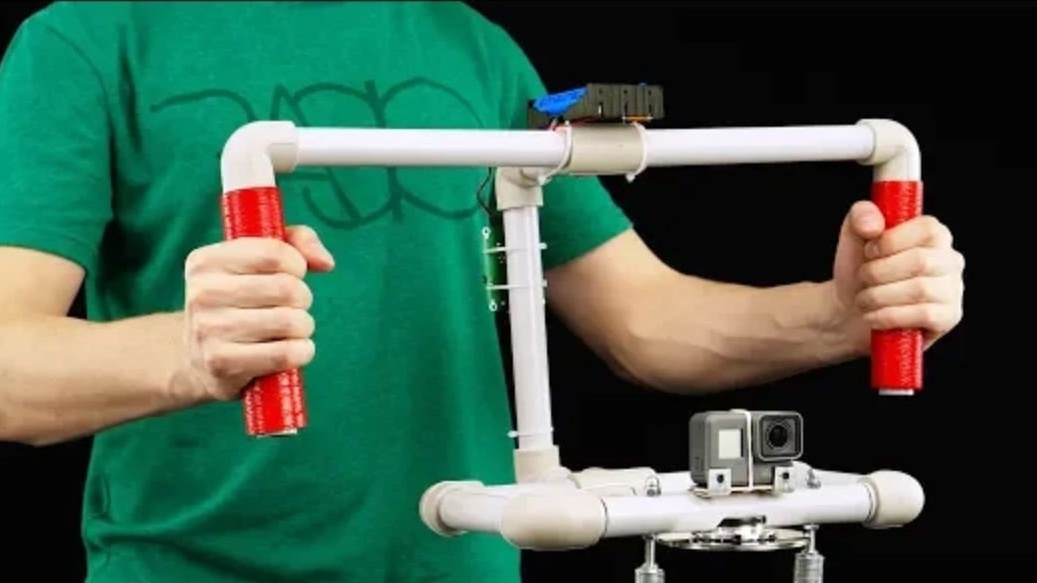
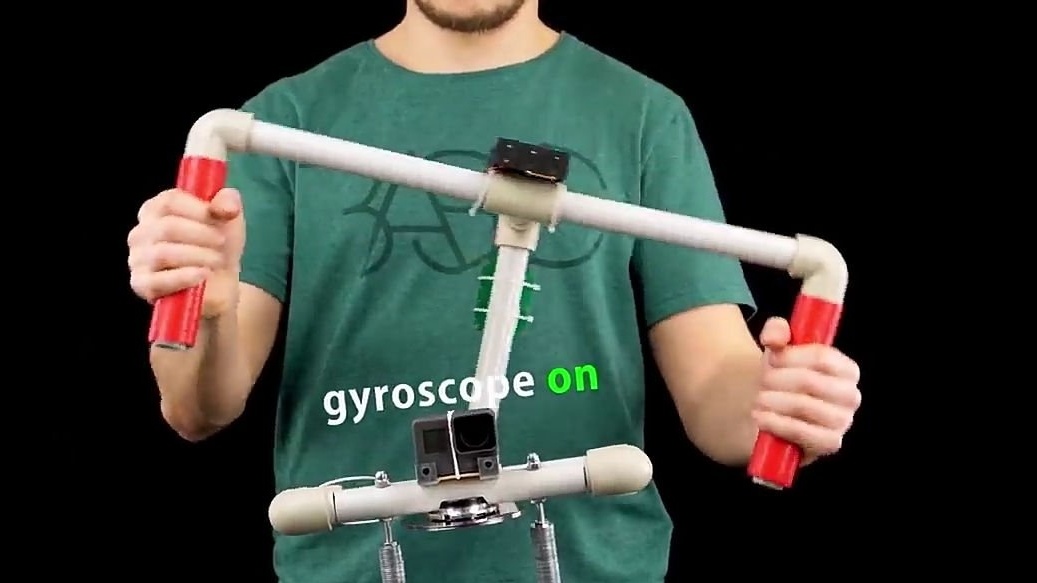
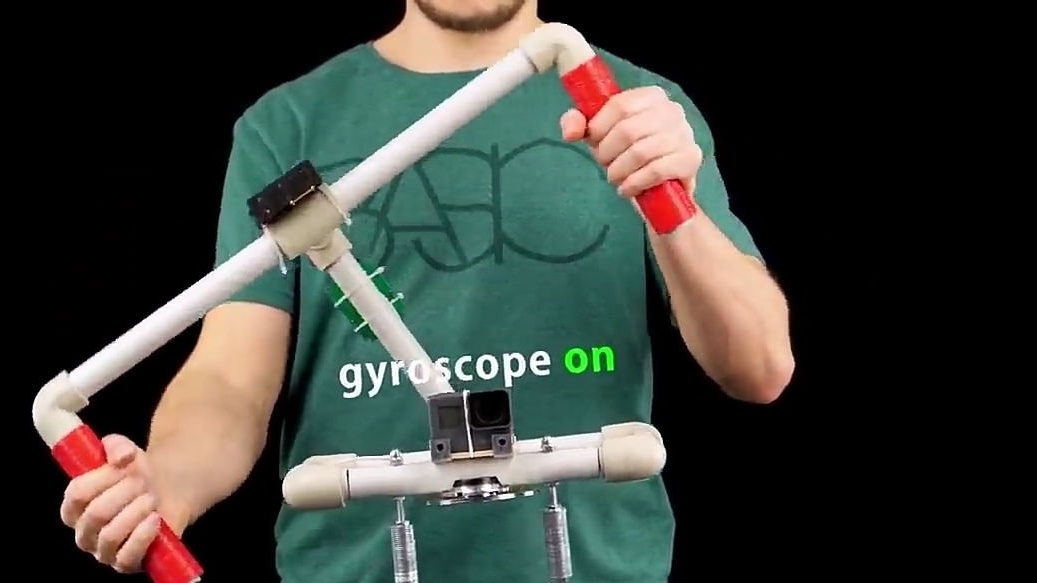
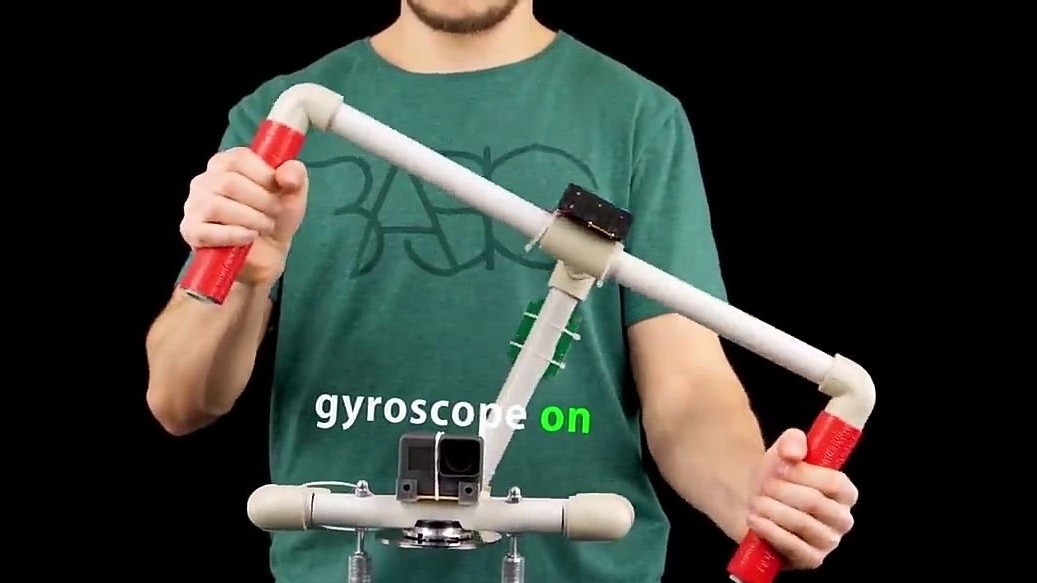
That's all! It remains only to test. We install the camera in our two-axis stabilizer and turn it on at full power. You can observe the stabilization results from the image below. Such a suspension is perfect for a smartphone or action cameras.

You can purchase accessories that can be useful for assembling this homemade product here:
Here is a video of the author of the homemade:
Well, thank you all for your attention and good luck in future projects, friends!